Zelda - Rok Uwog and Power of Reach solution in Breath of the Wild
How to solve the Hebra region trial.
Rok Uwog is one of the many Shrines located throughout Zelda: Breath of the Wild. The challenge inside, named the Power of Reach, is a trial involving three fire-related puzzles. Don't forget the flame arrows!
If you need help finding and solving other Shrines, our Shrine location maps page can help, while our Zelda: Breath of the Wild walkthrough and guide covers other aspects of the game.
Where to find Rok Uwog
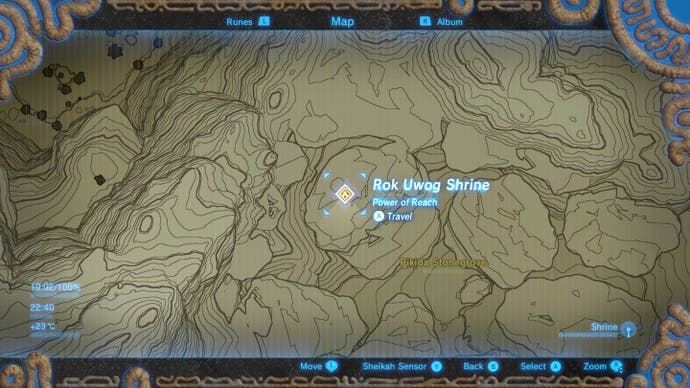
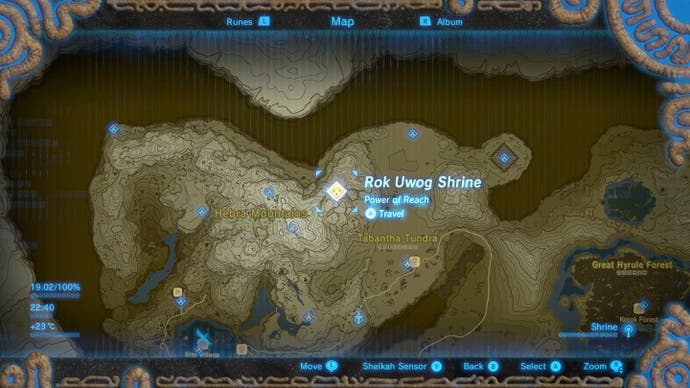
This is in the north east Hebra Mountains, in an area described as the Pikida Stonegrove. Head there - as with everywhere else in the region, expect a lot of climbing and to have some level two cold resistance equipped - and when you arrive, you'll come to a field of flat-topped rocks.
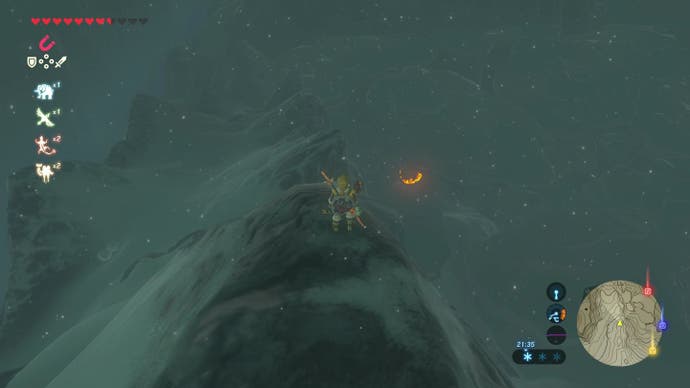
Underneath is a series of caverns, with the Shrine at the northern-most edge.
You should see it at the right angle from above, but if you need the specific location, then it's above the 'ki' in Pikida on the second from closest zoom on the map view.
Rok Uwog and Power of Reach solution
To solve the three puzzles in this Trial, you'll need to make use of fire arrows, either those in your inventory, or from using a normal arrow that's been tipped into a flaming lantern.
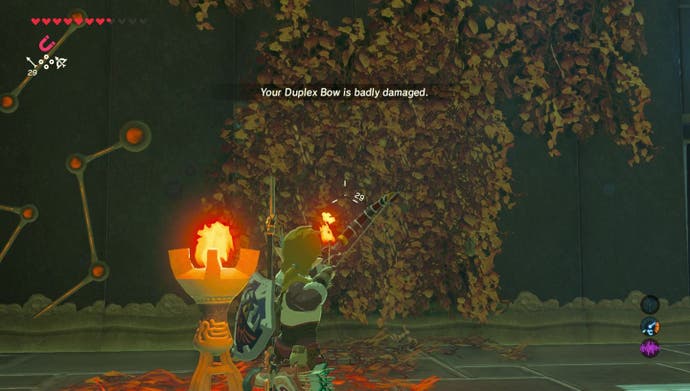
To do this, equip and draw your bow, and walk behind a lantern, and it should catch on fire, giving you a flame arrow. In the first opening room, use the left torch to create a flaming arrow, and fire it at the leaves spreading across the wall nearby. This will reveal a wooden window, which will also burn, allowing you entry to the next area.
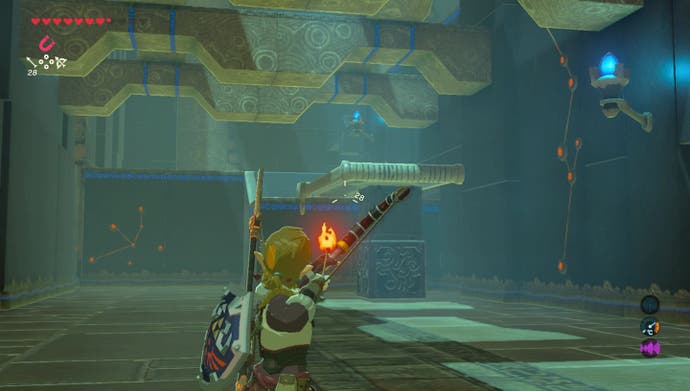
In this left-side room, defeat the Guardian Scout and destroy the wooden crate underneath the suspended platform. Use a flaming arrow again (there's a lantern in the corner), or a bomb if you prefer.
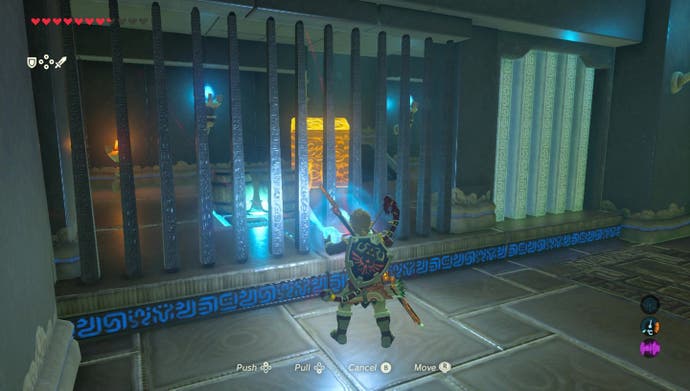
In the final corridor along the back is another Guardian Scout, and through a locked door, a series of wooden barrels on a switch. You need to remove the barrels in order to activate the switch and open the door. There's a bunch of ways to do this - if you have flaming arrows in your inventory, that's a possibly easy way - but otherwise retreat back to the previous area with the platform that was previously propped up by the wooden crate, and you'll find a metal one there too.
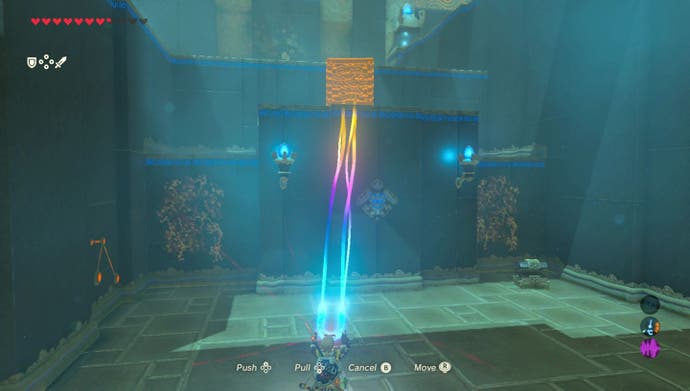
Lift it out with Magnesis, and over the wall back to the starting area. Then, grab it again and drop it over the lower wall straight ahead, so it drops down and into the room with the barrels (don't place it over the very top, as that has a ceiling and you'll lose the crate).
Thanks to a new update, it's now possible to play Zelda Breath of the Wild in VR. Want help with the main game? Our Zelda: Breath of the Wild walkthrough can help complete Divine Beasts Vah Ruta, Vah Rudiana, Vah Medoh and Vah Naboris and more. There's also how to get the Master Sword, Hylian Shield and all Zelda Captured Memories and Great Fairy Fountain locations, while our Shrines locations and Shrine maps hub explains where to find and solve every puzzle room, including dragon locations and Labyrinth solutions. We also have a DLC 1 guide and DLC 2 guide, including all Tingle, Majora's Mask, Phantom, Midna outfit locations.
Alternatively, you can use the chest on the right, which contains a Drillshaft. Whether you used metal object to swipe the barrels out the way with Magnesis, or burn the barrels away, grab the Small Key from the chest on the right.
Finally, climb up the ladder and back to the starting area. Use it on the side door to reach the altar.
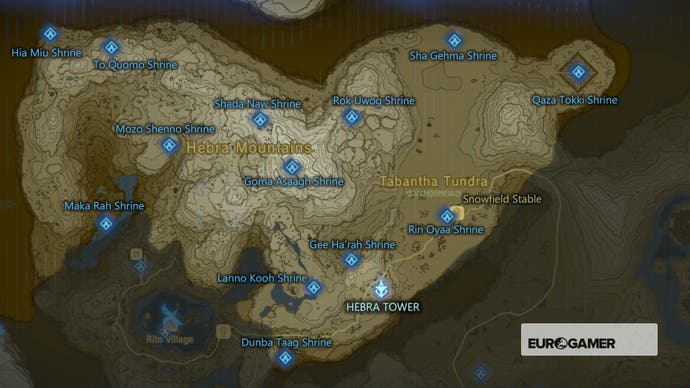
While you're here, here are other Shrines within this region:
Hebra region (13 Shrines)
- Dunba Taag shrine, Build and Release solution
- Gee Ha'rah shrine, snowball rolling gate puzzle and Tandem solution
- Goma Asaagh shrine at the foot of Hebra Peak
- Hia Miu shrine location
- Lanno Koch shrine and Lanno Koch's Blessing solution
- Maka Rah shrine at Lake Kilsie and Steady Thy Heart trial solution
- Mozo Shenno shrine and The Bird in the Mountains quest solution
- Rin Oyaa shrine and Directing the Wind solution
- Rok Uwog shrine and Power of Reach solution
- Sha Gehma shrine and Shift and Lock solution
- Shada Naw shrine and Red Giveaway solution
- To Quomo shrine and how to open the Hebra North Summit gates
- Qaza Tokki (North Lomei Labyrinth)
If you're after other trials, then our Zelda: Breath of the Wild Shrine locations and maps hub page can help with other regions.


