Zelda - Daag Chokah and The Lost Pilgrimage solution in Breath of the Wild
How to find and beat Daag Chokah and The Lost Pilgrimage.

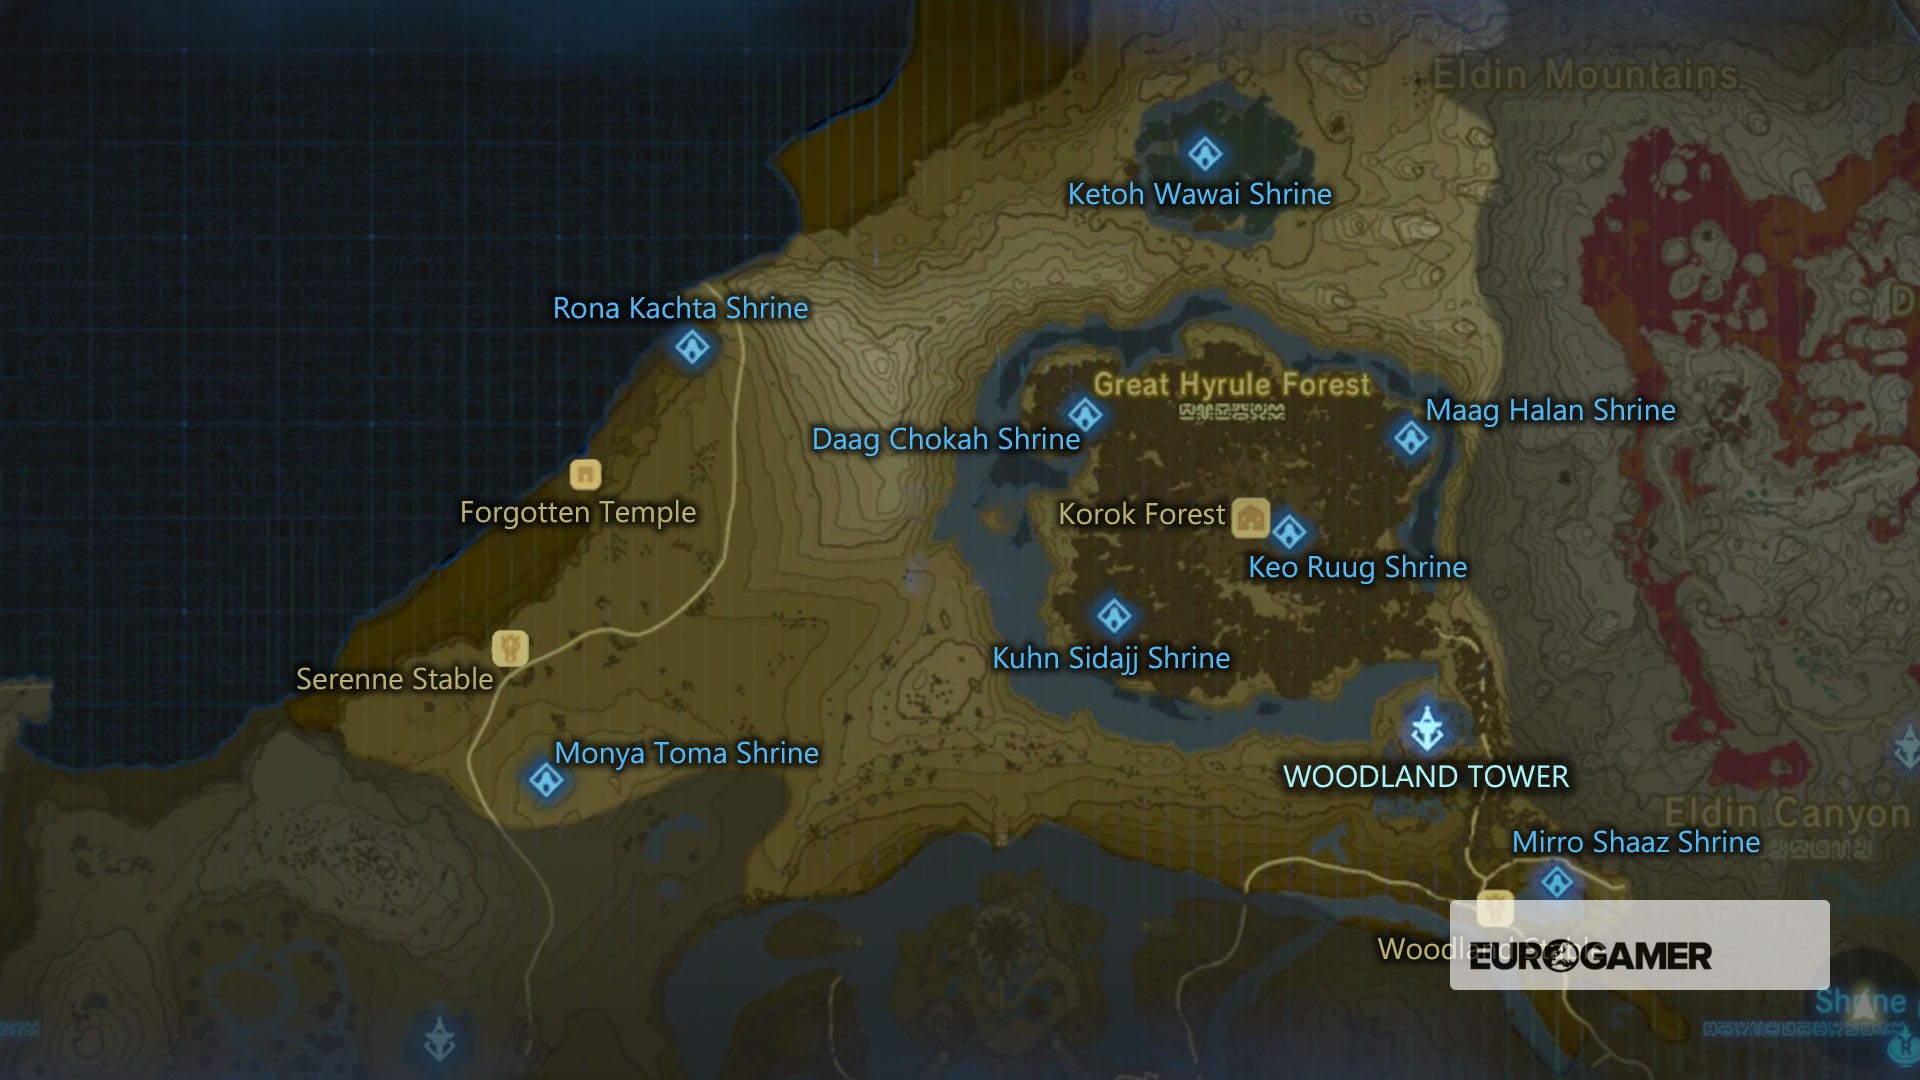
Daag Chokah is one of the many shrines located throughout Zelda: Breath of the Wild. Found in the Woodland region, finding it requires you to complete The Lost Pilgrimage.
If you need help finding and solving other Shrines, our Shrine location maps page can help, while our Zelda: Breath of the Wild walkthrough and guide covers other aspects of the game.
How to start The Lost Pilgrimage and reach Daag Chokah
After getting the Master Sword and speaking to Chio in front of the Deku Tree to get the The Korok Trials sidequest, you learn about the three shrines across the forest. The one we're looking at here is in the northwest - 'The Lost Pilgrimage'.

To get started, leave out of the north west corner of the village, and you'll straight away run into a Korok on the left named Tasho.
Tasho explains another Korok named Oaki is headed to the Shrine, and you must follow - but not let on that they are being followed.
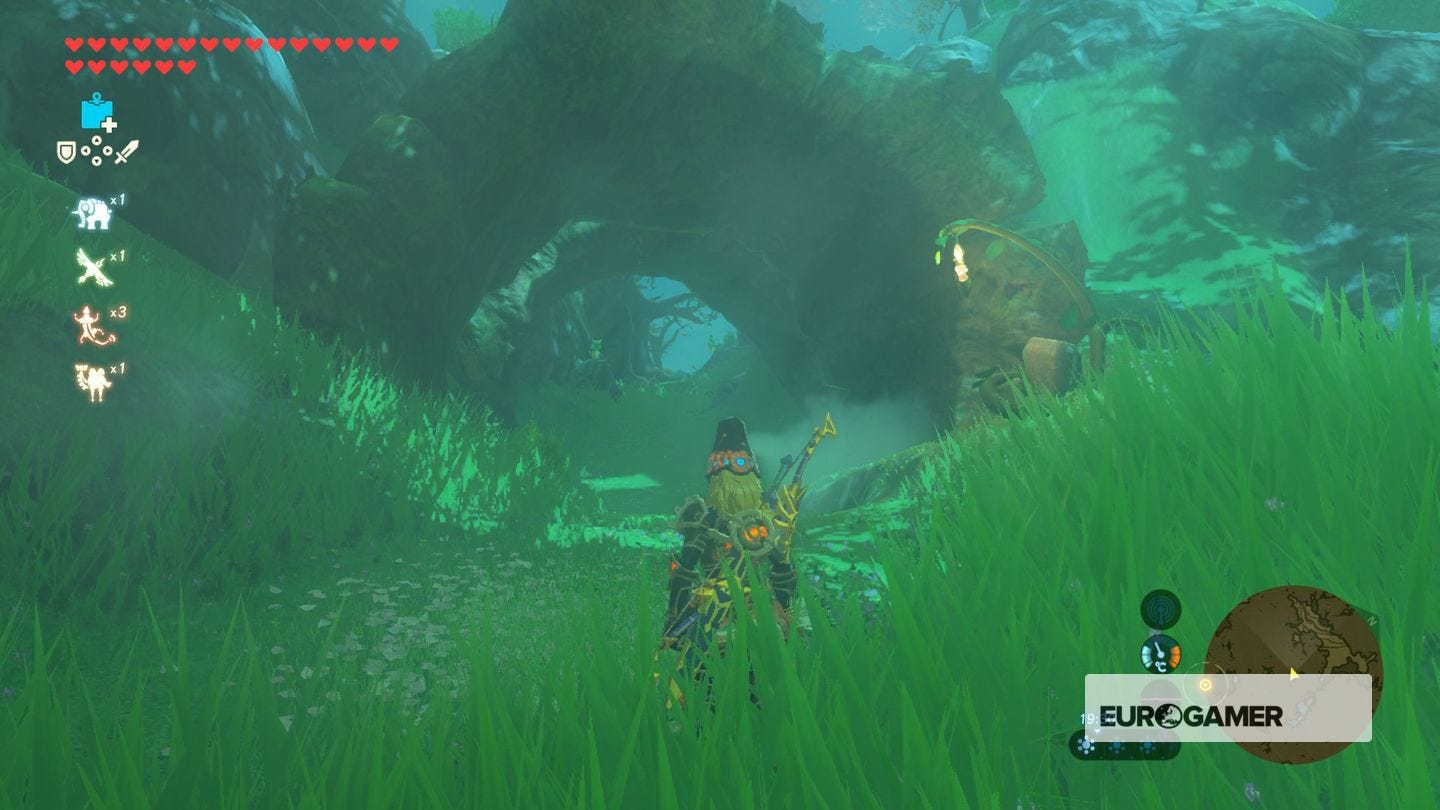

Walk a few paces ahead and you'll see Oaki, who will make their way through the forest. This is a tailing challenge, and though some rules of stealth from other games apply here, there's also a few other things to note.
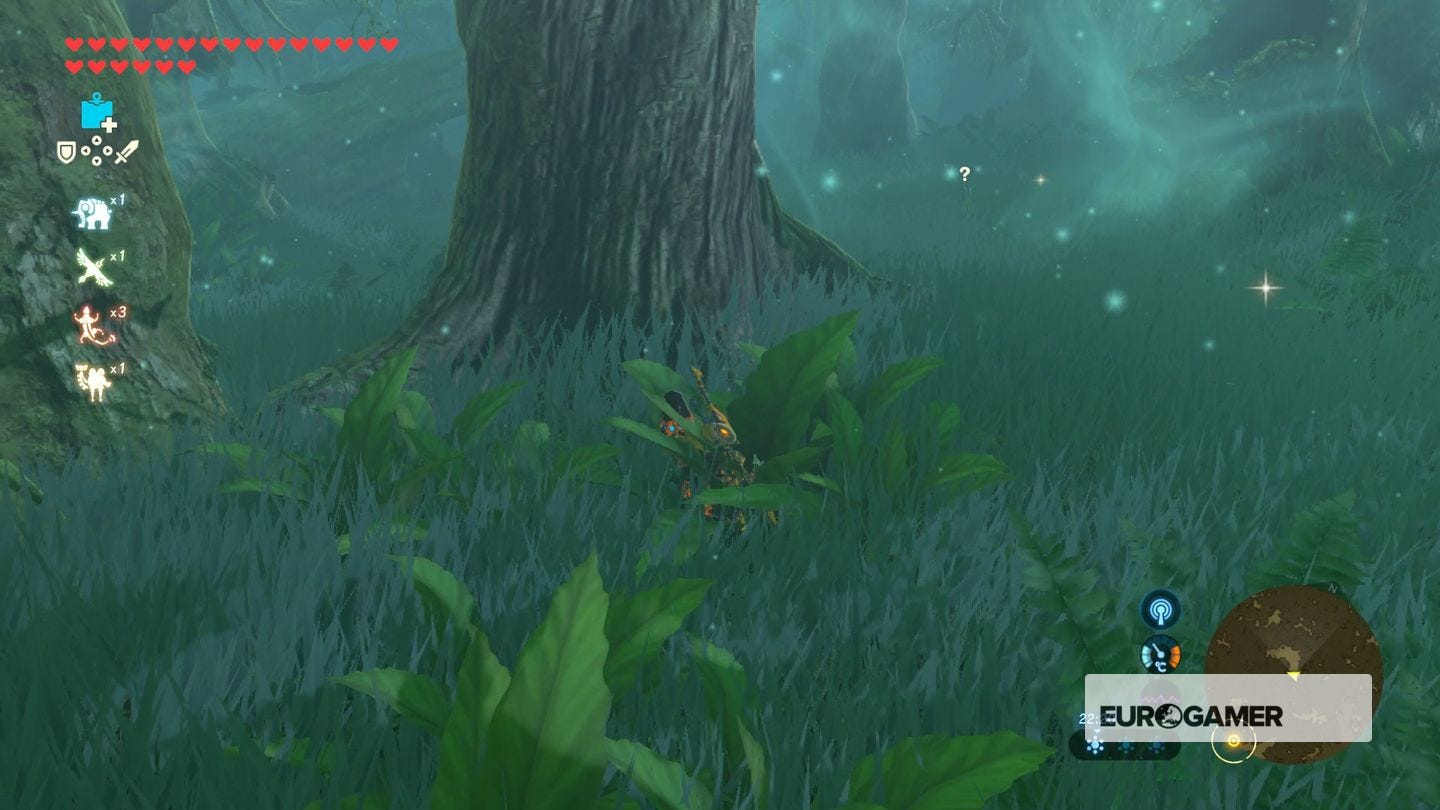
- Be a reasonably distance away - the width of say 2-3 trees.
- Make sure you crouch all the time, unless you are making up ground.
- Hide behind trees, tree roots and rocks whenever possible.
- If you lose Oaki - who blends into the forest surprisingly well - then slowly move forward in the direction you last saw them, and look out for speech bubbles.
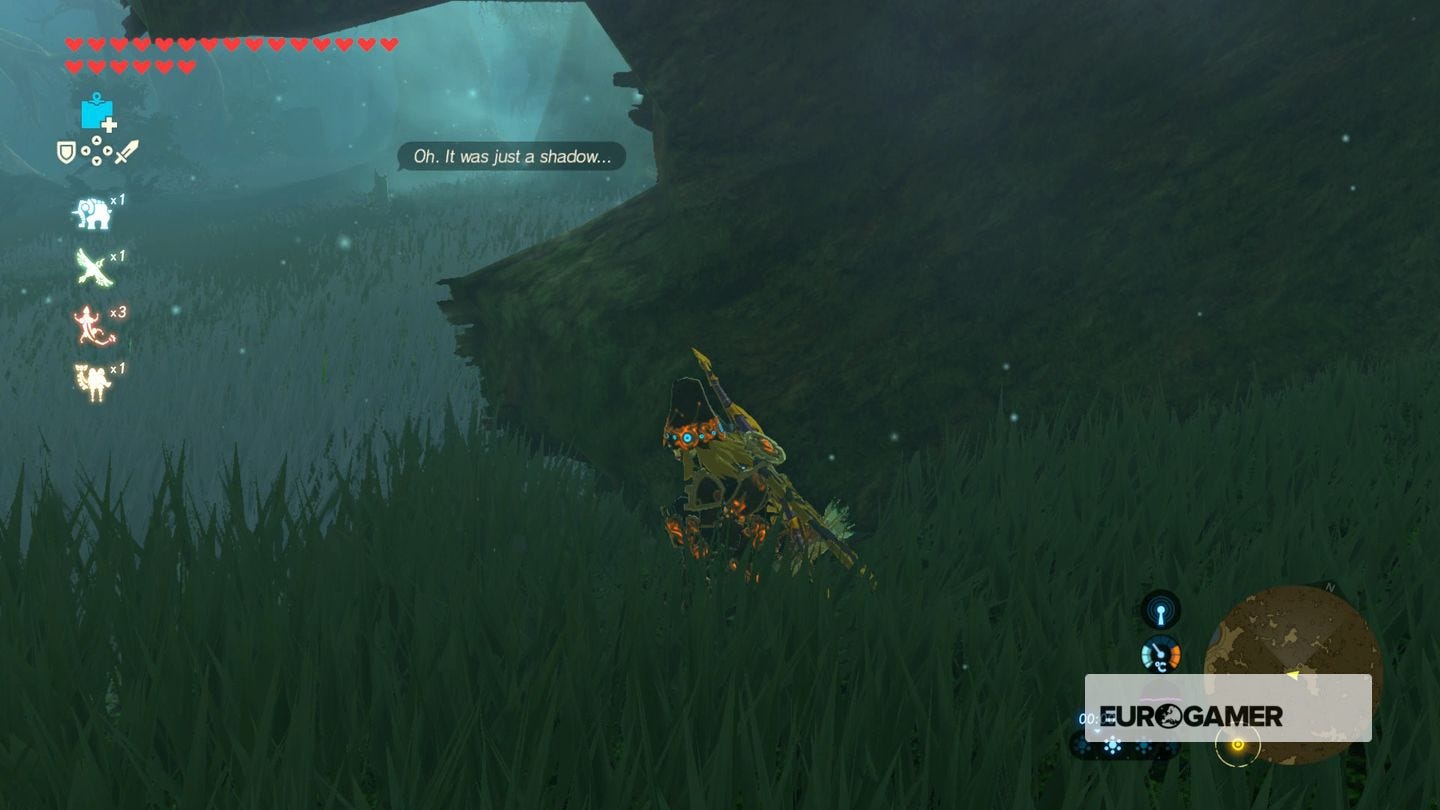
- Oaki will occasionally 'see' things - these are scripted moments, so don't panic and think you are spotted. Just stay hidden and wait it out.
That's some general advice, otherwise here are specific moments to look out for:
- After saying 'I'm OK' after the first corner, a sprint will follow. It's surprisingly easy to lose track at this early stage, so don't be afraid to stand up and walk (not sprint) after.
- Oaki will stop at a beehive on the right momentarily, so don't walk onward.
- After the beehive, branches will drop and Oaki will be spooked.
About halfway, Oaki will enter a hollowed out tree trunk. Stay outside while travelling through, and when exited, follow to the end but stay inside, pointing the camera to look out. Oaki soon get spooked and run back towards (but not into) the trunk, so staying put inside and out of sight is important.

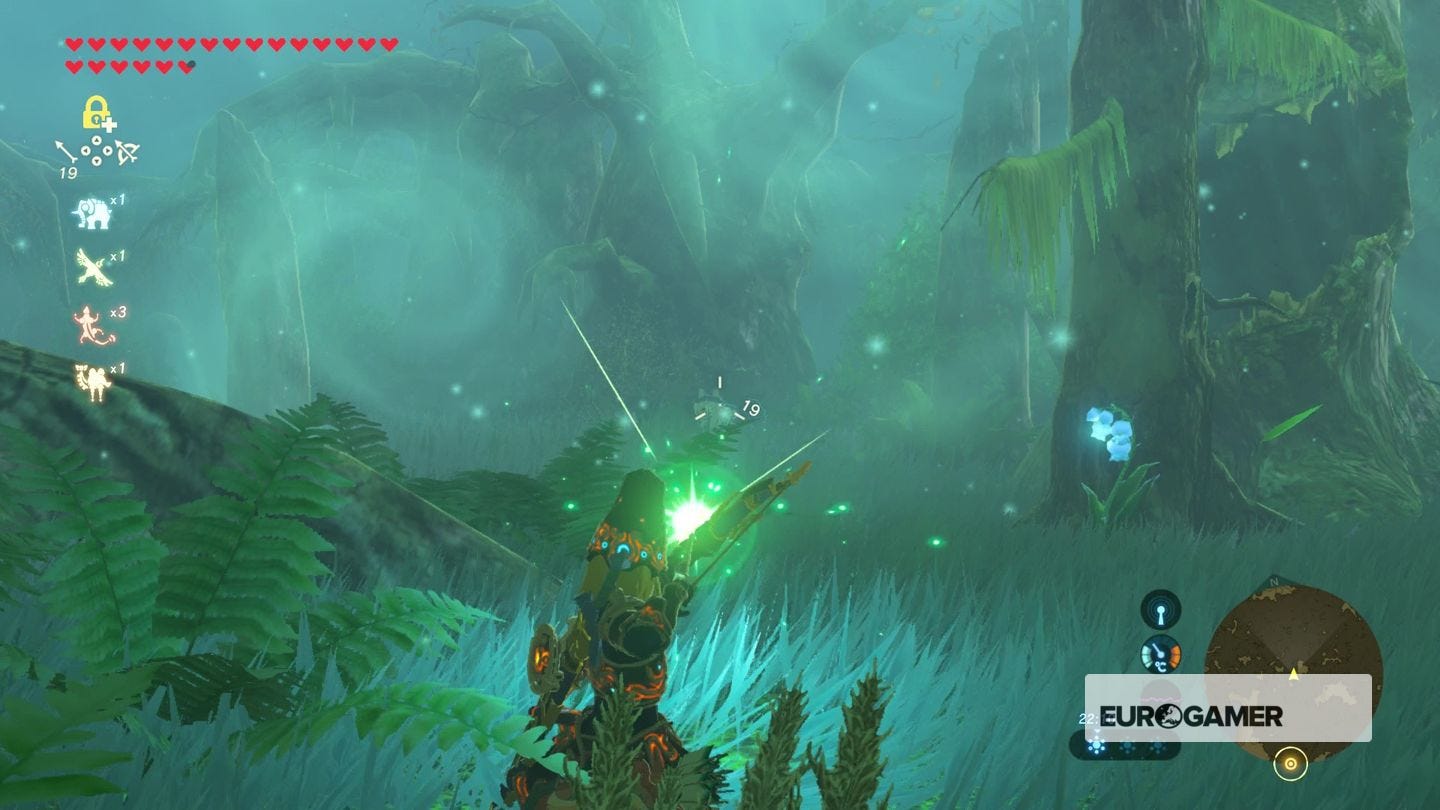
After a short bout of confidence and a sprint following the trunk, is a clearing with a wolf. This is the most difficult part, as the wolf can make Oaki immobile, but standing to fight will giveaway your presence.
The best way to do it is, while keeping a fair distance, is to fire an arrow at the wolf to take it down. If it has started moving, hide behind a tree and fire as not to show yourself.
Some players have reported the wolf disappearing if you kill it but get spotted, so it might be worth trying that if you are having difficulty.
Thanks to a new update, it's now possible to play Zelda Breath of the Wild in VR. Want help with the main game? Our Zelda: Breath of the Wild walkthrough can help complete Divine Beasts Vah Ruta, Vah Rudiana, Vah Medoh and Vah Naboris and more. There's also how to get the Master Sword, Hylian Shield and all Zelda Captured Memories and Great Fairy Fountain locations, while our Shrines locations and Shrine maps hub explains where to find and solve every puzzle room, including dragon locations and Labyrinth solutions. We also have a DLC 1 guide and DLC 2 guide, including all Tingle, Majora's Mask, Phantom, Midna outfit locations.

After that, Oaki will move more or less onwards, revealing the welcome glow of the shrine in the distance. Do not rush ahead, though - keep your distance, and let Oaki run up and declare finding the shrine before you approach, otherwise you risk losing the quest.
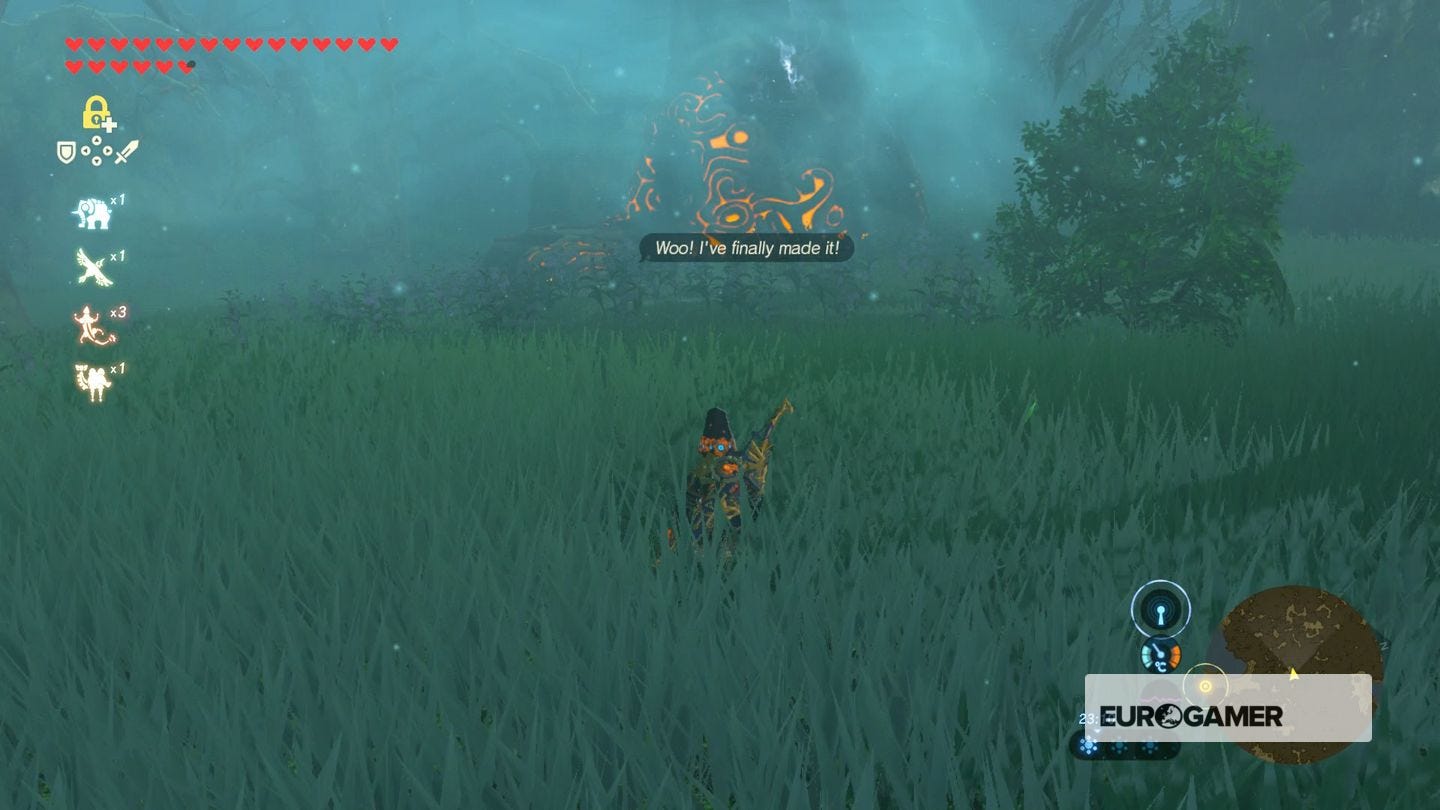
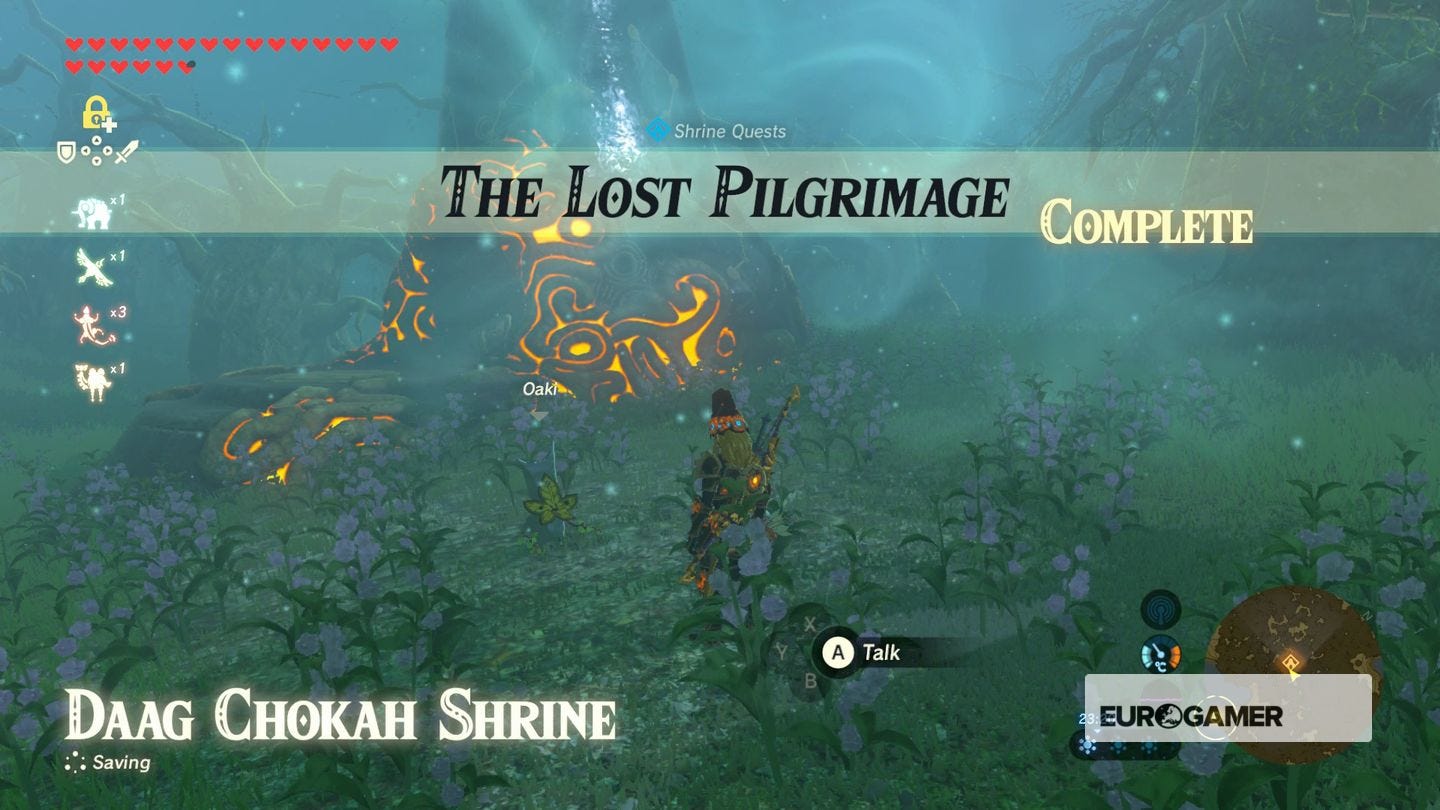
Let Oaki jump on the spot and say !I finally made it!", then approach for a cutscene to play, and the 'quest complete' screen to appear. You can now safely enter.
The Shrine is just a chest, thankfully - one with a Ancient Core.
Don't forgot to complete the other Trials, Kuhn Sidajj, and Maag Halan. Doing all three will give you some Hearty Truffles as a sidequest reward.
While you're here, here are other Shrines within this region:
Woodlands region (8 Shrines)
- Daag Chokah and The Lost Pilgrimage solution
- Keo Ruug Shrine and Fateful Stars trial solution
- Ketoh Wawai and Thyphlo Ruins solution
- Kuhn Sidajj and Trial of Second Sight solution
- Maag Halan and The Trial of Wood solution
- Mirro Shaz Shrine and Tempered Power trial solution
- Monya Toma and Drawing Parabolas solution
- Rona Kachta and the Forgotten Temple solution
If you're after other trials, then our Zelda: Breath of the Wild Shrine locations and maps hub page can help with other regions.