Zelda - Toto Sah and Toto Sah Apparatus trial solution in Breath of the Wild
How to beat the Duelling Peaks challenge.
Toto Sah is one of the many Shrines located throughout Zelda: Breath of the Wild. The challenge inside, named the Toto Sah Apparatus trial, is a puzzle that has you use your controller's motion sensor to rotate terrain in order to advance. Get it right, and you can walk out a success.
If you need help finding and solving other Shrines, our Shrine location maps page can help, while our Zelda: Breath of the Wild walkthrough and guide covers other aspects of the game.
Where to find Toto Sah
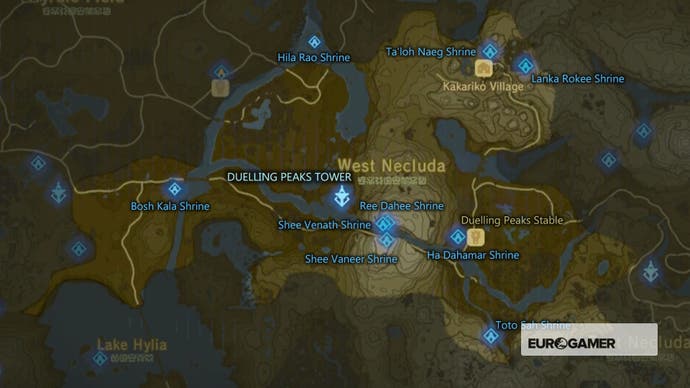
The Toto Sah shrine is located within the Dueling Peaks region, specifically to the south east of the Dueling Peaks along the southern border of the region, near the end of a river. To get there, head due south from Dueling Peaks stables, or glide south east of the top of a Dueling Peak to cover plenty of ground.
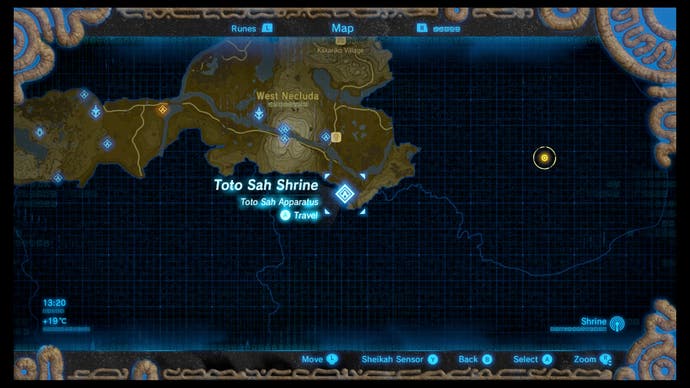
The Shrine is actually located behind a destructable pile of rocks in a cliff face, on the western side of the river.

To enter, you'll need to destroy the rocks with a bomb, which is best done by gliding down onto a rock just upstream of the entrance in the river, and dropping a bomb into the current so that it floats down to the door, when you can remote detonate it.
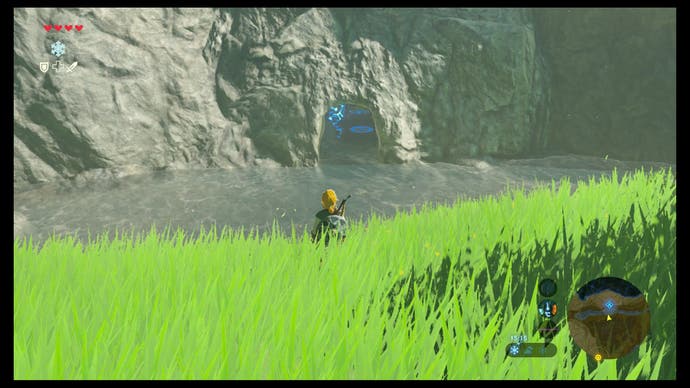
Toto Sah and Toto Sah Apparatus trial solution
Inside, you'll soon come to see a kind of terminal, which will prompt you to use motion controls (this means switching to the Wii U gamepad from a Pro controller if on Wii U) to rotate the terrain in front of you.
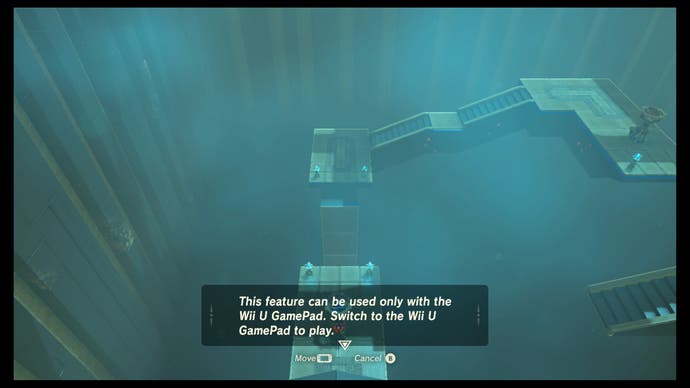
For the first bit of terrain, flip it over until you see a side with a chest on it facing up, which you can open for a shield, before crossing.
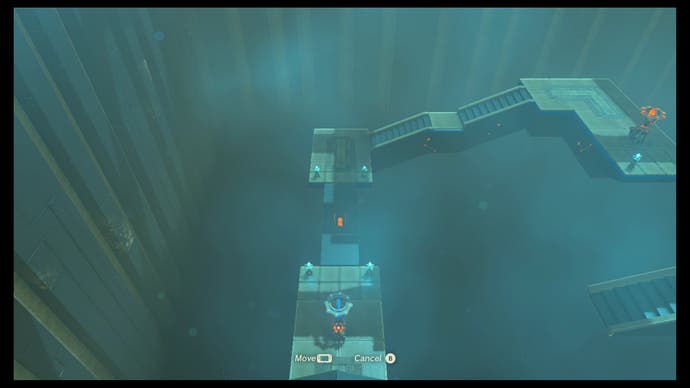
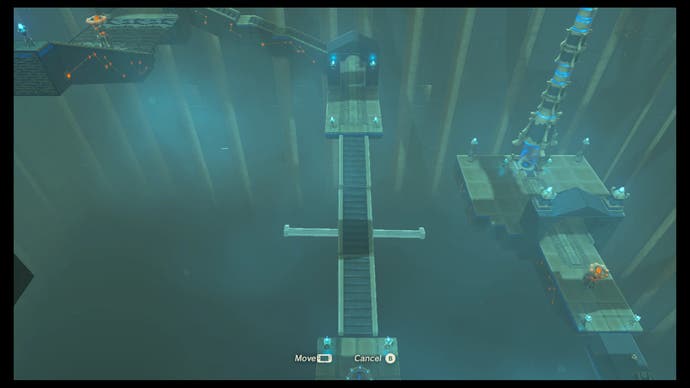
The next puzzle involves turning three sections of steps towards you - but you'll need to tilt them too, in order to slide the middle section of steps along it's frame until they line up.
Thanks to a new update, it's now possible to play Zelda Breath of the Wild in VR. Want help with the main game? Our Zelda: Breath of the Wild walkthrough can help complete Divine Beasts Vah Ruta, Vah Rudiana, Vah Medoh and Vah Naboris and more. There's also how to get the Master Sword, Hylian Shield and all Zelda Captured Memories and Great Fairy Fountain locations, while our Shrines locations and Shrine maps hub explains where to find and solve every puzzle room, including dragon locations and Labyrinth solutions. We also have a DLC 1 guide and DLC 2 guide, including all Tingle, Majora's Mask, Phantom, Midna outfit locations.
Finally, the trickiest terrain houses another chest. Keep turning it until you see the chest, and can line up the diagonal side of the terrain with the platform you're standing on.
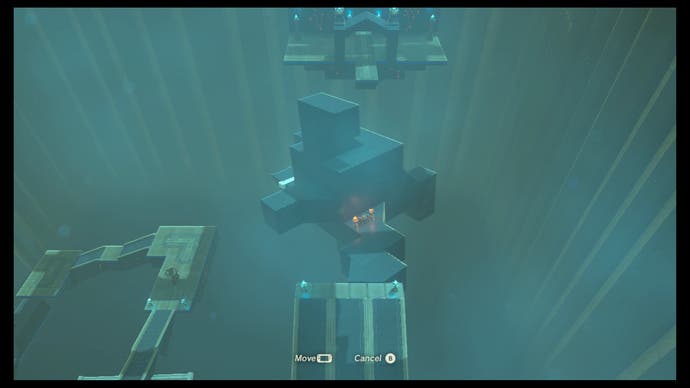
Open the chest and claim the reward, before coming back off the object to the terminal. This time, you need to rotate it until the set of steps on a slider are on the far side of the object to you.
Then, it's a simple case of lining up each end - making sure to note they line up with your platform vertically as well as horizontally, so you can climb on and off the ends..

With that done, proceed over the object to the other side and claim your prize before leaving the dungeon.
While you're here, here are other Shrines within this region:
Dueling Peaks region (9 Shrines)
- Bosh Kala Shrine and The Wind Guides You trial solution
- Ha Dahamar Shrine and The Water Guides trial solution
- Hila Rao Shrine and Drifting trial solution
- Lakna Rokee Shrine location, Stolen Heirloom Shrine Quest, Flown the Coop
- Ree Dahee Shrine and Timing is Critical trial solution
- Shee Vaneer Shrine, Shee Venath shrine, and Twin Memories trial solution
- Ta'loh Naeg Shrine and Ta'loh Naeg's Teaching trial solution
- Toto Sah Shrine and Toto Sah Apparatus trial solution
If you're after other trials, then our Zelda: Breath of the Wild Shrine locations and maps hub page can help with other regions.


