Zelda - Sato Koda, Support and Guidance solution in Breath of the Wild DLC 2
How to complete DLC 2 trial Sato Koda.
Sato Koda and Support and Guidance is a challenge as part of The Champions' Ballad, which is the main quest in Zelda: Breath of the Wild's second DLC.
It is part of EX Champion Mipha's Song, which you'll tackle halfway through the DLC.
If you're after help for the main game itself, then consult our Zelda: Breath of the Wild walkthrough and guide.
Where to find Sato Koda
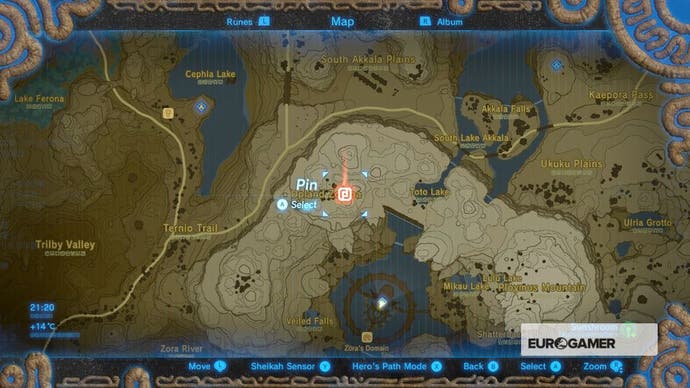
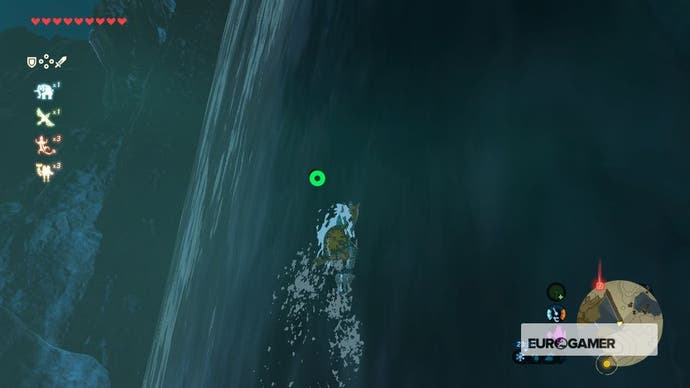
The second trial is located in Upland Zorana, just north of the Zora Kingdom. The fastest way to reach it is warp to the Ne'ez Wohma Shrine, change into your Zora Armor and Zora Greaves and ride the two consecutive waterfalls to the north of the palace.
Glide up and you should see a Guardian Skywatcher floating in the distance. These are your trial.
You'll need to defeat four Guardians in total - three patrolling Skywatchers and one Turret in the middle. Ancient Arrows are the best offensive weapon as they destroy one of the Skywatcher's turbines in one hit and can inflict huge damage on its normally repellent body. If you don't have any, all is not lost.
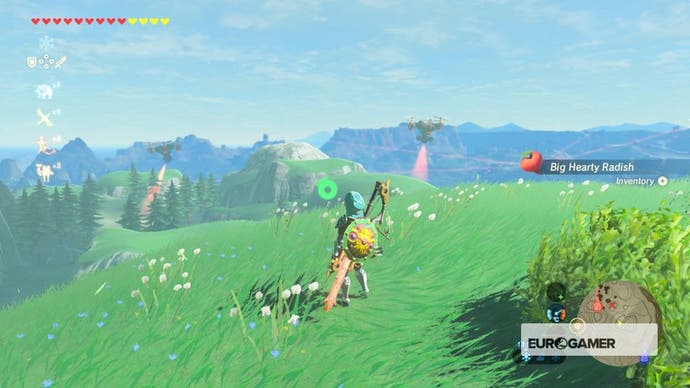
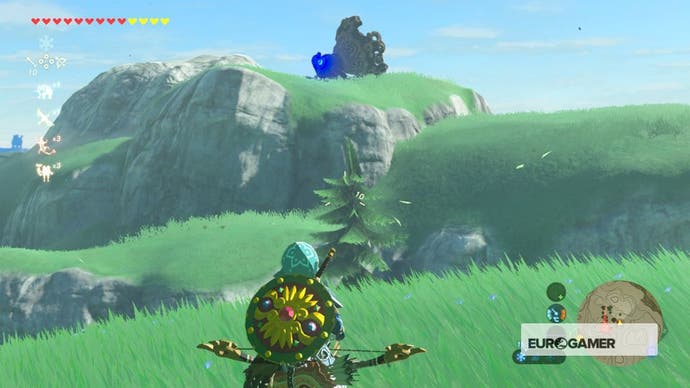
Stock up on Bomb Arrows and Shock Arrows (we took 40 Bomb Arrows and 20 Shock Arrows and got through all of them). Each of the three Skywatchers follows the same circular pattern, with two of them stopping briefly at one point in that cycle.
The nearest will stop where you first enter this rocky area, so take note then deal with the Lizalfos nearby. One has explosive arrows and will massacre your health if you don't deal with him first.
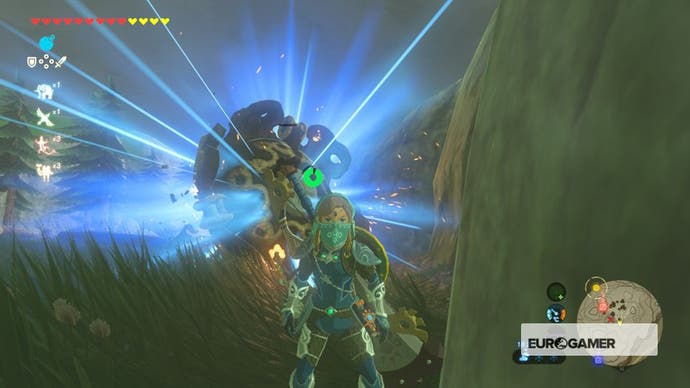
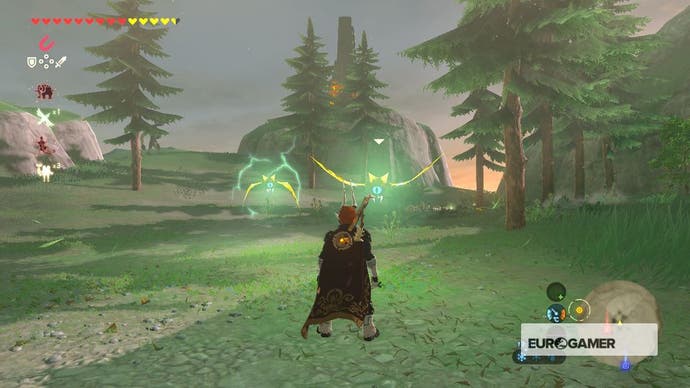
When the Lizalfos are no more, wait for the Skywatcher to stop, then hit its turbines with Ancient Arrows/Bomb Arrows.
It will take around three Bomb Arrows per turbine to destroy it. You can use Perfect Guard to inflict damage but a) getting the angle right can be tricky and b) it only takes off a small chunk of health.
It's slower but more effective to destroy each of the three turbines then run in and melee it to death when it falls helplessly to the floor.
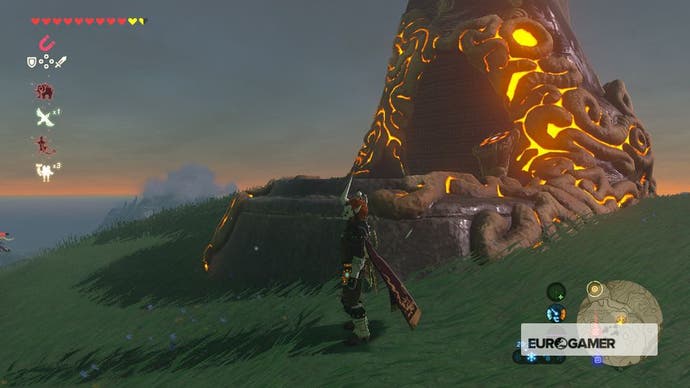
Now deal with the central Turret. Your Perfect Guard will serve you well here as three hits will destroy it outright. Don't worry if you haven't mastered the timing yet - as long as you pull off a half decent parry your Daruk's Protection will kick in and protect you.
Three of those and the Turret is done. Deal with the Lizalfos and the Moblin near the second Skywatcher and repeat the same process used with the first. For the third one, you'll notice it moves much faster in its circle and never slows down.
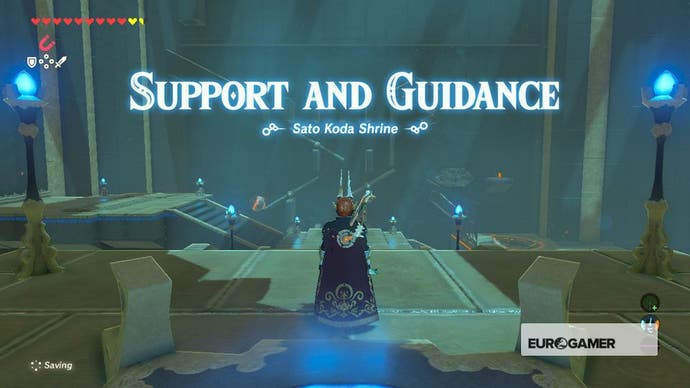
Stand on the small hall to the right of the Skywatcher (when facing it from the direction you've just been fighting). Hit it with a Shock Arrow to briefly stun it, then use your Bomb Arrows on the turbines. You can use the cliff face to your right as cover when it targets you. When its defeated, the shrine will rise on the far hill.
Sato Koda and Support And Guidance solution
Thanks to a new update, it's now possible to play Zelda Breath of the Wild in VR. Want help with the main game? Our Zelda: Breath of the Wild walkthrough can help complete Divine Beasts Vah Ruta, Vah Rudiana, Vah Medoh and Vah Naboris and more. There's also how to get the Master Sword, Hylian Shield and all Zelda Captured Memories and Great Fairy Fountain locations, while our Shrines locations and Shrine maps hub explains where to find and solve every puzzle room, including dragon locations and Labyrinth solutions. We also have a DLC 1 guide and DLC 2 guide, including all Tingle, Majora's Mask, Phantom, Midna outfit locations.
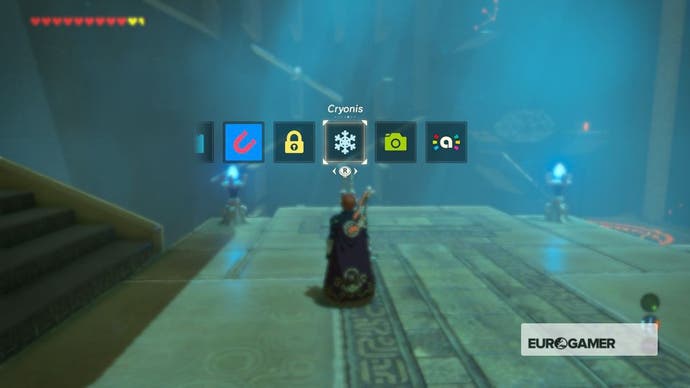
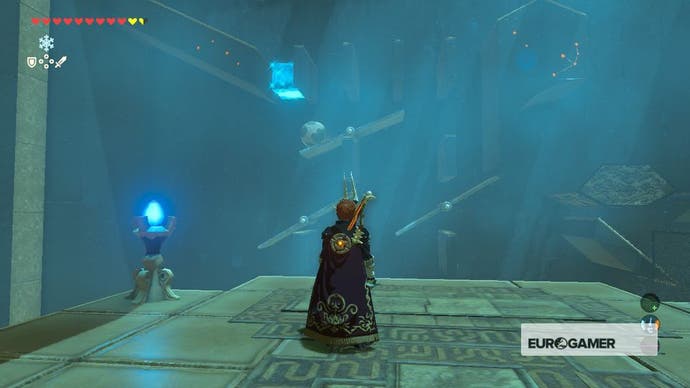
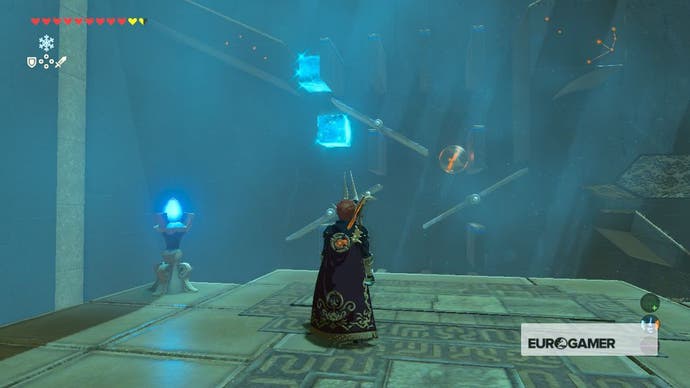
The shrine - Support And Guidance - is all about guiding a ball down a pinball style system so it'll eventually open the door to the Monk. Break out your Cryonis ability, then place an ice block in the first slot of the top row. Now place a second one underneath the left-hand seesaw (so it's now sloping down to the right).
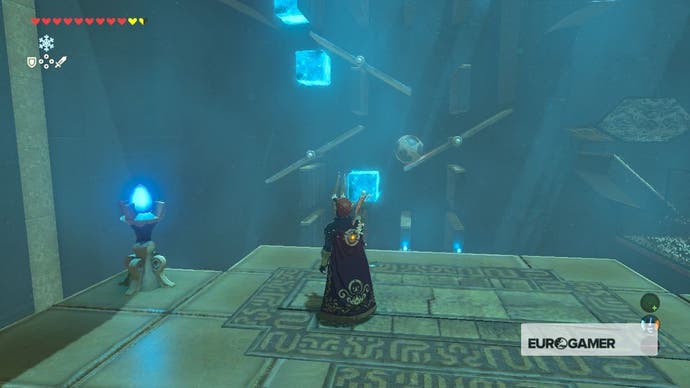


Now place a third block above the left-hand slot on the bottom row. Wait for the ball to roll over the first block, shatter it, then quickly place a new one inside the bottom middle slot.
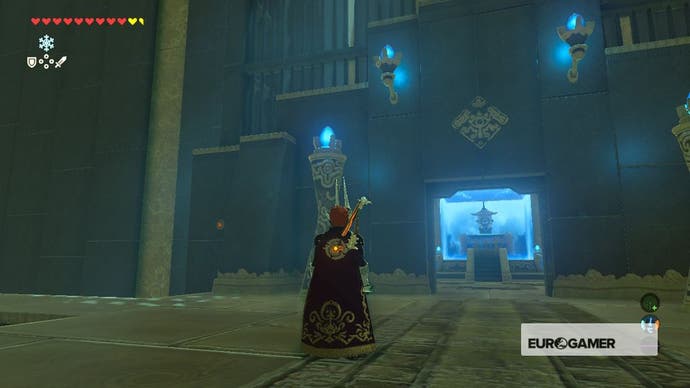
The ball should, in theory, roll into the right-hand slot then make its way over to the crater. The Monk's prison should then open to your right. Speak to it to get your next emblem.
Other shrines to complete for EX Champion Mipha's Song are:
- Zelda - Kee Dafunia, The Melting Point
- Zelda - Mah Eliya, Secret Stairway
- Zelda Illusory Realm boss Waterblight Ganon
If you have completed the above as well as all other EX Champion Song shrines and their bosses, then you can progress to The Divine Trial, the final dungeon in DLC 2.


