The Witcher 3 - Wandering in the Dark quest: How deal with the Golem, Gargoyle, Eye of Nehaleni, White Frost
How to kill the Foglets, Drowners, Gargoyles and Guardians in Wandering in the Dark. We'll also help you find and kill the Wild Hunt Warrior.
Wandering in the Dark is a mission in The Witcher 3.
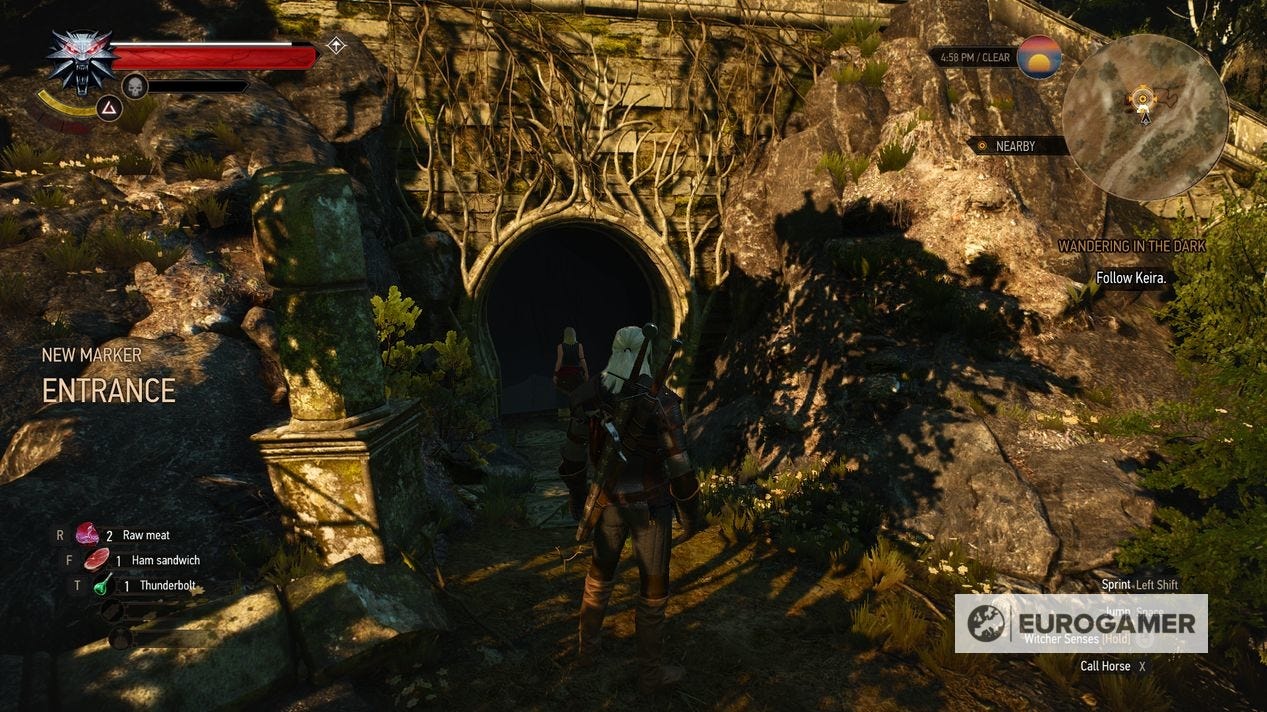
When your chat with Keira the witch in Hunting a Witch is over, you find yourself back outside, near a small cave opening - the last known whereabouts of Keira's elf friend.
Before entering the tunnel, look for the broken stone steps a little off to the right. Climb up to locate a chest containing the Vicovaro blade, a weapon repair kit and a few other items.
With your pockets a little heavier, return to Keira and follow her down into the darkness. Once the cut-scene ends, pass through the portal at the bottom of the steps.
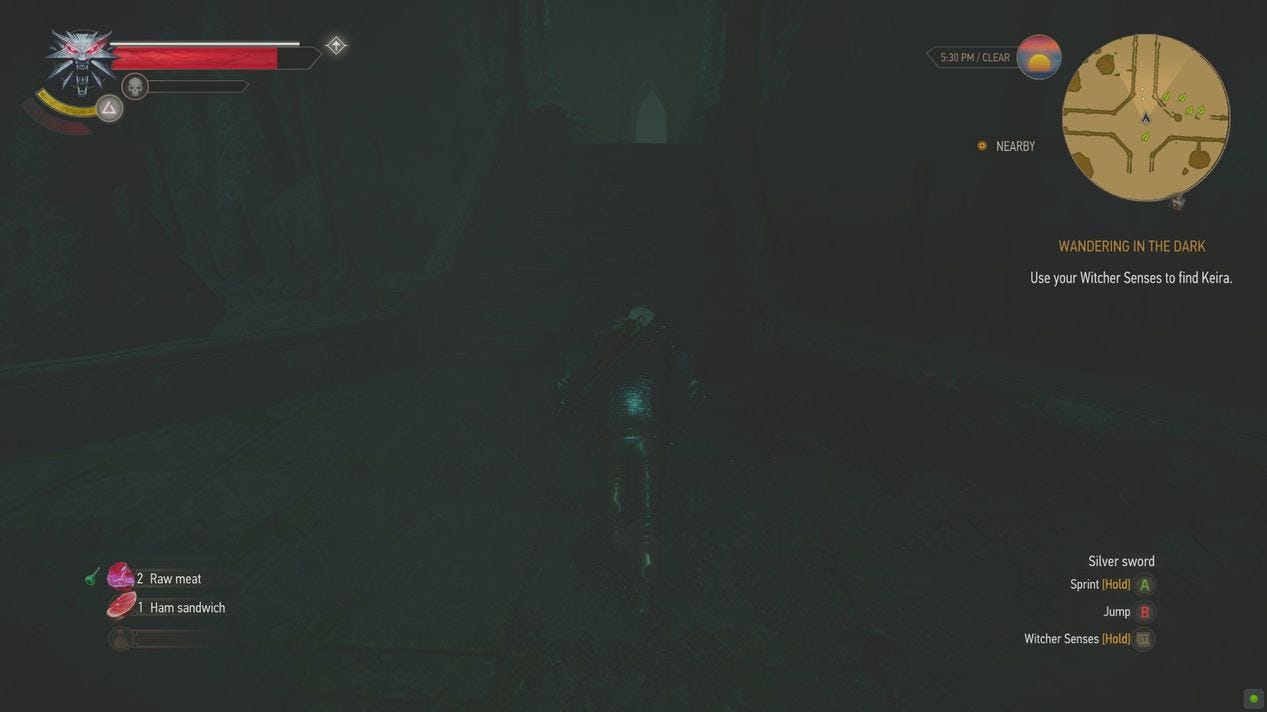
Wandering in the Dark
Use your Witcher Senses to find Keira
Sadly, things don't go quite as planned and you materialise in an unknown location. Before heading further into the cave, turn around and swipe the Axeman's boots from the chest behind you. When you're ready, hack your way through the three hostile Drowners that scurry about near the water's edge, deeper into the cavern. Your mobility is limited while submerged, so it's best to lure then out onto dry land before taking them on - although you can use your crossbow underwater if you're really in a pinch.
When the Drowners are dead, wade into the water and dive beneath the surface. Swim forwards and loot the chest to the left where the path momentarily divides. Continue onward and resurface at the end of the passage. Back on dry land, the path stretches away to the south-east and south-west. The route to the south-east leads to a broken platform and a perilous walk through Drowner-infested waters. The latter route is safer but blocked a little way on. To clear the obstruction, fire a telekinetic blast of your Aard spell at the cracked wall.
Kill the Foglets, Drowners and rats
Once you pass through the newly-created opening, keep your eyes peeled for the Foglet hiding in the tunnels. This creature can conceal itself in the mist it creates, sneaking up behind you to attack. Thankfully it's not too tough to defeat when it's revealed, so lure it out of the fog and land a few blows to finish it off. When it's dead, continue along the tunnels beyond the shattered wall, winding around until you reach another blocked passage further ahead. Note that you can light the small, knee-high braziers to illuminate your path if you're struggling to see.
Exit through the newly-opened doorway and move into the large chamber. You should recognise it as the room in which Keira cast the portal spell a little earlier on. Run through the poison clouds directly ahead, then clamber up the steps to reach the portal and platform once more. Deal with any Drowners that run in to attack.
Next, make your way down the steps directly opposite the ones you just climbed, following the objective marker to the south-east. At the bottom you can either continue directly ahead, climb the steps to the right or drop into the Drowner-infested waters to your left. The route ahead and to the right both lead toward Keira, but you'll need to take down two Foglets if you choose the former. On the plus side, you'll also find a couple of juicy gathering spots in that direction too. Follow the path of your choice until you rejoin your companion.
Destroy the rats nest with Signs or bombs
With Keira located, look around the chamber until you spot the two smoking mounds lying either side of the pit. As instructed, use either bombs or one of your destructive spells to obliterate them. Rats continuously attempt to hinder your progress, so treat them to a few swipes of your sword if they get too close. With the nests destroyed, tell Keira that you're curious to know what the Wild Hunt is doing here, then get ready to proceed with your friend still in tow.
Explore the elven ruins and look for information about the mage
Head up the incline to the south-west and pass through the archway into the next chamber. Your elven friend makes a surprise appearance as you near the end of the room, so finish talking to Keira, then push onward into the next chamber, following the objective marker.
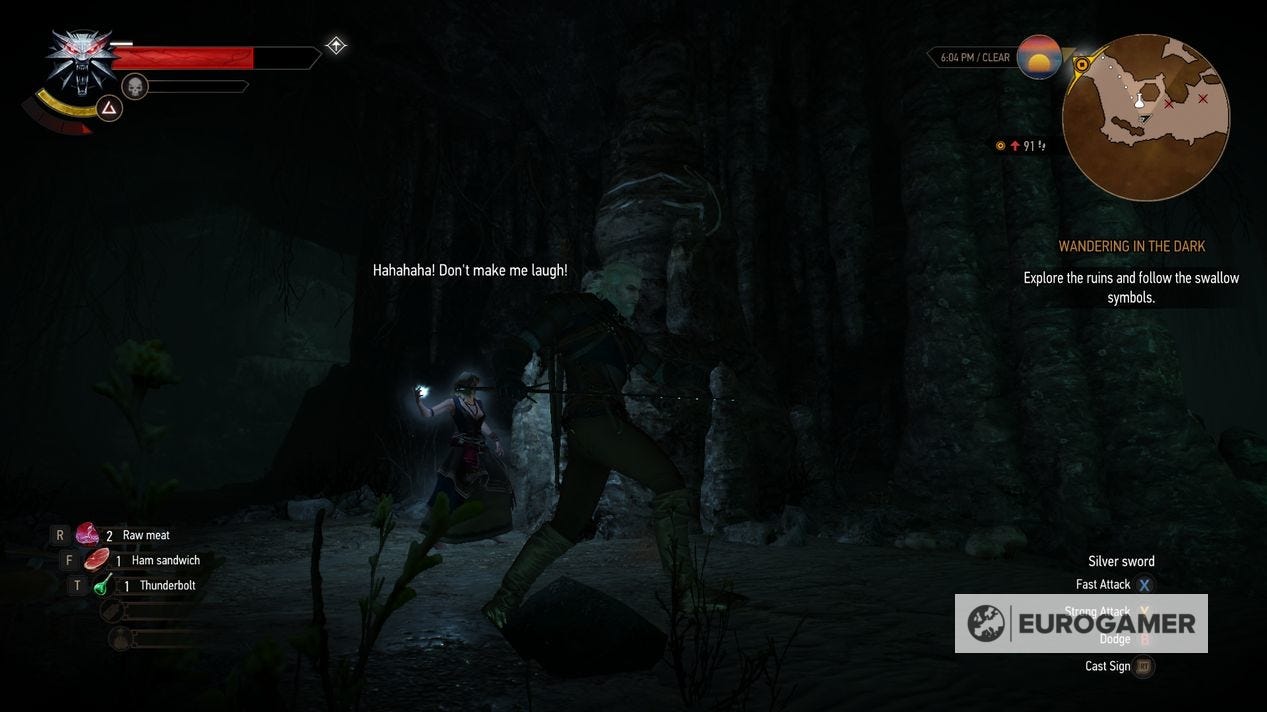
Explore the ruins and follow the swallow symbols
As you move down the steps in the next room, look out for the poisonous yellow fog spewing from the ground. Unsurprisingly, you should avoid it where possible. You also need to keep an eye out for the Wraiths patrolling the area. These feisty creatures are able to de-materialise midway through battle, re-appearing behind you to land a devastating blow. Stay vigilant and deal with them swiftly.
Once you reach the water, a number of paths are available to you. Directly ahead to the south lies a long passage with a goodie-stuffed chest at the end. A second chest (containing a manuscript, among other things) lies at the end of a long tunnel to the south-east, but you'll need to navigate an underwater passage to reach it.
Once you've had your fill of treasure-hunting, take the third and final passage from the water's edge, leading north-west. Continue along it, heading towards the objective marker, and clamber up the stone ledges once you reach them. Soon you'll arrive at a chamber with a large pit in the ground and another projection illuminating the far wall.
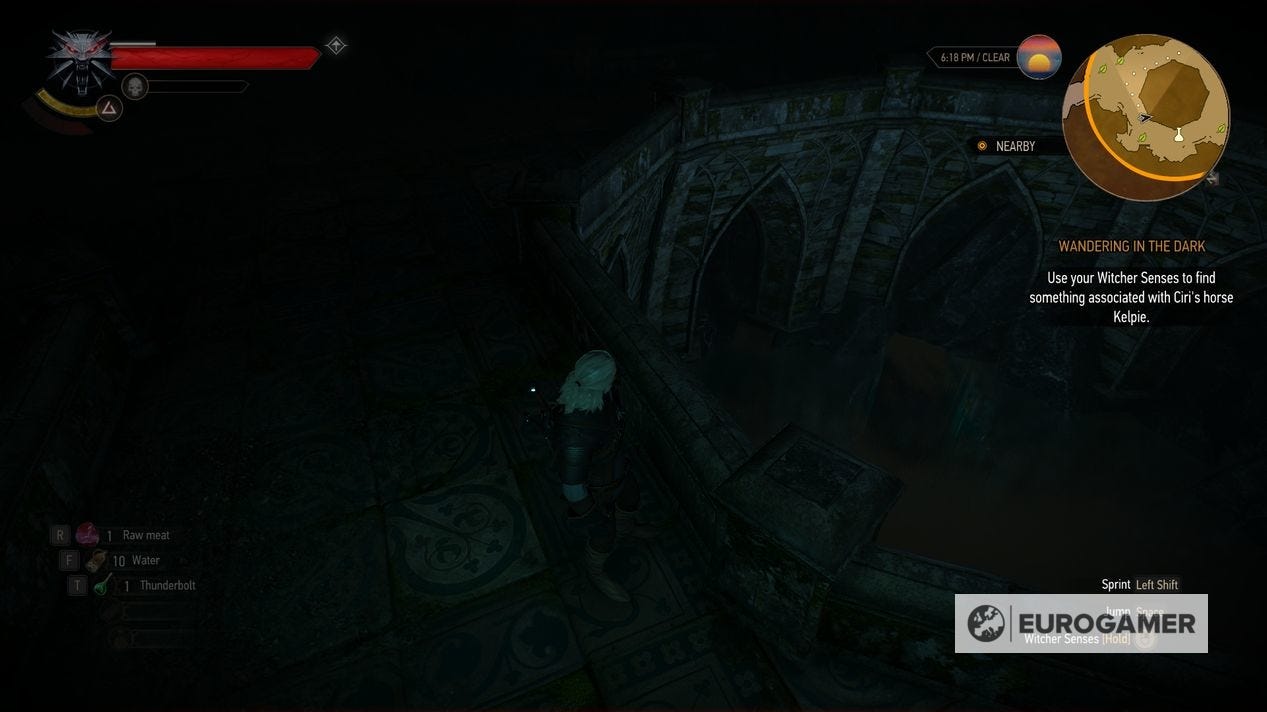
Search the chamber using your Witcher Senses
Approach the projection at the end of the room to learn a little about Ciri's favourite horse, then prepare to explore the chamber more thoroughly.
Locate the horse symbol
Use your Witcher Senses to find something associated with Ciri's horse Kelpie
Activate your Witcher Senses and you'll spot various animal shapes carved into stone around the room. There's a bird etched into rock close to your current position, for instance - but you're looking for something more horse-like.
Be careful here: if you examine the wrong animal symbol, it will explode, causing damage. Locate Keira (she's crouched down by the central pit) then head on over. Activate your senses again and look down into the pit - you should spot another animal symbol beneath one of the arches below.
Hop over the low wall into the water and examine the shape of the bucking horse. To leave this area, dive beneath the surface and locate the submerged passage to the west. Swim along it, then resurface at the end, climbing the steps ahead. There's another bucking horse symbol on the wall at the top of the steps - examine it to progress the quest.
Rejoin Keira
When Keira calls, head along the nearby passage and drop off the ledge at the end, landing back in the chamber with the large central pit. As you touch down, the door near Keira slides open - so make your way over and move on through.
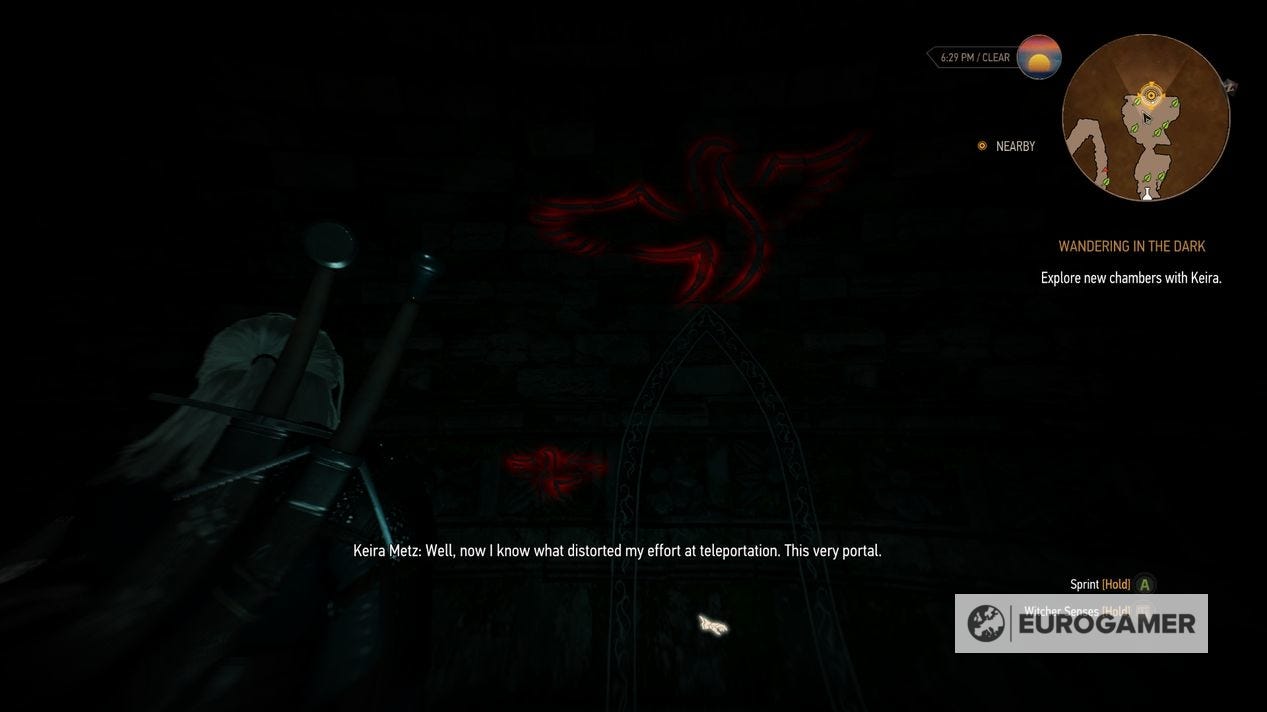
Explore new chambers with Keira
Continue along the corridor until you reach the chalk archway etched on the wall. To activate this portal, use your Witcher Senses and examine the small bird symbol on the wall next to it. Once the portal bursts to life, step on in.
Examine the next room using your Witcher Sense
When you emerge on the other side, you need to do some more hunting for clues. Pass through the archway ahead and scale the stone steps. As you emerge in the next large room, a large golem makes its presence known. You'll need to bring it down in order to proceed.
How to kill the Golem and the Gargoyle
Fight the Guardian
Before engaging the creature, make sure that you've equipped your strongest armour and have plenty of restorative items to hand. You should call up your Quen shield spell too.
Thankfully, although the golem can pack a punch, its moves are limited. While in close quarters, it will either lash out with its hand or do a devastating ground pound. If you maintain your distance, however, it will attempt to charge at you, running forwards until it crashes into a wall.
The creature's ground-pound move can easily catch you off-guard, so stay vigilant and cast Quen repeatedly for added protection. It's easiest to inflict damage on the golem from the rear; either dodge around to its back and take a few swings at it or, preferably, let Keira distract your opponent and go in for the kill while its attention is elsewhere. Once the golem is dead, loot its body and prepare to push deeper into the mysterious dungeon.
Continue exploring the ruins and follow the swallow symbols
Look for the wooden platform to the west of the chamber and clamber on up to proceed. Head through the nearby archway and continue along the passage beyond. Once you reach the next room you've a choice of two exits - to the left and directly ahead. Make a note of the room, then push forwards, looting the part-buried chest at the very end of the passage to receive the Elementa oil manuscript page, the Hunter's boots diagram and a few more assorted goodies. There's another archway immediately to the left, so pass into the next chamber.
Once through the archway, the door behind you slams shut, sealing you in with a new enemy - the powerful gargoyle. Like the golem, this creature can pack quite a punch, so cast your Quen sign for some added protection during the encounter and stay on your toes.
The gargoyle's arm swipes and ground-pound-like foot stomp can do some serious damage when you're fighting in close quarters, and can be tricky to avoid in the tight confines of the room. Your best tactic here is to keep your distance (dodging the gargoyle's intermittent vomit spew and rock toss projectile attacks), then run into strike from behind while his attention is on Keira.
Once the gargoyle is defeated, loot his body and pilfer the chest in the southern part of the chamber. Finally, return to the room you noted earlier and follow the path to the east. When you reach the dead end, look for the chalk archway on the wall and examine the bird symbol next to it. This activates the portal, enabling you to step on through.
Follow the Wild Hunt's warriors
Now safely deposited on the other side of the bridge, proceed up the nearby steps and look for the small chest to your left at the top. You can also loot the large stone statue flanked by frozen creatures for more magical armour. Continue forwards and climb the next set of steps, heading in the direction of the objective marker. There's another chest, just to the left this time, containing more useful items.
When you're ready, climb the third set of steps and pass along the corridor. Once you close in on the Wild Hunt, the party's mage casts a spell summoning the deadly White Frost - which you'll need to counter in order to proceed.
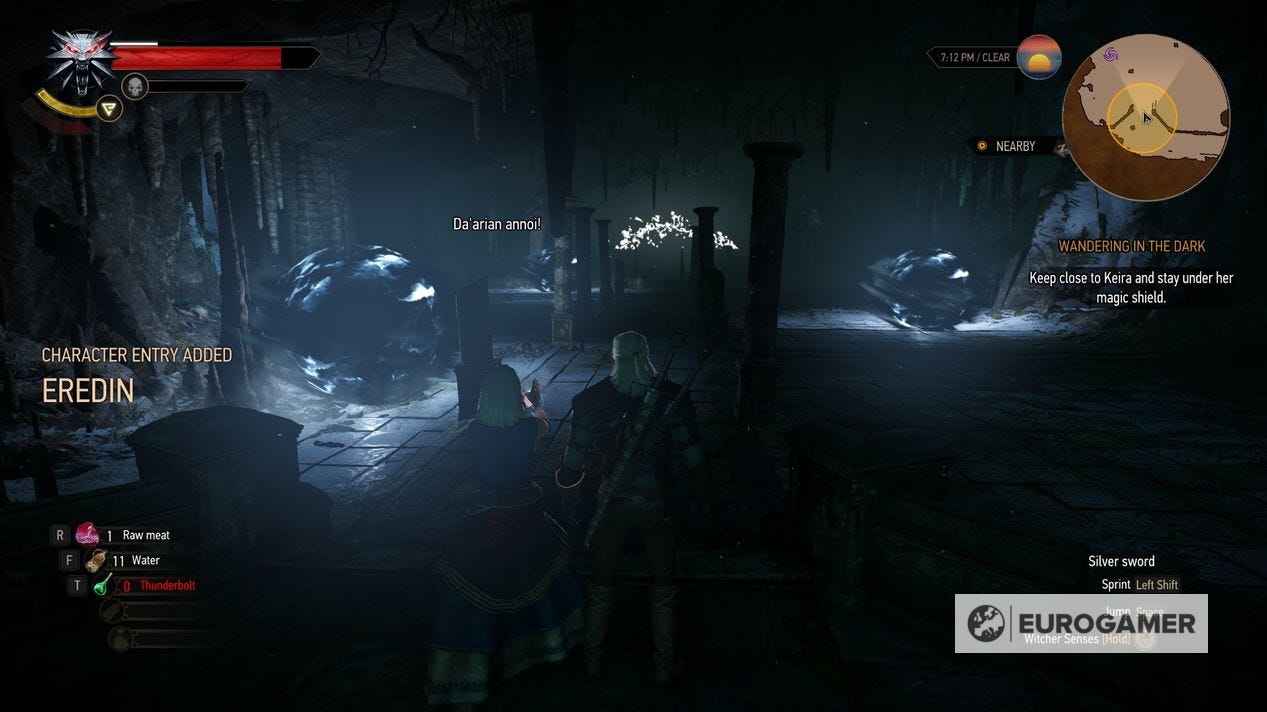
Keep close to Keira and stay under her magical shield
As soon as Keira casts her protective shield spell, she begins moving forward across the room. Stick close to her, remaining in the centre of her magical dome, to avoid the devastating effects of the White Frost outside.
Kill the creatures emerging from the rift
Keira pauses once she nears the spherical rifts dotted around the chamber. When this happens, you need to take out the enemy hounds that home in on your position, ensuring that you remain within the confines of Keira's protective spell. This can be tricky as the attacking hounds will attempt to knock you backward, while your dramatic sword combos have a tendency to send you flying forwards. The White Frost outside the sphere can take its toll quickly, so keep your sword combos short and under control to avoid exposing yourself to its ravages.You can also use Quen for some added protection against the enemy hordes.
Once the first wave of enemies is defeated, Keira closes the rift and begins walking again, moving toward the second rift. Stick close to Keira then take down the next wave of hounds as you reach your destination. Repeat the process one more time to close the third rift and, finally, victory will be yours. When Keira collapses in your arms, suggest that fainting might be a bad idea and ready yourself for the next leg of your journey.
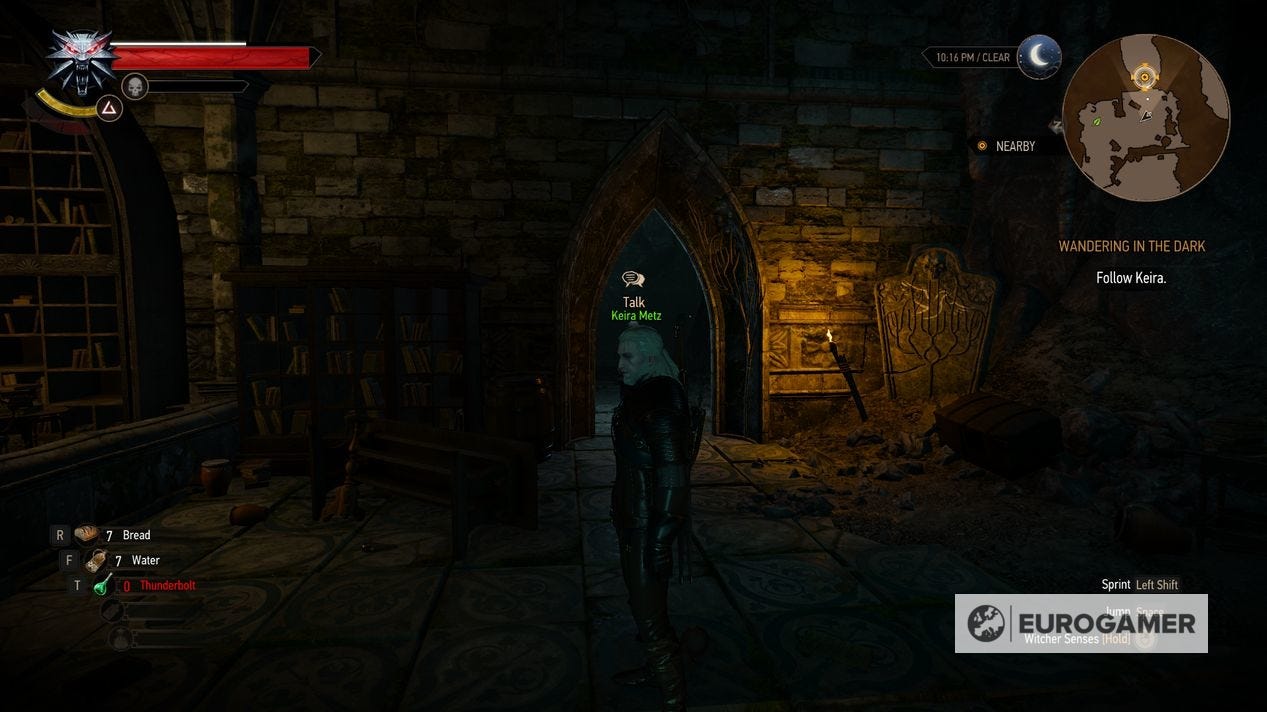
Follow Keira
As soon as Keira is back on her feet, she climbs the nearby steps and heads to the far end of the room. Explore the area to locate a number of loot-filled chests then rejoin her position.
Chase the Wild Hunt's warriors
When you're ready to proceed, head through the hole in the wall and pass up the stairs on the other side. Continue along the passageway until you reach the first burning torch, then look for the cracked wall to the right of the next flight of steps. Use Aard to clear the way forwards, then pass through the newly-created opening.
On the other side, dash through the poison clouds (or temporarily clear then with a couple of blasts of Igni) and loot the chest behind the knee-high wall. Next, clamber up the ledge to the west and, in the next room, loot the chest and take down the Foglet that attacks. With that done, backtrack to the torchlit area and continue down the steps to the south-east, heading toward the objective marker.
Before you drop off the ledge to begin your next confrontation, make sure that all your restorative items and Thunderbolt potion are close to hand and ensure that you're wearing your best armour - you might have picked up a few juicy pieces without realising it during your time in the dungeon. Once you're ready, hop off the ledge and prepare to take on a Wild Hunt Warrior.
How to finish the fight with the Wild Hunt Warrior
Fight the Wild Hunt Warrior
The first stage of your battle against the Wild Hunt warrior is relatively straightforward. Your opponent's primary attack is its sword swing which, while powerful, is pretty easy to avoid if you're careful. Simply wait until Keira lands a magical attack, causing the creature to stumble, then run in to take a few swings at its rear before it regains its composure. Cast Quen for some added protection in close quarters (and Thunderbolt to increase the power of your attacks), and step out of the scrum to recast the spell whenever your shield is shattered.
Once you've decimated the first part of the warrior's health bar, it crouches down and forms a protective shield around itself - keep away from this during the next stage of the battle as it will cause significant damage if you stray too close. Next, a rift opens in the room and hostile hounds begin to pour out. Immediately take care of them, then turn your attention back to the warrior.
Unfortunately, the warrior's health bar is now fully restored, so you'll need to lay into it all over again. Follow the same tactics as before and keep landing Thunderbolt-charged quick and heavy attacks while the creature is momentarily stunned by Keira's spells. As you near the end of the warrior's health bar, it conjures another shield and rift, summoning more hounds into the world.
Deal with the hounds quickly to prevent the warrior's health from restoring too much. When they're dead, turn your attention back to your primary target and finish it off once and for all.
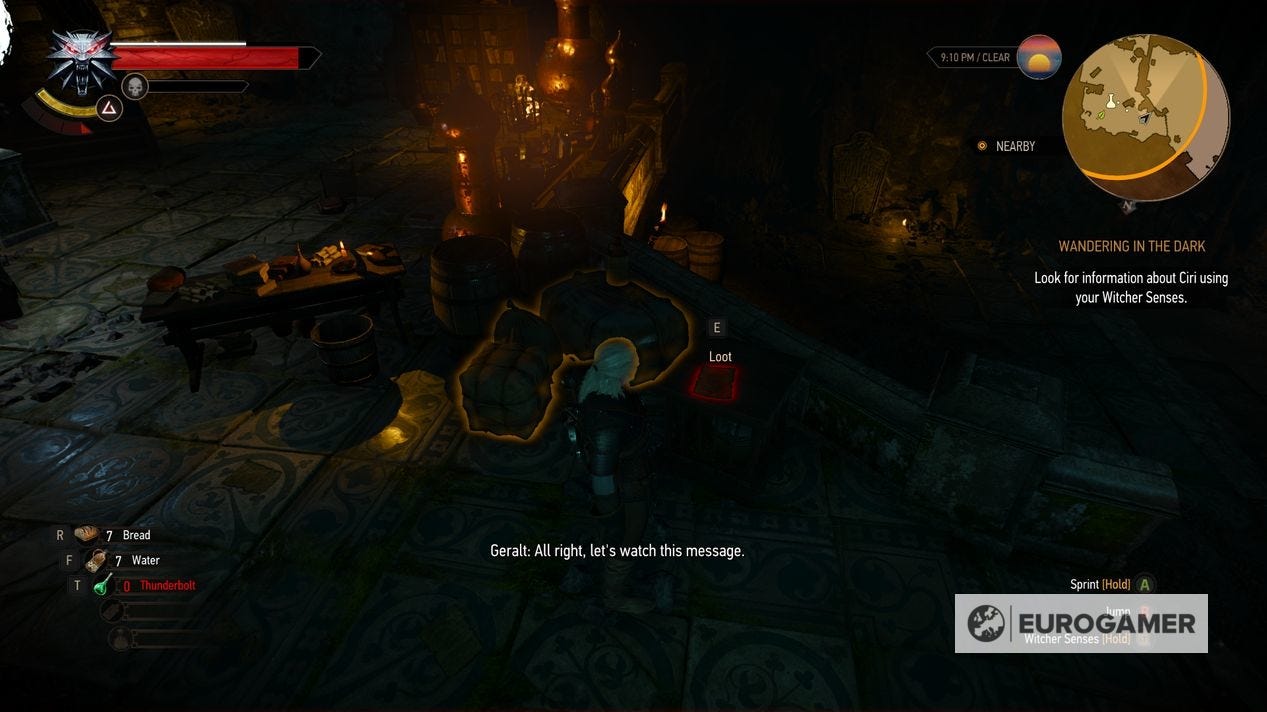
Look for information about Ciri using your Witcher Senses
Loot the warrior's body, then begin exploring your immediate surroundings. There's a goodie-filled chest (containing armour and a handful of crafting recipes, among other things) up the small flight of broken steps near the warrior's corpse and a cracked wall to the south-west of your current location. Make note of it, then head east in the direction of the objective marker, looting the chests near the stone ledge.
Our Witcher 3 walkthrough and guide can help you with the main story, including the Wandering in the Dark and Family Matters missions, and eventually, one of several Witcher 3 endings. There's plenty of side content, too, including Witcher 3 Contracts, White Orchard quests, Velen quests, Novigrad quests and Skellige Isles quests. Elsewhere, learn about the best Witcher 3 builds, the best Witcher 3 mods, how to make money in Witcher 3, find Places of Power locations, and learn how to do Witcher 3 crafting and Witcher 3 Alchemy And when you're done with all those - we can help you through expansions with our Hearts of Stone walkthrough and Blood and Wine walkthrough.
Receiving the Eye of Nehaleni from Keira
When you're ready to continue, climb the ledge and investigate the next projection. Speak to Keira then, when the conversation is over, loot the bookshelves and chests nearby. Next, look for the shimmering archway to the east (it will appear outlined in red when your senses are activated) and examine it to receive the Eye of Nehaleni from Keira.
Use the Eye of Nehaleni to dispel the illusion
Although you're free to dispel the illusion beneath the archway immediately to continue, there's another secret in the room that's well worth investigating. Head south-west to the cracked wall that you noted earlier and break it using your Aard Sign. Head inside and move down the steps. Examine the large, shimmering rock wall that blocks your path and dispel the illusion. Once the route ahead is clear, drop into the water.
Swim forwards and dive beneath the surface to begin exploring the waterlogged corridor. Loot the chests beneath the archway immediately ahead to the west then follow the main passage as it turns south. Once you resurface, pass through the archway into the next room and loot the chest for a handful of goodies, including the impressive Maugrim silver sword. Take down the Foglet that attacks, then return to the chamber where you fought the warrior.
Next, follow the objective marker to the east of the room and use the Eye to dispel the illusion blocking the archway from earlier. Once the path is clear, head forwards and agree to help Keira retrieve the elf's magic lamp when you're presented with the dialogue option. Note that you can leave the dungeon by following the passage to the south if you prefer.
- The next part of our walkthrough explains how to complete The Witcher 3 - Magic Lamp quest.
- Head back to the first page for the rest of our Witcher 3 walkthrough.