The Last of Us Part 2 - Ground Zero: All items, rat king boss fight and how to restore power
How to complete the Ground Zero chapter and find everything along the way.

Ground Zero follows on from The Last of Us Part 2's The Descent chapter.
This sees Abby explore the lower areas of the hospital - which has been off limits and unexplored since the outbreak.
Within is the most fearsome infected yet - the rat king boss - which shows up shortly after you restore power.
On this page:

Looking for help in other areas of the game? See our The Last of Us 2 walkthrough and collectibles hub.
Making your way to the basement in Ground Zero
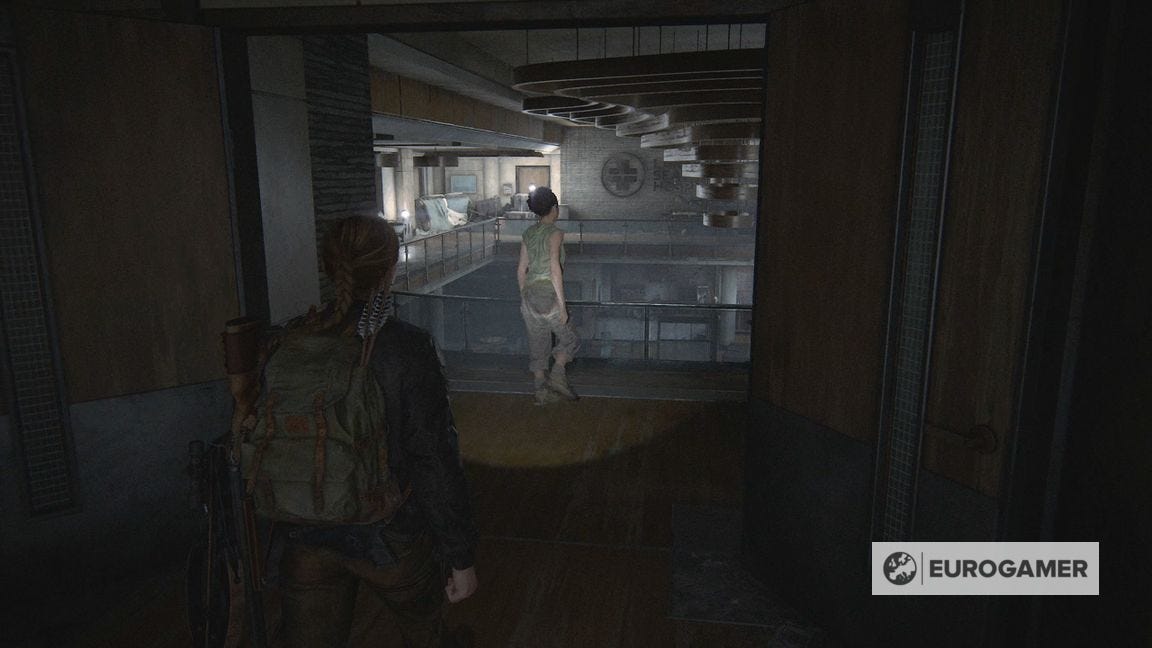
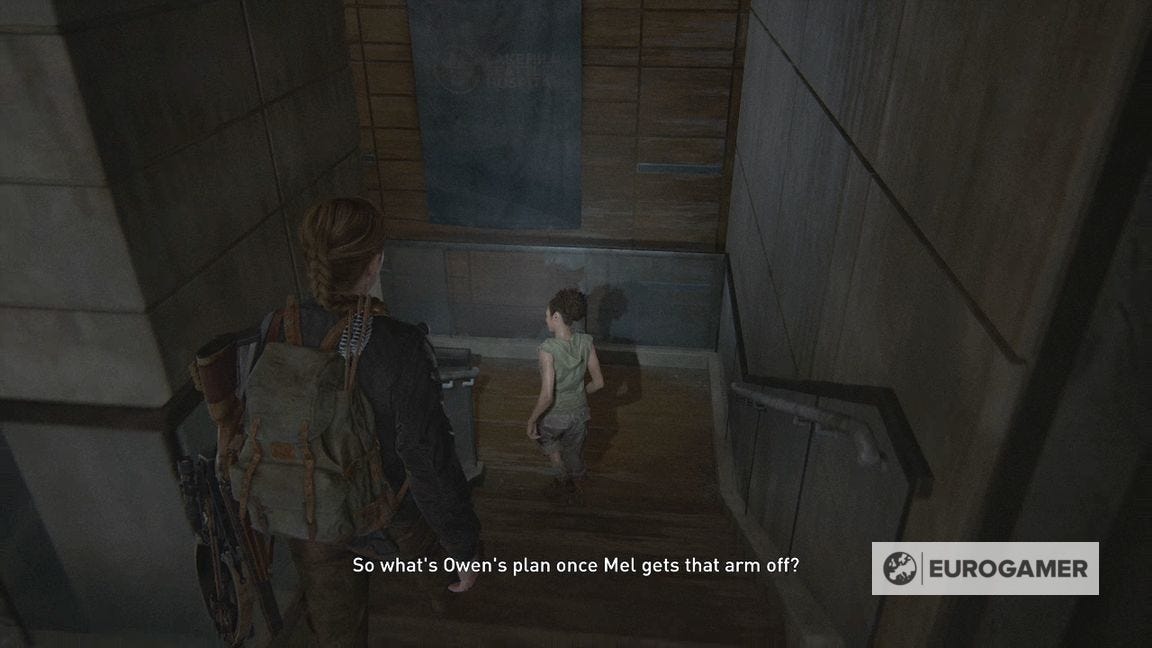
Follow Nora through the hospital until you go down some steps.
You pass through the Mocha Coffee shop.
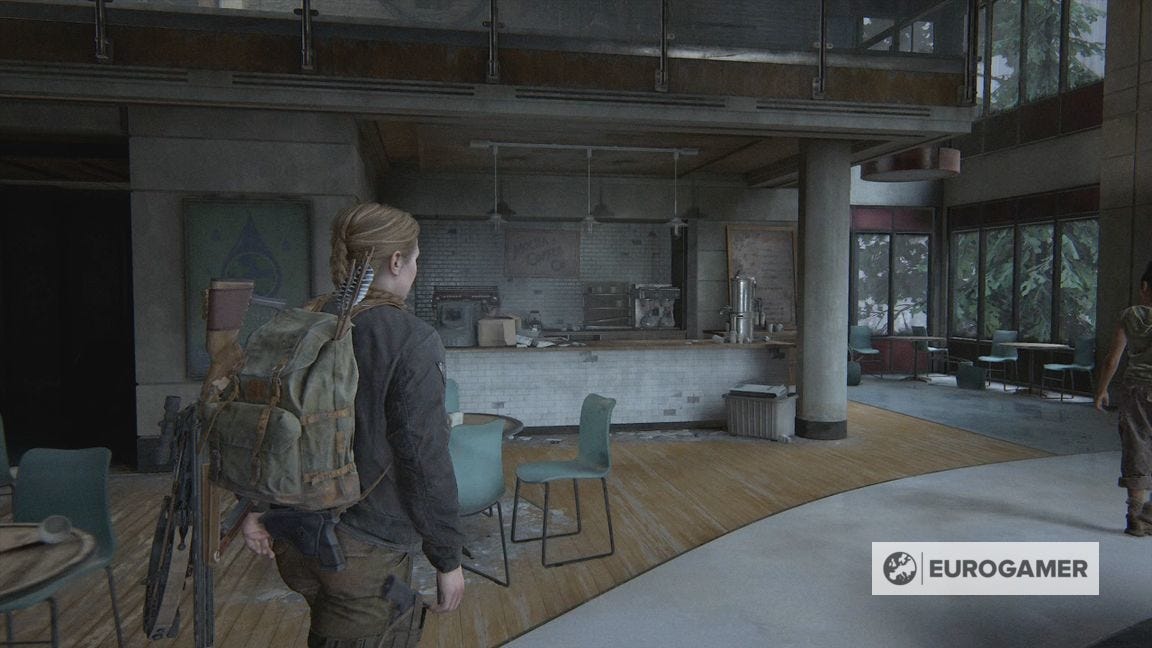
Go behind the counter to find the Washington Coin.
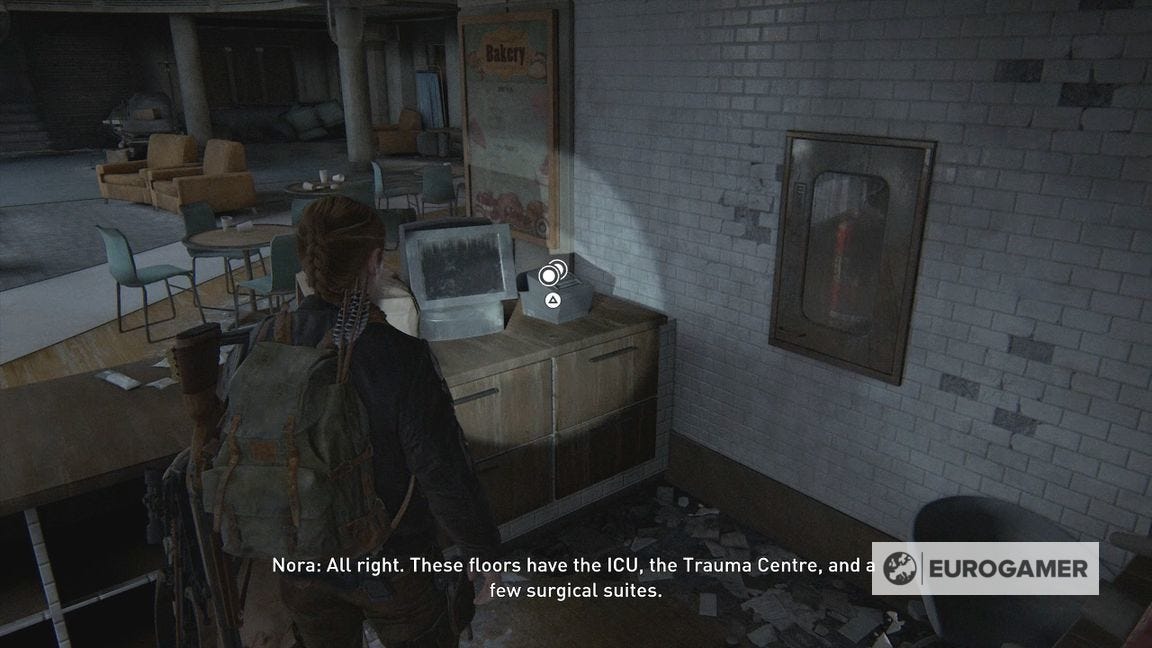
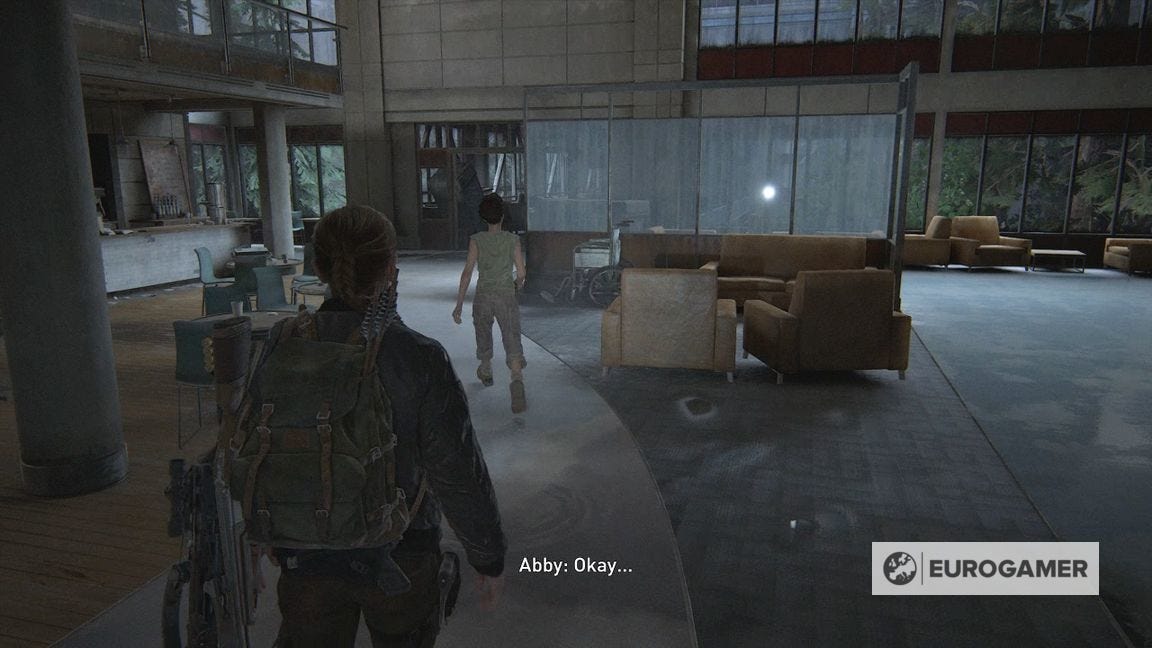
Continue to follow Nora until you reach the Oncology Center, and continue solo.
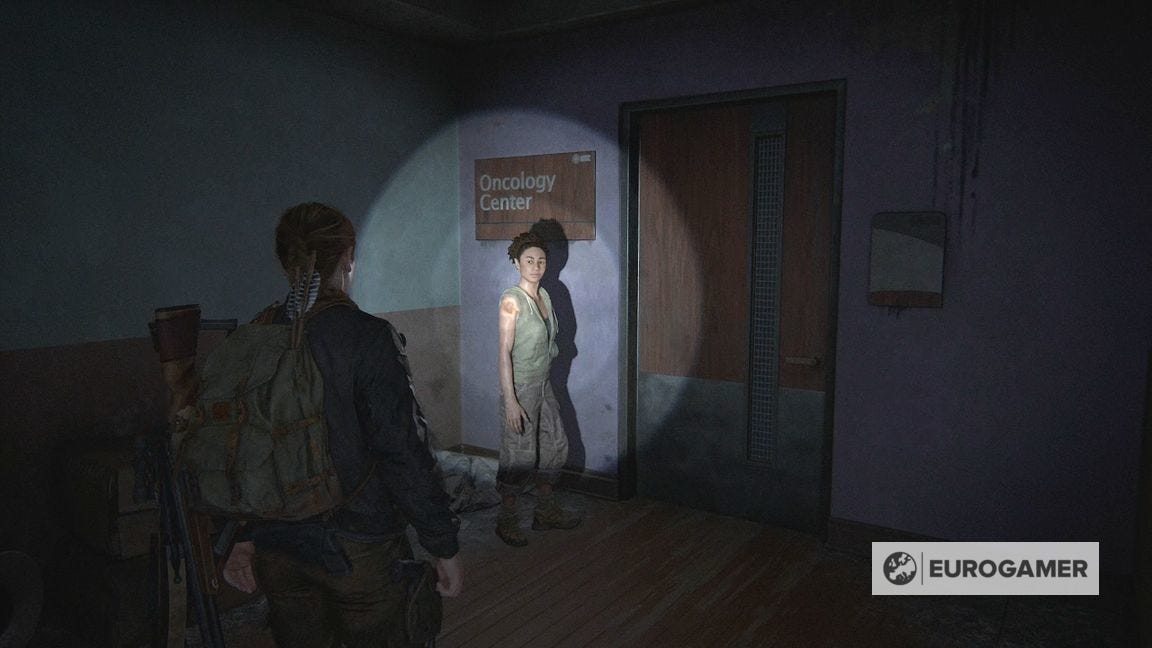
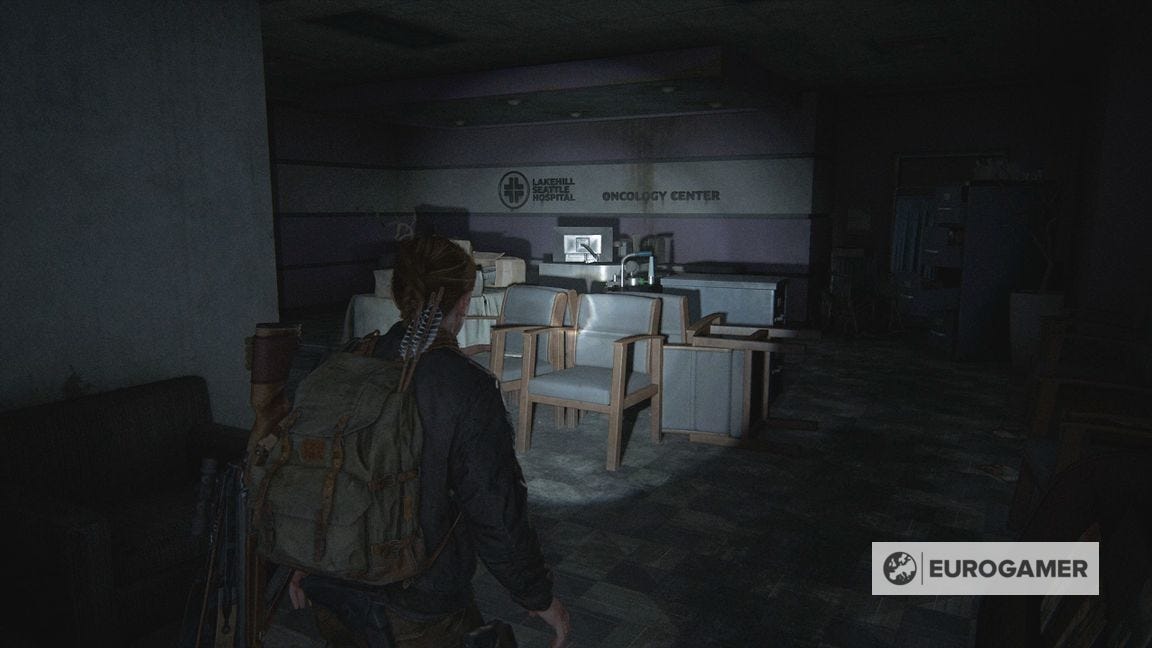
Through the otherside, you emerge by some elevators, Pass them, and before the stairwell, crawl into the room on the right.
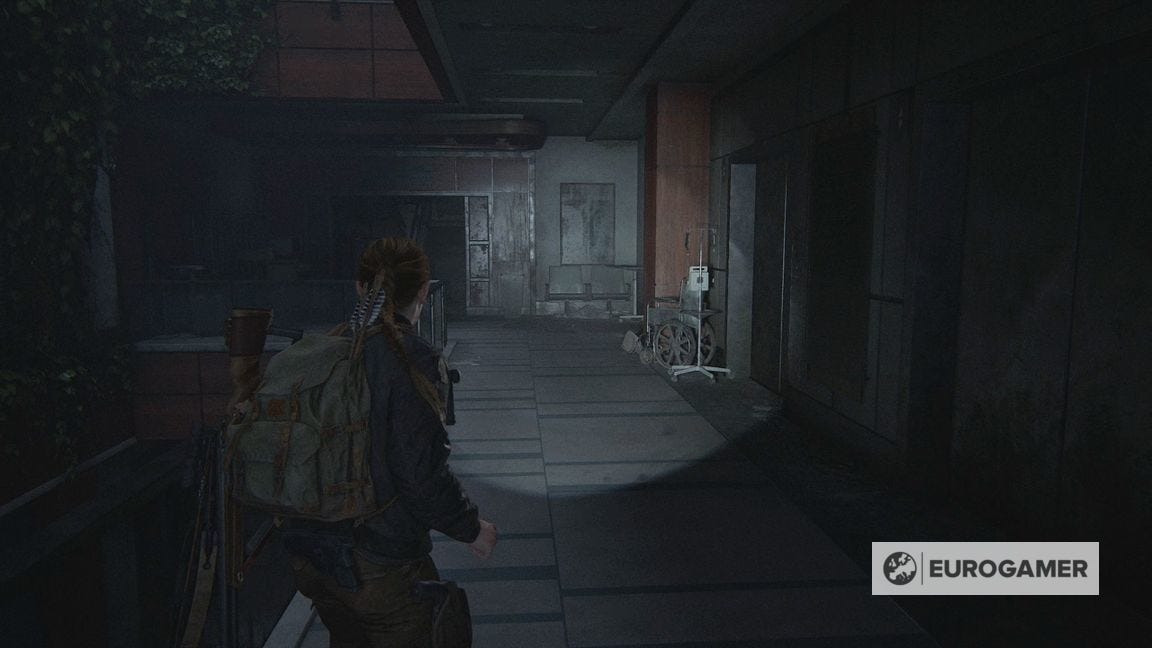
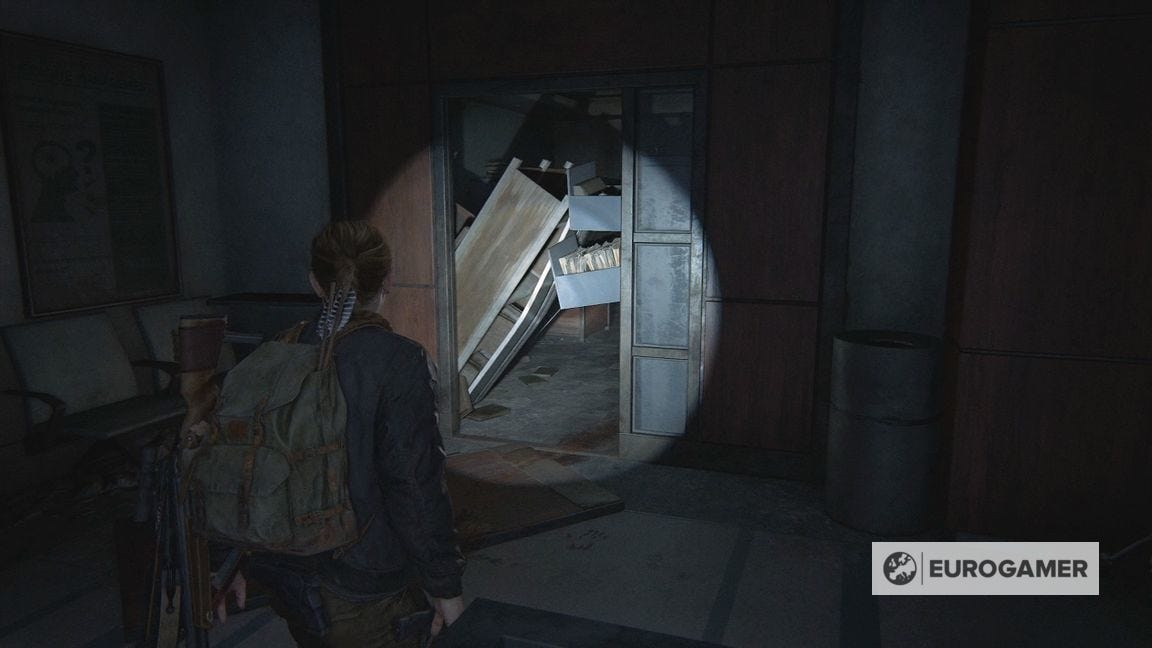
Next to the corpse straight ahead is the Annex Letter Artefact.
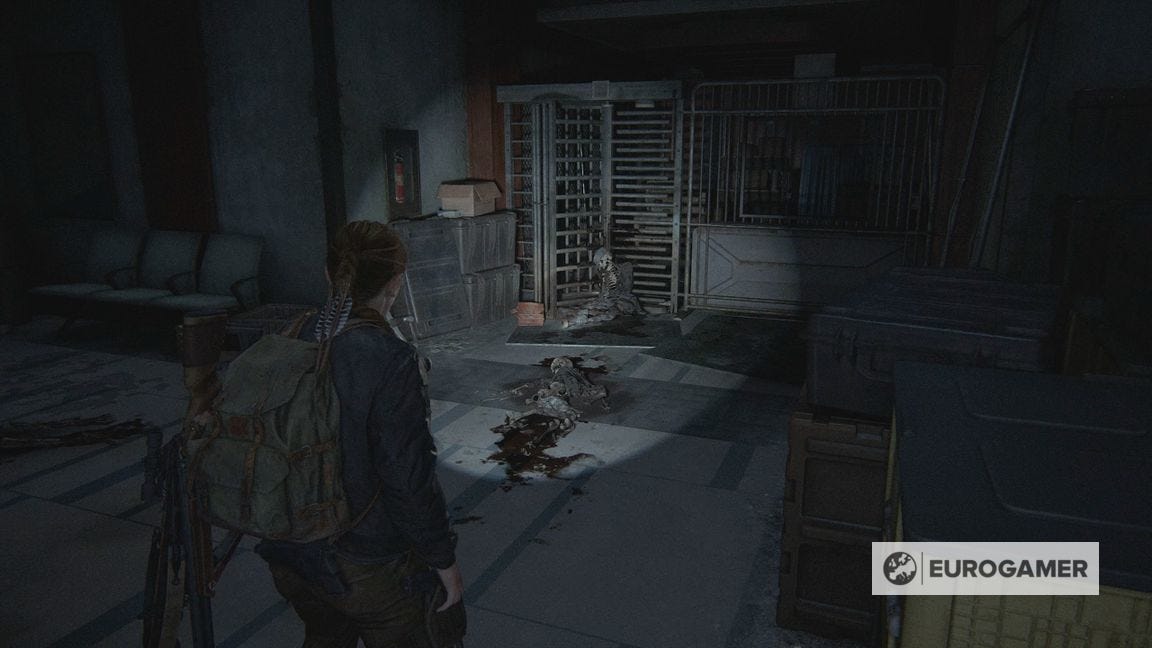
Go back out and down the stairs. The ICU ahead past these elevators are locked, so you must drop down.
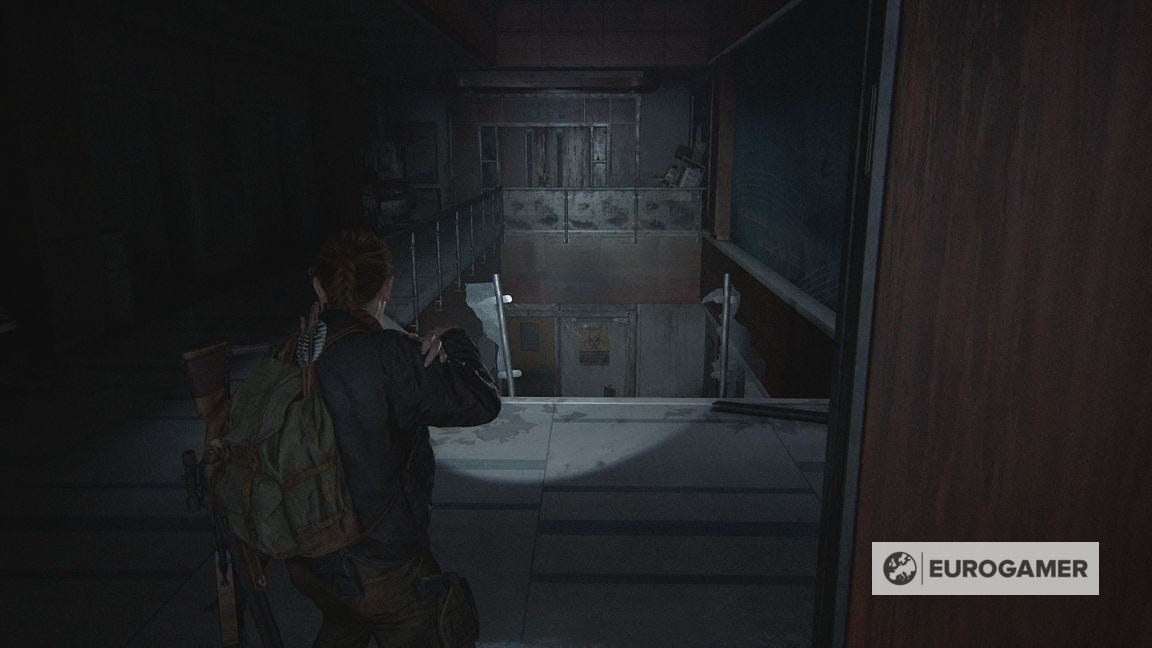
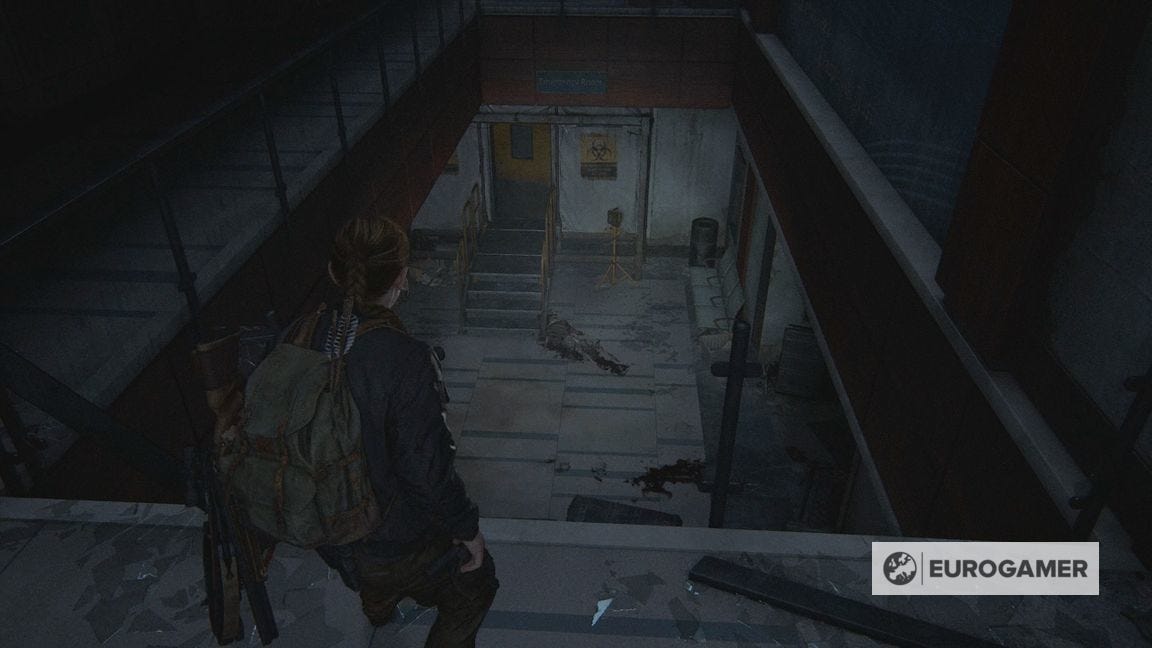
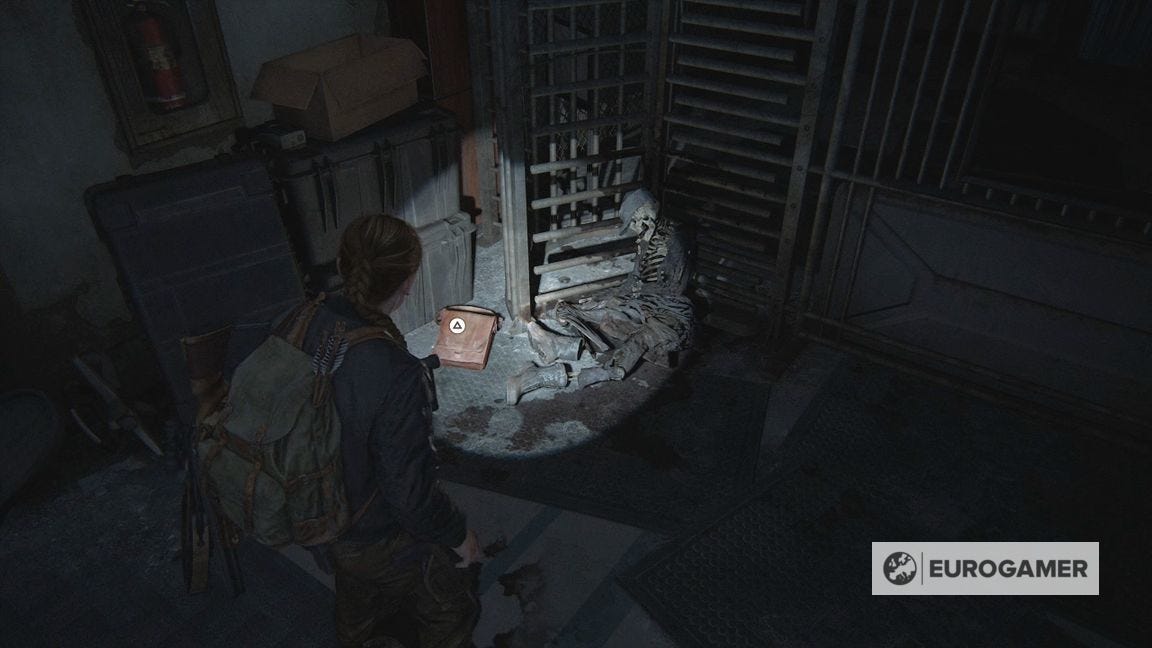
To the right is a turnstile and a corpse. Search the bag next to it for the Soldier's Letter Artefact.
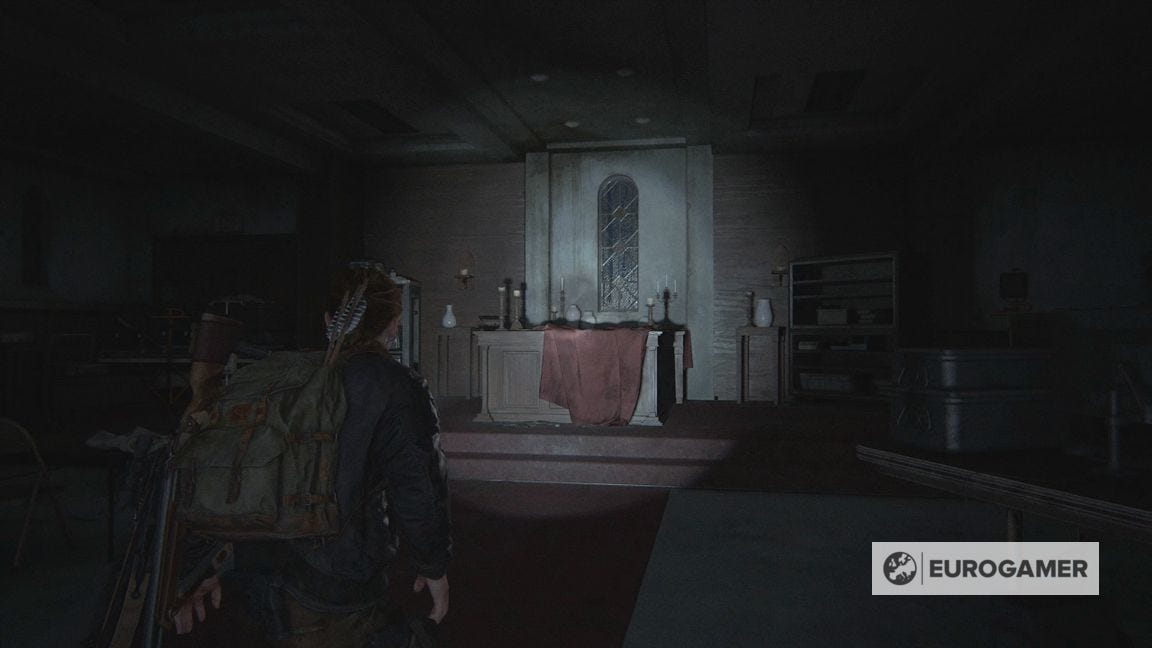
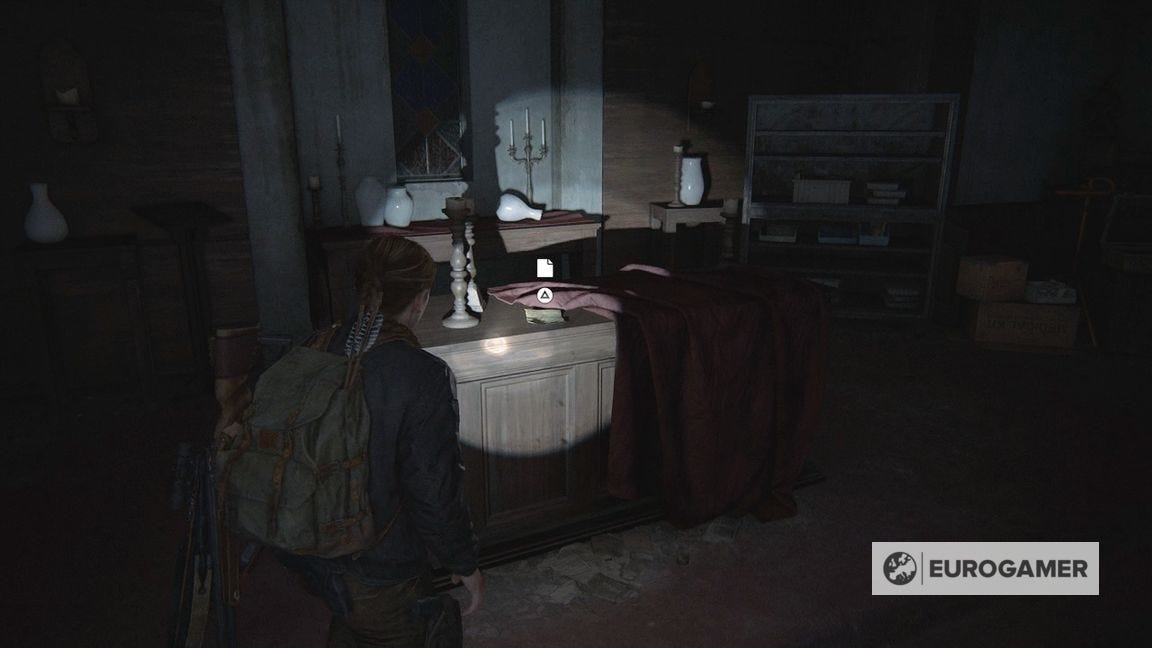
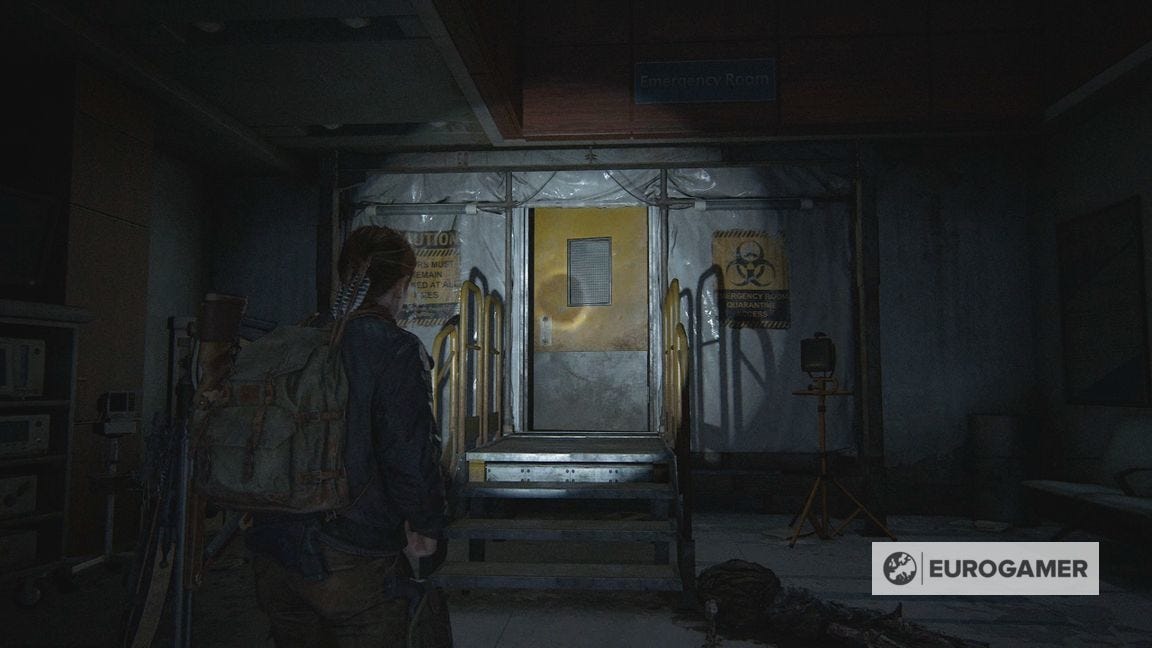
The way forward is the single yellow door surrounded by a quarantine sign, but before you do that, turn around and go into the Chapel.
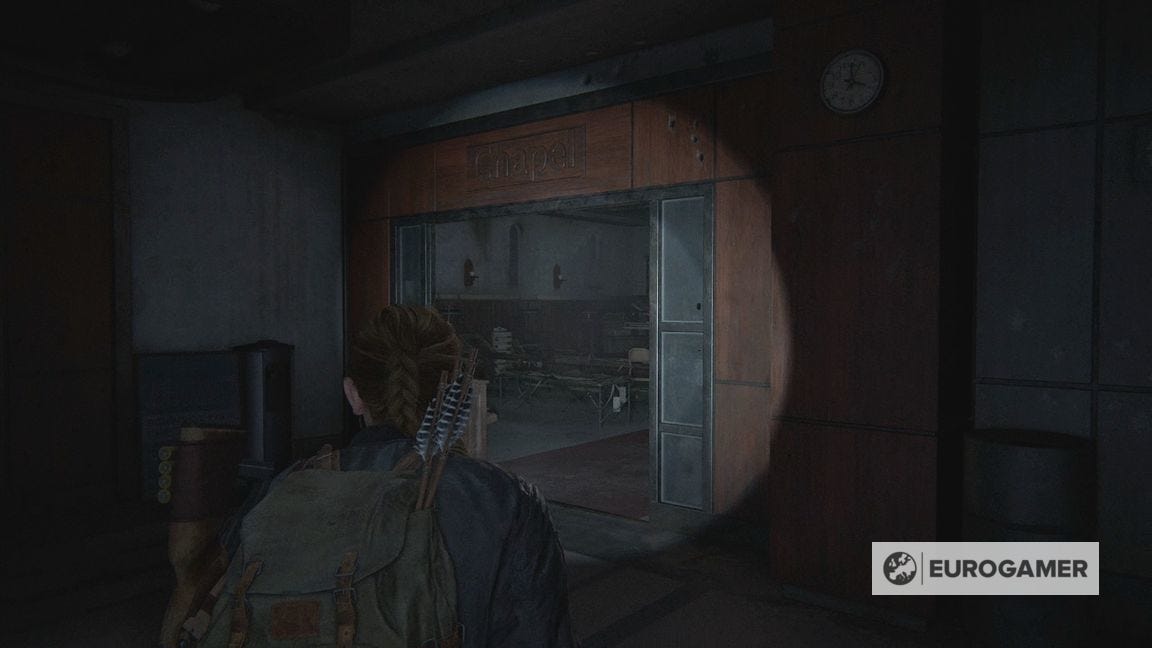
As well as various supplies, check the altar at the end for the Chapel Note Artefact.
Now go back and through the biohazard door, and Abby will put her gas mask on.
Exploring the reception area in Ground Zero
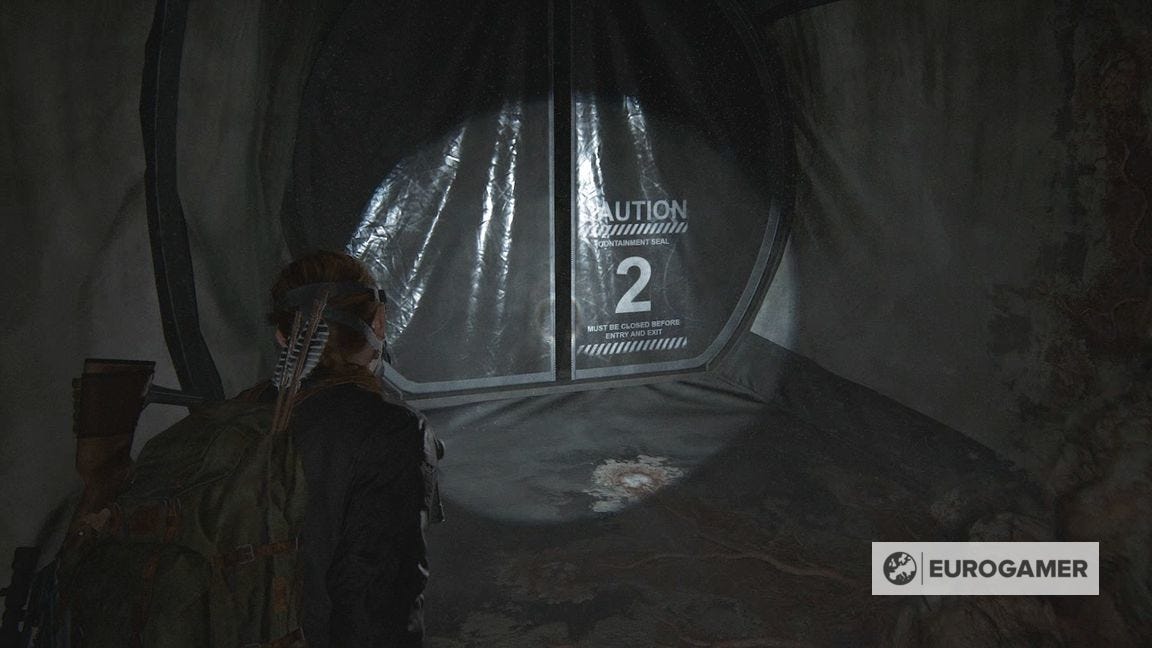
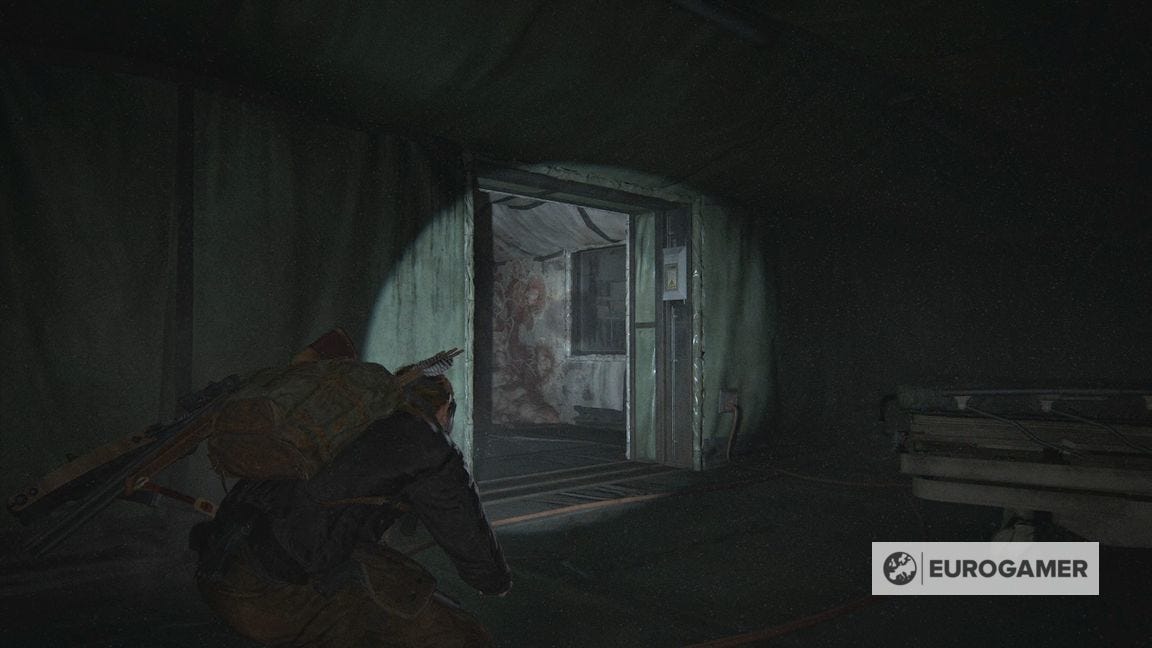
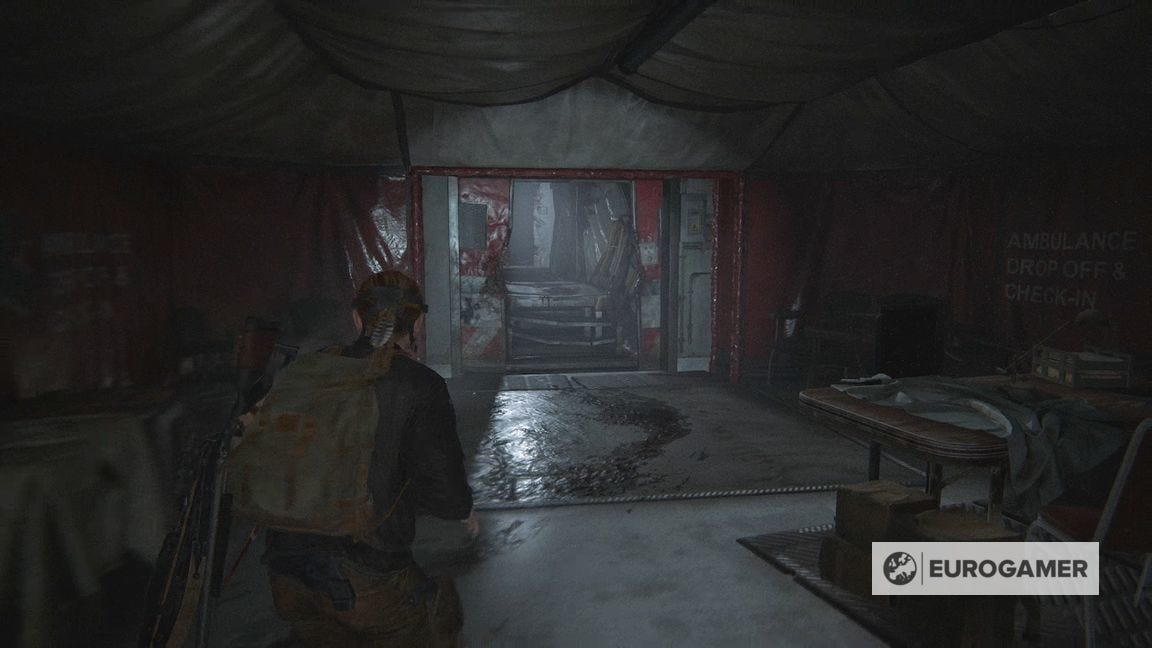
After a corridor of several containment seals, you'll come to a reception area.
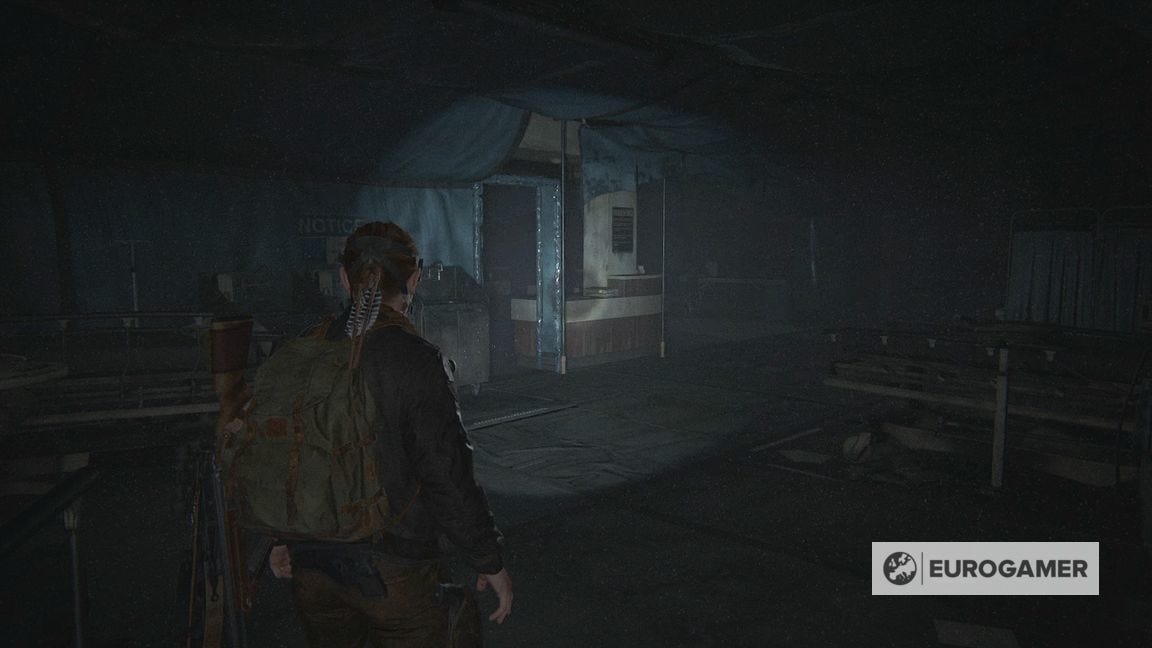
You must go all the way to the other side to progress, but first, let's sweep this area as we go.
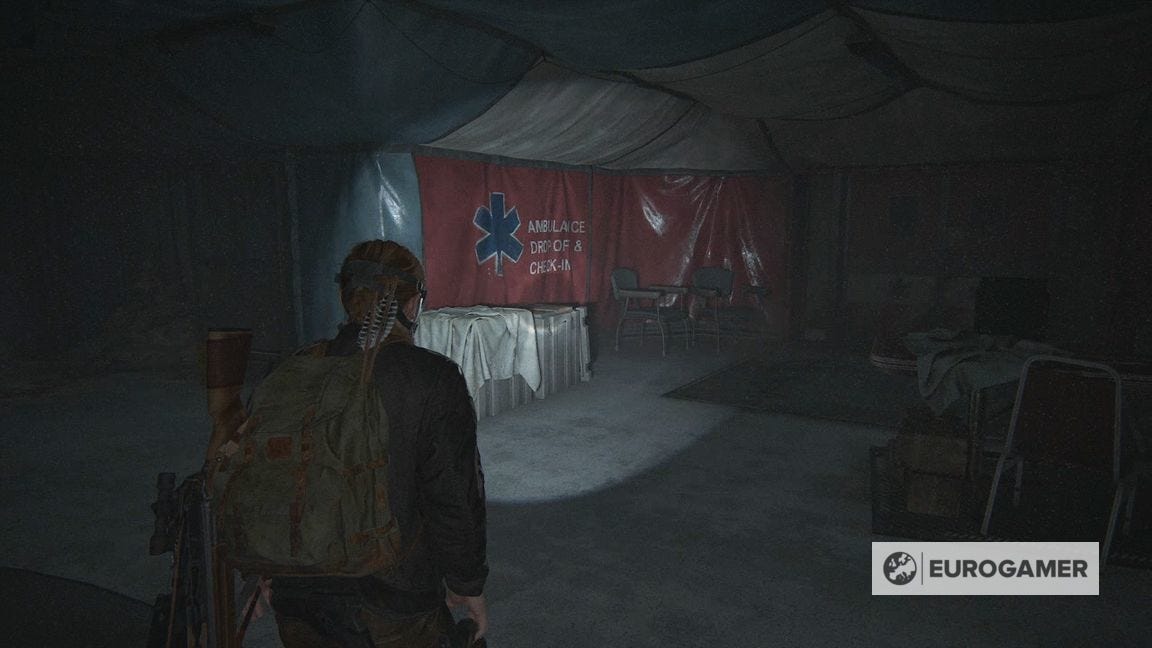
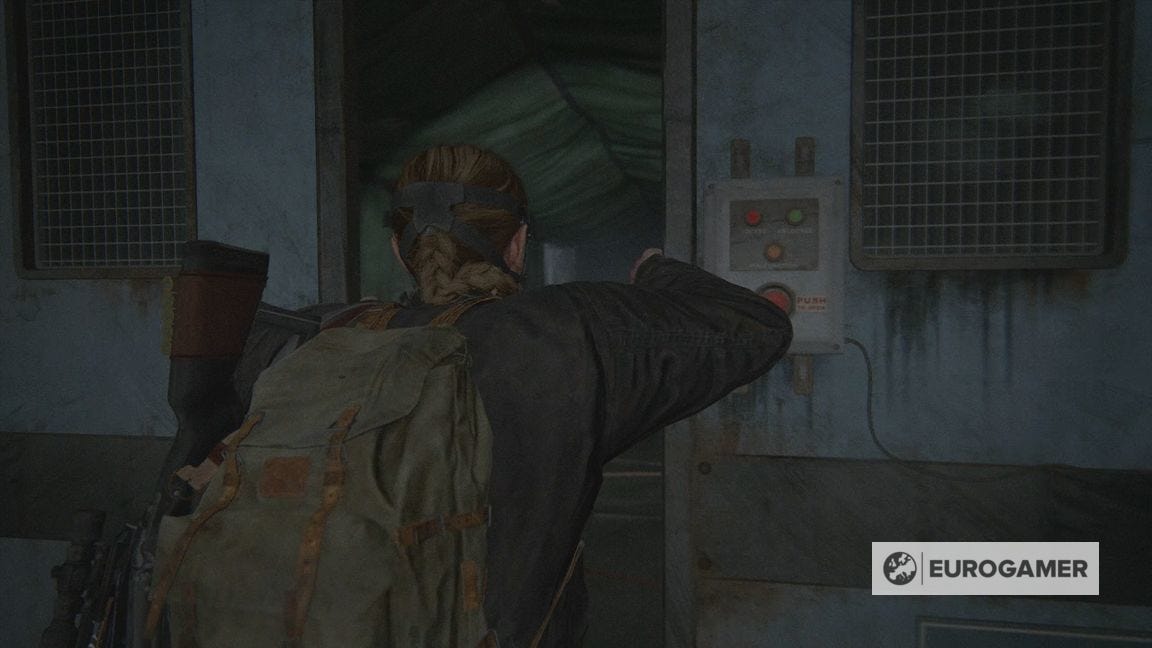
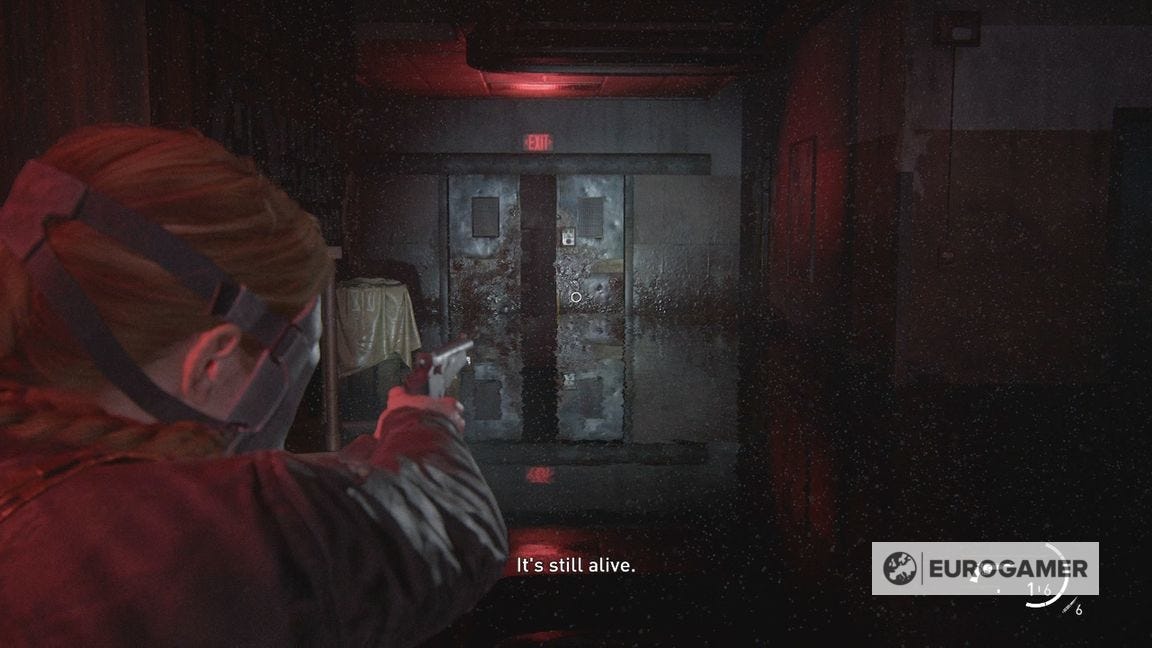
In front of the reception is the red-coloured ambulance check-in area. Try to open it, and you'll learn you need power.
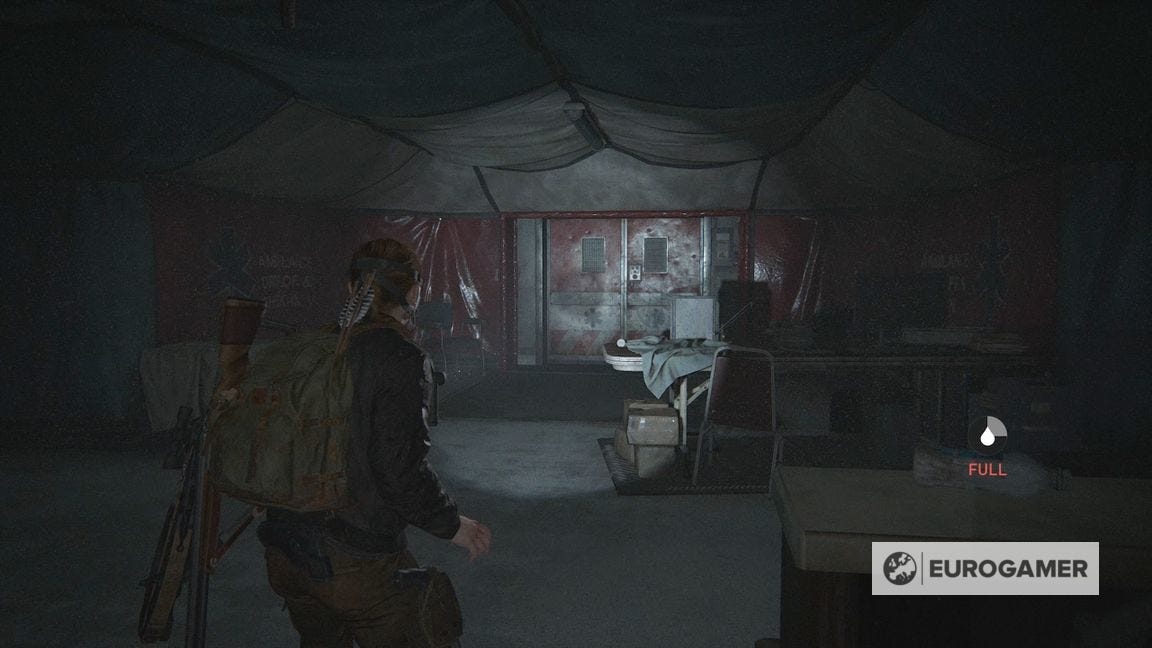
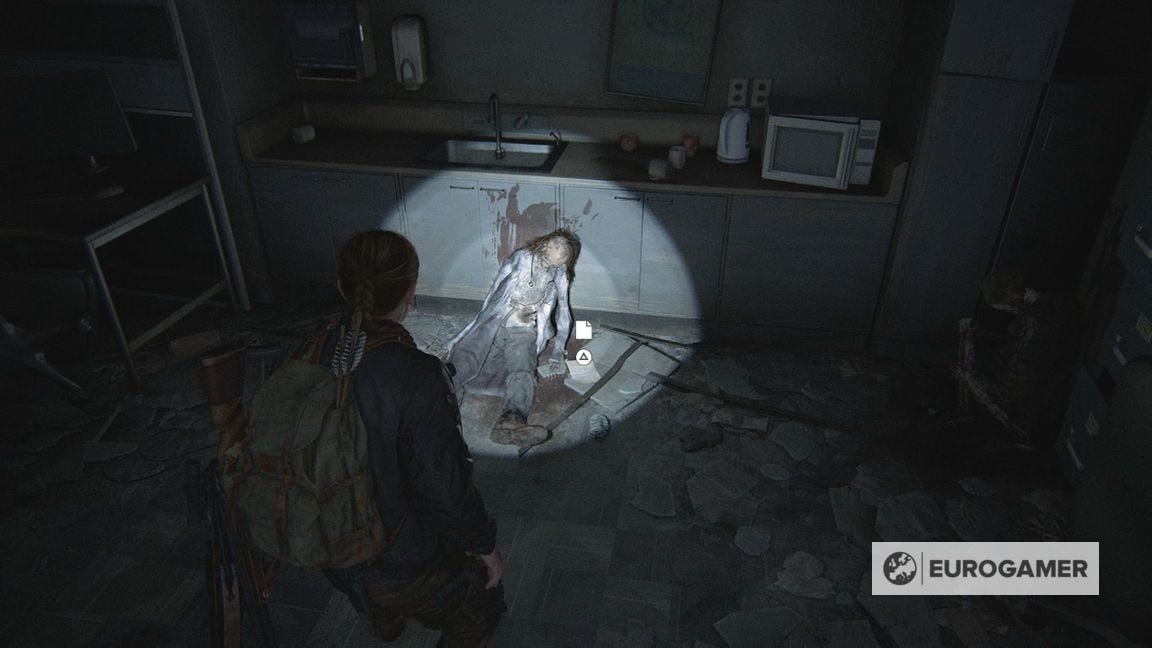
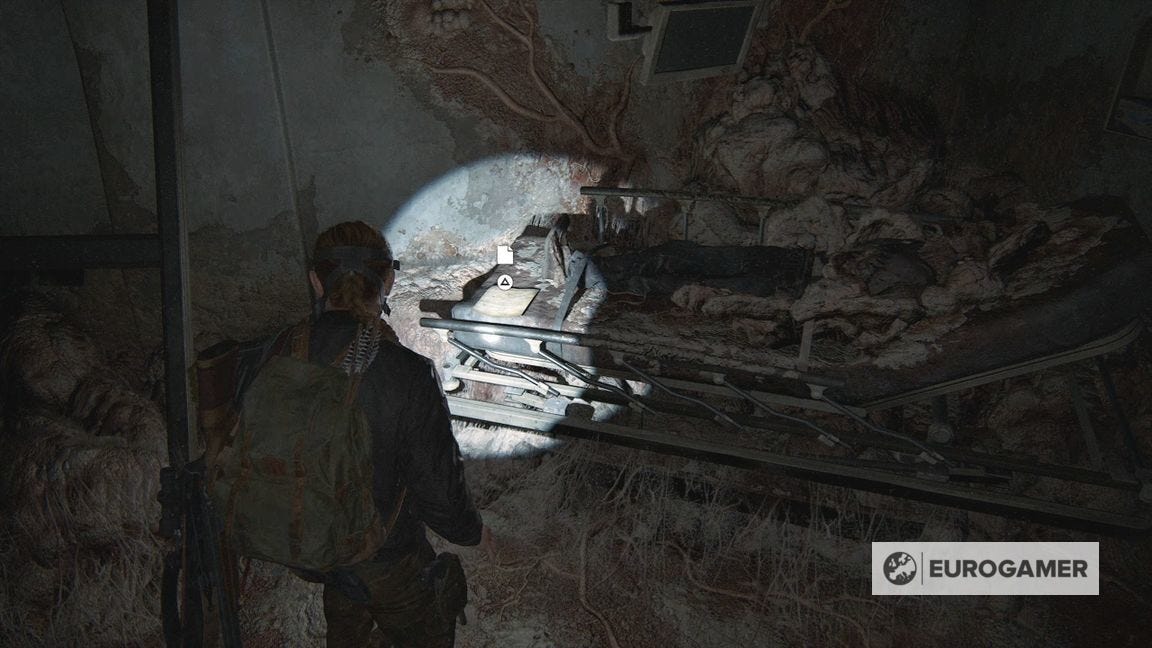
From this area, just to the left, where there is a glass door.

Smash it and enter. On the trolley, next to the corpse, is the Patient's Note Artefact.
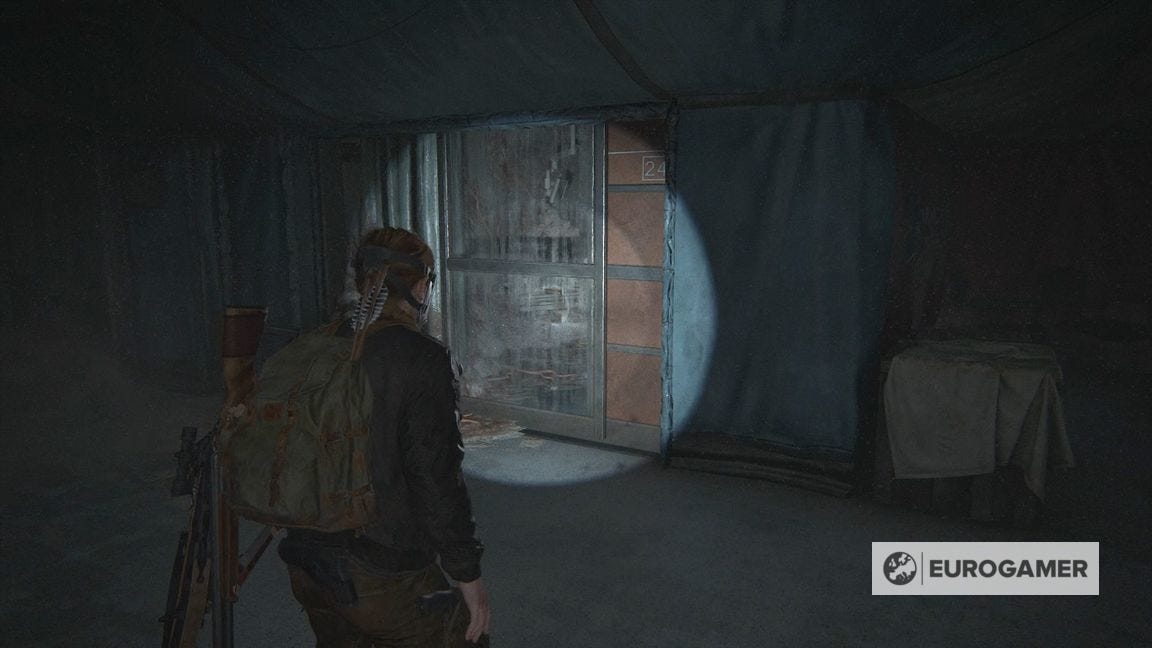
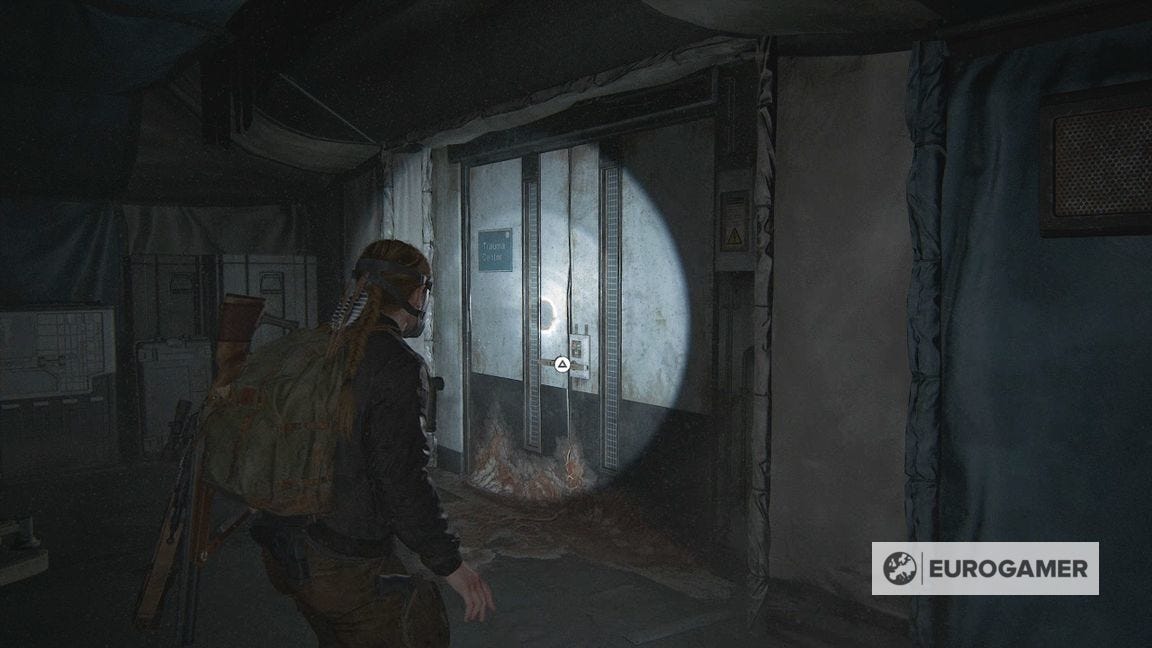
Continue going left round the room. The Trauma Center doors are locked - it's worth trying to open them however! - then continue going round the corner.
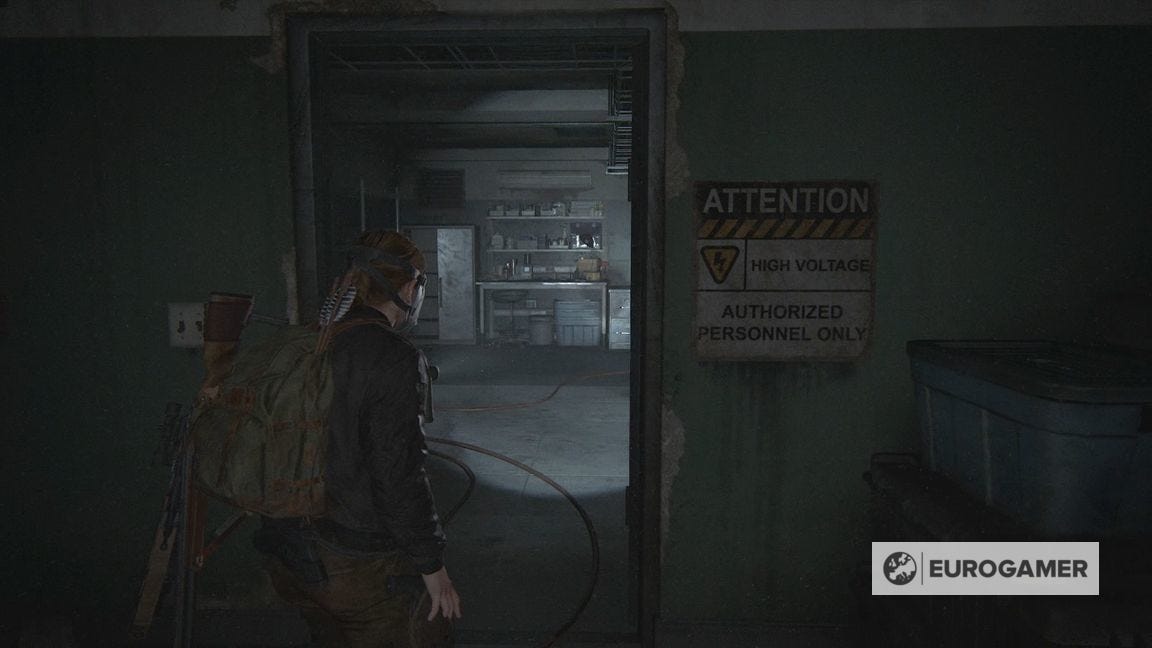
Hug the left wall for a room with supplies, then in the corner opposite, is the Surgery area. This is where you can restore power.
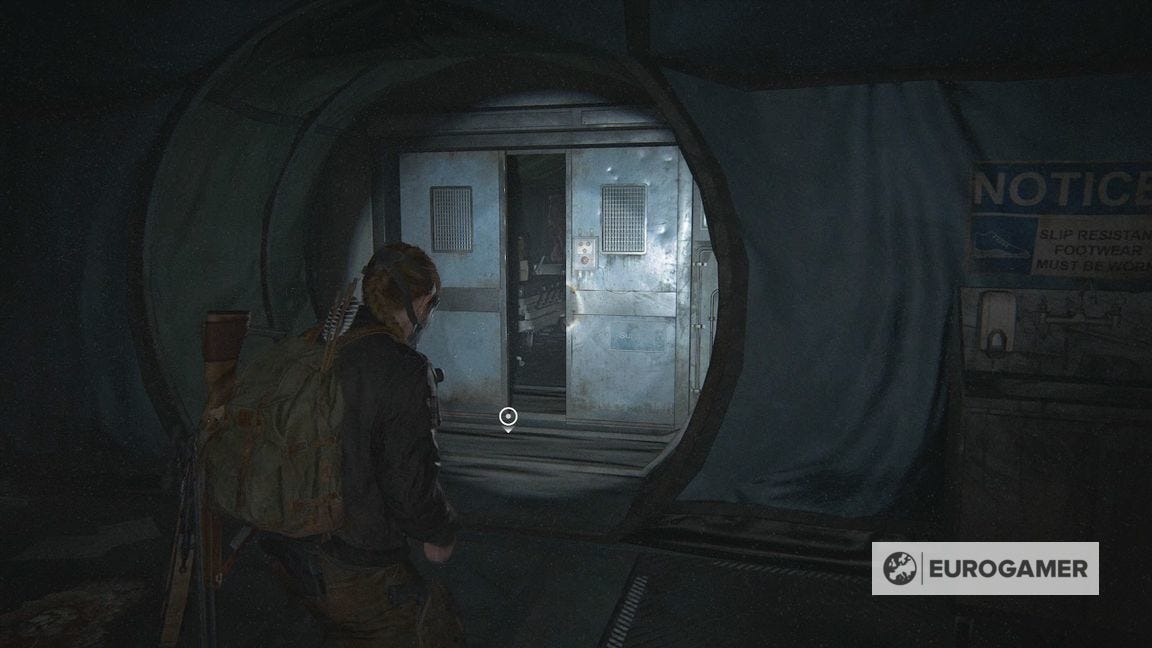
Exploring the Surgery area in Ground Zero to restore power
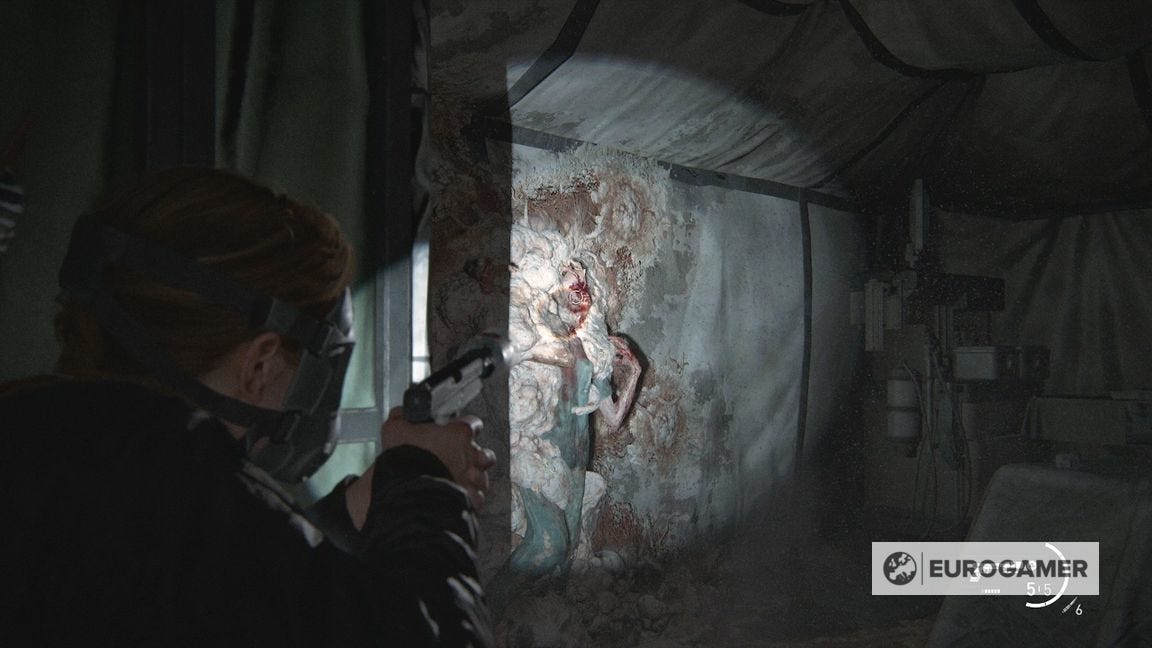
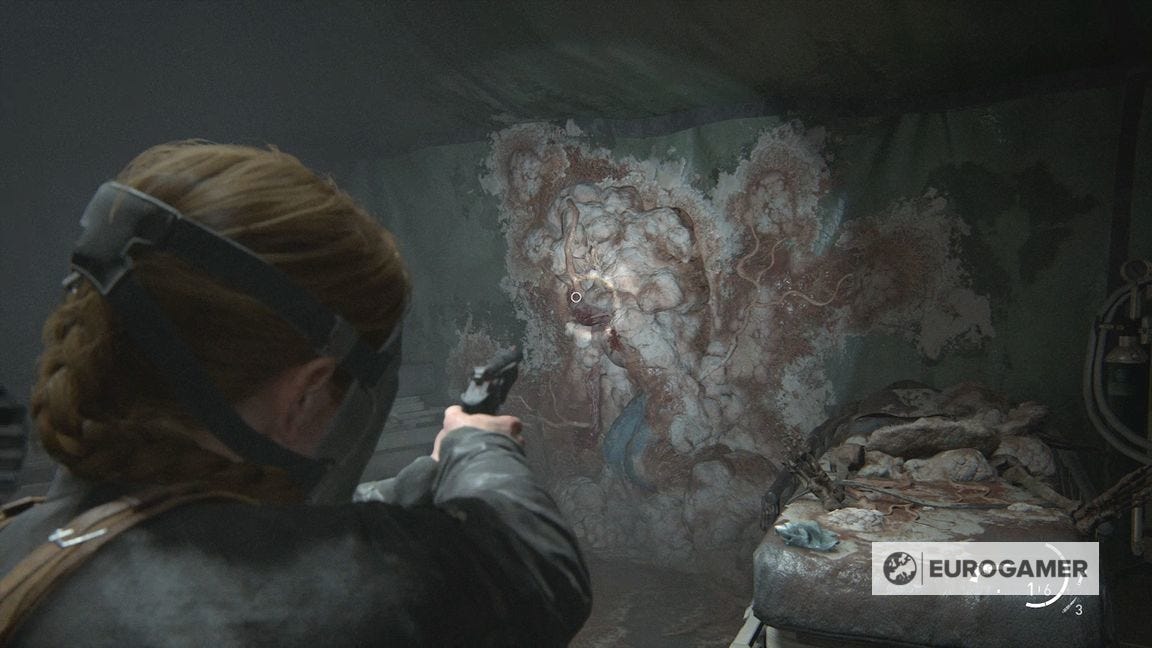
After you slide through the Surgery doors, you'll hear infected close by.
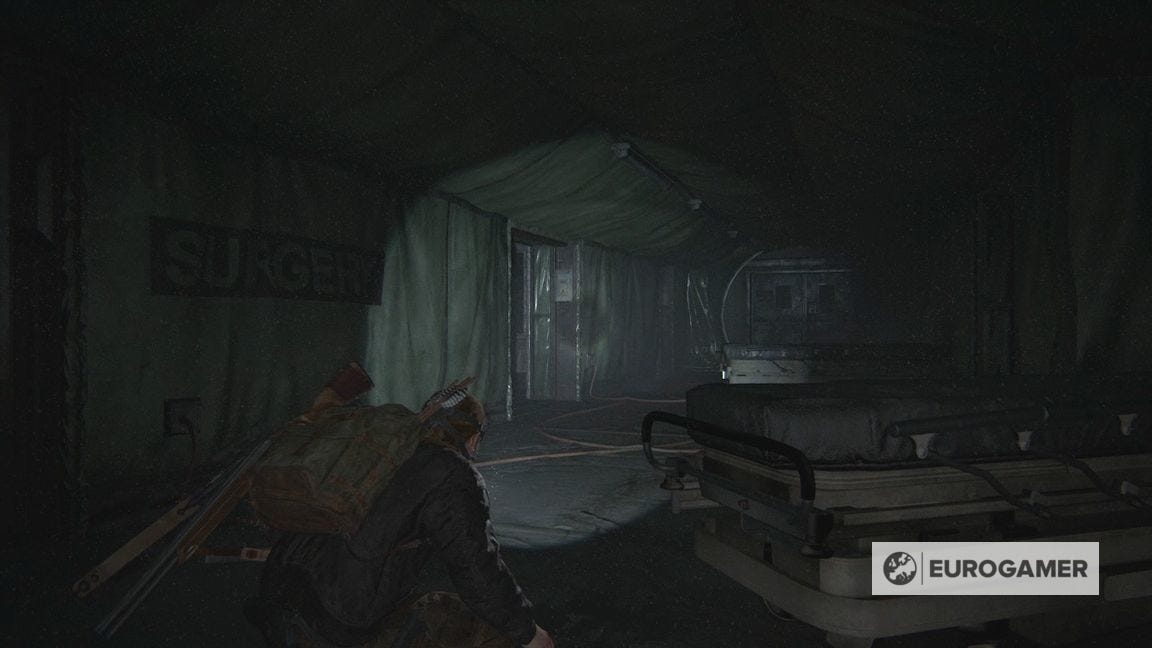
This immediate area is safe - mostly. All the doors are locked here due to a lack of power - so remember them for later.

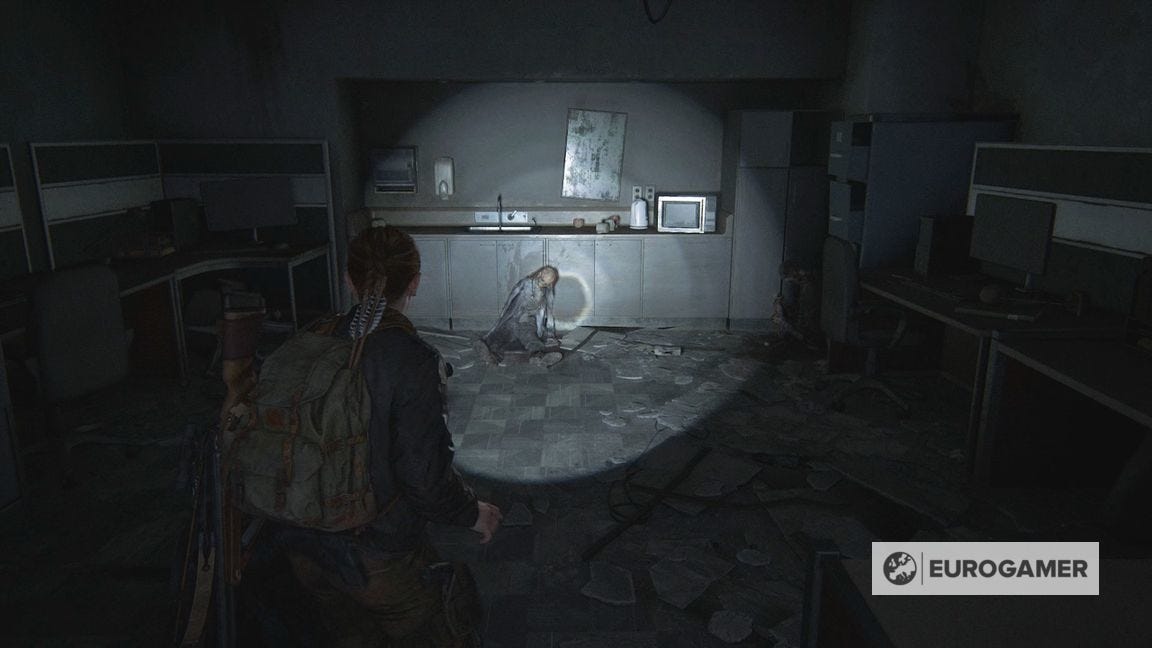
Turn left into the first open room, and watch out for the stalker on the wall to the left - you can shoot it before it springs to life.
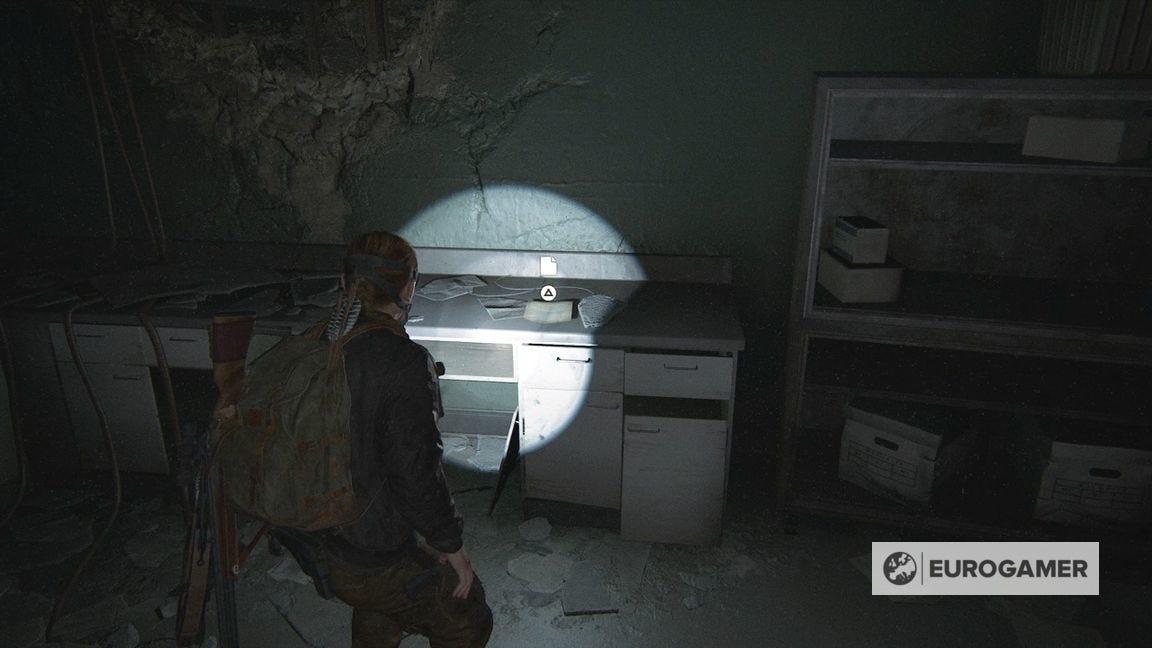
Go down the corridor then left into the end room for the Doctor's Note Artefact and some supplies.
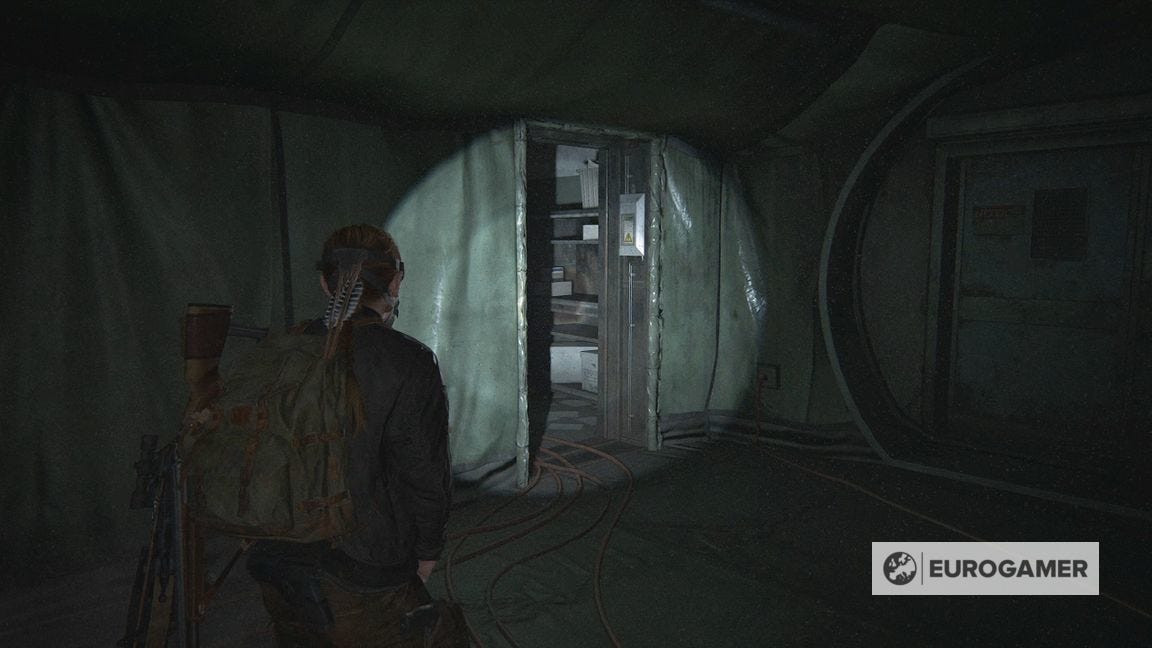
To continue, look up into the corner. This is where all the cables in the Surgery corridor lead, taking you into a hole in the wall.

This leads to a set of connecting rooms. There are plenty of supplies here in the first area, then go next door for a Workbench.
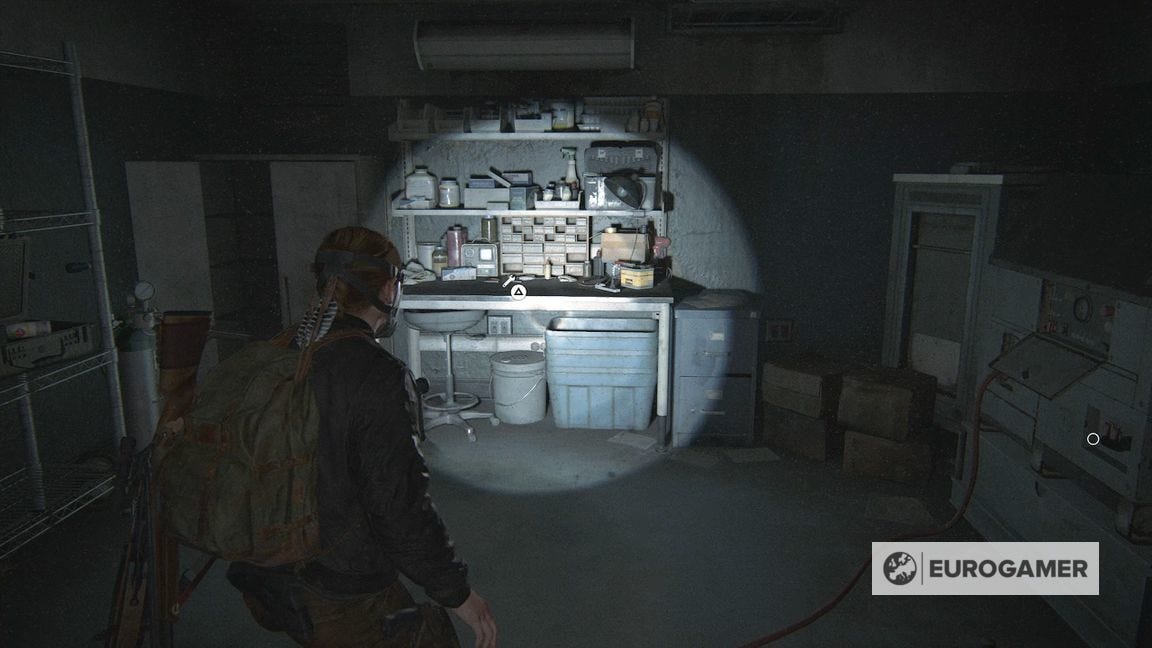
Just to the right is the Generator location.
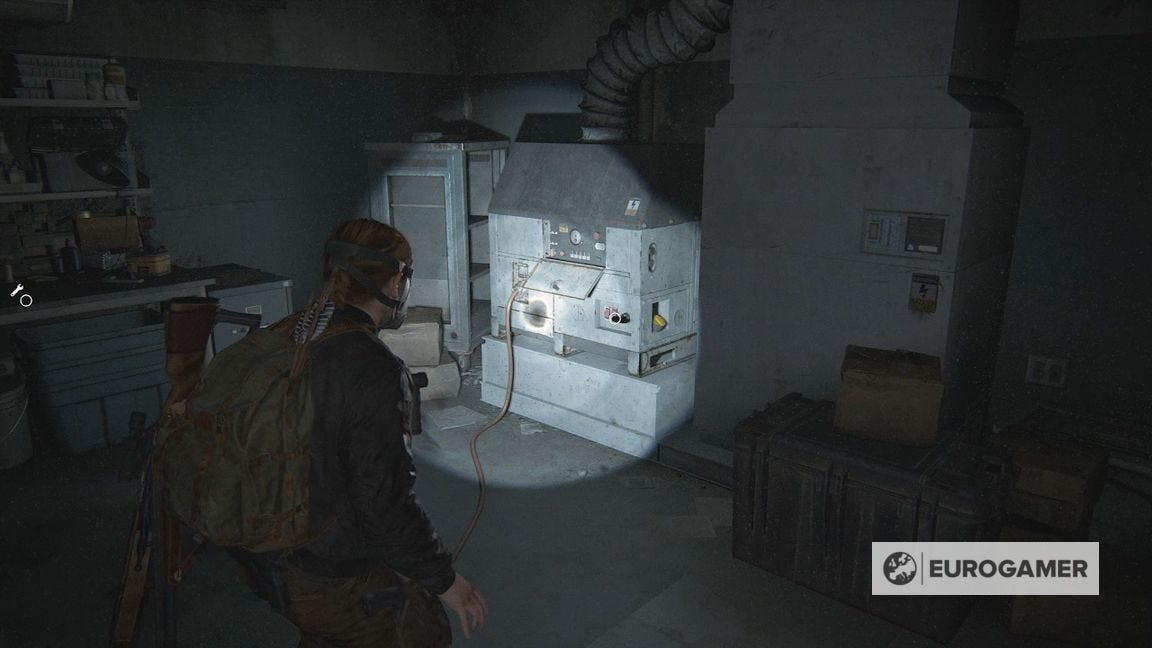
Turn it on, then follow the cables through to the wall of switches next door across the room to activate the power.
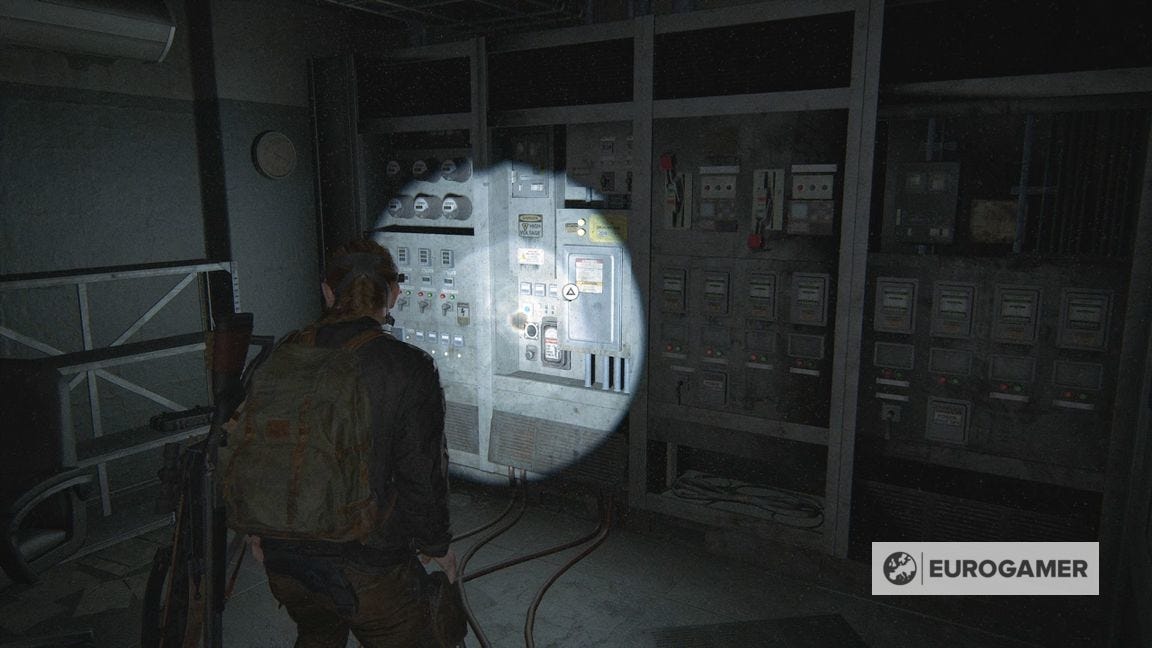
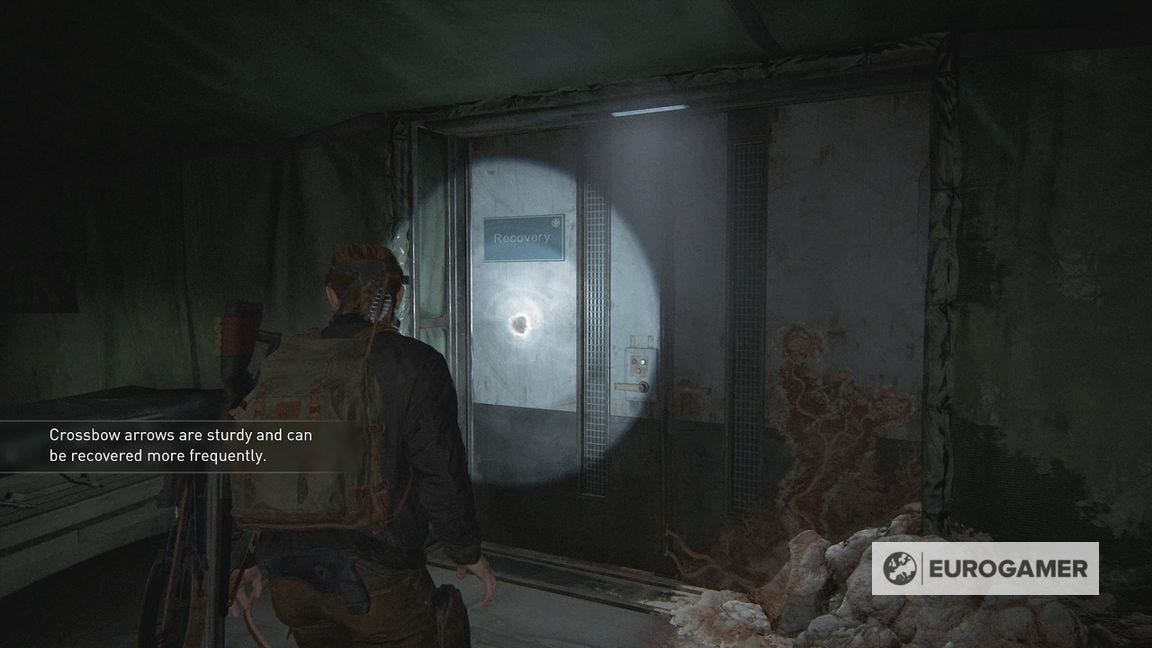
This will now open the doors in the previous Surgery corridor, with clickers springing out of the doors when you emerge.
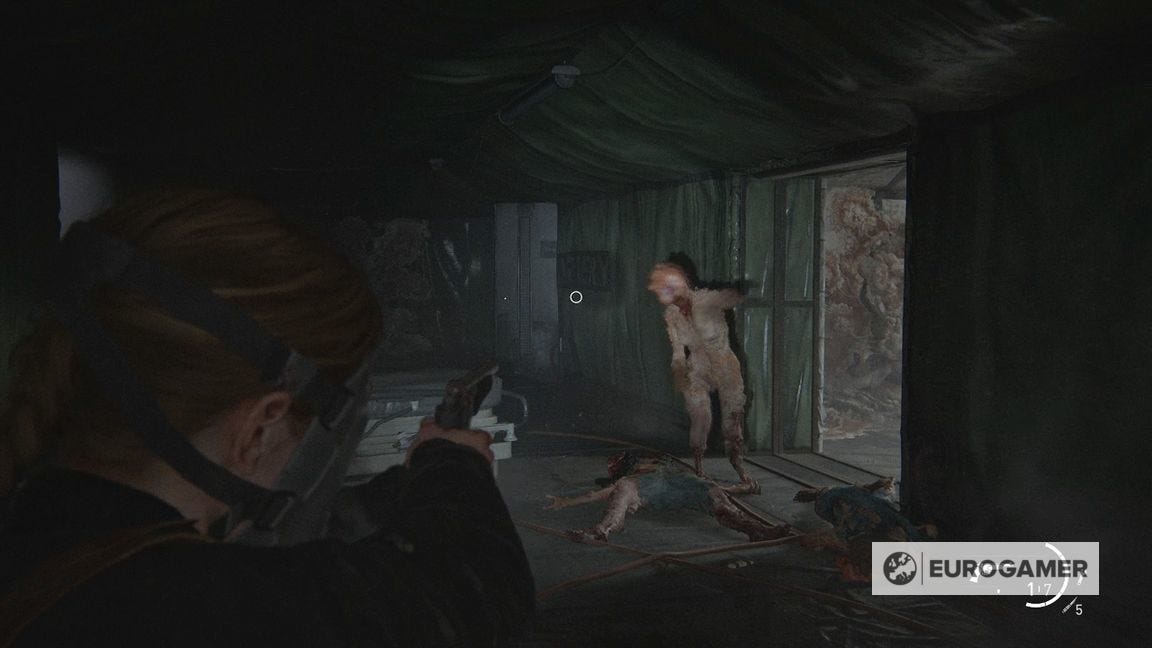
Clear these and check the respective rooms, both having supplies. The Recovery room has a stalker on the wall, by the way - shoot it before it springs loose.
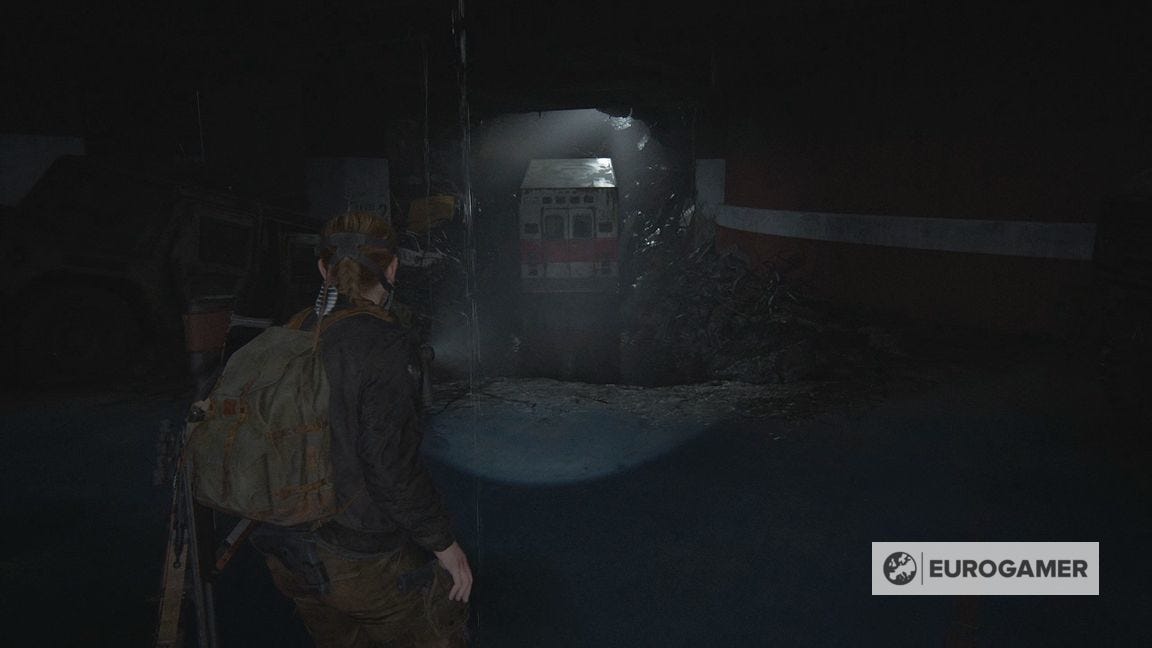
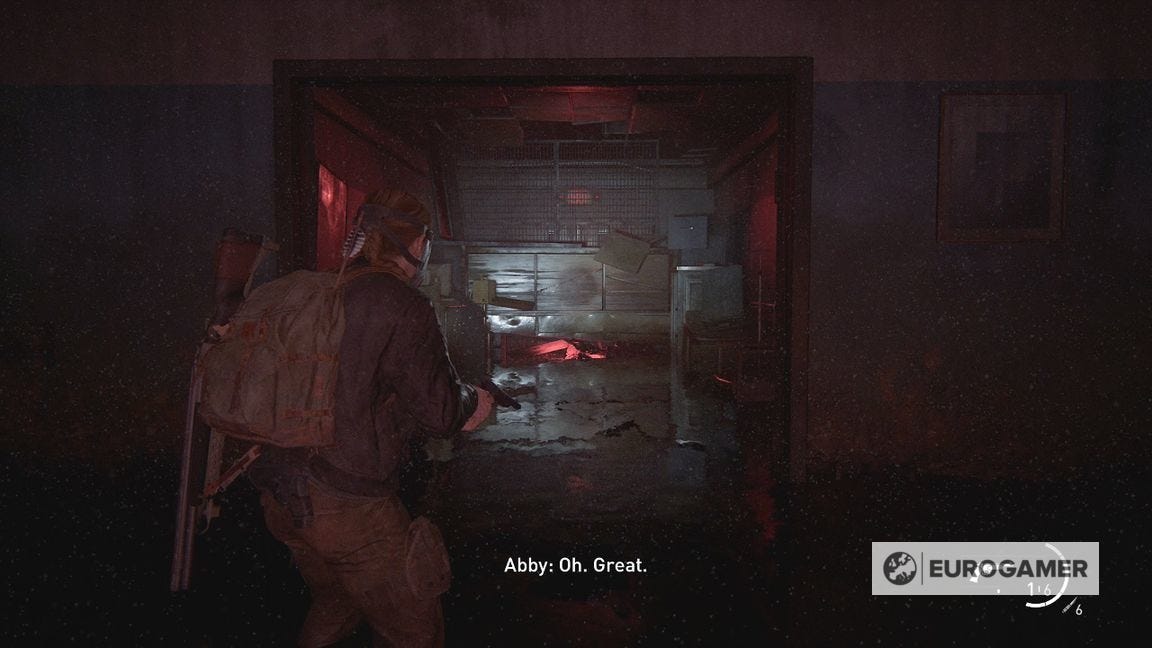
Now head back to the reception area, through the ambulance doors, and into the garage.
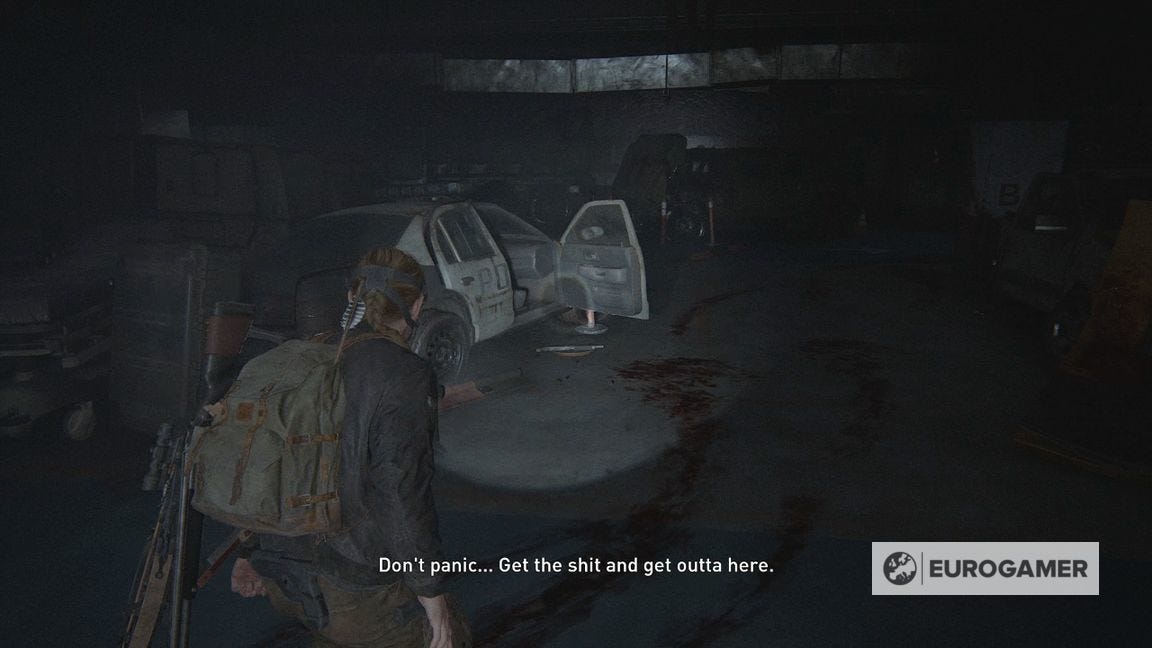
There's nothing else to do here but go to the far left corner, and enter the ambulance for the supplies.
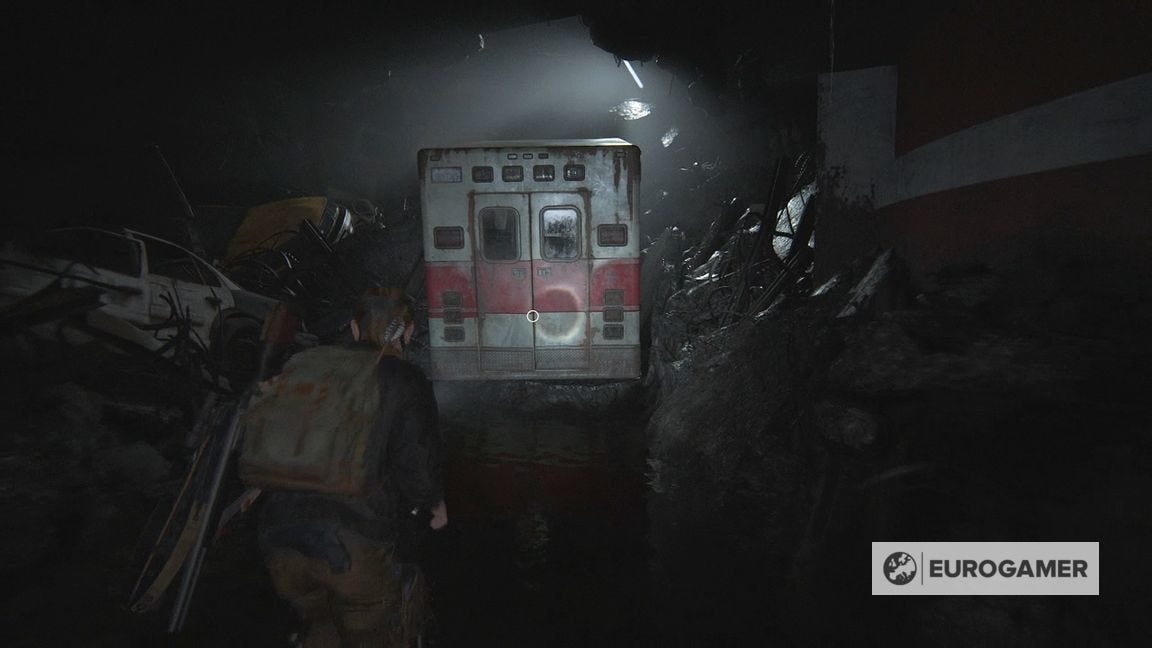
Search the drawers to find what we've been looking for.
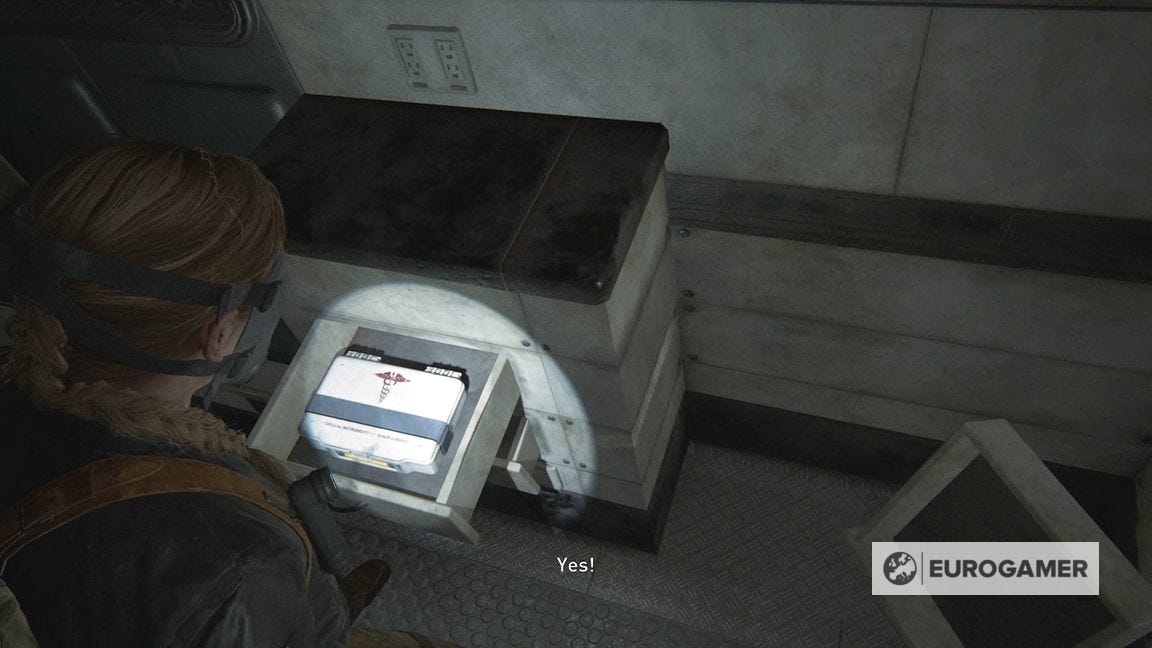
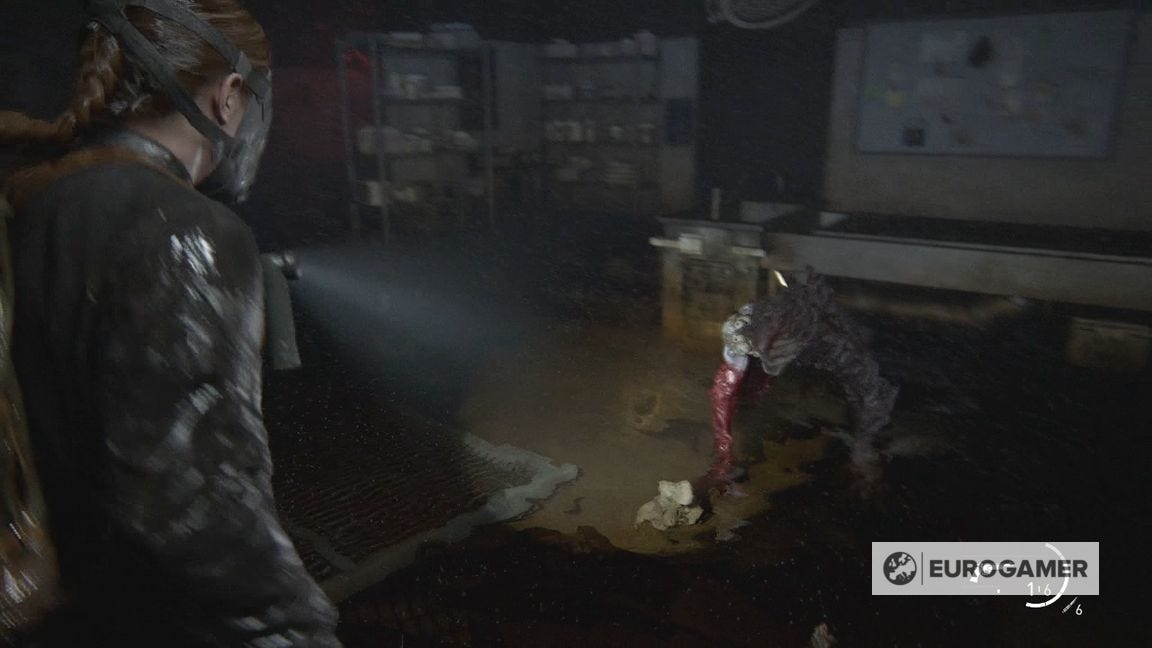
After the cutscene, you must sprint down the corridor, vaulting over beds and opening doors. At the end, you'll drop down below and face the monstrosity.
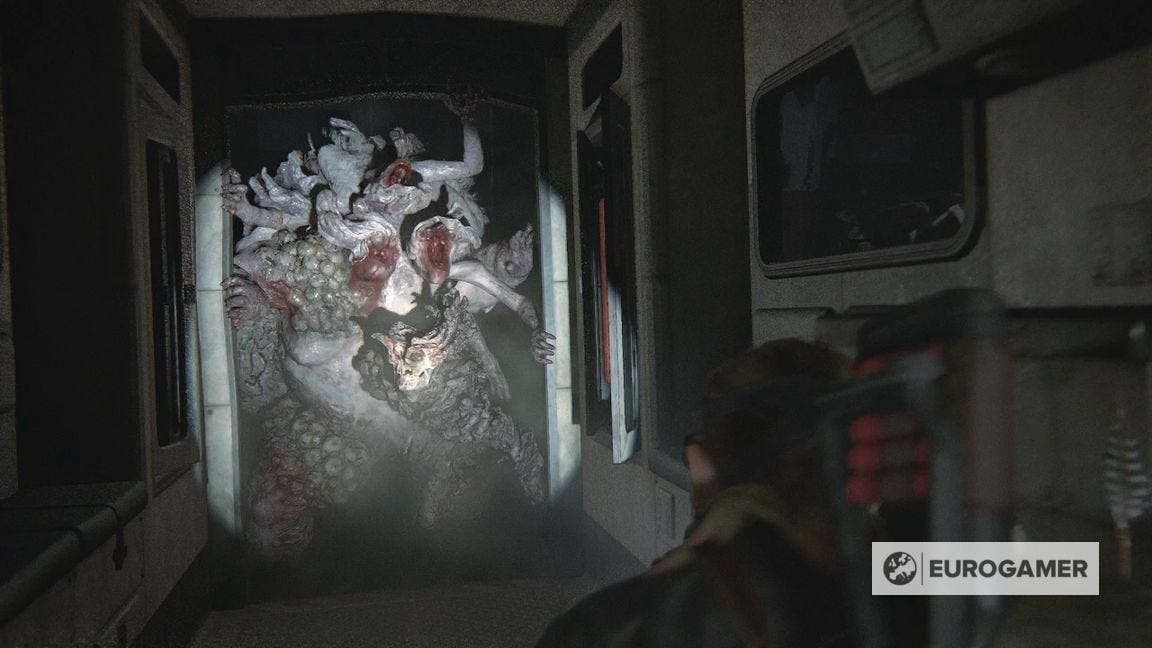
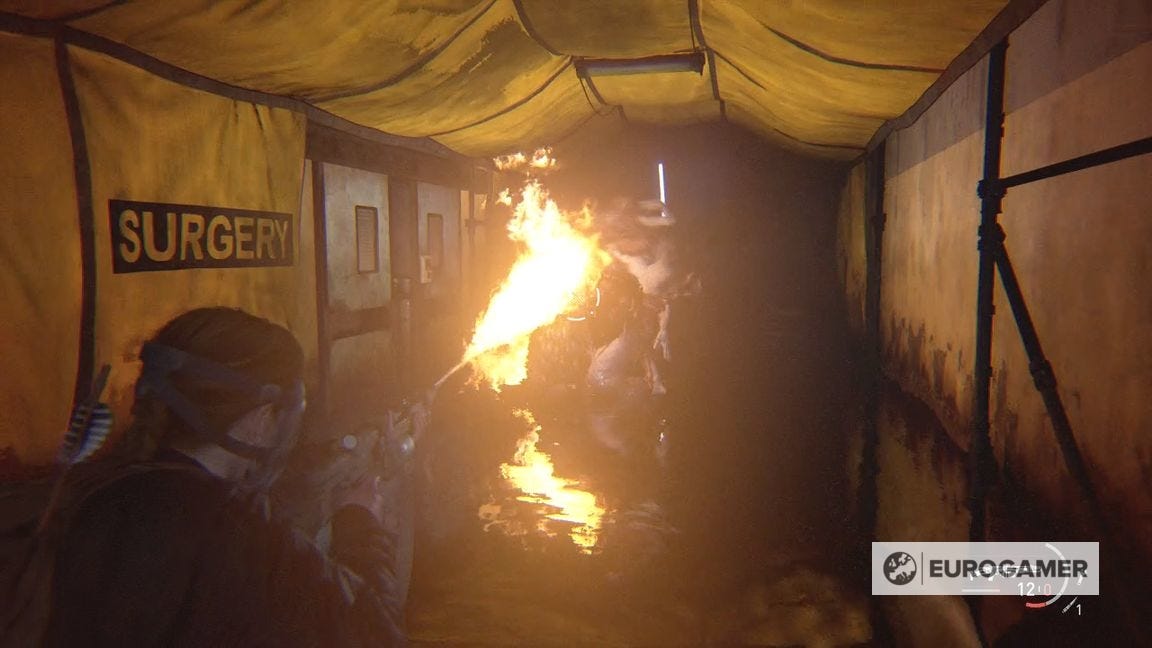
How to win the rat king boss fight in Ground Zero
This is similar to the bloater encounters - keep your distance and keep throwing your most powerful attacks at it, from shotgun shells to the flame thrower. If it catches up to you, you're dead in a single attack.

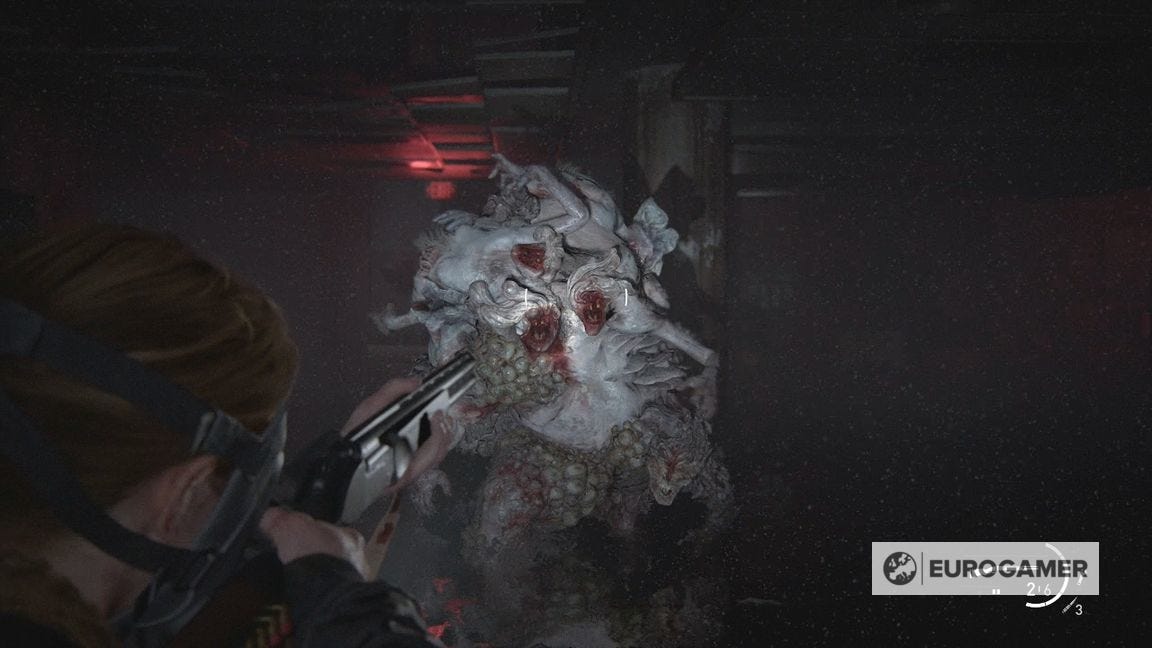
This rat king is surprisingly fast - so sprint away down the corridor and attack when at a safe distance. After enough damage it will stop momentarily, giving you a chance to flee, reload and reposition for when it follows you.
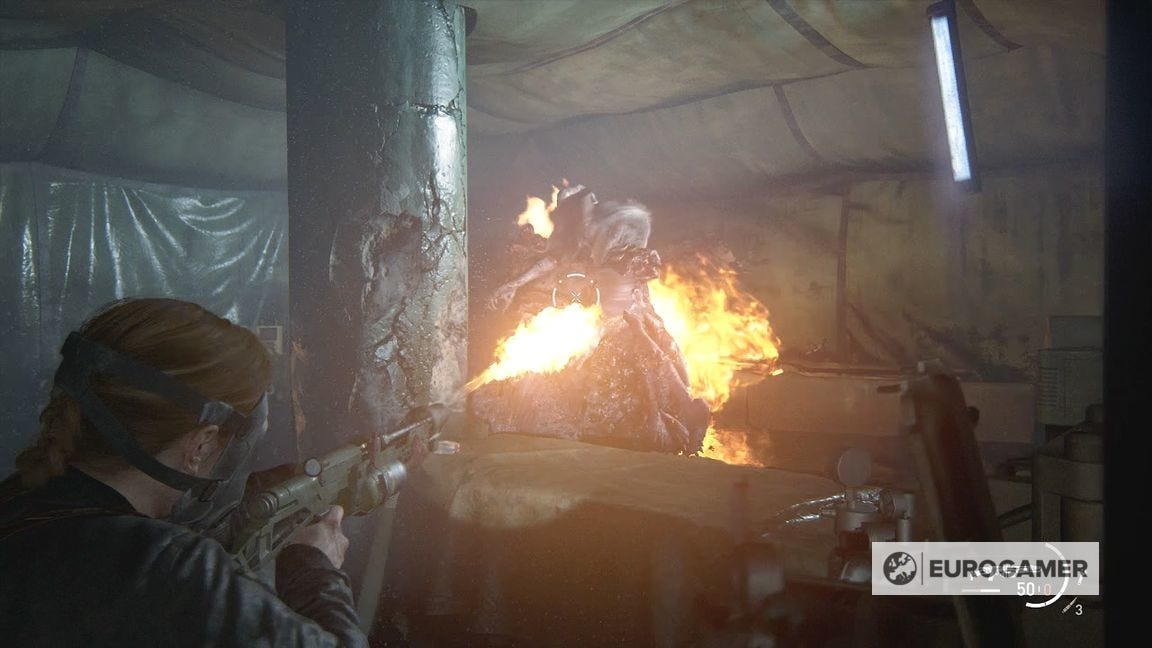
The area is a labyrinth of corridors that's bigger than you think, and always has an exit (plus plenty of supplies as you go). Use all this to keep a corner's distance from the rat king, and when it appears, take a few shots, then flee.
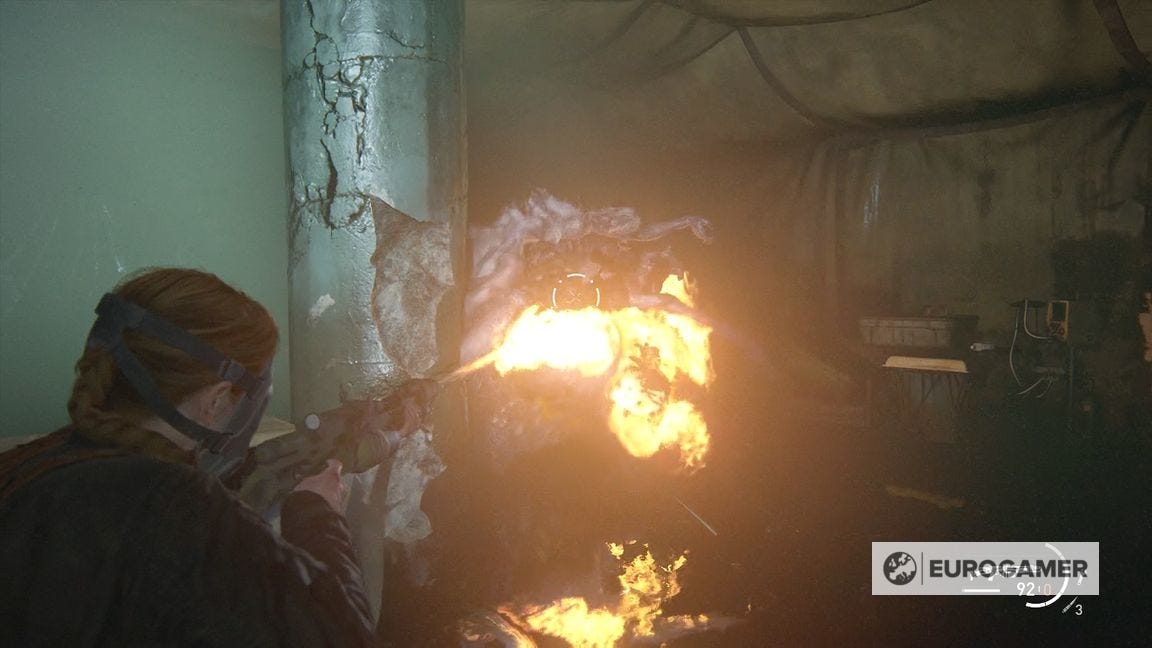
If you are down a long corridor, the hunting pistol is surprisingly effective, too - it doesn't have much stopping power, but the range and strength of the rounds means you can get some real distance and keep attacking in the right circumstances.
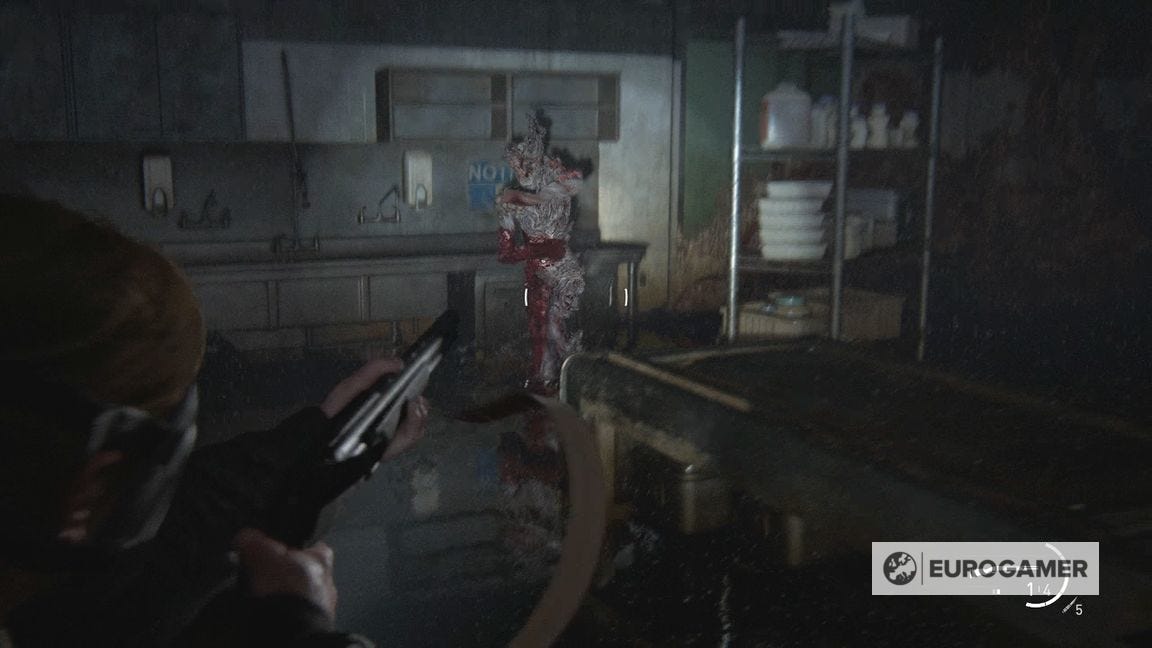
One particular room we found useful is 'behind' from where you start, at the end of the corridor. It's a dead end apart from a low covered object you can vault over, allowing you to lure the rat king boss from one side of the room, vault, shoot, vault back and repeat.
Eventually, a stalker-type enemy will split from the boss. This is more powerful than your regular stalker, but don't pay it too much attention unless you find it as you keep retreating - keep focusing on the boss, as if it catches up to you, you're toast.
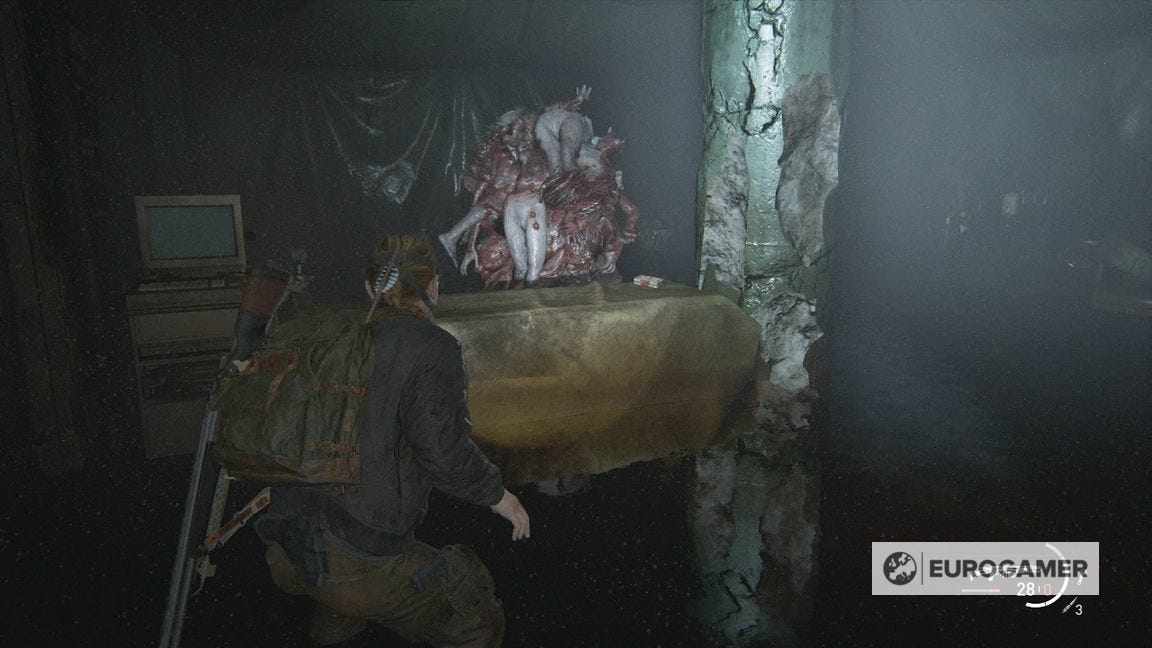
Keep fighting and fleeing until the rat king goes down.
Sweep the entire area for supplies - there's a lot of ammo and crafting items dotted around - and to exit, you need to go right into the far corner from where you begin.
You'll notice the stalker-type enemy flee through the door to show you where to go.
Follow it up into the rafters to the right, then crawl into a cutscene where you drop down below.
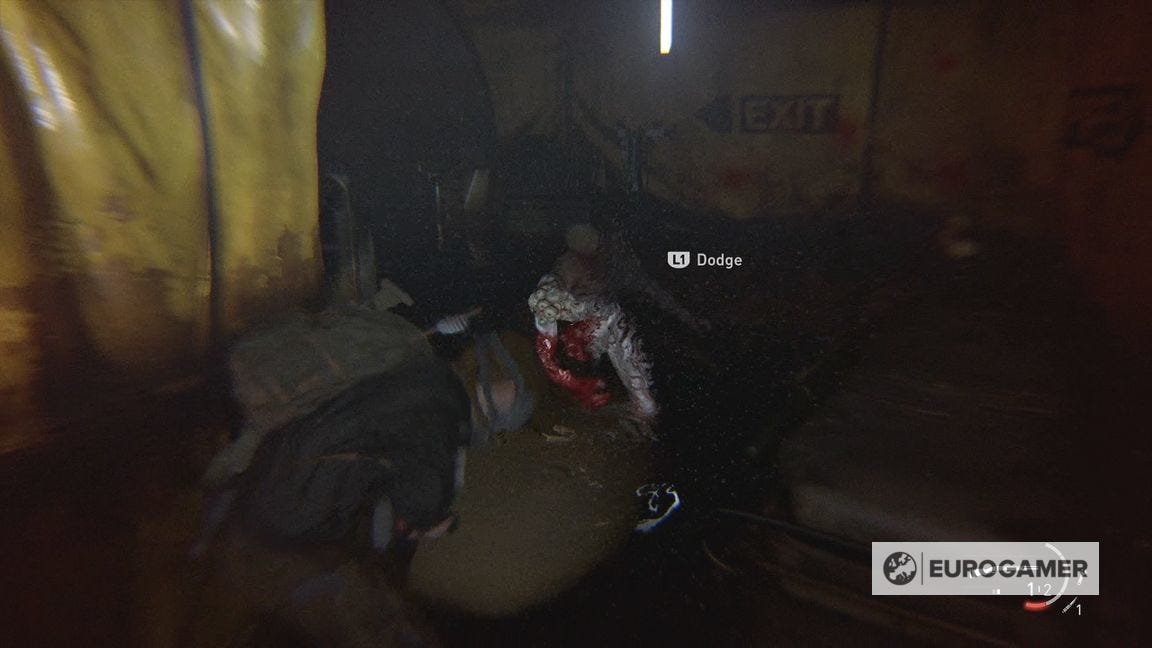
This is another boss-style encounter with the stalker-type creature. It's just as evasive as a regular stalker, but can throw acid bombs and take more damage.
It'll alternate between hiding and running at you - we found waiting until the latter and attacking with the shotgun to be the most effective strategy.
Once defeated, grab the supplies around the area, then take the shutter door out into the garage area.
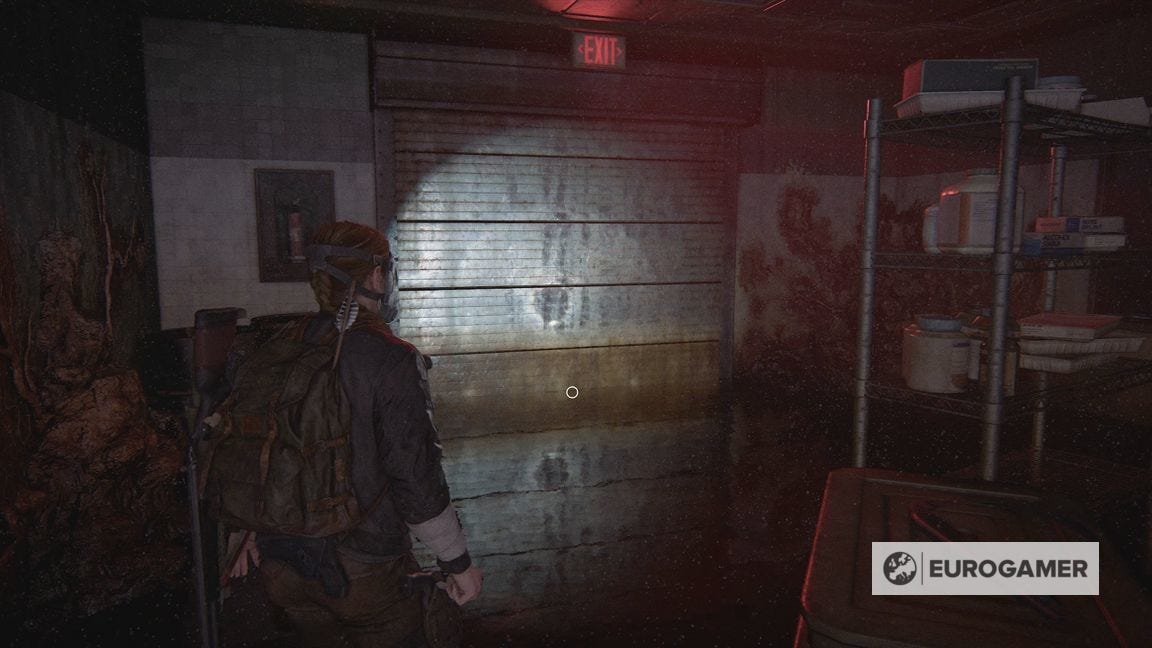
How to escape the Ground Zero basement
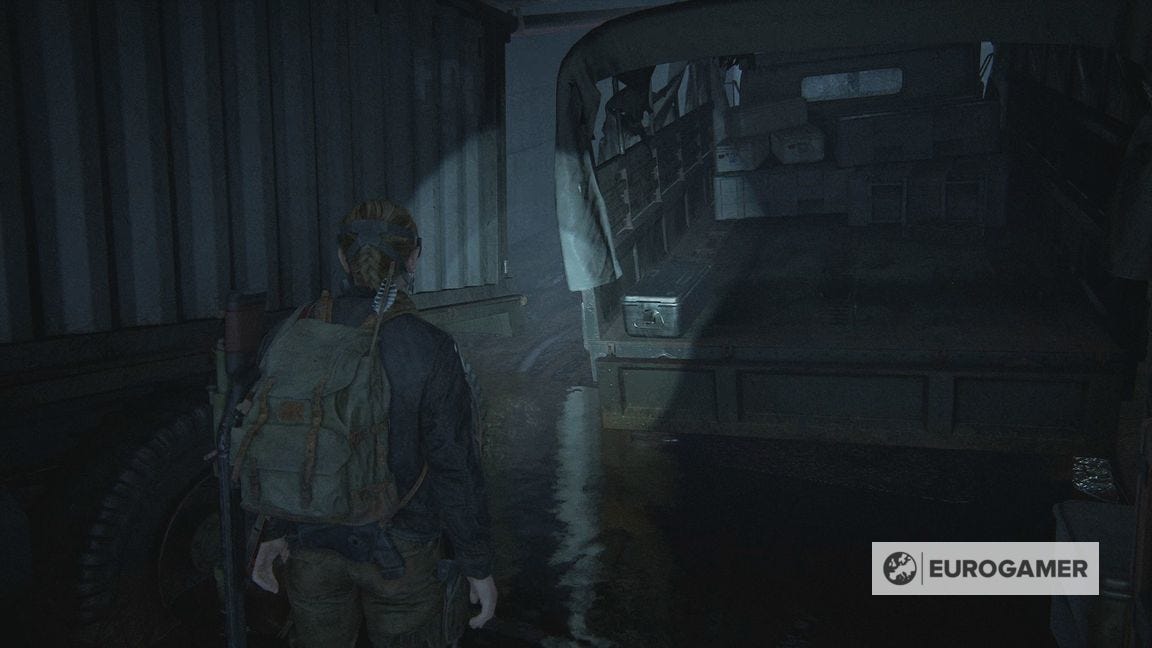
Once through the shutter, you'll be in an area with trucks and vehicles.
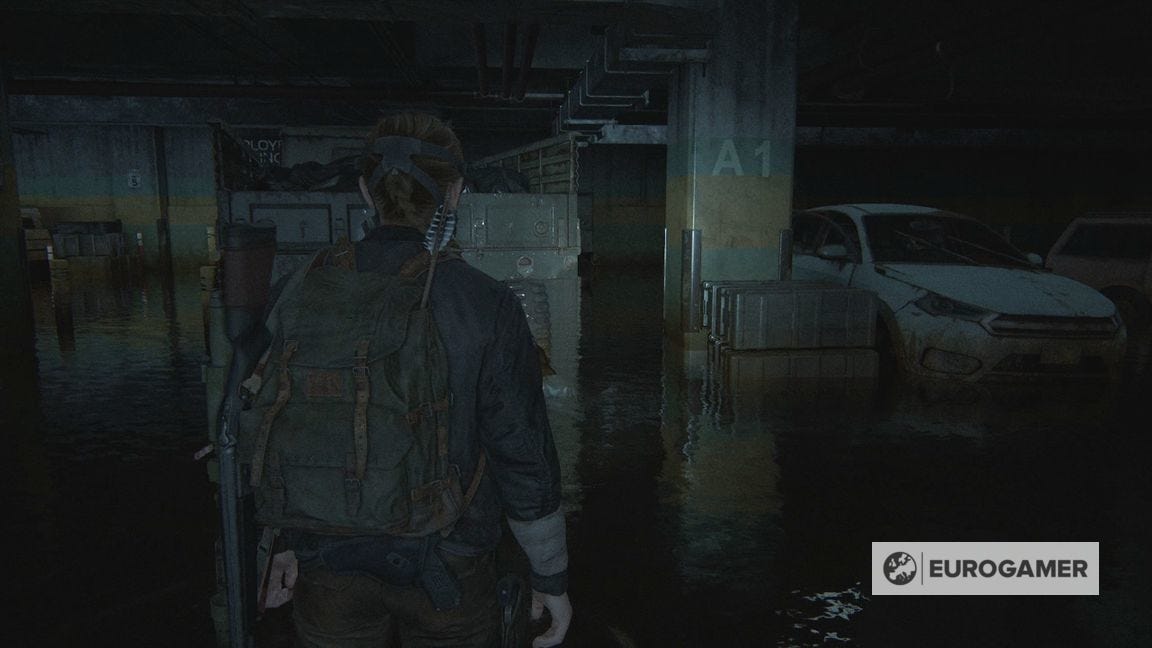
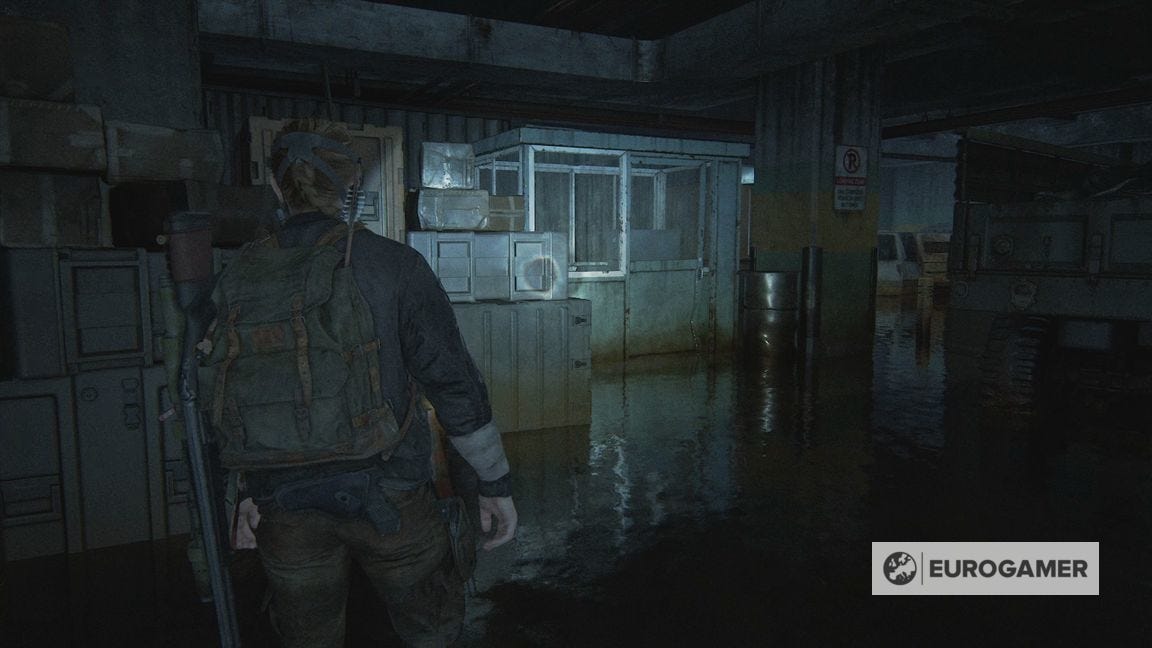
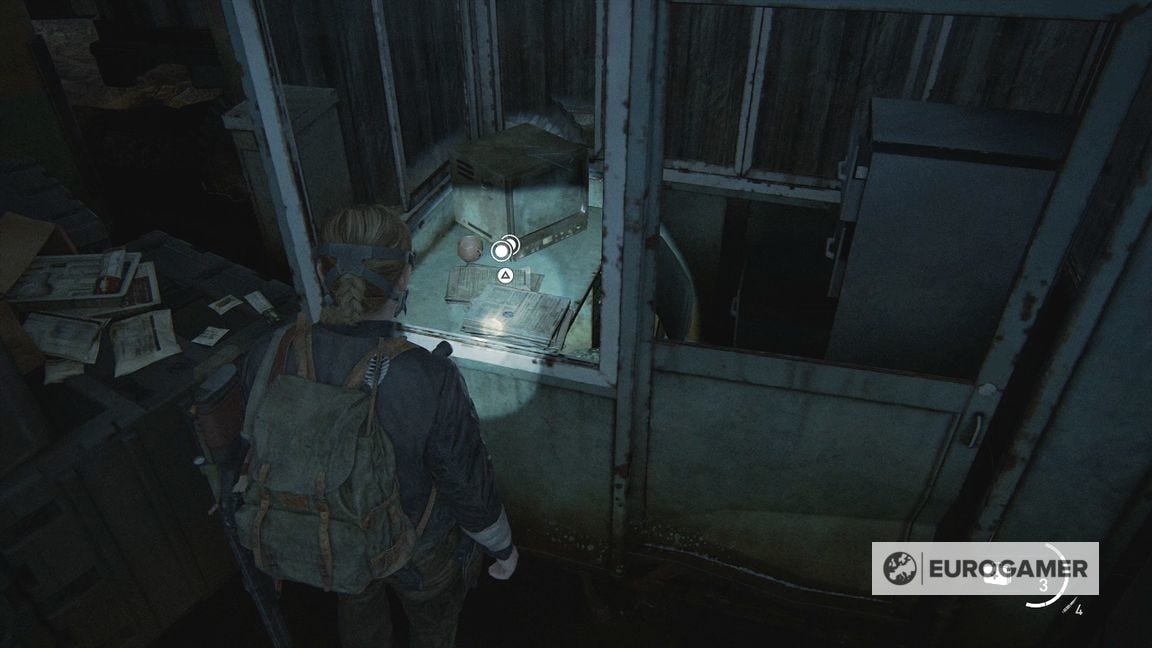
Turn left straight away, where there is a closed off booth. There is the Hawaii Coin visible on the desk - you can grab it by smashing the left window.
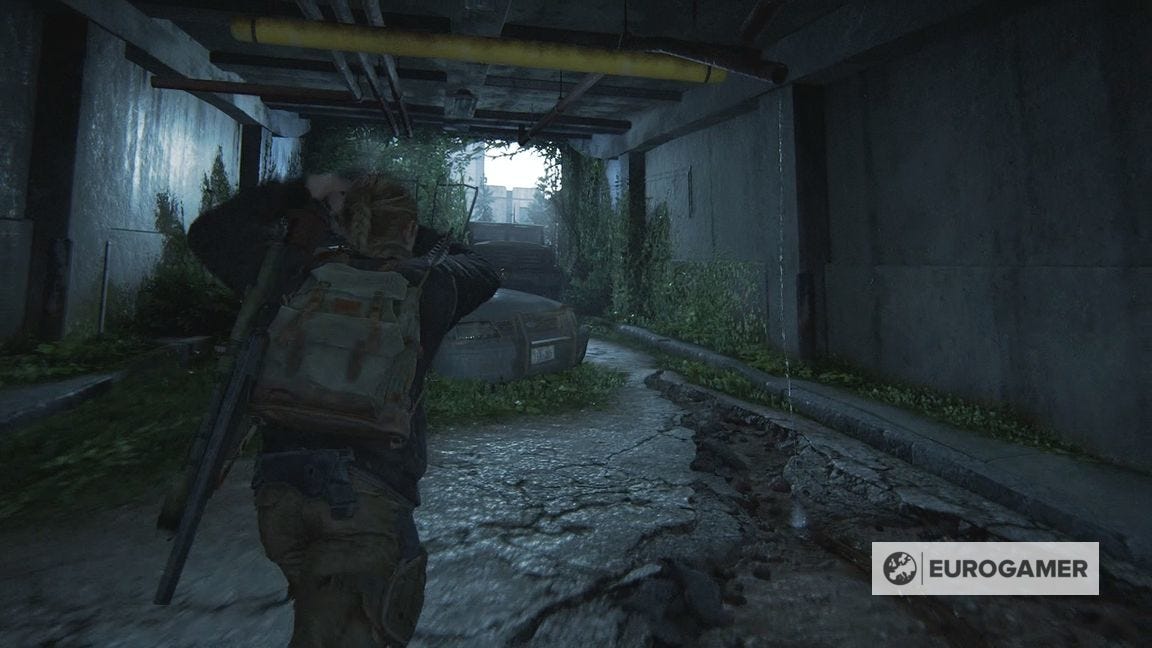
To leave, hug the left wall until a ramp with some trucks in the way. Grab the supplies in the back, then squeeze through the middle of the two vehicles.

Proceed on to the exit and the end of the chapter.
Next up is Return to the Aquarium.