The Last of Us Part 2 - Finding Strings: All items and how to explore every area
How to complete the Finding Strings area and find everything along the way.

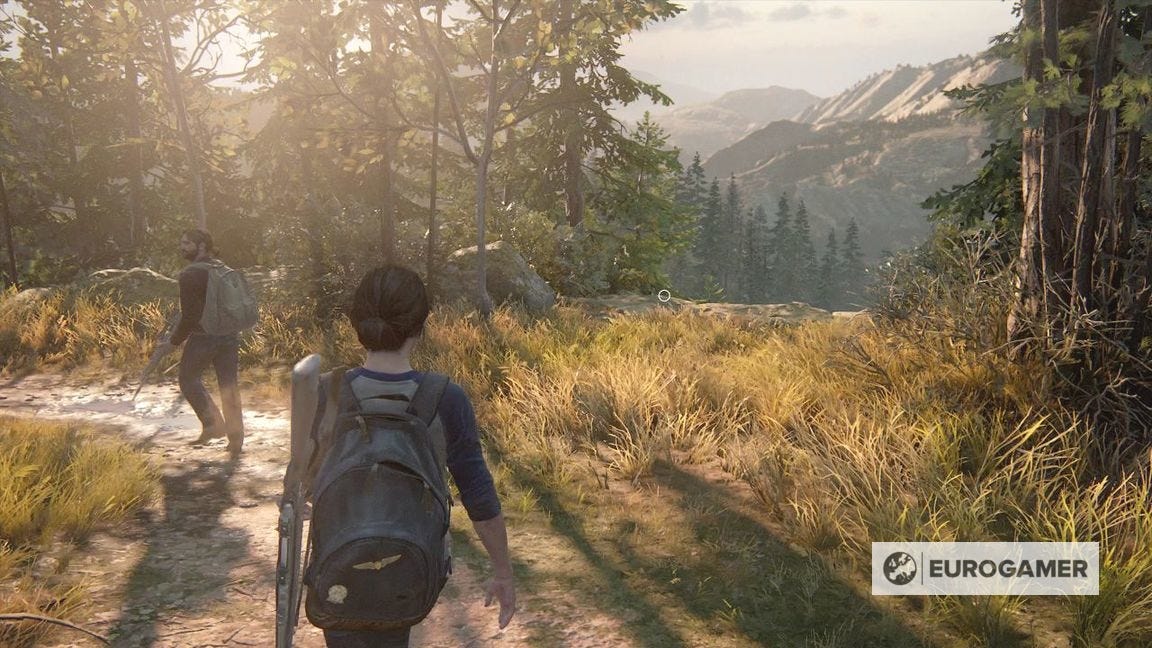
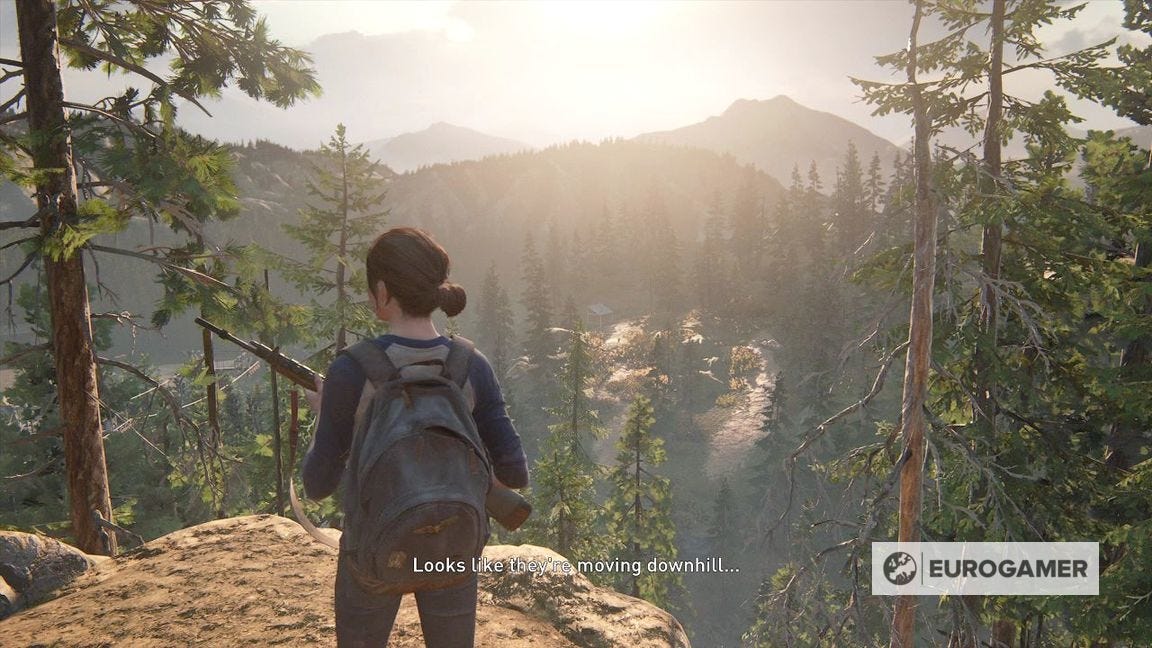
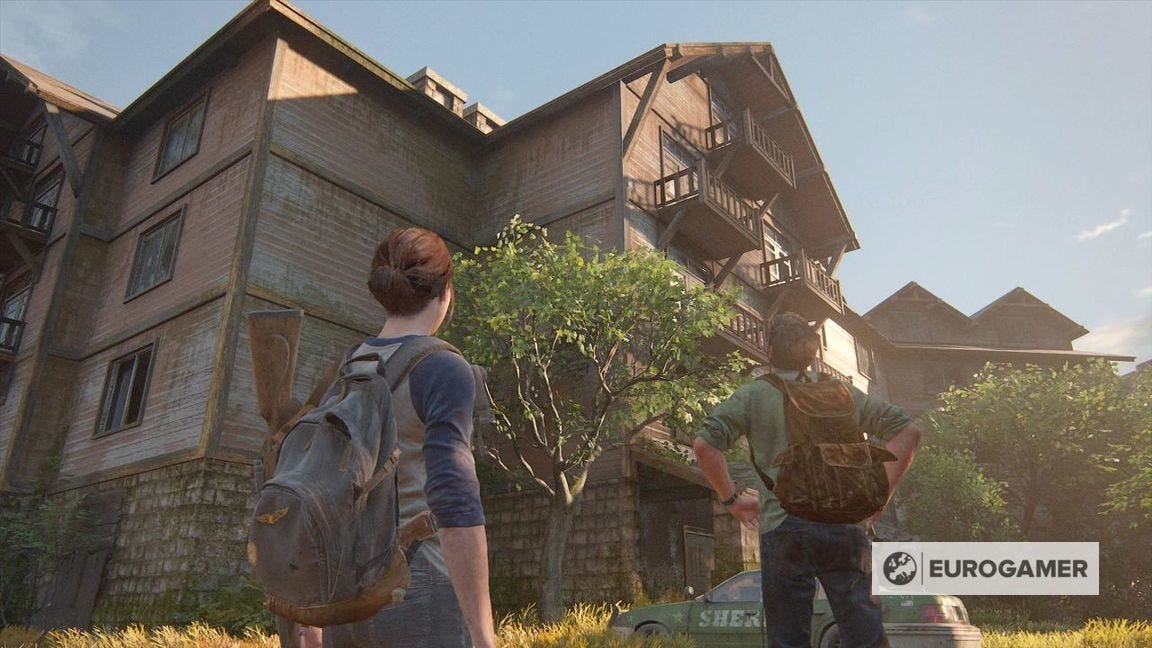
Finding Strings follows on from The Last of Us Part 2's Hillcrest area.
Another flaskback with Joel, this has you explore a hotel in the search of some guitar strings.
As always, expect a few missable items along the way - which we explain where to find on this page.
On this page:

Looking for help in other areas of the game? See our The Last of Us 2 walkthrough and collectibles hub.
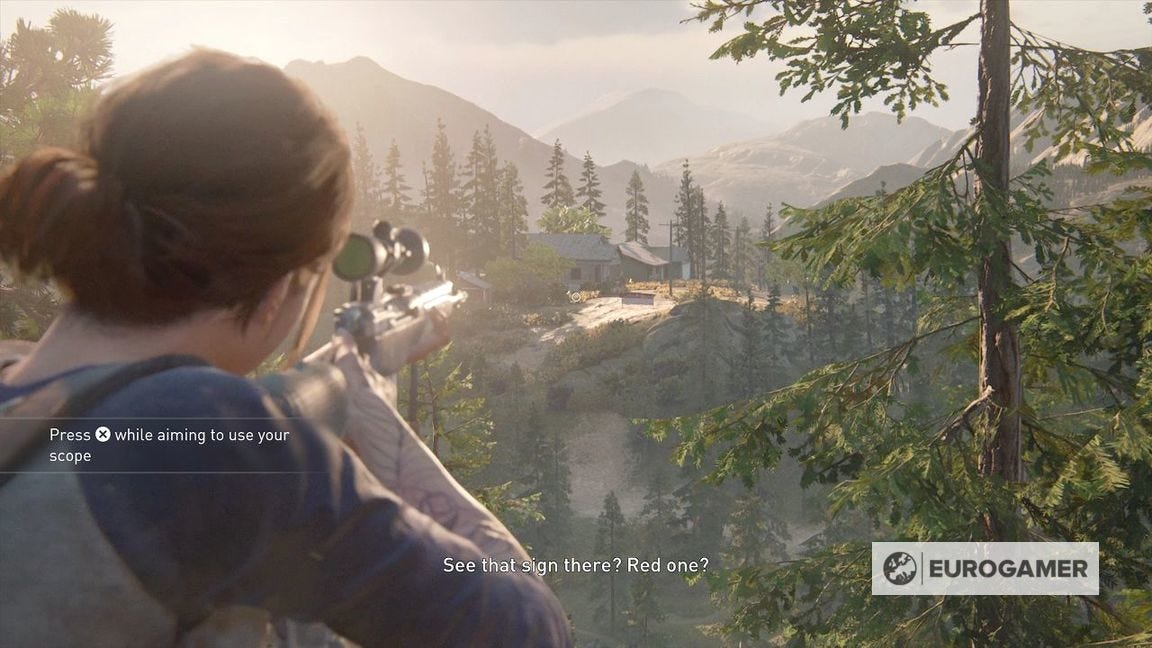
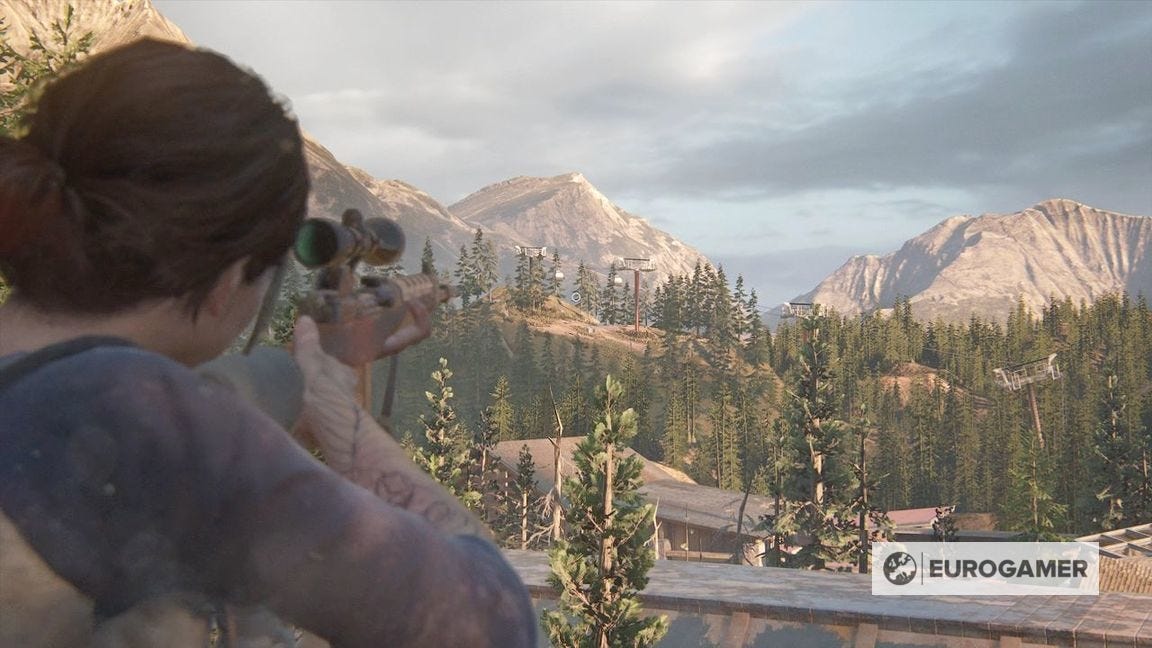
Target practice with Tommy in Finding Strings explained
At the very beginning, go right to the view for a Journal Entry.

Follow Tommy and accept the rifle. First, hit the red sign. The key is to aim above - three notches above - to compensate for the bullet drop.
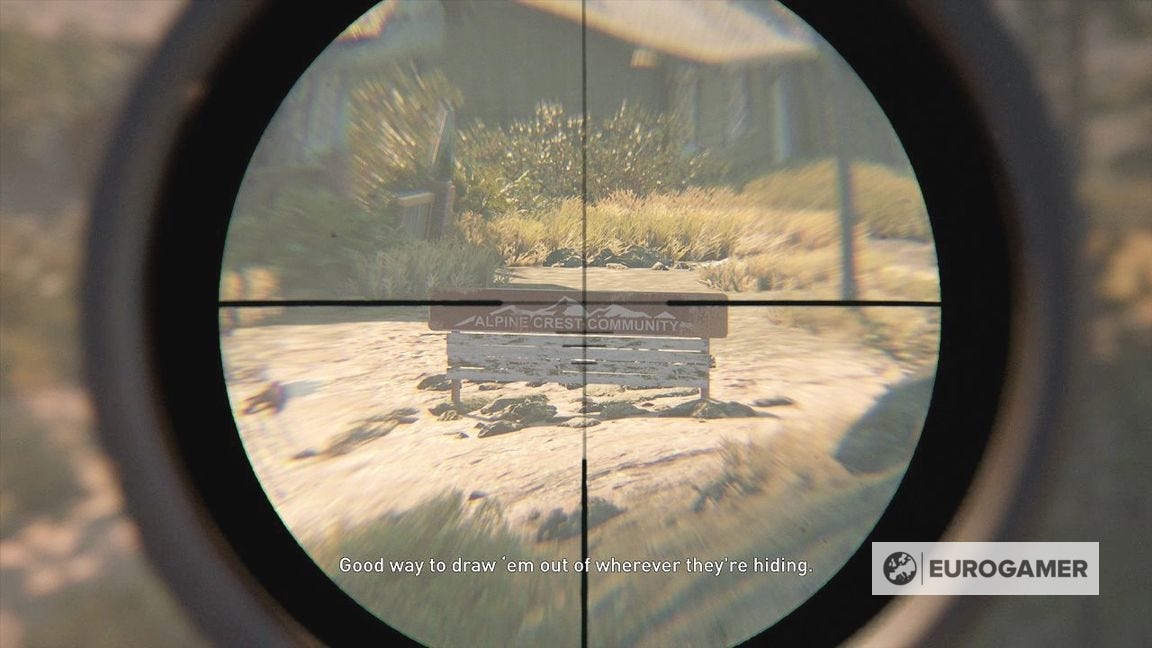
This draws infected out. Landing a hit anywhere will kill them.
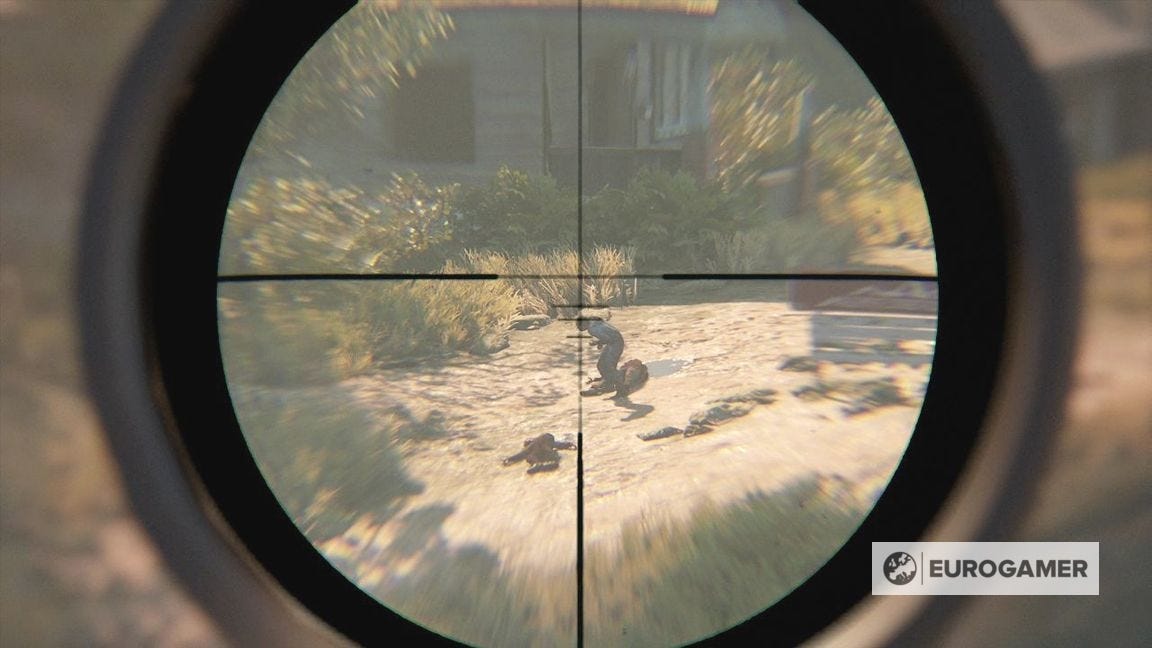
There's another group[ on the corner. If you can't find them, can the shed-truck-deer corpse areas as they move in between.
Next set are way in the distance by the ski lifts. You need to use the bottom-most notch to reach them.
Once done, hand over the rifle and follow Tommy down. Enter the building for a cutscene.
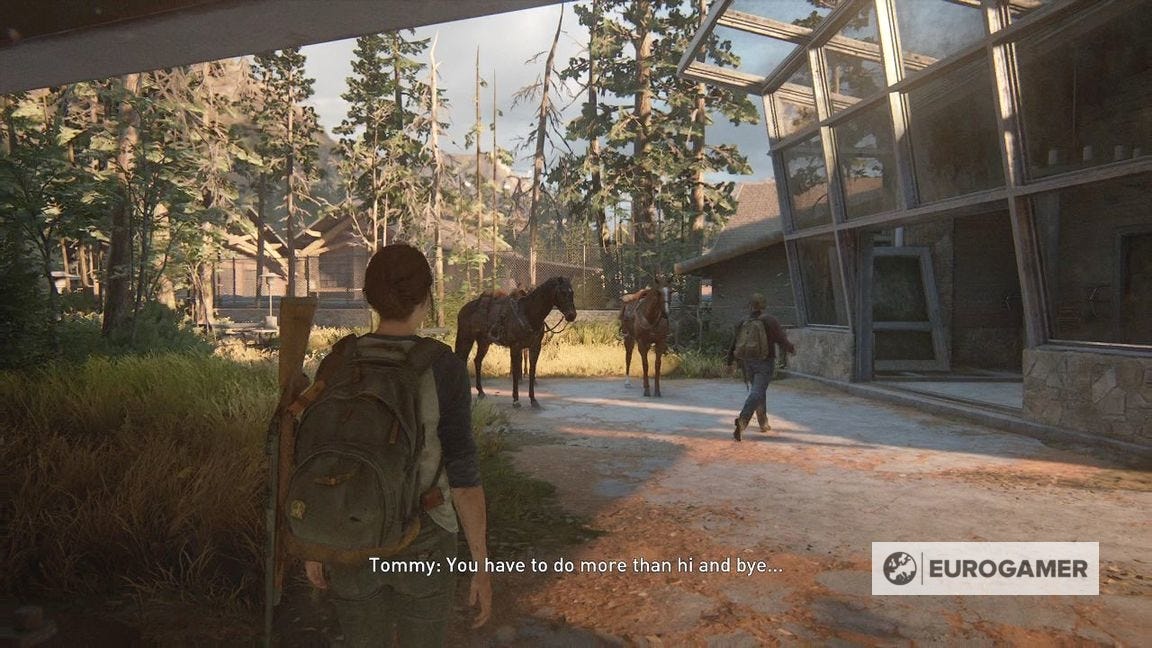
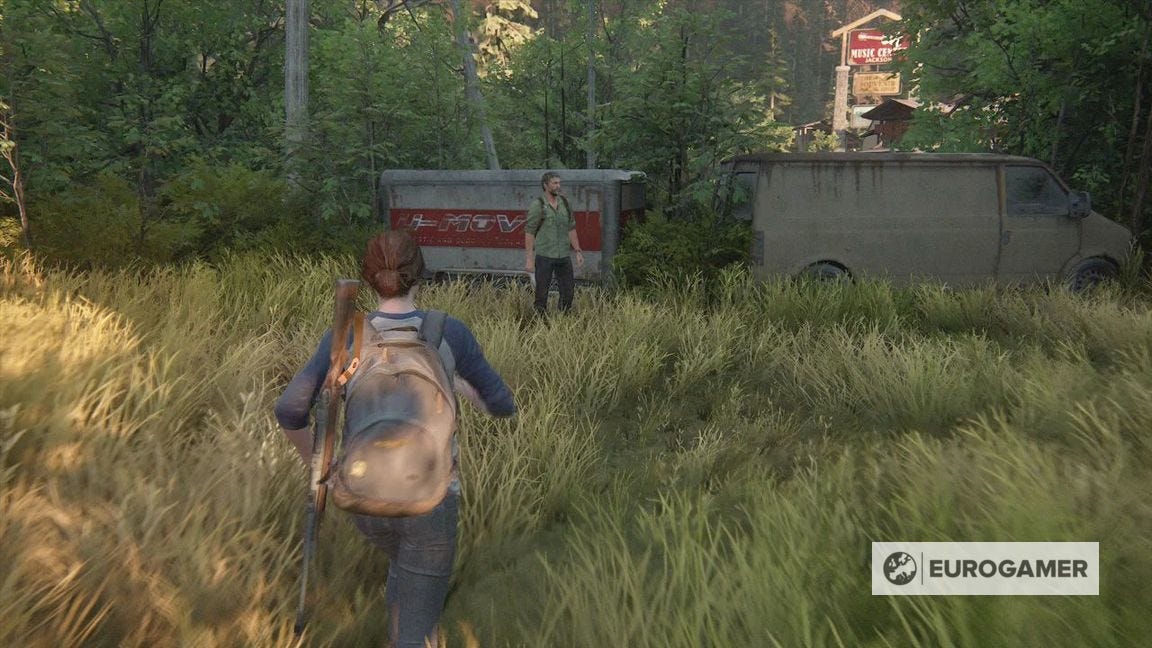
Follow Joel on horseback. When you get off, follow him over the wall, then climb the red and white van.
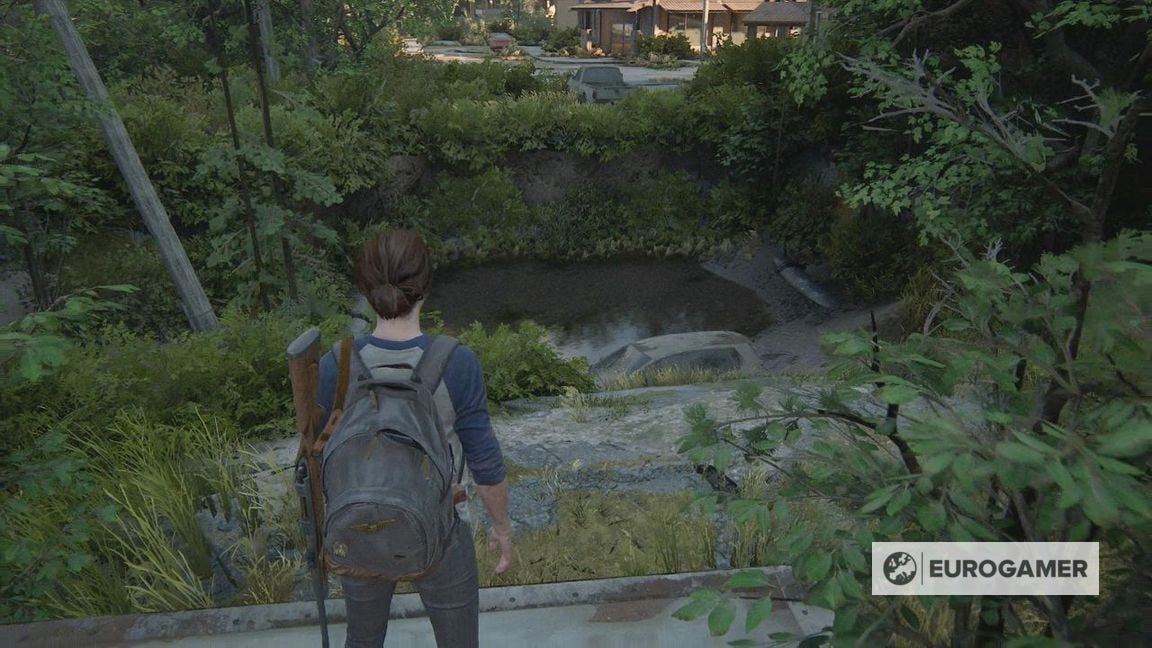
Here is a crater.
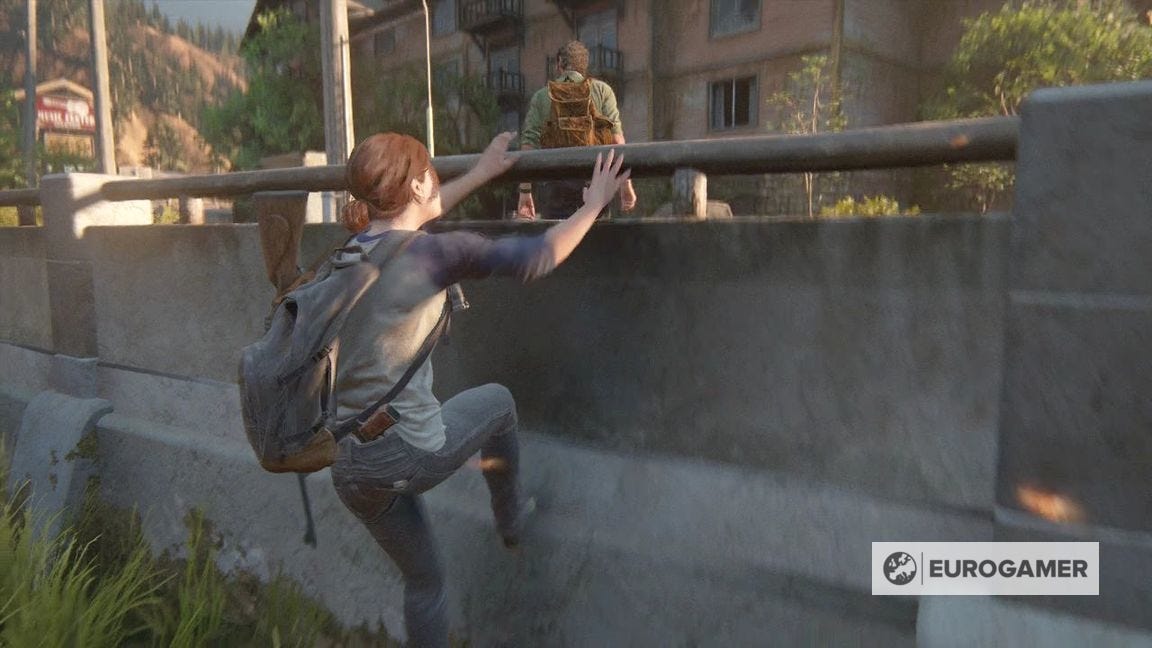
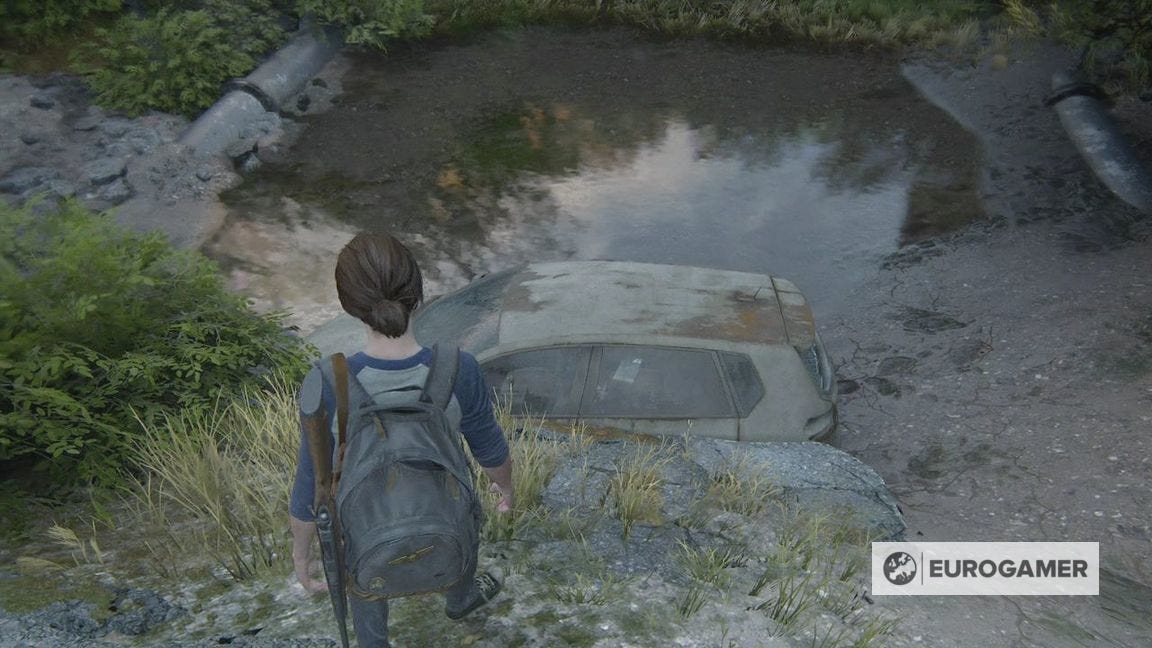
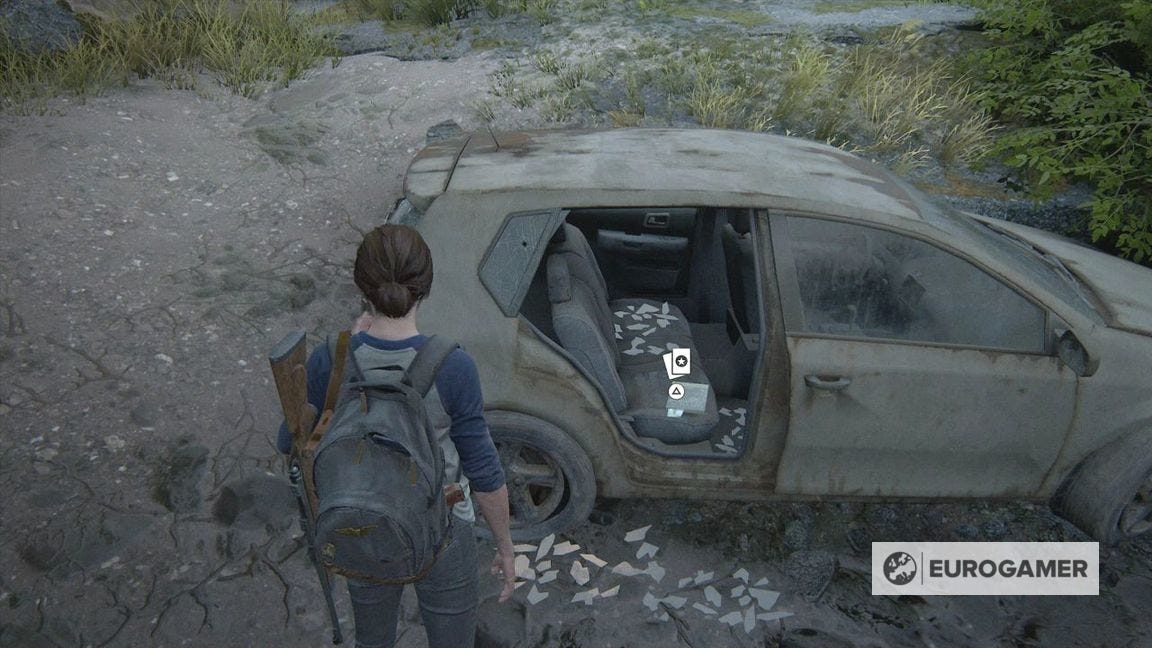
Before you go to the hotel, check the other side of the car below for the The Augstringer Trading Card.
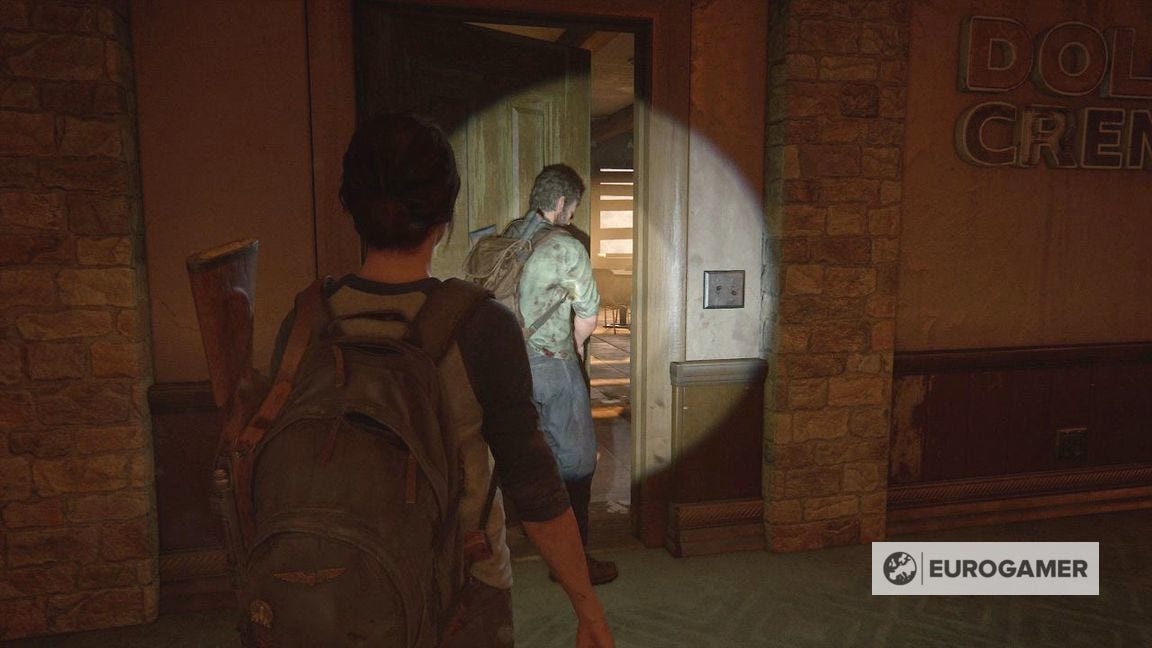
Exploring the hotel in Finding Strings
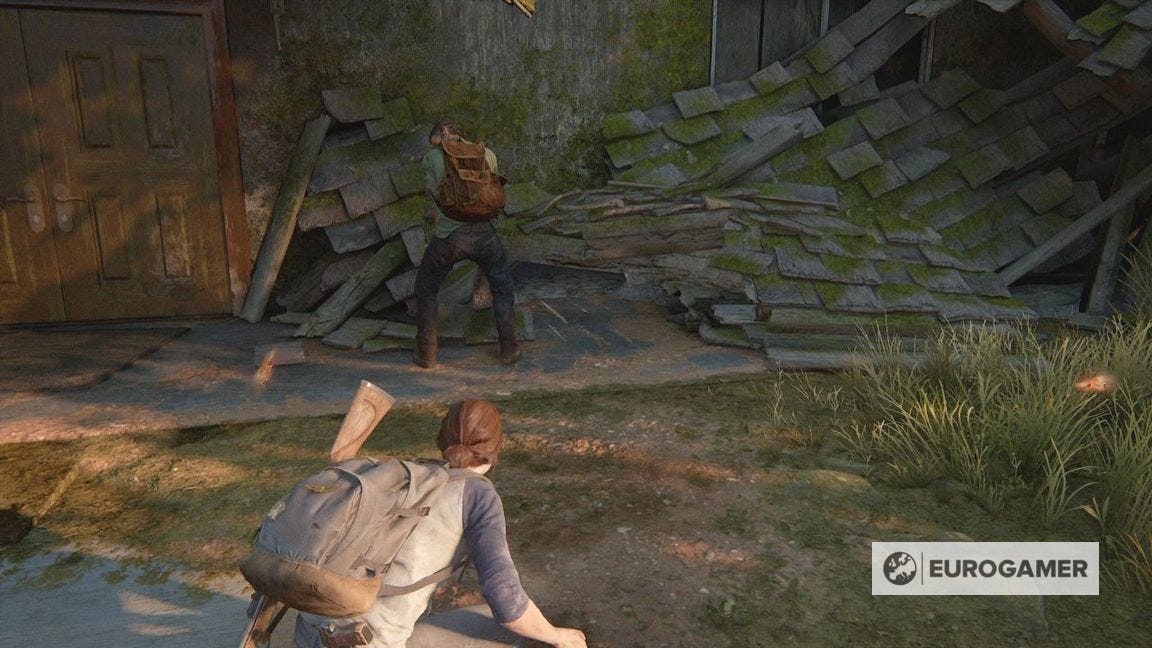
To get into the Hotel, follow Joel back round the corner and check the doors.
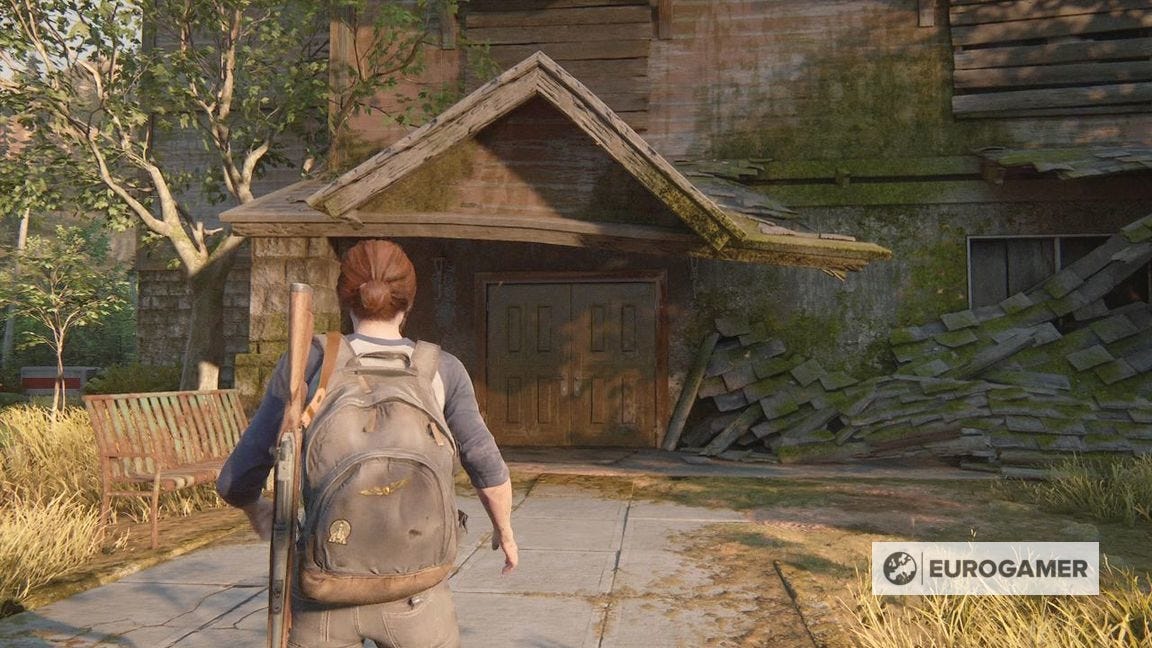
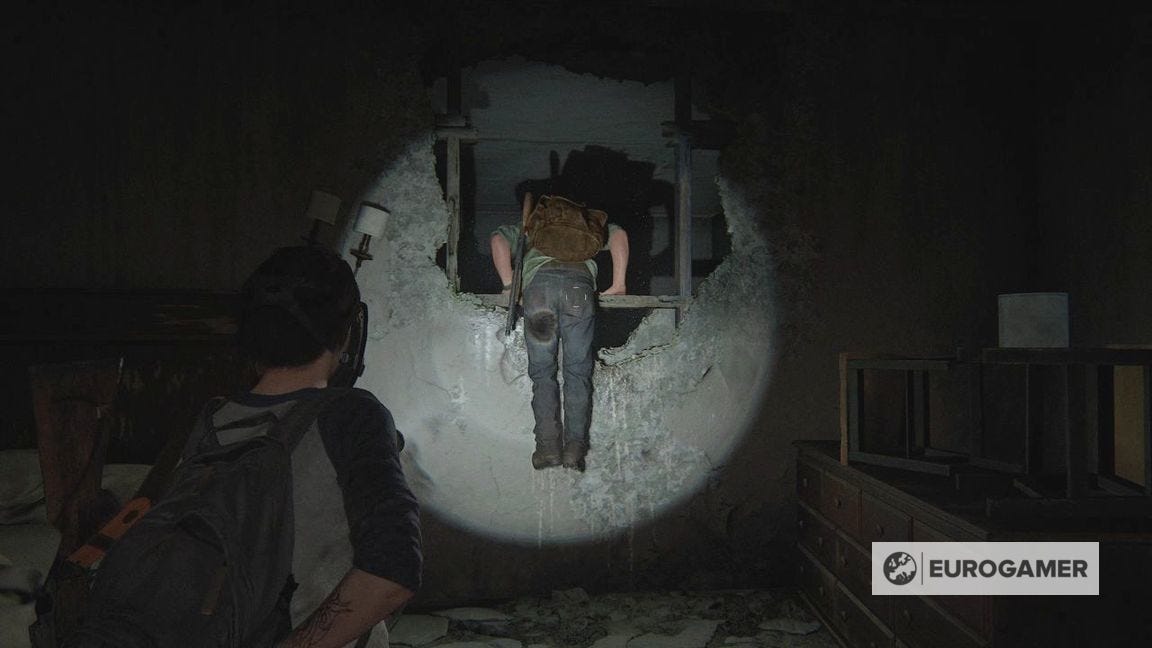
This will prompt Joel to lift the debris so you can crawl through.
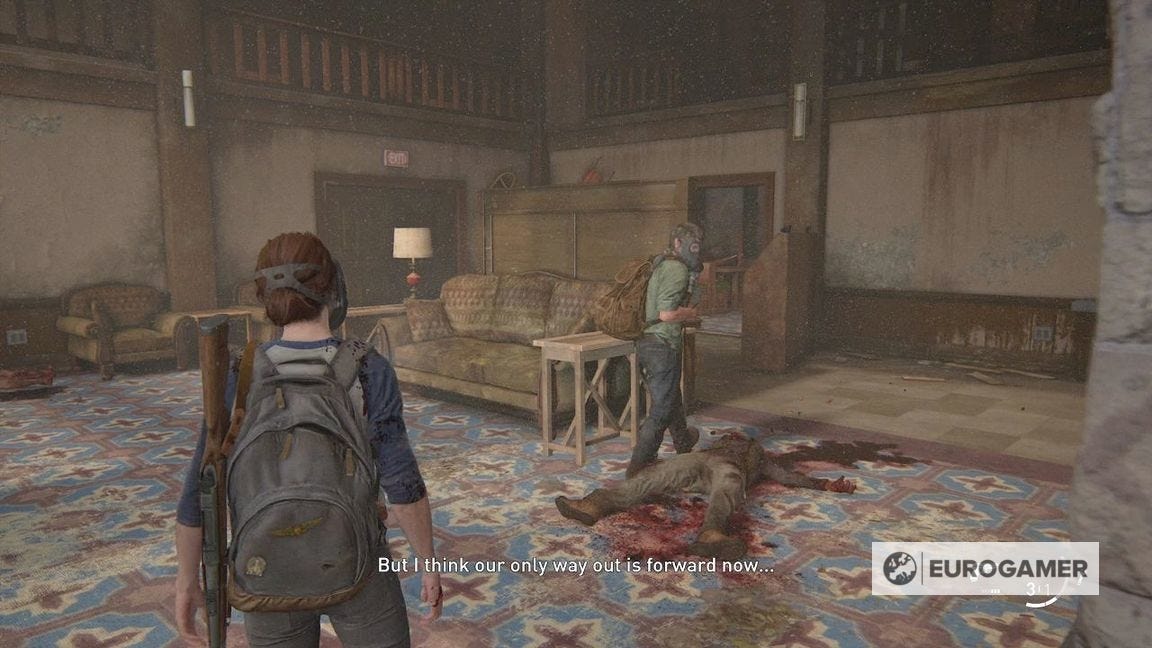
Once inside, go out the room, left round the corner and let Joel in via the doors.
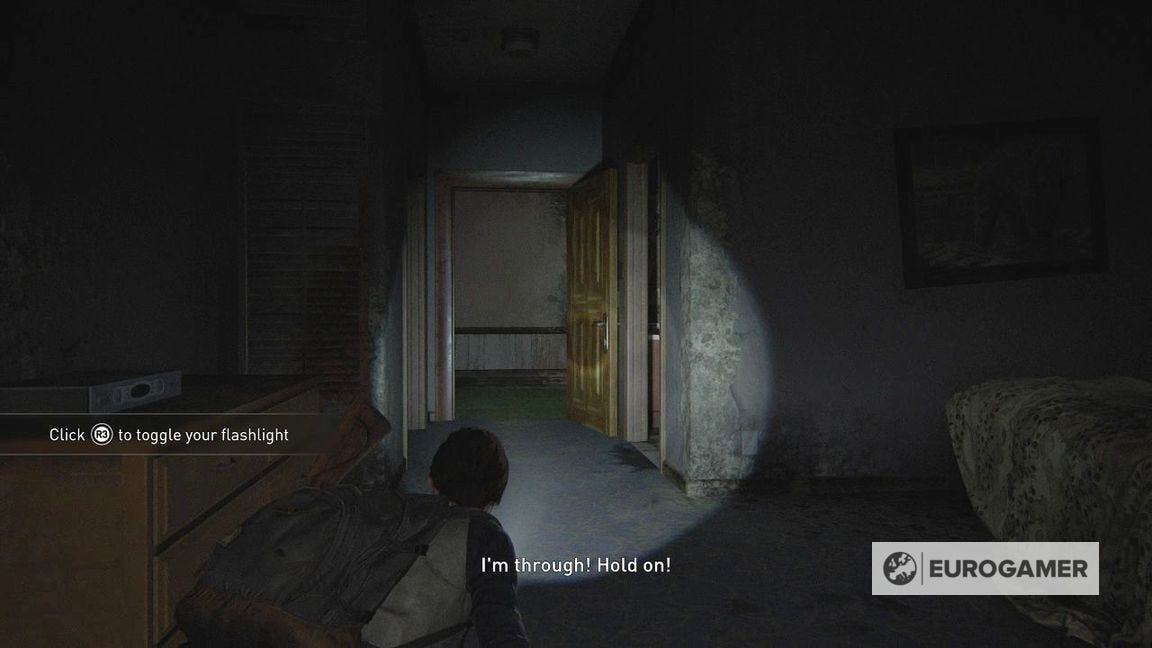
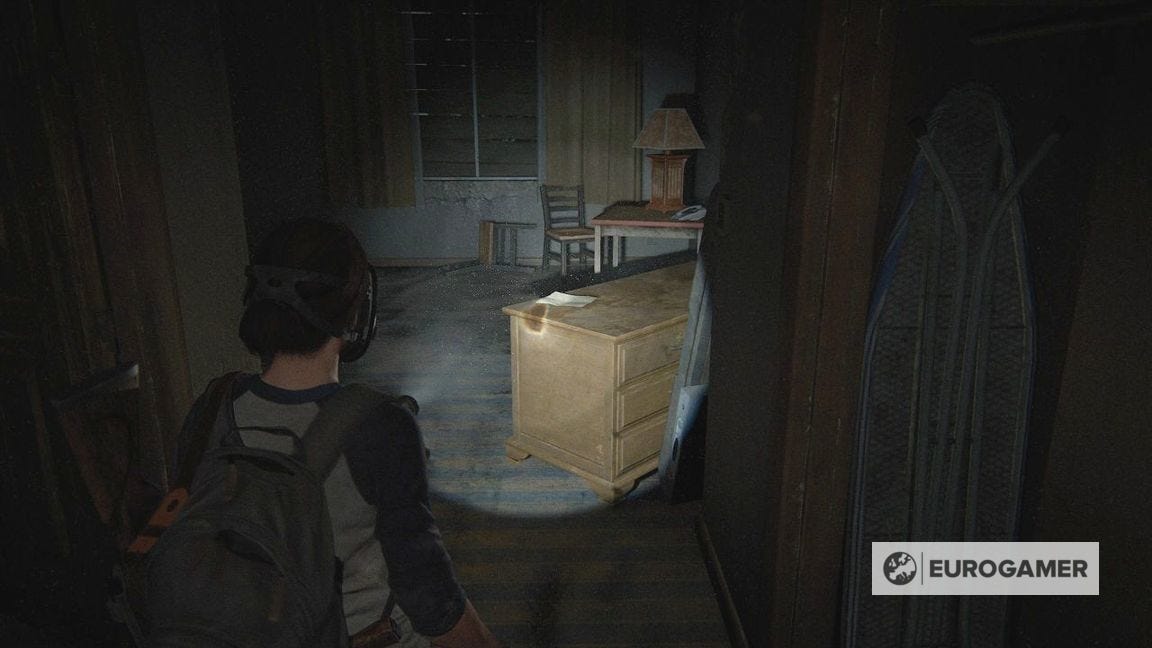
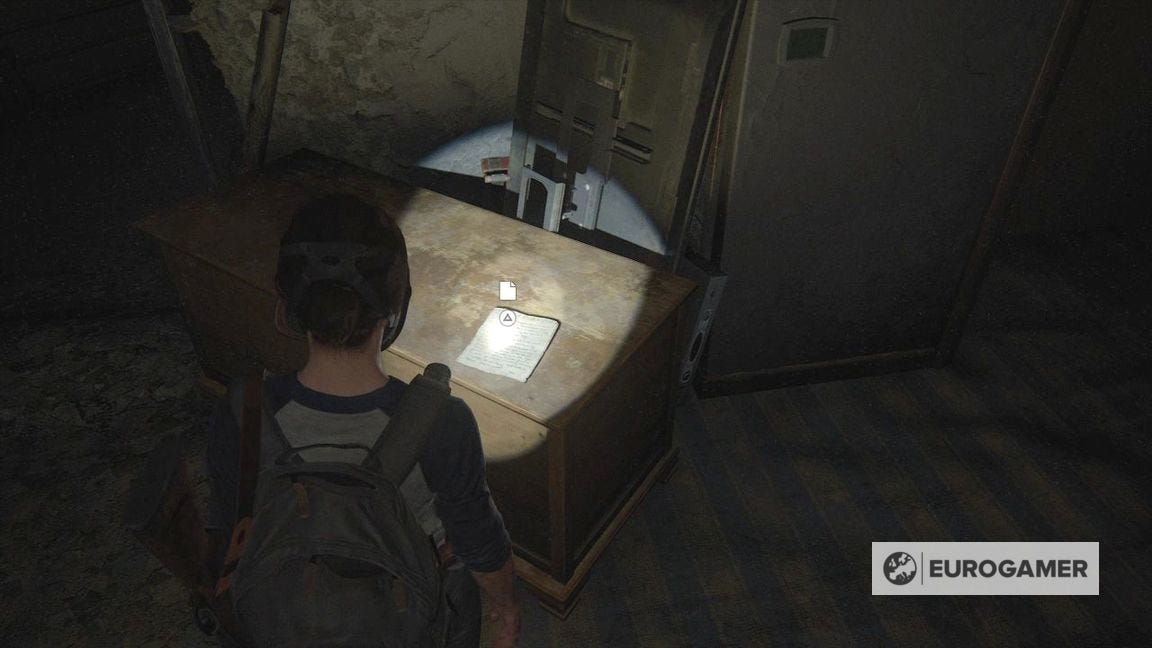
Follow Joel through the building. One you emerge out of a room and into the corridor, enter hotel room 107 opposite.
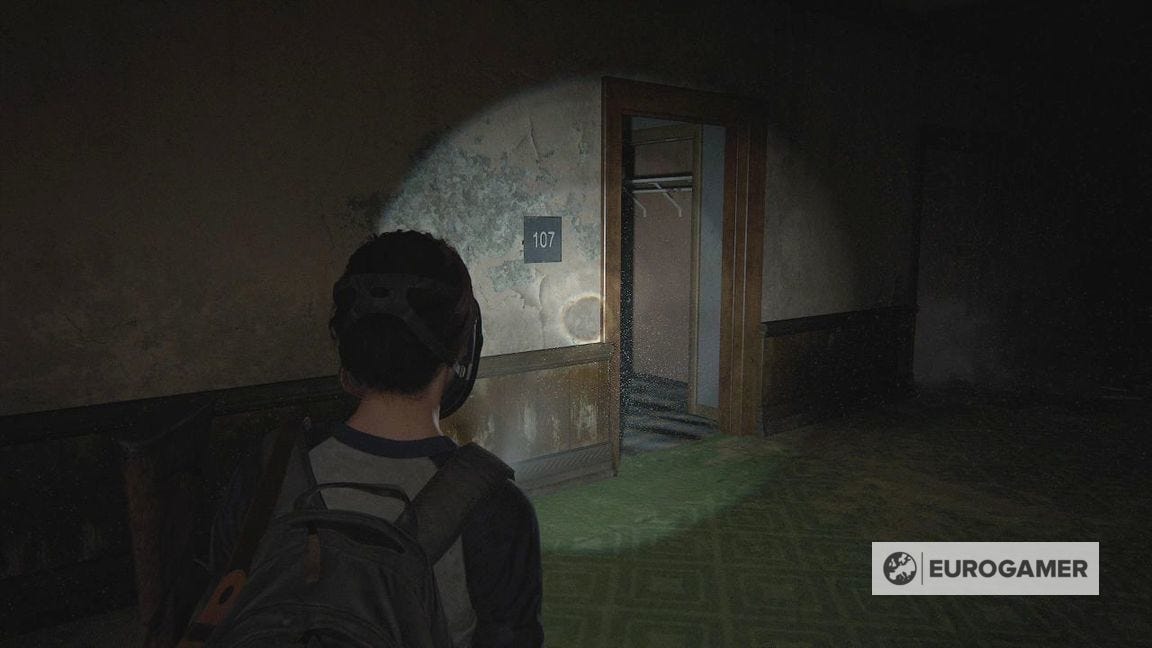
Inside on the table is the Tara's Invitation Artefact.
Follow Joel onward until you reach some infected. There is another wave after you attempt to open the double doors in the other side of the room, dropping in from above, so try not to get overwhelmed.
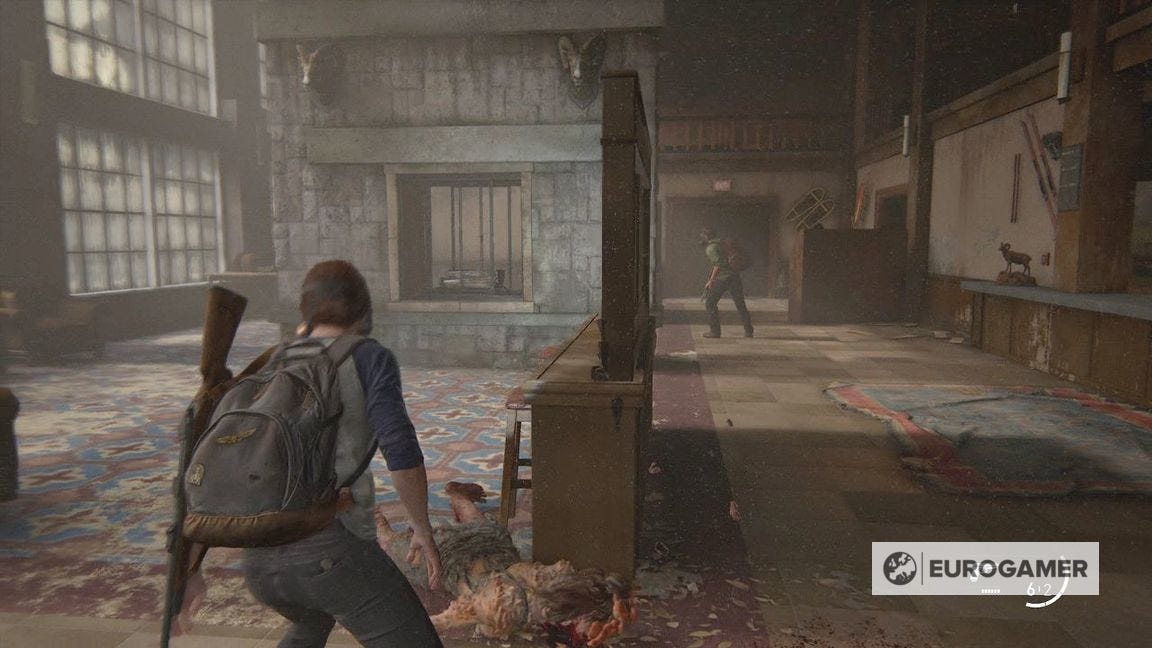
Once done, you need to return to those double doors to escape the hotel.
Follow Joel in-between the walls until the Bloater encounter.
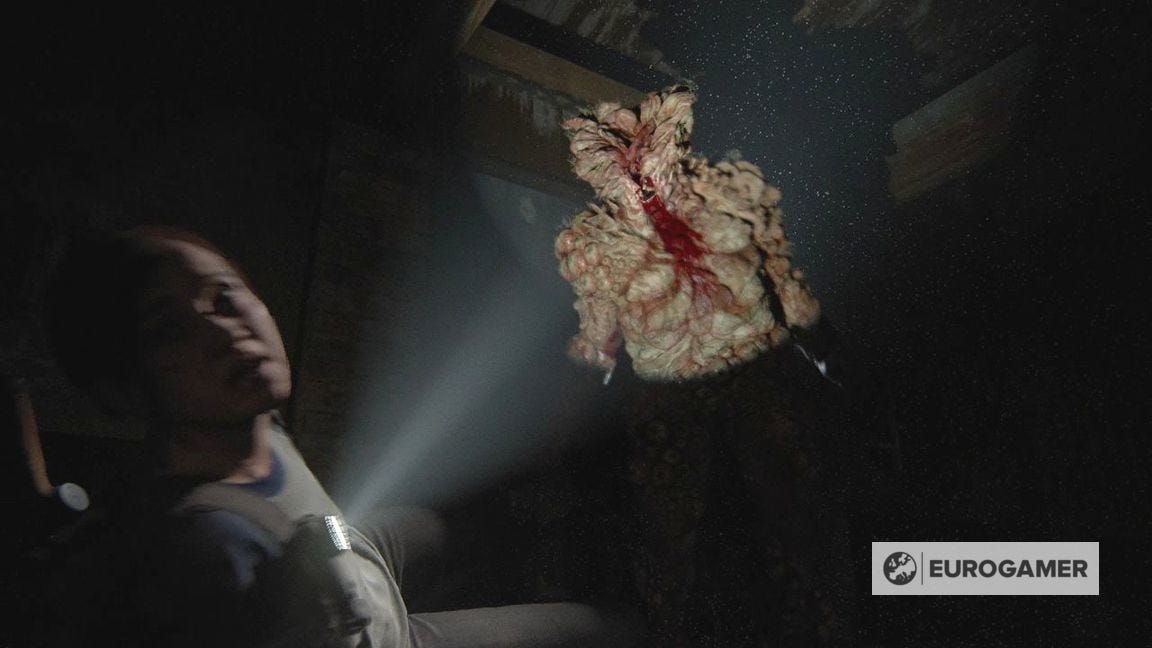
This is a boss-like enemy you need to whittle away at with bullets. Bloaters are slow but powerful, so keep your distance, and dodge out of the way with L1 if it gets close enough.
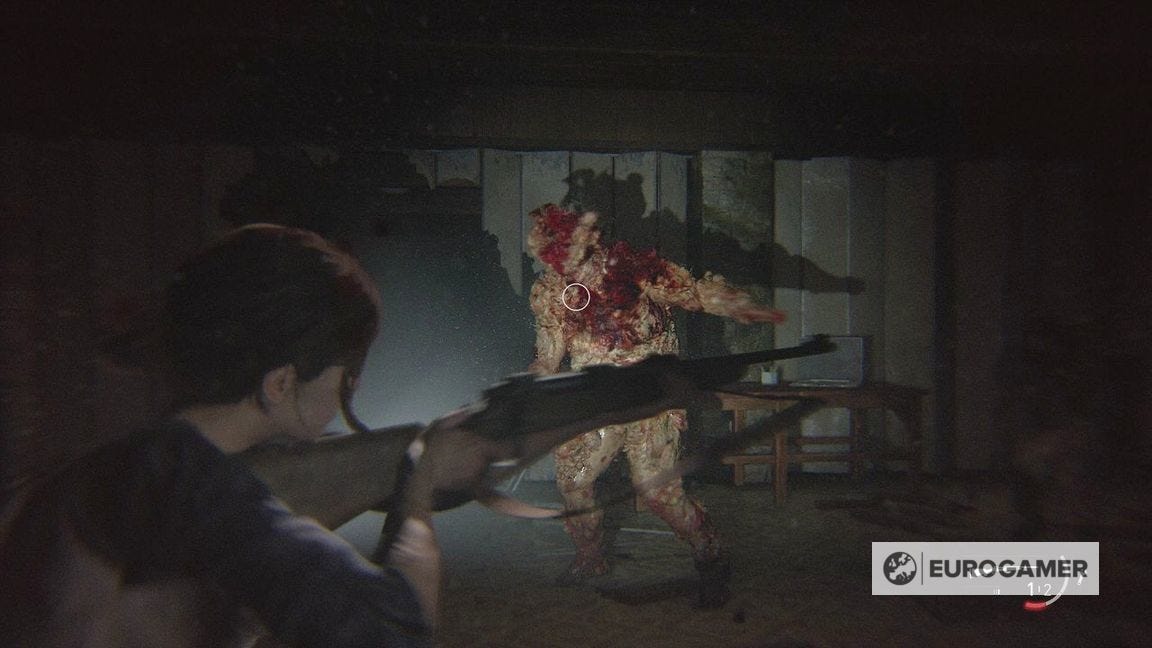
Other infected will appear throughout the fight, so watch your six. Remember you can retreat back to the outside corridor if you need a bit of space, or to find ammo or health - there's supplies dotted all around you can grab.
After the battle is a cutscene. From here, the rest of the chapter is linear - just follow Joel throughout the hotel until the cutscene at the end.
With that done, it's time to return to the present - with the lengthy The Seraphites chapter.