The Last of Us Part 2 - Courthouse: How to get the Courthouse Garage and get all items
How to complete the Courthouse area and find everything along the way.

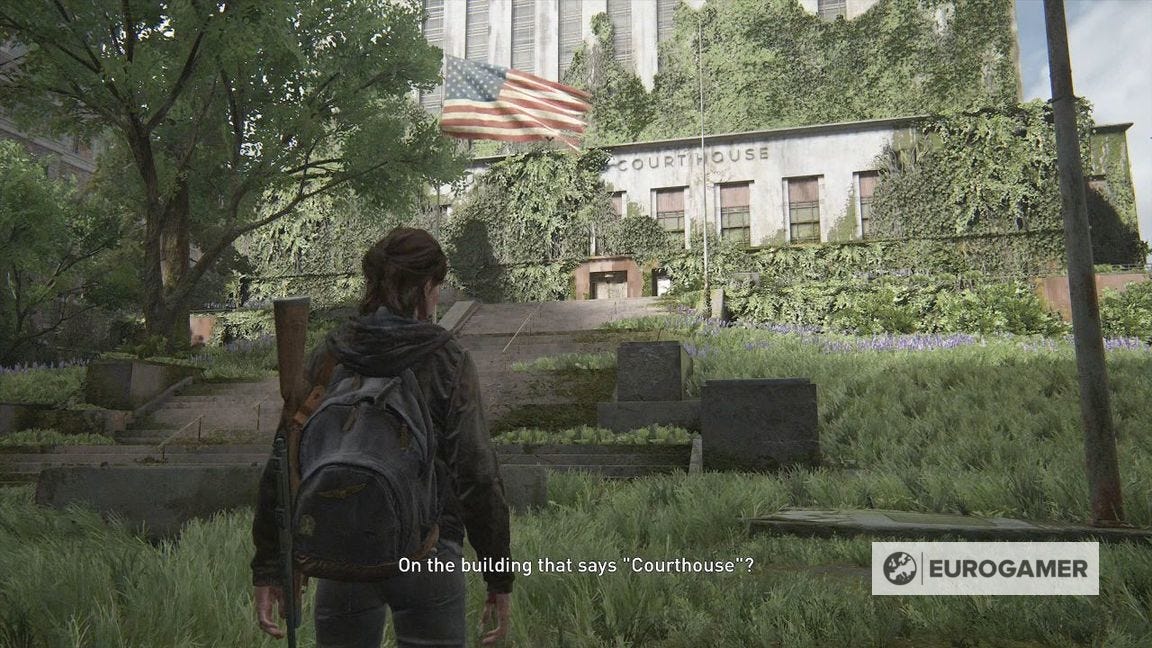
The Courthouse is a location within The Last of Us Part 2's Downtown Seattle area.
Within is a mandatory location, the Courthouse Garage, and you need to visit this area - as well as the Dome - in order to progress the story to the Serevena Hotel.
On this page:

Looking for help in other areas of the game? See our The Last of Us 2 walkthrough and collectibles hub.
How to find and enter the Courthouse location
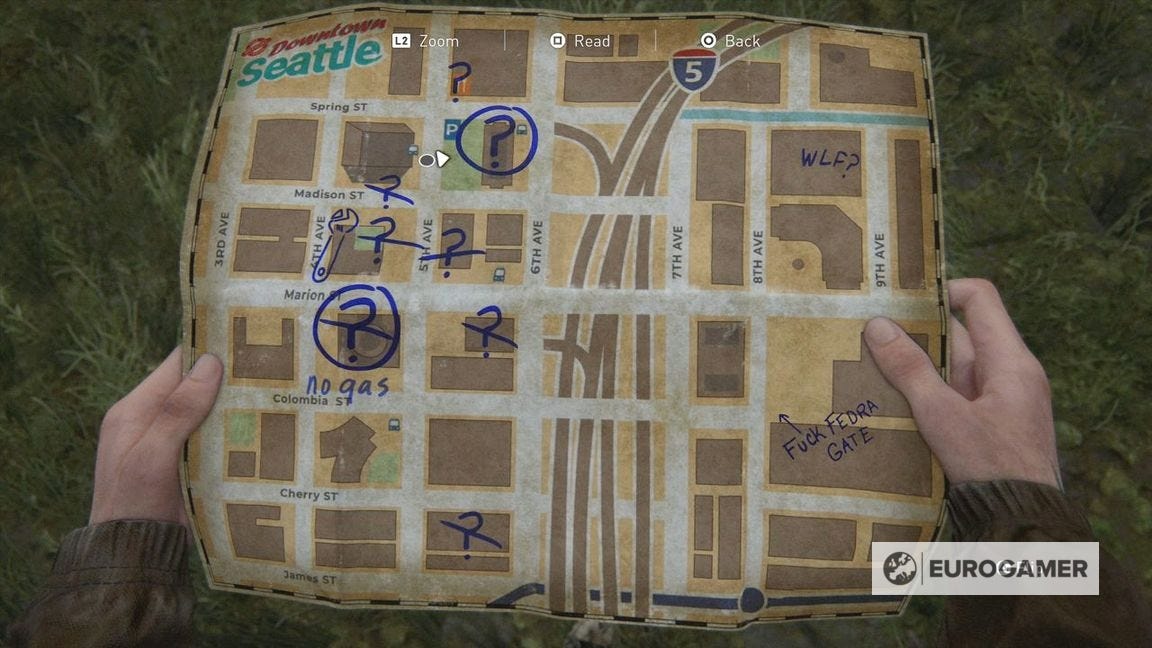
The Courthouse is to the north of Downtown Seattle.
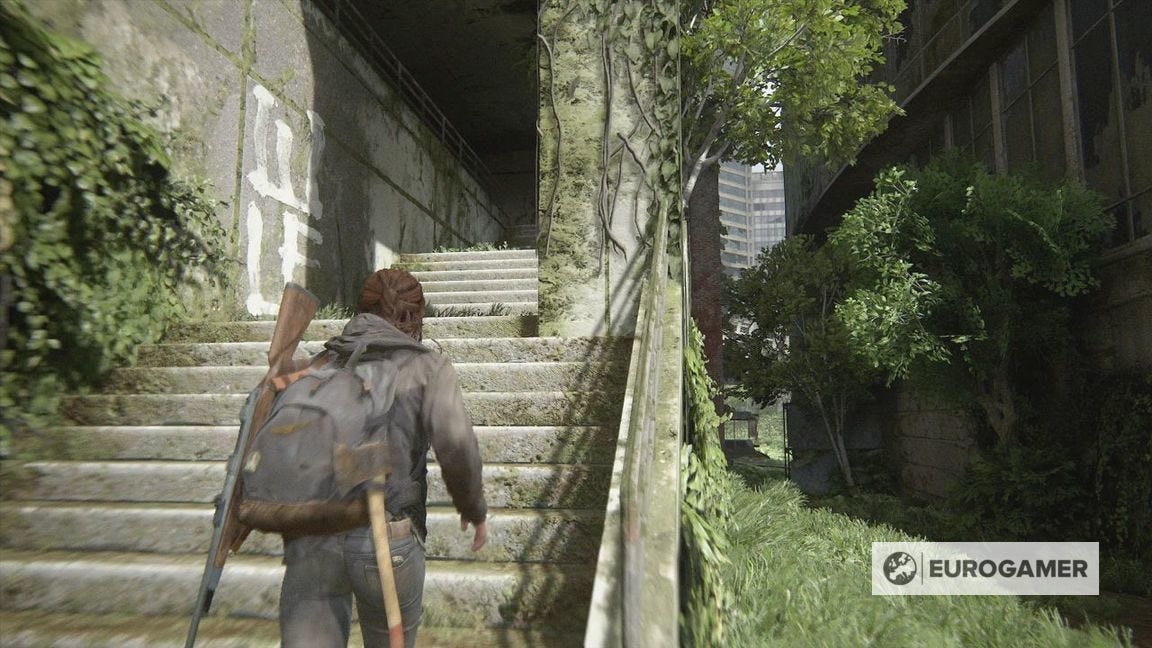
Before you head in, south of the Courthouse is a set of stairs leading up, next to an alleyway.
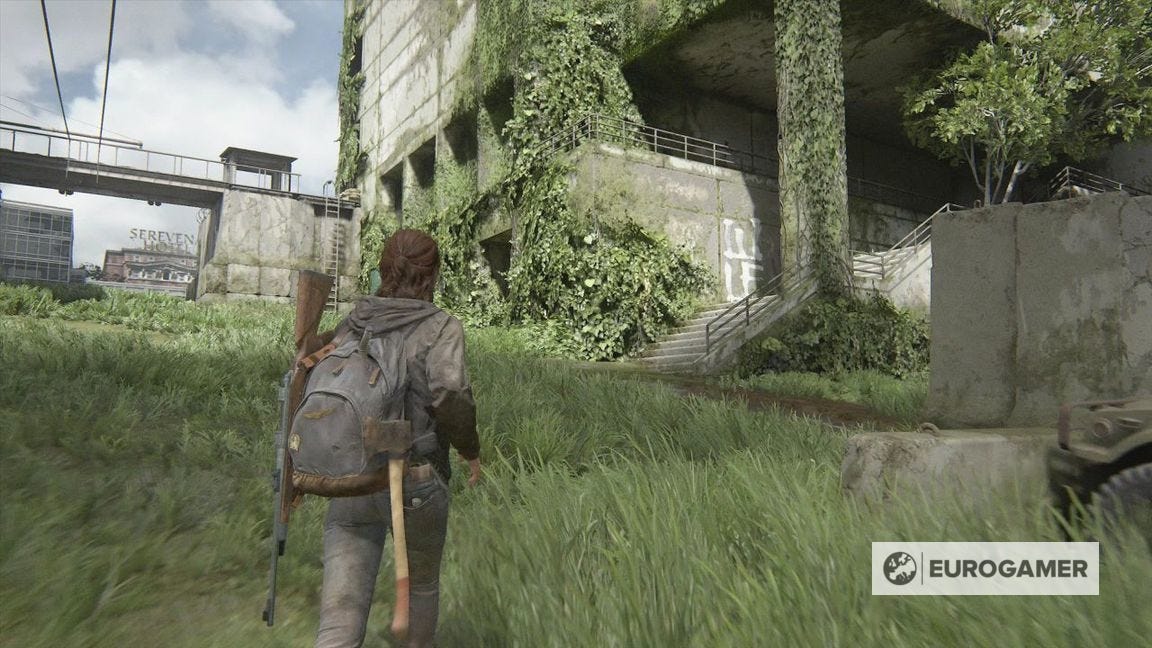
At the top are crafting materials and the WLF Community Supply Chest Note Artefact.
To enter the Courthouse, approach from this south road, where you can find a walkway going over the street. Climb up the walkway, and approach the building.
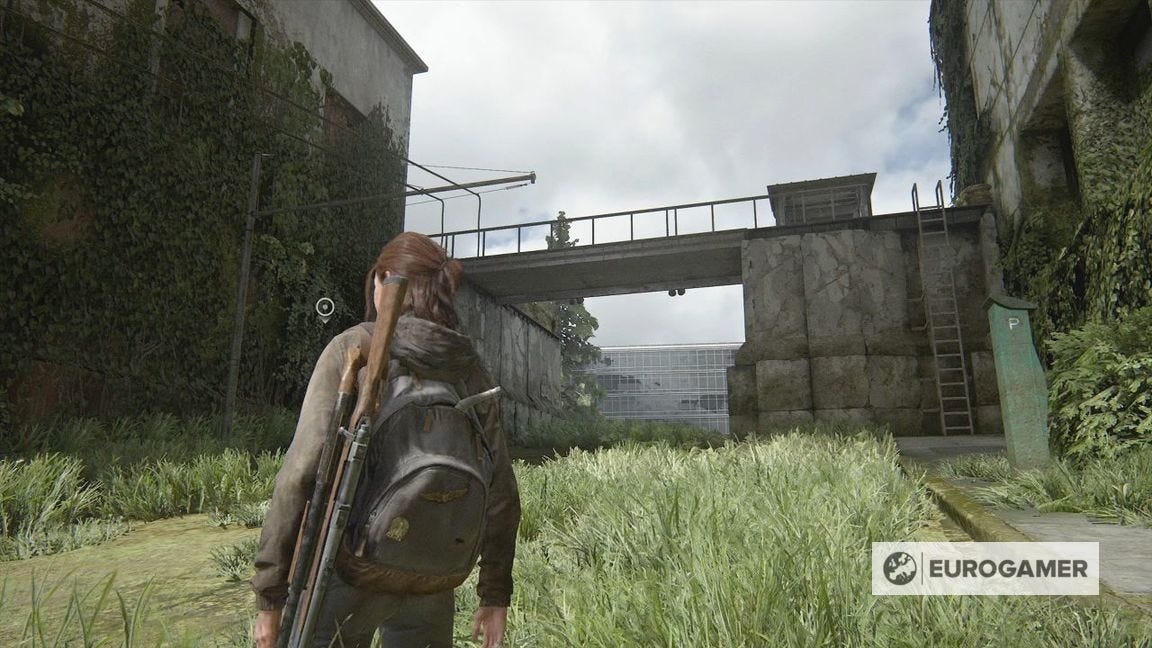
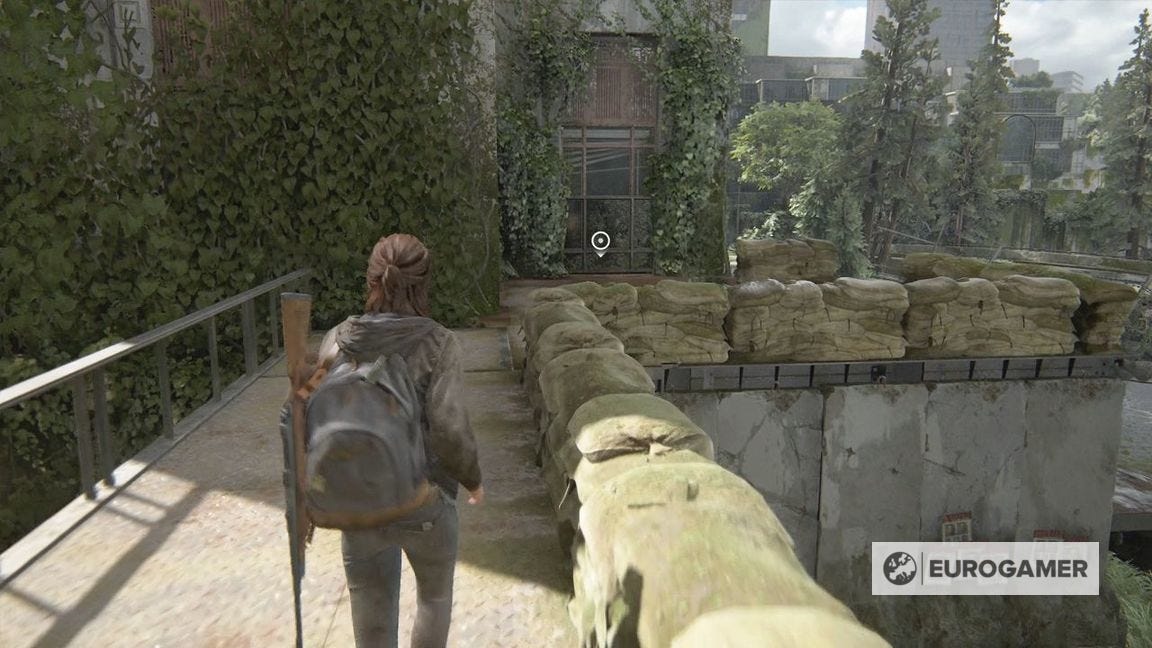
Interact with the window to enter.
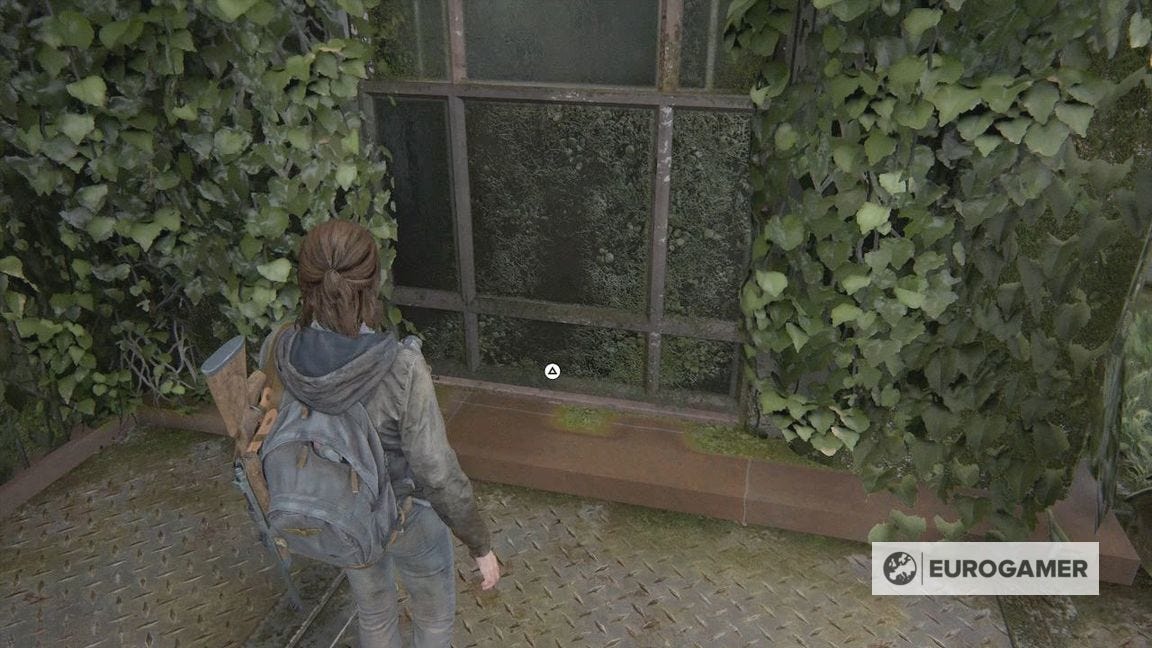
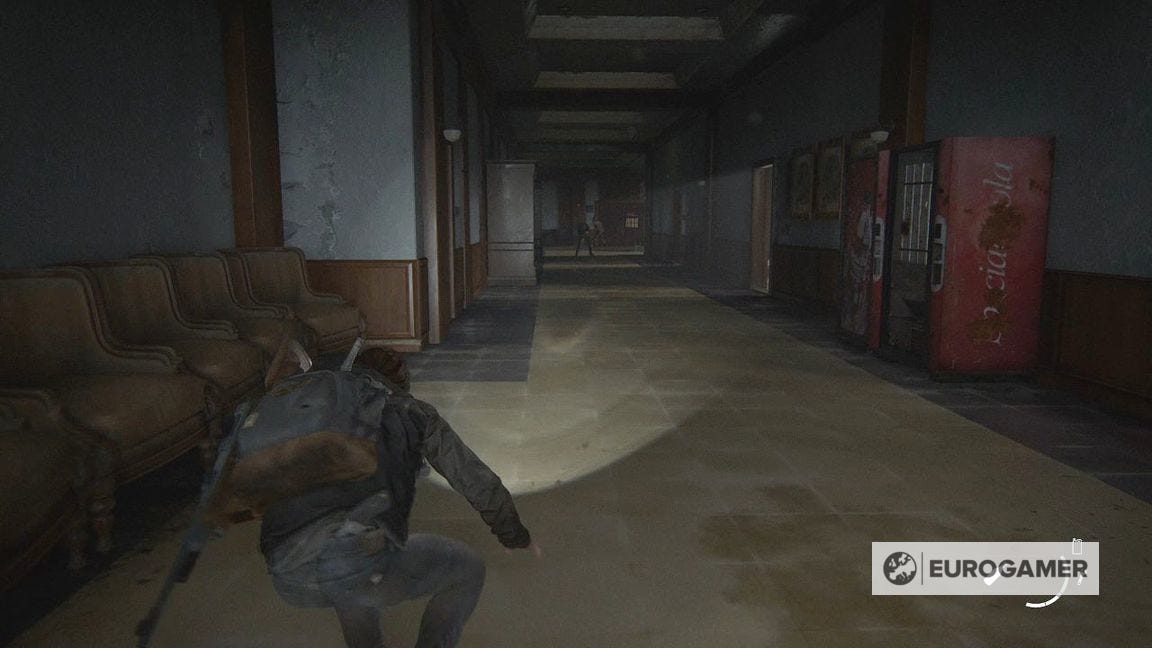
You will enter on Floor 2 of the Courthouse, and it's heavily populated with infected.
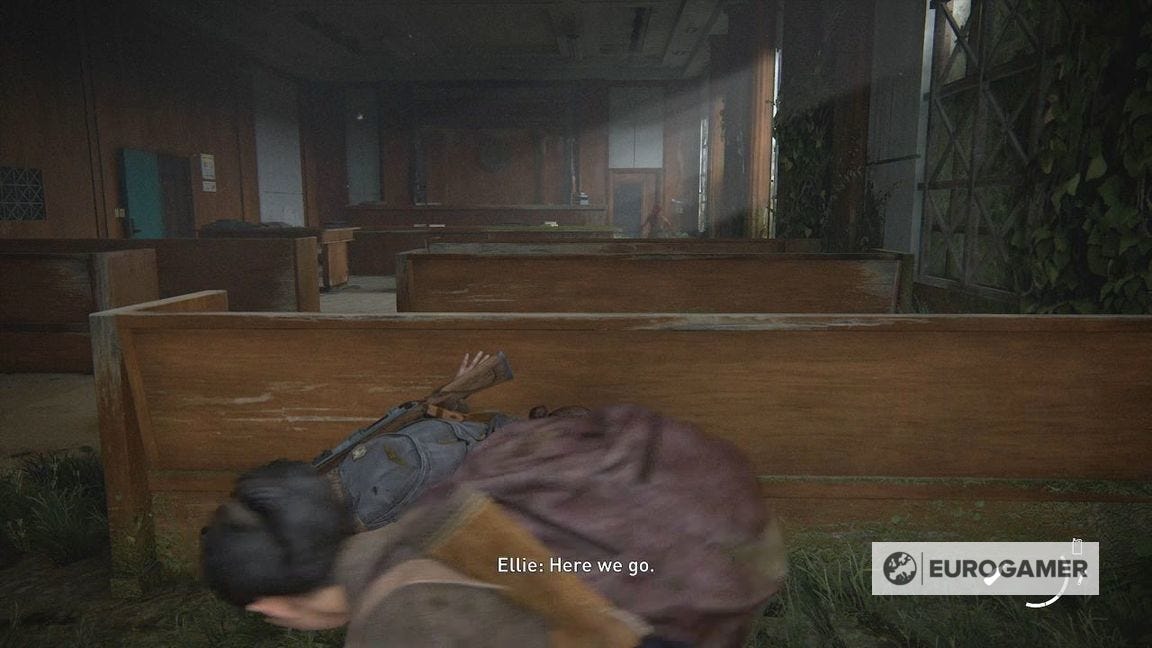
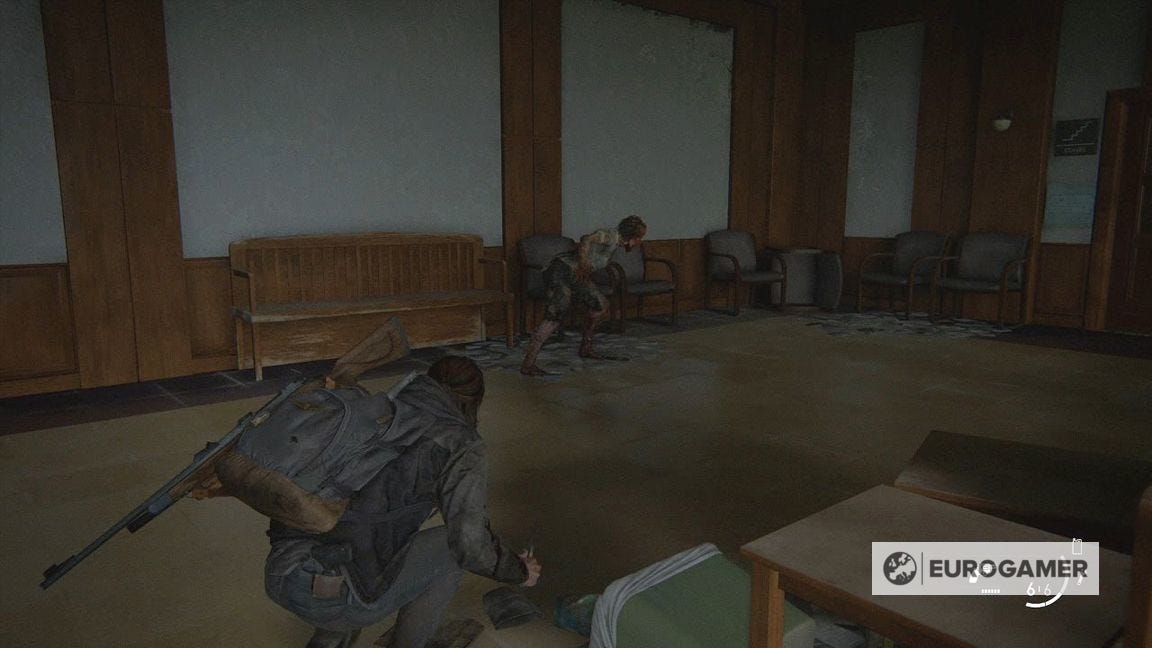
The best way to tackle this is by going anti-clockwise - starting with the Clicker in this room, then the Runner straight ahead in the doorway, continuing round to another Clicker and a Runner in the end room.
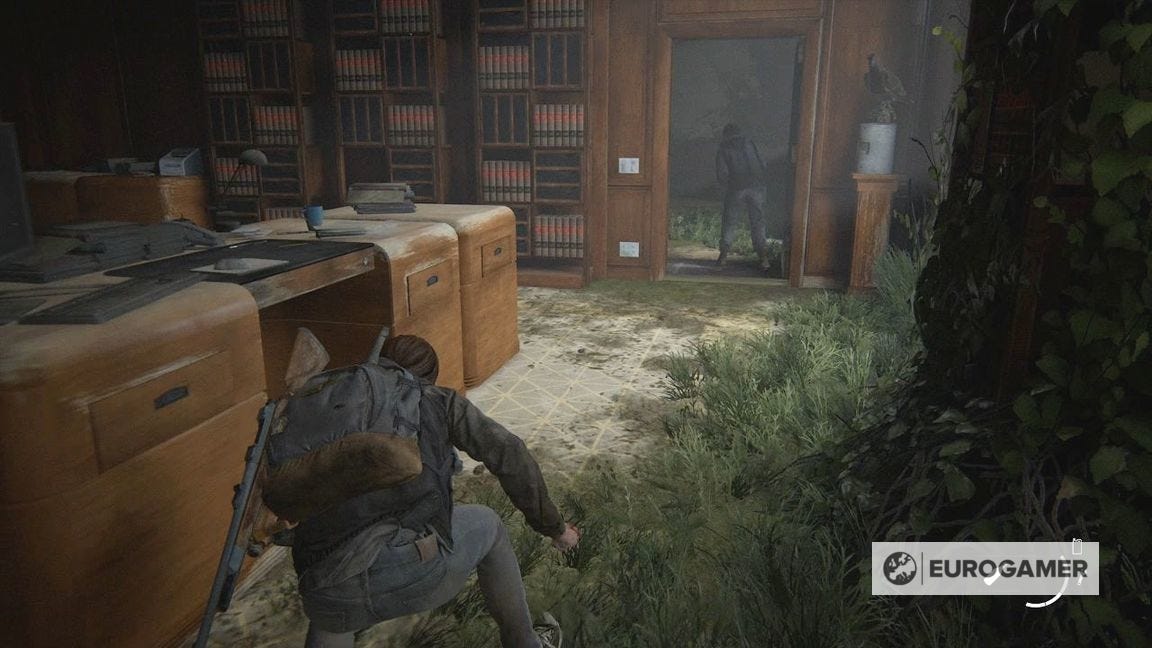
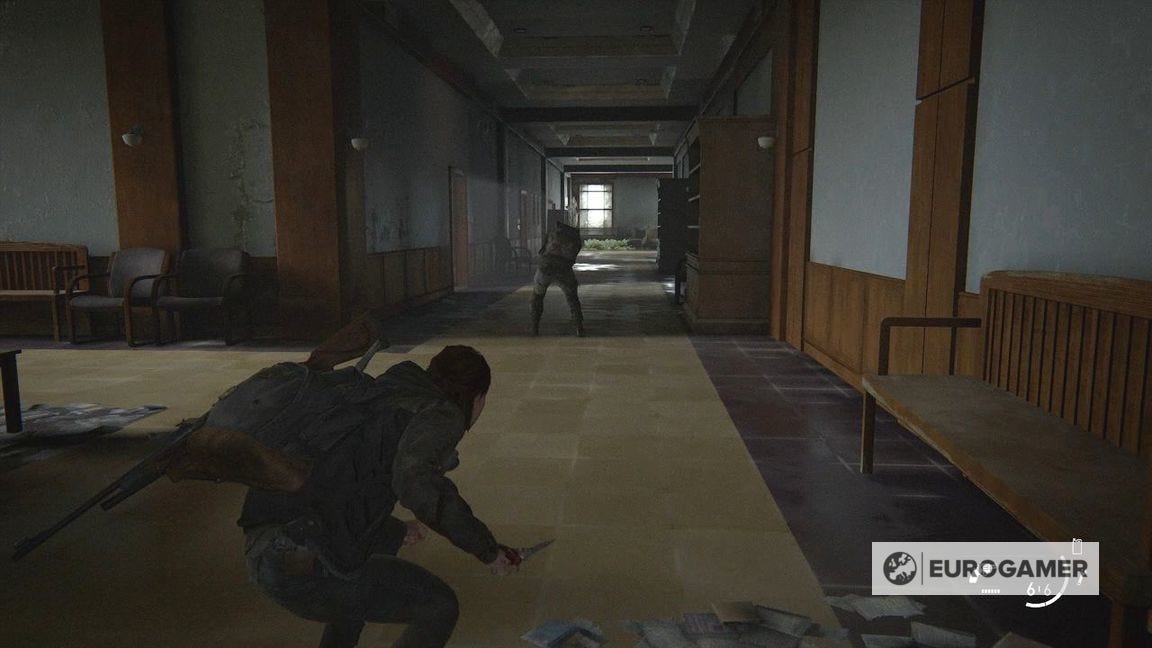
This is opposed to going left at the start, which leads to a long corridor, where you'll be too exposed to stealth the entire floor safely.
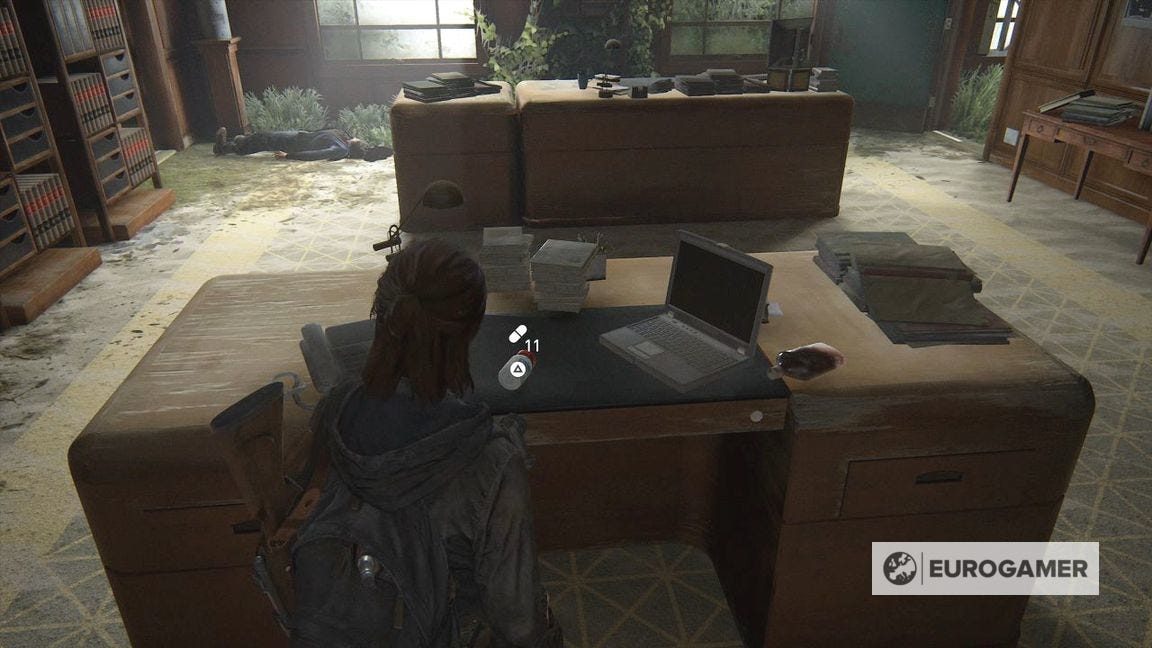
Once you have finished in the west-most room, you're free to explore for any ammo or crafting items you might have missed. We found some supplements in the middle room, for example.
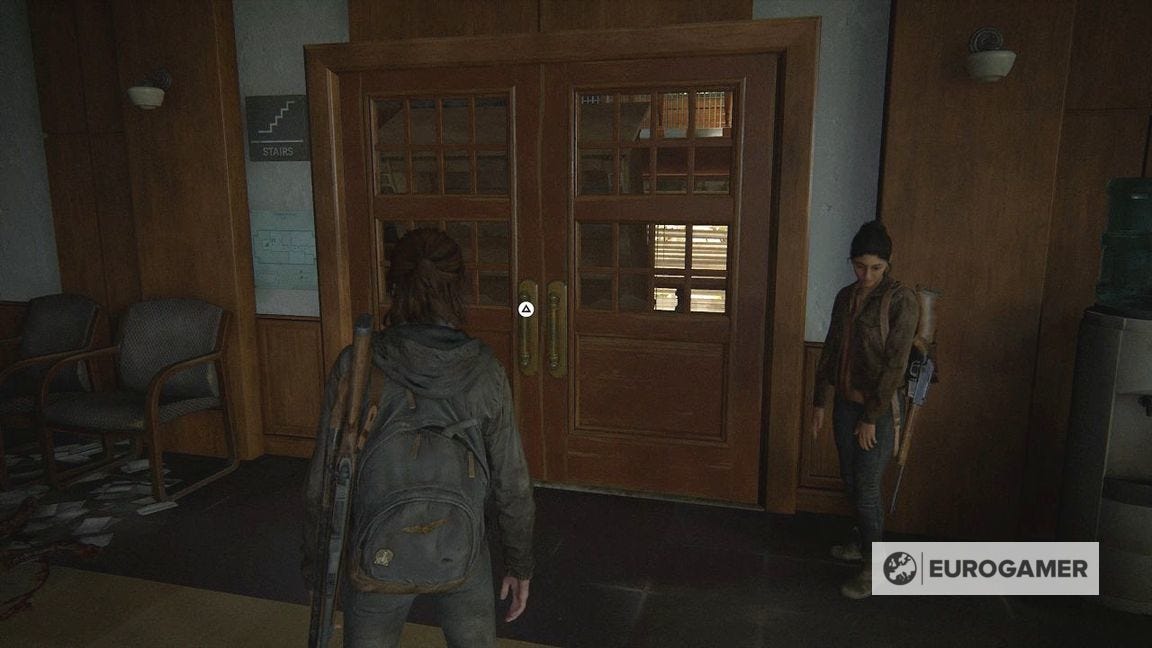
Once done, investigate the double doors to reach the stairwell, then head down.
Exploring the Courthouse Lobby
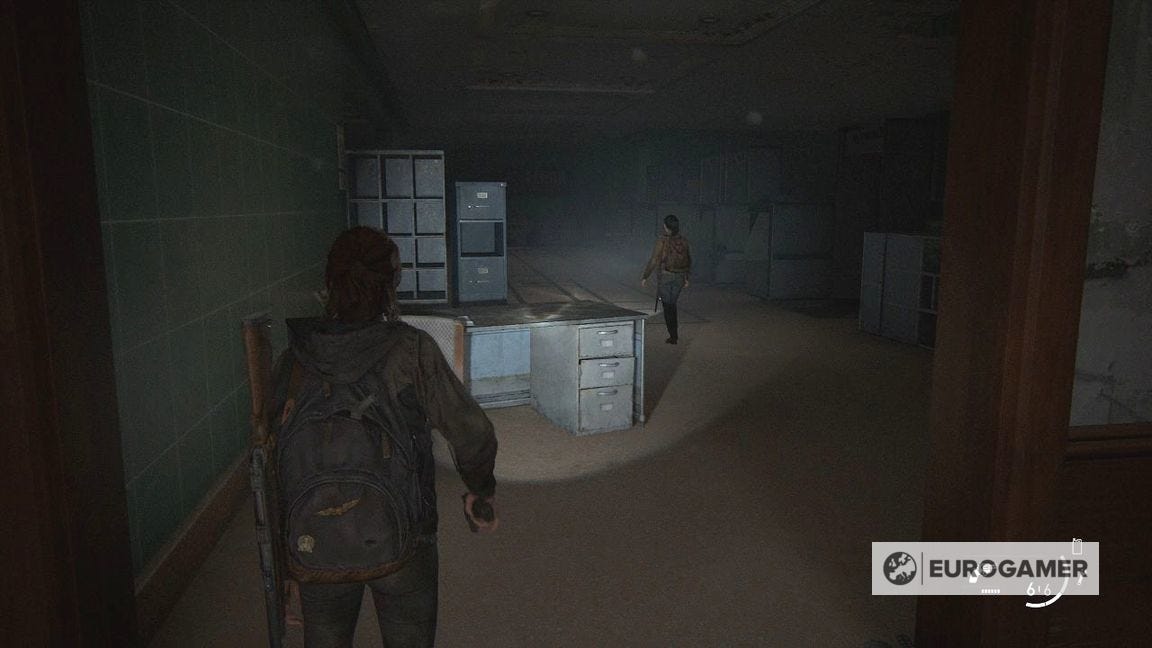
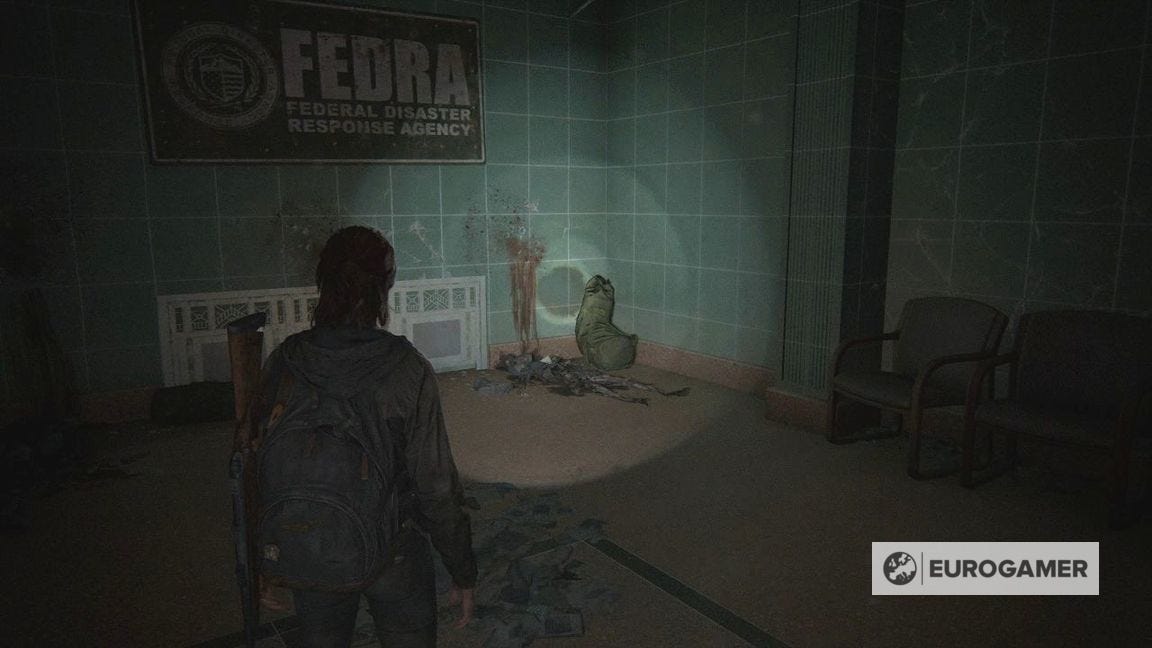
The lobby area of the Courthouse hasn't got much light, so click on the torch and start exploring. We found some crafting materials amongst the metal detectors on the right, so it's worth starting there.
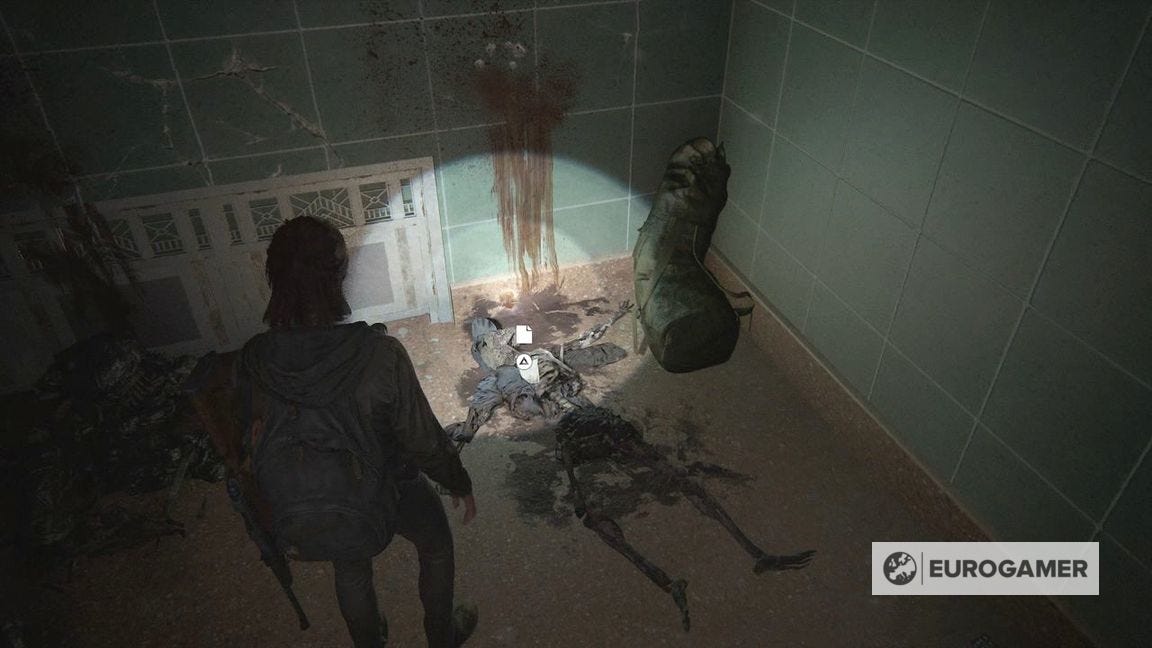
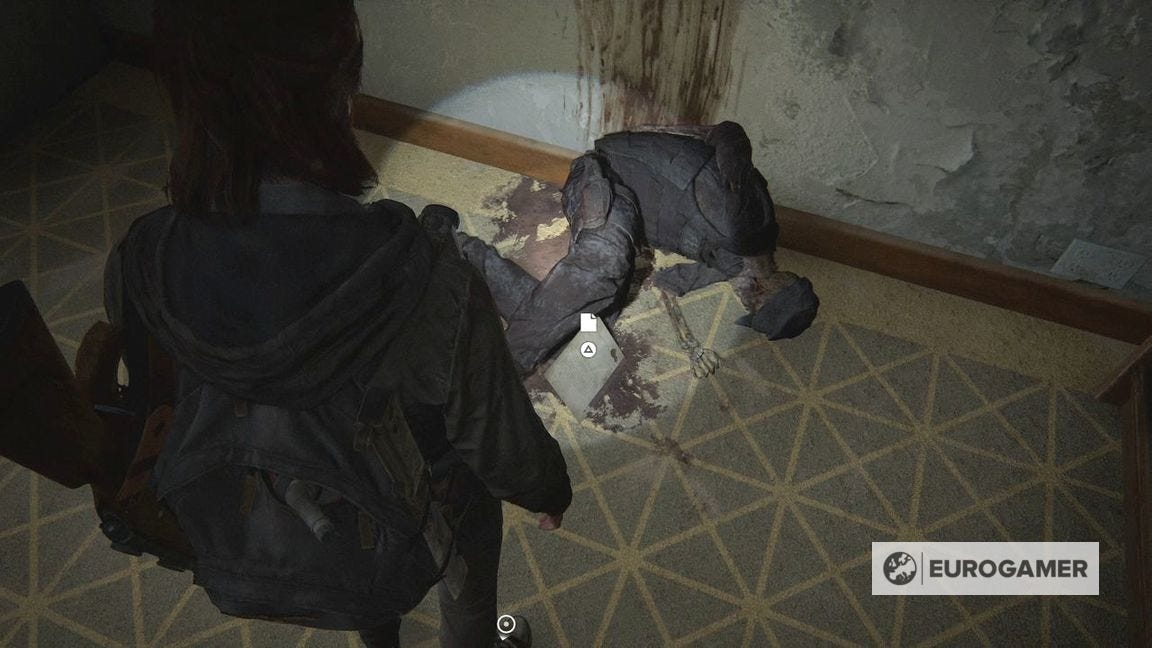
In the far right corner is a Plea to a Friend Letter Artefact by a corpse.
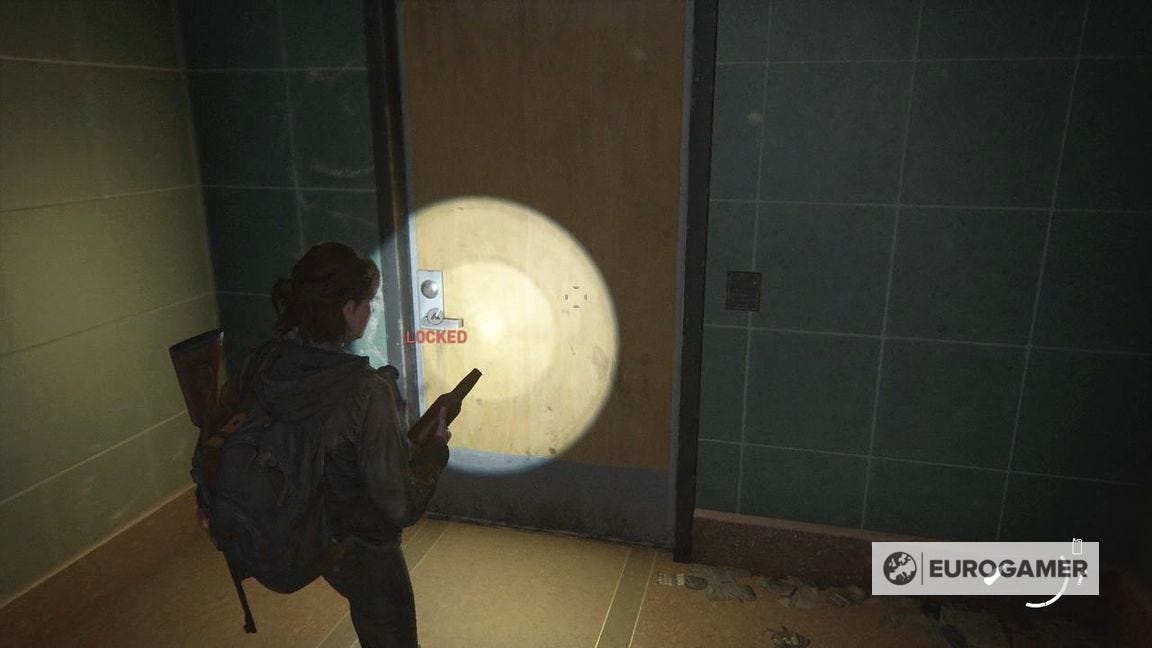
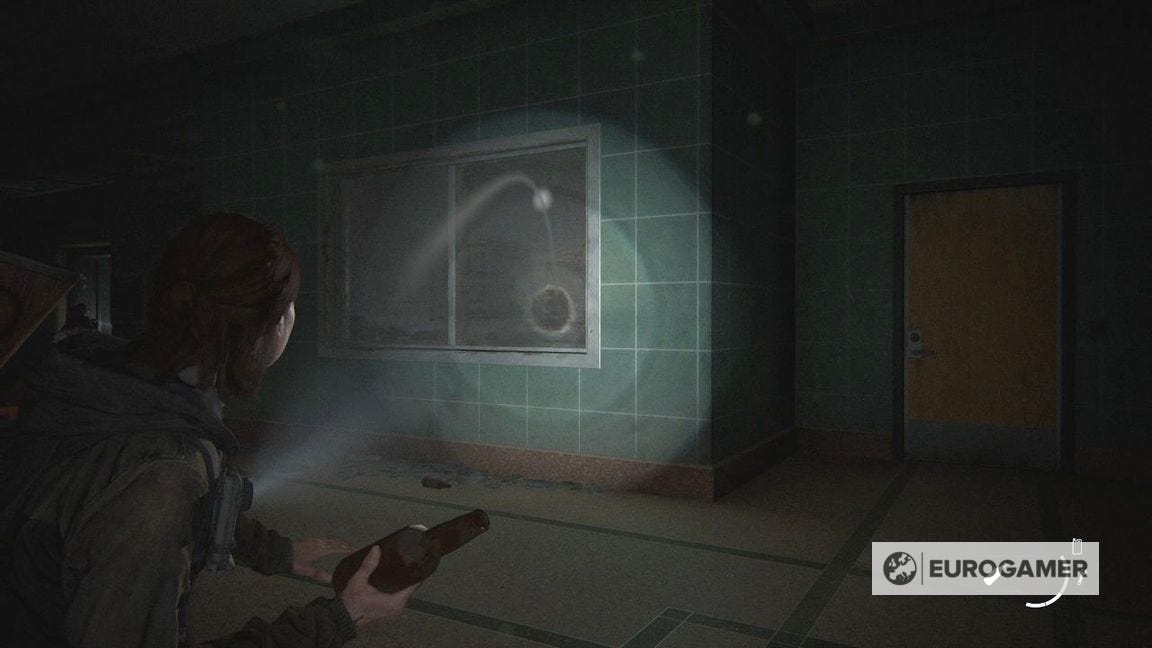
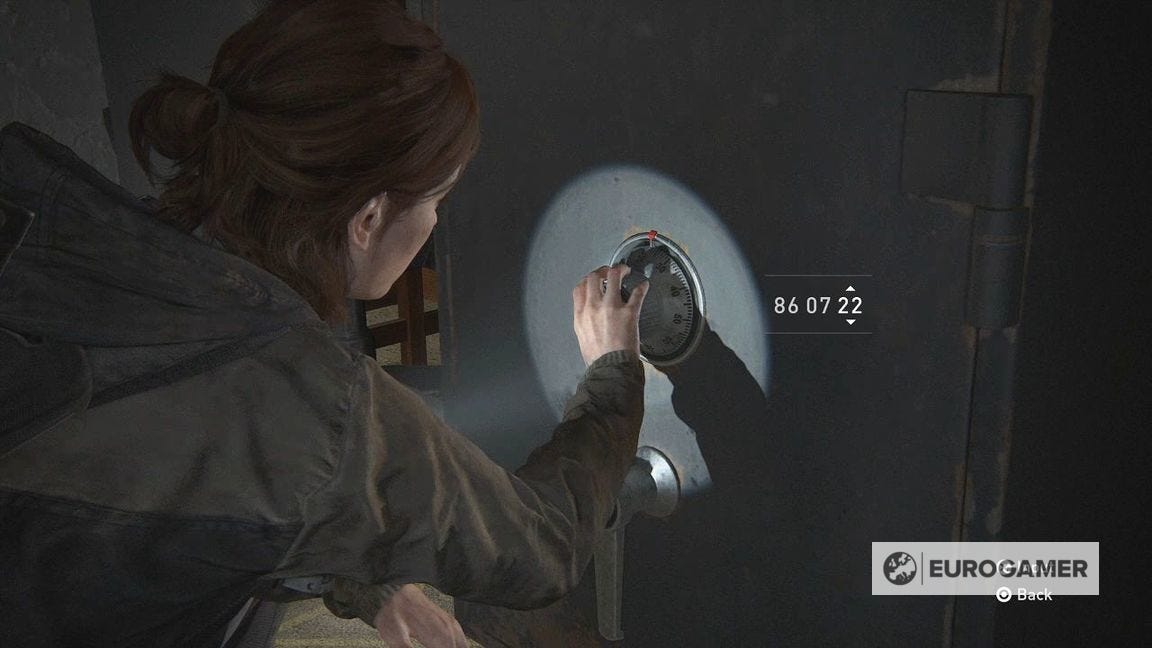
To the left is a wooden door which is locked. You know the score by now - throw a bottle or brick through the window to enter the office. Ignore the safe for now.
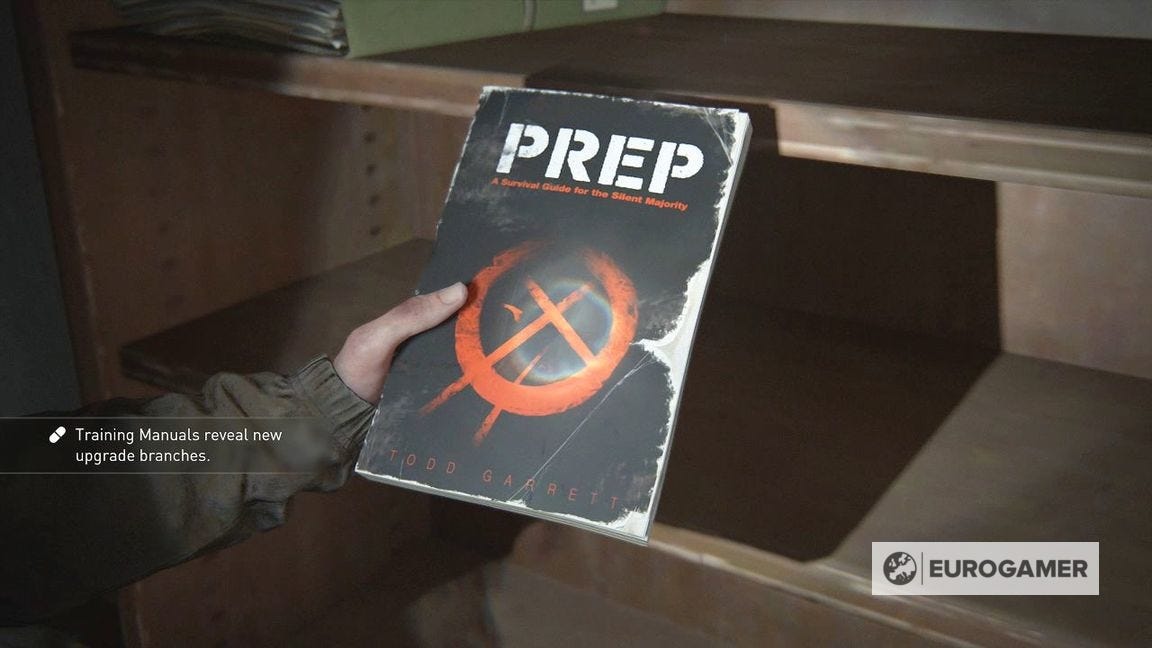
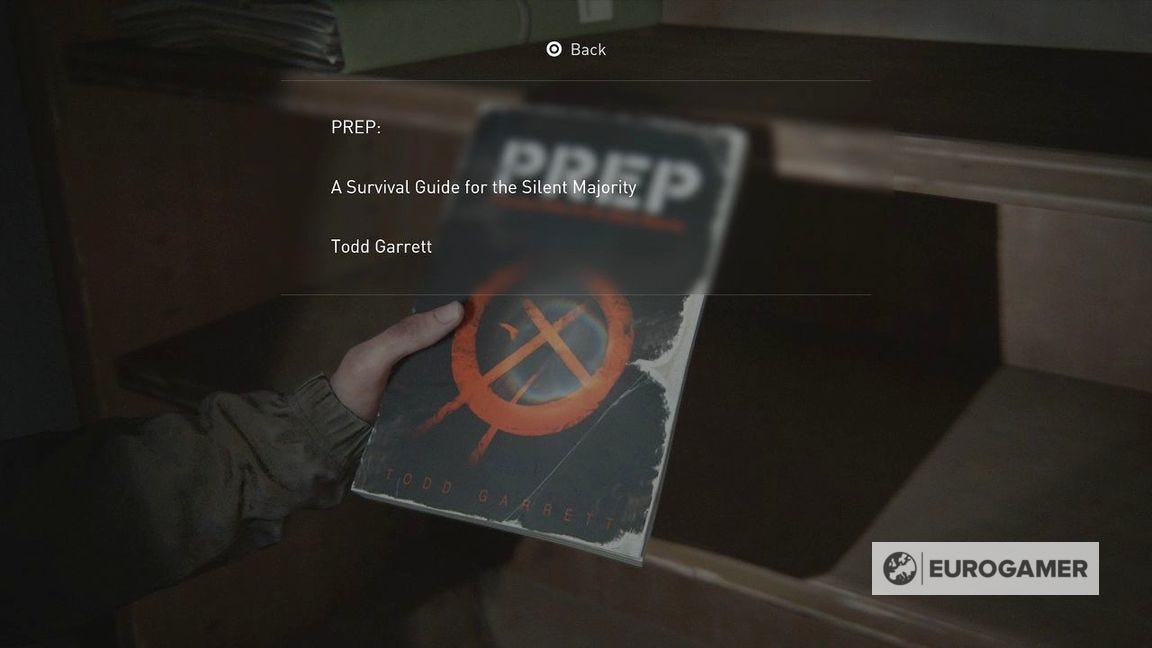
Investigate the left shelves for a Training Manual - PREP: A Survival Guide for the Silent Majority on shelf. For us, this added the new Crafting branch. (Note: It's possible the Training Manual locations are randomised, so if you don't find this here, you should encounter it elsewhere within the Downtown Seattle chapter.)
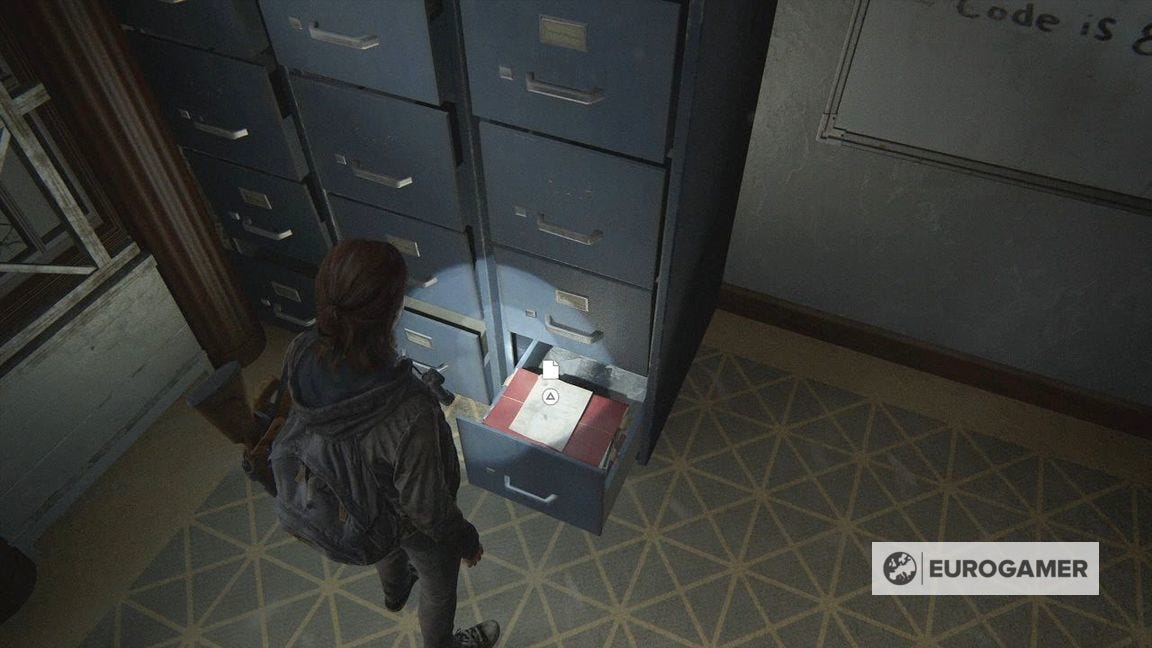
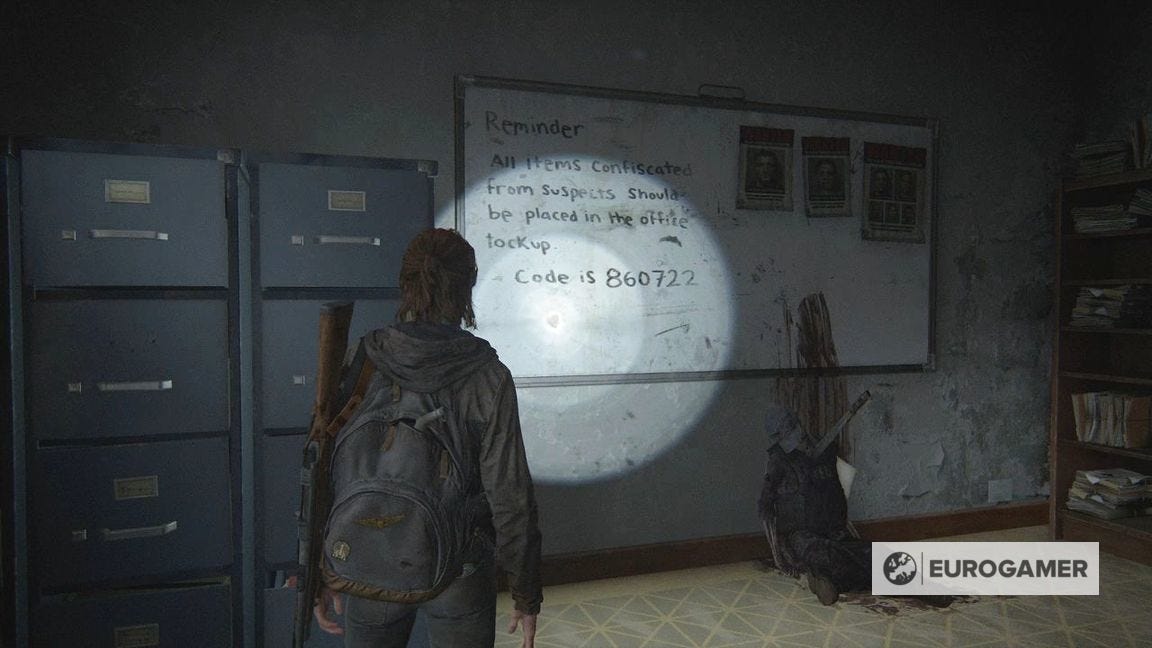
As well as various crafting items, investigate the base of the tall lockers in the corner for the List of Known WFL Agitators Artefact.
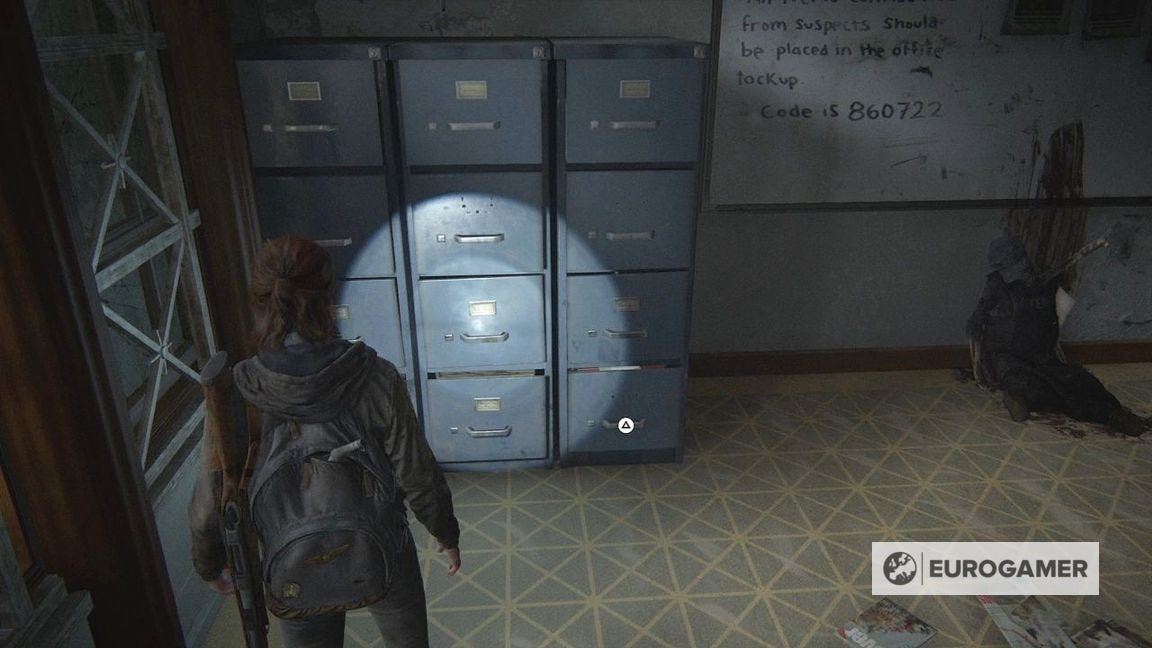
You can also get the LR. Torres' Final Memorandum Artefact after pulling the machete from the body underneath the whiteboard.
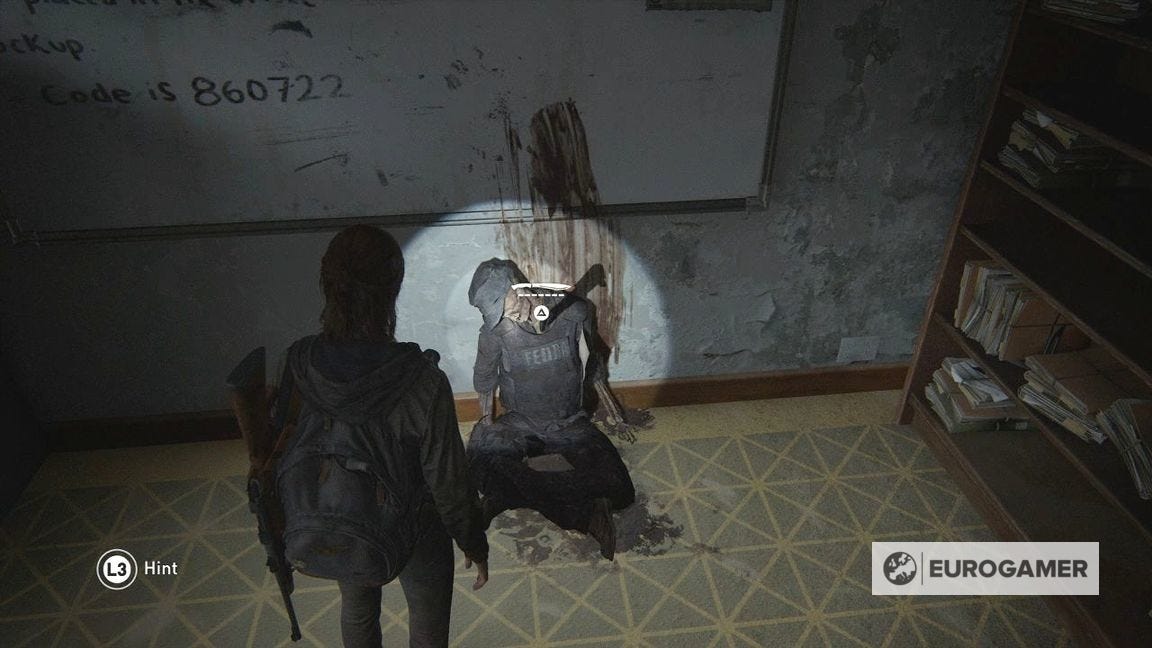
Between the Artefacts and the white board, we know now the safe code is 860722.
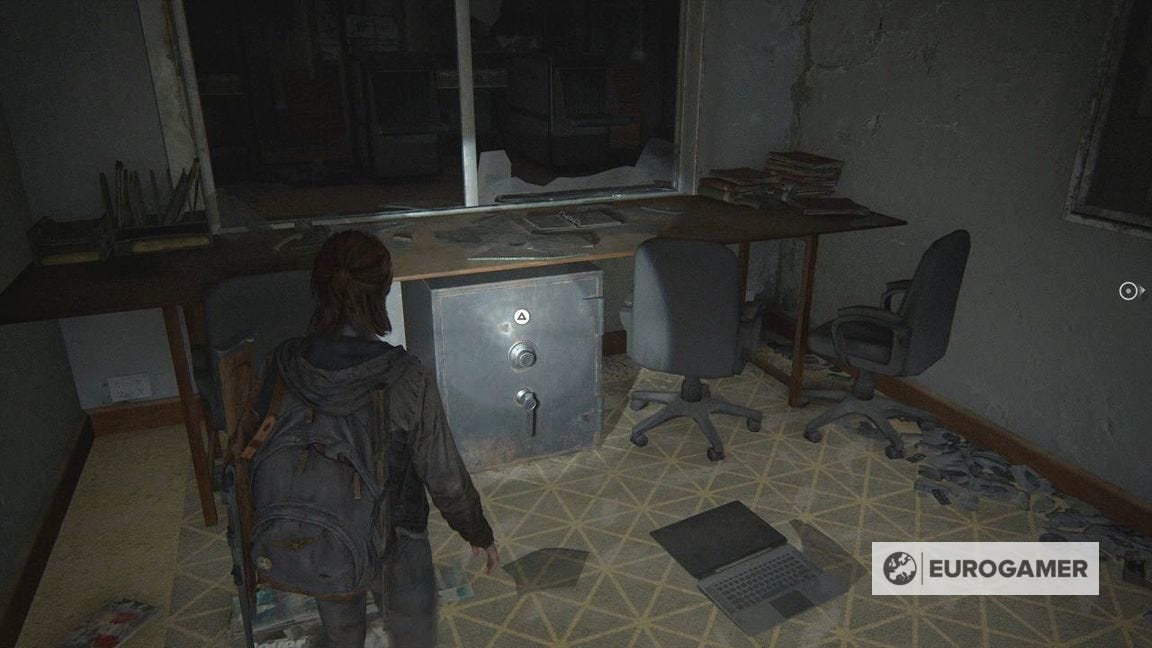
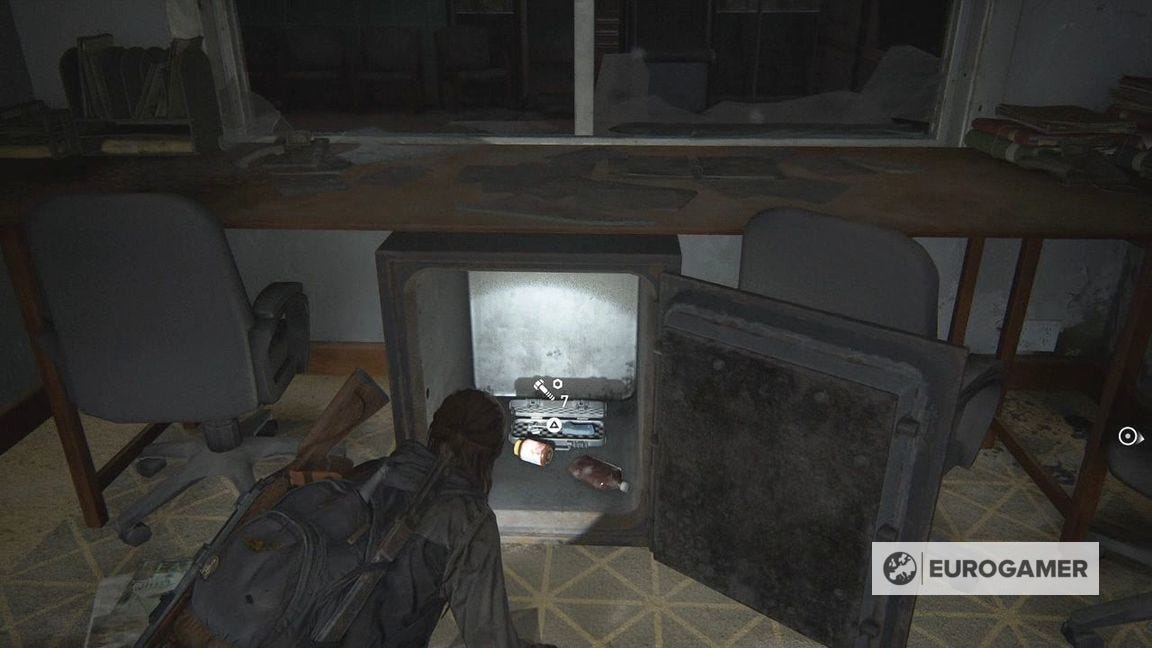
Opening the safe gives you a bunch of crafting items and other useful consumables.
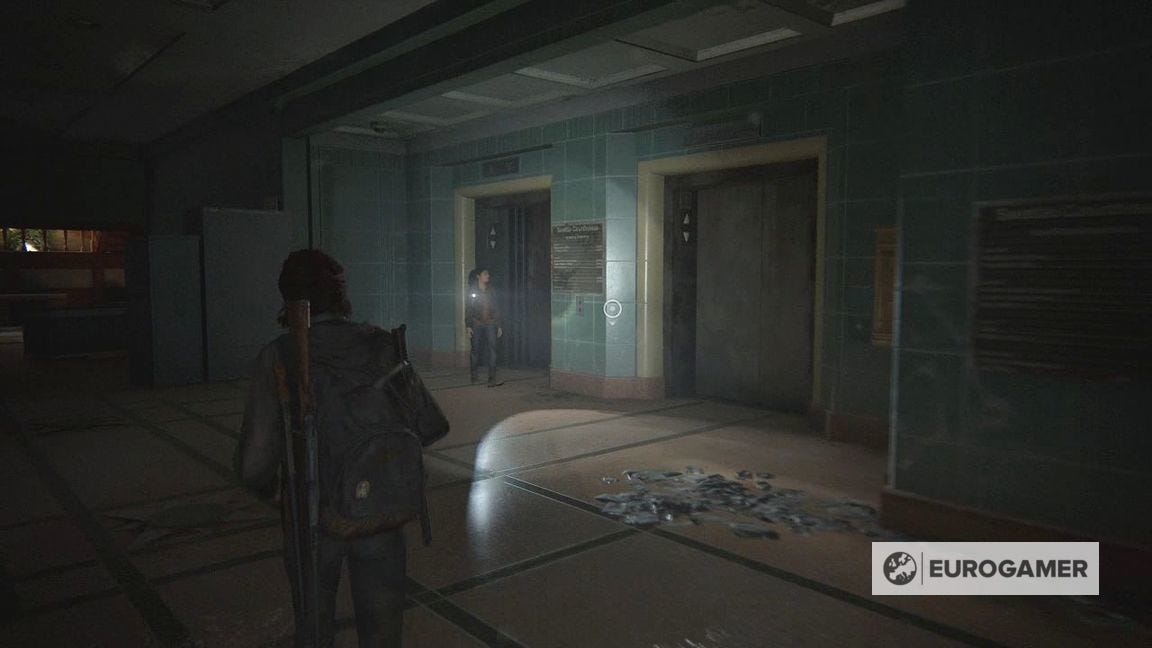
How to reach the Courthouse Garage
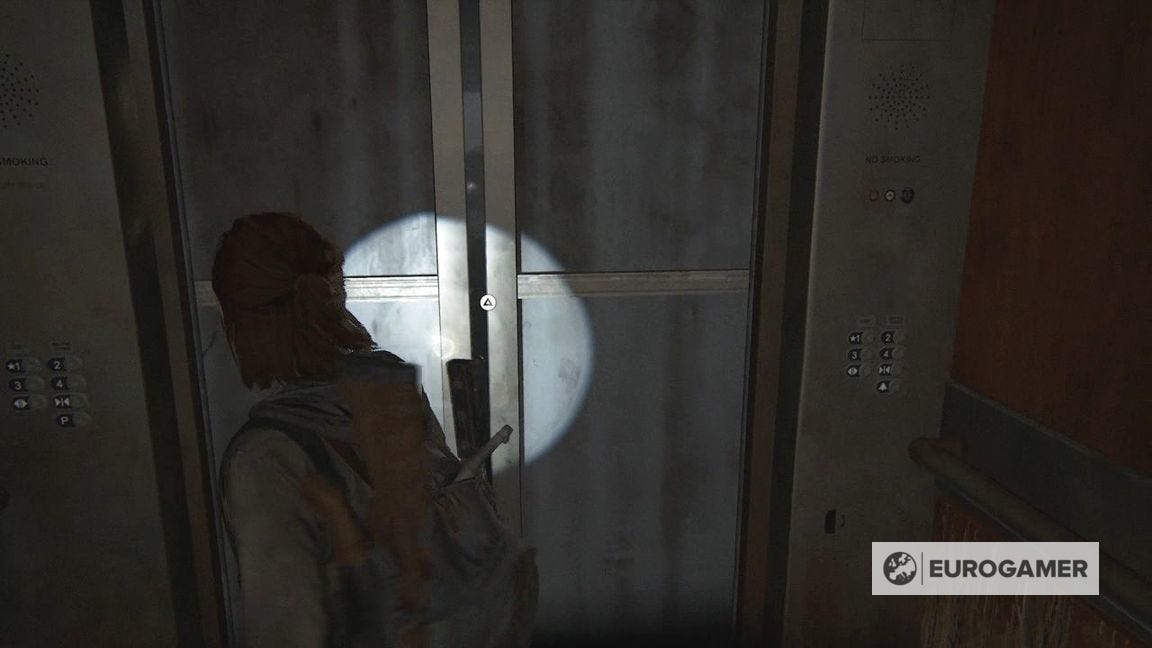
From the Lobby, approach the lift shafts to the side. You need to push forward and jump at the cable - simply pressing the X button won't do it.
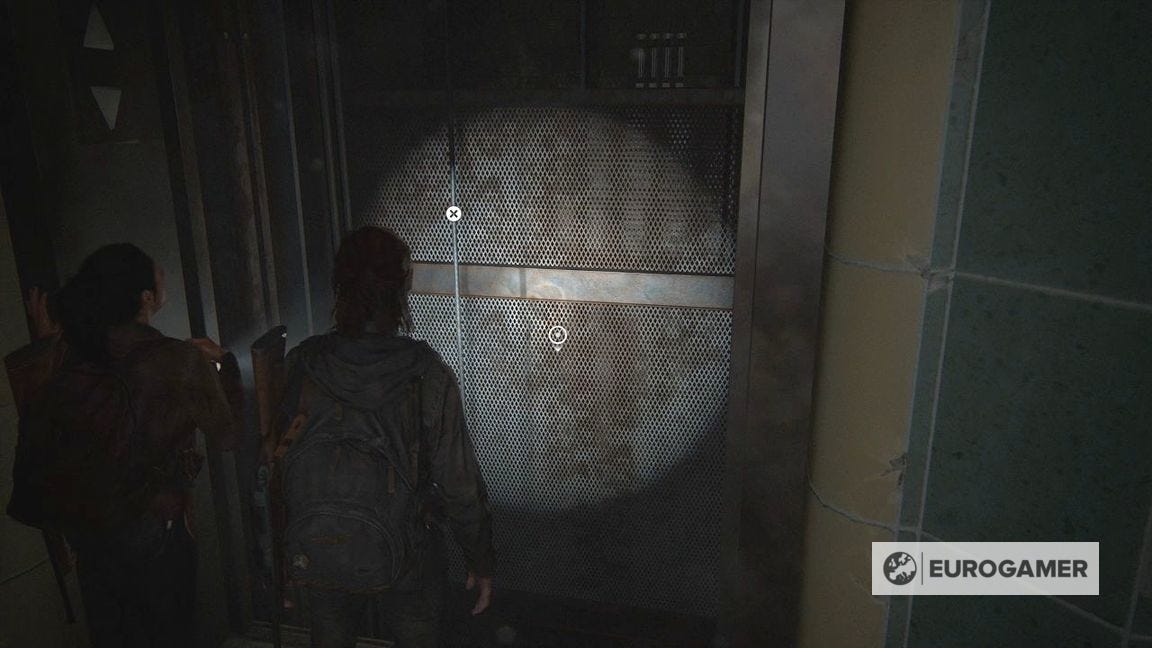
Drop into the elevator then squeeze through the doors.
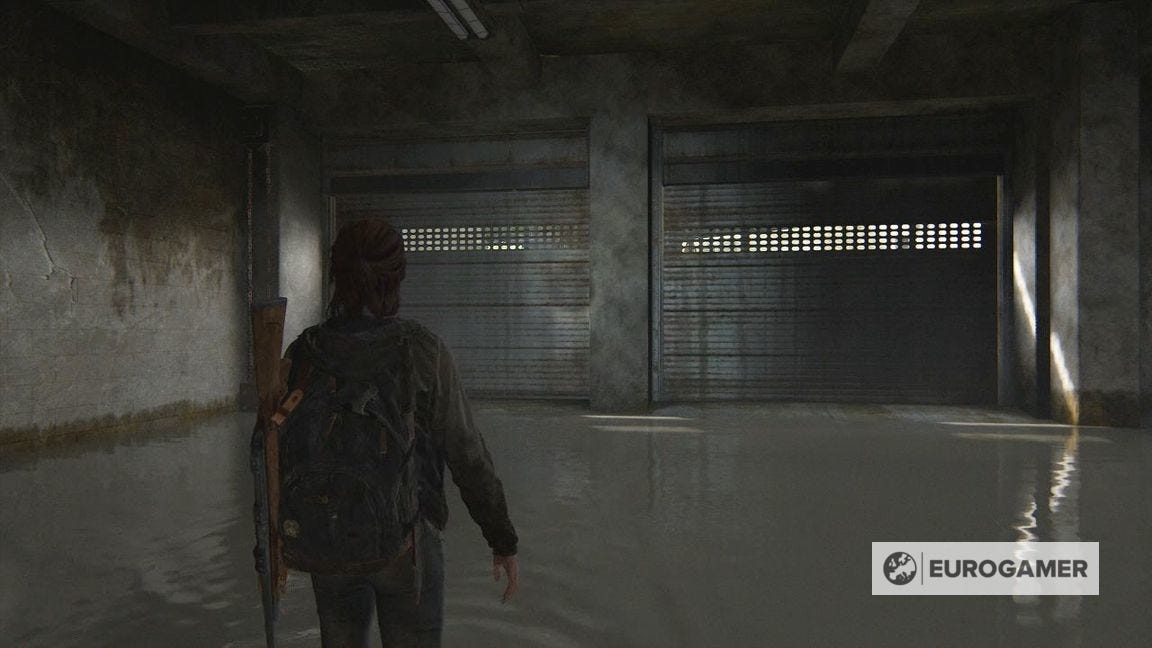
What immediately follows is a combat section with infected rushing you.
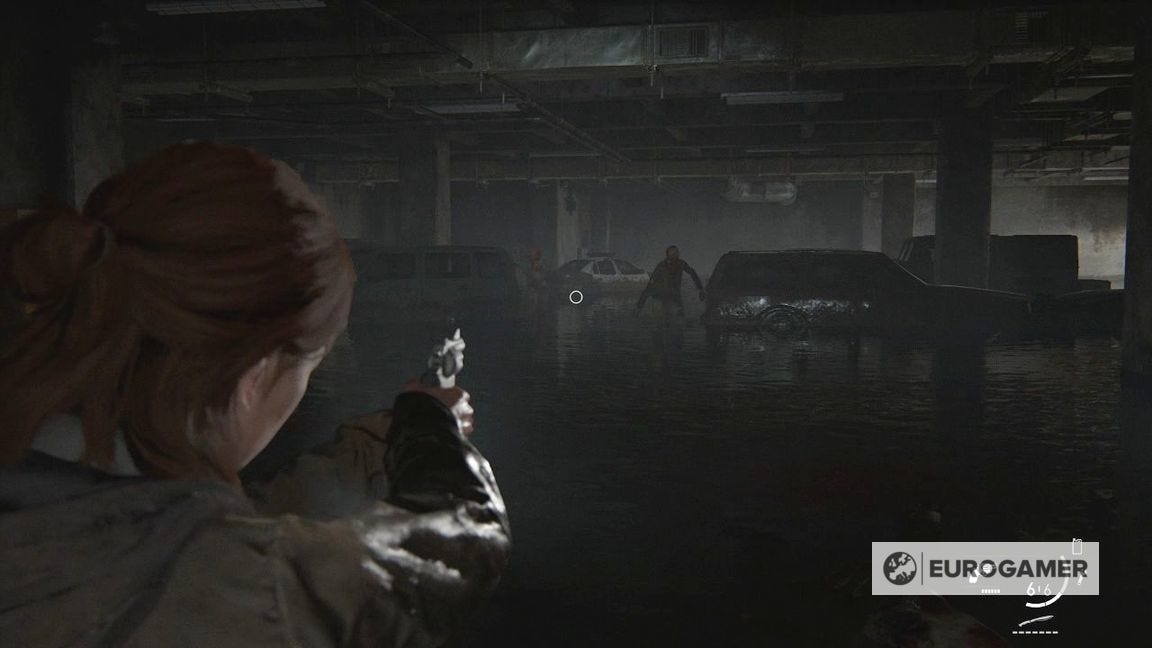
Our recommendation is to save as much ammo as you can by dodging the Runners and hitting them with melee strikes (if you grabbed the machete from upstairs, this really helps) and firing at the Clickers. Aside from the initial wave, all the enemies should come at you at a pace you can take them on individually.
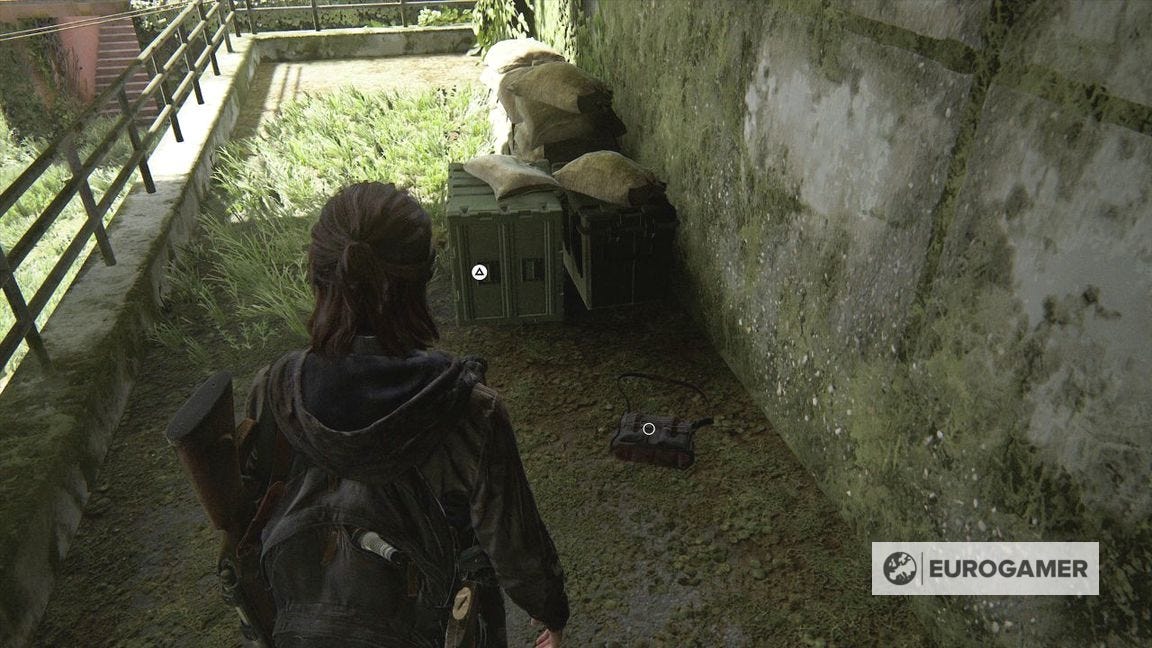
Once done, inspect the fuel tank on the right side.
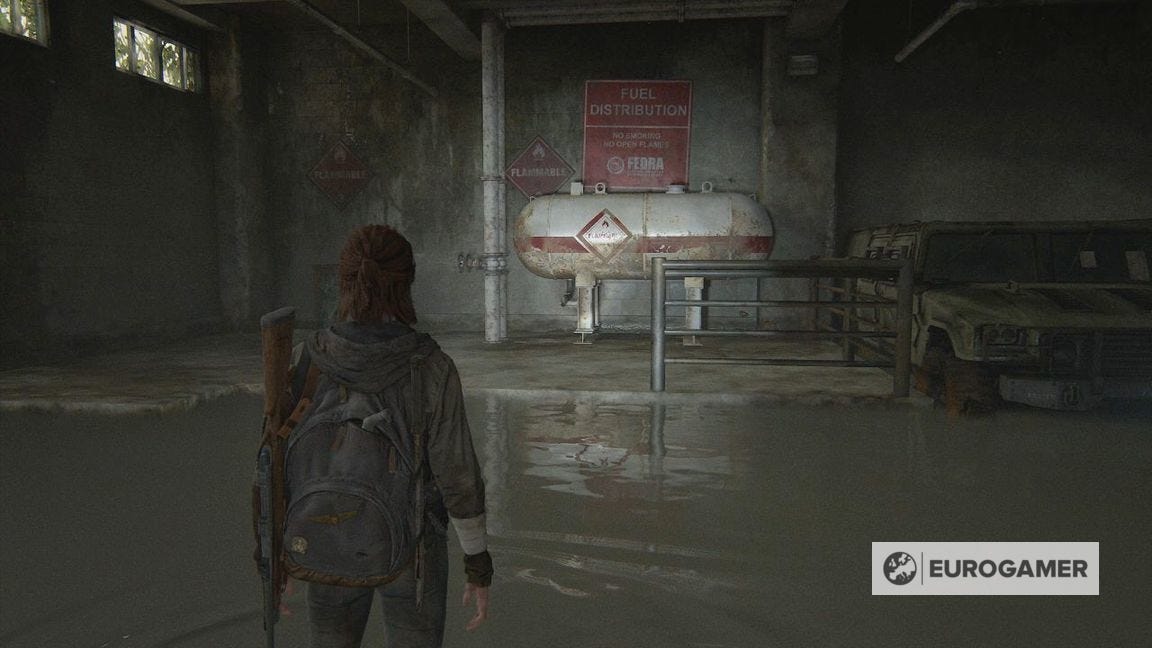
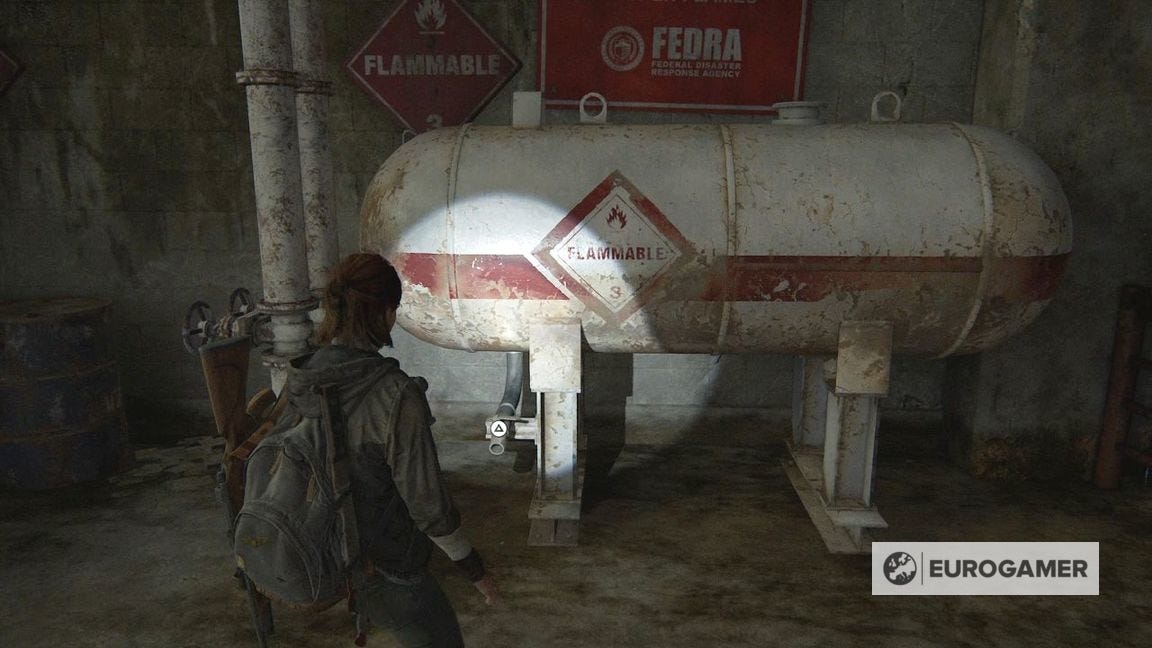
If you have come here before the Dome, then you'll find an empty fuel tank but a canister you can take with you.
If you come here second, you'll bring a canister with you, and find the fuel tank has enough to fill it up. If that's the case, you can now get to the Fuck Fedra gate and complete the Downtown Seattle section and move onto the Serevena Hotel.
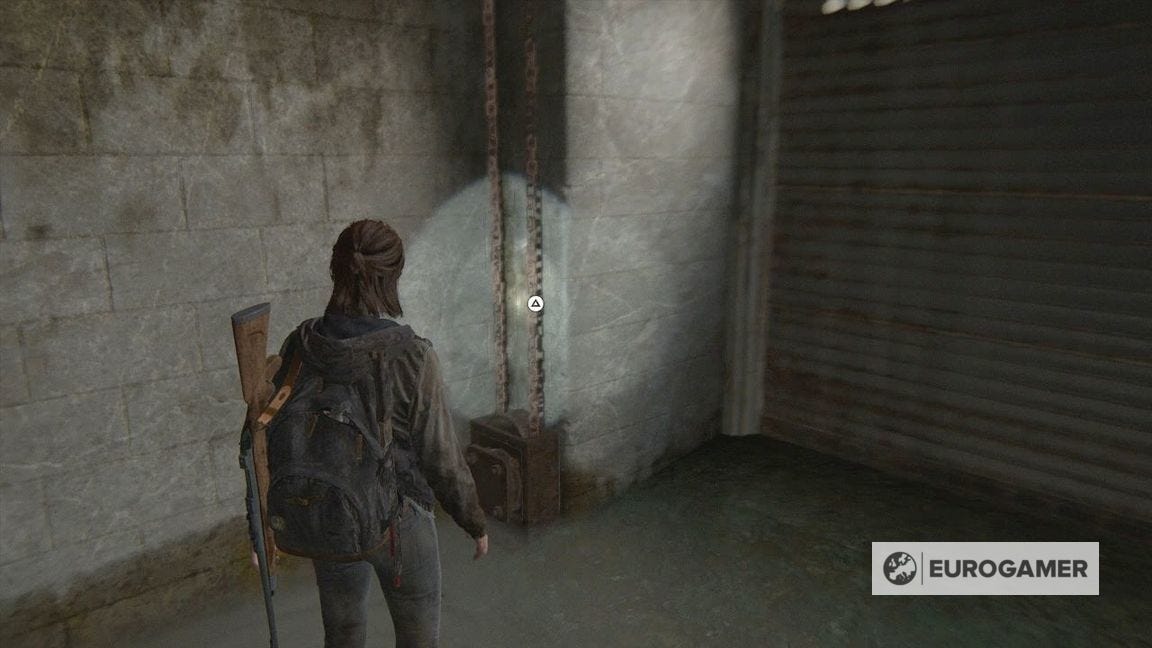
To leave the Courthouse Garage, inspect the chains in the corner next to the shutter.
There are, of course, plenty of other optional Downtown Seattle locations to explore if you haven't already - which are highly recommended before you go!