Super Mario Odyssey - The Hole in the Desert
How to complete the Sand Kingdom objective.
The Hole in the Desert is an objective you'll encounter early on in Super Mario Odyssey, which follows on from Super Mario Odyssey - Showdown in the Inverted Pyramid and how to beat the Mini Broodal.
You'll find our full walkthrough for it here, whilst you can head back to our main Super Mario Odyssey guide, walkthrough and tips hub for plenty more on all aspects of the game!
The Hole in the Desert
You'll then start back at the Odyssey. Things have gotten darker - and colder - here in the Sand Kingdom so either use your map (press '-') to fast travel to the nearest checkpoint to the Inverted Pyramid (which is now floating above a mysterious hole).
You can also grab a nearby Jinx (which cost 30 gold coins and will enable you travel the map without being attacked by the invulnerable mummies that emerge from the sand at regular intervals).
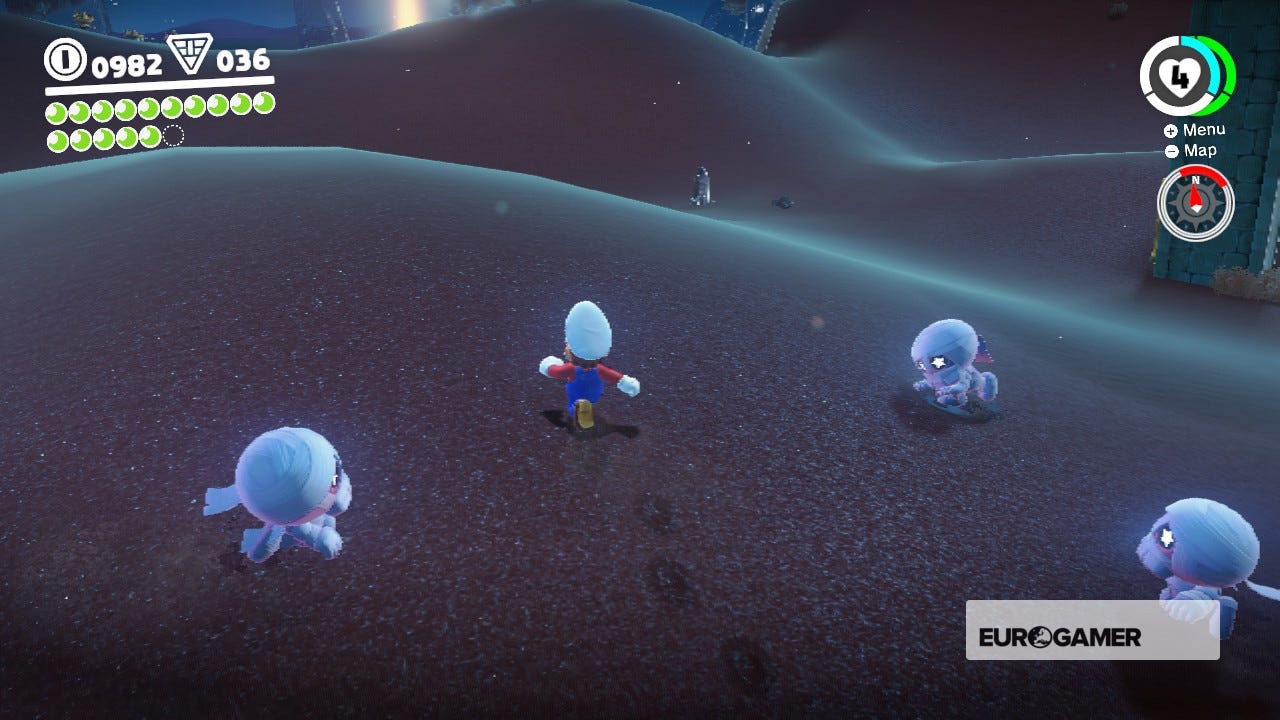
Or you can just chance it and run across the map to the Inverted Pyramid. It's possible to run around the mummies, but they can't be killed, only knocked back, so be careful to dart out of the way when these foes emerge from the sand. When you reach the large hole in the ground, jump straight in to begin the next part of your adventure.
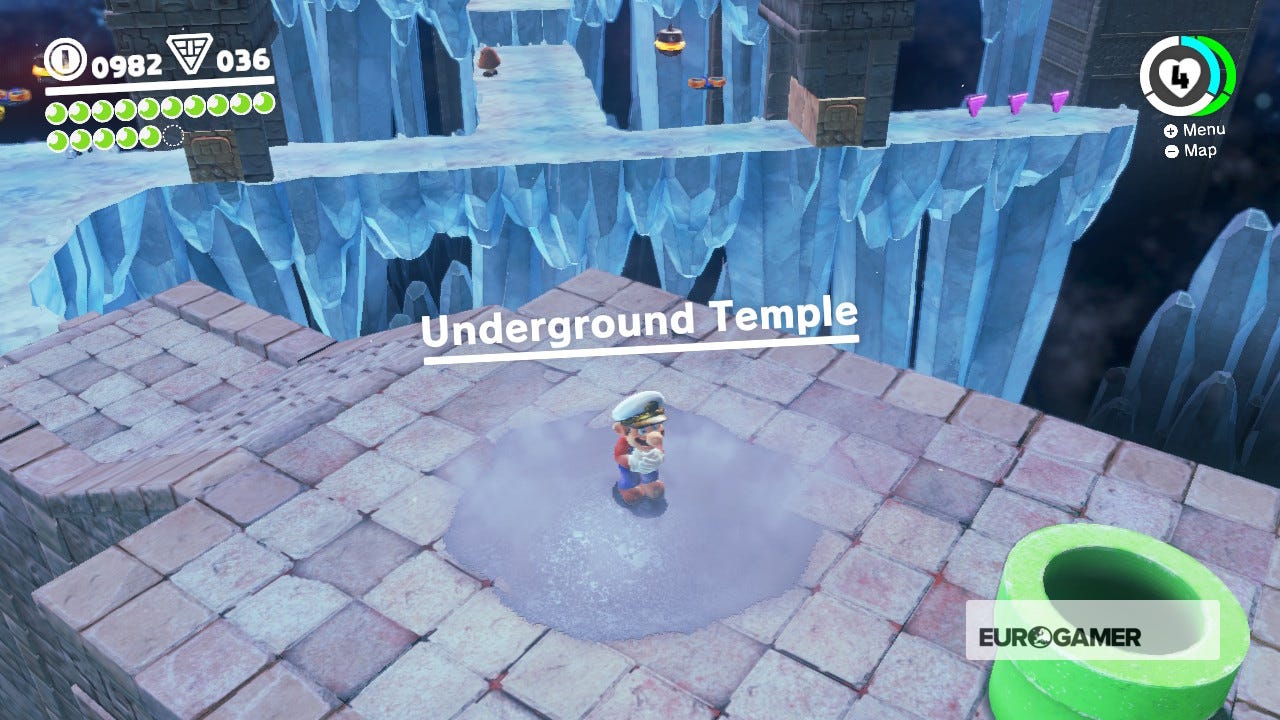
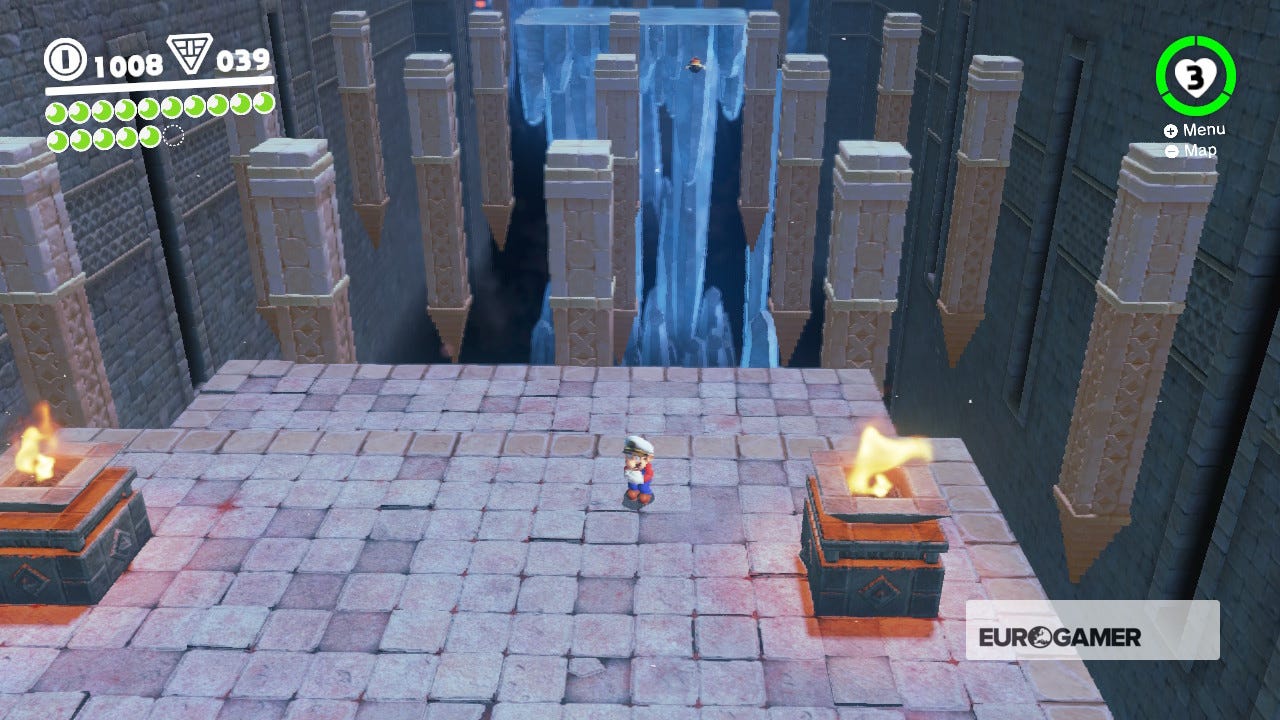
You'll now be in the Underground Temple. This area has lots of ice, which (in classic Mario style) can make you slip straight off the edge so watch your step. Throw your cap to send a shockwave destroying the blocks in front of you.
Walk under the archway carefully and watch out for the large Goombas in front of you. Create another shockwave to destroy the next block, possess the nearby Goomba and collect the nearby Purple Coins.
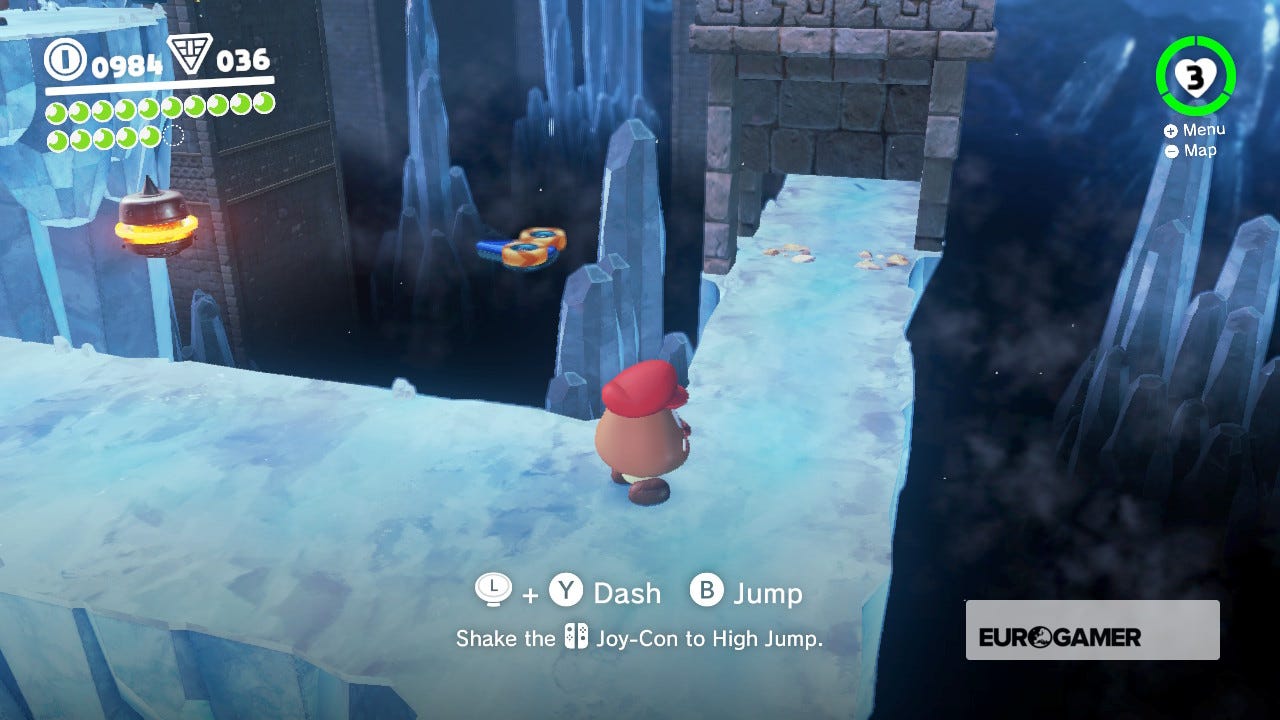
Goombas don't slip on the ice, but they're slower so be prepared to waddle your way around. Jump or climb up to the next platform and use Capy set to set off a series of shockwaves using the turbine devices you encountered earlier in this kingdom.
Keep in mind that these shockwaves will now be purposely stuck in a loop and will continue to go off as you make your way around the ring off ice in a clockwise direction.

Need more help? Our Super Mario Odyssey guide and walkthrough goes through every objective in each Kingdom, while our Power Moon locations can help you track down the likes of Cascade Kingdom Power Moons, Sand Kingdom Power Moons, Metro Kingdom and New Donk City Power Moons and more collectables. We also have Purple Coin locations for each Kingdom, and if you want to know what to spend it on, we have a hats list, outfits list, stickers list, a souvenirs list as well as a music list to kit out the appearance of both Mario and the Odyssey. Once you've finished the game, check out the free Balloon World update, too.
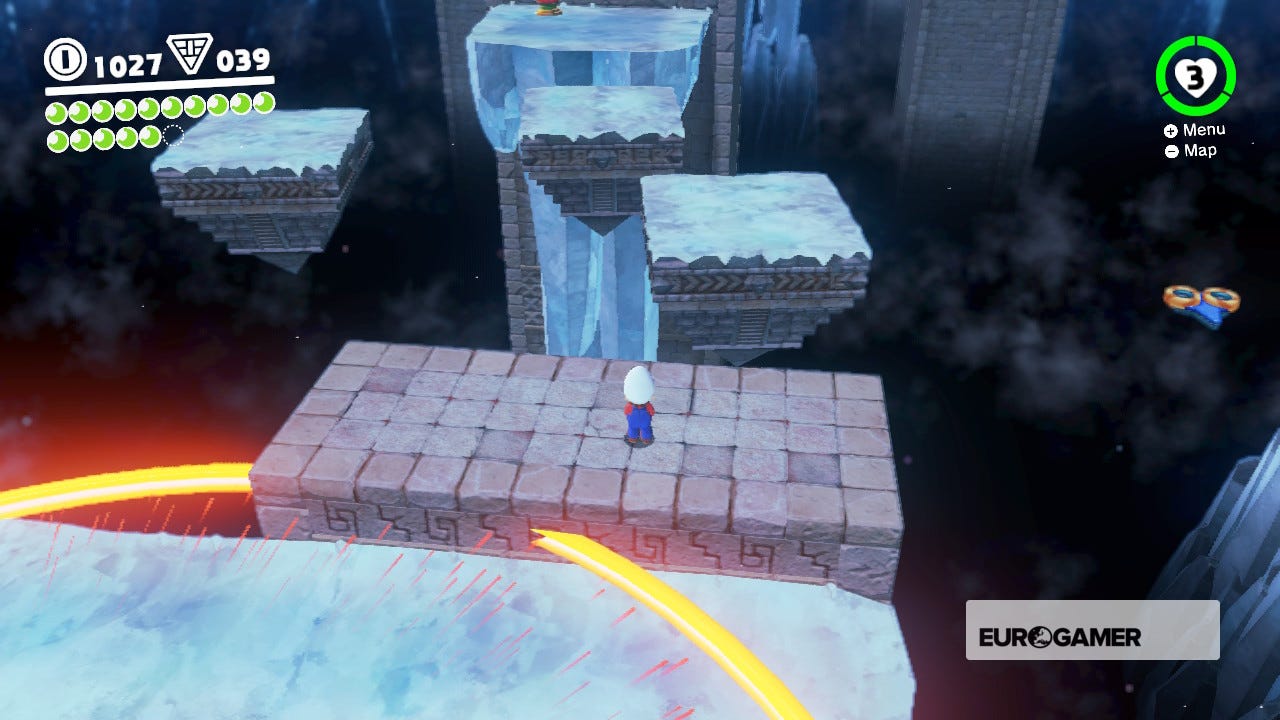
Possess a Goomba to avoid slipping (they can also jump high enough to avoid the shockwaves), then head towards the three moving platforms on the right-hand side of this area. De-possess the Goomba and jump to the middle one to reach the far side.
Once on the unmoving platform, move to the left-hand side so the Bullet Bill avoids the shock wave device. You'll need to hit him twice as he's wearing a hat.
Next up: Super Mario Odyssey - Deepest Underground and how to beat Knucklotec
Also see: Sand Kingdom Power Moons
And:
Purple Pyramid locations
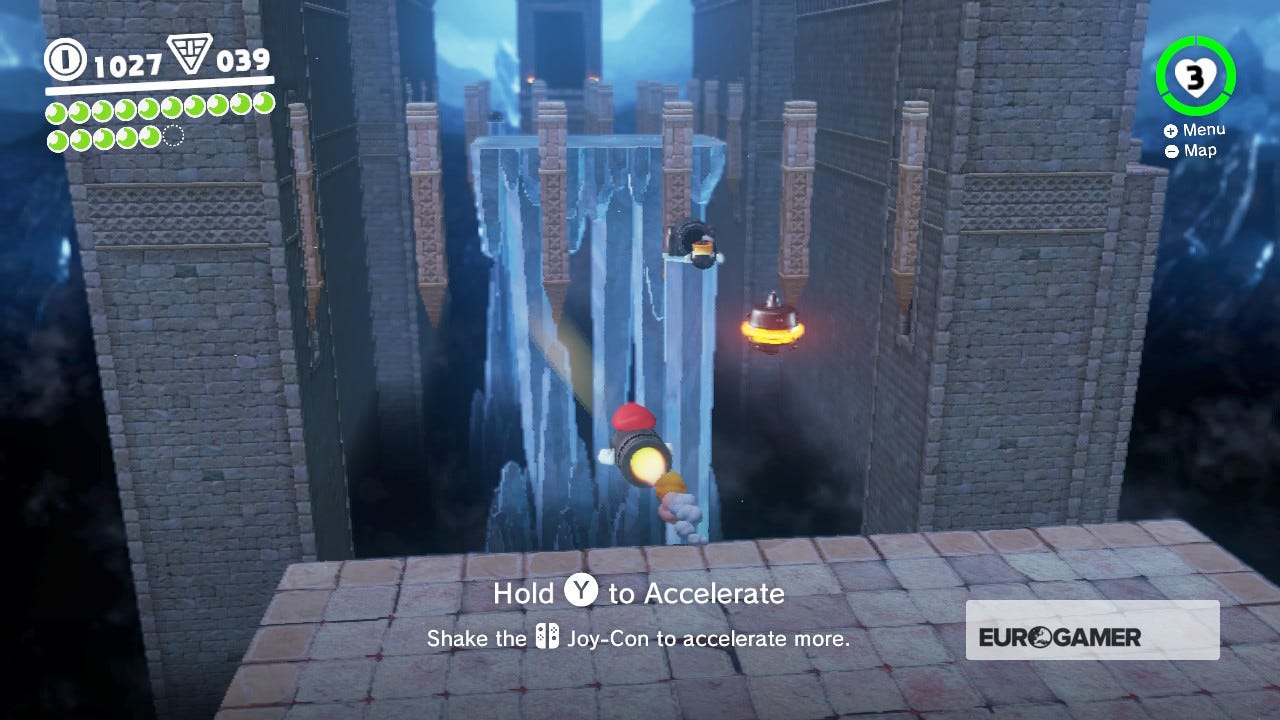
Accelerate through the moving pillars to reach the platform in time. Now possess another Bullet Bill and speed across to the other side as fast as you can. Head into the doorway to begin encounter a new boss…