Super Mario Odyssey - Moon Shards in the Sand locations
How to complete the Sand Kingdom objective.
Moon Shards in the Sand is an objective you'll encounter early on in Super Mario Odyssey, which follows on from Super Mario Odyssey - Tostarena: Atop the Highest Tower.
You'll find our full walkthrough for it here, whilst you can head back to our main Super Mario Odyssey guide, walkthrough and tips hub for plenty more on all aspects of the game!
Moon Shards in the Sand
A platform will now appear on the other side of the tower. Run across and jump on to the platform. Look out for the faint white lines - much like the moving platforms at the bottom of the round tower, these larger platforms will follow a predestined route.
As you're moving, throw Capy at the turbine-esque devices on your left and right to collect the coins around them. Hitting the turbines next to the glowing devices will send out a painful shock wave (which can also knock you off the moving platform as well, so always time your jumps over it). This wave will destroy blocks in your way, but it'll strip your health if it hits you.
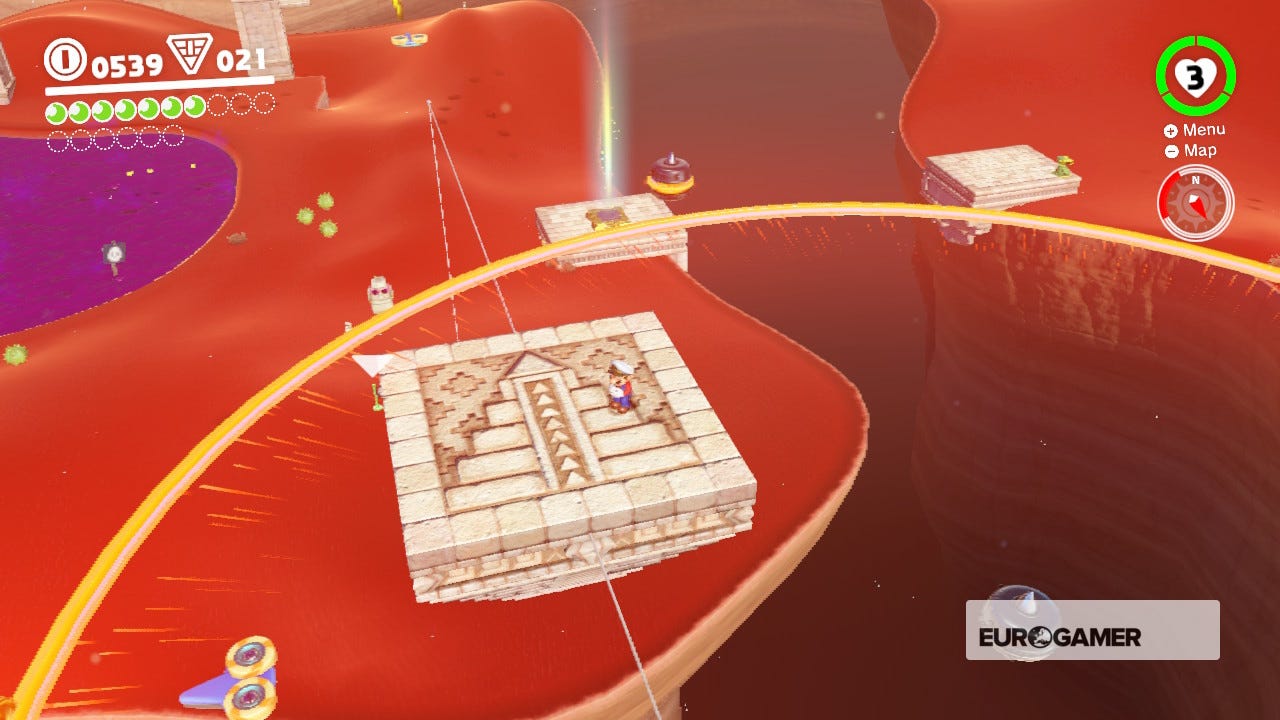
Jump across to the far left platform when three of them align and wait for it move downwards. Now collect the three Purple Coins and wait for the platform to drop. Jump across to the far-right platform when it reaches the bottom (you won't have much time so be quick about it).
You'll now need to jump over the multiple shockwaves that occur as you ride this platform forwards. There are around three shockwave launchers that will set one another off, so don't get complacent.
When you reach the far side and return to solid ground (phew!), hit the checkpoint (Moe-Eye Habitat) and catch your breath. Run forwards and grab the Shard of Power Moon - you'll need a five of these in total in order to make a whole Moon - thankfully, the other four are in this area.
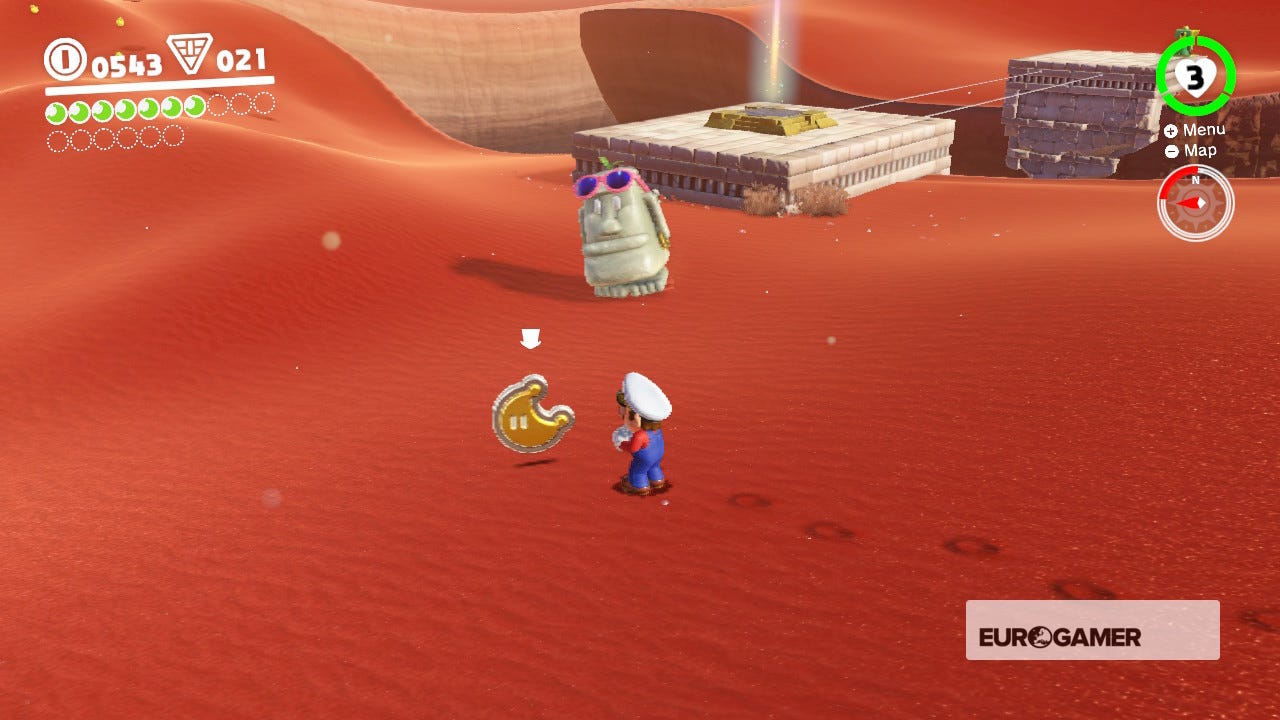

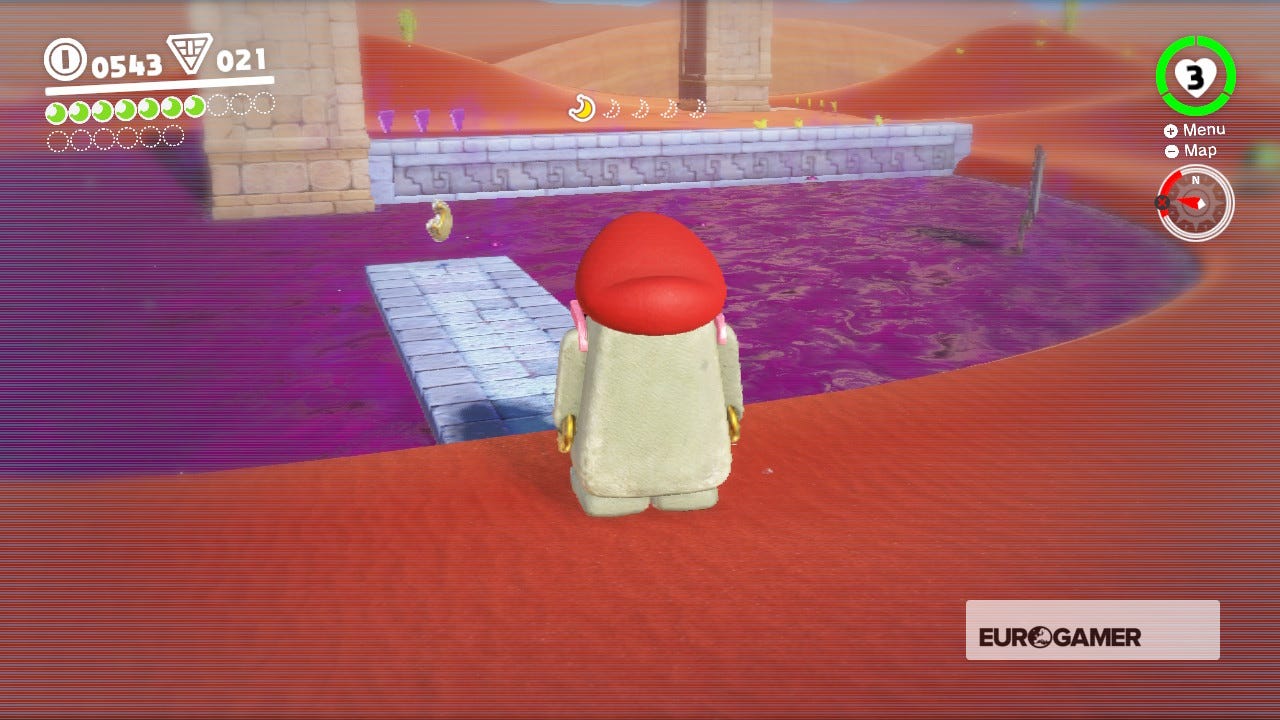
The second one is to your right, right near the edge of the sandy platform, located between two small cacti. To reach the third one, run around the edge of the bubbling, purple lake and look for a small sandy hill. This Moon Shard will be on top of it. Grab it to add to your collection.
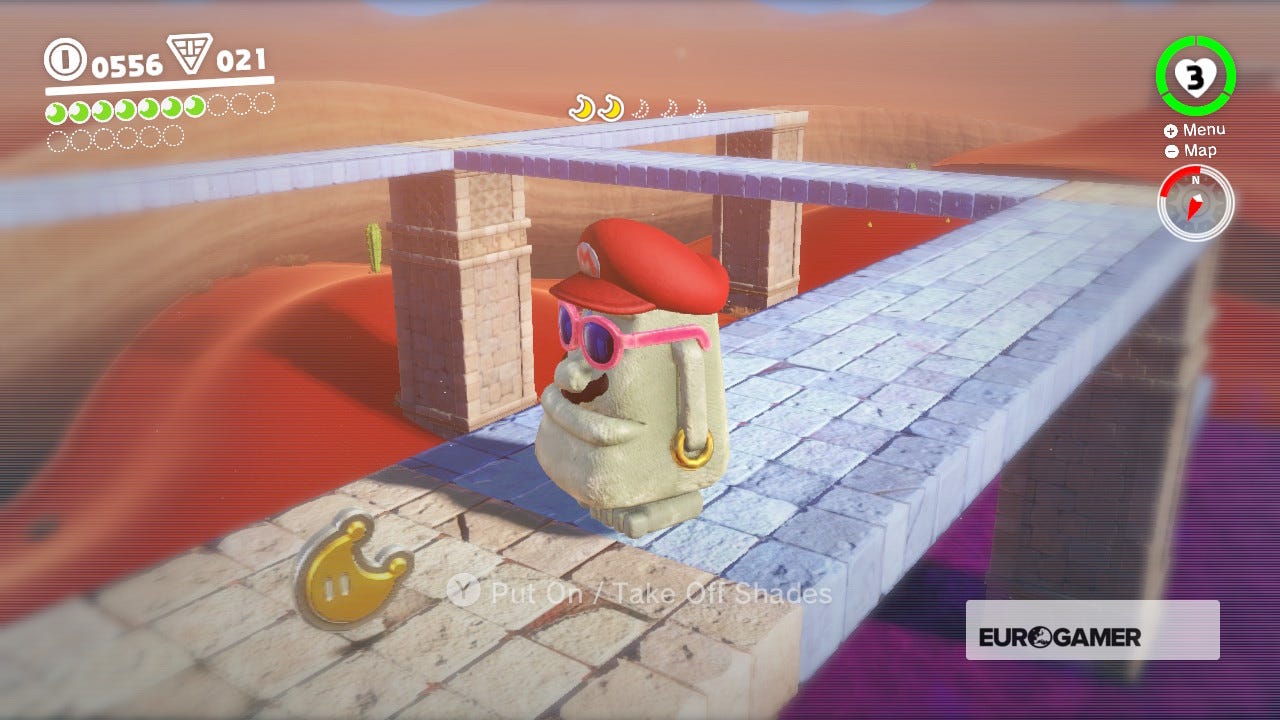
To get the fourth and fifth Shards, you'll need to possess one of the two statue-esque Moe-Eyes walking around this area. Press 'Y' when you're in control and they'll pop on their shades, revealing special purple platforms.
However, being in this view will make your Moe-Eye walk really slowly so only engage it when you're crossing one of these secret platforms. One is just over the purple lake, and you'll find the fourth Moon Shard at the very end of it.

Need more help? Our Super Mario Odyssey guide and walkthrough goes through every objective in each Kingdom, while our Power Moon locations can help you track down the likes of Cascade Kingdom Power Moons, Sand Kingdom Power Moons, Metro Kingdom and New Donk City Power Moons and more collectables. We also have Purple Coin locations for each Kingdom, and if you want to know what to spend it on, we have a hats list, outfits list, stickers list, a souvenirs list as well as a music list to kit out the appearance of both Mario and the Odyssey. Once you've finished the game, check out the free Balloon World update, too.
To find the fifth and final piece, head back to regular sand, toggle off your purple view, then walk over to the rising platform beside one of the tall, rectangular stone pillars. Ride this square lift to the top then pop on your shades.
This section will take a while. If you want to, you'll be able to collect three Purple Coins directly in front of you. The final Moon Shard is located on the stone pillar in the middle of the lake, slow waddle over and this final Moon Shard is yours.

Next up: Super Mario Odyssey - Showdown in the Inverted Pyramid, beat the Mini Broodal
Also see: Sand Kingdom Power Moons
And:
Purple Pyramid locations
The complete Moon will now appear on the glowing platform near where you started in this area. Waddle back to the start, de-posses the Moe-Eye and run over to the hard-earned Moon. Collecting it will unlock a door at the base of the far off Inverted Pyramid. Cross the gap via the moving platforms.