Super Mario Odyssey - Bowser's Moon Wedding and Mother Broodal boss fight part two
How to complete the Moon Kingdom objective.
Bowser's Moon Wedding and Mother Broodal are objectives you'll encounter almost at the end of Super Mario Odyssey, which follow on from Super Mario Odyssey - Showdown at Bowser's Castle and how to beat Mecha Broodal.
You'll find our full walkthrough for them here, whilst you can head back to our main Super Mario Odyssey guide, walkthrough and tips hub for plenty more on all aspects of the game!
Bowser's Moon Wedding
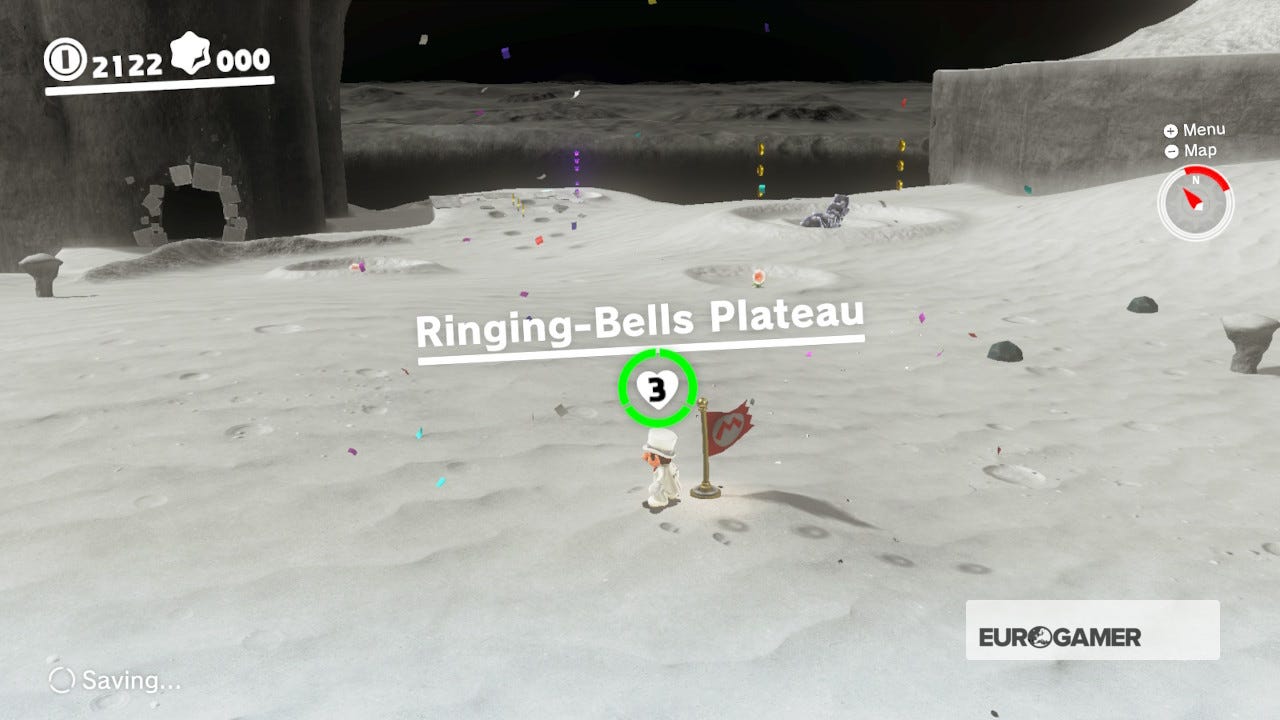
Run across the lunar surface - look, you can jump even higher and float down slower due to reduced gravity. Science! Jump down to the next level and run across the Ringing-Bells Plataeu checkpoint.


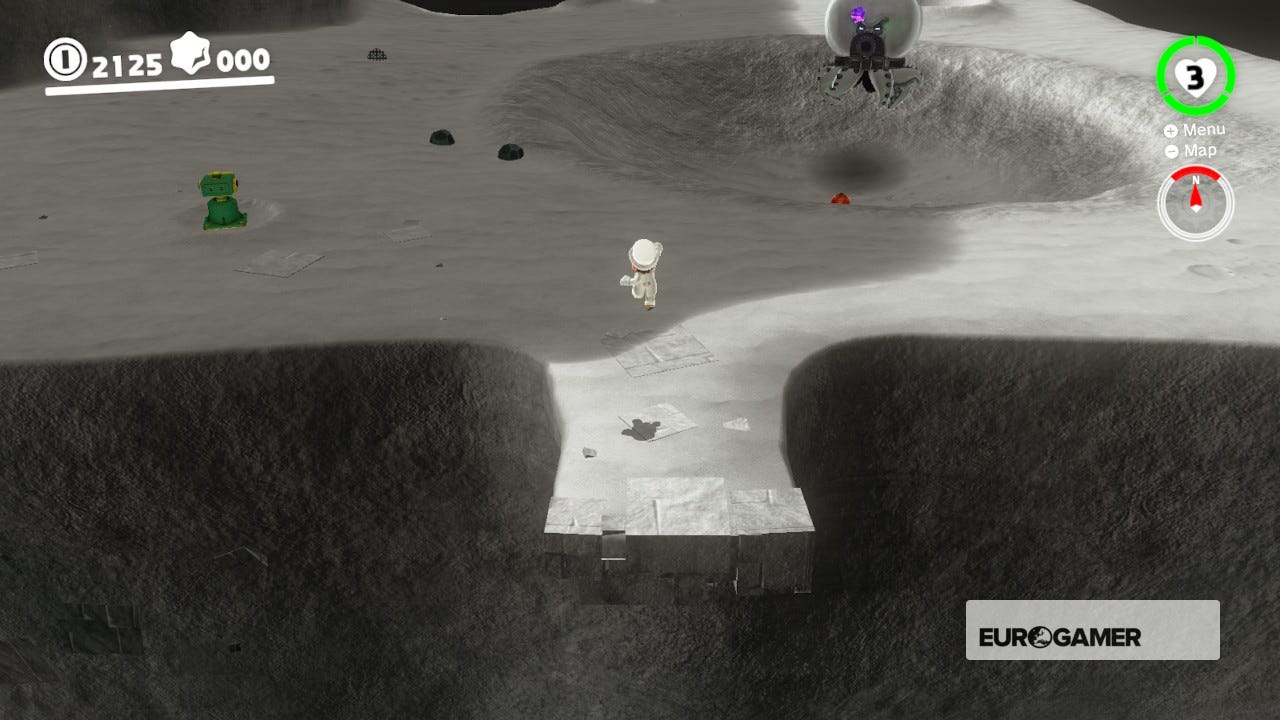
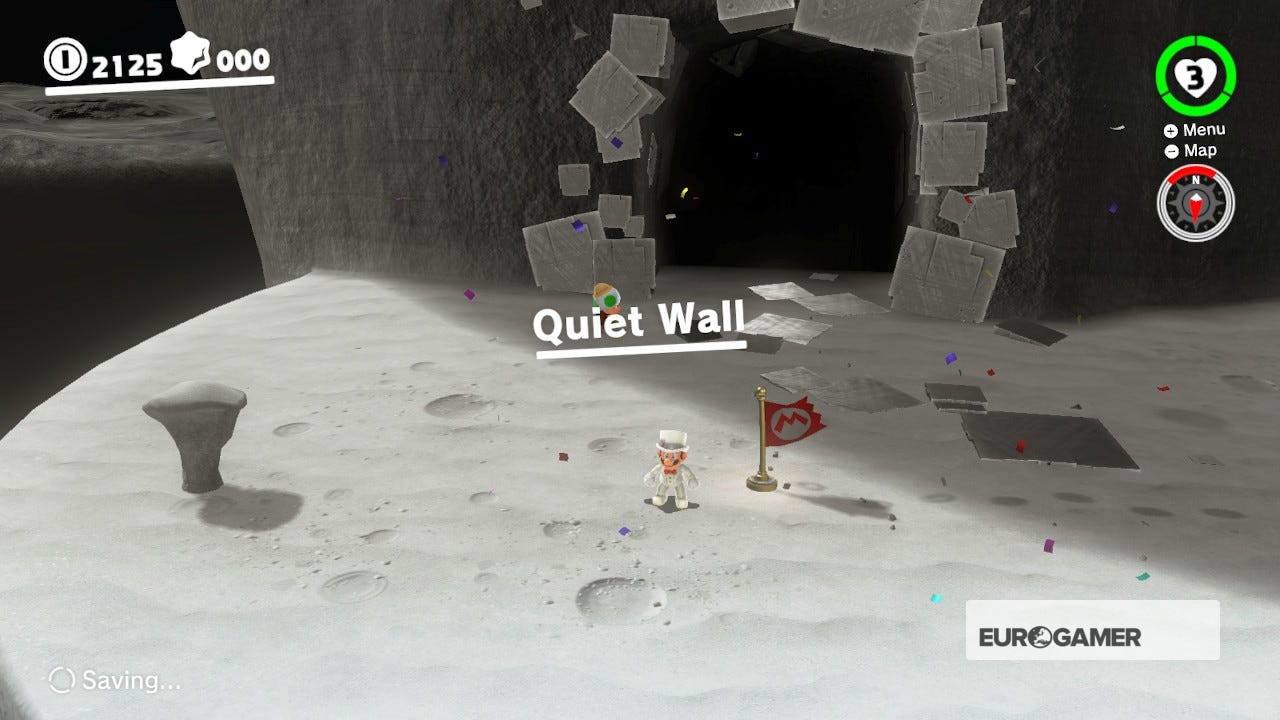
Head to the left of the area, avoiding the spinning (and moving) spike trap. Leap up, then head to the right. Leap over the narrow bridge, avoid the floating squid, pass over the Quiet Wall checkpoint and into the dark doorway.
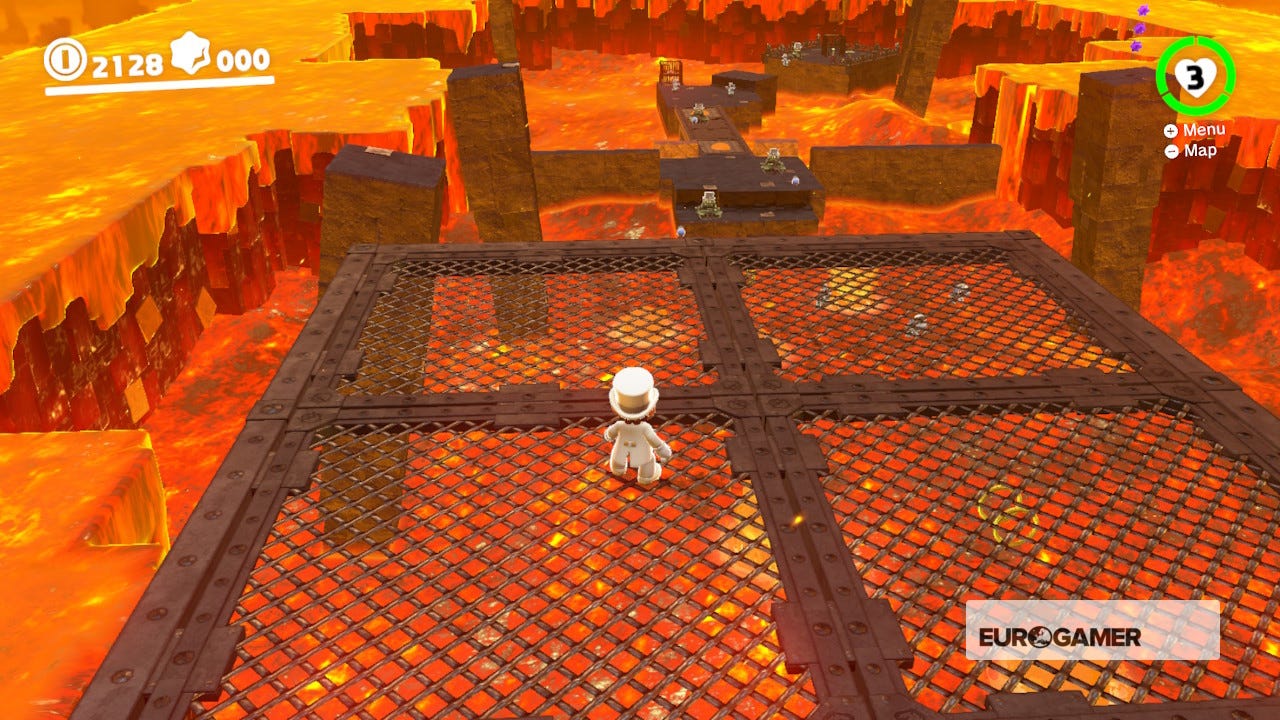
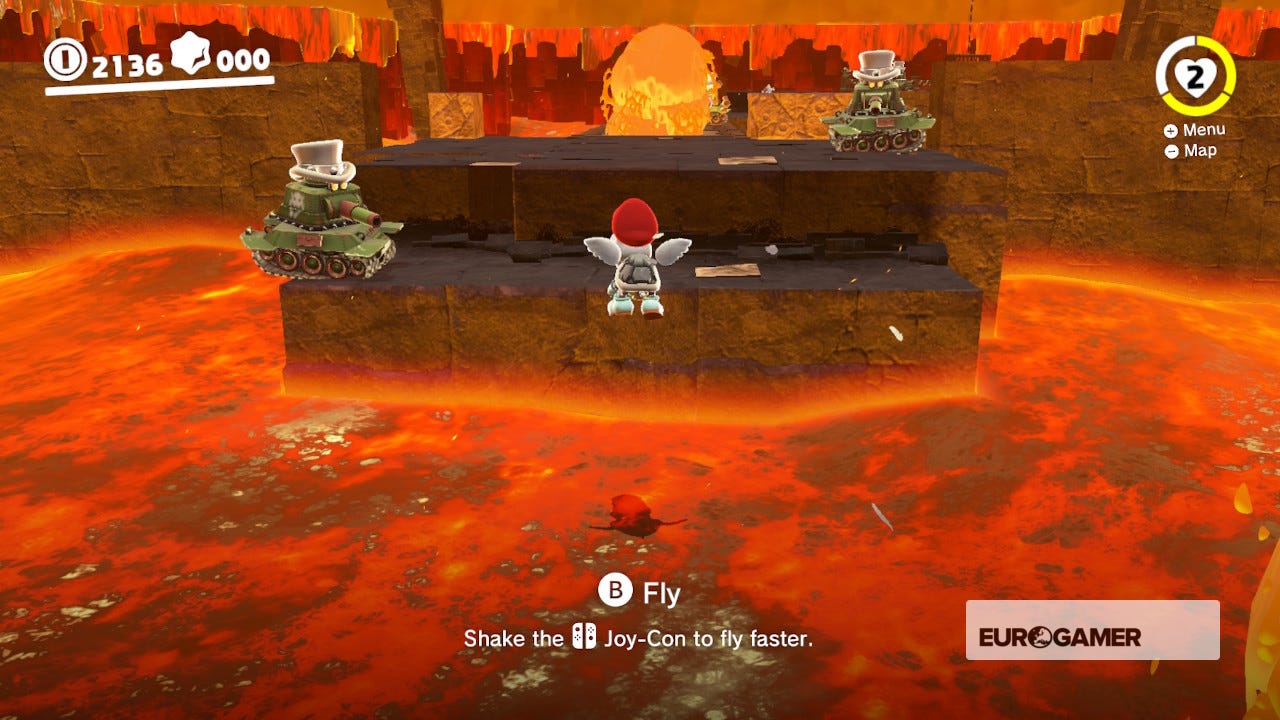
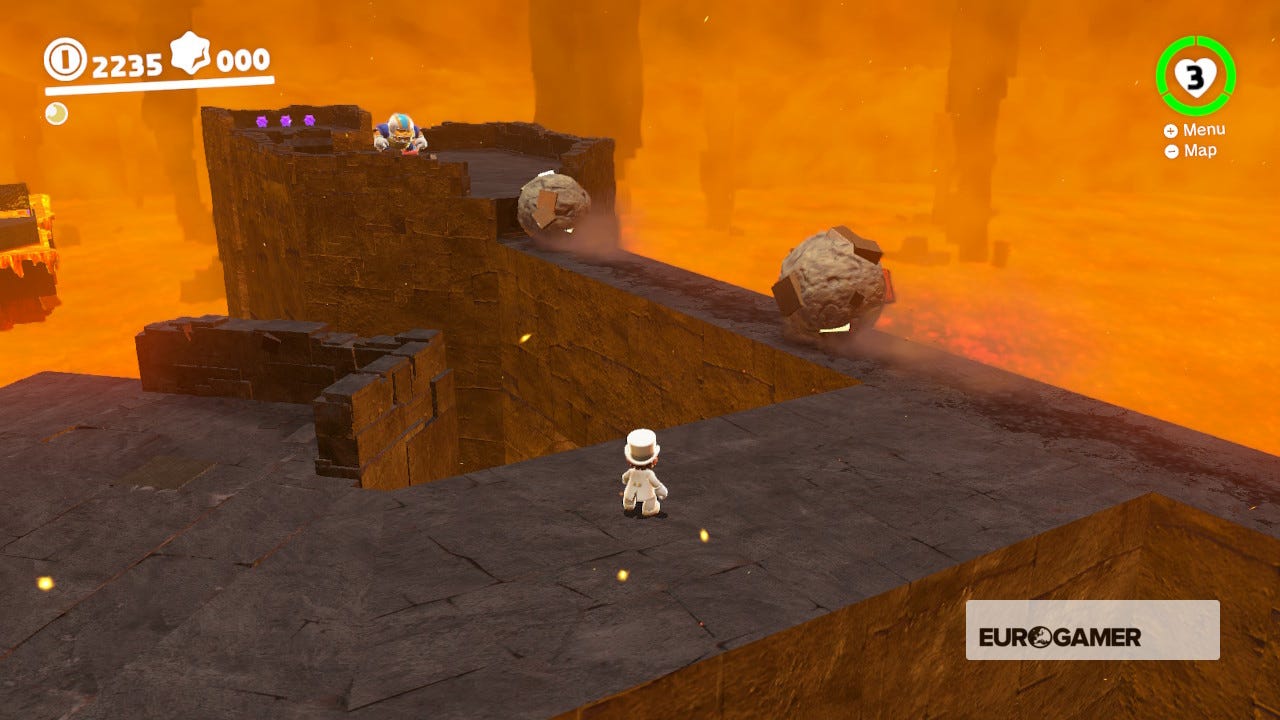
You'll land in the Underground Moon Caverns. Complete with lava! Gravity is normal down here, so cross the metal grates, then drop down to where the Parabones are. Possess one and float across the lava, avoiding the magma pillars, the Parabones and the Sherms shooting at you.
Fly across most of these enemies and land behind the cage. One of the Sherms will shoot it and destroy it. Jump into the Spark pylon that's been revealed and shoot up and away to the next level.
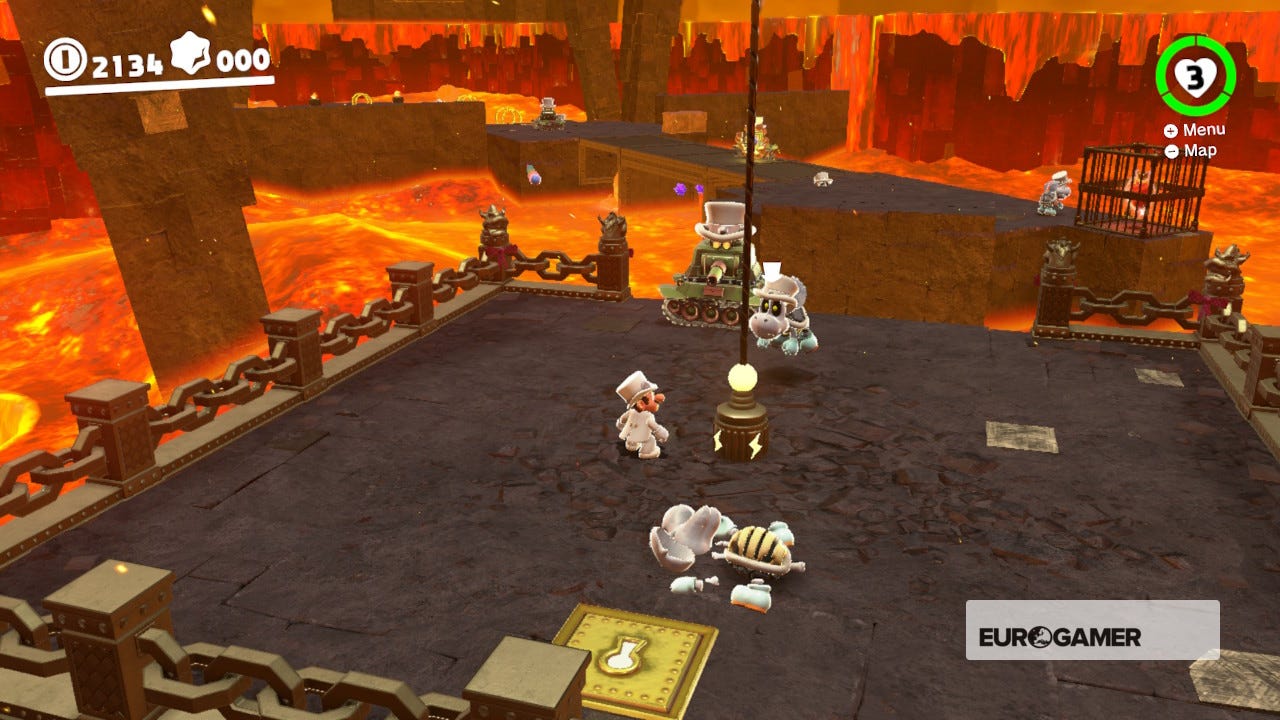
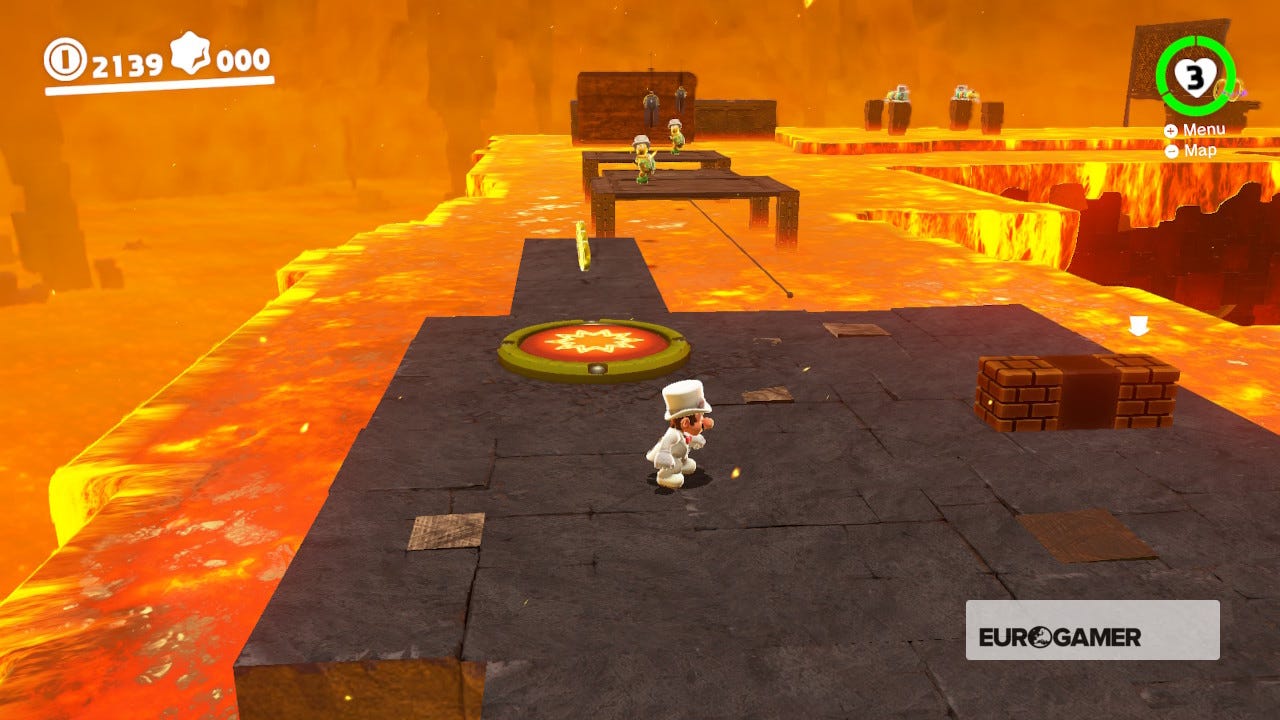
On this next level, hit the big red button with a Ground Pound to start the platform moving. Ride it across, dodging the Hammer Bros. Possess one, take out the other and use your hammers to destroy the two rock walls in front of you. Leap onto the coming platform.
Hit the next red button, then jump on the platform (as Mario). Hit the Wiggler twice to possess it and stretch onto the moving platform. Move around the next Wiggler, then stretch around the metal wall, following the gold rings.
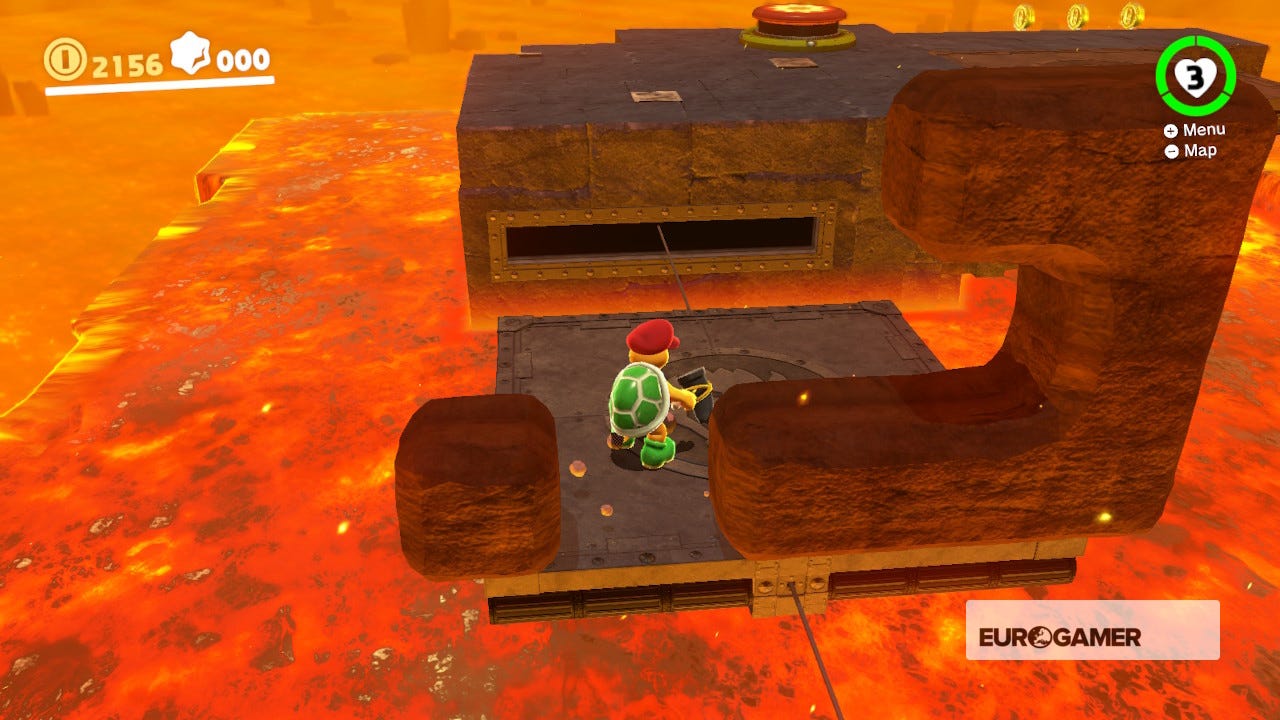
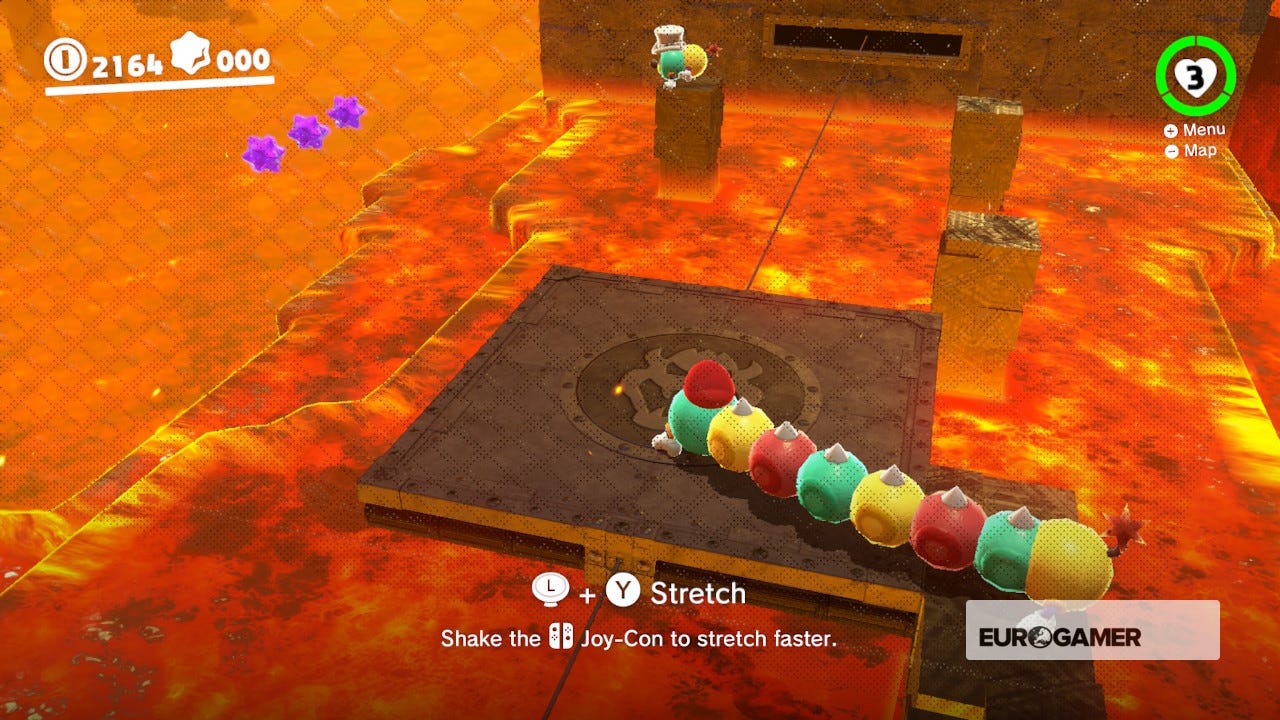
Back on the platform, move around the next Wiggler, then de-possess the Wiggler you're in and jump up to safety on the coming platform. In the next area, run across the bridge towards a wall. Surprise! A giant Bullet Bill is breaks through. Hit him twice for possession.
Ride him through the path of the golden rings, being careful to avoid the smaller Bullet Bills and the bigger ones. Jump out in time at the platform with the Moe-Eye. On this platform, hit the big red button with a Ground Pound, then possess the Moe-Eye and flip down its shades.
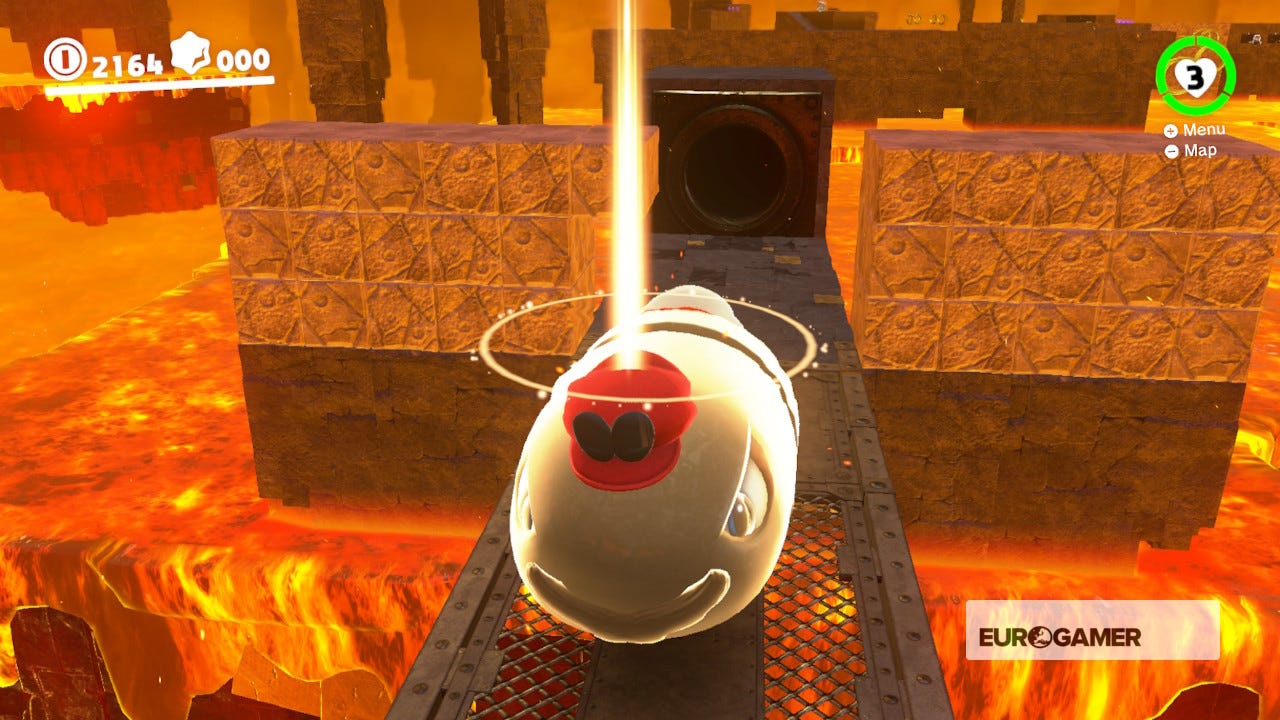

DON'T run out. You're too slow in this mode to get across. Instead, use your normal walking speed, while quickly using your specs to check where you are. Or, do we what did, and roughly estimate how long each tile takes to cross and run across an invisible trail to the other side!
Ride the Spark pylon at the top to your next area. Hit the Chargin' Chuck a few times to possess him. Hold 'Y' to charge him up, point him at the line of rock balls, then release to guide him to the other side. De-possess him, follow the flow of balls to the left, jump and possess this next Chargin' Chuck.
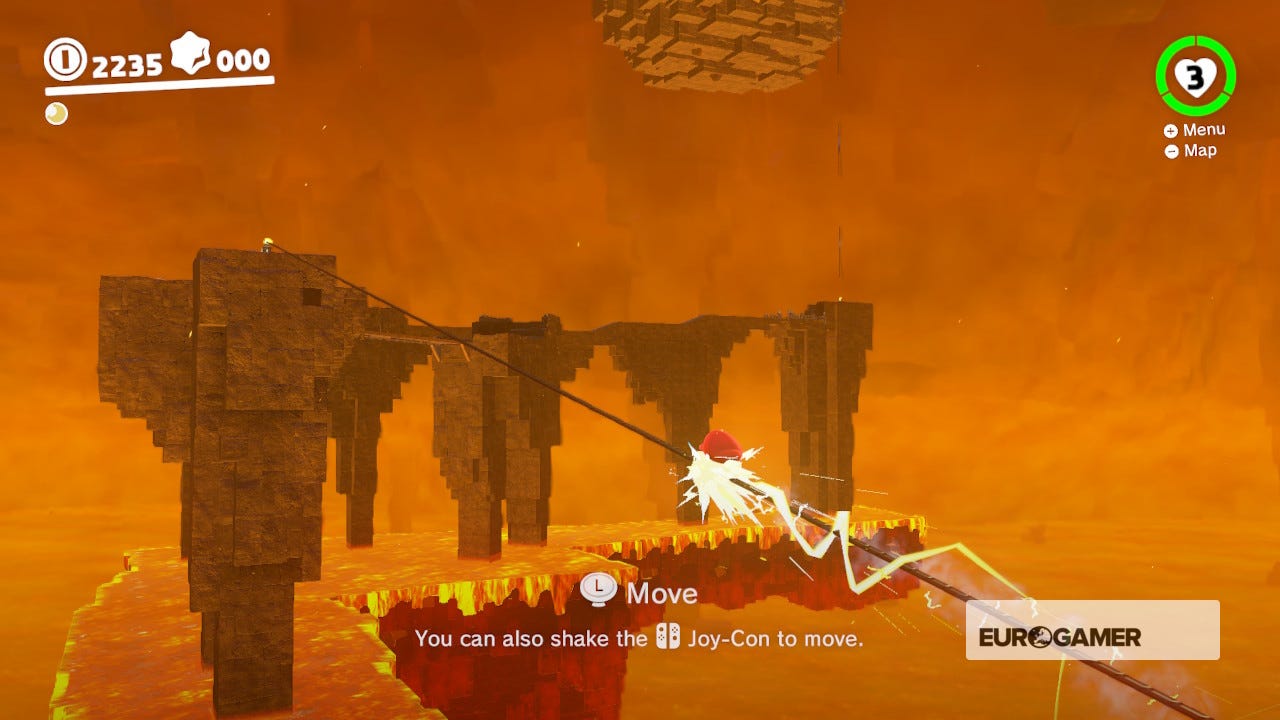
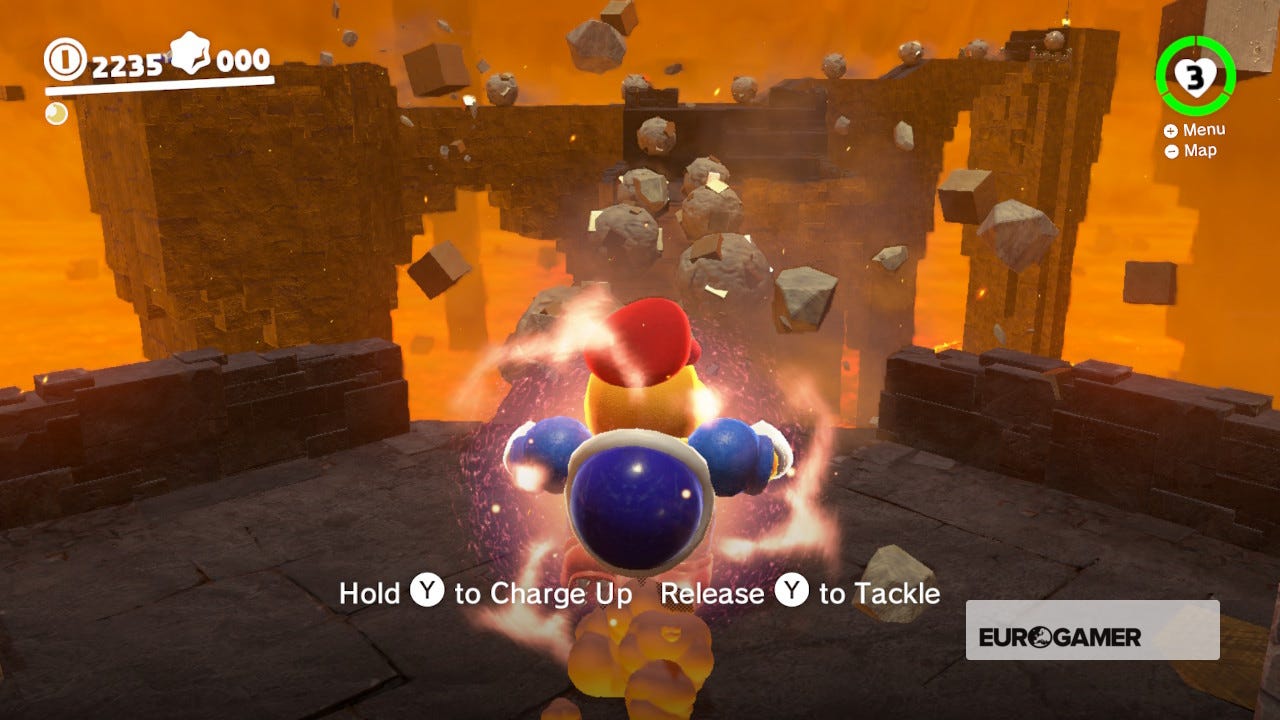
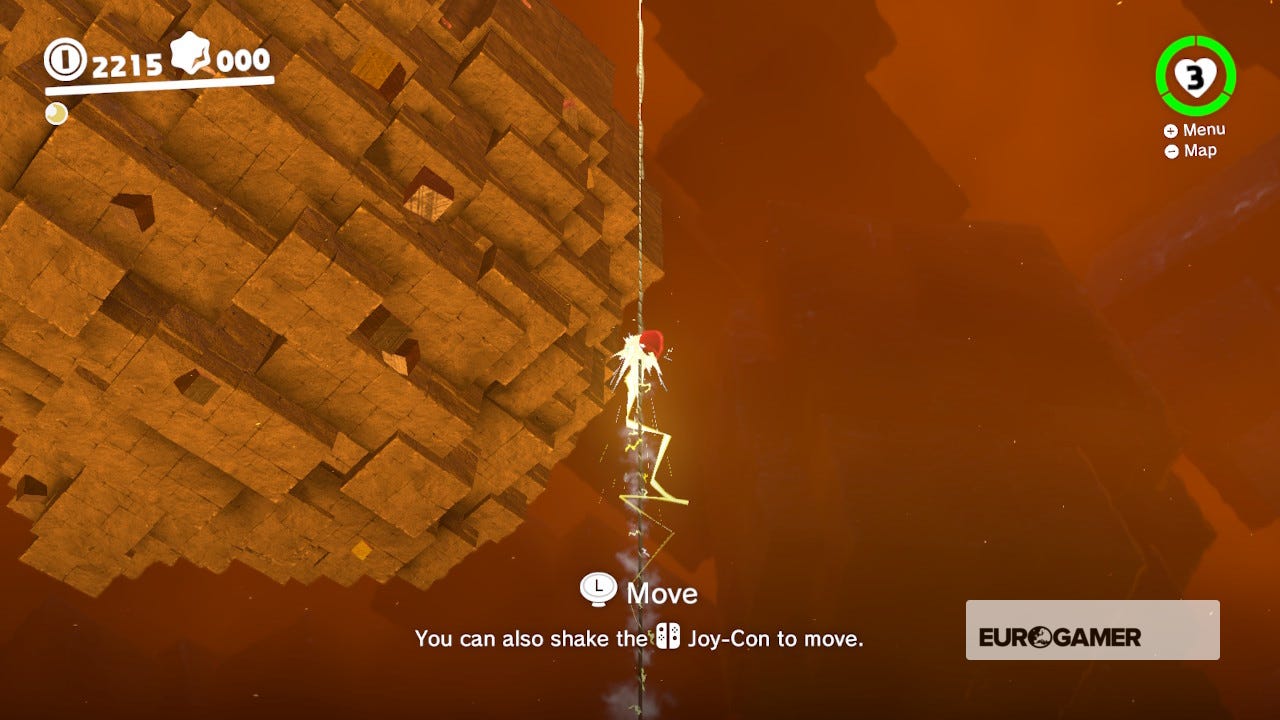
Guide him along the narrow bridge of oncoming balls. Don't get too twitchy as it is very easy to fall of this bridge. Reach the other side and use the Spark pylon to reach the platform above. And a familiar face awaits…
Need more help? Our Super Mario Odyssey guide and walkthrough goes through every objective in each Kingdom, while our Power Moon locations can help you track down the likes of Cascade Kingdom Power Moons, Sand Kingdom Power Moons, Metro Kingdom and New Donk City Power Moons and more collectables. We also have Purple Coin locations for each Kingdom, and if you want to know what to spend it on, we have a hats list, outfits list, stickers list, a souvenirs list as well as a music list to kit out the appearance of both Mario and the Odyssey. Once you've finished the game, check out the free Balloon World update, too.
Mother Broodal boss fight part two
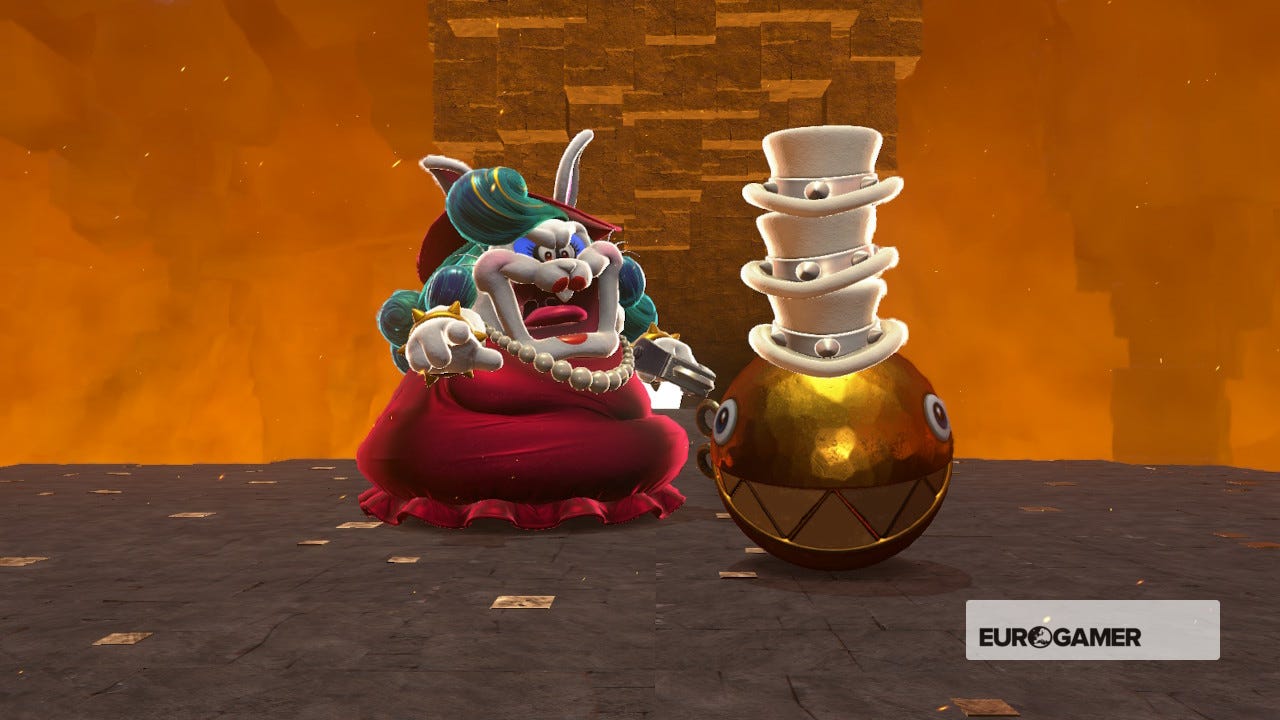
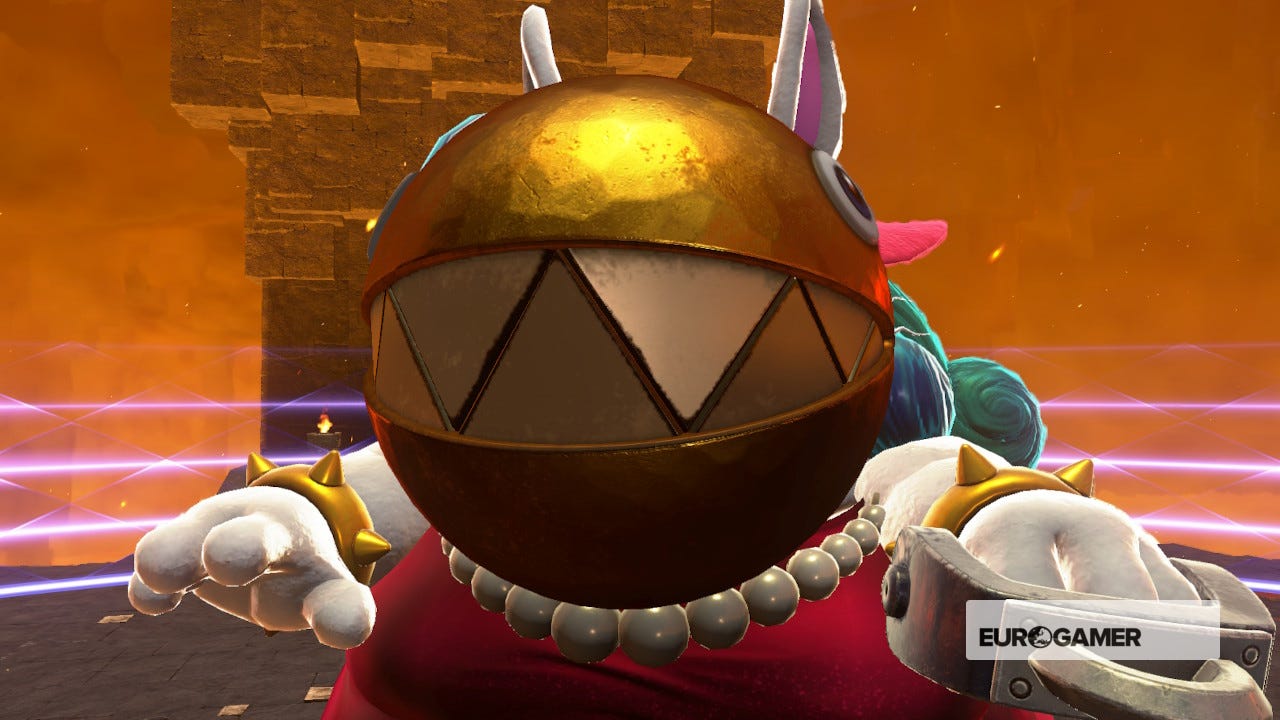
Remember this angry lady from the Cascade Kingdom? She's back and she's not happy about the way you've treated her extended family. Her attacks are largely the same, only now her darling Chain Chompikins wears more hats. He has one to begin with, so dodge his charging attack, hit him twice and possess him.
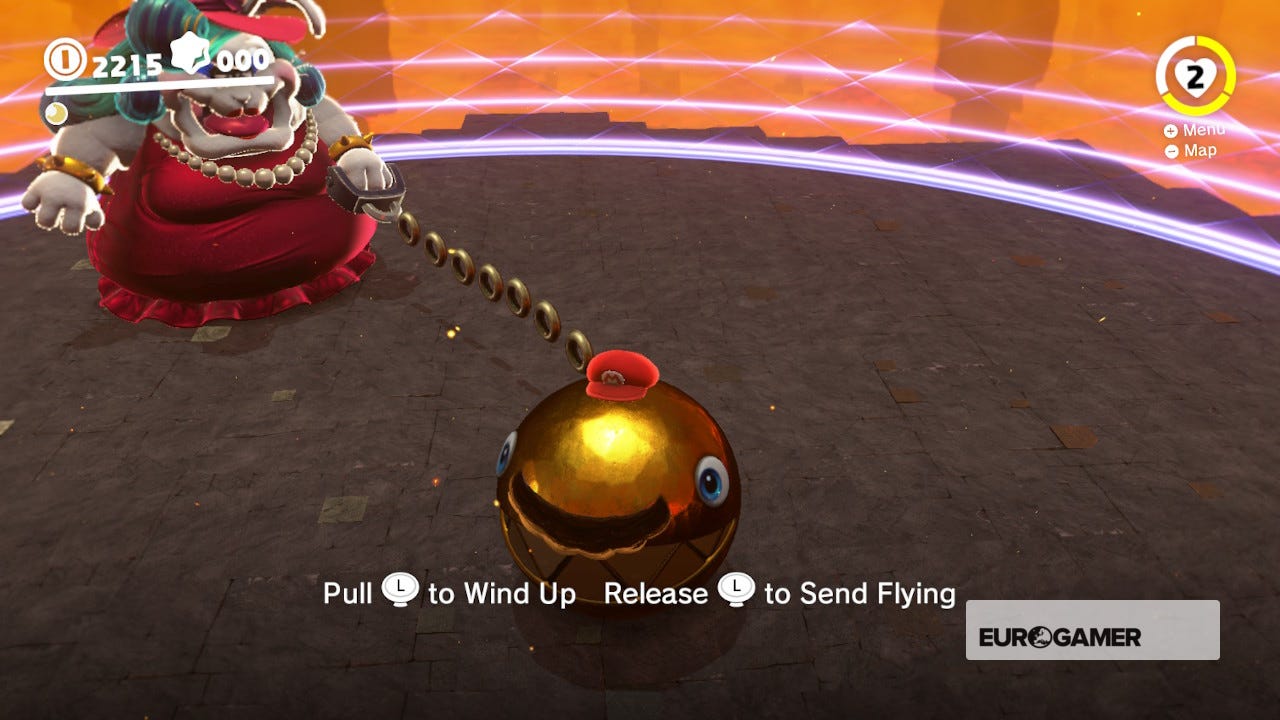
Move away from the large Broodal so she can't swipe you, then pull away on the left analog stick before letting go to hurt her. Mother Broodal will now throw her pet at you, so be ready to dodge. The process will repeat two more times, with the Chain Chompikins wearing two then three hats on each respective wave. When she's down, head through the big white door.
Next up: Super Mario Odyssey - Bowser: how to defeat the final boss
Also see: Purple Star Bit locations
On the other side, follow the path around, cross the Ever After Hill checkpoint and run down the red carpet and into the church. Run through the Wedding Hall and hit the hat door a few times to interrupt the ceremony…