Super Mario Odyssey - How to escape Forgotten Isle and chase the hat-stealing bird
How to complete the Forgotten Kingdom objective.
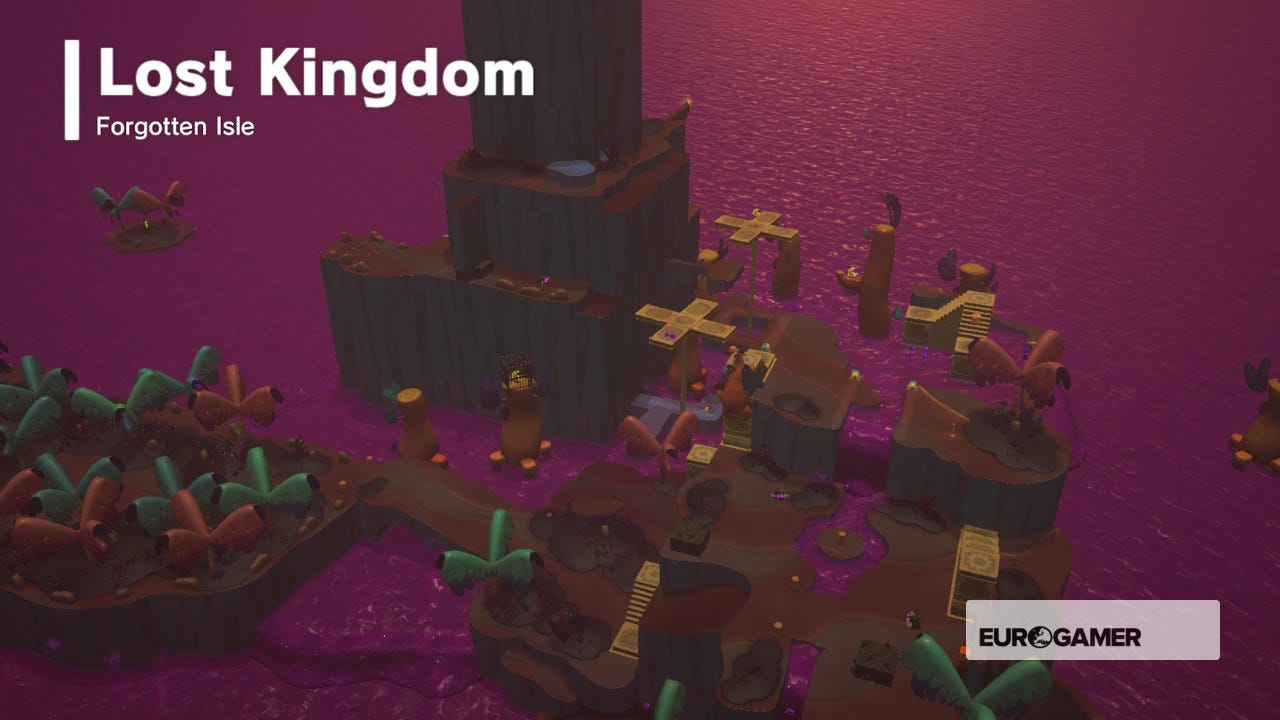
Forgotten Isle and Collect Power Moons! are objectives you'll encounter about halfway through Super Mario Odyssey, which follow on from Super Mario Odyssey - Nimbus Arena, first Bowser boss encounter.
You'll find our full walkthrough for them here, whilst you can head back to our main Super Mario Odyssey guide, walkthrough and tips hub for plenty more on all aspects of the game!
How to escape Forgotten Isle
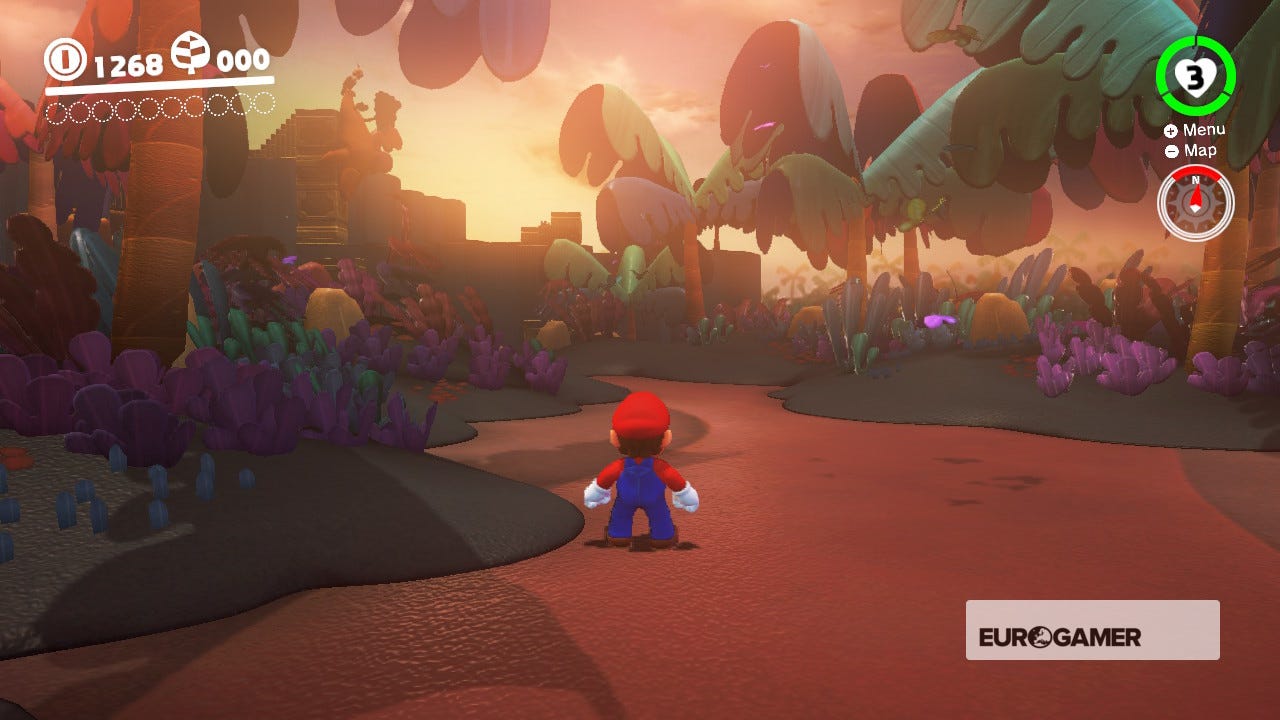
The Odyssey has crashed in a strange, prehistoric land and you need to find some Power Moons - and fast! You'll need 10 Moons to move on to the next kingdom.
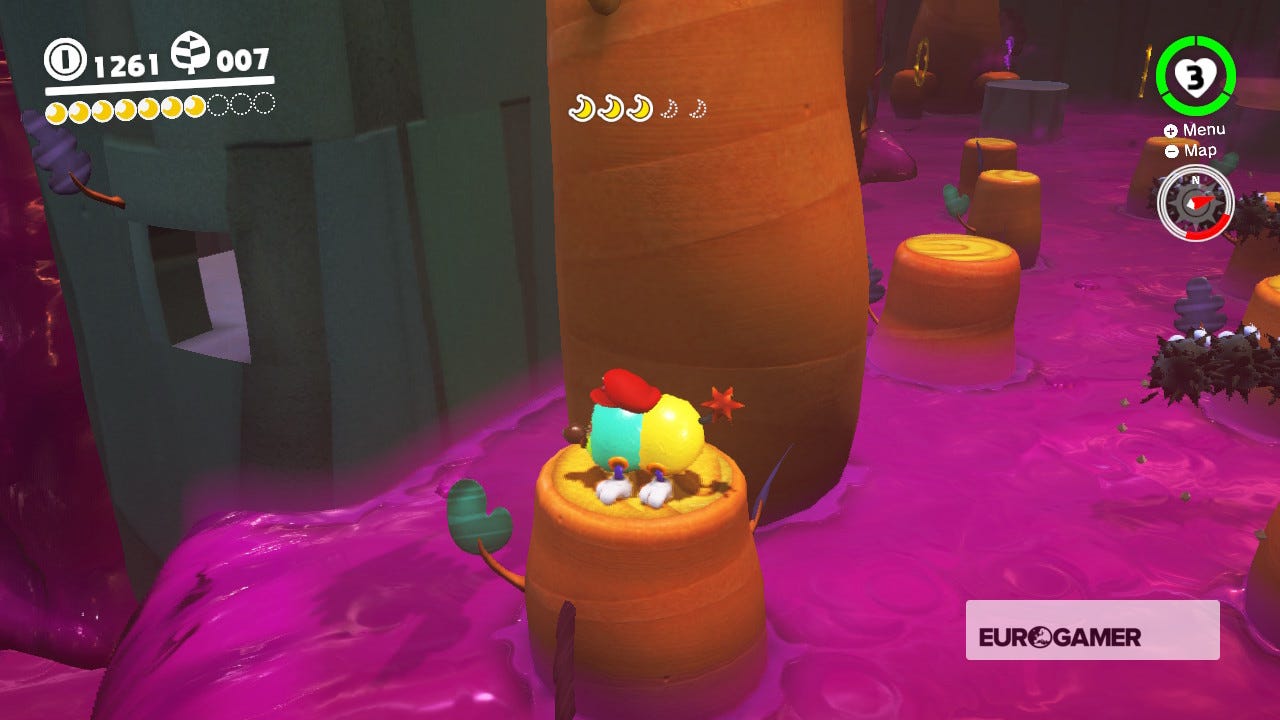
Head along the jungle path, turn right, left and right again and you'll see a large ruin in front of you. Cross the small bridge and a giant bird will swoop down and steal Capy. To get him back, run across the bridge and head for the yellow stairs. Ground Pound the highest step to reverse it, giving you access to the ledge above.
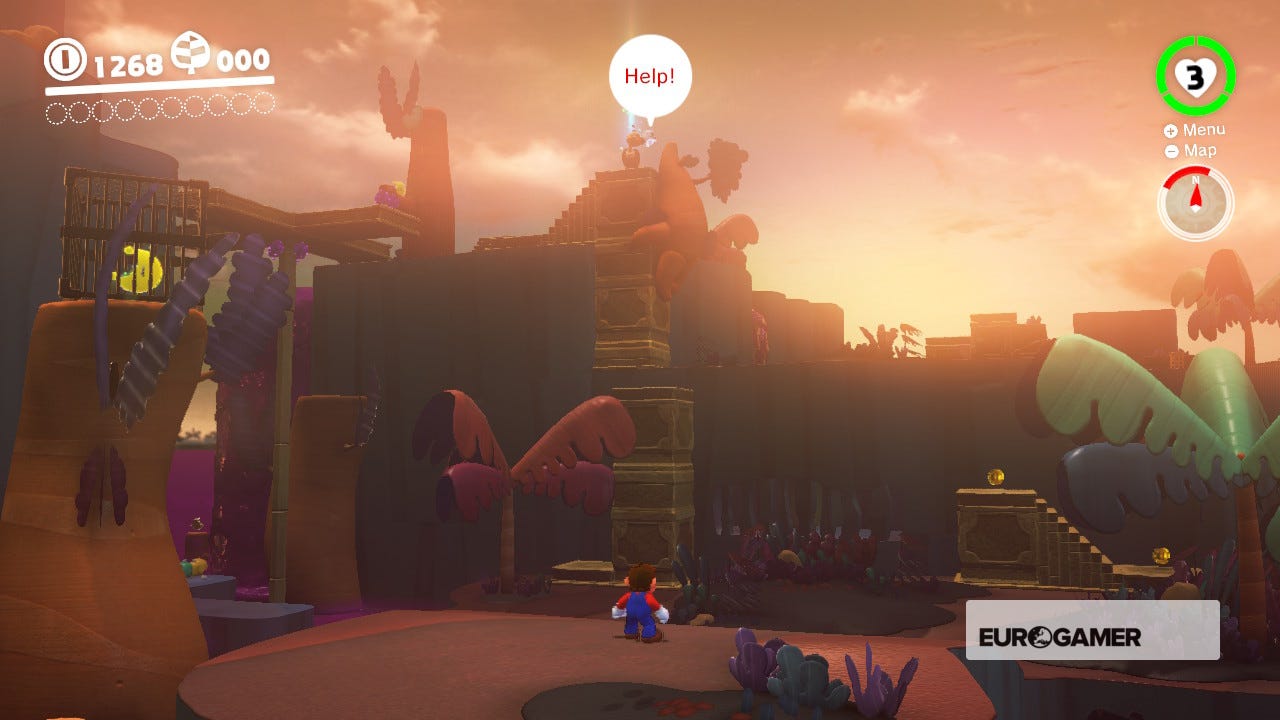
Run across this area, avoiding the bug enemies, then climb the stairs to your left and Ground Pound the highest step to reverse it. Climb onto the ledge above and cross the checkpoint (Swamp Hill). Run across the stairs where the bird is sitting, then jump onto the highest part of the step and Ground Pound to send the bird flying. You'll now have Capy back.

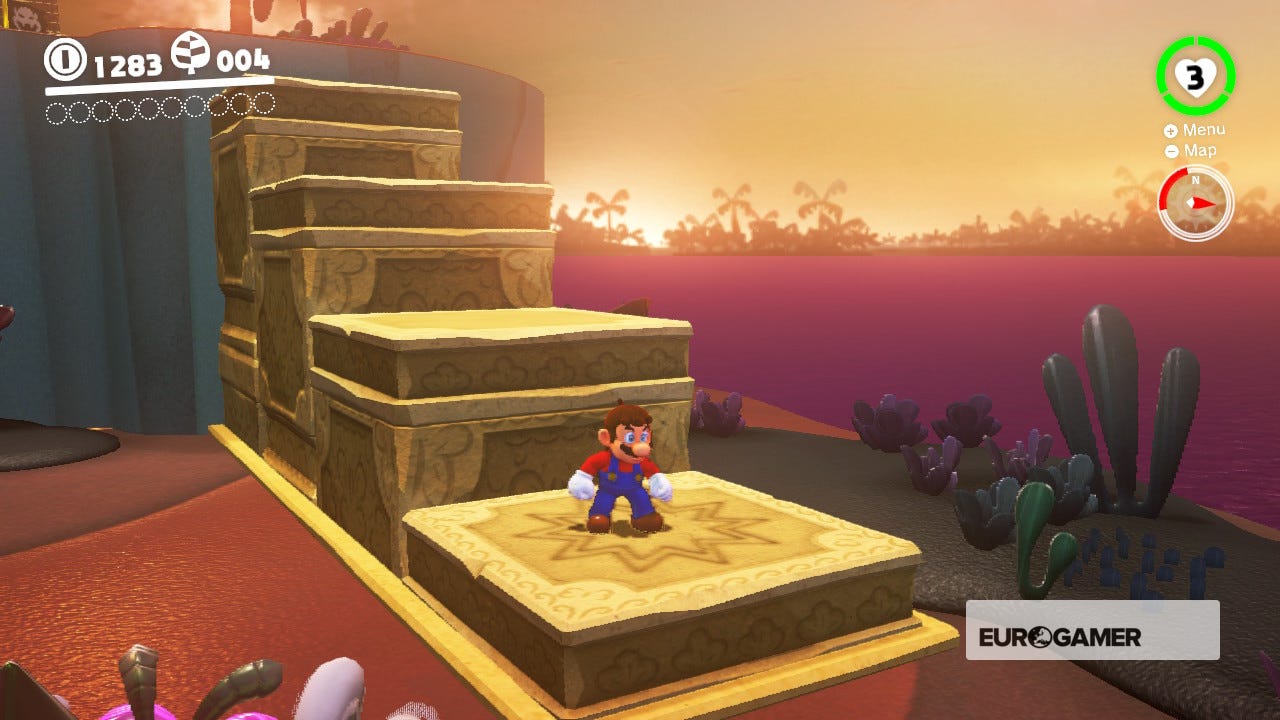
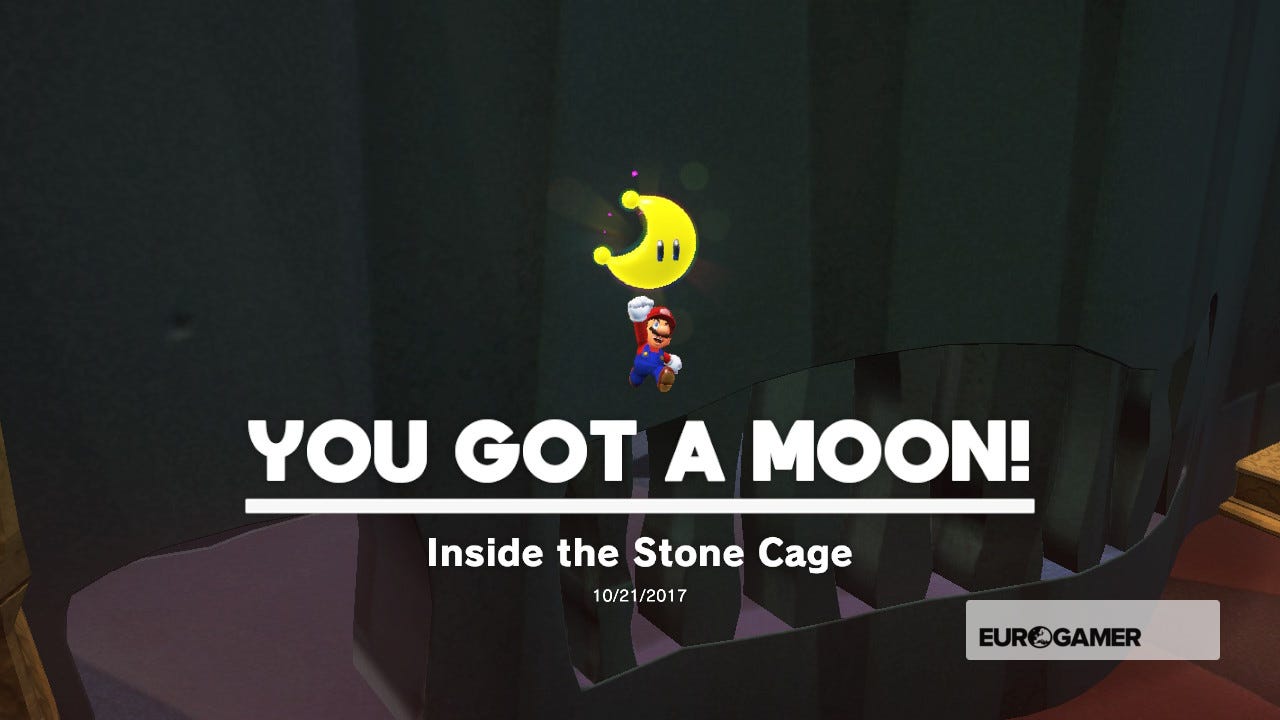
Let's start collecting Moons. It doesn't matter which of the 25 in this kingdom you collect, as long as you find 10 or more. From the stairs where you defeated the bird, stand on the stairs nearest the corner of the ledge. Look over the edge and you'll see a very tall stair next to a very short one. Jump down onto the higher one and do a Ground Pound. You'll reveal a secret entrance a Moon (#3 - Inside a Stone Cage).

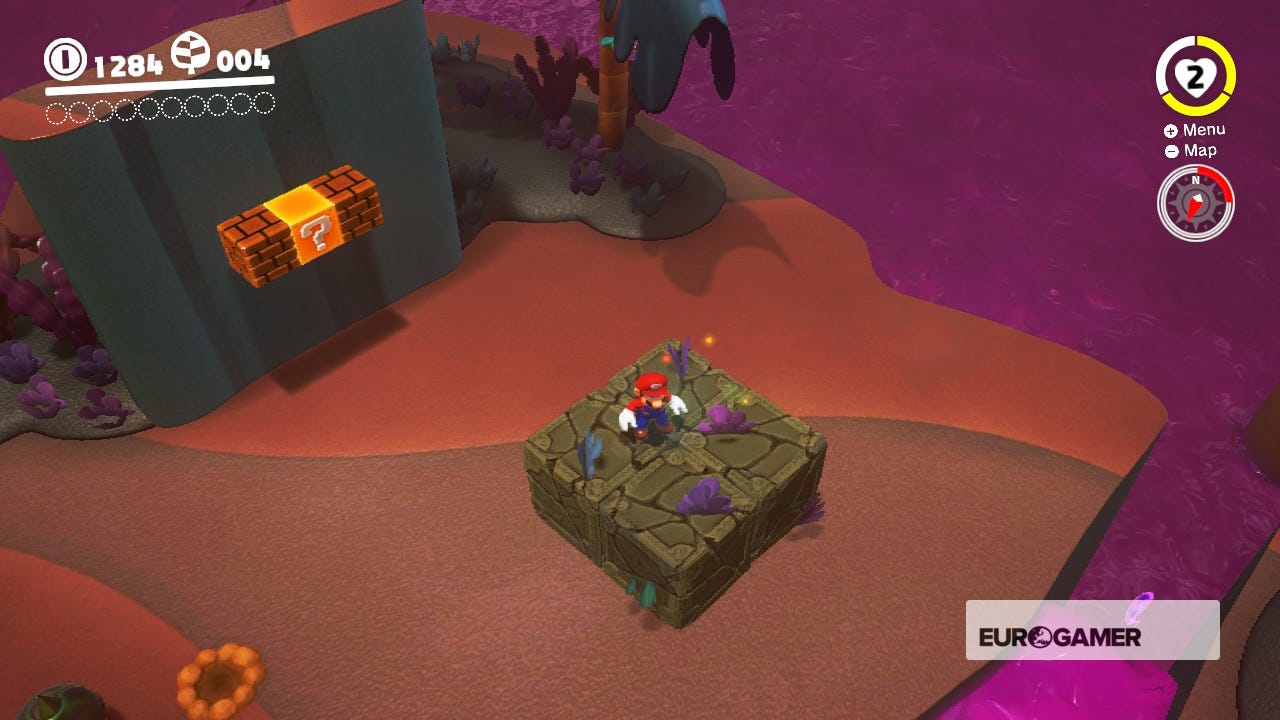
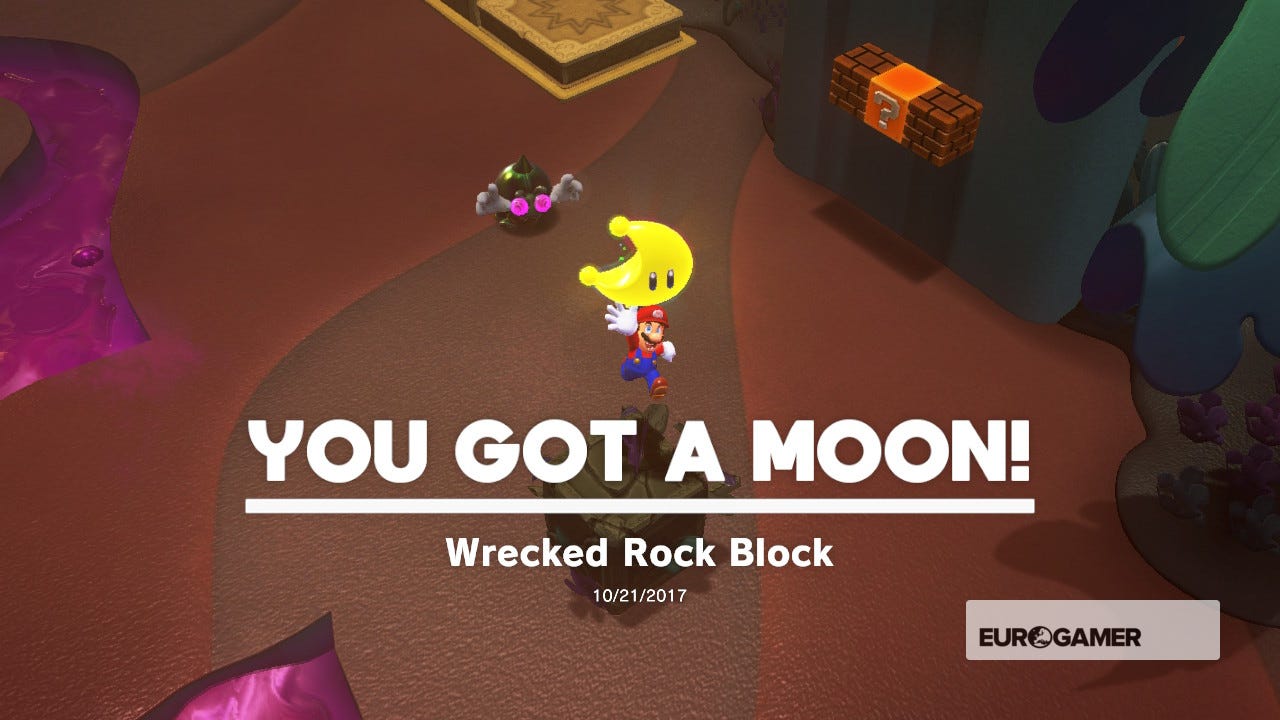
Climb back onto the ledge above (the one with the two exploding bug enemies) and head towards the dark stone set of four blocks in the far right-hand corner. Throw Capy at one of the bugs, then stand over the blocks to blow them up with the bug. You'll reveal a Moon (#11 - Wrecked Rock Block).
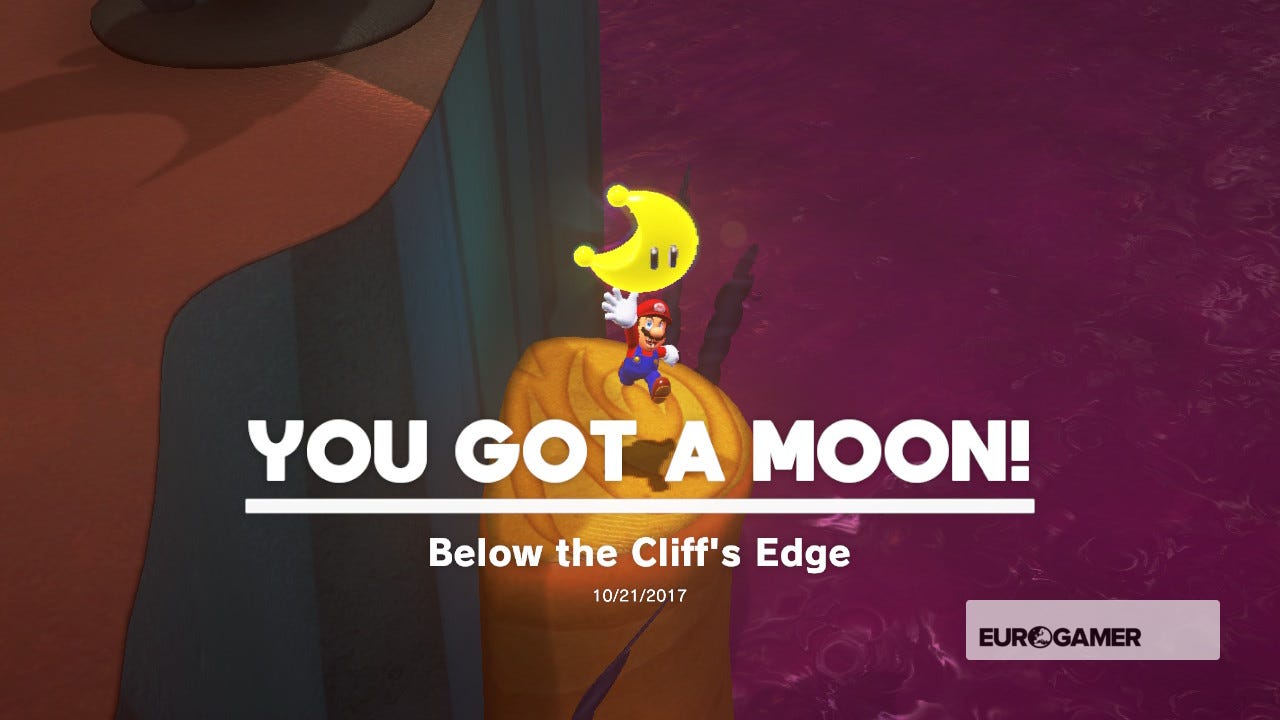
Now look over the edge, just where you collected the previous Moon. You'll see another on a lower ledge. Jump down to claim this Moon (#2 - Below the Cliff's Edge). There will be too hidden blocks to help you reach the cliff edge again.
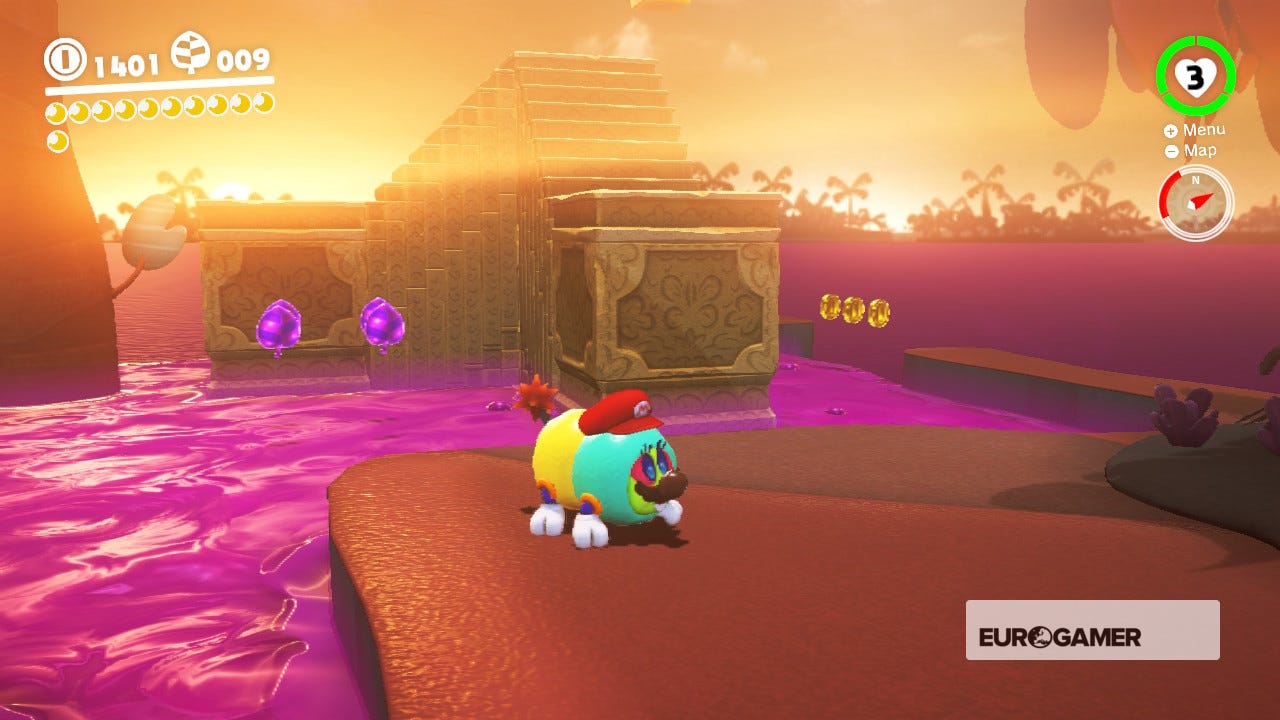
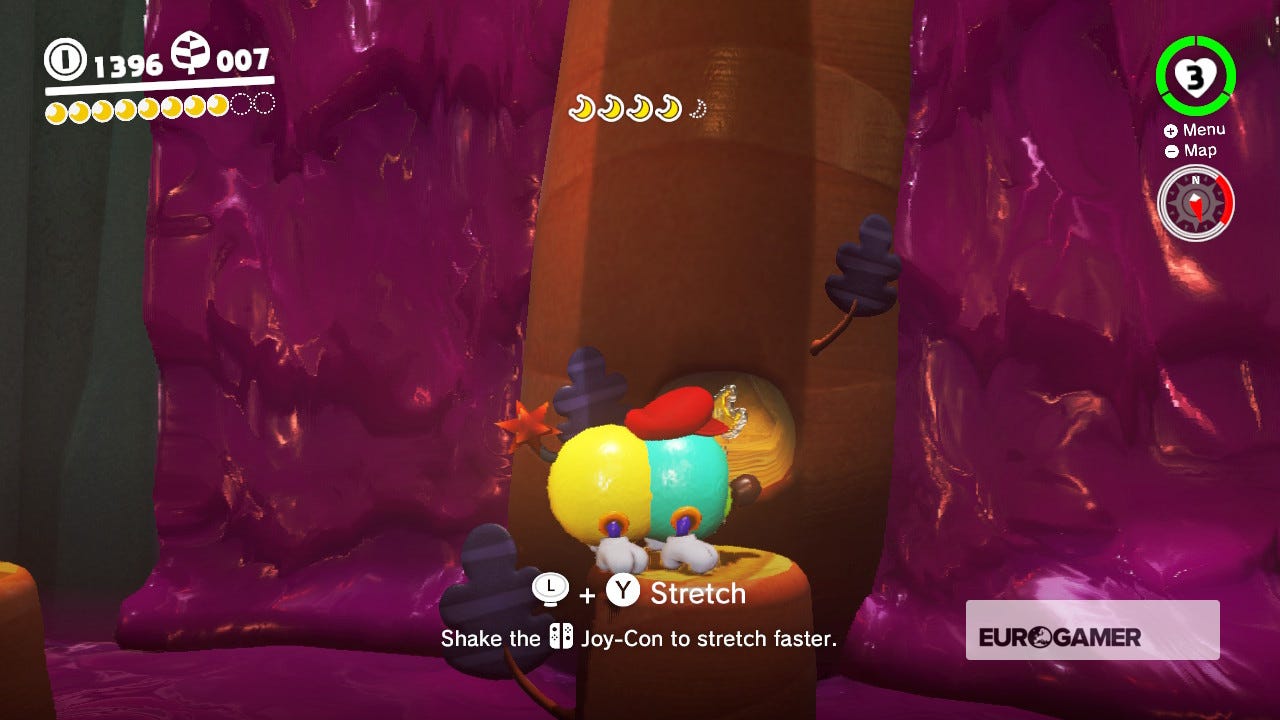
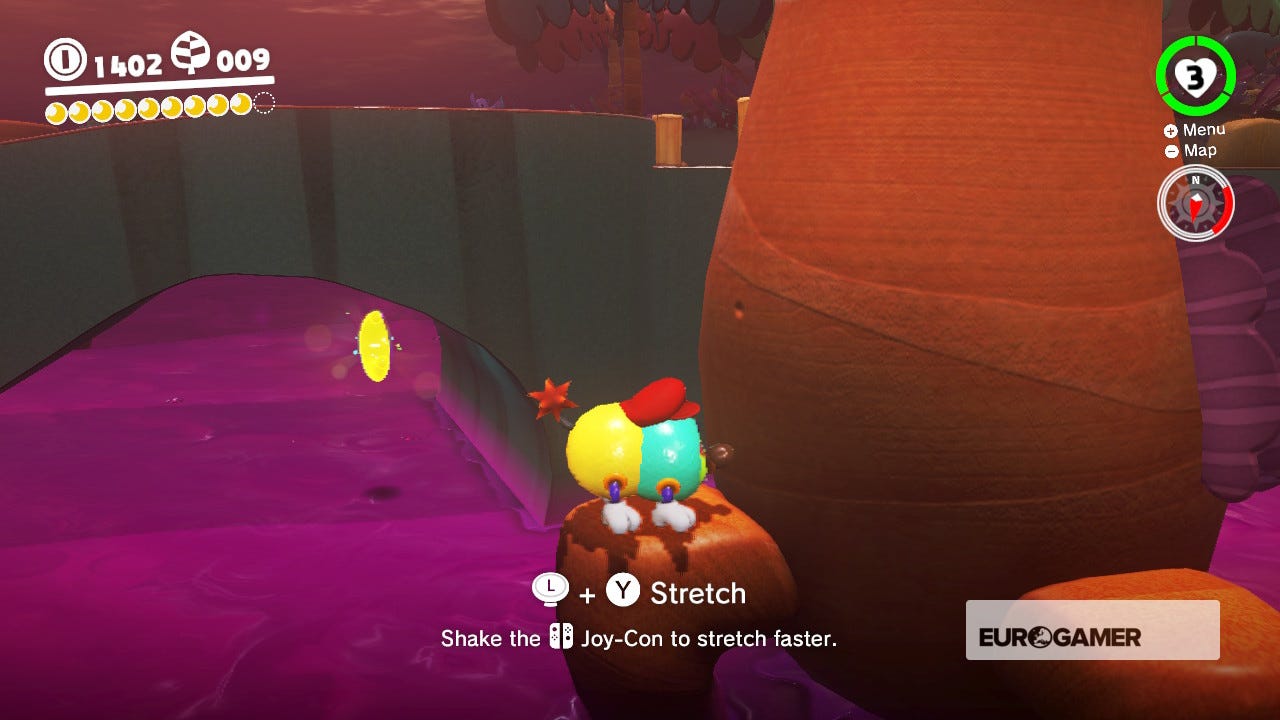
Climb the yellow stairs that lead to the Swamp Hill checkpoint. Jump onto the three-point yellow stairs next to the tree. Possess a Tropical Wiggler (the big centipedes) and walk the path around these stairs. Stretch over to the other side, then walk around the path.
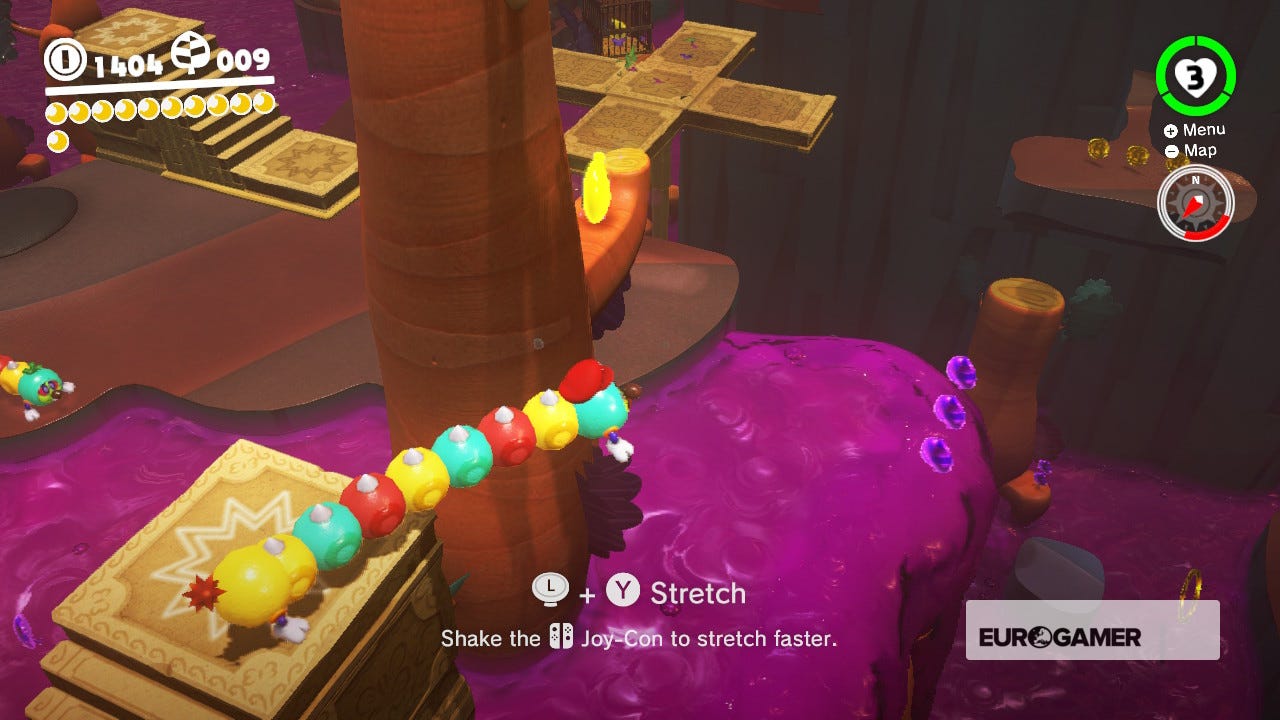
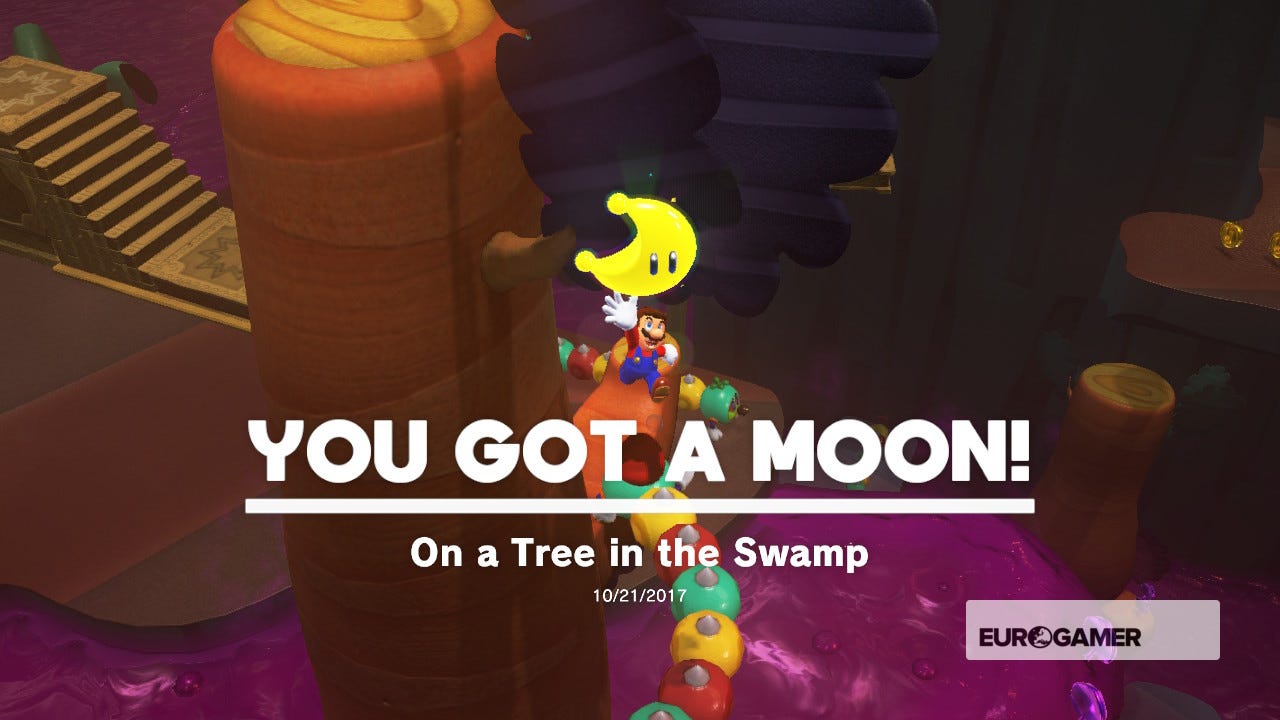
Now stretch over to the stairs. De-posses quickly, Ground Pound the middle stair then possess the Wiggler again. You can now stretch around the tree to reach the Moon on a stump on the other side (#4 - On a Tree in the Swamp).
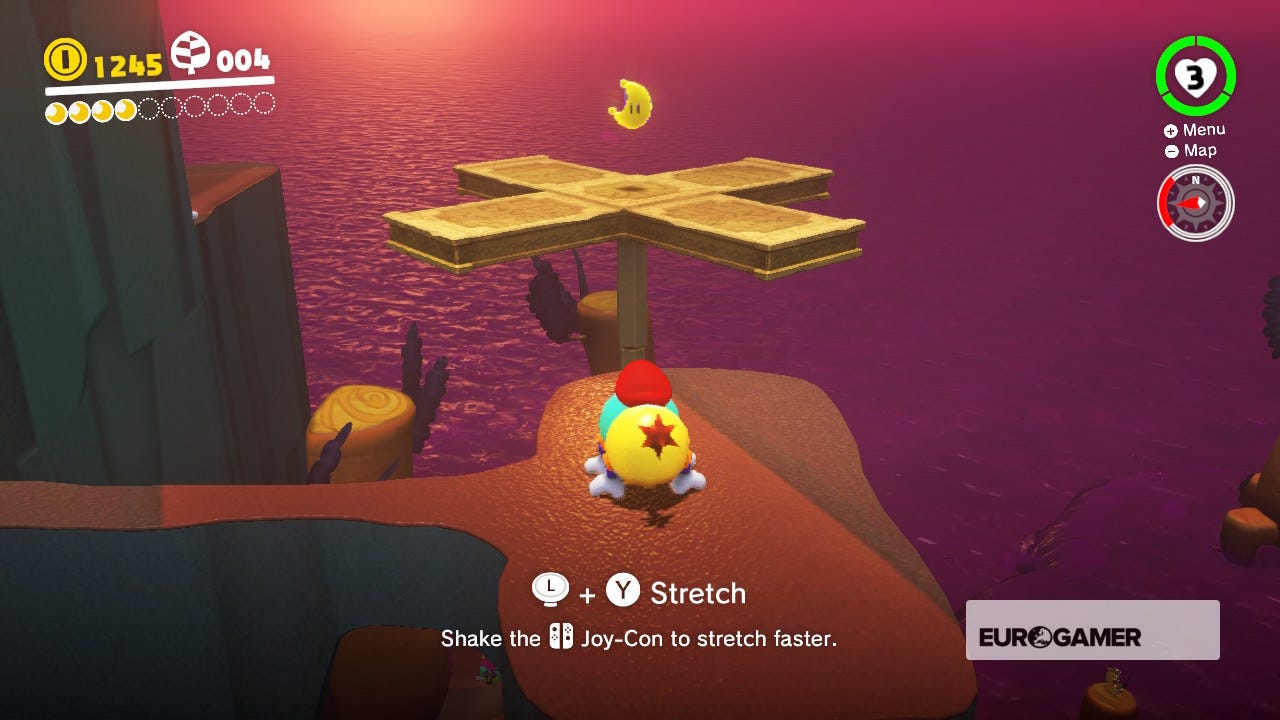
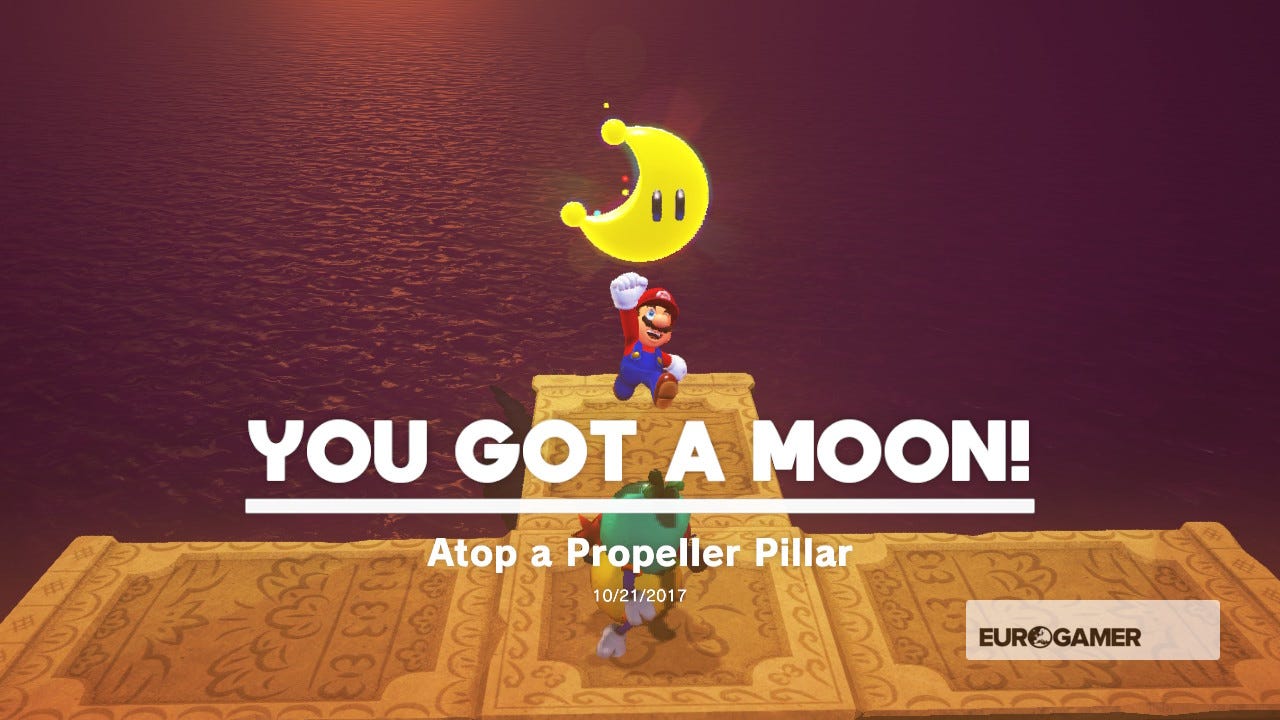
From the Swamp Hill checkpoint, possess a Tropical Wiggler and stretch onto the nearest propeller bridge. Look to the right and stretch to the platform with the gold coins. Stretch to the next propeller bridge to collect this Moon (#1 - Atop a Propeller Bridge).
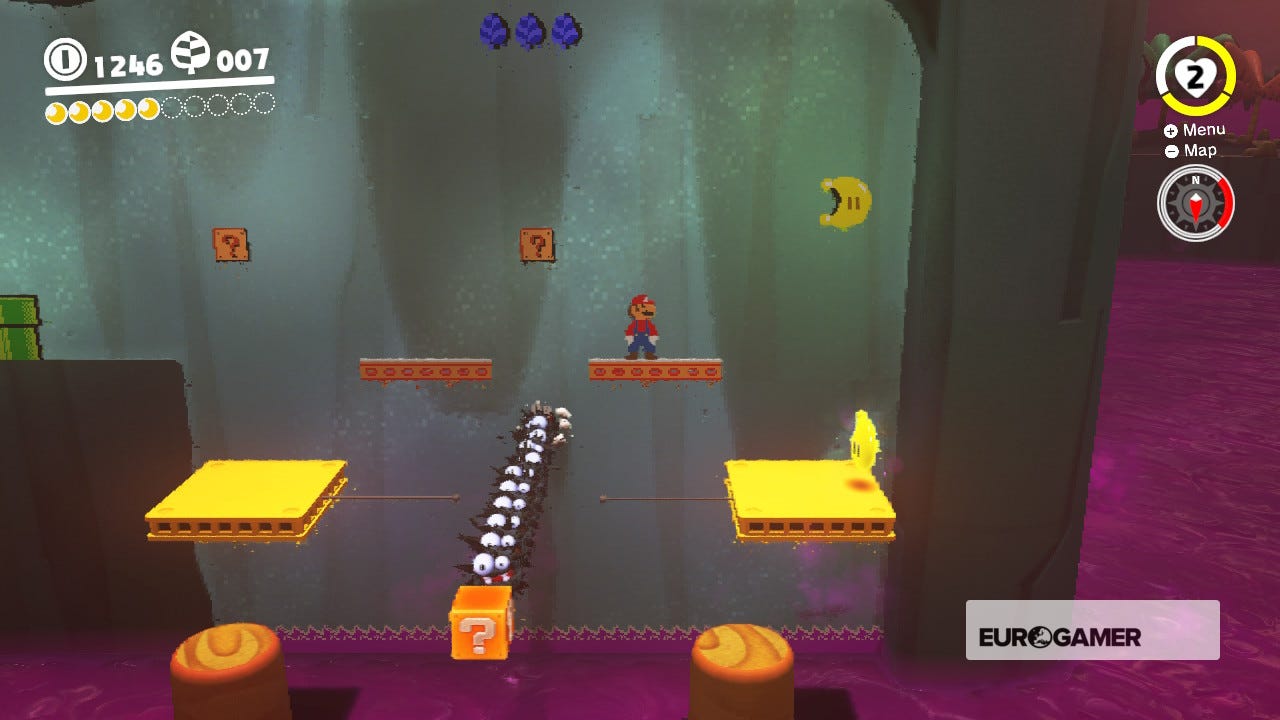
From where you collected Moon #1, look towards the cliff nearest the propeller bridge and you'll see a lower yellow platform, and a checkpoint flag further down. Leap down and activate (Mountainside Platform) and hit the hat door to reveal a Warp Pipe. Enter the 2D section and use the platforms to jump over the Fuzzies and reach the 2D Moon (#6 - Avoiding Fuzzies Inside the Wall).

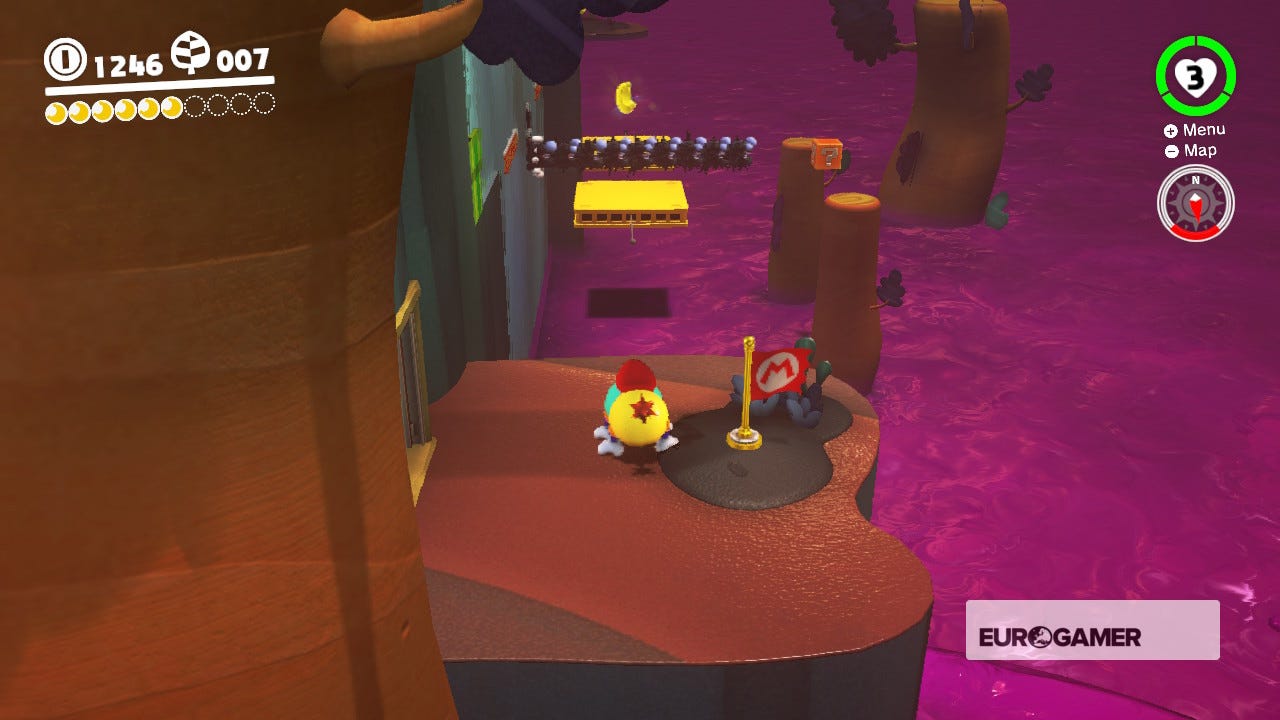
Exit the 2D wall where you entered and jump onto the stone platform to your left (the one with the base of the propellor bridge and a Tropical Wiggler moving around it). Possess the Wiggler and return to the platform next to the Warp Pipe. Now use its stretch ability to reach the yellow moving platform. Make sure you're on the nearest edge so you don't touch the Fuzzies.
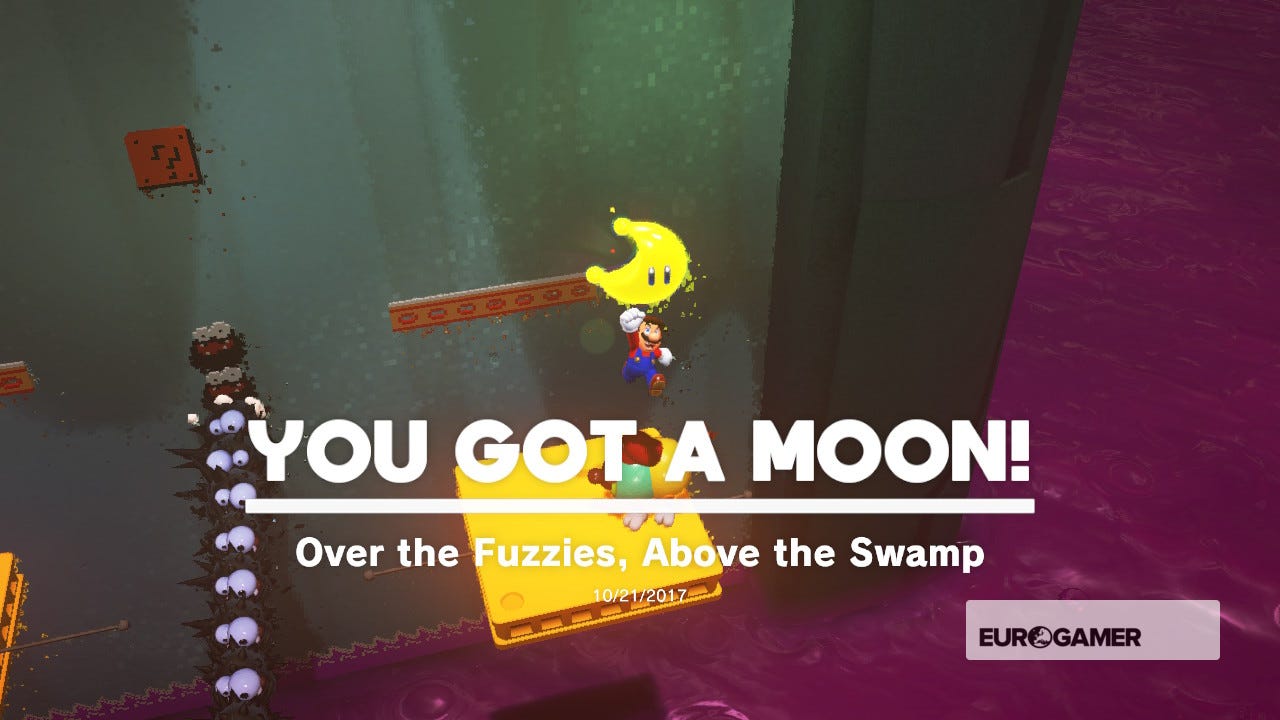
Stretch onto the orange stump to your right, then stretch around the ? Block to reach the other orange stump. Now stretch over to the far edge of this second moving yellow platform and grab the Moon (#5 - Over the Fuzzies, Above the Swamp).
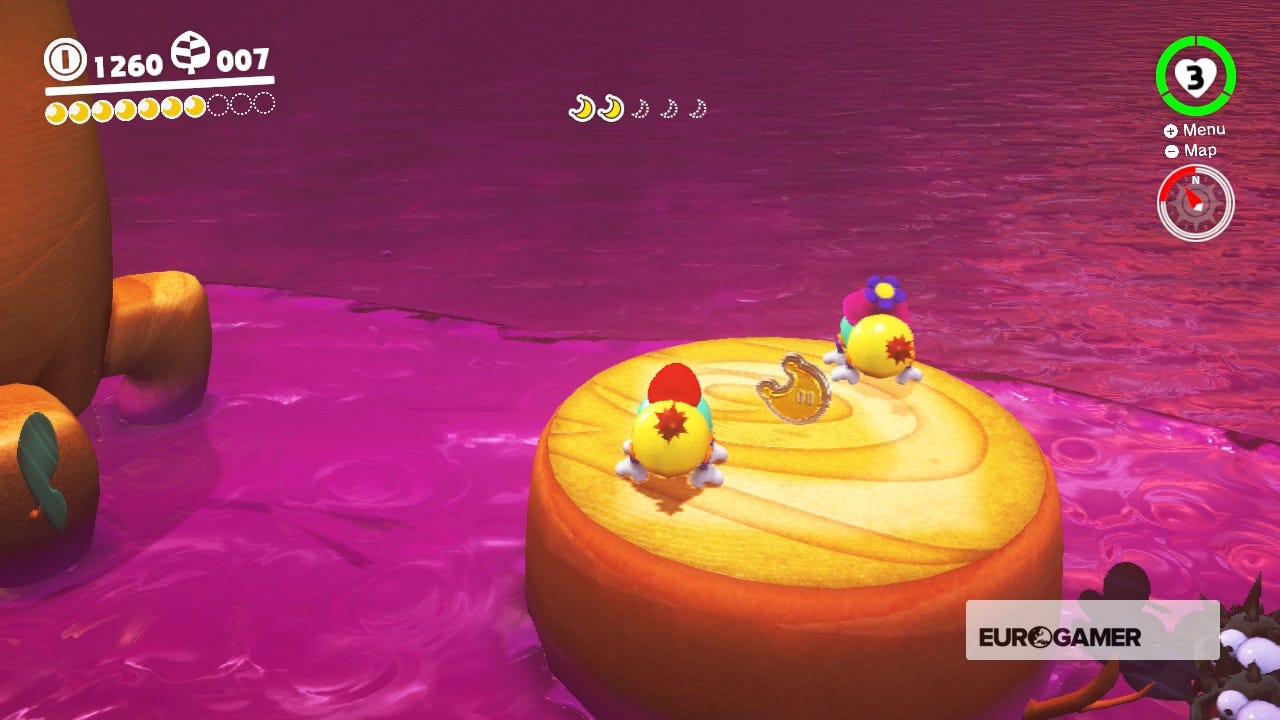
Warp back to the Mountainside Platform checkpoint and jump to the platform with the Wiggler. Hit it twice with Capy to possess it, then look over to the purple gloop swamp with the orange stumps. There are five Moon Shards to collect here. The first is on the nearest stump, while the second is in an alcove near two stumps.

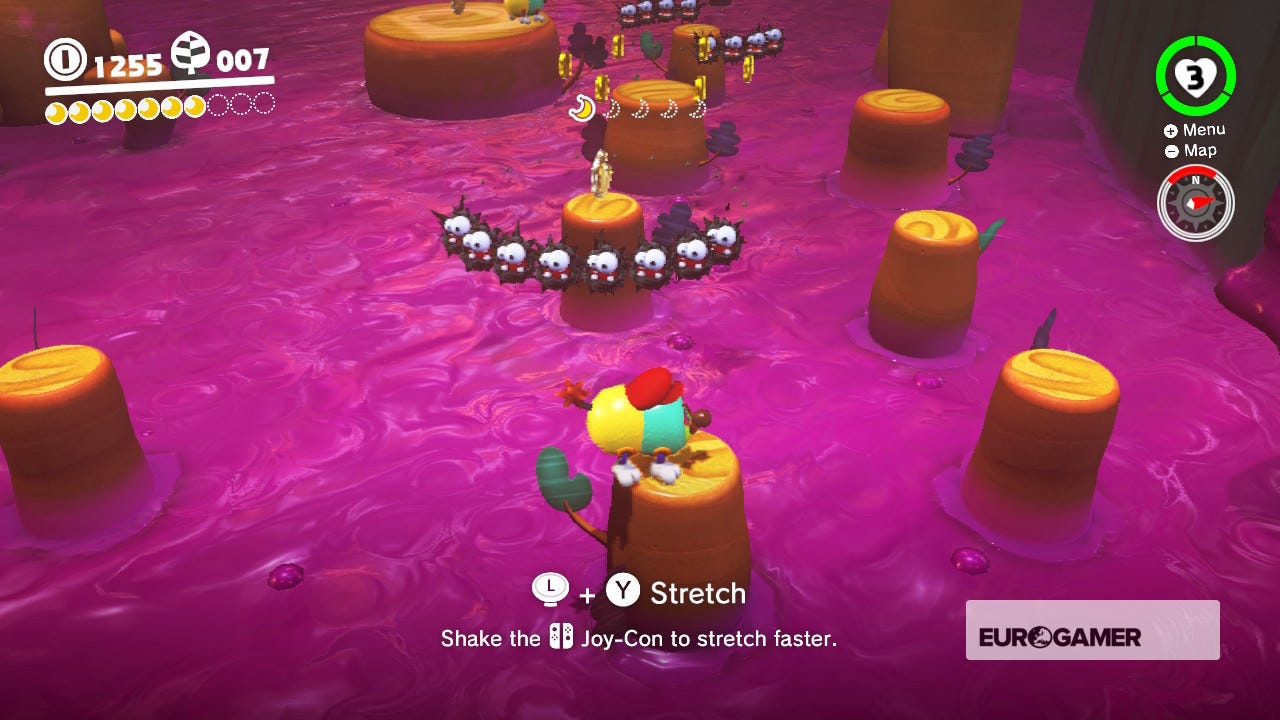
The third is being circled by some Fuzzies, and the fourth is on a larger stump being patrolled by a Tropical Wiggler. From this stump, stretch onto the small stumps around the tree. The fifth and final Shard will be on a stump on its far side. The Power Moon (#15 - Moon Shards in the Jungle) will be on a purple platform near the propeller bridge base.


Need more help? Our Super Mario Odyssey guide and walkthrough goes through every objective in each Kingdom, while our Power Moon locations can help you track down the likes of Cascade Kingdom Power Moons, Sand Kingdom Power Moons, Metro Kingdom and New Donk City Power Moons and more collectables. We also have Purple Coin locations for each Kingdom, and if you want to know what to spend it on, we have a hats list, outfits list, stickers list, a souvenirs list as well as a music list to kit out the appearance of both Mario and the Odyssey. Once you've finished the game, check out the free Balloon World update, too.
In the area where you collected the Moon Shards, cross the stumps, avoiding the Fuzzies and stretch onto a stump of a tree that's next to the cliff edge. Look for a small, square opening and stretch into it. Inside you'll find Captain Toad, who has a Moon (#20 - Get Some Rest, Captain Toad).

From the Mountainside Platform checkpoint, jump over to the Wiggler and possess it. Stretch through the two golden rings, avoid the other Wiggler and stretch to the other side. You'll now be at the bridge where Capy was first stolen. Look under the bridge and you'll see a Moon (#16 - Peeking Out from Under the Bridge). Use the nearby tree stumps to stretch to it.

Next up: Super Mario Odyssey - The Scourge on the Skyscraper
Also see: Lost Kingdom Power Moons
And:
Purple Leaf locations
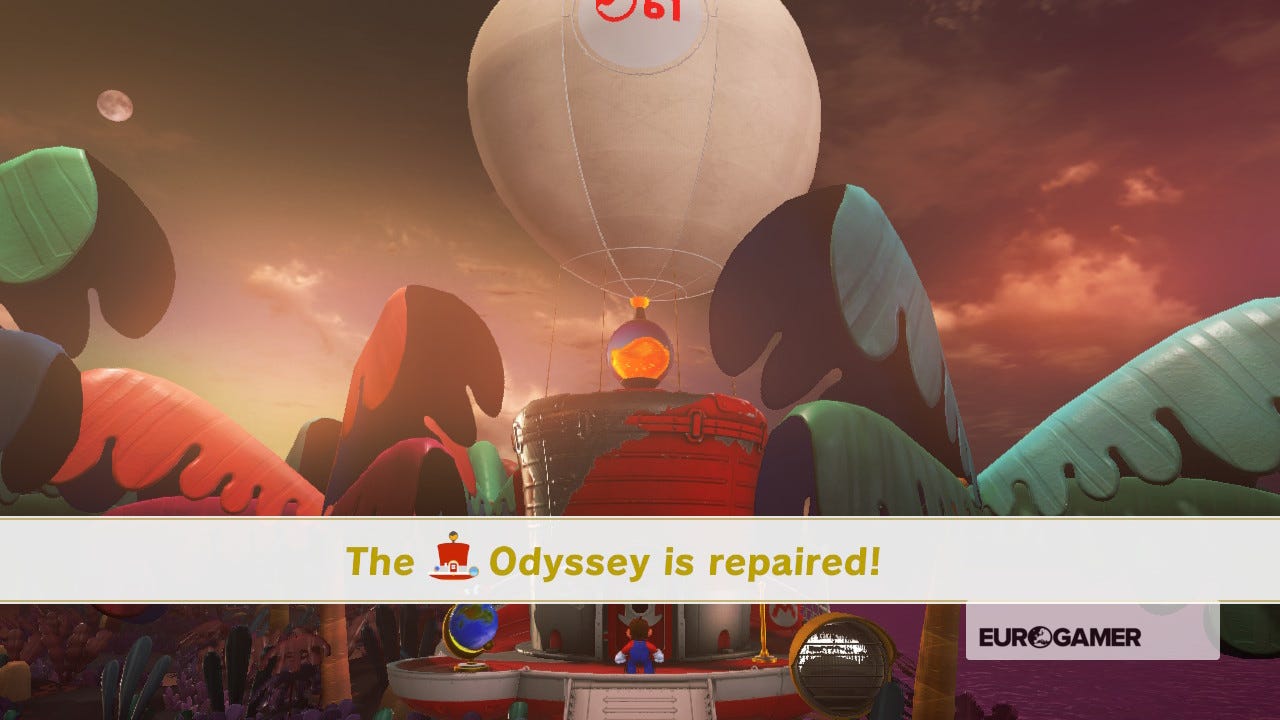
You now have 10 Power Moons, which is enough to repair and power up the Odyssey. Onwards to the next kingdom!