Resident Evil Revelations - Episode 6, Cat and Mouse: Search for Jill and Parker, head for the Bilge battle, Trident Key location
How to complete the opening part of episode six in Resident Evil Revelations.

Episode 6: Cat and Mouse has you search for Jill and Parker as you head for the Bilge and seek the Trident Key location.
If you need more help, our complete Resident Evil Revelations walkthrough can assist with other sections of the game, including all Handprint locations, Raid mode and unlockables.
Search for Jill and Parker
Thanks to our friends in the snowy European mountains, Chris and Jessica now have the coordinates needed to find their friends, and they finally touch down on deck in the middle of the Mediterranean sea. As soon as you gain control of Chris, head east across the helipad.

Continue east onto the walkway and take a left at the junction. There's a green weapon crate at the far end of the walkway, but you won't be able to use it during this particular sequence. Instead, head through the door to your right and into a very familiar-looking lounge area. Hoover up the ammo in the room, and scan your surroundings for a little bit more.
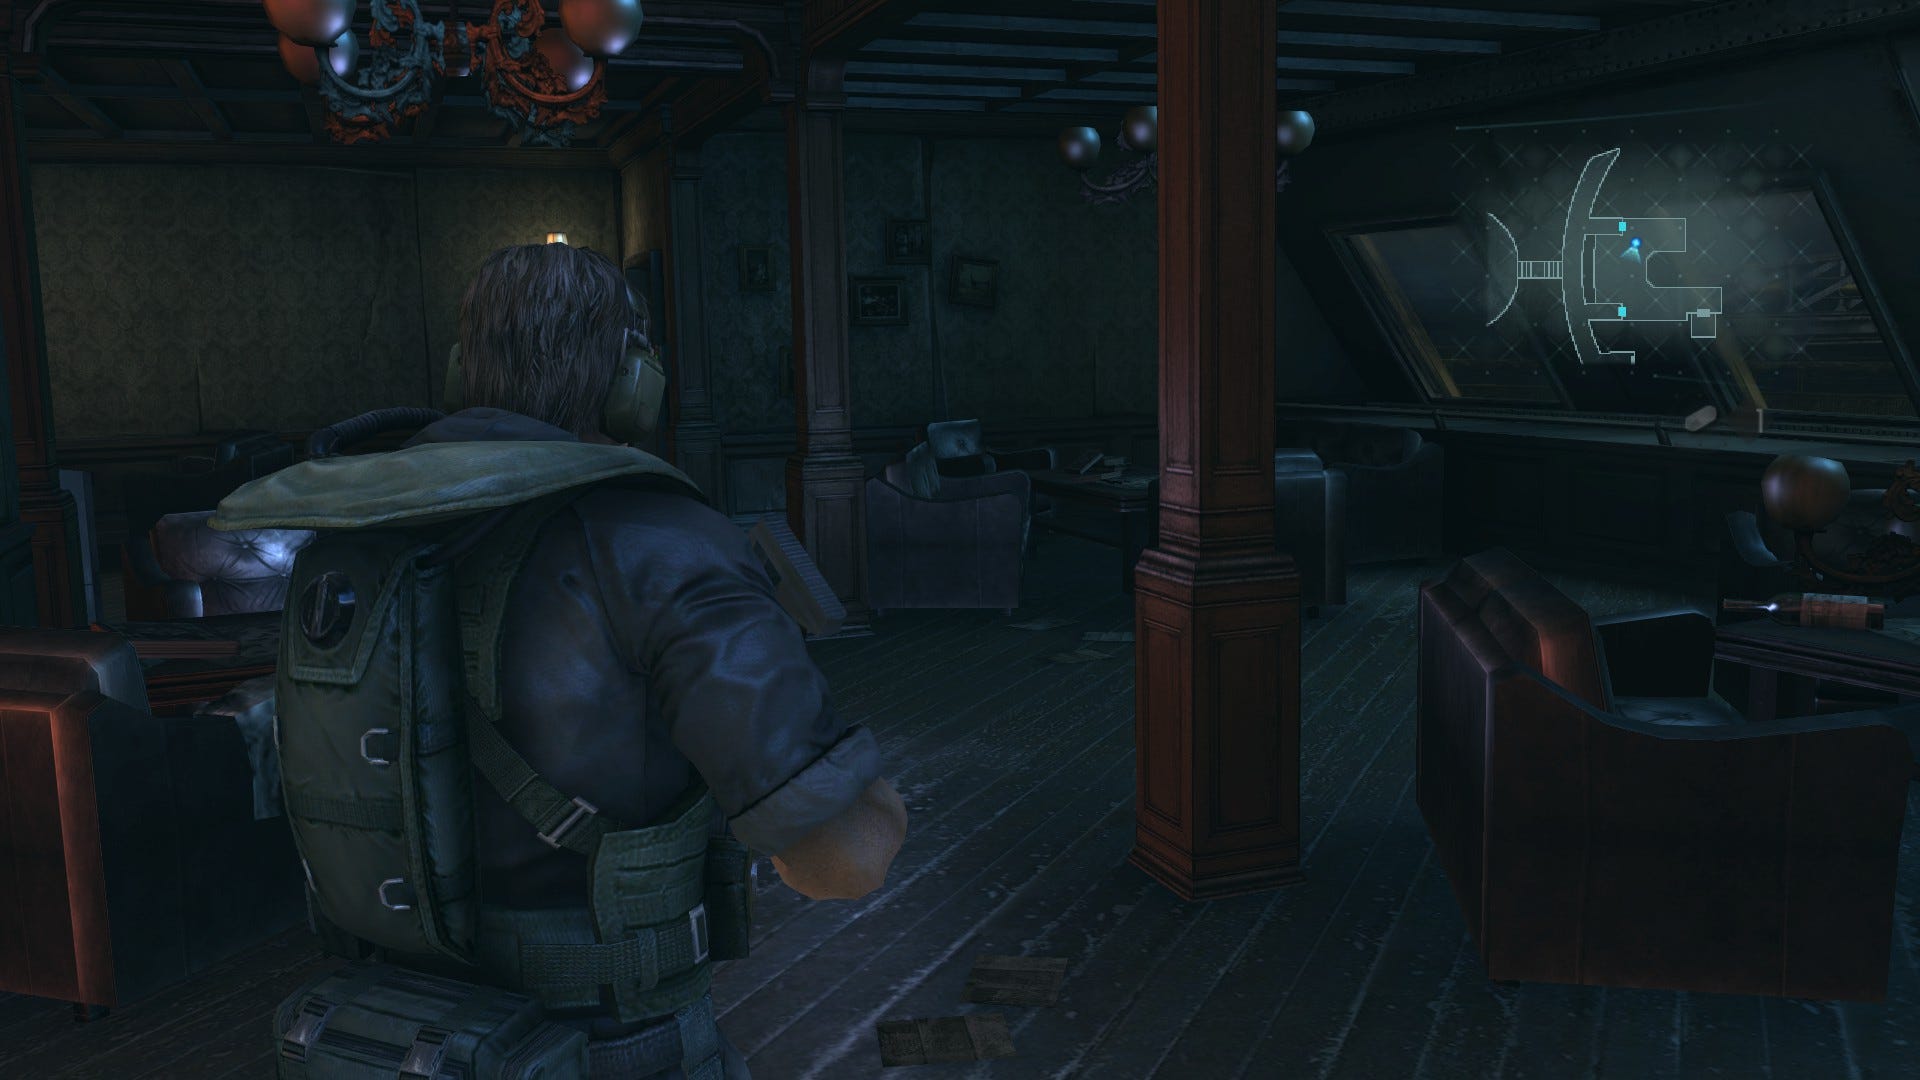
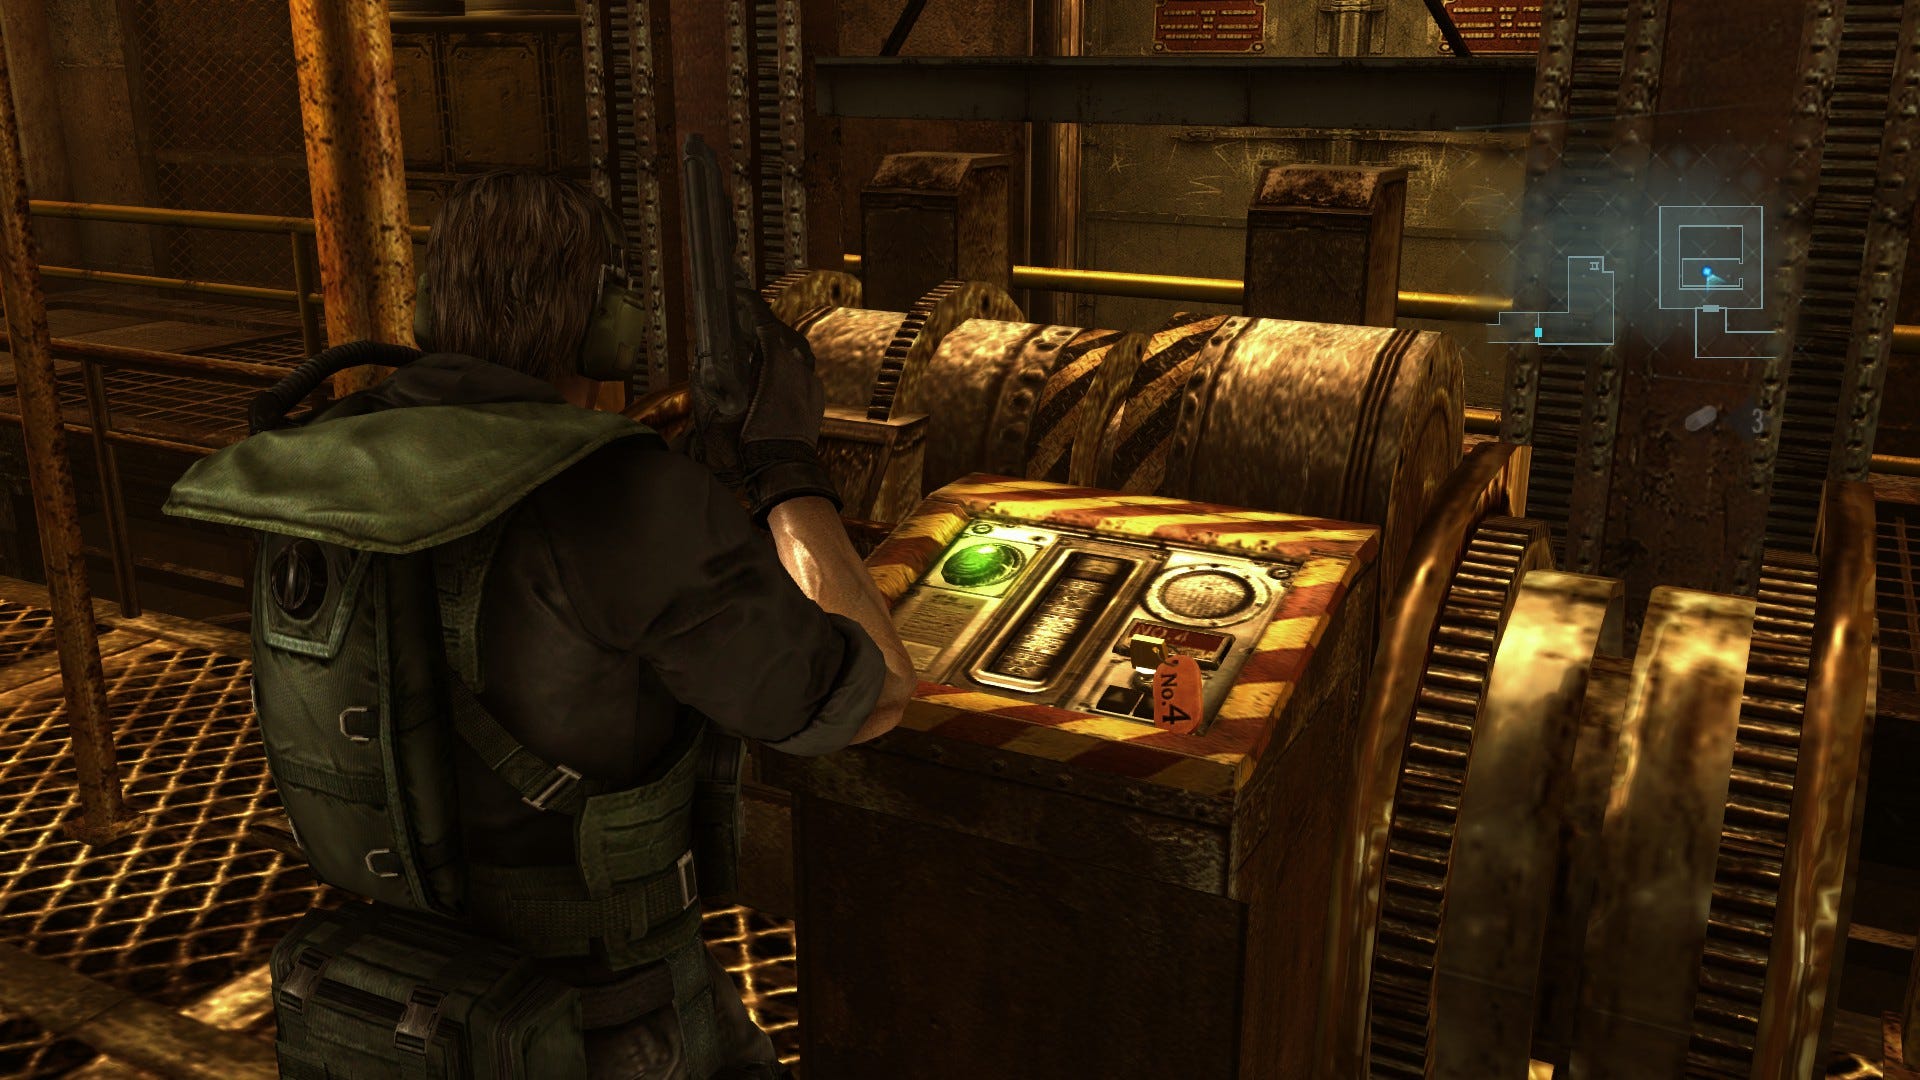
Next, approach the elevator doors in the southeast corner of area and grab the SHIP INTERIOR MAP off the wall. Enter the lift and hit the control panel when you're ready to proceed. Make your way along the hallway outside when the lift doors open, and head through the double doors at the end. You'll find yourself on the ground floor of the ship's Promenade.
Almost immediately, mutants will begin tumbling into your path. However, they won't stop coming so, rather than trying to pick them all off, simply dodge around them as you dash east to the far end of the room. When you arrive, slip through the heavy steel door to your right.
Move along the passage then take a left as you emerge into the other half of the Promenade. Head up the steps, loop around to the south at the top and follow the walkway all the way along, grabbing any ammo you spot on the way.
Once you reach the brown wooden door, head through and take a right. Continue along the passage and through the door at the end. In the stairwell, take a left through both sets of double doors, and you'll emerge in the grand hall.
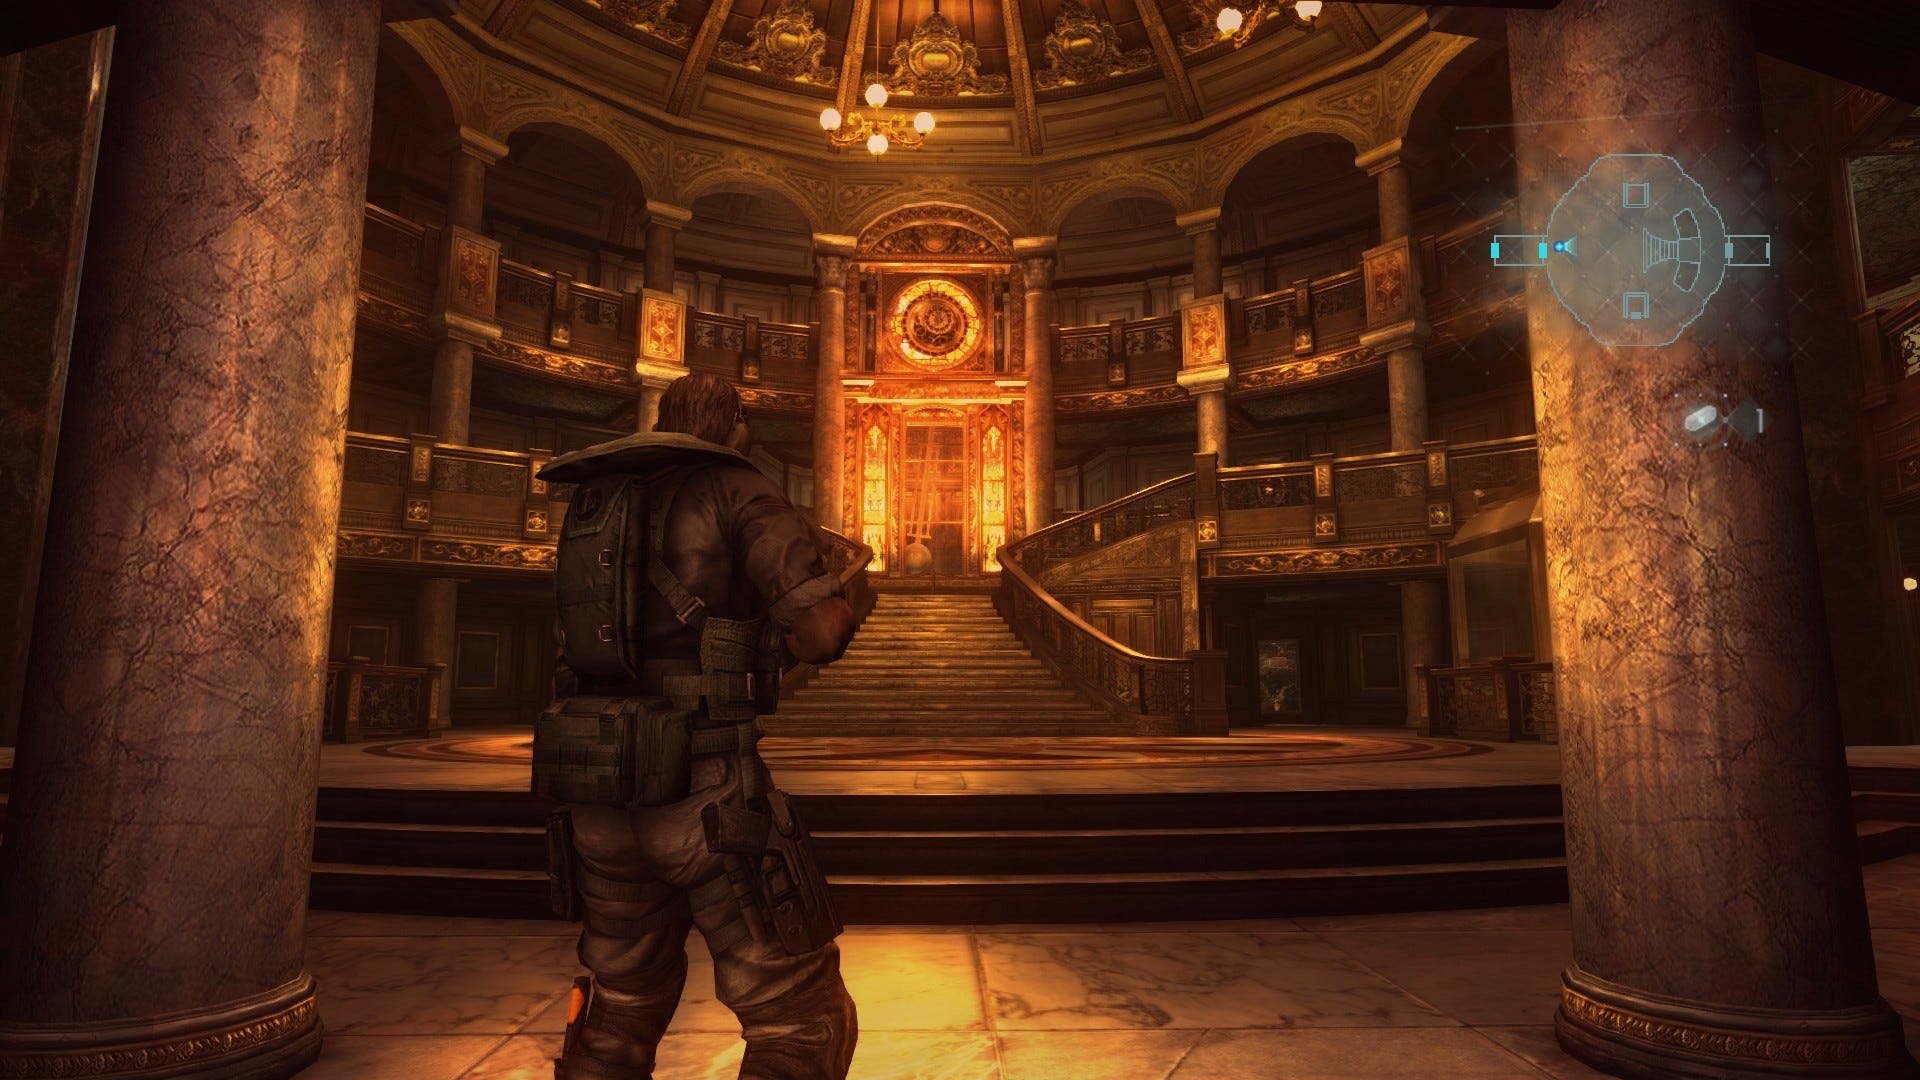
Climb the central staircase and take a left. Once you reach the landing, head passed the green weapon crate (also unusable right now) and swipe the ammo off the table to the right.
Make your way back down the steps and, this time, travel to the right of the staircase, moving southeast. Grab the green herb from the alcove on the wall, then head left, down the steps, and pass through the Casino doors to the east.
Head for the Bilge battle
Once you reach the Casino, head into the middle of the room and turn right at the fountain, moving toward the rattling door to the south. Quickly grab the green herb from the nearby chair and, as soon as the two enemies burst through the door, dash around to the opposite side of the fountain, putting some cover between you and your opponents.
Despite their formidable appearance - which very closely resembles that of the Comms Officer boss from earlier in the game - and their ability to perform a one-hit kill, these mutants aren't particularly difficult to deal with. They're pretty slow, even when they try and lunge.
The best tactic here is simply to find a spot where you can back away from them, continuously looping around in a circle, emptying bullets into their human heads (the weak spot) as you go.
The large bank of slot machines at either side of the room is perfect for this: just lure the creatures over and walk backward around the machine, so that they're funnelled directly in front of you and can't do anything sneaky from the side or rear.
After you've filled them with a enough lead, they'll drop to their knees briefly, given you time to shoot at their weak spots unhindered.
There's one thing that's crucial to watch out for, however: the mutants will intermittently drop what look like red fleshy claws on the ground. You'll want to avoid stepping on these at all costs.
They function exactly like bear traps and, if you get caught in one, you'll need to wrestle free. This makes it very easy for the creatures to catch up with you - and if they grab you in their maw, you'll be subjected to a humiliating one-hit kill.
Trident Key location
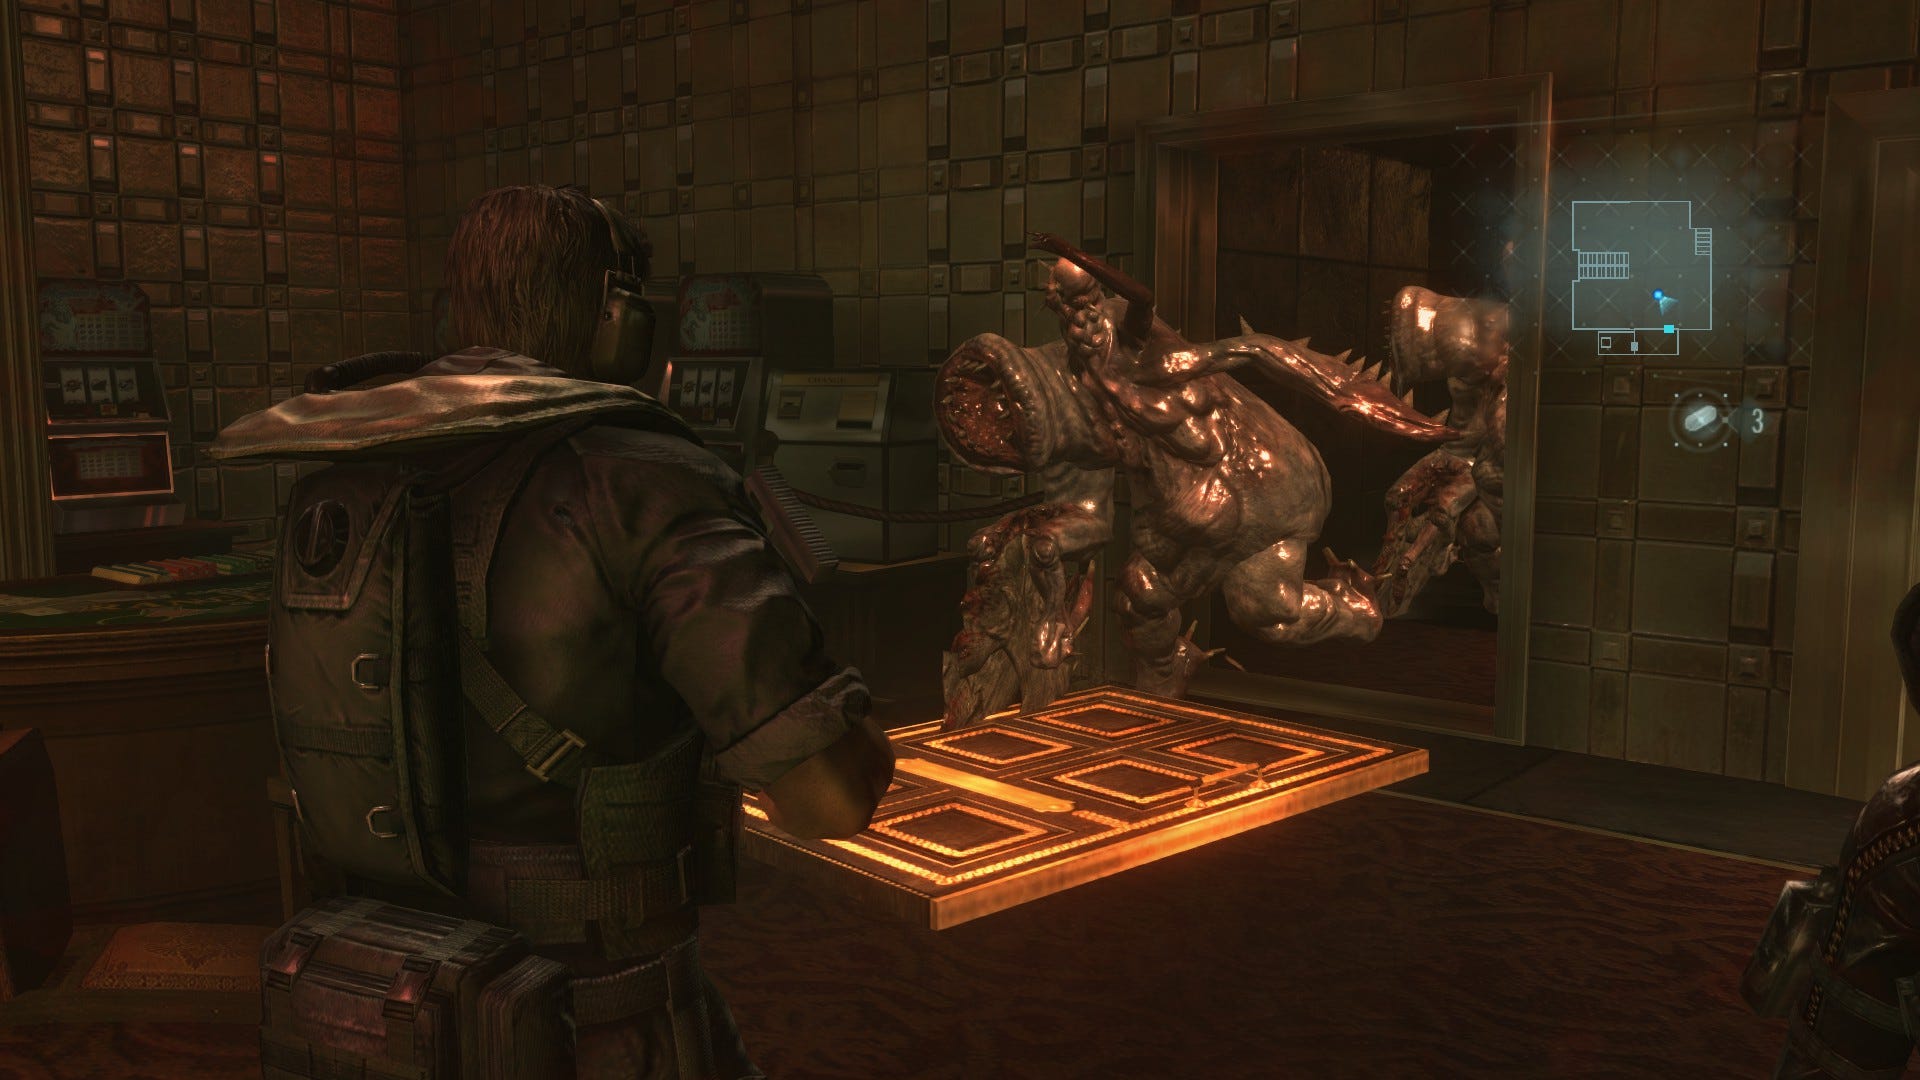
After the fight is over, pick up the TRIDENT KEY from the spot where the last enemy fell, then proceed through the door to the south. Collect the green herb and hand grenade from the table, then head through the steel door marked with a Trident symbol.
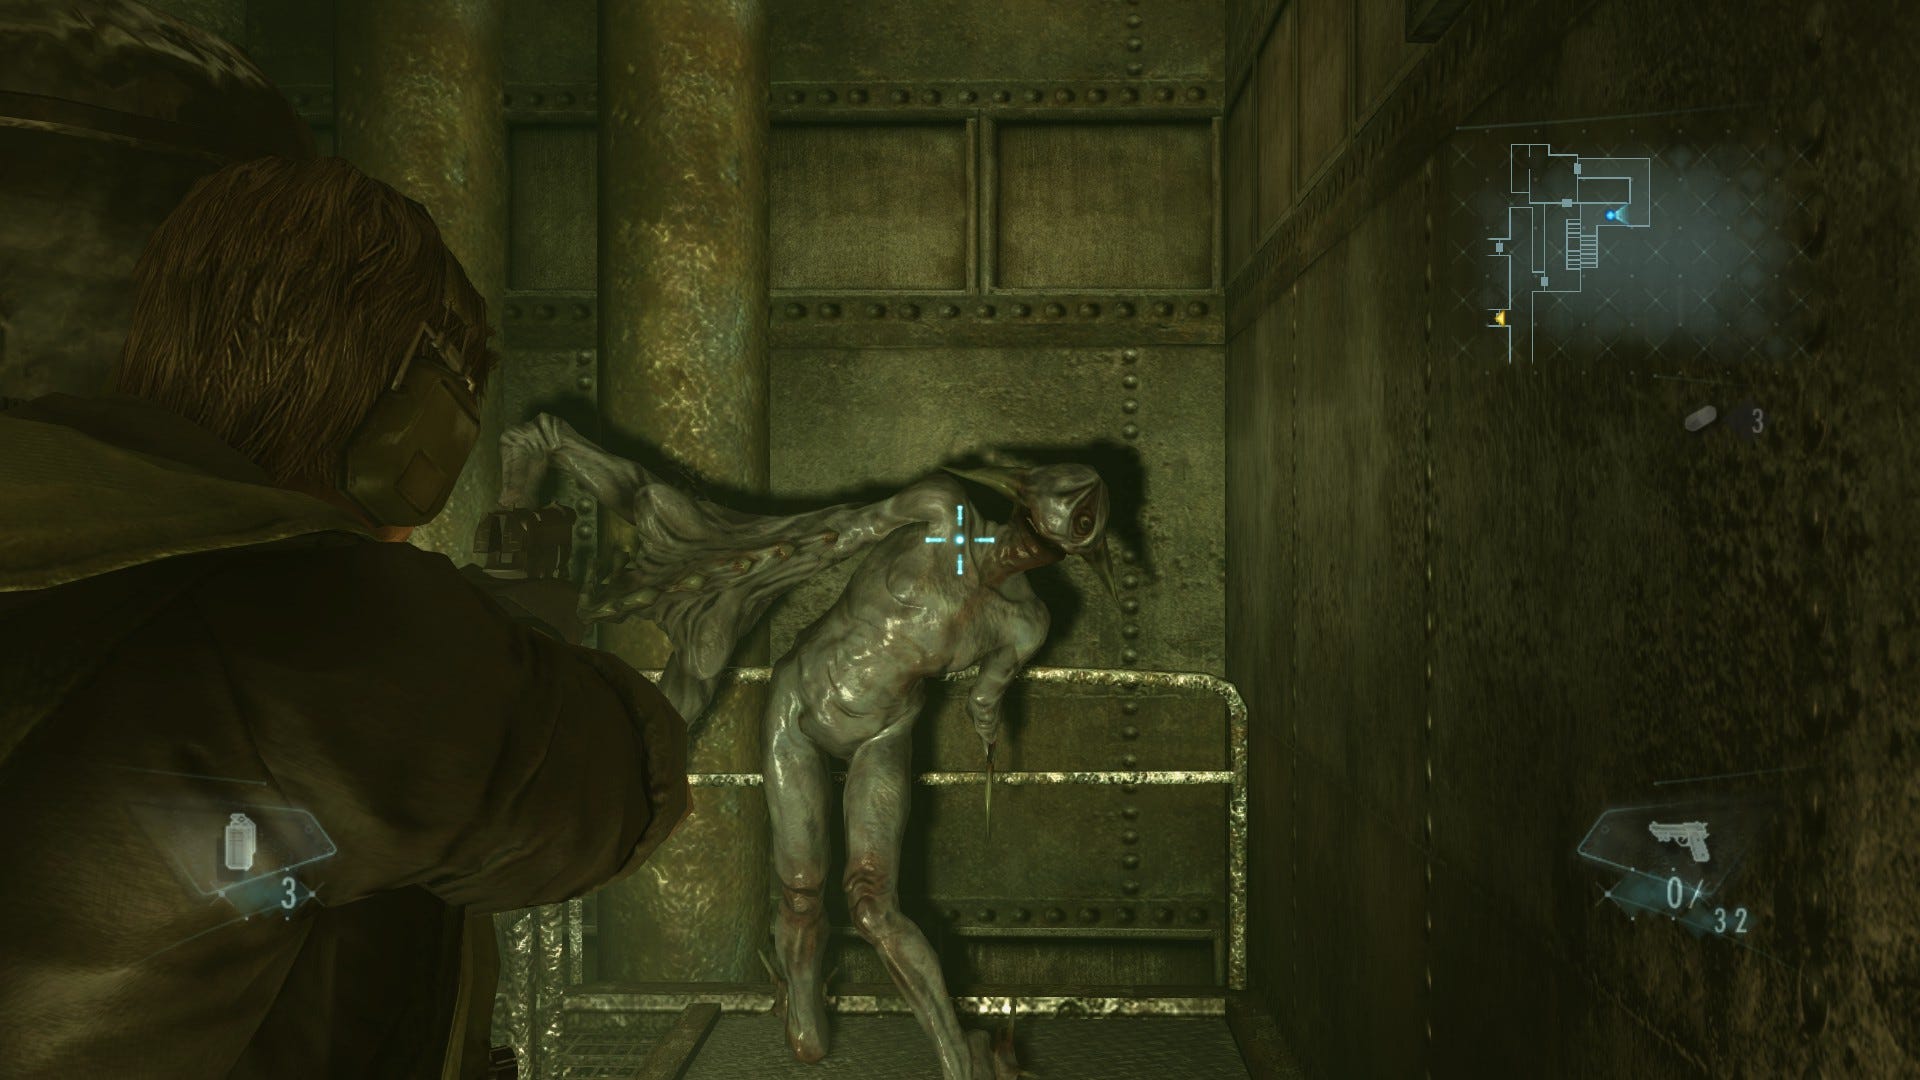
On the other side, climb down the ladder and about-face. You'll immediately be confronted by a new enemy, known as the Chunk Ooze. These pulsating humanoid beasts are super-easy to dispatch - and require just a couple of handgun shots. The real concern, however, is that they explode on death causing some serious damage to anything in the vicinity. As such, you'll want to pick them off from afar.
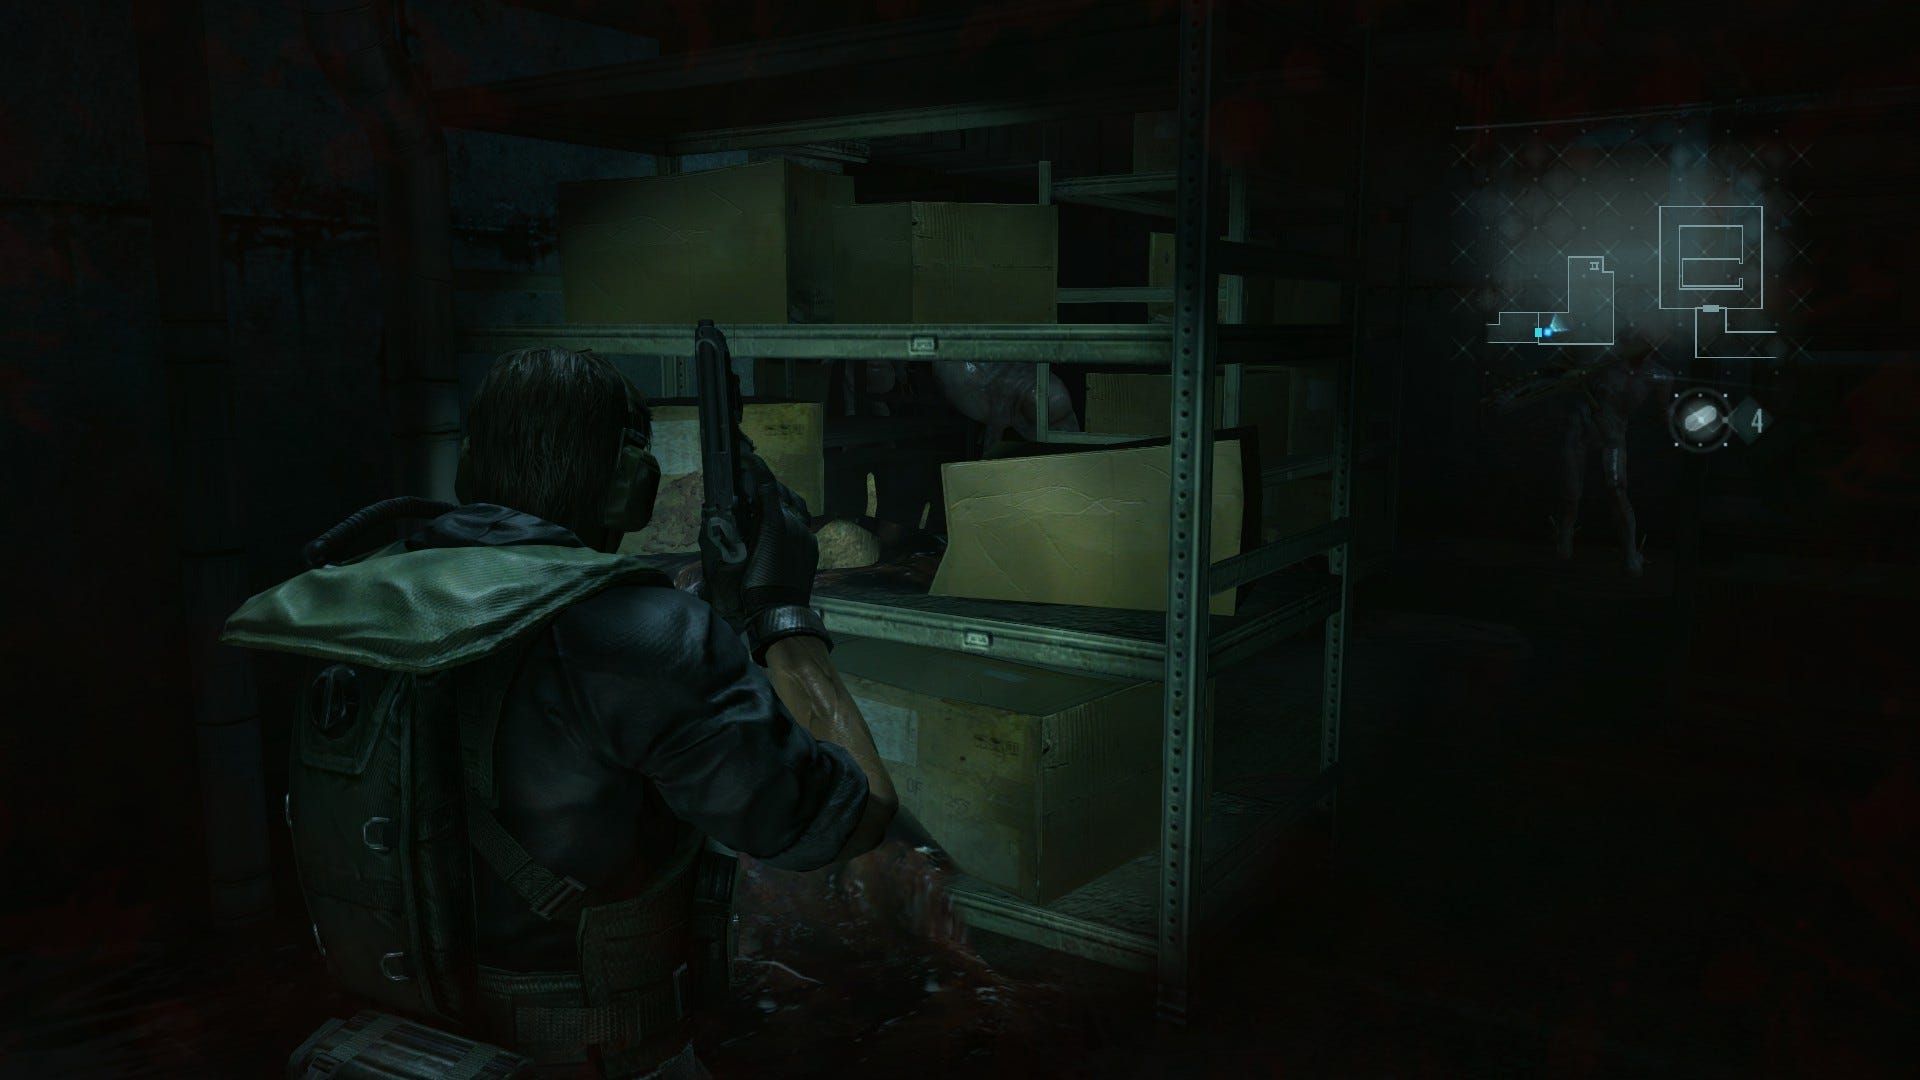
When the coast is clear, head through the door to the east, snatching the ammo as you go. You'll find an assortment of Oozes in the next storage room, include Pincers, Tricornes, and Chunks. Deal with the exploders first: you don't want get pinned in a corner or you'll end up with one detonating right in your face.
Additionally, taking out the Chunks first will help thin out the ranks of other nearby enemies when they go boom. Once the first group of mutants is dead, slowly push forward - there are more on the other side of the shelves to the north who'll be oblivious to your presence at first. You can do some serious damage with a well-aimed grenade toss here.
When the room is enemy free, scan around for helpful items, then climb the ladder in the northeast corner. Proceed along the air vent and be ready to deal with another exploder as you round the corner.
At the end of the passage, drop down through the hole in the floor. Now in the familiar elevator platform room, follow the walkway around and head to the lift in the centre. Yank the lever to begin your descent.
You'll briefly be treated to a cutscene showing Jill and Parker's continuing sticky predicament, and then the action will return to Chris and Jessica as the lift reaches its destination.
Get off the lift and head through the door in the northeast corner of the room. Climb down the ladder at the end of the passage and follow the corridor forward, passing through the door when you reach it. Keep pushing forward and you'll shortly find yourself in the ship's control room. Unfortunately, the Bilge area beyond the doors is absolutely heaving with mutants. Grab the ammo and hand grenades then make your way through the door to the west.
Immediately take a left and dispatch the exploder ahead. Its death should hopefully cause a chain reaction that will take out everything else in the area. Needless to say, you'll want to keep your distance
When the coast is clear, continue west and follow the passage around and down the steps. Proceed along the narrow walkway, dealing with any enemies in your path - always aim for any exploders in the area first to help you carve out safe route.
When you reach the end of the walkway, go through the doorway and start dealing with the enemies in the room. As you move further in, more will slither out of the vents above, making your life a little trickier.
Things can quickly start to get a little overcrowded here, so dodge around to a safe corner then toss a few grenades into the throng. You can also use any exploders that spawn to deal more damage. When peace is restored, slip into the small chamber to the west and scour the room for useful ammo. You'll also find a green herb, cheekily hidden just inside the door.
Next, go through the southeast door. Once again, deal with any mutants that spawn in the room, then make your way through the door at the opposite end. Head to the hallway junction - sadly, it's likely to be heaving with enemies - and take a left.
Dodge your way around any mutants that get in your path and slip through the gate to your right. Proceed through the door at the end of the passage and the sequence will conclude with one shocker of an ending.
The next part of the chapter has you take on boss Draghignazzo and find the Veltro Key Card location. Good luck!