Resident Evil Revelations - Head for the crash site, fight the invisible enemies, start up the terminal
Continuing episode five in Resident Evil Revelations.

The third and final segment of Episode 5 brings us back to the snowy European mountains as we head for the crash site and start up the terminal.
It's not far from where Chris and Jessica explored at the beginning of the game. We're once again joining Quint and Keith, so expect comedy relief alongside your action.
If you need more help, our complete Resident Evil Revelations walkthrough can assist with other sections of the game, including all Handprint locations, Raid mode and unlockables.

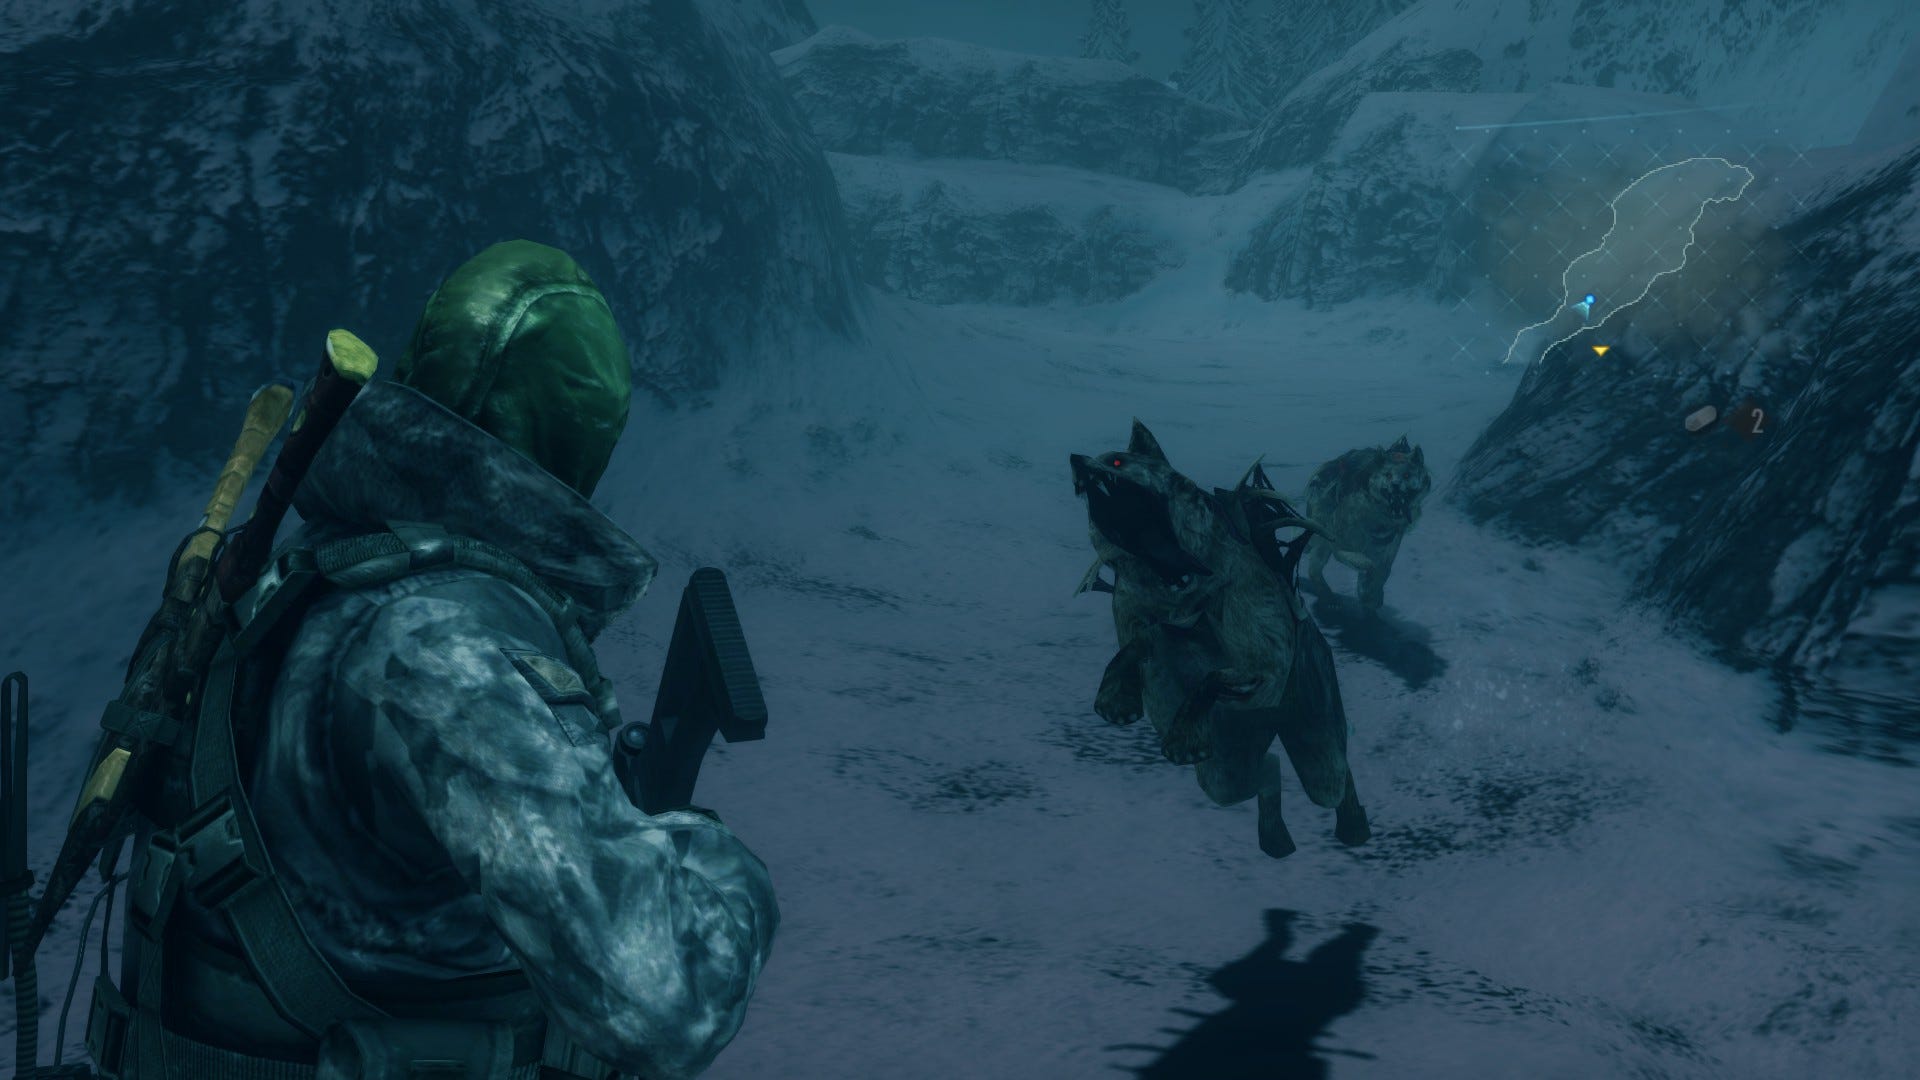
Head for the crash site
Proceed forward along the snowy mountain pass and you'll almost immediately be ambushed by several mutant wolves. Thankfully you're well equipped with a machine gun so just get in there and wipe them out with gusto. Continue along the path and you'll be attacked by a mix of standard and larger wolves - take care of them as before.
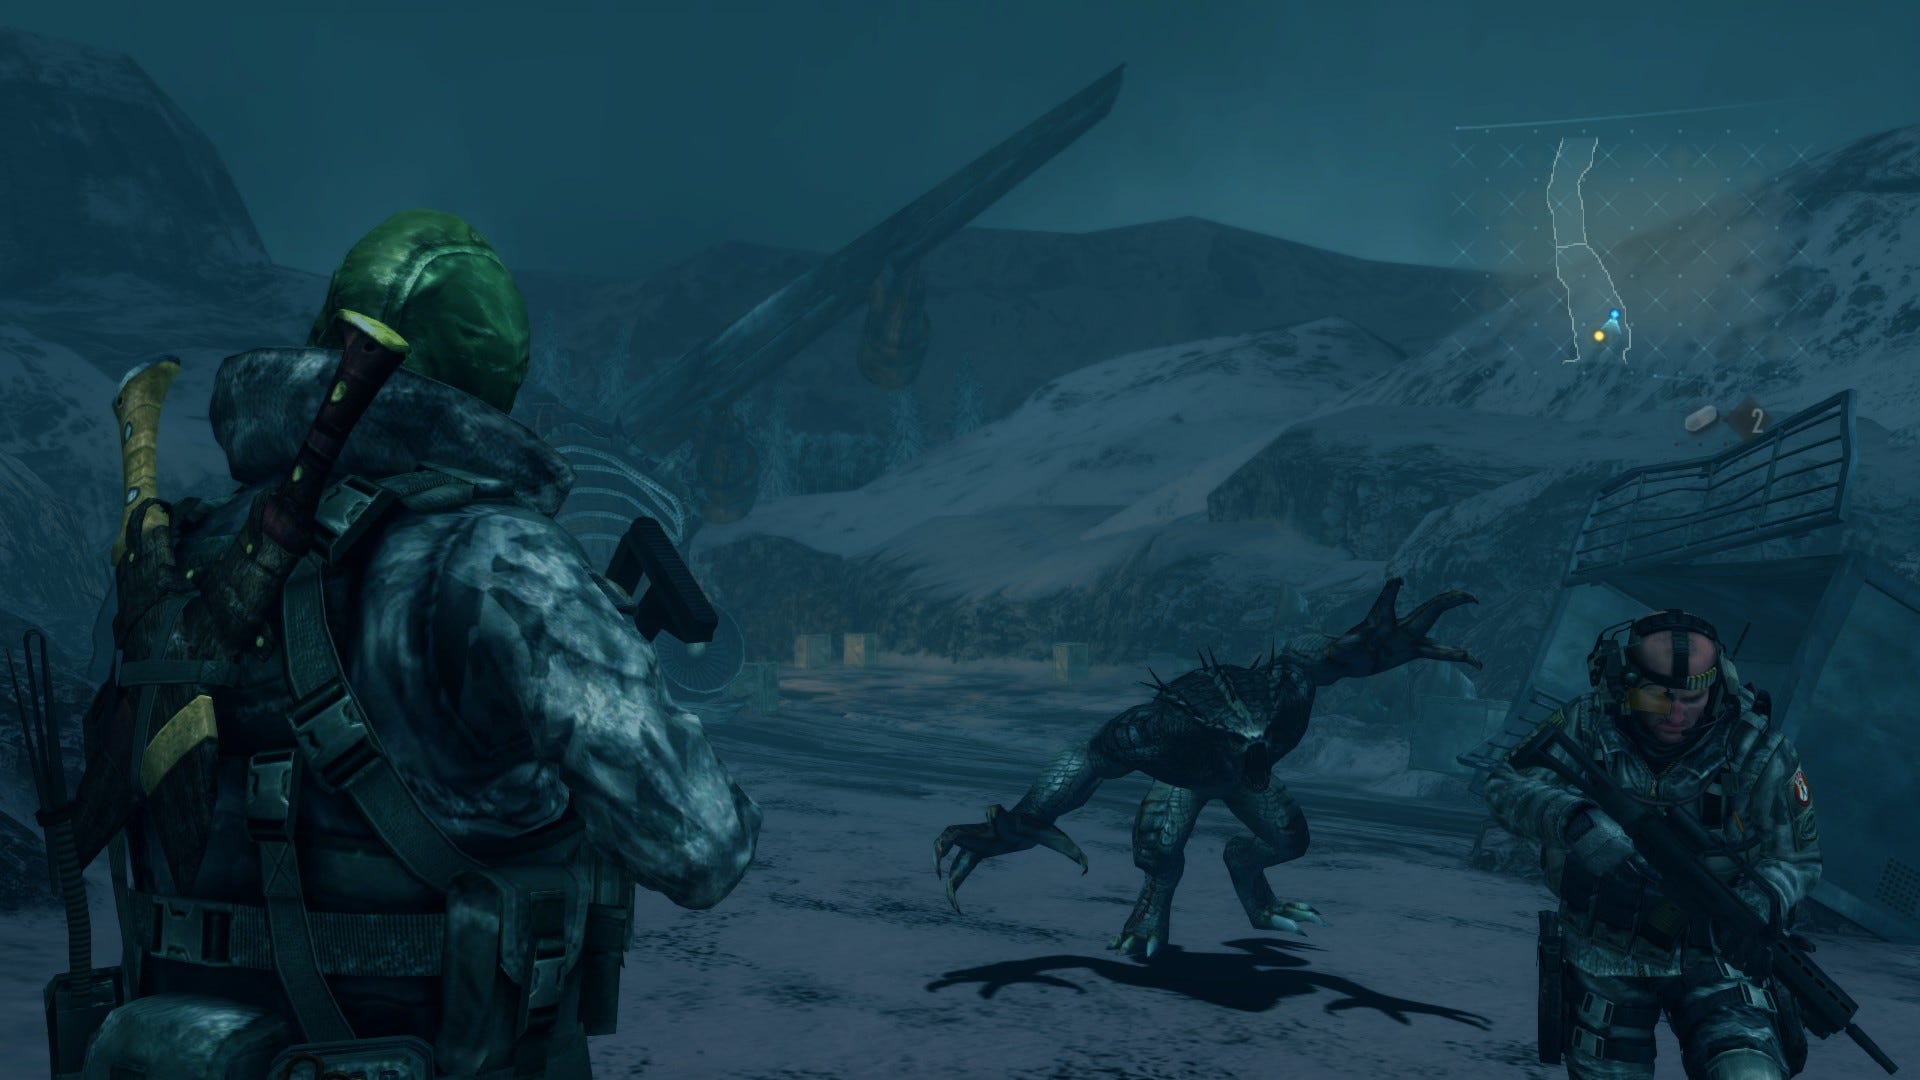
Once the crash site comes into view, drop down off the ledge and proceed toward the wreckage. Shortly, Quint will be launched through the air by some unseen force and you'll be ambushed by a group of Hunters.
Unlike those you saw in the skyscraper, however, these variants (known as Farfarello) are able to turn invisible, making them much harder to deal with.
Fight the invisible enemies
The good news is that they're not particularly resilient and will easily fall after a couple of rounds to the head. Your main concern isn't with killing them, though, it's trying to locate them - and to avoid their surprise close-quarters attacks - while they're completely invisible. They can move incredibly quickly around the area, making it easy to get surrounded.
Thankfully, there are telltale signs to look for as they move about: they'll occasionally reflect light, causing them to shimmer, and you see the snow puffing up beneath their feet - handy when they're completely see-through.
They'll also snap back into view a second before they strike if they sneak in close, giving you one last chance to shoot and send them stumbling backwards.
The best way to finish this fight is to keep moving and constantly swing your viewpoint around so that you can survey all sides. Aim your gun at your target's head any chance you get and always be ready to dodge under their attacks if they catch you by surprise. Eventually, the creatures will be no more, and peace will be restored.
Start up the terminal
Head south toward the front of the plane, then interact with the debris to shift it and clear your path forward. Next, locate the terminal on your left, just left of the hole in the wall. Interact with it to use the Security Token you found earlier.
This concludes this episode, with Episode 6 and its Trident Key to find.