Resident Evil Revelations - Search for the engine room, Restart Key location, restart power to the ship
Continuing episode five in Resident Evil Revelations.

The search for the engine room and restart key location is part of Chapter 5's objective of restarting power to the ship back onboard the Queen Zenobia.
If you need more help, our complete Resident Evil Revelations walkthrough can assist with other sections of the game, including all Handprint locations, Raid mode and unlockables.
Restore power
Step off the lift and make your way to the northeast corner of the room. You'll spy a cabinet with a couple of books on top. Scan the largest book to reveal Handprint 20. Next, use the door to the left then clamber down the ladder at the end of the passage.

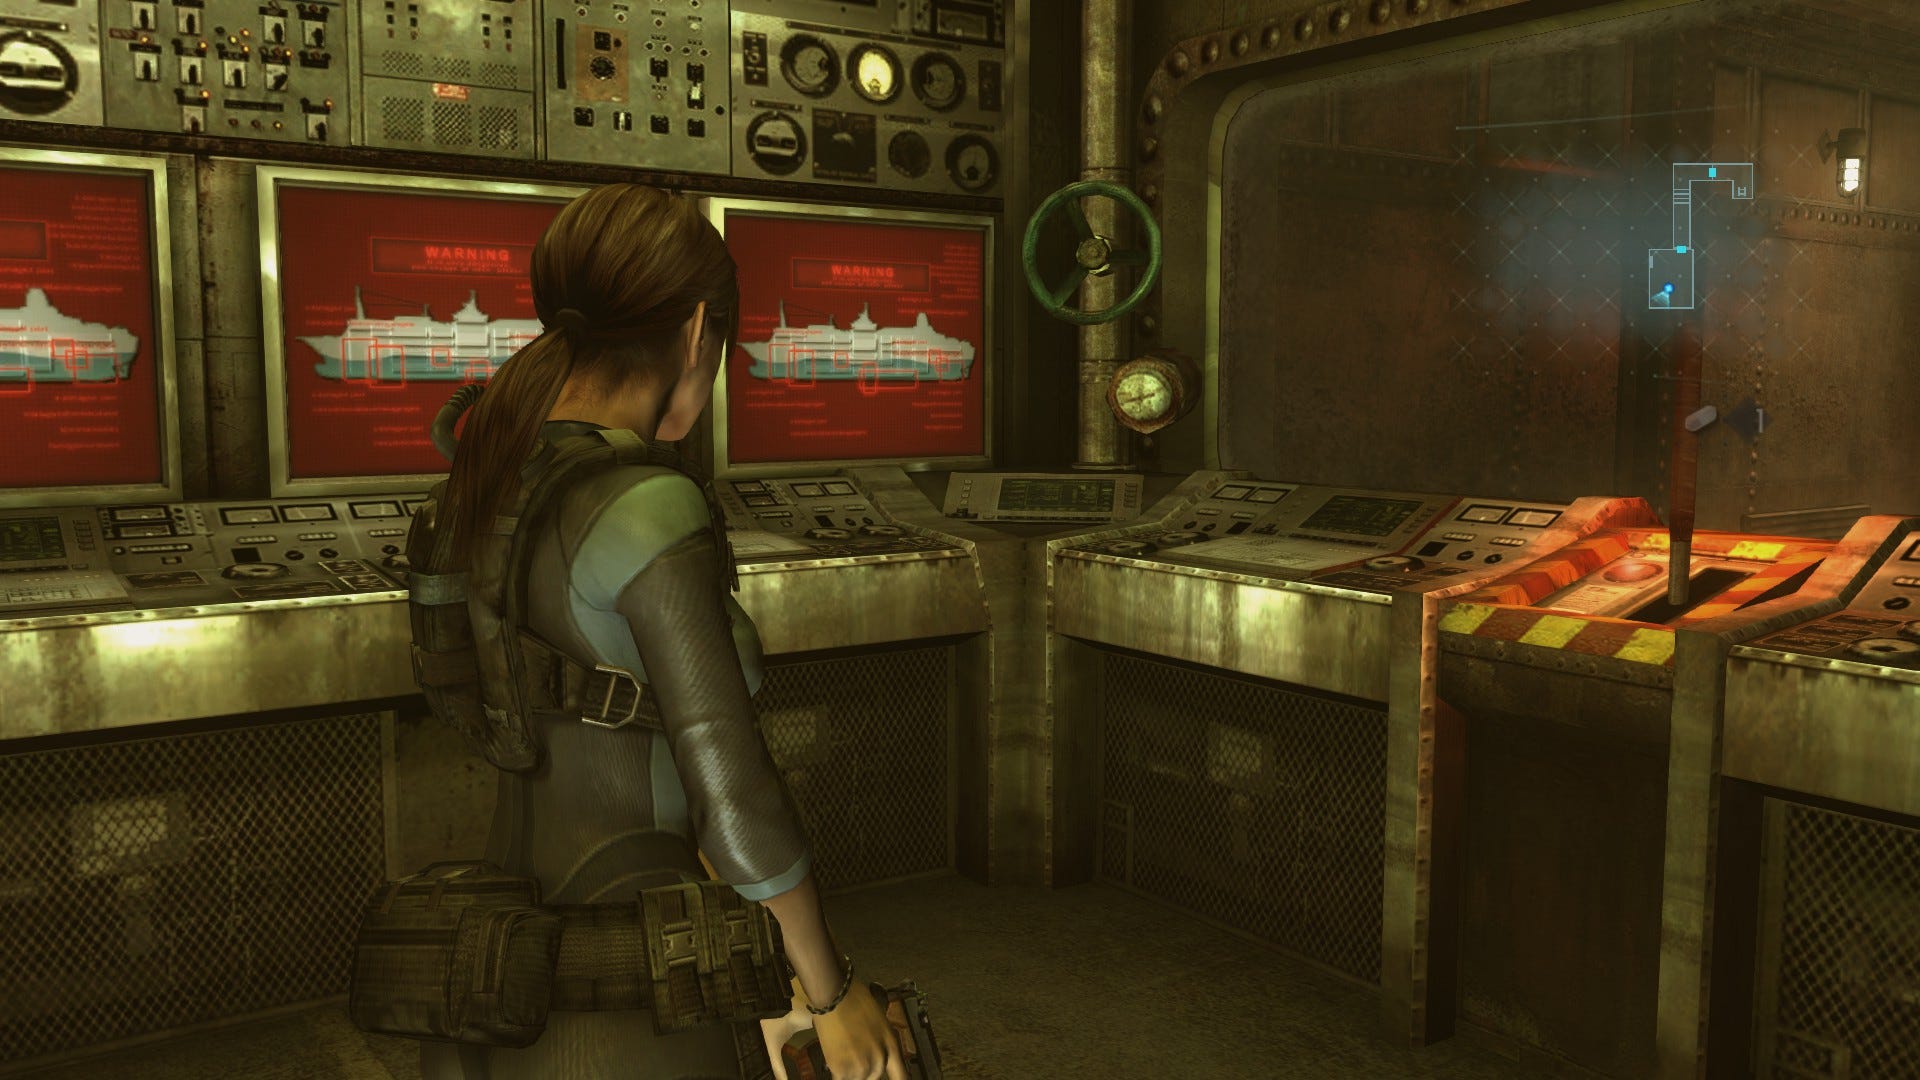
Splash along the waterlogged corridor and pass through the door around to the left. Follow the passage forward and up the steps, then head through the door at the end. This will bring you into a control room.
First, interact with the console beneath the three red monitors. You're informed that, in order to move the bulkheads and stop the flooding, you'll need to restore power in the engine room. That, then, is your next destination.
Search for the engine room
You'll likely be very short of ammo after the frenzied fight against Rachael. As such, don't forget to scan the environment regularly during your travels to stock up on handy supplies.
There's a green weapon crate in the corner of the room, so feel free to use it if you need to adjust your load-out. When you're ready to continue, head through the door to the right of the lever.
Out in the corridor, take a right and smash the crates to get a smidgen of ammo, then begin moving north, following the passage as it winds around to the right. Descend the steps into the water and continue following the linear route forward.
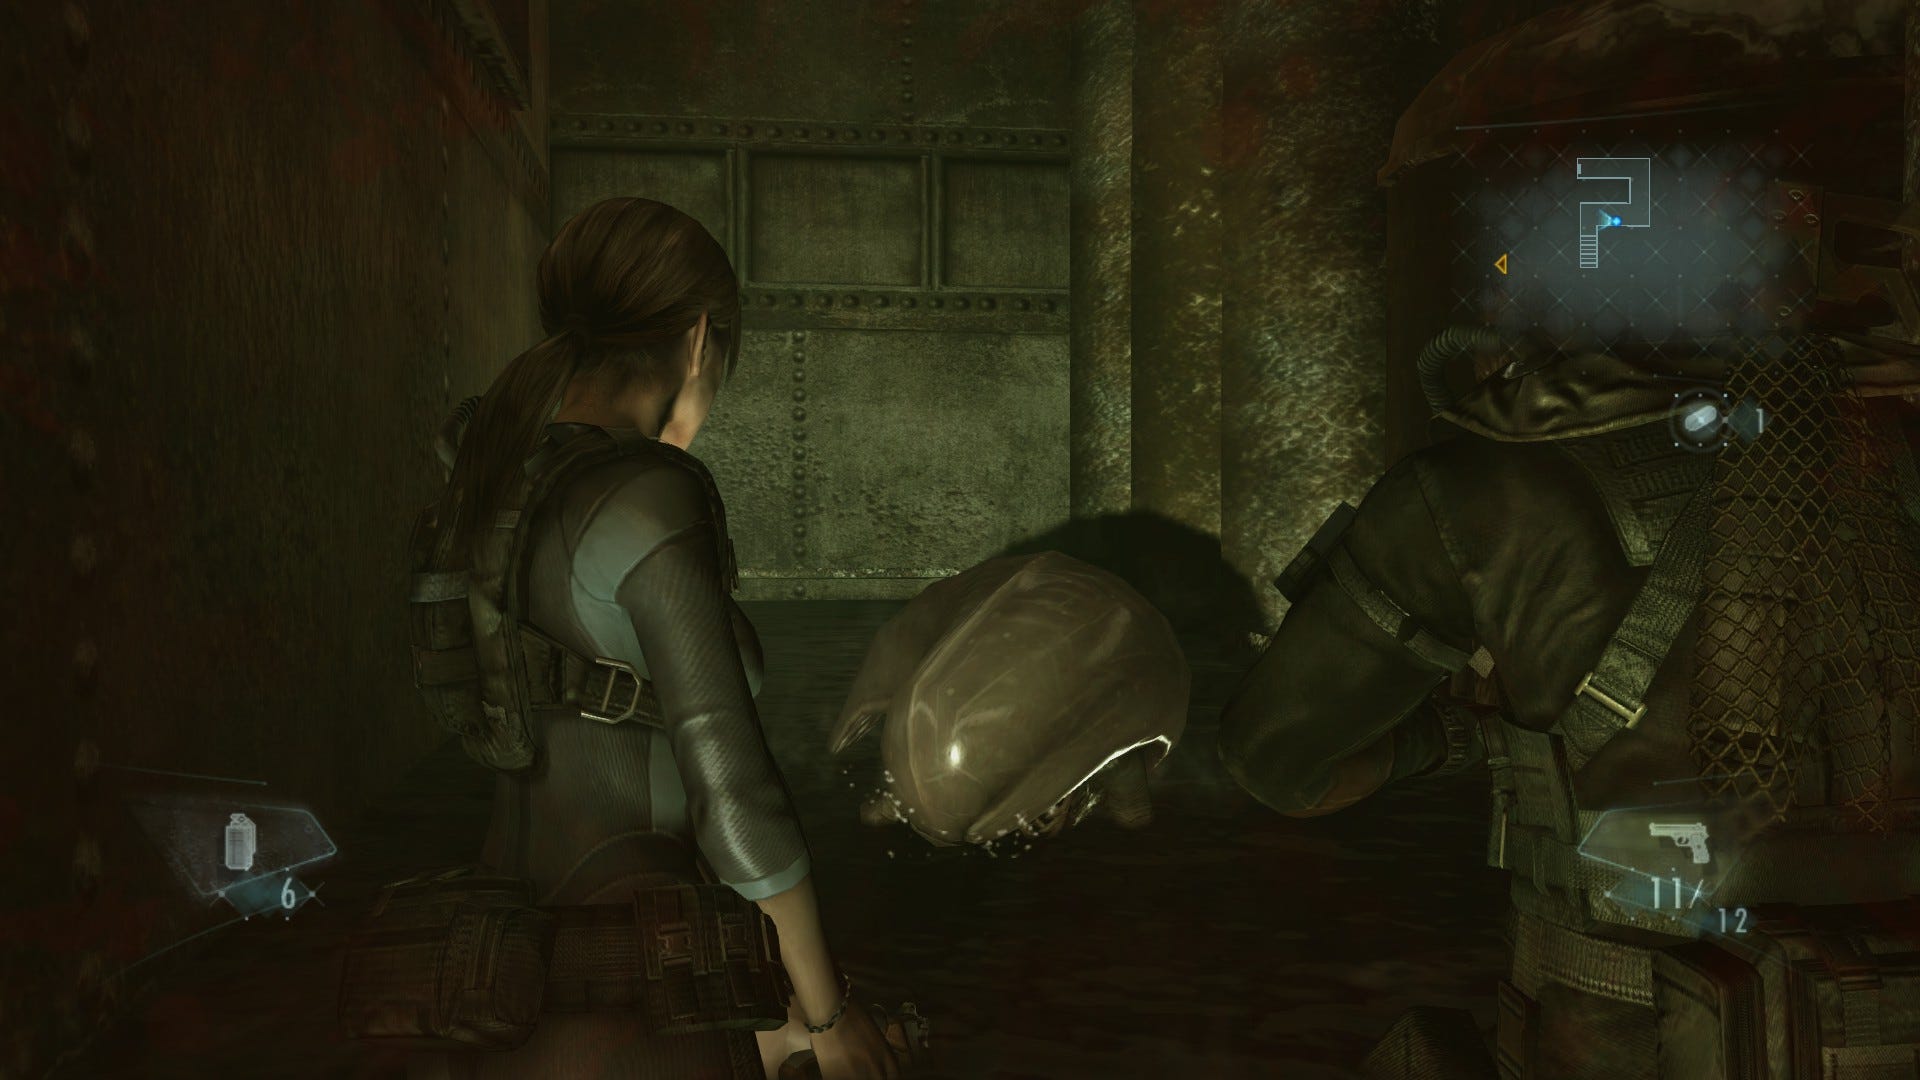
As you round the corner to the north, you'll spot something moving in the water up ahead. Push forward and continue toward the door. A large leech-like creature - known as a Sea Creeper - will pop its head out of the depths. Quickly fire off a few shots to bring it down.
These things can move extremely quickly underwater and, when submerged, they're impossible to see. As such, it's easy to lose track of them as they swim back and forth, meaning it can easily ambush you from any side.
When the Sea Creeper is about to attack (which it always does at close range) it'll wrench its body out of the water before grasping forward in an attempt to latch onto your face. As soon as it rears up, you have a few seconds to shoot it - and if you're caught in its clutches, you'll need to frantically wriggle free.
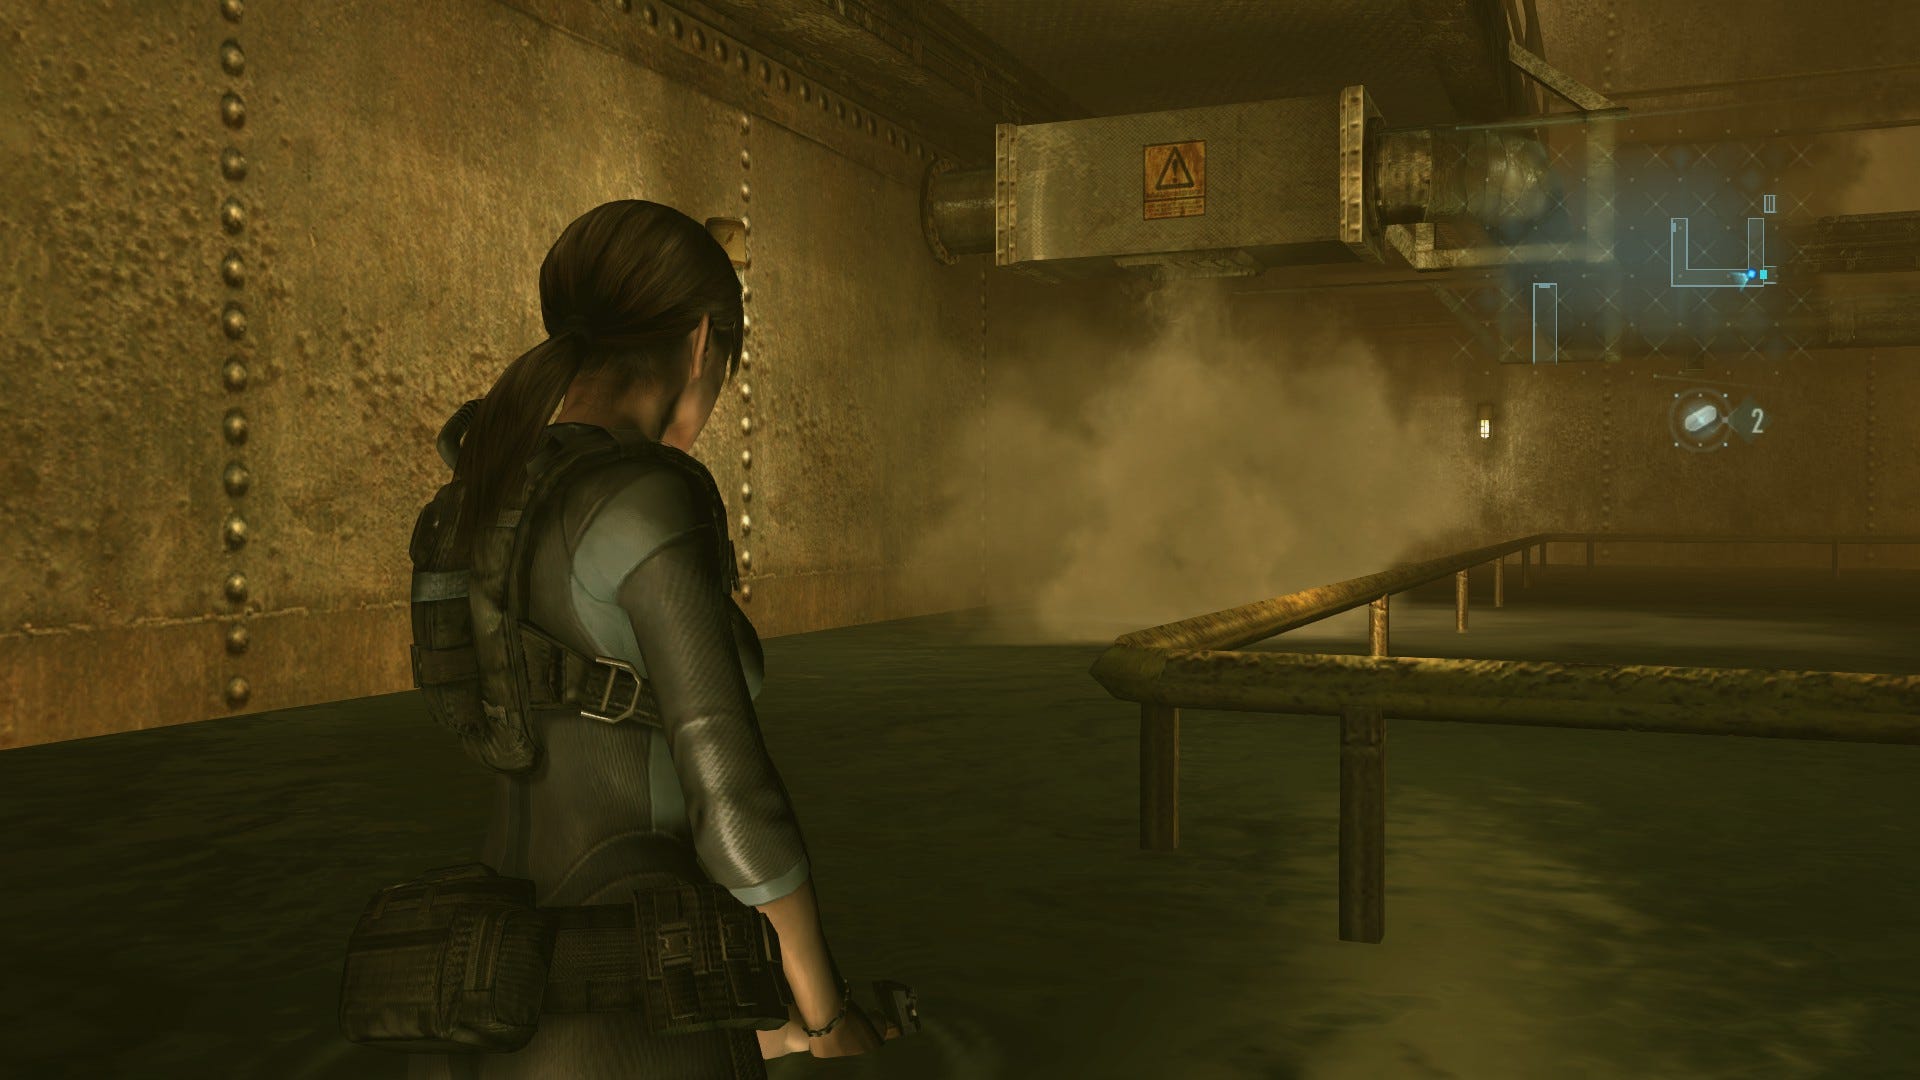
Once the creature is down, continue along the waterlogged passage and head through the door at the end. In the next room, you'll want to get through the doorway that's currently inaccessible thanks to the steam pouring out of the valve above. To shut off the steam, first head through the door in the southeast corner of the area. Swipe the green herb from the centre of the room then proceed through the door to the southwest.
Several more annoying Sea Creepers patrol the next waterlogged passageway, so you'll want to proceed carefully, bringing them down quickly as soon as they rear their heads.
Once the coast is clear, explore both the northern and southern ends of the passage to acquire some ammo. Look at the mini-map and you'll see two more tunnels running west off this main corridor.
First, open the gate of the southern-most passage (its on the left as you're facing west) and head on through, using the door at the end. In the next room you'll see another impassable steam blast ahead. For now, take a right and grab the Custom Parts in the northeast corner.
Next retrace your steps back out into the waterlogged passage and, this time, take the northern most of the two passages leading west, heading up the steps on the other side of the gate. At the top, take a left and go through the door. In the next room, examine the restart device immediately in front of you then follow the walkway to the right.
Note the lever to the right as you pass then pick up the green herb ahead. Also take a moment to read the Steam Pipe Maintenance Report document on the wall. Finally, pull the lever. This will shut off the steam valve on the lower level - in the room where you found the Custom Parts a few minutes ago.
Investigate the other panel
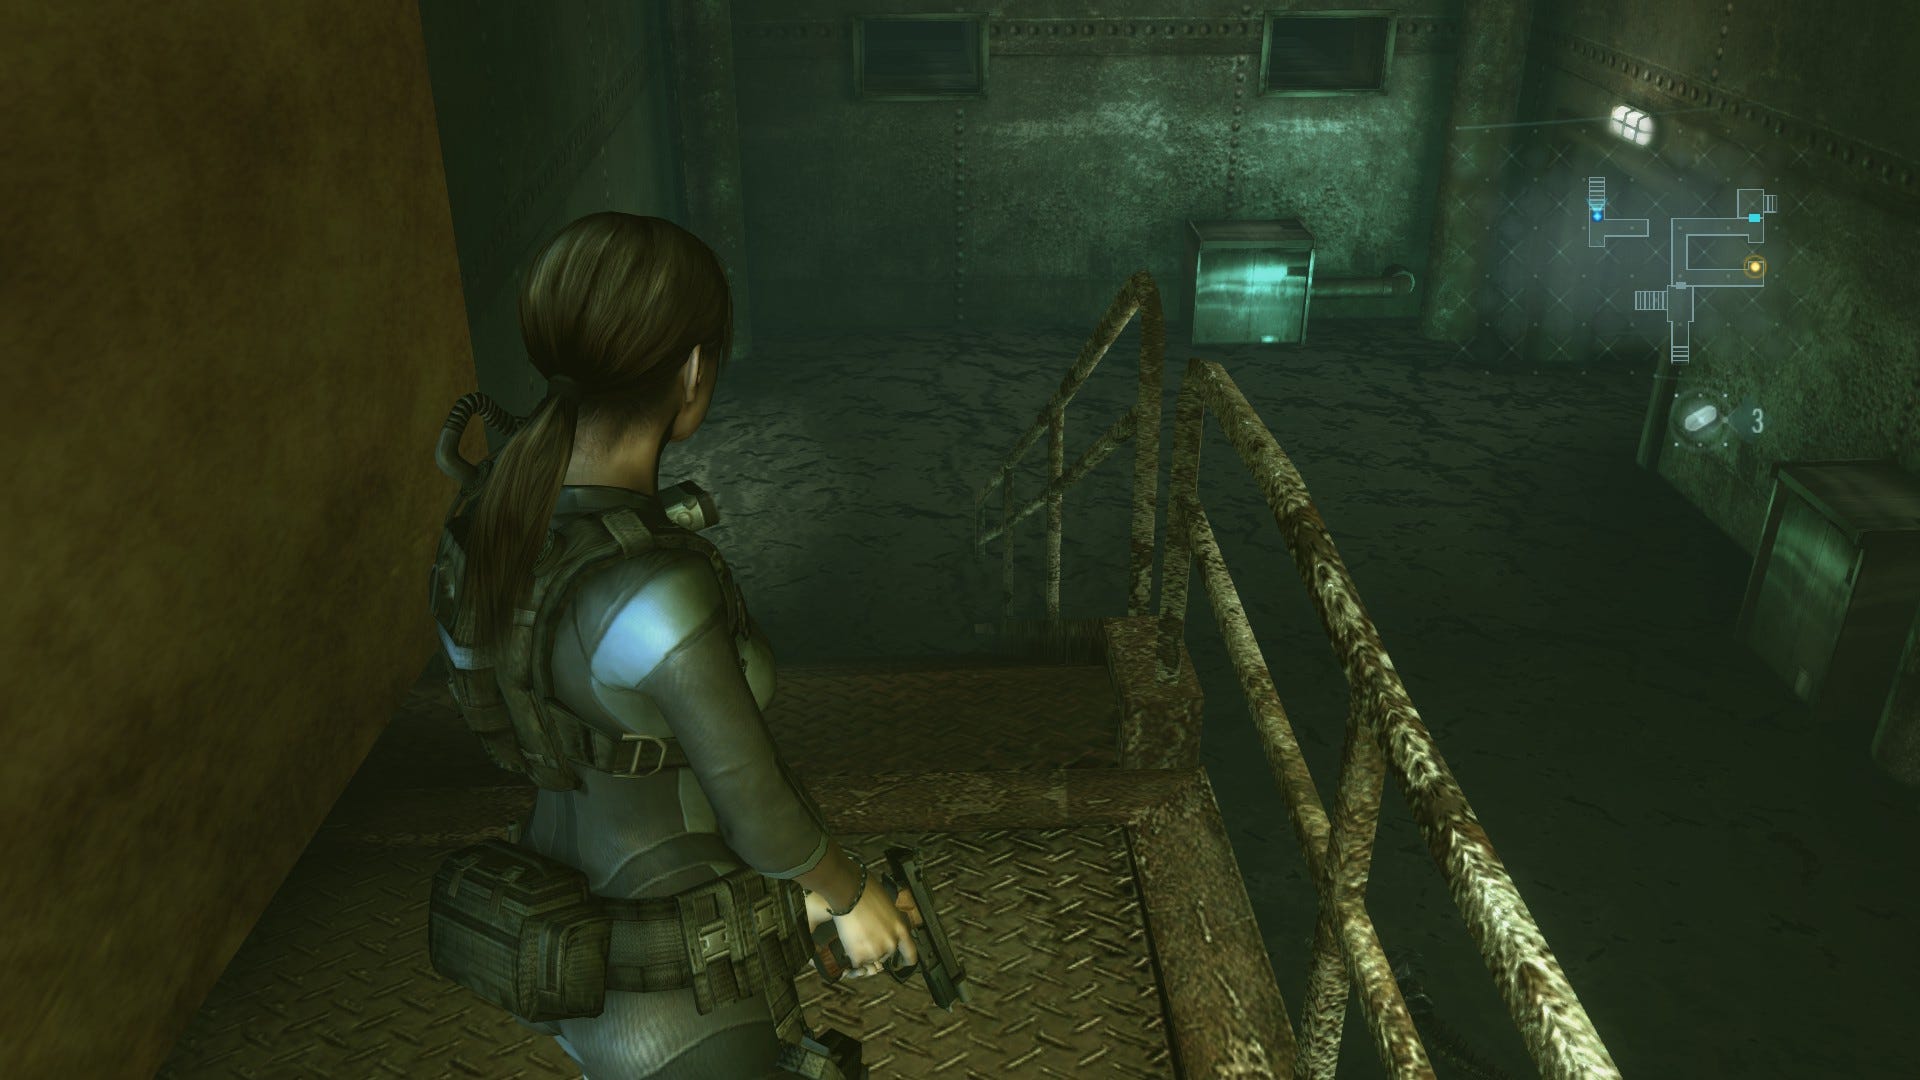
Retrace your steps out of the room, down the stairs and through the lefthand gate as before. Enter the room at the end of the passage. Now that the steam valve is shut off, you're able to walk directly forward. Do so, following the room around to the right. Grab the LOWER INTERIOR MAP from the wall to the left then pass through the nearby door. Climb the ladder on the other side then proceed along the walkway.
Immediately ahead, there's a large sealed bulkhead door, and on the walkway to the right you'll find some ammo. Proceed down the staircase to the north and turn right once you splash into the water. Shortly, you'll encounter more mutated fish - the same kind that you saw in the Casino.
This aren't as brutal as Sea Creepers but can they can swim fast in the water and will constantly attempt to leap up and nibble your nose. What's more they can do a fair bit of damage if they manage to surround you unexpectedly, which can easily happen when they disappear beneath the water.
The easiest way to deal with the mutant fish is to quickly backtrack up the stairs so that they follow you become beached on dry land, making them slightly less mobile. Slash at them with your ever-handy knife to finish them off.
With that taken care of, return to the water and make your way east along the small tunnel immediately to the right at the foot of the stairs. Go through the door at the end and, in the next room, head around the tank to your right. As you near the southwest corner of the room, our old friend the Ooze will pop up out of the water - lay a few shots in its brain then grab the Custom Parts and the AUG MACHINE GUN from the table nearby.
Leave the room and take a left along the main passage, proceeding south. Swipe the ammo and green herb by the lefthand wall as you proceed. As you reach the junction at the end, you'll disturb another Sea Creeper to the right. Make it dead then head up the steps to left.
Smash the crate at the top for a shock grenade (which will stun swimmers, stopping them in their tracks) and head through the door to your left. You'll find yourself back in the room where you separated from Parker earlier.
Take a right along the walkway, noting the lever to the right as you go. Grab the Machine Gun Ammo Case from the cabinet at the end and read the Memo Left in Engine Room document. Examine the control panel to the left and you'll learn that you'll need to find a key before it will function.
Restart Key location
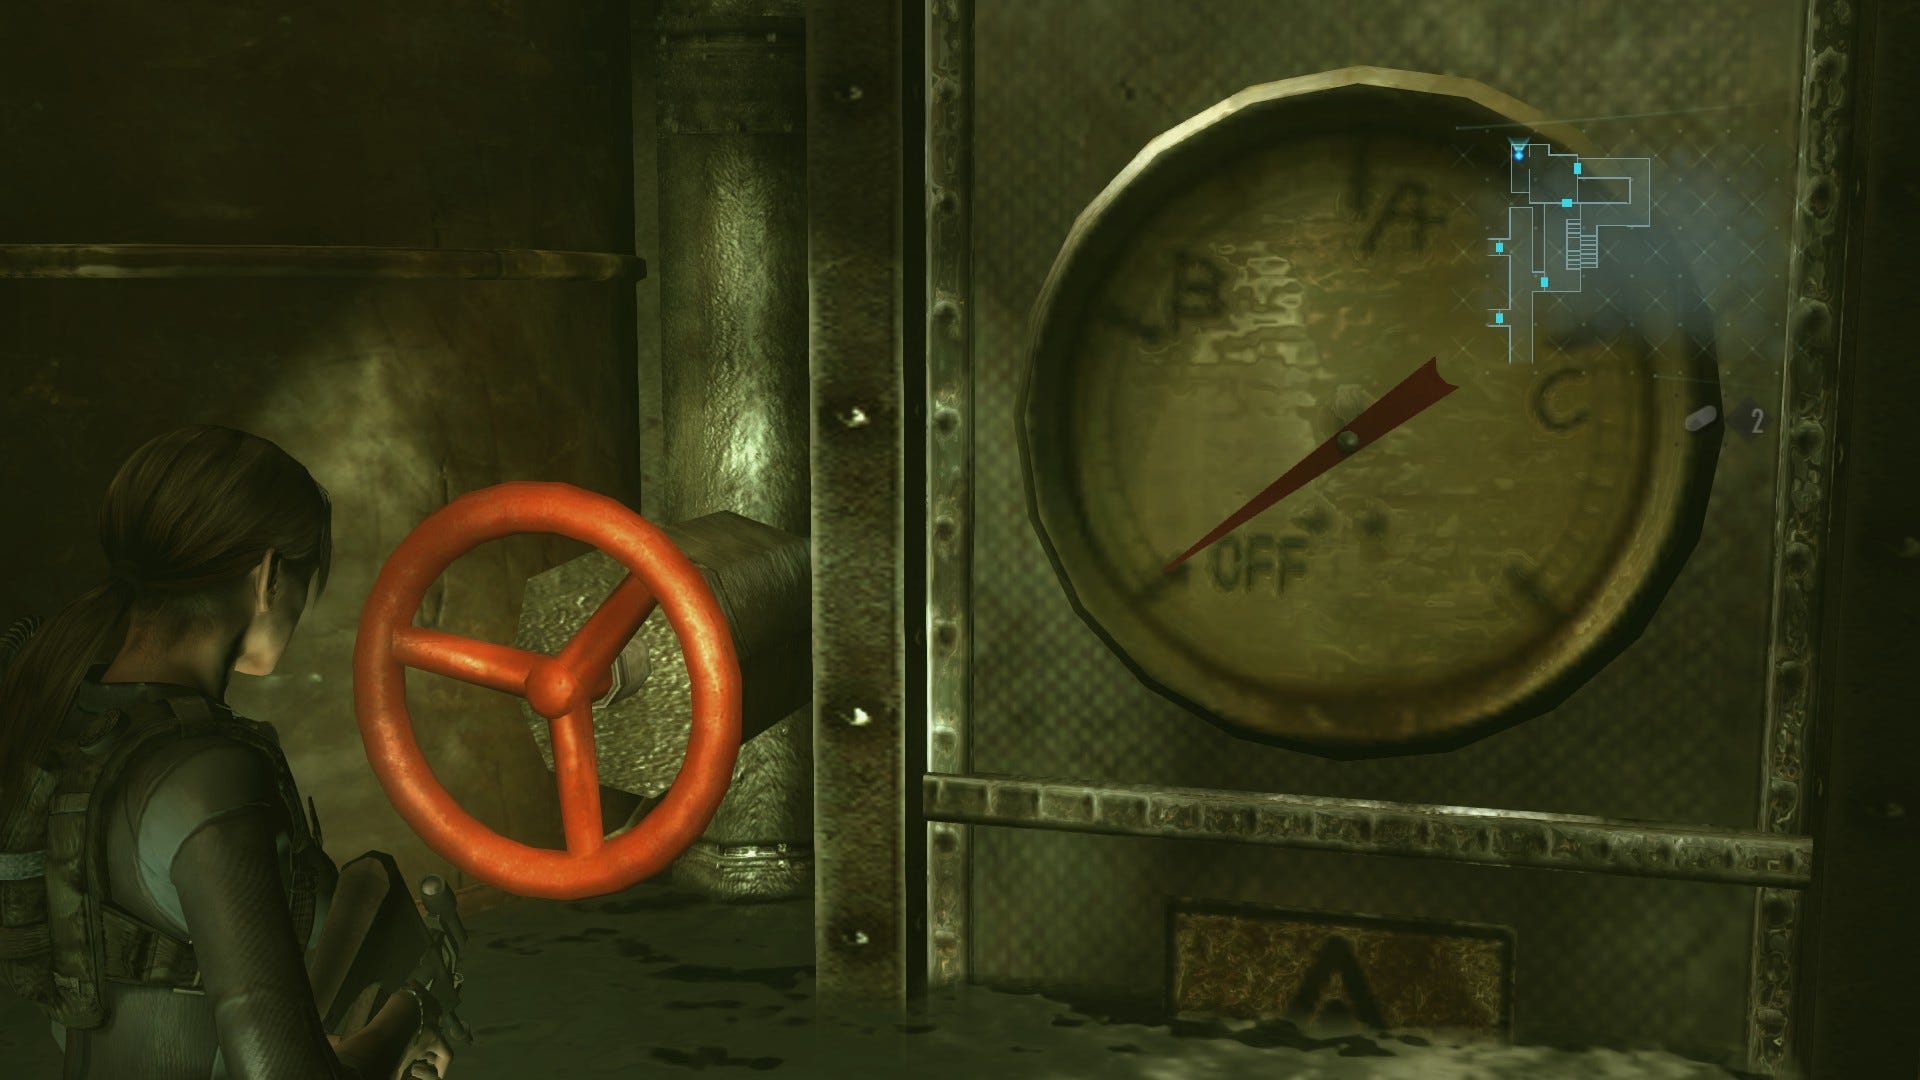
Pull the lever on the wall then follow the walkway around toward Parker's position. Pull the lever on the left as you reach it - it's the one you operated the first time you were in the room. This will set all the steam valves to the 'A' position. Next, head through the door behind Parker, go down the steps and through the gate again. It's time to retrace your steps a little. Go through the door to the east in the middle of the passage, then through the door to the north.
In the next room, you'll see that the steam valve in the northwest corner has finally stopped. Duck through the now-accessible archway and grab the shock grenade and COG from the shelf. Spin the red valve on the northern wall to stop all the steam valves in the area completely. Next, retrace your steps to Parker, dealing with the fishes and Oozes that pop out of the water. Follow the walkway around the room and head through the door in the southwest corner.
Make your way down the steps to the right and, once you reach the bottom, dash north through the wide waterlogged passage, dodging the enemies that emerge as you go. Climb the stairs to the left and set the Cog on the bulkhead door to your right at the top. Next, hit the button to the left of the door, opening the secret compartment. Finally, grab the RESTART KEY from inside.
Restart power to the ship
Retrace your steps once more to reach the room where Parker is, weaving between the enemies as you go. When you arrive, approach the control panel in the southeast corner and interact with it.
This will trigger a cutscene, and also a trap. Suddenly, the valves spring open, and the engine room will slowly begin to fill with water. You'll briefly gain control of Jill again but before long another cutscene will play, bringing the segment to dramatic cliffhanger.
While we wait, it's time to head to the crash site with some other cast members.