Resident Evil 3 - Underground Storage: All Fuse locations to restore power to the elevator explained
Where to find all three fuse locations - and make it out in one piece.

Underground Storage is the penultimate part of Resident Evil 3 - coming after completing the lengthy Hospital section.
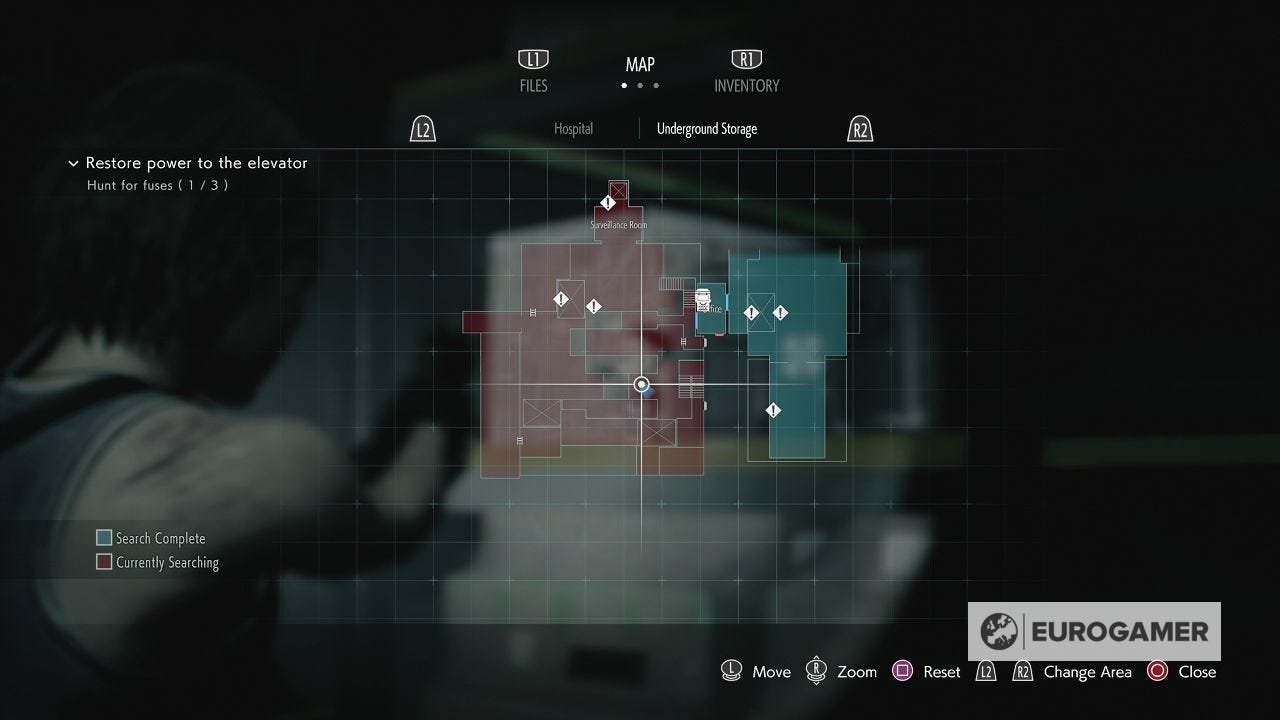
There is one task here - find three fuse locations to help you power up an elevator before going to NEST 2. Though it's a small area on the map, it's not the easiest location to navigate - especially with one or two tricky combat sections to get through.
On this page:
Looking for something else? Visit our Resident Evil 3 walkthrough for more help.

Start of Underground Storage in Resident Evil 3
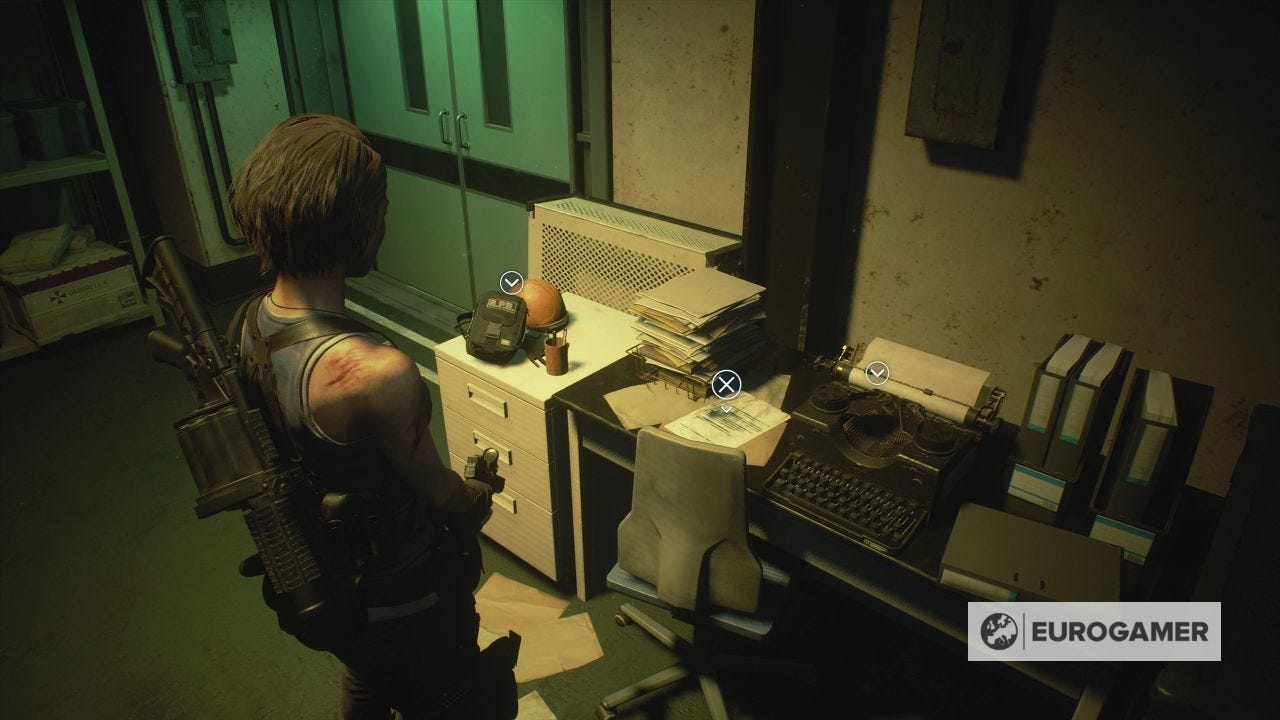
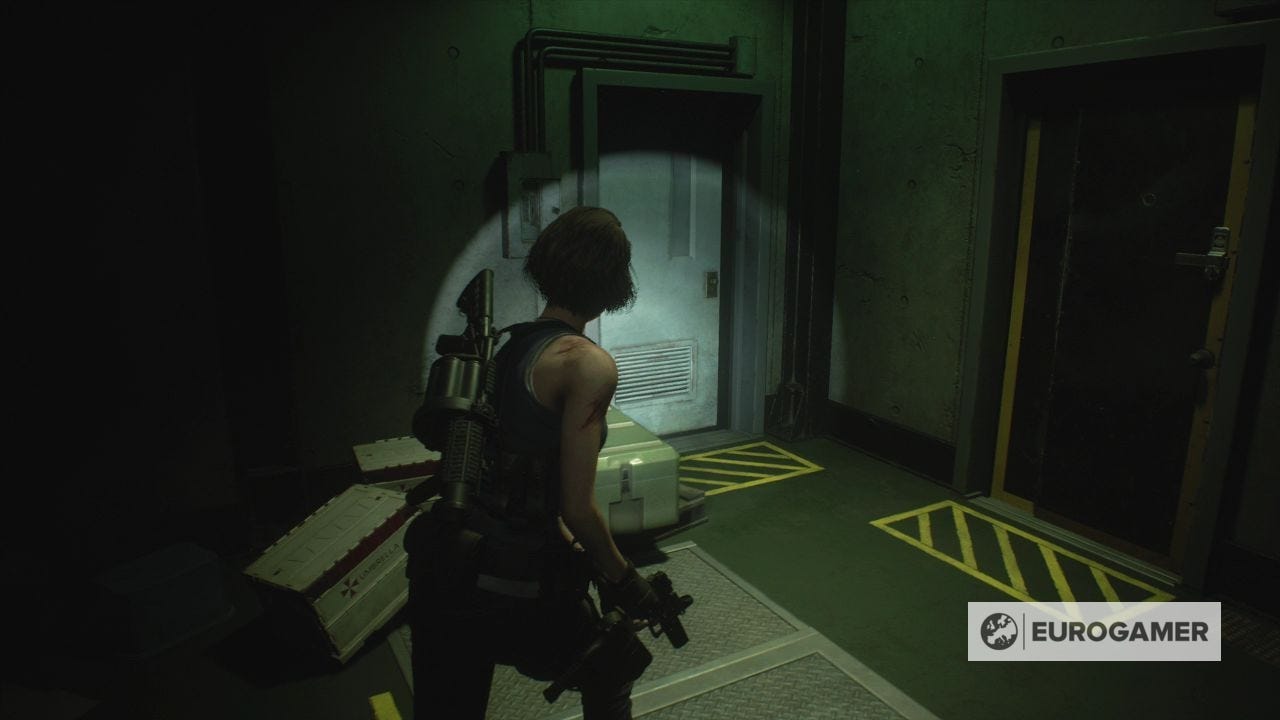
The first room of Underground Storage is a safe room. Grab the Elevator Notice file from the side, as well as the Hip Pouch to expand your storage.

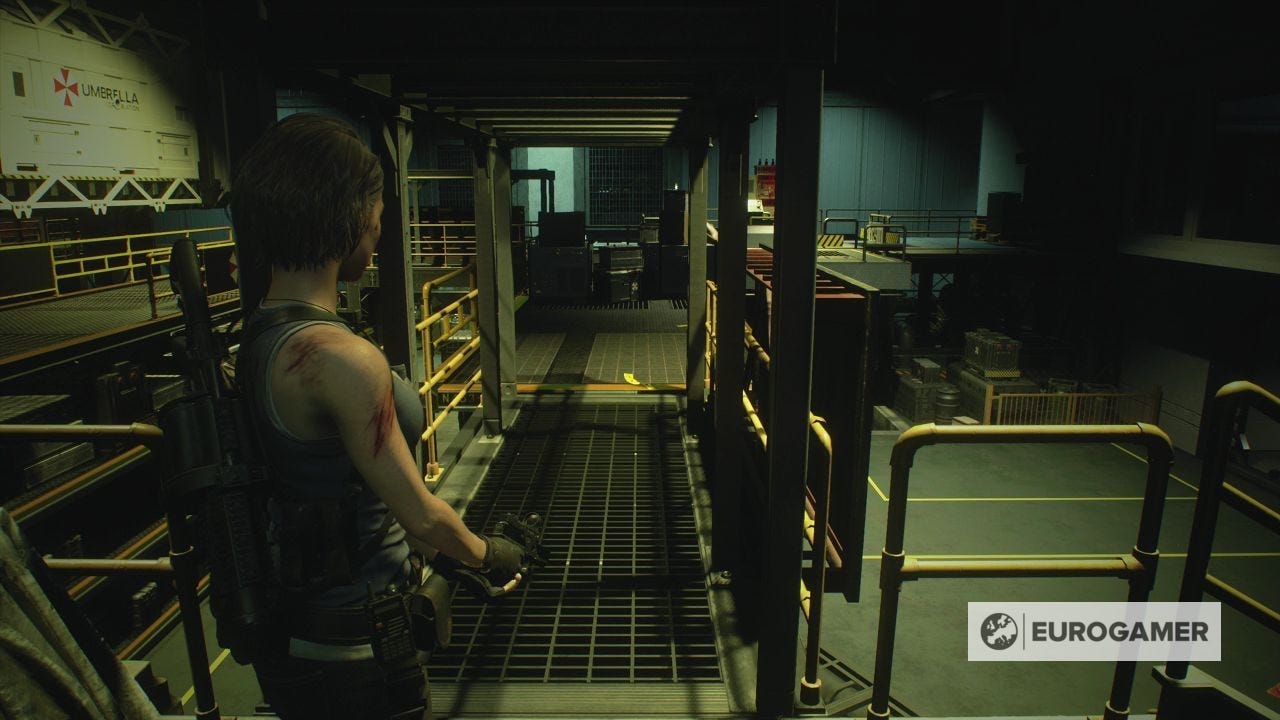
Leave out the doors, go ahead across the walkway, then drop down below on the right side.
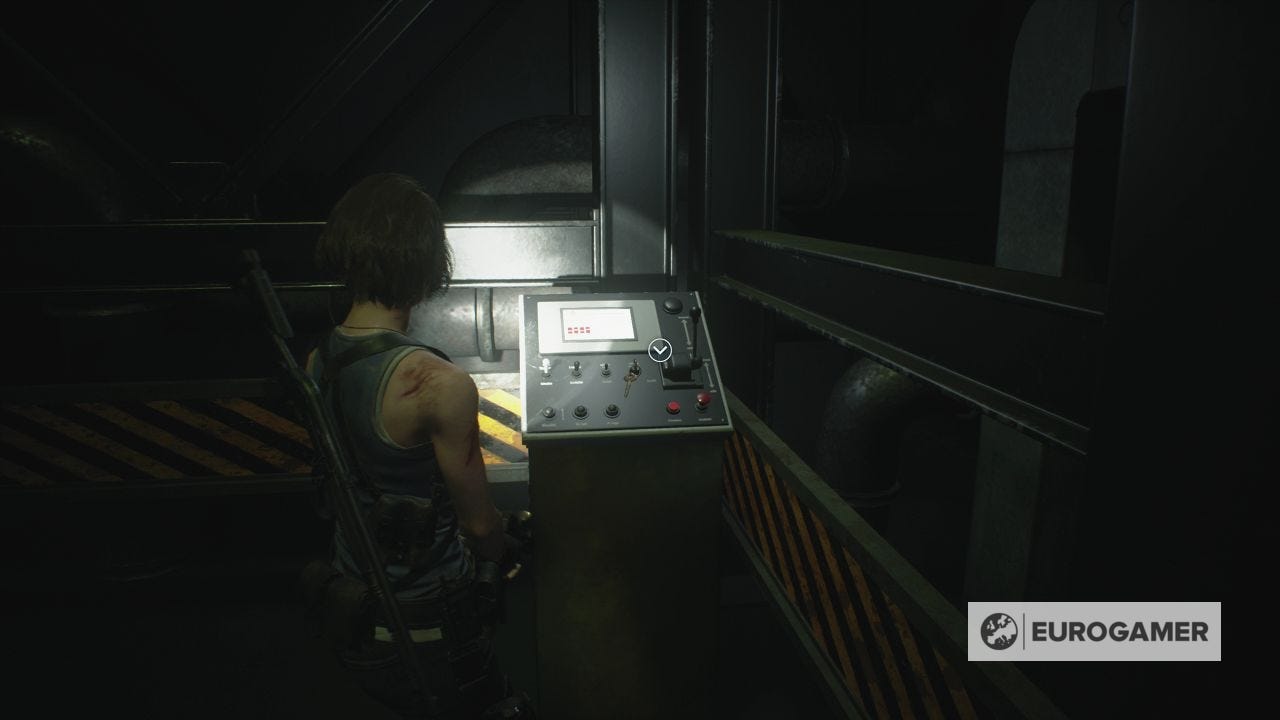
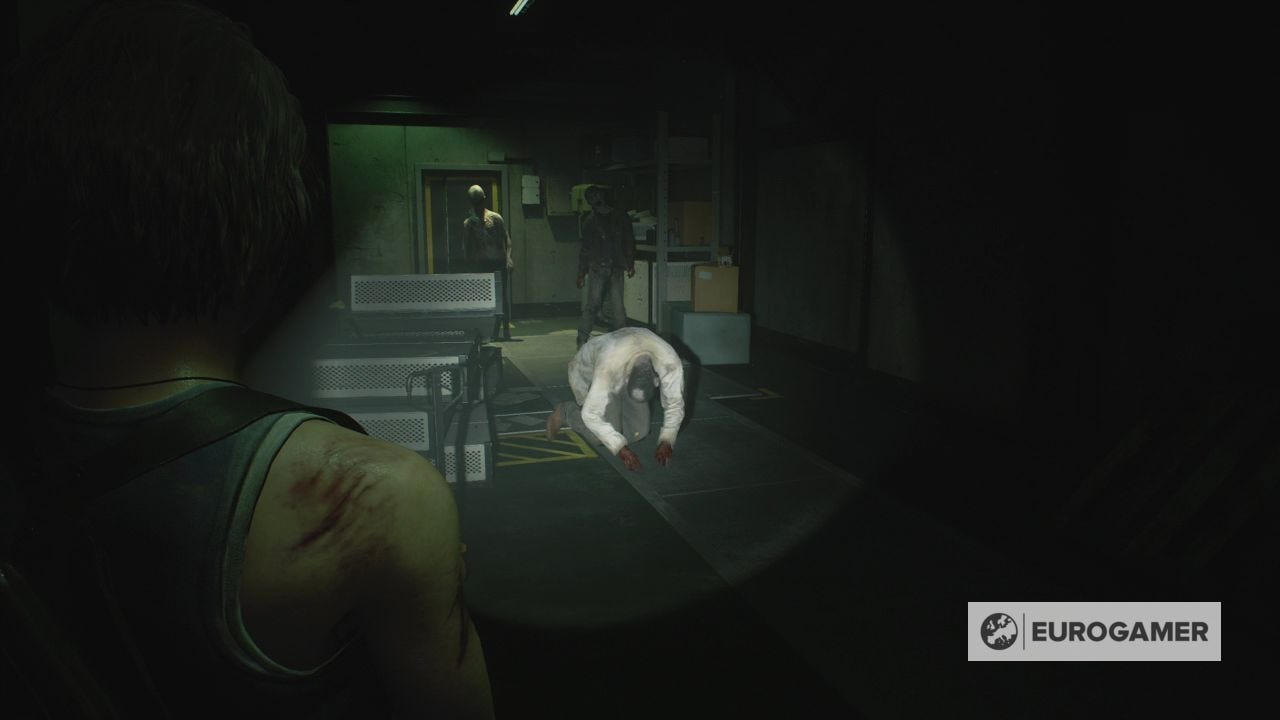
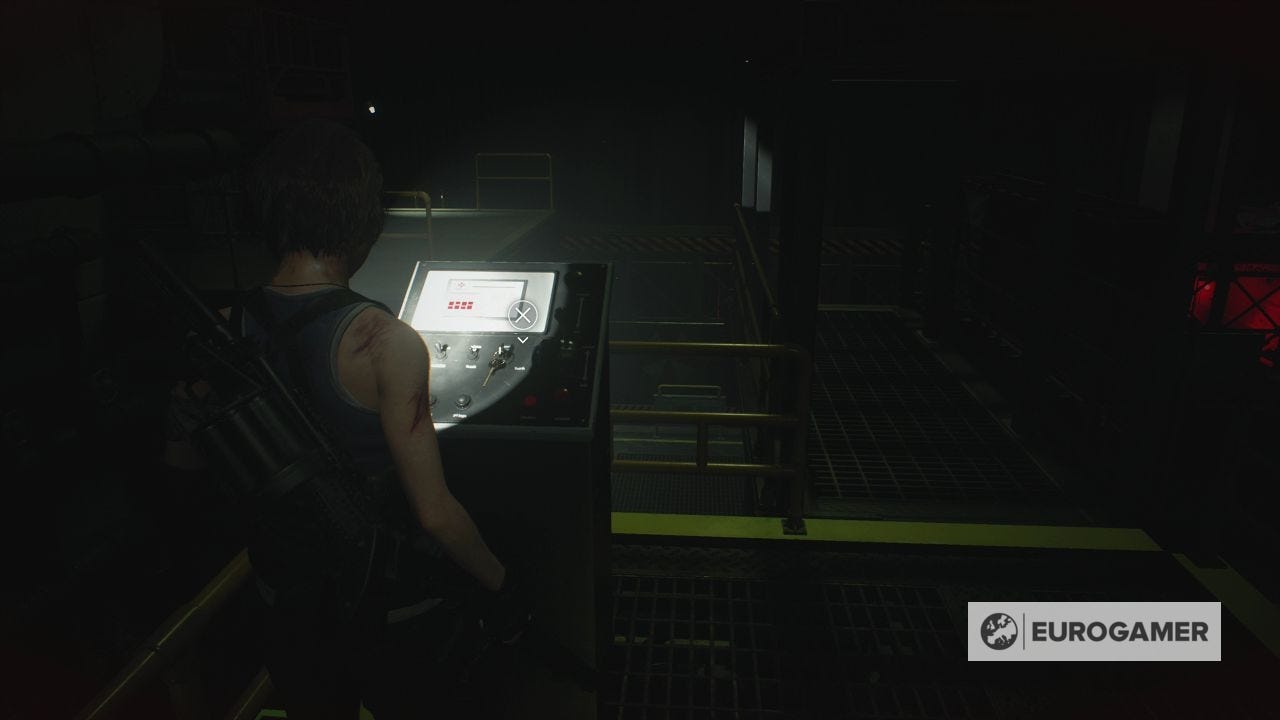
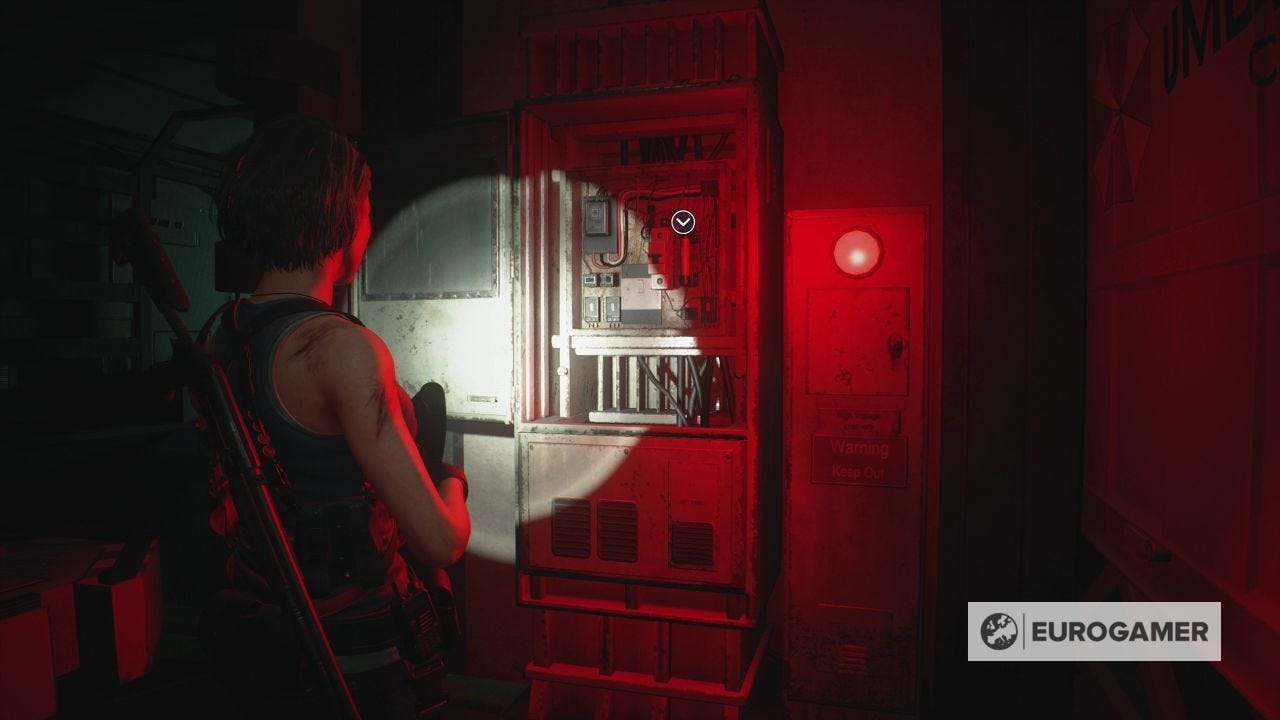
Go ahead past where the bodies are and attempt to throw the switch - blowing the fuses.

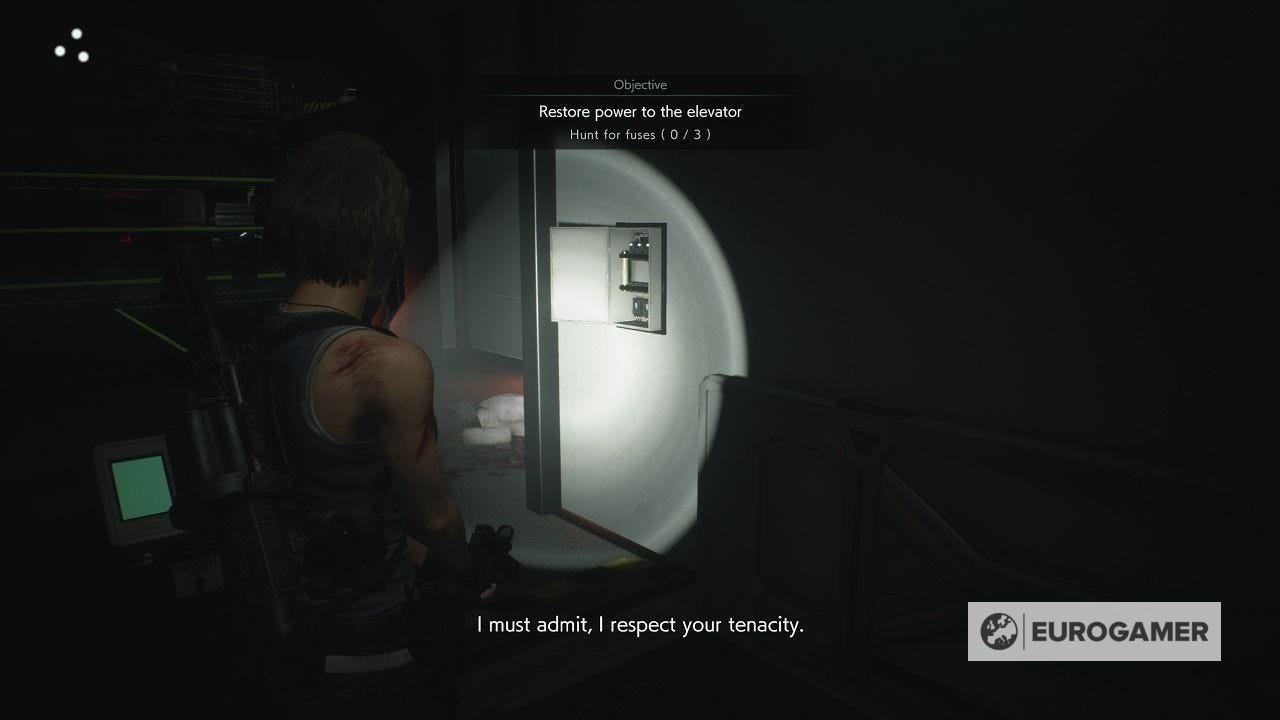
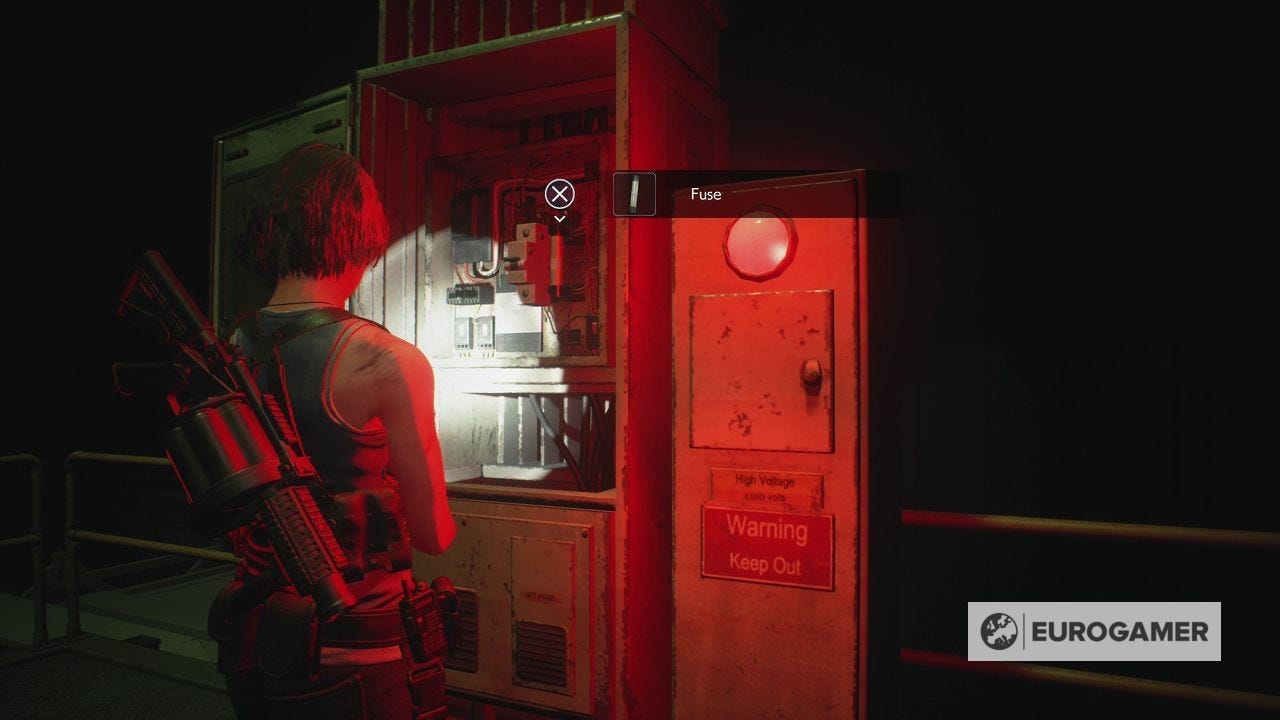
Now for the objective - restoring power to the elevator by finding three fuses.
First fuse location to restore power to the elevator
Go opposite to the console to the right. When you do, a new zombie type will drop down - the Pale Head.
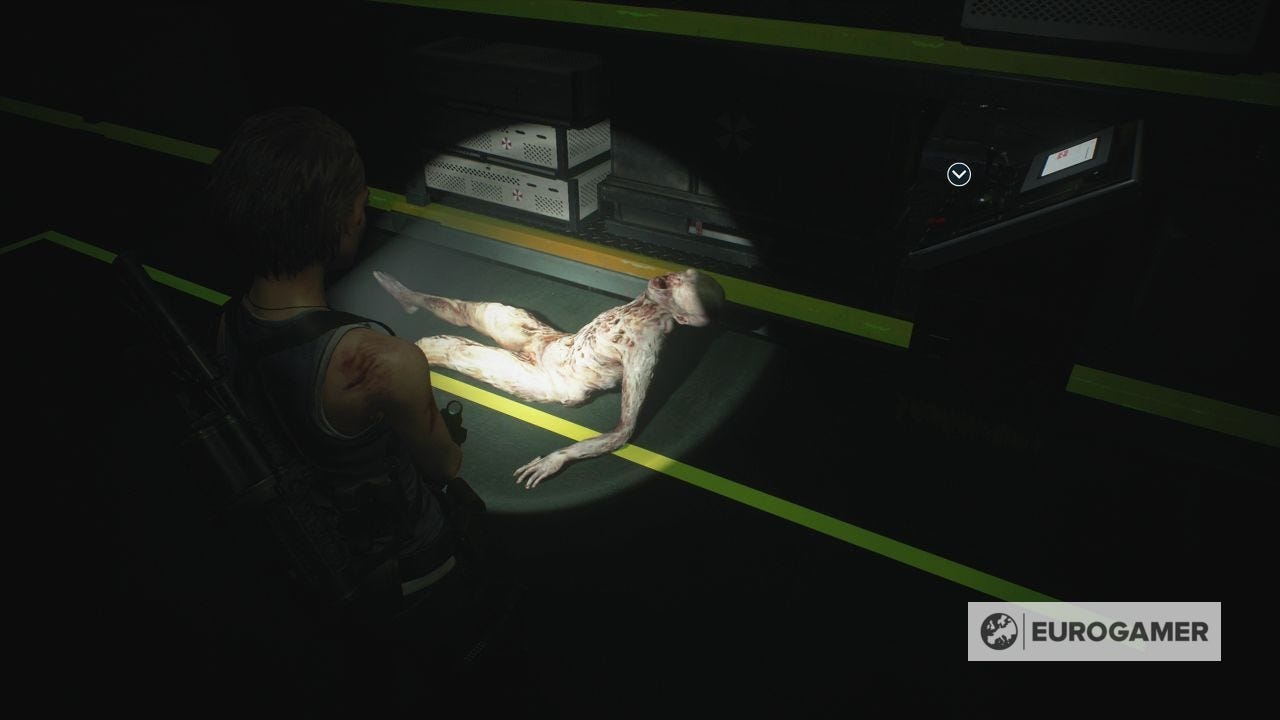
These are the same as regular zombies - except they take a little more time to kill, and are, well, naked. Though your Handgun will do the job, you might want to use the Shotgun to deal with them quicker.
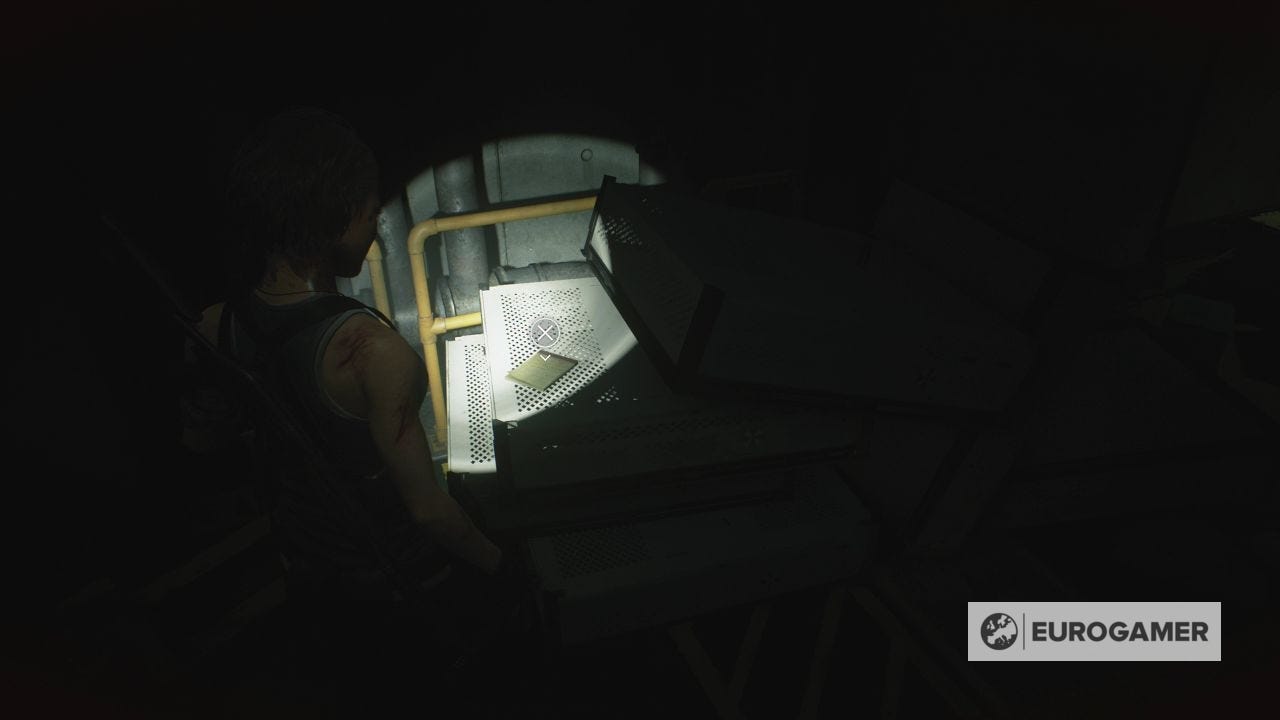
Once done, throw the switch and head up the lift. The first fuse is directly ahead of you.
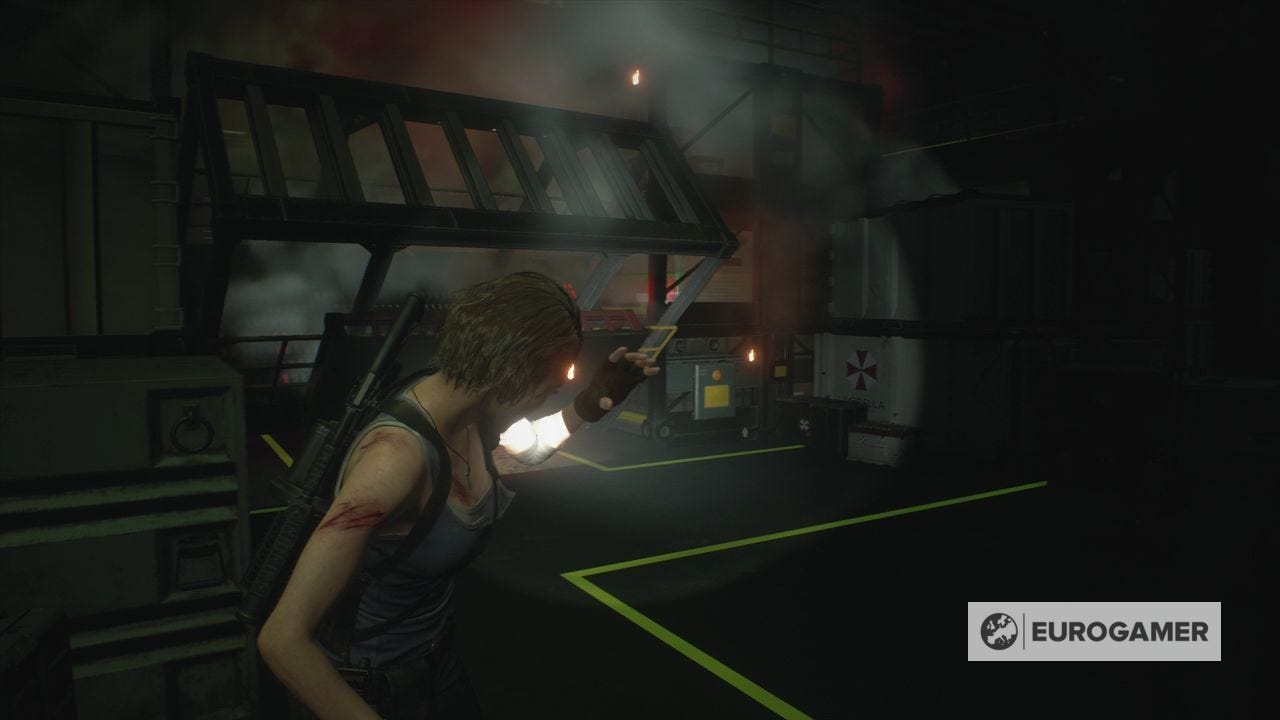
Exploring Underground Storage
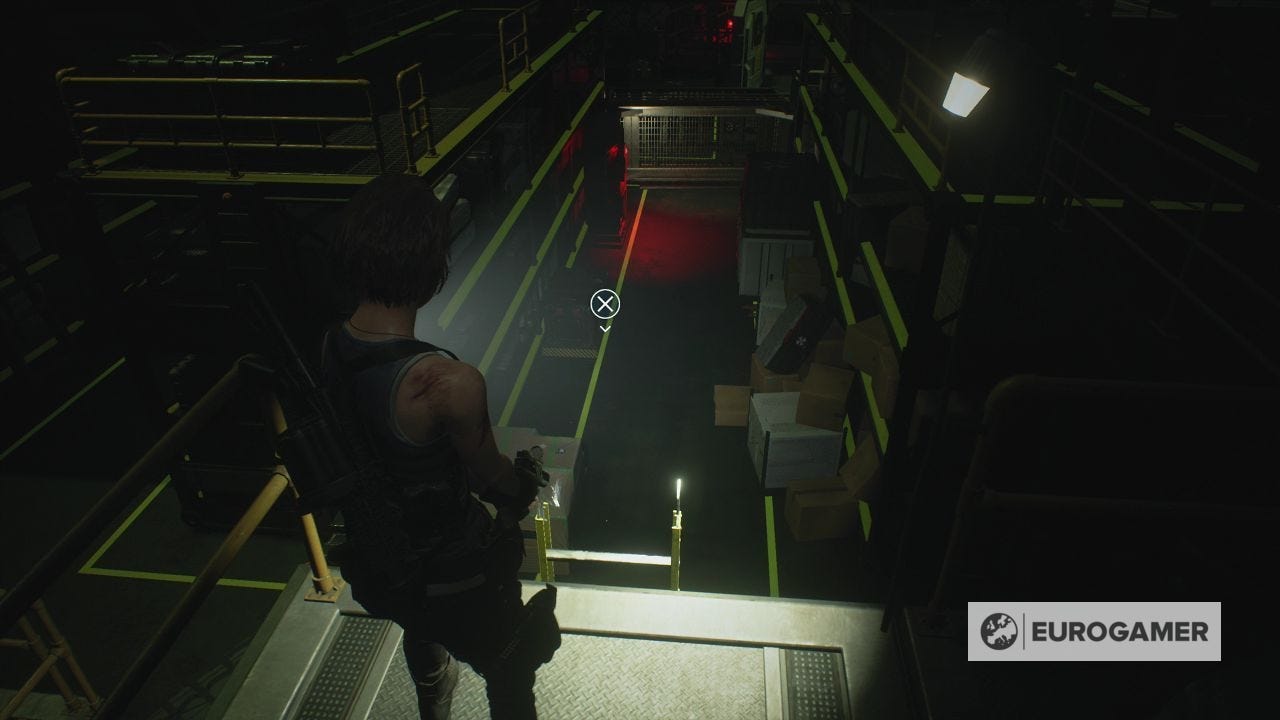
The other two Fuses are a little way off, so first you have to explore the room and open up the various routes available. Thankfully, there's a weapon upgrade in it if you do.
Smash the crates to your right then head down the ladder. Explore the container to the right for some ammo, then start to explore the wider room. As you do, the first route will be blocked off, and dogs will appear.
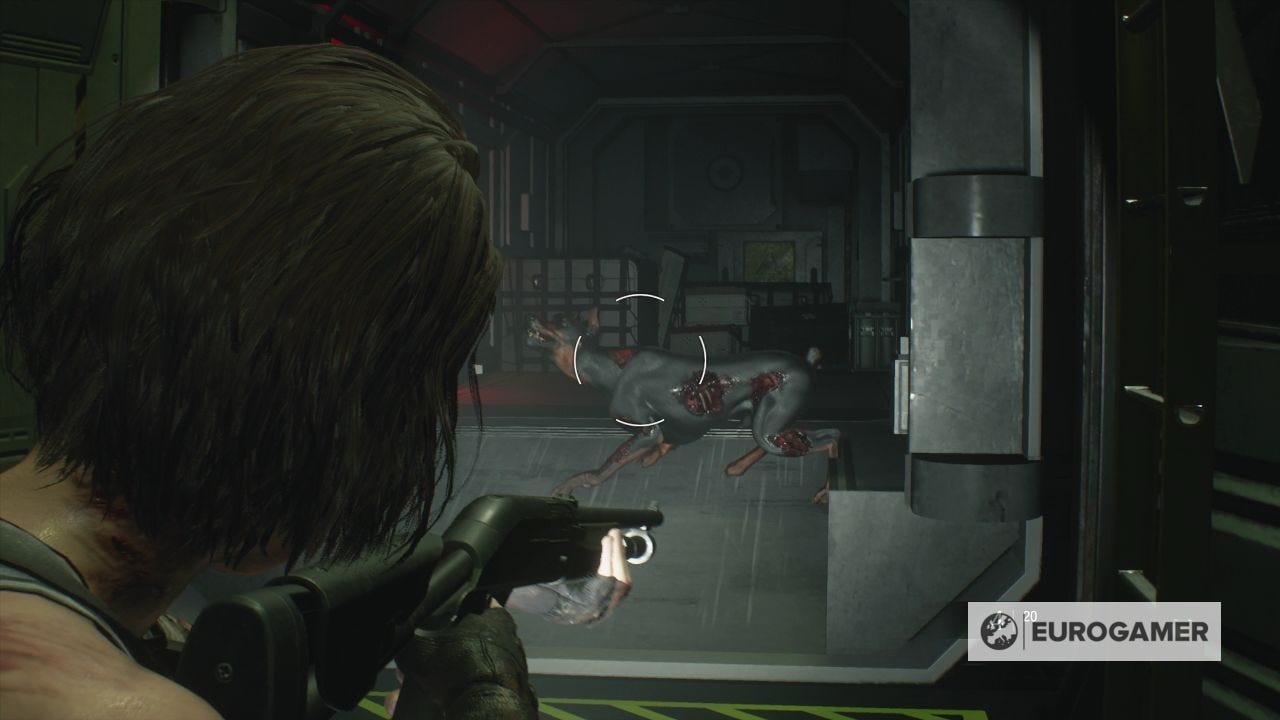
Switch to the Shotgun to make easy work of these. Continue on for the next route to be similarly blocked off. At the end aisle is a zombie, and a chance to squeeze through the shelves.
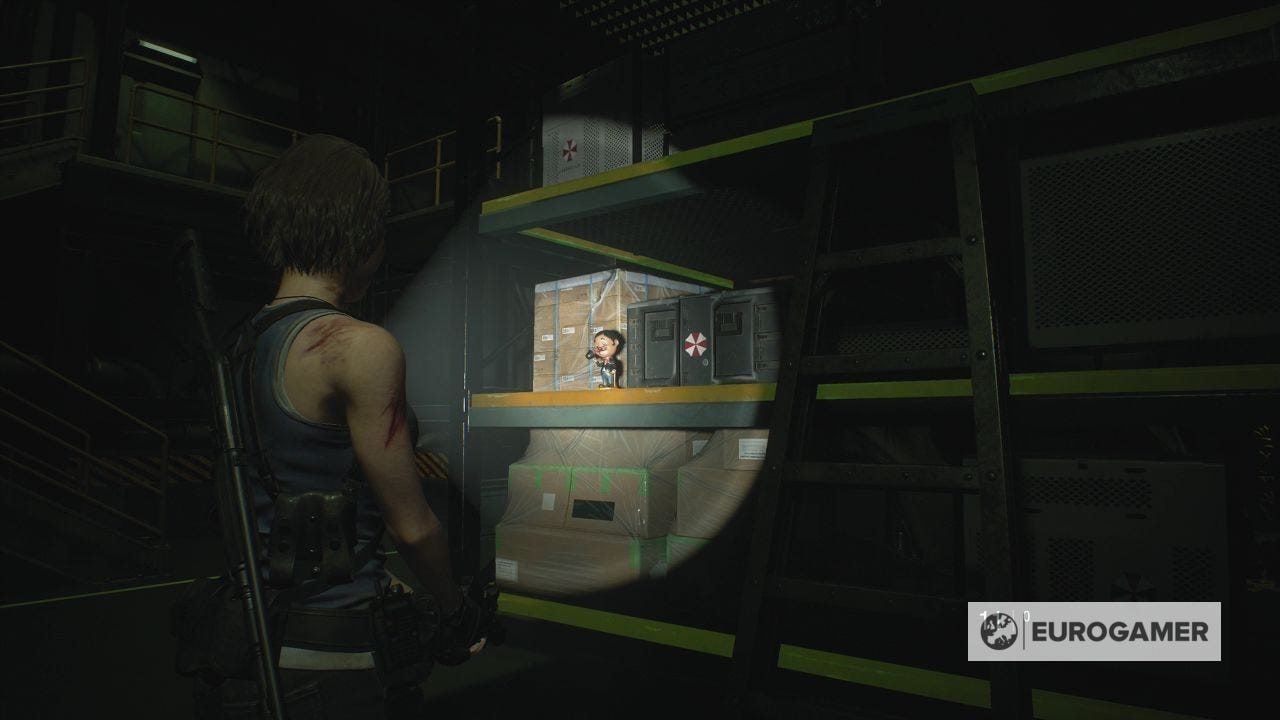
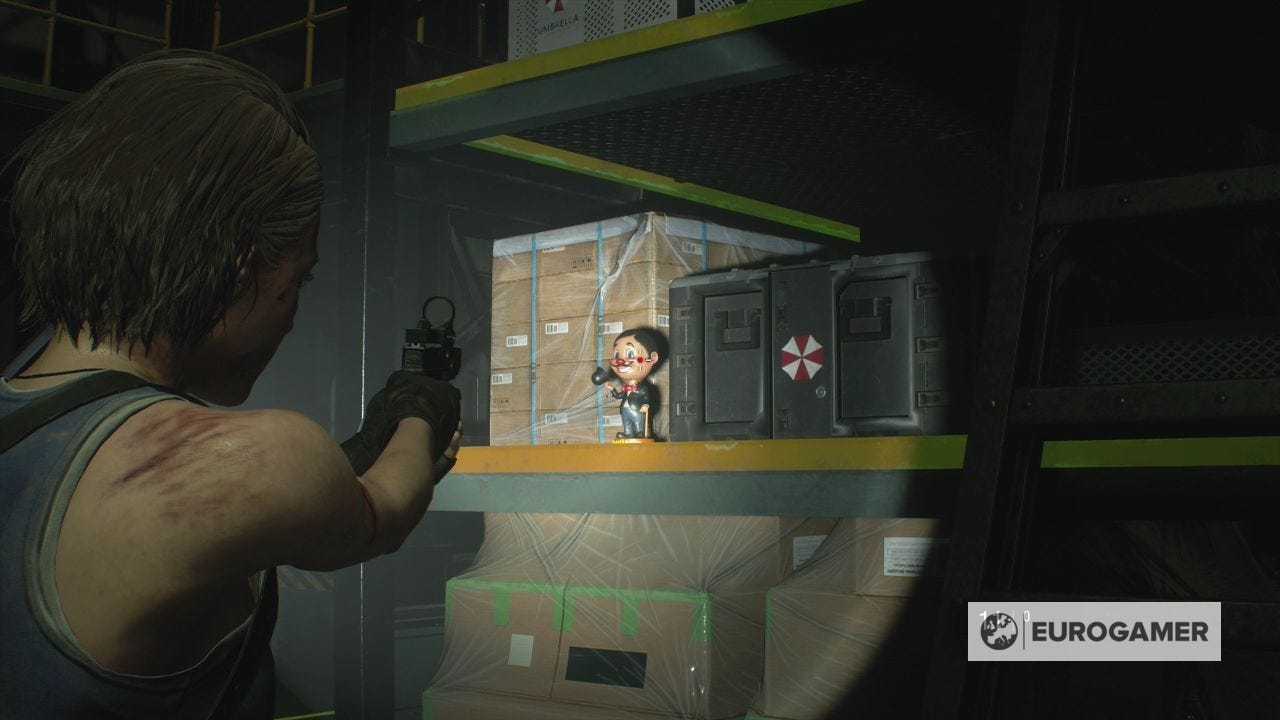
Afterwards, grab the Red Herb, and look on the right shelf, where you can find a Bobble Head.
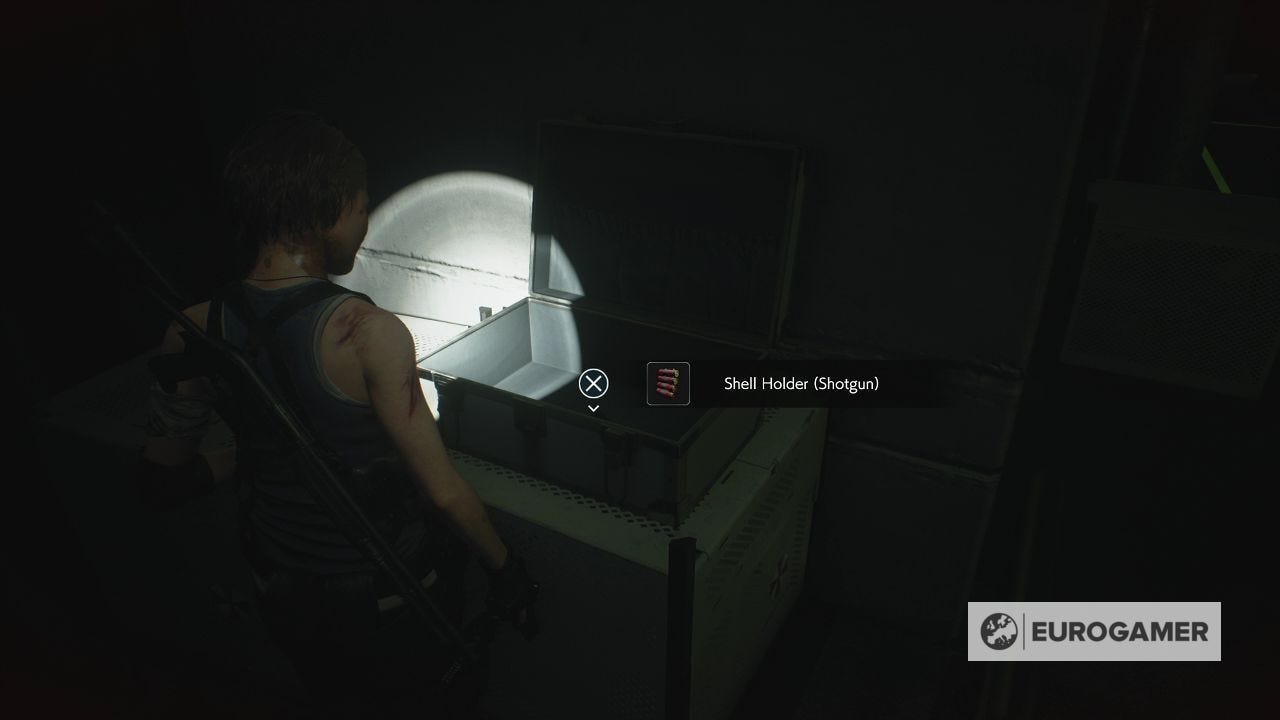
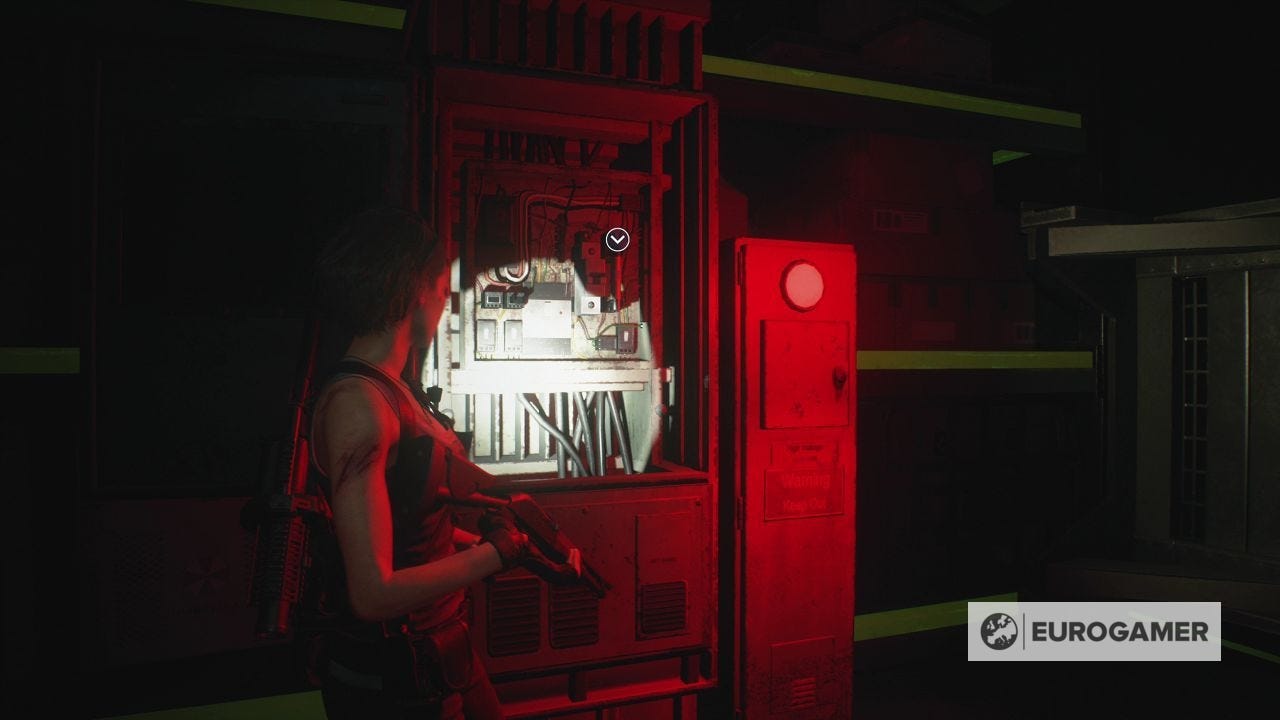
Ahead is a staircase, and a console to the right. Throw the switch first, lowering the platform to your right, allowing you to reach a case behind with a Shell Holder (Shotgun) weapon upgrade.
Following that, take the lift up. There is ammo in the area behind. Though you need to go west along the tops of the platforms, first go east through the door.
This is a small room with several zombies - use the Shotgun to quickly dispatch them before they overwhelm you.
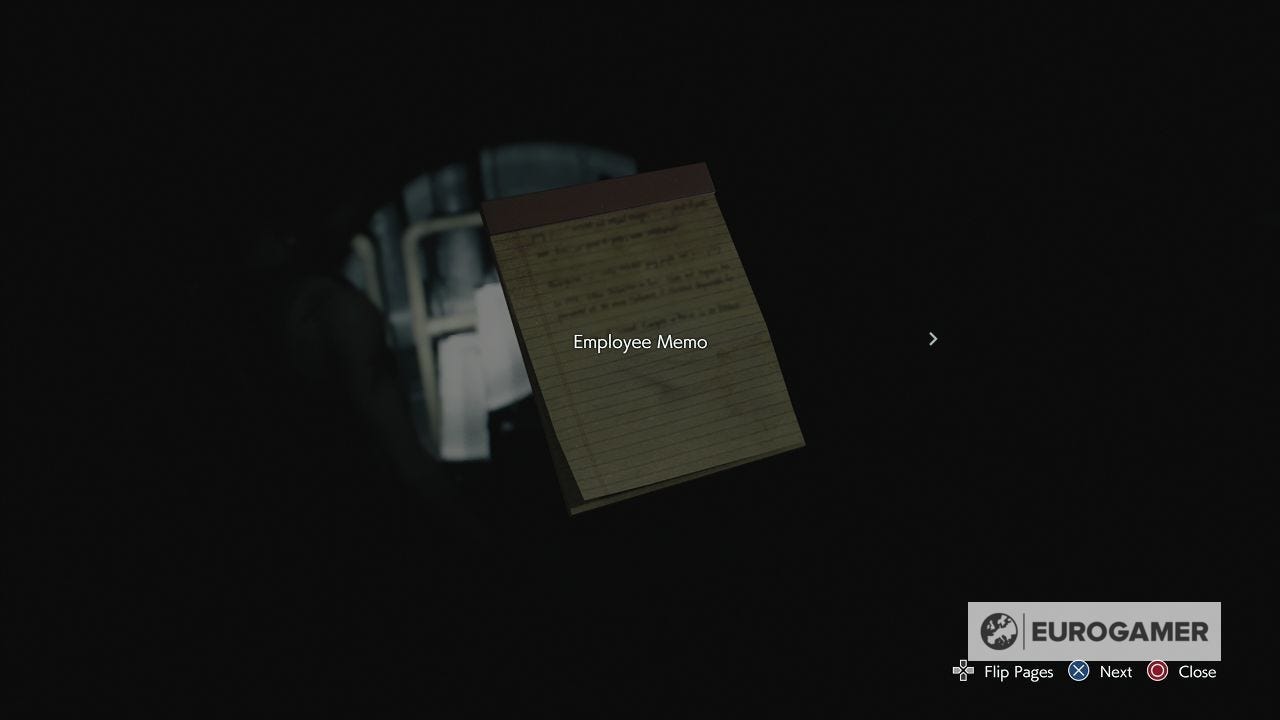
There is a Employee Memo file here to collect on the left, and a way back to the safe room.

We highly recommend you save your game - the last auto save was before the first fuse, and there's a tricky combat section or two coming up.
Second fuse location to restore power to the elevator
When ready, the second fuse location is in the centre of the room. You can reach this by going through the room south of the safe room, then going west.
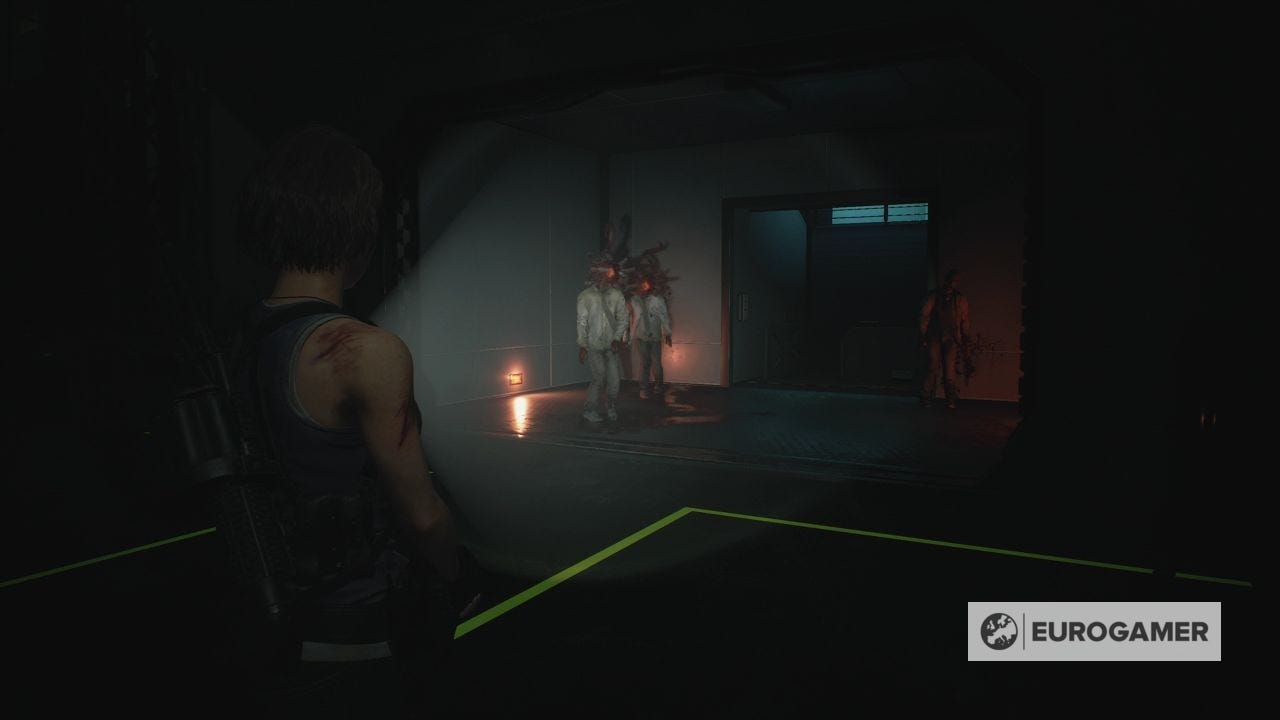
When you climb down the ladder, a Hunter will appear opposite - so make sure you have a Grenade Launcher ready to fire in its direction to clear the way.

Once cleared, the second fuse is yours for the taking.
Third fuse location to restore power to the elevator
Head back to the south-east most lift in the main room while it's raised up, and throw the switch in the middle platform before heading down the ladder to the west-most area.
There are two containers here to the north and south, which will open in that order, revealing zombies then a Gamma. You'll want to quickly dispatch the zombies so you can concentrate on the Gamma without getting too close.
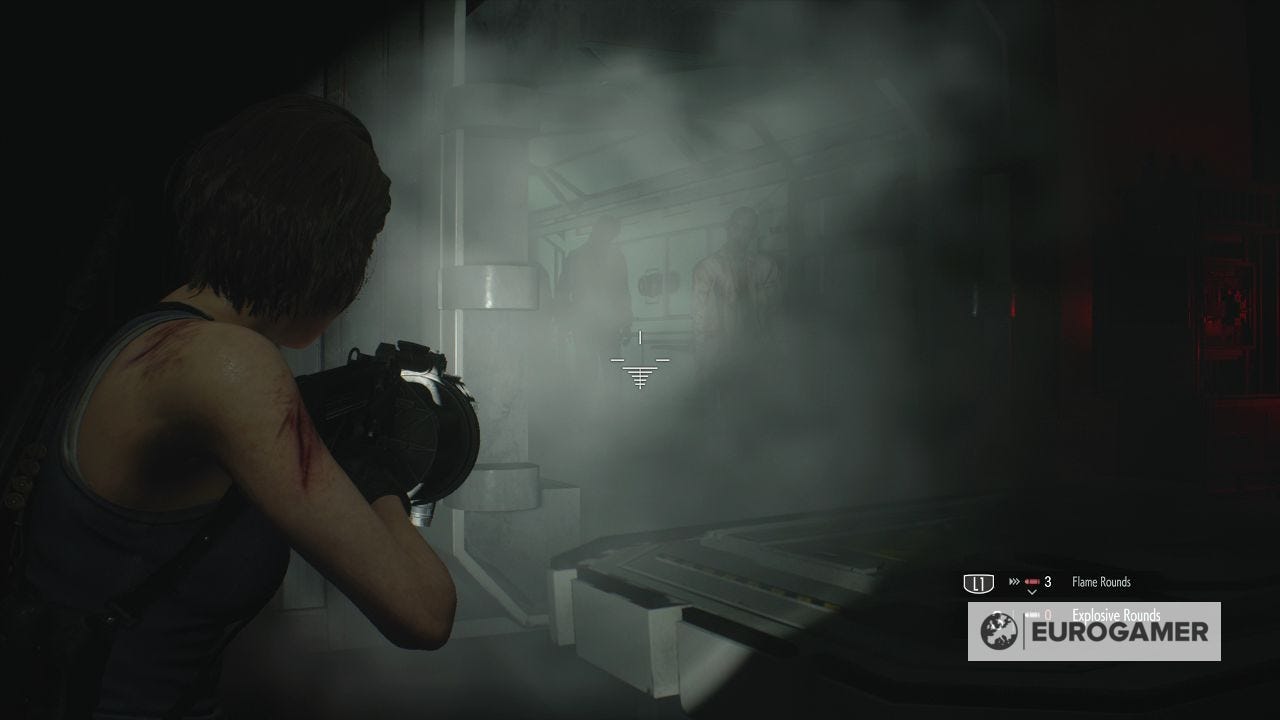
It's possible to open them one at a time provided you don't step backwards after encountering the zombies. Either way, we recommend Grenade Launcher rounds, or a Grenade, to get this section sorted as cleanly as possible.

There are some consumable items in these containers worth grabbing, but most importantly, there is a console at the far end with the third fuse.
Our full Resident Evil 3 walkthrough explains every aspect's of Jill's, including the Shotgun location, Bolt cutters and Lockpick locations, how to reset the Circuit Breakers to restore power in the Substation, find the Drugstore safe code solution and Aqua Cure clue, Police Station Safe, Locker codes, Hospital safe code and courtyard box for the Magnum explained.
Restore power to the elevator
Now we have all three Fuses, return to the safe room and head west, dropping down off the ledge. The zombies here will now come to life.
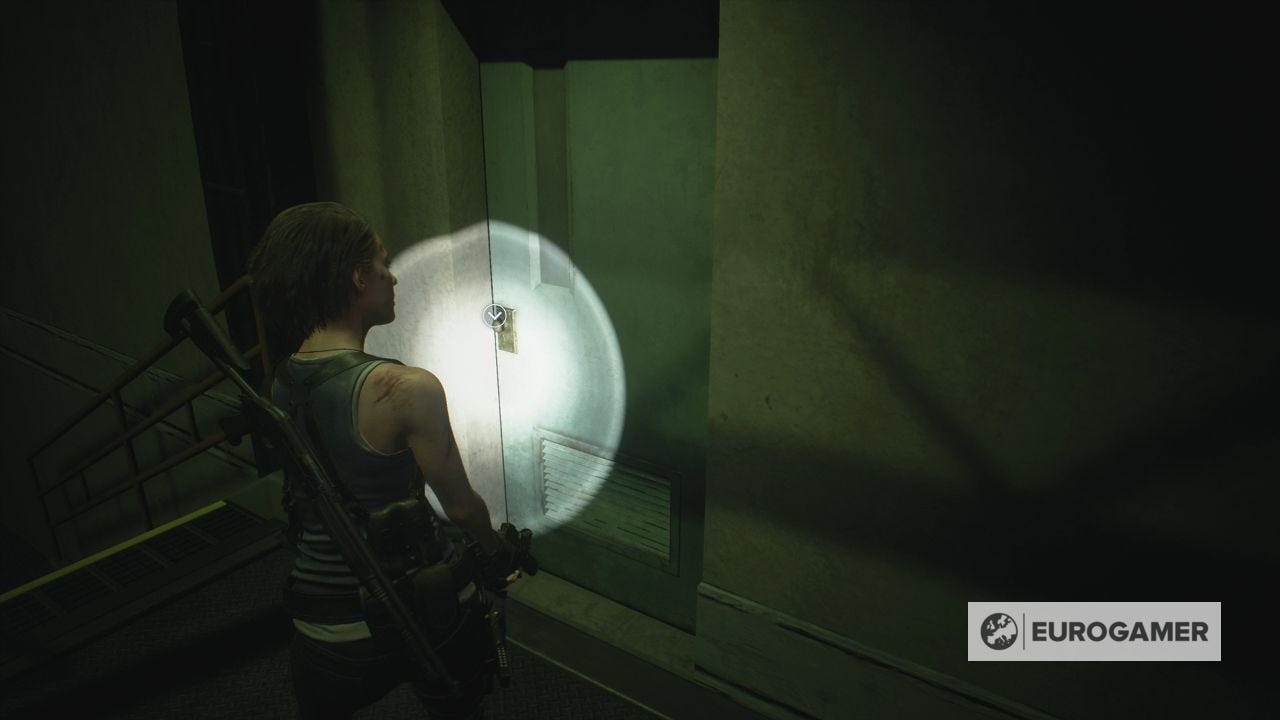
Take care of them, then insert the fuses into the panel next to the elevator.

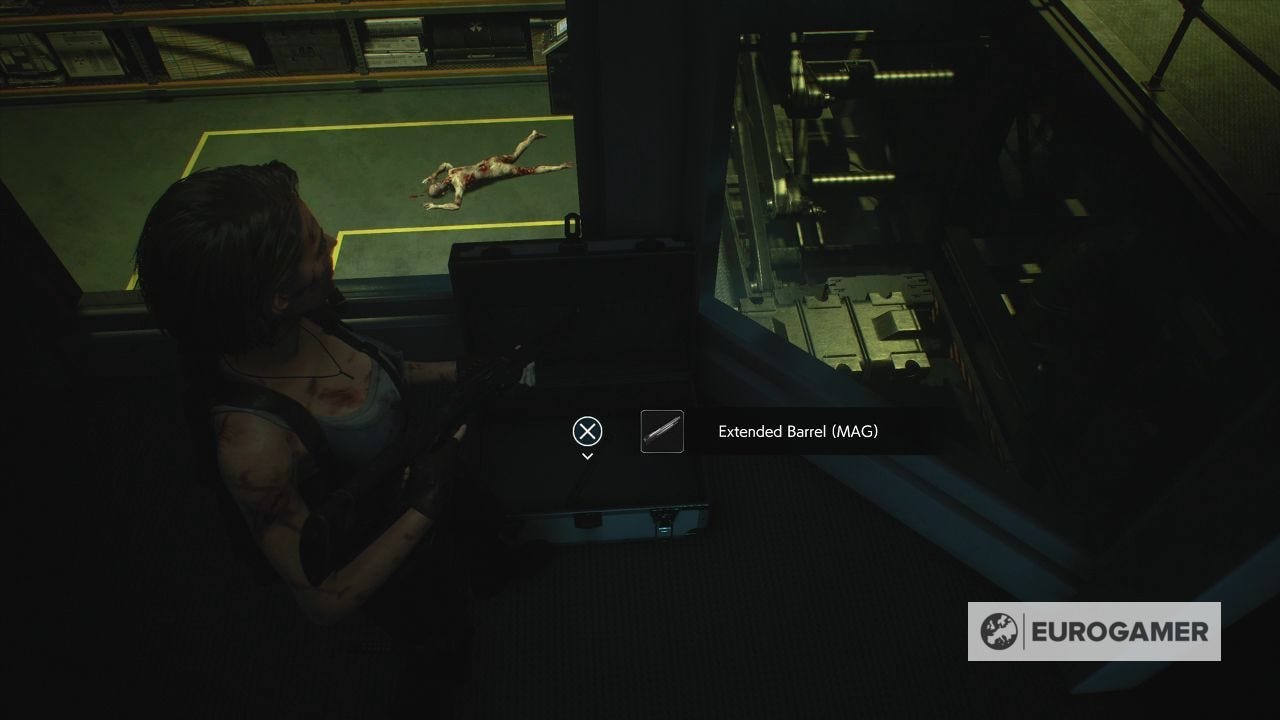
Ride it up to the Surveillance Room, which is a safe room. Grab the Extended Barrel (MAG) in the case by the window.
To escape the Surveillance Room, investigate the computer console, which also has the Unfinished Activity Log file.


After the cutscene, the objective is to get the Vaccine and go with Tyrell. After the cutscene, you'll arrive at NEST 2 - the final area of the game.