Resident Evil 2 - Exploring the Laboratory, how to upgrade Wristband access
How to upgrade your Wristband access when you first explore the Laboratory.

Exploring the Laboratory sees you now start to wrap up the end of

When you get there, you'll need to work out how to upgrade your Wristband access so you can explore further in.
Looking for something else? Visit our Resident Evil 2 walkthrough for more help.
Head to the Laboratory
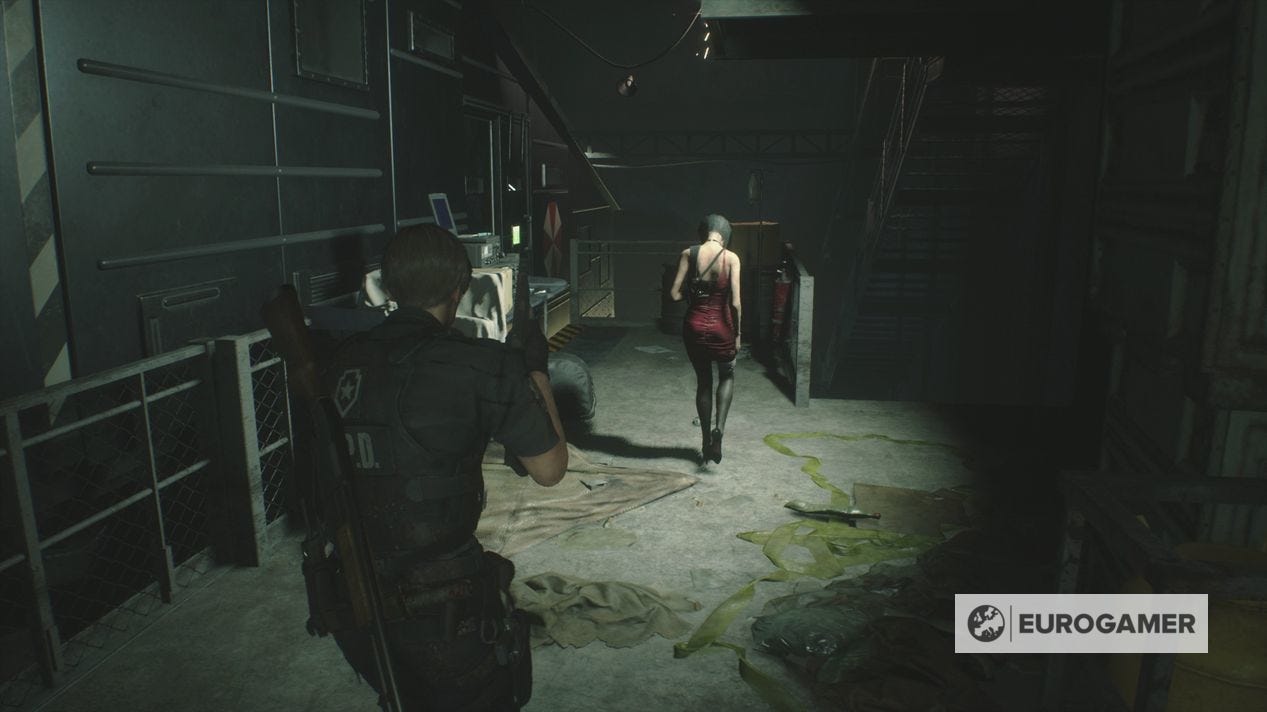
After reuniting with Ada, she'll walk you to the Cable Car. Now this a point of no return - after this you can no longer explore the Sewers or go back to the Police Station. Get what you need, and throw the switch when you are ready.
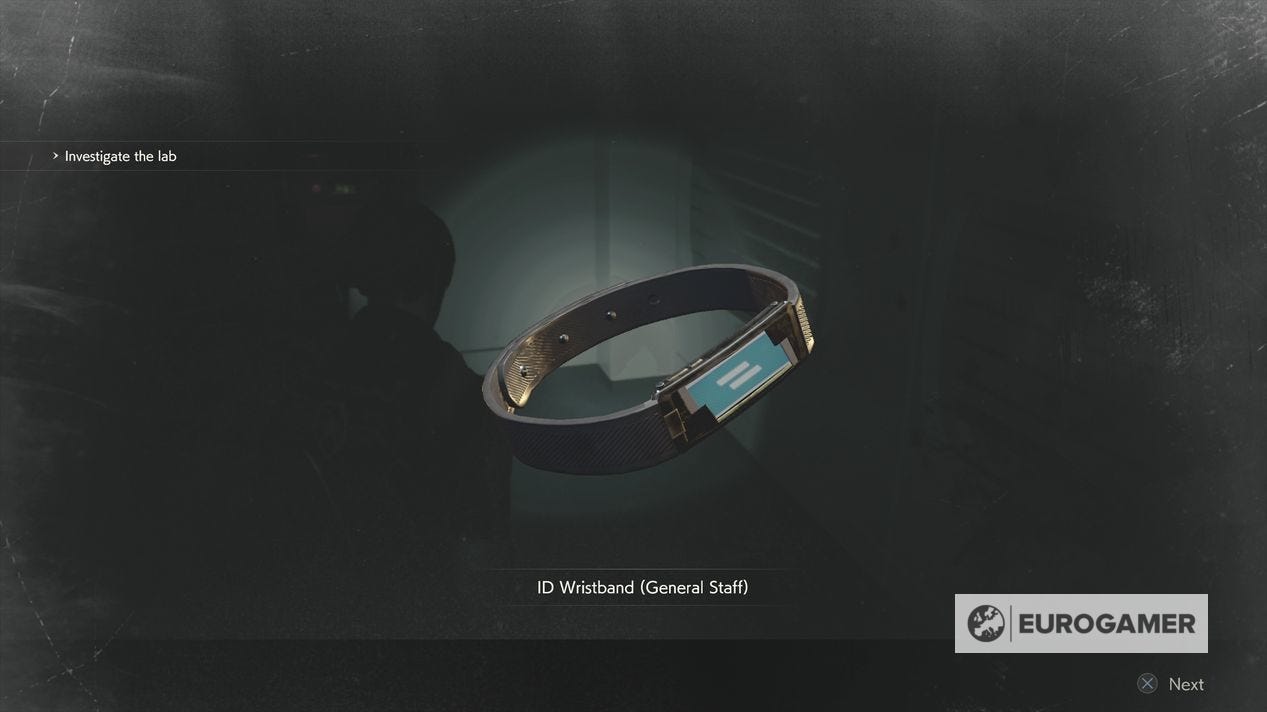
When you reach the Lab's Cable Car Platform, you'll receive the ID Wristband from Ada. Make use of the Item Box on the right if needs be, then head right, going through the huge doors into the Reception.
How to upgrade Wristband access in the Laboratory
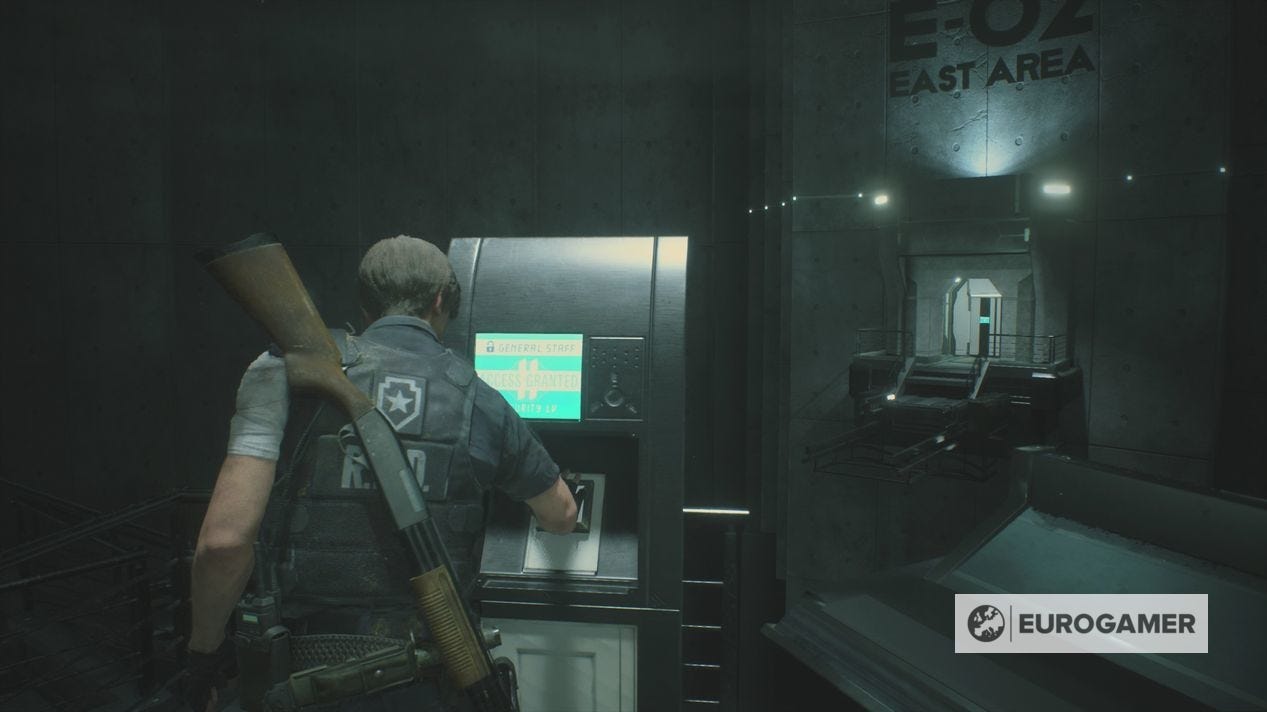
You'll notice the way ahead - going south - is blocked for those without upgraded Wristband access. Let's sort that first.

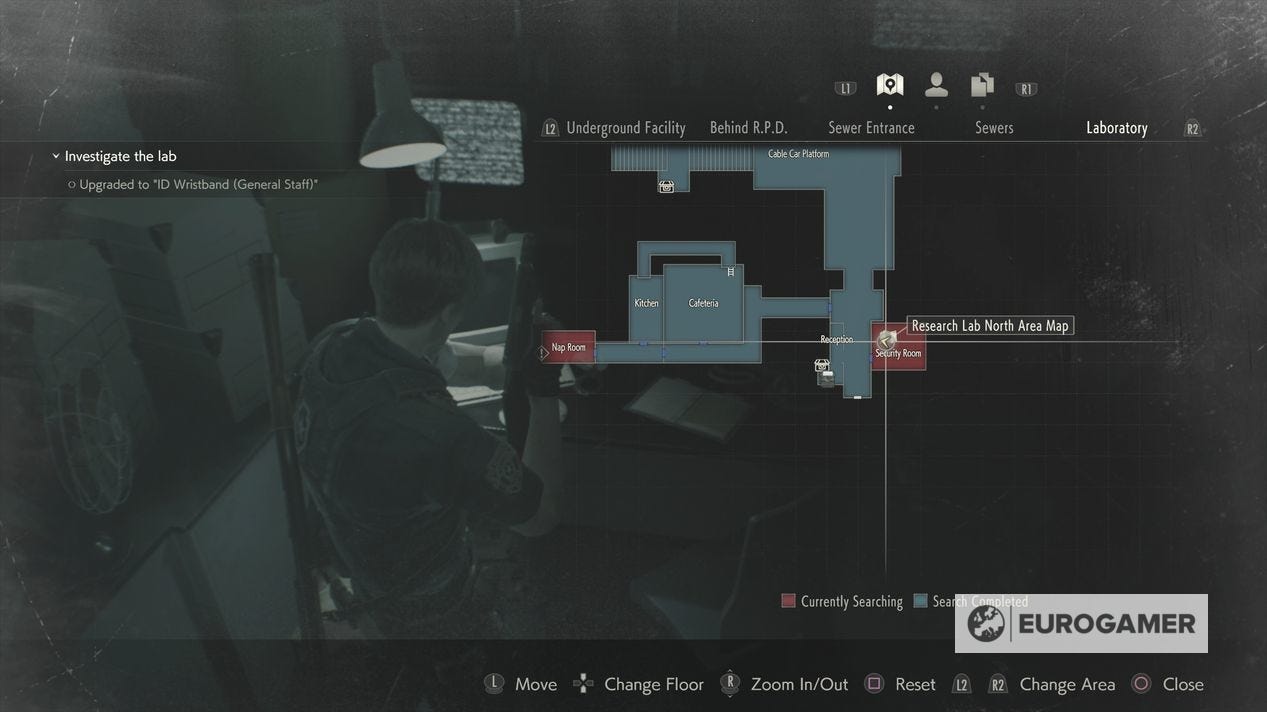
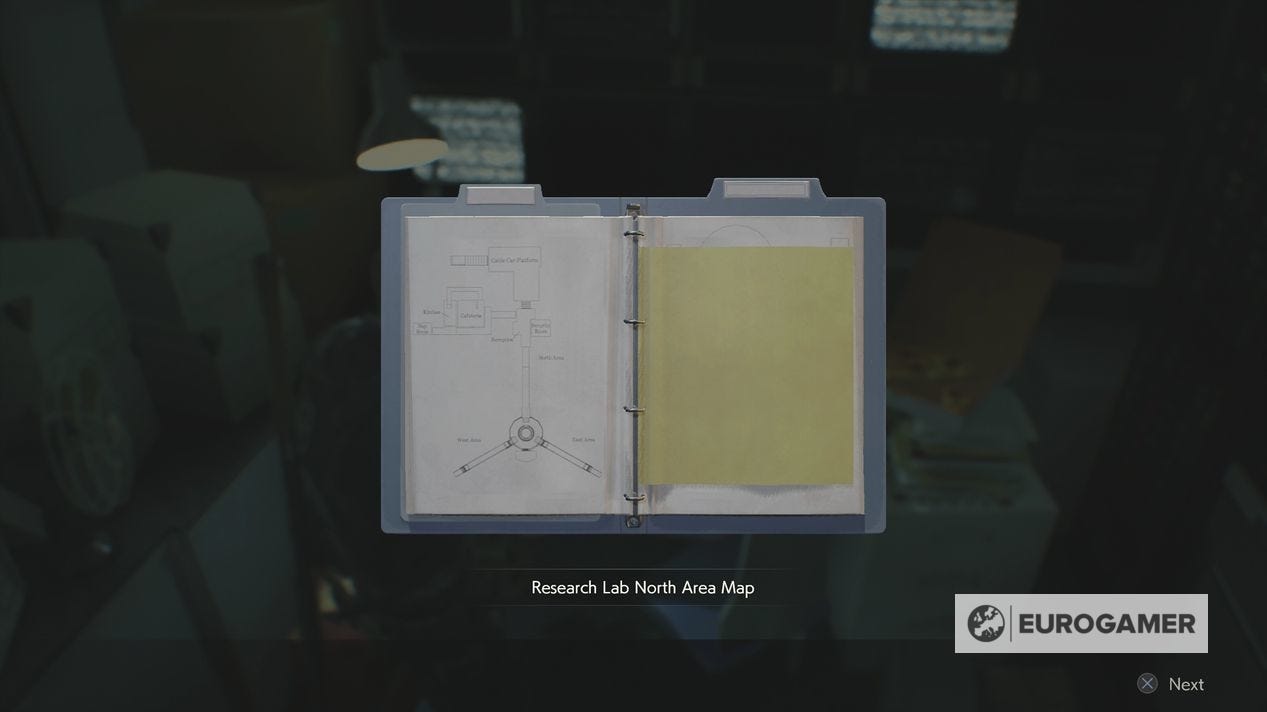
First, head to the room opposite the reception desk (east on the map) to find the Security Room. Go to the desk underneath the bank of screens to get the Research Lab North Area Map.
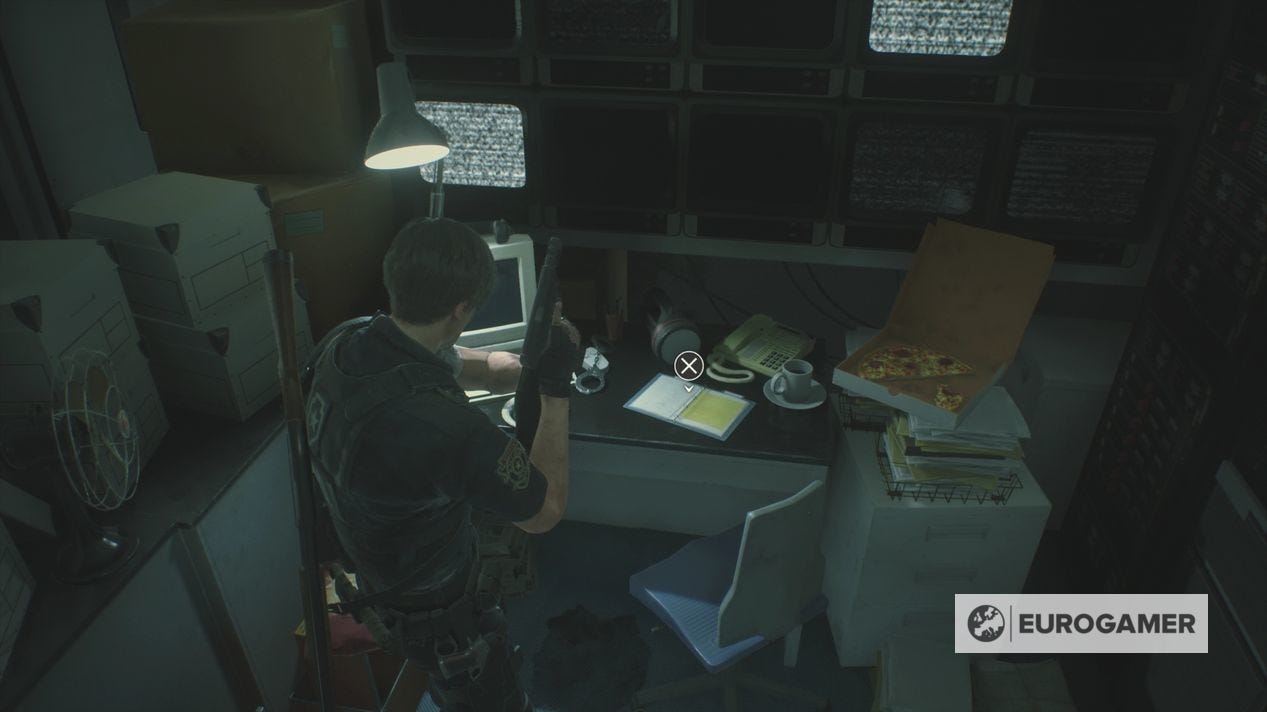
Back in the Reception, there are two Files - look at the computer behind the desk for the Nap Room Log File, and there's ID Wristbands on the wall in the room next door, where there's also a Typewriter and Item Box.
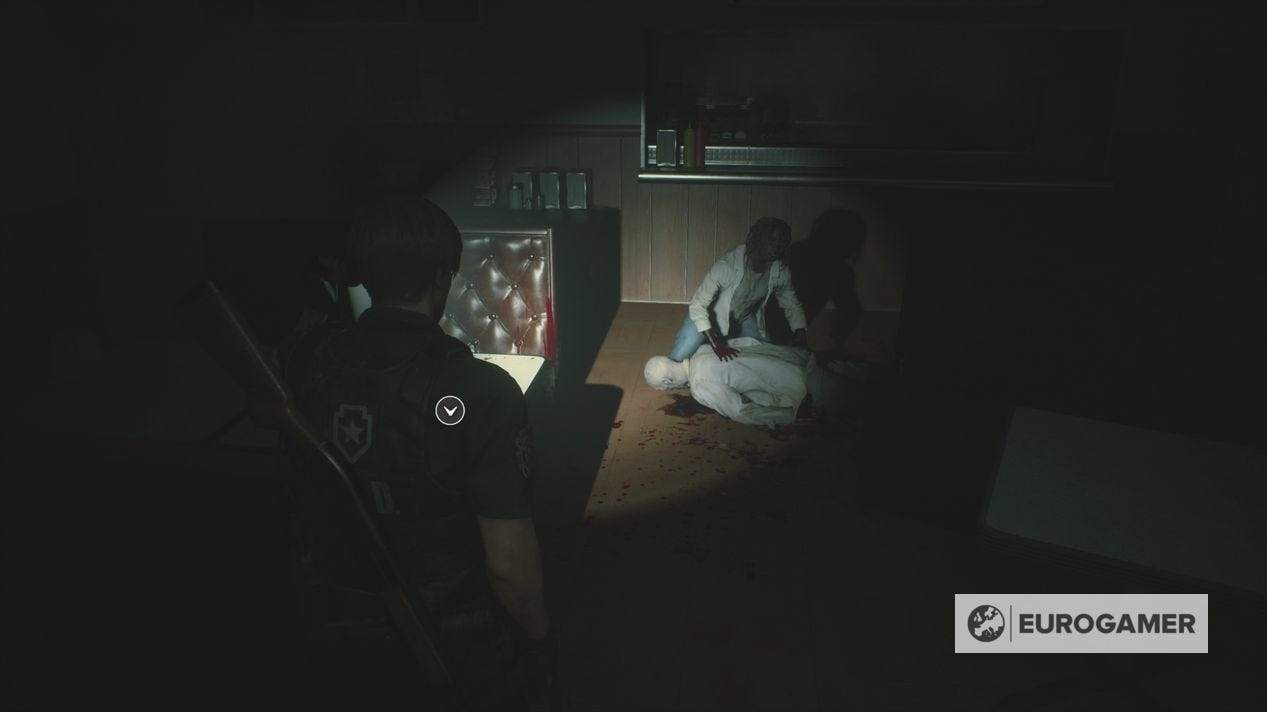
When ready, go west into the corridor, going round to the first door on the right, into the Cafeteria. This is teeming with zombies - ignore the one feasting on the ground, but otherwise the others will need taking care of.
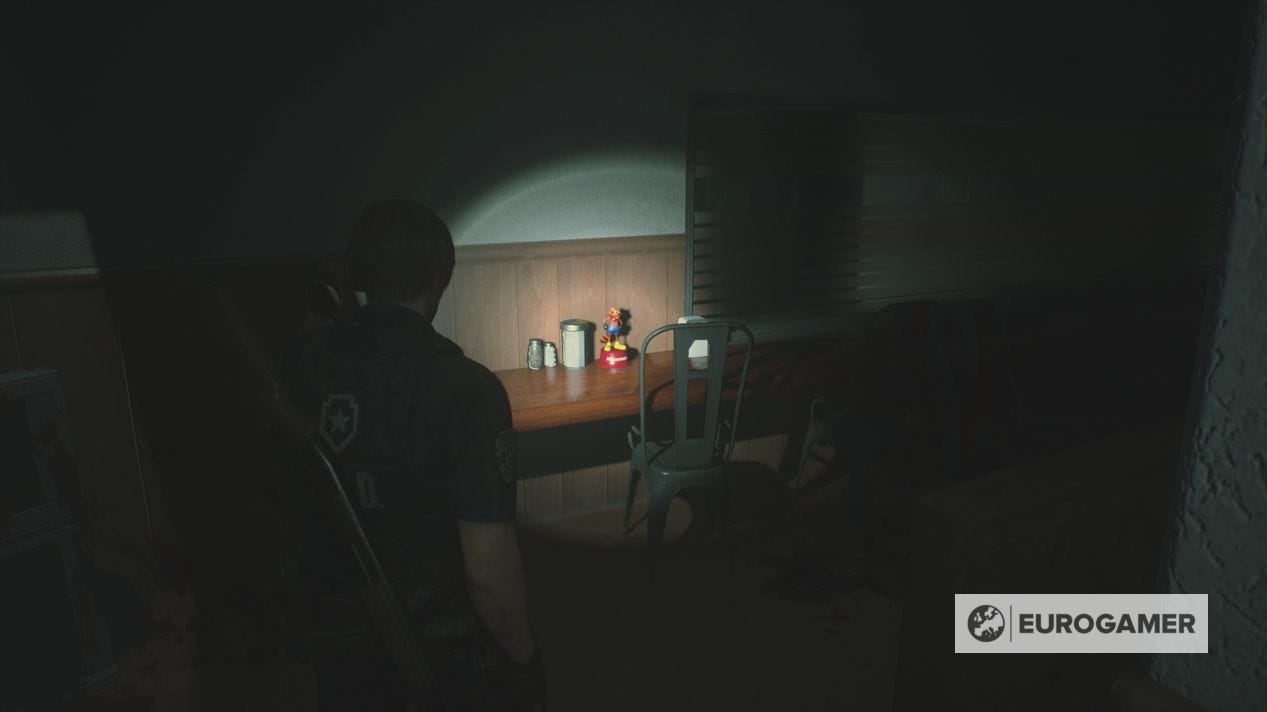
There are various consumables around, and a Mr Raccoon collectable on the side next to the ladder.
Go up the ladder and take the vent round to the Kitchen next door. There are some consumables in here to find. Leave out the door and watch out for the zombie on your left, by the locked door.
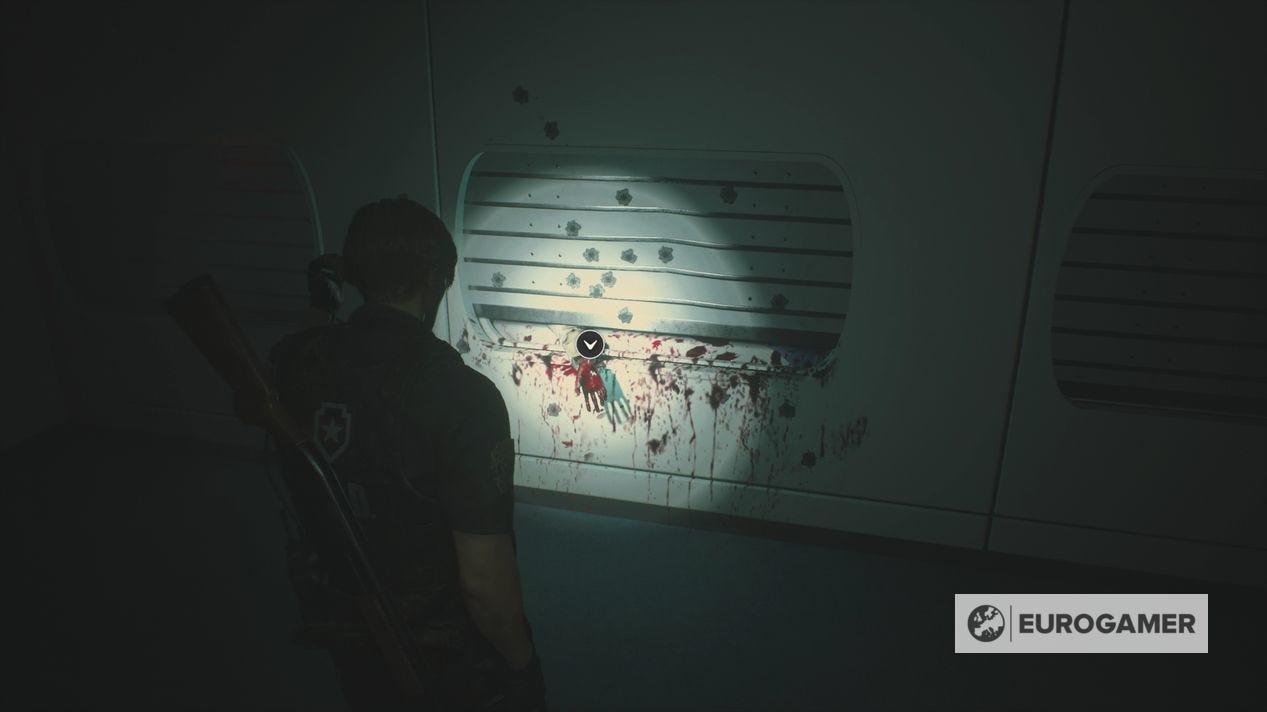
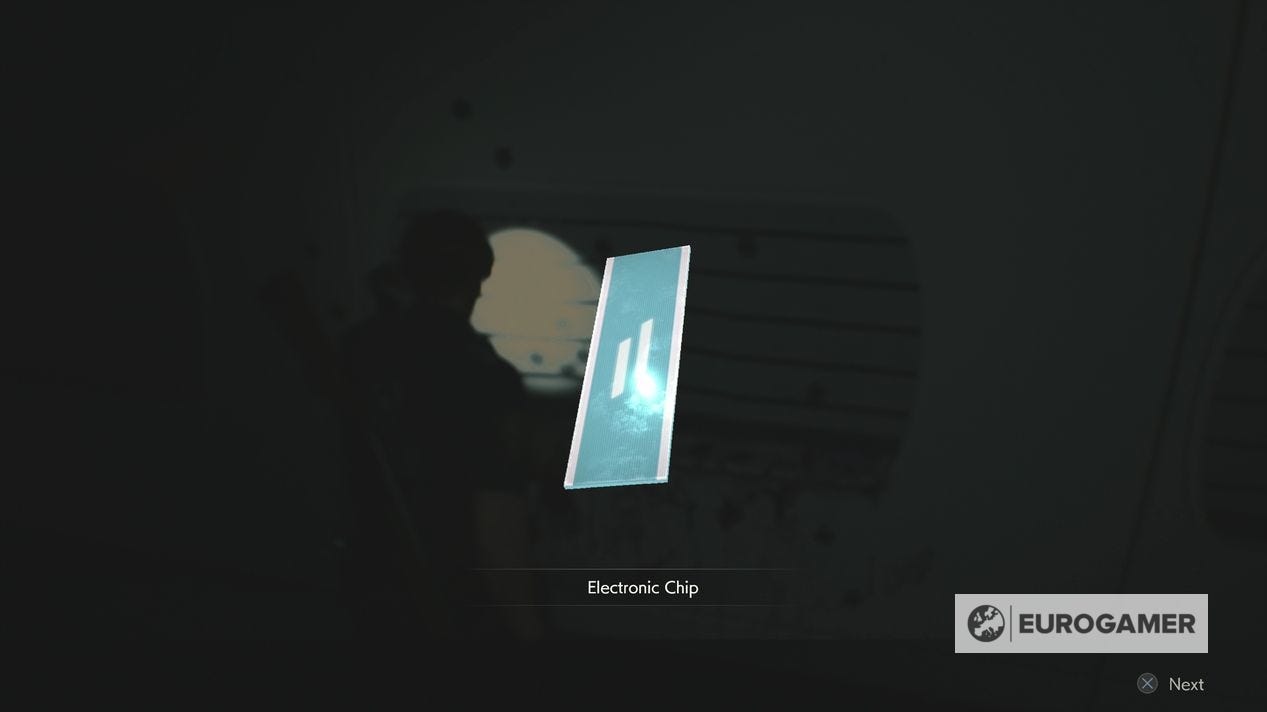
Proceed on to the Nap Room (!) and get the Wristband Upgrade from the corpse's arm to the right. Combine it with your ID Wristband in your inventory to create a pass for General Staff.
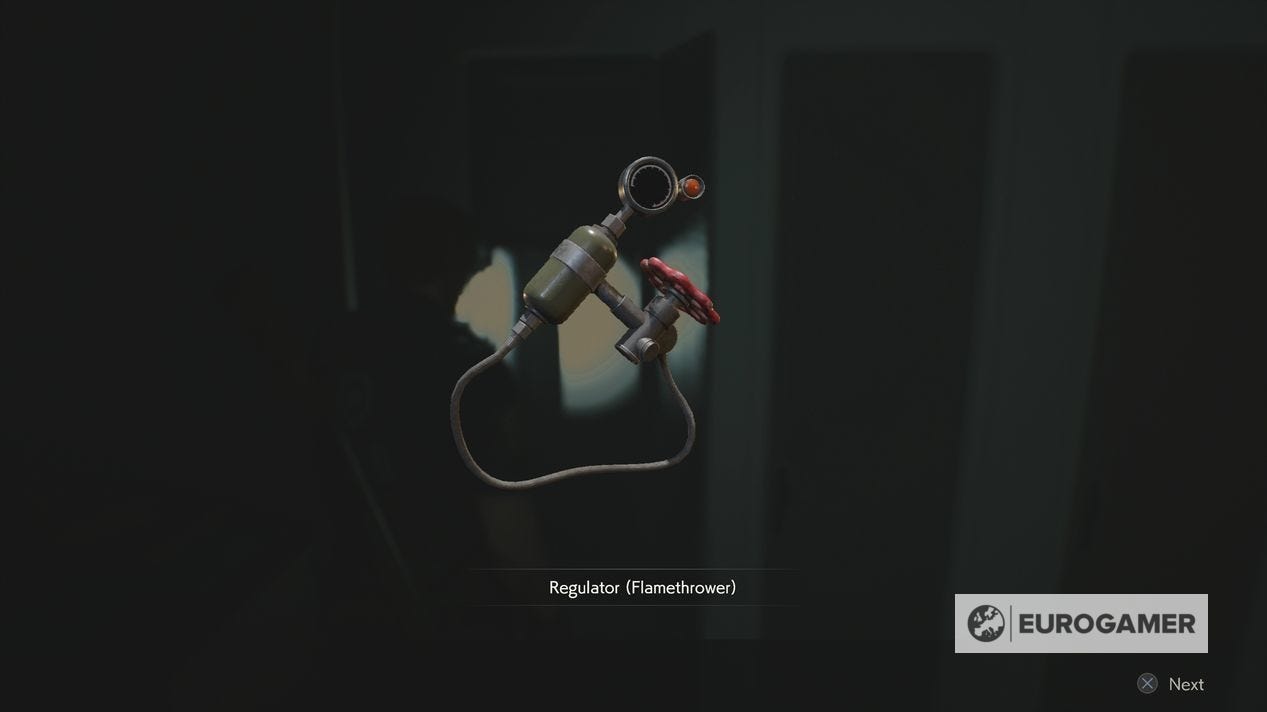
There's also a Flamethrower Regulator upgrade in the locker, and a power panel at the wall to solve - but not just yet.
Our full Resident Evil 2 walkthrough explains every aspect's of Leon and Claire's campaigns, including Locker Code solutions, the Leon Desk puzzle solution, all Resident Evil 2 Safe Codes and Portable Safe solutions, Hiding Place locations, how to survive Mr X fights and the Chess Plug puzzle solution.
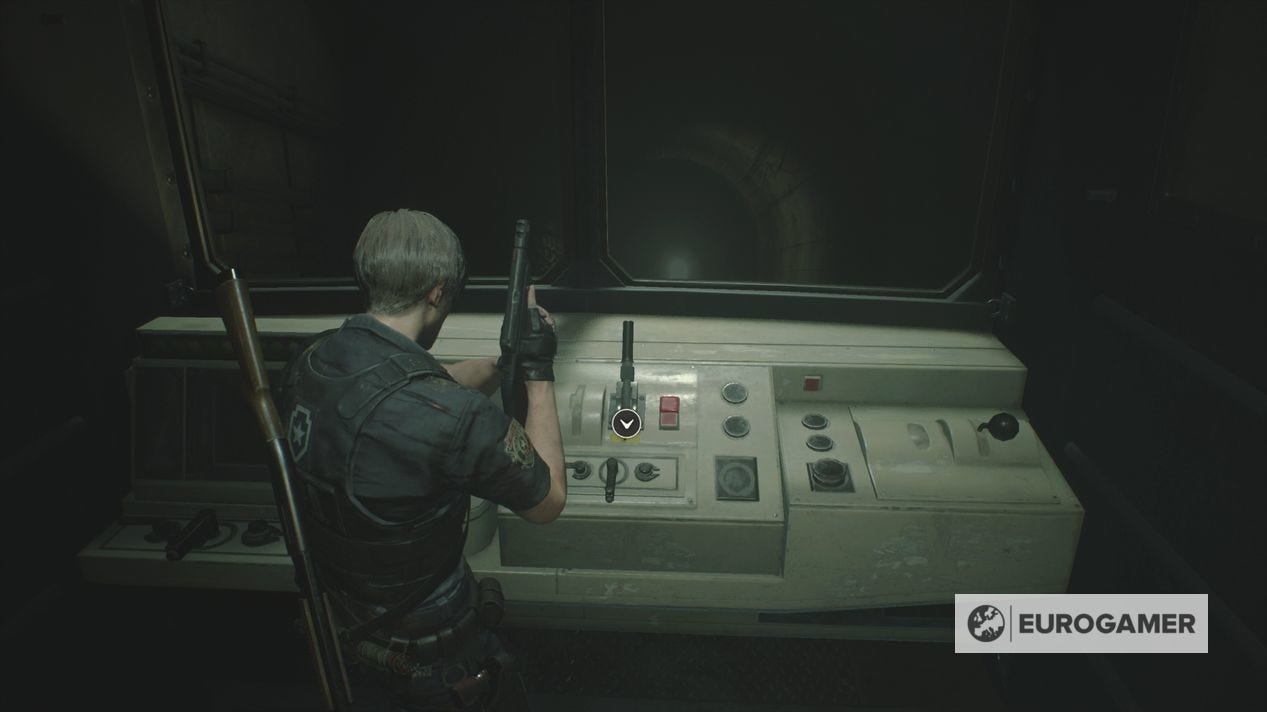
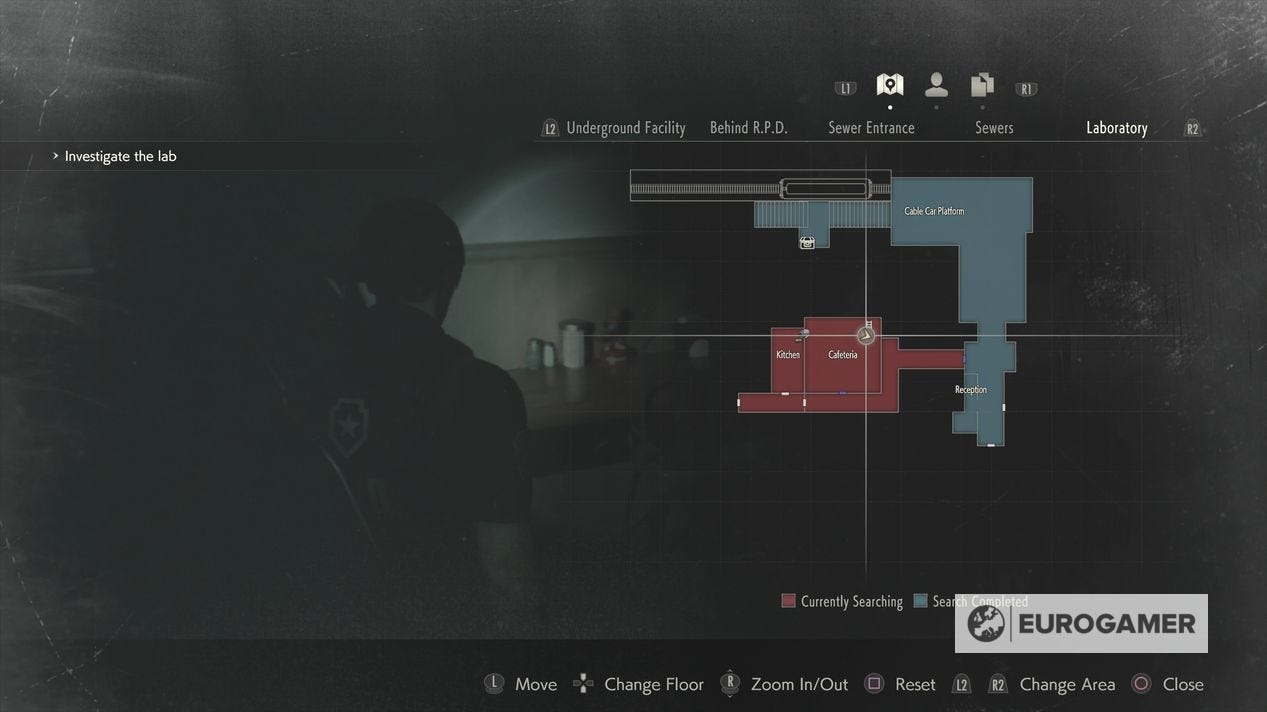
Your newly upgraded wristband will let you through the corridor now, as well as through to the Main Shaft, to the south of Reception. Head there now.
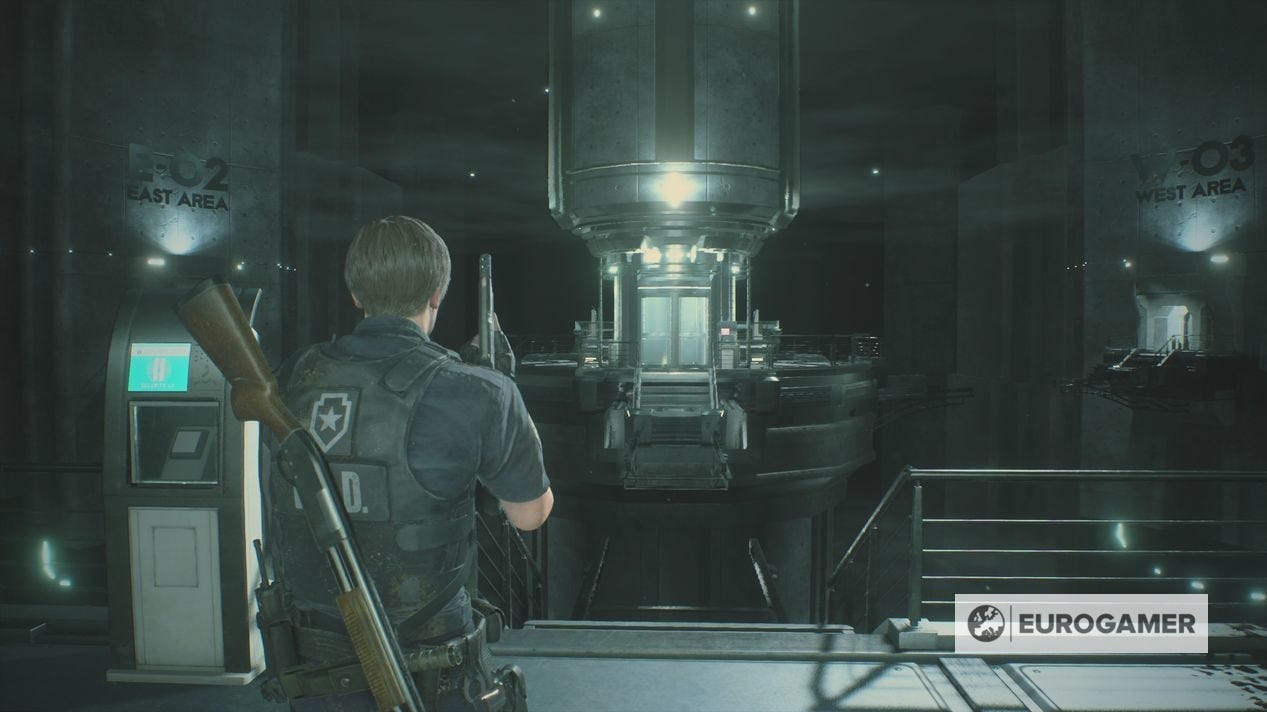
Get the Special Forces Recording File from the corpse on the right before using the console so you can access the centre.

Though the file says the G Virus is in the west, you don't have high enough clearance for that yet - so going East first it is.
Use the panel on the far side to move the walkway, and head across. It's here you'll start exploring the Greenhouse and finding the Greenhouse Control Room codes.