Red Dead Redemption 2 photo mode: How to activate photo mode, photo mode controls and where to find saved photos
Everything you need to know about using the PC-exclusive feature.

Red Dead Redemption 2's Photo Mode sees Rockstar finally allow players to immortalize their adventures with the PC release.
Previously, you could only take in-game photos with Arthur's physical camera or the console share buttons, and you were constantly limited by the range of the device and unable to add filters and effects.
We're going to show you how to activate Red Dead Redemption 2's photo mode, list all of the available features and photo mode controls and where to find saved photos, so you can learn how to take - and then share - quality campfire glamour shots of Dutch and the gang.

On this page:
For more help, our Red Dead Redemption 2 walkthrough explains the requirements for fully completing the game's many story missions.
How to activate Photo Mode in Red Dead Redemption 2, and when can you take photos?
To activate Photo Mode in Red Dead Redemption 2 PC, you first have to press start on your gamepad or escape on PC, then hit the back button on your controller or F6 on your keyboard to enter Photo Mode.
From there you can hit TAB on PC or RB/R1 on your controller to enter the advanced tab to access filters and contract.

You can access the photo mode as soon as you gain control of Arthur after the opening cutscenes, and can use it at any point where you can open the menu, which includes cutscenes.
Red Dead Redemption 2 Photo Mode controls and features explained
Controlling the camera once Photo Mode is active should come naturally to anyone who has used the feature in similar games like Marvel's Spider-Man or Control. Below is a list of the features available in Red Dead 2's Photo Mode with the controls alongside.

- Orbit/Free Cam - V
- Zoom - [ ]
- Reset - R
- Lens - Z/X
- Roll - Q/E
- Basic/Advanced/Effects - TAB
- Focus Distance - Up and Down Arrow Keys
- Blur Strength - Page Up/ Page Down
- Exposure - J/K
- Lock Exposure - L
- Contrast - [ ]
- Filter Intensity - Up and Down Arrow Keys
- Filters - Left and Right Arrow Keys
- HUD - H
- View Photos - G
- Save Photo - Left-click
- Exit Photo Mode - ESC
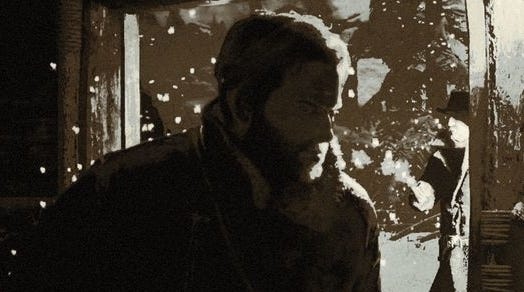
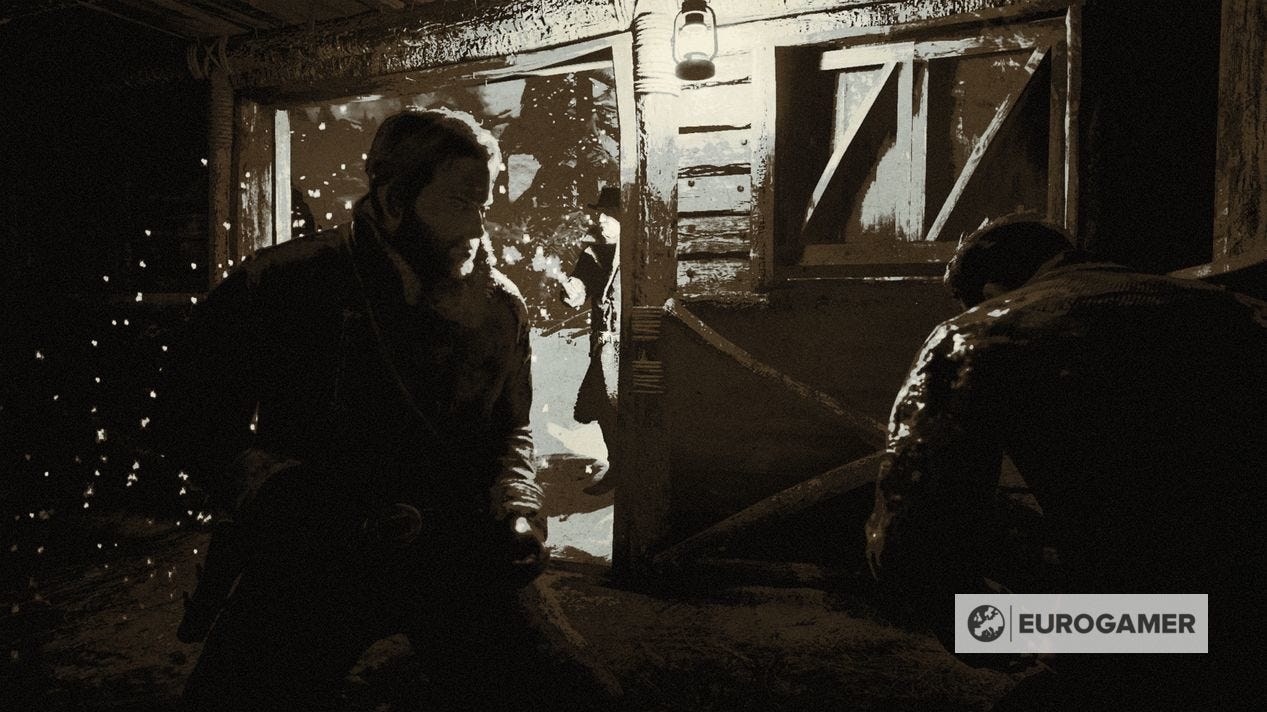
As well as the above, it's also possible to add filters, stickers and text...
How to add filters, stickers and text to Red Dead Redemption 2 photos
Once you've taken a snap head into the Social Club menu or press G to be taken straight to your album from Photo Mode.
From here click on your photo and select the 'Edit' option to be taken to a screen where you can place and apply stickers and custom text to your photos, including location tags, greetings, baroque corners and Rockstar logos.
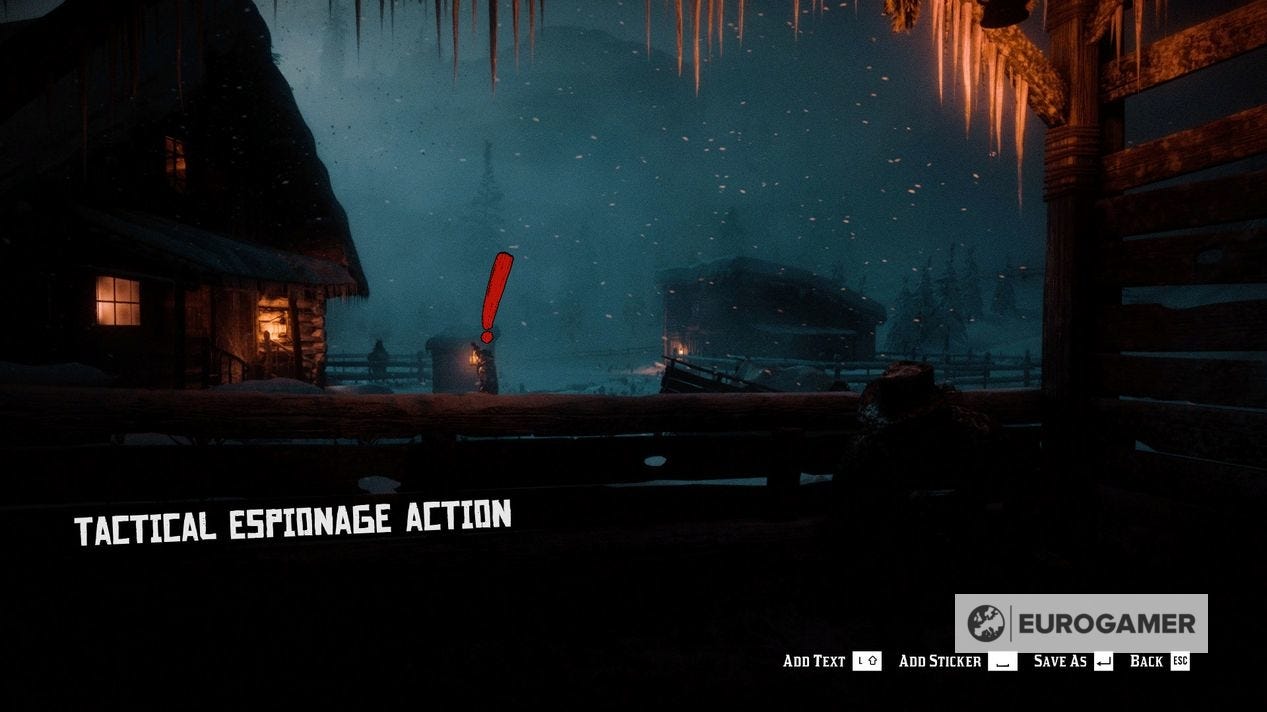
To add filters, press the left and right arrow keys, while up and down arrow keys change the intensity.
Below is a list of the filters available in Red Dead Redemption 2's Photo Mode:
- Daguerreotype
- Calotype Negative
- Tintype
- Woodburytype
- Carbon Print
- Silver Gelatin
- Platinum Print
- Cyanotype
- Photogravure
- Gum Bichromate
- Red Pass
- Yellow Pass
- Blue Pass
- 2-Strip
- Bleach Bypass
- Post-Apocalyptic
- Noir
- Battlefield
- Western
- Charcoal
- Fail
- Health Tonic
- Dishonorable
- Honorable
- Injured
- Pause Menu
- Guarma
- Predator
- Eagle Eye
- Spectator Cam
- Dead Eye
- Drunk
- Kill Cam
- Dead Eye Core
- Health Core
- Stamina Core
- Weapon Wheel
- End Credits
Where are Red Dead Redemption 2 photos saved?
Once you've taken some snaps you'll be able to find them by opening up the menu with ESC or Start, navigating to the Social Club tab and then clicking the camera icon in the top left menu.
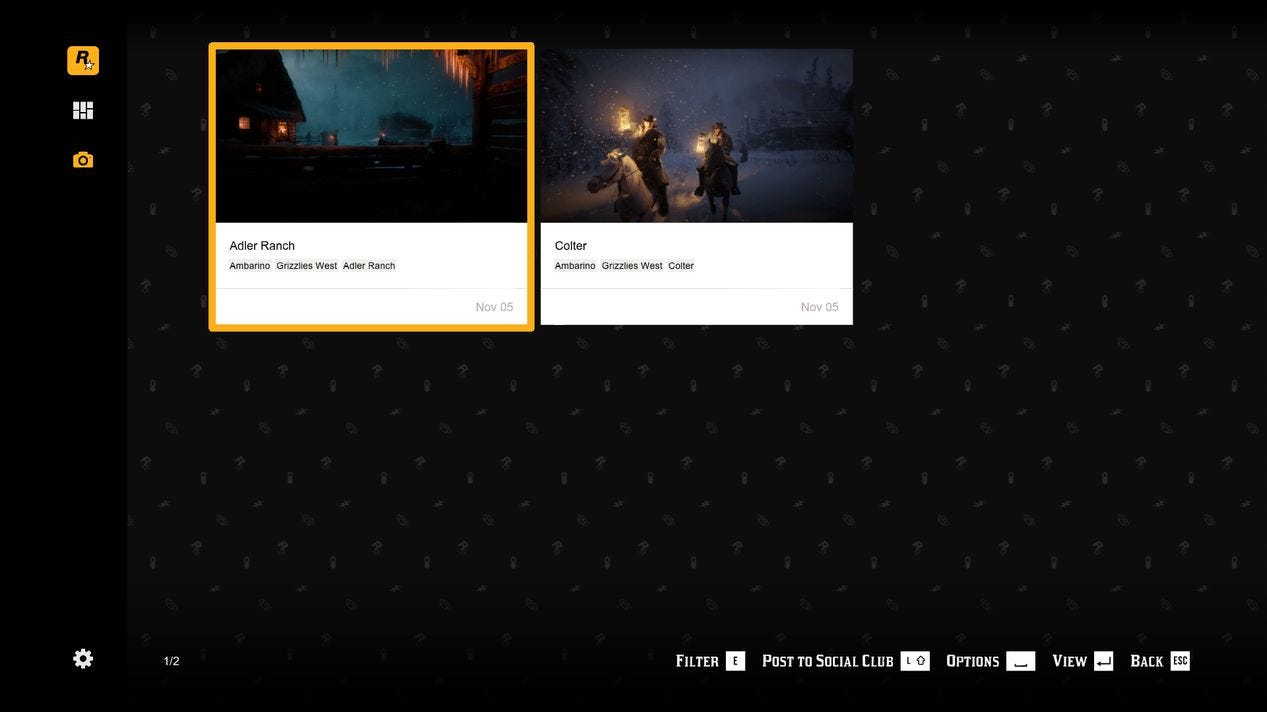
From there you should see all of your photos taken so far. You can also quickly access this menu by pressing the G key whilst in Photo Mode.
To find them on your computer is a bit more tricky. Just like GTA V, they're saved to your Documents folder on your PC as PRDR files.
The Red Dead Redemption 2 photo directory is \Documents\Rockstar Games\Red Dead Redemption 2\Profiles\[YourProfileName] - so navigate there to find them.
They're poor quality but you can convert them into JPEGs by adding the .jpg suffix to the file and using select software.
There was a fan-made tool to turn Snapmatic photos from GTA V into usable images, but there is no such thing for Red Dead Redemption 2 just yet. Our recommendation? You're better off just hitting Print Screen or using something like Nvidia Shadowplay to capture your images once you've removed the HUD.