Mirror's Edge: Catalyst - Gridnode Downtown, Gridnode Rezoning, Gridnode The View
Unlock fast travel to the remaining safe houses in Downtown, Rezoning and The View.

Other Gridnode pages: Mirror's Edge: Catalyst - How to unlock fast travel, Gridnode Run
How to complete the mandatory side-mission and unlock fast travel to safe houses within Downtown and Anchor.
All done? Then go back to: Mirror's Edge: Catalyst - Guide

Gridnode Downtown
Unlocks: Triumvirate Drive and Centurion Yards safe houses
To get to the first CCU, slide down the ramp and the pole to enter the complex proper. Go on the right side to start with, through the middle to the end wall, then turn right to the corner, heading up behind the walls. Jump up to the overhead yellow pole and shimmy out.
Keep going until you see another yellow pole directly overhead; climb up to that, then tap the left shoulder button again to walk on top of it, so you avoid the laser below and can walk into the next blue-dimmed area. Jump to the ledge to the side, crouch underneath the blue laser ahead and make your way round the outside of the wall to the panel.
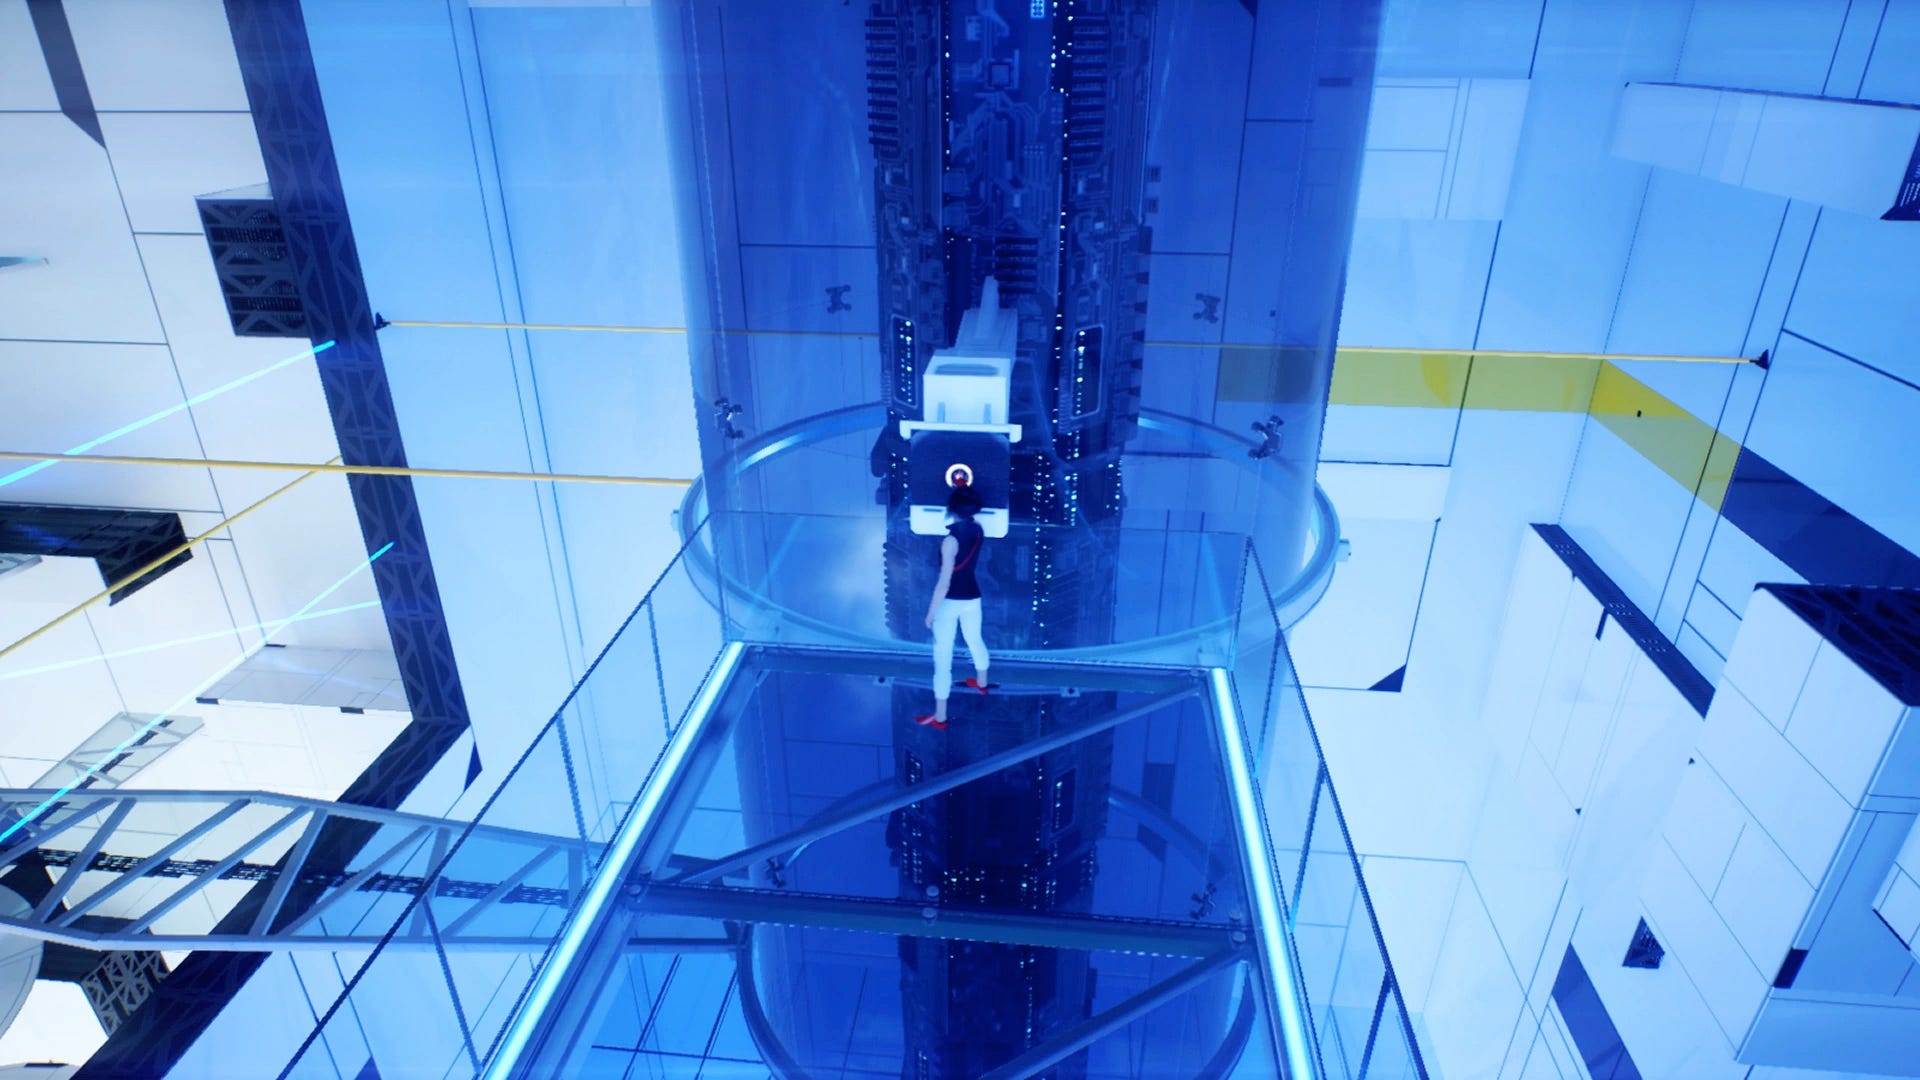
For the second CCU, turn round to the door, and climb the right left, and use the two yellow poles to get back onto the central walkway. Time your passage past the moving laser to when it's at it's highest point. Go round to the far side, make your way left round the wall, back on yourself at the end and up to the marker at the corner.
Climb up the circuit board ladder to emerge in front of a yellow pole. Grab this, and jump again to grab the one directly over ahead. Take it left, leap off, underneath the two blue lasers in the middle and leap to the end wall where you'll find an alcove and a vent. When you drop down, do a 180 turn and go through the doorway, where you'll find the second CCU panel. Take the wall behind and to the right up and out back to the city.
Gridnode Rezoning
Unlocks: Development Zone safe house
Note that we recommend the Double Wall jump progression mode before attempting this Gridnode. Pull down the boards, then wall run your way through the passage to find the main area. Your first step is to reach the crane above. In the corner here is a few large structures with glowing, yellow piping; scale that, and up into the wall alcove to reach a nearby walkway, where you can use your MAGrope to pull the crane towards you, so you run across to a path against the far wall.
Run to the central walkway, and look into the corner until you get a prompt to pull a platform from the wall. Balance across the beam and climb the platform. Now, watch the platform moving in and out the wall, and when it's starting to move outward, quick turn jump off the wall opposite, so you can climb up at the right time. Head into the central walkway again and pull another platform in the corner; quick turn jump up this several times in one go to scale it, being careful not to vault over the top and to your doom below. Go ahead and leap the corner laser, then balance across the beam alongside the two blue lasers back to the central walkway.
Pull yet another platform from the opposite wall, then crouch underneath the blue laser to your left, followed by wall running and jumping over it to reach the far platform. Head up until you can climb up a walkway, then run round to the far side, and around to leap over a blue laser and into a side area behind the wall, with a vent that takes you outside.
Go to the end of the walkway to your left as you emerge, quickturn up above, and leap off the end to grab the overhead bars, taking you back inside. When the building opens up again, use the wall immediately on your left to quick jump up to the ledge above. Head to the central walkway, where you can pull a platform out of the wall on the same side you just came in. To reach it, hop over the laser that's on your right, and use the platforms next to it. Wall jump round the corner, and up ledges to once again go behind the wall and back outside.
Drop down after the enclosed passage and you'll see a guard ahead of you. While it's worth wall running and using the momentum to get a powerful attack in, immediately retreat as there are more KrugerSec waiting just ahead. It's best to draw them out one by one - the Sentinel will come running no matter what - and picking them off individually until those with firm arms come into view, where you should run into the open space and try and get some more cover between you. If you're struggling with the Sentinel, then the yellow walkway to the right of where you start allows you to give him the run around by stepping on and off of it, since the AI won't allow him to climb down quick enough.
Once done, run through the other side to find the CCU panel. To exit, leap off the walkway to right and slide back to the outside world.
Gridnode The View
Unlocks: Ocean View, Regatta Bay safe houses
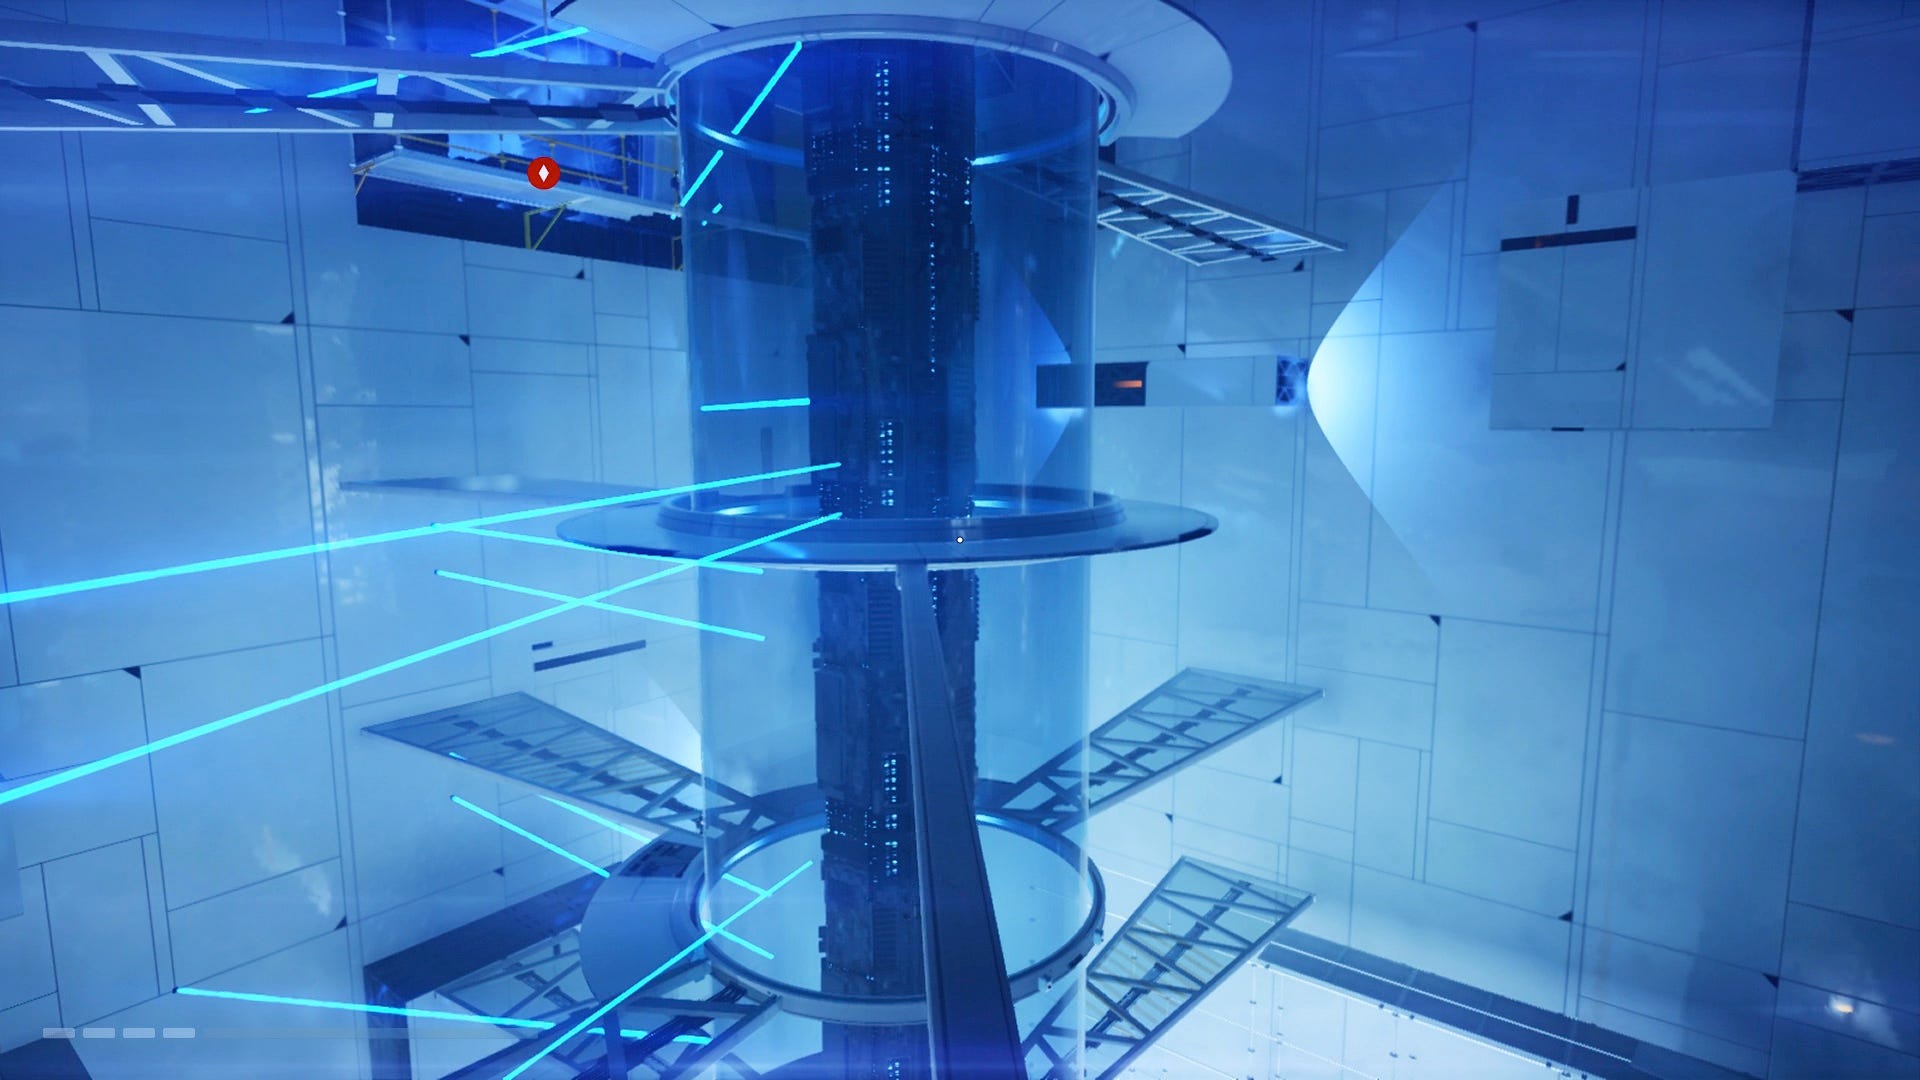
Make sure you have double wall run unlocked, as well as a few combat upgrades, before heading into this Gridnode. What makes it different is that with every platform you pull with your MAGrope, it'll retract again within a few moments, requiring some thinking ahead and speedy running.
Pull out the first platform, swing across via the poles and head into the complex. From the first walkway, pull out the platform on the left, then wall run over and then from it to the corner. A platform ahead will continue moving back and forth, so wait until that comes out and use that to get round until you reach a walkway.
You'll see another prompt to pull down a platform, but ignore it; take the walkway round to the other side, head up the corner onto that wall, and scale up to the top. Turn around and work your way round the outside, until you wall run onto a yellow overhead pole, and through the stationary fan to a connecting dimly-lit section. Use quickturn leaps to avoid the lasers and get up each ledge, until you come out to another glossy white platform-filled area.
Wall run round the corner left, and pull the platform from the wall left of the walkway. Now go back to the door you came in, wait until the platform ahead is present, wall run across and keep going to you get to the timed platform so you can reach another stationary fan above. Continue up this server room, avoiding the moving lasers with wall runs, until you find the yellow pipe that takes you high above the previous room.
Swing left when the platform presents itself, then pull down the platform on the far wall. You need to quick turn jump from this, so wall run round and up it, shimming out and climbing up to take you out of this section and into a vent.
When you drop out, you'll reach an office area with two Sentinels and a gunner. Take out the latter first, who is on the upper platform which you can spring board from via the desk to your left as you enter. One of the Sentinels should give chase, and assuming you're alone, should mean you can spar back and forth unhindered. If and when the other climbs up, make use of these two different levels as a means of respite and to recover from health. As with most Sentinel battles, it's a base of lots of evasion and chipping away at their health, but soon enough they'll be defeated.
Once done, head down the steps to find the panel, then take the sliding vents out back to the city of Glass to complete the mission.