Mirror's Edge Catalyst - The Allcom Shuffle, Consumer Mayhem, Quite a View, Heading Home, Donkey in an Oven, Take me to the Gridnode Dashes
How to get three stars in every Dash within the game's first unlocked area, Anchor.

Continue with: Mirror's Edge: Catalyst - Noah's Run, Too Close to the Sun, The Scenic Route, Don't Fall Down, Calab's Run Dashes
Go back to: Mirror's Edge: Catalyst - Guide
Dashes - Time Trials which see you make it to a checkpoint somewhere else in the city as fast as you can - are some of the most challenging parts of the game. You'll unlock all of the routes over the course of playing the campaign - which you can follow as part of the Mirror's Edge Catalyst walkthrough - seeing Dashes unlock inside Downtown, Anchor, The View and Rezoning. Here's how to get three stars in every Dash in Anchor.

The Allcom Shuffle
You'll notice if you follow the directions given to you, this will take around 30-40 seconds - way over the 14 seconds required to get the three star ranking. So instead, when you start, jump up to the ledge immediately to your left, to the end of the building and jump off, where you'll grab a zip line to the opposite building. Run to the end of this building, up the ledge, and the finish line will be directly ahead of you, saving a lengthy run round the suggested route.
Consumer Mayhem
Note that you need MAGrope upgrades with this walkthrough.
Follow the route as normal to begin with, and when you leave the purple room now far from the start, ignore the suggestion to take a sharp left and instead go right, so you run ahead with the building on your left and a pipe you can swing round on the corner. After going up the steps, instead of taking the bridge right, you can MAGrope to a ledge ahead of you. From here, it's a linear path onward, through a doorway and over some steps down a dark path, where you can MAGrope again to a thin ledge along the side of a building. The bridge with the finishing marker just ahead.
Quite a View
Note that you need MAGrope upgrades with this walkthrough.
When you first step off the building, instead of going straight ahead, leap off the plank that sticks off the building to the right and land on the white building below. Going along the left side of the building, leap off the end and use the MAGrope to the blue-lit passage on the other side. Head down the passage, springing up to the pole, a walkway and another pole (note that we had the last pole glitch out and lose momentum completely, so it might take a few attempts to get right). When you land in the light room, go up to the ledge ahead, through the door, left then to the door at the end, where the finish marker is outside ahead.
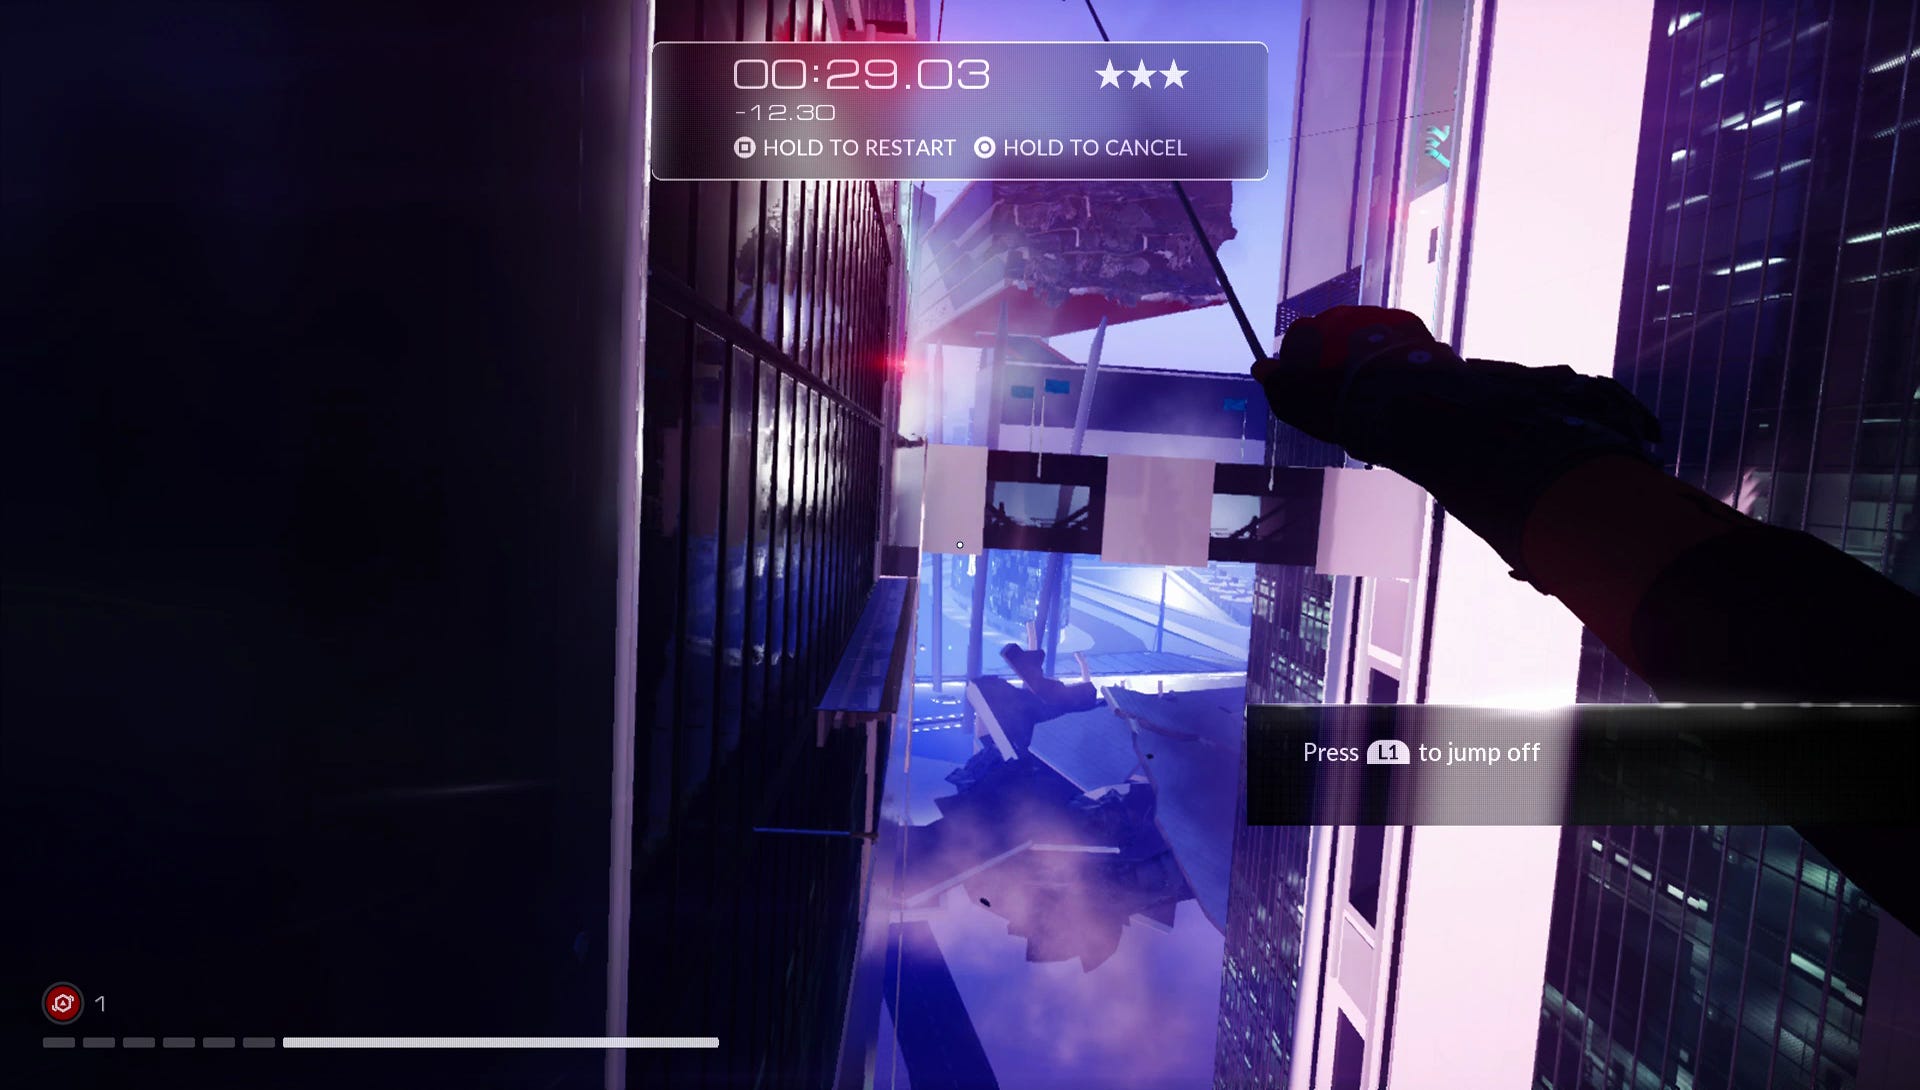
Heading Home
Note that you need MAGrope upgrades with this walkthrough.
This very long Dash is one of those that requires you to find a completely new route for the majority of the attempt. When you begin, instead of going up the ledge right, leap off ahead, running along the building and round the black stair case. Leap off the building at the end, using the MAGrope to take you to a staircase on the left. Go up, and spring board off the desk and into the alcove above the blue-painted wall. Hop over to the left building, and run along the right side, jumping into the hole in the wall just ahead. After dropping down at the end of this passage, run onwards to what looks like two elevators at the end wall; ignore them, and exit out of the building on the left, dropping down and taking the zipline on the corner.
When you drop, hop up the purple wall ahead and onto a building with block structures on top. Go to the far right corner here, leaping off and taking the MAGrope to the opposite building. Go clockwise round the corner, and up ahead you'll see a red arrow leading up. Wall run up this corner, but don't follow the arrow, instead continuing to go in that direction through fountains. Continue a short distance onward and you'll see red arrows on the floor. Now follow the route suggested to the end, and you should make the three star mark in good time.
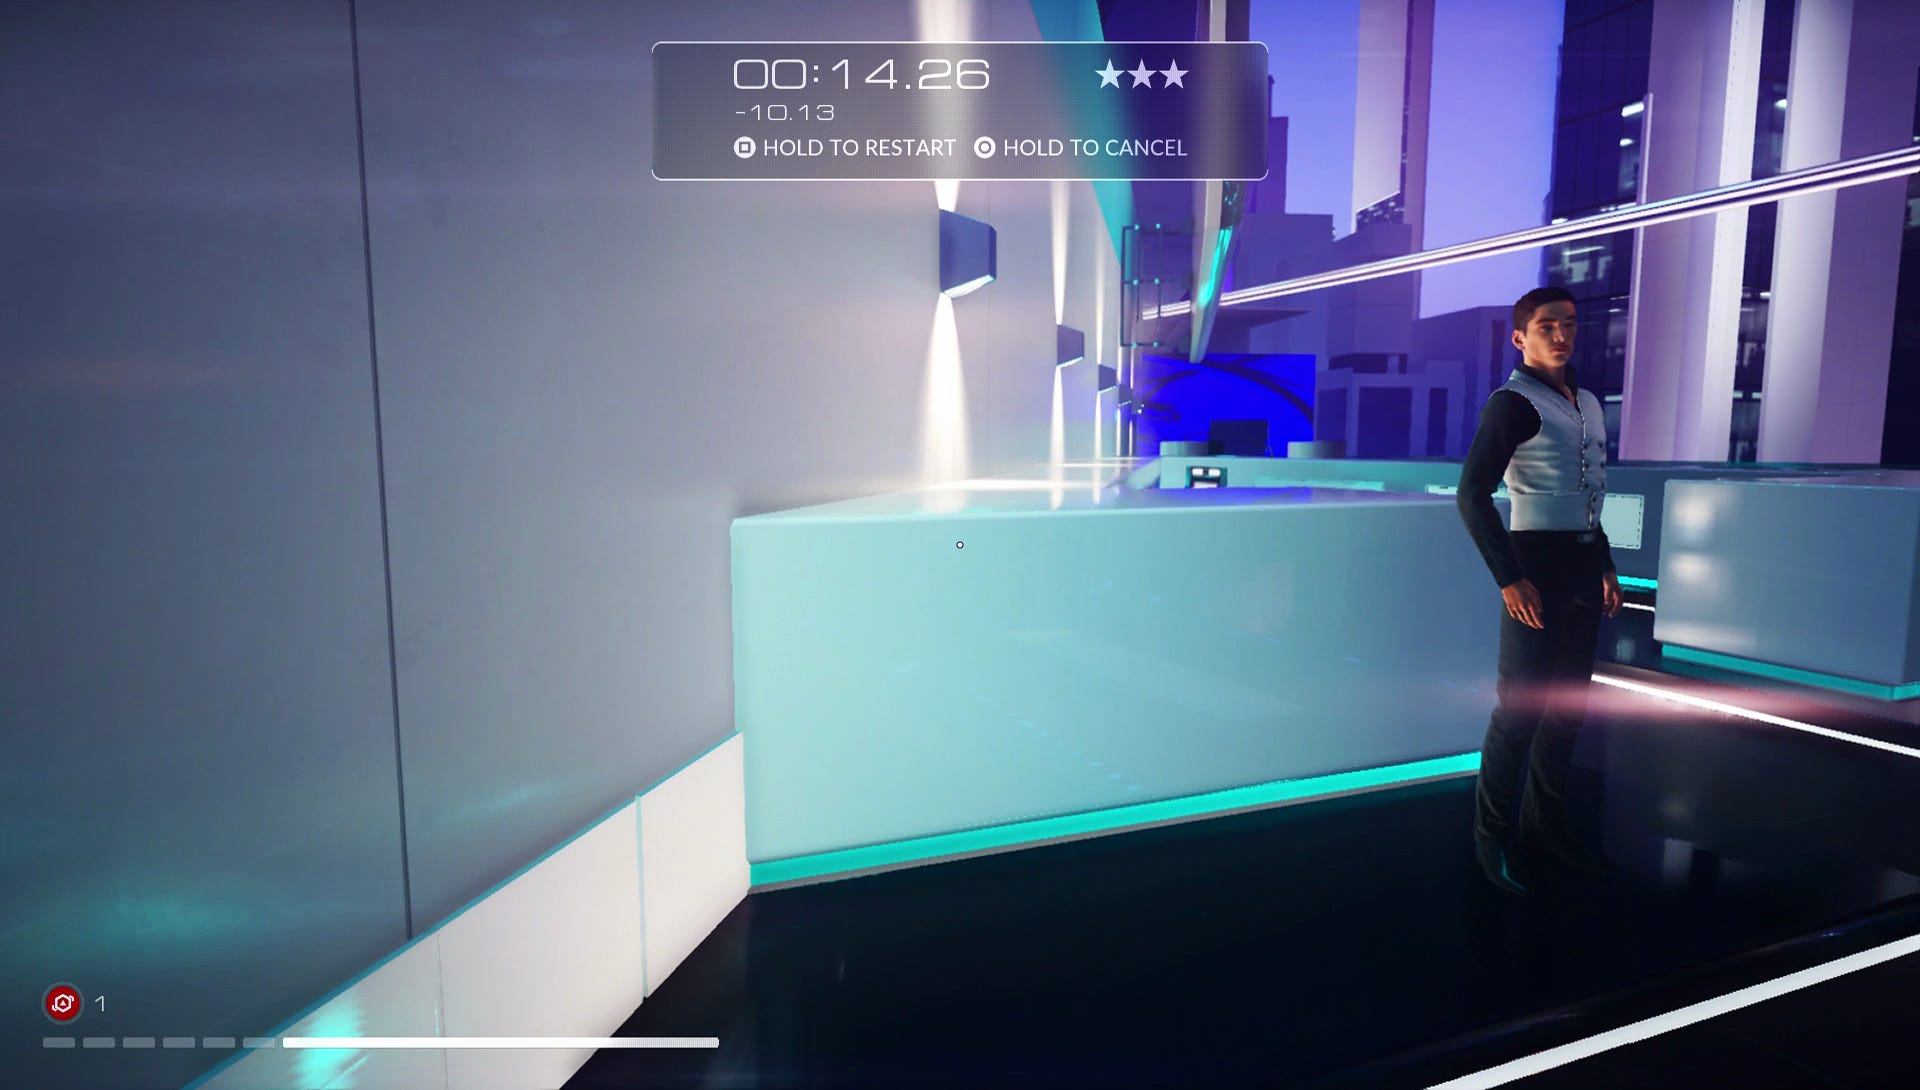
Donkey in an Oven
Follow the route to begin with, and when you drop down and the path goes right, take a left, spring boarding up to the ledge and take the zipline down. Spring board up ahead and you'll see someone standing in front of you. Jump past them so you're sandwiched between two walls. Wall run left, then off to the right and back off again, so you climb up the ledge, where there is an open door ahead in the glass, and a staircase leading up and right. Head up, and the ending marker is just beyond.
Take me to the Gridnode
Take the route as normal, until you have to take a left, where you can run straight ahead and take a zipline down to a building. Run straight ahead, and across the bridge, and you'll run up to a black vent running across the ground. Use that to get to the upper ledge, and running ahead, leap up the right building then across to open doorway ahead, where the finish marker is just inside.