Lightning Returns: FF13 – Yusnaan quest, Cyclops fight, ID location, Snow fight
Our walkthrough for the second chapter of Lightning Returns will help you get through the challenging quests found in the city of Yusnaan.

The next chapter of Lightning's story takes place in Yusnaan, and features a handful of fights that will provide just a little more challenge than you'll have become used to in Luxerion. If you're trying to just dip in and out of our walkthrough - and use it only when you're really stuck - a good general tip is to simply check your map regularly for new location indicators. These will very often be added as you make progress through both main and side quests.
As for the fights you'll come across, you're going to have to start taking specific schools of damage into account when equipping Lightning for both defensive and offensive duties. There are a handful of such fights spread throughout the second chapter's main quest, and we've broken down the mechanics of each one for you so you'll be well prepared for battle.

Yusnaan main quest walkthrough
After a little more light cinematic action, you're going to find yourself with a new challenge on your hands: getting into the palace. First things first, take a stroll in the direction of the new marker on your map, which is just up beyond The Augur's Quarter. On the way, you'll reach the Champion's Quarter where you'll have to face off against a pair of enemies: the Personal Guard and the Flanitor.
Get used to this dual-target fight, as you're going to face a fair few of them on the way to your destination. The combat synergy between these two enemies is pretty simple to understand, and as long as you concentrate on taking down the Flanitor with its healing powers first, you'll have no trouble taking down the Personal Guard afterwards.
Once you've reached your final destination, you should see a Knowledgeable Tourist nearby, and after a quick chat he'll recommend that you seek out the Tour Guide. To find the guide, head back the way you came, down the stairs and then turn right when you first reach a diverging path. The man you are looking for is just up ahead and dressed in purple. Talk to him, and take up his offer of a Sneaking-In Special Ticket in exchange for 2,000 of your hard-earned Gil.
"You're likely to fight quite a few enemies on your way to the new marker, so make sure you've chugged down a potion if you're low on health."
Once again, the game's limiting-time factor comes into play here, and you'll need to make sure you're at the Industrial Area meeting spot by 6pm. Fortunately, you don't have to mess around with side quests if you're on the wrong side of six o'clock. Simply speak to the guard standing nearby to have him move the clock forward however many hours you need him to.
After talking to him again, you'll be able to go through the door. Just be aware that you're likely to fight quite a few enemies on your way to the new marker, so make sure you've chugged down a potion if you're low on health. You did kill those Flanitors before the Personal Guards, right?
If you've arrived at the indicator on your map, you should see a ladder nearby. Climb up it and look down to your left where you'll see an item sphere. Jump down and interact with it to get the goodies inside. Now head back to where you started your ascent, go up the ladder again, down the stairs and then down another ladder to reach the next marker on your map.
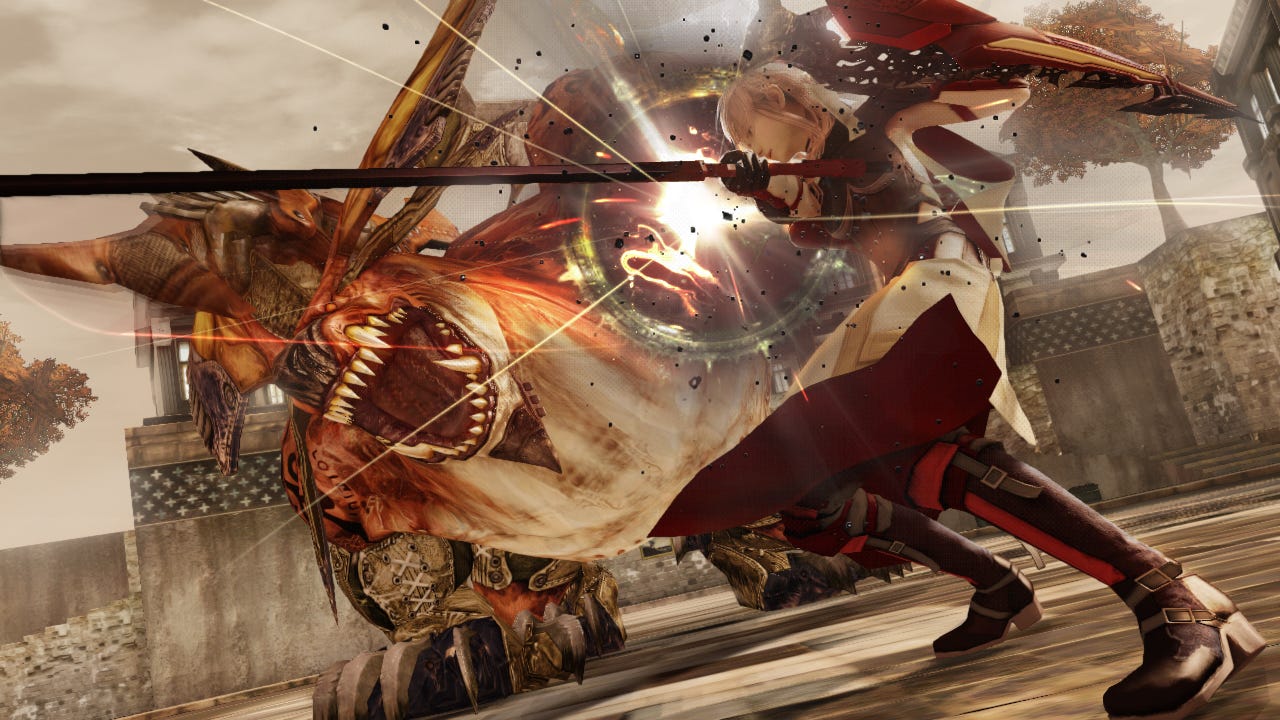
Fighting the Cyclops
After a brief cut-scene you'll have to do battle against the Cyclops. It's not so much a boss battle as it is a slightly-tougher-than-normal fight to break up a cut-scene or two! Just like the fight with Noel, it's very important that you guard properly here, and get as many Perfect Guards off as you can to avoid the attacks he makes with his club. As he fights with pure physical brute force, you want to equip all the physical damage resistance equipment and abilities you have for this fight. Guard properly, fight well yourself and you should have no trouble making light work of him.
Once this battle's over, you're free to wander around the Warehouse District. Go forward and take a right as soon as the opportunity presents itself. Look around and you should see a few handy items lying around the place, not to mention an item sphere placed on top of one of the containers. Climb up to interact with the sphere, and get your hands on the loot inside.
Now follow the location indicator placed on your map, which leads you towards a group of skeletons lying on the ground by a shiny object. Interact with that object to get hold of an ID card, then leave the Warehouse District and follow the markers on your map to get to the next location. Once you arrive, use the ID Card to pass through the tunnel, then climb the ladder to reach the Reveler's Quarter.
Another bit of time management comes into play now, and you'll need to make sure you're at the map marker near the Augur's Quarter before 10pm to get stuck into the next part of the quest. A cut-scene heralds the next phase of the main quest - once it's over, head towards the Statue of God located in the middle of the area ahead to access another item sphere.
If you need to stock up on potions or equipment, now's the time to do it via the merchants nearby, then proceed up the stairs in the north-west section of the zone where the director awaits. Hopefully you didn't dilly-dally too long at the shops, as you need to talk to this character by 12.30am to continue the story.
"It's worth exploring this seemingly barren area, as you'll be able to get your hands on yet another item sphere."
Look behind where he is and you should see an alley with a dead end. It's worth exploring this seemingly barren area, as you'll be able to get your hands on yet another item sphere. Once you've hoovered up your loot, go up the stairs to the north-east so you can interact with one more sphere. Free loot!
You should have a new location marker on your map at this point, so head over there and speak to the guy in charge of the fireworks - between the hours of 7pm and 12.30am, that is. After the cinematic scene plays out, you'll need to go and gather up 10 fireworks for him, and there are a few different activities you can do to get your hands on them.
A useful side quest
Your first option is to take part in the side quest called Fireworks for a Steal, which will reward you with seven fireworks in total. Another handful can be obtained simply by wandering around the area and speaking to the people marked on your map.
If you're not feeling talkative, grab the first seven from the side quest above, and then head to the area just below Reveler's Quarter and Fountain Square on the map. Interact with the poster on the western wall to receive the Chocobo Girl's Phone No. Now talk to the Chocobo Girl in the area, before heading to the Champion's Quarter. Here you'll find another Chocobo girl, just a little way away from the Forge. The third Chocobo Girl is found to the east of the outfitter in Glutton's Quarter and the final girl is by the General Store near Yusnaan Station. Once you've finished with all this running around, you'll not only get your fireworks, but you'll also be rewarded with the Miqo'te Dress gear.
Now you've gathered up all the fireworks you need, head back to the boss, then go upstairs to speak with the director once again. After talking to him, you'll need to go to the Slaughterhouse and speak to Zoe to start the side quest called Fighting Actress.
You'll face a series of different opponents during the fight here. Once you've taken out the Gremlins, you'll have to fight the Anubys, and then the Zaltys to finish things off. After completing the quest, you'll be given a new outfit called Midnight Mauve. If there's a bit of time between now and 3am when the storyline starts moving along again, finish up a few side quests, or just head back to the director who can advance the clock for you if necessary.
Before doing so, make sure you equip the Midnight Mauve outfit, and make it your default Schemata, after checking that you're satisfied with all elements of it. When you do speak to the director, he'll give you another weapon called Femme Fatale, before subjecting you to another cut-scene which finally plonks you down in Hero's Garden. Walk towards and into the Chaos to get your hands on one of those lovely item-bearing spheres, tucked away in the south-west corner.
Beware the Chaos
Now follow your map marker until you reach the new destination, go up the stairs you see, head left and continue through the hallways until you reach a massive room. It's at this point you'll be glad you tweaked your Schemata, because Chaos will follow you into the room the moment you enter it, flooding the place with enemies. Keep in mind that enemies are much more dangerous when they're fought within the Chaos, so don't pick any more fights than you absolutely have to.
As you make your way through the area further ahead, be aware that the Chaos gets thicker and thicker, and those enemies are going to get even tougher, so avoid fights altogether if you can. Eventually you'll come across a switch which you'll need to interact with, before going through the door that's located towards the south. Once you're in the next room, climb up the left-hand ladder you can see, and then walk all the way around to get your hands on a shiny item sphere.
Go back downstairs and walk through the doorway to the east. Once you've passed through, you'll need to climb up on the pile of boxes in order to access the upper hallway. Once you've climbed up, just keep following the path all the way until you reach another switch at the very end of the hallway. Investigating the switch will cause the closed door to open - drop down and head to the west.
Now run towards the right to get your hands on an extra item sphere, then go and head through the western door again. Go left, drop down and then make your way towards the boxes over the other side of the room. Keep bearing to the left until you come across a ladder - ignore it, and keep moving ahead until you arrive at a load of containers. You'll have to destroy this in order to reveal the second ladder.
Once you've made your way up, take a look at the switch you come across and investigate it to access an item sphere. Once you've picked up the item, go through the door to the north and get over the boxes in order to meet a new character - via another cut-scene - The Supplier. As his name suggests, this handily located person is carrying plenty of potions and other useful recovery items. You should have amassed a decent amount of cash by now, so make sure you stock up on the essentials before leaving this area.
Guess what's at the top of the next set of stairs? Full marks if you guessed it was a cut-scene, but at least there's an item sphere at the end of it. Take the item inside, the Prophecy of Aspiration, and then go back the way you came, before climbing up the two ladders that follow one after another. Investigate the control panel that's located at the end of the corridor you find yourself in, and then travel south to take on a handful of enemies. Once defeated, you want to keep moving forwards until you find yourself in the Patron's Chambers.
Your reward for interacting with the table here is a cut-scene. Once that's finished with, you'll need to go down and then make your way up the crates that are located towards the east of your map. Climb the ladder and keep moving along until you reach a door. Make sure you've got your wits and your best abilities about you, because once you interact with it you'll be starting the boss fight with Snow himself.
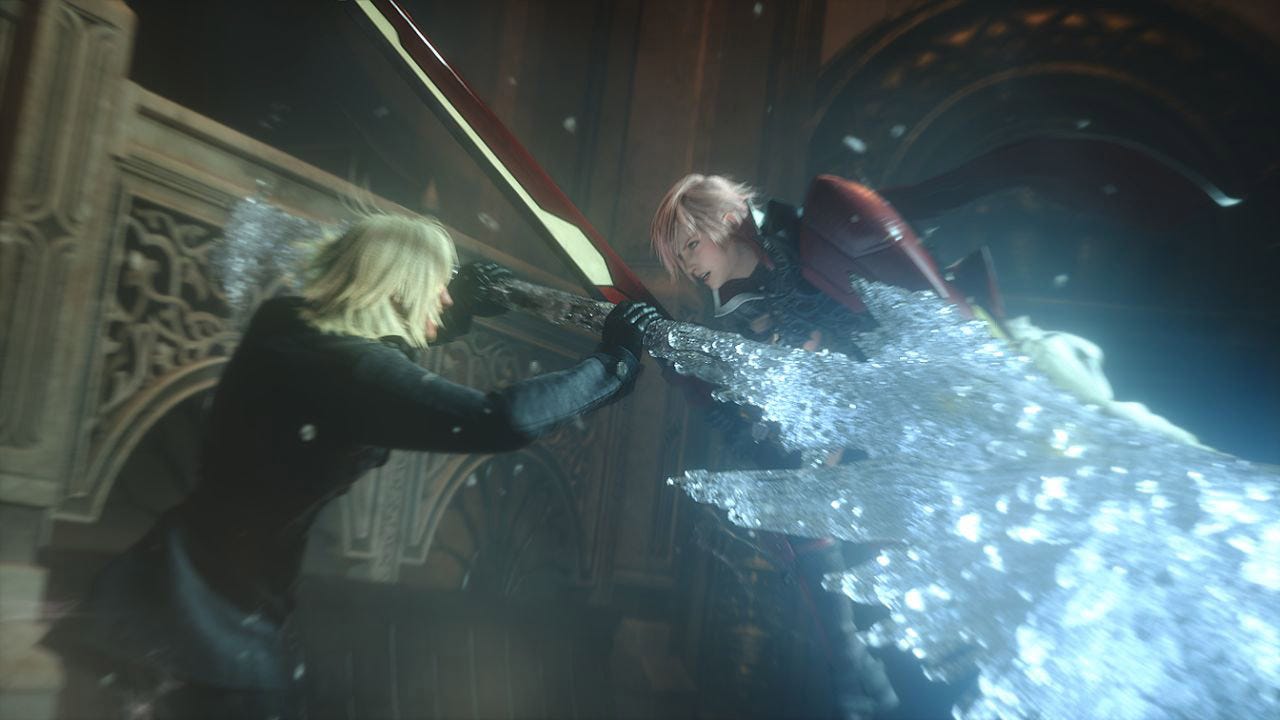
The showdown with Snow
| Boss | Snow |
| Rewards | 10,000 Gil, Maximum EP +1, Maximum HP +300, Maximum ATB +10, Strength +112, Magic +28 |
As always, you want to make sure you're wearing the right gear to mitigate the damage your opponent is going to be dishing out to you. Snow predominantly focuses on dishing out physical damage, as well as spells from the Ice class, so make sure you're packing every ability and item to help deal mitigate as much of that as possible.
"During the fight, make sure you keep an eye out for when Snow starts to use his Chaos Charge attack."
During the fight, make sure you keep an eye out for when Snow starts to use his Chaos Charge attack. When he does so, attack him as hard and as fast as you can. Hopefully, you'll trigger a powerful Stagger which will allow Lightning to dole out everything she's got against him. To get the most out of the Stagger, make sure you're hitting him with all of the best spellpower attacks you have.
What if you didn't induce a Stagger while he was powering up Chaos Charge? Just be aware that when he unleashes his next assault against you, it's going to be even more powerful than usual. You'll need to really be on top of your guarding skills here, and don't be afraid to pop an emergency potion if things are looking really bad.
The fight continues in this fashion until Snow's health has dropped to around 50%. When that happens, there aren't any new mechanics to contend with, but you will find that he soaks up a certain amount of your damage, and dishes out a little more of his own. Just keep dancing around his attacks until you've taken him down. Once he's finished, you'll be able to loot a new piece of equipment.
You've now completed the Yusnaan section of the main quest.
We've also got side quest walkthroughs for the first two chapters of Lightning Returns.