God of War - Witch's Cave puzzle solutions explained, Lake of Nine and the Foothills
A walkthrough for the third part of God of War's second mission.

Witch's Cave, Lake of Nine and the Foothills areas are the next stops on your journey through God of War on PS4.
Here on this page, we'll take you through everything you need to know about this section of your quest, including how to solve any puzzles, take down any bosses and find any useful loot along the way. For guides to specific collectibles we also have pages on Valkyrie locations and how to open Hidden Chambers, Lost and Found locations and Faces of Magic locations, too.

This page follows on from God of War - Brenna Daudi boss fight and find the white-petalled flower in Sanctuary Grove, and is the third of a few pages covering the lengthy Path to the Mountain quest.
Otherwise, you can always cycle back to our main God of War walkthrough and guide hub, or our guide to God of War Valkyrie locations and how to open Hidden Chambers, too.
On this page:
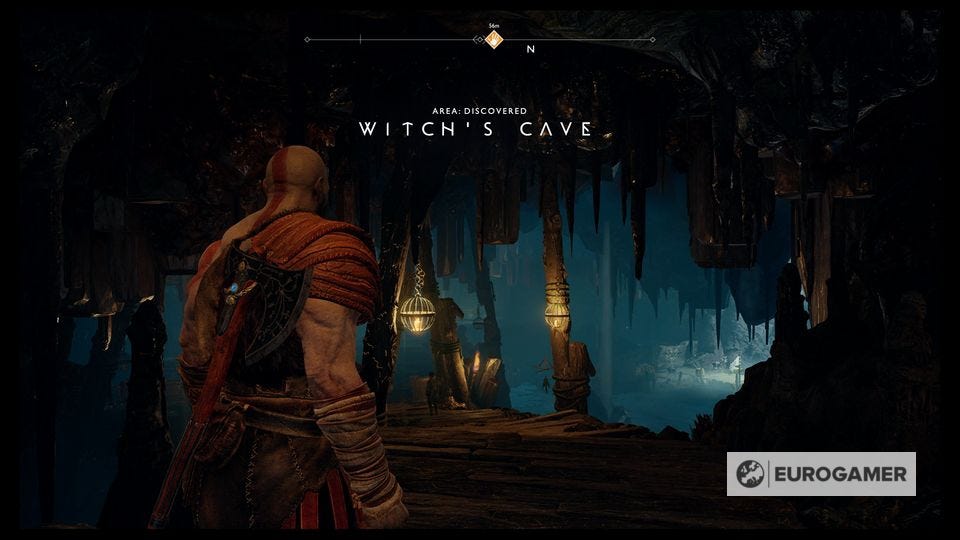
Witch's Cave
There are hints at more to see and explore here in this cave (we cover these at the very bottom of the page, but beware some later-game mechanics-based spoilers in that very last section - you're safe to read on until you reach that section of the page though), but for now all you can really do is press on - you'll have to come back later to fully explore.
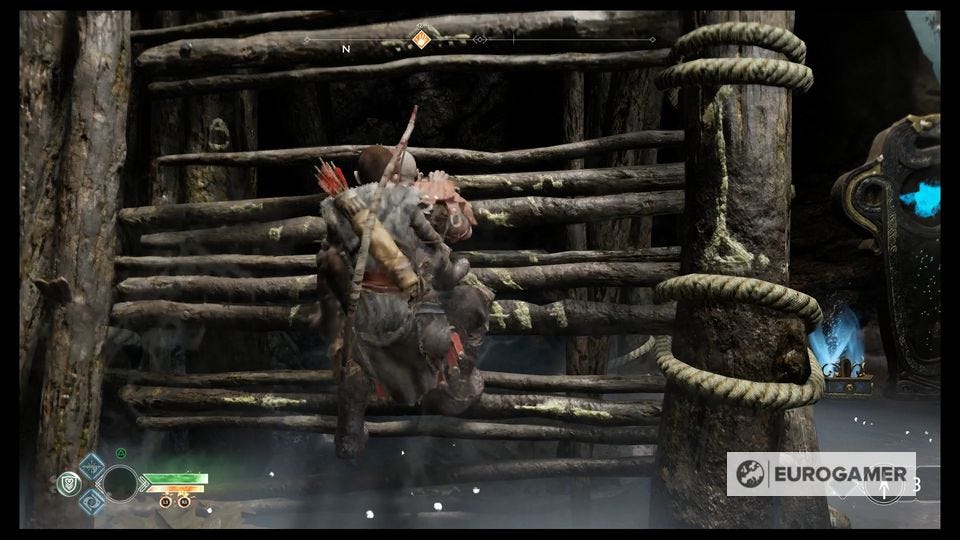
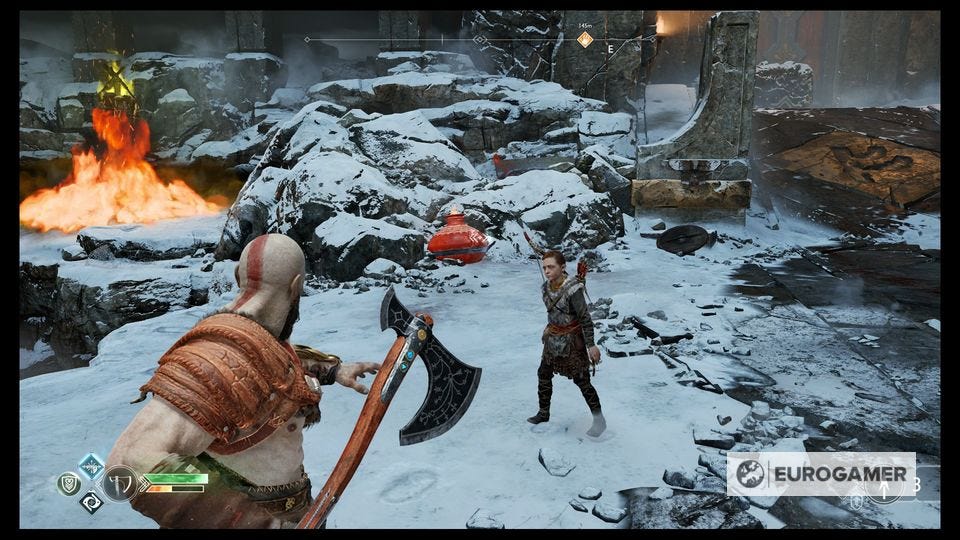
Ahead, you'll find some new enemies - Nightmares - which require ranged attacks to be dealt with. Don't let them get too close, as they'll explode and deal some poison damage to you if so. Pick them off with your axe and Atreus' arrows and you'll be fine.
Before pressing ahead, head left and drop down to find a crate. Move it into the water and hop over the gap to find a Faces of Magic.
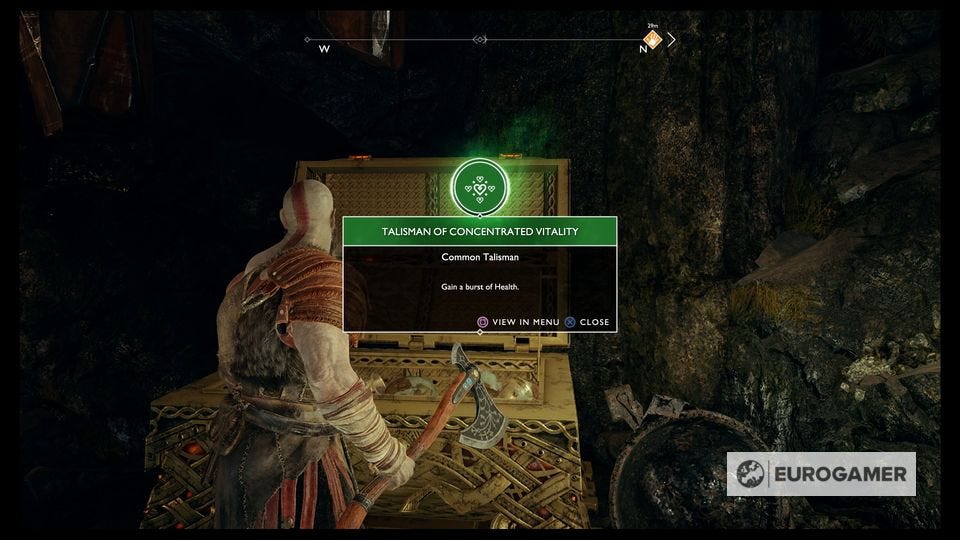
Just up ahead is a chest containing a new Talisman, which grants the ability to start a short burst of Health recovery when activated whilst equipped. We found this one pretty useful in boss fights, but it's not that necessary in regular moment-to-moment stuff.
Continue on following your waypoint to a boat, and paddle outside to the rather dramatic views of the Lake of Nine.
Lake of Nine
The Lake of Nine is a little dour-looking at first, but it won't be for long.
Investigate the glowing statue
Paddle towards the glowing statue in the distance, to the North. Interact with it when prompted, and hold onto your hats...
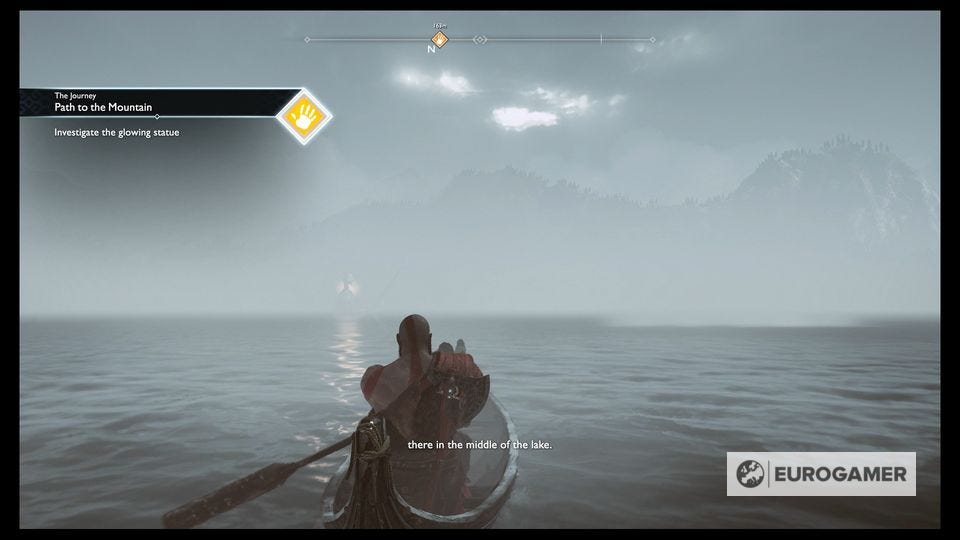
The World Serpent appears! It bellows a few words at you in, all of a sudden, the water level's dropped - revealing a tower and huge central structure in the lake, as well as the full body of the Thor statue.
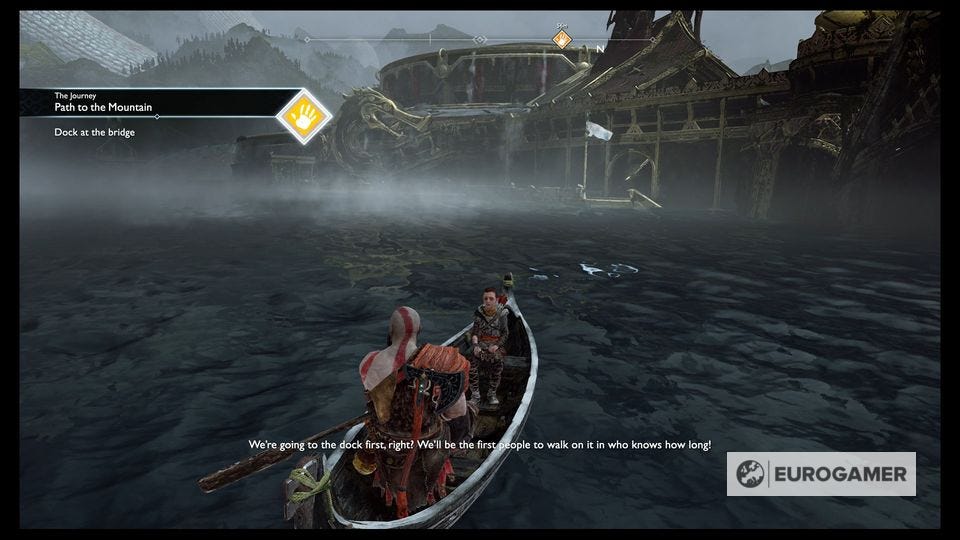
Paddle to the nearby dock - marked by the white flag - and head up and inside. Up on the top level you'll be greeted by none other than Brok, who somehow got here ahead of you - weird!
Follow him inside to his nice new shop, and do any upgrades that you want there. He'll also introduce you to the Mystic Gateway - a kind of one-way fast travel point. Using other ones will bring you back here to this one.
Crank open the big metal doors at the waypoint and continue across the top of the outer deck. A few enemies appear outside, and Atreus' advanced combat will be unlocked - you can upgrade his skills in the menu now - and once you've dispatched them there are two Hacksilver chests either side of the big doors at the end of the walkway.

Pry open the doors and defeat the handful of enemies inside. Then turn left, smash the wooden planks and proceed to find another lore Shrine.
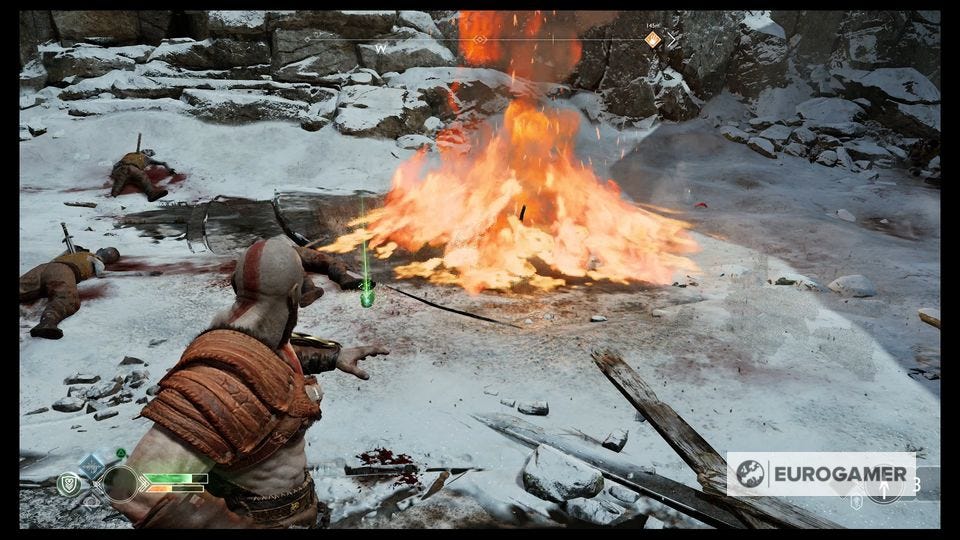
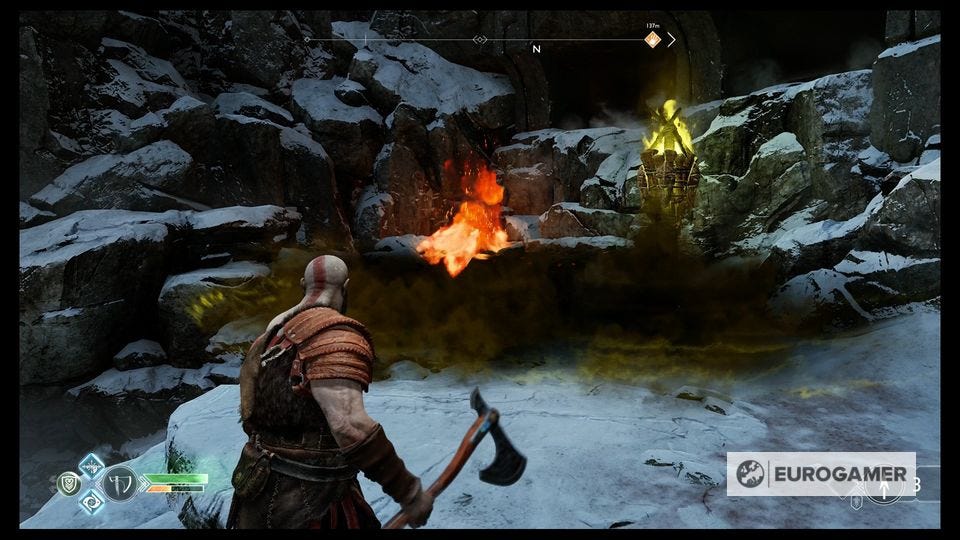
Turn back and head the opposite way to continue - and you'll find a cloud of poison gas blocking your path. You need to hit the little tower that's emitting all the gas with a throw of your axe to freeze it, allowing you to pass. Expect plenty of this mechanic to appear from now on!

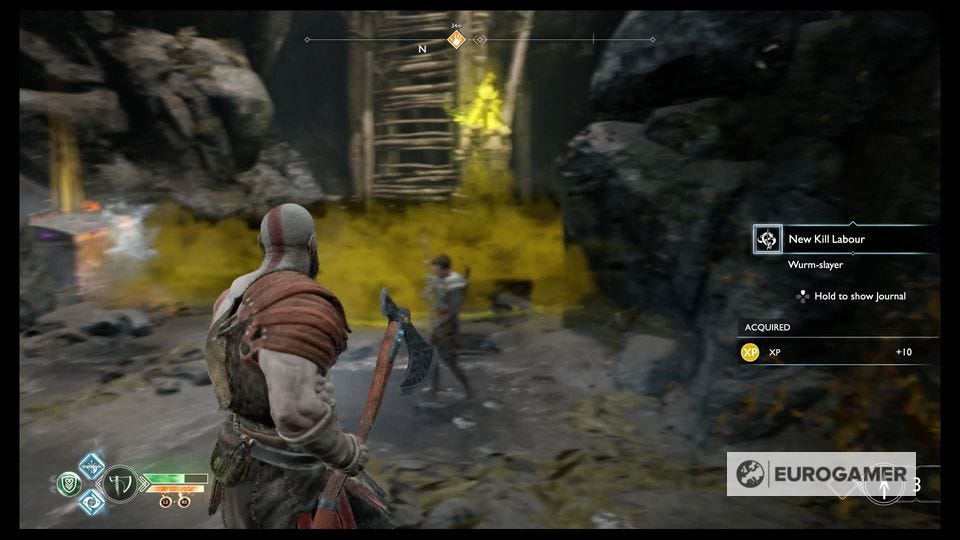
Continue through the little tunnel to a kind of clearing with another tower - and a new kind of enemy! This one's called a Wurm, and can be tricky - but land a well-timed heavy throw of the axe on it and it'll freeze, and be pretty easy to then take down.
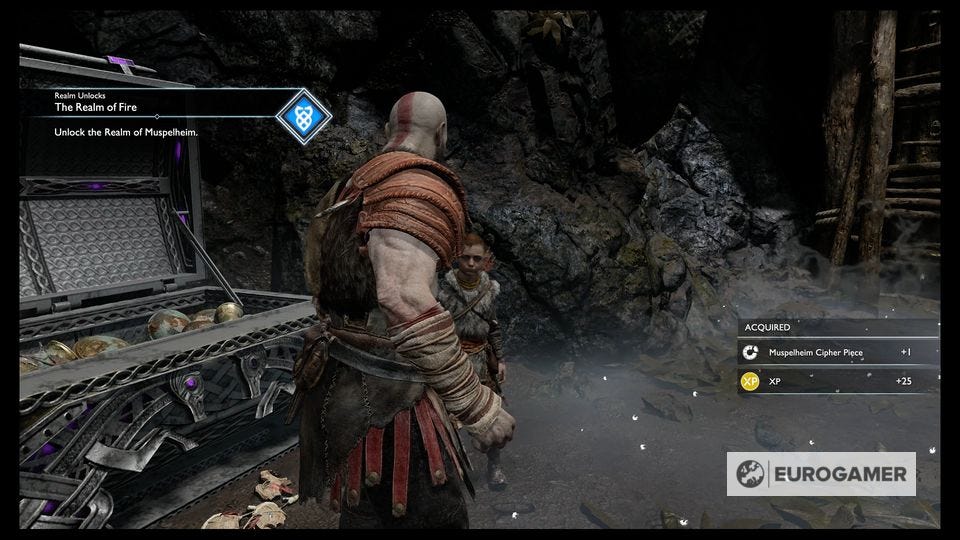
Freeze the tower and on the left is a chest containing a rare Muspelheim Cipher Piece, starting a sidequest called The Realm of Fire in the process. More on that later.
There's also another of those lore tablets here, but it can't be activated just yet. You'll be coming back through this way a little later on though, and be able to read it then, so worry not!
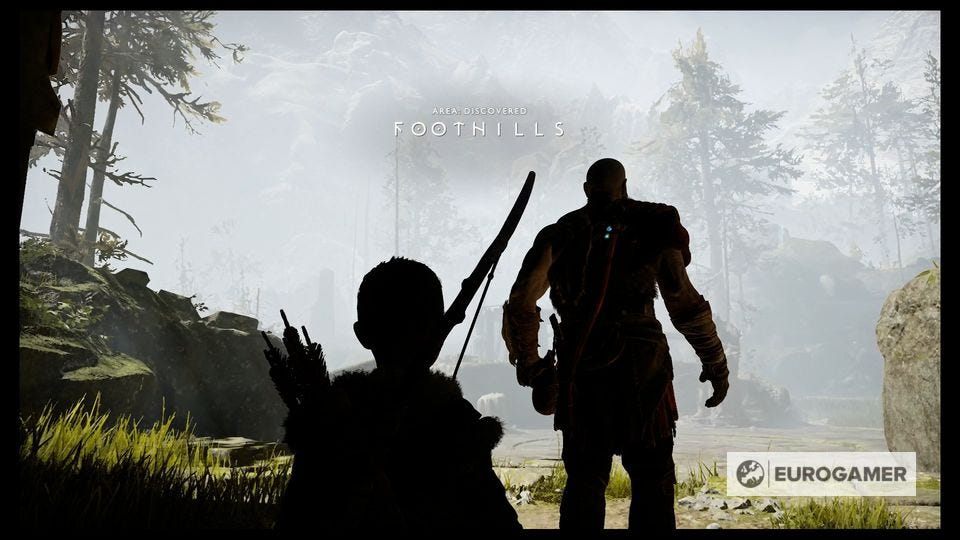
For now, press on by climbing up the wooden structure and across, onto the higher ledge, which leads you outside to the Foothills area.
Looking for more help? Our God of War walkthrough and guide helps with the main story progress, including The Witch's Cave puzzle solutions. We also have articles on God of War Valkyrie locations and how to open Hidden Chambers, plus collectables including God of War Faces of Magic locations,God of War Lost and Found locations, God of War Treasure Map locations and God of War Nornir chest locations.
Foothills
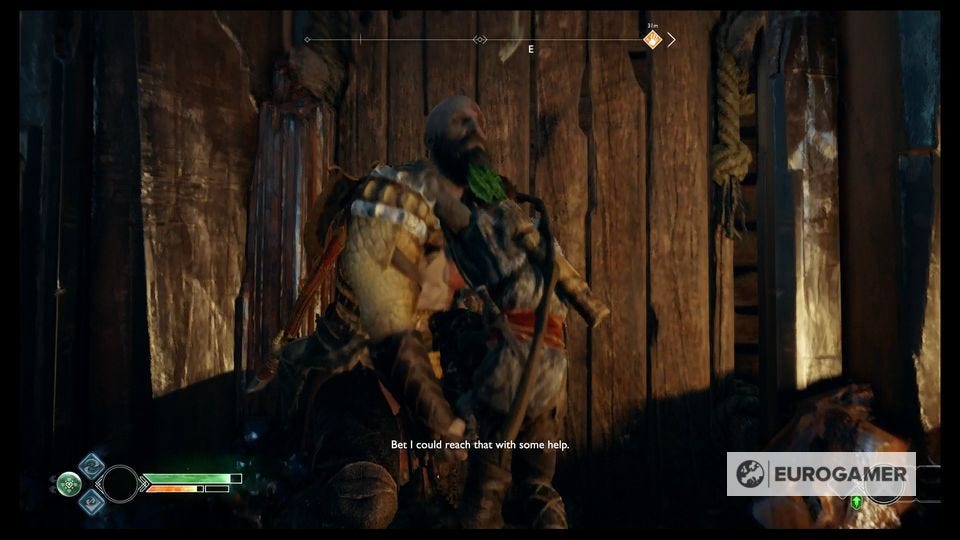
Guess who's here - another dwarf! This one's Brok's brother that we've heard so much about. Let him tinker with your axe and then continue towards the waypoint, where several enemies will imemdiately appear. Take out the Wurms and Reavers, and then there are a few bits of loot for you to work on gathering.
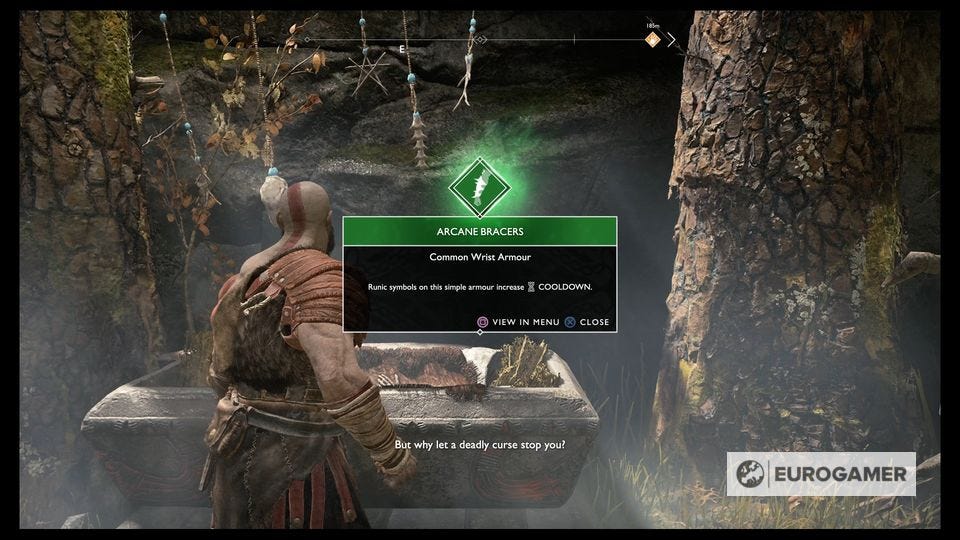
Climb up a marked ledge to the East, and freeze a couple of poison towers to find yourself at a fork in the road. To the left is a chest hiding behind a poison cloud with some new bracers inside.
Ahead, behind more poison, you'll end up in front of a Revenant. You know the drill - stun with Atreus arrows and get whacking - but beware it retreating through the poison clouds. Keep one eye on your surroundings as you chase it down.

Eventually you'll end up in a cave, which contains another of those locked mirror-doors. There's also a weird green orb mounted on a brick wall back outside that cave, too. Weird! Come back here later.

Head back to the main path and follow the waypoint again until you reach a cloud of gas coming from above, under a cave's archway. This tower's up above you.
Continue forward on the frosty ground, climb up the marked wall, and you'll come face to face with some more enemies - Reavers and big, angry wolves for now. Take them out - but avoid getting to close to the red pots dotted around the area. They'll explode on hit!
Once the enemies are cleared, you need to use those explosive red pots to get to the chest over on the left. First, hit the pot at the base of the rocky mount blocking your way to the chest. Then hit the pot just behind that mound from a differnent angle - this'll blow those rocks right out of the way.
Now, there are two poison towers blocking the way to the chest. You need to destroy the one on the left by aiming for the red pot that's tucked behind it. Then freeze the right tower, and the treasure's yours - a new Light Runic Attack, called Charge of the White Bear.
Check it out in the menu for more info.
Next up: God of War - Defeat the Ogre, Mountain's Base and the Hel's Bramble chest
Head on up to the big pair of doors marked by your waypoint to continue!
Witch's Cave puzzle solutions explained
As we mentioned above, The Witch's Cave is actually full of puzzles and rewards - but they're all locked behind later-game mechanics. Beware spoilers are ahead for the latter half of the game in this section. You've been warned!
There are three coffin chests, a Legendary chest, a Nornir rune chest, a Cipher Chest, an Artifact, a wooden Hacksilver chest, a Treasure Map, and a Hidden chamber (with more inside it) to collect and discover here - and that's not including the other Legendary chest you already opened on your first pass through in the section above.
Most of the puzzles blocking your access to those become available after completing the quest Inside the Mountain, which ends at The Summit. A couple: namely the Hidden Chamber and its contents, only become available after completing the Magic Chisel quest and gaining the ability to clear Hel's Bramble and utilise the green orbs dotted around. We'll start with the stuff that you can reach after Inside the Mountain first.
Puzzles solveable after completing Inside the Mountain
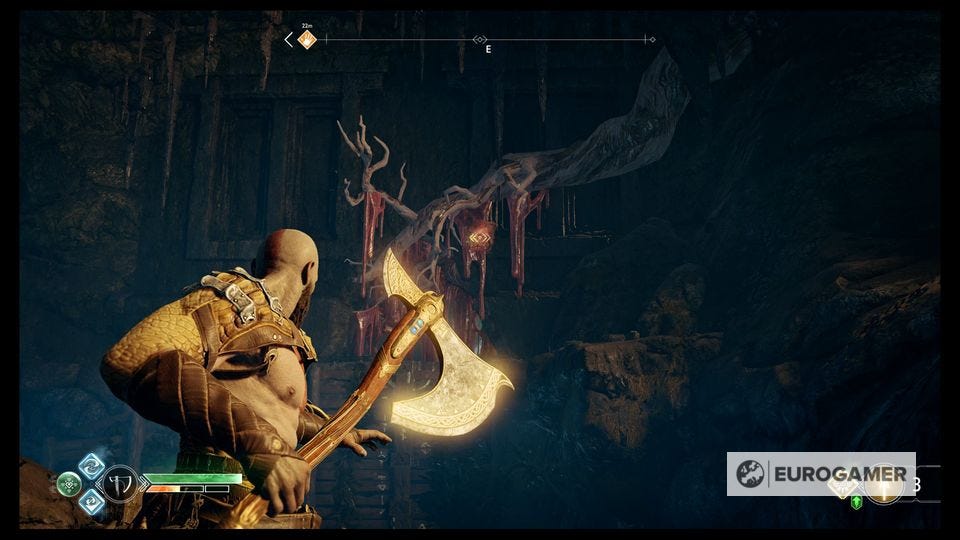
First up, the Cipher chest. From the main, top level that leads up the ramp into the Witch's house, look to the West and you'll see a wall of red sap. Smash it by shooting the red crystal with a Shock Arrow.
Ahead of you, past that smashed sap, is a kind of chimney where you can climb up and out, but to the right is another little alcove with a glowing green object on it. Ignore the green thing for now (this is something you can utilise later in the story), and open the Cipher chest in that little alcove. This is the fourth Muspelheim Cipher you'll encounter and so, if you've got every one, you can now travel to the optional area from the Realm Travel Room if you wish.

Now, for the Nornir rune chest. The first rune is nearby - in that chimney-like area by the Cipher chest, you can see it ahead of you if you look up a little. Smash it!

Now, go back to the wooden ramp up to the Witch's house and stand to the right of it at the bottom, and look south. You'll see the Nornir chest ahead of you, and two blue crystals. Shoot the two of them with light arrows to spawn some light bridges.

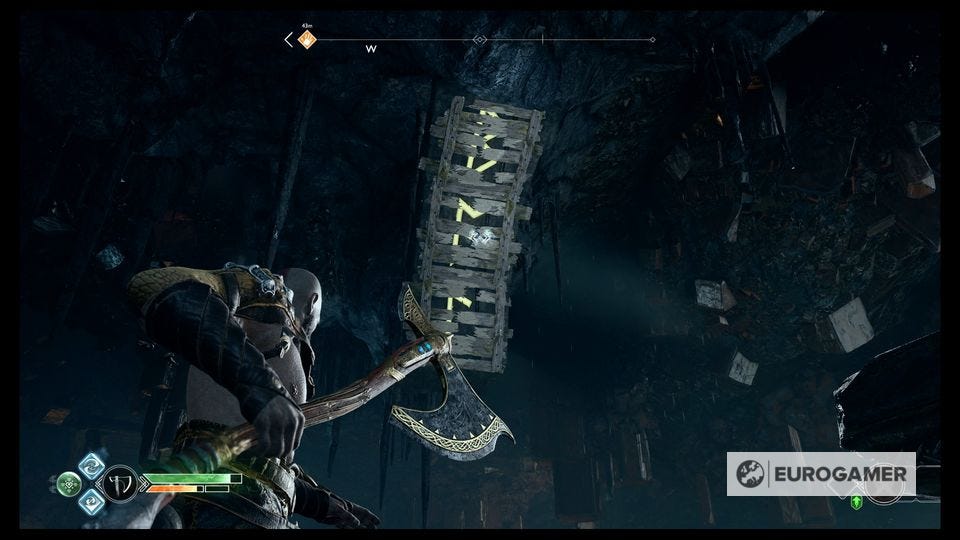
Just to your right is a route down there. Drop down the ledge and circle round to your left to the light bridges, facing the way you just came (North), and you'll see two things: a coffin chest covered in red sap, and just to the right of it, the second rune for the Nornir chest.

Come back for the coffin but smash the rune and then move on. Cross the next light bridge towards the Nornir rune chest itself, then turn right to see another blue crystal you can shoot to form another bridge.
On the other side is a world tree stump with some red crystal in for you to lob at any troublesome red sap. You can now go back and grab the loot from that Coffin chest you just passed, and then when you've done so, go back to the Nornir chest and turn left (East) to see some more red sap at the top of a climbable wooden panel.
Hit the sap with a crystal and Shock Arrow, and climb over (at the base of the panel on the left is a dead chap with some Hacksilver if you want it).
At the top, you'll find a room with a Hidden Chamber door dead ahead, and lots of other goodies inside: including a Hacksilver chest, a Coffin, and a Treasure Map on the floor on your right.
On the left, high up, is the third Rune for you to smash. Hit that and then return to the Nornir chest! The Hidden Chamber door you'll have to deal with later.
Once you've got your Horn of Blood Mead from the Nornir rune chest, there are a couple of things left to do. First, go back to the area with the Hidden Chamber where you smashed the Rune and turn left out of there.
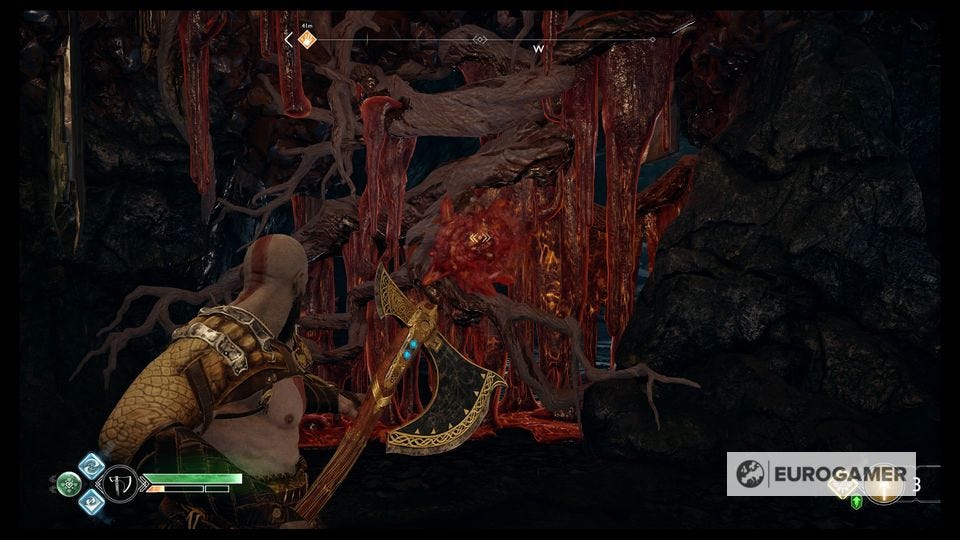
Immediately on your right is some Hel's Bramble - come back for that when you know how to deal with it - and in front of you is a pair of Revenants to take care of.
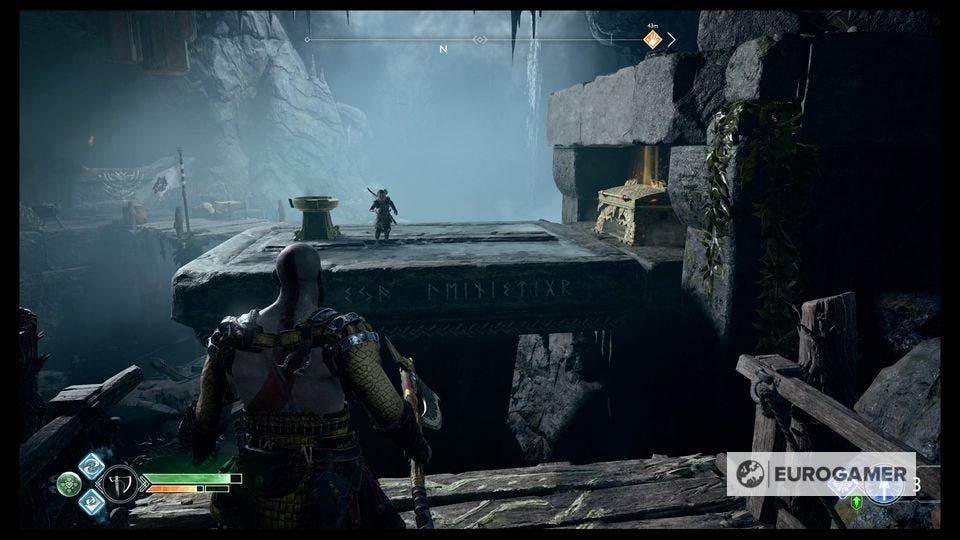
Once they're dealt with, it's time to get to that Legendary Chest up ahead.

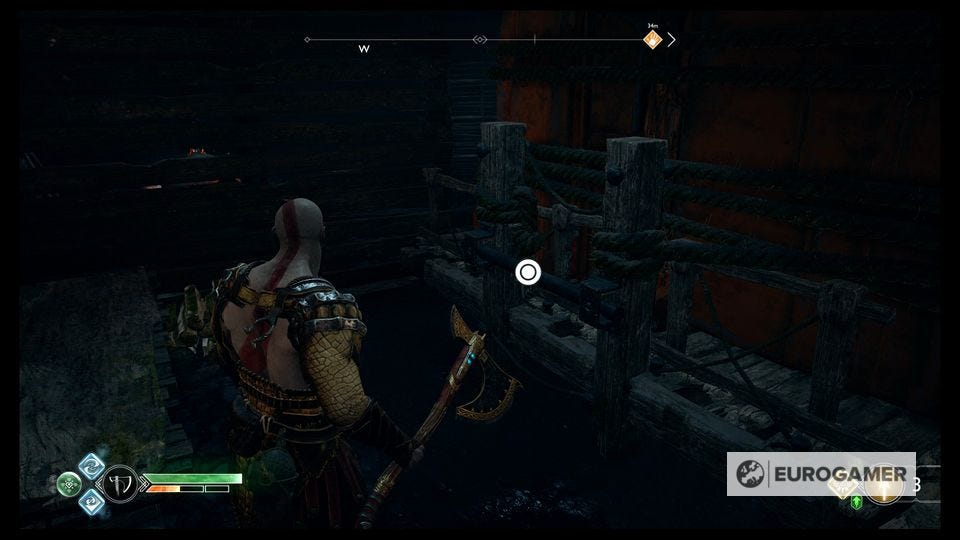
Along the Eastern wall you'll notice a big pallet with a load of rocks on, that you can interact with to slide along some tracks on the ground.

Grab it and slide it all the way to the right, then boost Atreus up onto the higher platform (the path for you is blocked by that Hel's bramble, but he can get up just to the left of it.)
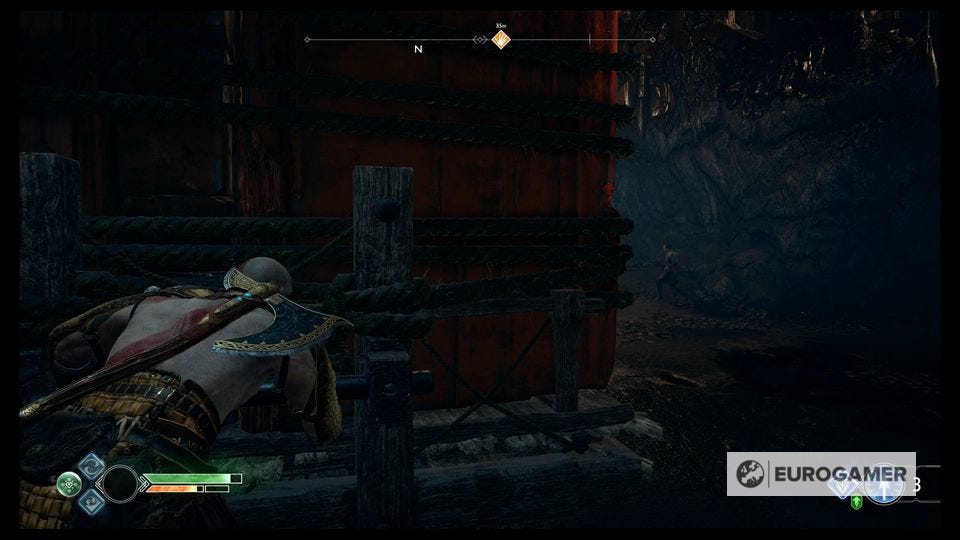
When Atreus is up there, wait for him to jump onto the blocks you just slid across to the right, then slide it back over to the left and throw your axe at the wooden planks blocking him jumping off. Head back to the North end of this little area and you'll see another sand bowl on a platform up above you. Now Atreus can get over there to reach it.
The solution here is pretty easy: look to the west of Atreus at the ceiling, and you'll see some large golden letter blocked by smashable wooden planks up there.
Smash them with throws of your axe to reveal the runes for word "Fire", which Atreus can carve into the sand to solve the riddle. This'll lower the platform Atreus is standing on, allowing you to hop on top and open the Legendary Chest just to the right, that houses a new Runic Summon called Murder of Crows.
Now, the last thing you can do before having to come back later. Go all the way back around to the first light bridge you stood on, by that coffin chest that was covered in red sap.
On the Western wall, you'll see another big square pile of stuff on top of another slideable pallet. There are two things you can access with this: a Coffin chest just behind it, and an Artifact on a platform in the middle of the room.
First, stand to the south of the pallet and grab on, then push it to your right. This allows you to get behind it to a little alcove with the coffin.
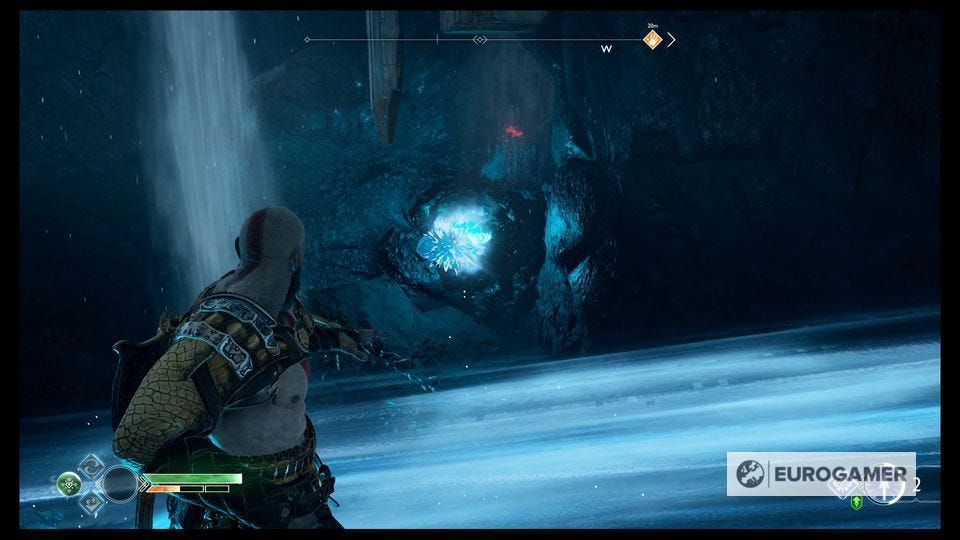
Then, go back to the pallet and stand push it directly away from you, in the same direction you were just pulling it, all the way until it drops down off the end of the ledge. You can now jump across to the platform on the other side (with a green orb on it you can utilise later on), and grab the Artifact for the Faces of Magic colletible set.

That's all you can do for now! If you came here right after completing Inside the Mountain, you can head back to our page for your current quest that follows right on from it with our guide to A New Destination here.
Witch's Cave green orb puzzles and Hel's bramble solutions
Once again, if you haven't got the ability to use these green orbs and clear Hel's Bramble yet (you'll know it when you do), then spoilers are ahead, so proceed at your own risk!
Now you have the ability to deal with these green orbs and open Hidden Chambers, you have another Legendary Chest, two Hacksilver Chests, a Coffin, and a Valkyrie that you can access.
To start, you need to chain the Winds of Hel just as you have done before, across one end of the room to the other side.
Begin at the spot where you first found the Cipher chest, in the alcove on one side of the room.
Take the wind from there to the wind trap at the bottom of the wooden ramp from the Witch's house.
Take it from that trap just to the West where there's another trap by the ledge that you drop down to go towards the Nornir chest.
Grab it from there, drop down, and transfer it to the trap on the little island where you found the Face of Magic Artifact earlier, then go round on foot all the way past the area with the Hidden Chamber door, to that pallet you moved the last time you were here.
Transfer it from the island where you got the Artifact to the trap on this side of the chamber nearby.
Move the pallet to the middle point between the two ledges, and clear the Hel's Bramble.
Transfer with wind to the trap above the Hel's bramble and climb up.
On top of the platform, take the wind from the trap, jump across the pallet, and put it into the trap on your right around the corner, to open a door to the Legendary Chest.
Back at the Hidden Chamber, use the Chisel to open it and inside you'll find two wooden Hacksilver chests, a coffin, a Mystic Gateway to fast travel to and from this point, and the option to battle a Valkyrie if you so desire!
Other Path to the Mountain walkthrough pages: