God of War - Bridge Keeper boss fight and how to defeat Mattugr Helson, Winds of Hel puzzle solutions and the Hel Traveler
How to complete the second part of The Sickness.

Bridge Keeper boss fight and how to defeat Mattugr Helson, Winds of Hel puzzle solutions and the Hel Traveler sees The Sickness draw to a close.
Here on this page, we'll take you through everything you need to know about this section of your quest, including how to solve any puzzles, take down any bosses and find any useful loot along the way. For guides to specific collectibles we also have pages on Valkyrie locations and how to open Hidden Chambers, Lost and Found locations and Faces of Magic locations, too.
This page follows on from God of War - The Sickness and Helheim, and is the second of two pages covering The Sickness.

Otherwise, you can always cycle back to our main God of War walkthrough and guide hub, too.
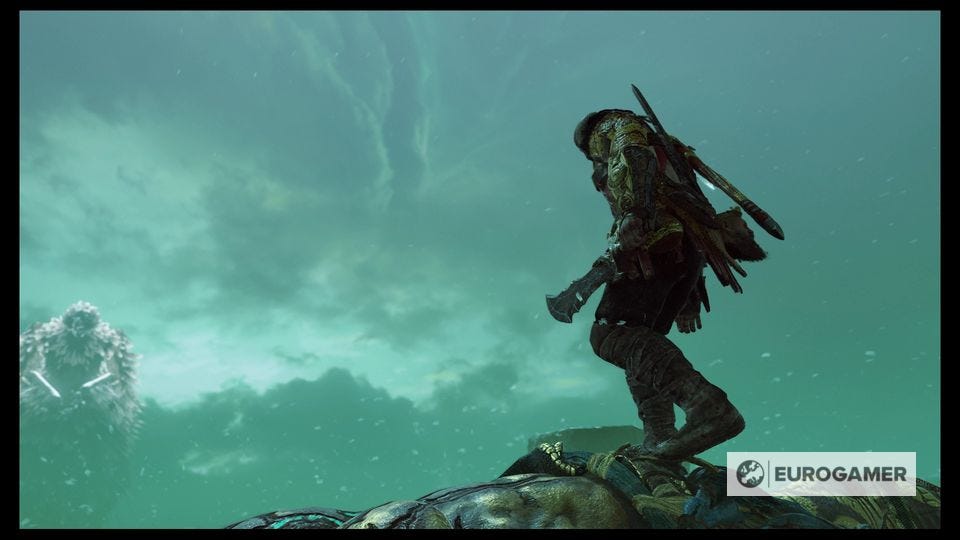
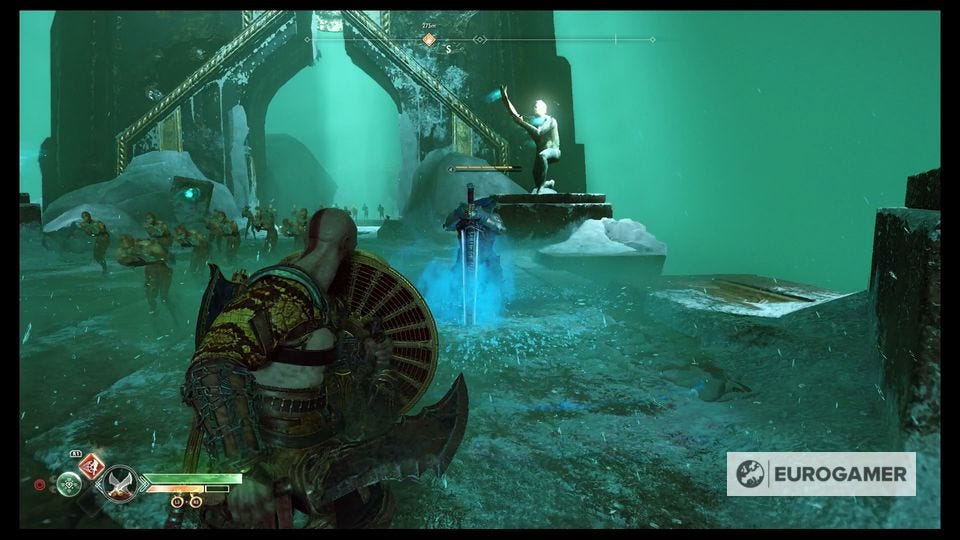
Bridge Keeper boss fight - how to defeat Mattugr Helson
He's a biggun, but the Bridge Keeper is basically just a tougher version of the Trolls you've been fighting throughout your journey so far.
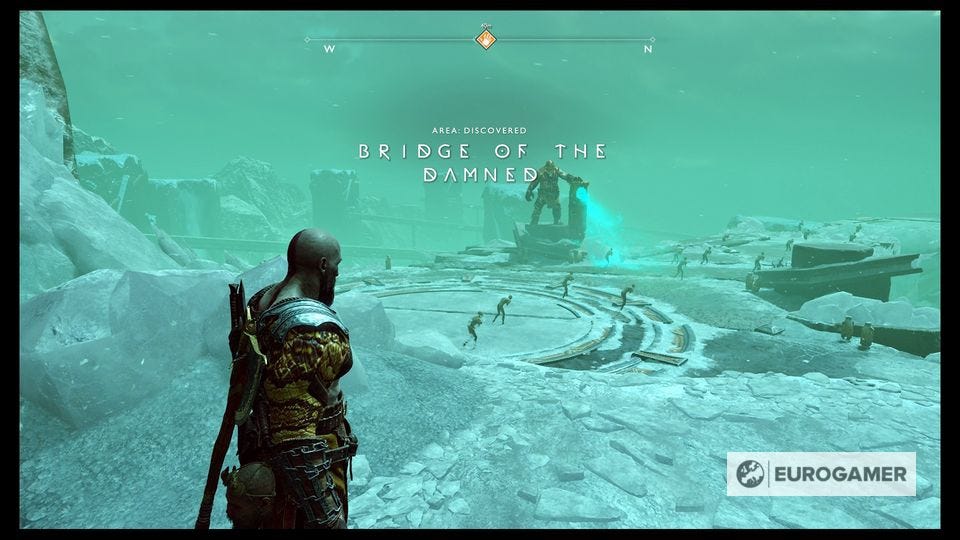
Before you start, note that there are several clusters of pots dotted around the outside of the arena where you fight - these all contain healing orbs, which will come in handy, if you're anything like us when you fight.
The Bridge Keeper starts with a triple-attack combo, that is thankfully pretty much fixed until you get him below a certain amount of health. It's fast, but relatively predictable - try to focus on the rhythm of it, and just dodge everything while you get to grips with his attacks.
The combo is a few sideways or frontways japs with his column, then a big slam on the ground vertically. The catch is, he pops in and out of sight, literally, while attacking, so can't be targeted until he's done. Your ranged attacks are also useless, so you need to dodge his attacks and then, when he completes the big slam, start whipping away at him with your chains.
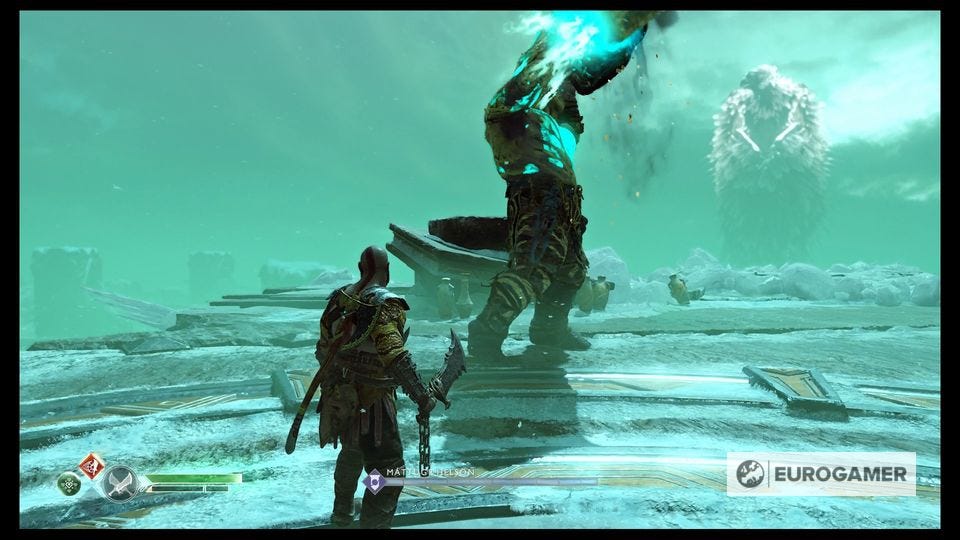
Watch out for the little green orbs that appear in the air around the Bridge Keeper, too - these will slowly drift towards you and explode, dealing heavy damage, if they reach you. They expire after a bit of time but if you like you can target them with ranged throws of your chains to clear them away.
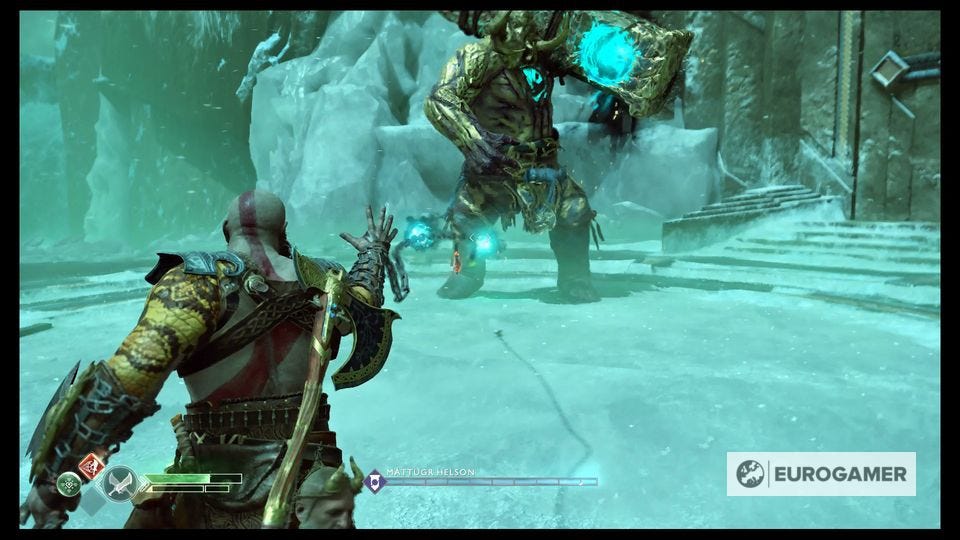
After you whittle the Bridge Keeper to about two thirds of its health, it'll change it up a bit. Smaller enemies are summoned - Hel-Broods, which jump on your back and stun you if you don't quickly clear them out - and he'll also start performing a shockwave attack.
This sees him stand at the far end of the circle and start sending out shockwaves along the ground - they're fairly slow-moving though, and dodgeable, so if you can try to weave through them and get to melee range, just to the side of him, where you can dish out some hefty damage before he's forced to teleport and start melee attacking again.
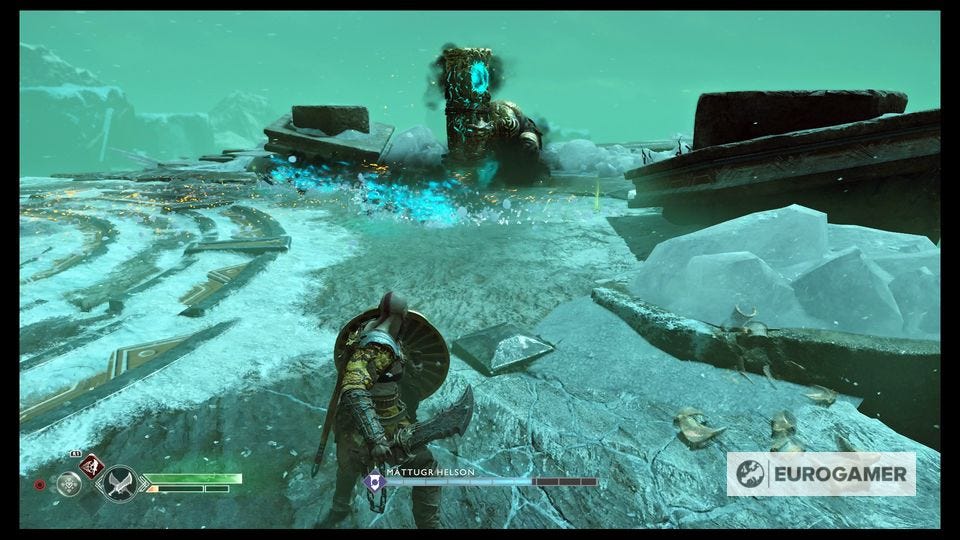
Keep dodging and chipping away at him - you have to really be proactive and get close to him otherwise your progress will stall at this point, so gamble on your reflexes and push in for the kill! A Spartan Rage now will probably be enough to get you over the line.
Eventually you'll strike the decisive blow and open him up for another buttom prompt finisher, and then it's time to harvest the heart. Yum.
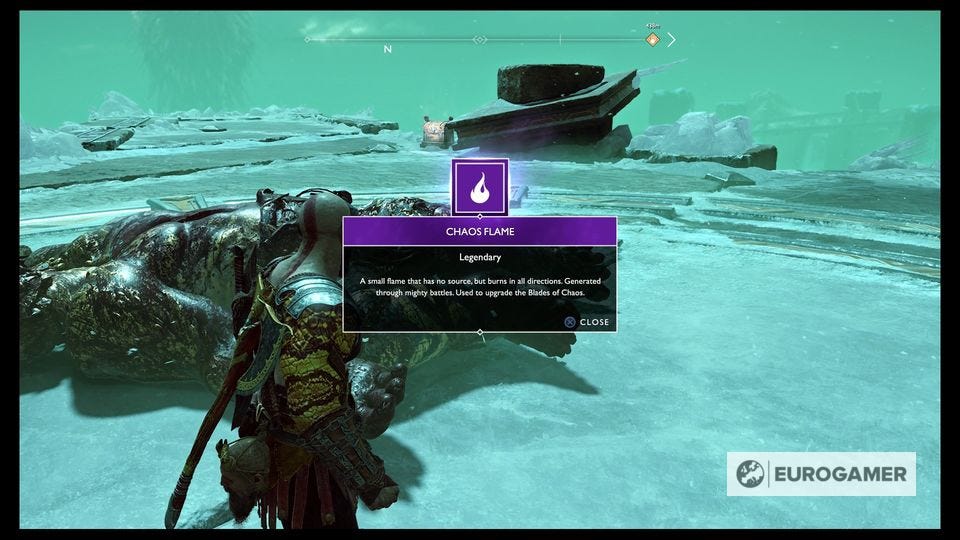
Make sure you gather the loot - which includes a Chaos Flame that lets you upgrade your chains to the next level - and then head over to the Bridge Keeper's pillar, to fine Brok, of all people.
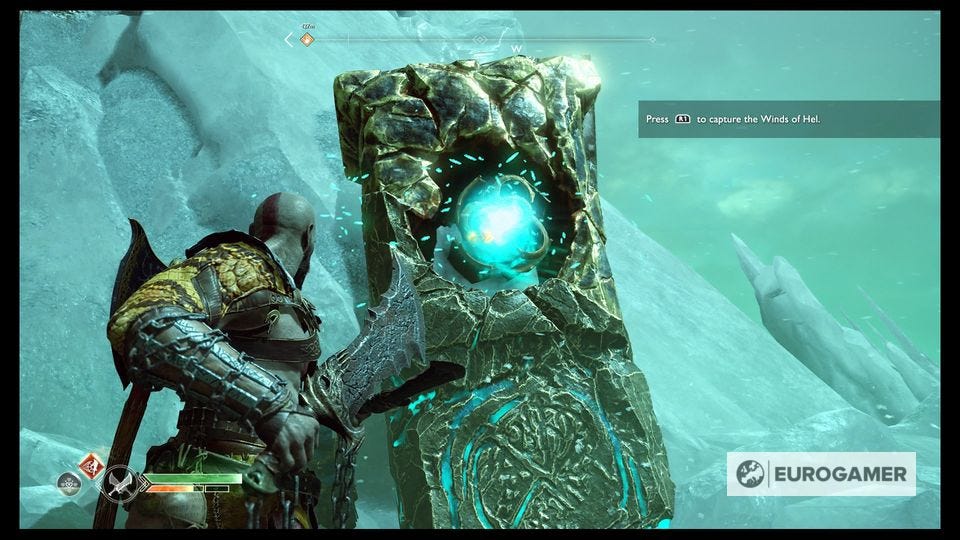
He works a bit of magic on your chains, and suddenly, you can clear those green orb-based puzzles that you've been seeing around the world - including the one sealing the doors that you need to exit through right now.
Return to Tyr's Travel Room
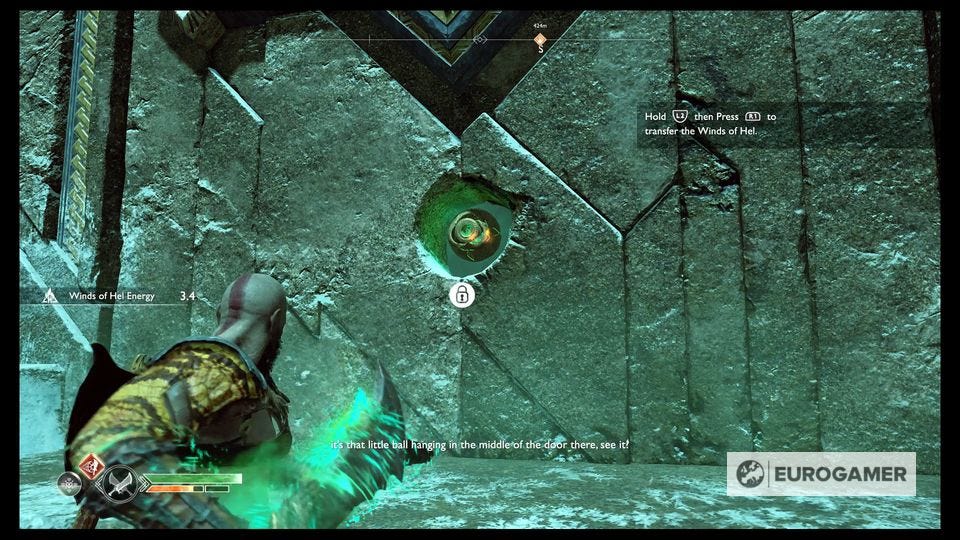
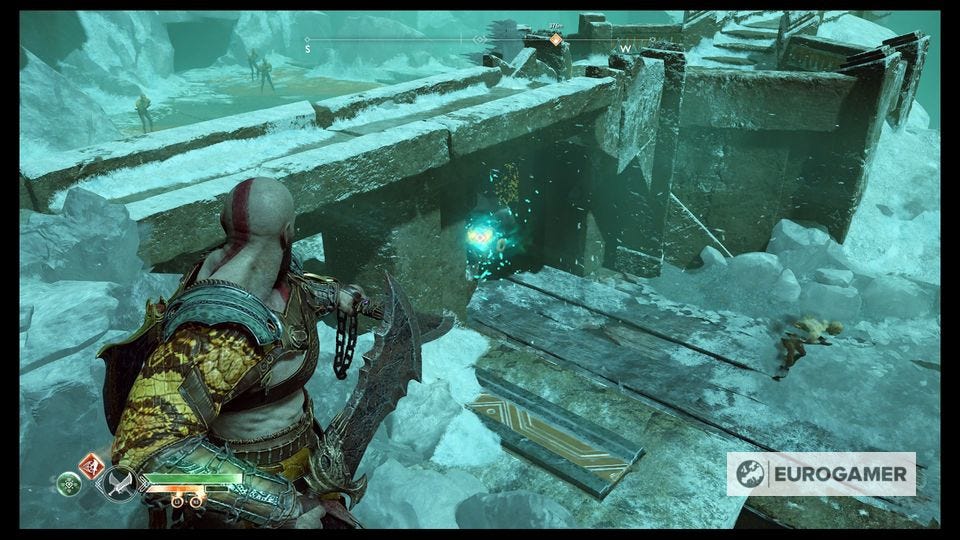
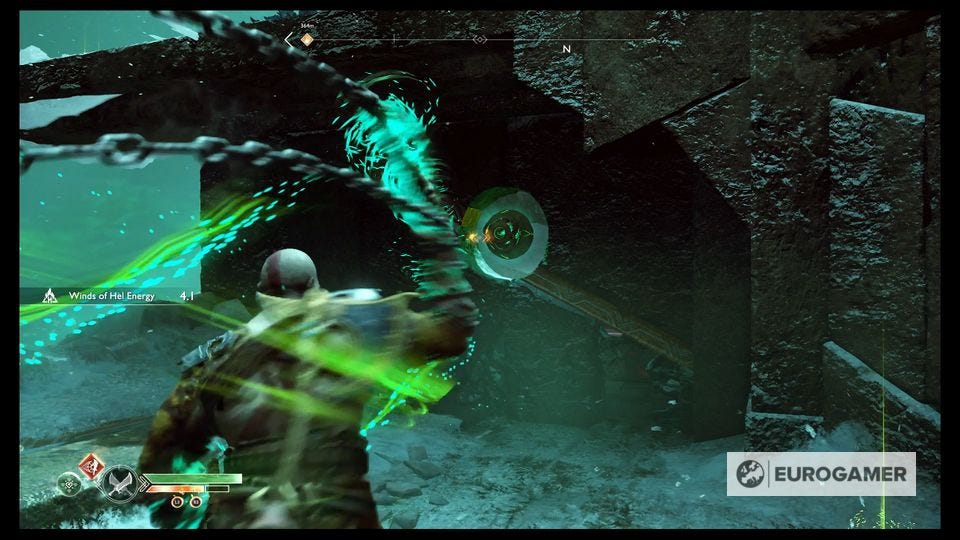
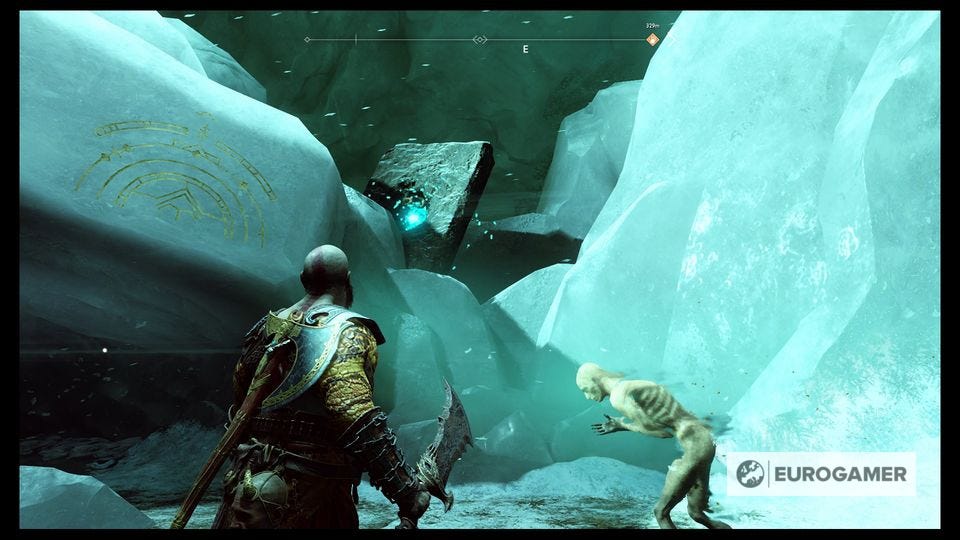
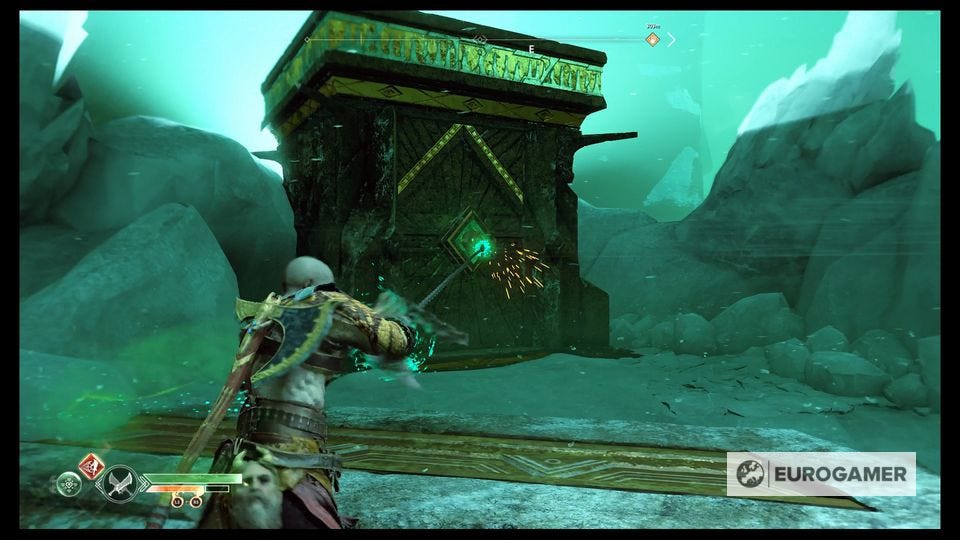
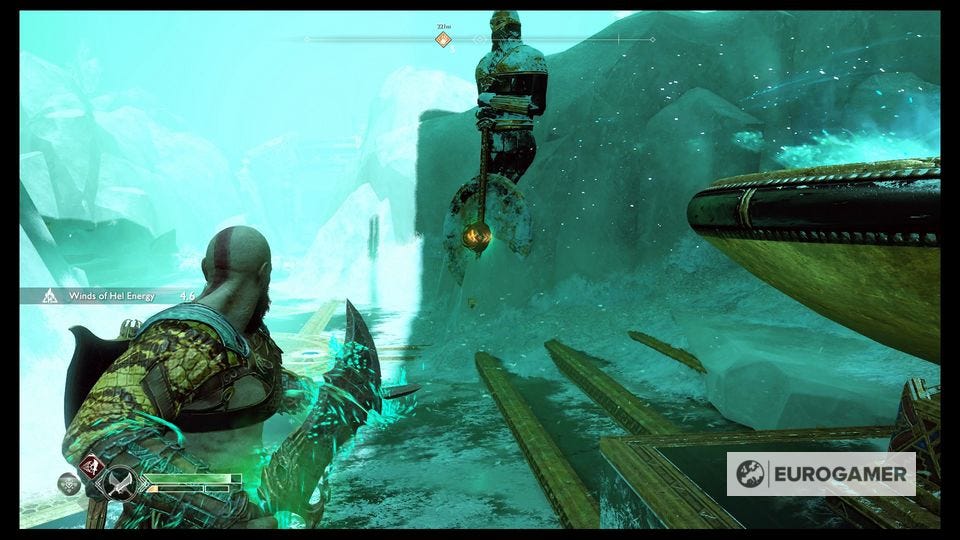
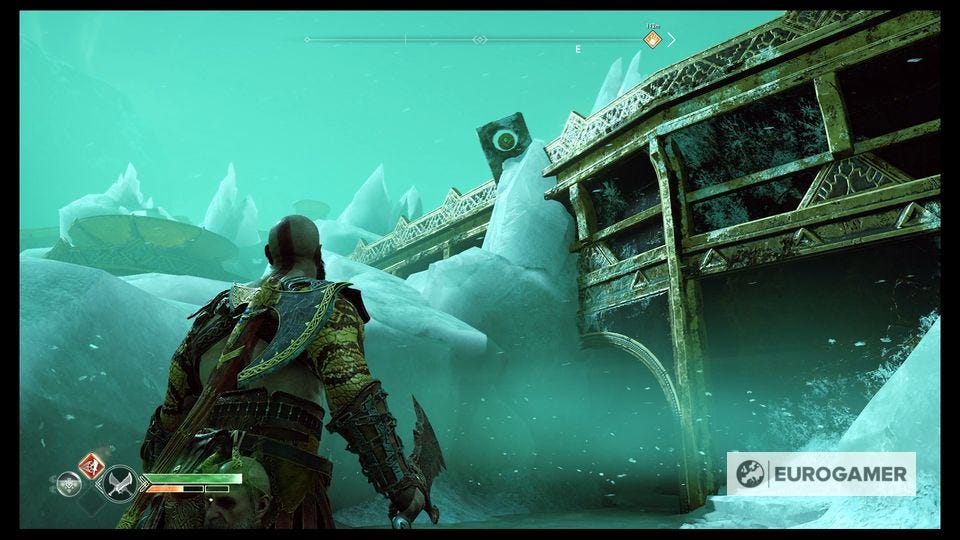
The Winds of Hel work like this: throw your chain at the green, brightly glowing orb, and it'll trap the wind in your chains for 10 seconds. Run to a "wind trap" a less-bright green orb, and throw your chains at that to transfer the wind there and leave it safe.
You'll need to chain the wind through multiple traps to solve most of the puzzles, but start by using it to open the huge doors and exit.
Winds of Hel puzzle solutions and Hel Traveler
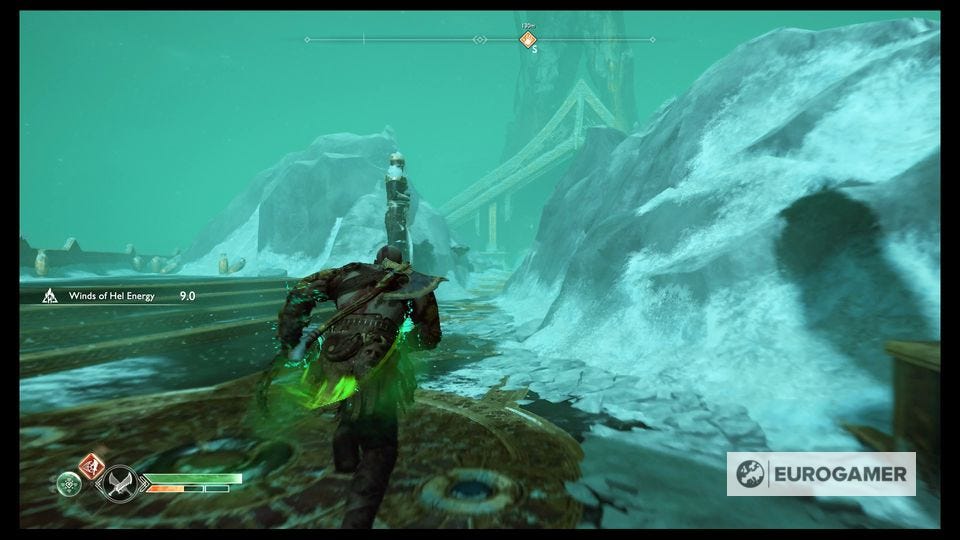
Now you're through that gate, you're going to be using that new wind-trapping mechanic a fair bit to get yourself back across the Hel version of Tyr's Bridge to the safety of the Realm Travel Room.
First, take the wind from the orb in the door behind you, and put it in the trap in the wall in front of you to the right.
Defeat the handful of enemies on the other side and then do the same - taking the wind from where it's glowing in the door you just passed through, and putting it in the trap ahead of you, this time to the left.
The first mini-puzzle is here: getting the wind round to the other side of this door so that you can unlock another door to a Coffin chest nearby.
Go through, then turn back and climb up on top of the wall (maybe it's a mini-bridge?) that was blocking you, from the other side, and go to the North-East corner of the mini-bridge you're standing on and look down. You can see the orb you just put the wind into from here.
Take it from there, drop down again where you climbed up, and hang to the other side at ground level to put it in a trap there - this opens up a gap for you to get to the Coffin chest, that holds an Etched Crest of Perseverance.
Crawl through the tunnel up ahead and smash the Hacksilver chest to your right as you exit, and you'll come to some more huge, locked doors with wind traps on.
To unlock them, you need two sources of wind - not just the one on the door in front of you. Luckily there's a spare one just to the left of you where you exited that little tunnel.
With both wind traps on the door filled, you can continue through it.
On the other side, grab the wind from one of the traps on the door, and on the other side of the door immediately hang left to find a locked little mausoleum-type building there - put the wind in the trap in its door and inside is a Coffin chest.
Take the wind from there and put it in the trap ahead of you on the bridge to your right, and then it's time for a proper fight!
Hel Traveler
The Hel Traveler is another mini boss that works almost identically to the one you faught up by Thamur's Corpse. It has some heavy attacks you can't block - the red-ringed warning signs - and some that you can, marked by the yellow warning rings.
This guy doesn't have a shield, which makes him more vulnerable (sort of like how Magni was compared to Modi) but he's also resistant to your axe, so you can only use your chains. Dodge is unblockable stuff and then counter attack, and it's worth popping a Spartan Rage now if you have one, at which point he should go down fairly easily.
When he's down, be sure to collect the rare loot, and then press on to the gates up ahead. You can run all the way to the exit now but there's also one more optional wind trap puzzle to solve, so we'll quickly take you through it!
Grab the wind from the trap by the big doors just ahead, and run forwards to put it in the trap ahead of you on your right.
Now clear the enemies just ahead, and the other enemies just beyond them back at the Realm Travel Room exit.
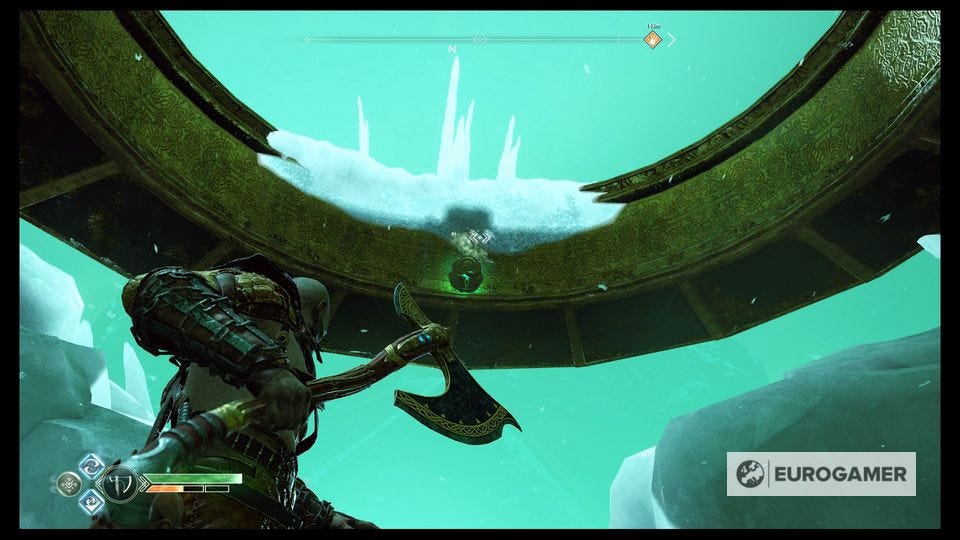
Go back and grab the wind from that trap, and peg it forwards as fast as you can to the spot that has a circular podium and a big gold ring above your head - the next trap is up there on the gold ring. If you run through and turn up and behind you the way you came you'll see it.
It's tight to make it in 10 seconds, and took us a couple of tries, but it's doable! There's also an Odin's Raven sitting on top of the trap so take that out while you're at it!
Here's the bit that's easy to miss: get the wind from the trap at that ring, and then start going towards the exit but immediately hang left - from the left-hand side of the bridge, look due south, and there's a rectangular trap up ahead of you.
When you've deposited it there, run to the other side of the trap, near the exit, to claim it, and then run to the West-hand side of the bridge to put it in a trap in a similar position there.
Go down the steps on that side, collect it from the trap, and put it in the Mausoleum door that's down there to get a Legendary Chest. Now you can finally leave! Remember to upgrade your chains at Brok's shop when you do.
One final thing to note - Brok's upgraded those Mystic Gateways to be two-directional, meaning they work like normal fast travel points now, basically. Use the one at his shop to travel to Freya's Cave, so you can deliver the heart to her right away.
Next up: God of War - The Black Rune, Tyr's Vault Water Puzzle solution, Grendels boss fight