God of War - Destroy the Hive, claim the Light, Escape the Temple
A walkthrough for the fourth part of the Alfheim God of War story mission, a The Light of Alheim.

Destroy the Hive, claim the Light, and Escape the Temple are your next objectives on the Light of Alfheim quest in God of War PS4's main story.
Here on this page, we'll take you through everything you need to know about this section of your quest, including how to solve any puzzles, take down any bosses and find any useful loot along the way. For guides to specific collectibles we also have pages on Valkyrie locations and how to open Hidden Chambers, Lost and Found locations and Faces of Magic locations, too.
This page follows on from God of War - Ringed Temple and Ringed Temple Interior.

Otherwise, you can always cycle back to our main God of War walkthrough and guide hub, or our guide to God of War Valkyrie locations and how to open Hidden Chambers, too.
Destroy the Hive and claim the Light
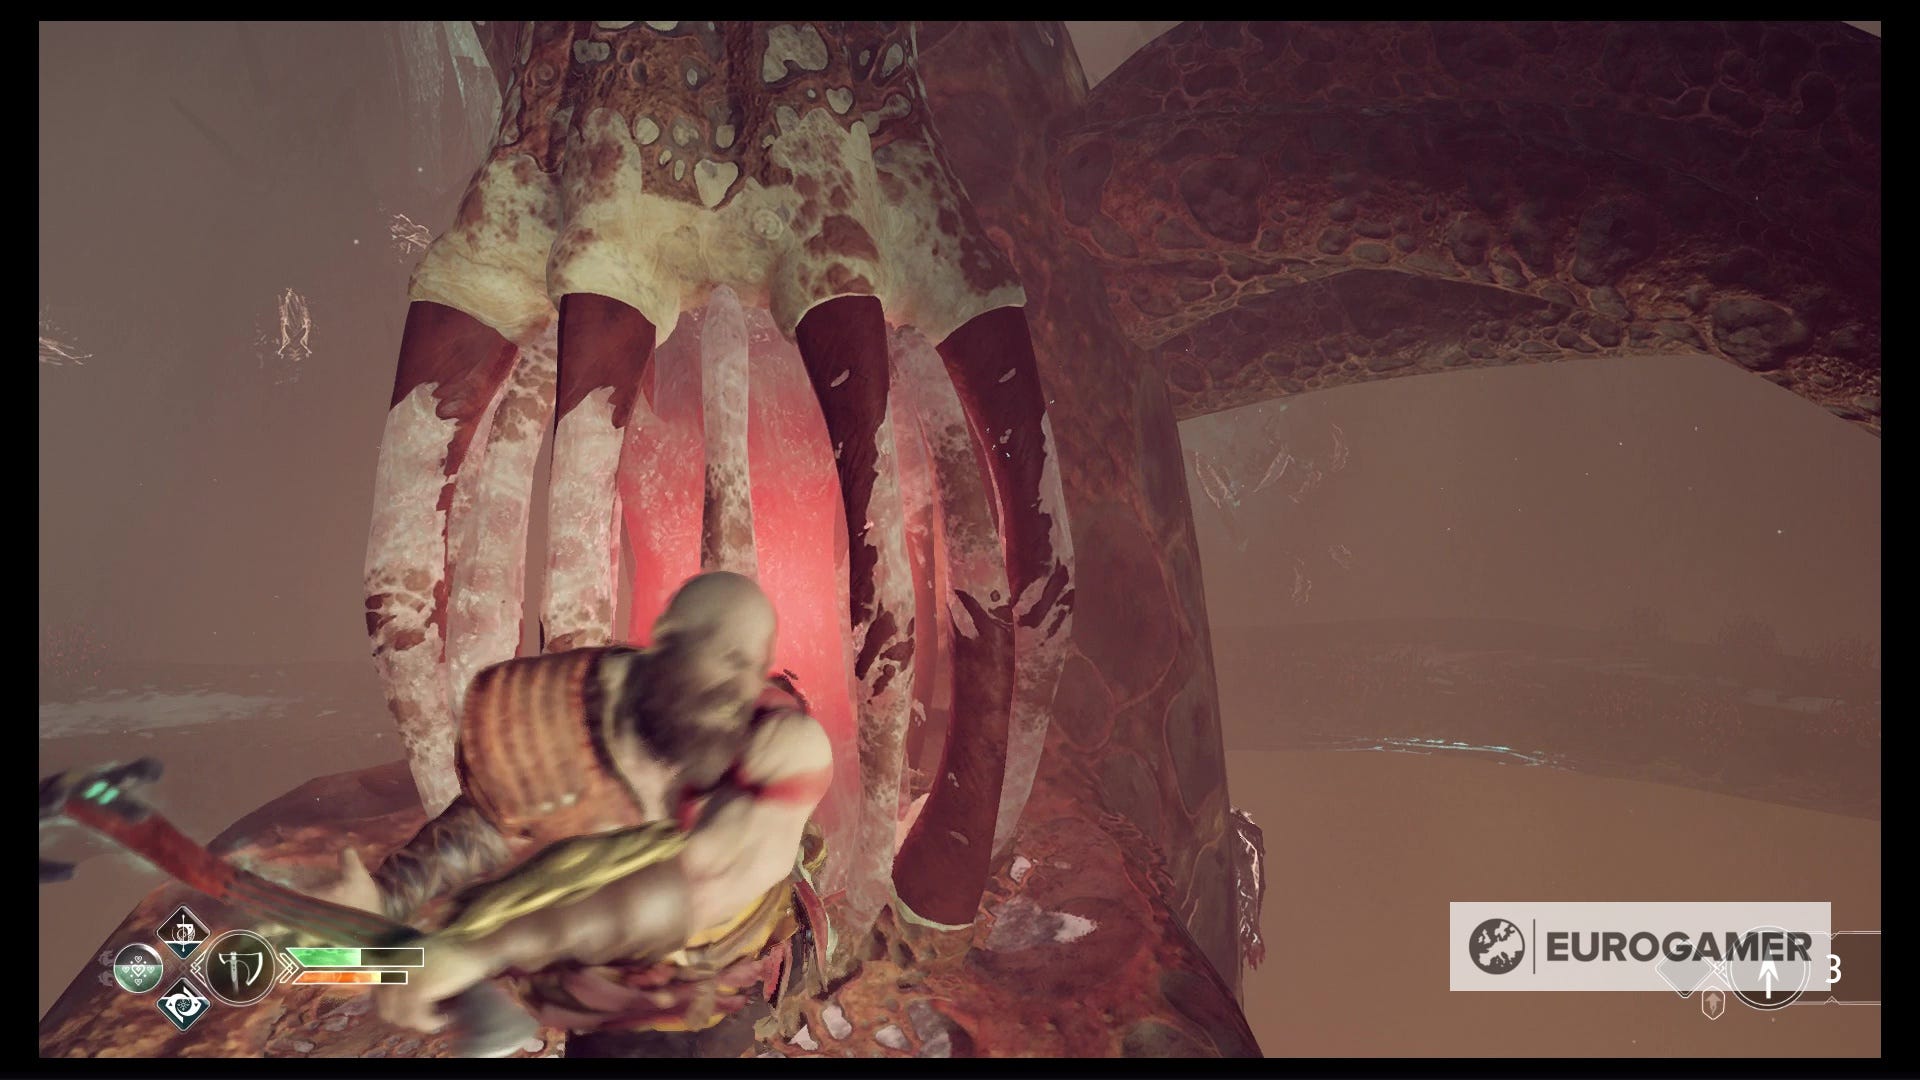
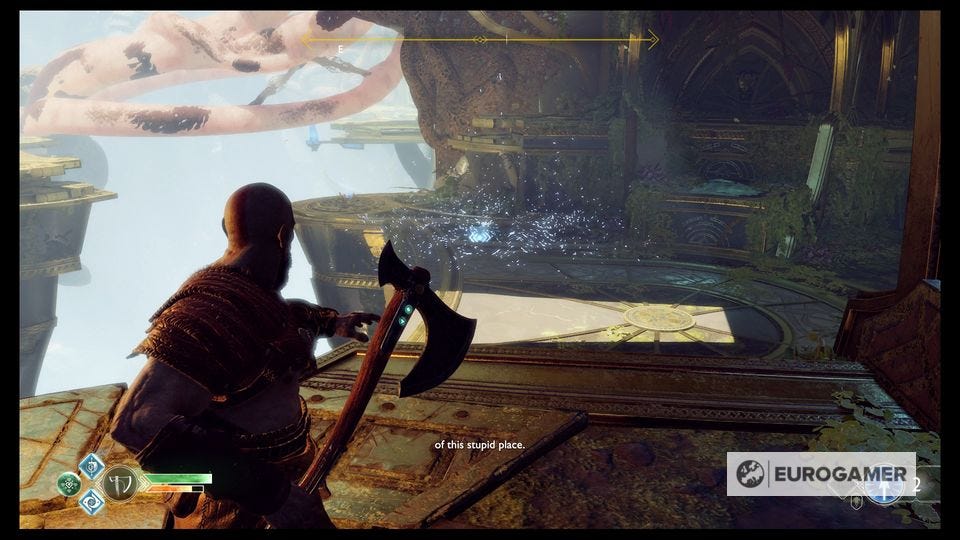
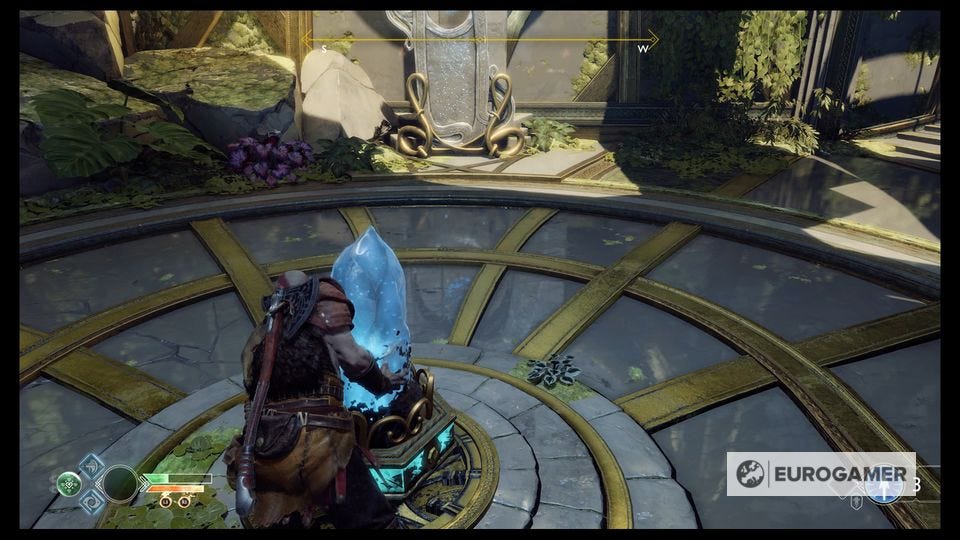
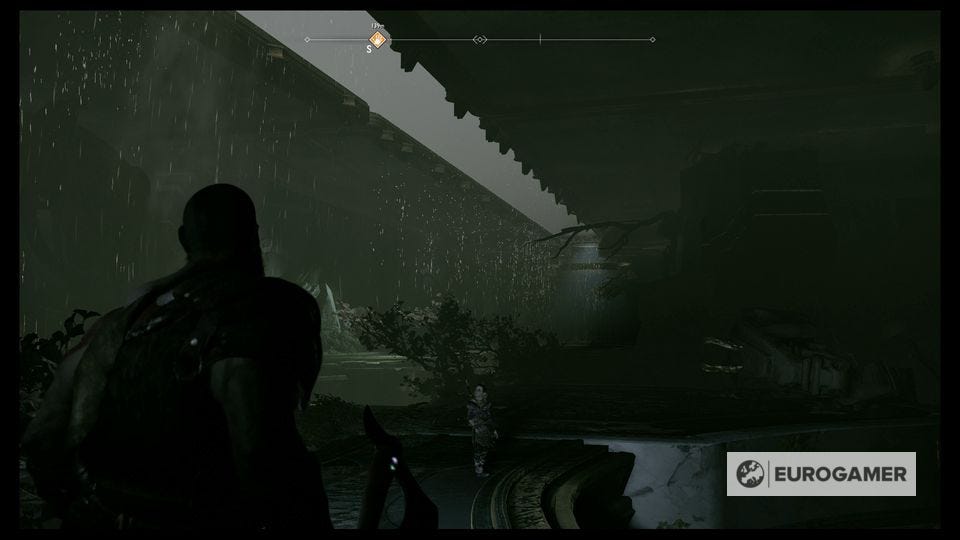
Alright, prepare yourself, as things are looking ominous. First off, work your way up the ramp an destroy another of those pulsing red stems up ahead.
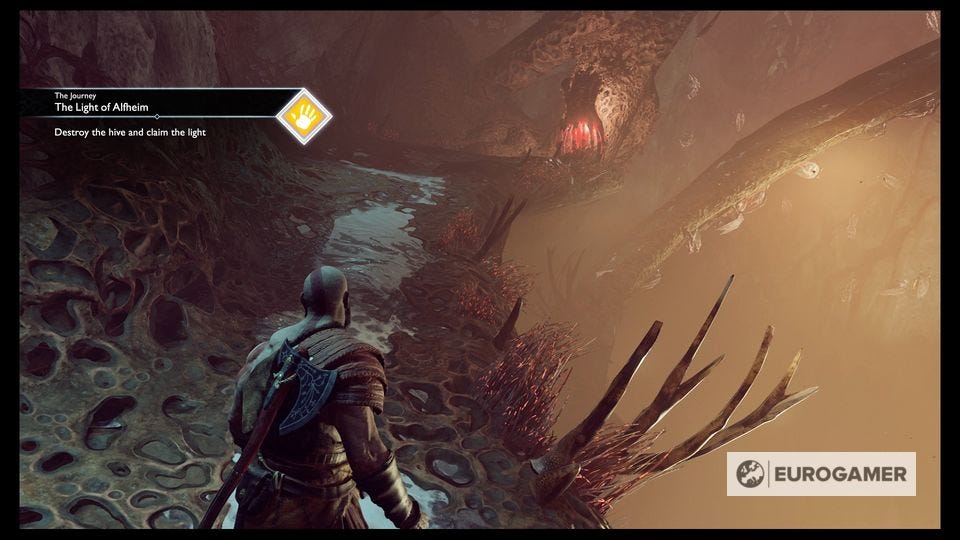
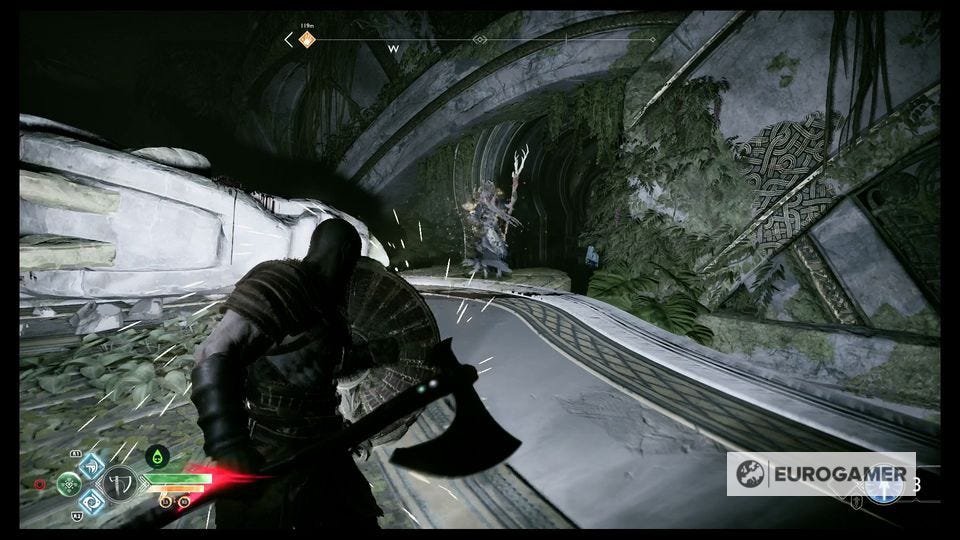
Then... fight! You need to work your way up the ramp to the top for another of these red stems, but to get there you're going to have to pass through wave after wave of Dark Elves.
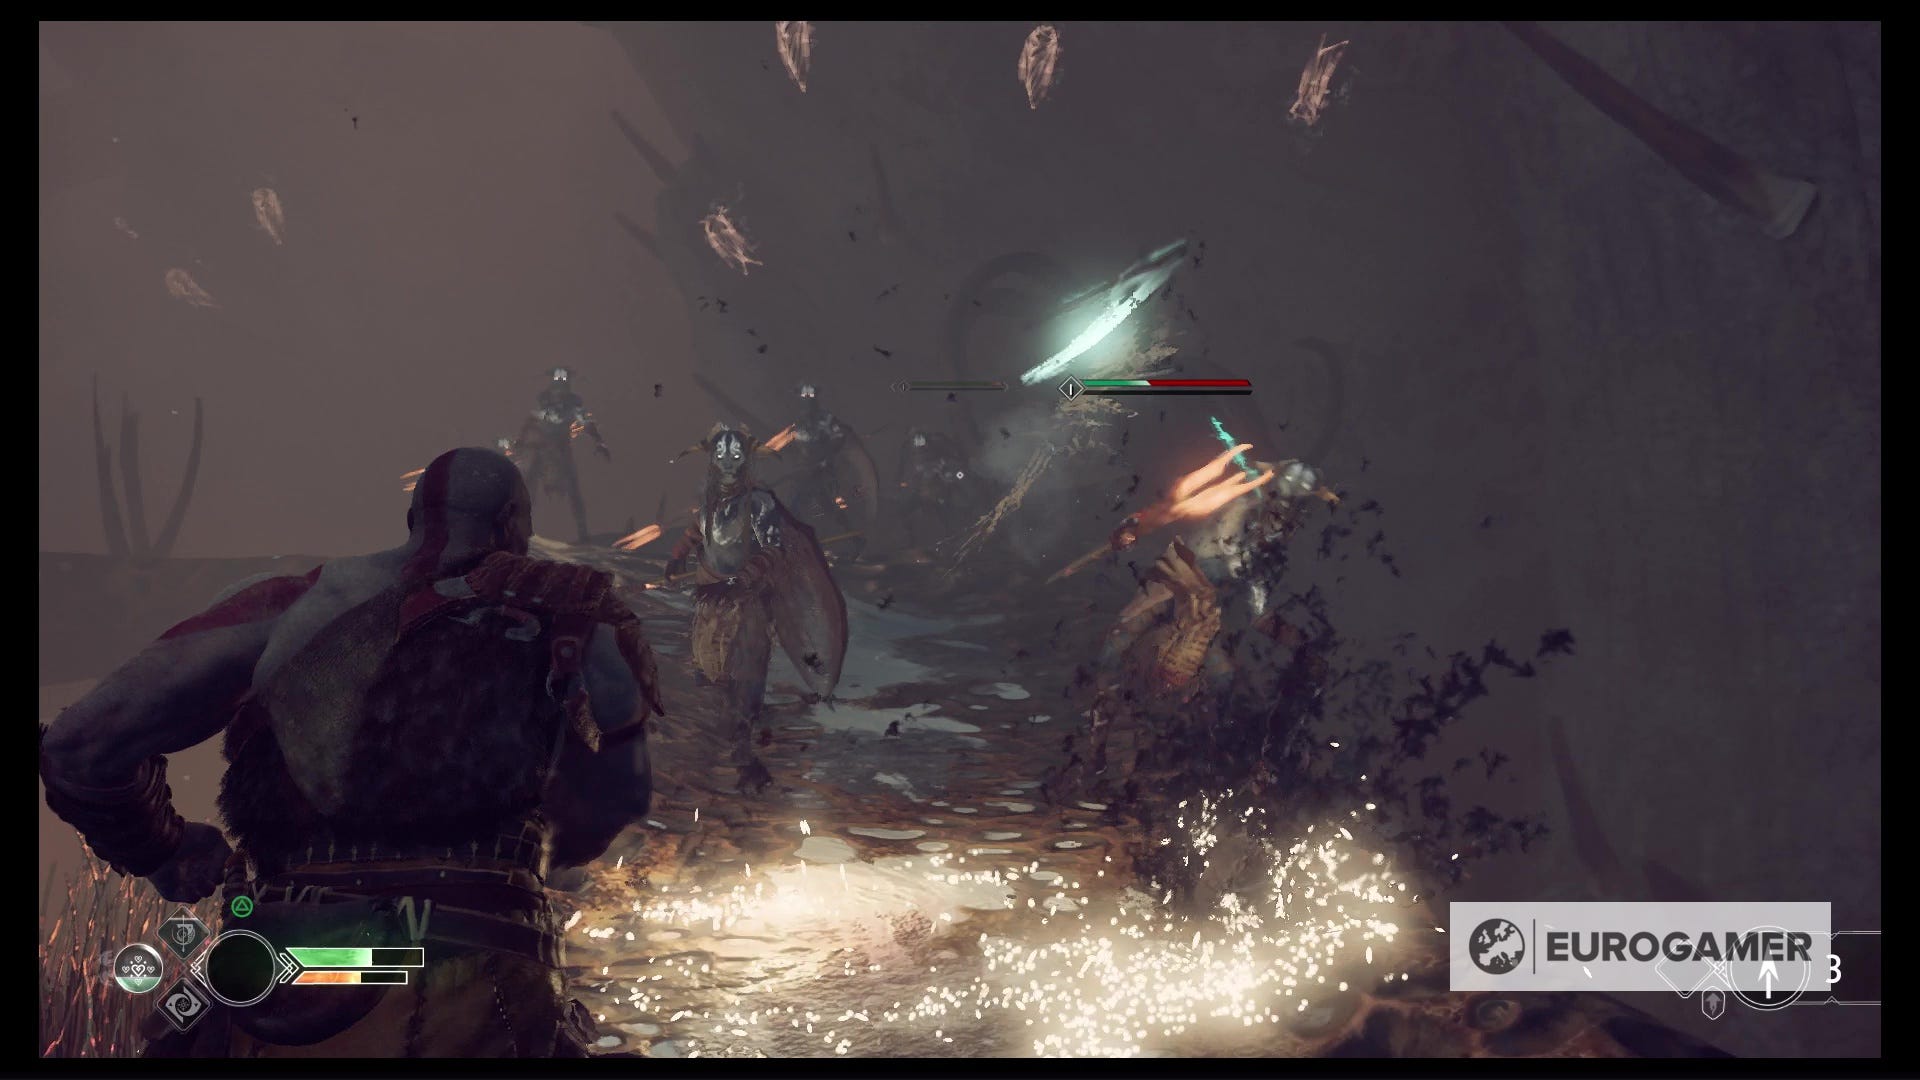
You need to just keep pressing on here - run through enemies if need be, just use all your runic attacks, spam Spartan Rage whenever it's ready, and plow on - you'll soon reach the top, where you need to hack one more red stem to clear out the Dark Elves for good.
After the cutscene you'll find yourself inside the light - just keep walking forwards towards the sounds of the voices, until another cutscene brings you clattering back down to earth, and reality, with Atreus.
It turns out you've been in there a while, but after totally not-apologising to your son, you have at least refilled that Bifrost thingy, which also lets you charge up Atreus' bow with special Light Arrows - the same Light Arrows that let the Witch hit those blue crystals to form light bridges. Handy! This is how you'll escape.

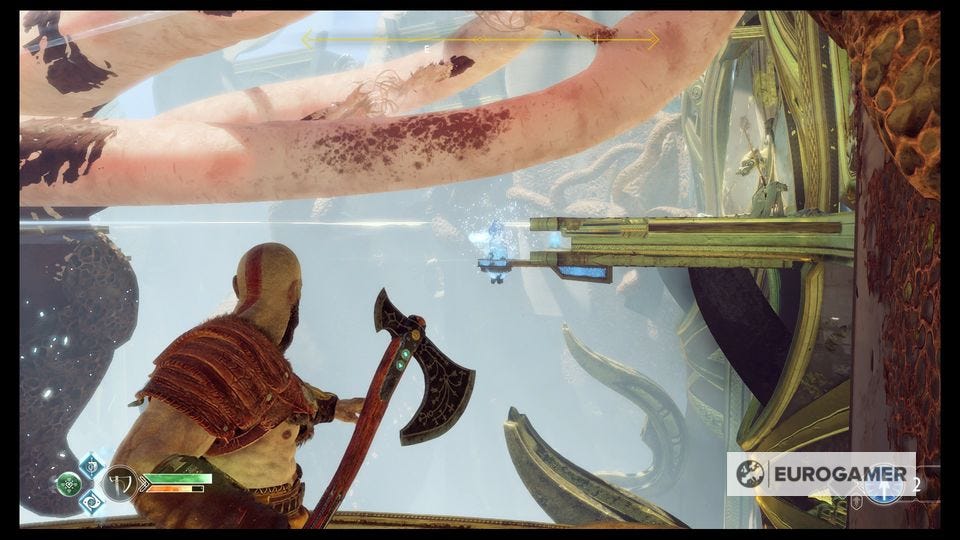
Use the arrows the same way you would a normal Atreus arrow - point and press Square to shoot. Hit the first crystal dead ahead to form a bridge and cross. Then hop down to the left where you'll find a loose crystal on the floor.
First, carry it to the socket to the South of that little platform and climb back up the side you just dropped down from, to reach a red chest with another Fragmented Heart of Alfheim inside, which you can stack with your other enchantments for a lot of Dark Elf resistance (you'll need it soon).
Then hop down, pick up the crystal again, and lug it over to the other socket in the eastern corner of the platform, and while you're there shoot the next crystal just to east of you with Atreus (generally, shoot crystals as soon as you have line of sight of them, as you might not always be able to get an angle after you move on).

Then hop back up to the level above via the ledge just next to you, and continue across the bridge.
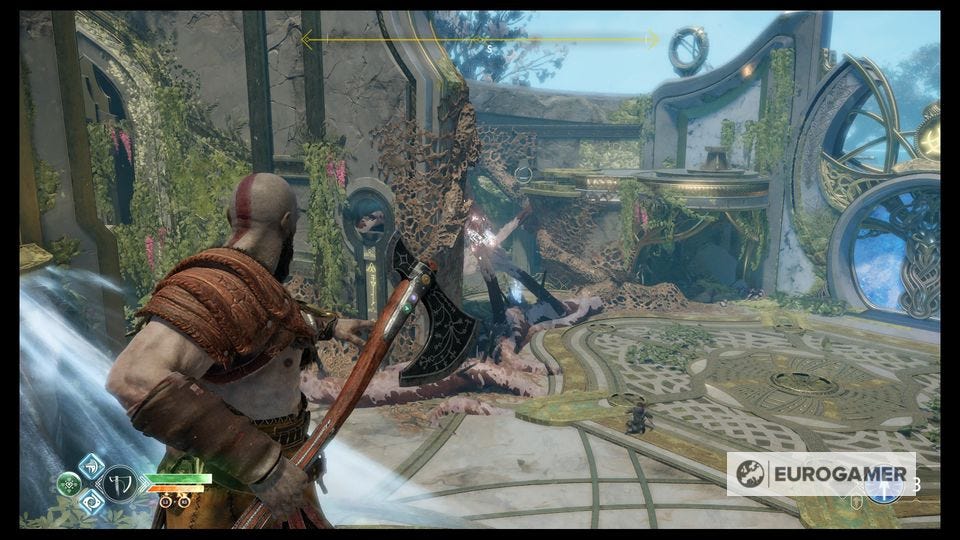
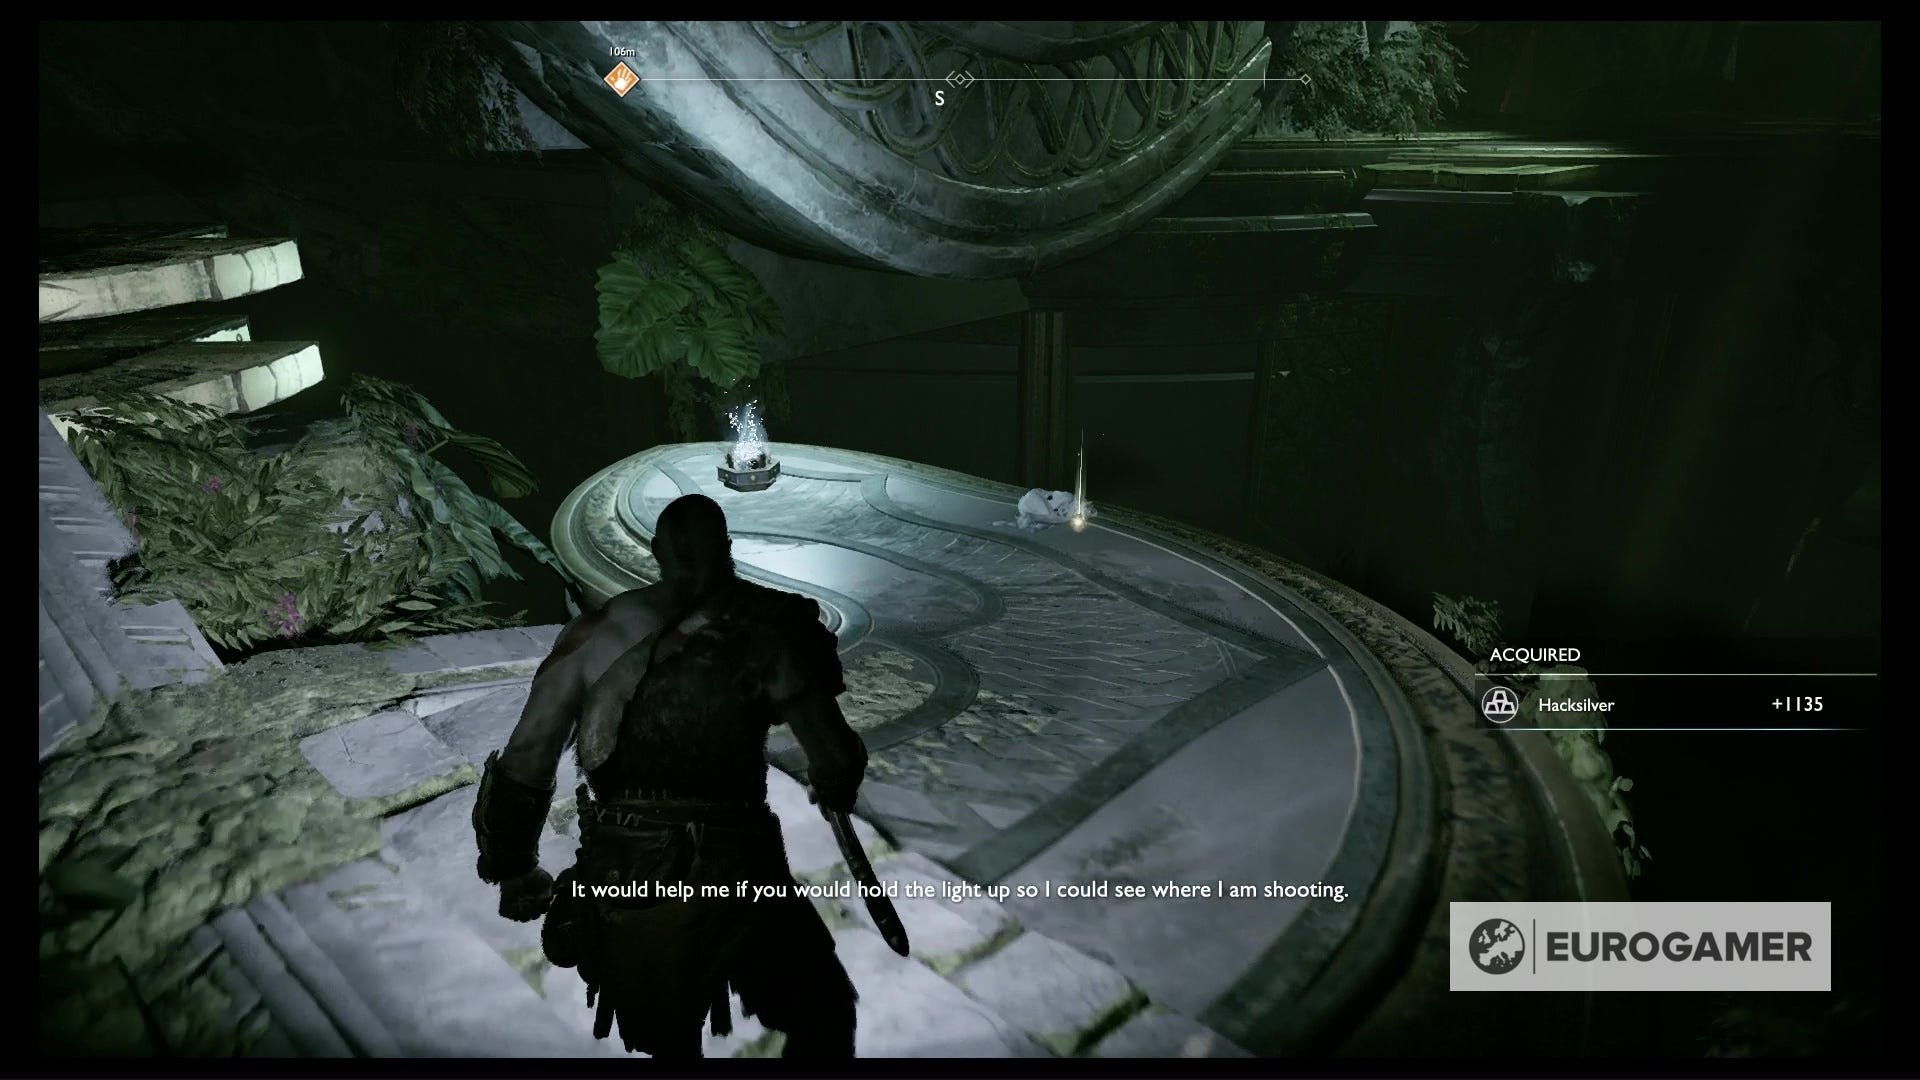
On the other side you're greeted by some Nightmares - deal with them - then take out the two vines together to get to a nearby Hacksilver chest.

Clear another vine against the wall, then turn and look to the South and shoot the crystal on the far side to cross the bridge, defeating the couple of Dark Elves that spawn.
Go to the next bridge to your right and clear the vines by hitting two glowing spots from just on top of the bridge, and shoot the crystal that appears right behind them when cleared.

Now cross the cleared bridge back to that last platform and climb the now-cleared wall up to the top level.
Get rid of the enemies there and cross the new bridge to the South, towards the big grand doors at the exit.
Defeat the enemies up the top of the ramp and open the chest for a Light Runic Attack called Strike of the Utgard.

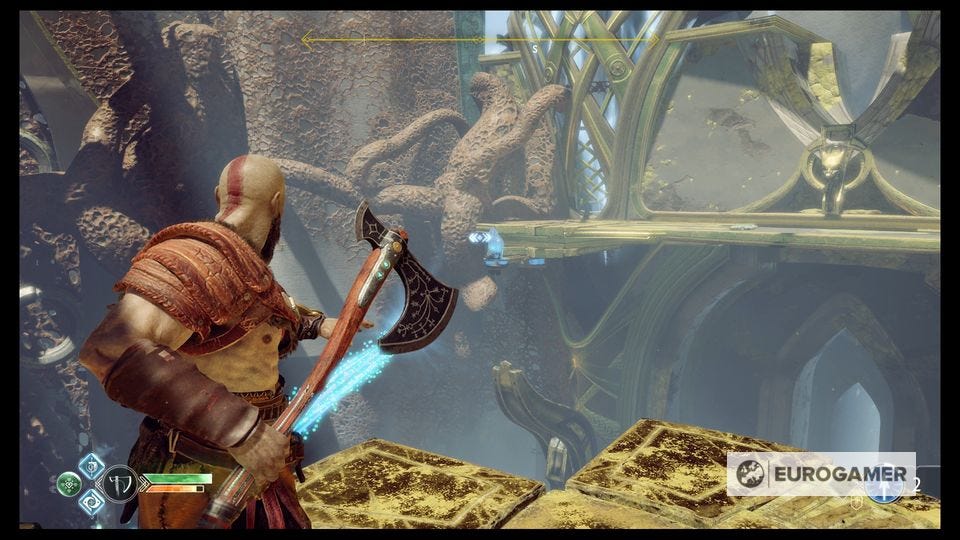
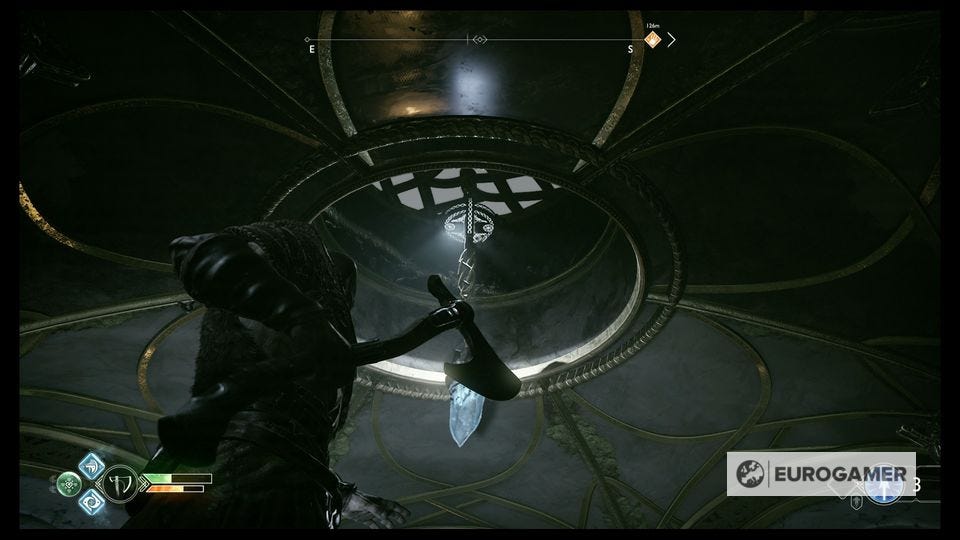
Then turn to the doors and look up - there's a hanging crystal and, above that, a disc in the chain that you can hit with a throw of your axe to drop it down.

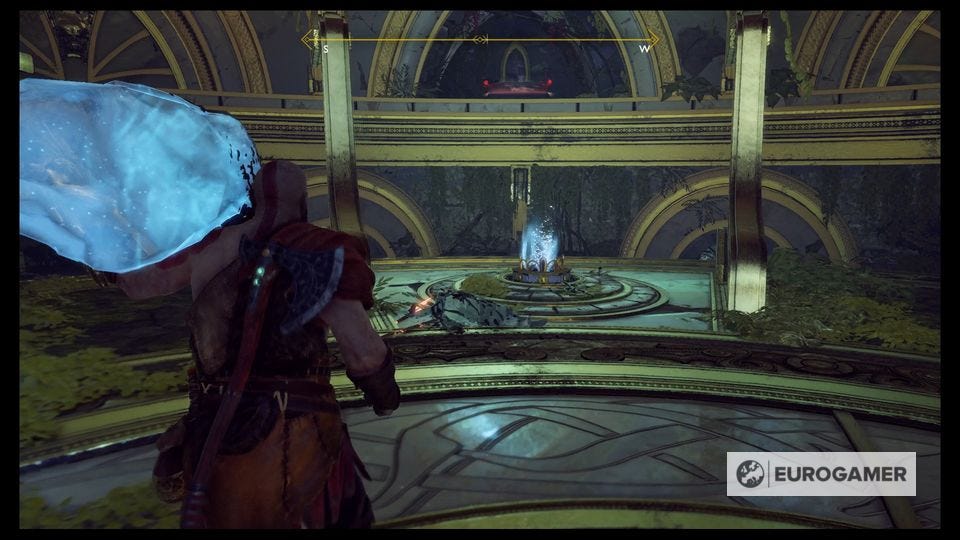
That'll open the doors - then carry the crystal through and pop it in the socket, and shoot it, to activate the lore tablet in front of you, and read that with Atreus.
Then, pick the crystal back up and carry it up the ramp to the right. Another locked door is there - but with the crystal you can open it quite easily. First, put it in the socket in the middle of that area.

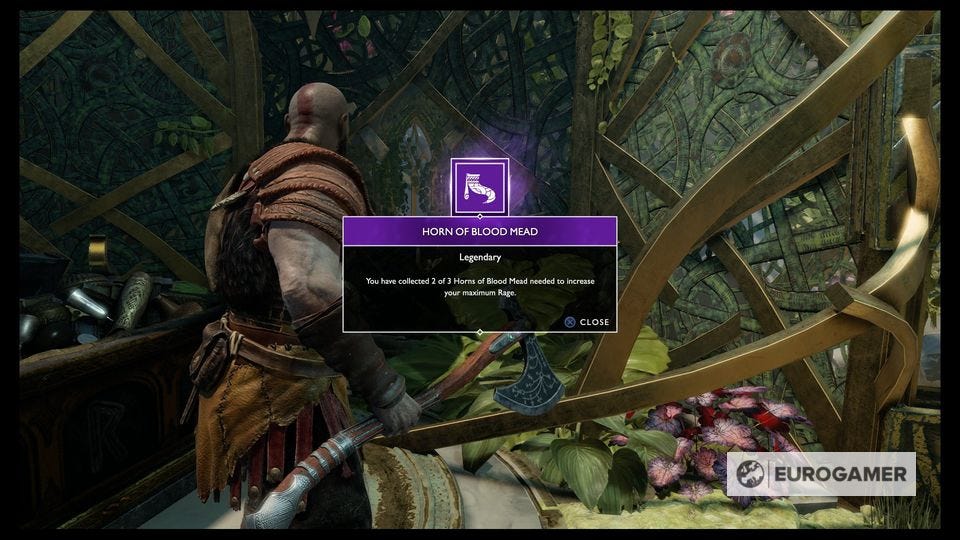
Climb up to the right and across the new bridge to the chest in the centre of that platform, which contains a Horn of Blood Mead.
Then, move to just the right-hand side of that light bridge and look towards the left of the locked exit door - you'll see the glowing vines line up for a shot from here.
Drop down and pick up the crystal once more, then carry it over to the now free socket. Now there's a new bridge above that socket - run to the left end of that bridge and boost the boy up so he can get to the sand bowl and carve in the rune.

The door is open! Head outside, where you're greeted by a handful of Light Elves, and make your way to the dock - only, the boat isn't here.
Looking for more help? Our God of War walkthrough and guide helps with the main story progress, including The Witch's Cave puzzle solutions. We also have articles on God of War Valkyrie locations and how to open Hidden Chambers, plus collectables including God of War Faces of Magic locations,God of War Lost and Found locations, God of War Treasure Map locations and God of War Nornir chest locations.
Escape the temple, use the Sand Bowl Lift
When you walk down the bridge to the dock you'll realise that, of course, the boat is still back at the sand bowl. That means heading back down and through the big trench, and up via the Sand Bowl Lift at the other end, to escape.
Use the Sand Bowl Lift
Go to the right of the platform then, and use this lift to go back down below. In the bottom chamber turn to the North to find a now-opened room containing a Hacksilver chest.
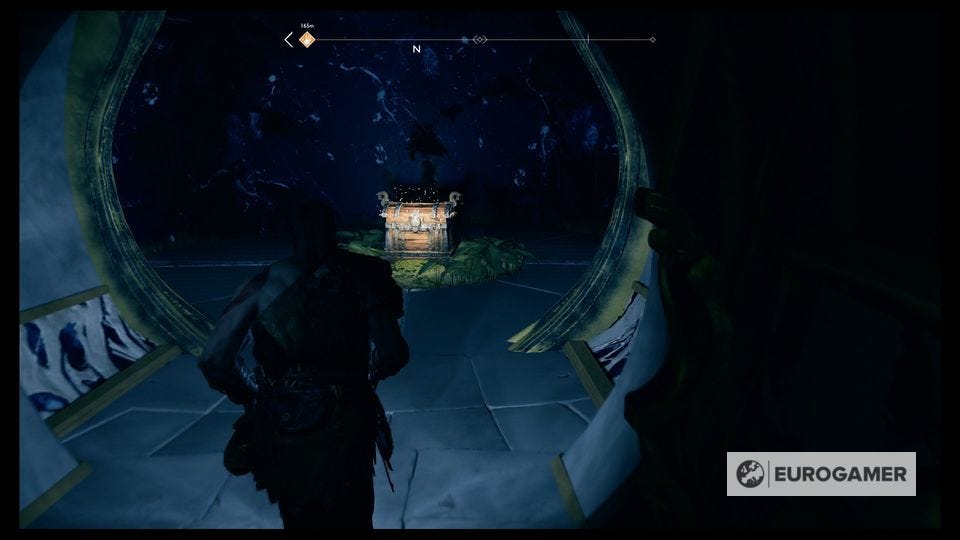
To the West, there's also a now-opened room with a dead elf inside, and a Spoils of War Elven Artefact (the first of six).

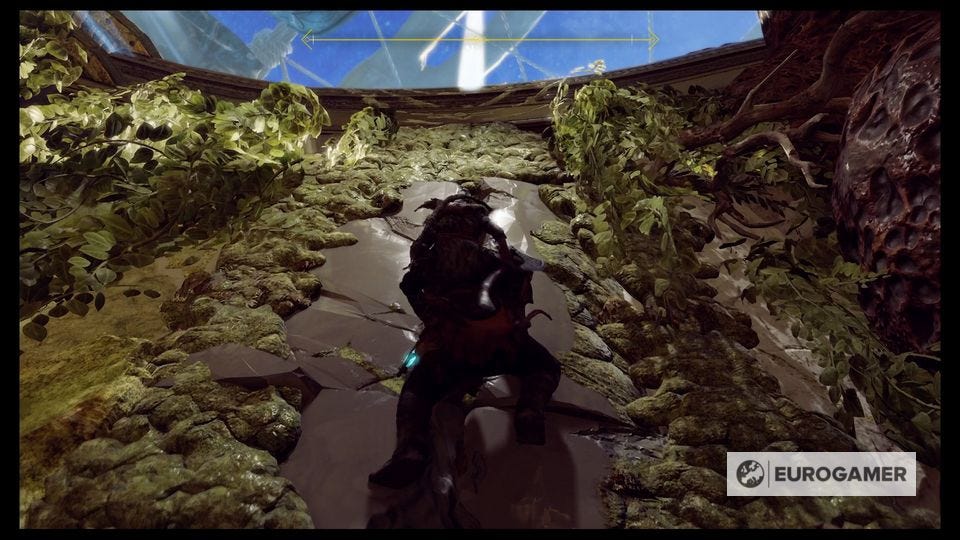
Now turn to the closed door to the South, and pry it open - outside the water is pouring in, and the huge chasm above is closing, turning everything nice and dark.
Just ahead, a Revenant will appear - remember to stun it with Atreus' arrows and then dish out the damage to take it down. There are a couple of other decidedly nordic enemies strolling around too, which is odd, so be on guard.
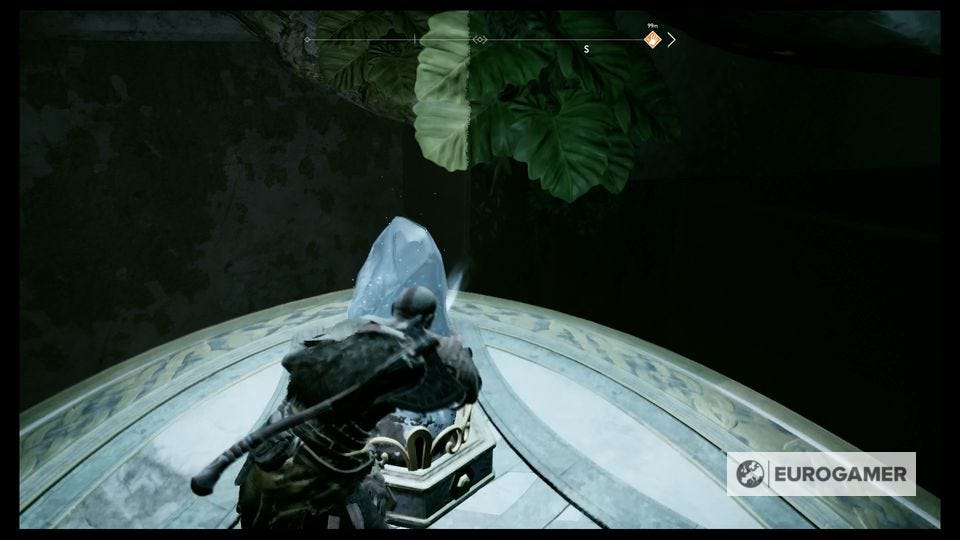
At the bottom of a short ramp to the south is a crystal socket, near a dead elf's body. You'll need to find a crystal to progress.
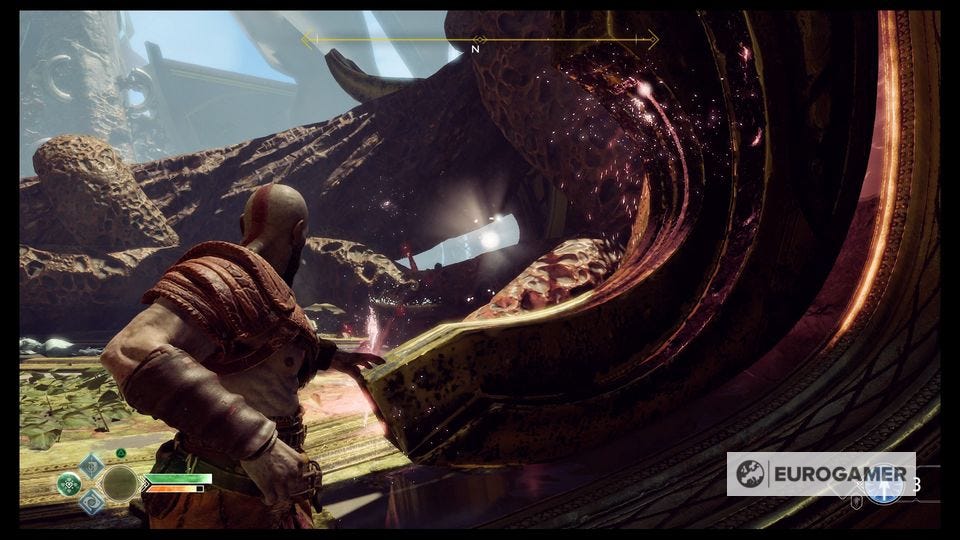
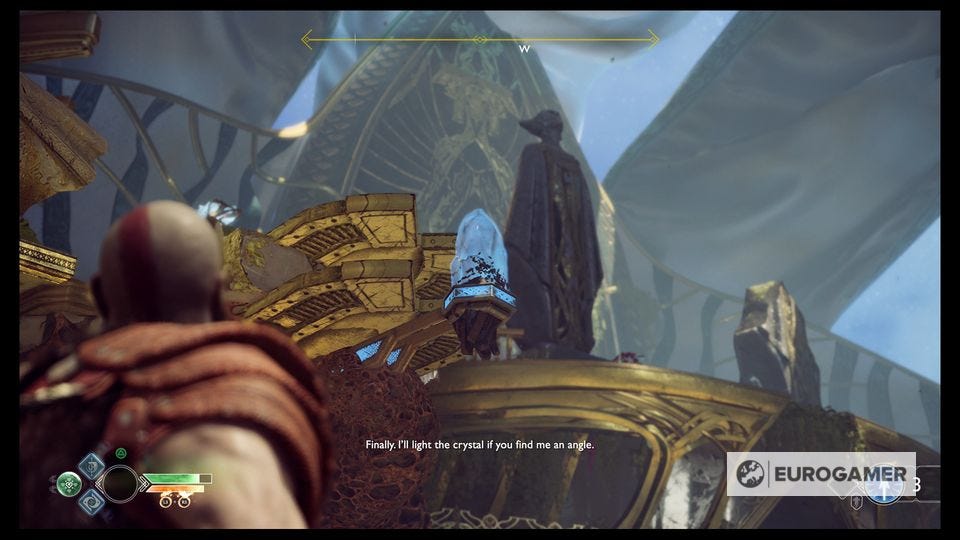
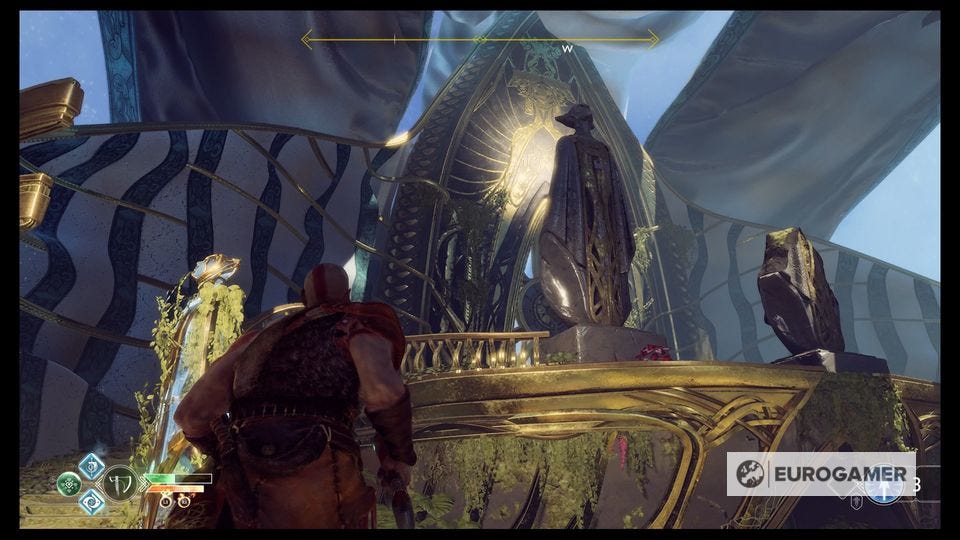
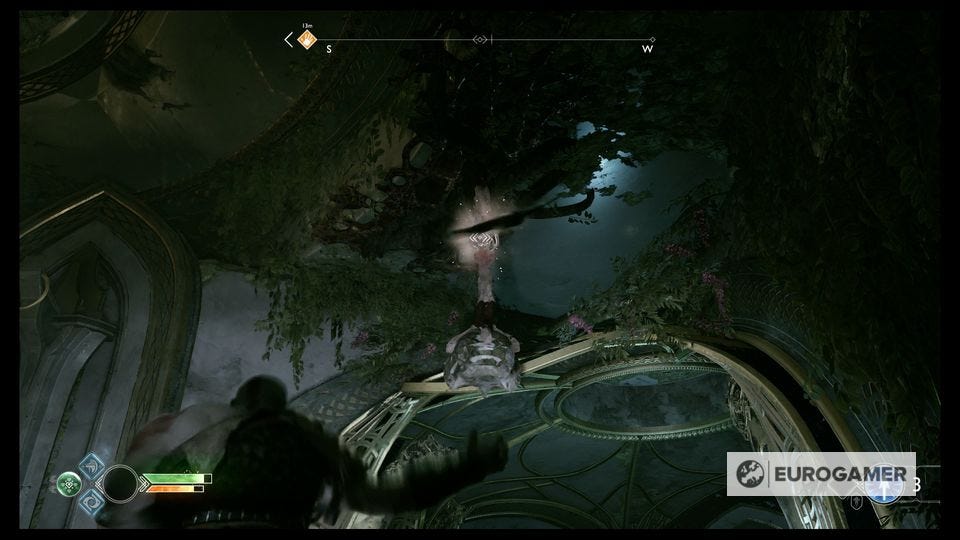
So, first turn to the South East and use Light Arrows to cross the bridges through that corridor to a chamber at the end. Inside, look up: you'll see a crystal dangling from a chain, attached to a small disc. Hit the disc with your axe to drop it and pick up the crystal.
A swarm of enemies will attack - Draugr - so wipe them out first, then inspect the now-opened rooms to find another dead elf with an Elven Artefact.

Now carry the crystal to the North-West, and use Light Arrows to cross the bridges through that corridor to a chamber at the end too, where there's another socket and a puzzle for you to solve (you can skip this and put it straight in the socket on the little ramp but hey, it's free treasure).
Dropping in the crystal will start the puzzle. In front of you is a door with four runs on it B, E, F and a sort-of-T.

You need to throw your axe at the discs on the pillars nearby to spin the plates so that the right letters are displayed in order - and there's a time limit too (if you run out of time, shoot the crystal with Atreus again to retry).
Start at the near-left one as you enter the room, and work your way round clockwise, next to the far left, then far right, then near right. The solution is:
- Near-left - One hit clockwise, to show B
- Far-left - One hit clockwise, to show F
- Far-right - Two hits clockwise, to show E
- Near-right - One hit clockwise, to show T
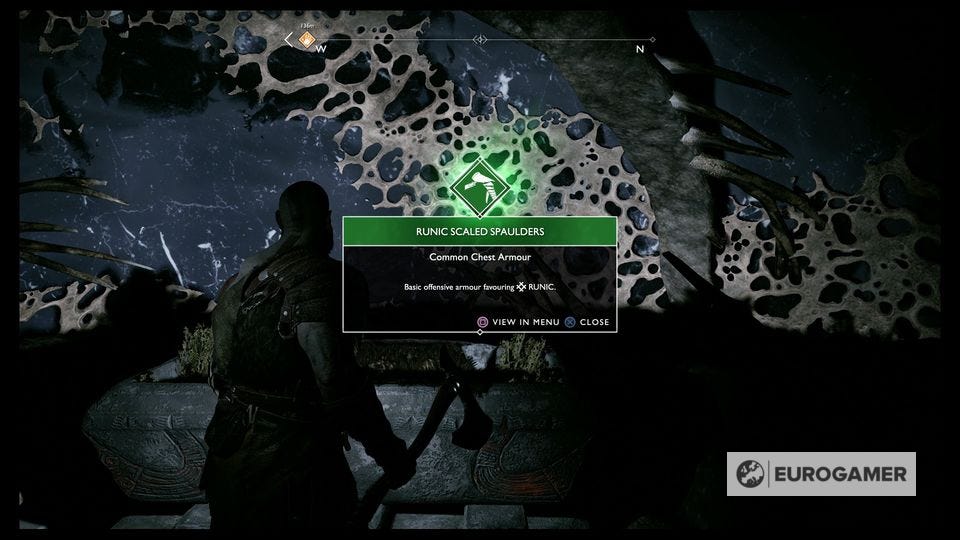
Do it quickly (it's best to stand in the centre of the room) and the door will open, revealing another red chest containing Runic Scaled Spaulders, some common chest armour. Which feels a bit underwhelming, let's be honest.
Pick up the crystal then, and lug it back to that short ramp and put it in the socket to continue onwards for the exit.
Cross the new bridge back to that wheel you used to raise and lower the levels for the Nornir rune chest much earlier, and carry on right the way back to the sand bowl where you first entered, but don't use to bowl right away.
While you're here, look up and there are a few hanging sacks which contain a bit of treasure, if you want to knock them down.
Now, just spend a moment sorting out your gear so you're suitably prepared for what's next...
Next up: God of War - Svartaljofurr boss fight
Other The Light of Alfheim walkthrough pages:
- God of War - Alfheim, The Light of Alfheim, Lake of Light, and how to enter the Temple
- God of War - Ringed Temple Trench and how to defeat the Stone Ancient boss
- God of War - Ringed Temple and Ringed Temple Interior
- God of War - Svartaljofurr boss fight
- God of War - Return to Tyr's Temple, Return to the Mountain and Go Back Through the Tower