Final Fantasy 15 Rock of Ravatogh - location and how to complete for Tomb of the Fierce
How to beat Rock of Ravatogh in Final Fantasy 15.

Rock of Ravatogh is required to collect the Tomb of the Fierce. Interestingly, there's no boss battle at the end of this, but it still requires you to be around level 30 in order to tackle it effectively.
When you're done, be sure to check out other Final Fantasy 15 dungeons and tombs for more places to explore.
Rock of Ravatogh (Tomb of the Fierce)
Recommended level: 30
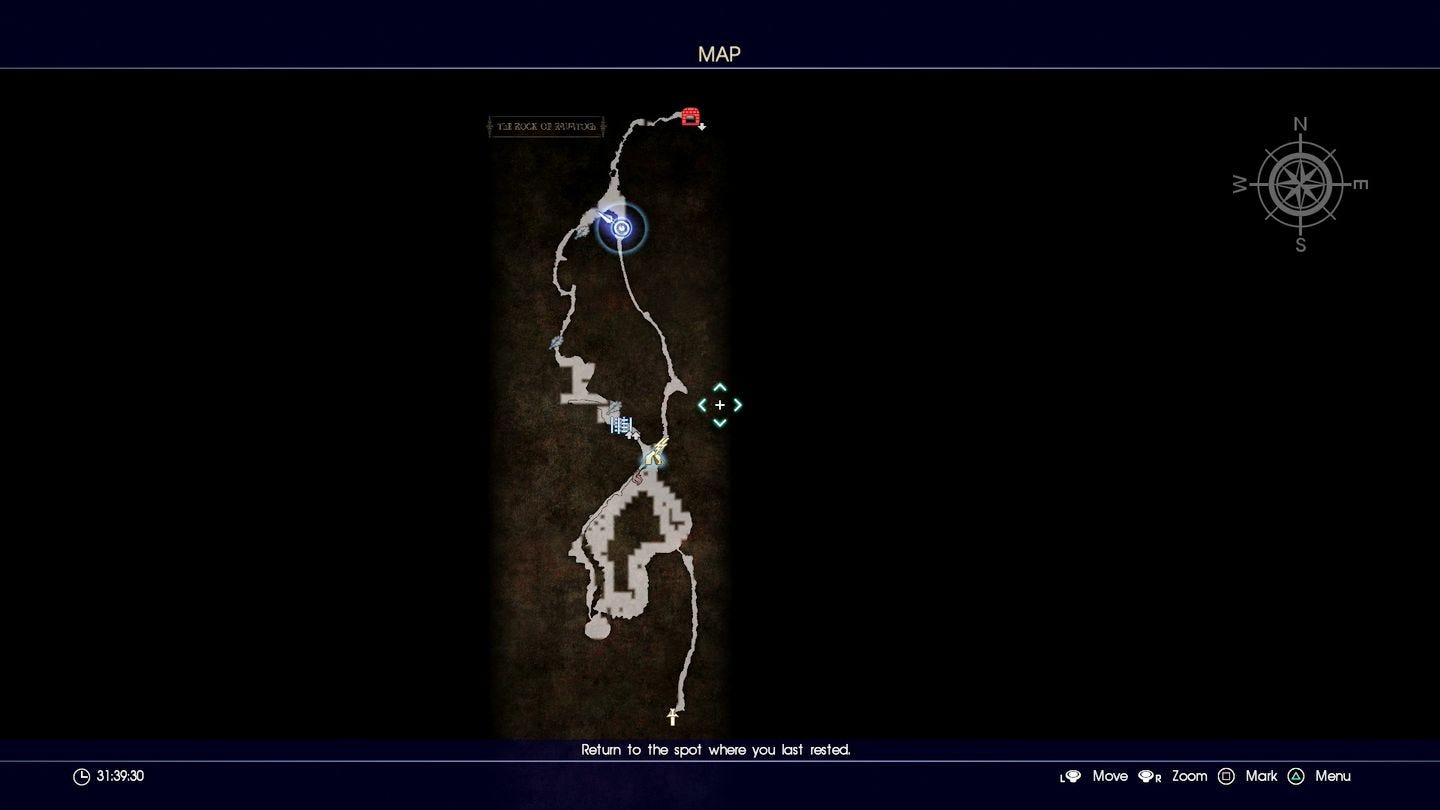
Head for the loop of road in the far west of the map at the end of the Ravatoghan trail. Talk to the chef at the Verinas Mart outpost and he'll mark the dungeon entrance on the map for you. Park the car as near as you can then walk the rest of the way.

Once you're through the entrance push up the slope. When you reach the first fork you'll encounter a group of Spiracorns (weak to Swords, Shields, and Fire, resistant to Frost) and Saphyrtails.
Deal with them and take the right path, continuing up the hill. It gets extra steep here and will start to sap your stamina, but sprinting and using the infinite stamina trick solves the problem nicely.
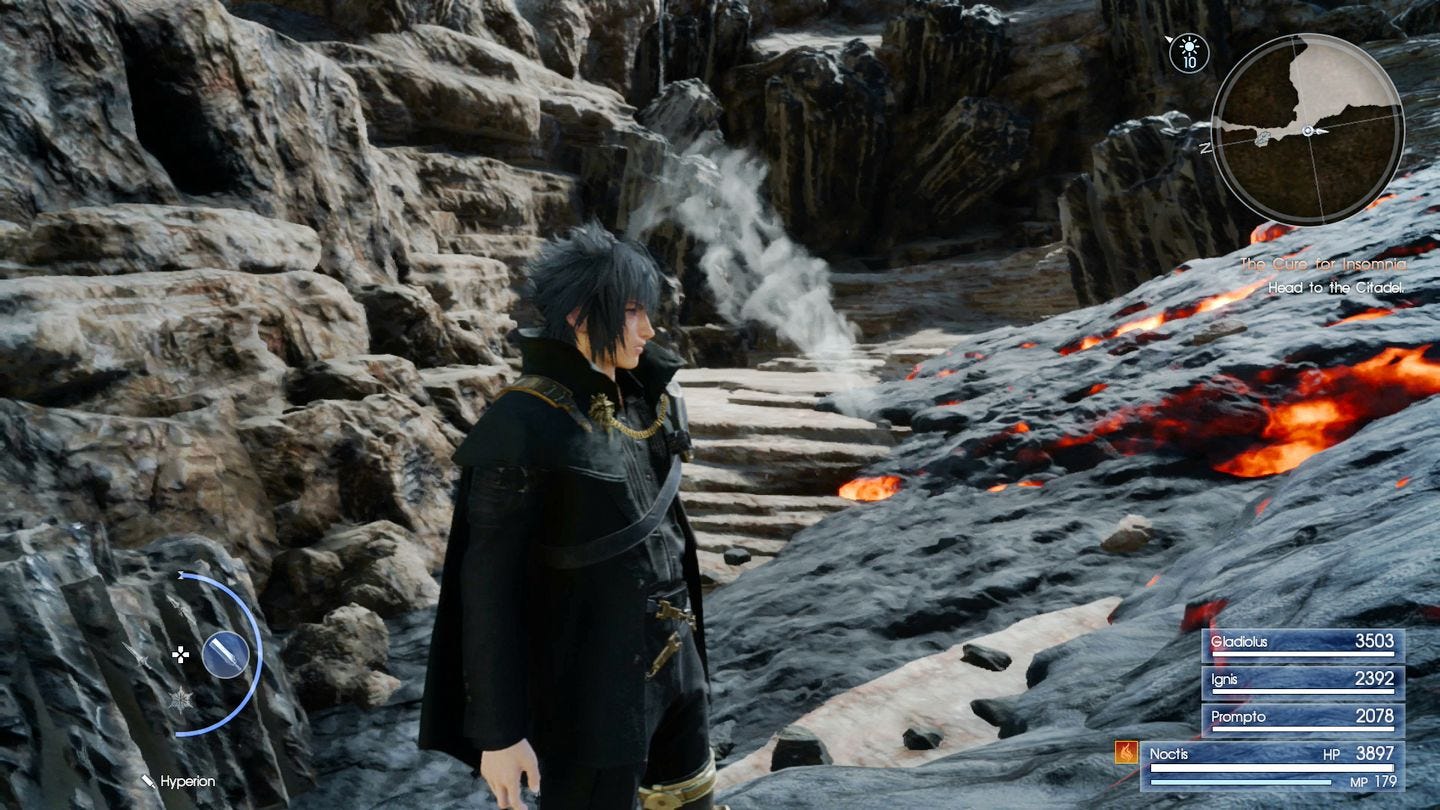
After the extra steep slop you'll come to a spot with some glowing hot rocks; avoid standing on them and make your way to the north west corner of the area, deal with a few more Spiracorns, and head up the next slope. Your next encounter will be with a few Thunderocs, so use Swords, Javelins, and Fire to take them down.
Need more help? Our Final Fantasy 15 guide and walkthrough can provide tips on main story, as well as the open-world's many quests and activities. Learning how to get AP fast, EXP fast and money or Gil fast will aid you in many optional dungeons and tombs - including how to open and explore their locked doors. There's also plenty of interesting side-quests, too, such as the Scraps of Mystery and Professors Protege frog locations. And if you want to get around easier, you can rent a Chocobo, learn the infinite sprint trick and later in the game, get the flying car Regalia Type F. There's also more to see and do with DLC, such as Episode Gladiolus and Episode Prompto.
On the eastern side of this area are a couple of climbing spots. Scale the cliff face and push on a little further until you find a camping spot. Rest and save if you need to, then push your way up the narrow ledge until you reach the dead end, then slide down into the mouth of the volcano.
This looks like the sort of place a boss fight ought to be, but it's actually eerily empty so wander north east to find the small gap in the rocks and push through. (Don't go through the gap in the north west corner yet as that's a one-way trip back down.)
Head up the path to the tomb, and head inside to collect the Mace of the Fierce. You can now either use the map to return to the entrance, or make your way back into the mouth of the volcano and take the alternate route down if you'd prefer.