Final Fantasy 12 - Mosphoran Highwaste, The Salikawood, Tchita Uplands, Sochen Cave Palace and the Alraune King, Topstalk, and Mandragora Prince boss fights
A full companion guide to the first half of Final Fantasy 12 The Zodiac Age's sixth act.

This section of our Final Fantasy 12 walkthrough deals with the first half of the game's sixth act, including Mosphoran Highwaste, The Salikawood, Tchita Uplands, Sochen Cave Palace and the Alraune King, Topstalk, and Mandragora Prince boss fights.
If you're looking for more guides and tips meanwhile, then head to our Final Fantasy 12 The Zodiac Age guide and walkthrough hub, where you'll also find this walkthrough's contents for all the other sections, too.
Mosphoran Highwaste, The Salikawood, and Phon Coast
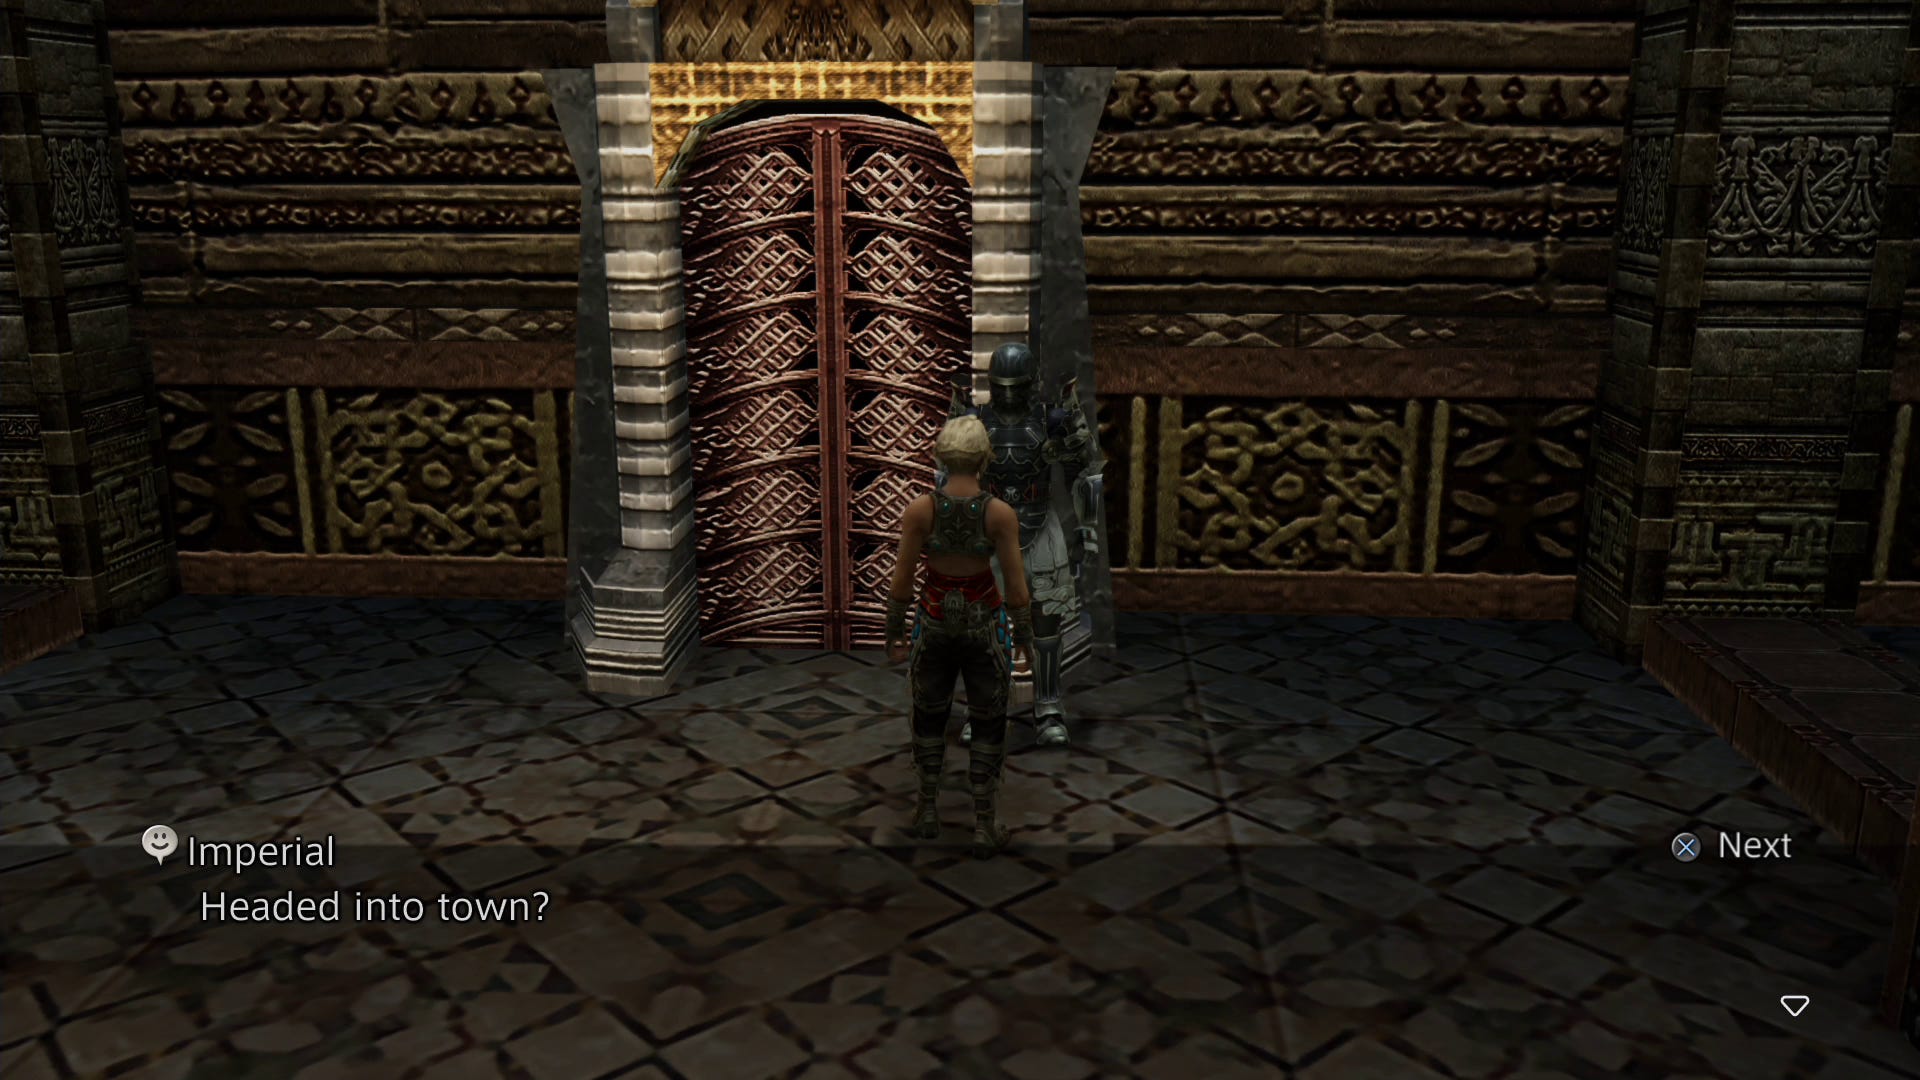
Talk to the Imperial and he'll escort you through the fortress to the streets of Nalbina. It's a fairly small place with a single route through, so stop at the merchants on the way and stock up on whatever you need - there should be some new stuff available by now - and when you reach the junction at the end turn right and enter the Mosphoran Highwaste.
Mosphoran Highwaste
As you make your way here watch out for Fire Elementals, and try and avoiding using magic near them as they won't take kindly to it. The Humbabas in the area can be dealt with easily enough with Blizzara as long as you don't let them gang up on you, and Seeq Caterans will cause one or more party members to go Berserk - depending on who they hit this can sometimes be beneficial, but equally it can be a disaster.
There are two exits in the north of Southern Skirts, but both lead to Summit Path so take whichever one you come across first. There are two exits to the north here too, but aiming for the one in the north west is a more direct route to the destination, and you'll also find an orange crystal and another merchant here.
Keep heading north west, make your way through the Trail of Sky-flung Stone to the east, and exit to the north. Northwest through Northern Skirts will lead you to Halny Crossing and the entrance to the Salikawood.
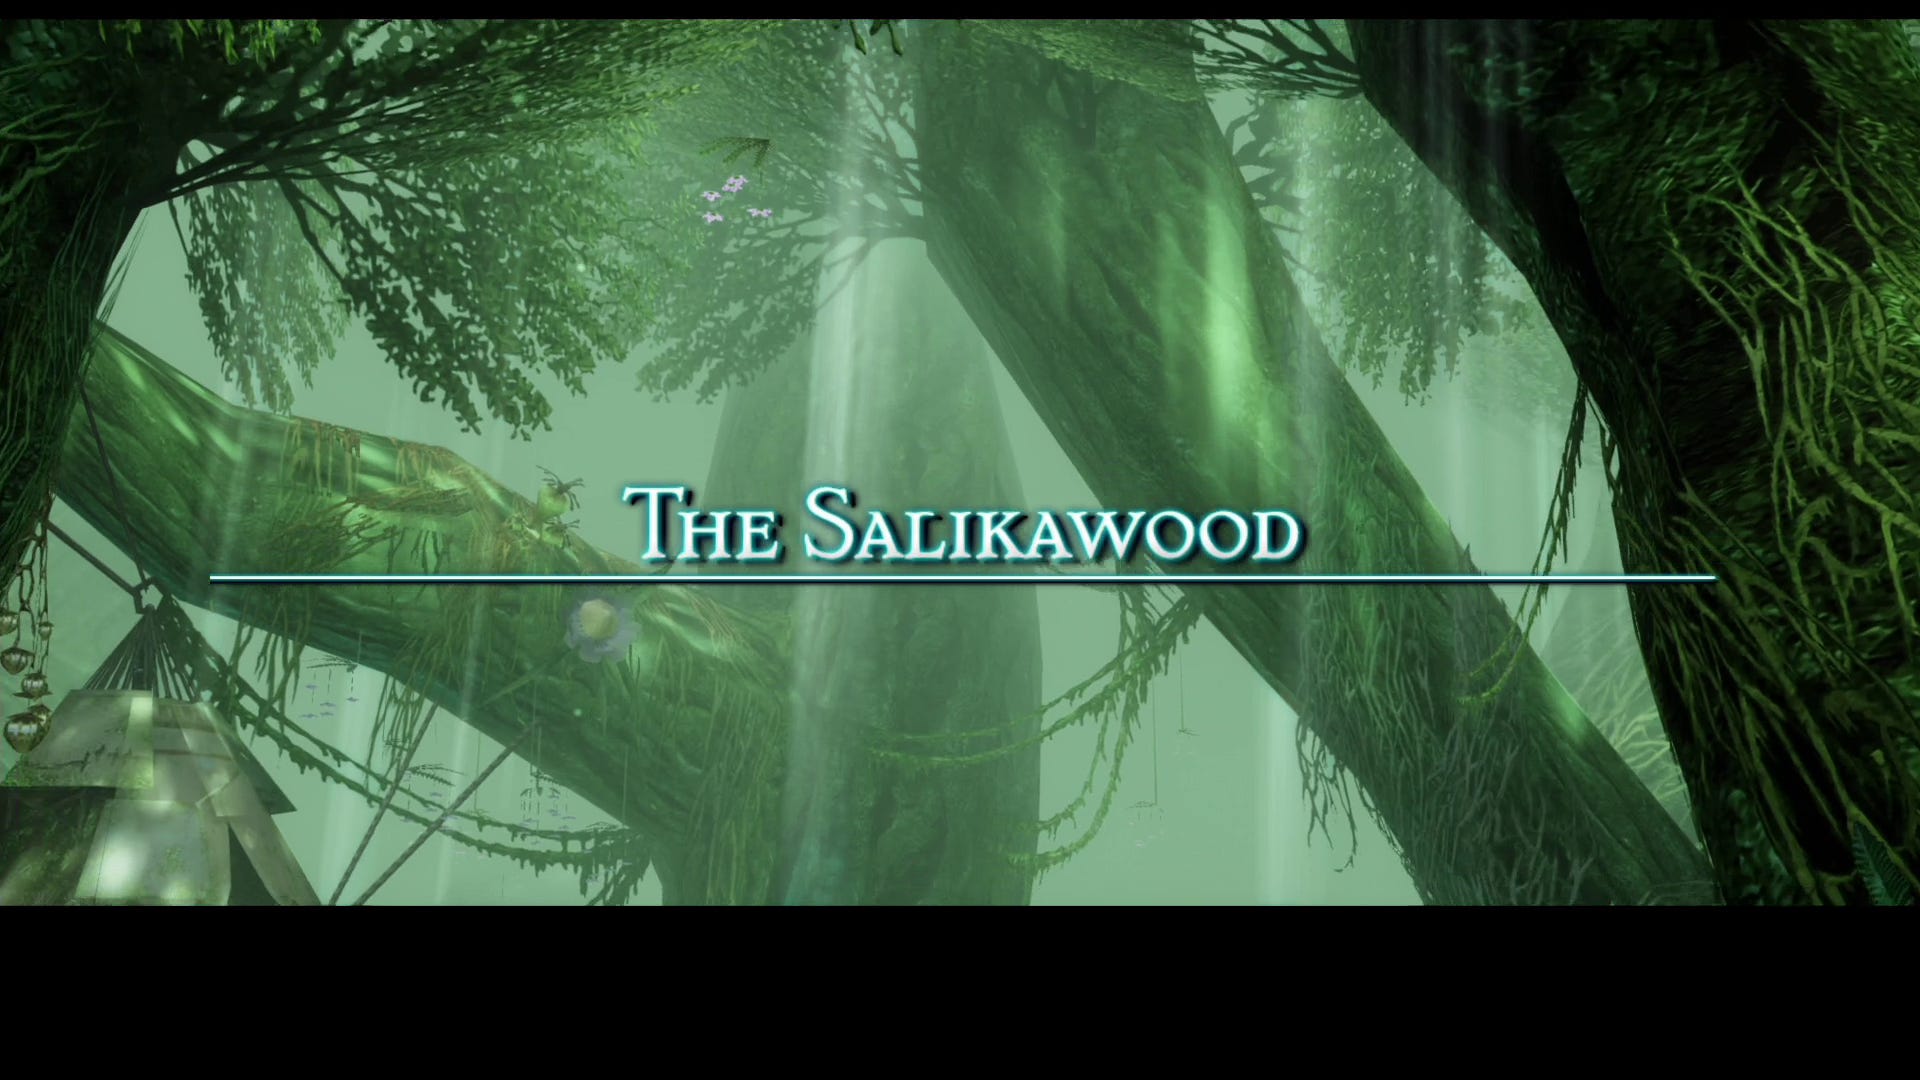
The Salikawood
The paths here can be tricky to navigate as there are a lot of tight turns and narrow stairs to get wedged on leaving you somewhat disadvantaged in combat. Marlboros will be your biggest foe here, so have plenty of Antidote on hand.
Head along the path into Path of Hours, and exit to the north east. When you reach Trunkwall Road take the first right then right again to find the map urn, then resume the main path to the east to Diverging Way, and east again to Living Chasm.
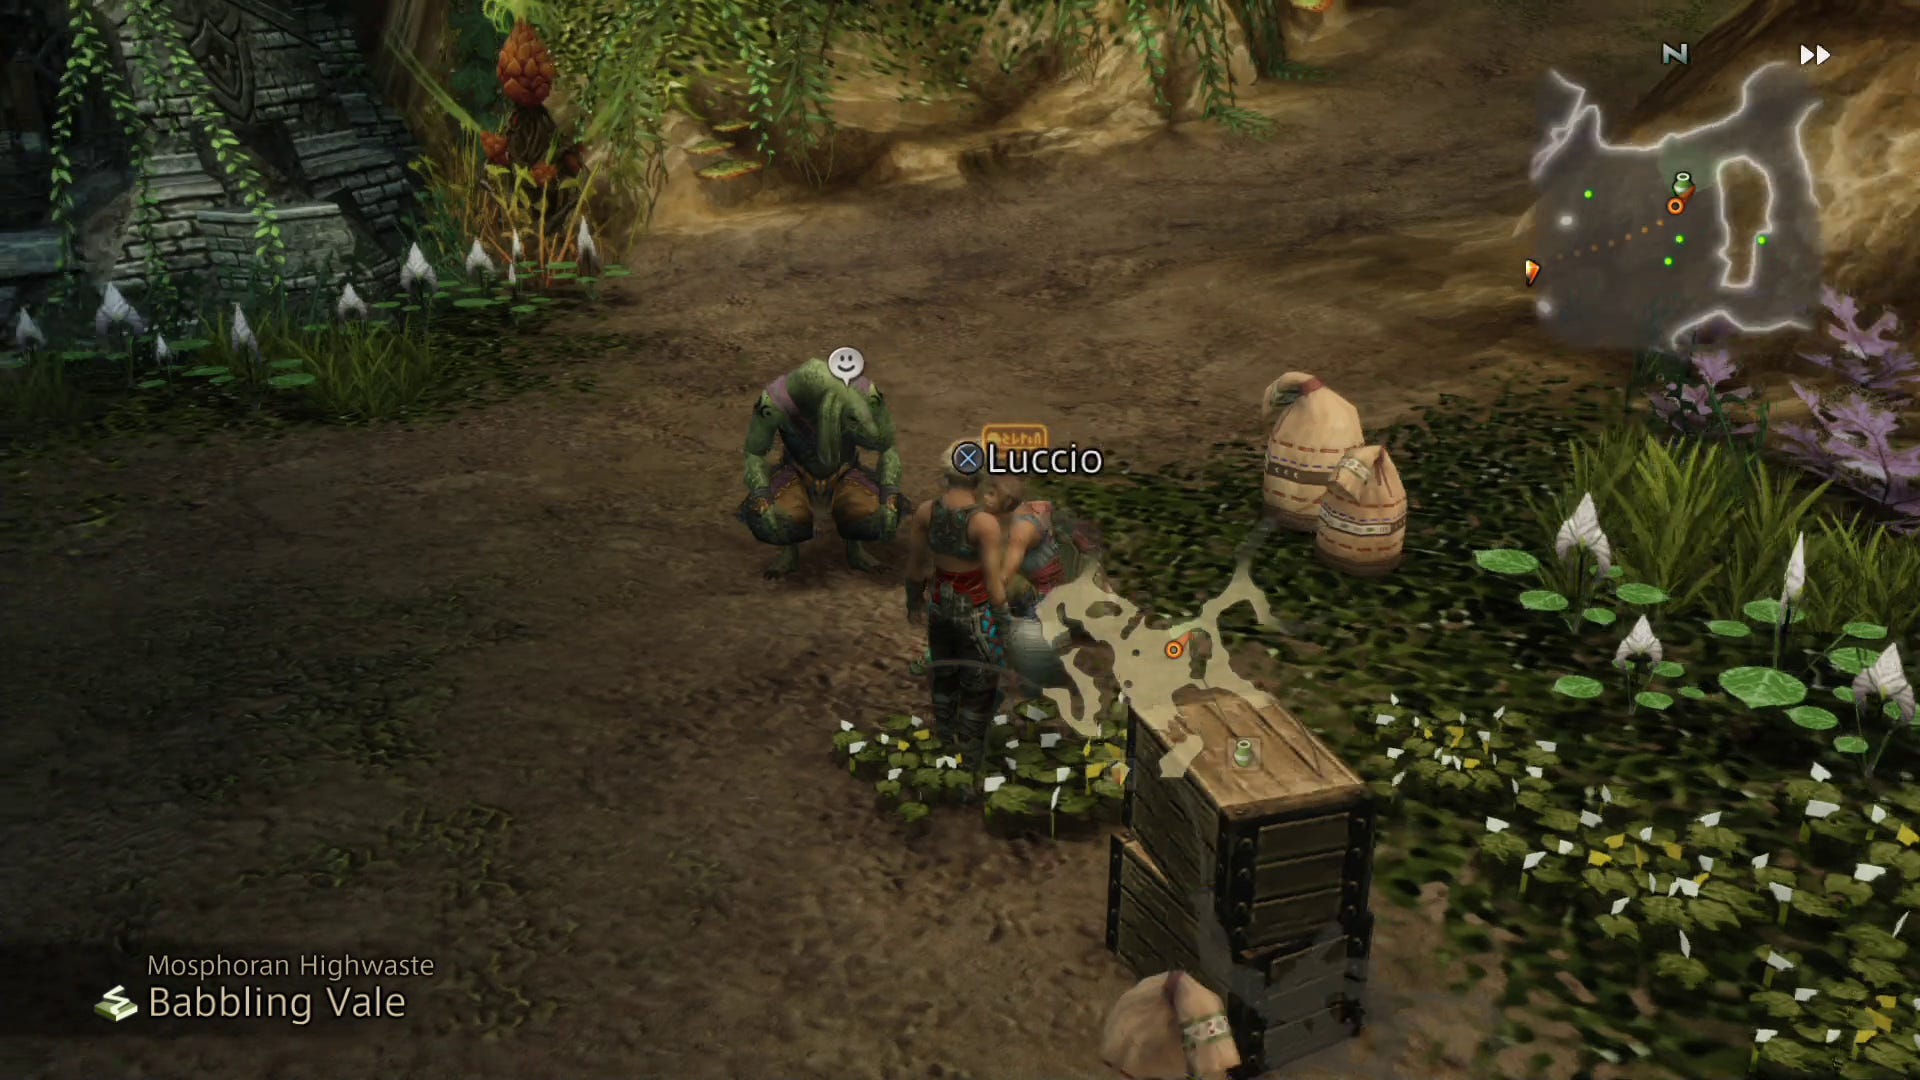
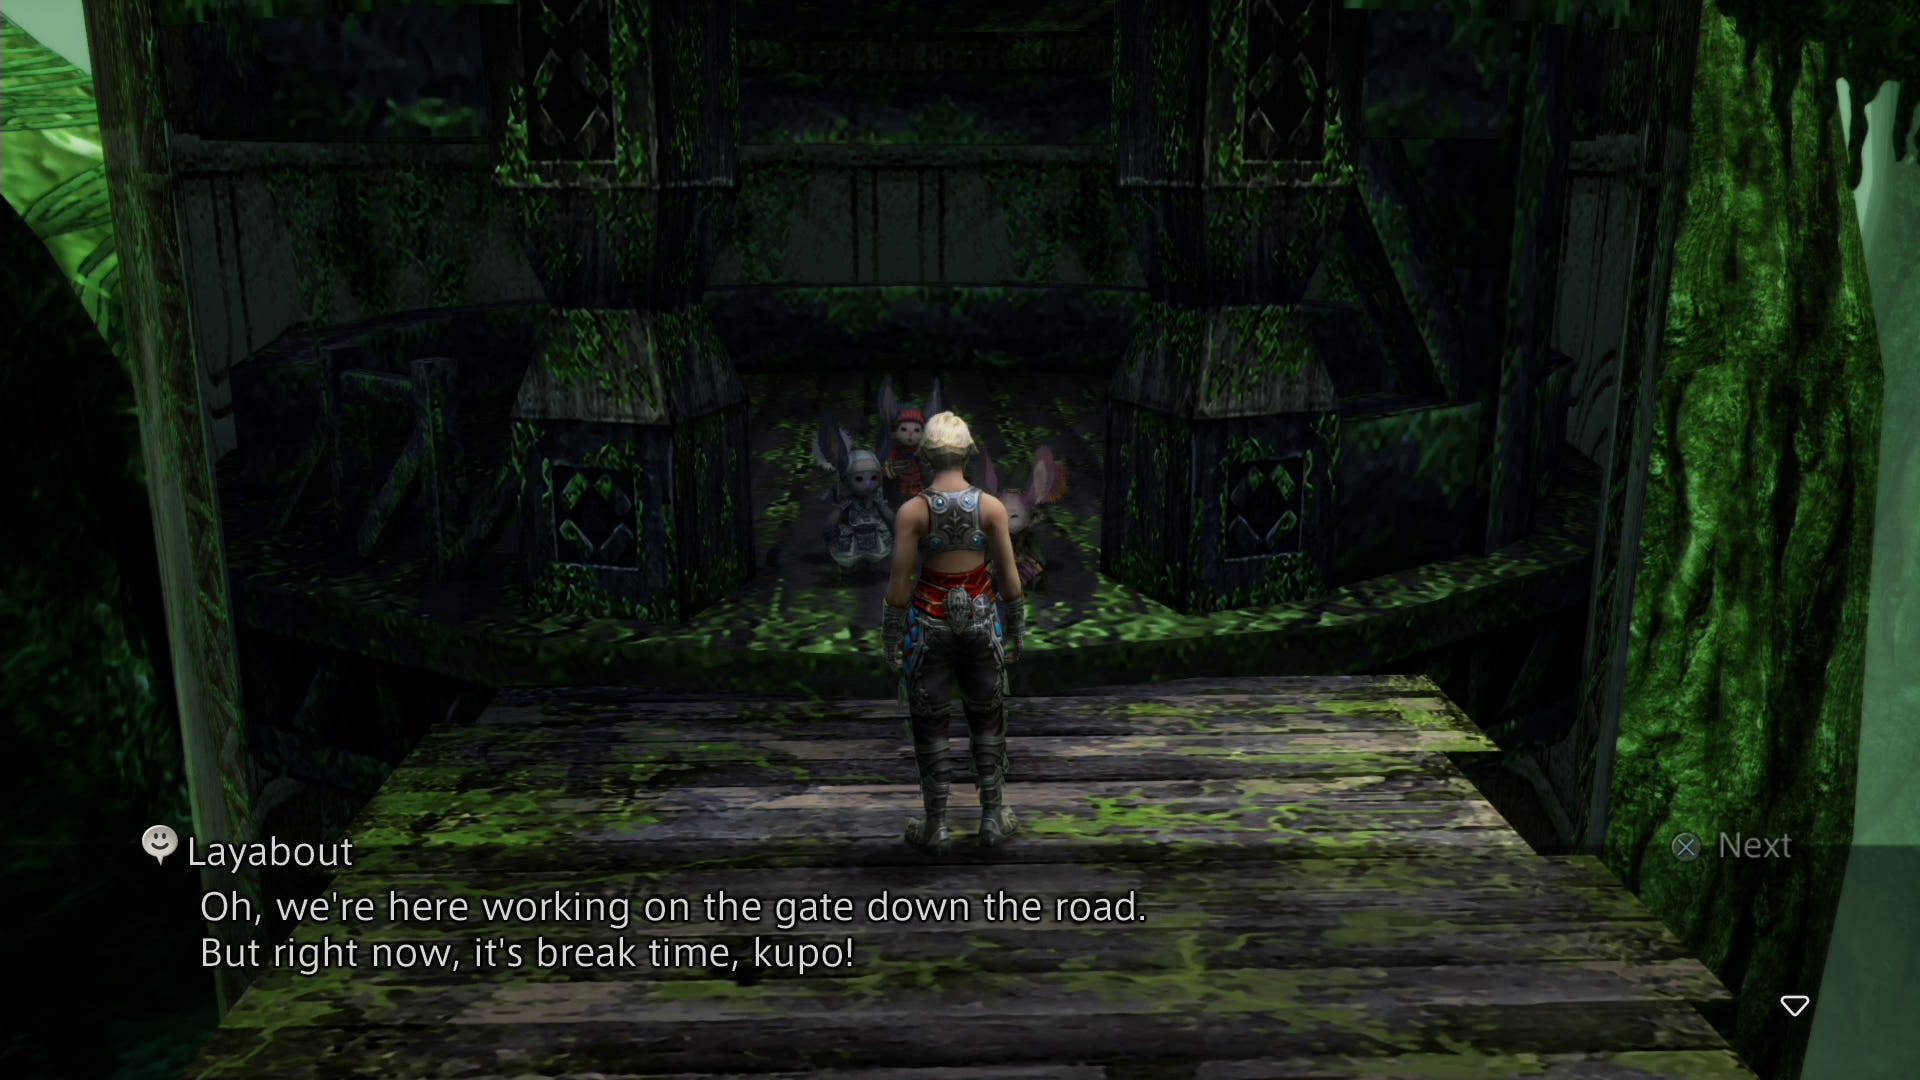
Speak to the Moogle there and he'll tell you he needs his workers back from their rest break. Head to the spots marked on the map and talk to the Moogles at each location - whichever ones you do last will give you the option of heading straight back to the boss, so accept the offer to avoid backtracking too much. Once the way is open, talk to the boss again to get a pair of Quasimodo Boots, then head through to the Phon Coast.
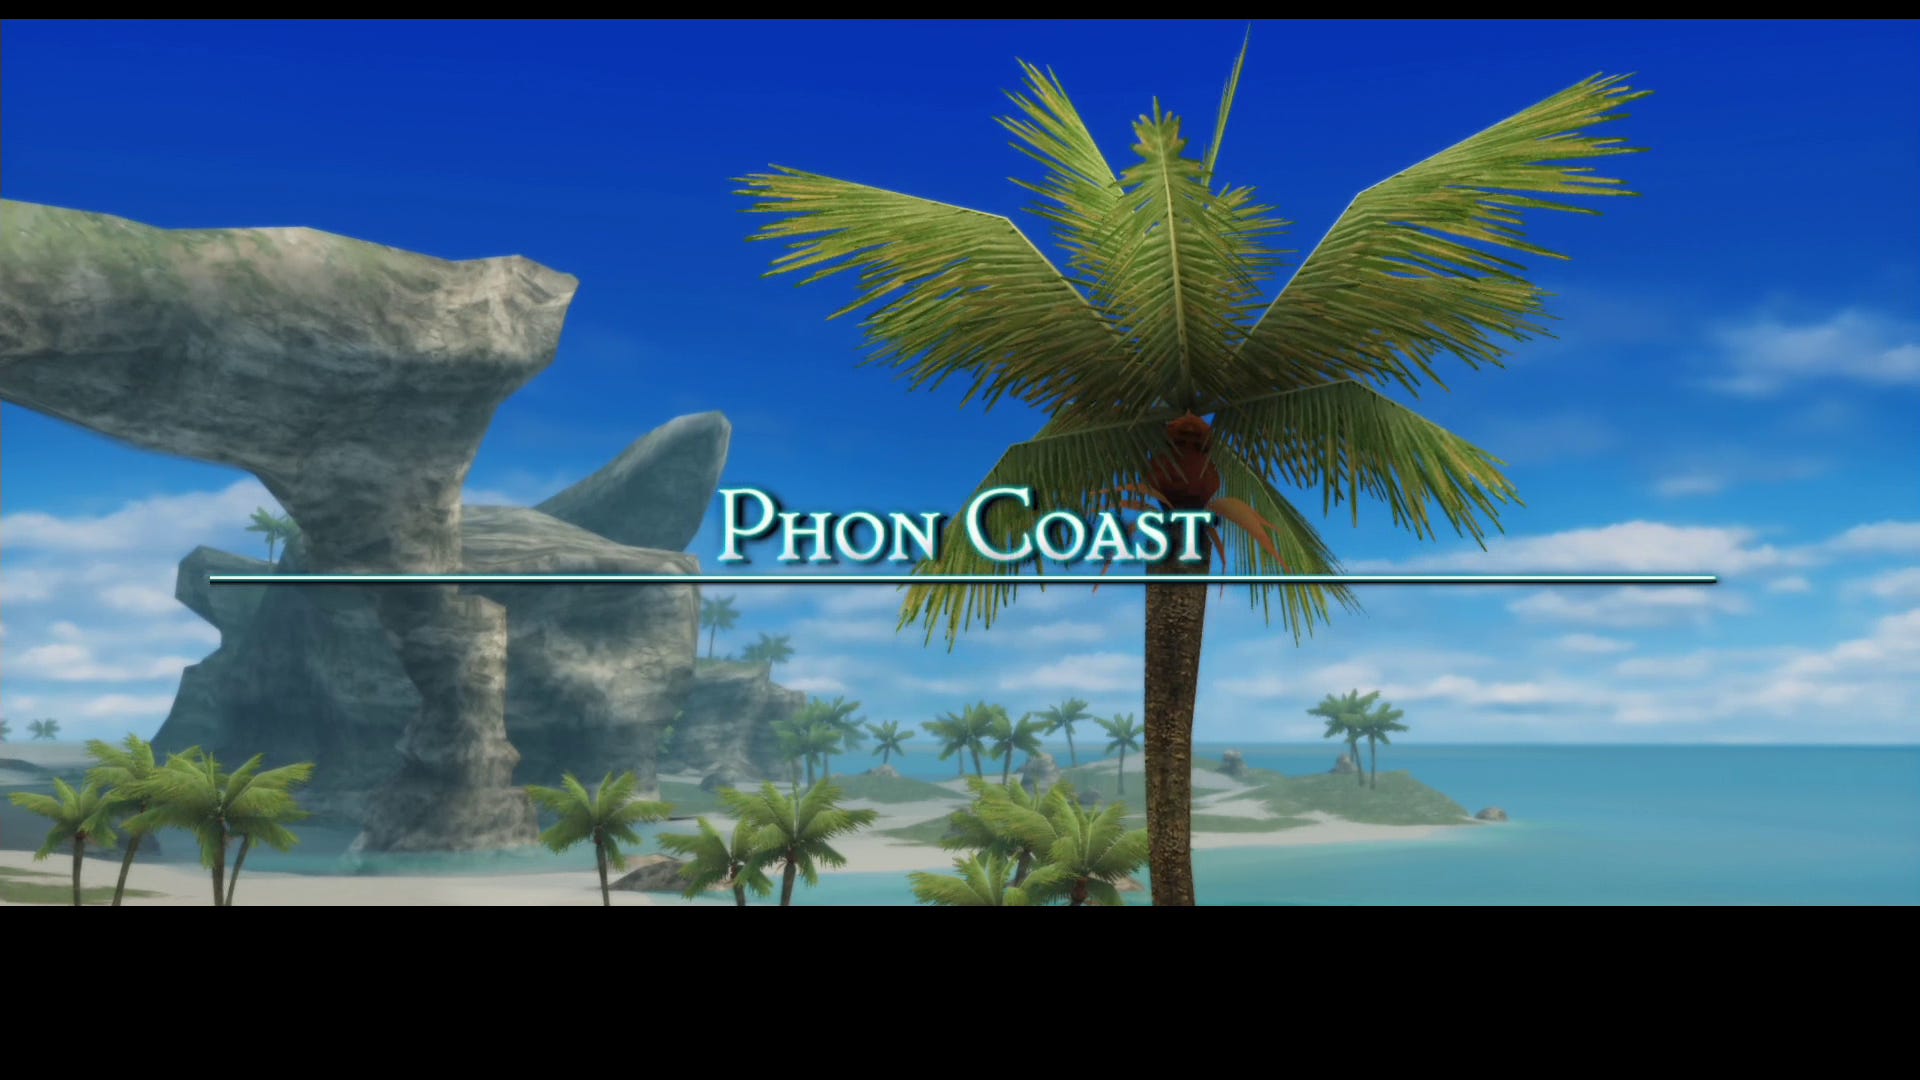
Phon Coast
Golden sands and a shimmering ocean await. Use the blue crystal to recharge your batteries, then exit to the south.
There are exits to the south west and south east of Reseta Strand - it doesn't really matter which way you go, but south east via Pora-Pora Sands and Cape Aahuk is slightly shorter.
When you reach Hunter's Camp there's a teleport crystal, a merchant, and a Clan hunt board. The merchant here sells Mirror Mail which means the auto-levelling technique is now viable - see the License Points guide for more information. You can also now go and tackle the optional Esper Exodus, although it's unlikely you're tough enough for it just yet.

When you're done here head east to the Vaddu Strand - the exit to this area is directly north east of the entrance, but you may want to take a detour to the eastern end for a bonanza of chests. (Zodiac Spear fans, fear not - they're no longer off limits!)
Head north through Caima Hills into Limatra Hills, and then head north east - if you have some Gysahl Greens you can feed the nearby Chocobo to cut the journey time down. Exit into Rava's Pass where you'll find a save crystal and the exit into Tchita Uplands.
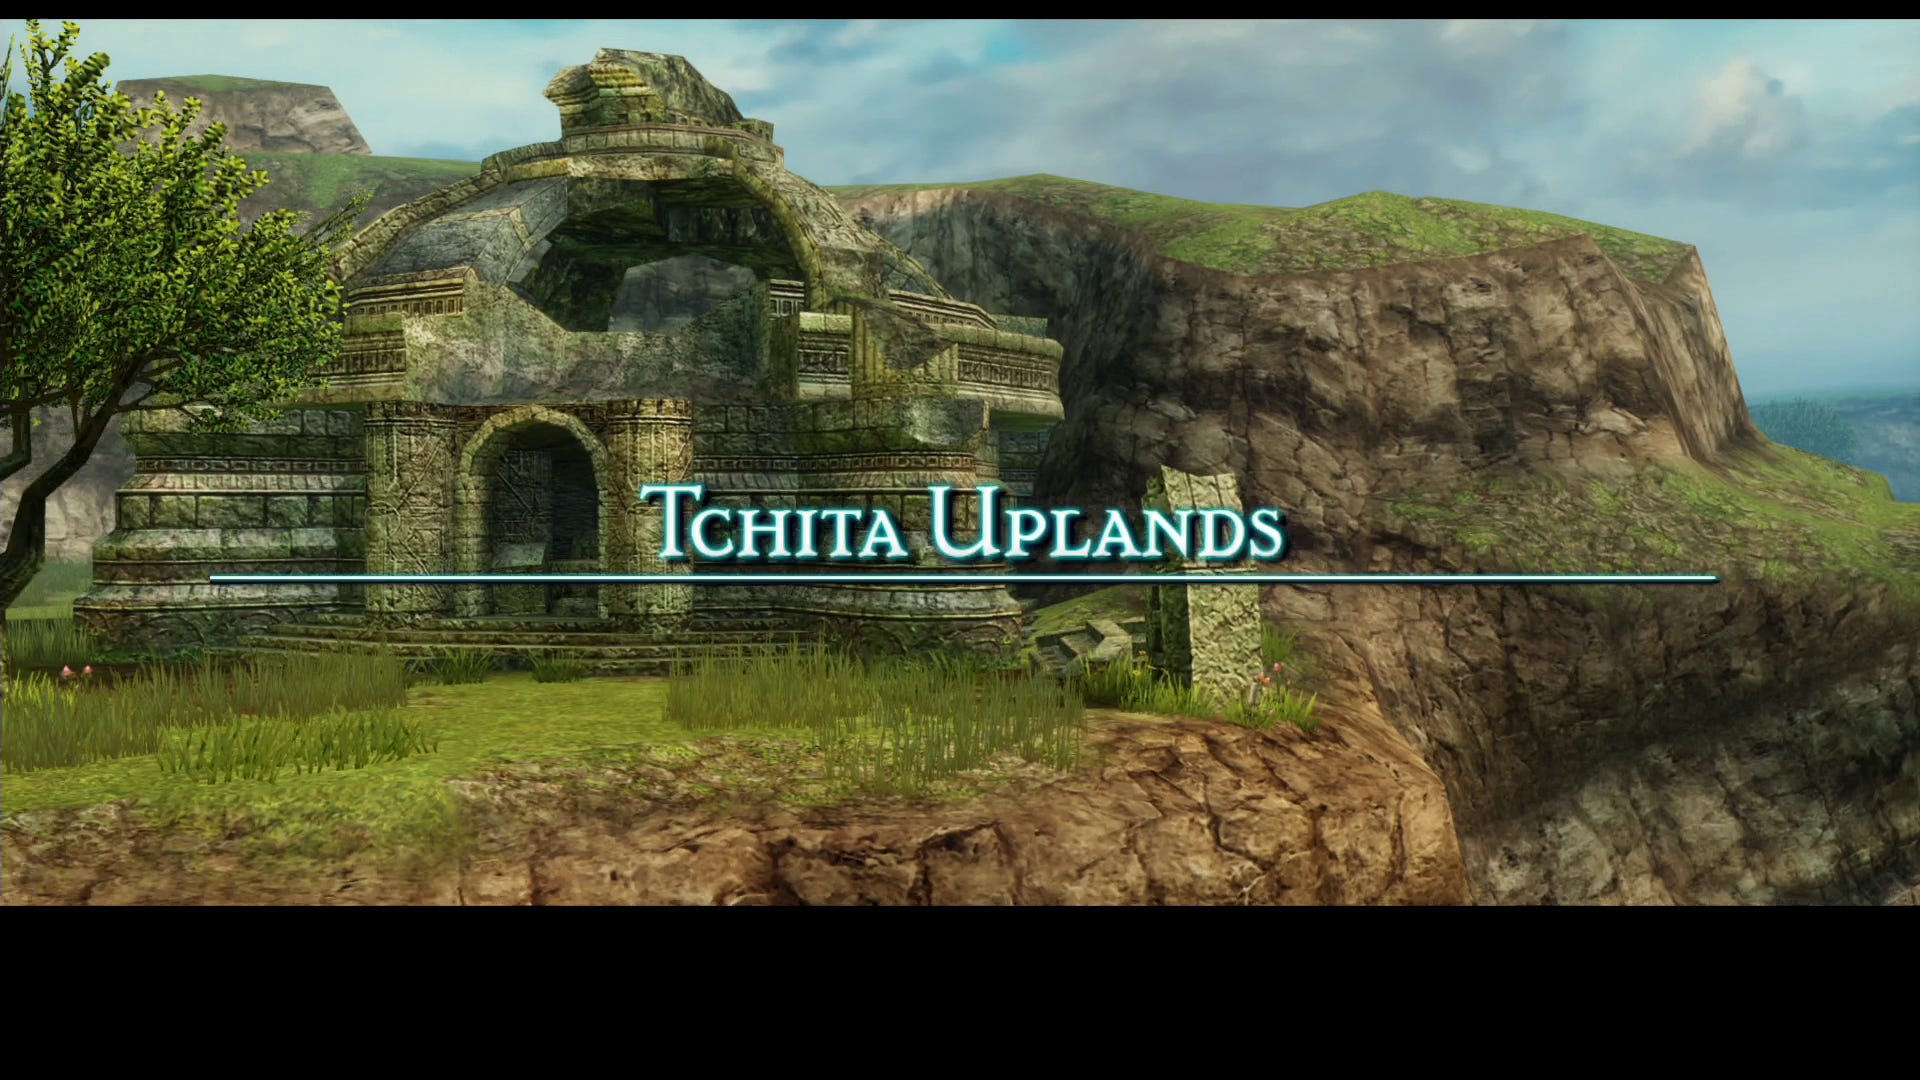
Tchita Uplands and Sochen Cave Palace
Tchita Uplands
The Marlboros here are tougher than usual and lurk in large numbers around the ruined buildings that litter the area, and there are Couerls just itching to Silence your magic users so equip Rose Corsages to prevent it. Vipers will also pop out of the ground at random, often at inopportune moments, so don't be afraid to run if you find yourself outnumbered.
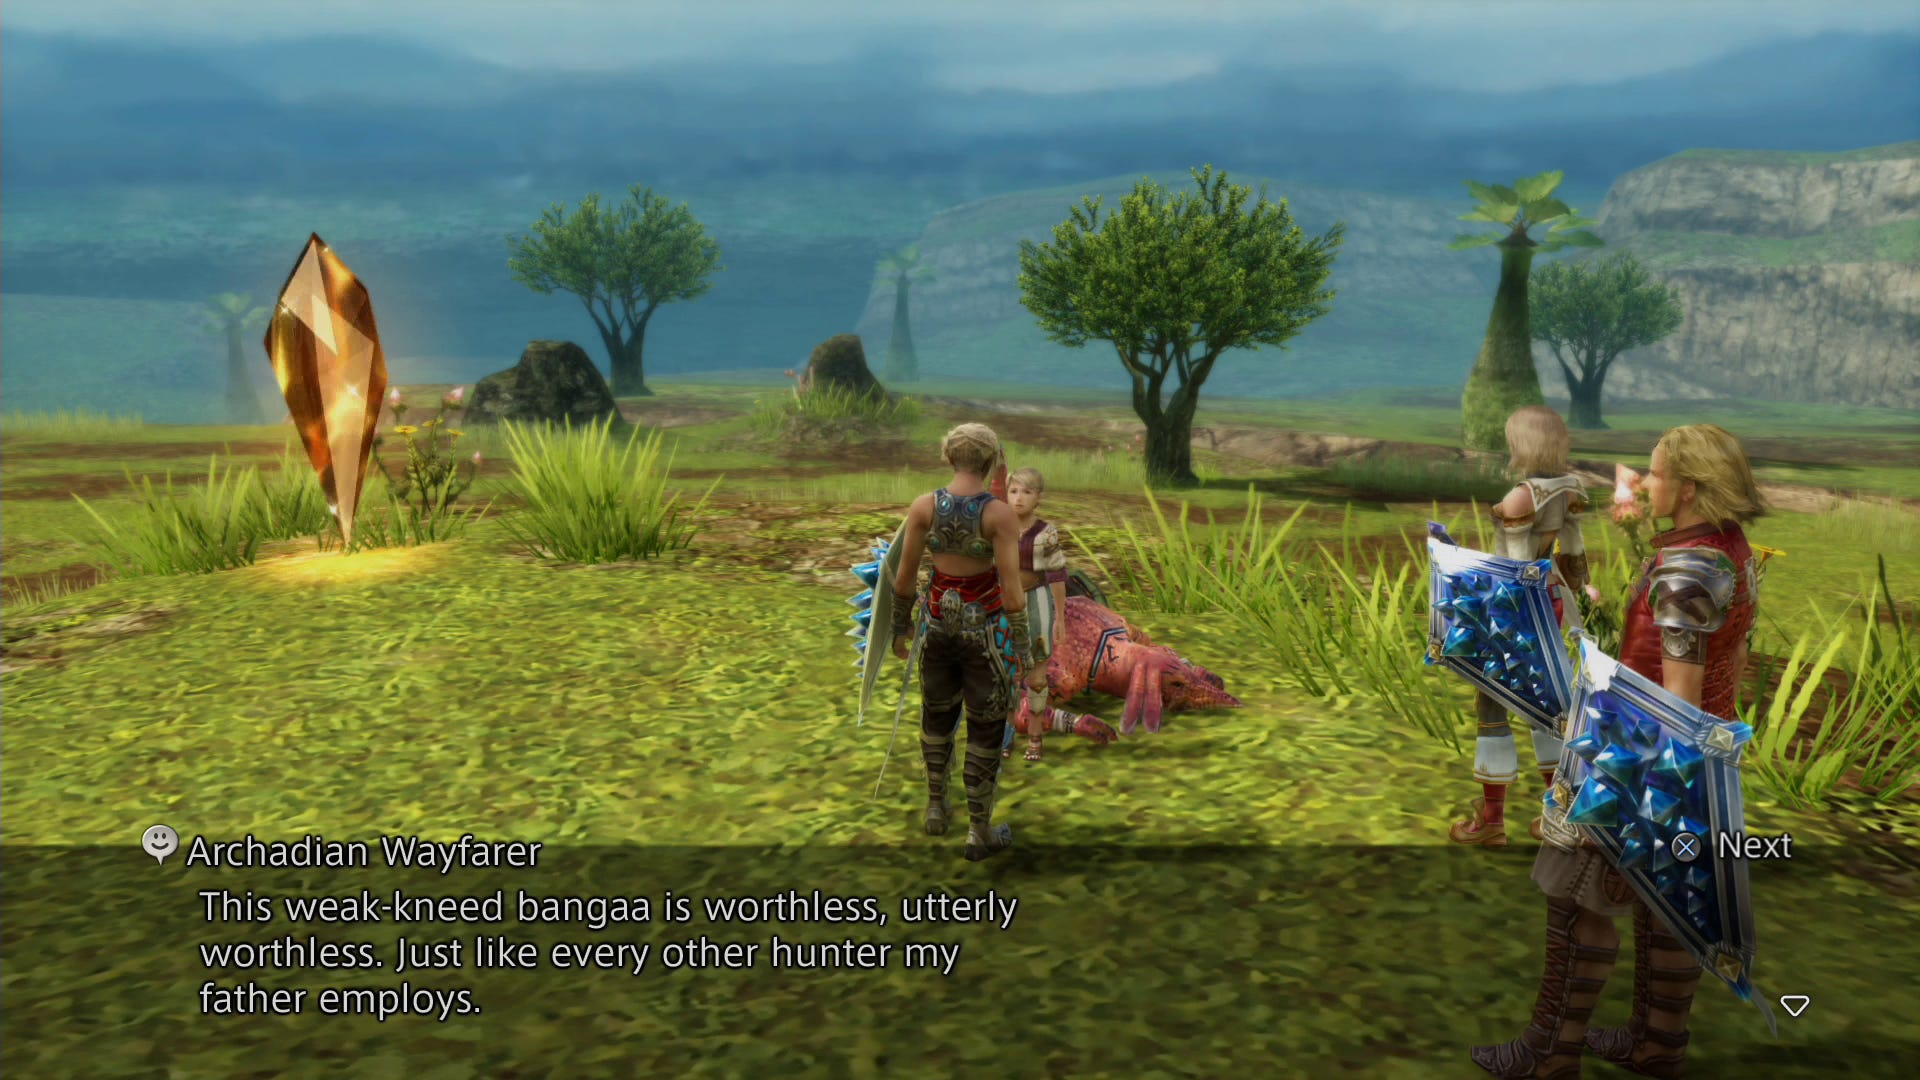
Head for the exit east from Realm of the Elder Dream, keep moving east through The Skytrail, and exit into The Chosen Path. Talk to the small boy there, accept his Hunt (it won't appear in the Clan Primer), then double back and take the exit in the south east from Realm of the Elder Dream.
Keep heading south east and enter The Nameless Spring, talk to the boy's father to get the Soul Ward Key, then leave to the south. Head directly east through Garden of Life's Circle, north east through The Highlands, and take the exit that heads directly north into Fields of Eternity. In the north west part of this area you'll find the entrance to the Sochen Cave Palace which you can unlock with the Soul Ward Key.
Sochen Cave Palace
This place is lousy with traps, so Libra is a must - use Float to get past tricky areas if you can because despite traps being revealed by Libra your party members have a habit of running into them anyway, and if you come under attack try and kite your opponents into open areas to avoid accidentally stepping on a trap during combat.
For more help with? Final Fantasy 12? Our Final Fantasy 12 The Zodiac Age guide, walkthrough, Switch and Xbox differences gives an overview of the game to get you started. Elsewhere, there's our hidden Espers strategy and locations and Elite Hunts and Marks pages, how to get the best Zodiac Jobs for each character, advice on farming LP from Jellies and even how to get the Zodiac Spear.

Alruane King, Topstalk, and Mandragora Prince boss fight
These guys are tougher than they look. Each one has a different elemental weakness - Alraune King is weak to wind, Topstalk is weak to water, and Mandragora Prince is weak to fire - so when they split apart focus on one at a time and spam them with whatever you have that targets their weakness.
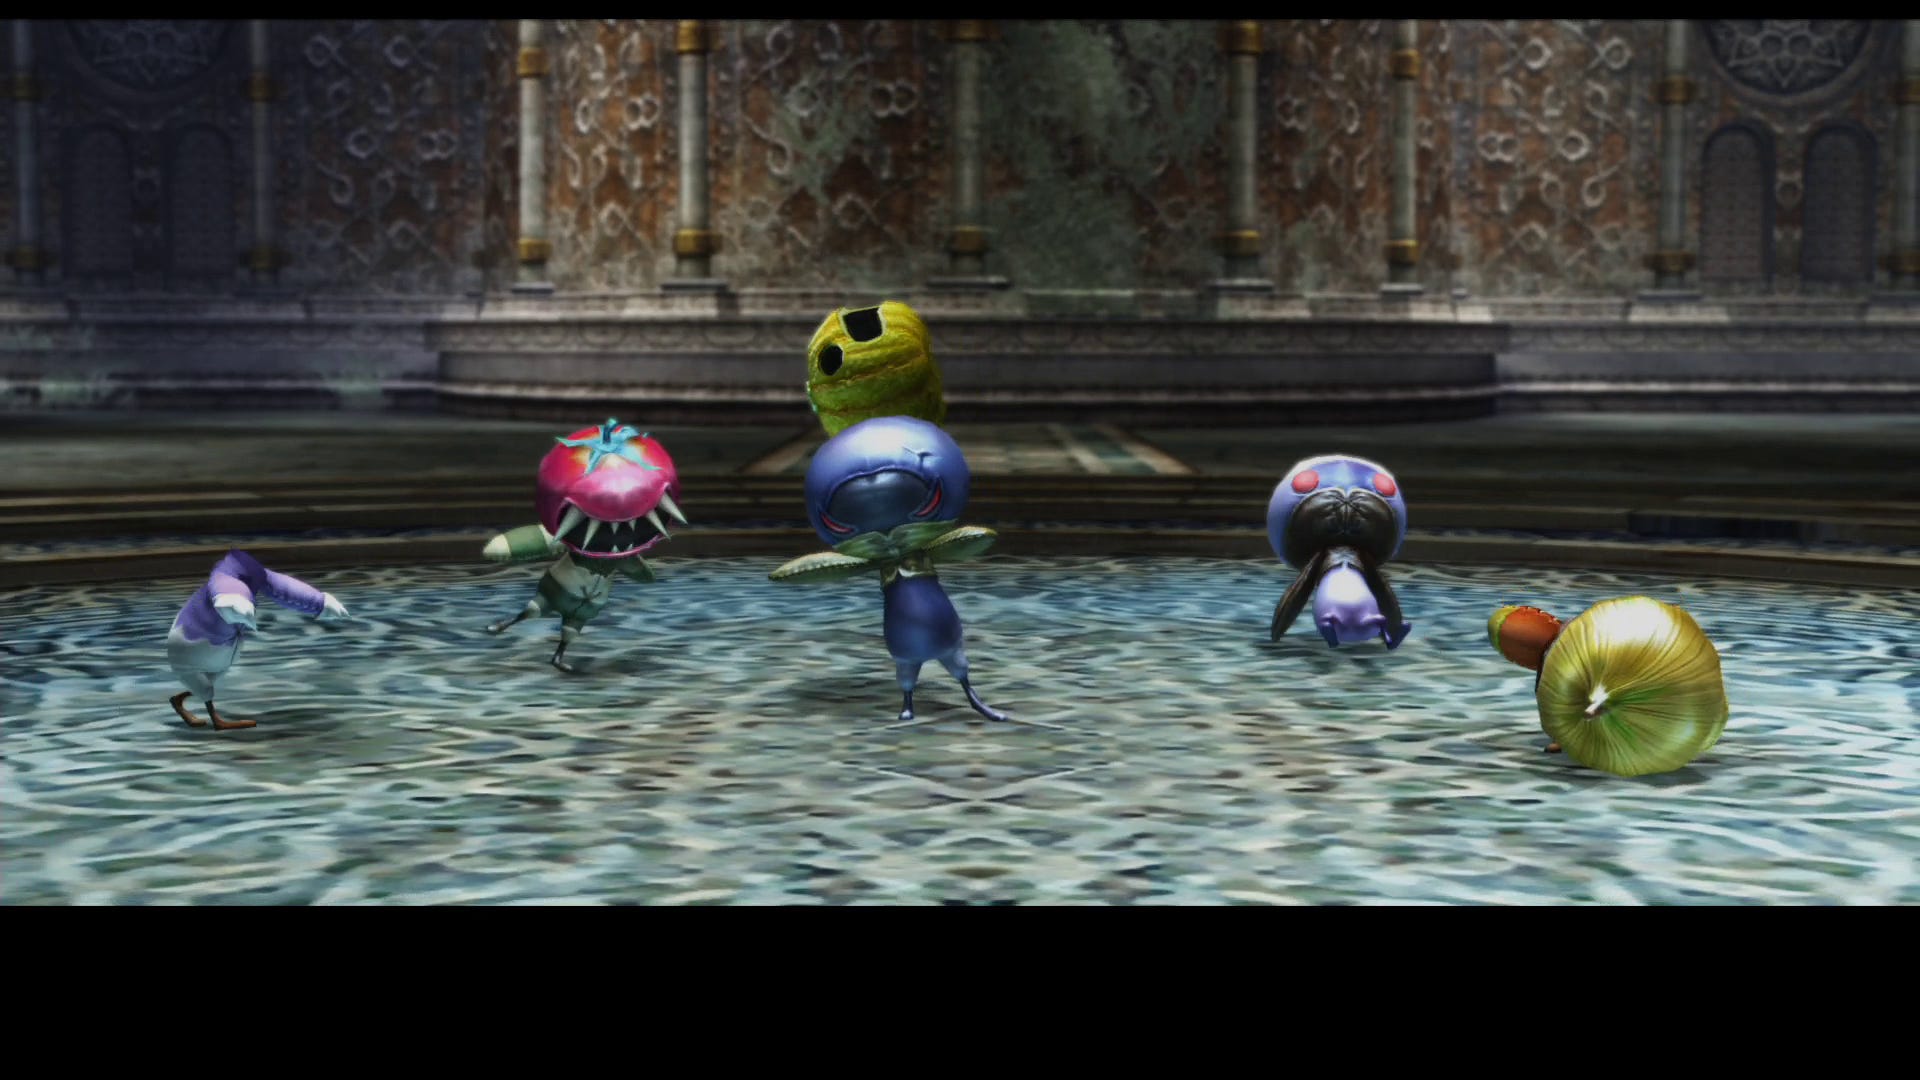
When they group together they take advantage of strength in numbers and will throw out debilitating status effects - expect to counter Blind, Slow, Poison, Sap, Sleep, Silence, and Disable. On the other hand this also leaves them vulnerable to a Quickening Chain, particularly if you can get three or four chained together to unleash a finishing attack.
At this point you can return to the petitioner for a reward of 1000 Gil and three Remedies, but he's not going anywhere so you may prefer to leave that until later.
Take either the west or east exit from Hall of Lambent Darkness and into Acolytes Burden. Take advantage of the blue crystal, then exit through the east into a cave network.
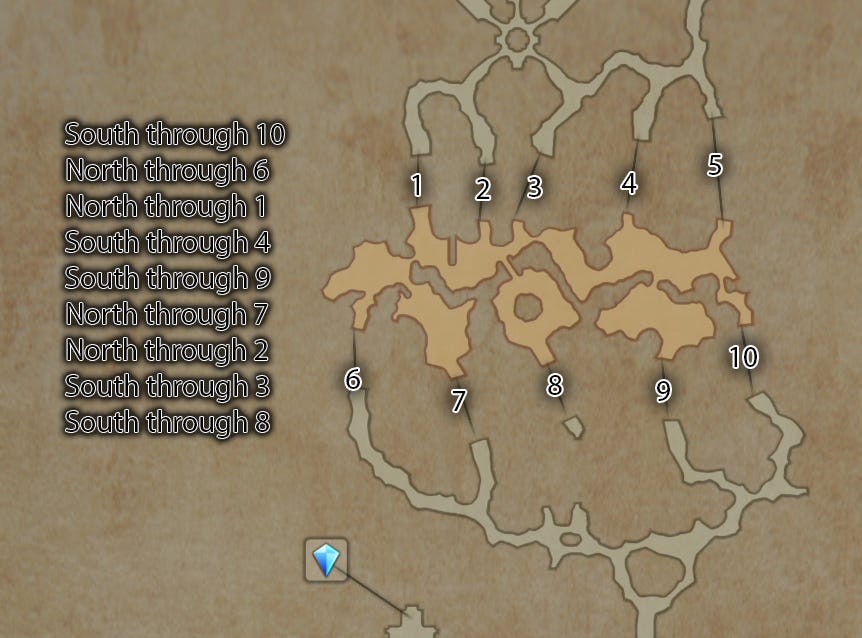
When the path splits head down the far east passage to find an urn containing a map of the area, and then take the exit into Falls of Time. Searching around the area will reveal a few clues as to what to do next, but if the puzzle solution eludes you the correct sequence is as follows:
You can now exit through the door in the north of Destiny's March. There are a lot of chests scattered about in this area, but they're well guarded and you've got another boss fight coming up so you may want to get that out of the way first. Whether you loot everything or not, the exit to the next area is through the north.
When you're all set, next up is part 10 of our Final Fantasy 12 The Zodiac Age walkthrough: Ahriman, Archades, Cab Guide pairs, Draklor Laboratory, and Doctor Cid boss fight.