Final Fantasy 12 - Fenrir, Hashmal, Judge Gabranth, Doctor Cid and Famfrit
A full companion guide to the fourth part of Final Fantasy 12 The Zodiac Age's seventh act.

This section of our Final Fantasy 12 walkthrough deals with the fourth part of the game's lengthy seventh act, including the Fenrir, Hashmal, Judge Gabranth, Doctor Cid and Famfrit boss fights.
If you're looking for more guides and tips meanwhile, then head to our Final Fantasy 12 The Zodiac Age guide and walkthrough hub, where you'll also find this walkthrough's contents for all the other sections, too.
The Second Ascent and Fenrir boss fight
Second Ascent
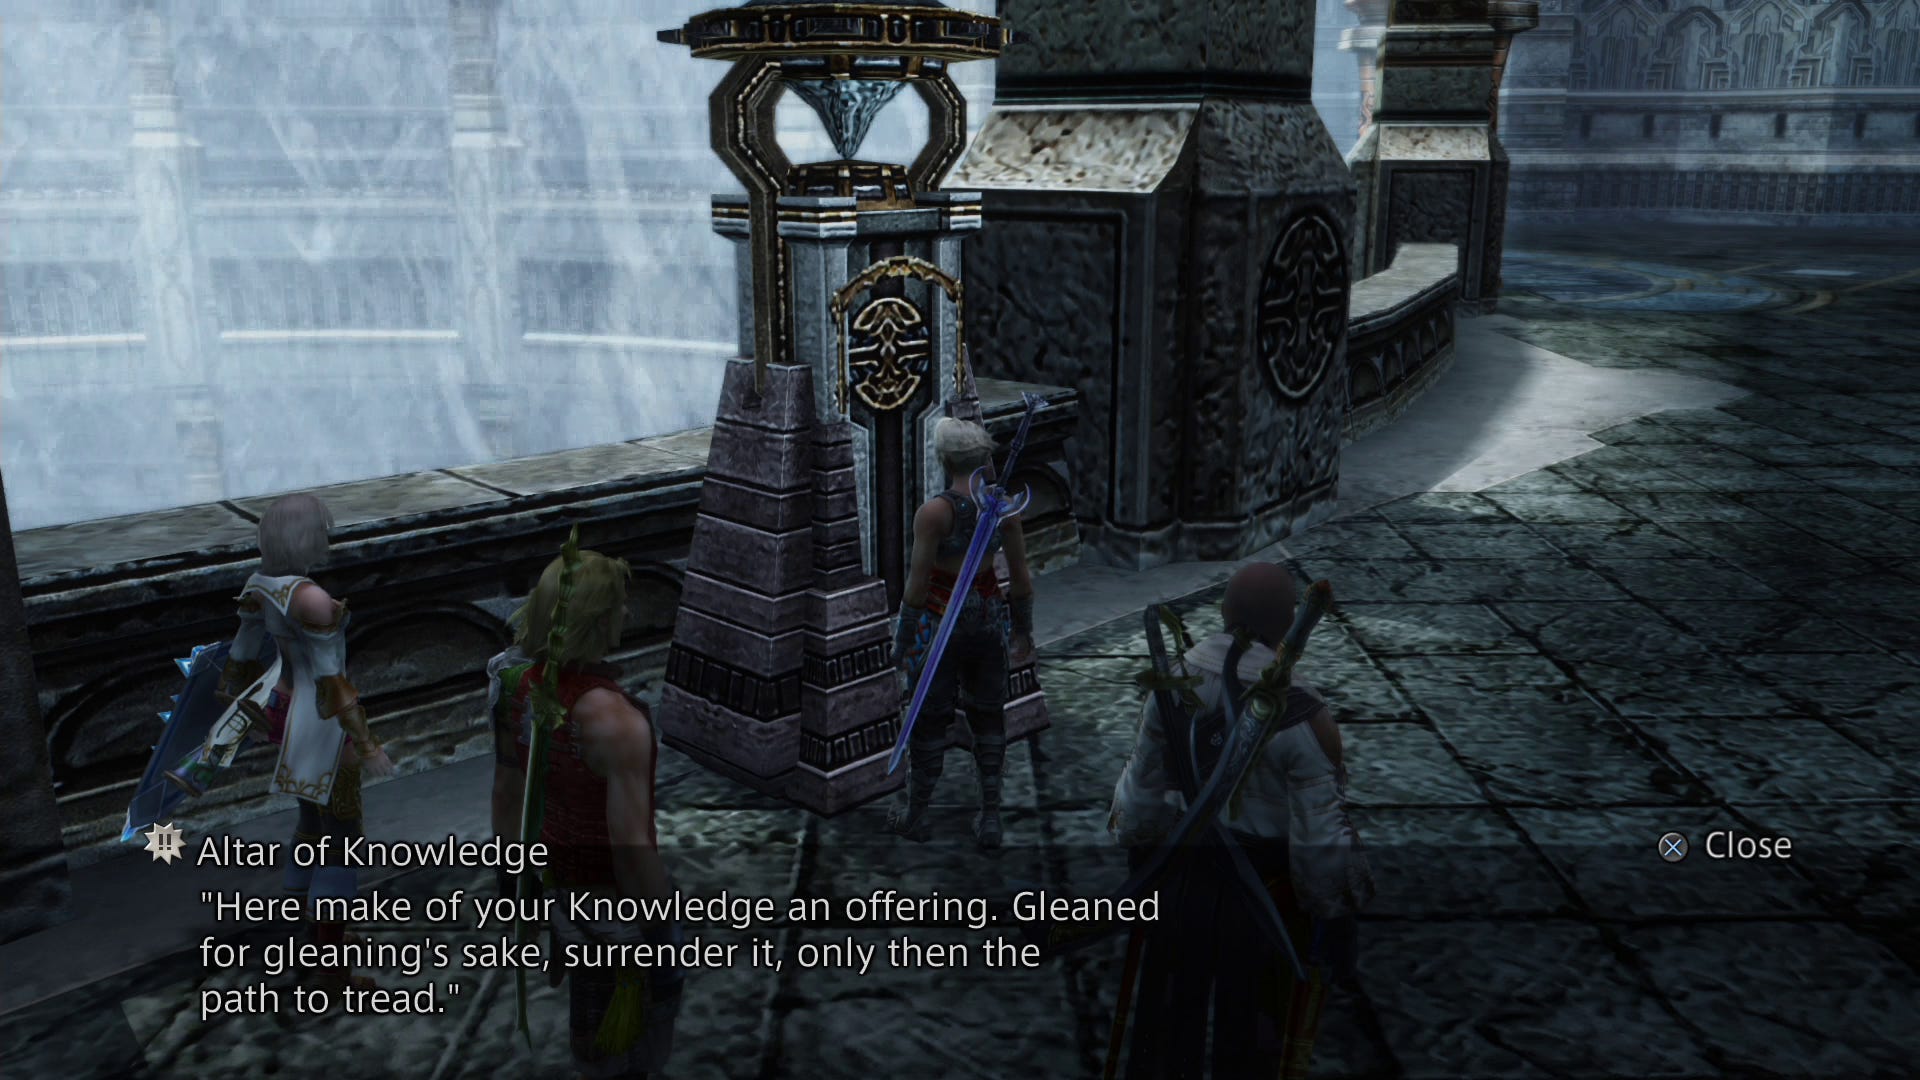
There are four altars around the room, and to proceed to the next floor you need to make a temporary sacrifice while you traverse the dungeon ahead.
The yellow altar will prevent you from using items, the purple altar will prevent you from using magic, the clear altar will prevent you from using weapons, and the pink altar disables the mini-map. You can choose whichever you want, but for a variety of reasons we strongly suggest going pink with the Altar of Knowledge - first, the route is a little shorter, and second (and most importantly) the regular map still works as does the transparent overlay map, so you don't really lose anything at all.
Remember which colour you chose for later (no, really, choose pink!) and then head through the door directly behind whichever altar it was. Enemies on the next couple of floors are largely weak to light so you may find you need to break out two characters with healing abilities - one for fighting, one for healing.
Station of Banishment
This place is less of a maze than it looks with each corner being identical, just mirrored from its neighbour. The stairs to the next floor are in the north east and south west, so depending on which sacrifice you made they'll either be very close or require a bit of a fight to get through, but it doesn't matter which set you go up - the south west makes the next floor easier, but there's not much in it.
Station of Suffering
Whichever stairs you ascended, head for the wide corridors that run east-west on the southern side of the central area, head all the way to the west, and then go north to find the stairs.
Station of Ascension
The exit for this floor is, naturally, in the corner furthest from you. Head to the northernmost east-west corridor and go west to the end then south to find the stairs.
Reach of the Damned
Peace again - nothing on this floor apart from a save crystal.
The Bounds of Truth - Cleft of Profaning Wind
Opening the door ahead will trigger a cutscene and a boss fight.
Boss fight: Fenrir
Remember when we said choose pink? If you didn't then whatever you gave up will be unavailable during this fight, and hitting this guy with a map isn't going to work. Use Dispel to calm him down a little, throw on some Protect, Berserk Reddas, and use Decoy to have your strongest member keep him busy

Be prepared to deal with Blind and Silence when he uses Wail, and keep your healer well away - most of his attacks are physical and can do upwards of 2000HP of damage at close quarters. He's got no clever tricks, he just hits hard and can take a lot of punishment, so keep calm and he'll go down.
Once you've bested him head through the door and find the altar corresponding to your earlier sacrifice - your ability will be restored. Once you've got your map back walk over to the lift and select 67F as your destination. When you arrive, touch the Way Stone to move to the next section.
Spire Ravel and Hashmal boss fight
Spire Ravel - 1st Flight
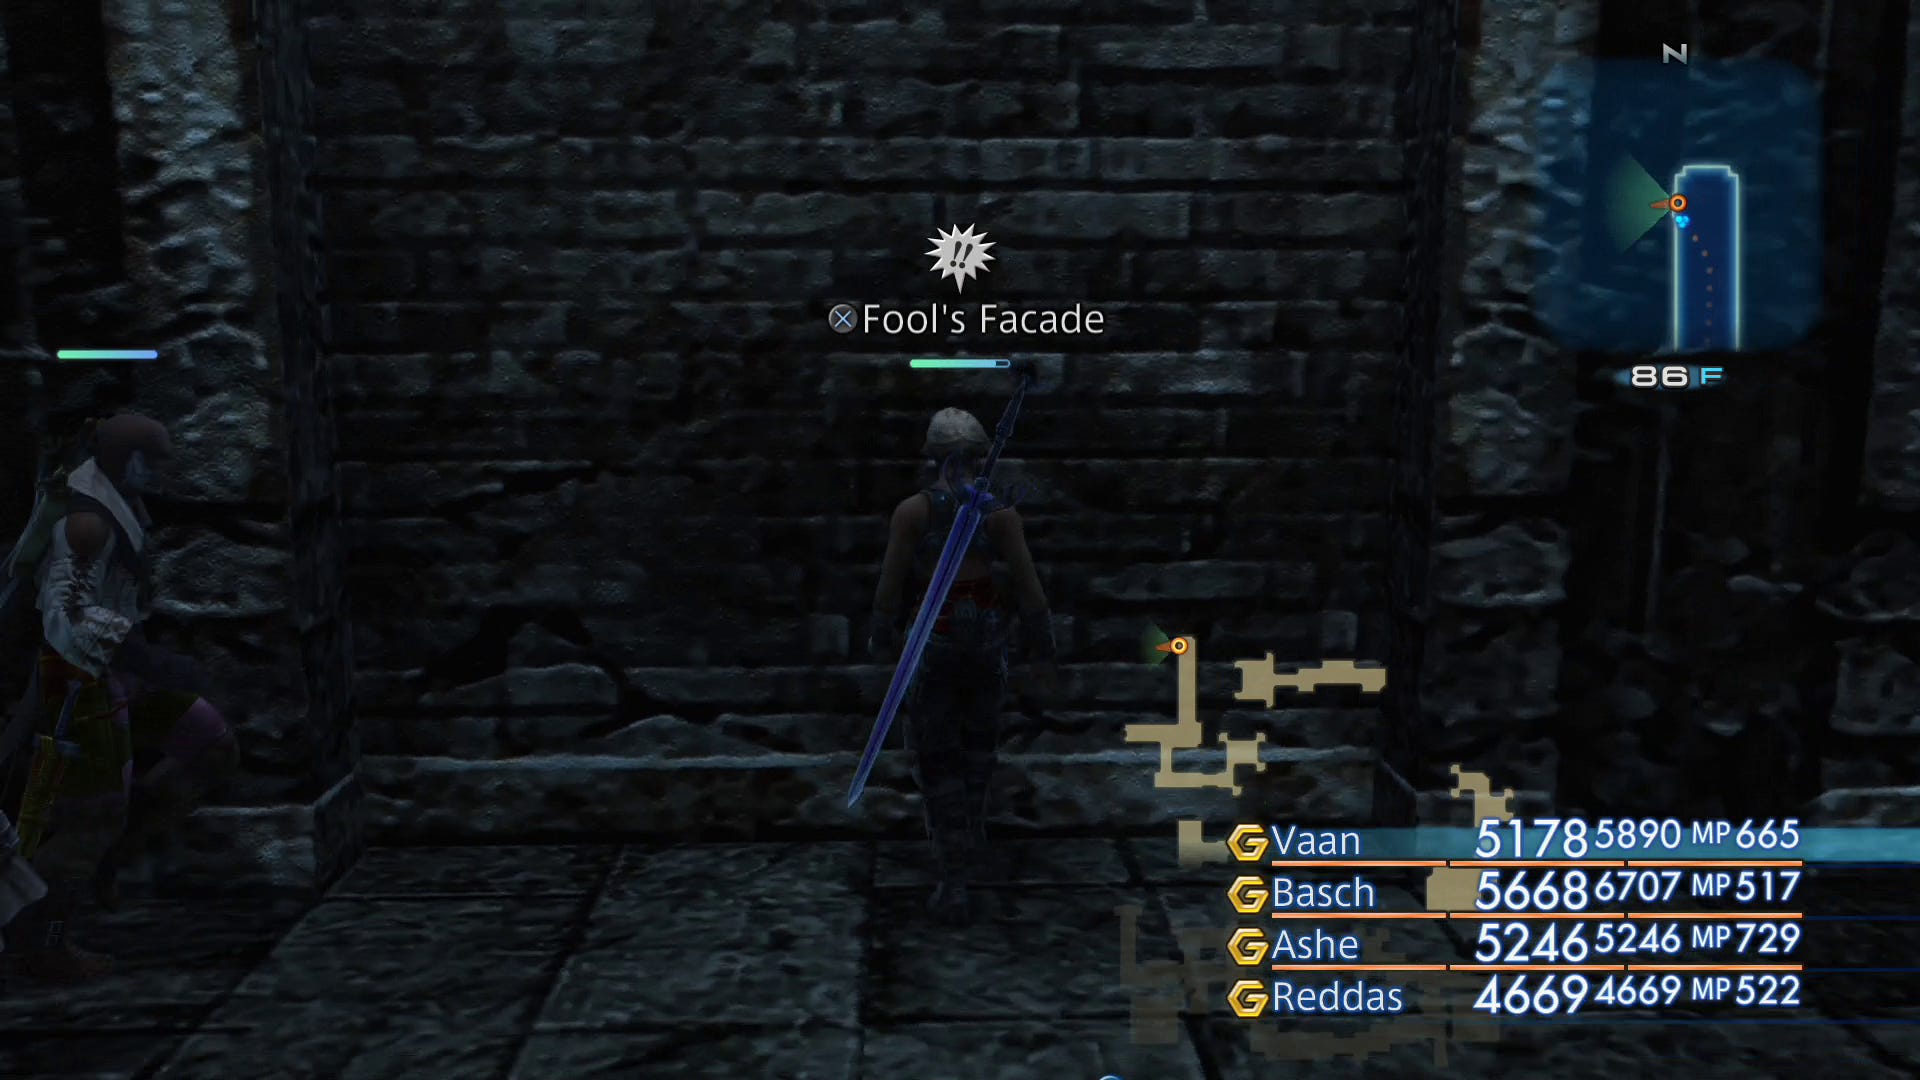
There are a handful of enemies here and the odd Fool's Facade as you go, so keep your eyes peeled for suspicious looking dead ends. Head along the walkway and you'll come to another Carven Pillar. Read it, then touch the black sigil to proceed.
In the following areas there are more sigils, but a word of warning - touching the wrong one once will send you back to the start of this area, but make two mistakes and you'll be transported to a room of punishment filled with undead that you'll need to kill before you can leave, so pay attention.
At the next group of sigils read the Carven Pillars for your instructions. Touch the black sigil and you'll be whisked across to another platform. Deal with the opposition - the Cataract Aevis should be done away with particularly quickly to avoid Disease - and when you reach the next batch of sigils use the green one.
2nd Flight
There are a couple of Fool's Facade along this passage, and when you reach the end hit the red sigil to be teleported again.
At the end of this area you need to touch the sigil corresponding to the thing you sacrificed earlier, but if you can't remember then it was purple for magic, yellow for items, clear for attack, or pink for map (which it obviously was).
All around the final set of sigils there will be a lot of enemies milling about, but as luck would have it you don't need to go there - head towards it and take the passage to your right, and at the end is a Fool's Facade behind which is the final sigil. Touch it, and when you're teleported you'll see a Way Stone in the distance.
A quick note: the rare enemy The Tower may spawn here, so if you're doing the Hunt Club sidequest you'll need to decide whether to take him on given that there's a boss rush in your immediate future.
Touch the Way Stone and you'll be teleported back to near the start of the area, but the lift is now in order so use it to head to 90F.
Boss Fight: Hashmal
Dispel whatever buffs he's applied to himself, and adjust your gambits to deal with Disease above all else - using a Serum (or Remedy if you have Remedy Lore 3) is much quicker than Cleanse if you have the supplies. Hashmal uses a lot of attack chains, and every hit is capable of inflicting disease in addition to 1000HP per blow, so a single attack can infect and kill a character making it imperative you deal with it quickly.

Physical attacks seem to be most effective - he's technically weak to wind, but heavy weapons do more actual damage. Berzerking Reddas means he'll pile in with some pretty substantial damage, so send in one of your own high-DPS melee characters and you've still got two spare for healing.
Just before he hits 50% HP cast Float on the party - he'll use War Cry and then start casting Quakeja, and that'll deal 1500HP and inflict slow if you're not Floating. As the fight wears on he'll become more aggressive, so watch the Disease; if he does manage to infect someone and kill them, don't forget you can swap them out and use an item on them while they're in reserve.
Once the fight is over you'll be at the bottom of a long flight of steps. As you ascend a cutscene will play, and when it finishes you'll be at the top next to a save crystal ans Way Stone - the cutscene walked you past a couple of bits of loot in some more Fool's Facade so feel free to backtrack before you touch the Way Stone.
For more help with? Final Fantasy 12? Our Final Fantasy 12 The Zodiac Age guide, walkthrough, Switch and Xbox differences gives an overview of the game to get you started. Elsewhere, there's our hidden Espers strategy and locations and Elite Hunts and Marks pages, how to get the best Zodiac Jobs for each character, advice on farming LP from Jellies and even how to get the Zodiac Spear.

Judge Gabranth, Doctor Cid and Famfrit boss fights
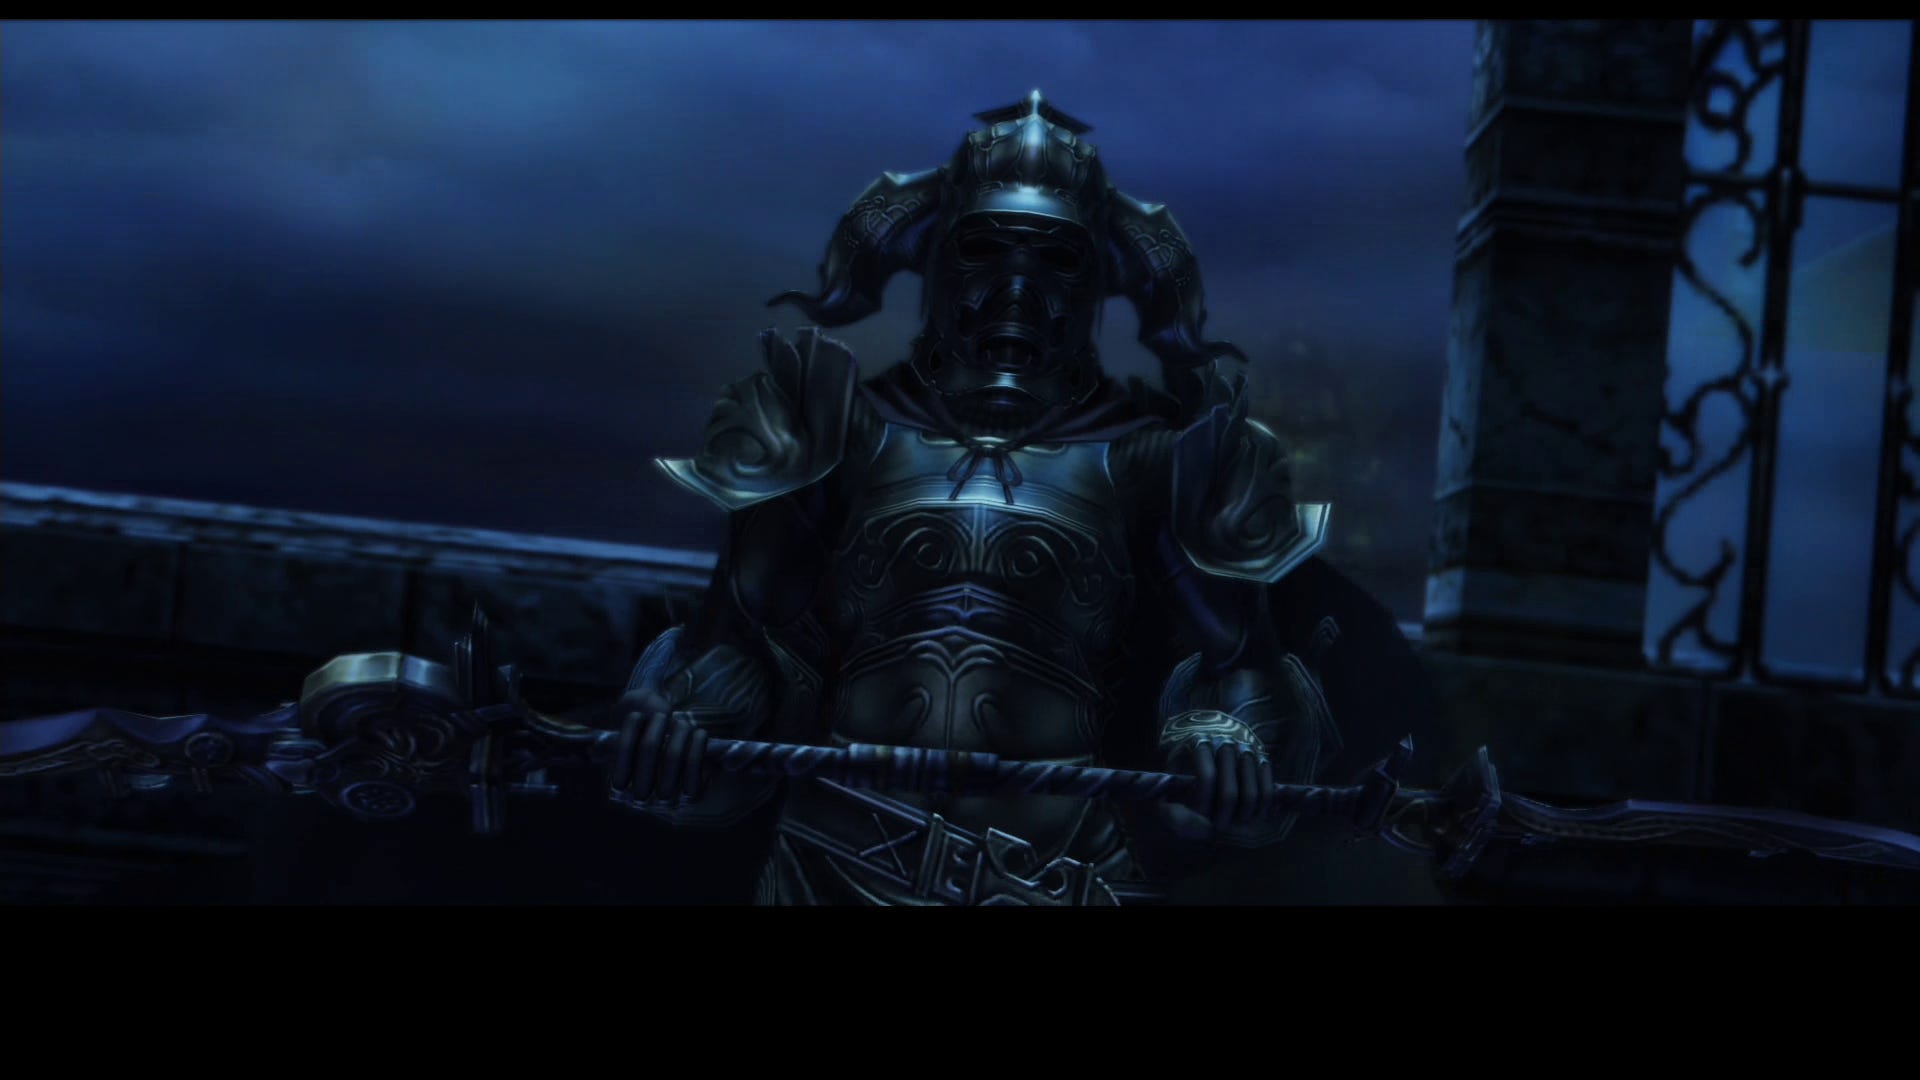
Boss fight: Judge Gabranth
Wait for him to cast Protect on himself then use Dispel. He's good at blocking and evading, but he's not actually that tough - successfully landing a hit on him will cut a large chunk off his health bar. He only causes physical damage and most of his attacks do between 600 and 100HP damage so even your healer can probably survive a few blows, so keep swinging at him.
At 50% HP a short cutscene will play (if Basch is in your active party it'll be slightly different, but not enough to warrant playing it again!) and he'll return to the battle with Haste and be completely immune to magic so you'll have to do without using Dispel. He's a little harder to hit now, but you only need to take another 25% of his health off so you're effectively half way there, and he has no other tricks to pull.
Boss fight: Doctor Cid II
This should be a pretty quick fight. He'll start the battle with a Gatling Gun attack, but it's pretty inaccurate and rather weak so it'll either miss you entirely or deal about 600HP damage. Once that's over, throw Berserk on Reddas and it'll all be over in a flash - you only need to take 50% of his HP for the battle to end.
Boss fight: Famfrit and Doctor Cid
Equip Rose Corsages to magic users as soon as you can, and for the first phase of the fight ignore whatever Cid is doing as he's impervious to all forms of attack and focus on Famfrit - adjust your gambits to “Foe: highest level” to make sure your party doesn't waste time. Use Dispel on Famfrit and unleash a combination of Oil and Firaga - you'll do massive amounts of damage, but for the first part he won't do much to retaliate.
When Famfrit hits 50% HP Doctor Cid will bring out the S-85 Cyclotron and Famfrit will start with Waterja - if you get caught by both you'll take up to 2500HP damage, so any weaker party members will need constant attention. Keep concentrating on Famfirt with Oil and Fire, though, and neither of them will have a chance to get many attacks in before Famfrit is down.
Shortly after Cid's left on his own his shields will drop, so hit him with Dispel and go back to hitting him with your biggest weapons. His attacks will still be limited to Gatling Gun and S-85, so as long as you don't get hit by too many of the latter it won't be long before it's all over.
Save the game after the cutscenes that follow - we're nearing the end now!
Next up is part 15 (the final part) of our Final Fantasy 12 The Zodiac Age walkthrough: Bahamut, Judge Gabranth, Vayne Solidor, Vayne Novus, Sephira A-E and The Undying bosses.