Final Fantasy 12 - Zeromus, the Condemner location, requirements and strategies
Everything you need for tackling the tricky Esper.

There are thirteen Espers in Final Fantasy 12, eight of which are optional foes outside of the main story. Zeromus, the Condemner is one of the later optional Espers that you'll be able to attempt tackling, so don't expect it to be easy!
All of the Espers are highly challenging, so here on this page we'll be taking you through Zeromus' location, requirements, and of course strategies for how to defeat Zeromus in combat, too.
If you're looking for one of the other Espers, you can head back to our Esper battles, locations, and strategy hub. For other tips and explainers meanwhile, head to our Final Fantasy 12 The Zodiac Age guide and walkthrough, where we cover plenty more.
Zeromus, the Condemner location and requirements
Before you get to the actual battle, here's everything you need to know about Zeromus, the Condemner:
- Prerequisites: defeat Judge Bergan.
- Location: Stilshrine of Miriam, Throne of Veiled Gods.
- HP: ~170,000
- Weaknesses: None.
- Absorb: None.
- You'll need: X-Potions. Lots of X-Potions! Phoenix Downs, Antidotes, Remedies, and every other healing item you can lay your hands on. Power Armlets or Chronos Tears. We also recommend at least two Quickenings for every character in your party, and the Martyr/Inquisitor Licenses.
- Recommended level: 50+
- Steal: Cancer gem, Elixir, High Arcana.
Head for the Temple Grounds in Mt. Bur-Omisace and speak to the Acolyte at the bottom of the stairs outside the doors and he'll give you the Stone of the Condemner. Make your way to the Stilshrine of Miriam, and enter the Ward of Measure.
Use the Way Stone located at the south end of the room and you'll be given the option of using the Stone of the Condemner on it. Doing so will cause the Way Stone to teleport you to a new area in the Stilshrine.
For more help with? Final Fantasy 12? Our Final Fantasy 12 The Zodiac Age guide, walkthrough, Switch and Xbox differences gives an overview of the game to get you started. Elsewhere, there's our hidden Espers strategy and locations and Elite Hunts and Marks pages, how to get the best Zodiac Jobs for each character, advice on farming LP from Jellies and even how to get the Zodiac Spear.

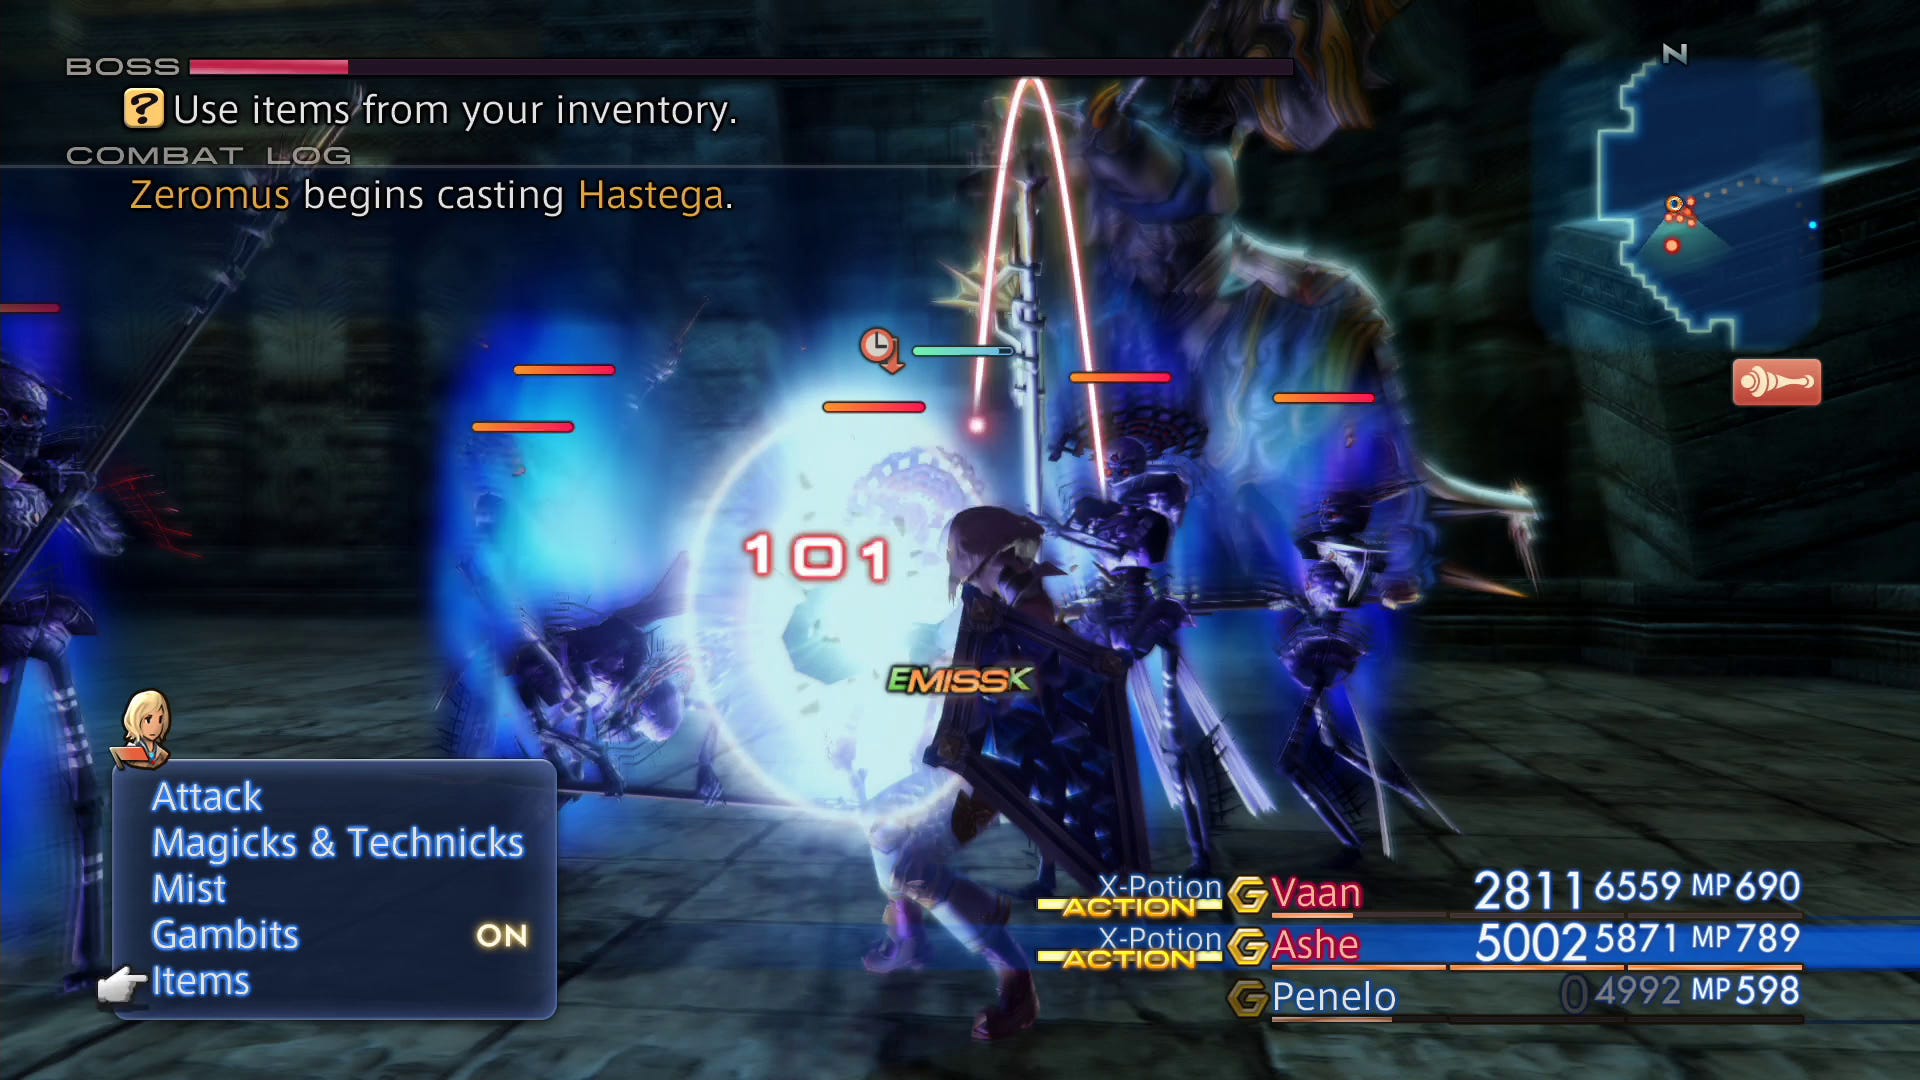
Zeromus strategies and how to defeat it
Before you open the door and start the fight you'll need to adjust your Gambits - the restriction this time is that no magic is usable during the fight so healing is going to have to be done the old fashioned way. Set up gambits on everyone to use Phoenix Down for resurrection, X-Potion for healing (we went for "Ally less than 50%", but the threshold may vary depending on your party's strength), Chronos Tear for Stop if you don't have enough Power Armlets (or if you have a guest party member).
For most of the fight Zeromus will repeatedly cast Stop, Gravity, and Piercing Graviga - the first two are more of an annoyance than a threat, but at level 50 Piercing Graviga will hit for about 25% of your party's HP. At critical HP he'll use Great Barrier to increase his defense and become a bit more aggressive, but he doesn't really change up his tactics much.
Your biggest problem during the fight is going to be the Dark Lords that will continually spawn - they'll use both physical attacks and Toxify on your party and generally get in the way, but you can treat them in one of two ways:
- Ignore them, and only deal with them if they're causing problems, and instead focus on pummelling Zeromus as much as possible. If you take this approach you'll need to heal more often, but the fight may be over more quickly as compensation. (Use a "Foe: Highest Level - Attack" gambit.)
- Use a Quickening Chain to deal as much damage as you can to Zeromus, then ignore him and wipe out as many Dark Lords as you need to recharge your Quickening slots, and repeat. Having the Martyr and Inquisitor Licenses will charge your Quickenings up more quickly. Of the two strategies this is "safer", but it can take a long time to charge so be prepared for a lengthy battle. (Use a "Foe: Lowest Level - Attack" gambit.)
Whichever strategy you choose this is one of the toughest fights in the game, so be prepared to try it several times before you succeed.
Head back to our Esper battles, strategies and locations hub for more on the various other Espers, or our main Final Fantasy 12 The Zodiac Age walkthrough and guide hub for plenty of other guides, too!