Elden Ring walkthrough to complete the critical path
Every step required to finish Elden Ring's critical path.

Following an Elden Ring walkthrough can help you stay on track in a huge, often overwhelming world with many directions you can go.
Whilst you can go almost anywhere and find something new, after selecting your starting class and Keepsake, there is a critical path you can follow to see the ending.
Though you'll be given hints of where to go, in typical FromSoftware fashion, this isn't made all that clear to you, so knowing where you should be going - even if you want to take a dozen hour detour or two before you get there! - is well worth knowing.
On this page:
- How does this Elden Ring walkthrough work?
- Limgrave and Stormveil Castle
- Where to go after Godrick and Stormveil: Liurnia and Raya Lucaria Academy
- Where to go after Raya Lucaria Academy: Altus Plateau and Leyndell
- Where to go after Leyndell: Mountaintops of the Giants and Crumbling Farum Azula
- Revisiting Leyndell

How does this Elden Ring walkthrough work?
Like previous FromSoftware games, Elden Ring has a critical path and a set number of required main bosses you must tackle before you can complete the game.
But unlike previous FromSoftware games, most areas are available right away, and even if you know where to go, and it's very easy to get side-tracked. This is actually the best way to play the game - at your own pace, and seeing what takes your interest - but the critical path also opens up new areas that contain useful items you'll eventually want to visit.

This Elden Ring walkthrough explains how to follow the main path through the game. Though we will offer some additional suggestions for side content such as bonus bosses or optional quests, know this page itself isn't an exhaustive, step-by-step walkthrough of how to find and beat everything.
Instead, to keep things focused, this page directs you along the critical path to completing Elden Ring. Even with this alone there is a lot to cover!
If you want a more spoiler-free list of requirements to finish the game, then visit our main bosses list which can help give you an overview of what must be done to finish it. Beyond that, we also have a page on the additional things needed to see all Elden Ring endings.
Limgrave and Stormveil Castle
Before we jump into a guide of the first region of Limgrave, it's important to note that you don't actually start there.
Once you have decided on a starting class and Keepsake, you'll begin at the Chapel of Anticipation. Don't worry, you're supposed to die at the first boss - this is a FromSoftware game after all - and once you do you'll begin the game proper.

Once you respawn, you'll be in the Stranded Graveyard - which actually has a missable tutorial - make your way out of the cave and you'll finally come to the open world of The Lands Between.
Now the guidance of grace will appear on your map screen as yellow directional arrows, you can use these as vague indicators of the critical path.
Activate the Site of Grace in front of you and you'll see a church just down the road, go to it. There will also be a huge knight riding a horse - this is the Tree Sentinel - and he's going to be quite the challenge at this point. Our recommendation is to give a wide berth and head to the church.
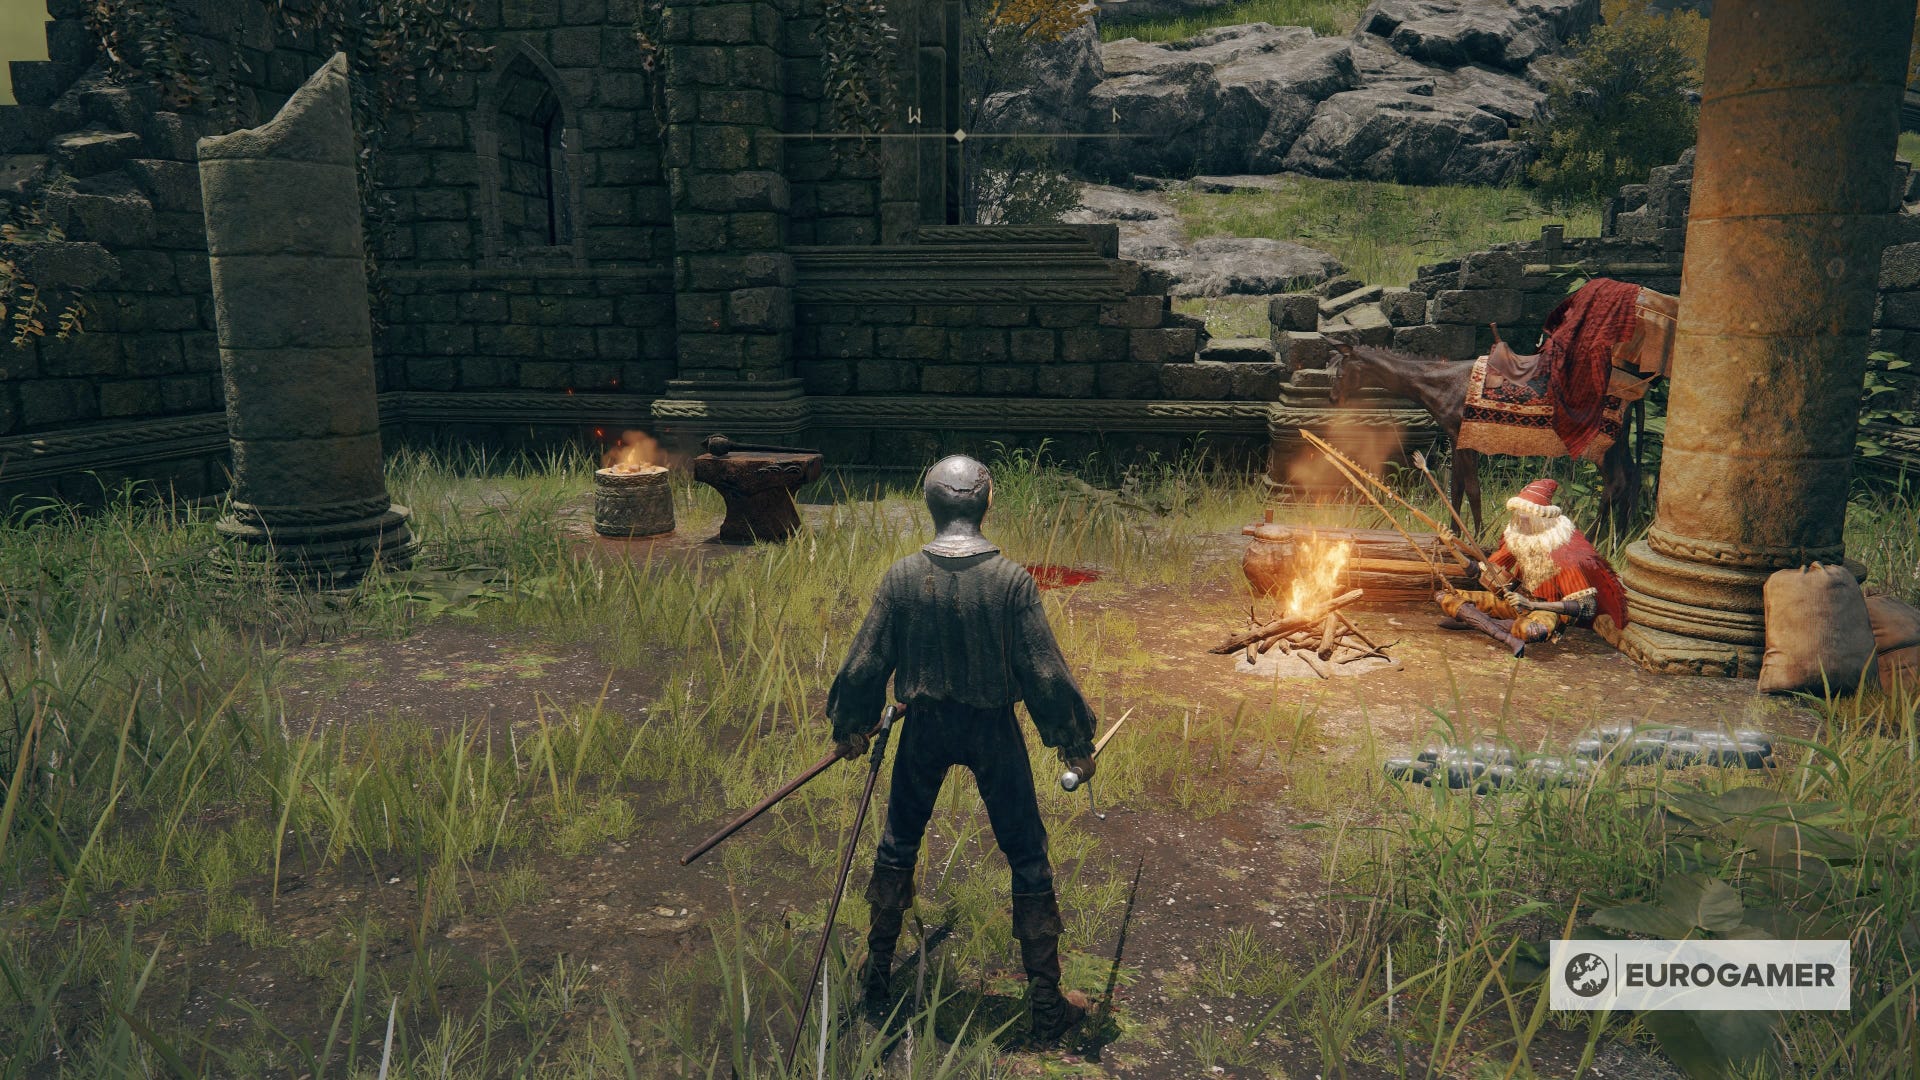
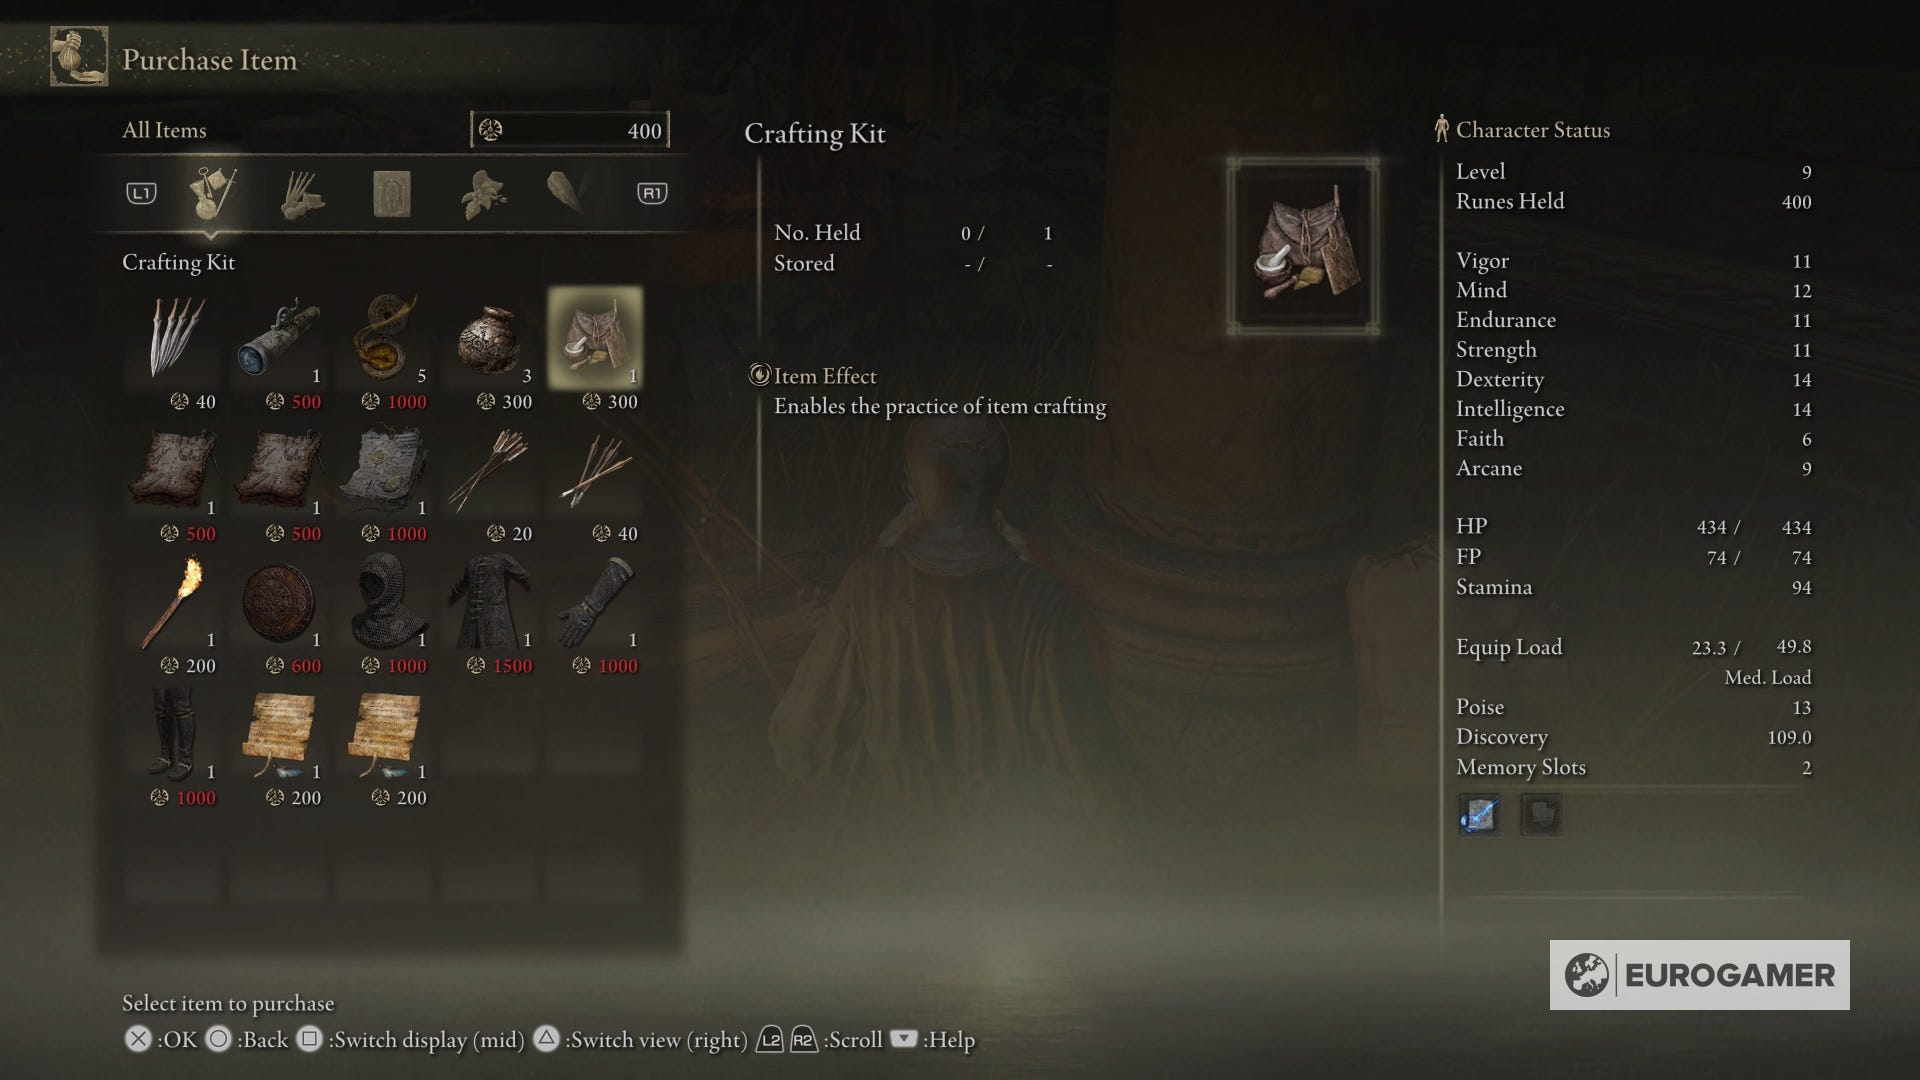
Now you're at the Church of Ellah, where you can upgrade some weapons and purchase goods from the merchant. They sell a crafting kit for 300 Runes - this is an essential item that allows you to craft consumables from ingredients in the wild - so make sure you collect the Runes by defeating nearby enemies or using a Rune item from your inventory (there's one right outside the Church's front entrance, in case you missed it).
It might also be worth picking up a torch, too.
A streak of light should be emitting from the Site of Grace at the church, head in that direction and follow the road northwards.
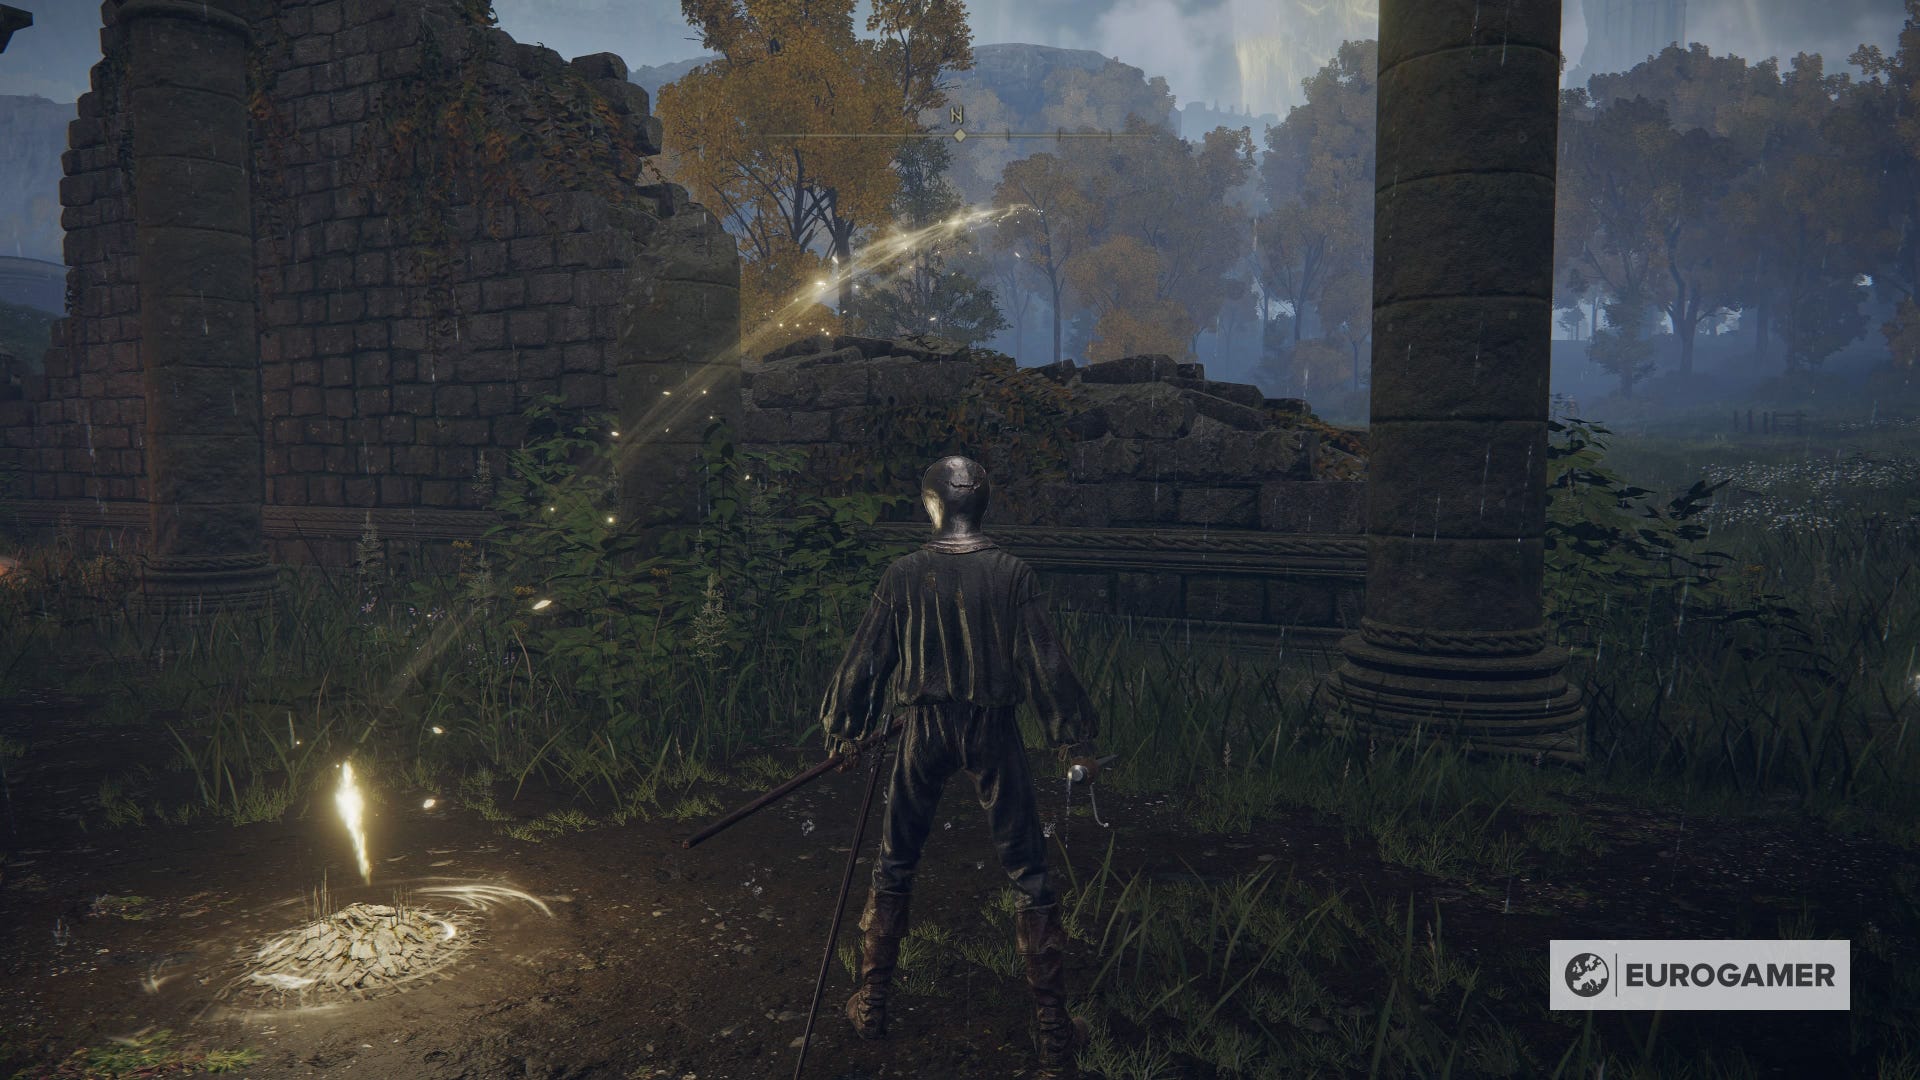
Following the road over the hill will reveal an enemy encampment, circle around it to the left and you'll see a massive stone structure and a Site of Grace, make sure you rest here.
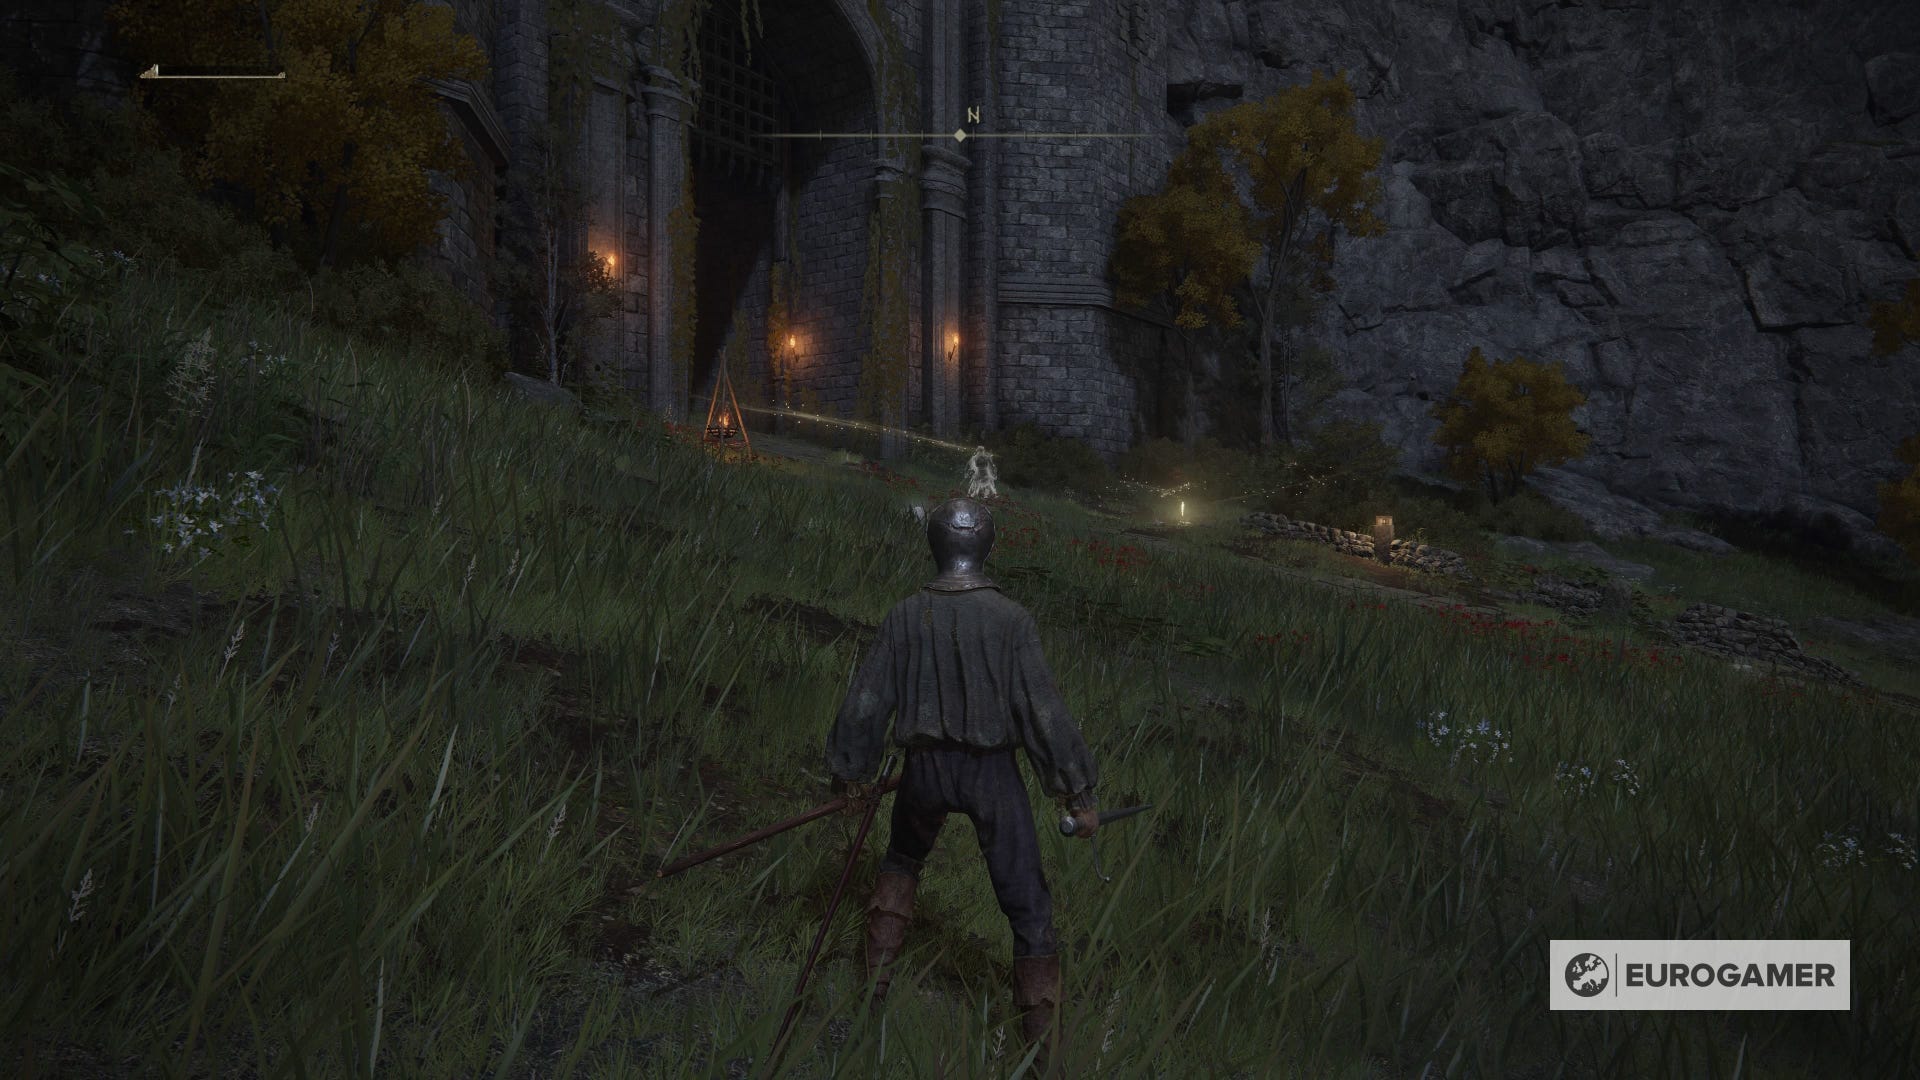
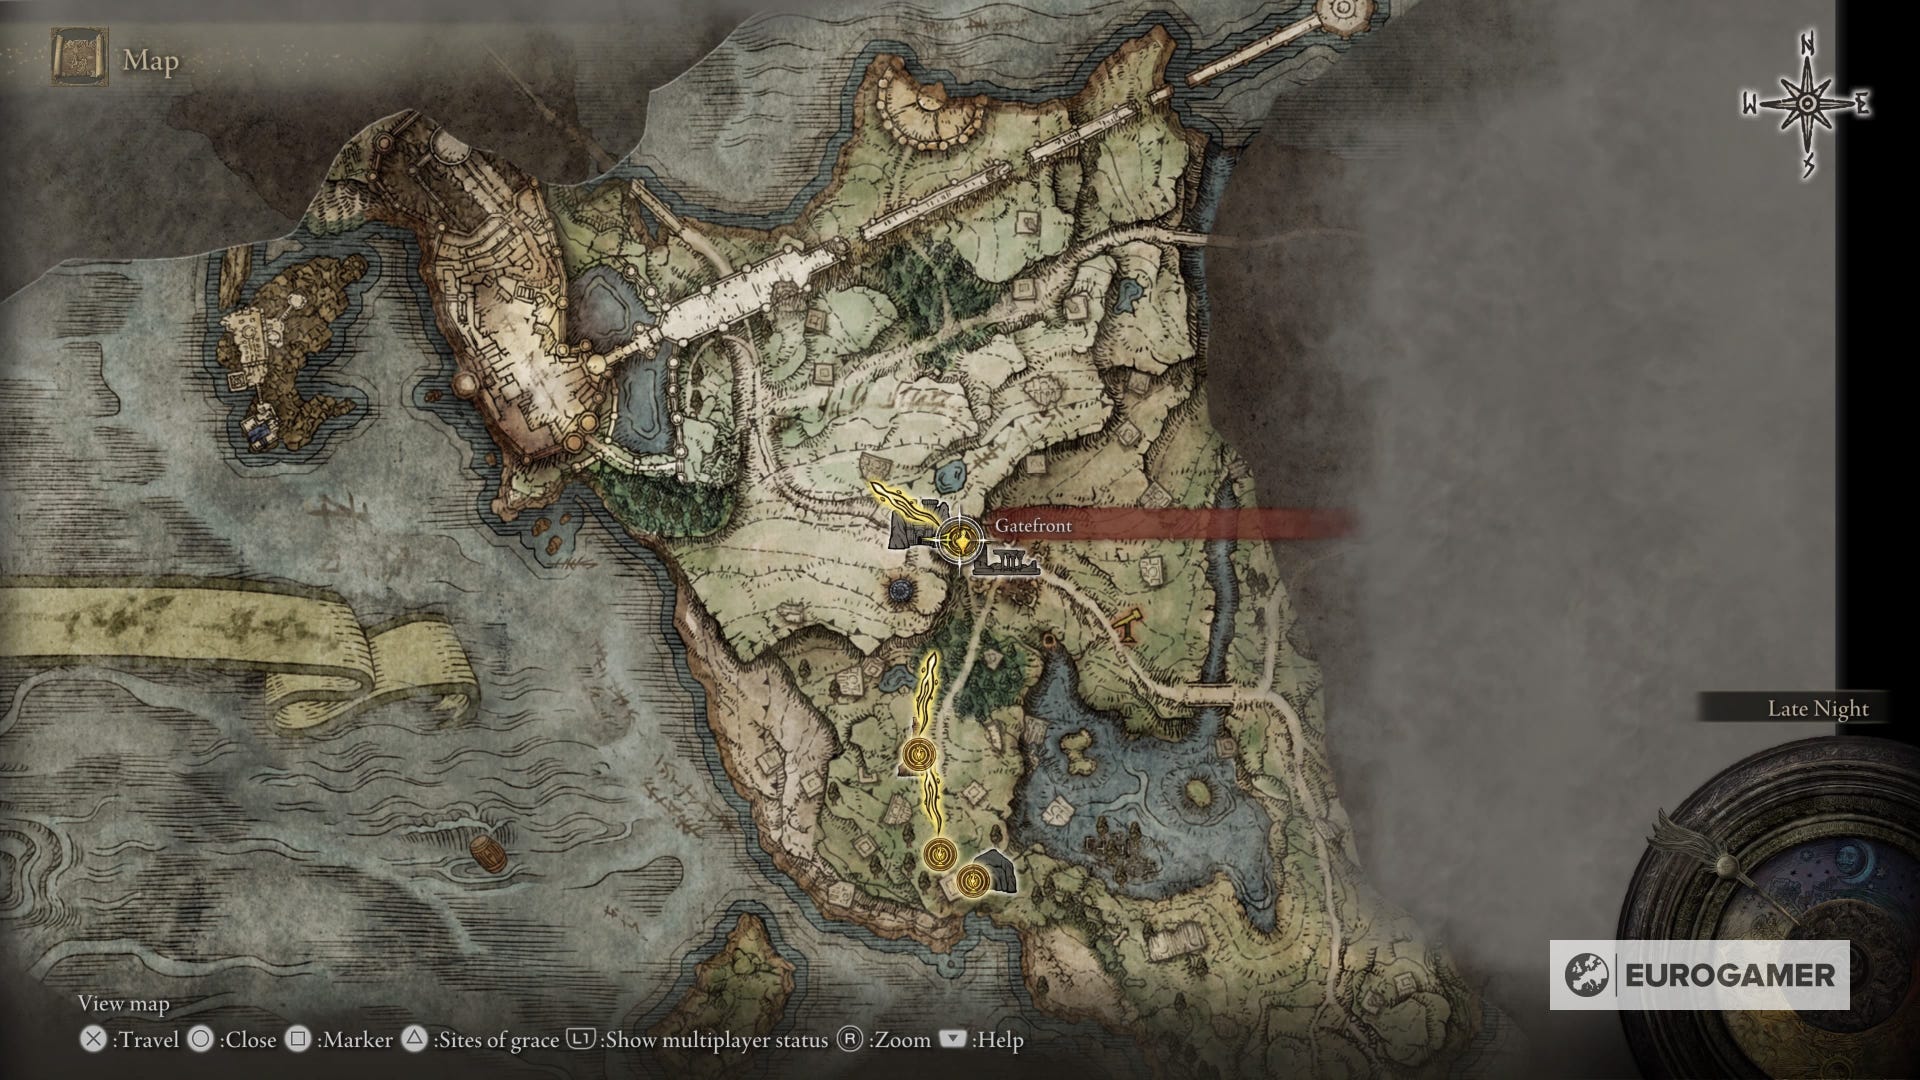
Once you do, a cutscene will play, then accept Melina's offering and she'll allow you to level up at every Site of Grace and give you Torrent, your spectral steed for the duration of Elden Ring. We've marked the Gatefront Site of Grace's location on the below map.
While you are here in Gatefront Ruins, it's also worth picking up the Whetstone Knife and the first Limgrave map fragment.
At this point we recommend you explore Limgrave for a while, obtain items and equipment, earn some Runes and mark tough locations so you can come back to them later.
Our what to do first in Elden Ring page goes into some specific locations you might want to consider, while we also have dedicated pages on the best early weapon and where to find a staff and sorcery teacher early. Otherwise, freely roam and see what you discover - the story can wait!
 Elden Ring for dummies: Basics for EVERYTHING You Need to Know (But Were Afraid to Ask) PS5 GAMEPLAY
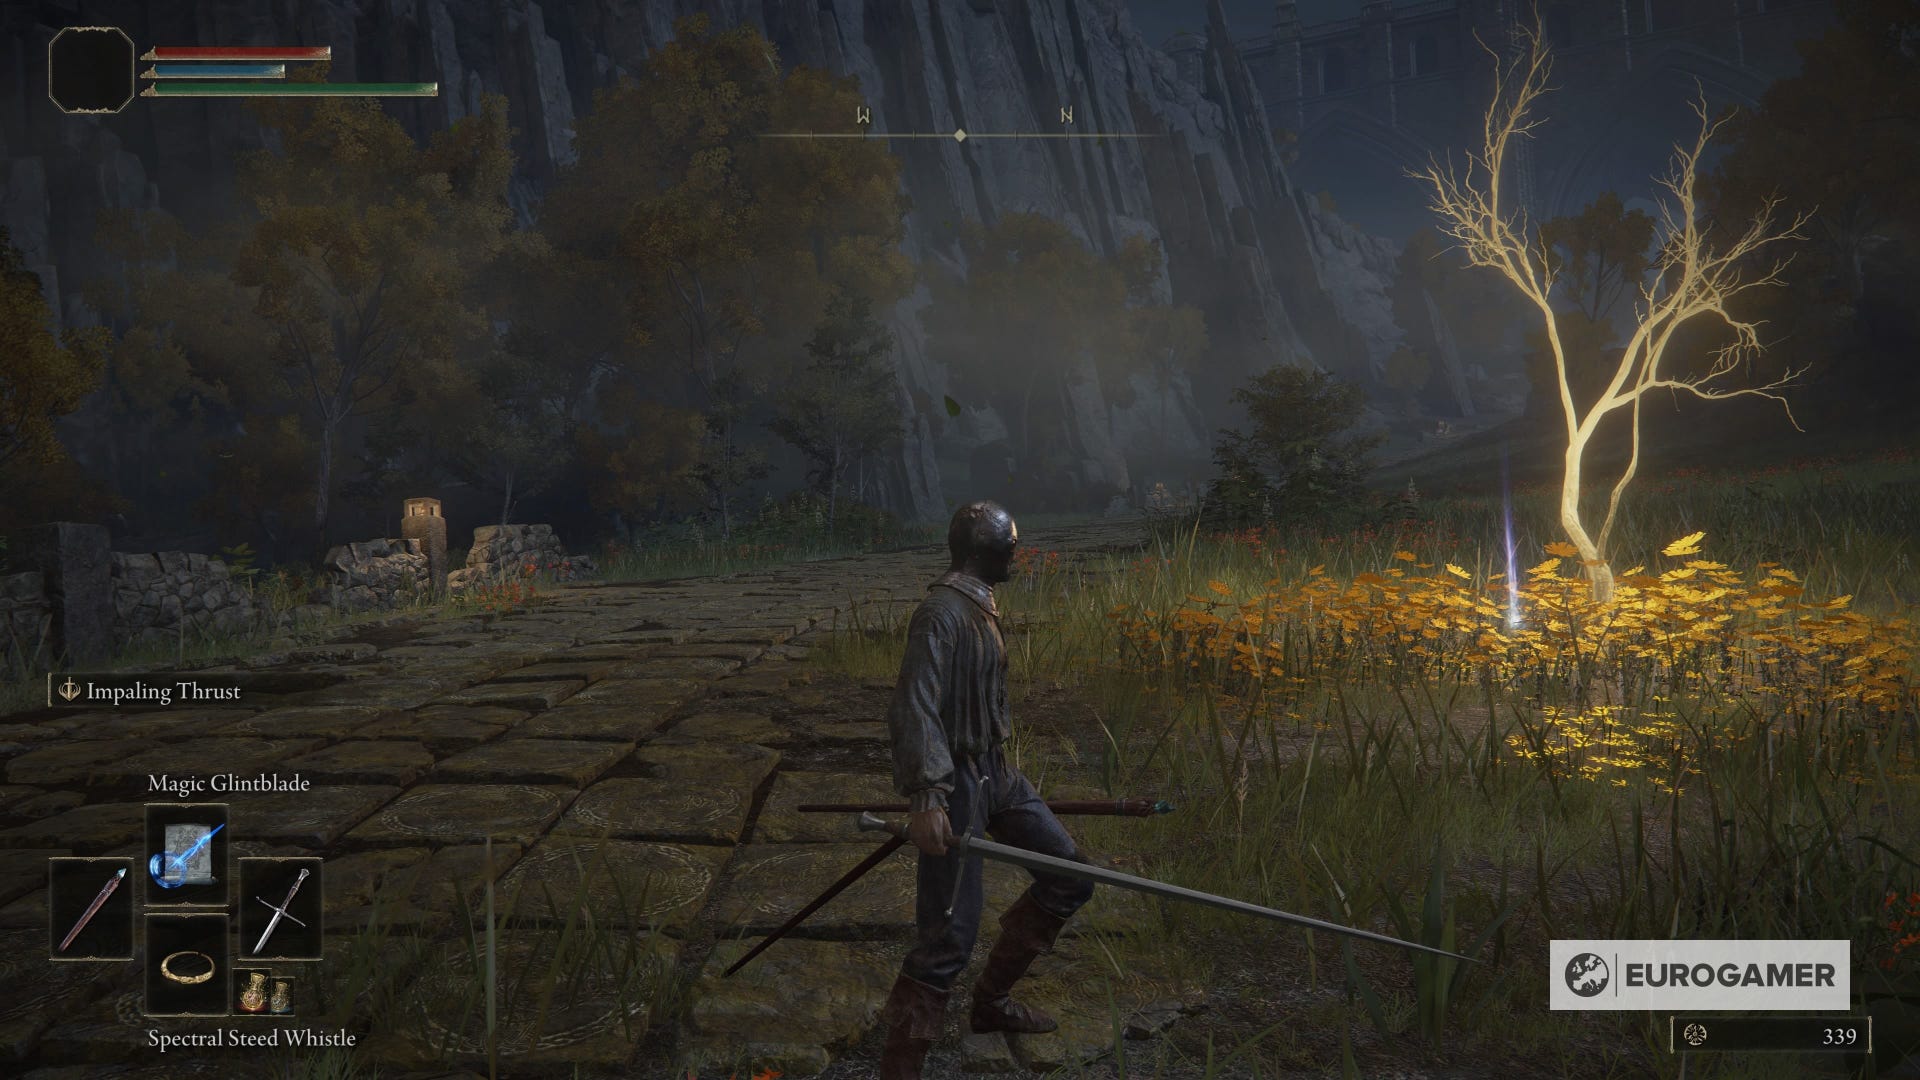
To get to Stormveil Castle from the Gatefront Site of Grace, simply follow the road under the stone structure, and continue on that path for a short while. You'll come across another glowing tree and Golden Seed, so be sure to pick that up.
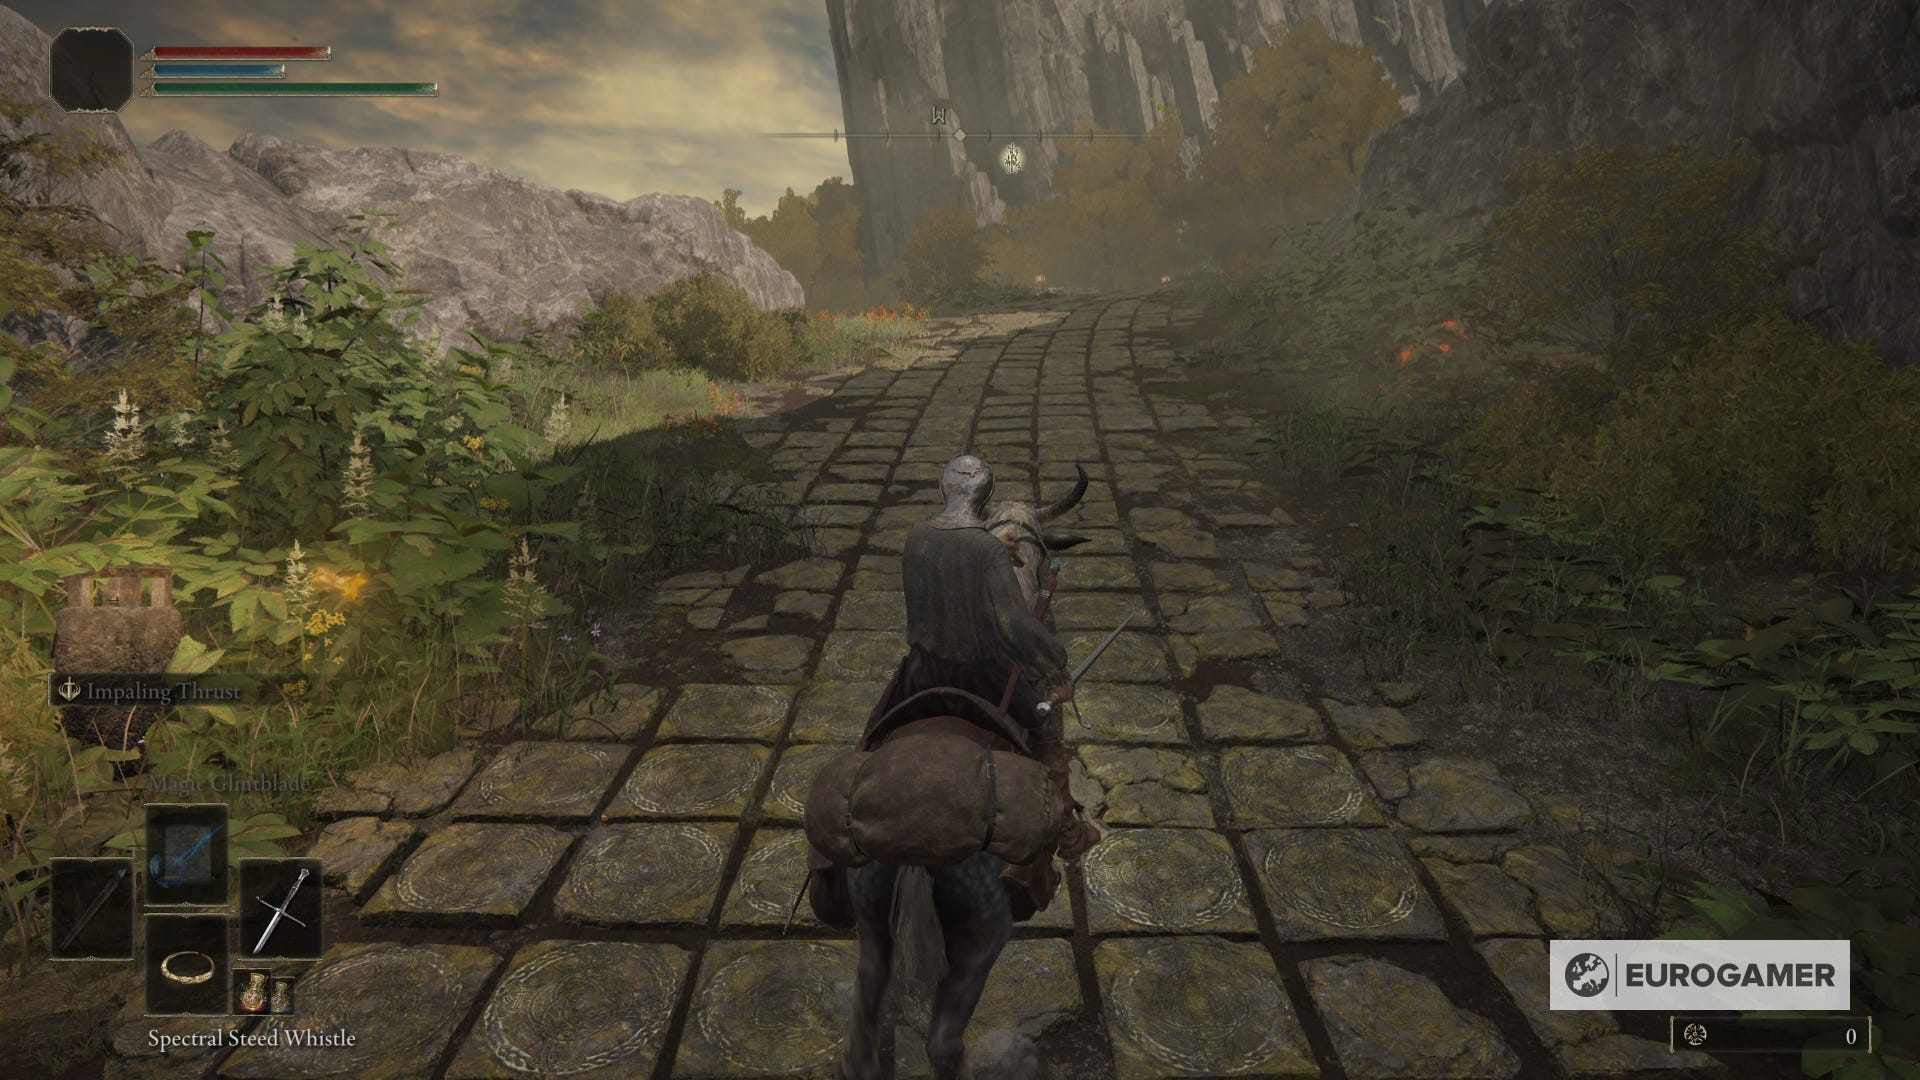
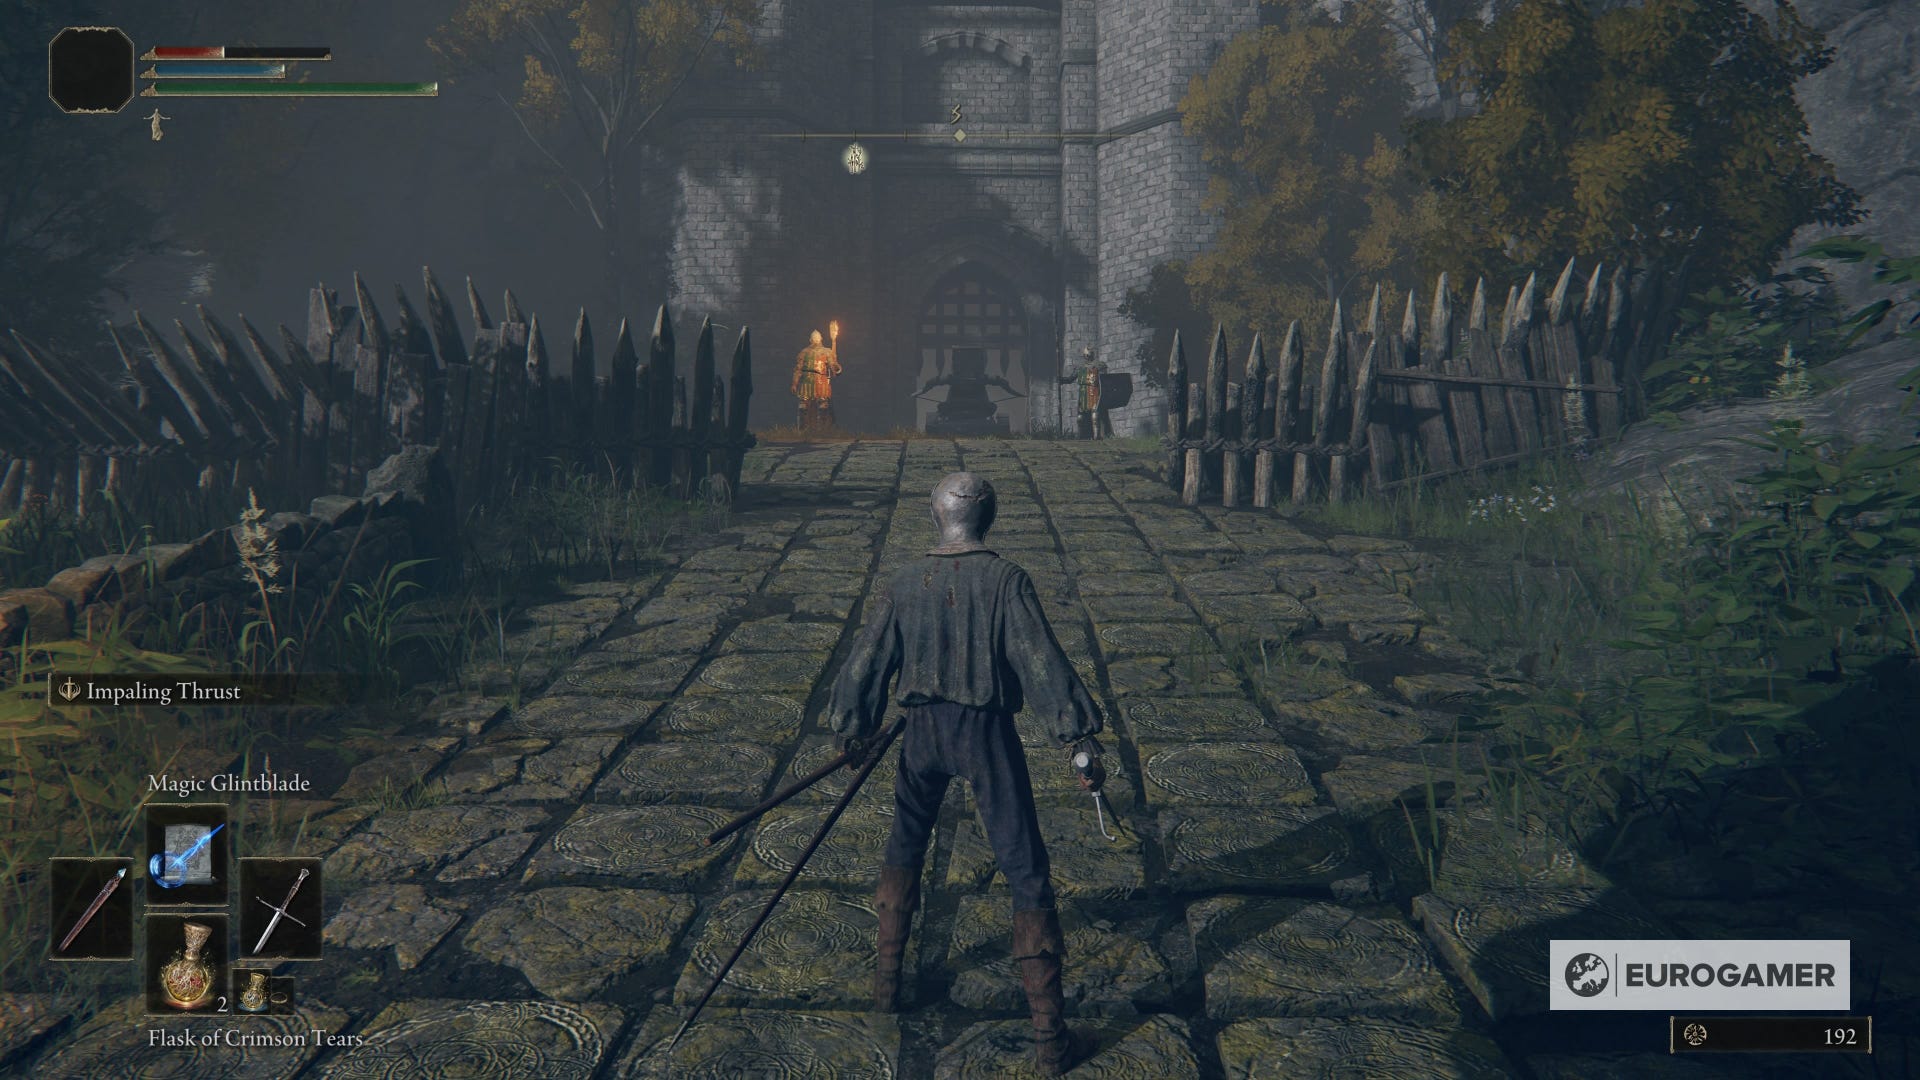
The road then bends around to the left, at which point you should be met with a hoard of enemies guarding the entrance to Stormveil. Behind the enemies there's a long tunnel, head down it and activate the Site of Grace.
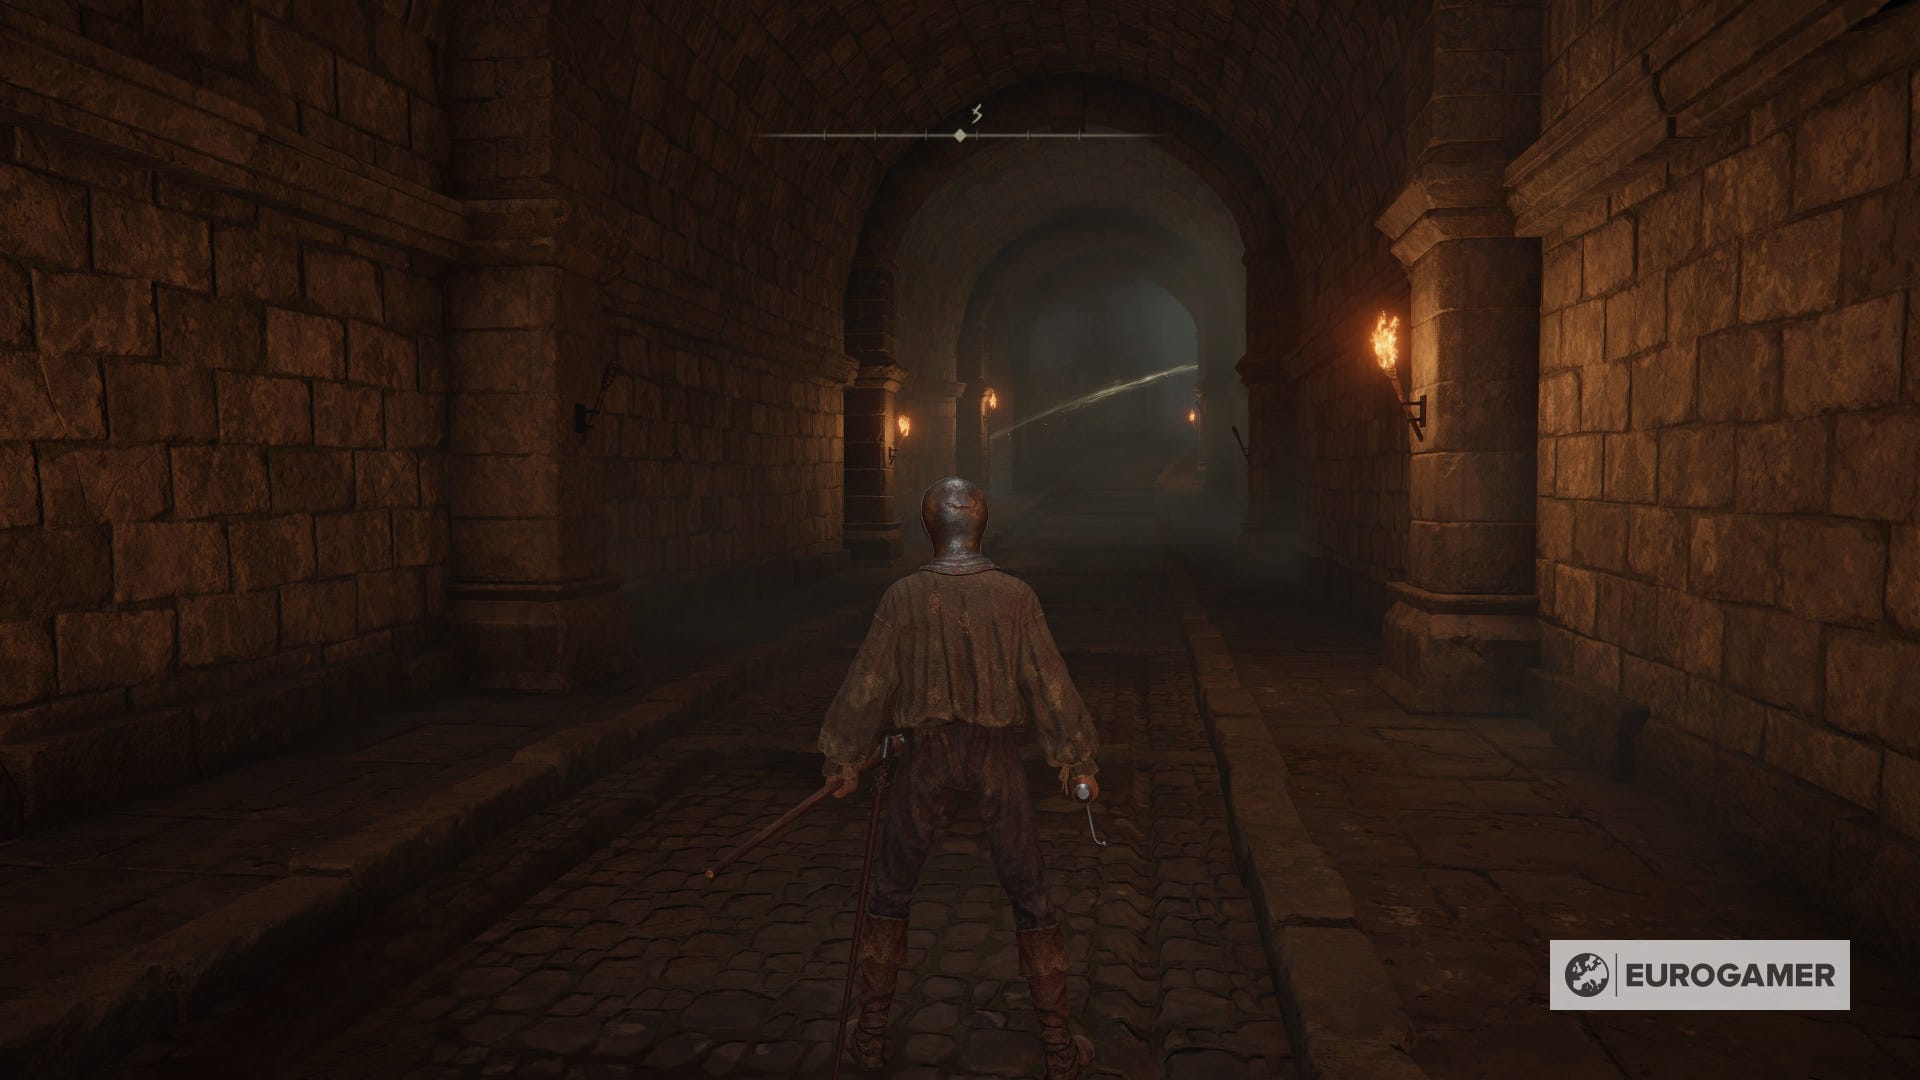
On the other end of the tunnel you'll meet your first major boss in Elden Ring, Margit The Fell Omen. You need to beat this boss to gain access to Stormveil Castle.
This is a huge challenge - so if you are struggling, then don't worry about needing to explore Limgrave more first. You can also skip Stormveil Castle if you want to go to the Liurnia area, where there are some useful things to find which might help - including some of the best early armor sets. You can see how to do this in the following video:

You must defeat Margit to complete Elden Ring, however, so come back when you're ready, and good luck!
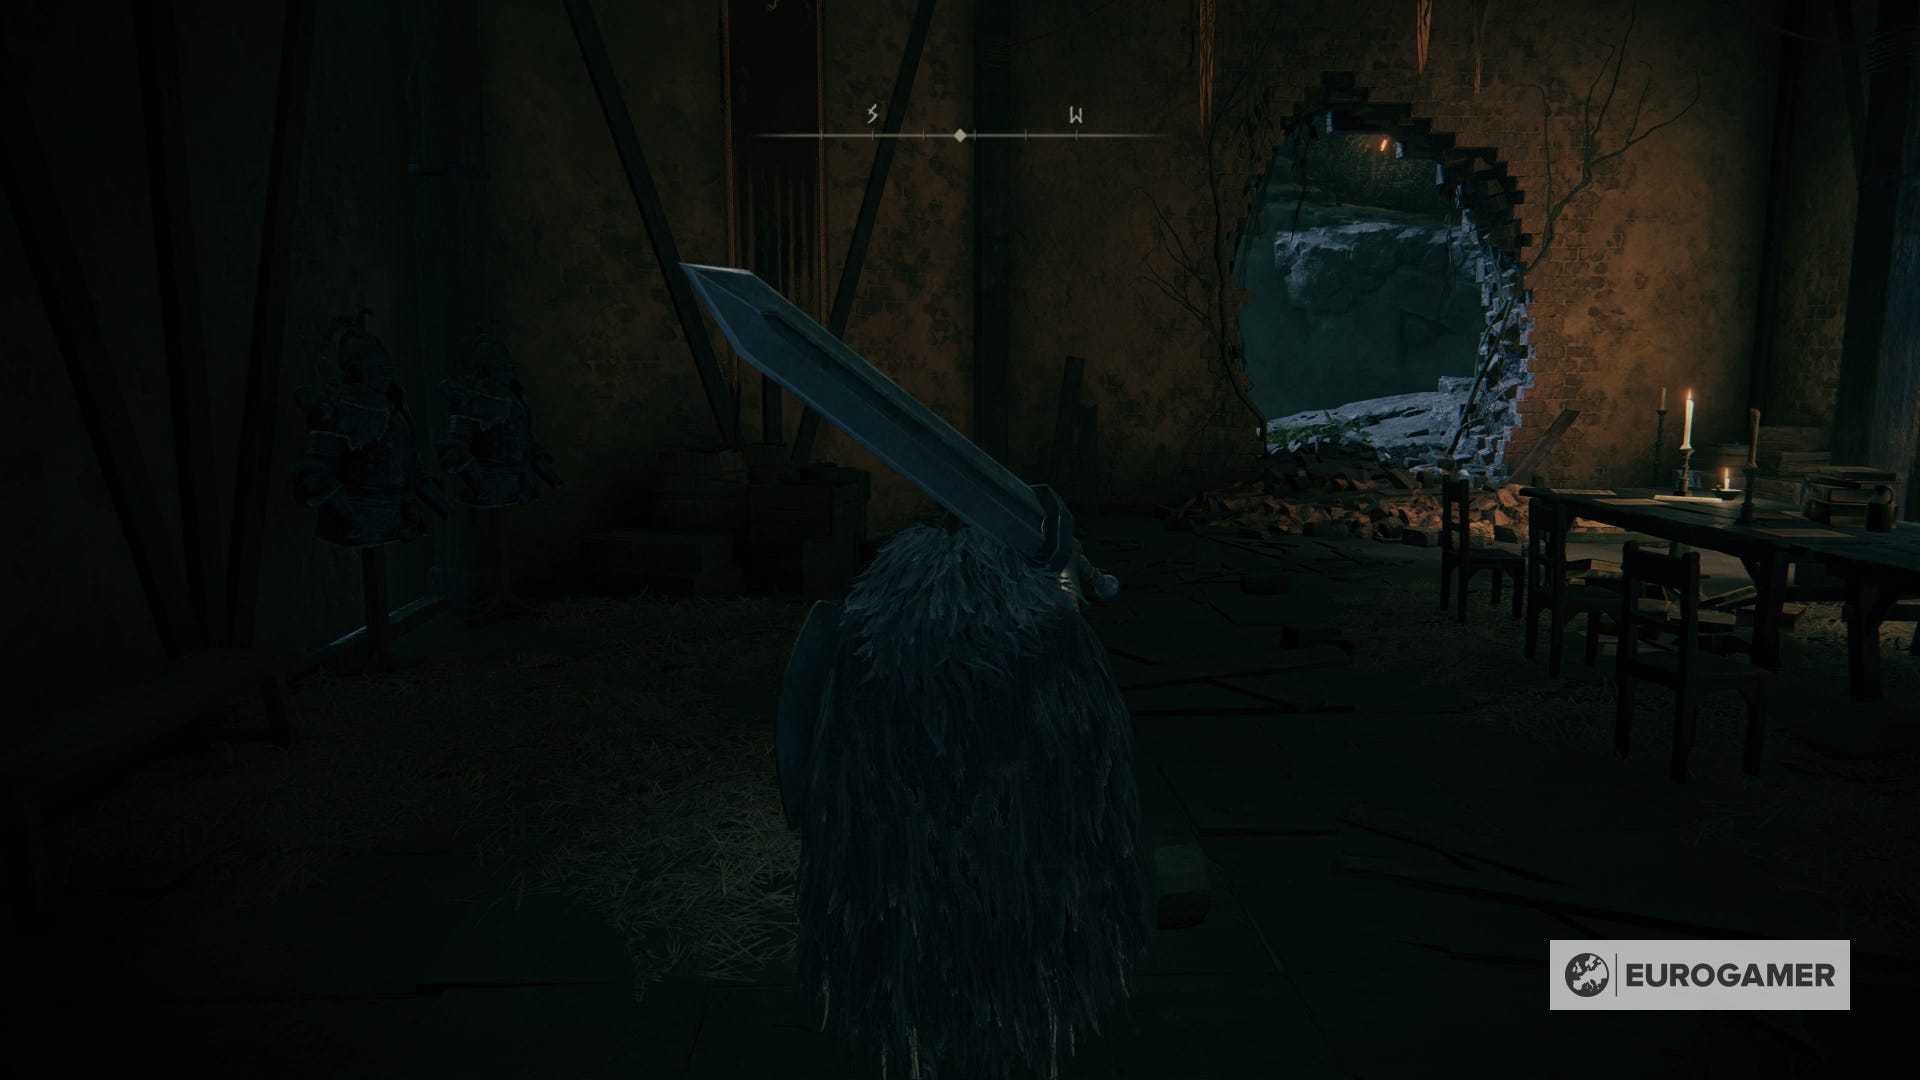
Once you've beaten Margit you can access Castle Stormveil by heading up the stone steps and you'll see a closed off gate. To your left is an opening, and there's an NPC who can open up the gate for you. As they recommend though, it's much easier if you go around the outside of Stormveil instead, through the big hole in the same room.
As the first major Legacy Dungeon in Elden Ring, Stormveil Castle is a huge labyrinth. It isn't too confusing, with paths opening up and loops being created as you go. Keep exploring until you come to the Secluded Cell Site of Grace, shown on the map and in-game image below.
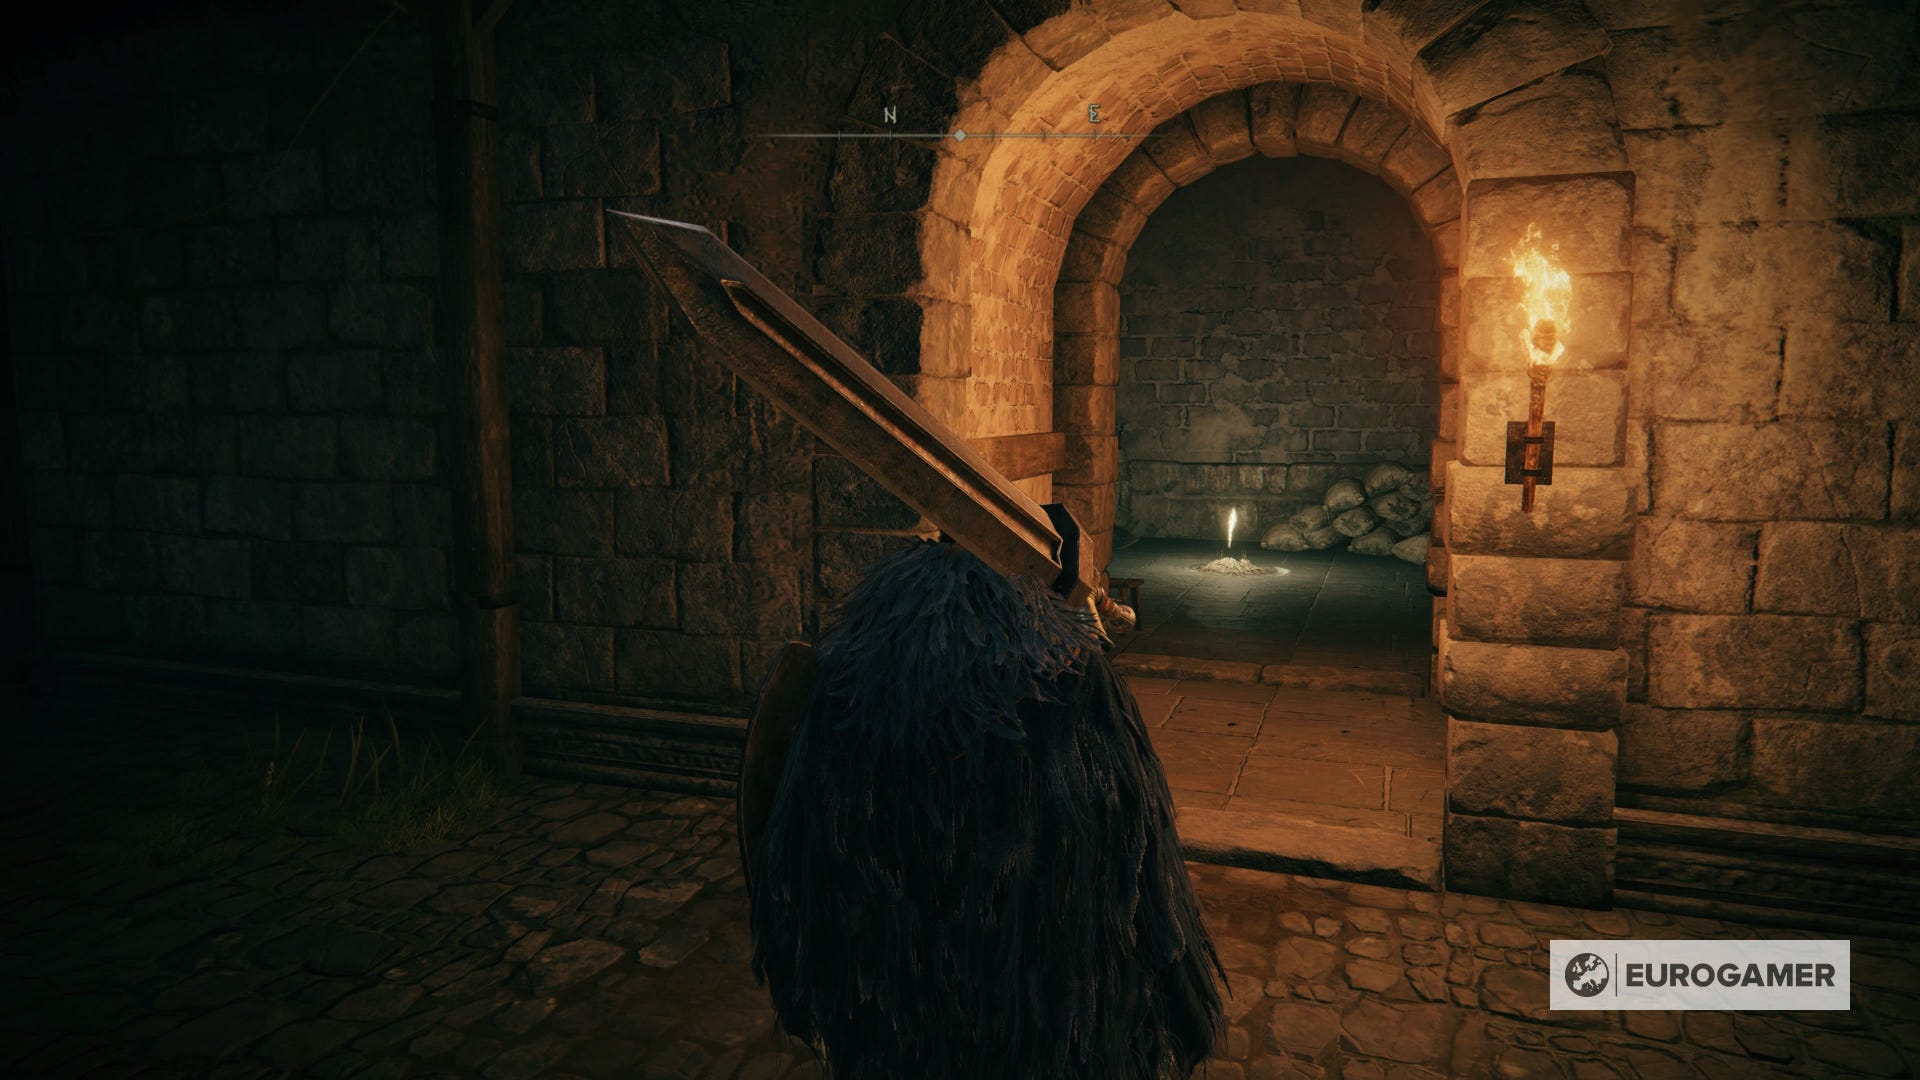
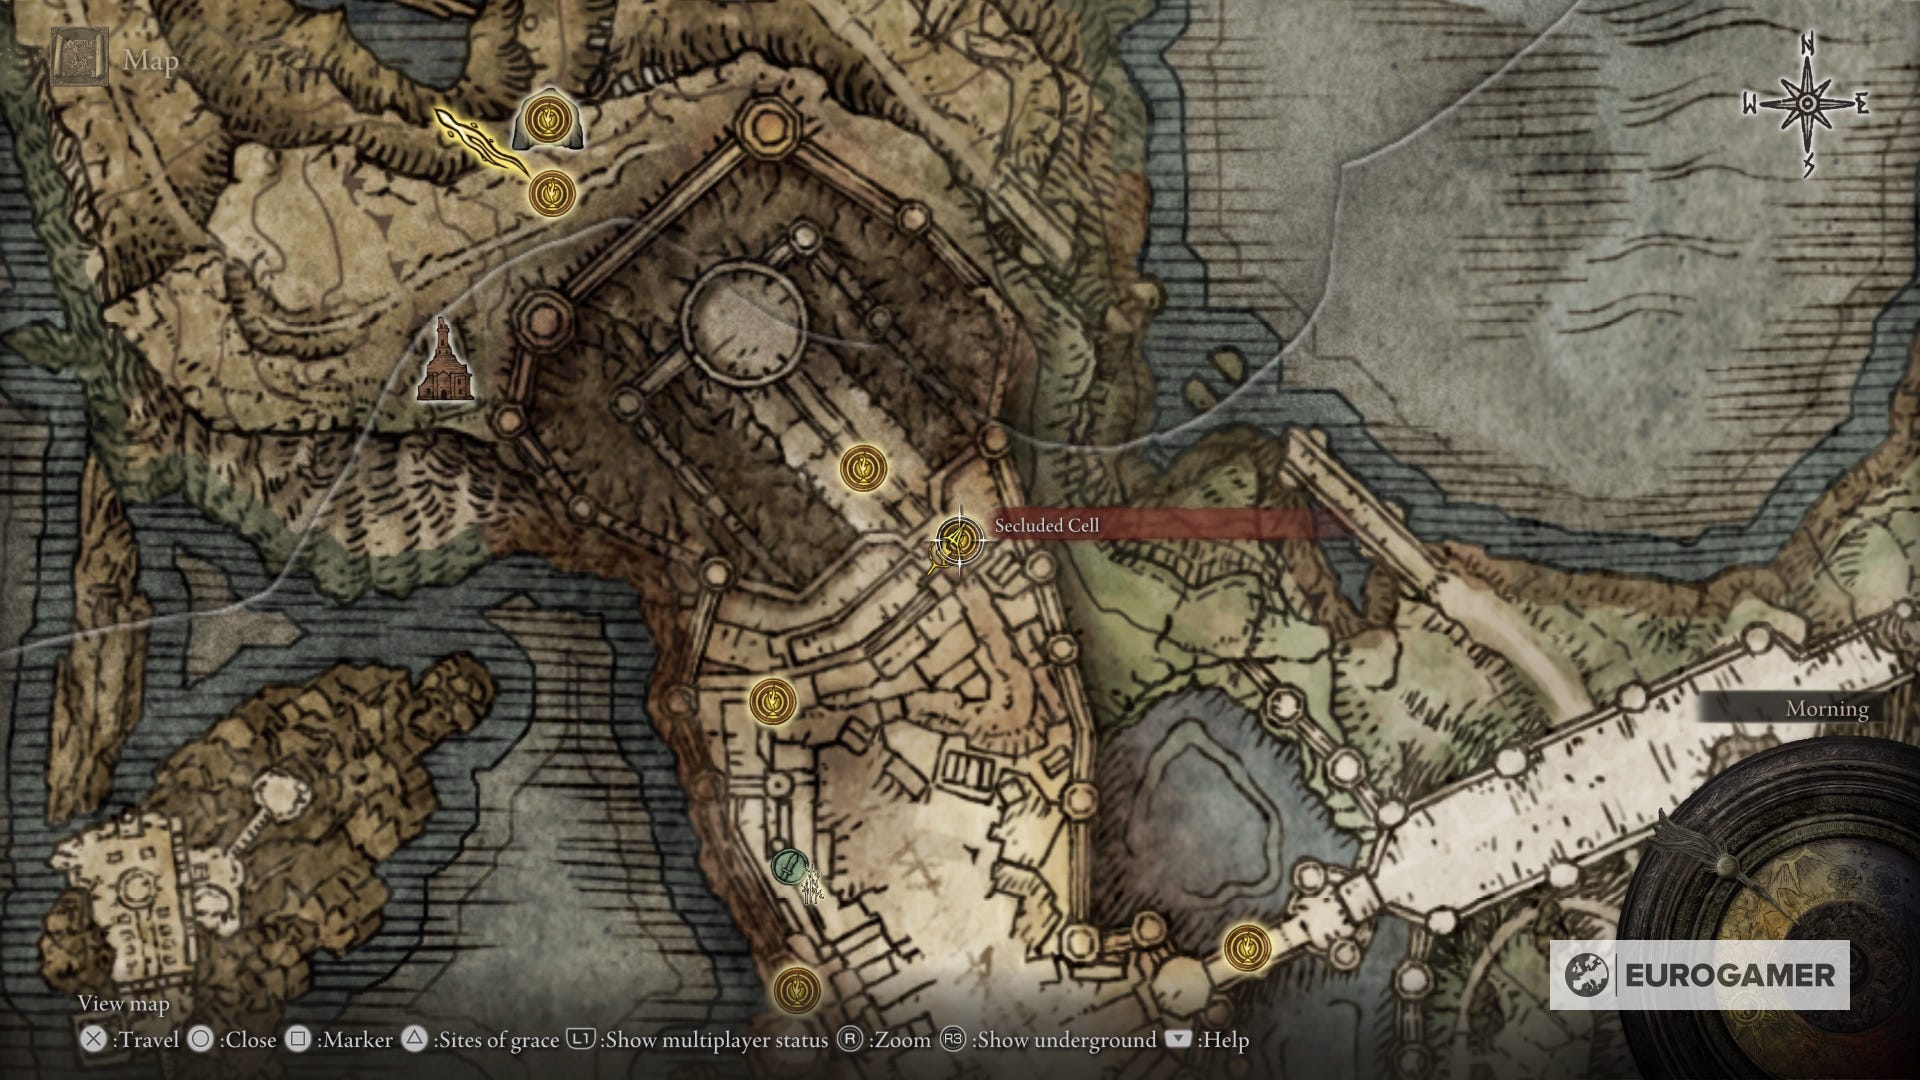
Honestly, there are multiple ways to get there, and none of them are wrong. So explore, find items, beat enemies and level up until you arrive.
Next to the Site of Grace is a fog gate, going through it will pit you against Godrick the Grafted, another essential boss along Elden Ring's critical path.
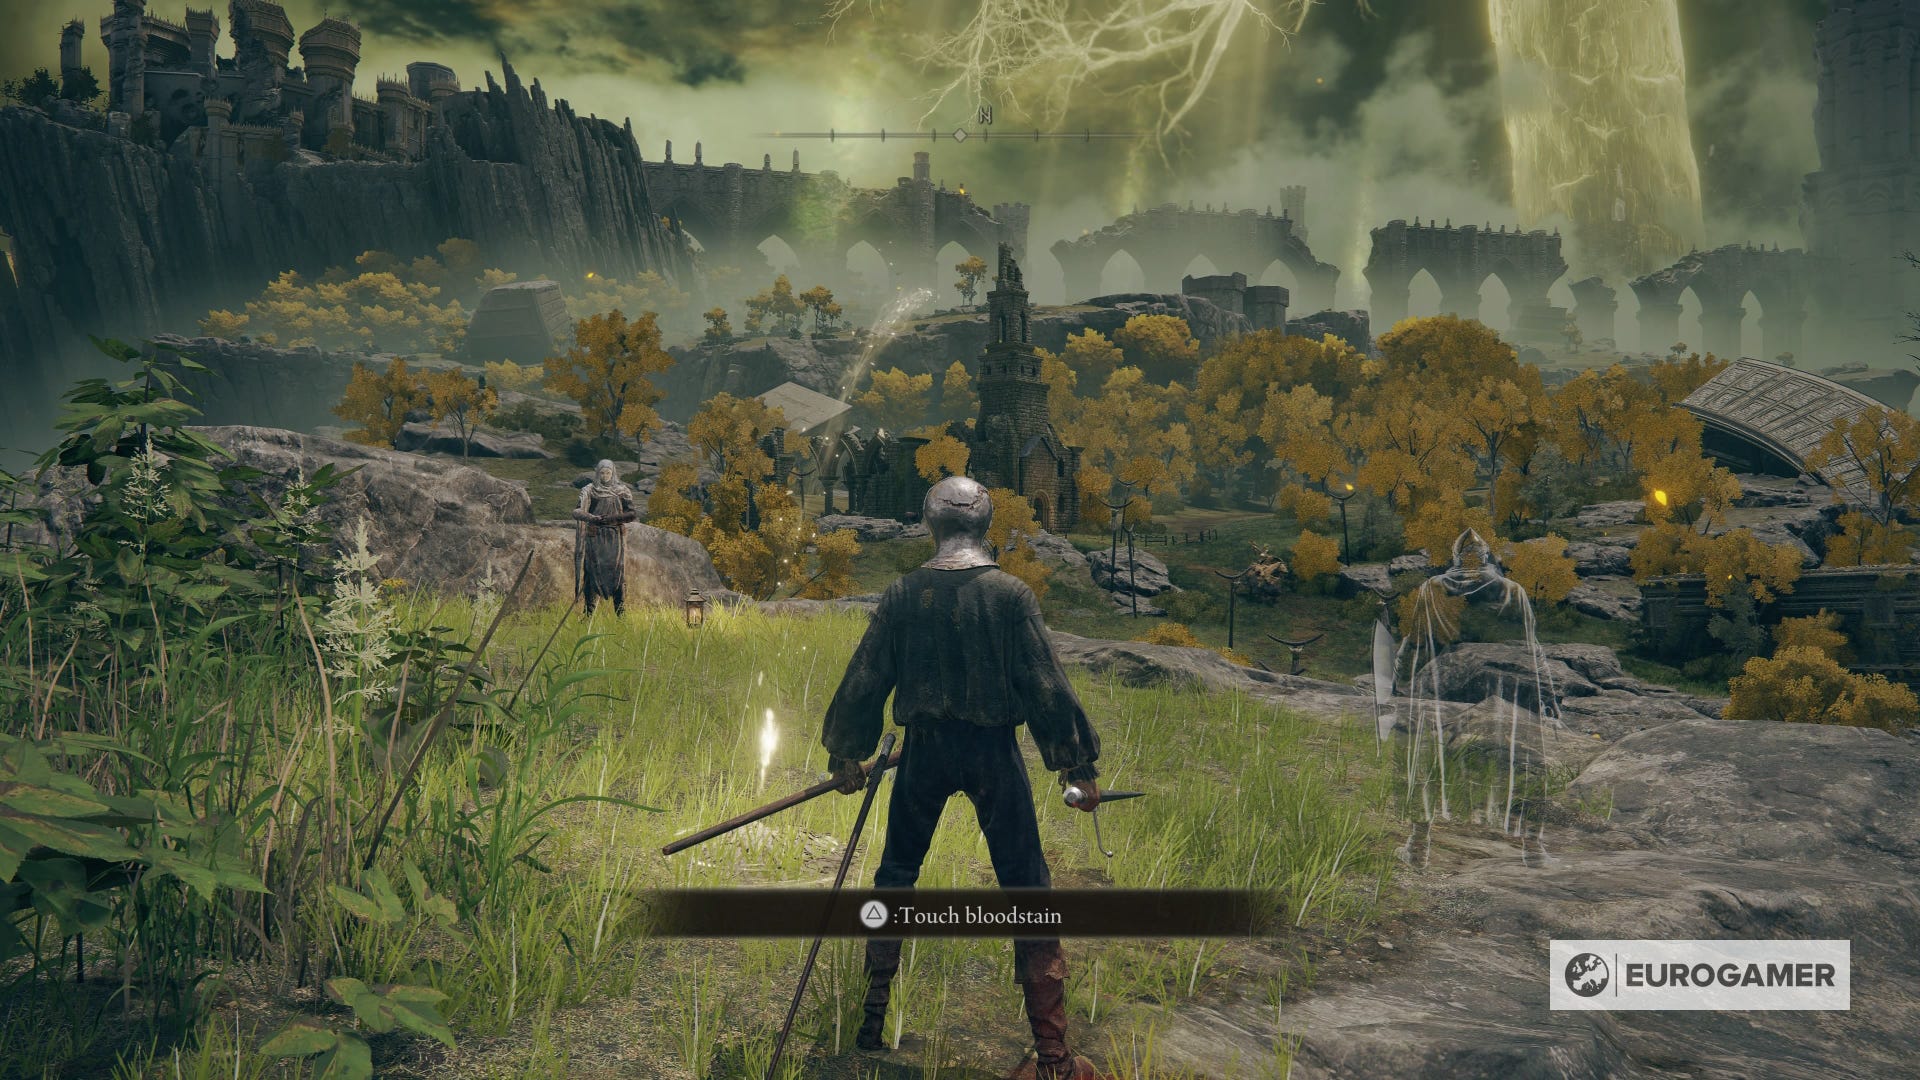
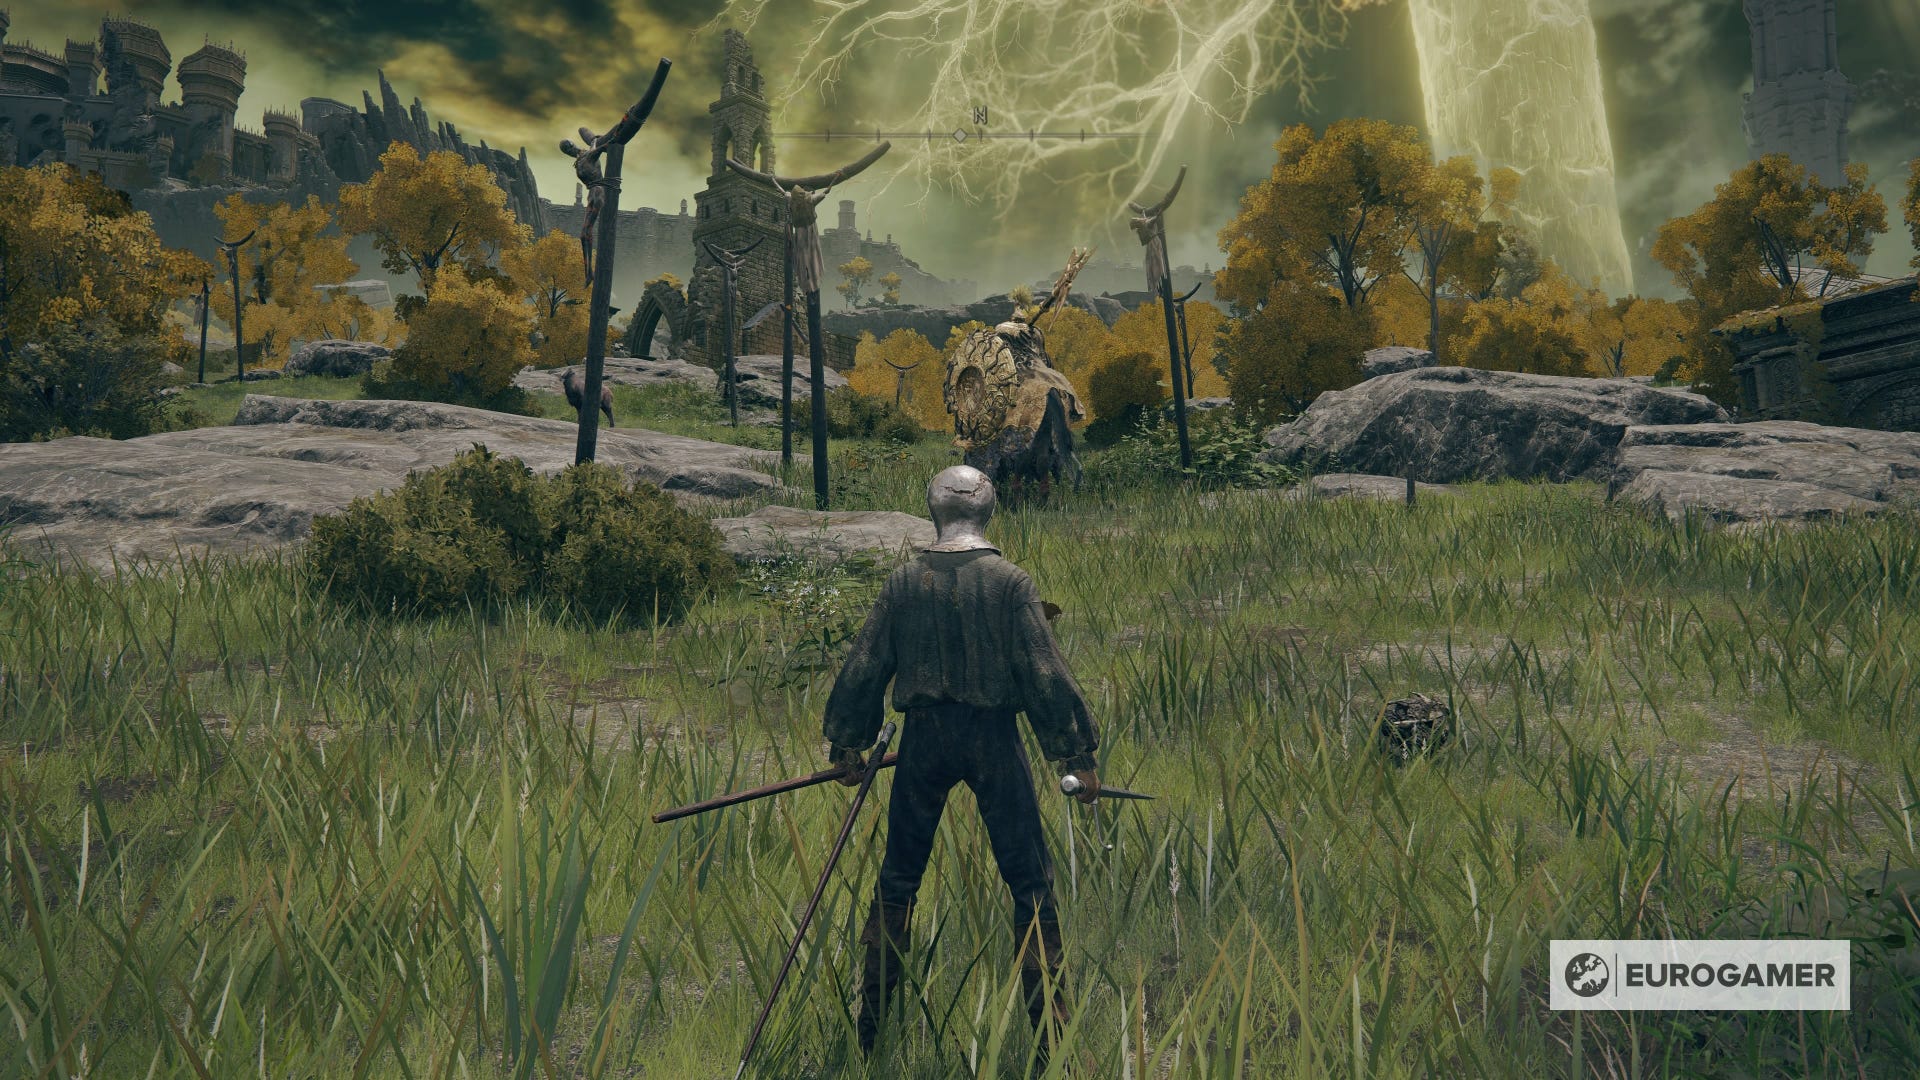
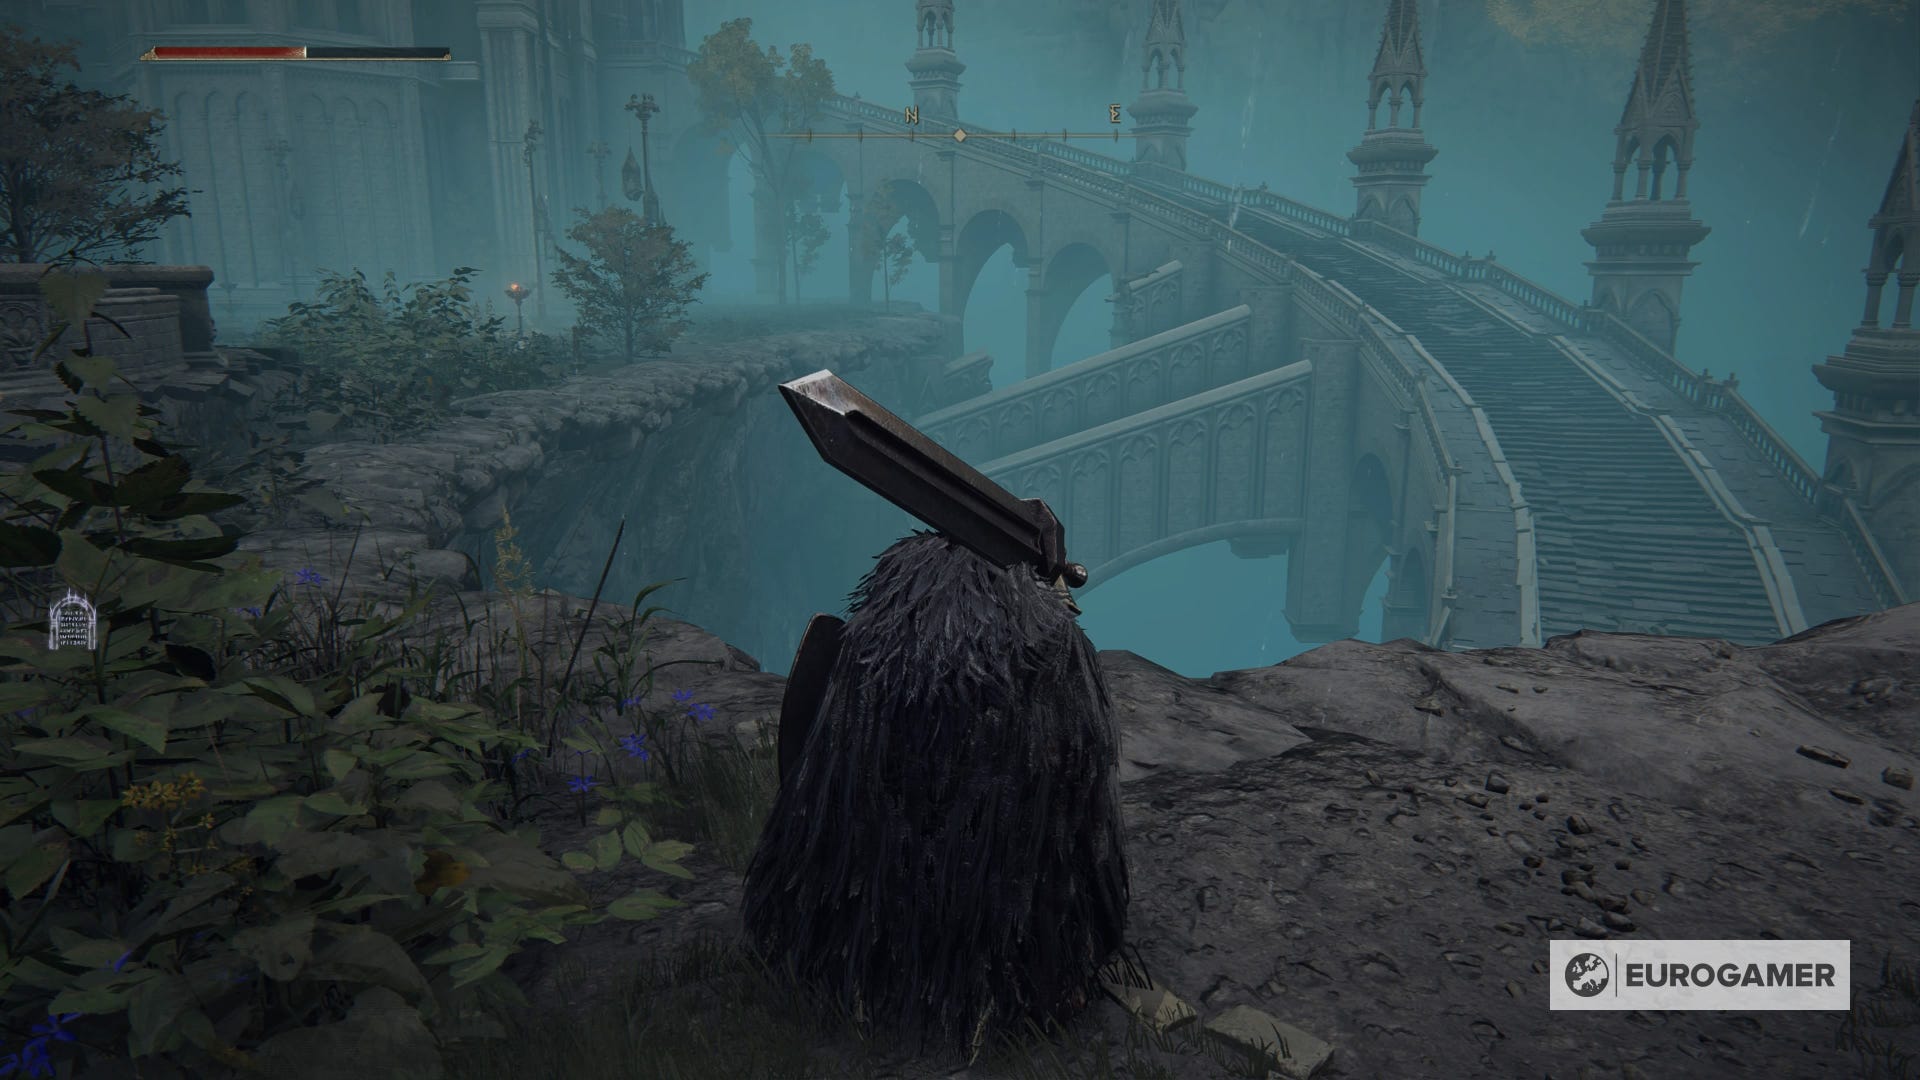
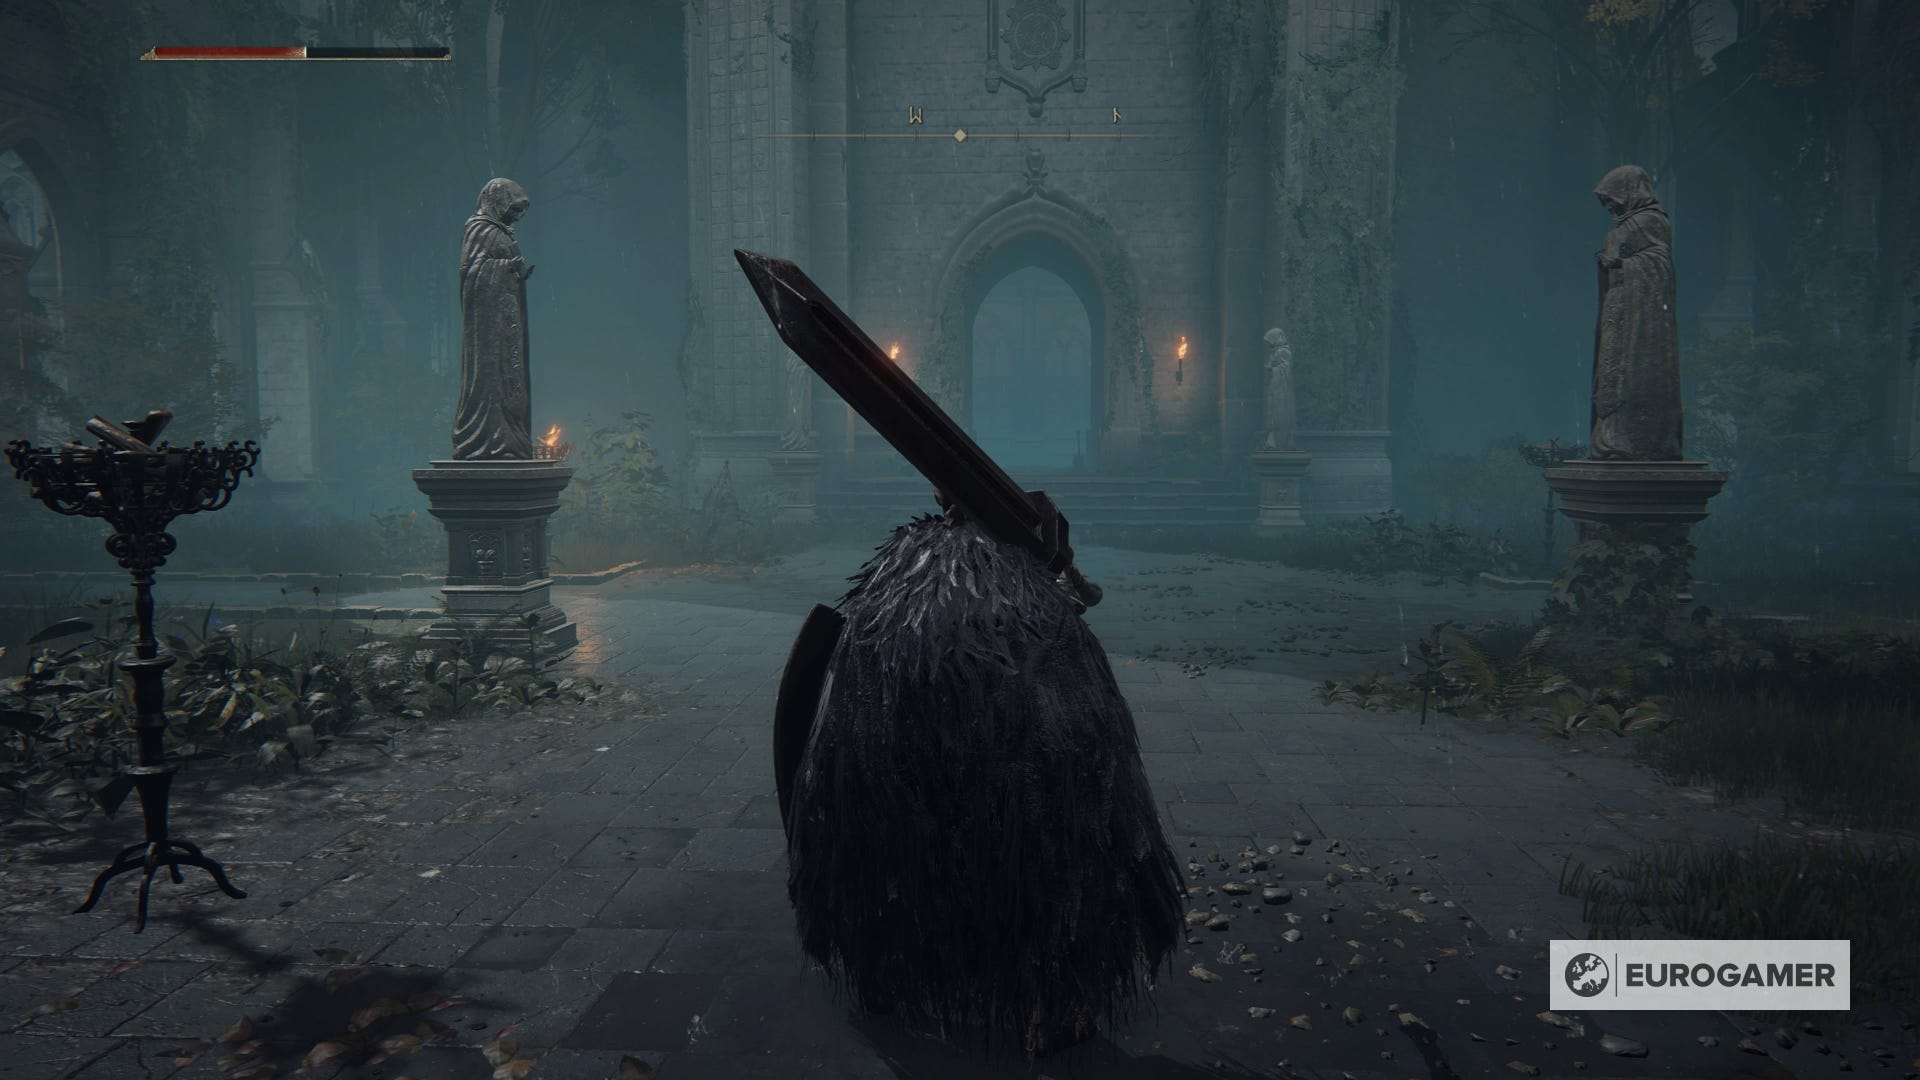
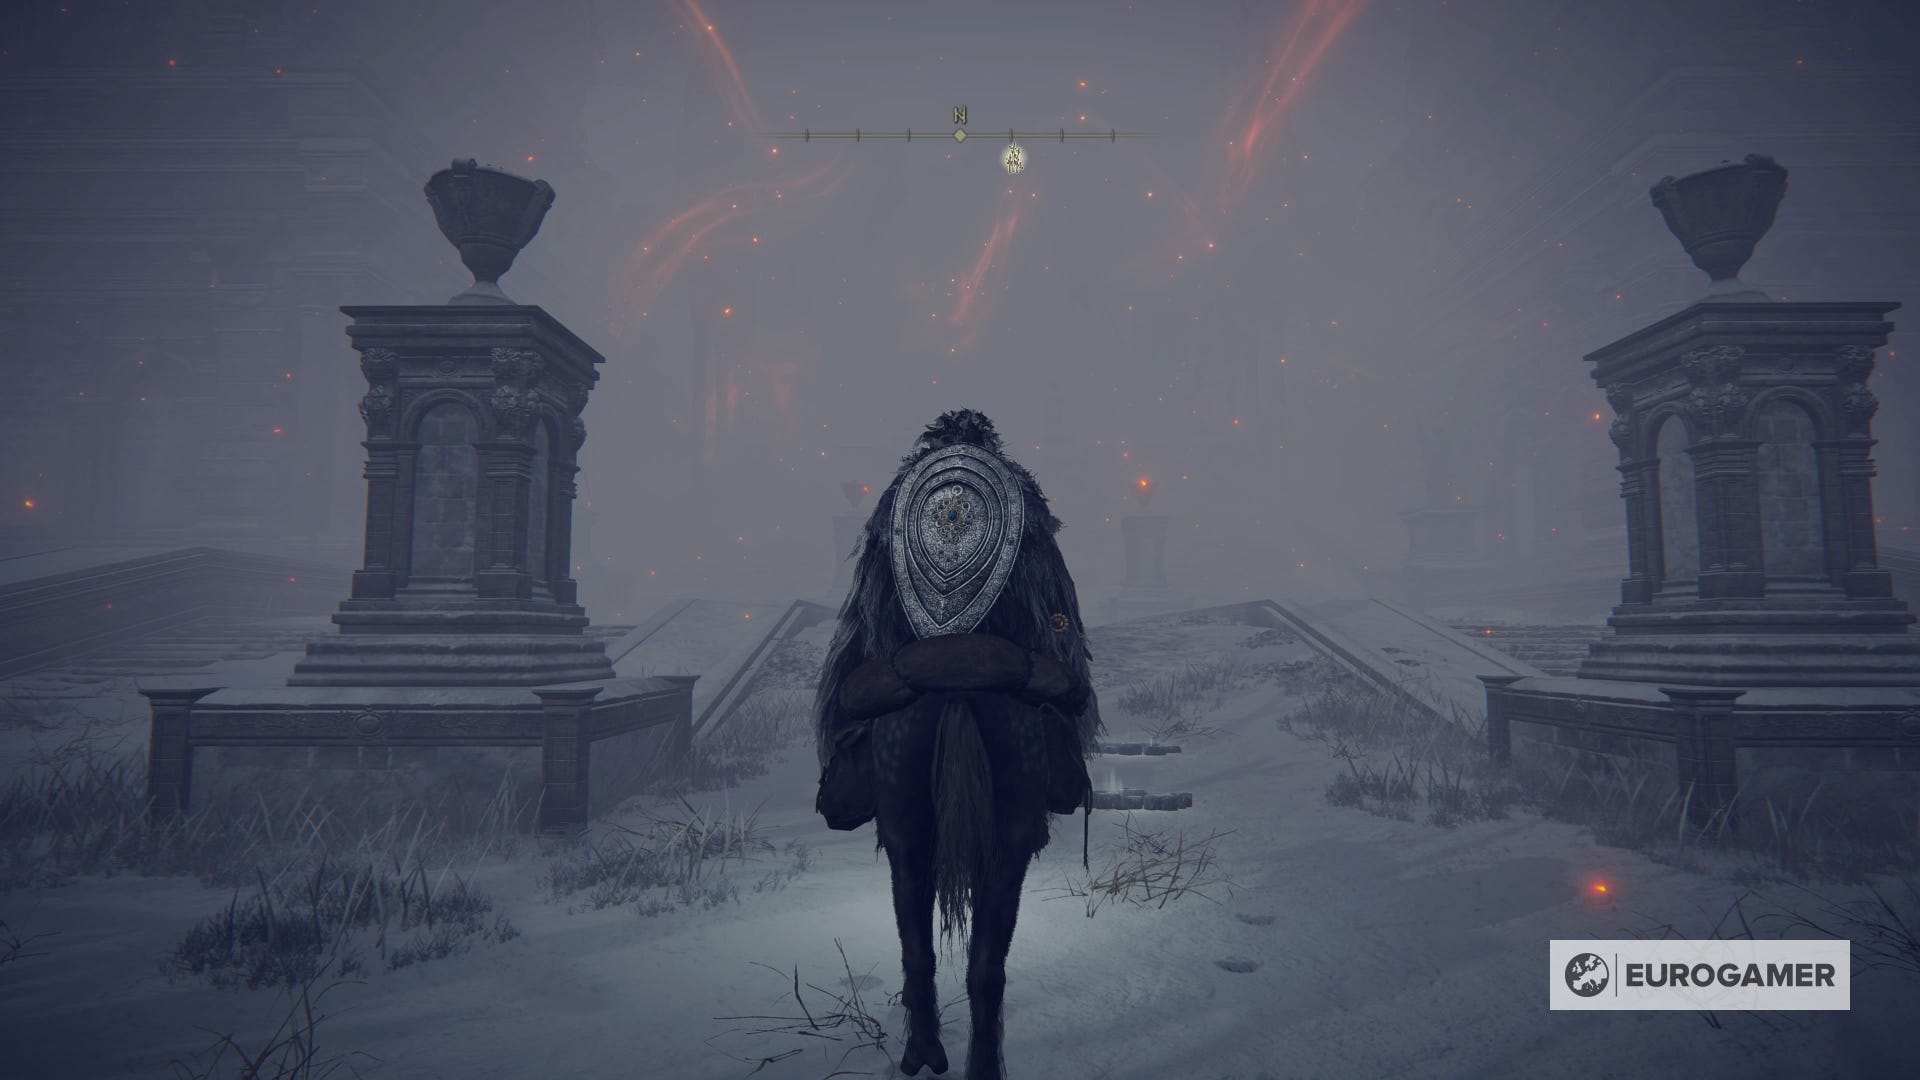
Go through the door at the end of Godrick's boss arena and make your way through the catacomb-esque area. This is incredibly short and only has one way to go. Emerge back outside and you'll see the below vista.
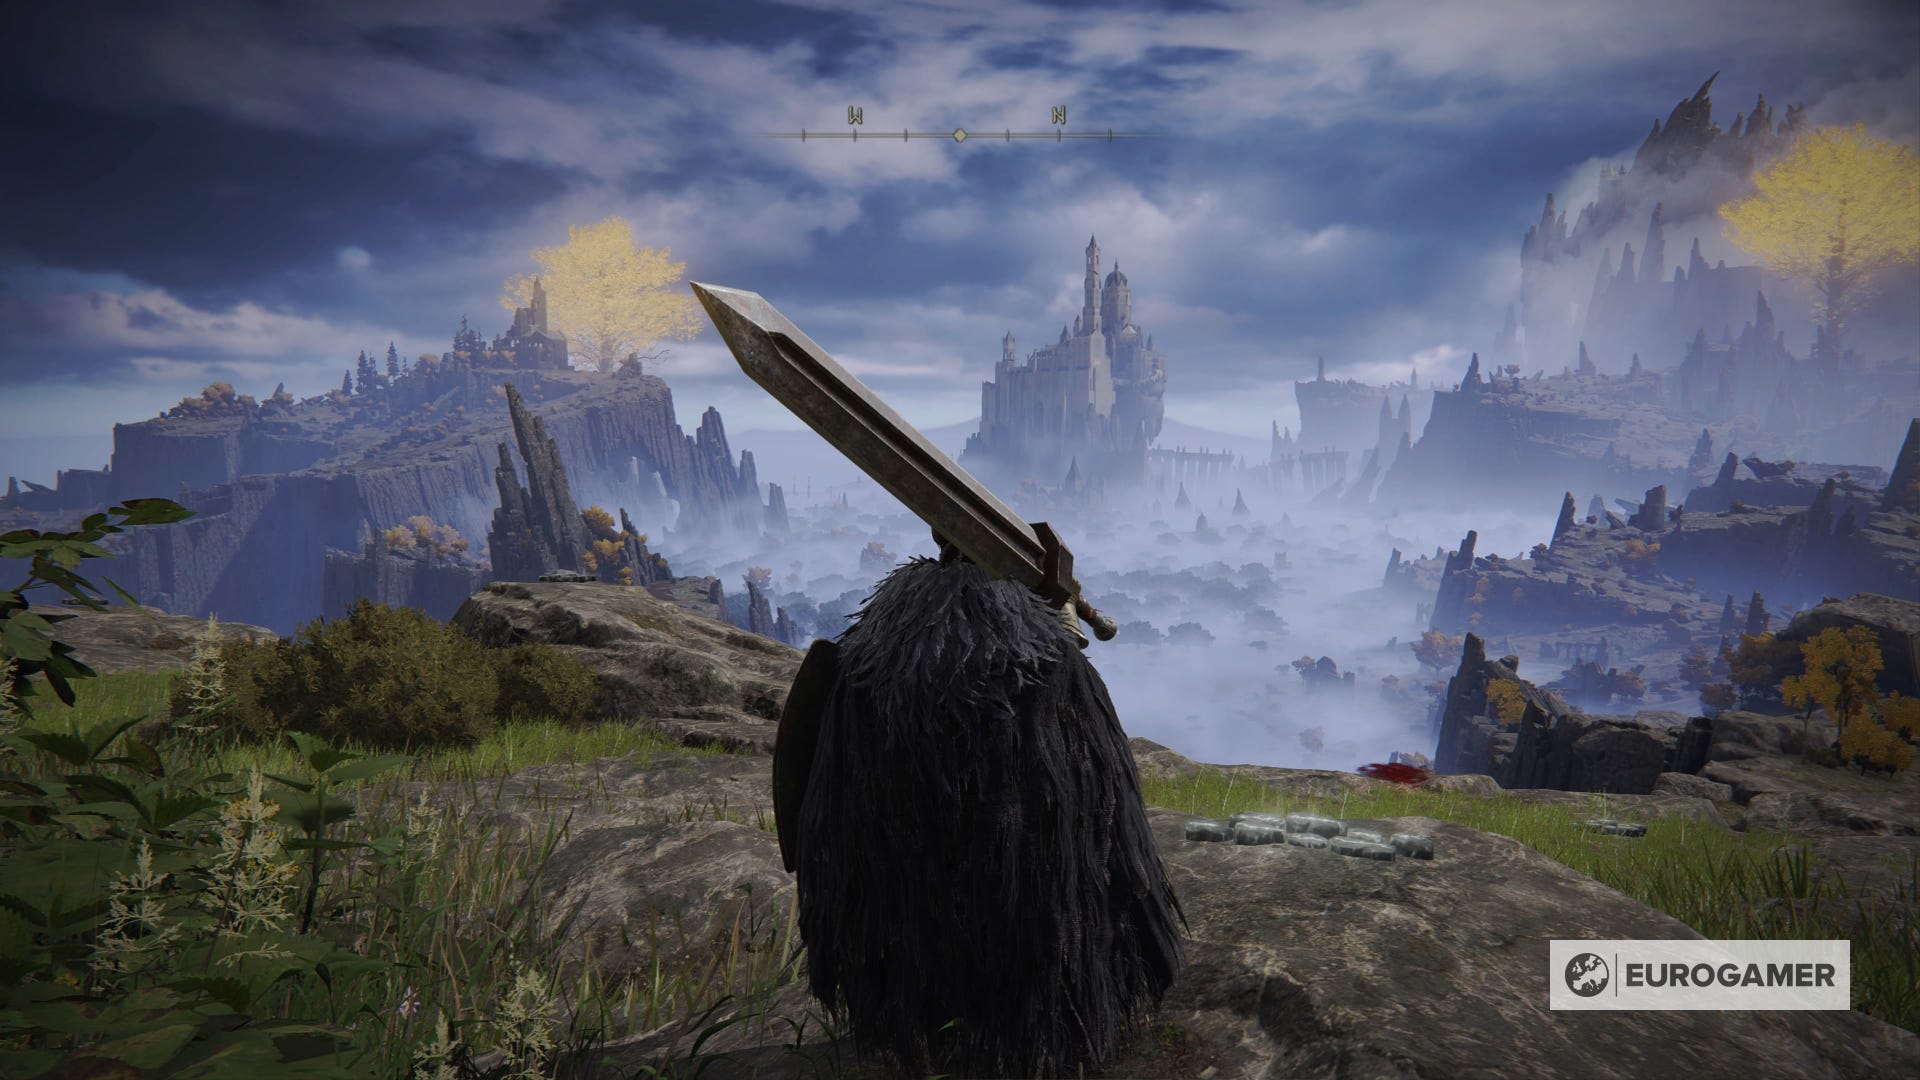
You've reached Liurnia! Your next destination is the giant white building on the horizon - the Raya Lucaria Academy.
Where to go after Godrick and Castle Stormveil: Liurnia and Raya Lucaria Academy
Now you're in Liurnia and need to go to Raya Lucaria Academy, another Legacy Dungeon, to beat some required bosses.
Once you've headed down towards the lake, you first need to find a Glintstone Key, as this is the only way to get into the Academy itself.
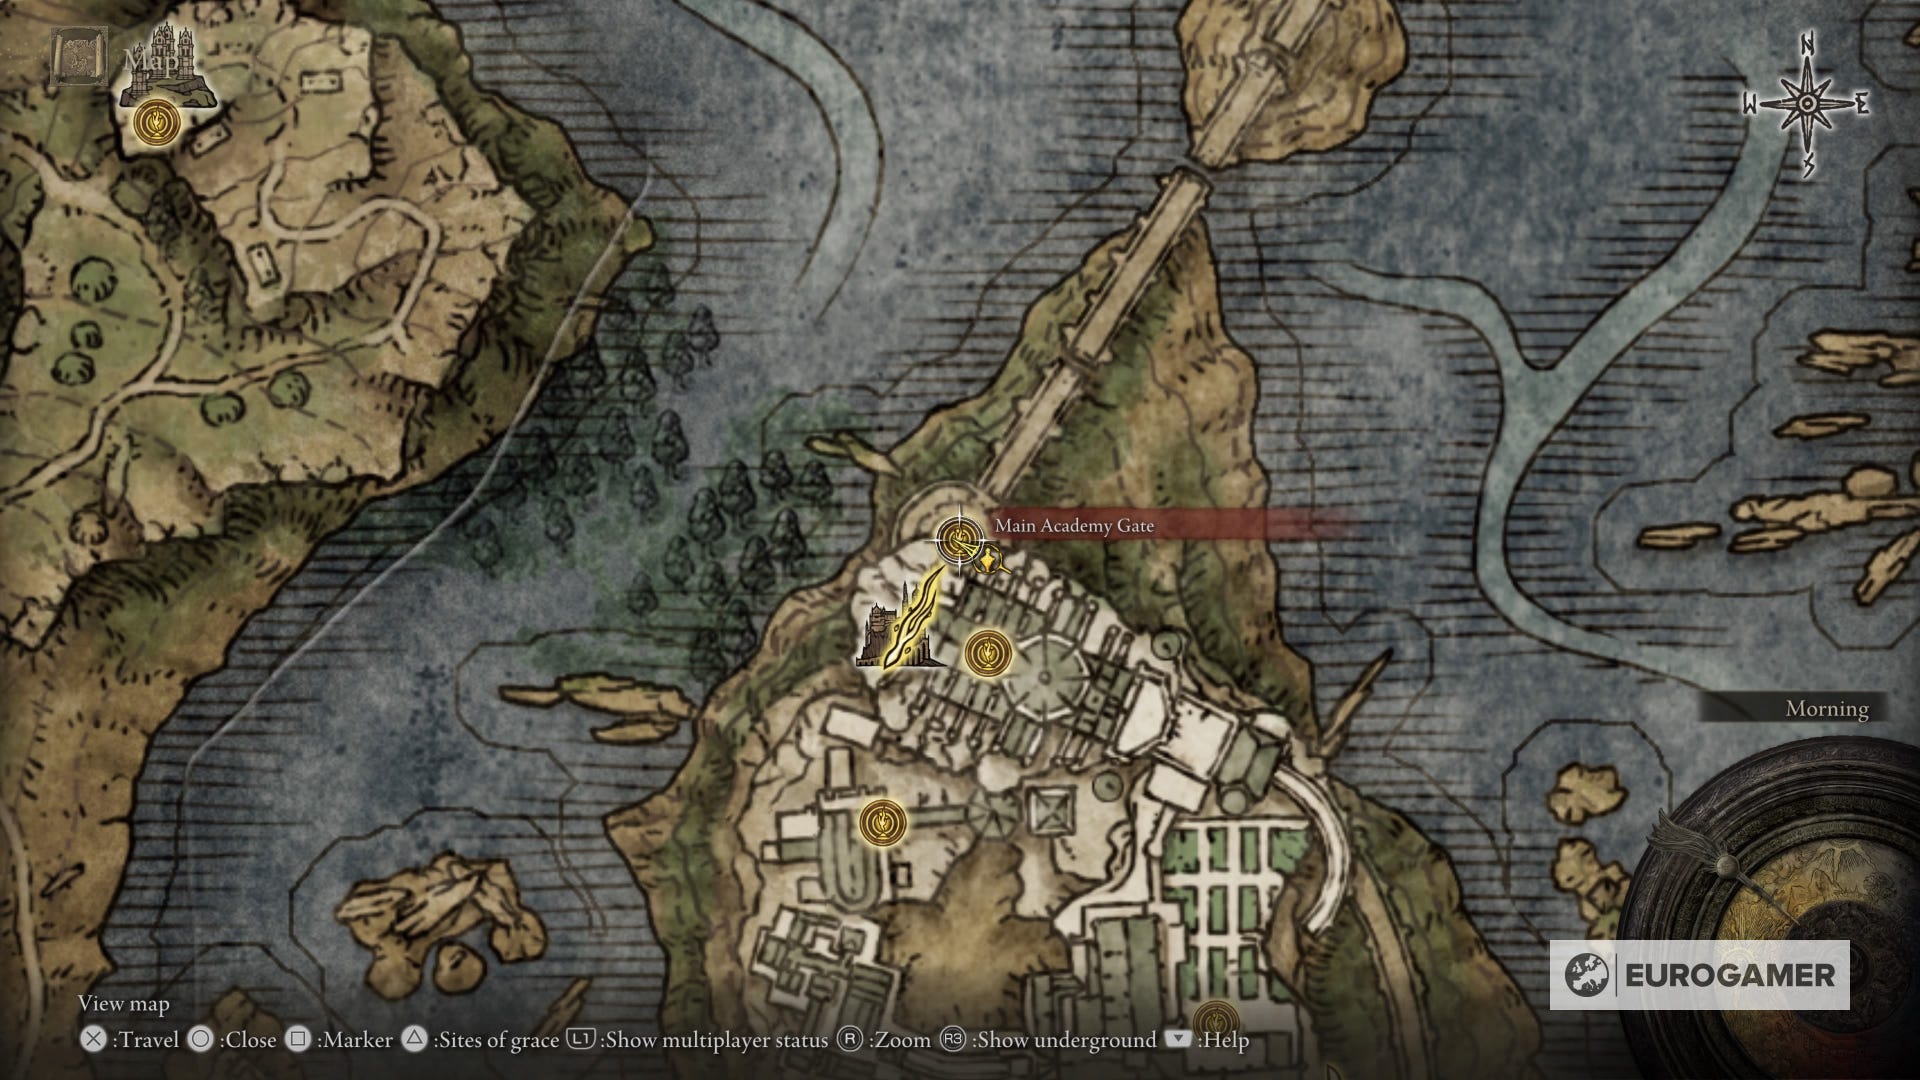
With the Glintstone Key, you need to head to the Academy Gate Town Site of Grace in the lake itself, which is marked in the map image below. From here, follow the dilapidated road in its northwest direction.

You'll need to navigate some sunken buildings, but you should come across another glowing tree and Golden Seed, as pictured below.

Carry on northwest and you should see some barricades and steps. Head up the steps and you'll come to a town square area. You need to follow it round to the right. There are a lot of enemies here, but if you sneak your way around the edge of either side of the square you should only need to fight a knight or two. Or - just get on Torrent and sprint past the mall!
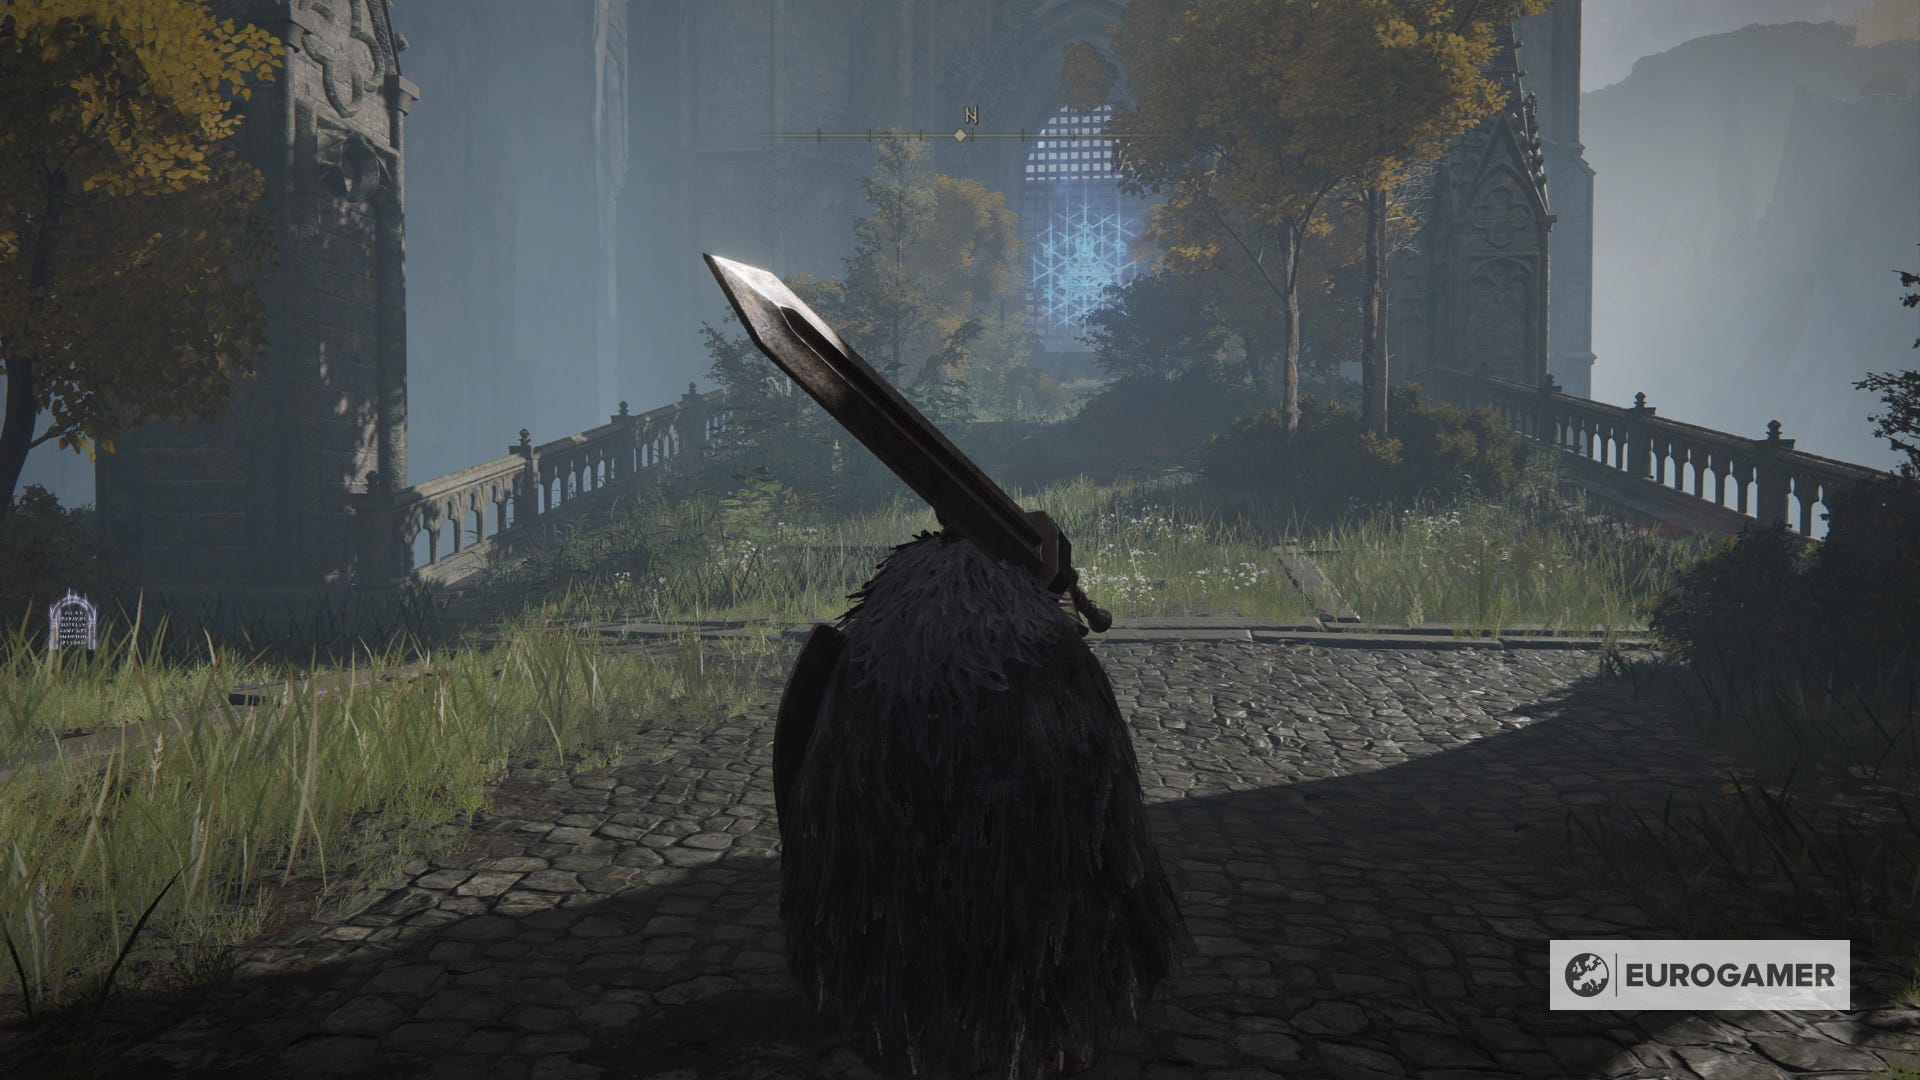
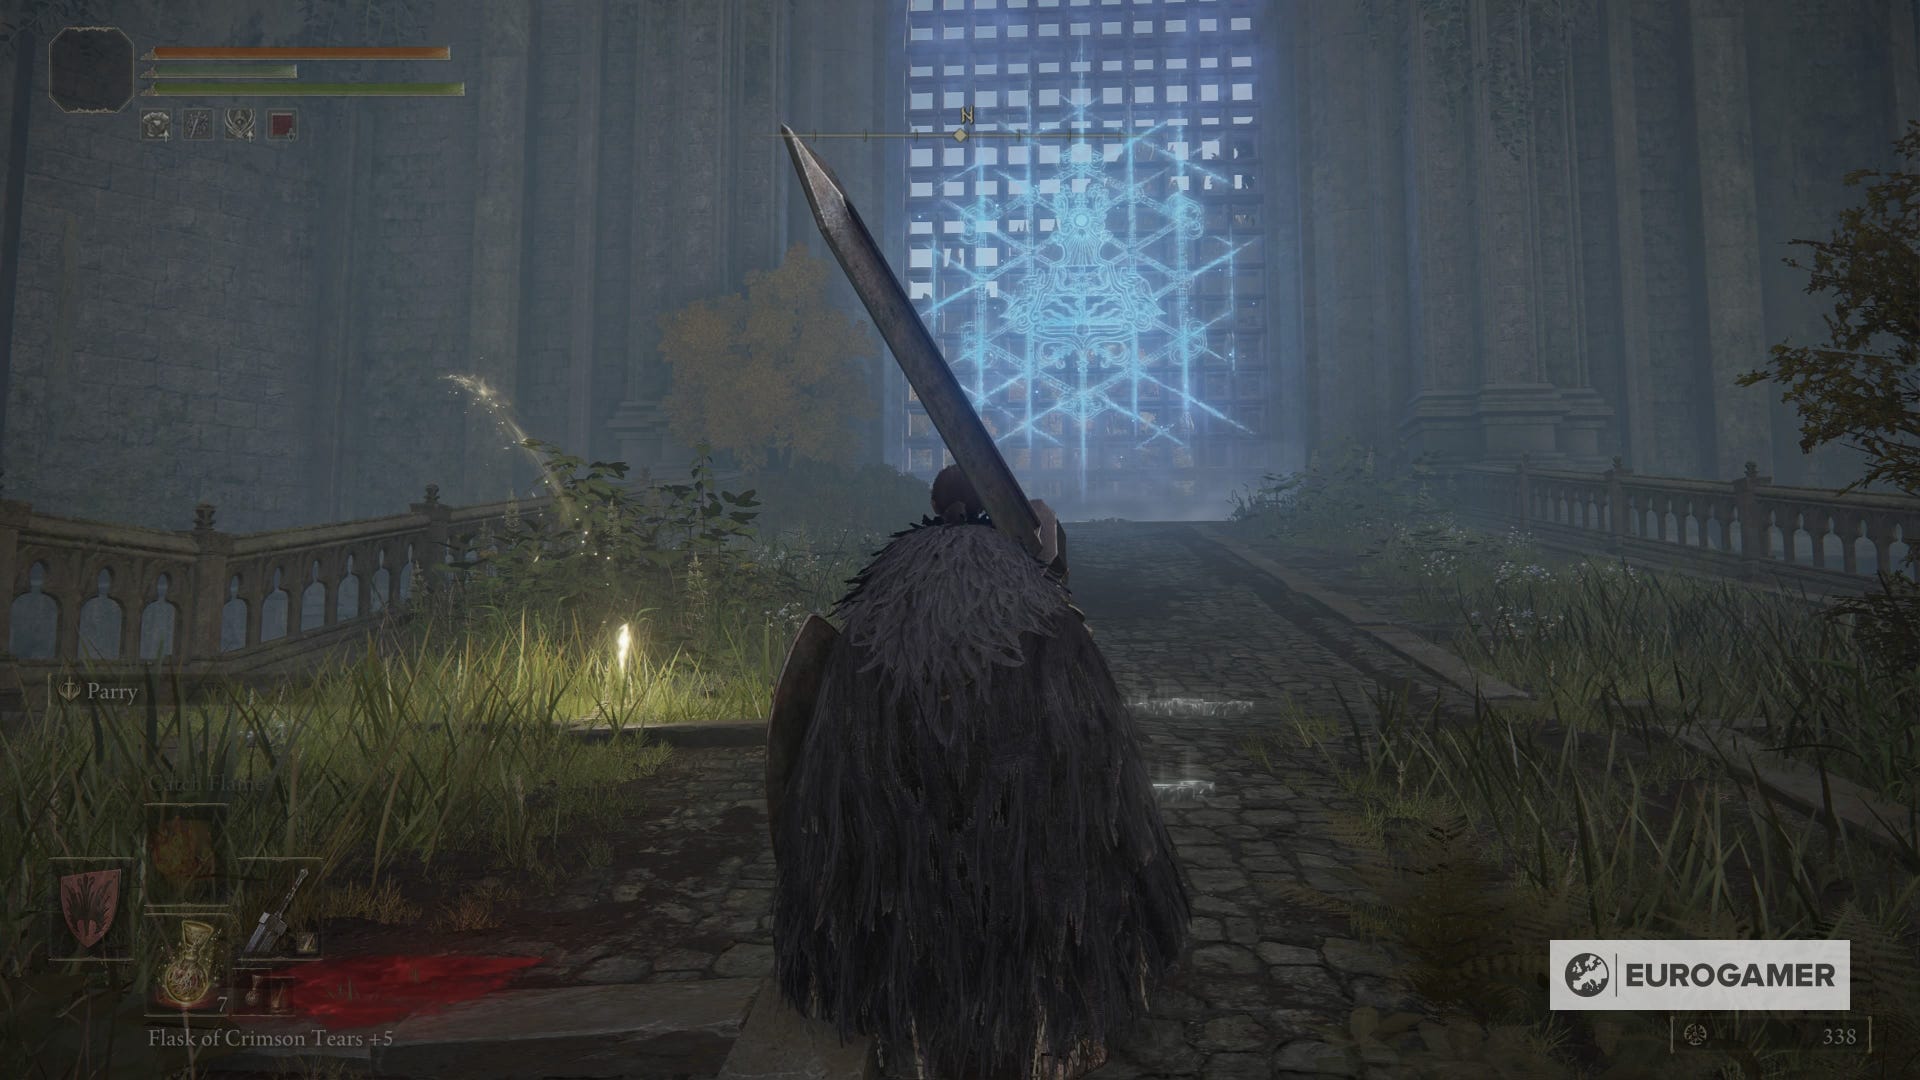
Once you've made your way around to the right hand side of the square you should see a stone slope overgrown with greenery, with a blue light covering the gate at the end. This is the entrance to Raya Lucaria Academy. Head up toward the gate and examine the seal with a prompt and you'll be teleported.
Activate the Main Academy Gate Site of Grace and head left, using the elevator to go up to the Raya Lucaria Academy Legacy Dungeon.
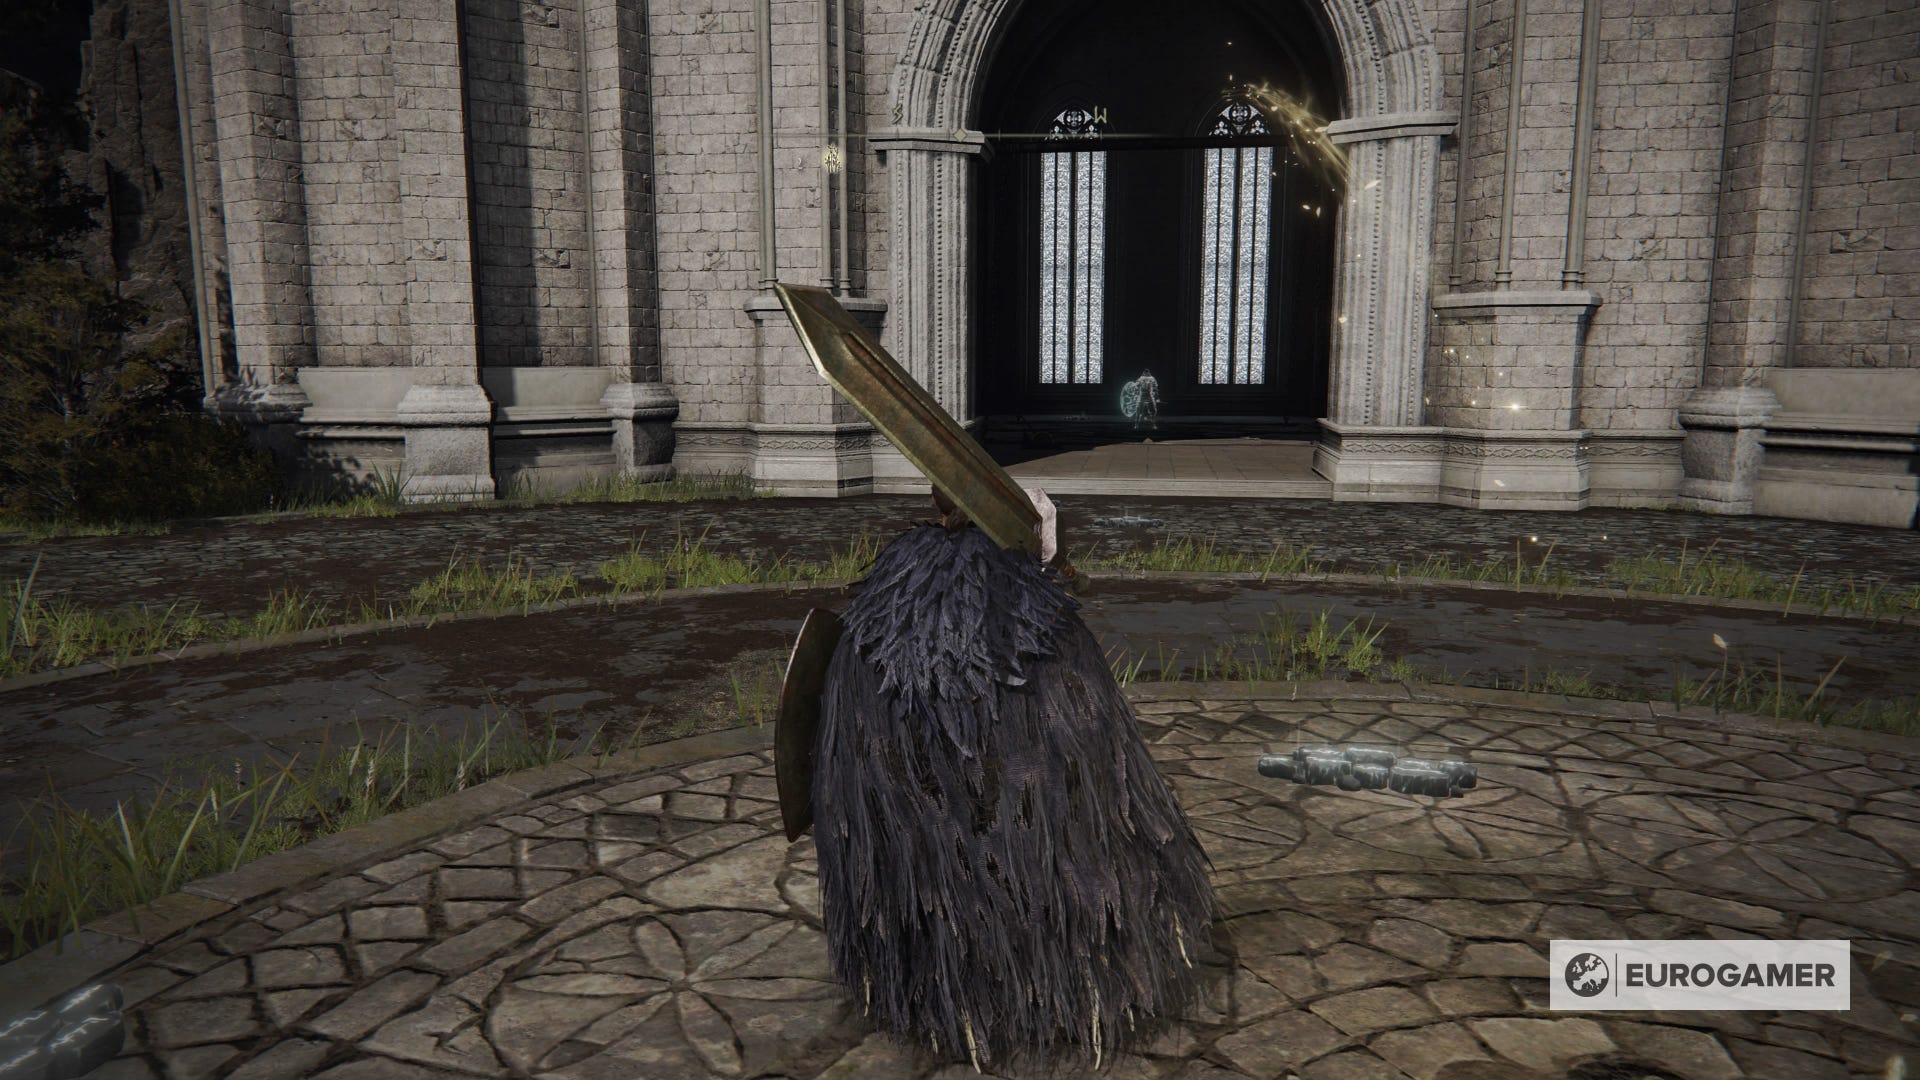
Next up you'll head into a church, turn left at the enemy standing in front of the altar, then make another left to find yet another Site of Grace, pictured below.
From here the Academy is actually pretty simple, as you go through the graveyard, up some giant moving platforms and past a metric ton of sorcerers until you come to another fog gate.
Behind it is your third necessary boss fight with the Red Wolf of Radagon. Defeat it and unlock the Debate Parlour Site of Grace.
The next, and last, boss of the Academy is actually really close to this Site of Grace, and can be reached quite simply. Head out the door to the left of the Site of Grace and make your way along the edge closest to the floating staircase. You'll then be able to jump down onto some stone outcroppings and make your way to the staircase itself.

Whilst walking up, be sure to dodge roll through the giant metal ball as you'll take no damage from it. Then keep going straight forward (and fight the NPC) to find yet another lift. Using it will take you to the next required boss, Renalla, Queen of the Full Moon.
With Renalla defeated, you can now respec in Elden Ring - useful if you need to adjust your stats to suit a different playstyle.
Now is also a good time to investigate Ranni quest - particularly if you want to see some of the alternate Elden Ring endings.
Where to go after Raya Lucaria Academy: Altus Plateau and Leyndell
After Liurnia and Raya Lucaria Academy, next you need to activate the Grand Lift of Dectus to the north-east. Fast travel back to the Main Academy Gate Site of Grace and interact with the blue seal facing north.
You'll be teleported across the broken bridge onto Bellum Highway, simply follow that road to get to the Grand Lift of Dectus, it's a mammoth looking structure, you can't miss it.
To use the Lift, you need to find the Dectus Medallion left half and Dectus Medallion right half. Doing so will allow you to arrive in the Altus Plateau.
Know that you can technically go around the lift via other routes to reach the Altas Plateau - but this is the most straightforward way to do so.
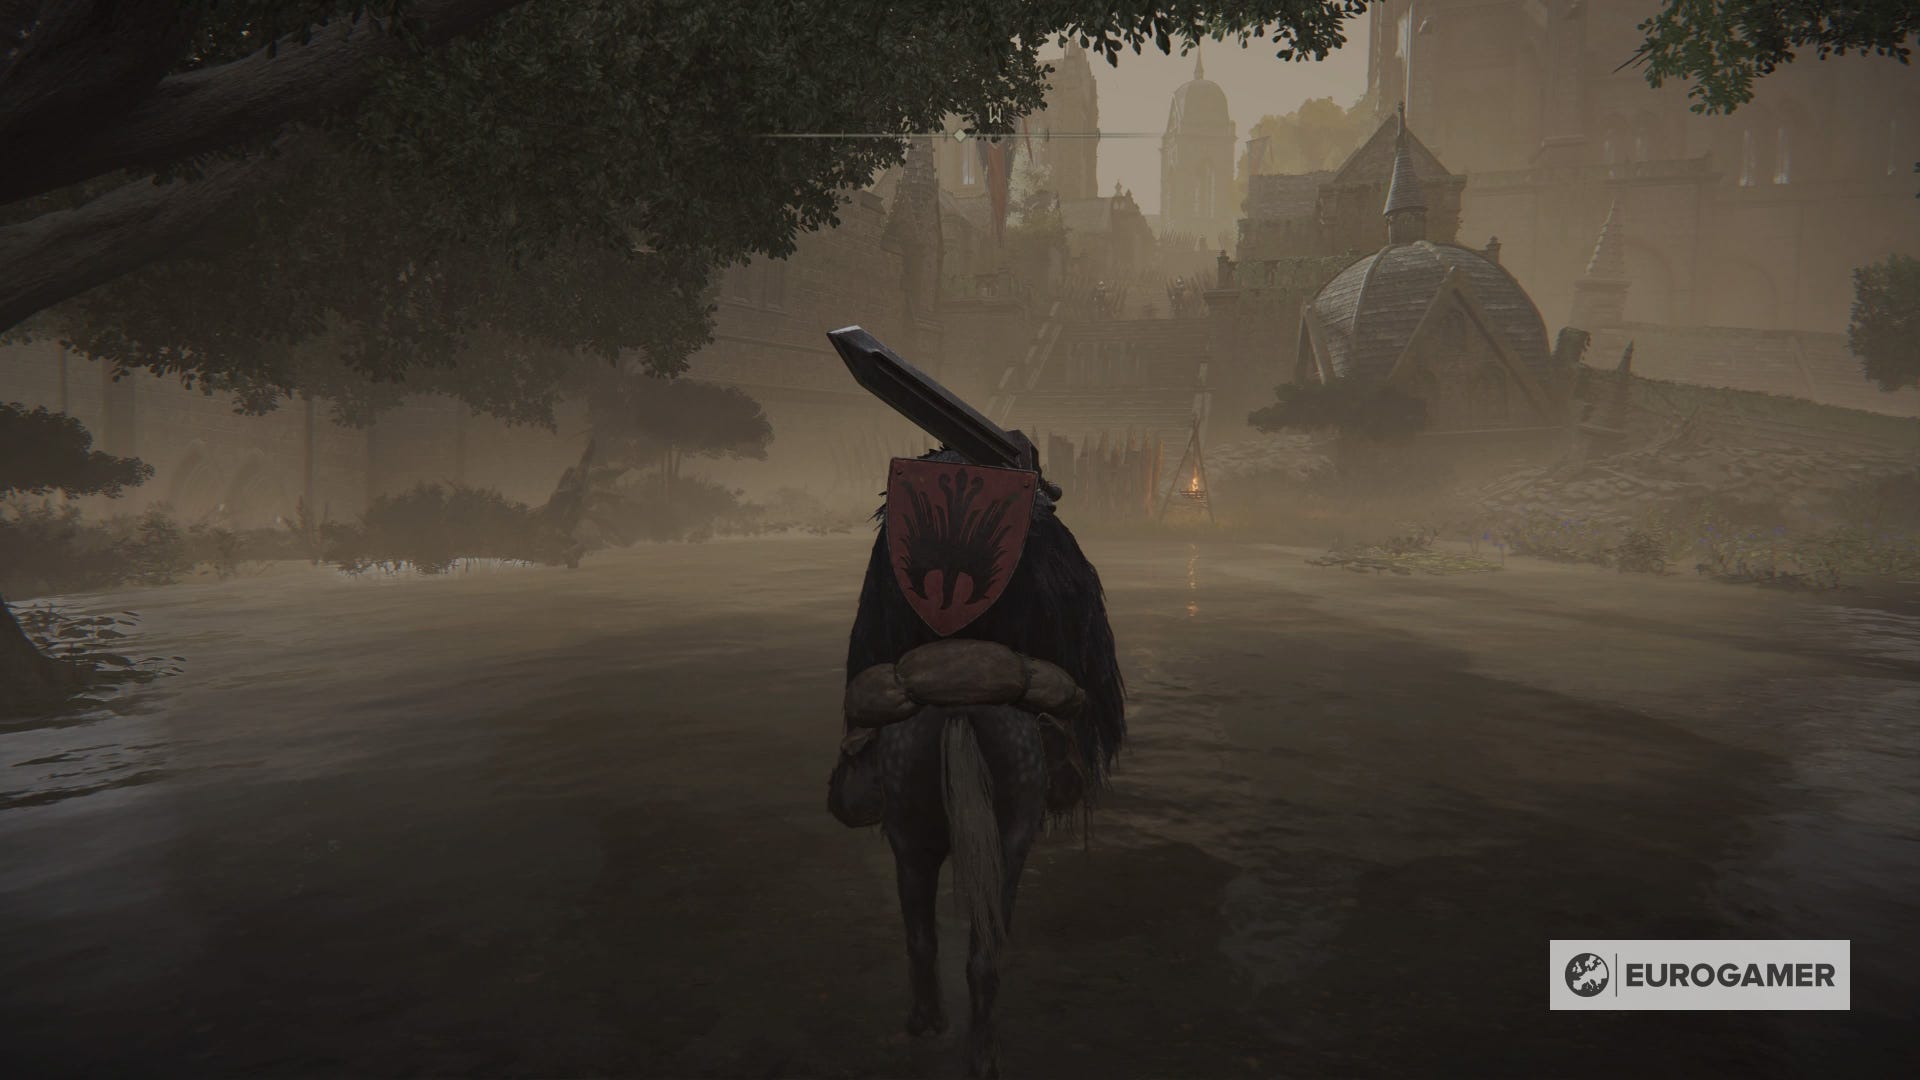
Now that you've made it up the lift, your next destination is the city of Leyndell. To get there simply follow the main road, ignoring the fork off to the left.
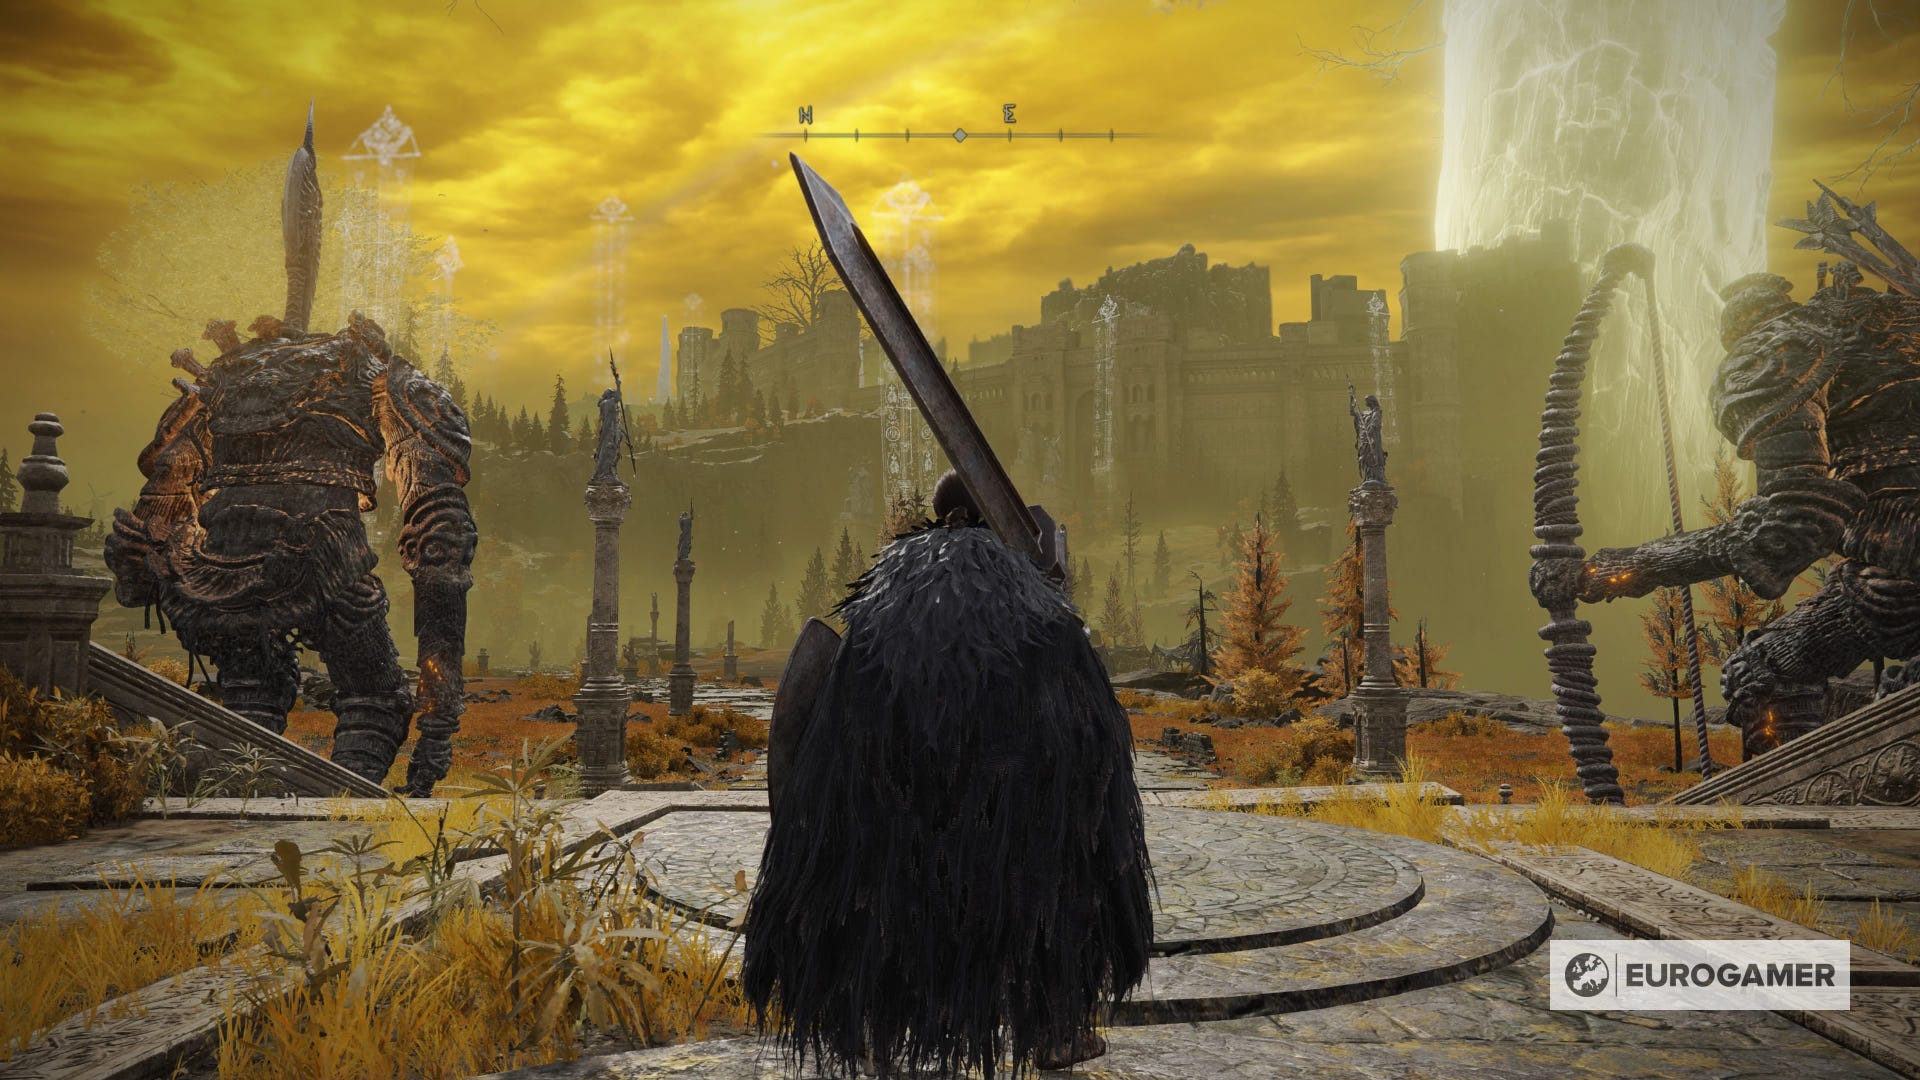
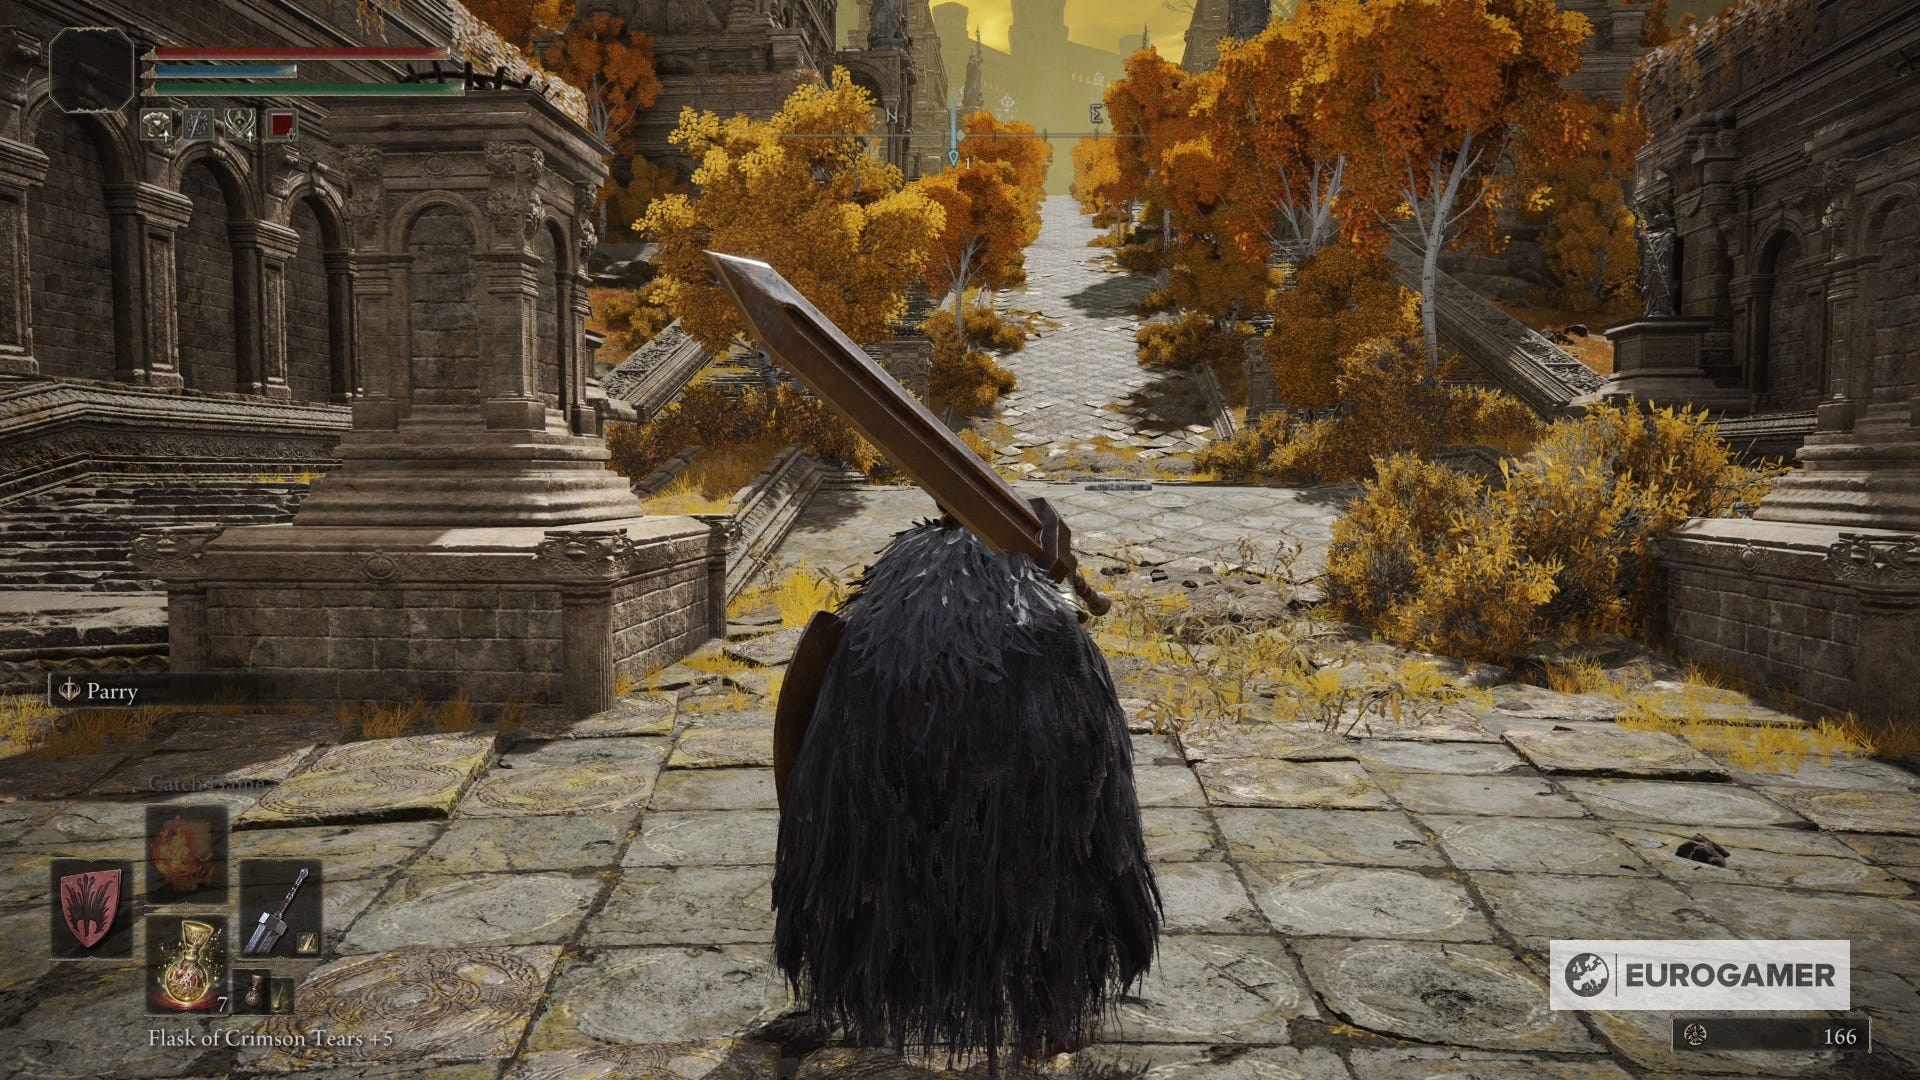
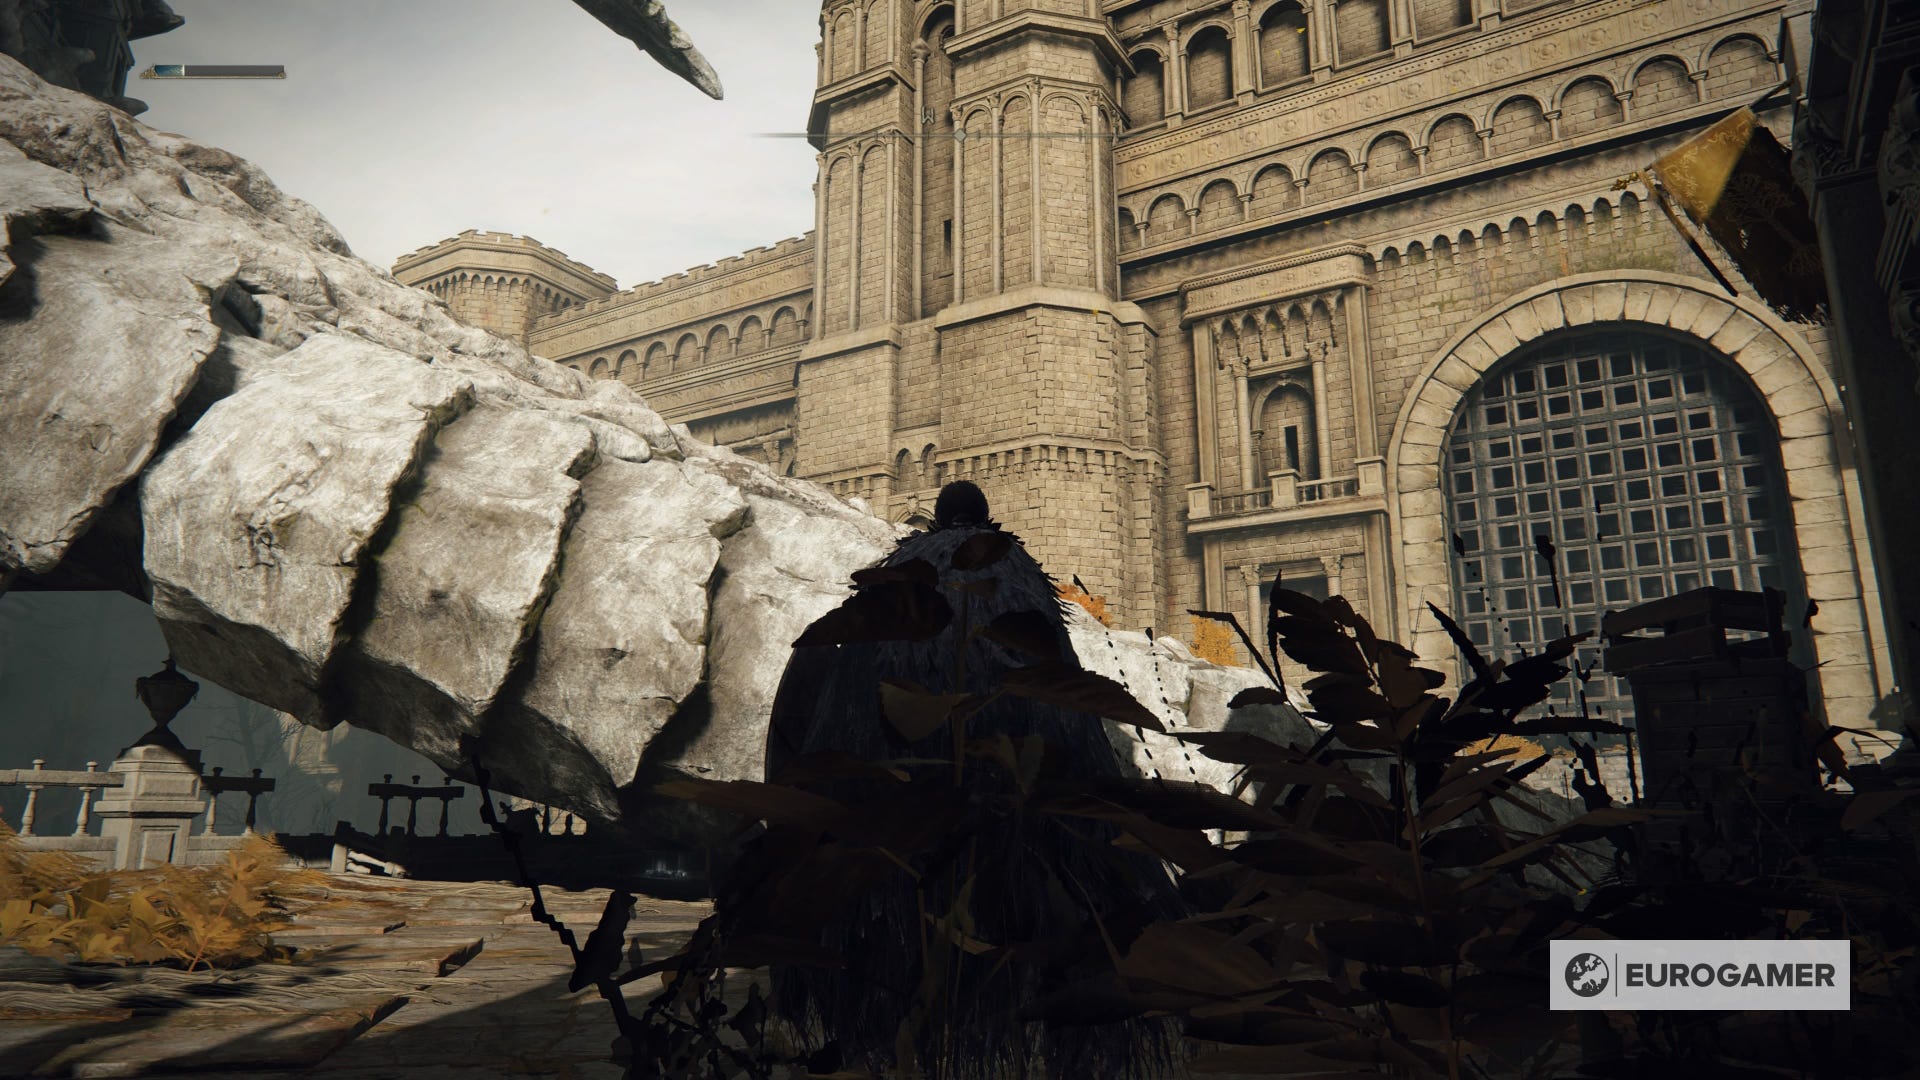
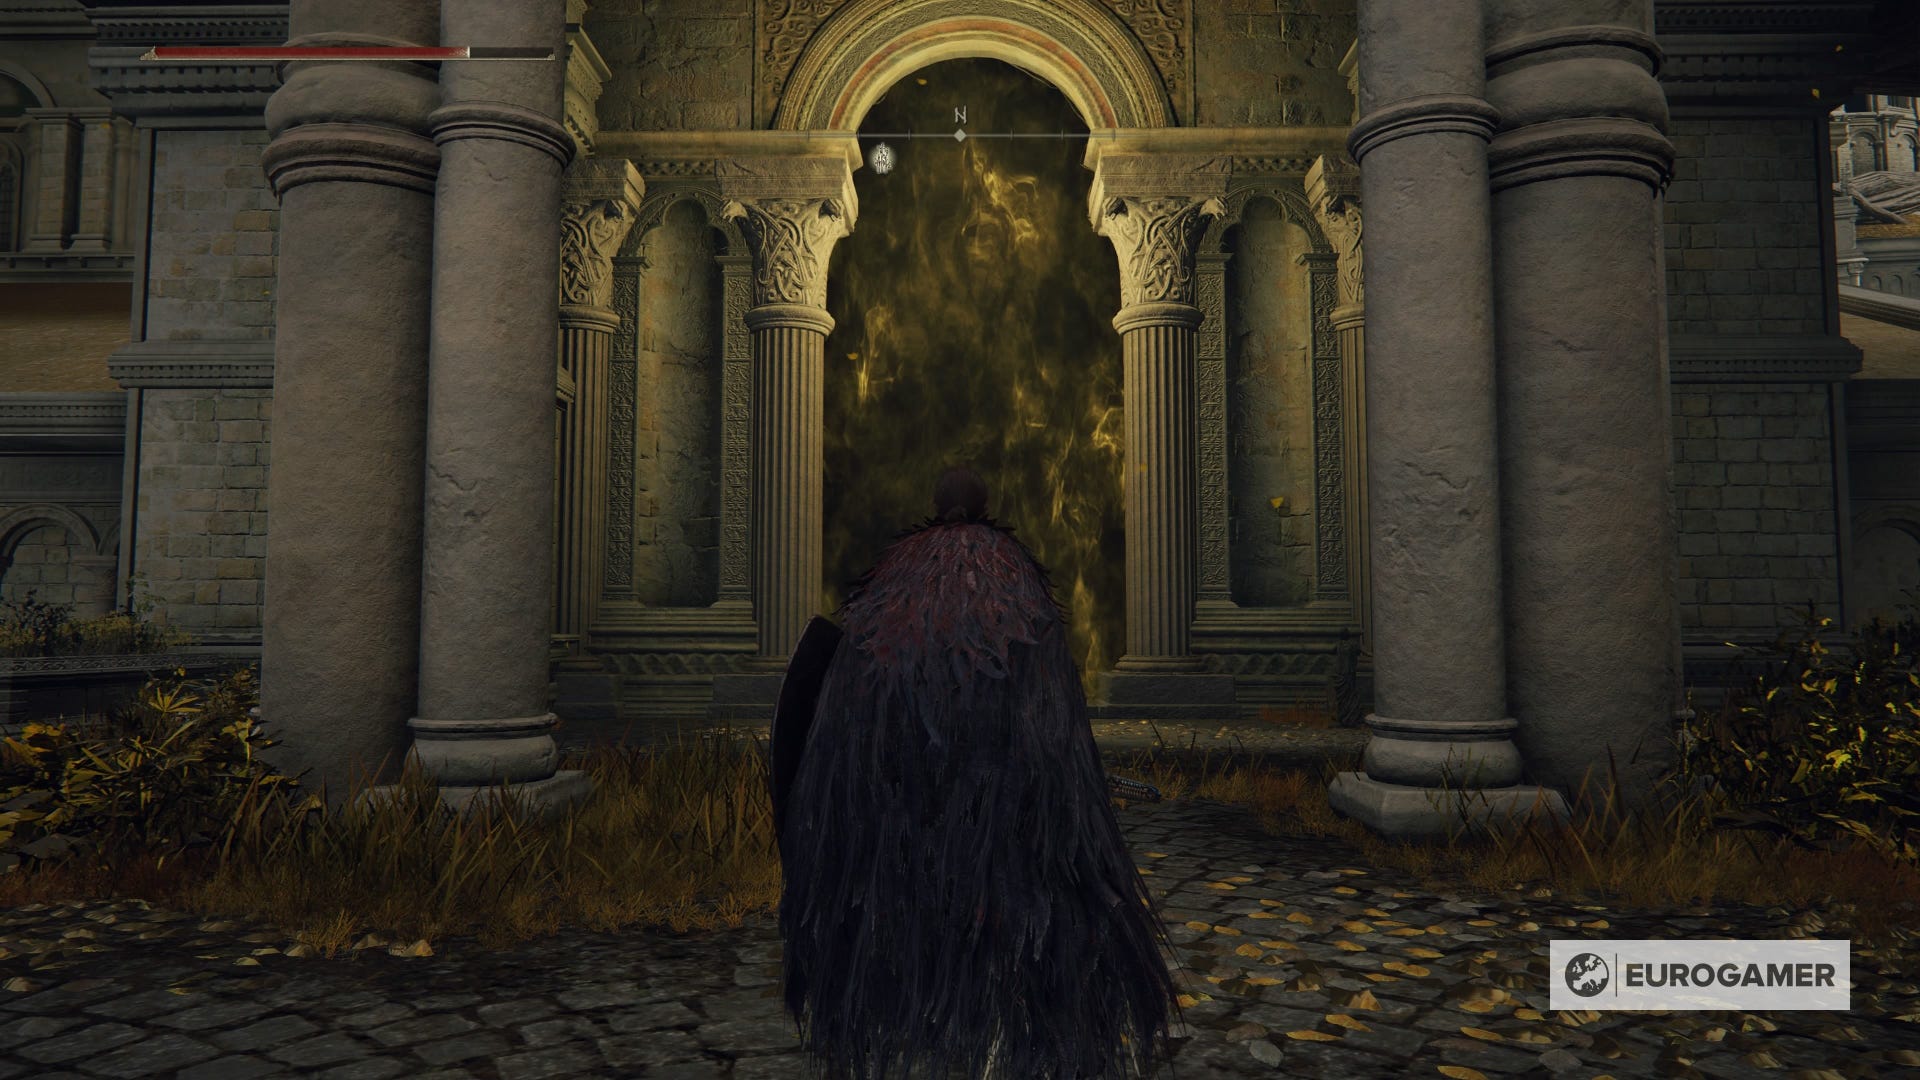
You'll see another grand piece of architecture in the distance, some huge doors, and a massive sloped walkway, all of which are pictured below. Go towards those huge doors and through them, to which you'll find a Site of Grace and some Golden Seeds.
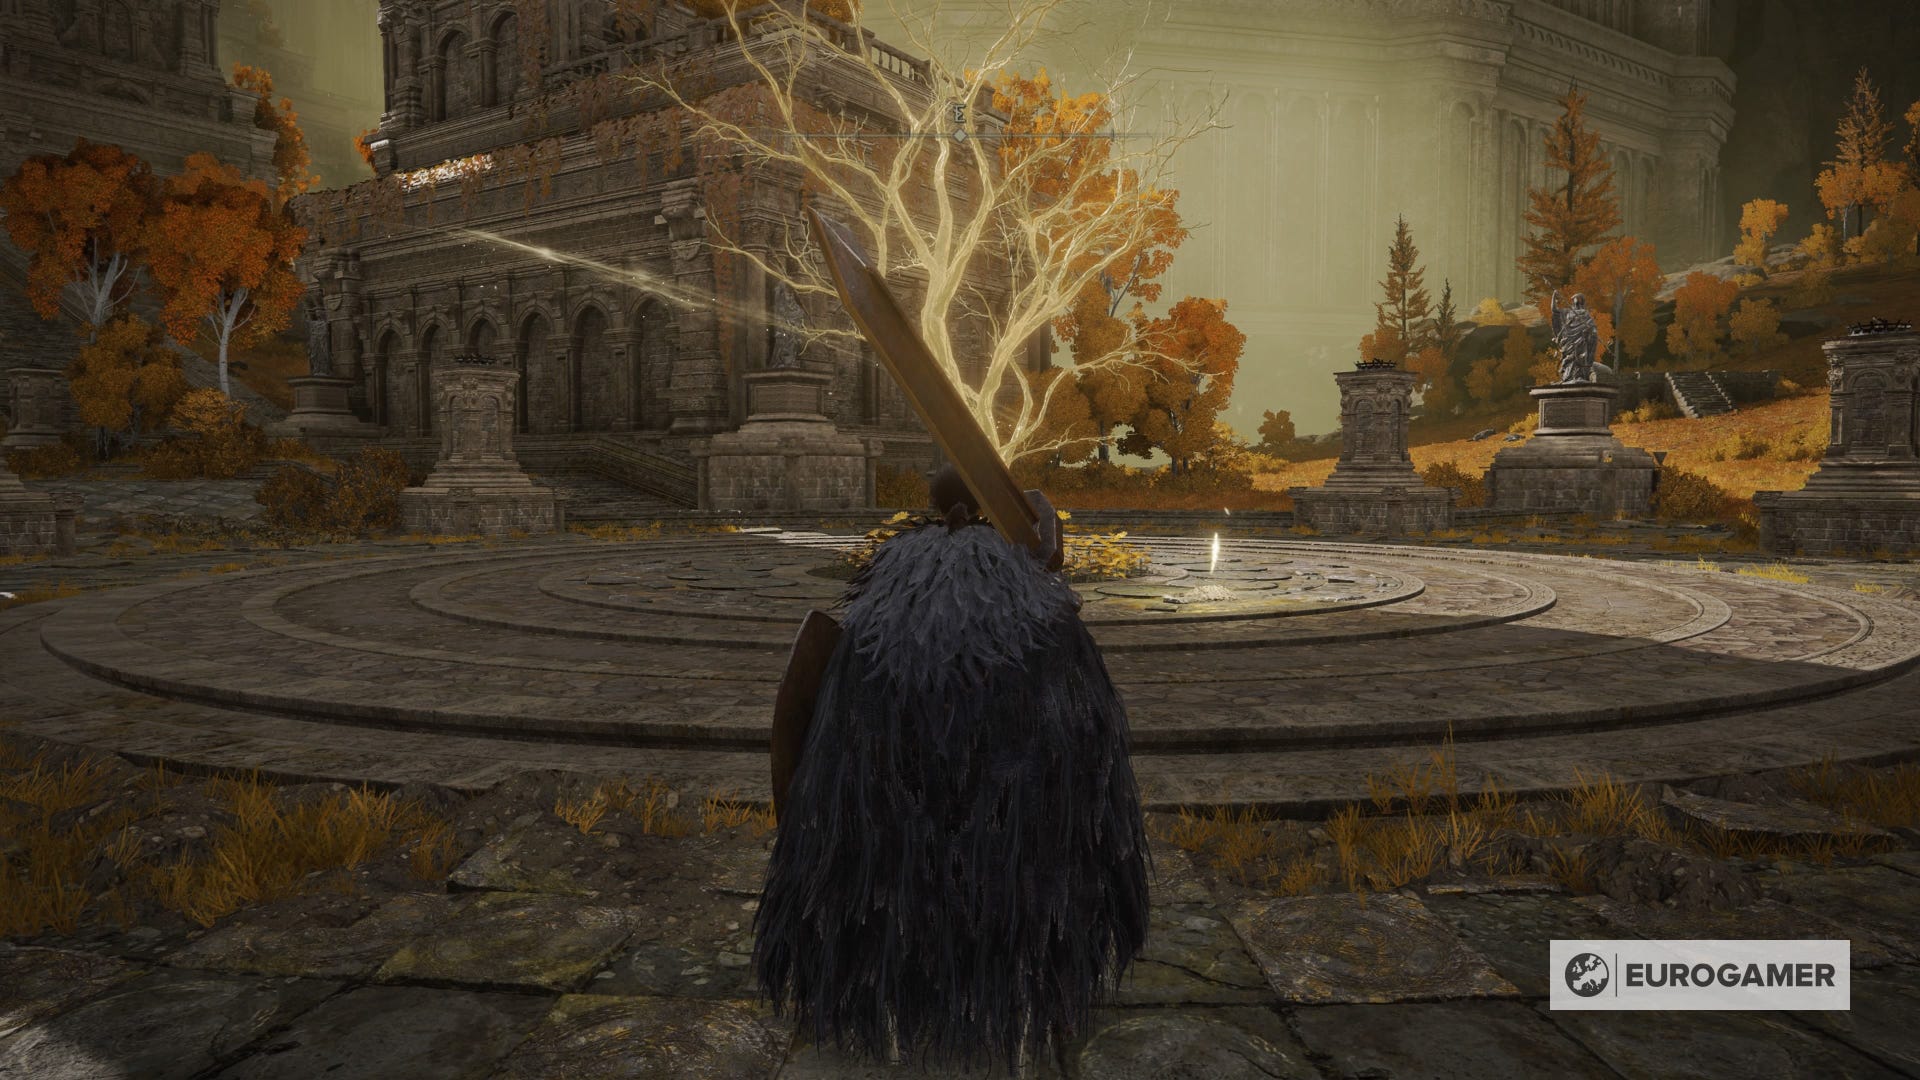
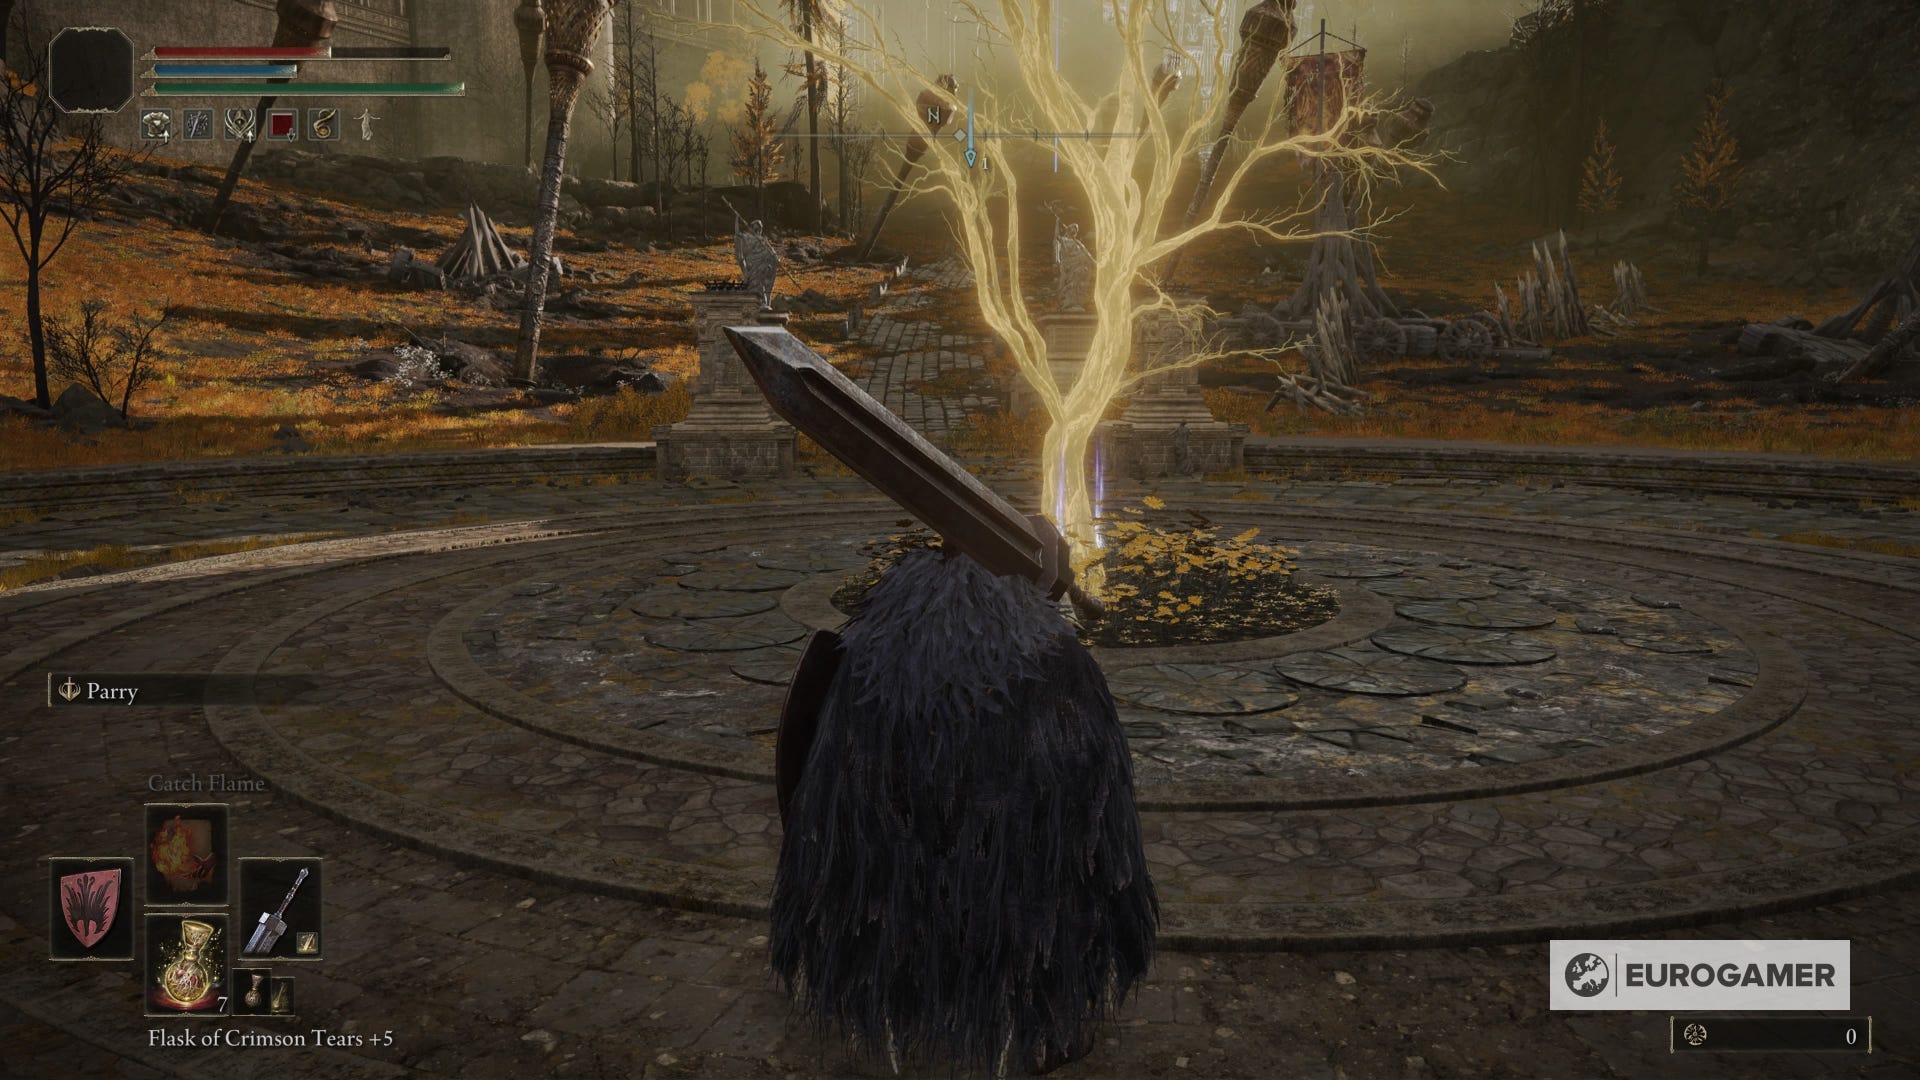
From here head up the road to your left and there'll be some tough enemies along with another glowing Erdtree and two more Golden Seeds. Keep heading up the road and turn to the right toward the top of the hill before the giant gateway, where you'll find another Site of Grace.
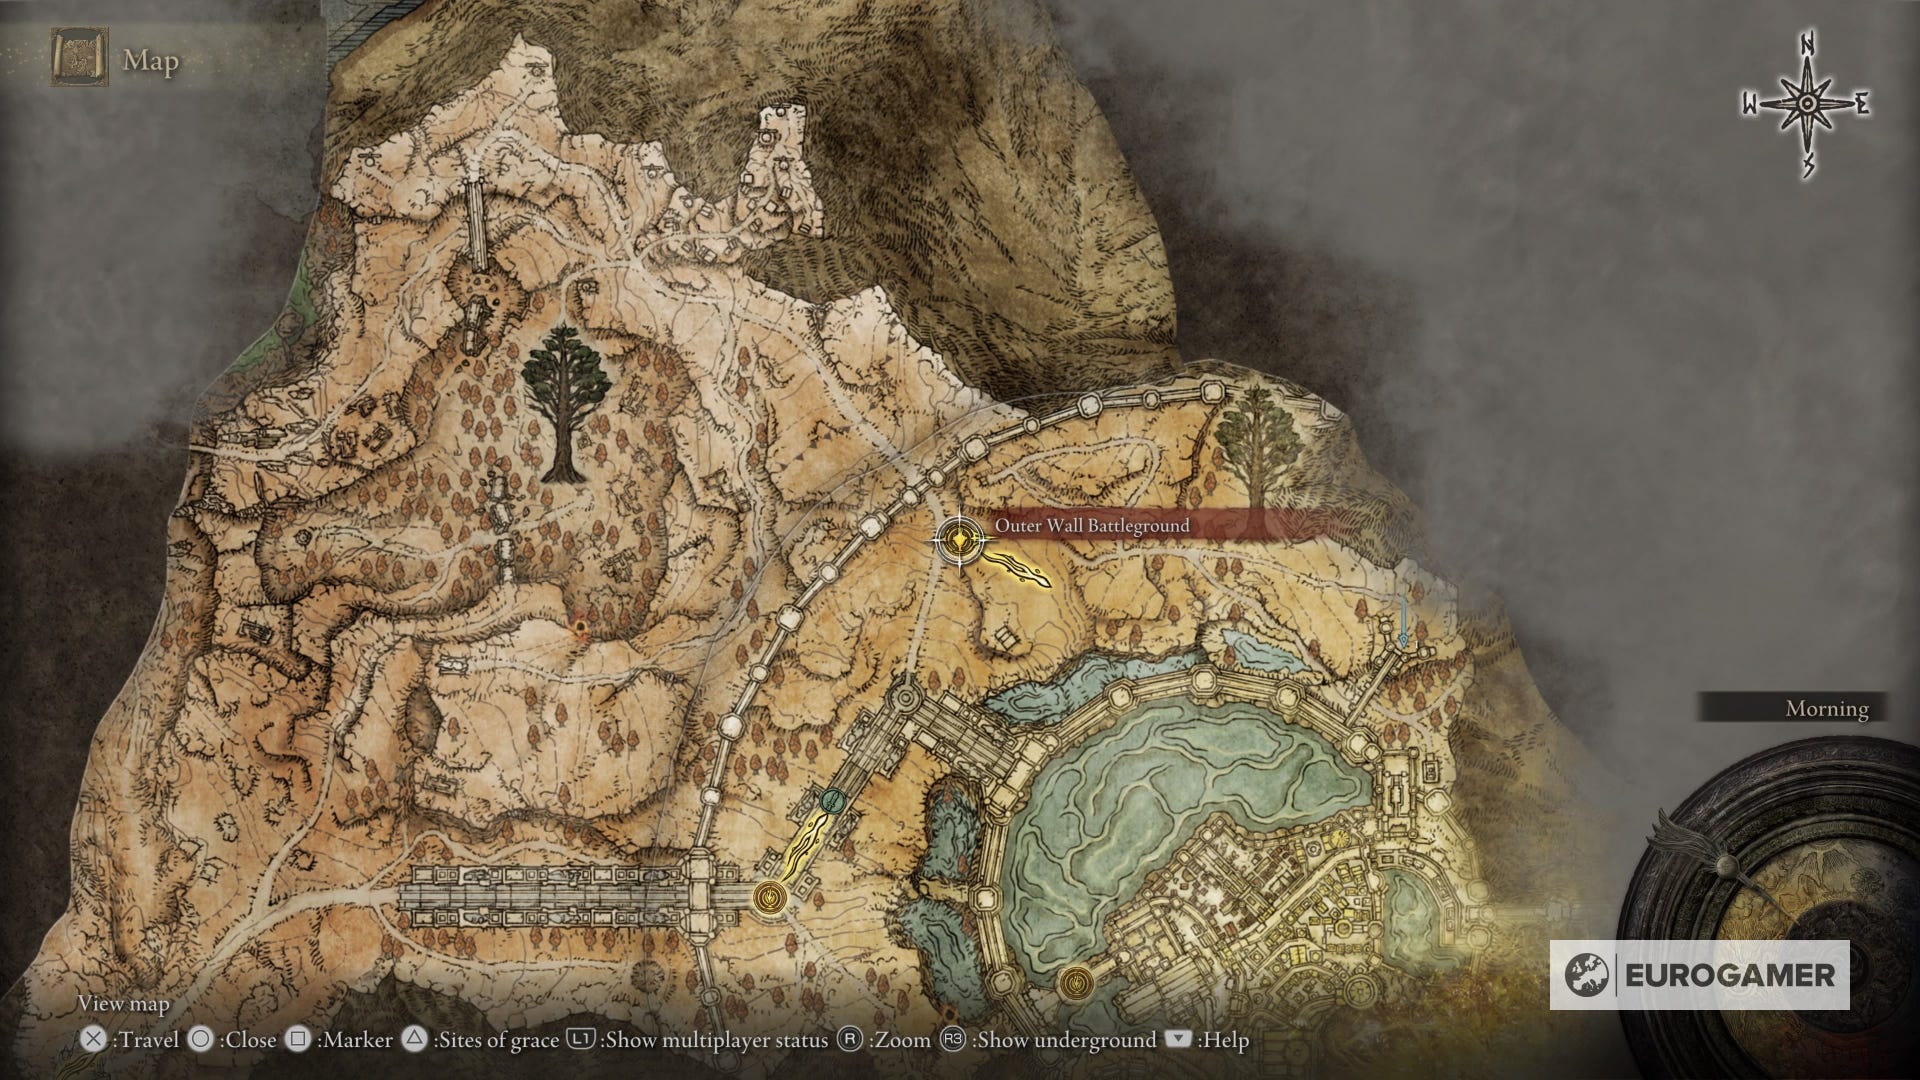
Now you should be at the Outer Wall Battleground Site of Grace, from here you need to head east through some enemies and camps. We've marked where you need to end up with a blue beacon on the map below.

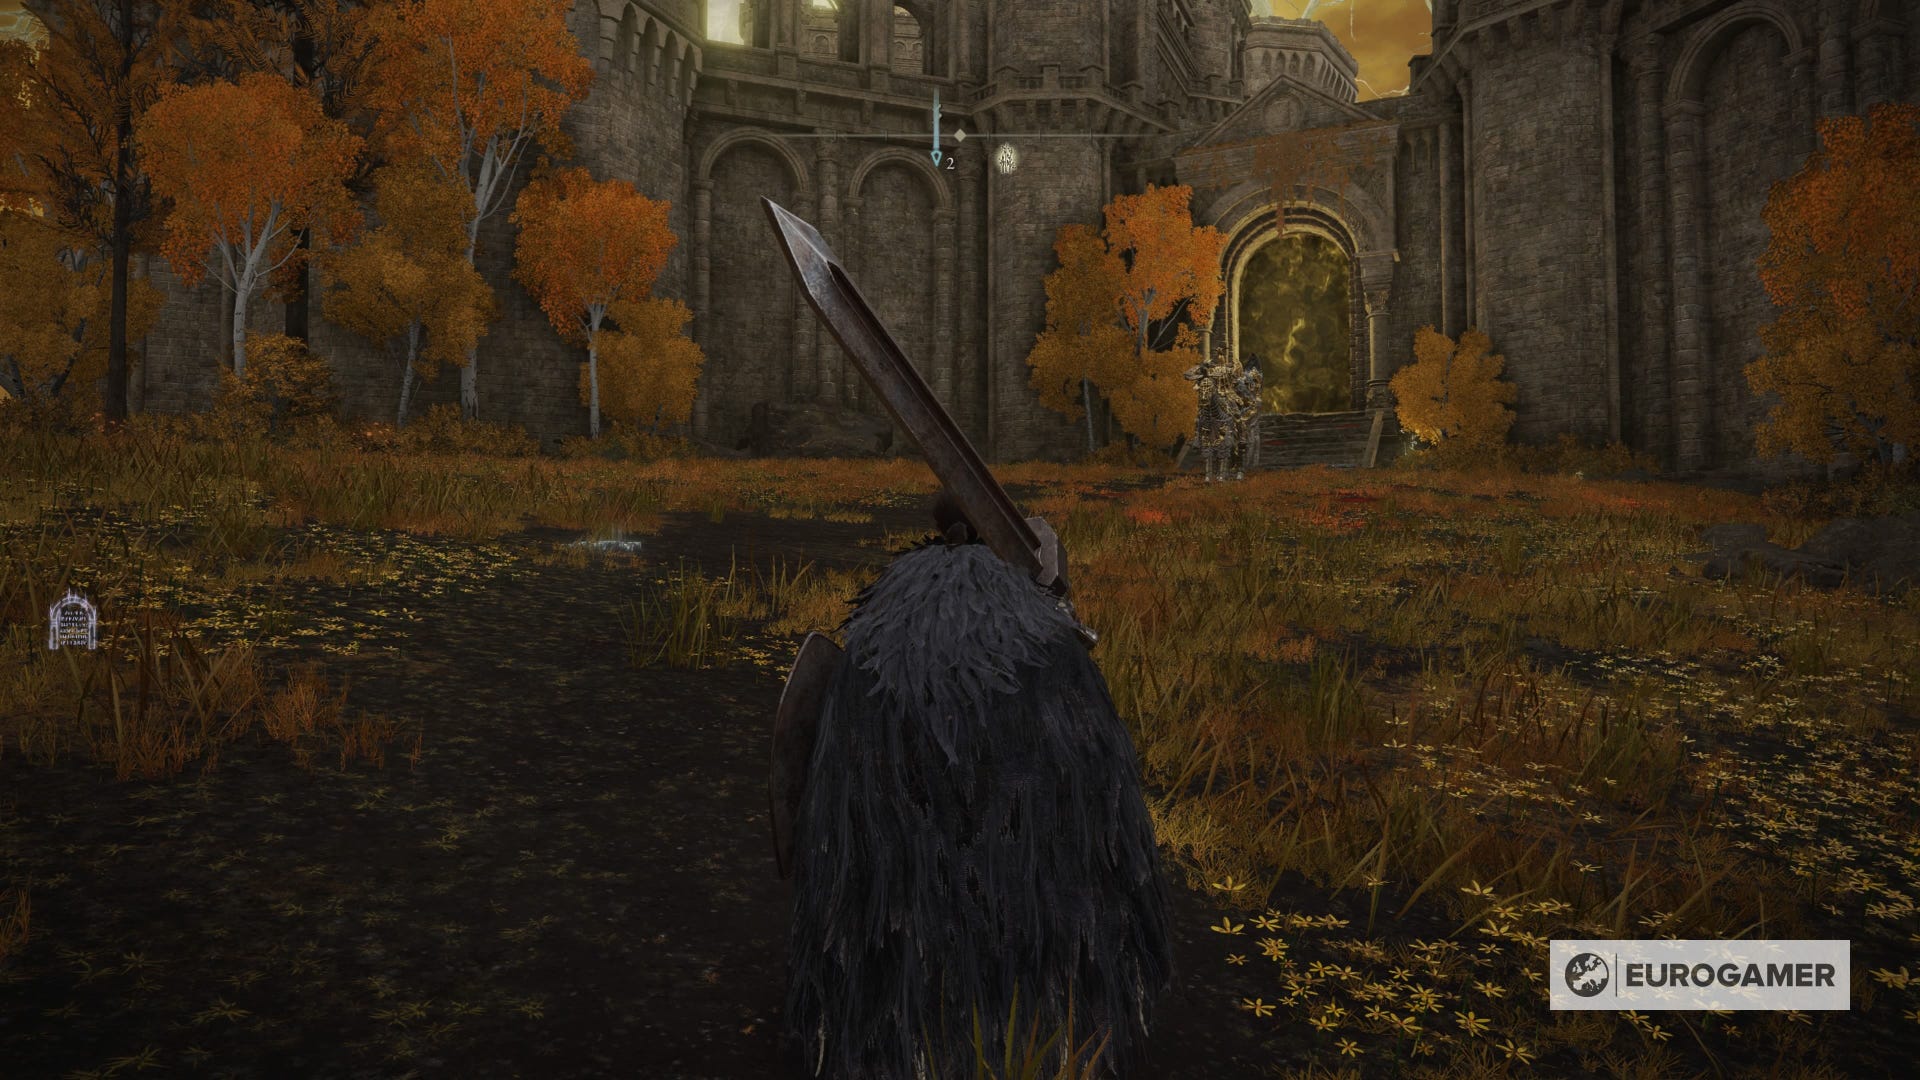
Once you arrive you'll be met with a boss called the Draconic Tree Sentinel, who'll be guarding a fog door. Defeat them to get through it.
Make your way through where the fog gate was and activate the Capital Rampart Site of Grace.
At this point it's worth mentioning that to get into Leyndell you need at least two Great Runes. If you've followed this guide and been to Stormveil Castle and Raya Lucaria Academy and beaten the bosses there, you should already have what you need. If not, here are the four Great Runes and where to get them.
- Godrick the Grafted (Stormveil Castle)
- Renalla, Queen of the Full Moon (Raya Lucaria Academy)
- Starscourge Radahn (Redmane Castle)
- Rykard, Lord of Blasphemy (Mt Gelmir)
Whilst you can do any of these four, Godrick and Renalla are on the main path, and the easiest to defeat. You shouldn't have an obstruction if you've followed the walkthrough up until this point, but if you're told you need more Great Runes, make sure you have at least two from the above.
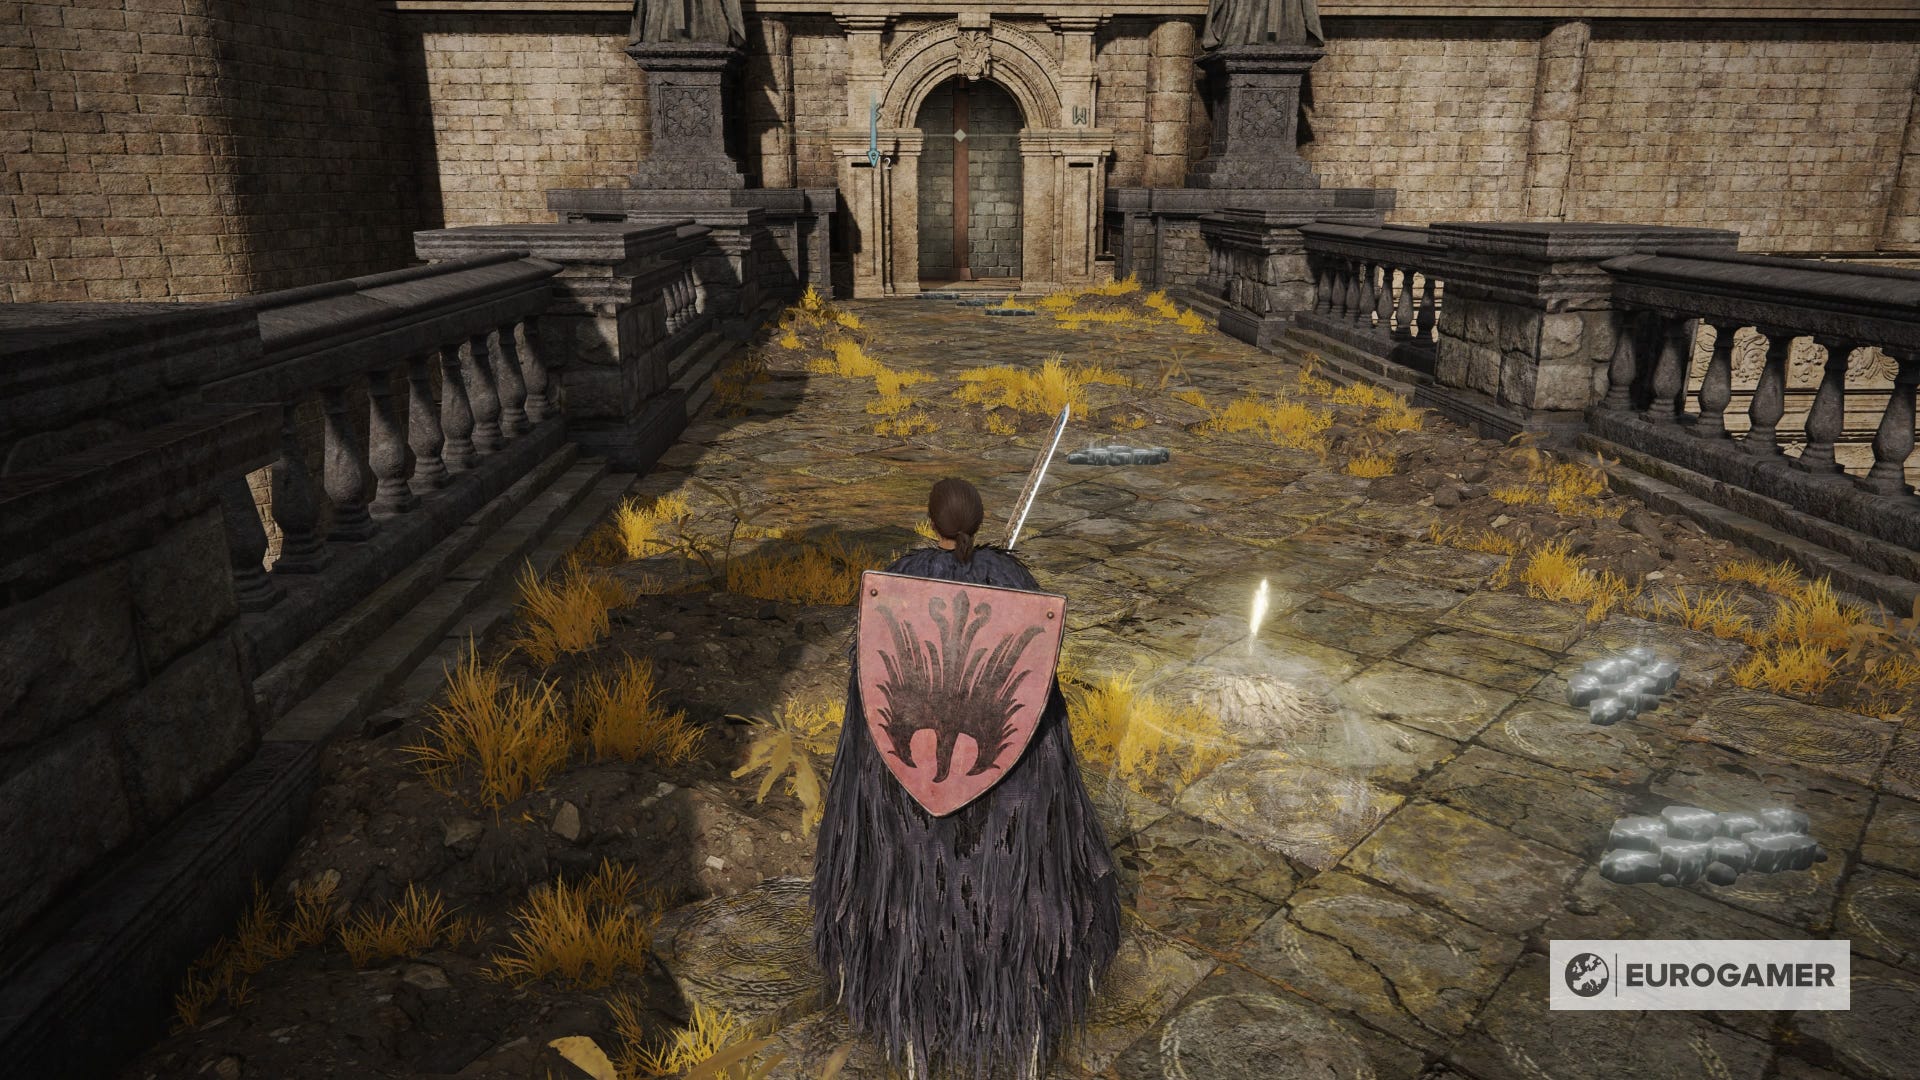
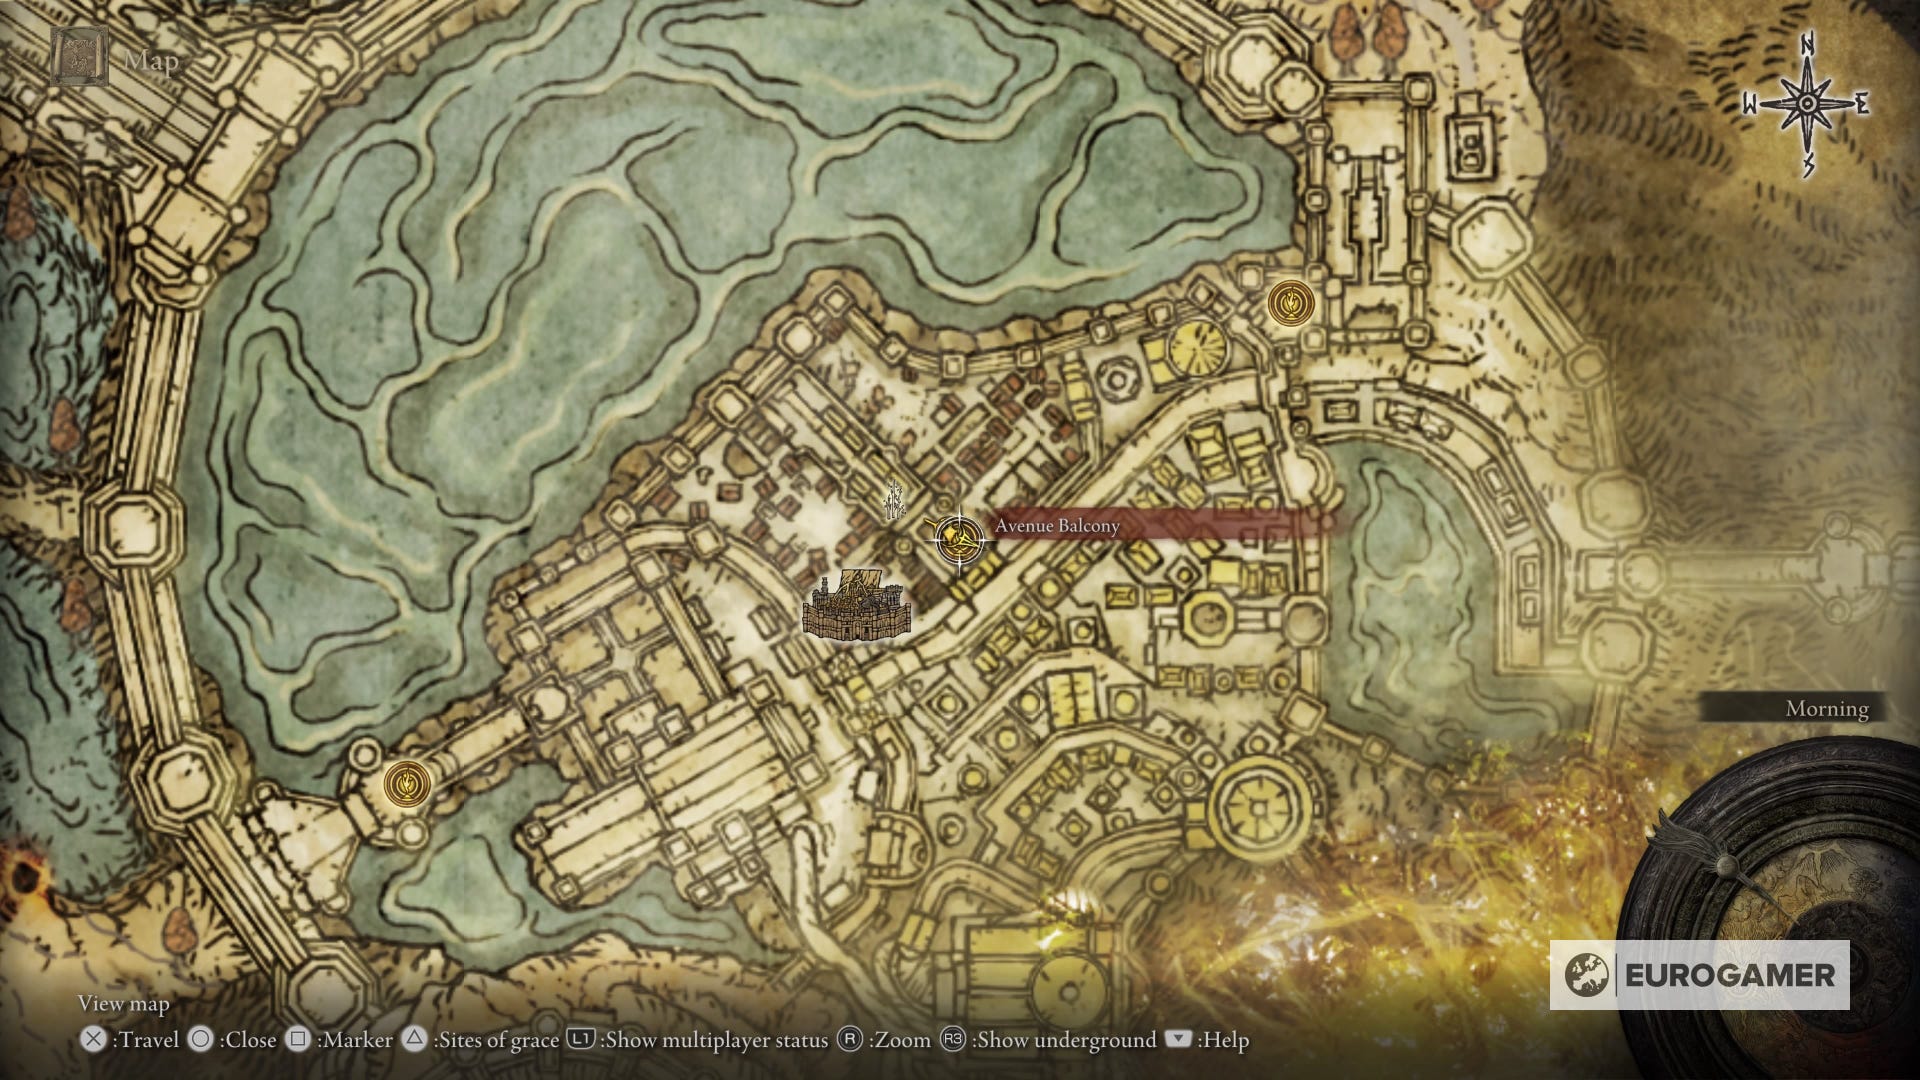
When inside, Leyndell is another Legacy Dungeon, so we recommend you explore it at your own pace. What you should keep an eye out for is the Avenue Balcony Site of Grace, as this will help you towards your next goal on the critical path.
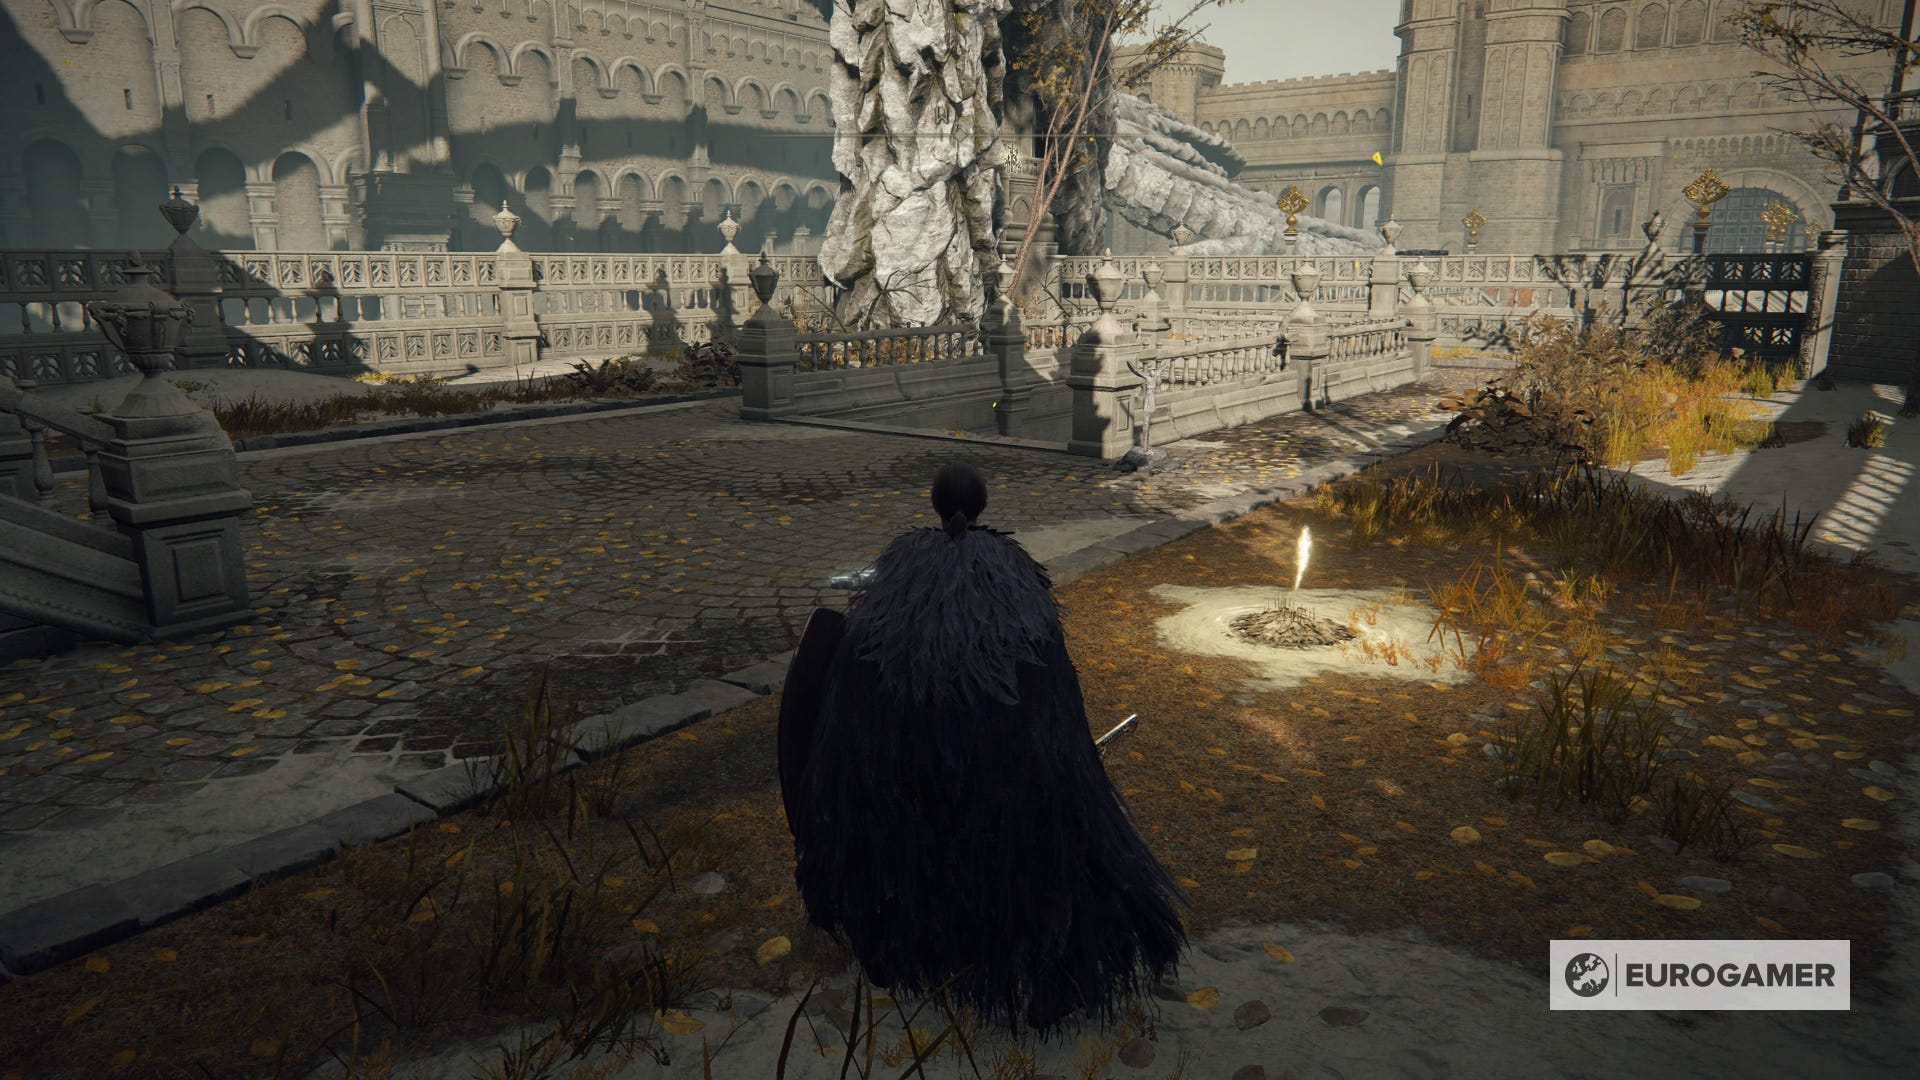
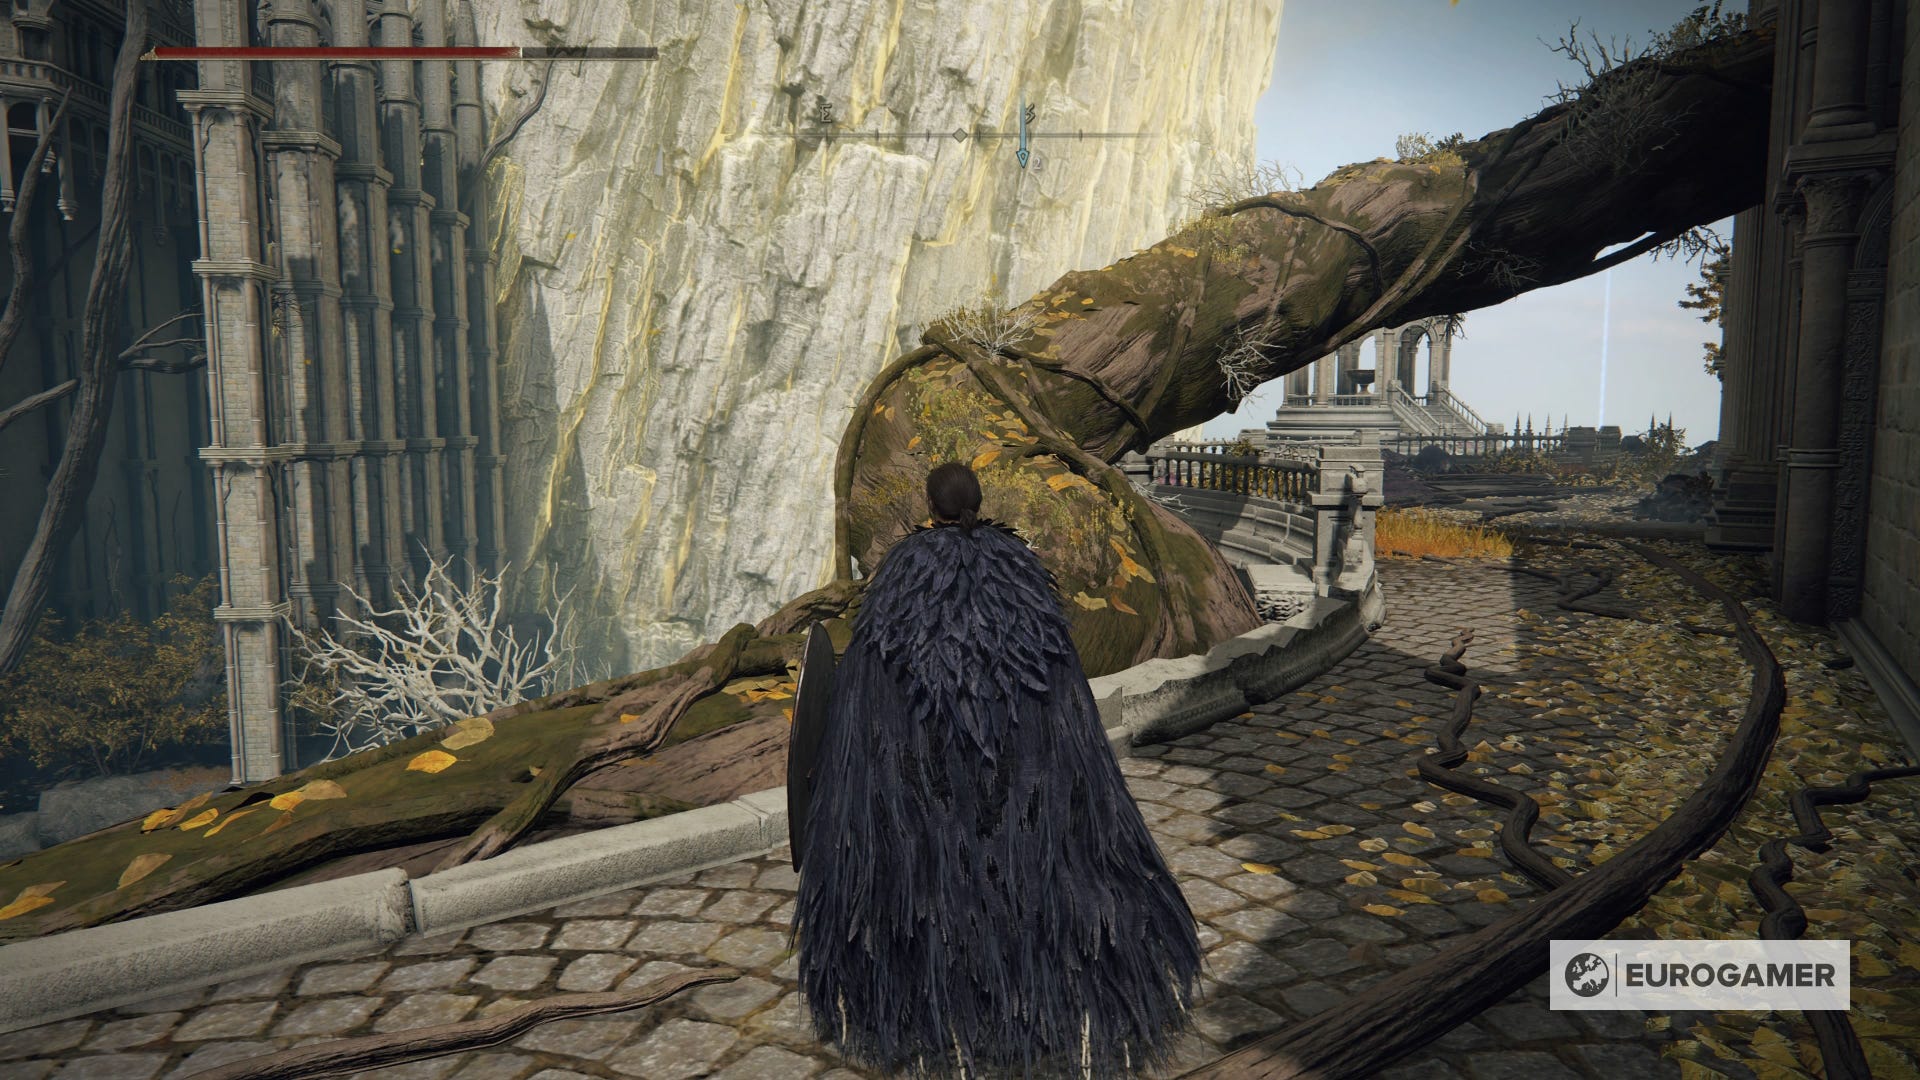
From this Site of Grace you need to head northwest down the stairs, past the archer, and then scale the giant dragon to the left. You'll then come to the West Capital Rampart Site of Grace, pictured below.
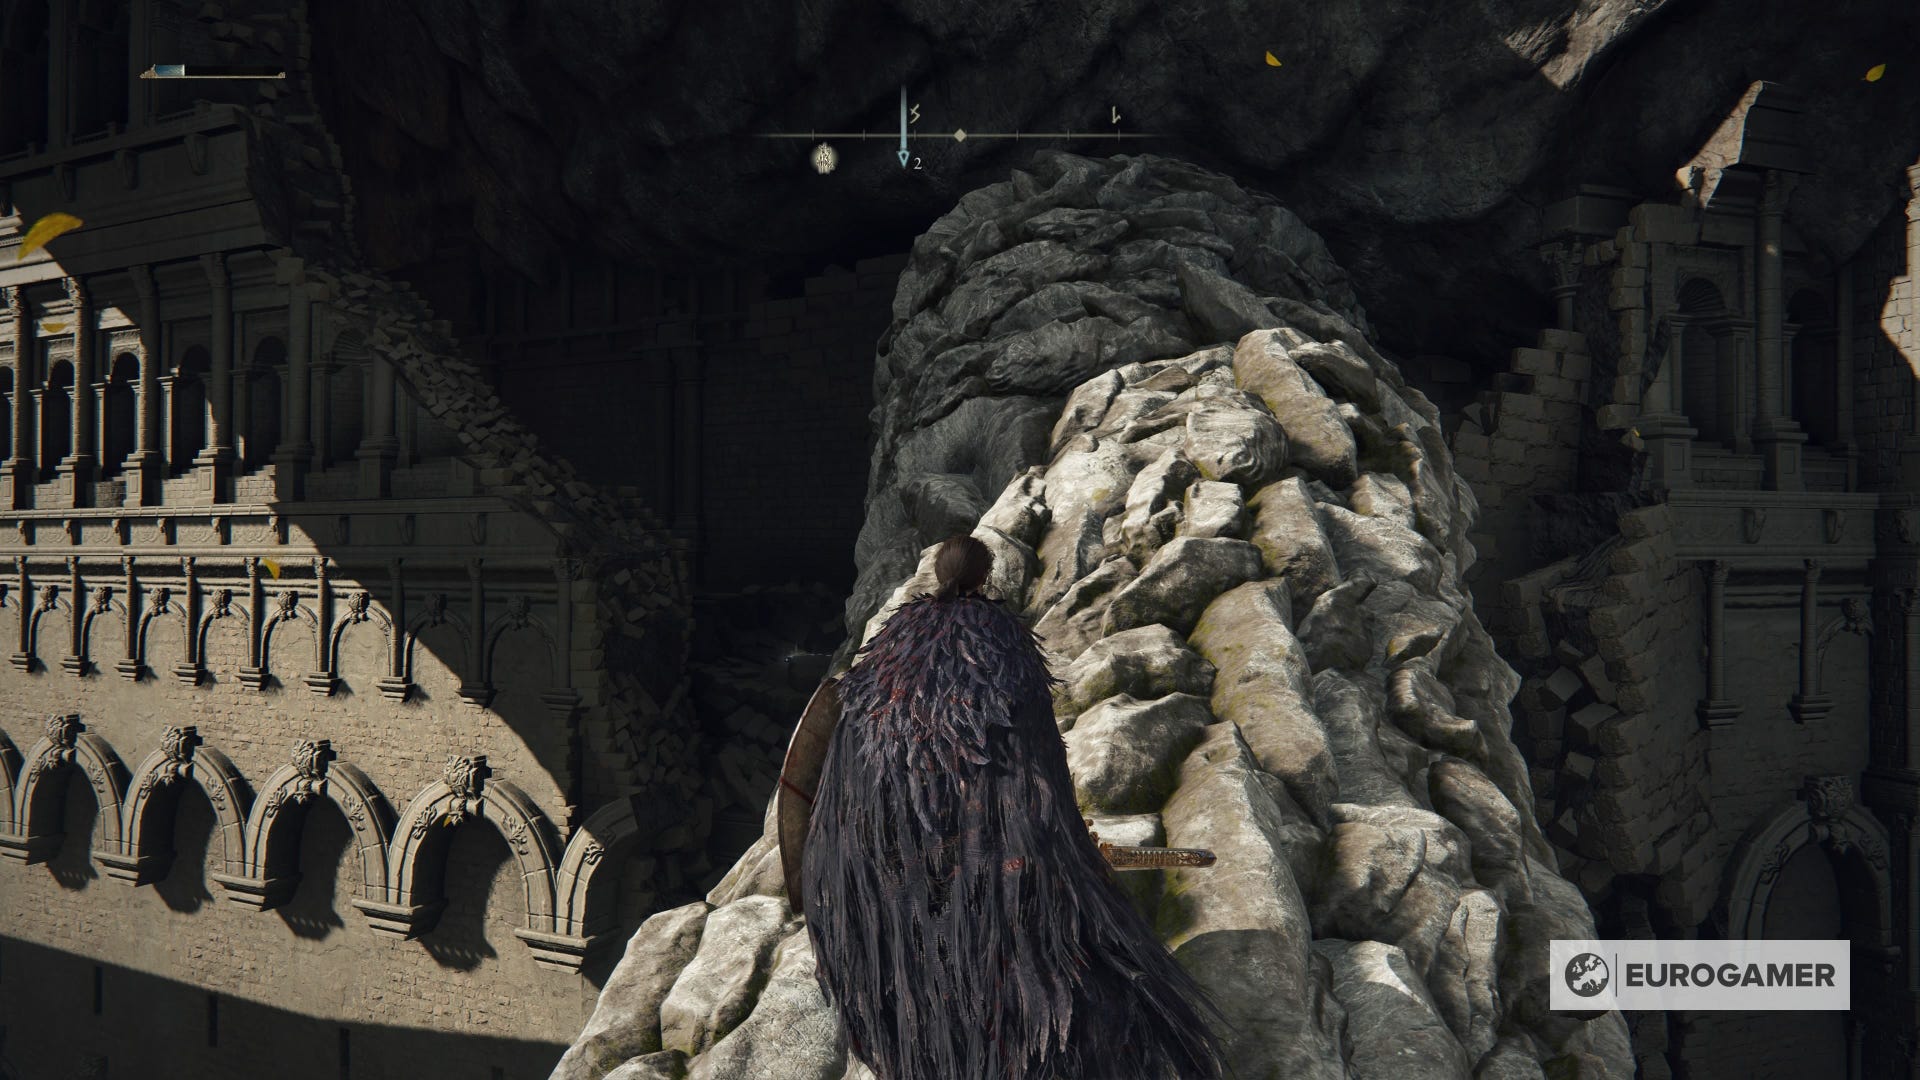

Move south along the castle structure, and you'll come to some giant tree trunks emerging from the ground. Scale them and follow them all the way around to the left, going higher and higher as you do.
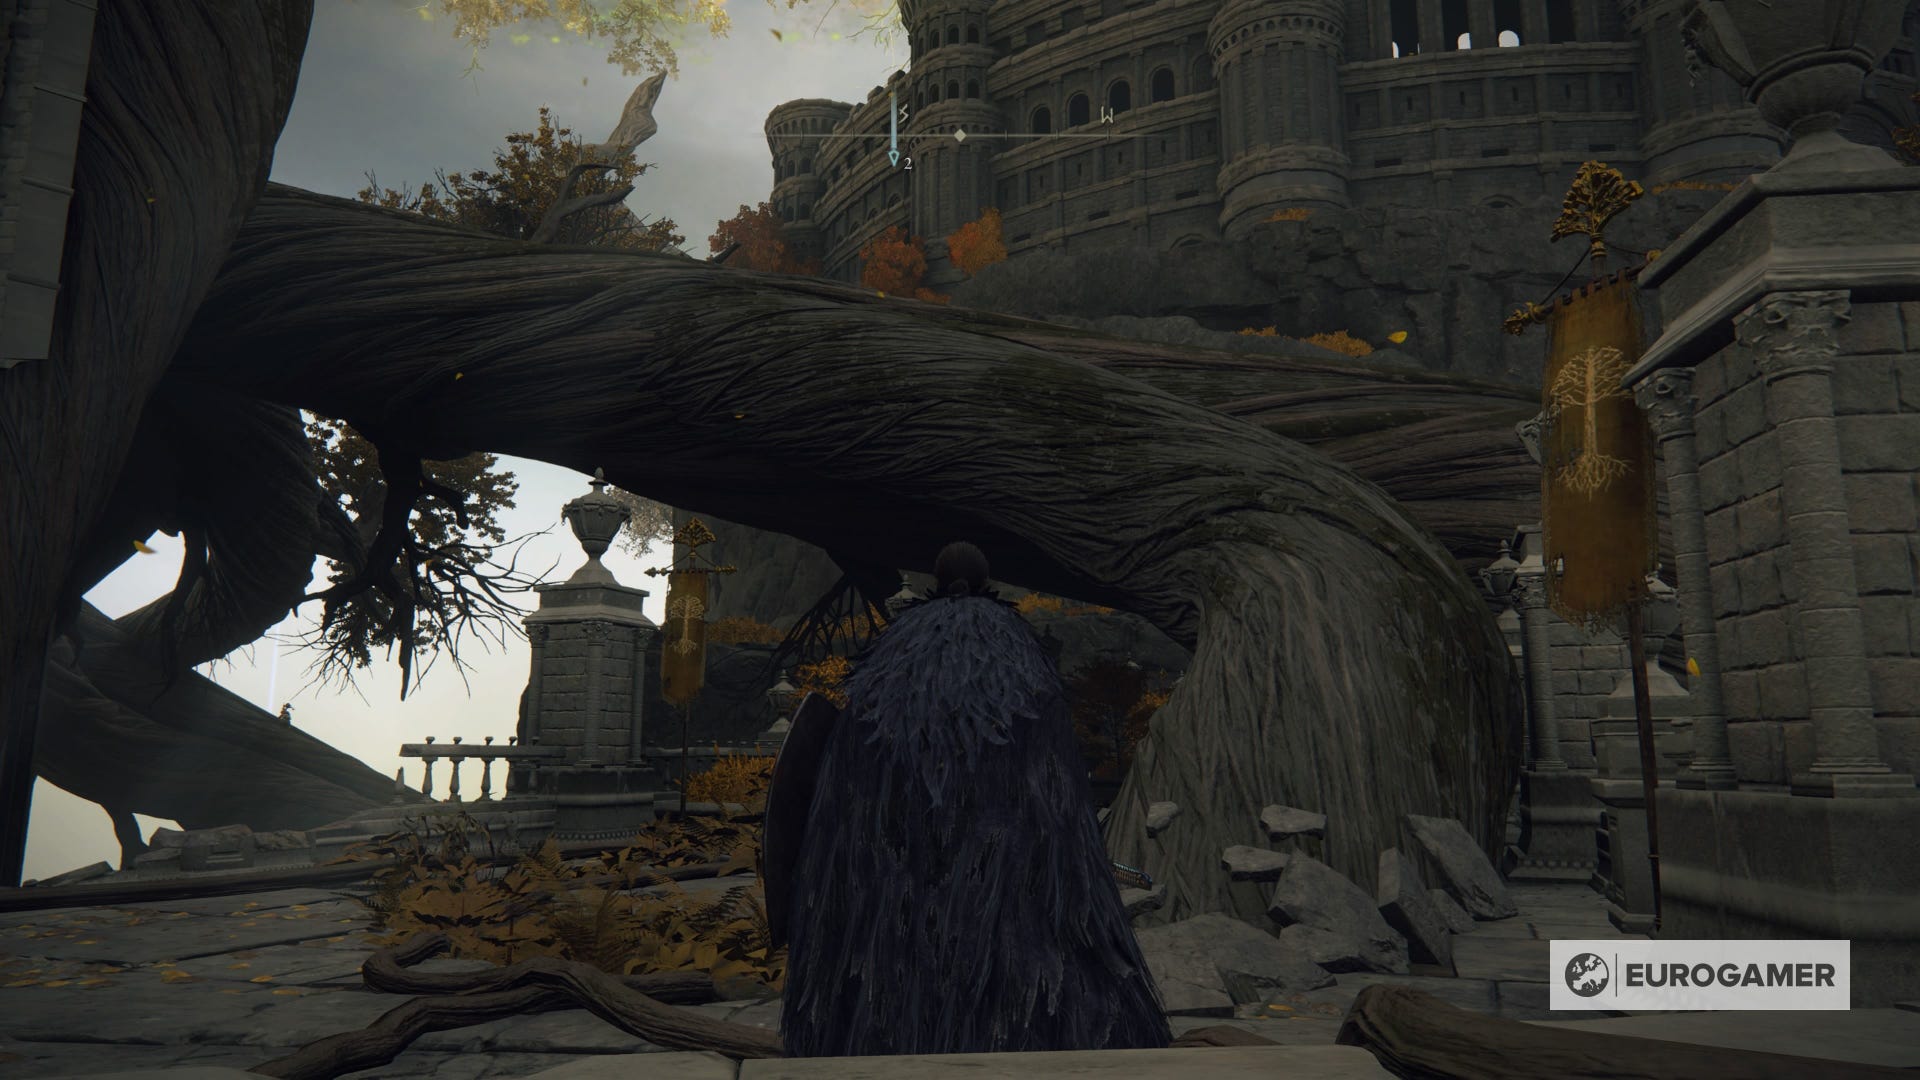
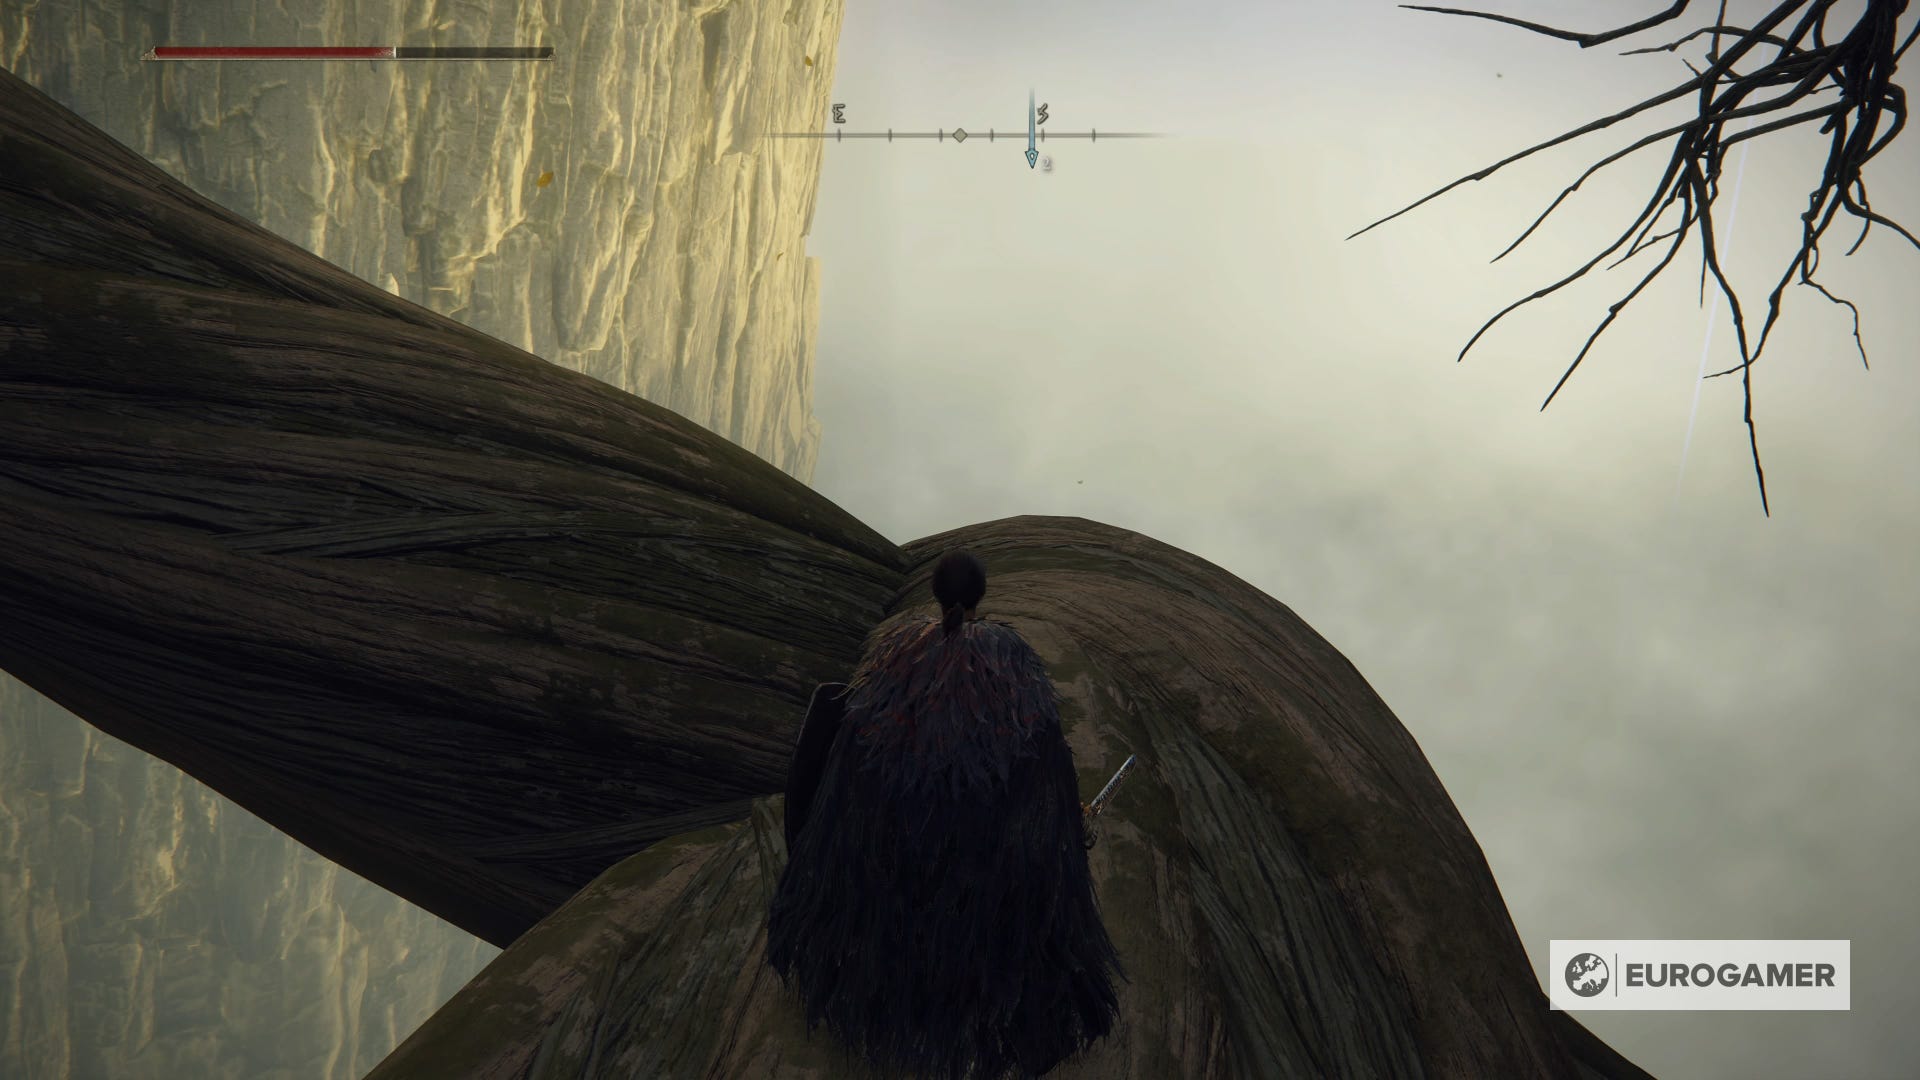
Now you'll come to a large doorway and your next essential boss, Godfrey, First Elden Lord.
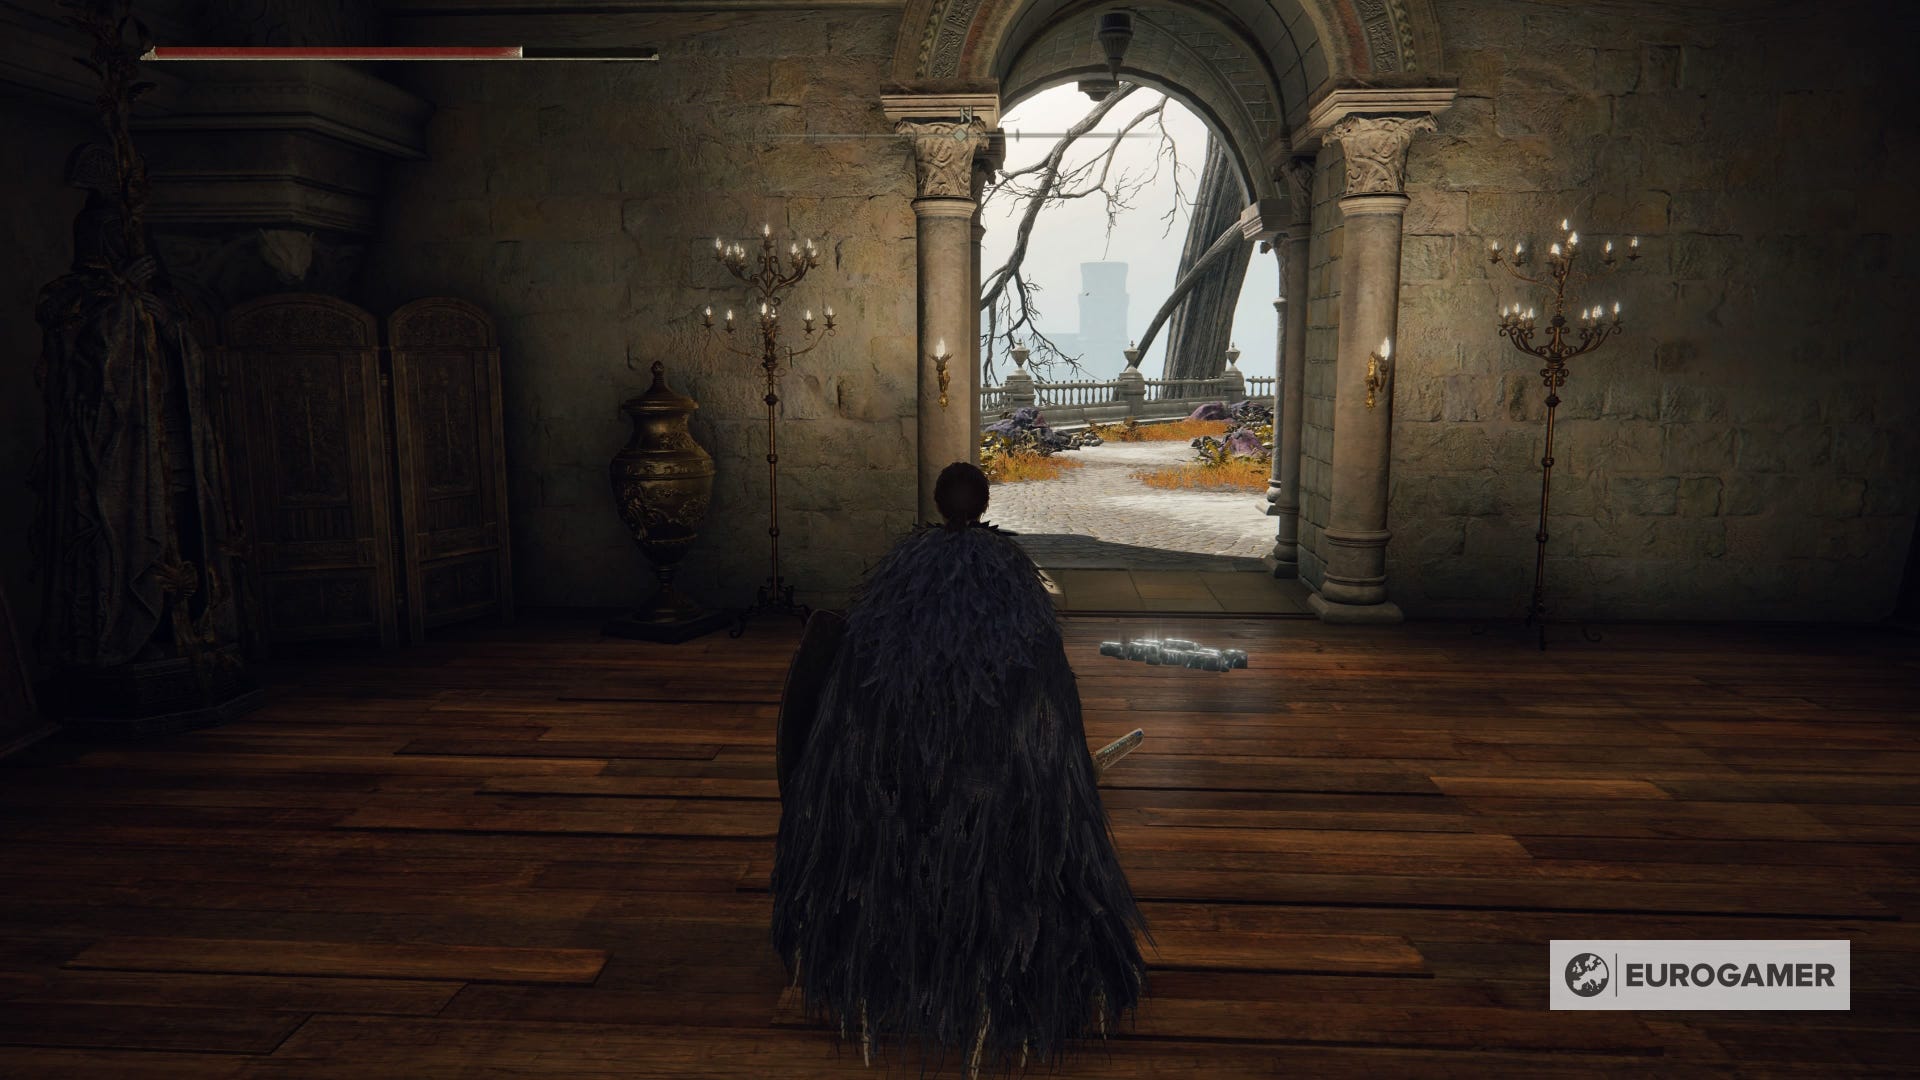
After defeating Godfrey, head to the eastern side of the room you're in, turn left and make your way up the tree trunk that loops back inside to an upper wooden platform. Follow the door outside and along the curved walkway and you'll find the Queen's Bedchamber Site of Grace. Keep moving and you'll come up against another required boss, Morgott, The Omen King.
Once you beat Morgott, rest at the new Site of Grace in their boss room. Melina will tell you that you can't go through the door on the other side of the room. She'll then give you the Rold Medallion and ask you to go to the Land of the Giants above the clouds before you can go through to the end of the game.
Where to go after Leyndell: Mountaintops of the Giants and Crumbling Farum Azula
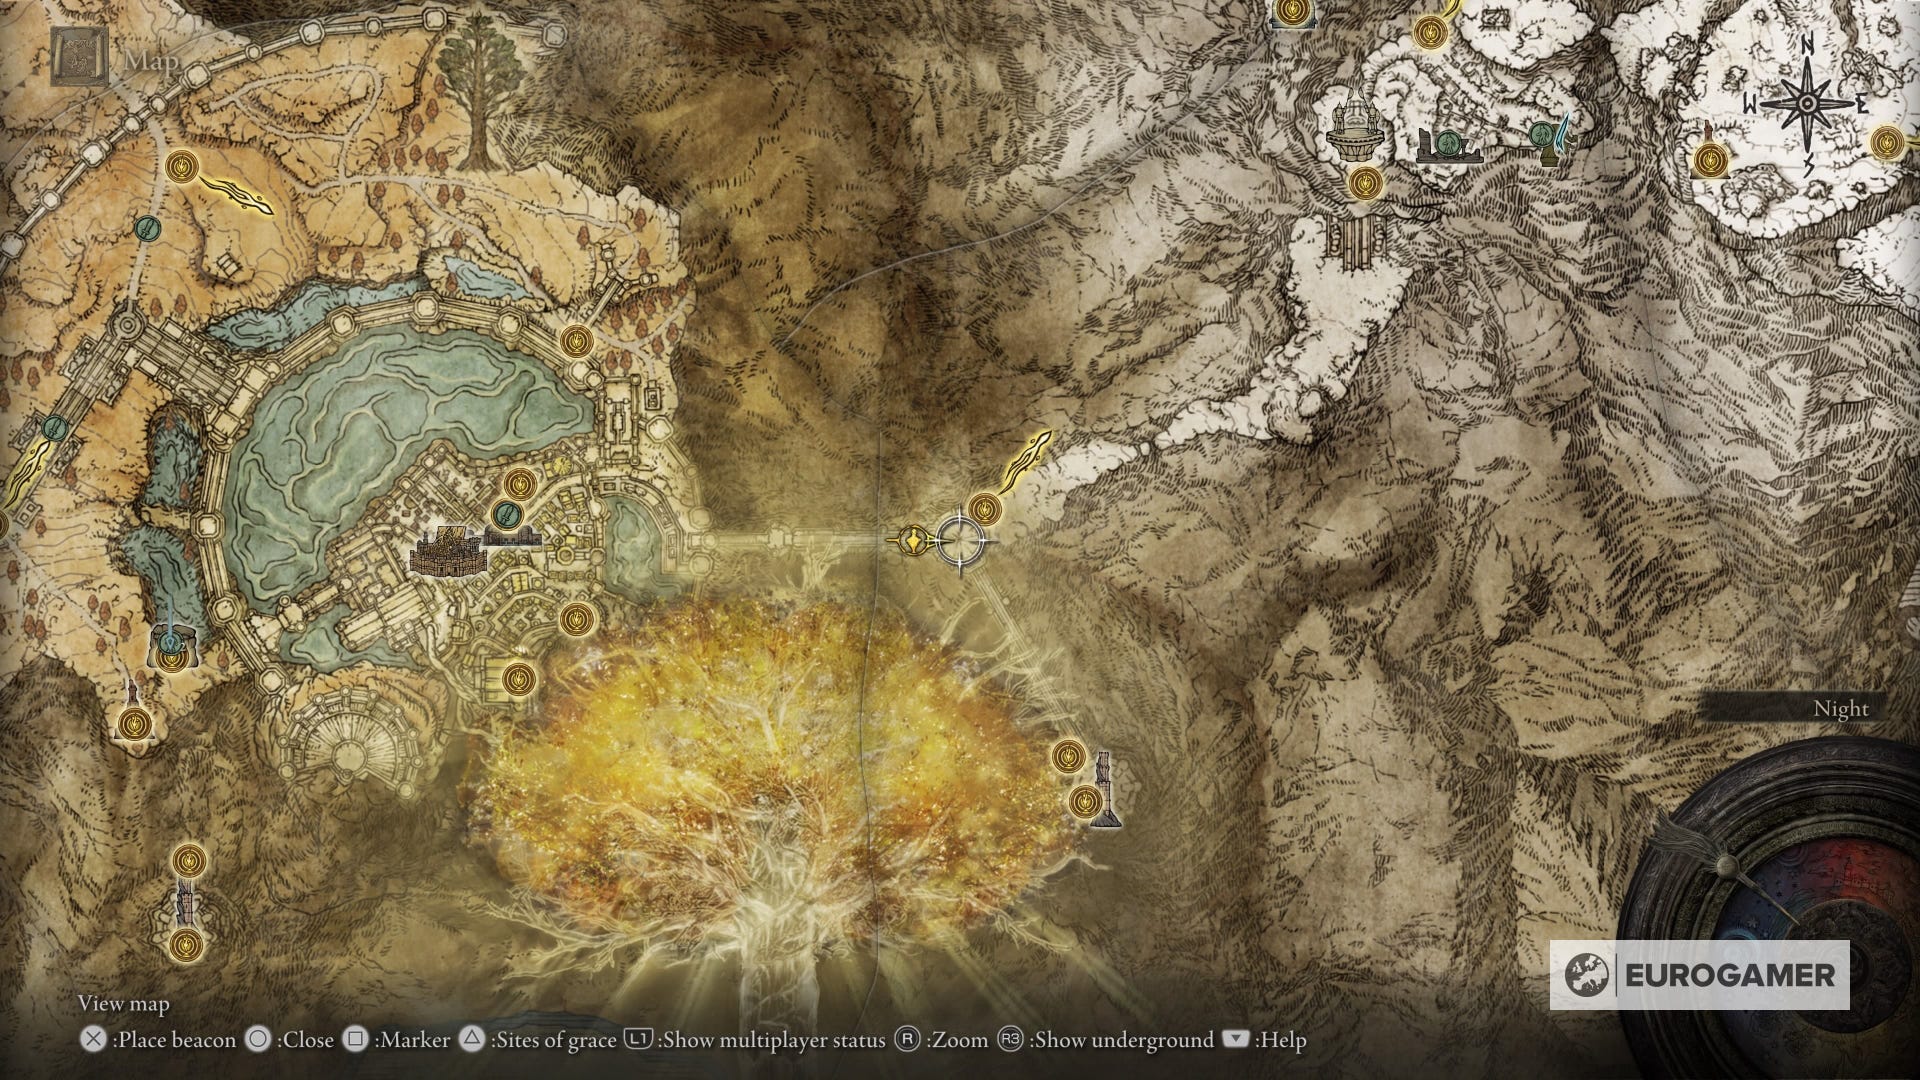
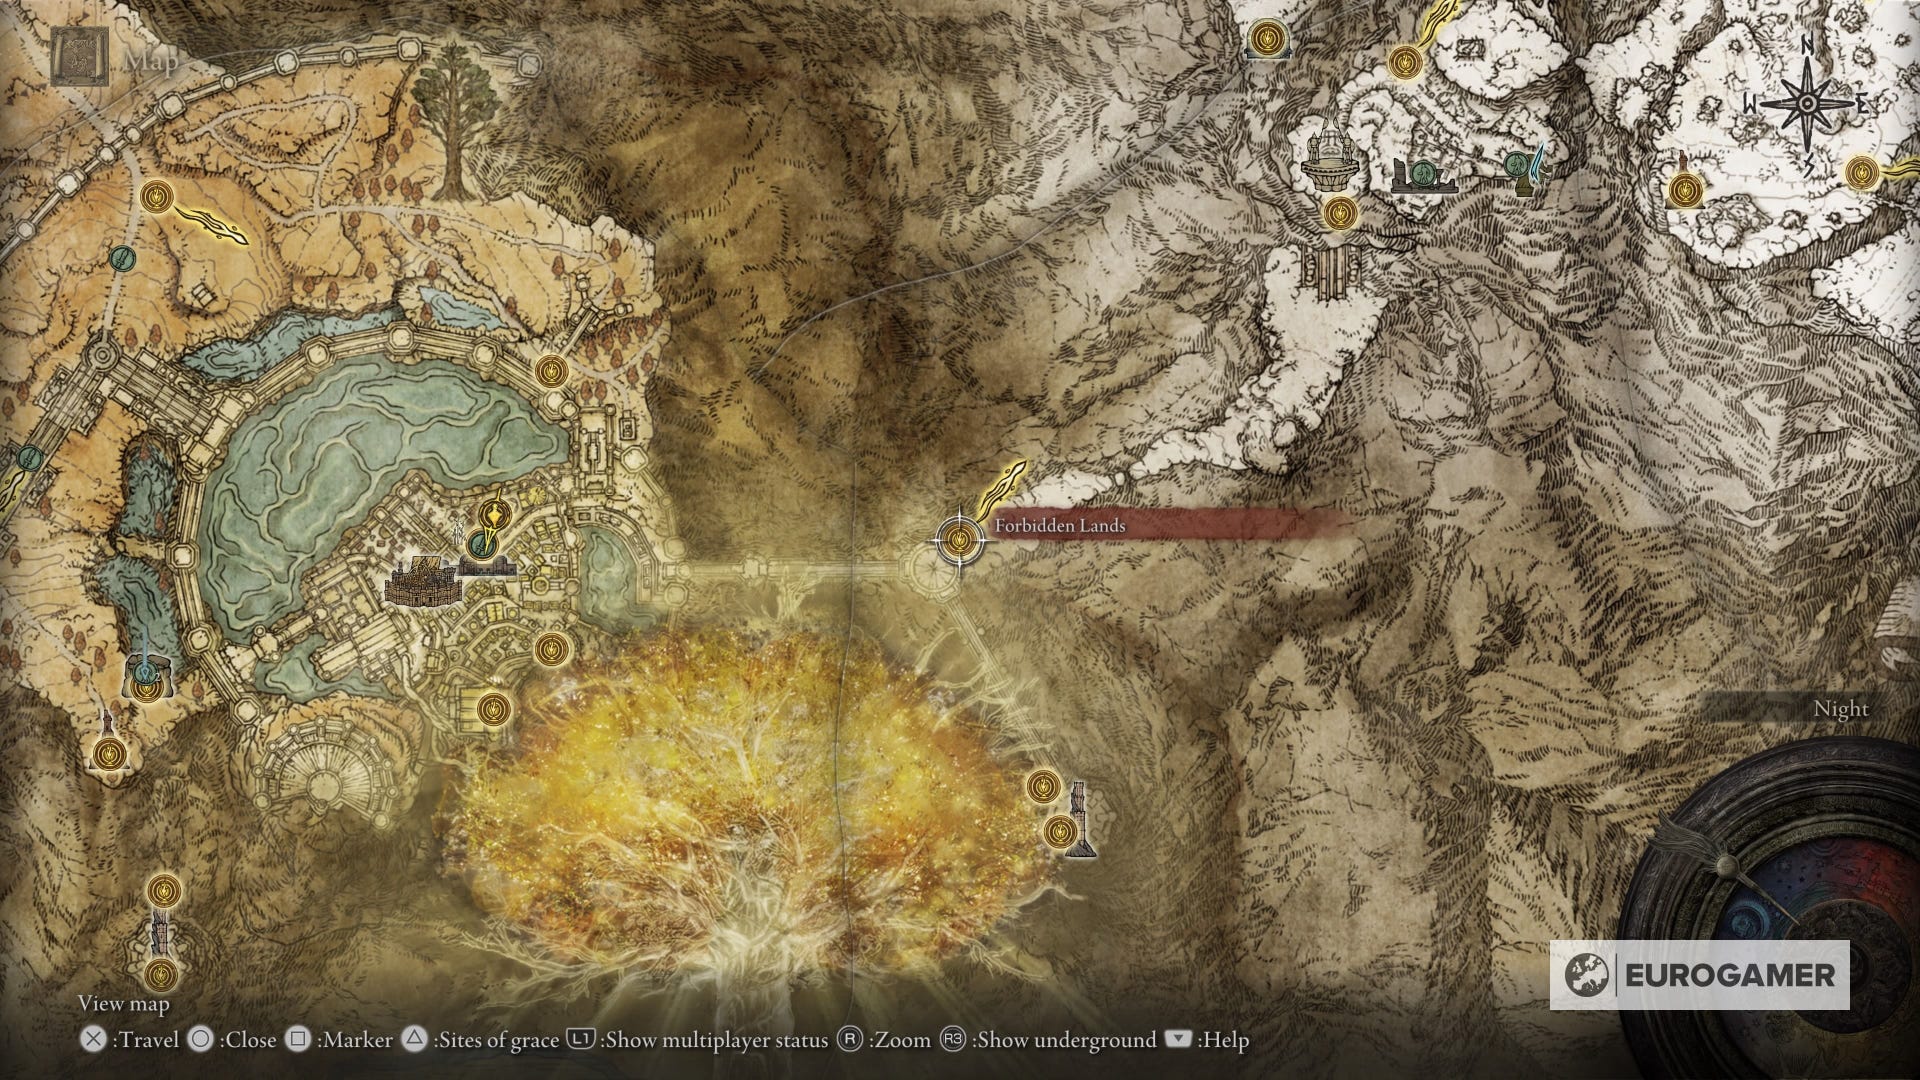
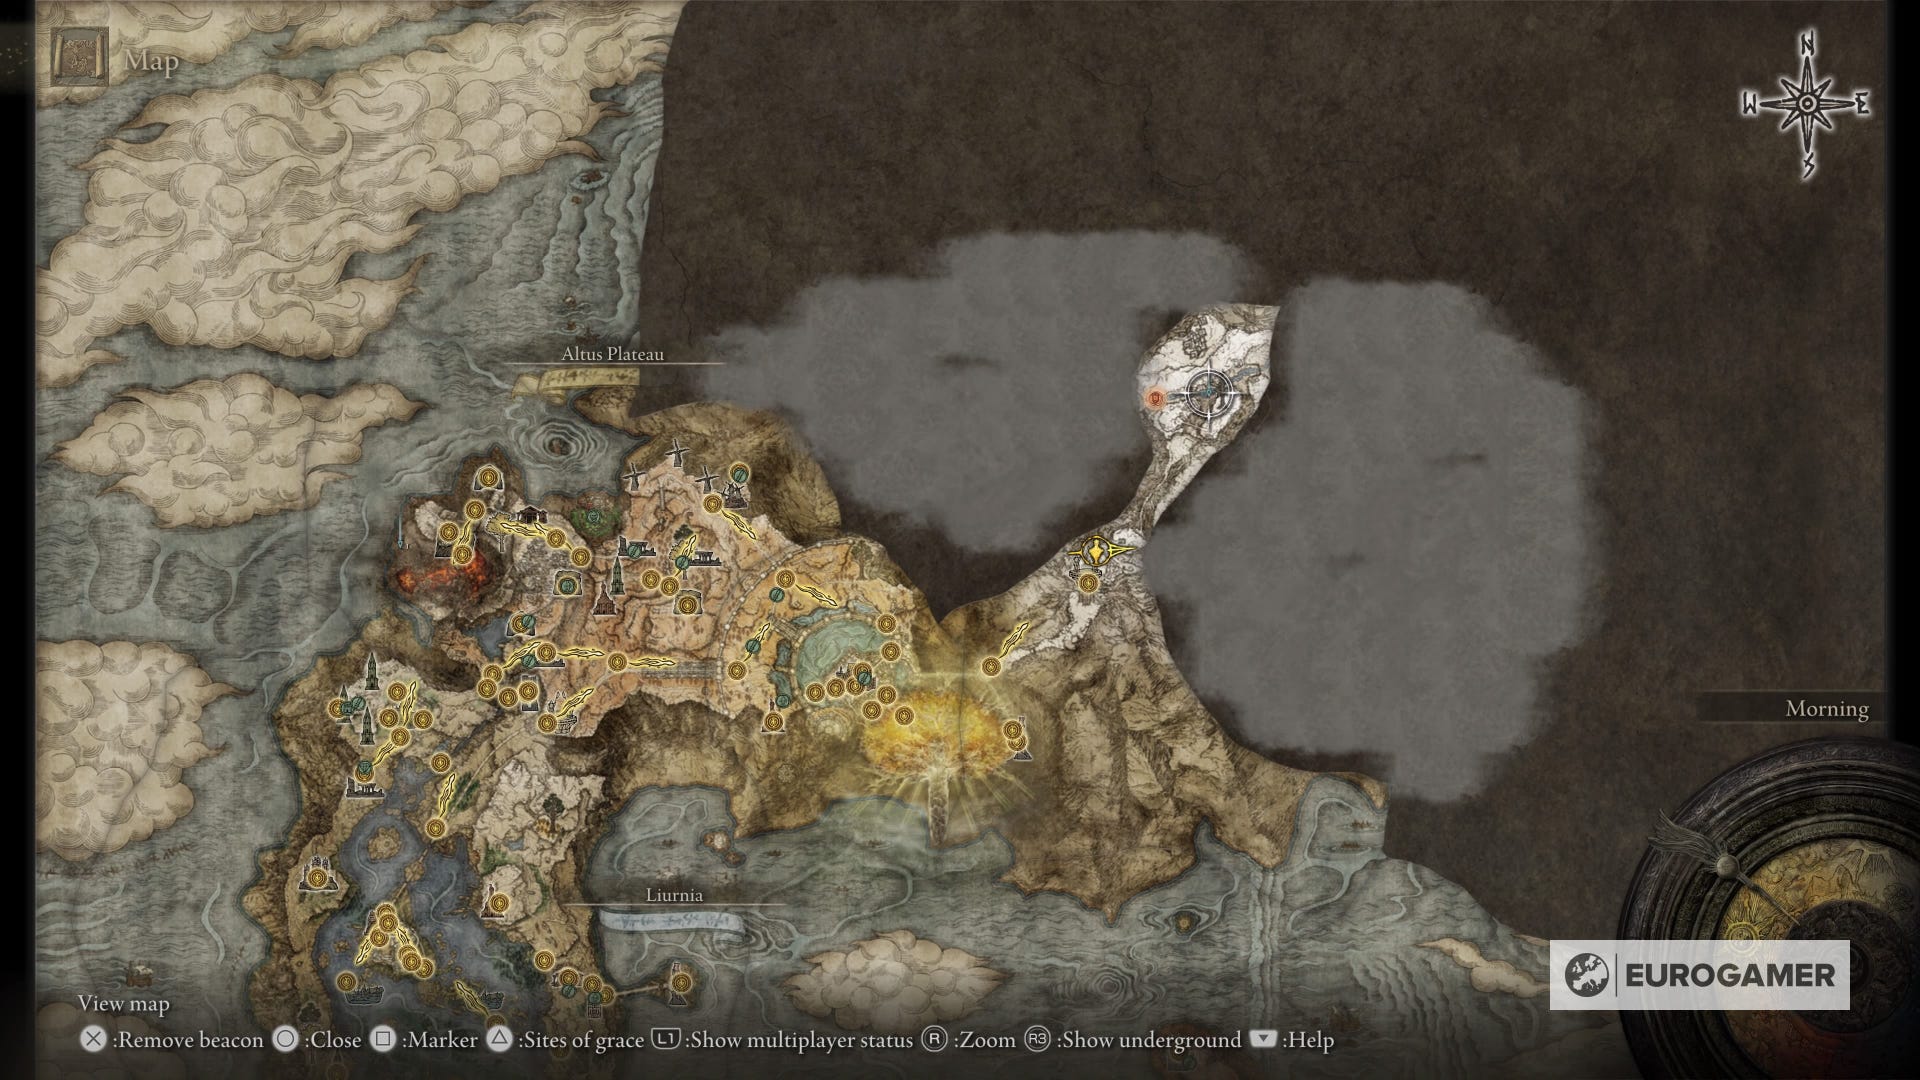
When you are ready to visit the Mountaintops of the Giants, fast travel back to the Avenue Balcony Site of Grace and take a look at your map, a red marker has been placed to the northeast. This is the Grand Lift of Rold, and your next destination.

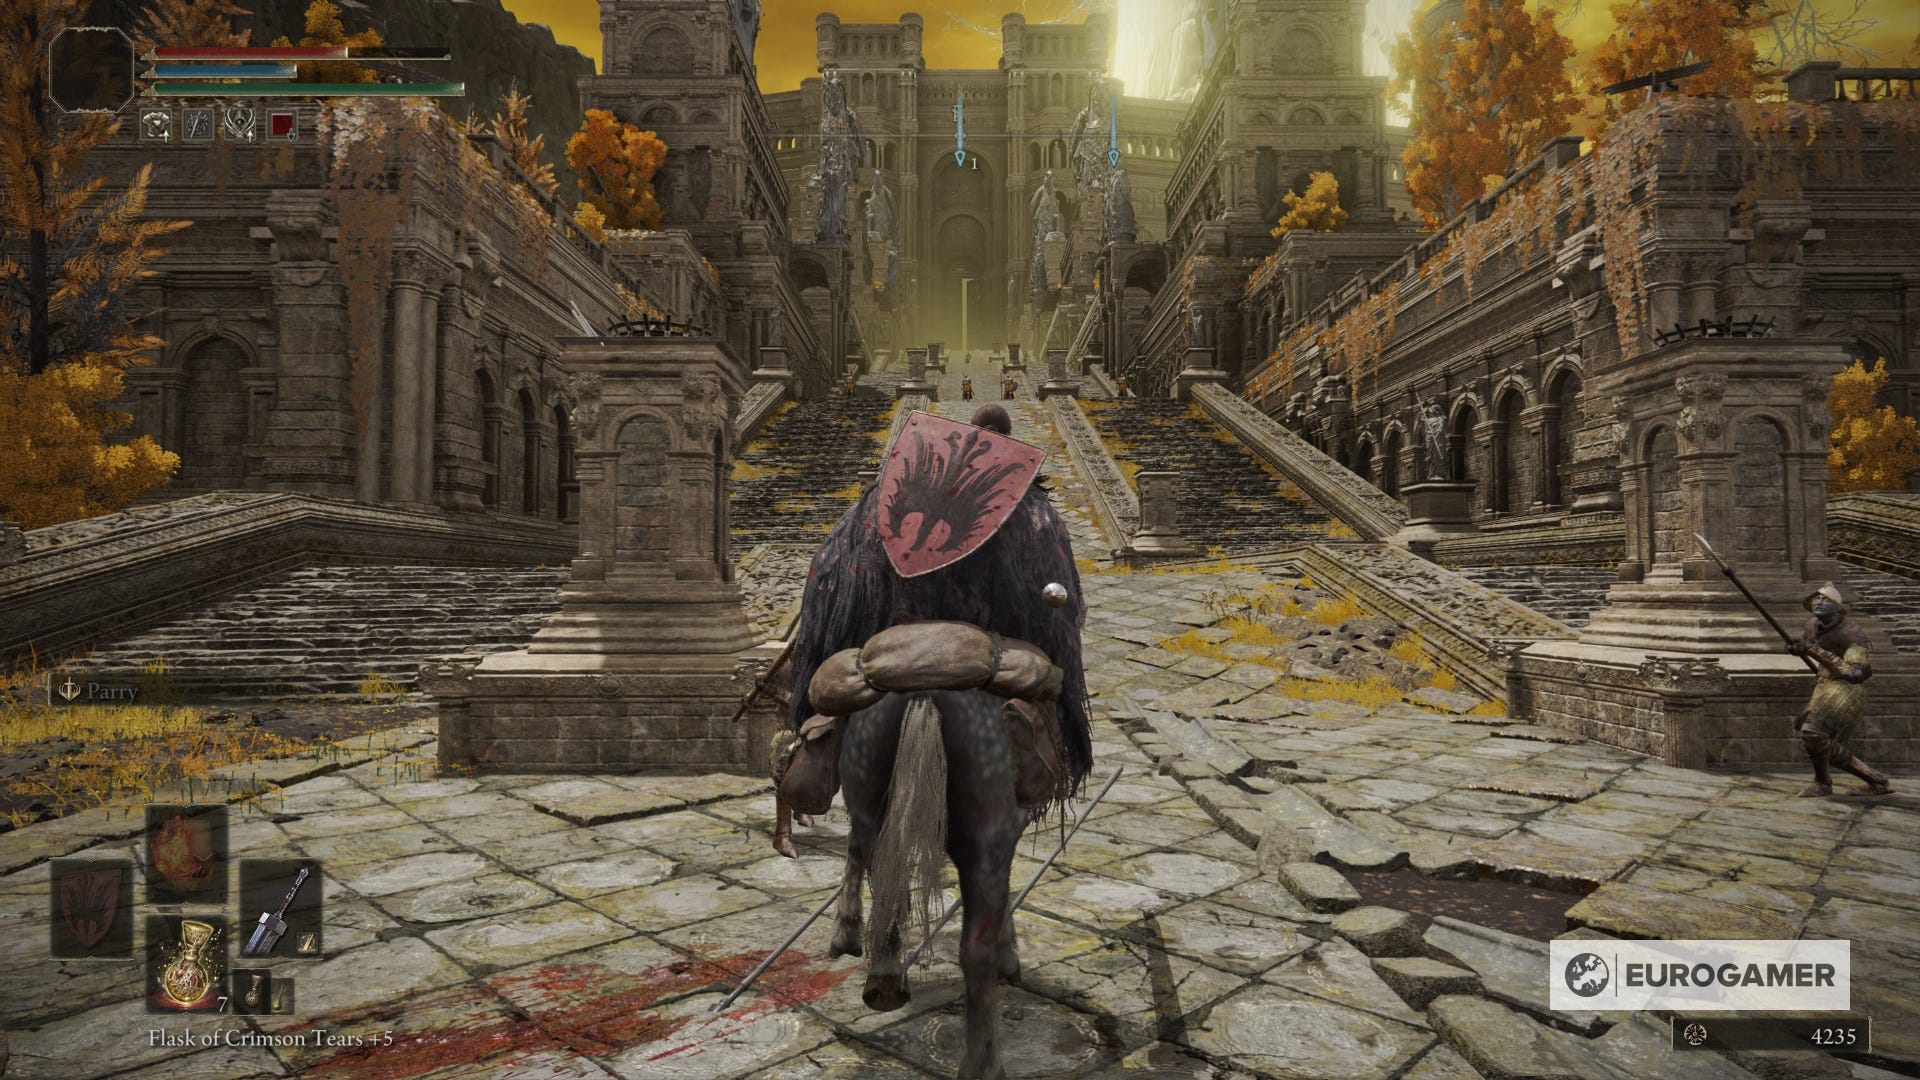
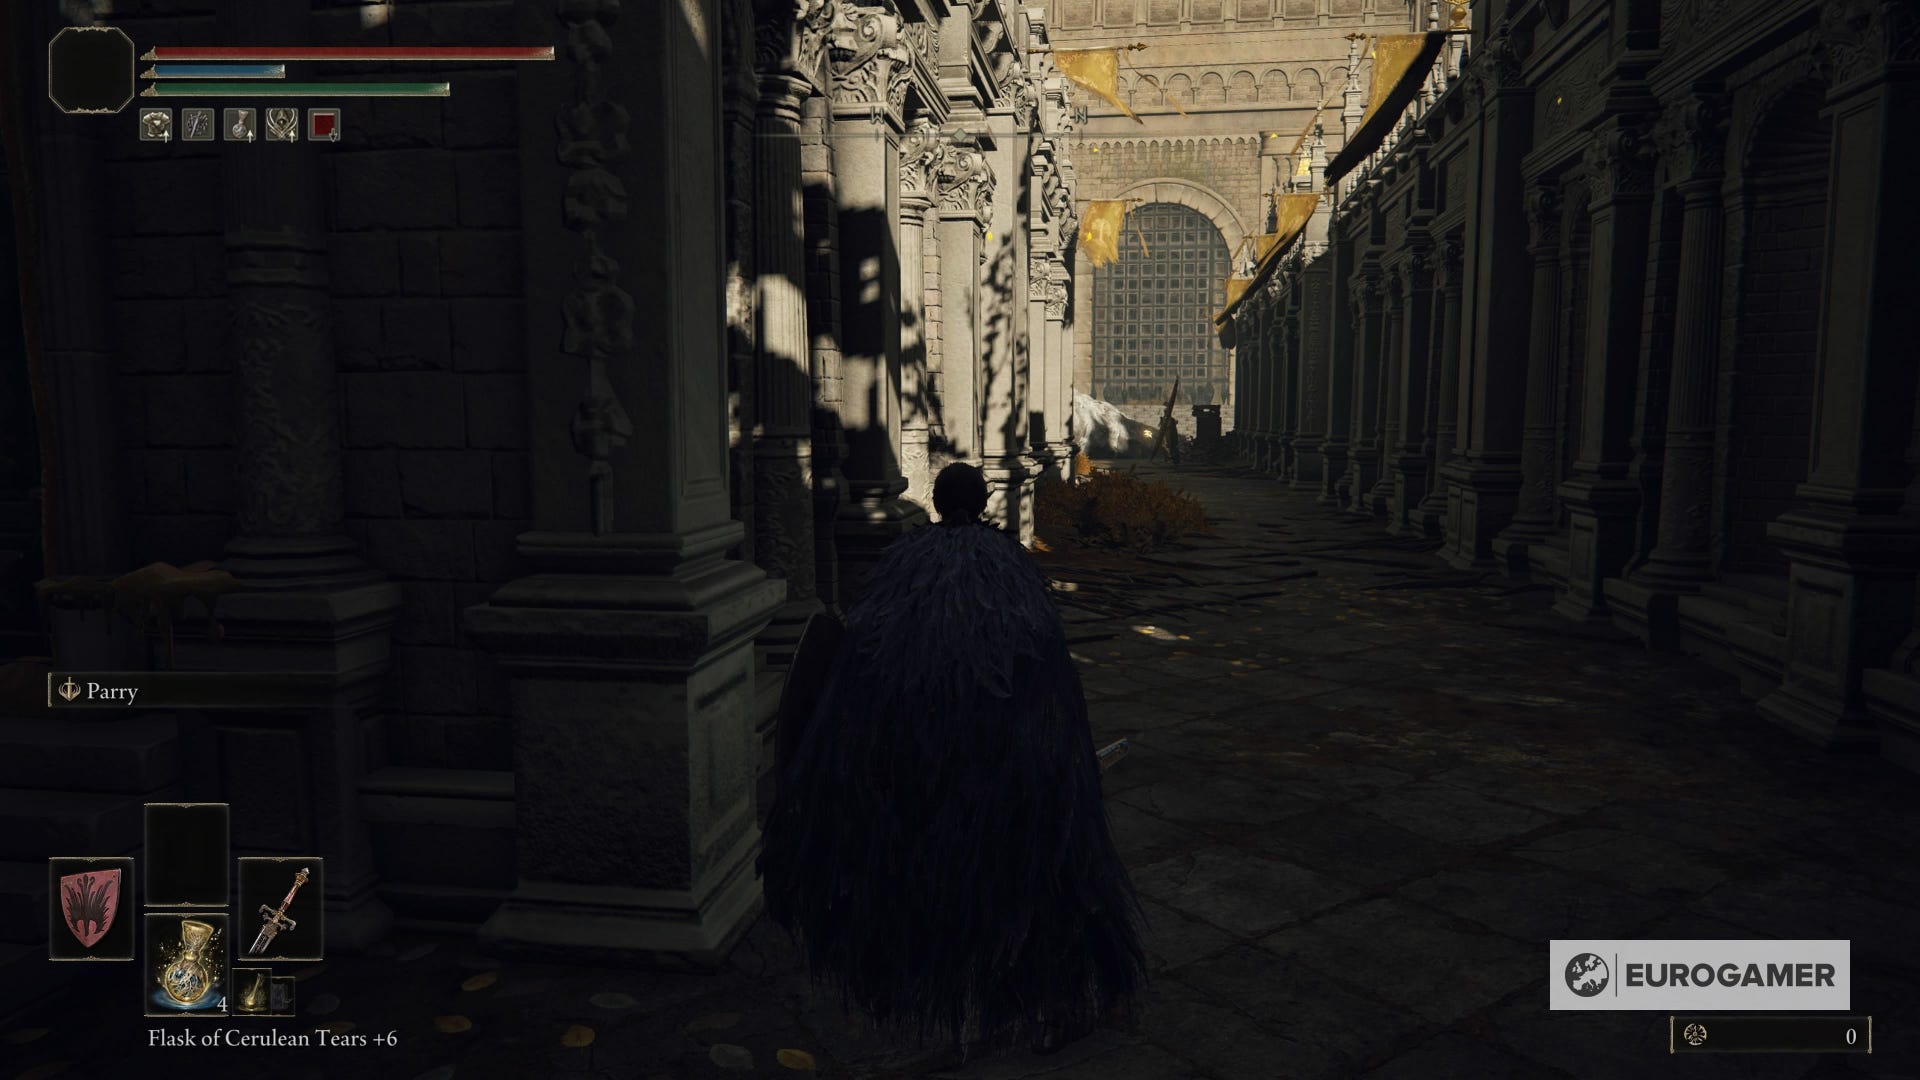
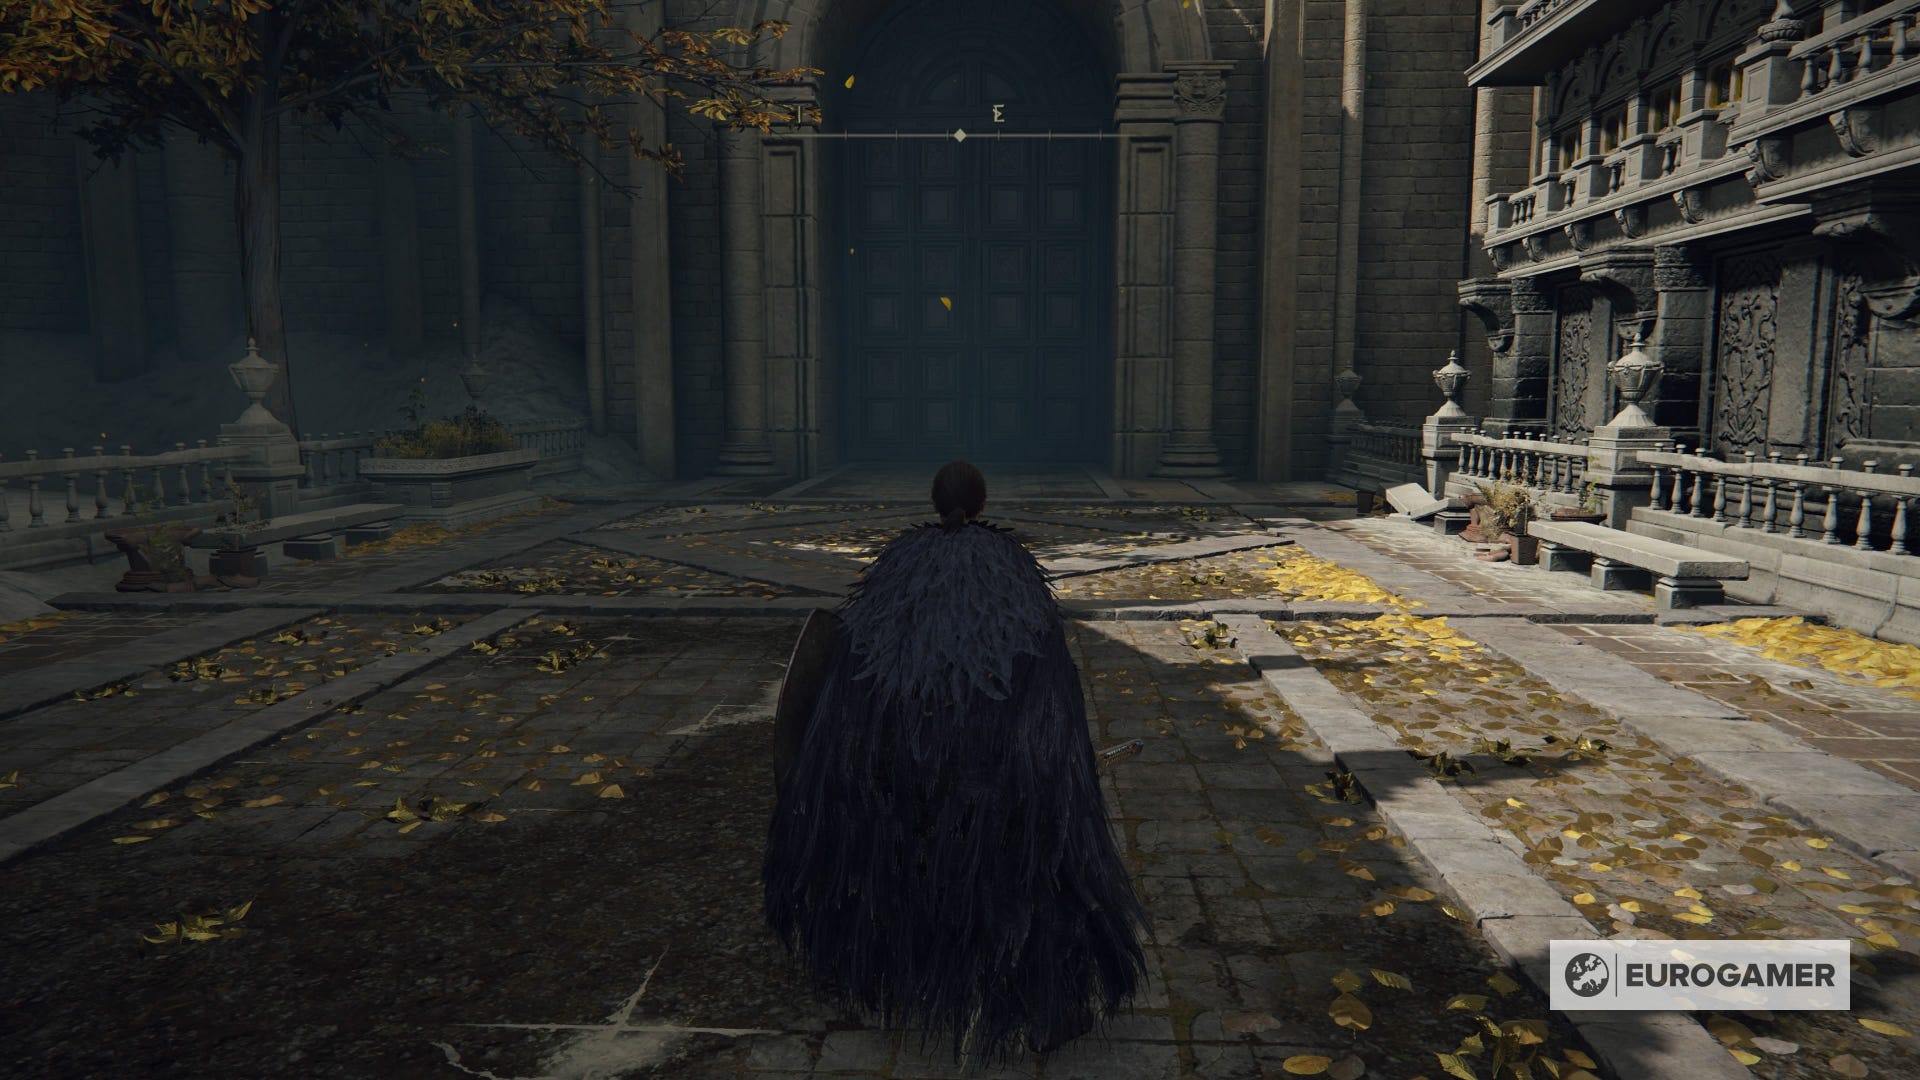
To get to the lift, you need to head northeast from the main road next to the Avenue Balcony Site of Grace and open a huge door, pictured below.
Follow the path to get to the Capitol Outskirts, and eventually you'll come to a large room with a lift in the middle and a doorway to the right. For the critical path take the lift, but you can go right to fight another boss (The Fell Twins) and activate Morgott's Great Rune as well.
Now you're in the Mountaintops of the Giants, with the Crumbling Farum Azula the next Legacy Dungeon you need to reach. Whilst the thick fog may make you uneasy don't worry, as there's a few ways to know you're going in the right direction.
Even without a map fragment, all you need to do to get to the Grand Lift of Rold is follow the path that becomes visible on your map the further you go. You should also come across a tree with a Golden Seed and the Black Blade Kindred boss right before the lift itself.

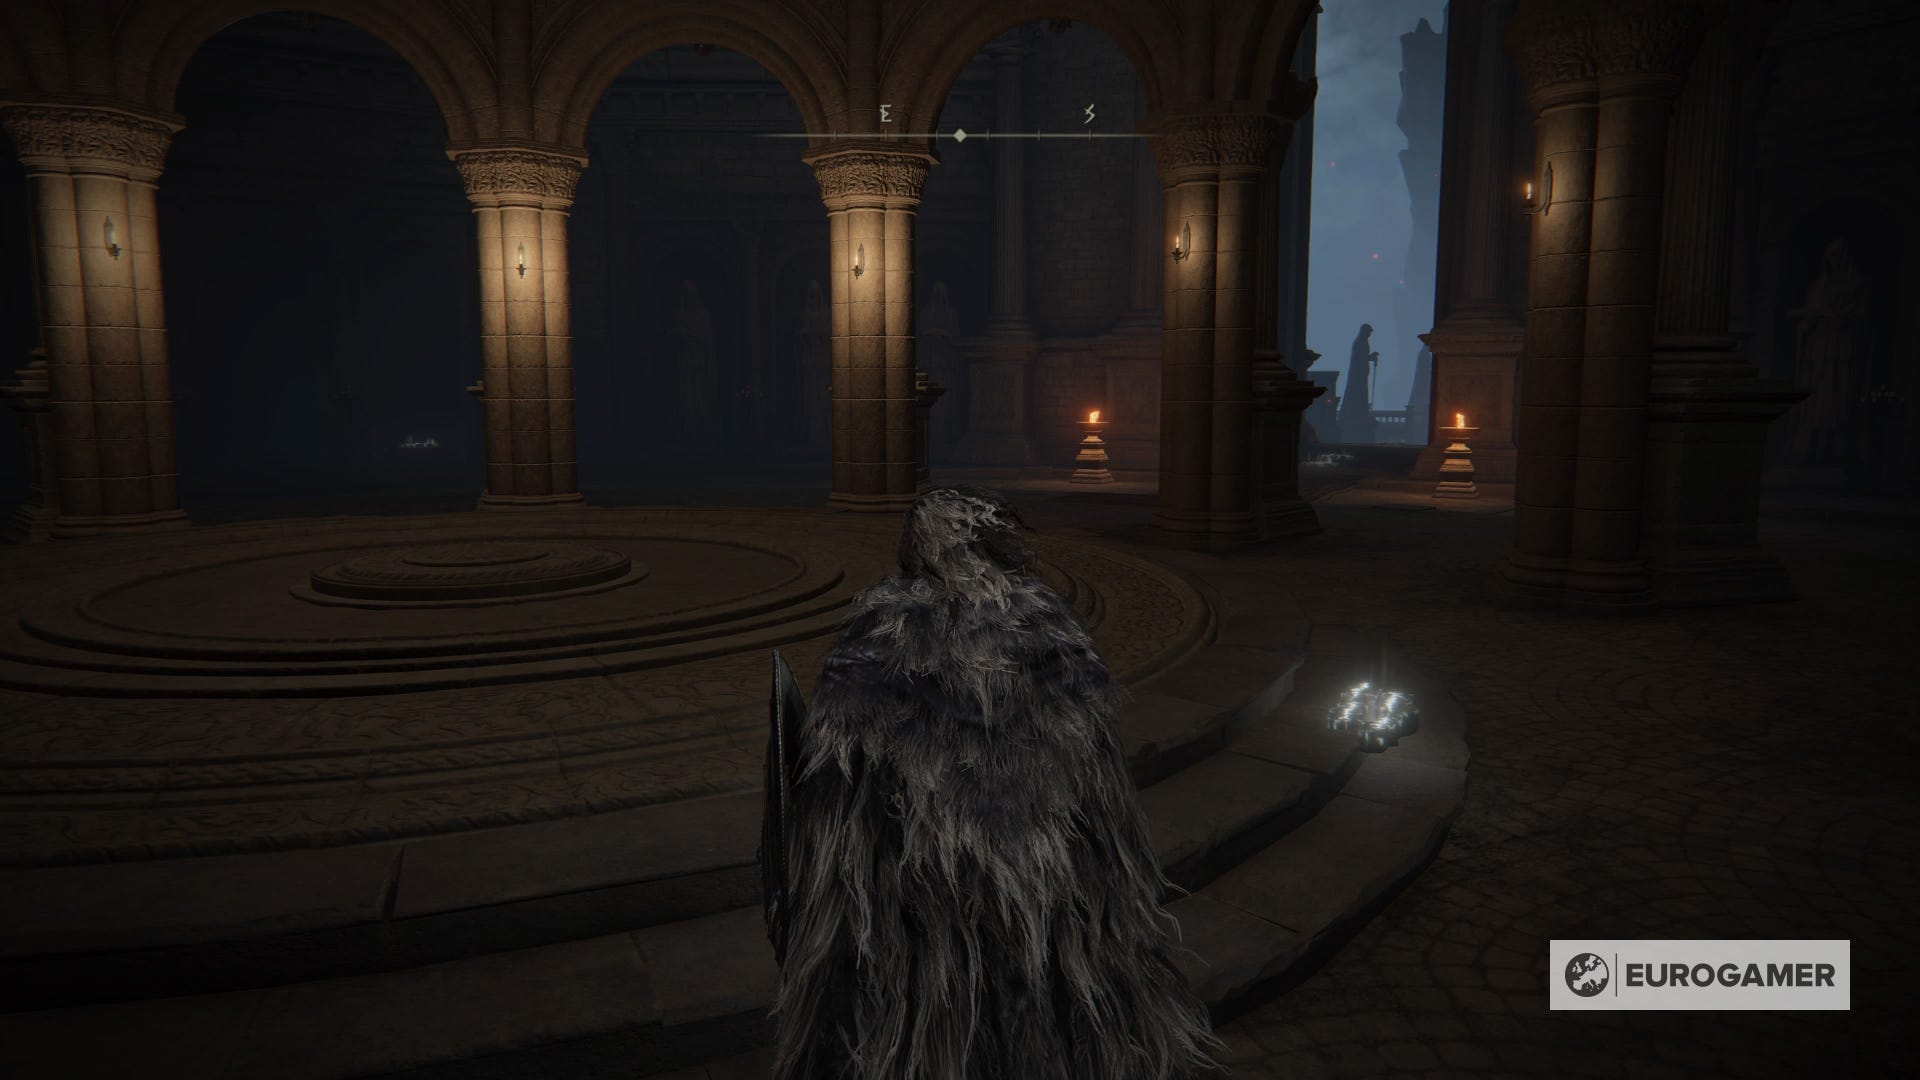
Hoist the Rold Medallion in front of the statues and a short cutscene will play, taking you to where you need to be next.
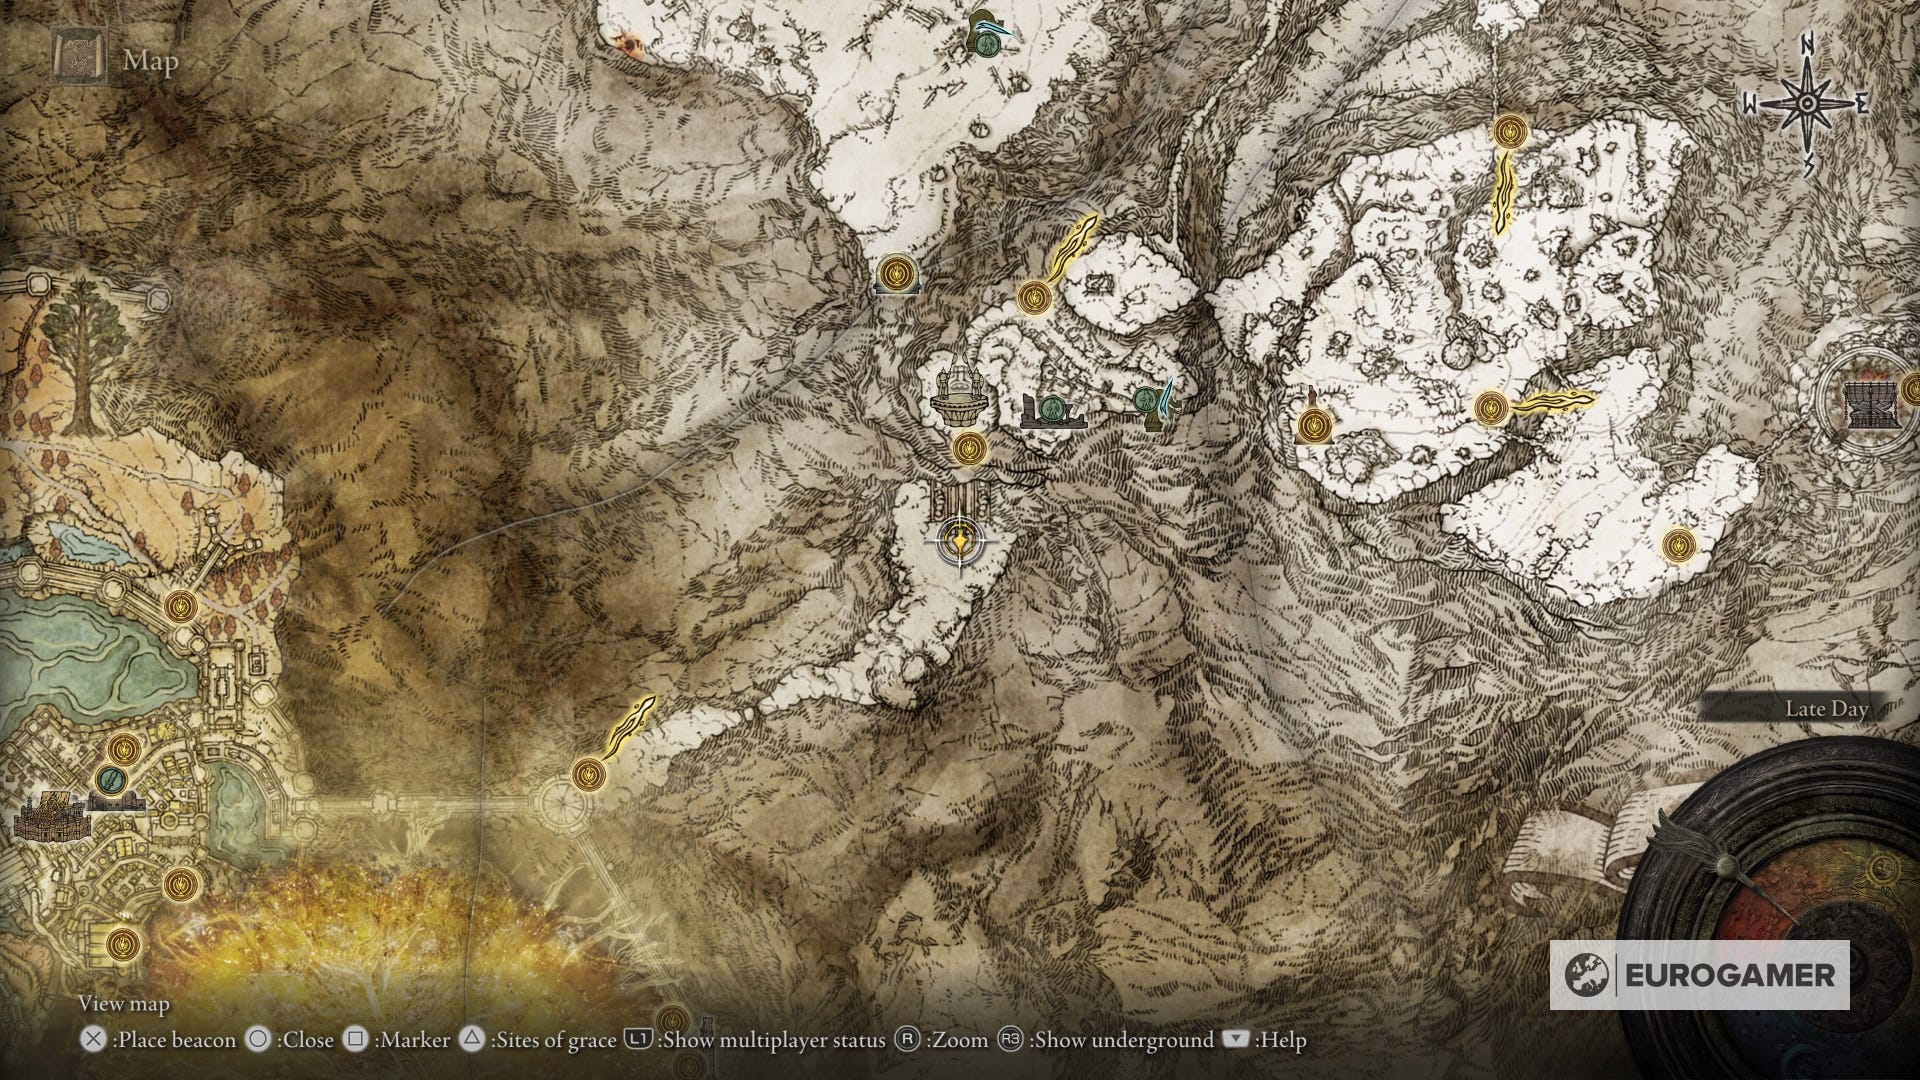
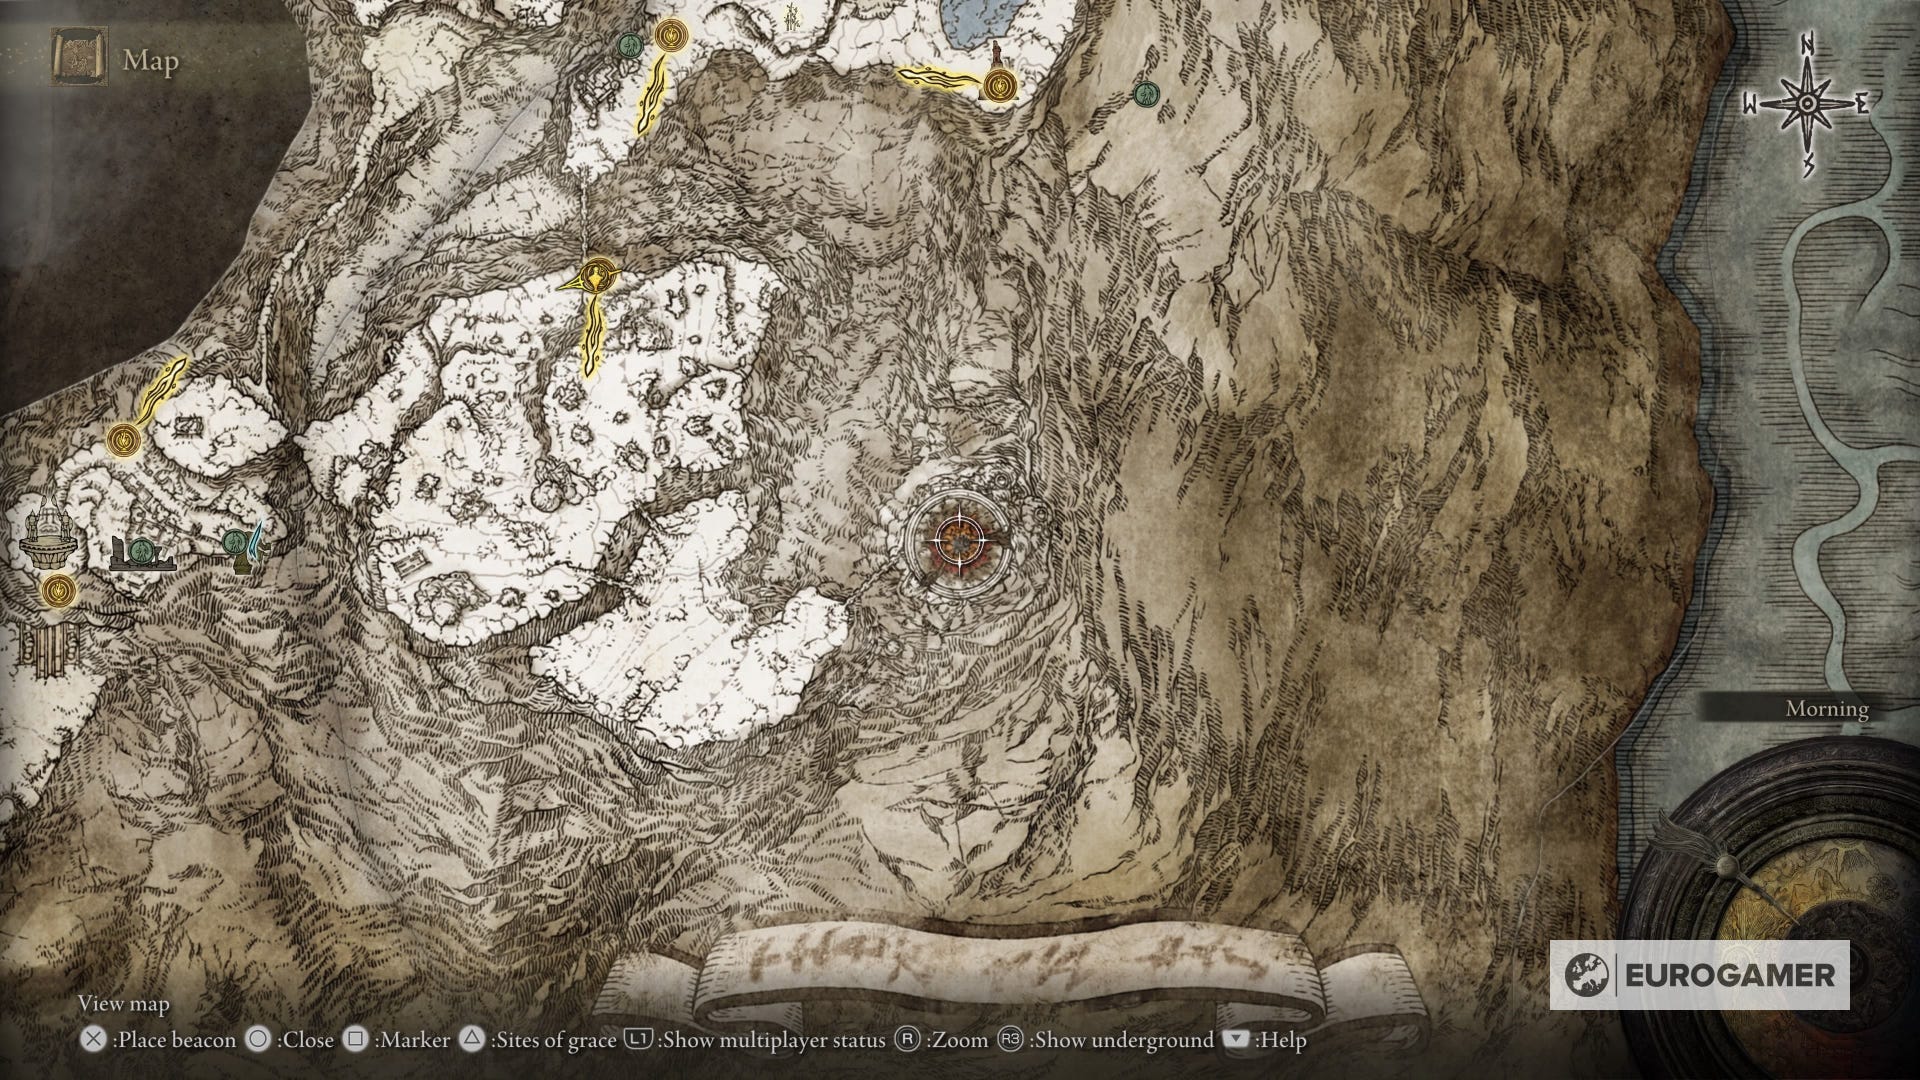
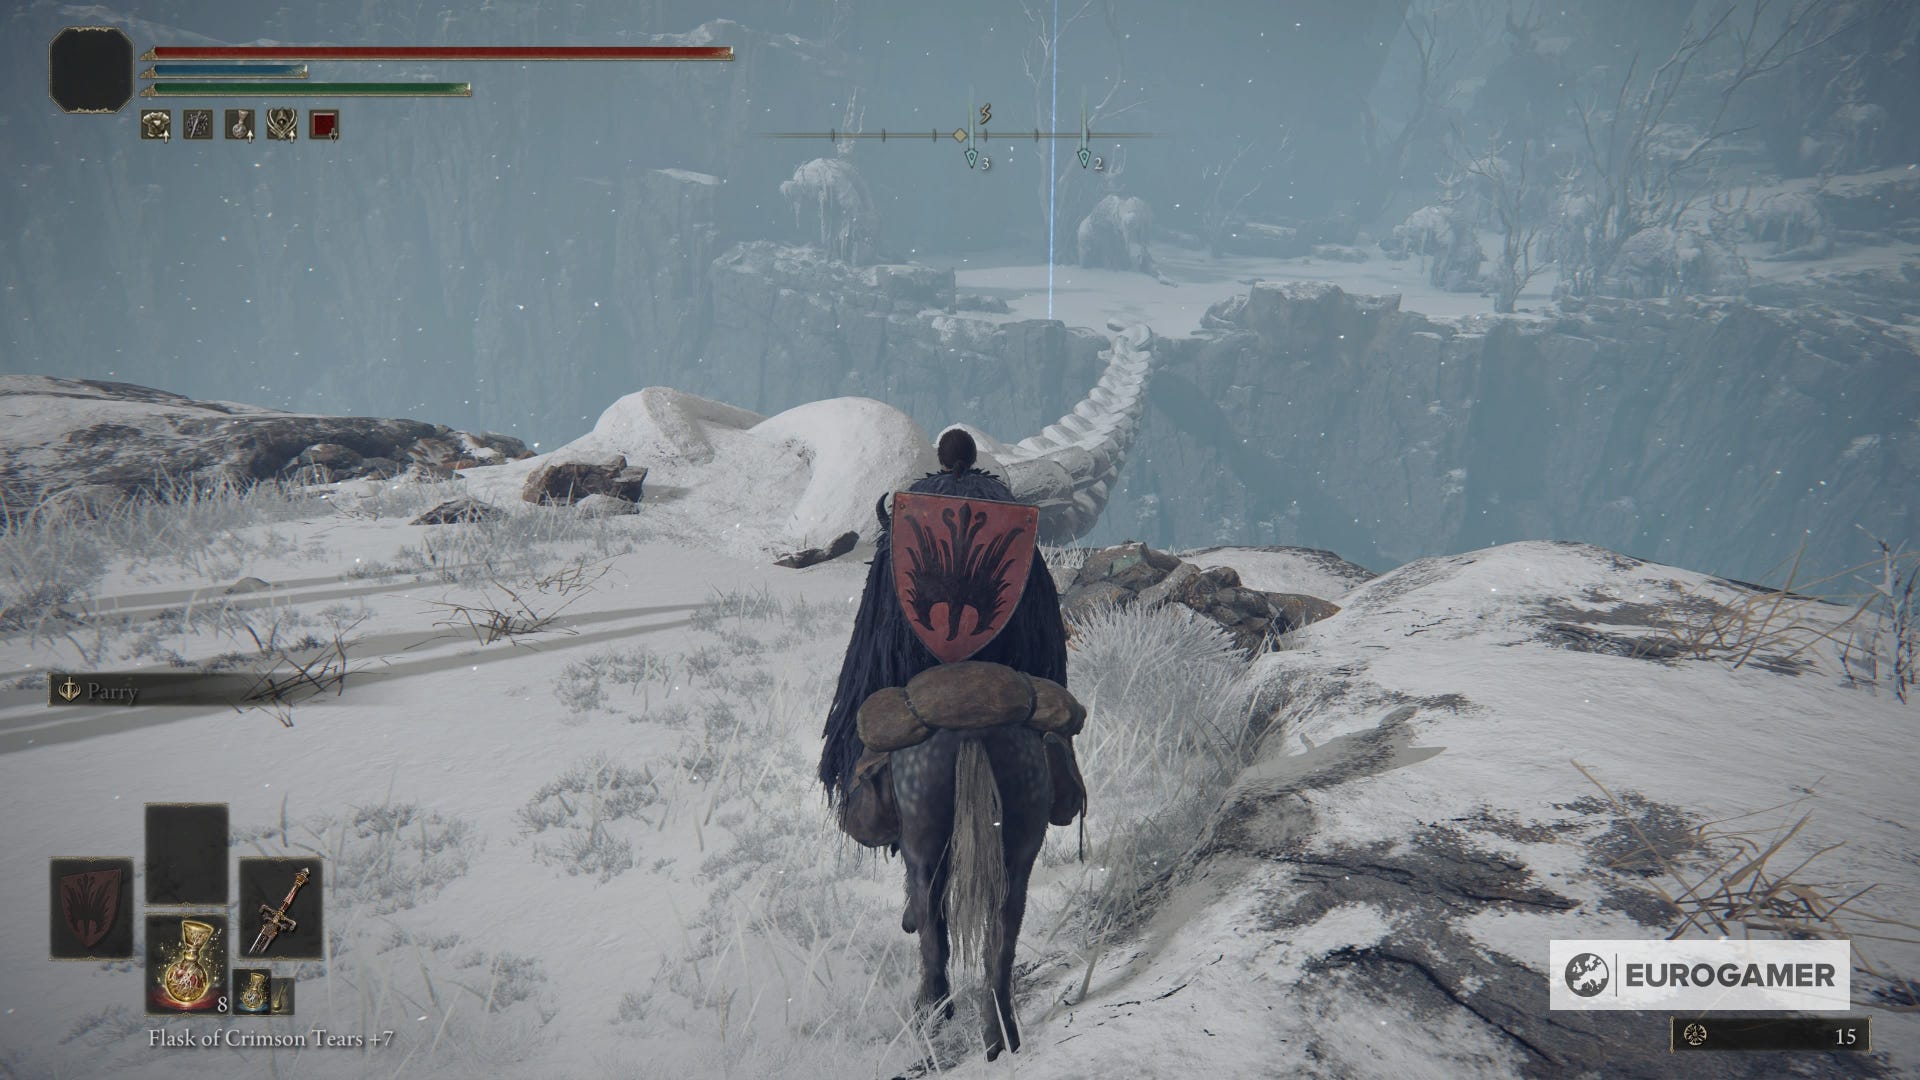
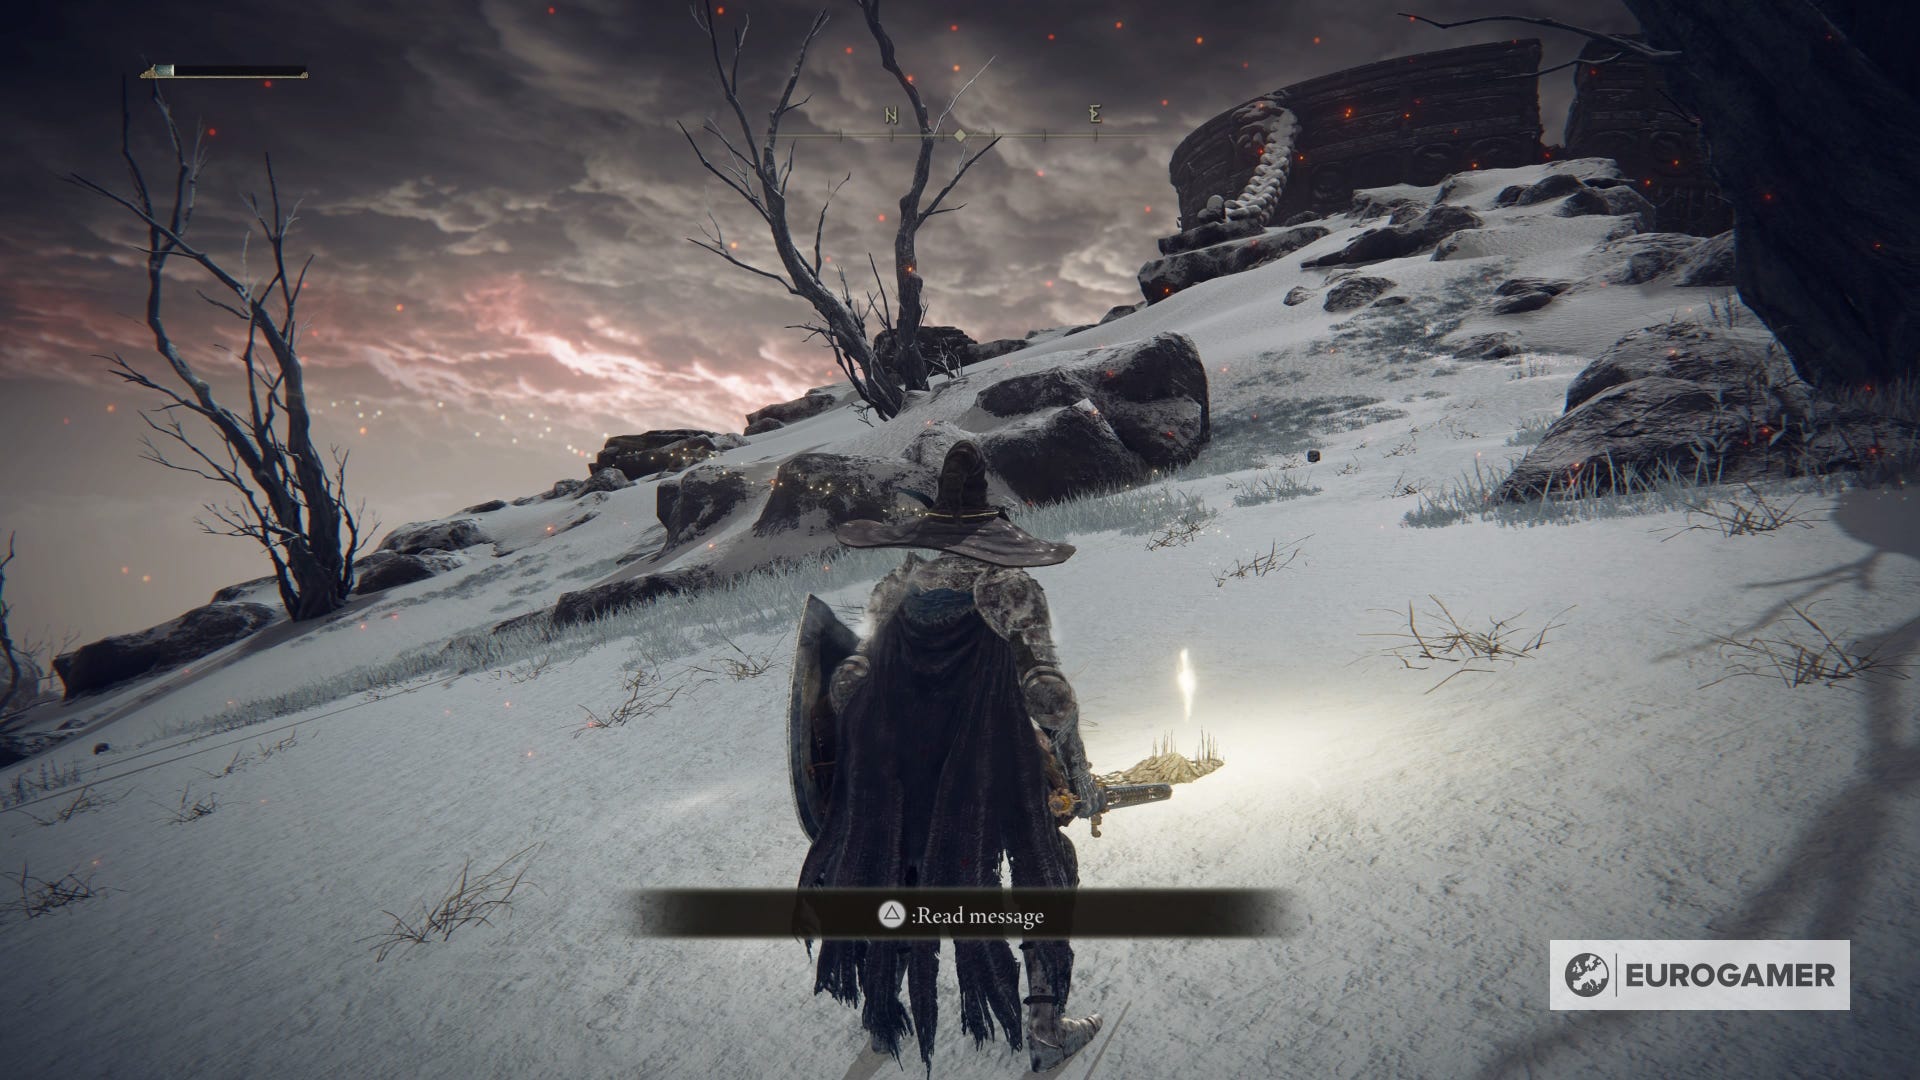
Once you've obtained the map for the area, you'll want to head northeast up towards the location of the tree, which we've marked in the images below.
Head across the frozen river and then make your way east, and you should come to the Freezing Lake Site of Grace.
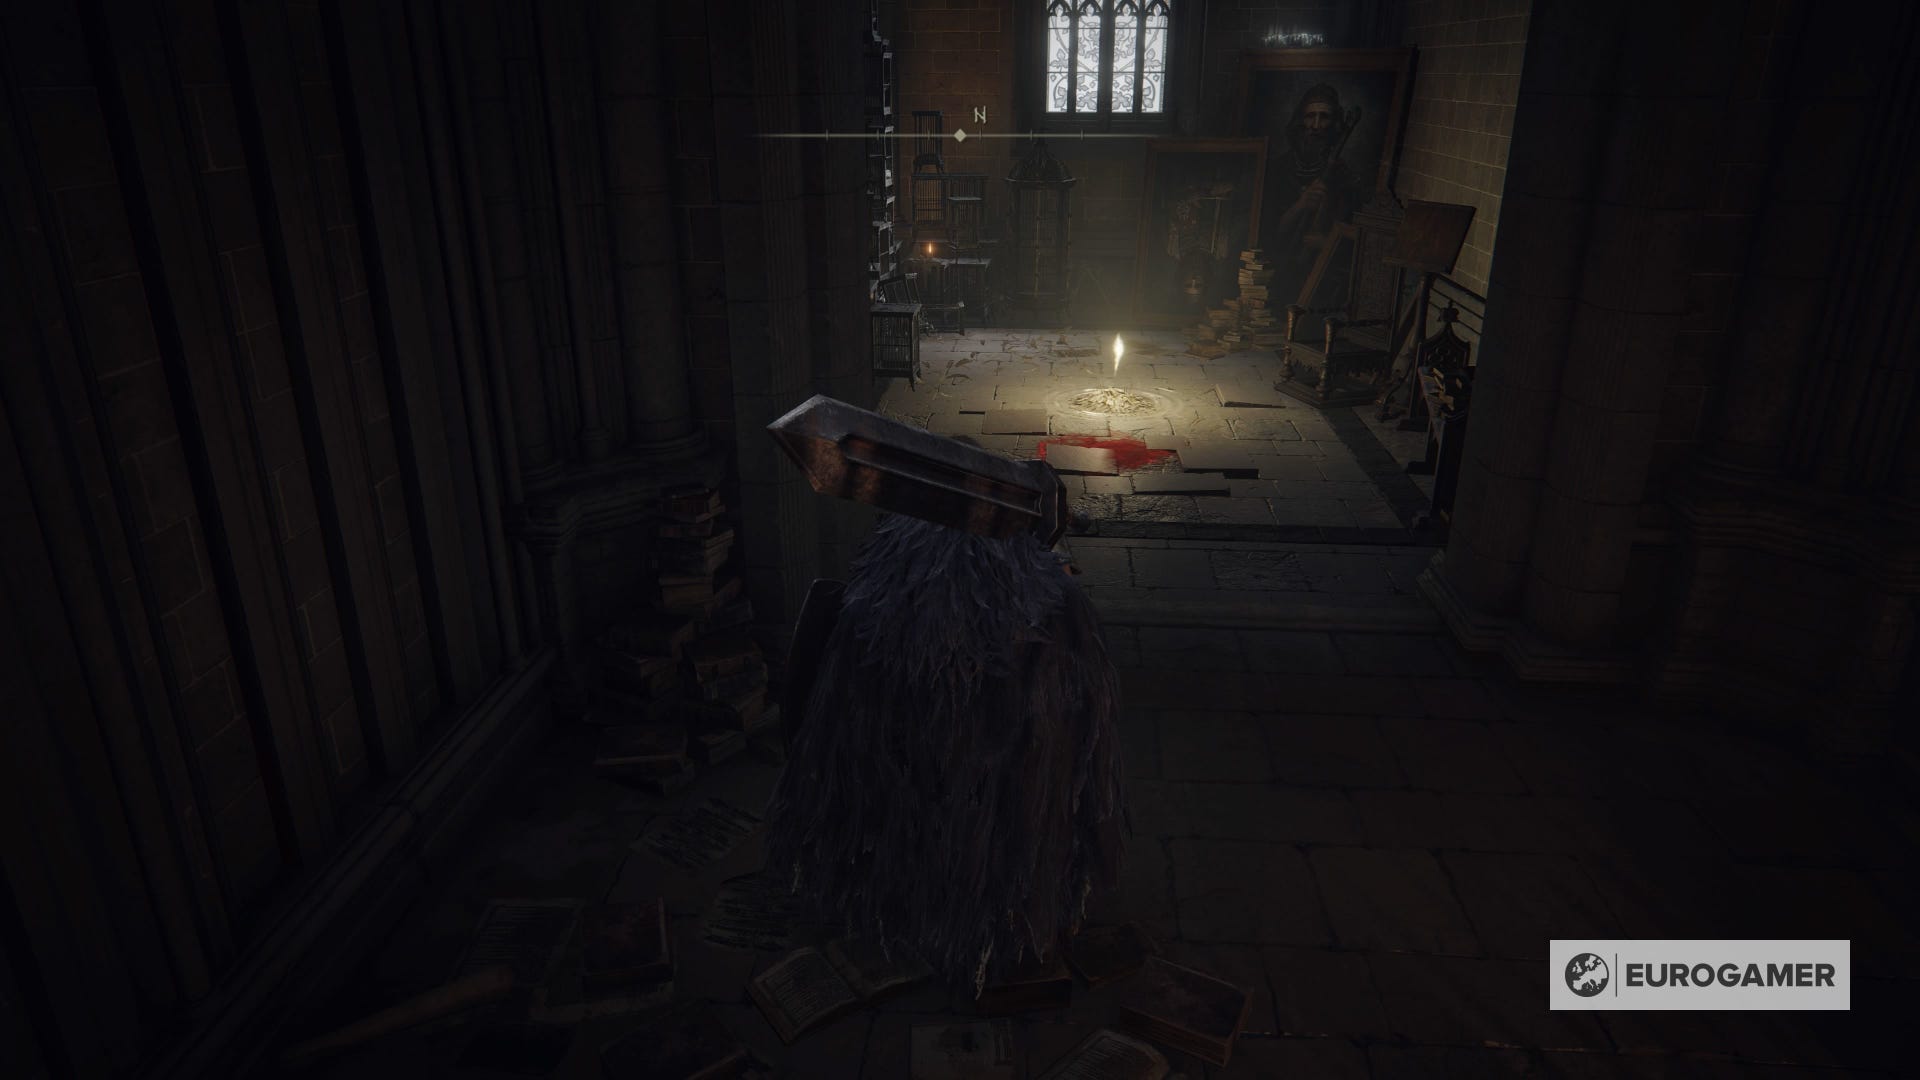
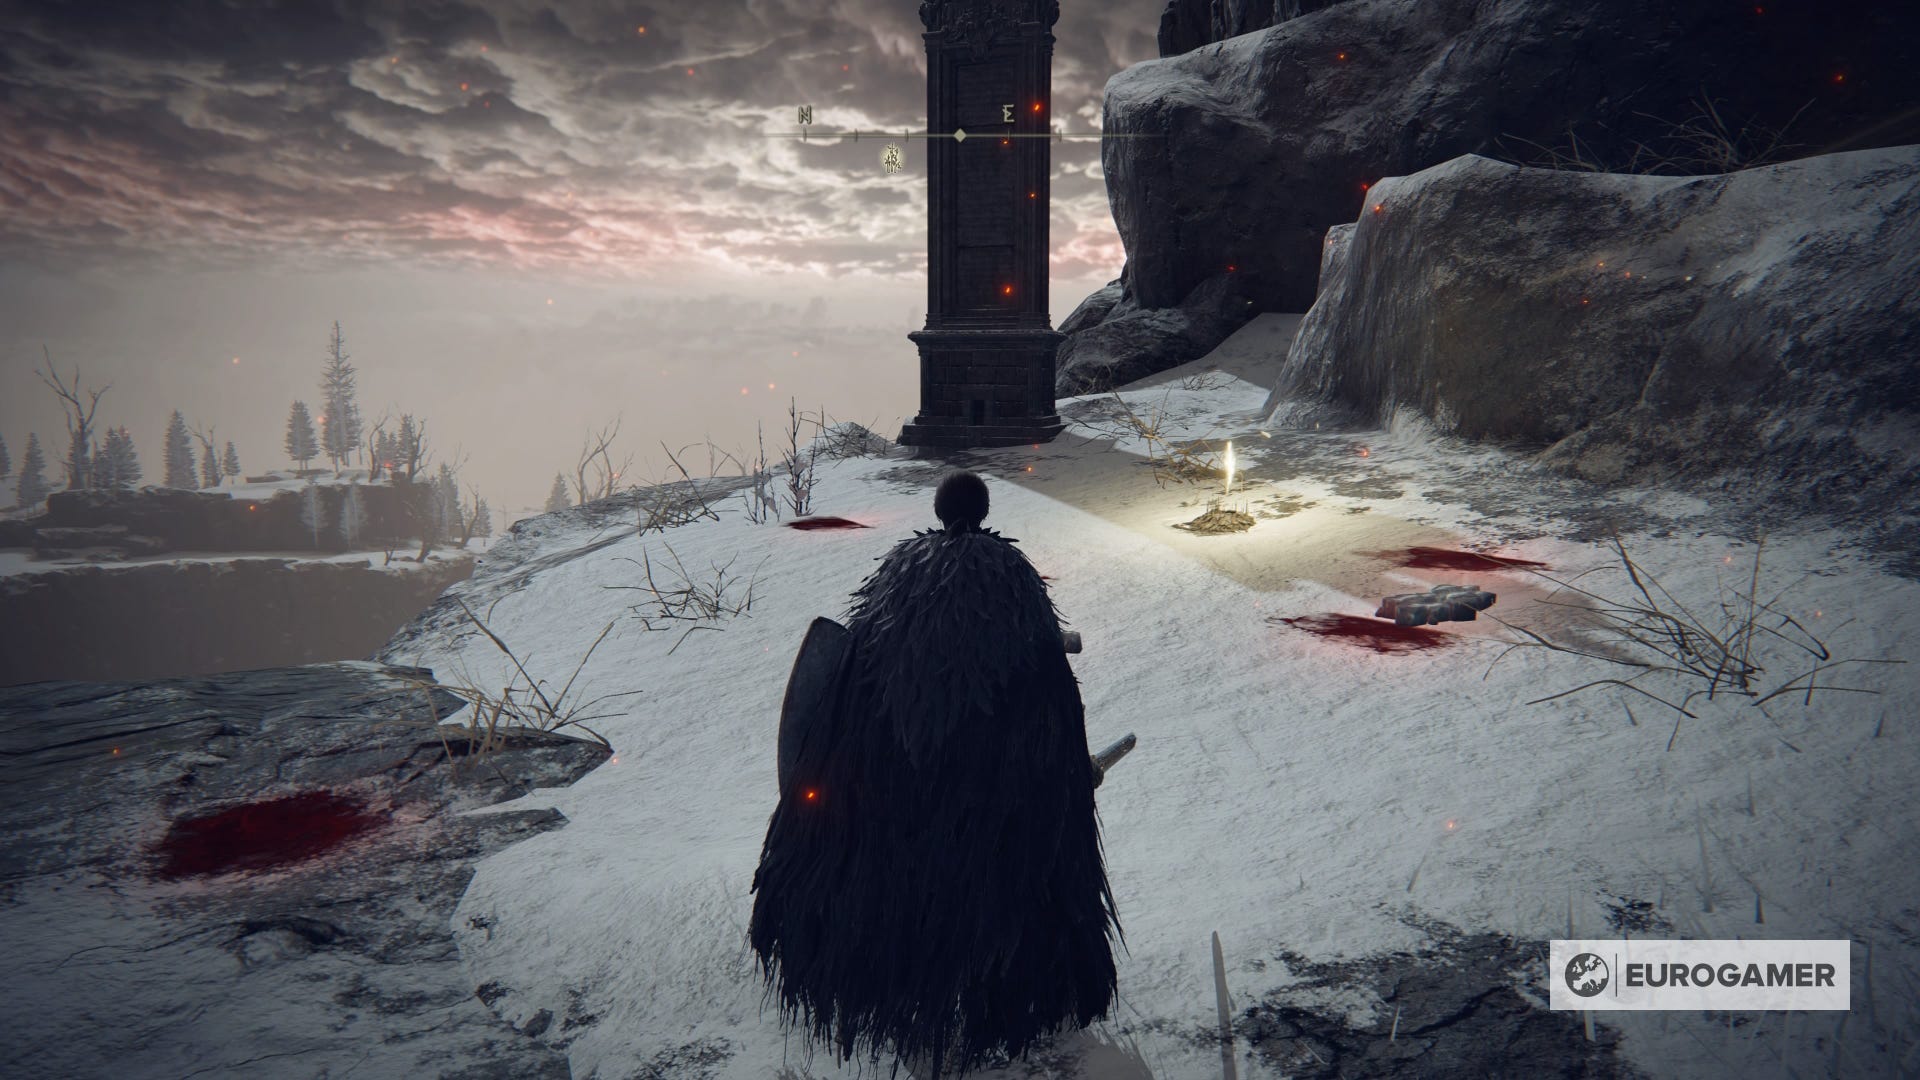
The best way we found from here was to hug the right hand side of the frozen lake and run past the Dragon boss that spawns. Doing so should bring you to the First Church of Marika (the top right Site of Grace in the image below) and reward you with a Sacred Tear.
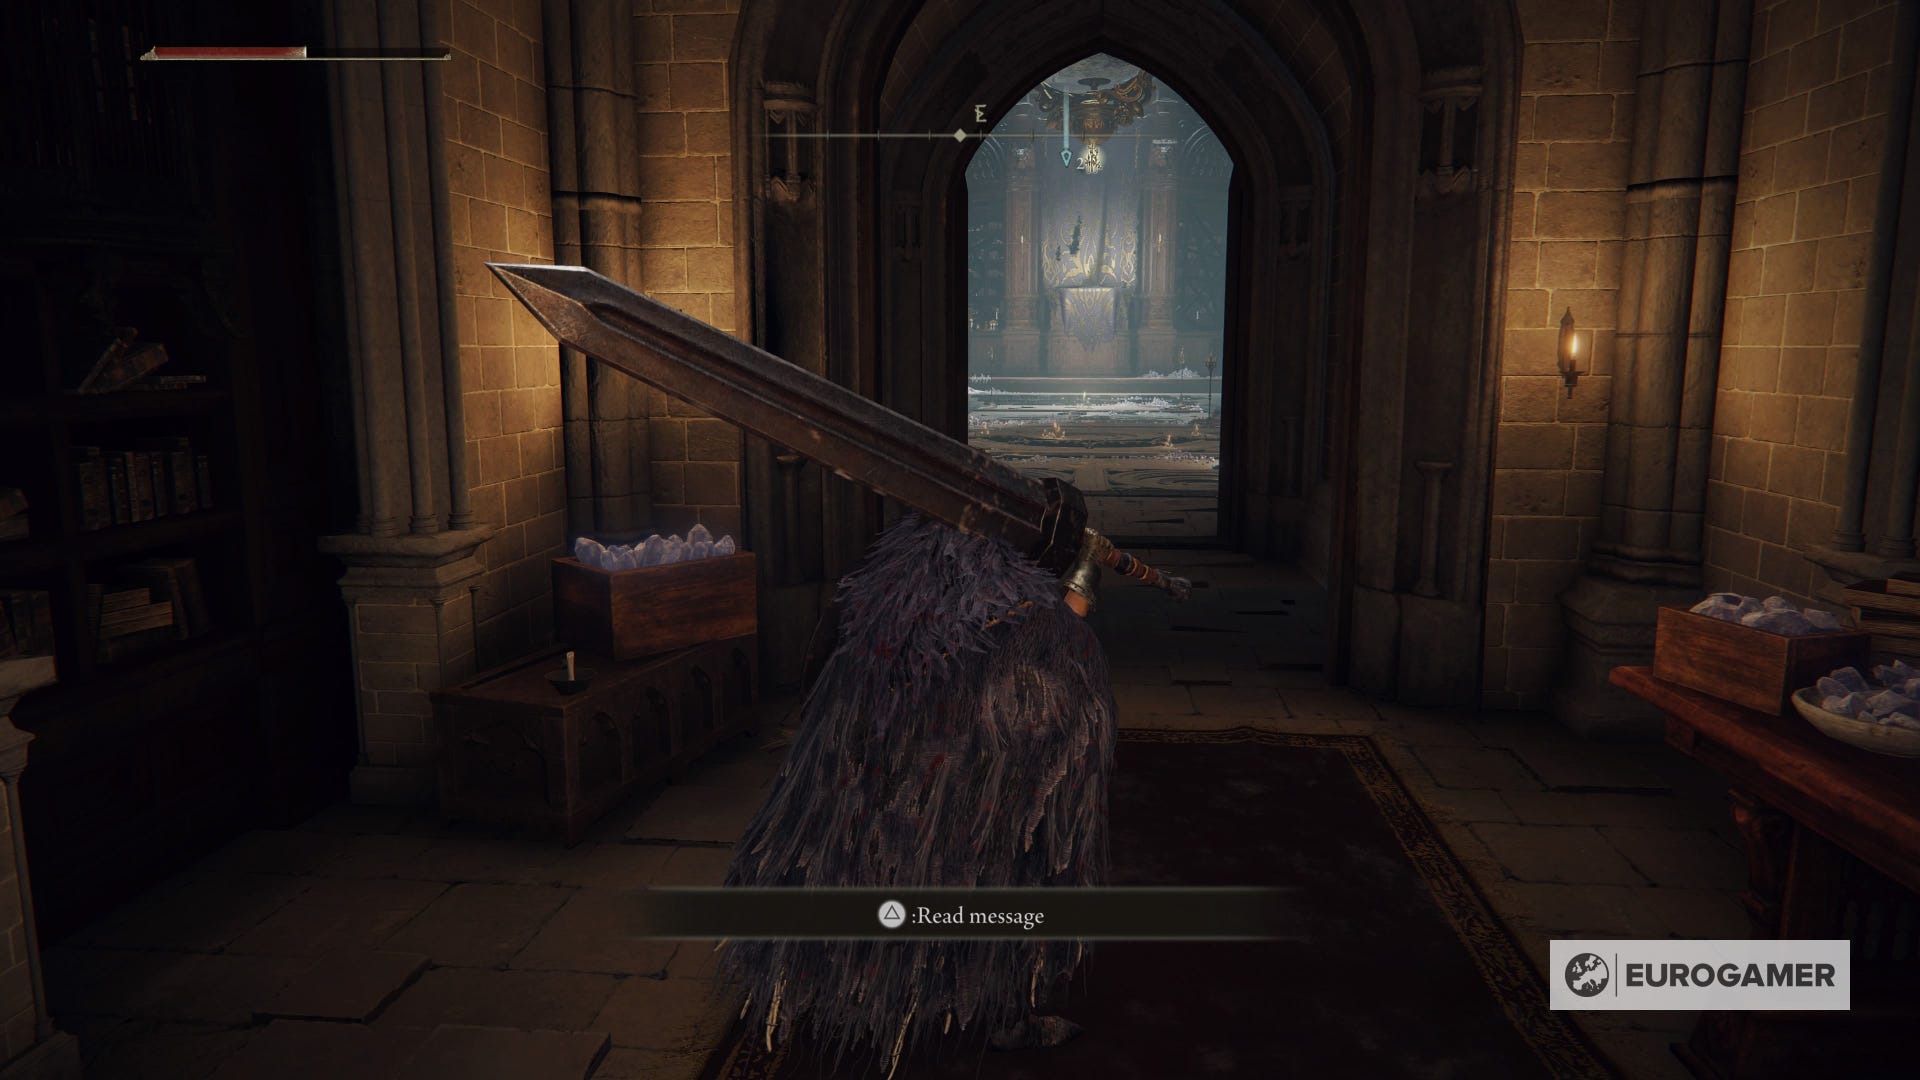
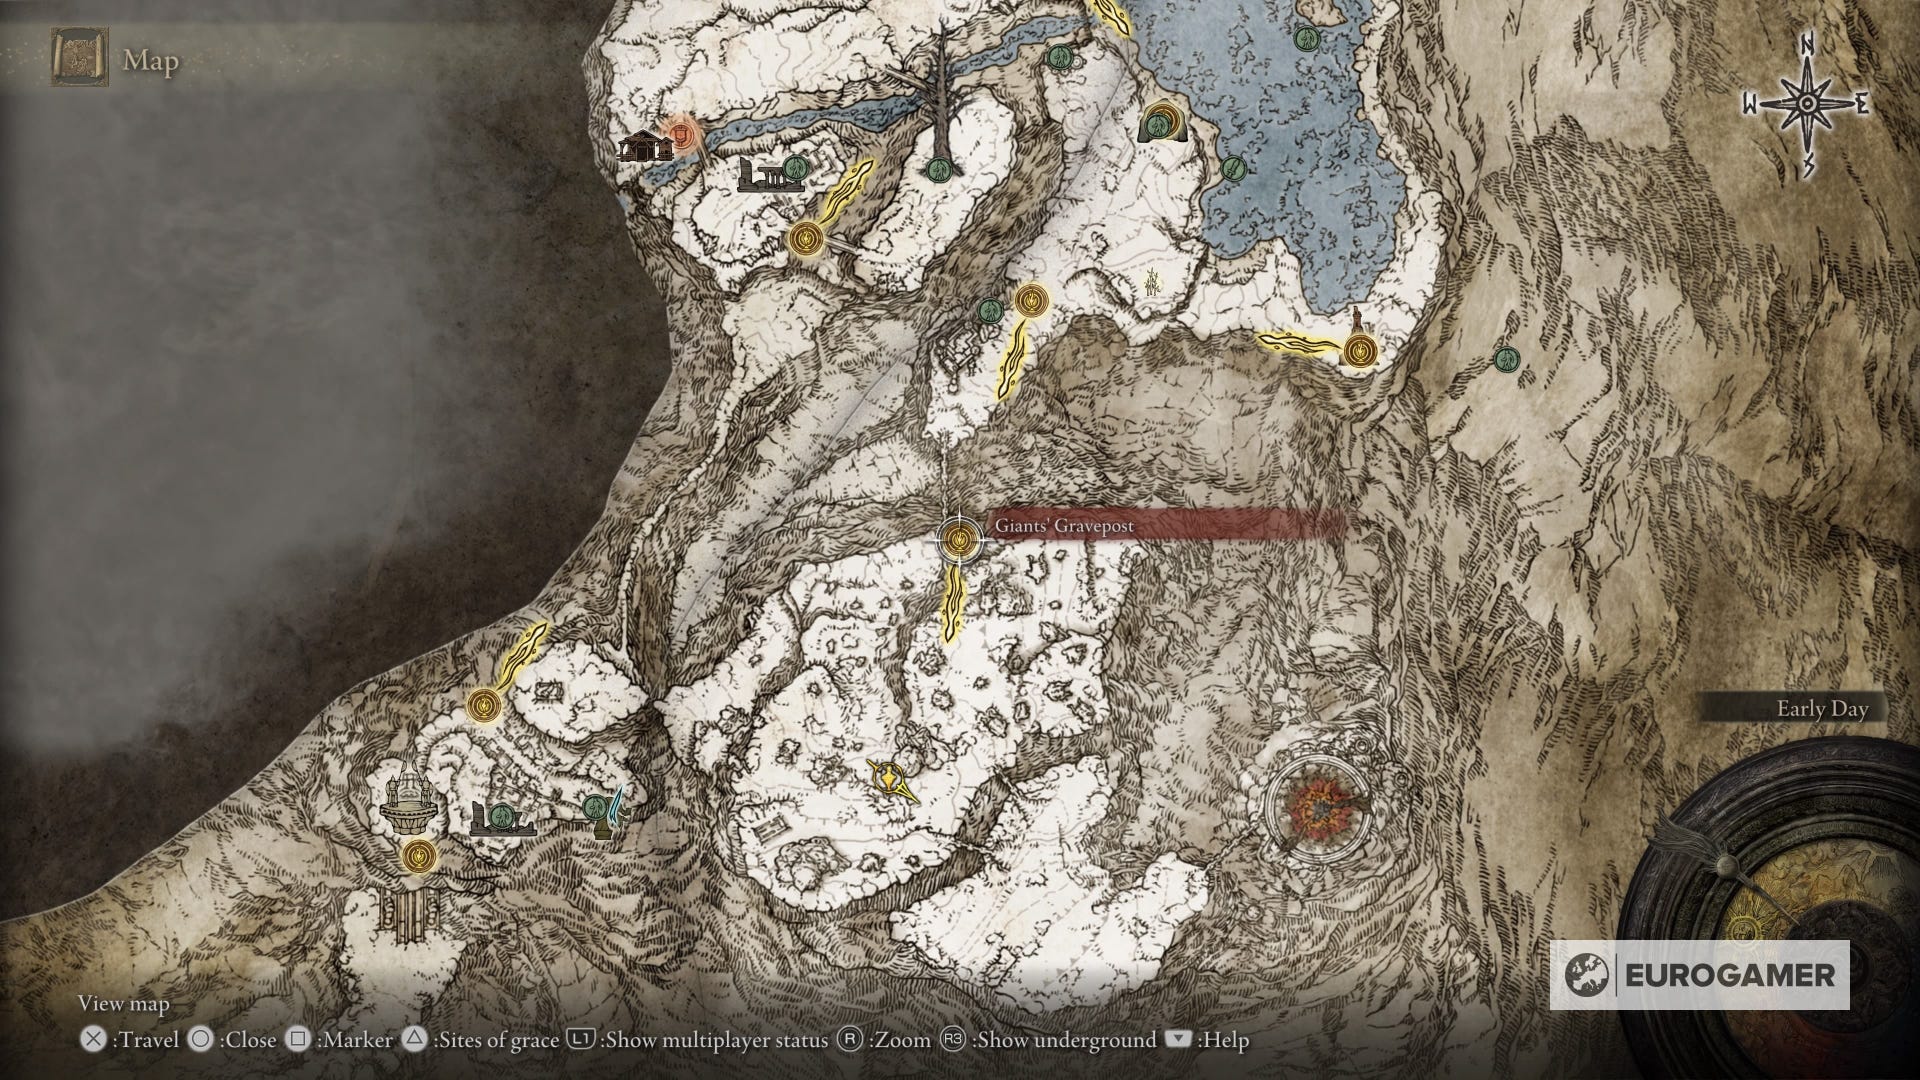
From the church head west until you reach a castle, you should have seen a giant chain bridge just behind it as well, cross the chain. If you follow the guidance of grace in the above image you should reach your destination.
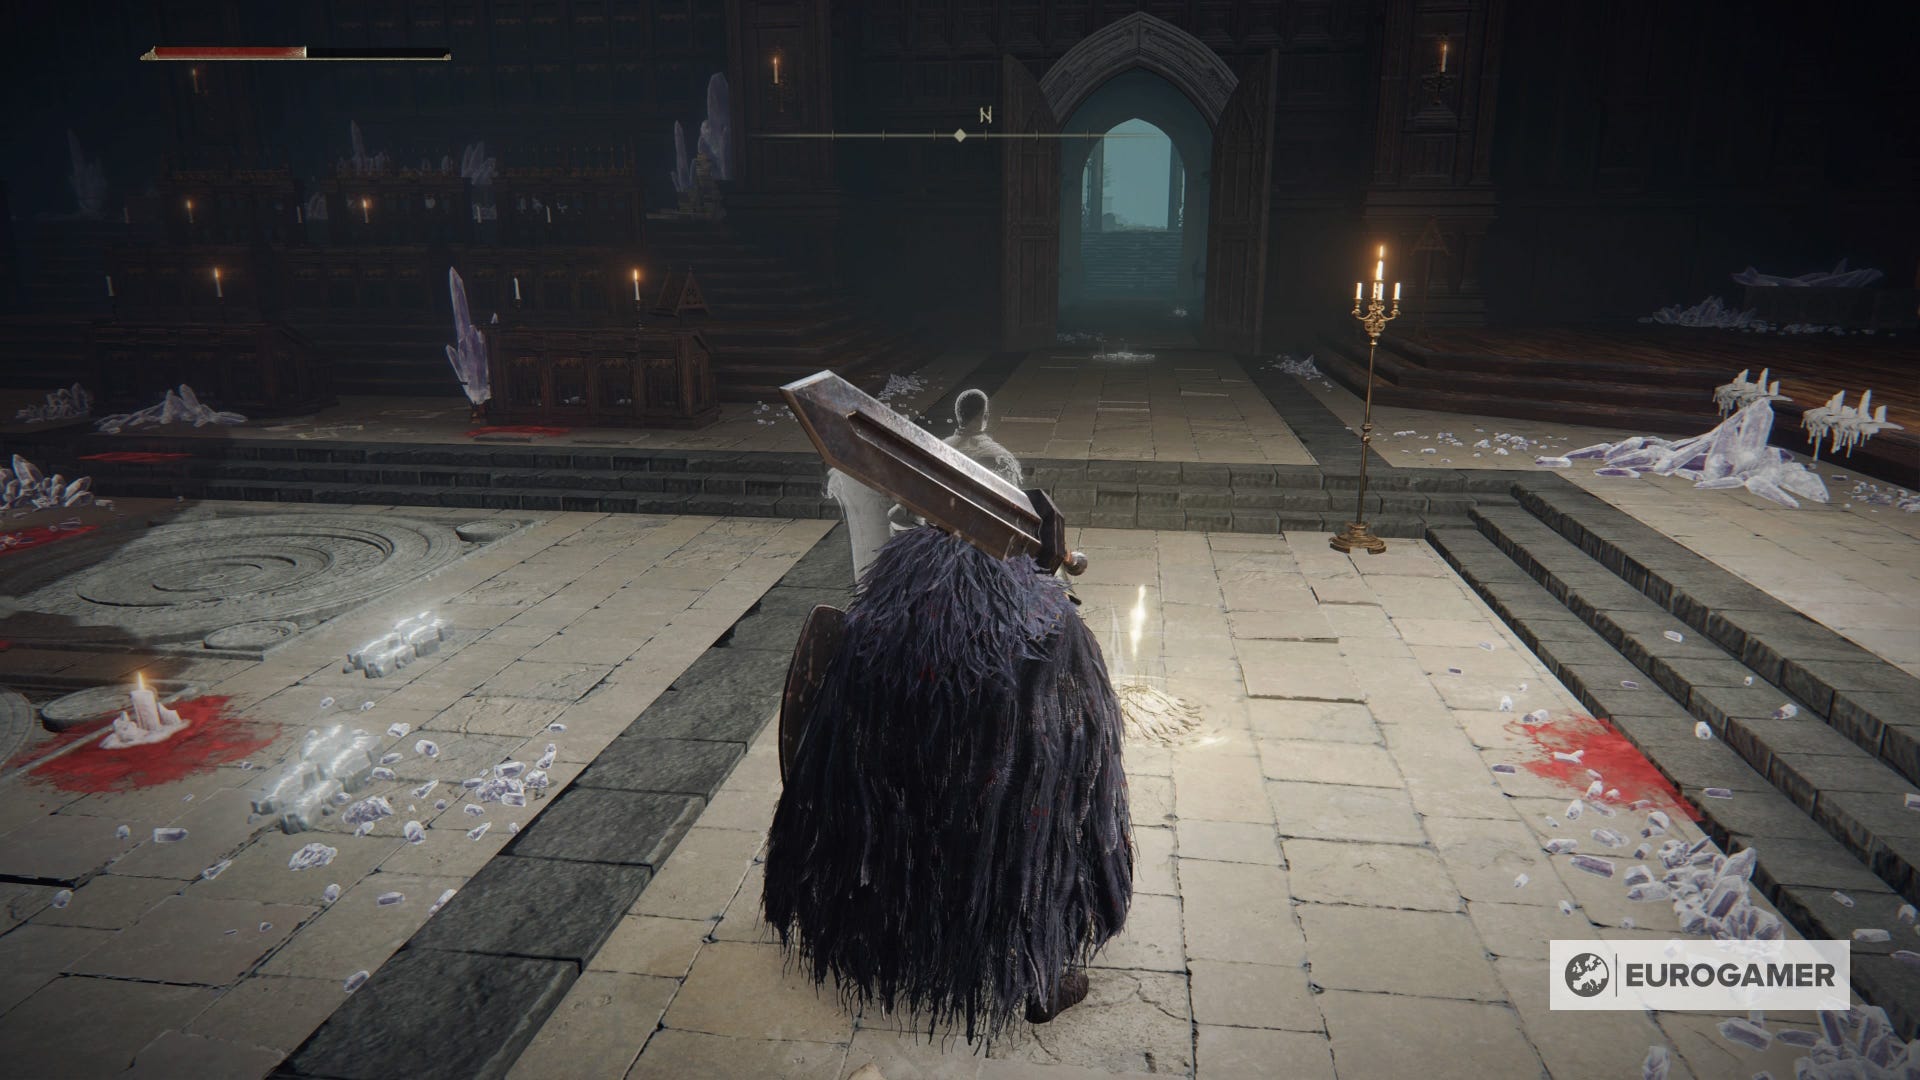
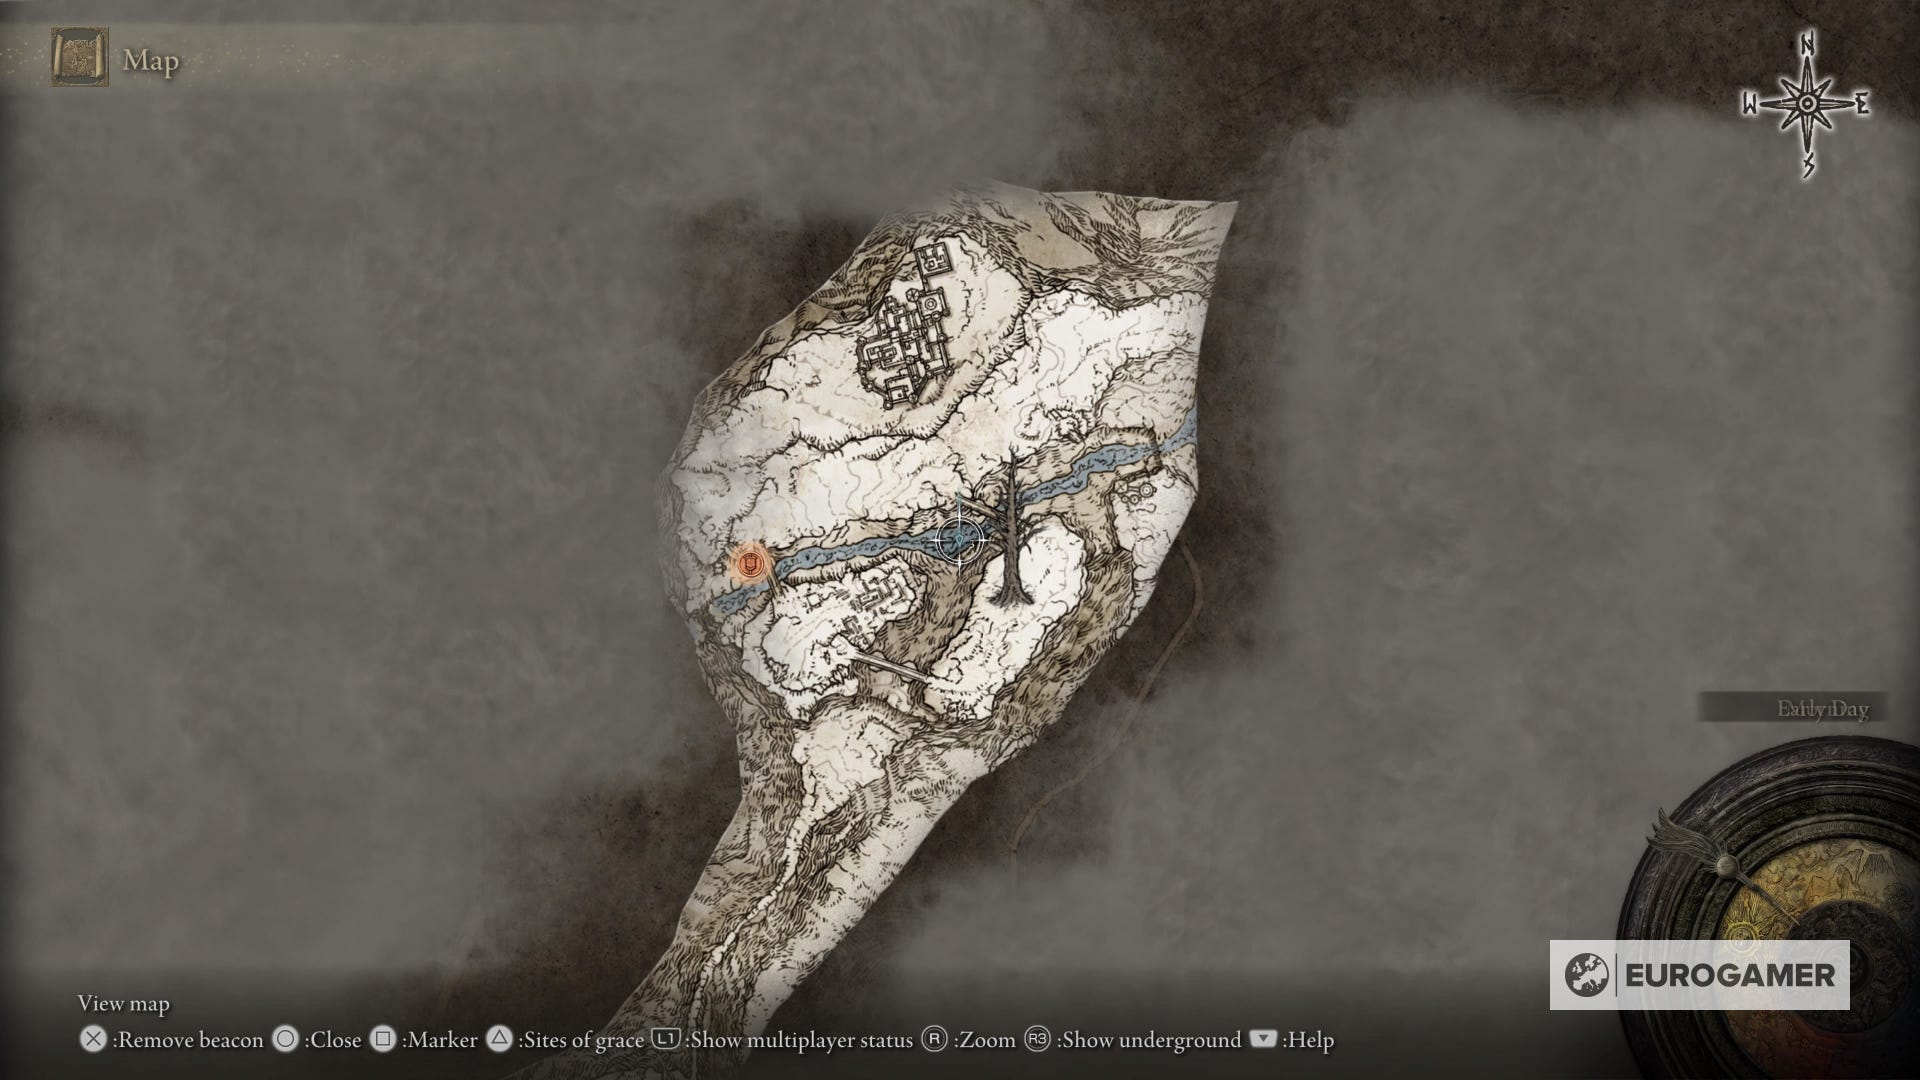
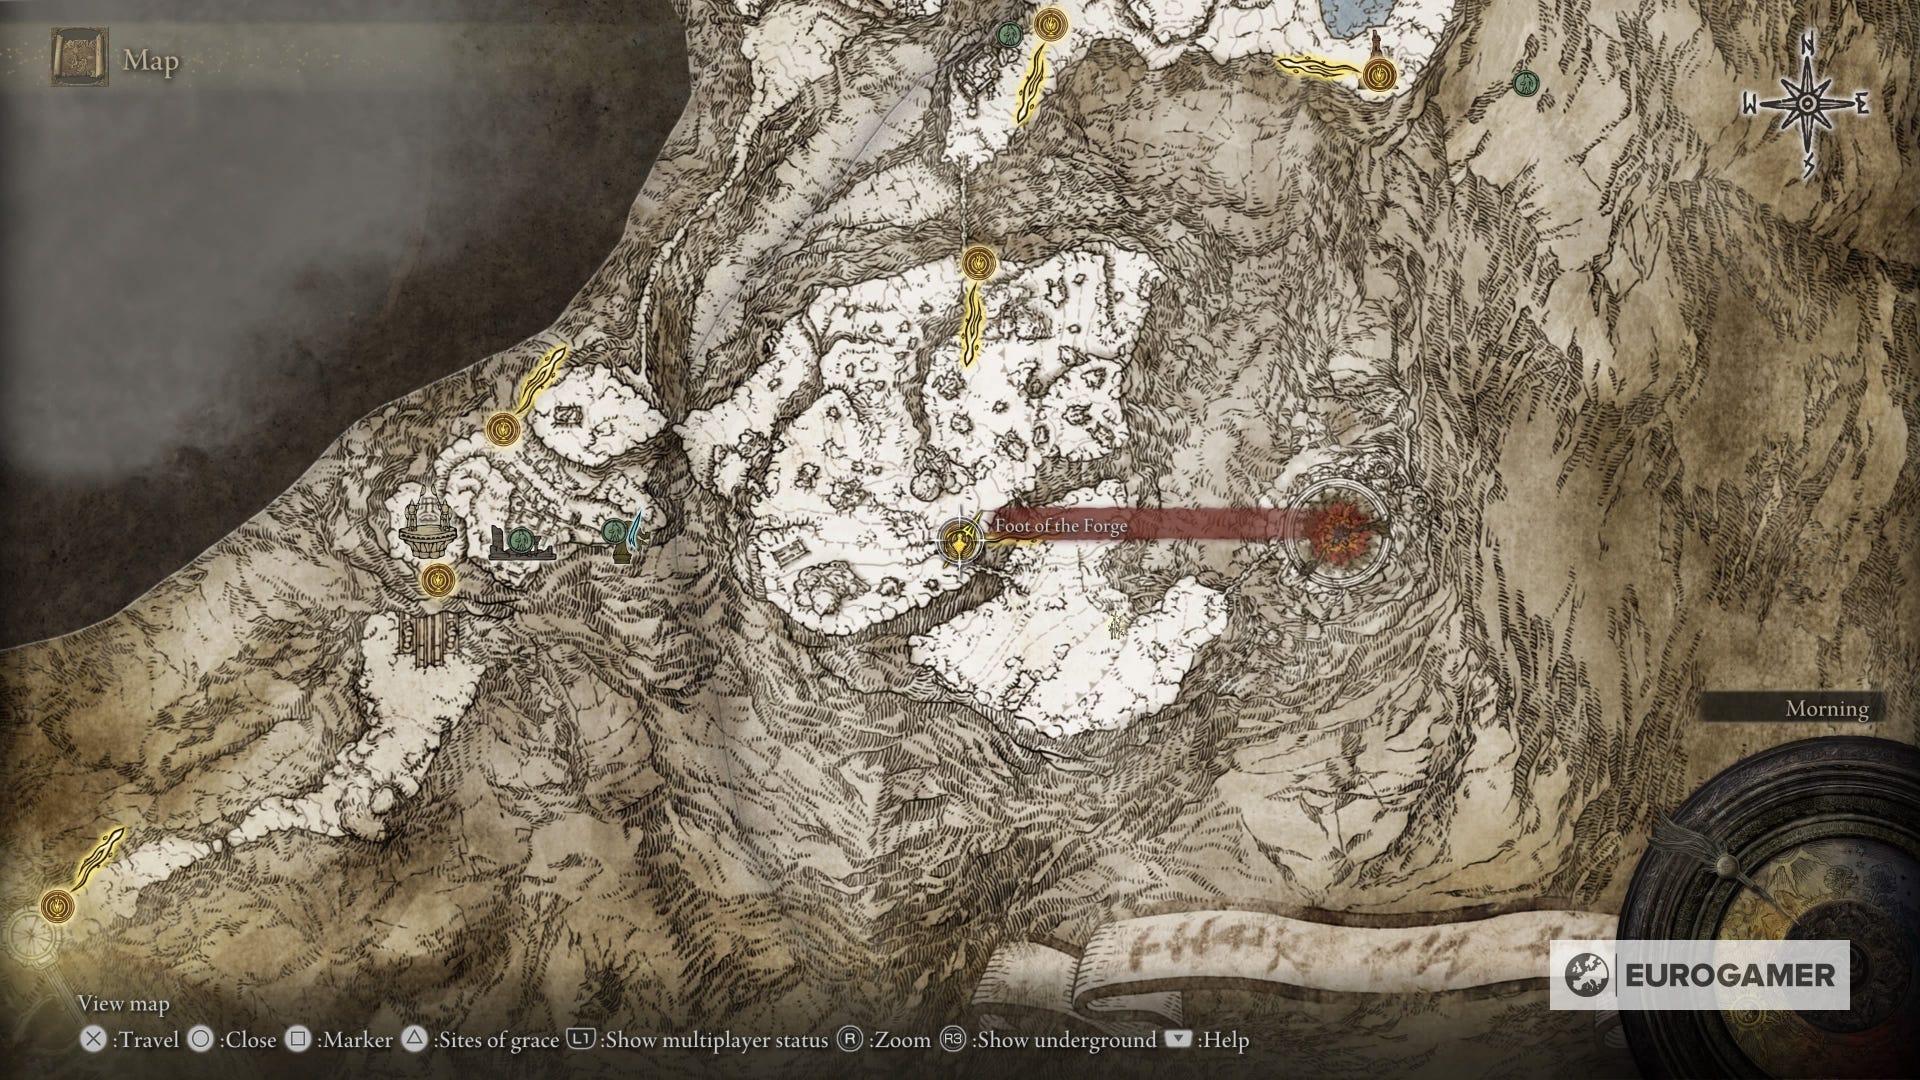
On the other side of the chain should be the Giants' Gravepost Site of Grace and a map fragment, once you have the map, open it and look for the red circular location nearby. That's where you've got to go next.
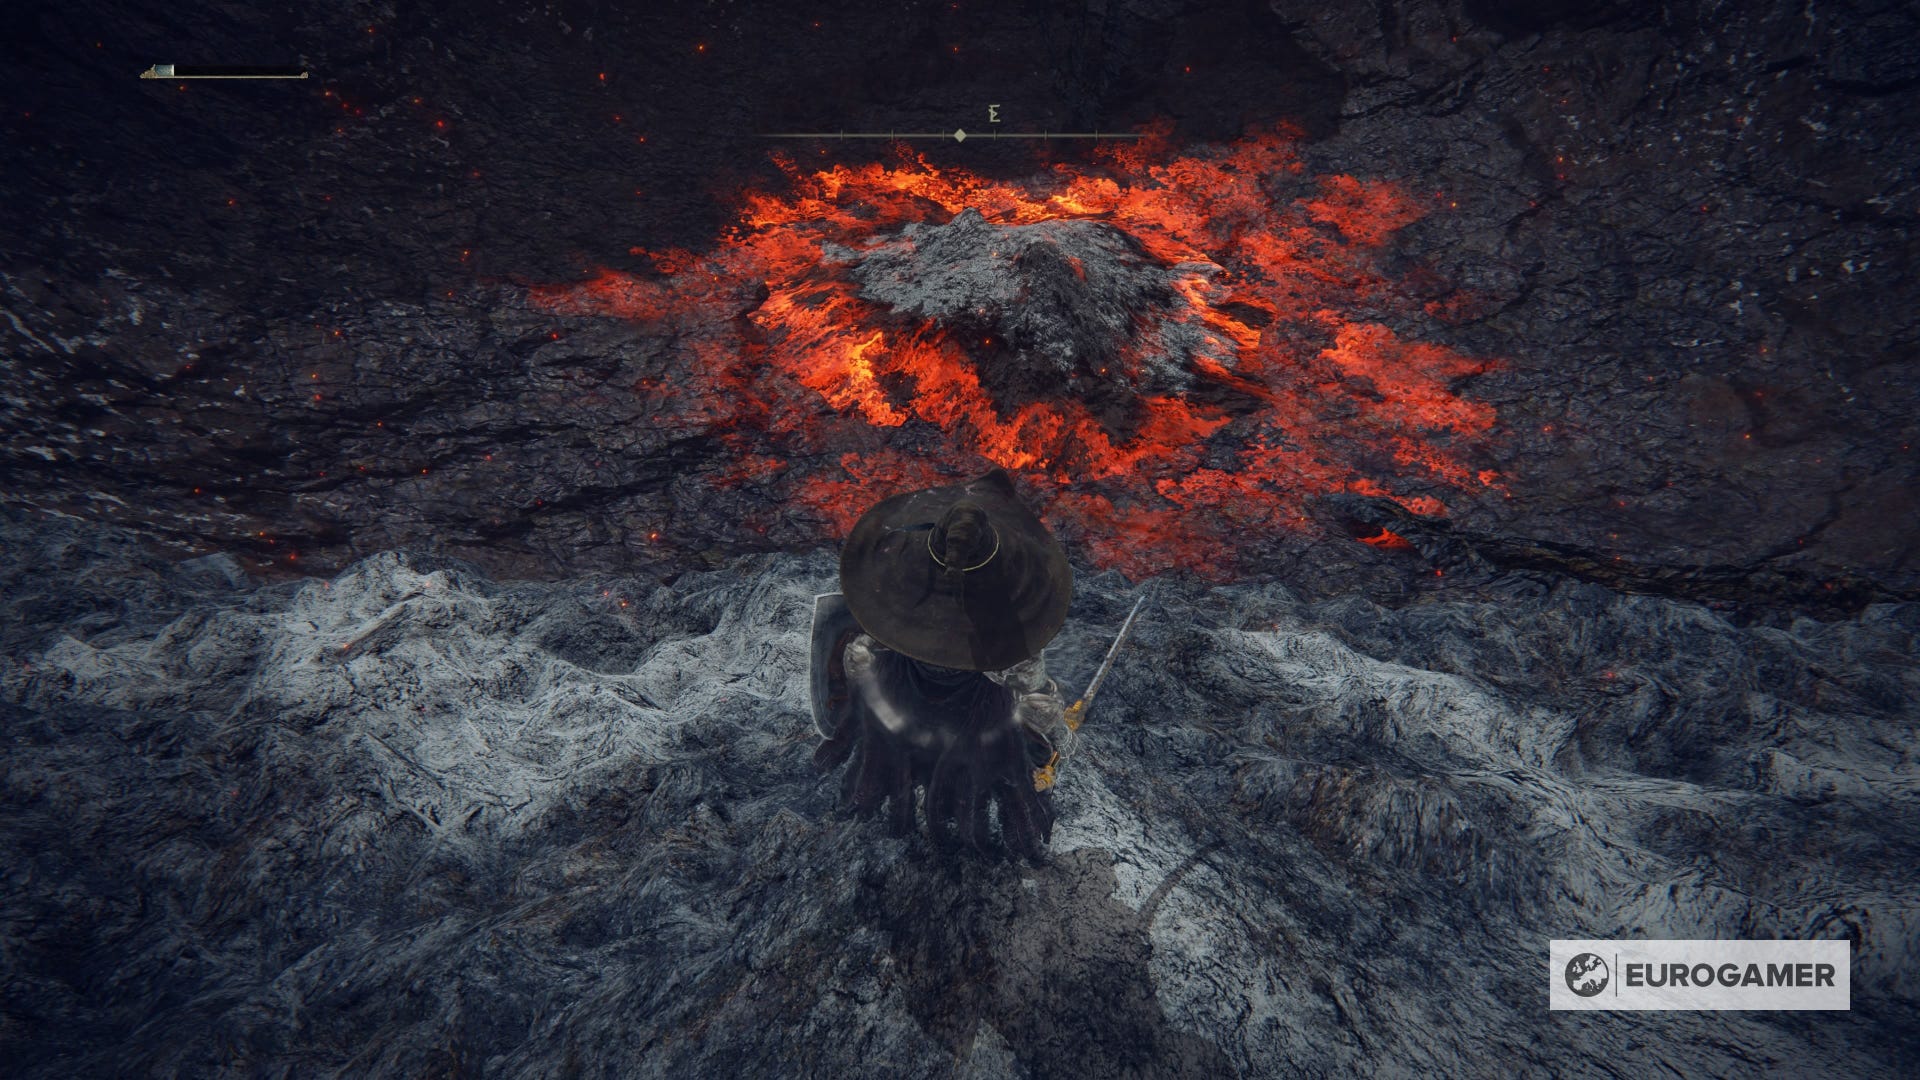
Head south and activate the Foot of The Forge Site of Grace, and nearby it on either side are chains, cross them to come face to face with your next mandatory boss, the Fire Giant, who's guarding the Forge of the Giants.
When you manage to defeat the Fire Giant, make your way towards the giant forge and go up the chain so you're standing on its rim. Then carefully go around the left side of the forge and rest at the Site of Grace on the other side. Talk to Melina and respond "I'm ready" to be transported to the Crumbling Farum Azula.
From here, the Crumbling Farum Azula is a fairly linear dungeon, there will be a massive curved ledge with a dragon that spawns on it, but if you go all the way to the end you can bypass it and unlock a Site of Grace, so this fight isn't essential.
The first essential boss is the Godskin Duo, and the second is Maliketh, the Black Blade (who starts as the Beast Clergyman).
Elden RingRevisiting Leyndell
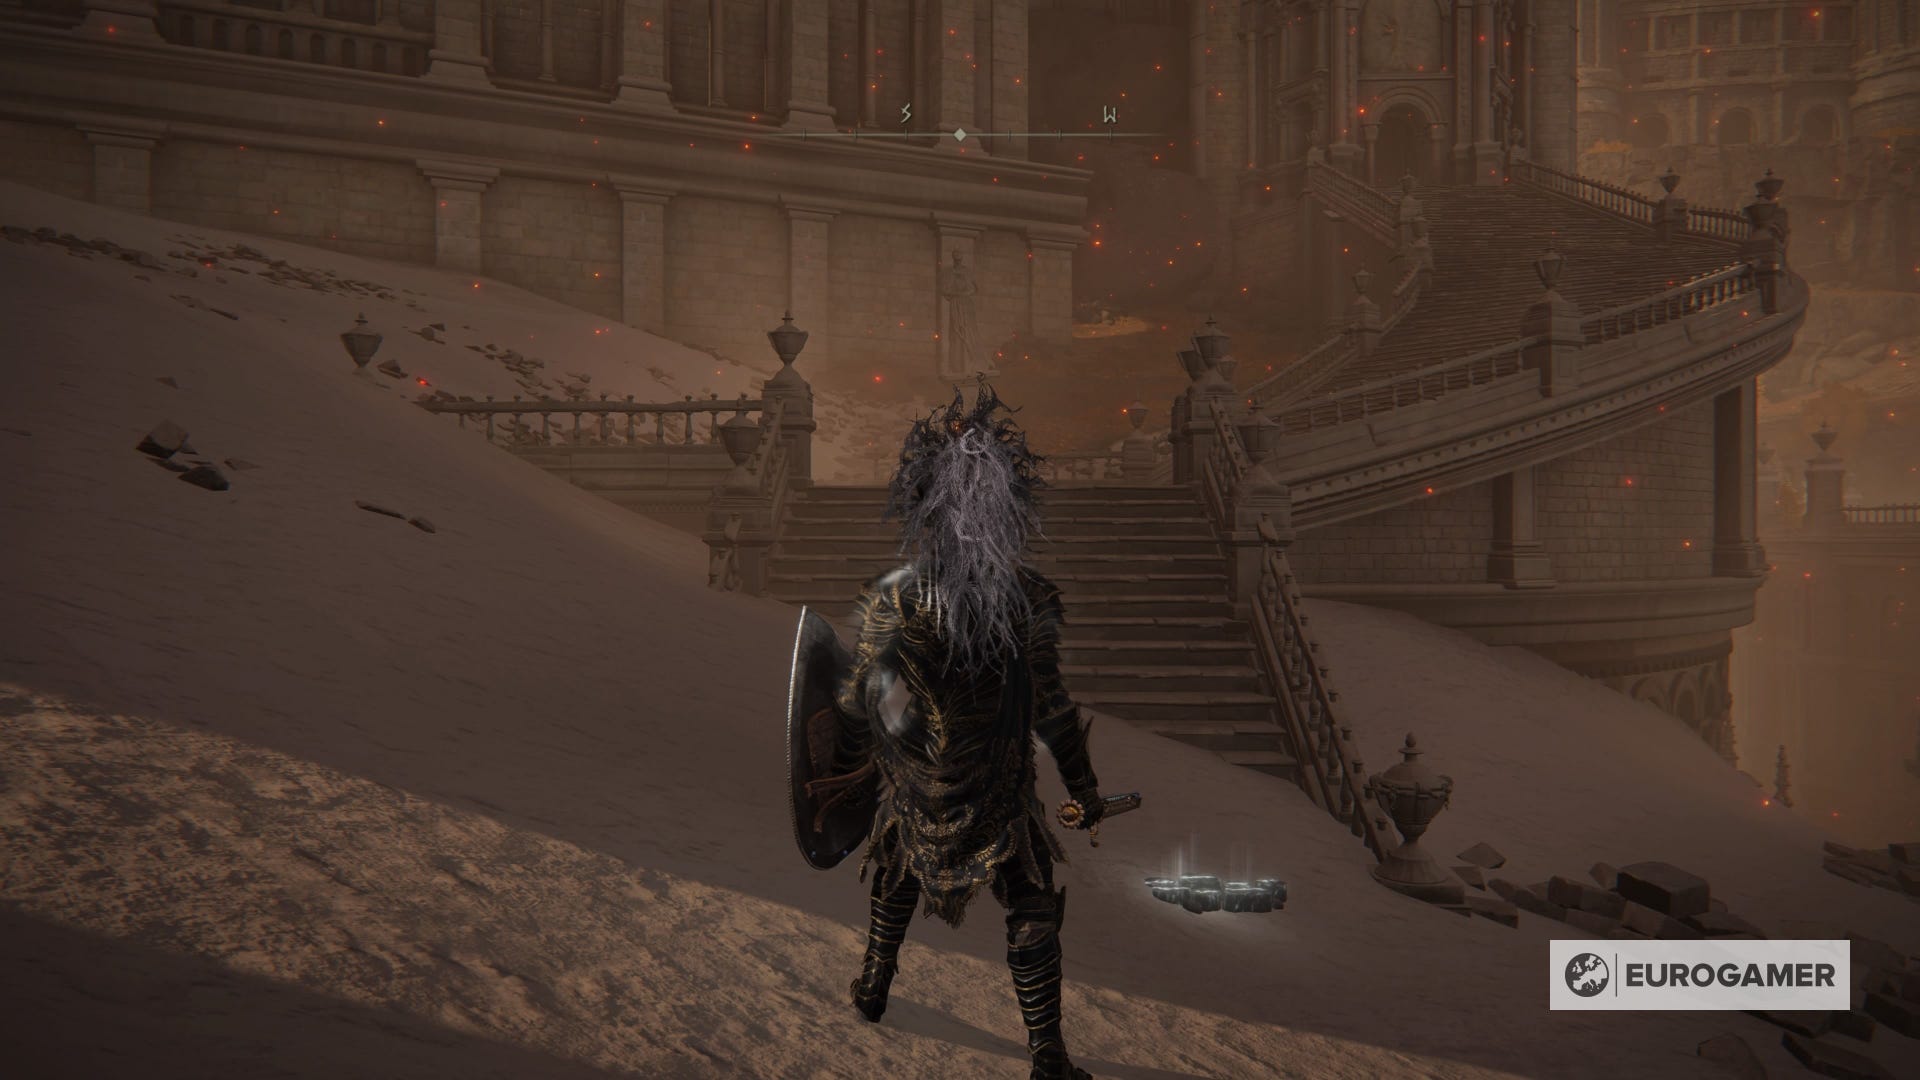
After you beat Maliketh, the Black Blade, you'll watch a cutscene and be transported back to a changed Leyndell. Then head southwards from the new Site of Grace called Lyndell, Capital of Ash.

Know that you are still free to explore the world despite the changes to the Capital - but once you start the below bosses, you are on a track to whichever ending you are working towards. There are various side quests that can help unlock alternative finales, but if you want to simply see the 'normal' ending, then proceed.
At the Lyndell, Capital of Ash Site of Grace, you'll come to a staircase leading to a lift, take it up and you'll face off against a series of bosses as you navigate your way back up through the Godfrey boss room (where you've been before - the navigation of this part is incredibly short and straight forward, so we've just listed the bosses you'll face below:
- Sir Gideon Ofnir, The All-Knowing
- Godfrey, First Elden Lord / Hoarah Loux, Warrior (two phase fight)
- Radagon of the Golden Order
- Elden Beast (immediately follows Radagon)
Once you beat the final boss and get your ending, you'll be asked if you want to start 'Journey 2' - also known as new game plus. If you say no, you'll be sent to the Roundtable Hold where you can go to the table itself and start a new game or continue exploring the world.
That's it! You've beaten Elden Ring! When you're ready, it's time to do it over again and get other endings...