Destiny: Rise of Iron - The Iron Tomb, Remnant of Felwinter, Remnant of Jolder, Remnant of Gheleon boss battle
How to find your way around the last main story mission and defeat the end boss.

Once you have finished The Plaguelands and Download Complete you unlock The Iron Tomb, the fifth and final main story mission in Destiny: Rise of Iron. There are obviously other missions to come after this is over, but this one wraps up the core storyline and opens up a raft of new Quests so you can Patrol in The Plaguelands, access end-game content and much more. It's also the most challenging yet - requiring a 320 Light level - so use our tips on how to reach the max Light level in Destiny: Rise of Iron to get most of the way before taking it on.
The Iron Tomb
Location: Earth
Recommended Light level: 320
Unlocks: New Questlines, items (no spoilers here - see at the end of the page)
Before you get started, there are a couple Dormant SIVA Cluster collectible only available on this mission - our Dormant SIVA Clusters locations list will help point you in the right direction.
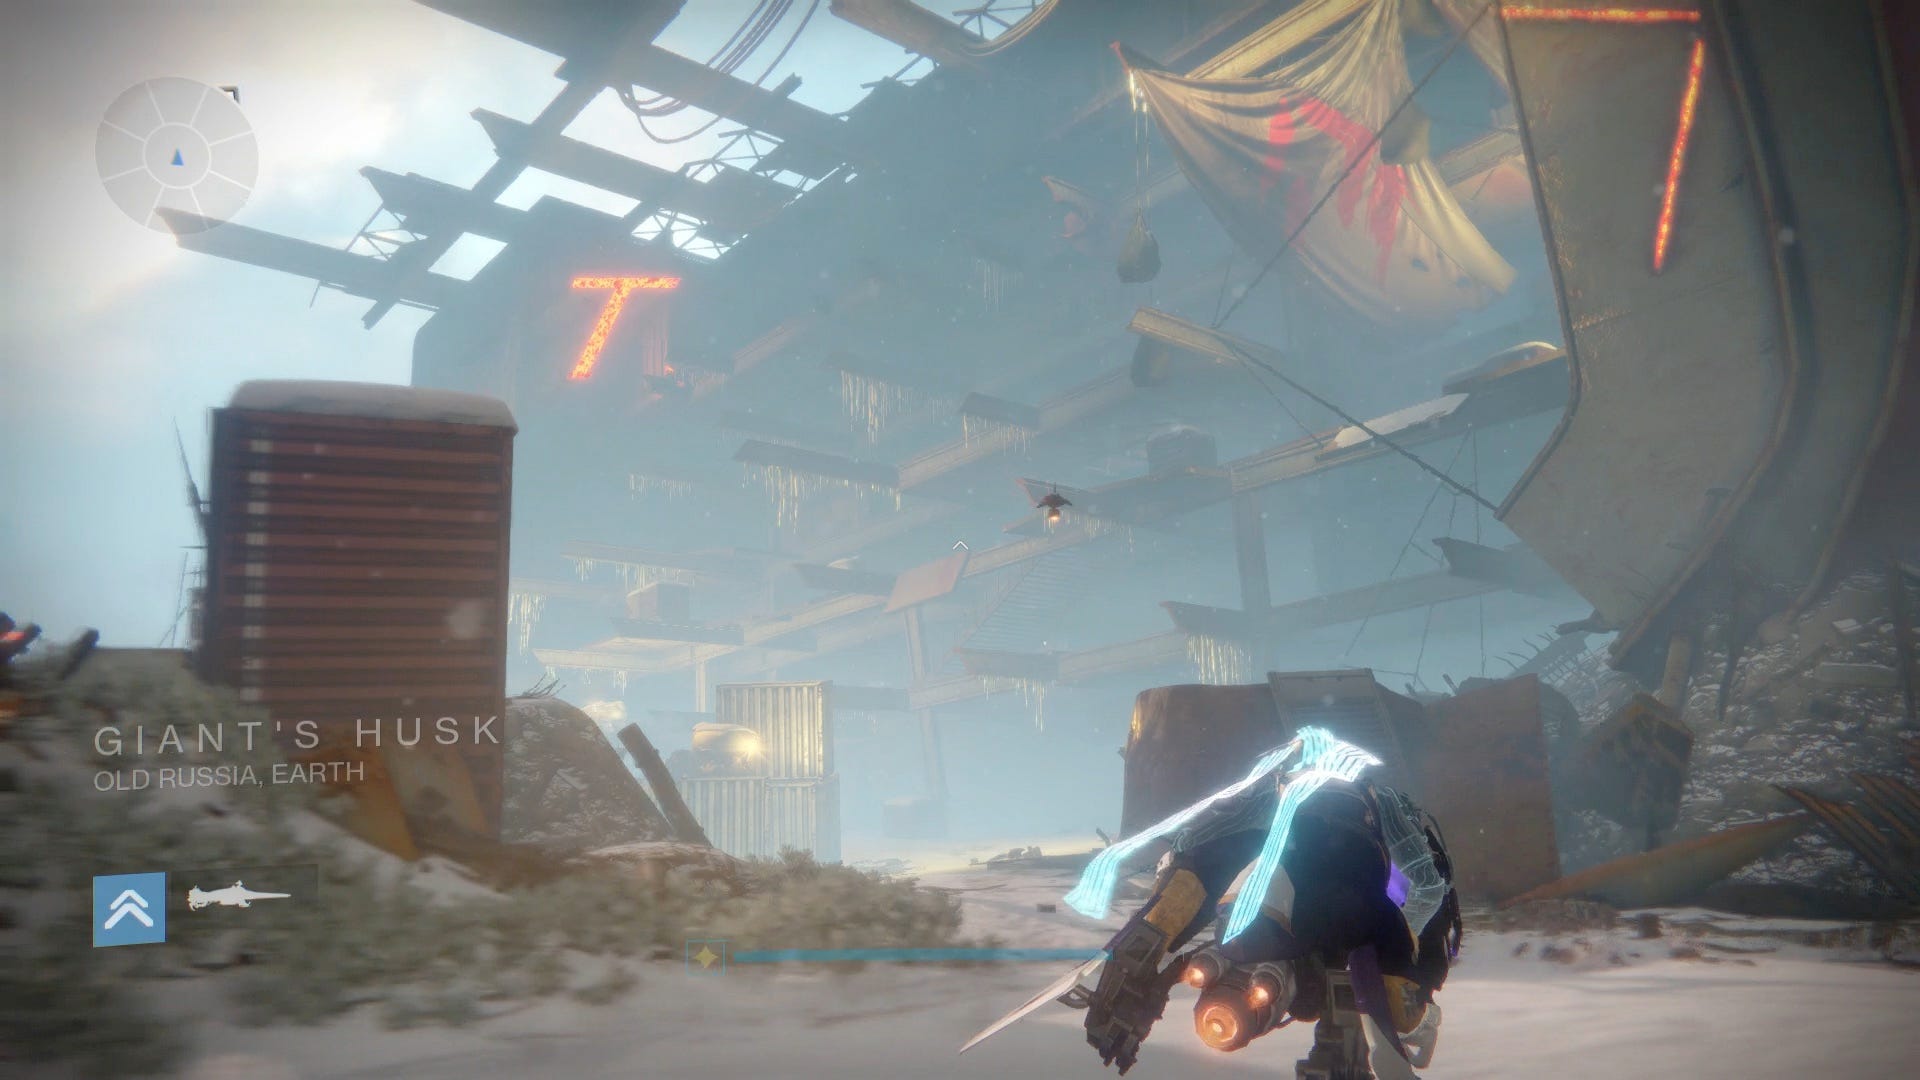
Jump on your Sparrow and head right, round the large rock and onward until you reach the Giant's Husk area. Ahead is a giant hull of a ship; you have to go up the front of this dissected part and past the giant banner. The safest way is to go down the right side, hugging the touside wall, and taking the doorway that allows you to double back up the elevated section to the front, and then up, but the quickest is using the stairs at the front, but be wary of surrounding enemies as you do.
Once inside, you have to do the Cores Reversed part of the mission. Go to the first in the centre of the room, carrying the orb upstairs by going along the right. Unless you're a low Light level, I wouldn't worry too much about the enemies here, as placing the orb is a fairly quick process. Once you've done the one at the top, grab the orb next to it and return to the same place as before.
Now you have to Go to the Archeon's Keep. Drop out the side door back into The Plaguelands open world, jump on your Sparrow and go left, following the path until you eventually reach The Archeon's Keep. Continue ahead to the main structure, and where the giant explosion and the Splicer Fallen are spilling out up the steps. Clear the enemies, then go down the corridor to reach Archeon's Forge - remember the location of this place for later, as it's where several end-game activities take place.
Drop down and choose to engage the Splicer Fallen or simply run ahead, squeezing into the thin path in the middle of the wall. You'll reach The Warrens, and again, you can engage or simply turn left and into the corner of the cavern to proceed down some very small ducts to the Site 6 area. Run to the far upper left corner past more enemies, then interact with the corner screen to get the Descent to the Iron Tomb, which you can do so by going down the passage behind you, running along the room and sliding down the small hole at the end.
Now to Enter the SIVA Chamber. Work your way through the building ahead, then round the corner to approach the main complex, clearing out the Fallen Splicers as you go; the door didn't open until we vanquished everyone along the way, including the end Captain, so it's easiest to do this along the way.
At the end of this long corridor is the SIVA replicator room. (Be sure to grab the Rasputin 6 Dead Ghost along the way, on the right side.) Inspect the console to start the boss fight against the Remnant Iron Lords.
Remnant of Felwinter, Remnant of Jolder and Remnant of Gheleon boss battle
For the duration of this battle, you'll be wanting to use the Iron Battle Axe that appears next to the console. The Remnant of Felwinter's primary attacks are a smash that causes area of effect damage nearby, a machine gun that'll work at a mid-range distance, and a bubble of SIVA Swarm that's damaging to be within.
The best tactic in this battle is the rush in, use the slam attack (press the back trigger) to stun, then quickly follow up with quick slash attacks using the right bumper, and then withdraw again before it slams itself, or if you come under attack from other enemies, allowing you to recover health (there is an area along the far back end where you can seek some refuge easily).
If you want to be cheap and take your time, can also use the low walls and slope at the front of the area as a means to hide away from most attacks - including machine gun fire - and use the right bumper slam attack to create a shockwave through the wall that injures them over time. The boss can attack you from here, but the wall keeps it somewhat at a distance.

If you run out of Iron Battle Axe 'ammo', you can rekindle it from the flaming brazier's dotted around the arena (there is one just to the right of the console where you begin, for example - they're easy to spot). Simply stand nearby to rekindle your axe. Note it'll extinguish for a short amount of time before you can use that particular one again, so always be on the look out for others in the area.
While you can use an exhausted Iron Battle Axe - handy for Dregs and other enemies that come your way - it's best to keep it topped up for the Remnants.
Once you have defeated Remnant of Felwinter, then Remnant of Gheleon and Remnant of Jolder will show up at the same time. Again, keep the same tactics, but be more cautious and mobile, keeping a closer eye on your health and your Iron Battle Axe ammo all the while, and only attack the Dregs and other enemies to thin out the herd if you're coming under a lot of fire.
When the battle is over, activate the self destruct sequence at the same terminal as before, and quickly sprint down the corridor (not forgetting to collect the Rasputin 6 Dead Ghost along the way) until you're outside, finishing the mission. Well done!
Want more Destiny: Rise of Iron guides, tips and tricks? Then read our Wrath of the Machine walkthrough and guides, complete list of all Dormant SIVA Cluster locations, tips on how to reach Destiny's max Light level, how to complete the Exotic Gjallarhorn Quest, Khvostov 7G-OX Quest and Thorn Quest and new modes Vanguard Elite Strike Scoring and SRL.
Once you've finished the mission, you'll get The Young Wolf's Howl Exotic Sword and unlock all kinds of other activities, as highlighted in our Destiny: Rise of Iron guides, tips and tricks hub.
To start digging in, return to the Iron Temple, chat to Shiro-4 then Tyra Karn to finish the Iron Lords Quest line and earn the Young Wolf Trophy / Achievement. You'll also be able to start the Gjallarhorn quest, get underway with your first Destiny: Rise of Iron Artifact as part of the Artifacts of the Iron Lords Quest and Show of Strength Quest from Tyra Karn. Also be sure to chat to Shiro-4 again to get the Kovik's Sin Quest for the Bad Blood mission, and This Corrupted Land Quest too.