Destiny: Rise of Iron - The Plaguelands, Perfected Walker battle, Download Complete
Take on a Perfected Walker and a trip to Mars to continue Rise of Iron's story.

Now you've done the King of the Mountain and Walls Come Down story missions, you'll be able to get a first taste of Rise of Iron's new Patrol area, The Plaguelands.
The Plaguelands
Location: Earth
Recommended Light level: 300
Unlocks: Download Complete story mission
Run ahead into The Plaguelands entrance and scan the fallen, er, Fallen. Go left in the wall and proceed into this new area proper. When it opens up again, you can choose to take on all the Splicer Fallen, or just sprint on through to the far corner (the on-screen objective icon won't take you there, but to an object nearby, so run past it to the entryway) to proceed the mission.
After some more corridors, you arrive at the Lords' Watch area, where you can see the gun placements in the distance, and receive the Capture the Bunker objective. Run straight ahead, fight past the Fallen and leap over the beached boat to the Bunker Triglav area.
Clear as many Spliced Fallen as you can nearby, but then duck under cover to avoid fire from the dropship ahead. When that's gone, continue fighting your way up the slope and into the building. Here you need to drop the fortifications by lowering the shield generators; go up the stairs to the right and shoot the first one until it's destroyed, and take out the other that's on the opposite side on ground level from up here, allowing you to proceed through the door on the upper level at the far end.
You'll end up at the Splicer Battery section. There are three artillery guns in this section - one in the centre as you emerge, and one at either end. To disable them, grab a Shock Cannon out in the open, and go into the cavern underneath each gun and shoot its pulsing 'heart' once to destroy it. (There'll be a Splicer Captain guarding each one, but a single blast with a Shock Cannon will sort them out cleanly.) Reinforcements will arrive to hinder you progress from one to the next, but if you run between each, you'll easily avoid attack as you destroy each gun.
How to defeat the Perfected Walker
Once all three guns are down, a Perfected Walker will appear. This is pretty much the same as any other Walker battle; attack a leg until it's armour comes off and is heavily damaged, exposing an overheated core at its front temporarily, which can be targeted for high damage. Once it withdraws, then target a different leg to repeat the process.
While it was helpful before, ignore the Shock Cannons here; you'll want to go use a sniper rifle or other high impact weapon to target each limb and exposed core. A distanced weapon will also allow you to evade all the Fallen around you too, but if in a pinch, there are plenty of places you can seek cover to evade fire.
Once done, the mission ends, and after the cutscene, visit Tyra Karn at the Iron Temple to access the Download Complete mission on Mars.
Download Complete
Location: Mars
Recommended Light level: 310
Unlocks: The Iron Tomb story mission
Before you get started, there is a Dormant SIVA Cluster collectible only available on this mission - our Dormant SIVA Clusters locations list will help point you in the right direction.
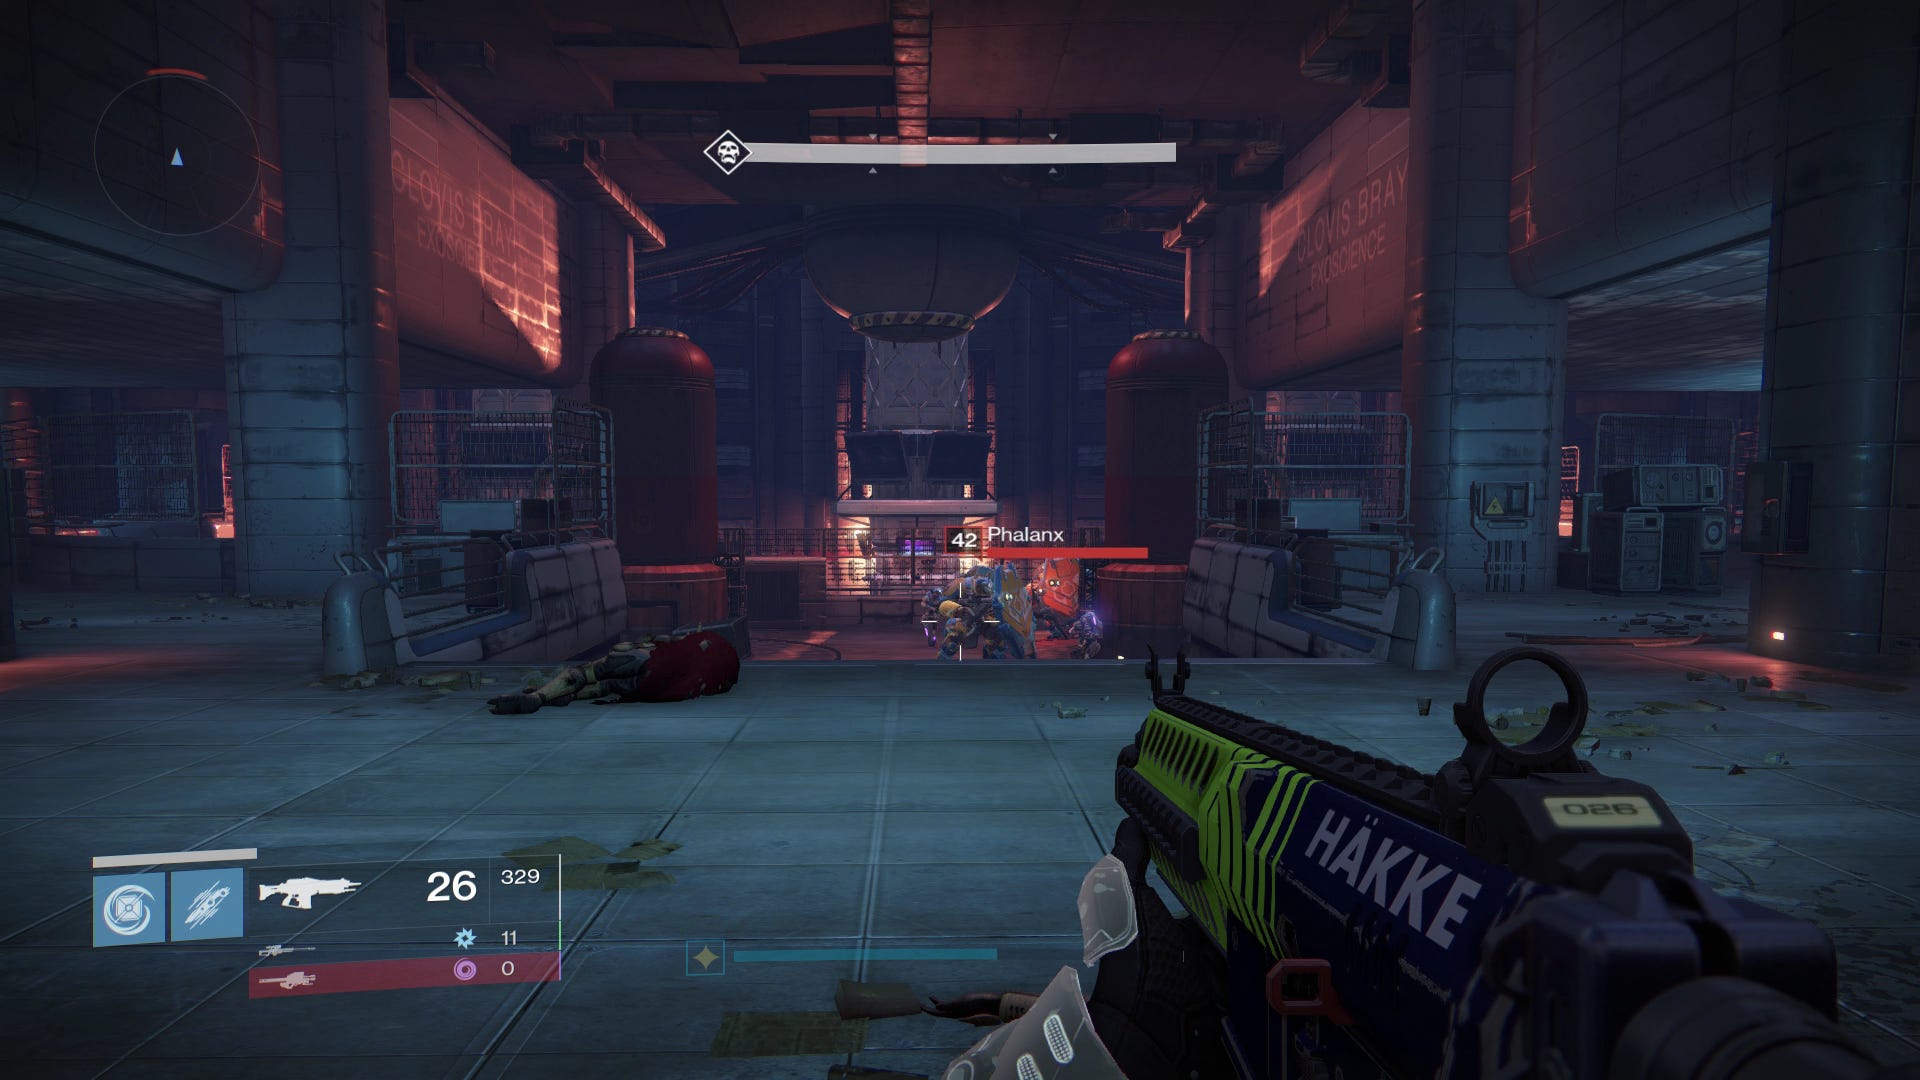
Time to take a trip to Mars! Take on all the Cabal that are set upon you as soon as you begin and go to the doorway at the far corner to enter the Clovis Bray facility. Open the door by inspecting the right panel, then scan the server with your Ghost in the next room where instructed.
To Find the Laboratory, ahead through the Cabal forces in the next open area, then take the stairwell going down and left at the very end, to the left of the Colossus. (In short, if you're familiar with the Dust Palace Strike, you're essentially running it in reverse.) Now drop down the broken staircases and go to the outer edge to open the elevator shaft, which you must first interact with using your Ghost, before dropping down below.
Clear the room of Cabal (and if you want a Rise of Iron Dead Ghost, then squeeze behind the bank of TVs in the back right corner) then scan the archive console in the centre. Clear out the Cabal that come in complete the mission.
Want more Destiny: Rise of Iron guides, tips and tricks? Then read our Wrath of the Machine walkthrough and guides, complete list of all Dormant SIVA Cluster locations, tips on how to reach Destiny's max Light level, how to complete the Exotic Gjallarhorn Quest, Khvostov 7G-OX Quest and Thorn Quest and new modes Vanguard Elite Strike Scoring and SRL.
Speak to Lord Saladin at the Iron Temple to pick up the fifth and final mission, The Iron Tomb. If you want to hold off then Destiny: Rise of Iron guides, tips and tricks hub for other activities, which might be wise since the mission requires a Light level of 320 to access, and has some of the hardest battles of any mission to date; our tips on reaching the light level cap of 400 in Destiny: Rise of Iron will help get you a good part of the way. Good luck!