Destiny 2 Hammer of Proving explained: Hammer charges, Tribute Chests and how to equip the Hammer explained
How to use the Season of the Chosen Battlegrounds item.
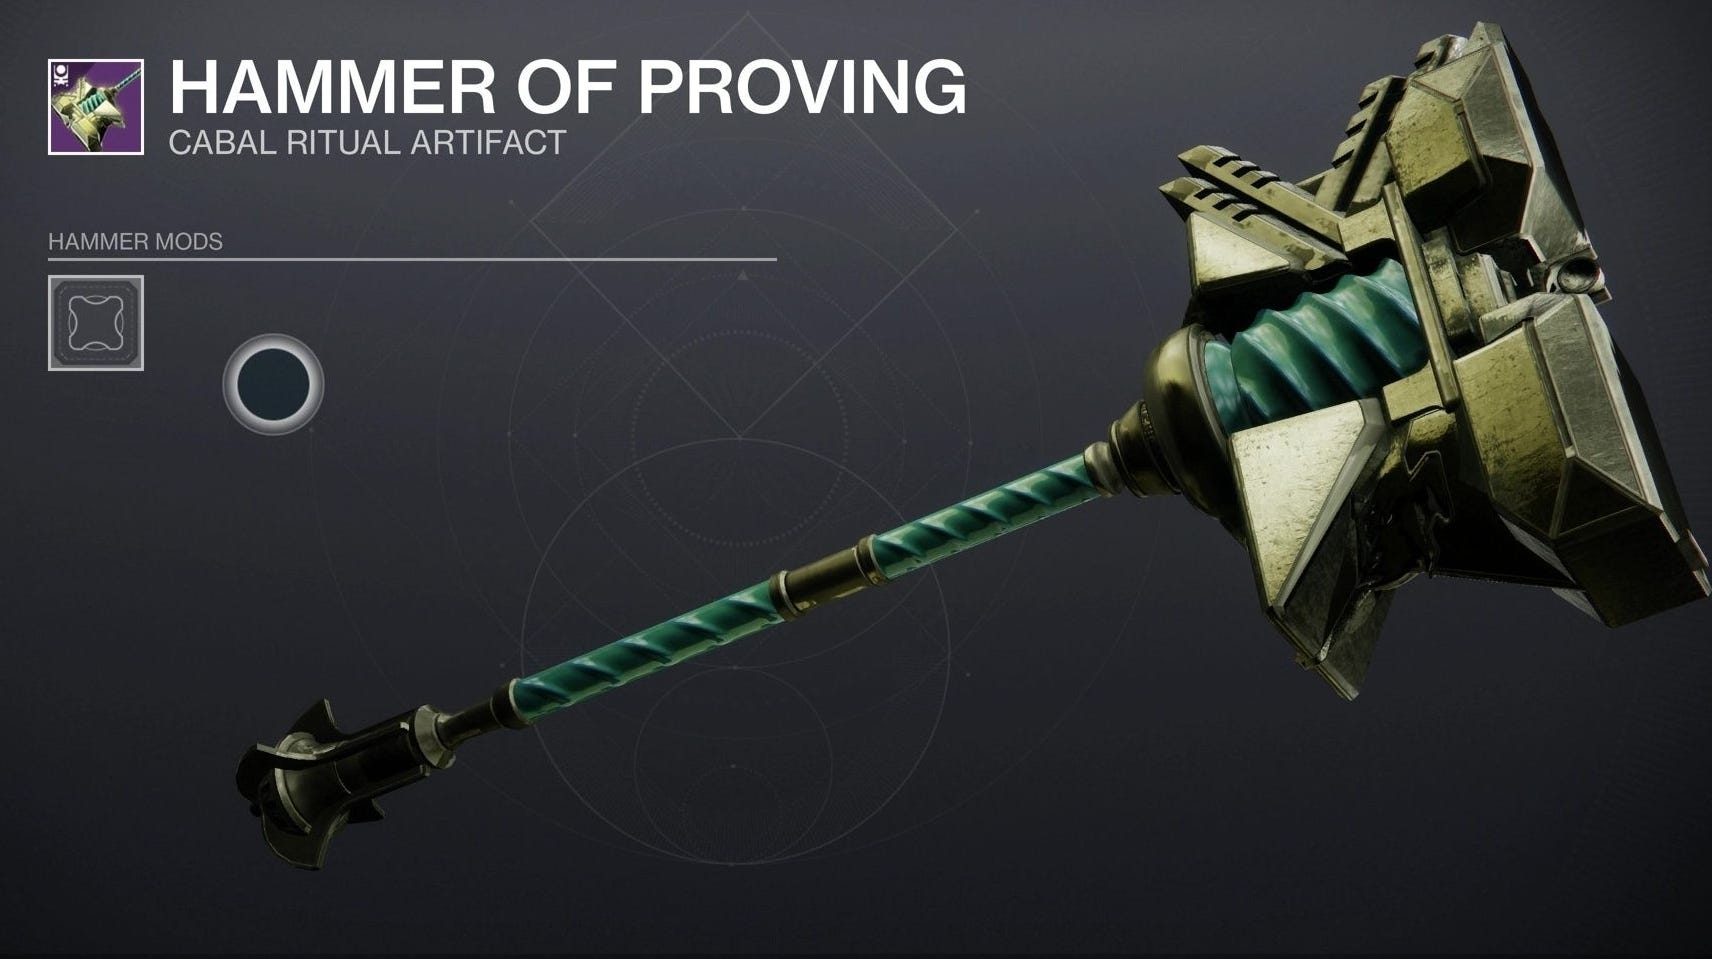

Destiny 2's Hammer of Proving is a quest item introduced in Season of the Chosen.
Similar to the Lures in Season of the Hunt, the Hammer allows you to earn rewards by engaging in the Battlegrounds seasonal activity.
By charging the Hammer, you can visit the Prismatic Recaster to decrypt the Umbral Engrams how you please.
On this page:

How the Hammer of Proving works in Destiny 2 in brief
To start using the Hammer of Proving, you need to progress through the Challenger's Proving seasonal quest.
This starts as soon as you log in Destiny 2's Season of the Chosen for the first time, and is essentially a tutorial for how the Hammer of Proving and associated Battlegrounds activity works.
Though using the Hammer of Proving is not unlike the Lure from Season of the Hunt, it is different enough that the steps involved are initially confusing.
Here's an overview of how to use the Hammer of Proving:
- Collect Cabal Gold from activities across the Solar System, from completing playlist strikes and Crucible to public events
- Use the Cabal Gold to socket a Medallion into the Hammer of Proving (you can do this by inspecting the Hammer on the quest screen)
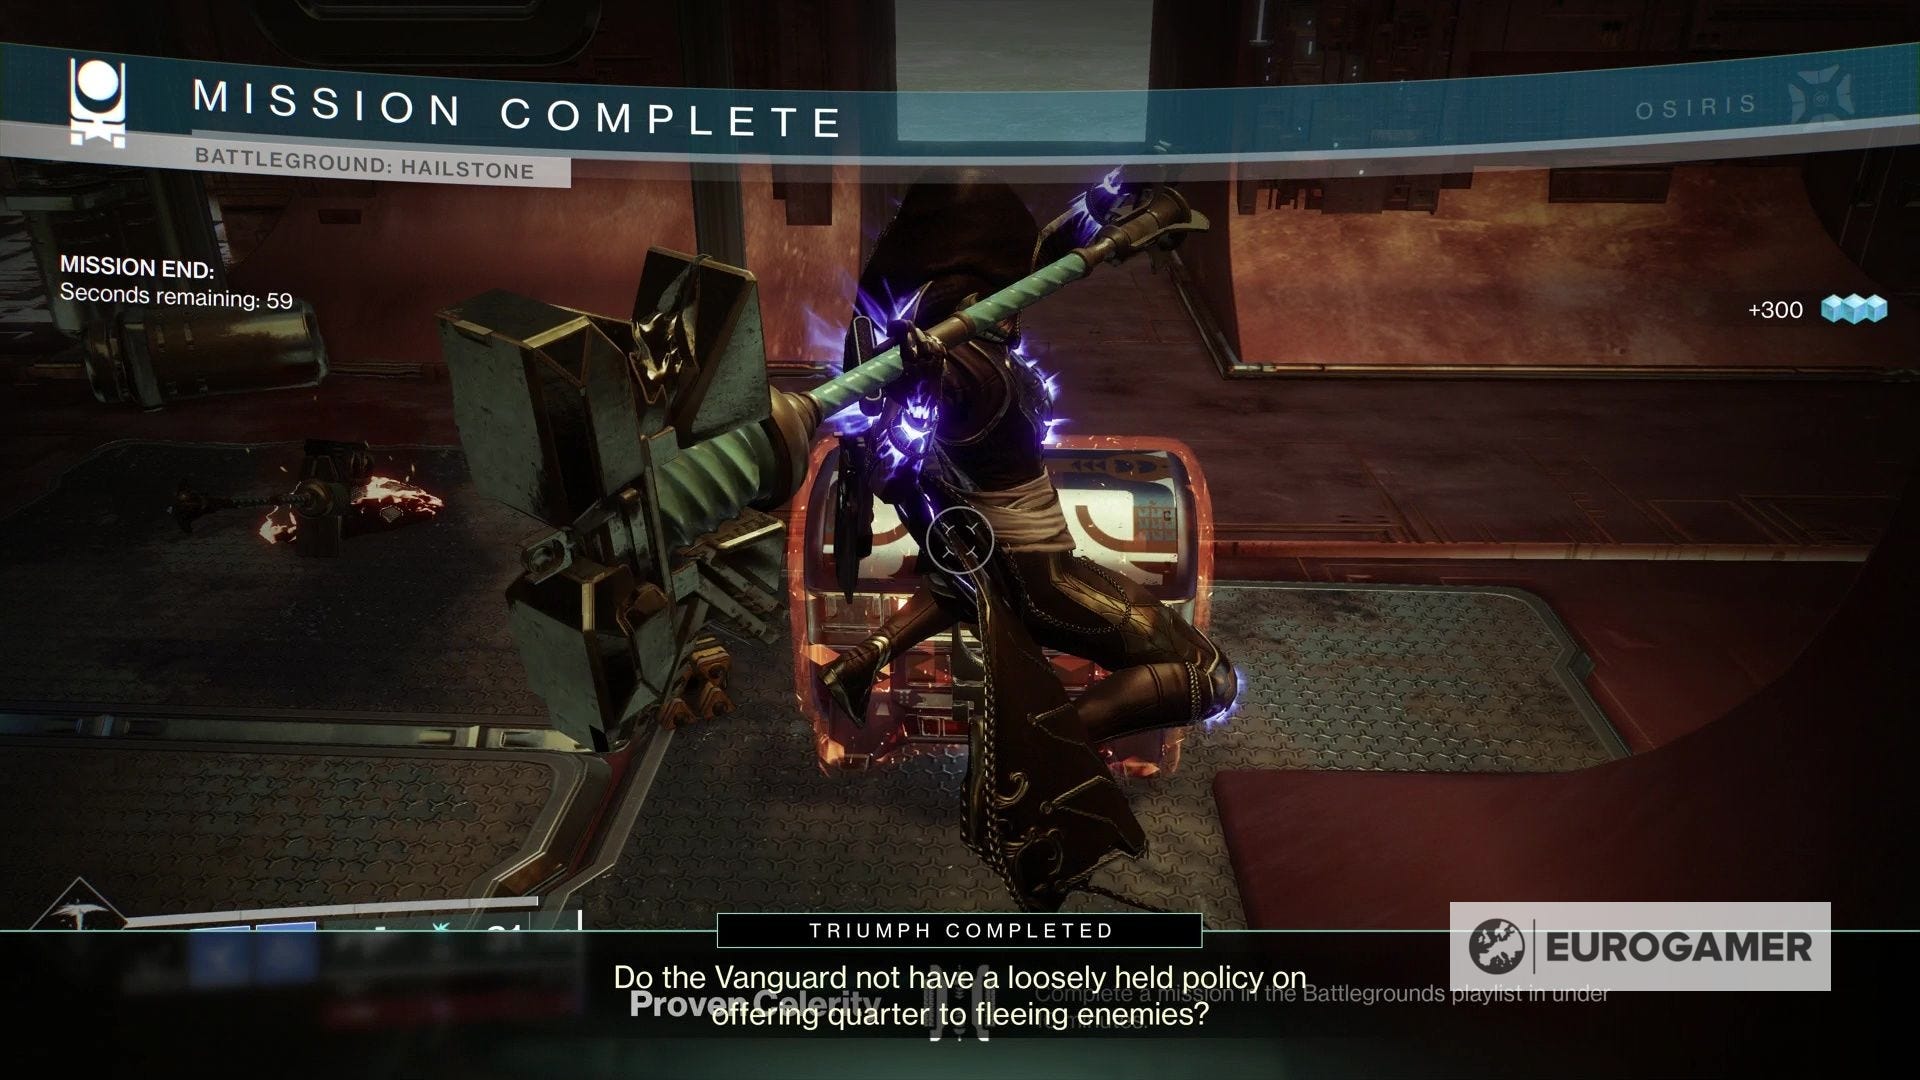
- Complete a Battlegrounds match in the Vanguard playlist and use the Medallion-socketed Hammer to smash a Tribute Chest, adding a charge to the Hammer
- Visit the HELM social space and use the Hammer charge to focus an Engram at the Prismatic Recaster

That's the essentials - but if you want more specifics on how it works, the following sections on equipping and charging can help.
How to 'equip' the Hammer of Proving in Destiny 2
As you progress through the Challenger's Proving quest which introduces you to the Hammer of Proving, it's suggested you must equip it to complete the challenge steps.
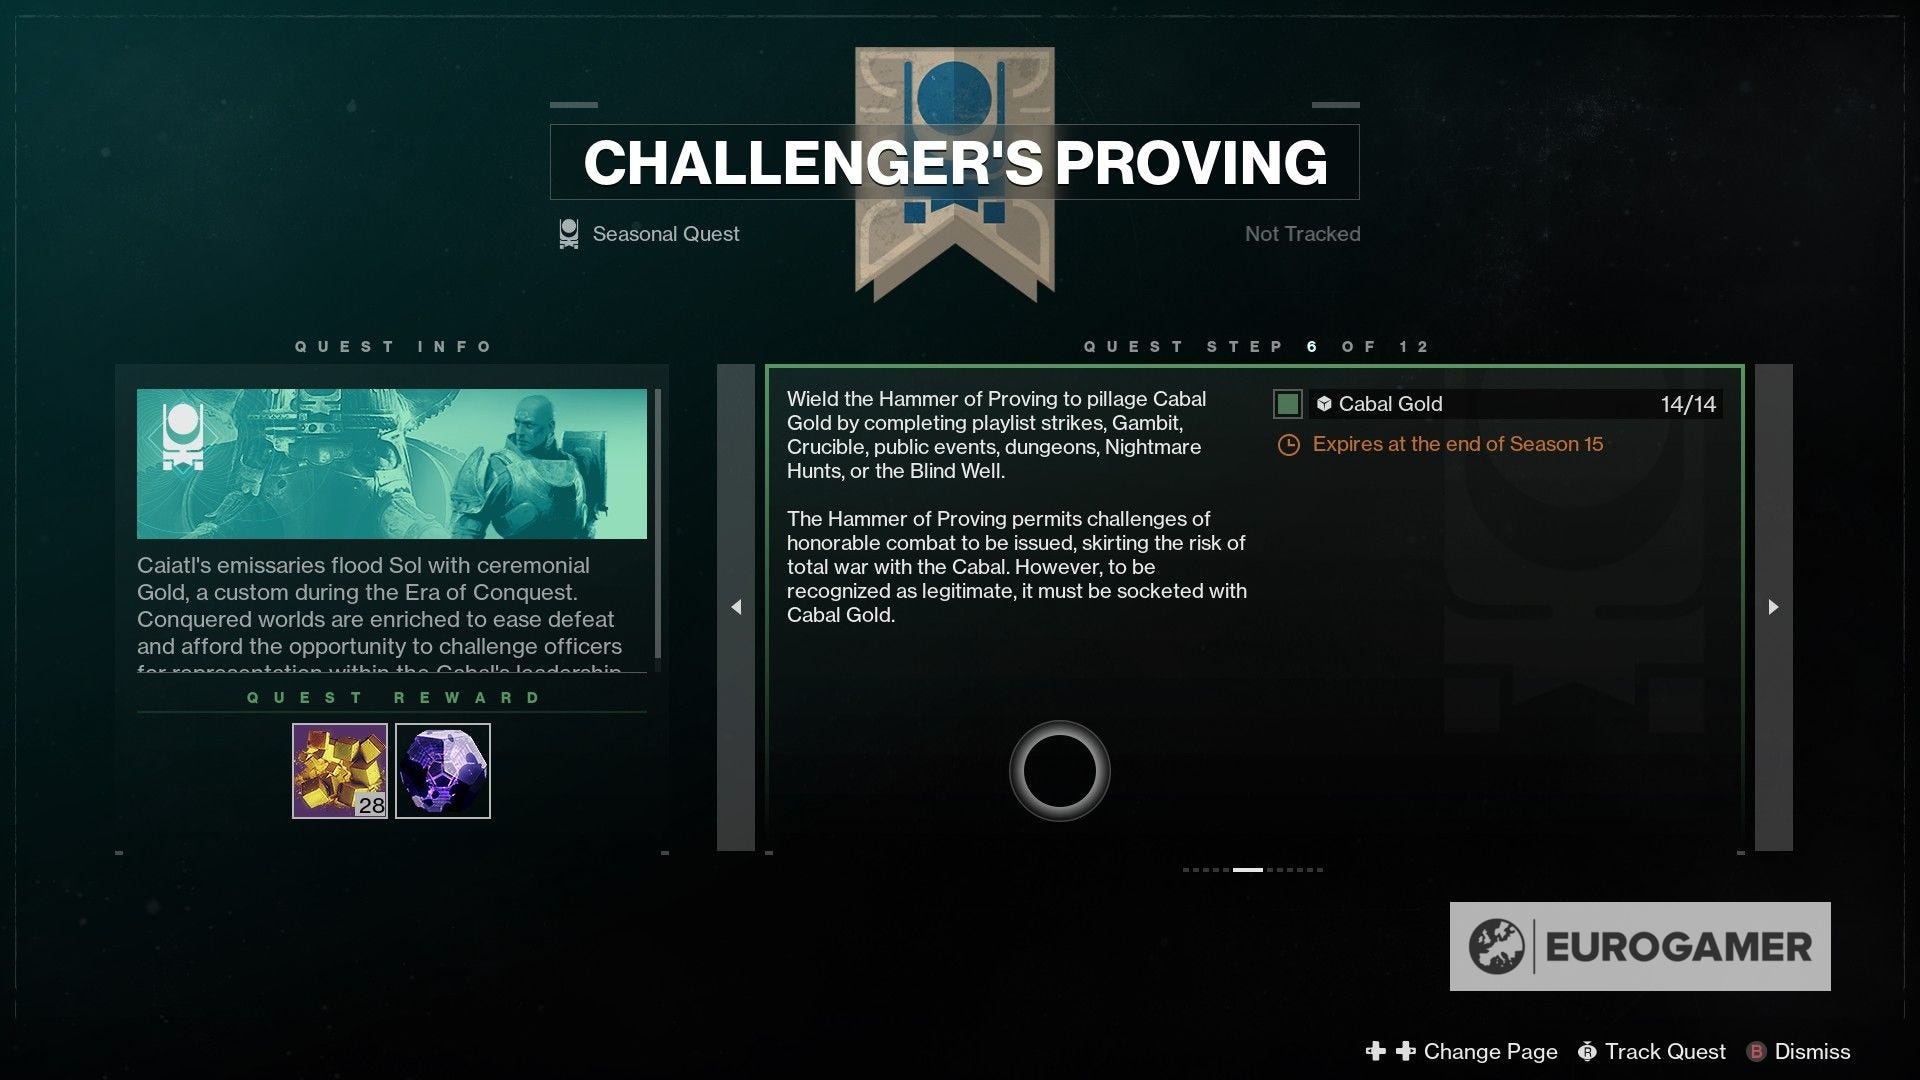
Though it tasks you to "Wield the Hammer of Proving to pillage Cabal Gold", once it's collected as part of the questline, it's enabled and 'equipped' automatically whenever you need to use it on a Tribute Chest.
This unfortunately means you can't stomp around Battlegrounds with a massive gold hammer, but the good news is you don't actually have to do anything - you'll simply have the Hammer when it's needed.
With the slightly confusing part out of the way, let's talk more about how to charge the Hammer and find Tribute Chests.
How to charge the Hammer of Proving from Tribute Chests explained
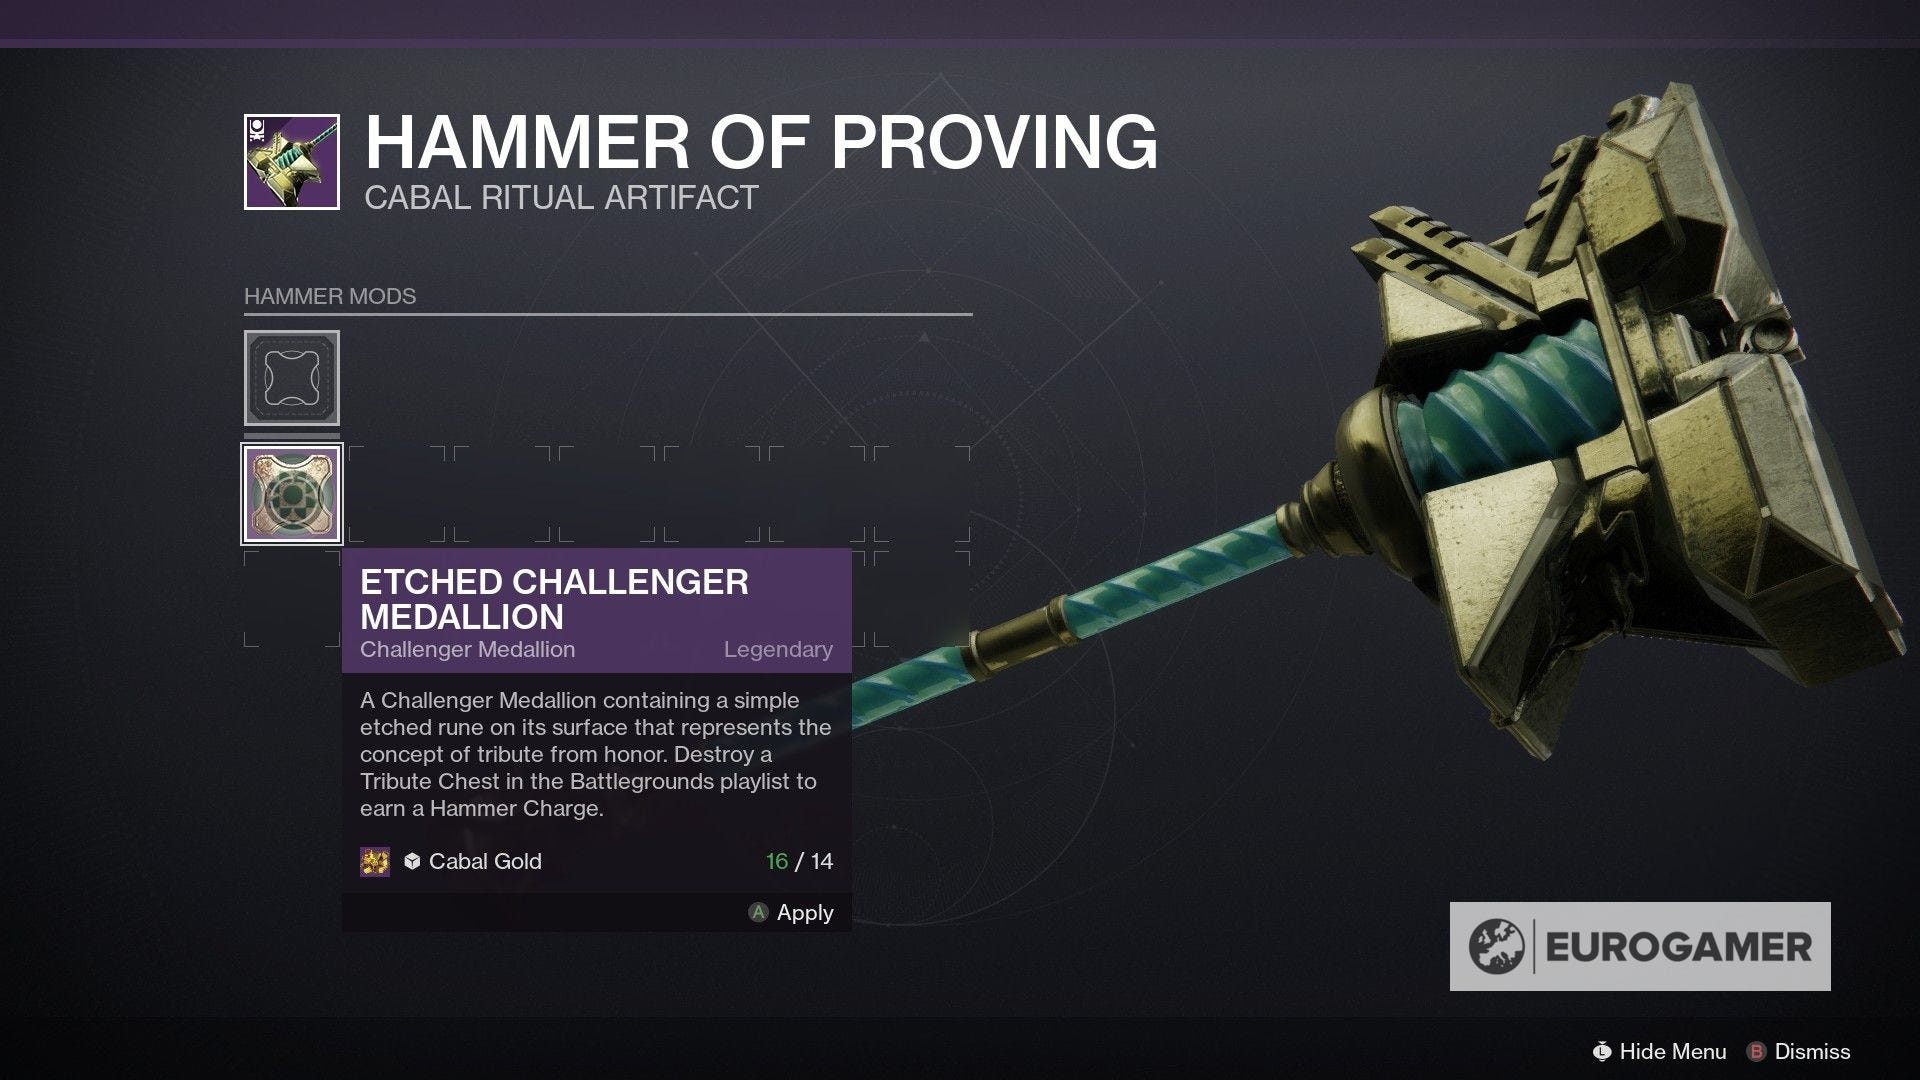
Charging the Hammer of Proving is a two step process. First, you must socket a Medallion into the Hammer of Proving. You can do this by finding the Hammer of Proving itself on your quests screen, and then inspecting it.
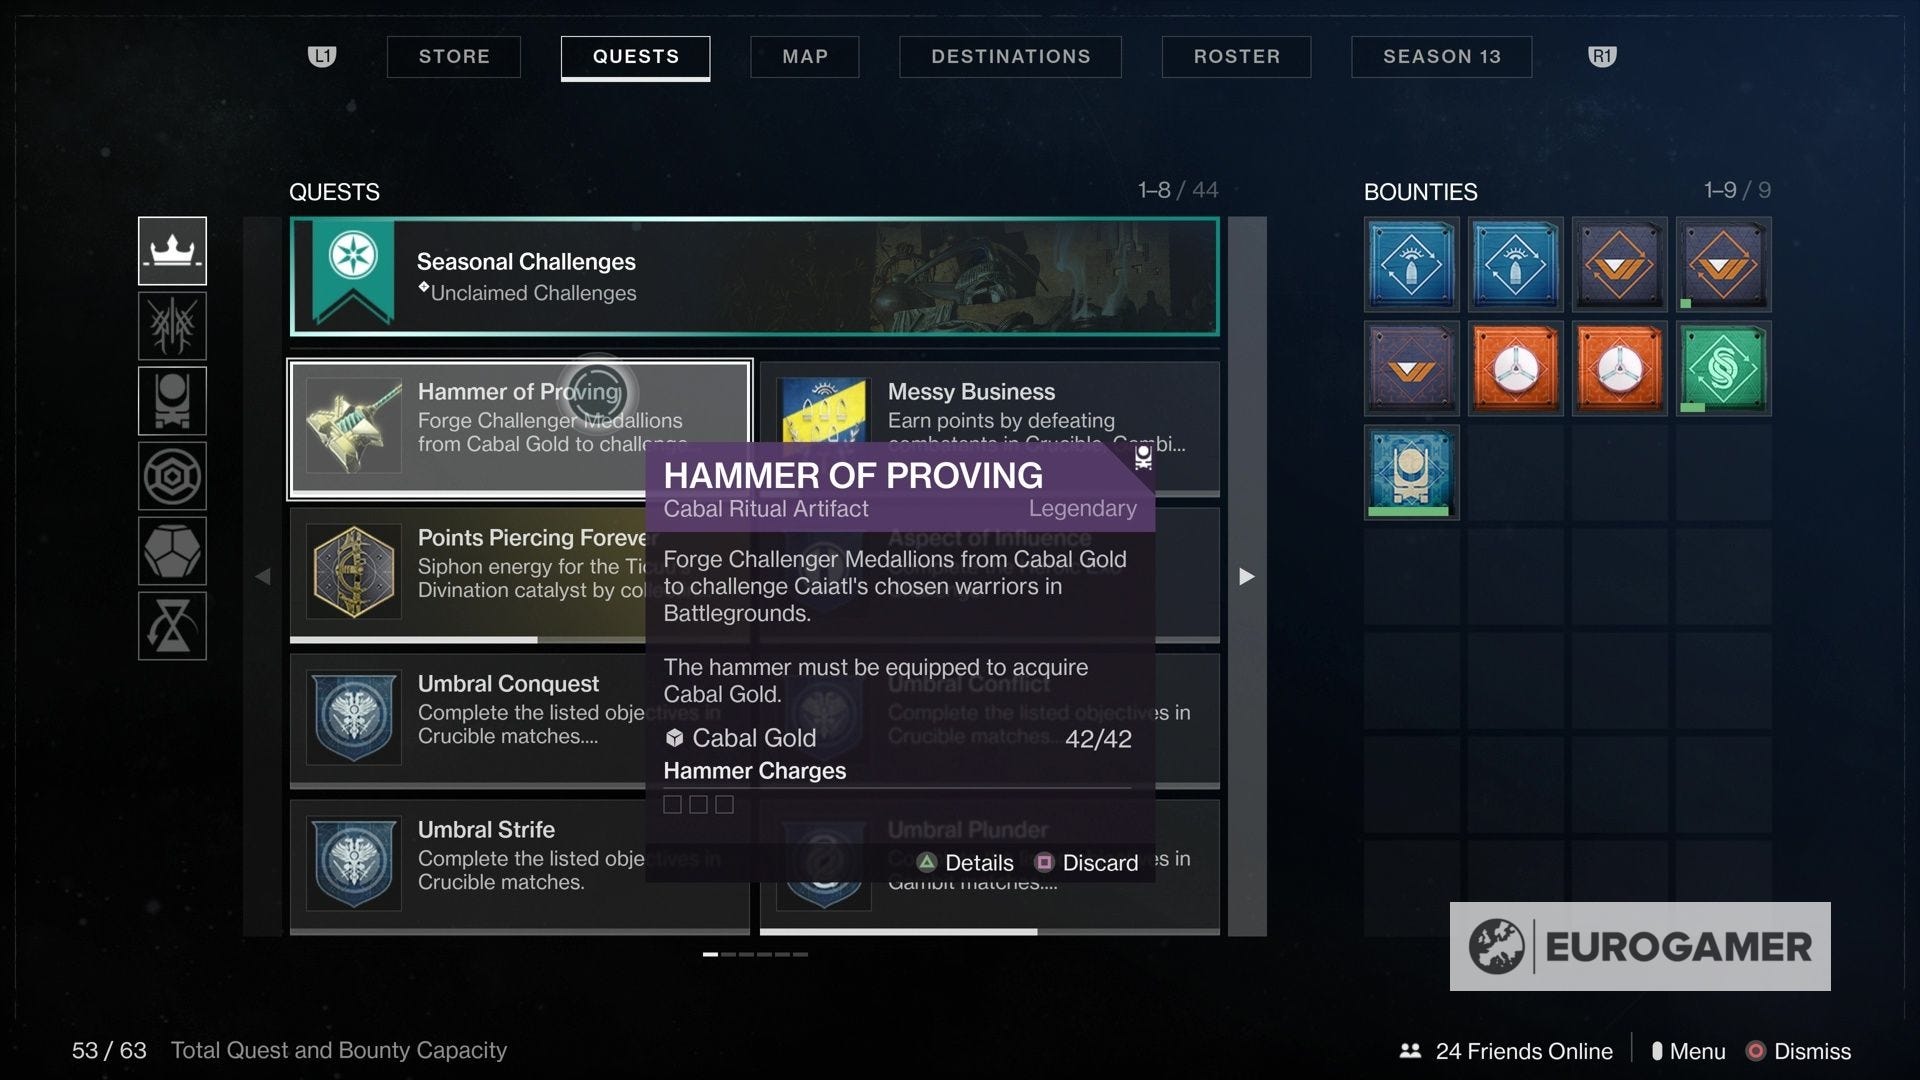
From here, you can add Mods to the Hammer. To begin with, just one is available - Etched Challenger Medallion - which costs 14 Cabal Gold. Once done, the Hammer of Proving is now capable of being charged.
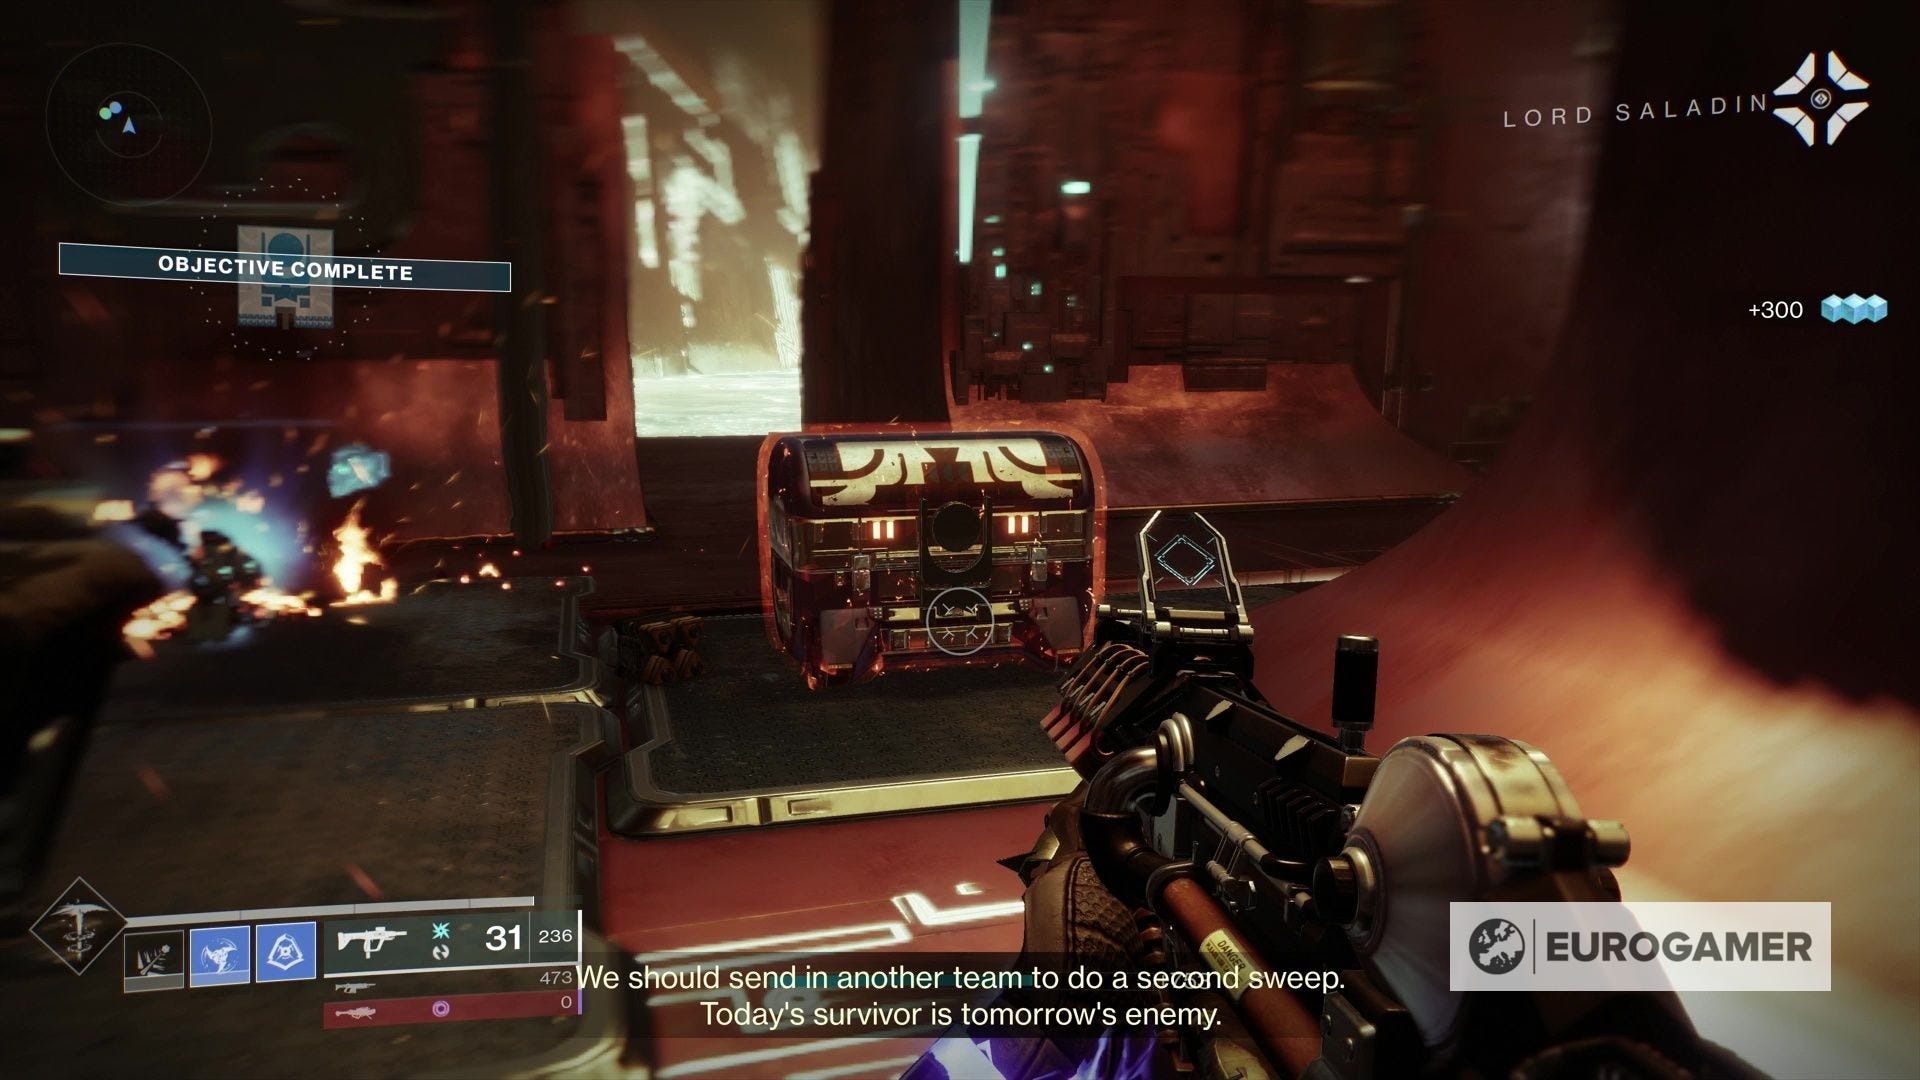
To charge the Hammer of Proving, you must find a Tribute Chest. Tribute Chests appear at the end of a completed Battlegrounds activity in the Vanguard playlist, alongside the regular activity chest.
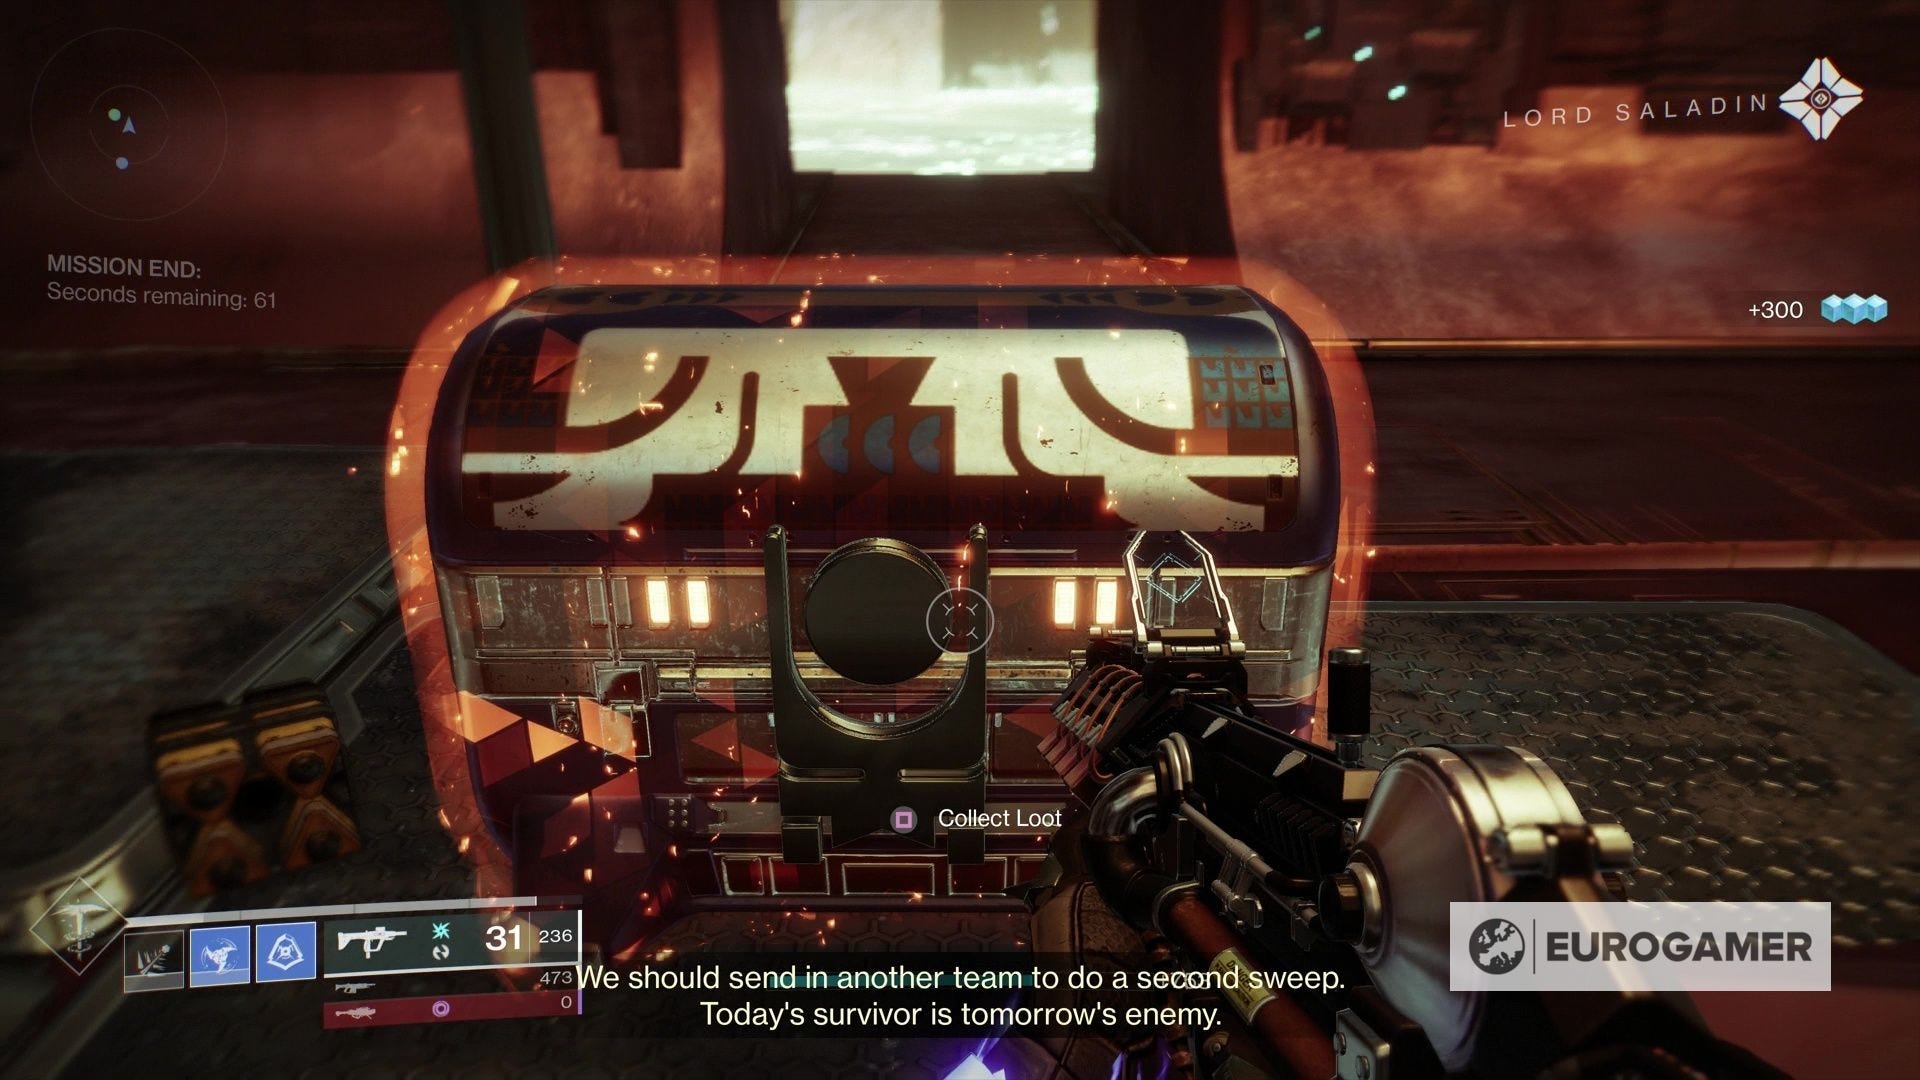
Interact with the prompt, and you'll swing and smash the chest, adding one charge to the Hammer.
One important note on the above - it must be a Battlegrounds activity selected from the Vanguard playlist. If you select a specific Battlegrounds map from a destination, these won't spawn the Tribute Chest.
This caught us out, so make sure you go via the playlist if you want to charge the Hammer!

The Season of the Deep is here alongside the Into the Depths quest. You can know go fishing too! Don't forget to keep an eye on the Lost Sector and King's Fall challenge rotation schedule!
How to spend charges and unlock additional Charges with the Hammer of Proving
Now the Hammer is charged, visit the HELM social space (found from the Tower director screen) and visit the Prismatic Recaster.
This is where you can 'narrow down' what you get from Umbral Engrams. These are broken down into categories across three tiers. The higher the tier, the more specific you can set the reward.
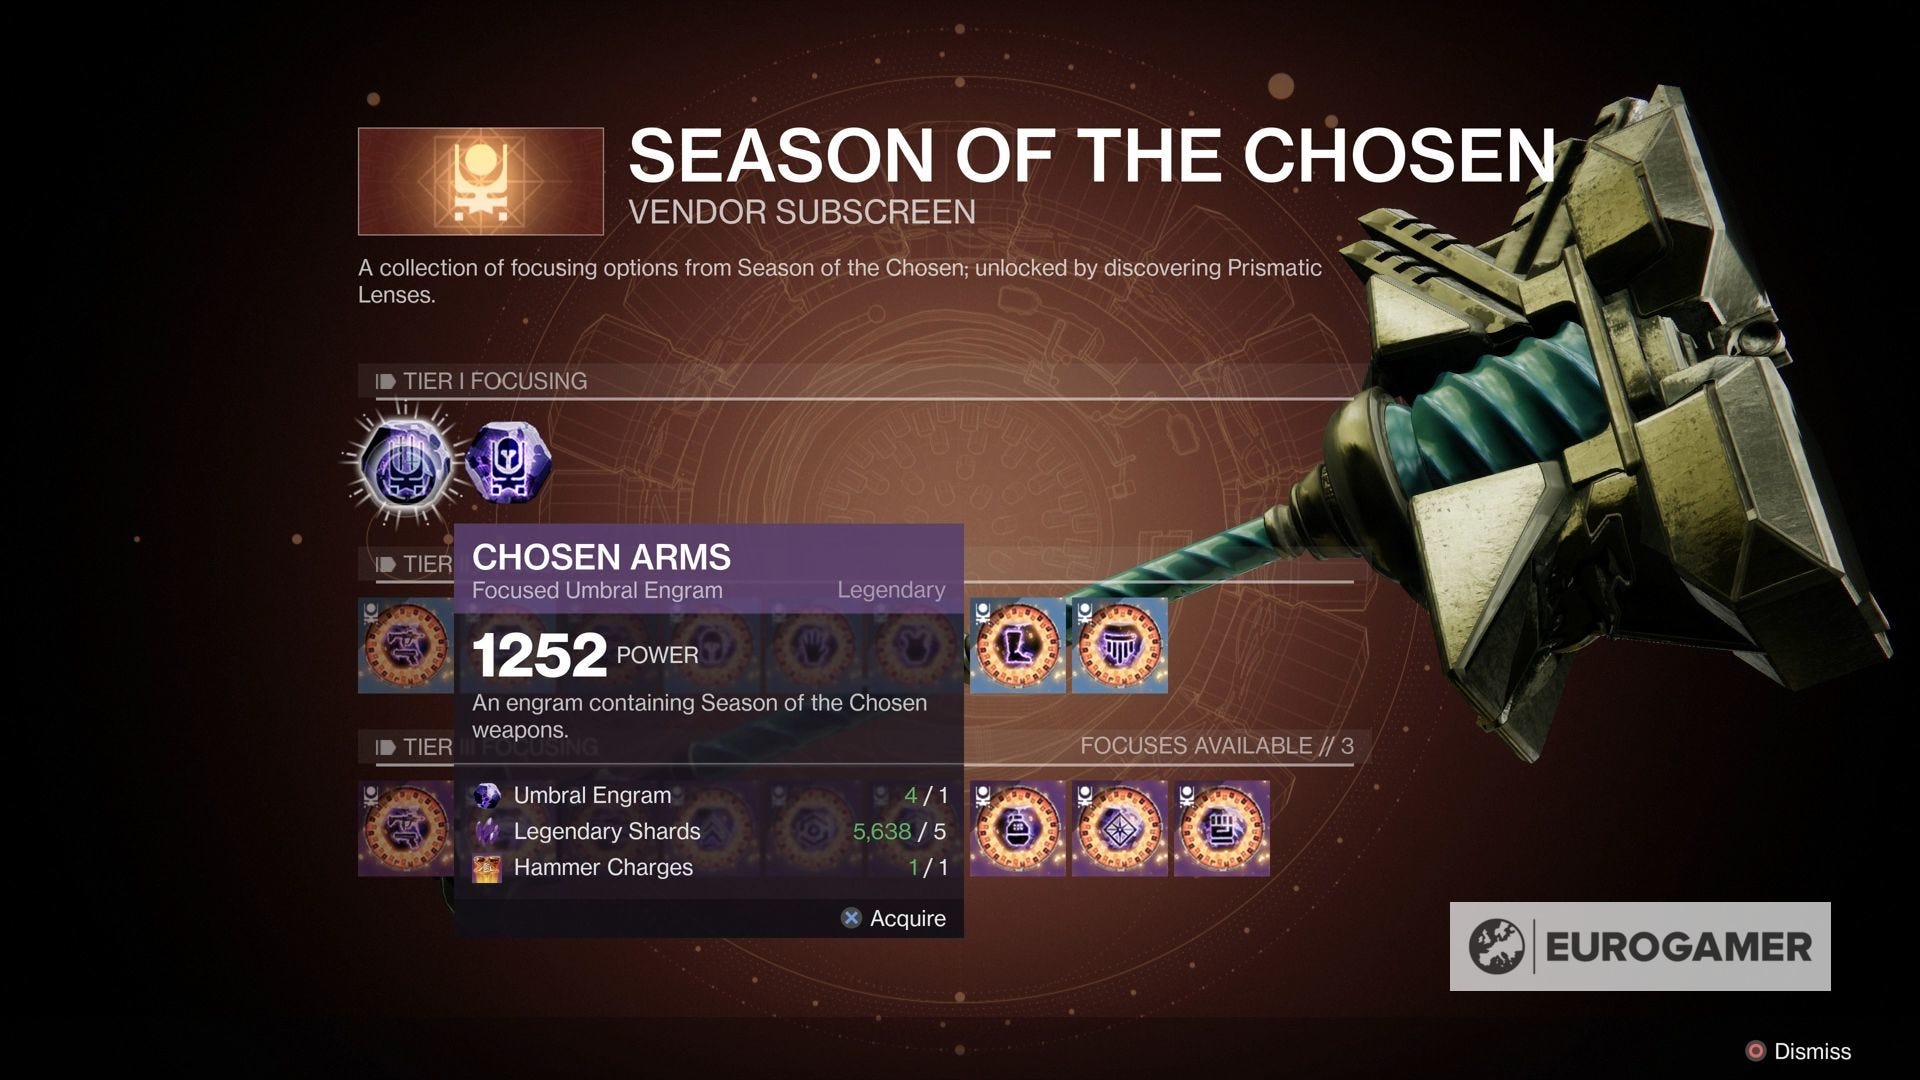
The catch is that higher tiers require more Hammer charges, alongside various other requirements before they can be used, such as using weapons a set number of times.
Additionally, at the start of the Season of the Chosen, the Hammer of Proving can only have a maximum of three charges. It's possible to upgrade the Hammer by earning War Table reputation, with one possible upgrade offering more Charges to be stored.

Specifically, you must unlock the following upgrades:
- Hammer Charge 1 - Increases number of charges from 3 to 5
- Hammer Charge 2 - Increases number of charges from 5 to 7
- Hammer Charge 3 - Increases number of charges from 7 to 10
It will take you a while to unlock these - but with three months to the Season of the Chosen, there's plenty of time to get there. Good luck!