Destiny 2 Ace of Spades quest steps and Cayde's cache locations explained
How to unlock Ace of Spades in Destiny 2.

Destiny 2 Aces of Spades is an Exotic quest you start early on in the Forsaken campaign.
After receiving 'Cayde's Will' in your Pursuits, and sit until the main story ends - which is when you really get to work, from completing matches of Gambit and Crucible, to even finding Cayde's stashes - like the Treasure Maps of old.
How to get the Destiny 2 Ace of Spades
In brief, the Ace of Spades quest unfolds as follows:
- Complete Forsaken's opening mission 'Last Call', then visit the Gunsmith in the Tower
- Finish the main story
- Return to the Gunsmith in the Tower
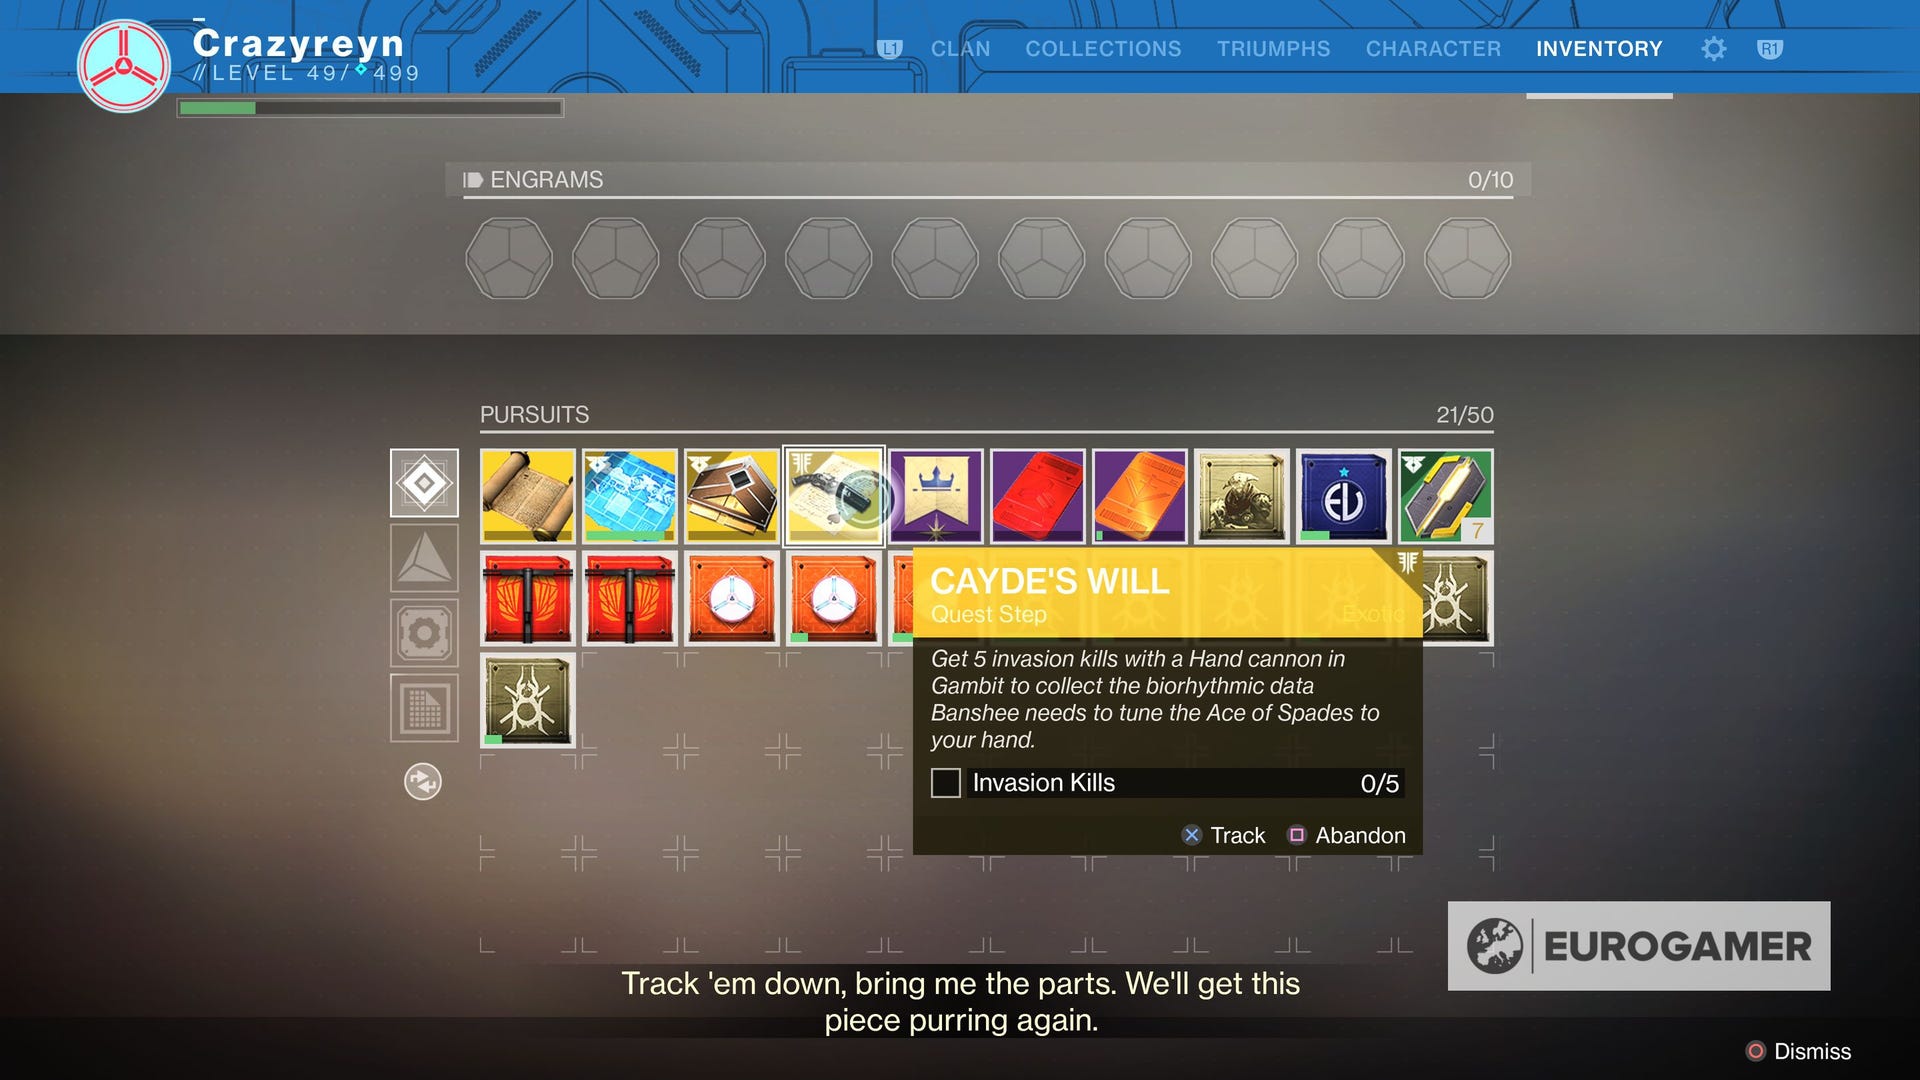
- In Gambit, kill enemies or invaders with a Hand Cannon
- Kill 250 enemies in Strikes with a Hand Cannon
- Get 25 precision kills in Crucible matches with a Hand Cannon
- Open Cayde's four caches in the Tangled Shore, EDZ, Io and Nessus
- Complete the mission 'Ace in the Hole' on Titan
- Visit the Gunsmith one last time
Thanks to xHOUNDISHx and D0cR3d on reddit for filling in the gaps of the above steps.
Here's how to complete each part in more detail:

Getting the Destiny 2's Ace of Spades step-by-step
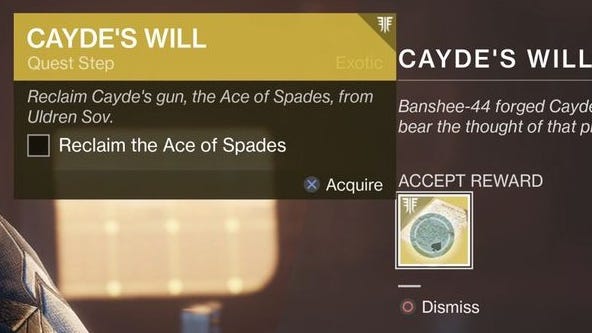
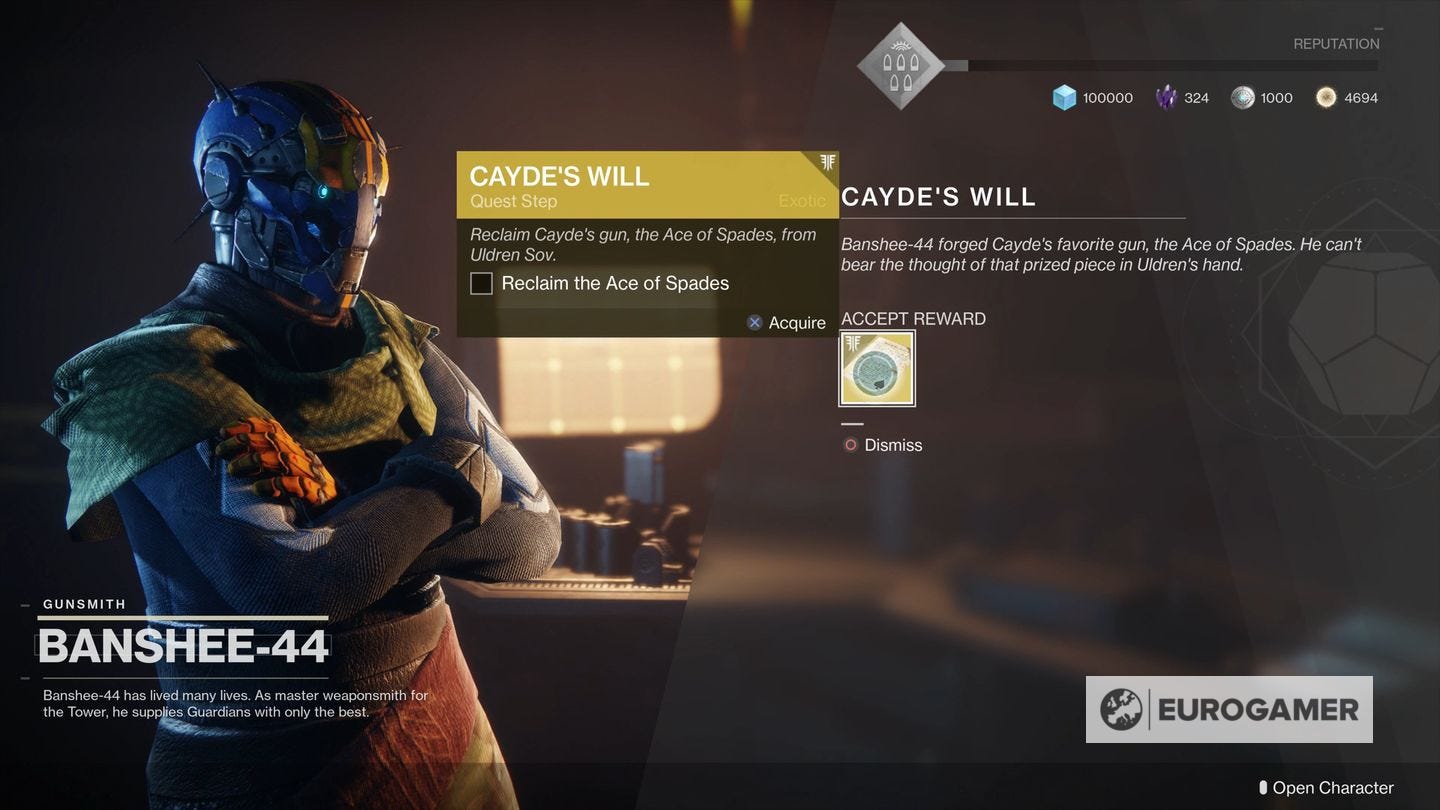
First, complete Forsaken's opening mission, Last Call, and visit the Gunsmith in the Tower, who will give you the Pursuit 'Cayde's Will' to get started.
This first step to get the Ace of Spades back is completed by finishing the expansion's main story. In other words - keep playing the Forsaken Milestone and the missions along the way, until it unlocks. Our Forsaken walkthrough explains the steps required, if you're curious how long it takes.
After that, return to the Gunsmith for the next step, which is to play Gambit and kill enemies or invaders with a Hand Cannon. At launch, this was killing players in invading your area, but Bungie had changed it post-launch to any enemies to make it easier. Any Hand Cannon will do for this step, and it can be done over several matches.
Next, it's time to run some Strikes and kill 250 enemies with a Hand Cannon. You can now select individual Strikes from the Director by investigating each planet individually, or take part in playlists. However you choose to do it is up to you.
Then, you need to get 25 precision kills with any Hand Cannon in Crucible matches. This one takes a bit of skill, but keep plugging away and you'll get there - there's no rush.
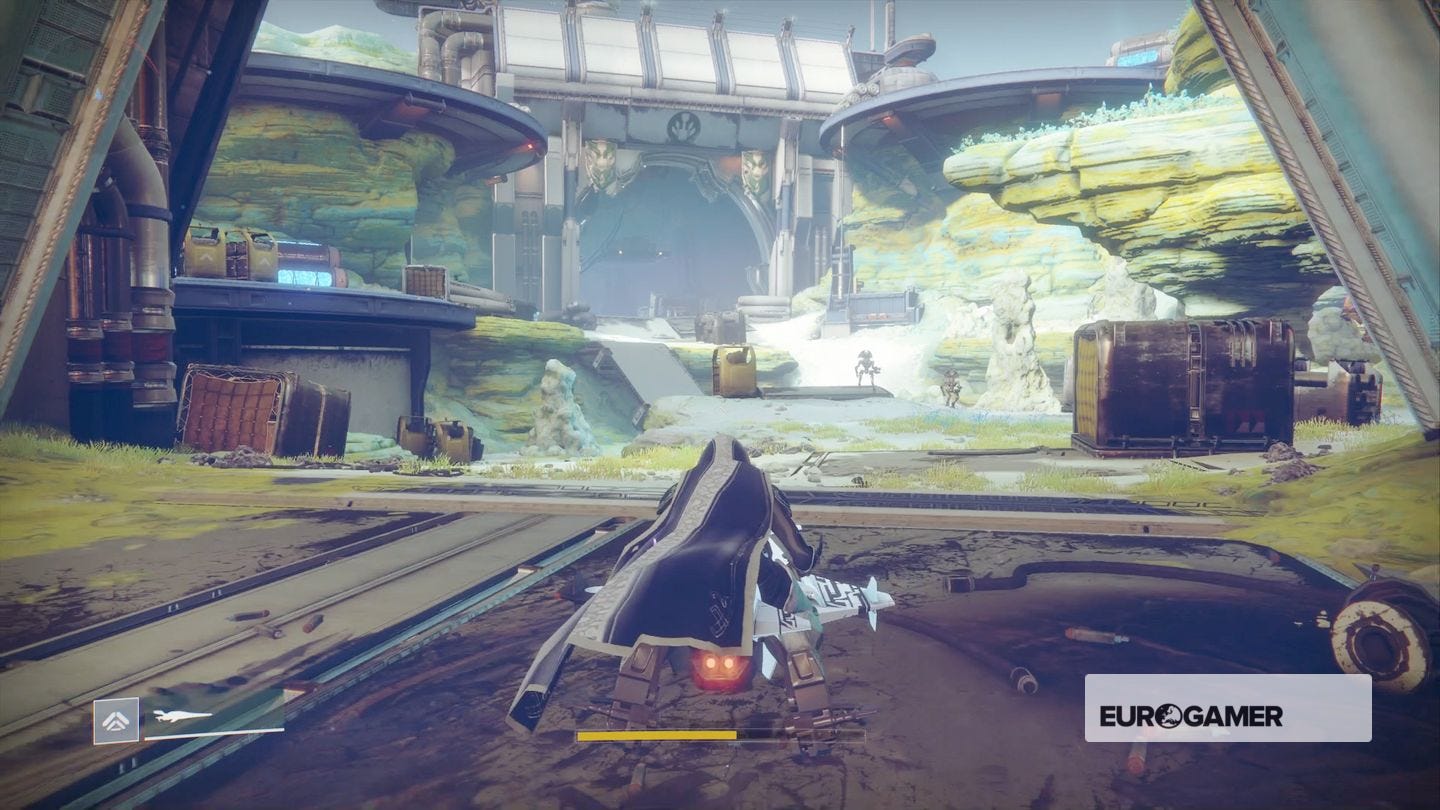
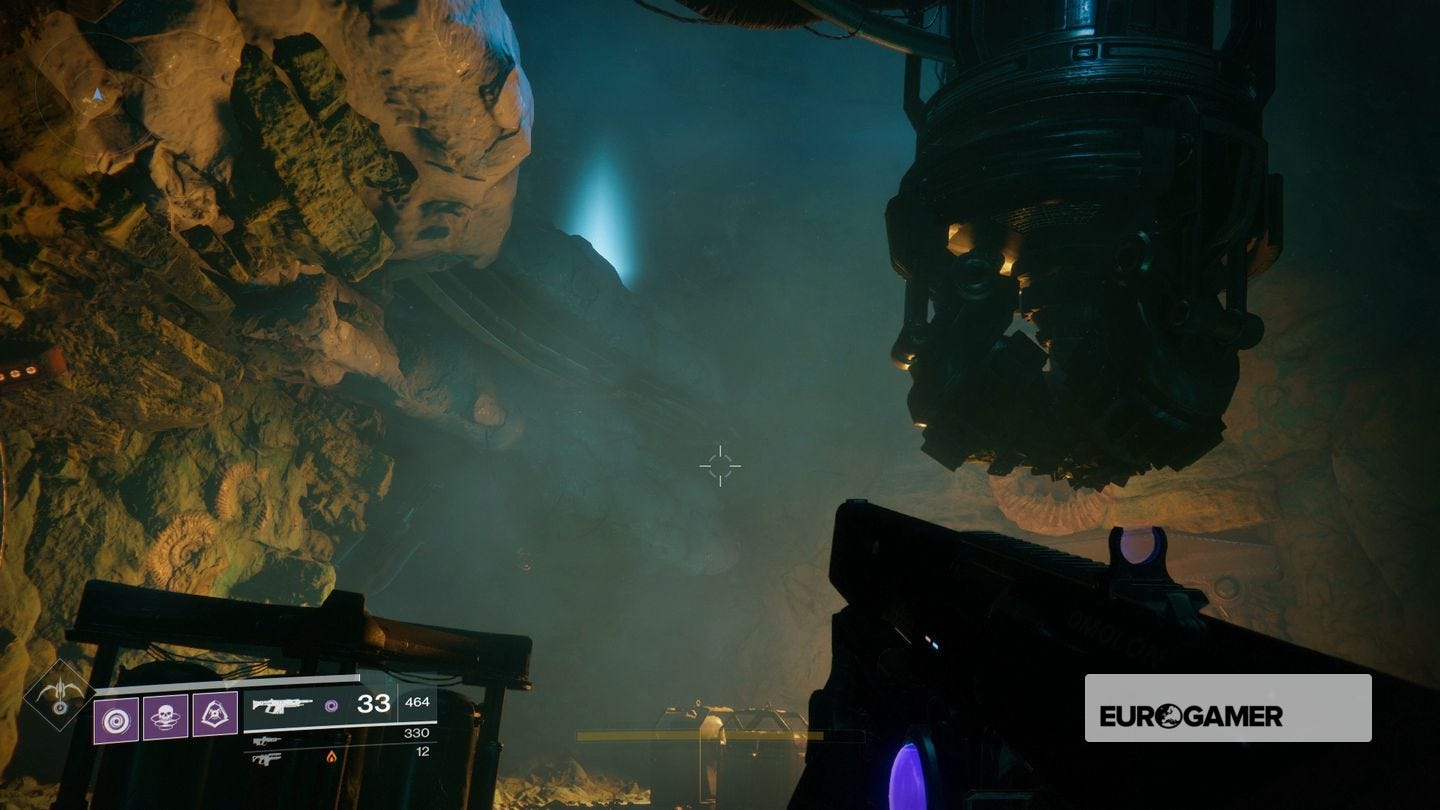
Following that is finding four Cayde caches in four locations.
The Season of the Deep is here alongside the Into the Depths quest. You can know go fishing too! Don't forget to keep an eye on the Lost Sector and King's Fall challenge rotation schedule!
Cayde's Cache locations and how to complete the Ace of Spades
The four Cayde Cache locations are in particularly awkward locations:
Tangled Shore: Start from the Jetsam of Saturn, and head south through the winding passage until you reach Hellrise Canyon. Keep going through this linear passage until you come to a ship on the ground. It'll be in the corner on the left.
Io: Head to Terrabase Charon (the closest spawn point is Lost Oasis) until the canyon opens up, with a base to your left. Enter the door there, and follow it through until you reach The Wraith Mines. It's up above you in this opening room, and you can either climb up the rocks, or take the passage on the far left, which can take you up to the above floor. When up there, it'll be glowing in the far corner.
EDZ: Head to Sunken Isles, and instead of entering the giant ship, locate the doorway on the left, and follow the passage in the corner until you reach Legion's Anchor. Stay on the ground floor, and enter the next hanger beyond, and it'll be on the left.
Nessus: Load in at the Exodus Black spawn point, then take a right, and enter the cave on the far east side. In this opening room there's a portal on the upper left ledge ahead. Ignore it and go straight ahead to the end, taking the passage on the right down to reach the Sunken Canyon. It'll be up above the far side, behind the glowing ledge that circles the room.
This video by Krispy Kevin on YouTube goes through all four Cayde cache locations in more detail, if it's useful:

With those four done, the final step is completing the mission 'Ace in the Hole' on Titan. It's a 460 recommended Power mission, which you should have reached by the time you've done all of the above steps.
With that done, visit the Gunsmith one final time. The weapon is now yours, and a piece of Cayde-6 will always be with you (unless, of course, you stash it in your inventory). Well done!