Dark Souls - Lost Izalith strategy
How to tackle Lost Izalith in Dark Souls.
Lost Izalith follows on from exploring Demon Ruins and defeating Centipede Demon and Demon Firesage in Dark Souls.
If you're looking for more help, our Dark Souls walkthrough and guide can help with all other areas of the game, including the dreaded Taurus Demon, Capra Demon, Ornstein and Smough bosses.
Lost Izalith
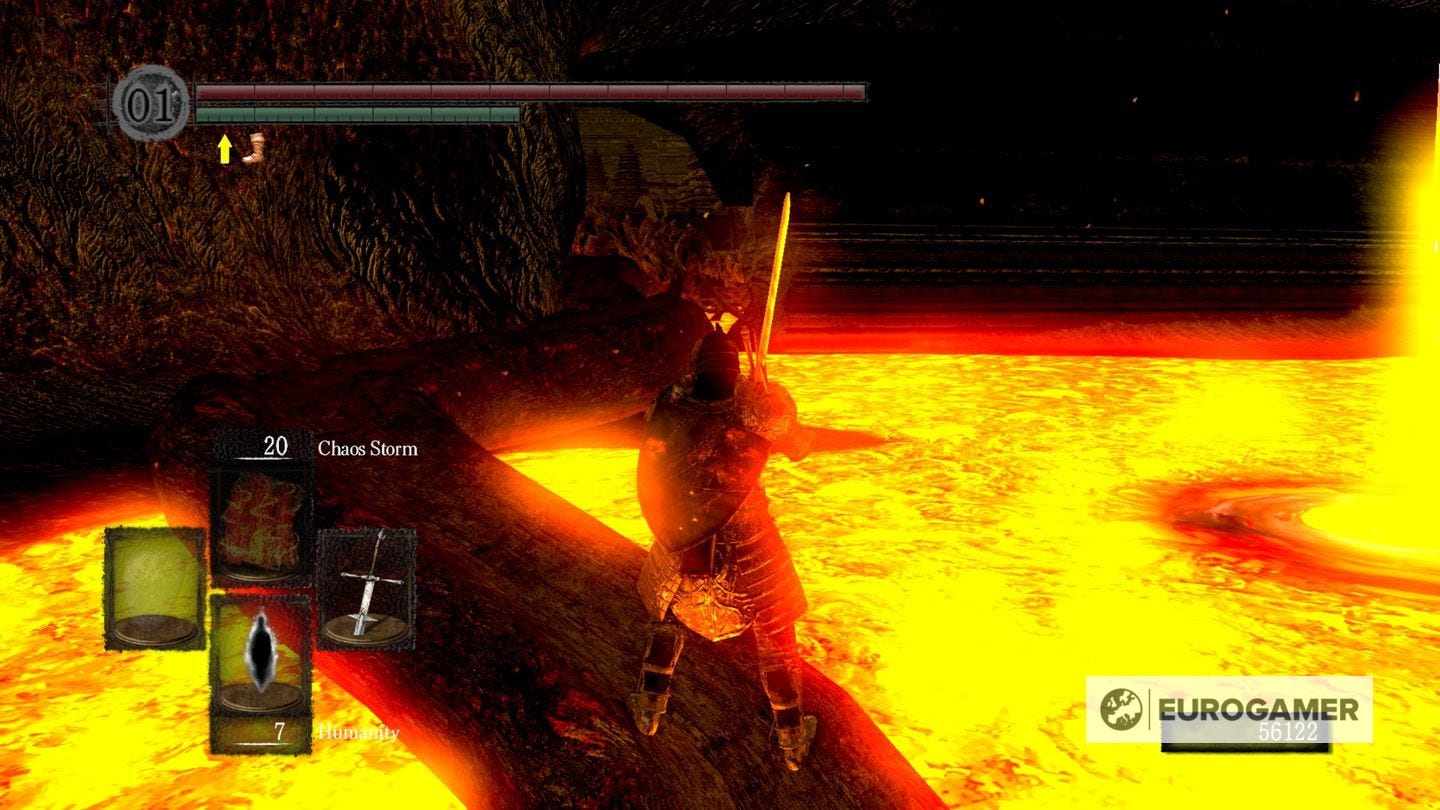
From the Centipede Demon you will reach Lost Izalith. Firstly, we're going to strongly recommend that you have the Orange Charred Ring equipped to deal with the Lava in this area. First of all, you're going to want to look right to see a branch and follow this path up and into the main area of Lost Izalith.
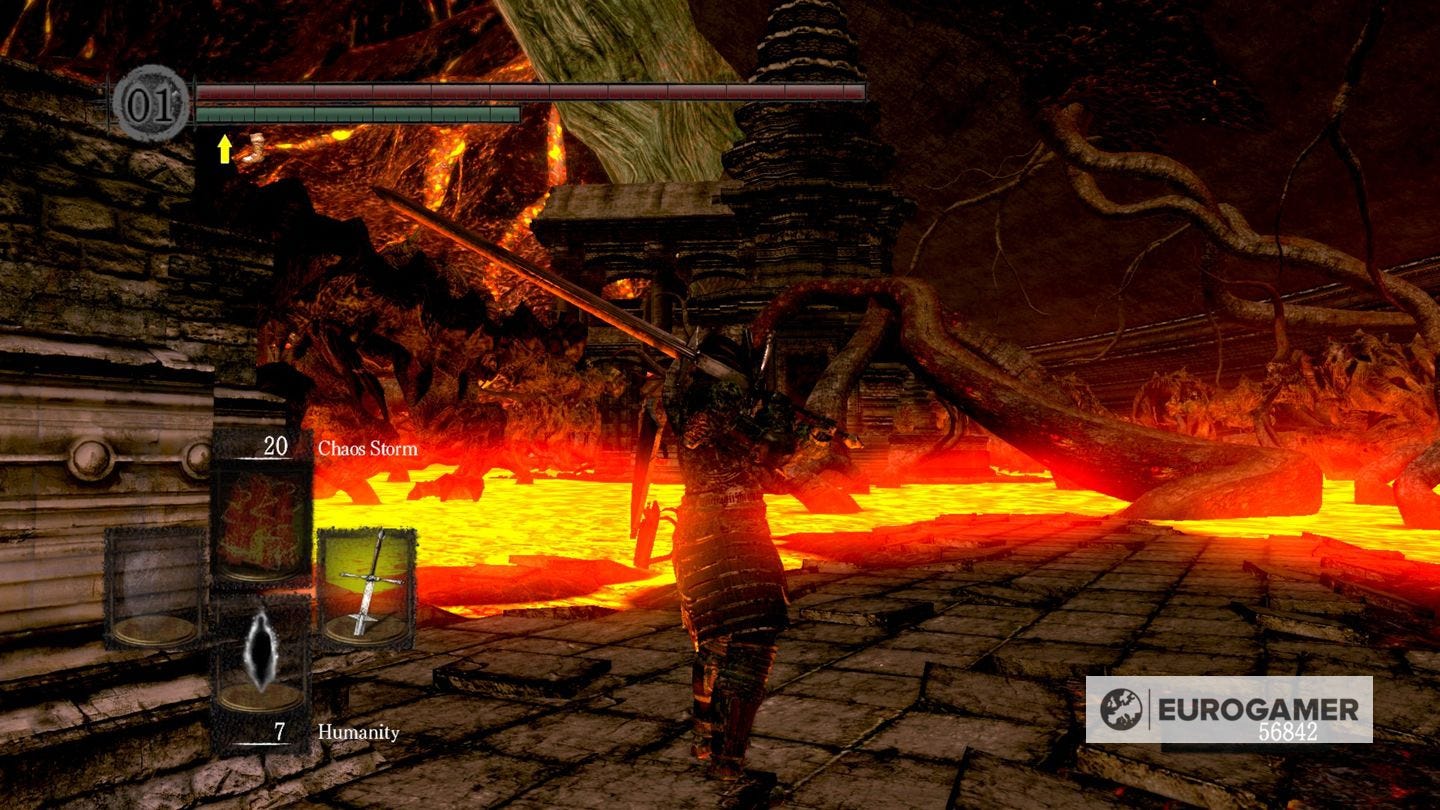
Follow the branches path and head left to get a Soul of a Brave Warrior, then continue forward, through a small bit of lava onto the next branch. Follow this path around, and you will see a larger stretch of lava with an item on the other side. Run for it, get the Soul of Brave Warrior and continue to push onwards. If you walk up the stairs you will encounter a Fire Slug. Take this out and hug the left side to see another path to another building through a raised branch.
Follow this branch up and to the ledge, then head left towards the item you see. Then, drop down to the level below you. On the side of the building with a burnt branch covering the front, attack it to uncover a hidden bonfire. After resting up, head out and run immediately forward.
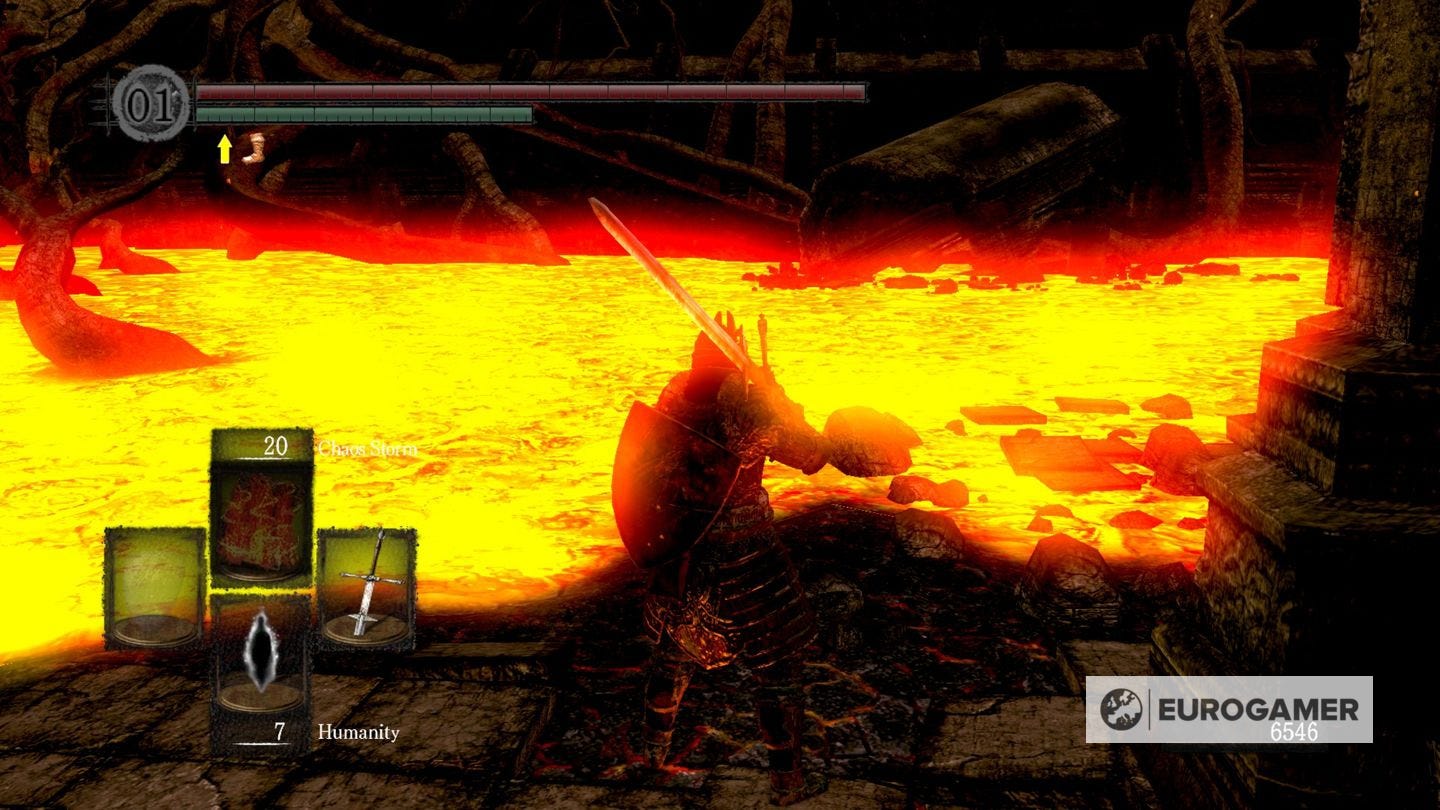
Go through the arch and onto the branch up. Heal up if you have taken a bit of damage along the way. Head up the branch and then follow it down into the area you see below. Tere will be multiple Fire Slugs to the left and right, then as you progress check your corners, as more will also come. Head into the archway, where you encounter even more of these monsters. Then, you will come to a staircase, head around the staircase and to the left of it will be a Soul of Brave Warrior, then start to head up.
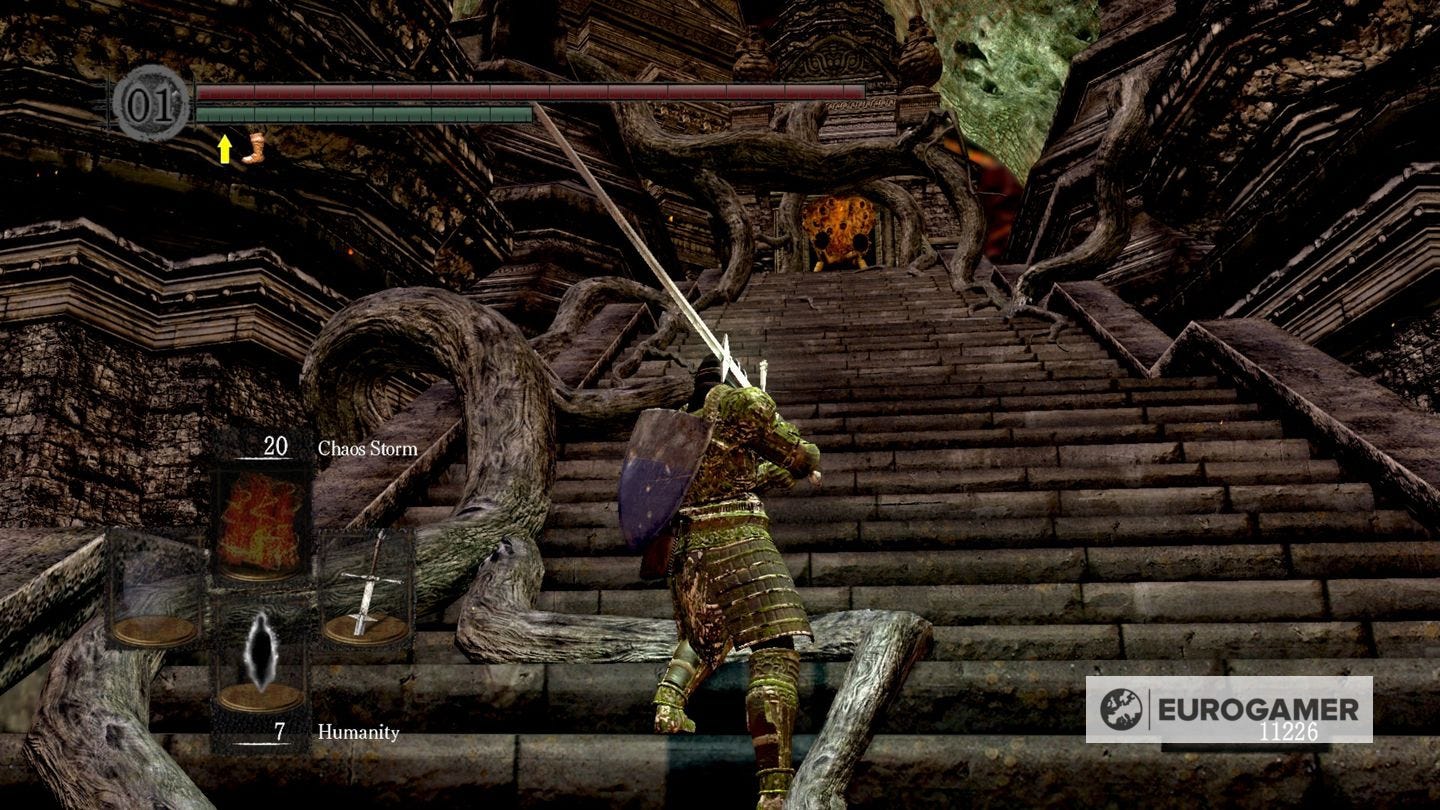
As you're heading up, you will encounter a new type of enemy, this one has the ability to degrade your weapons, but if you have a fully upgraded weapon, this should go down in a few two handed hits. Head up to the top, into the room and follow the path on the branch down. Kill all the fire bugs in this area and head to the room to the left towards the item. The ground will break from beneath you.
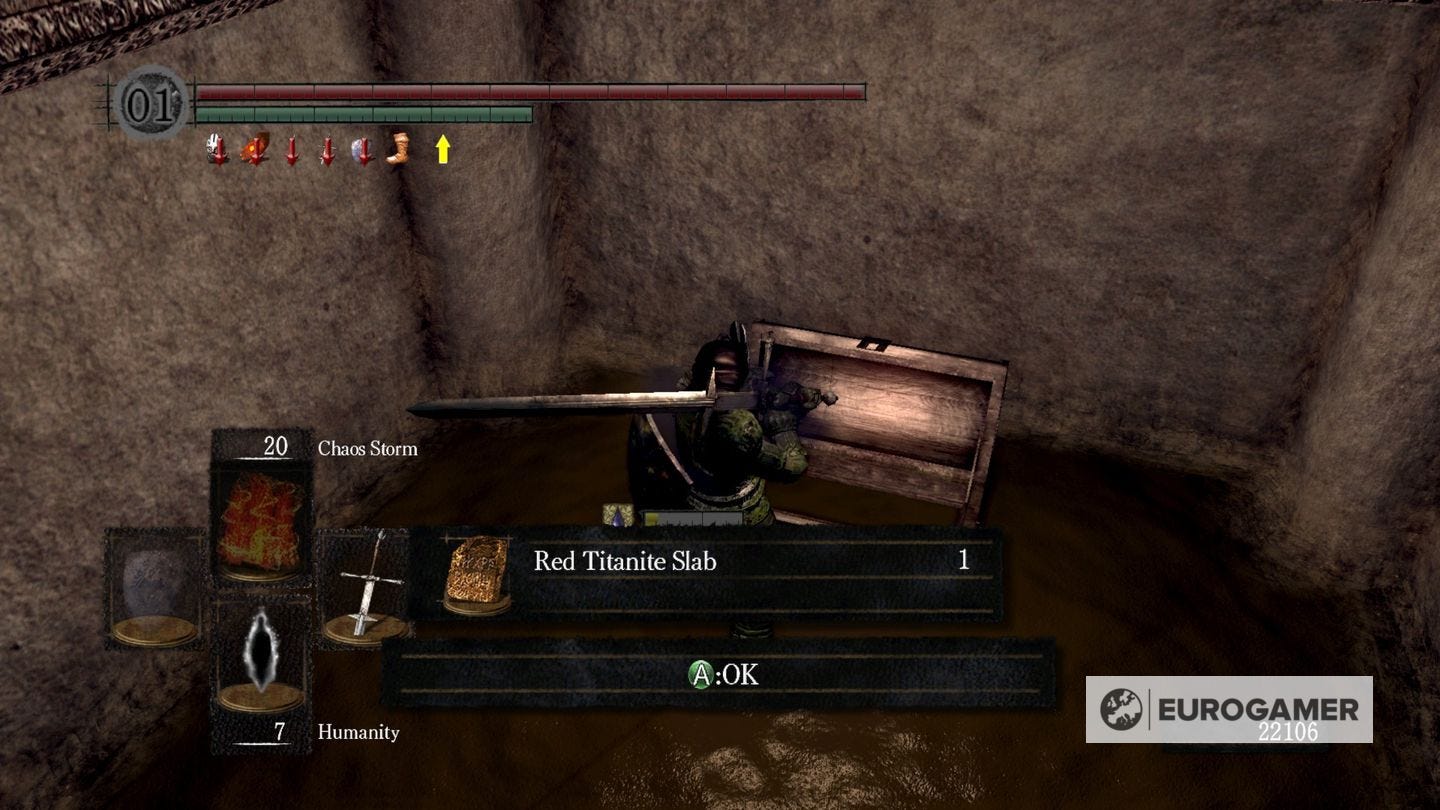
Head into the area below and take out the monsters as quickly as you can, as they can destroy your weapons and armour pretty quickly. If you hang left out of this room and past the hole in the floor, you will find a Red Titanite Slab. Then, make your way through the underground paths and head back up the stairs. You will also find a Red Titanite Chunk here. Then, use a homeward bone and go back to the top of the branch where you came from.
Now, head up the stairs you see a Pyromancer in front of you, kill this with some easy backstab baiting and head forward and right in order to encounter another monster which eats your armour, and behind it a chest for a Chaos Fire Whip Pyromancy.
Then, head through the fog gate to fight Bed of Chaos.
If you're looking for more help, our Dark Souls walkthrough and guide can help with all other areas of the game, including the dreaded Taurus Demon, Capra Demon, Ornstein and Smough bosses. Meanwhile, we have explainers on how to access DLC Artorias of the Abyss, the best gift and best class in Dark Souls, Dark Souls' best weapons, Dark Souls Covenants, Dark Souls Estus Flasks locations, Dark Souls Titanite Slab locations and NPC quests including Lautrec of Carim.
Once done, there are three other areas and bosses you must tackle before you can head to the game's final area:
- Crystal Caves (from Duke's Archives)
- The Abyss (from New Londo Ruins)
- Tomb of the Giants (from The Catacombs)