Dark Souls 3: Ashes of Ariandel - Snowy Mountain Pass bonfire and exploring Snowy Mountain Pass
Our complete walkthrough and boss strategies to Dark Souls 3's first DLC.

Ashes of Ariandel area Snowy Mountain Pass comes after travelling through the Corvian Settlement area, and acts as the last proper area before the final boss fight. Good luck!
If you want to backtrack a little or need help with other parts of the DLC, then see our Dark Souls 3: Ashes of Ariandel guide and walkthrough.
Snowy Mountain
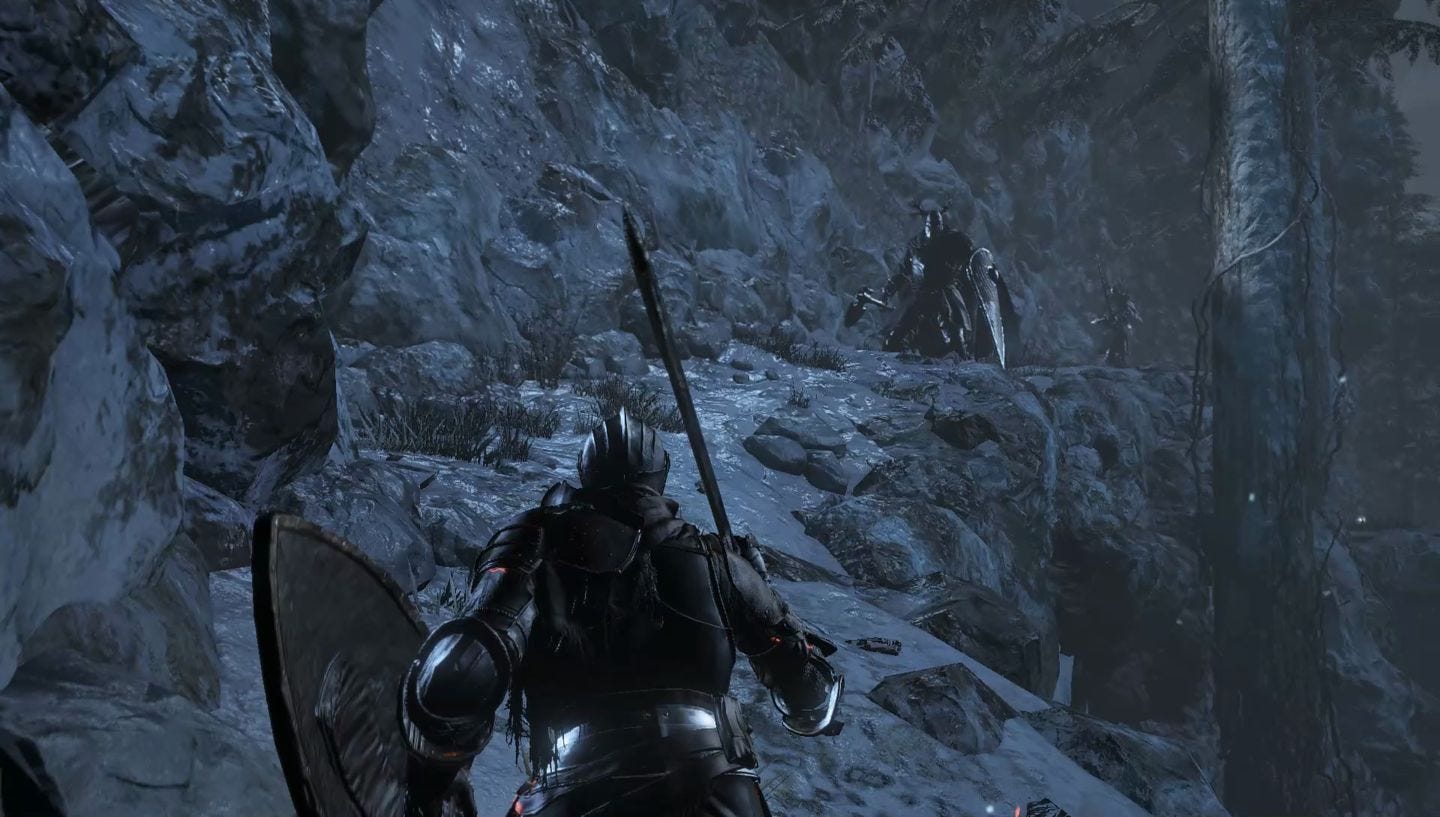
Head up the slope and under the fallen tree, dealing with the Followers as you go. There are multiple routes through the area, but they all lead the same way and eventually bring you to a large bell wedged in the ground - from here just head straight up the slope. A few optional things first:
- Turn right at the top of the slope and follow the path until you're dropped into the large area below where you'll face off against three heavily armoured and heavily beweaponed opponents. Keep your distance, and when they're momentarily stunned after their attacks move in to strike back. When the area is clear you can collect several large souls, and in the cave at the back you can find the Earth Seeker greataxe. Head through the rock archway and follow the path round to the right to return to the bell.

At the top of the slope take a left and follow the path to the cliff edge. You can take a quick detour to the left to find the Follower Torch guarded by a wolf and a Follower before heading the other way.
Deal with the wolves as you keep following the path, and keep your eyes peeled for a small turning on the left that leads to a dead end and a large knight guarding the Quakestone Hammer.
The narrow path will eventually be blocked by a couple more oversized knights; fighting them on the ledge can lead to either rolling or being knocked off, so if you can squeeze past them or drag them back to a safer combat location it's preferable to fighting them where they stand - if you fall off it's an even split between an undignified death or a very long walk back.
Once past the knights, enter the tunnel in the cliff face and deal with the giant flies ahead, then head for the far left corner and roll through the illusory wall to reveal some steps leading down.
Most of the flies in the lower area will ignore you if you keep your distance, but holding a torch in your left hand is useful - if they do attack you the torch should protect you from the bleeding damage they can inflict with their rotten breath. Make your way to the pillar in the far left and turn the crank behind it to trigger a cutscene, then head back upstairs.
Keep to the left hand wall and cross the narrow wooden platform, keep hugging the wall, and when you reach the corner of the room turn right and move a few feet to find the archway shrouded in darkness. Make your way up the stairs, open the doors at the top, and you'll be back in familiar territory. Before we return to Ariandel Chapel, there's a few optional things to see:
- In the lower area there's a Blood Gem being guarded by the flies in the centre, and Vilhelm's Set armour is tucked away in the far right corner from where you entered.
- From the entry arch in the lower area, head straight past the first two pillars, then just before you reach the third head for the wall on your right to reveal an illusory wall. Head through, grab the two gem bugs inside, and then head out through the door opposite. Drop down to the ledge below and carefully make your way down the snowy roots to gain access to the top of the tower where you fought the Gravetender - here you'll find Pyromancer's Parting Flame and a Go Home bone. There doesn't appear to be any way down from here, so you'll need to use the bone to make your escape.
Once you're back at the Ariandel Chapel, talk to Friede again, then head down the newly opened secret passageway, and talk to the monstrosity at the far end to start the final Sister Friede boss fight.