Control - Punchcard locations, Punchcard puzzle solution, HRA Lab and Machine activation
How to turn on the HRA Machine in Darling’s Lab.

Now that you've found Marshall, it's time to help her protect the Bureau. To do this you're going to have to find Dr. Darling's HRA Lab, so that you can use his HRA Machine.
Old Boy's Club, the fourth main mission in Control, will now take you through the Ritual Division. When you finally find your way through, you'll have to figure out how to activate Dr. Darling's HRA Machine.
It's a real shame that no-one can find Dr. Darling...
On this page:
- Find Darling's HRA lab in Control
- Continue on towards Darling's HRA Lab in Control
- Activate the HRA Machine in Control
- Punchcard locations and solution to the punchcard puzzle in Control
- Speak with Marshall in Control
Need more help in your quest through the Oldest House? Then check out our Control walkthrough hub, with links to all our Control guides.

Find Darling's HRA lab in Control
Head through the open doors and enter the Ritual Division.
As you enter, you'll hear the sound of shooting. Looks like some rangers are fighting off the forces of the Hiss. Go down the stairs and help them kill the waves of oncoming Hiss enemies. (Though not before opening the chest in the nearby shelter, of course.)
Once the Hiss are defeated, try cleansing the Ritual Division Control Point. Something, however, will go wrong. Rather than returning the room to normal, a Hiss infected Parakinesiology Chief Lewis will appear.
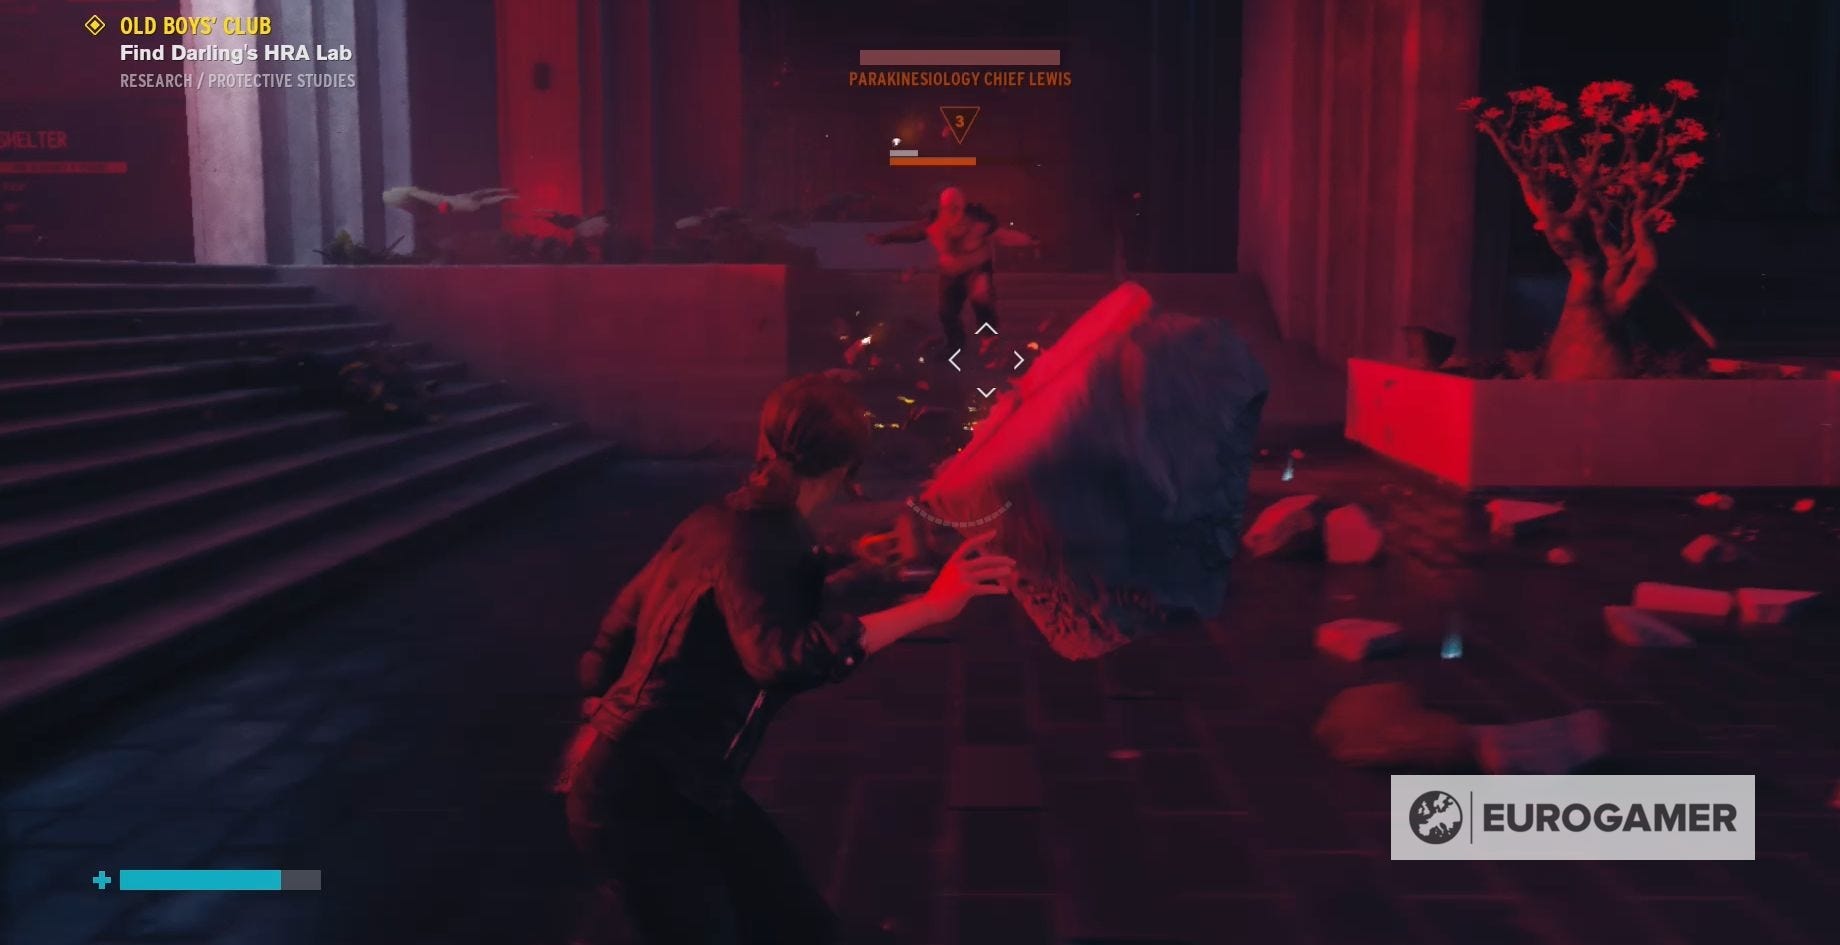
Lewis is a Hiss Warped and has the ability to protect himself with rubble. The best way to defeat him is to use your Launch powers to destroy his shield and then use your Service Weapon to take him out.
Lewis will also be backed up by three Hiss Demolition Experts. Try to focus on defeating Lewis first and then the Demolition Experts.
Once you've taken care of the Hiss, try cleansing the Control Point again. This time it will work and the Ritual Division will return to the Oldest House's version of normal.
Take the time to have a quick wander around the Ritual Division. There's a shelter containing a new collectable and chest. You can also have a quick look around the Synchronicity Lab, as well as the Ritual Office, which is accessible via the elevator to the left of the Control Point. Both have new collectables hidden inside.
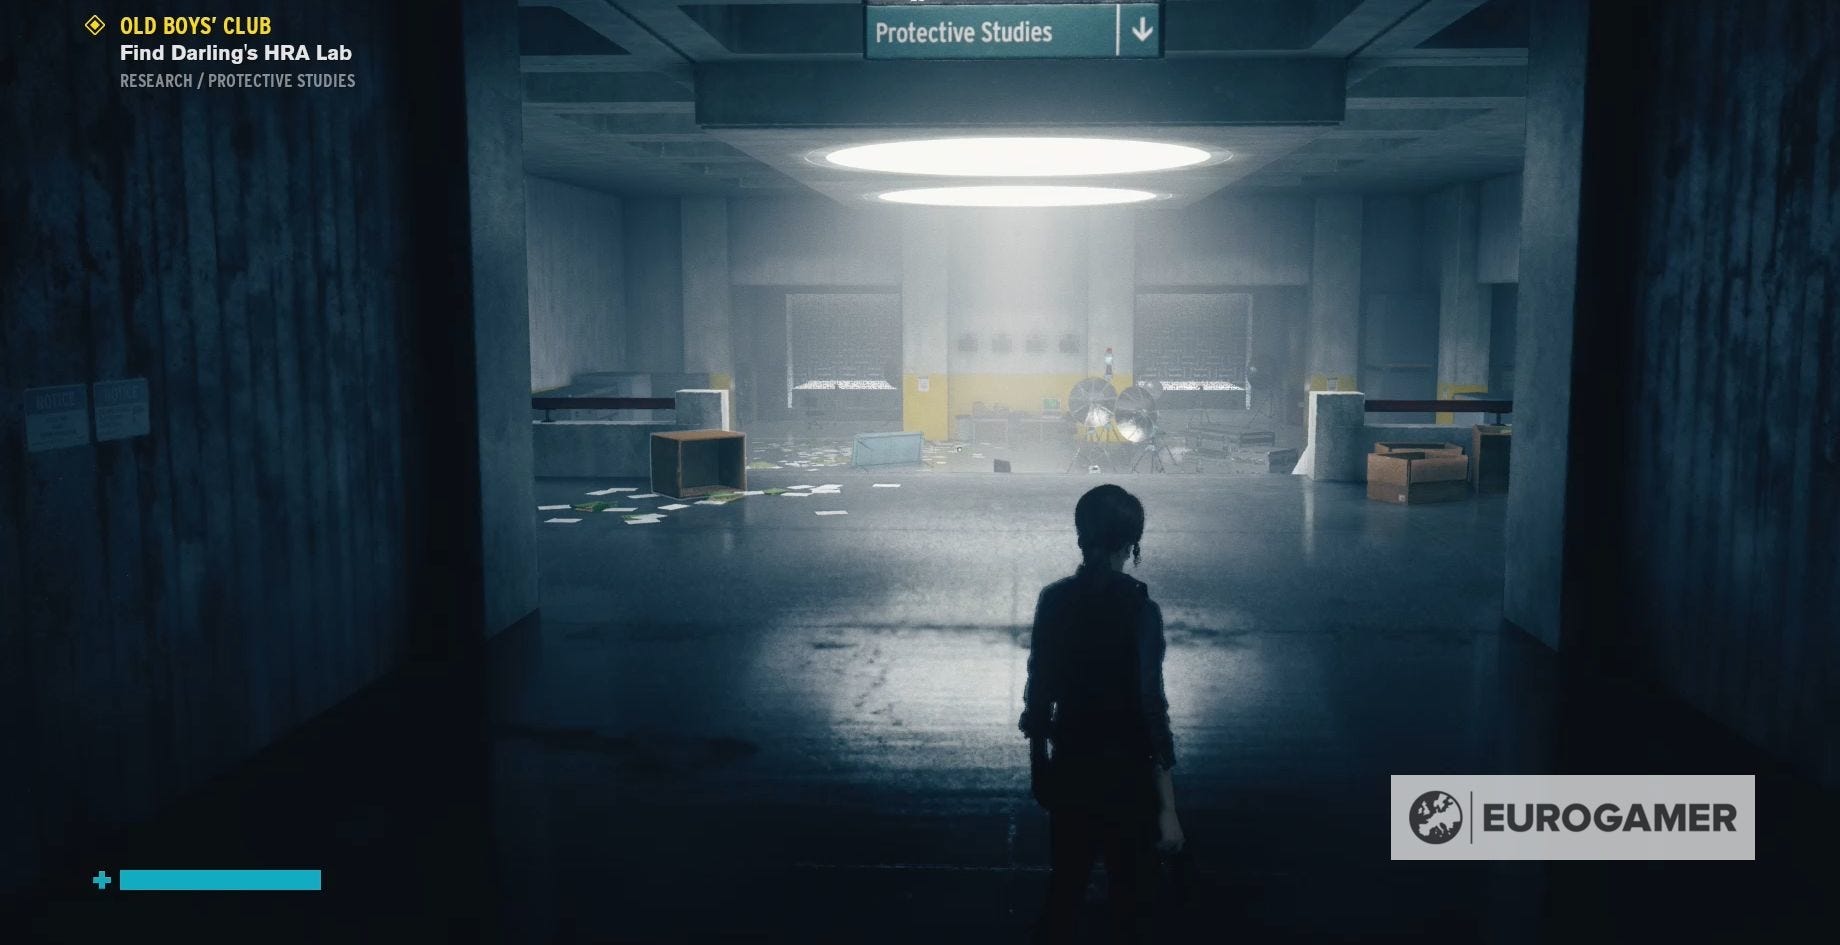
When you're ready, head up the stairs past the Control Point, which leads to Protective Studies.
Collectables to be found:
- Research & Records - Hiss Research - Hiss Warped
- (Receive after defeating Parakinesiology Chief Lewis.)
- Research & Records - Reports - Threshold Kids Proposal
- (Inside the shelter accessible after the Ritual Division Control Point has been cleansed.)
- Research & Records - Research - Synchronicity Experiment
- (Found on the right second floor in the Synchronicity Lab)
- Correspondence - Official - Carla: File Received
- (Take the elevator to the Ritual Office, left of the Ritual Division Control Point, and find it on a cabinet inside.)
- Research & Research - Research - Rituals
- (In the main Ritual Office overlooking the Ritual Division, accessible via elevator, on a cabinet.)

Continue on towards Darling's HRA Lab in Control
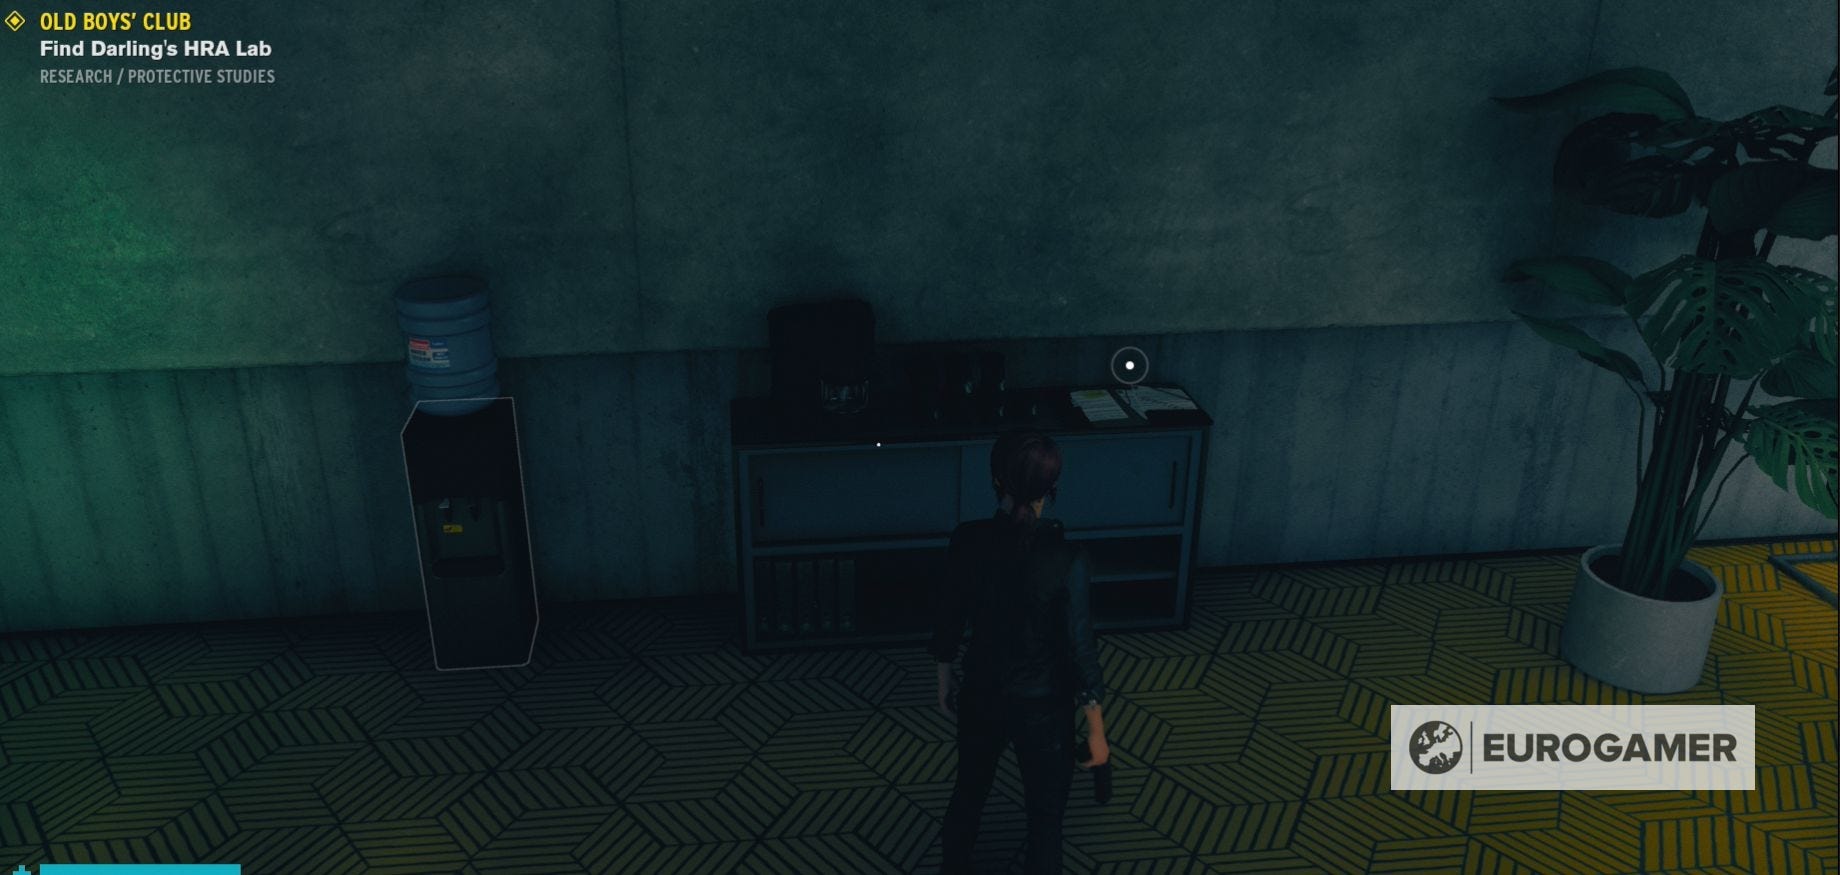
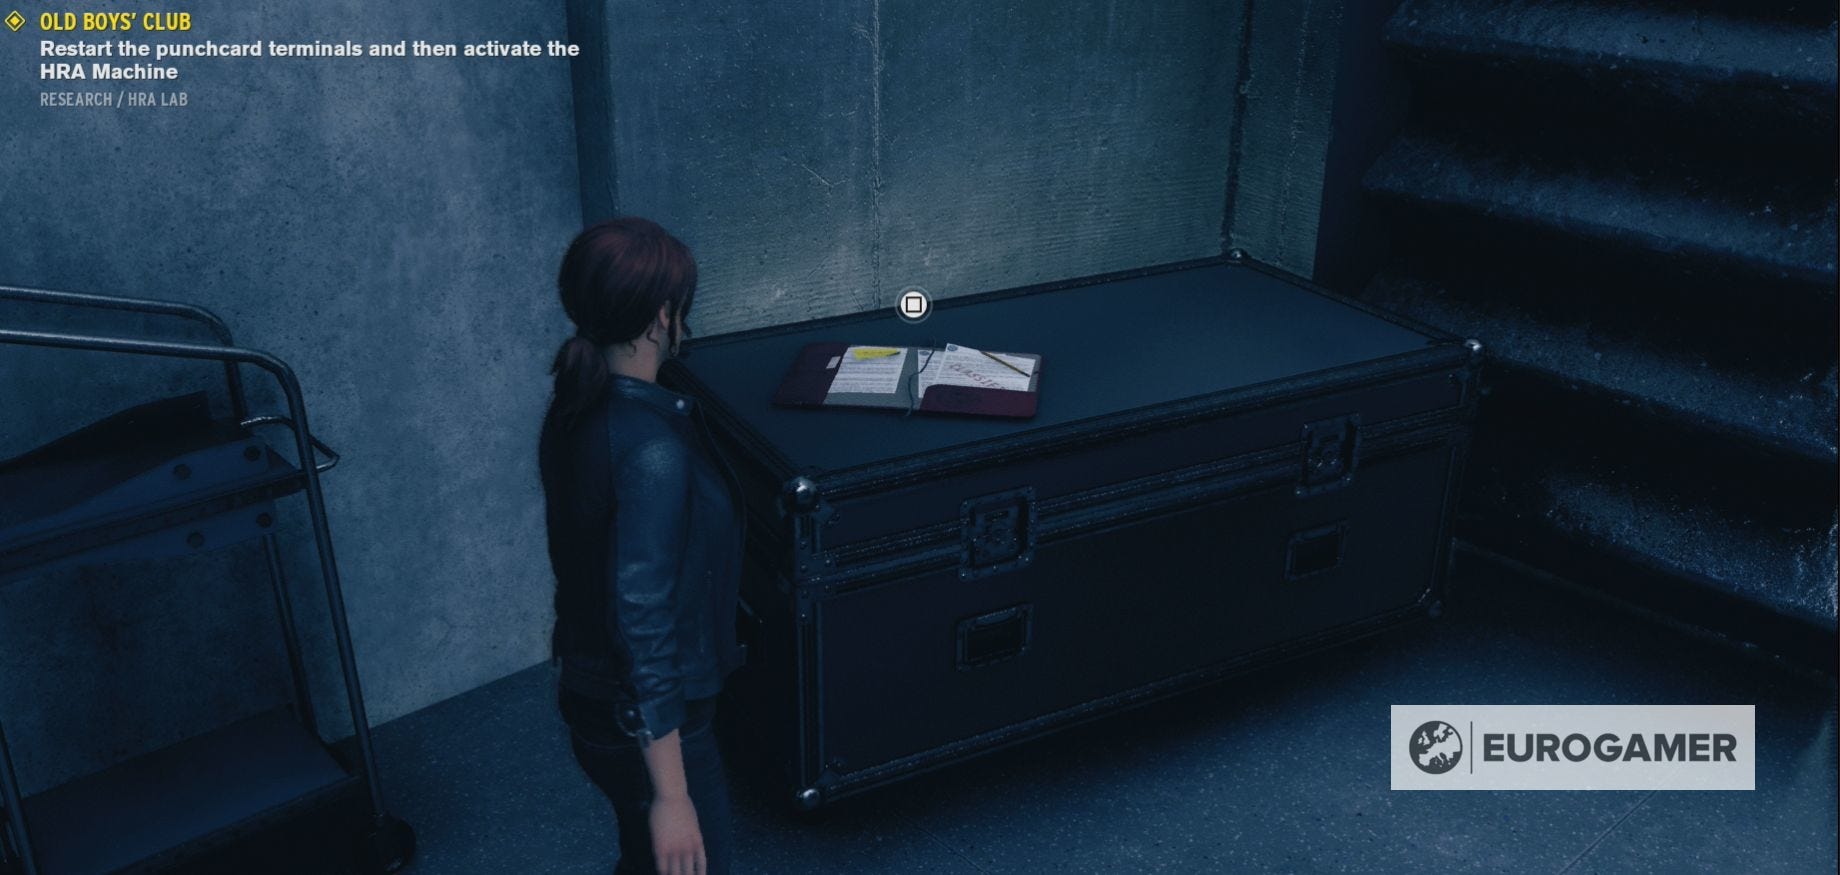
Before you head down the corridor, open the chest on the right-hand side of the room.
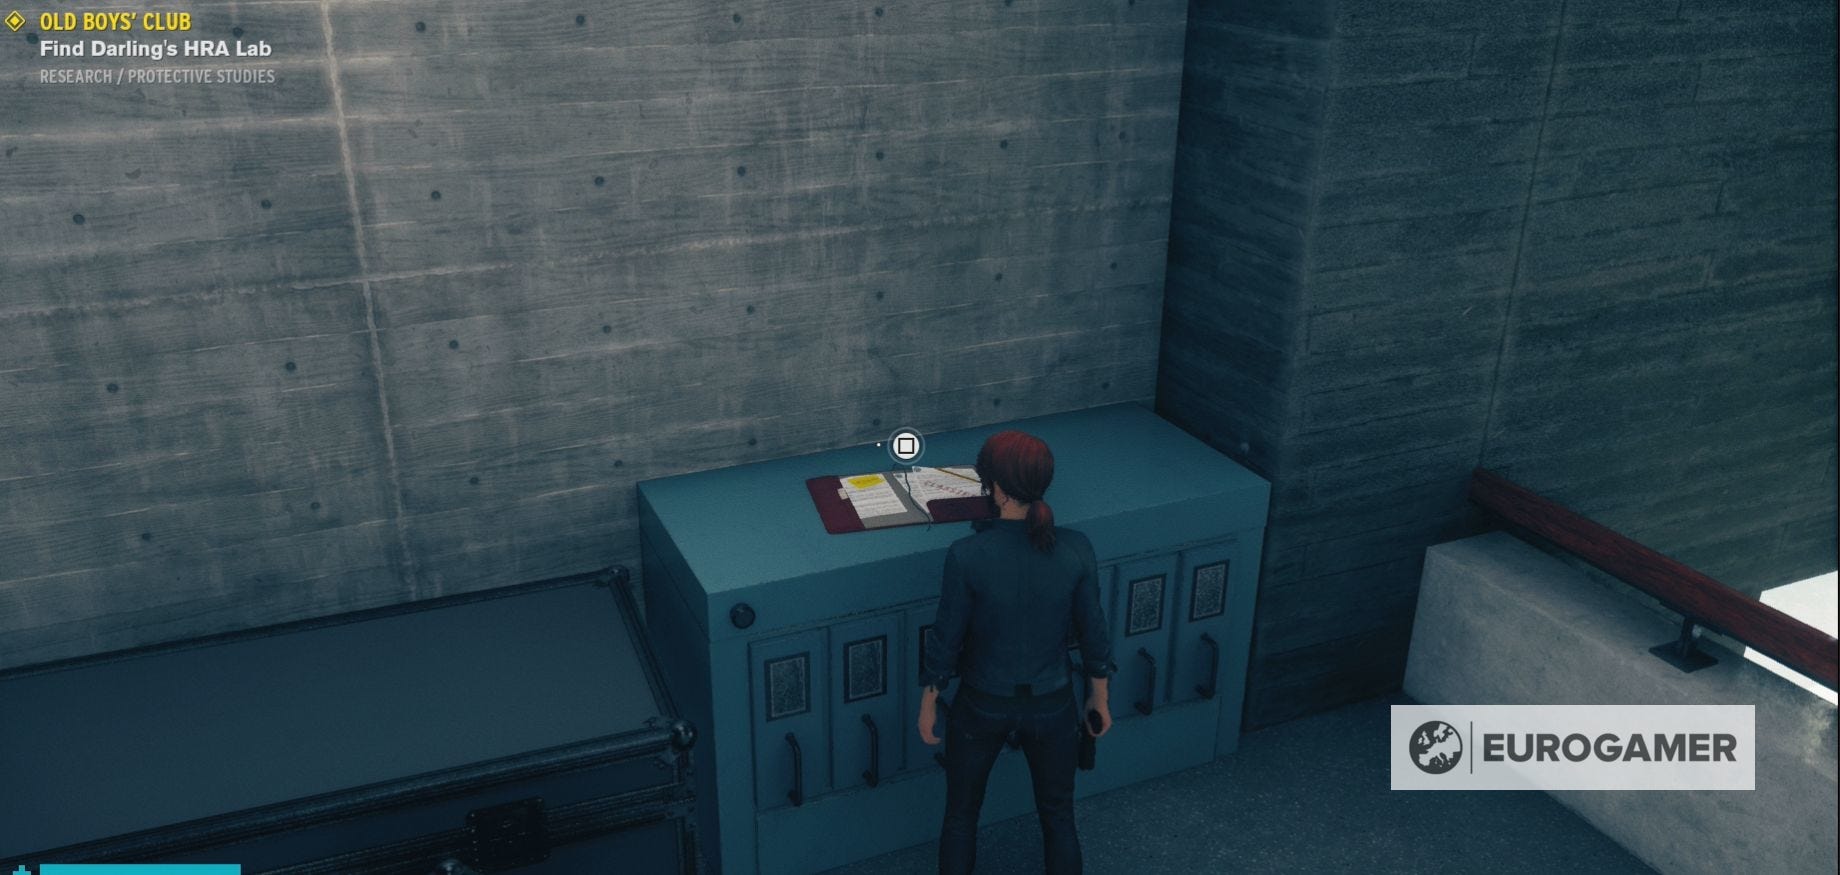
Continue down the corridor and you'll reach a room that is full of boxes. Behind the piles of boxes to the right, you'll find a room full of pipes. Climbing over and around this pipework will bring you to a chest. There is also a chest hidden behind a pile of boxes next to the computer monitor.
Interact with the computer monitor and you'll find a diamond shape with a movable square inside it. You'll also see a piece of paper stuck to the screen with a similar looking shape.
Every time you move the square on the monitor, it will add or remove a line within the diamond shape. What you want to do is move the square around the shape, until the shape on the monitor, matches the one on the paper.
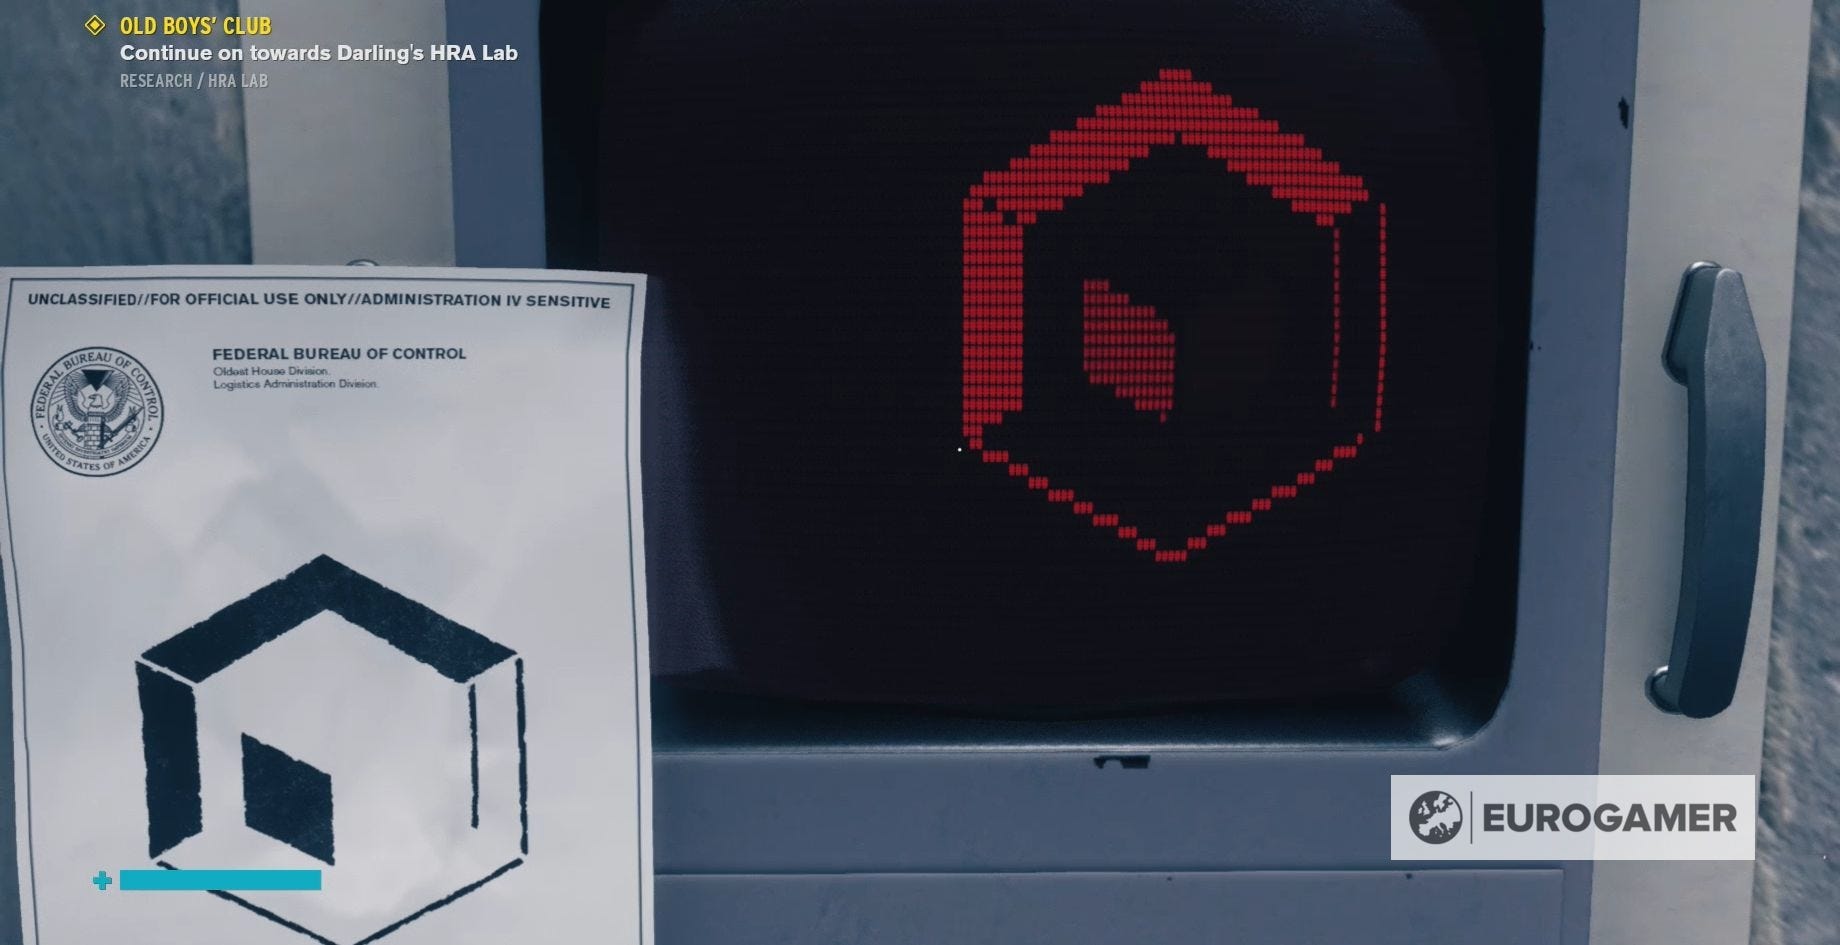
Yes, this is literally a case of someone post noting their password to their computer monitor.
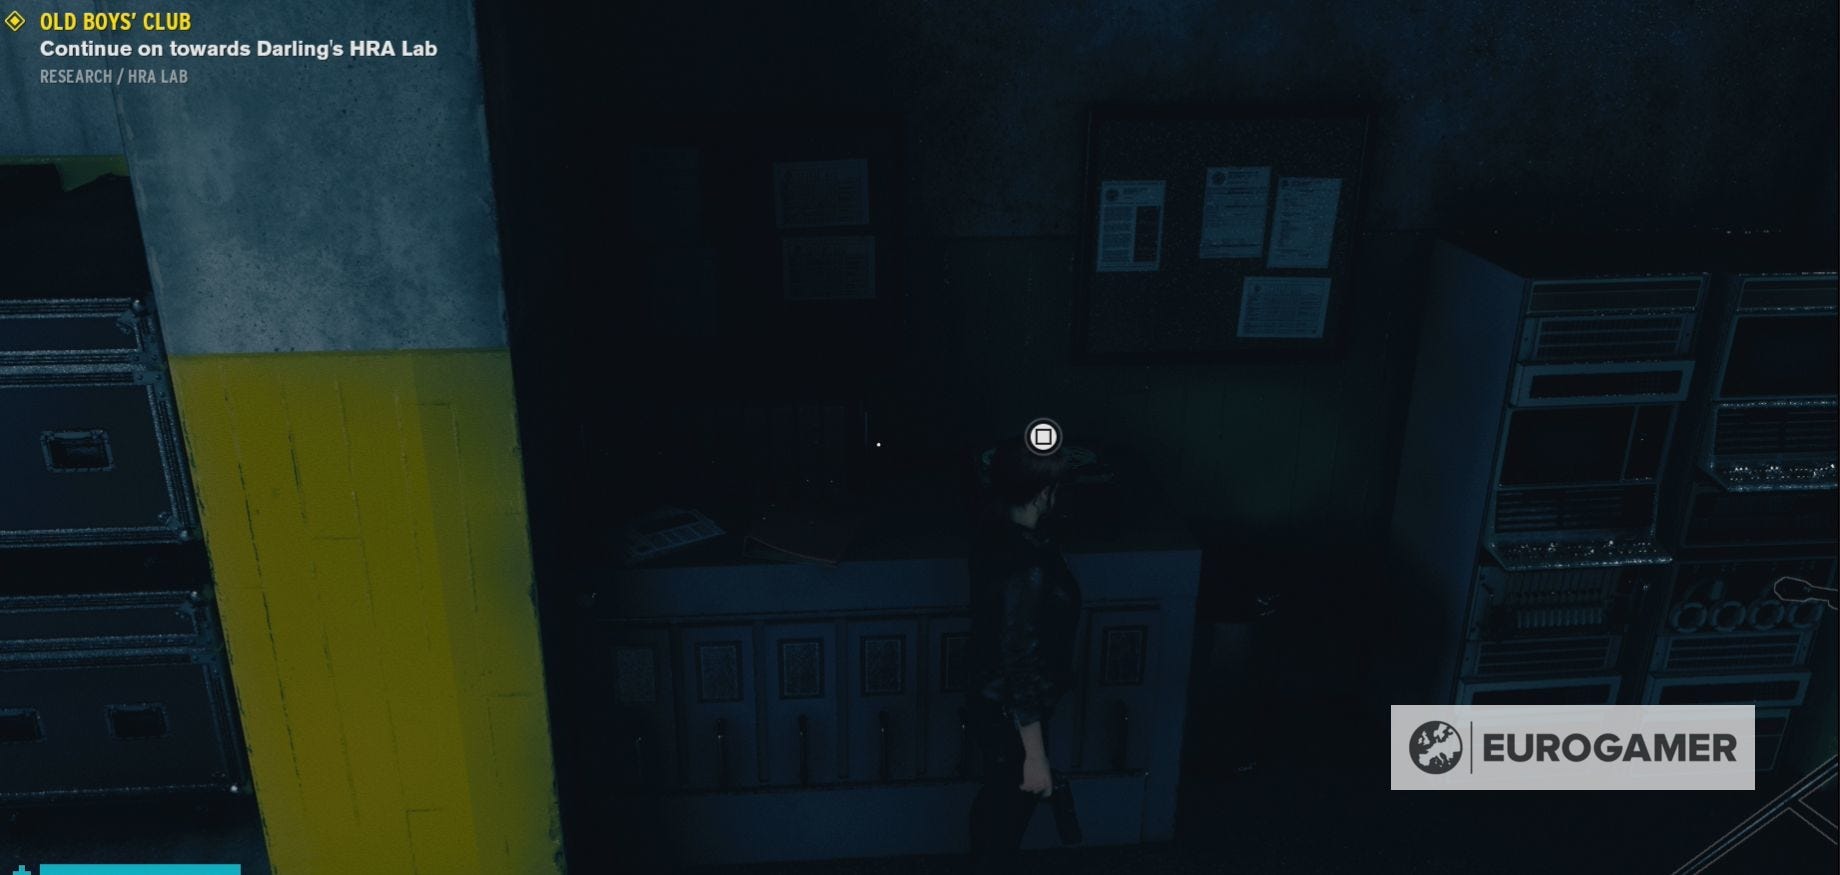
Head on inside to the HRA Lab.
Collectables to be found:
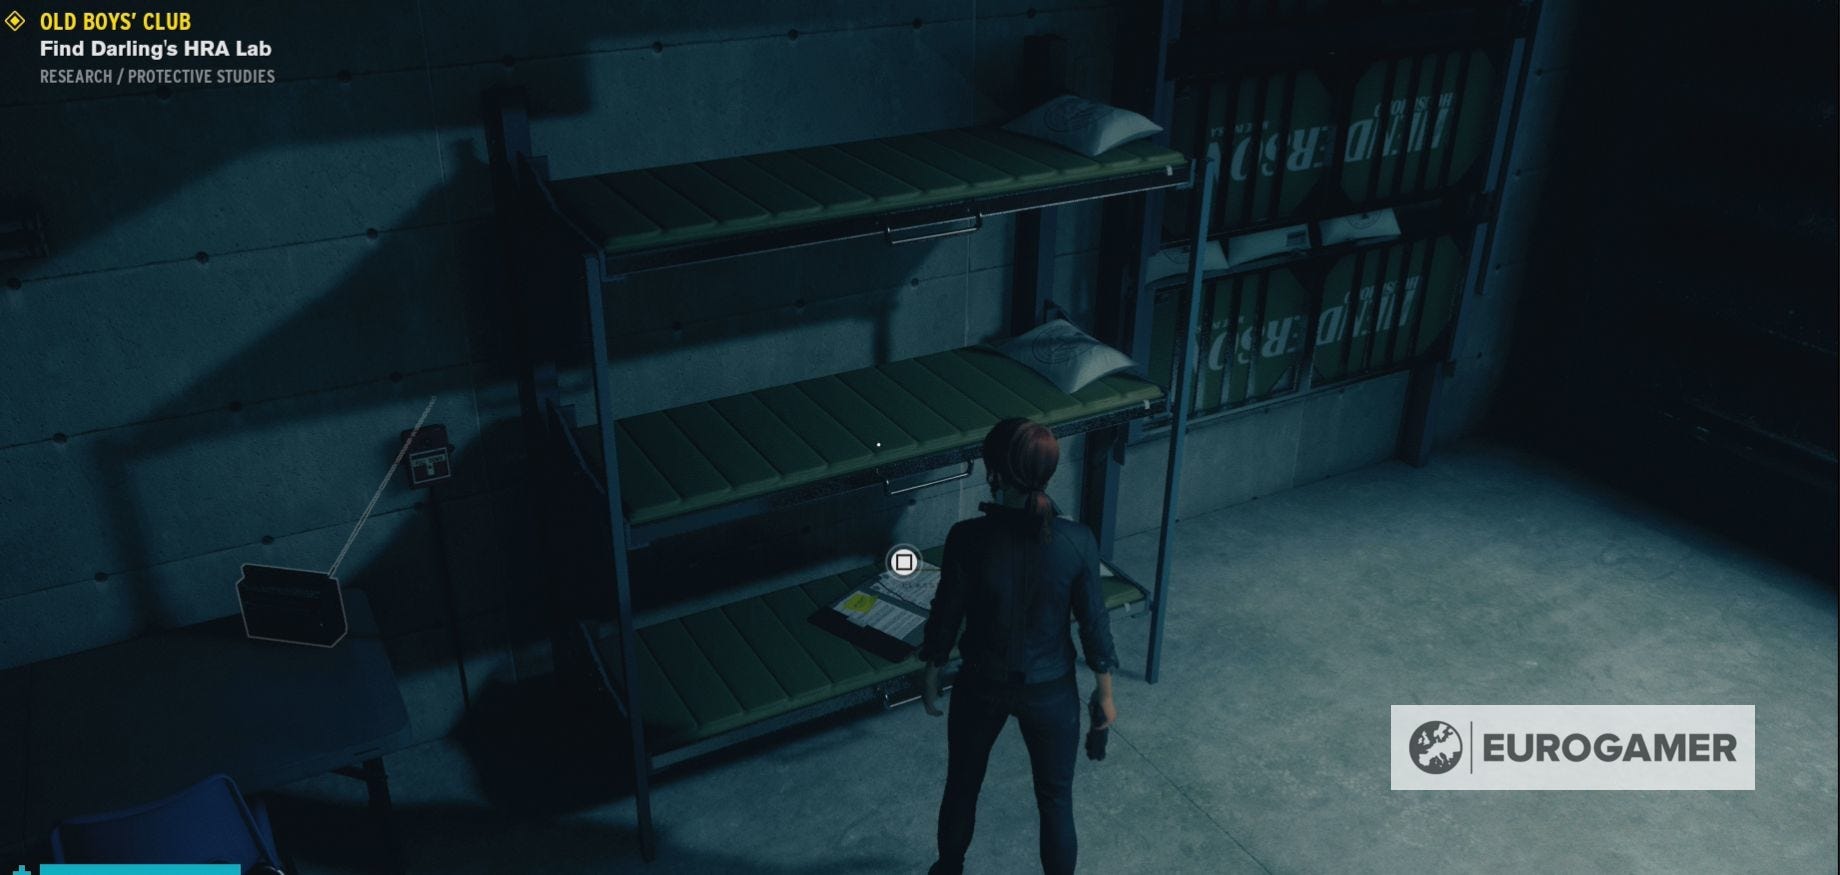
- Multimedia - FBC Recordings - AI52 Testing
- (Next to the cage with the rubber duck in it in the first room of Protective Studies.)
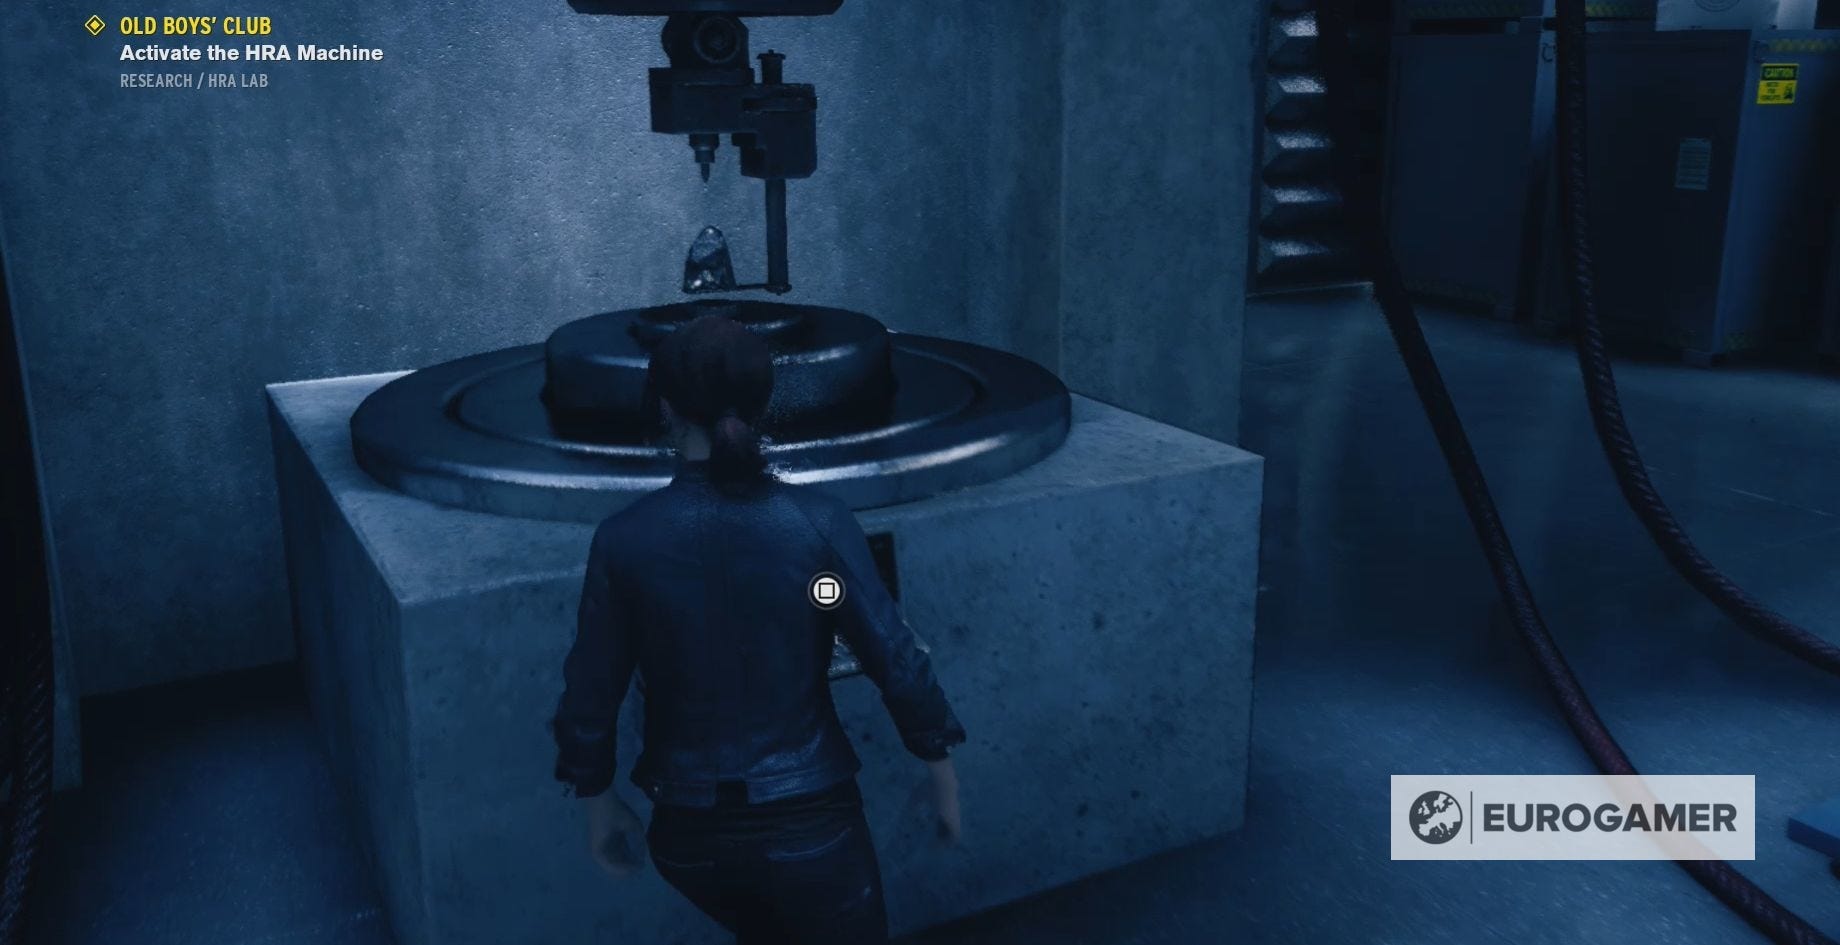
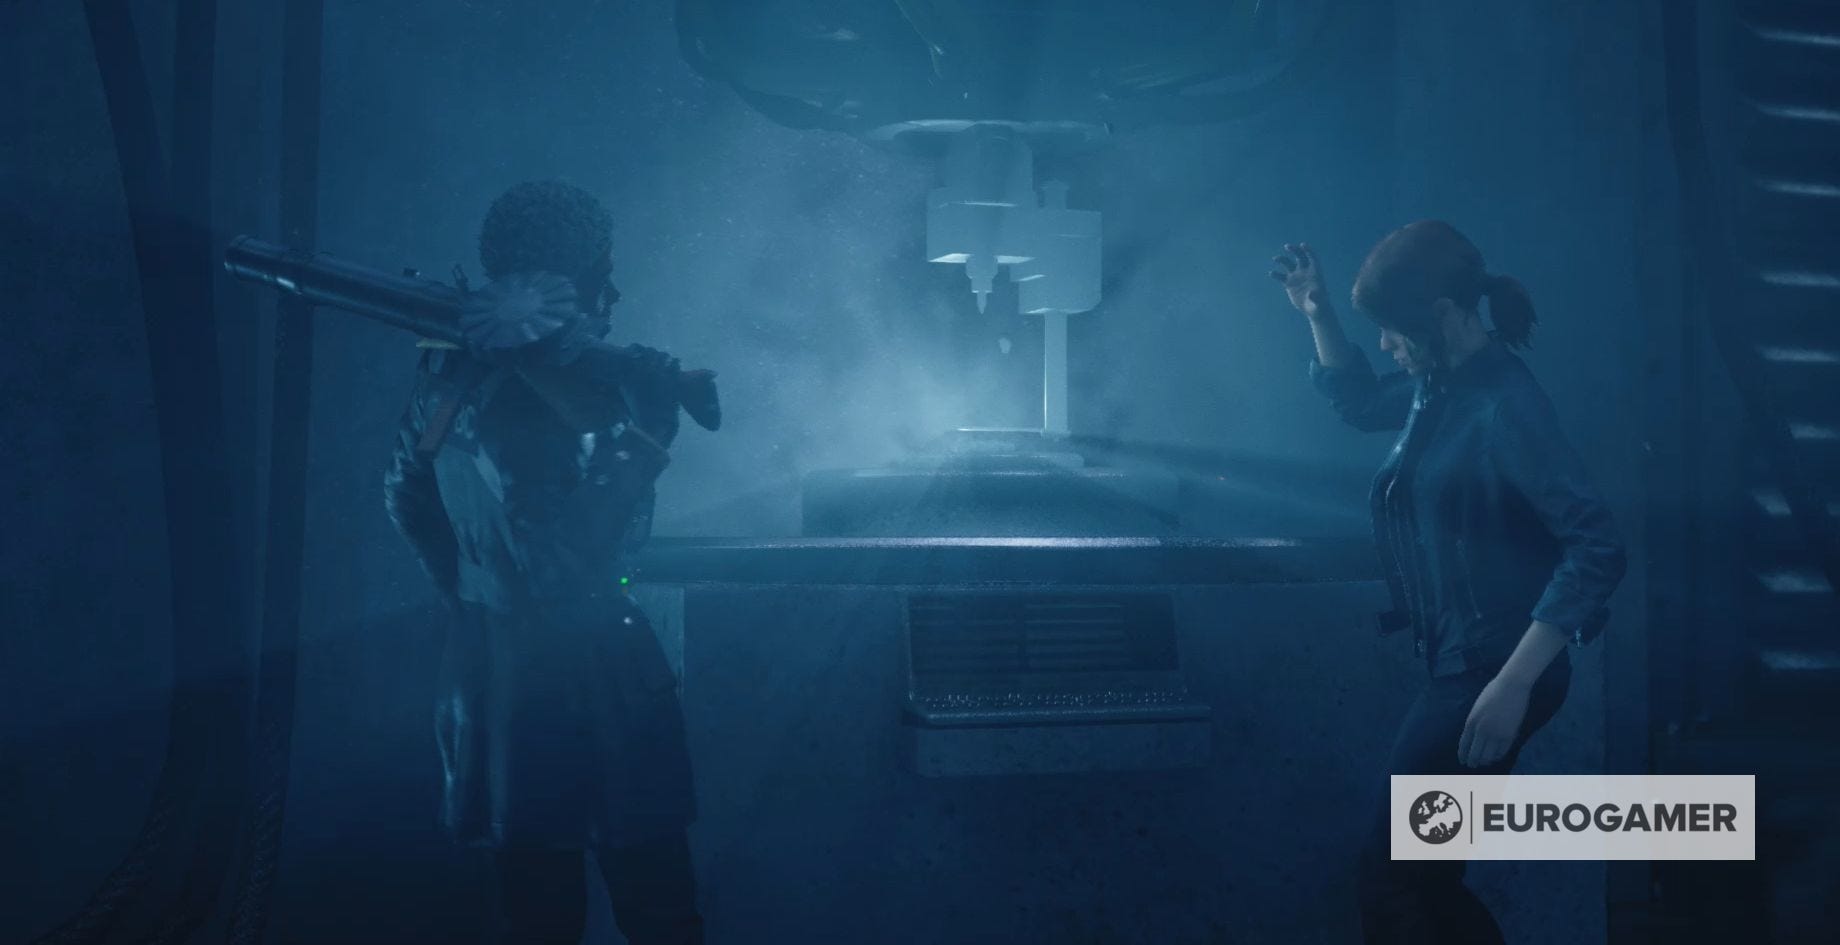
Activate the HRA Machine in Control
No matter how hard you try, the HRA Machine won't turn on.
Marshall will then arrive and inform you that you can turn the machine on using a series of punchcard terminals.
Punchcard locations and solution to the punchcard puzzle in Control
There are four punchcards to find:
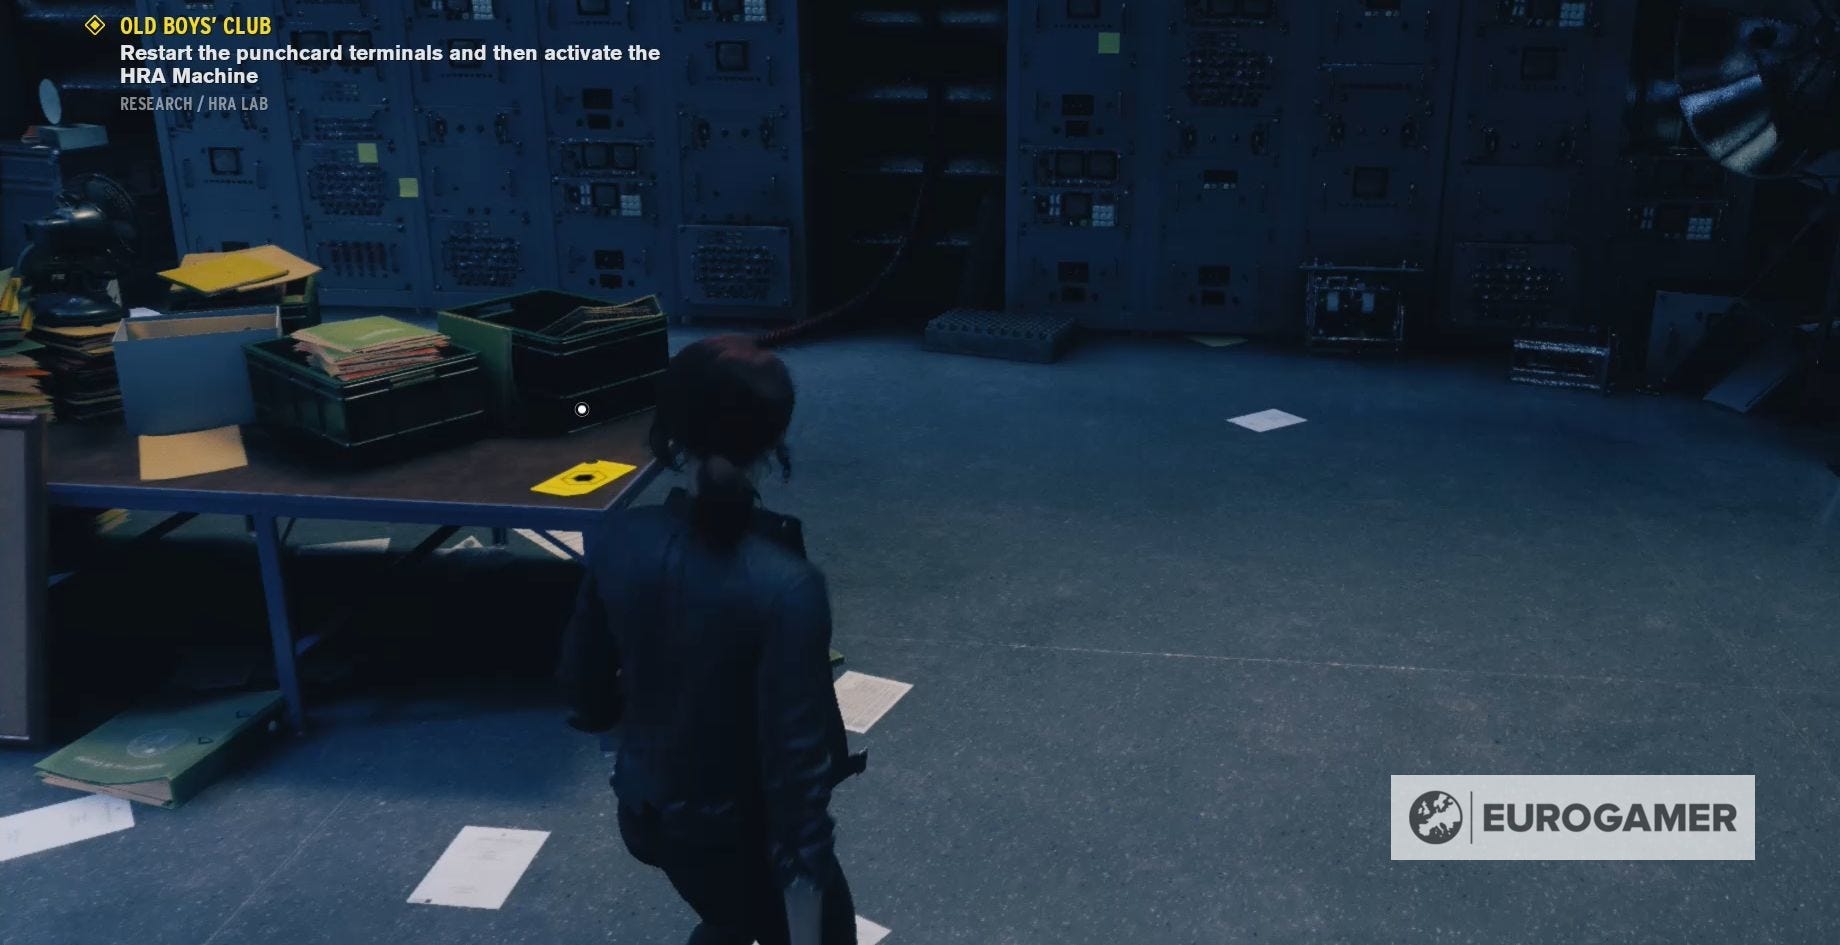
- On a desk on the ground floor
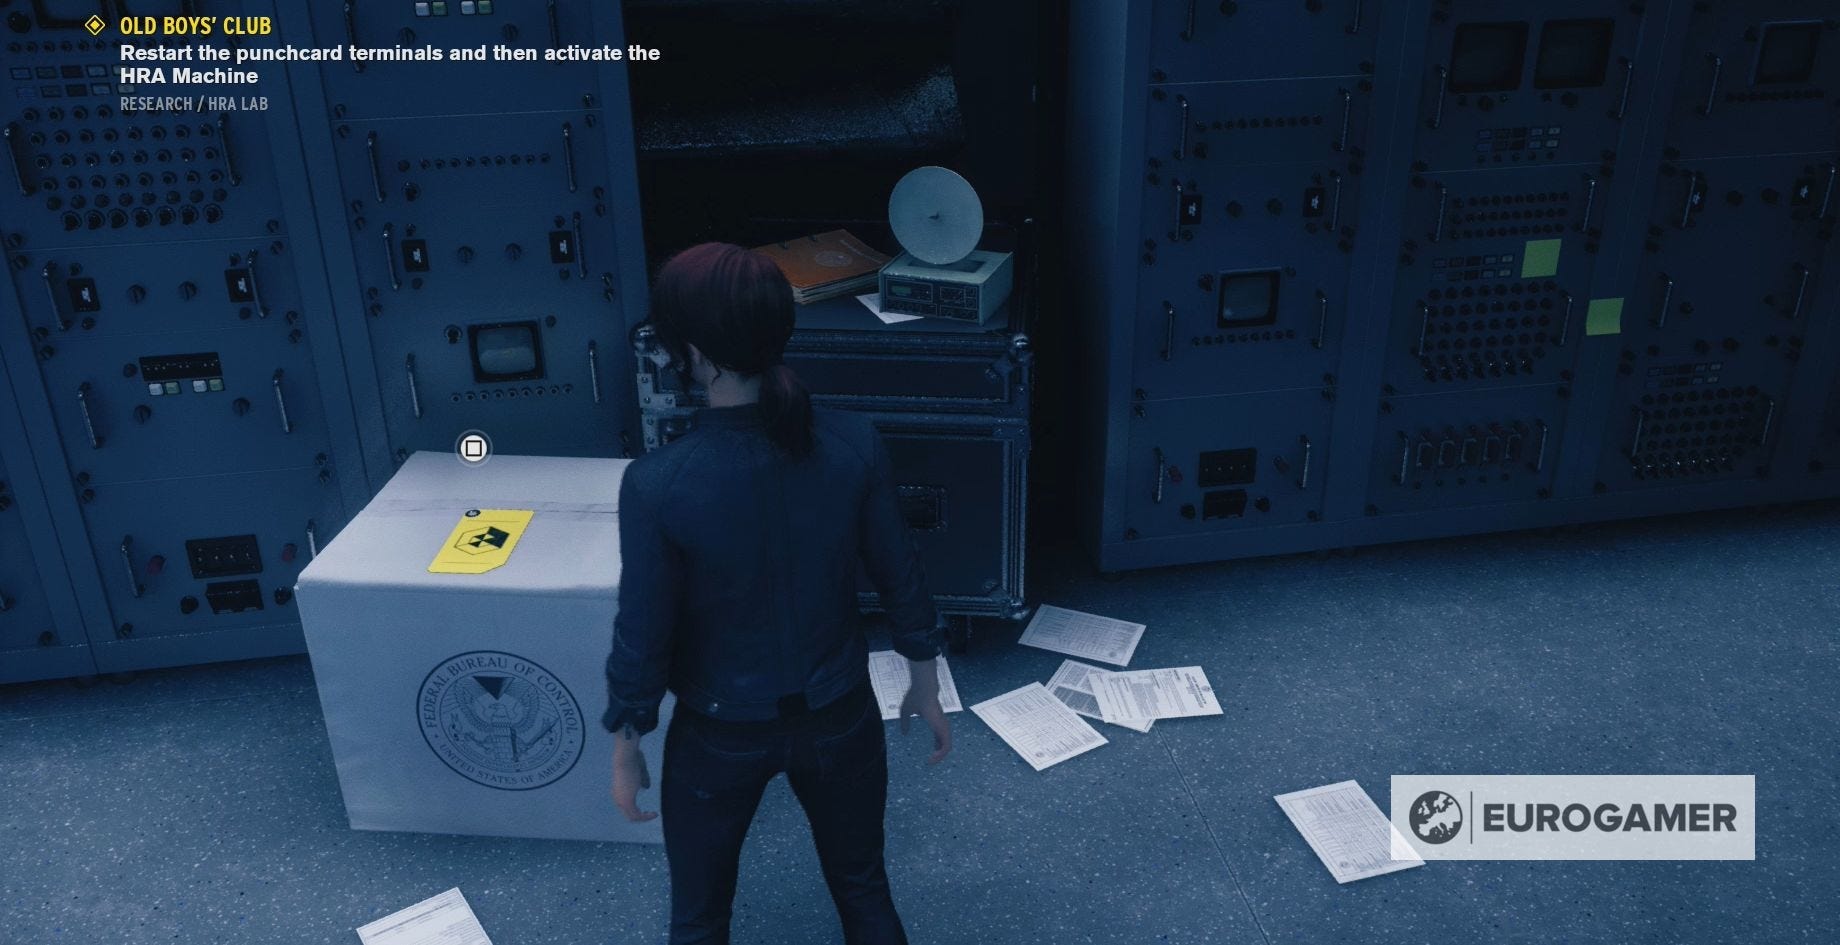
- On a box on the ground floor
- On the right-hand desk on the ground floor
- On the ground near the stairs to the first floor
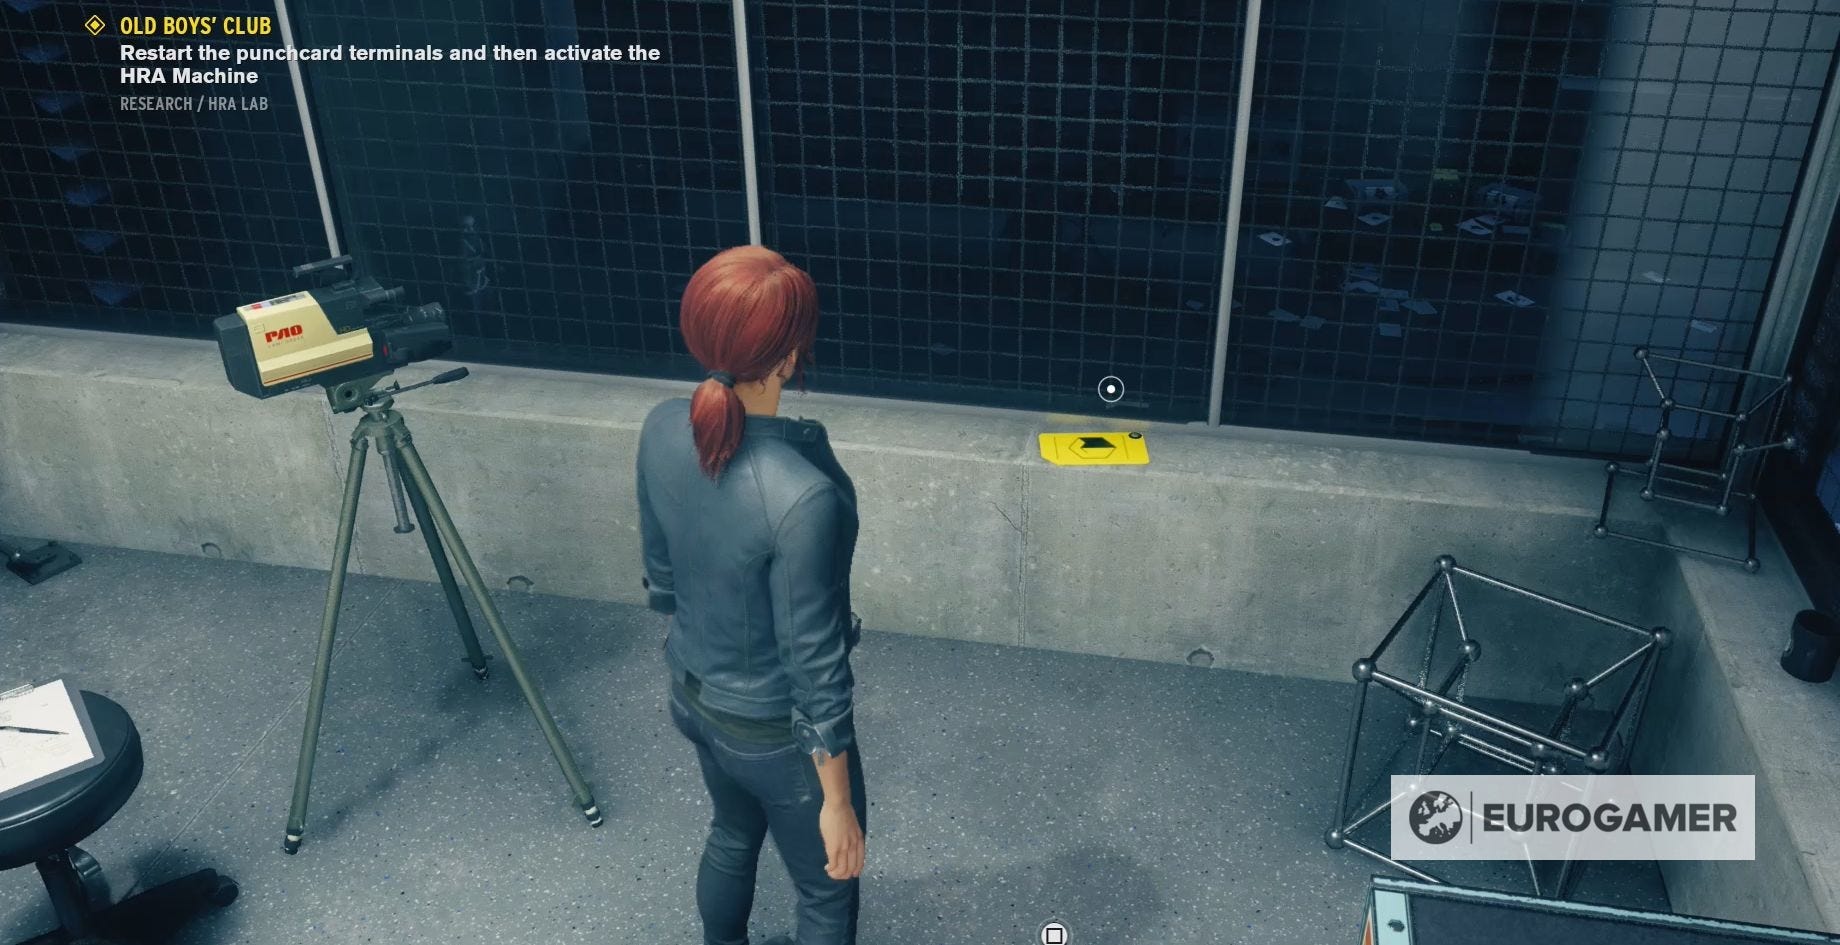
- On the windowsill on the second floor of the HRA

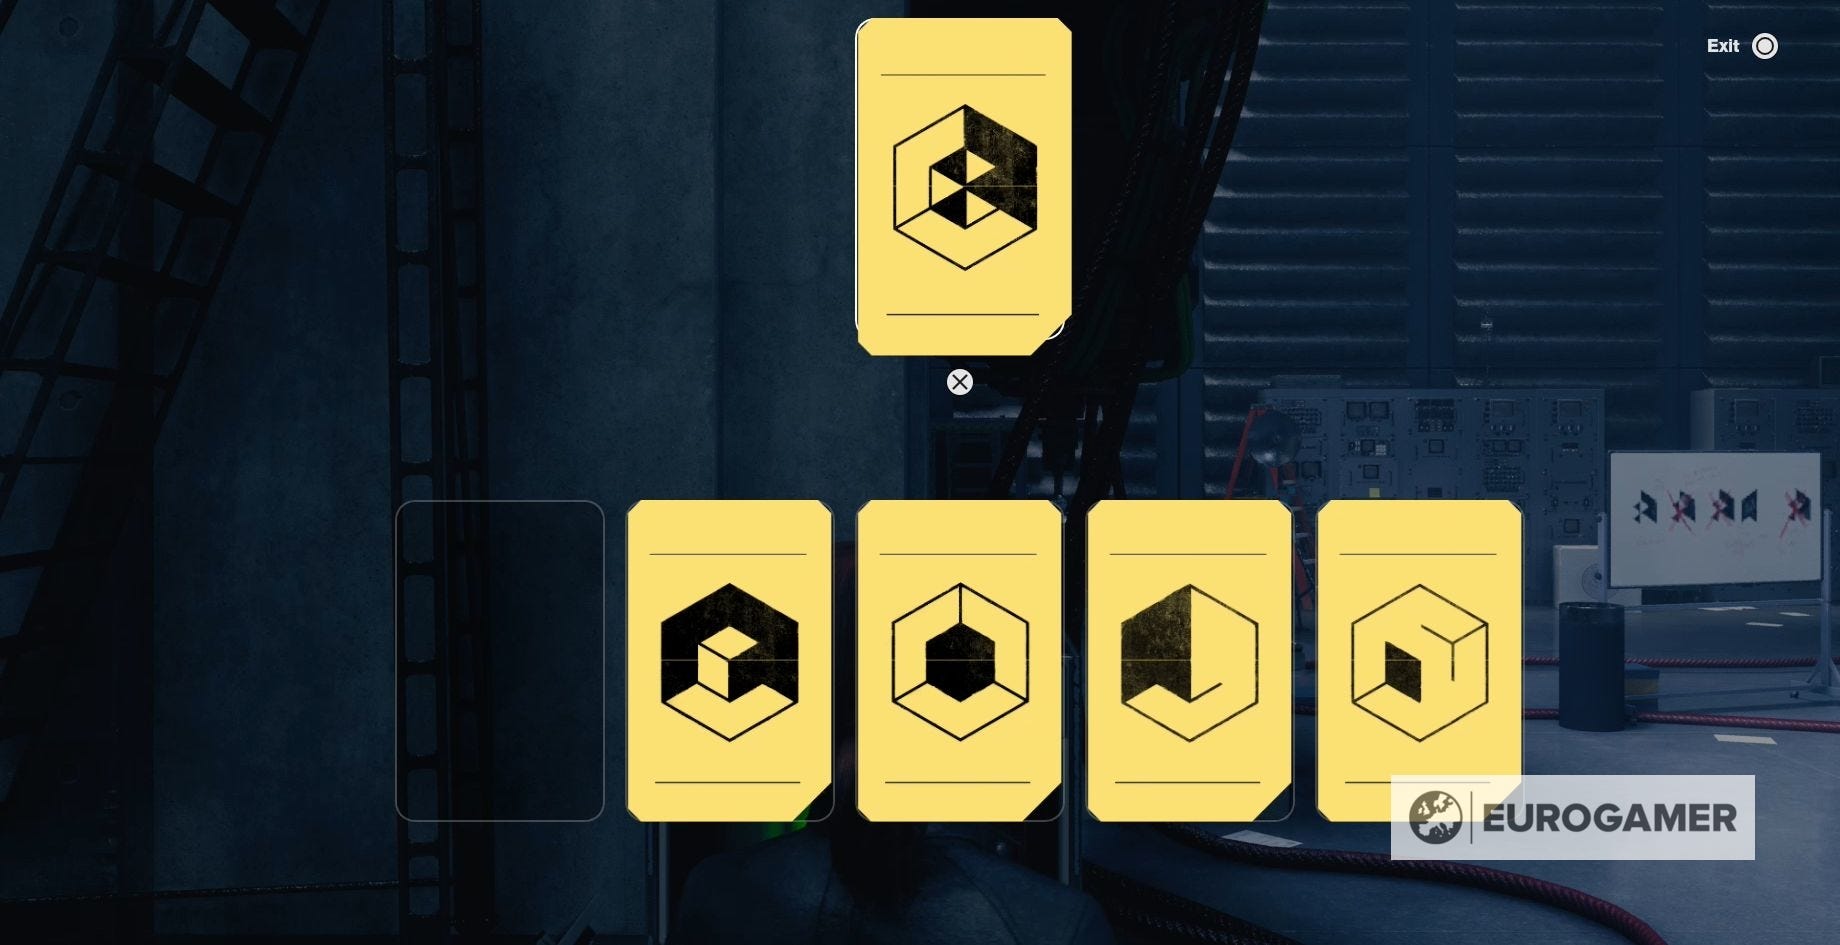
Now you have to put the correct punchcard into the correct terminal.
There are five terminals in order. Terminals 1, 2, 3 and 5 are on the ground floor of the HRA Lab, while 4 is on the second floor. Each terminal number written on the side of it.
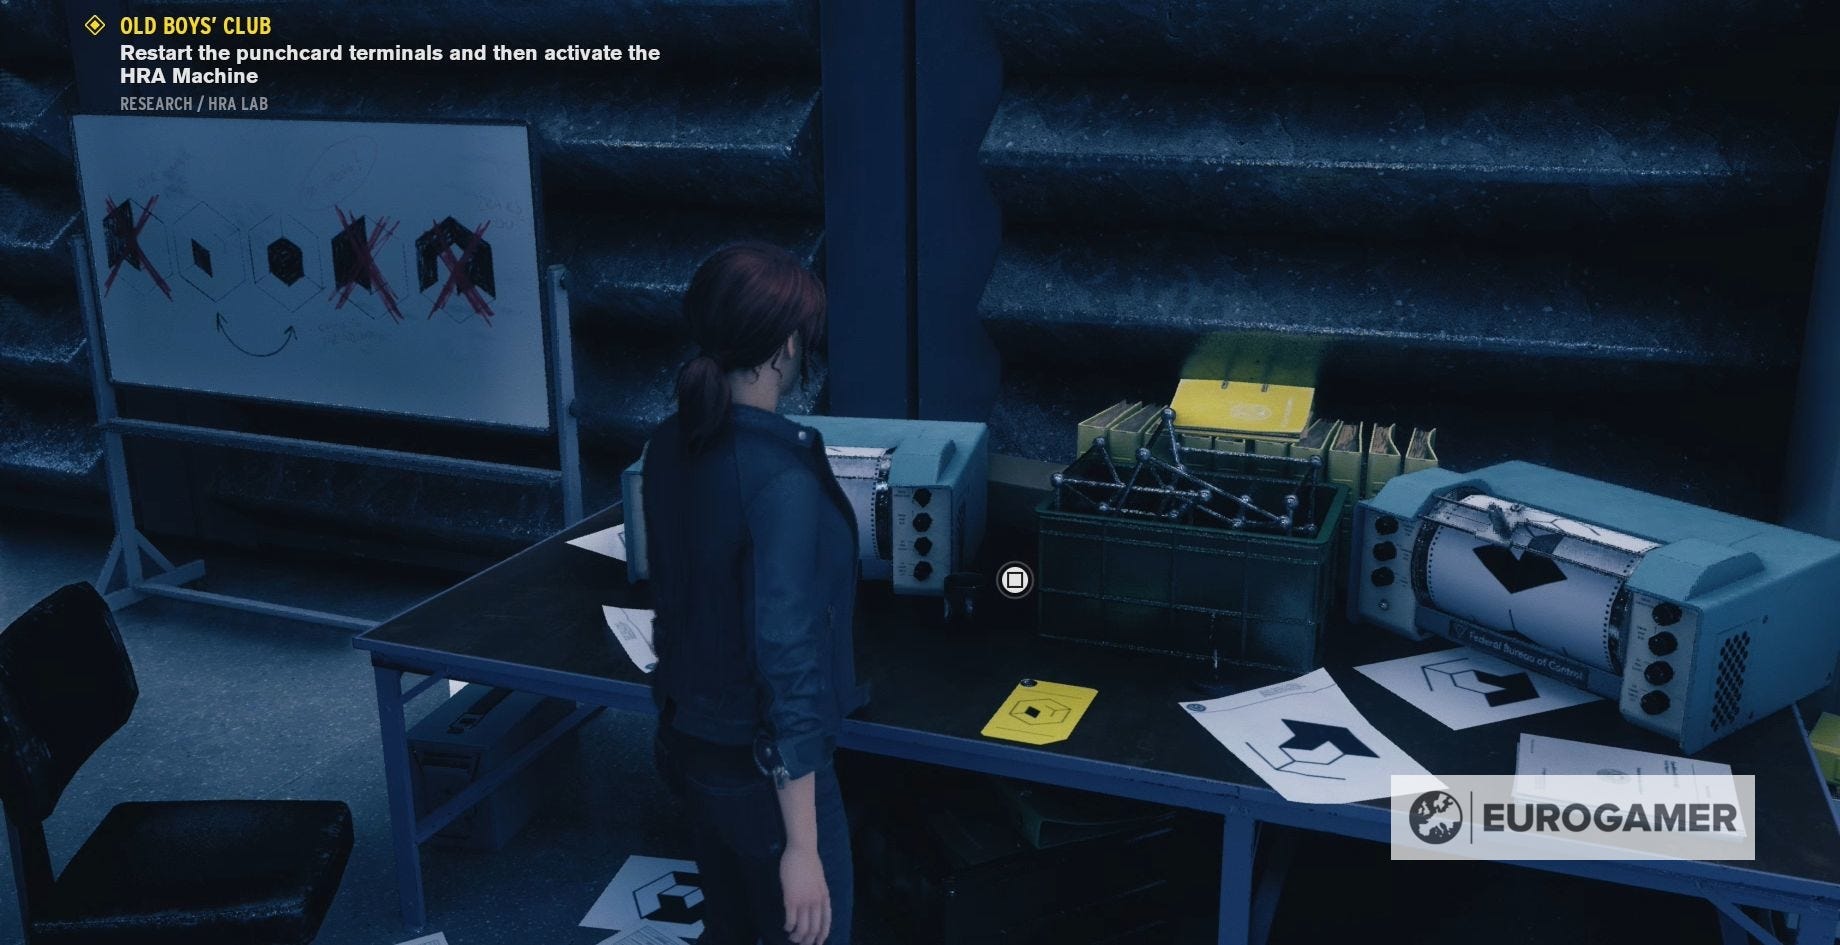
Looking at Darling's whiteboards, which are scattered about the lab, will help you figure out the correct punchcard order.
On each whiteboard you'll find five symbols. What you are looking for are the symbols that are not crossed out. The order in which the symbol has been drawn on the whiteboard is the terminal number you need to place it in. This means that if a symbol is second in the whiteboard order, then it belongs to the second terminal.
Keep an eye out for any arrow lines that suggest the symbols have changed order. Arrows linking symbols two and three, for example, mean that these symbols have switched terminal number.
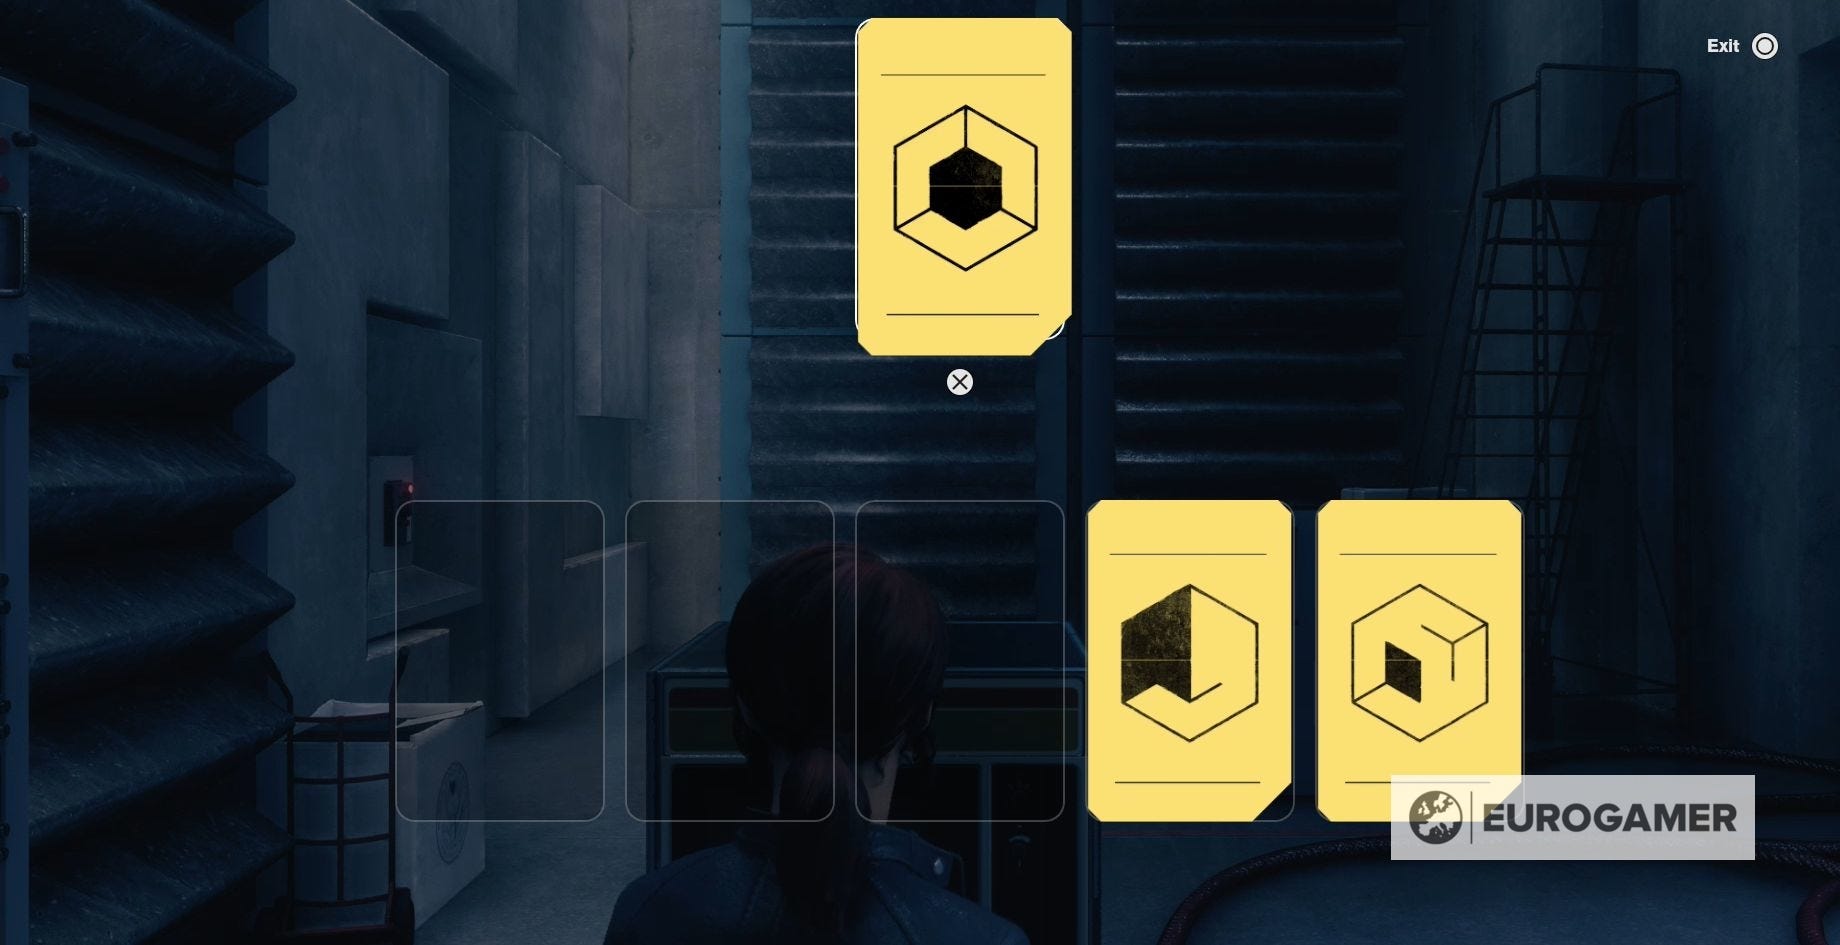
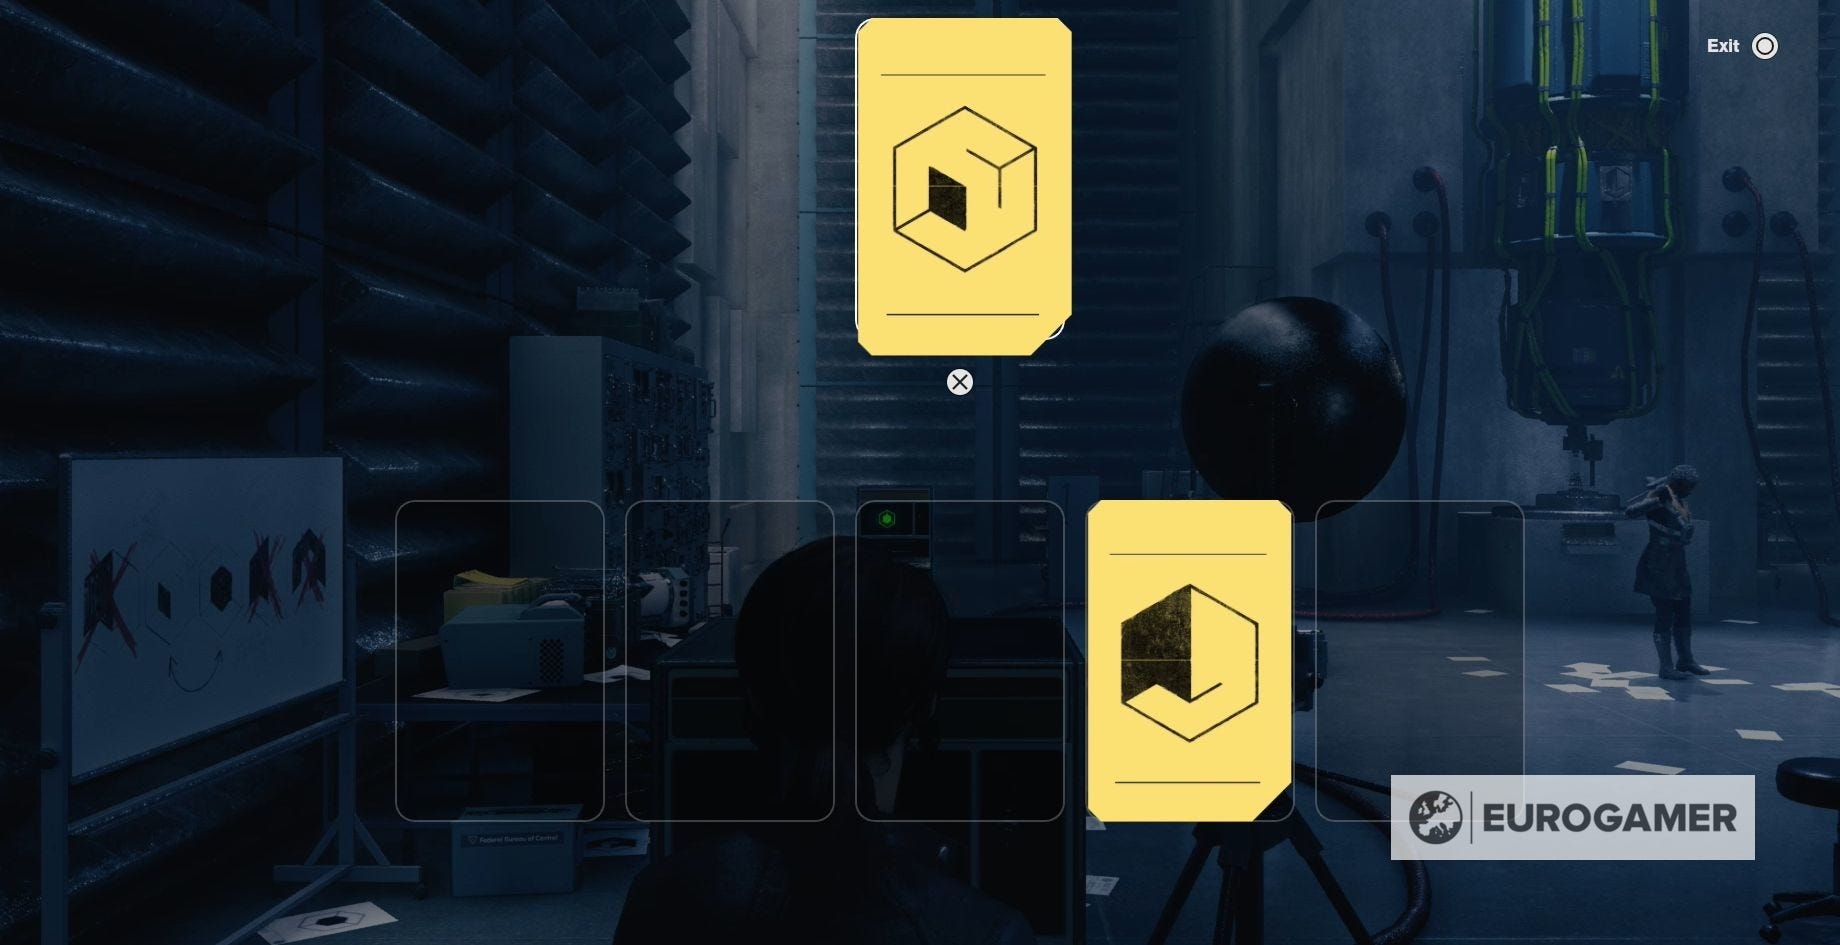
If you've gotten stuck, then here is the correct order for the punchcards:

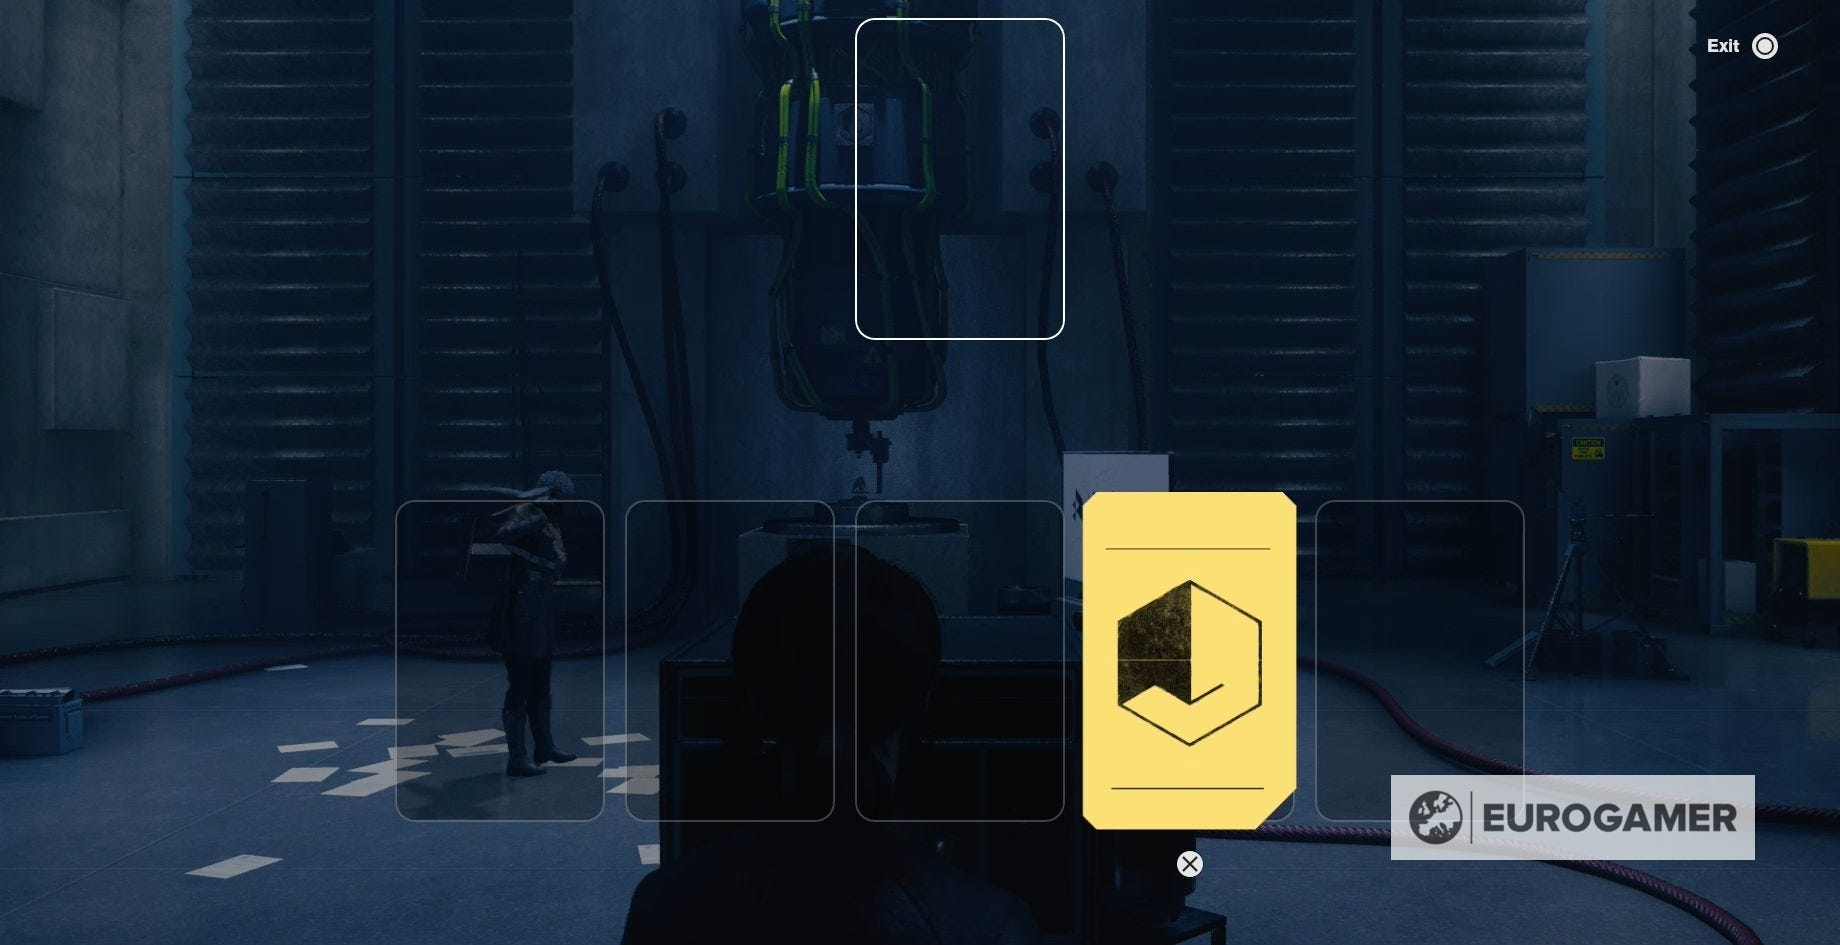
When you enter the punchcards correctly, you'll hear a double beep come from the HRA machine.
Run up to the machine and activate it.
Collectables to be found:
- Research & Records - Research - Black Rock Prisms
- (On the box in the right-hand corner on the ground floor of the HRA Lab.)
It’s time to journey into the mysterious Federal Bureau of Control. Our Control walkthrough can help you through the storyline missions, including Welcome to the Oldest House, Unknown Caller, Directorial Override, Old Boy’s Club, Threshold, My Brother's Keeper, The Face of the Enemy, Finnish Tango, Polaris and Take Control. You can also learn new supernatural powers by completing A Merry Chase, A Good Defence and A Captive Audience. We also have guides on upgrading the Service Weapon, your Abilities, how to use Weapon and Personal Mods, how to unlock every outfit and the solution to the Roulette Wheel puzzle.
Speak with Marshall in Control
The HRA machine will destroy the black rock, so talk to Marshall to decide what the next step in your plan should be.
This will also bring you to the end of Old Boys Club and start the fifth mission in Control - Threshold.
Collectables you receive from completing Old Boys Club:
- Hotline - Board - Objects of Power
- Multimedia - Darling Presentations - Resonance
For your next mission in Control, visit our page on the Threshold mission.