Control The Nail mission: Complete the ritual in the Warehouse and the Collapsed Department in The Foundation DLC explained
How to use the Shape ability to delve deeper into The Foundation.

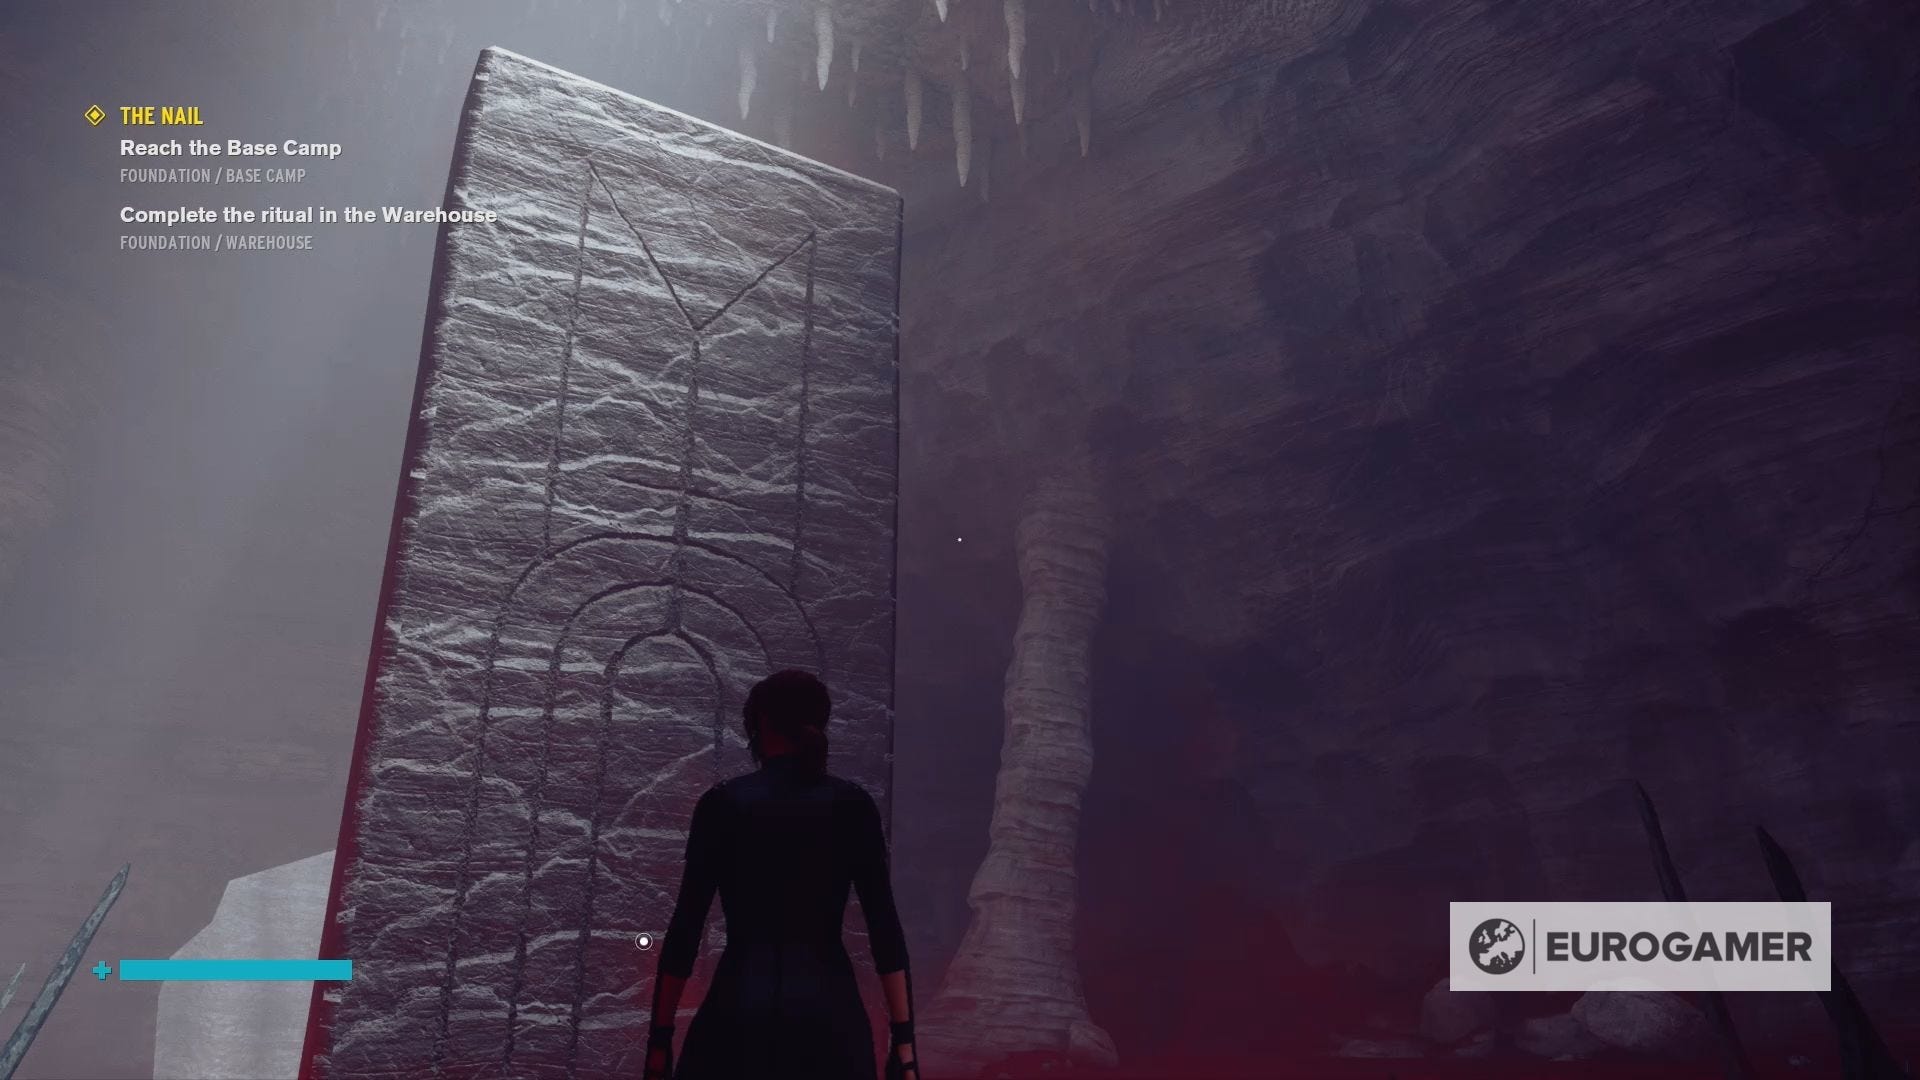
Now that you've found the Nail in Control, it's time to start removing the Hiss from The Foundation.
To do this you need to complete four rituals, with the first two being located at the Warehouse and hidden with the Collapsed Department.
It's important to note that you'll only visit these areas first if you choose the Shape ability during the Astral Plane challenge in The Foundation mission. If you choose the Fracture ability instead, you'll need to visit the Canon Rim and Research Gamma Site.
Remember - you need to start The Foundation DLC correctly before you can explore either the Warehouse or Collapsed Department.
On this page:

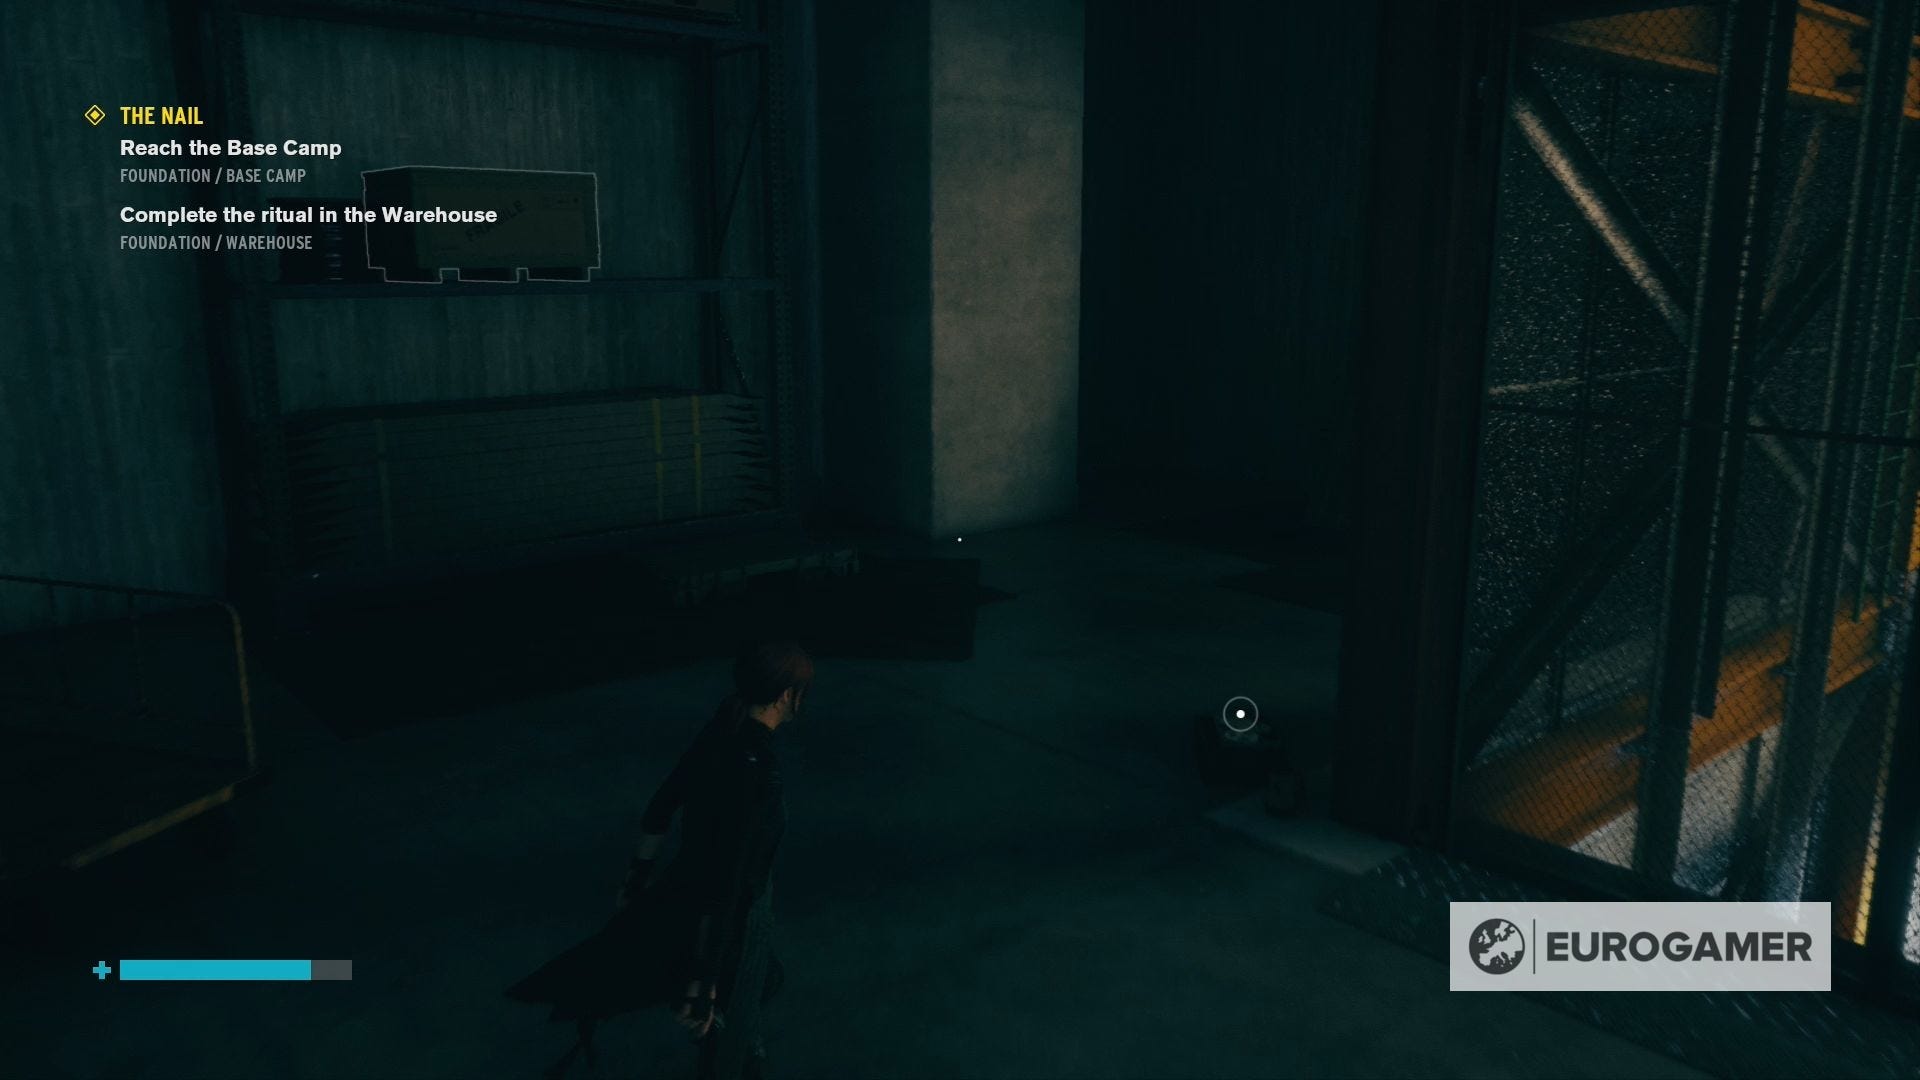
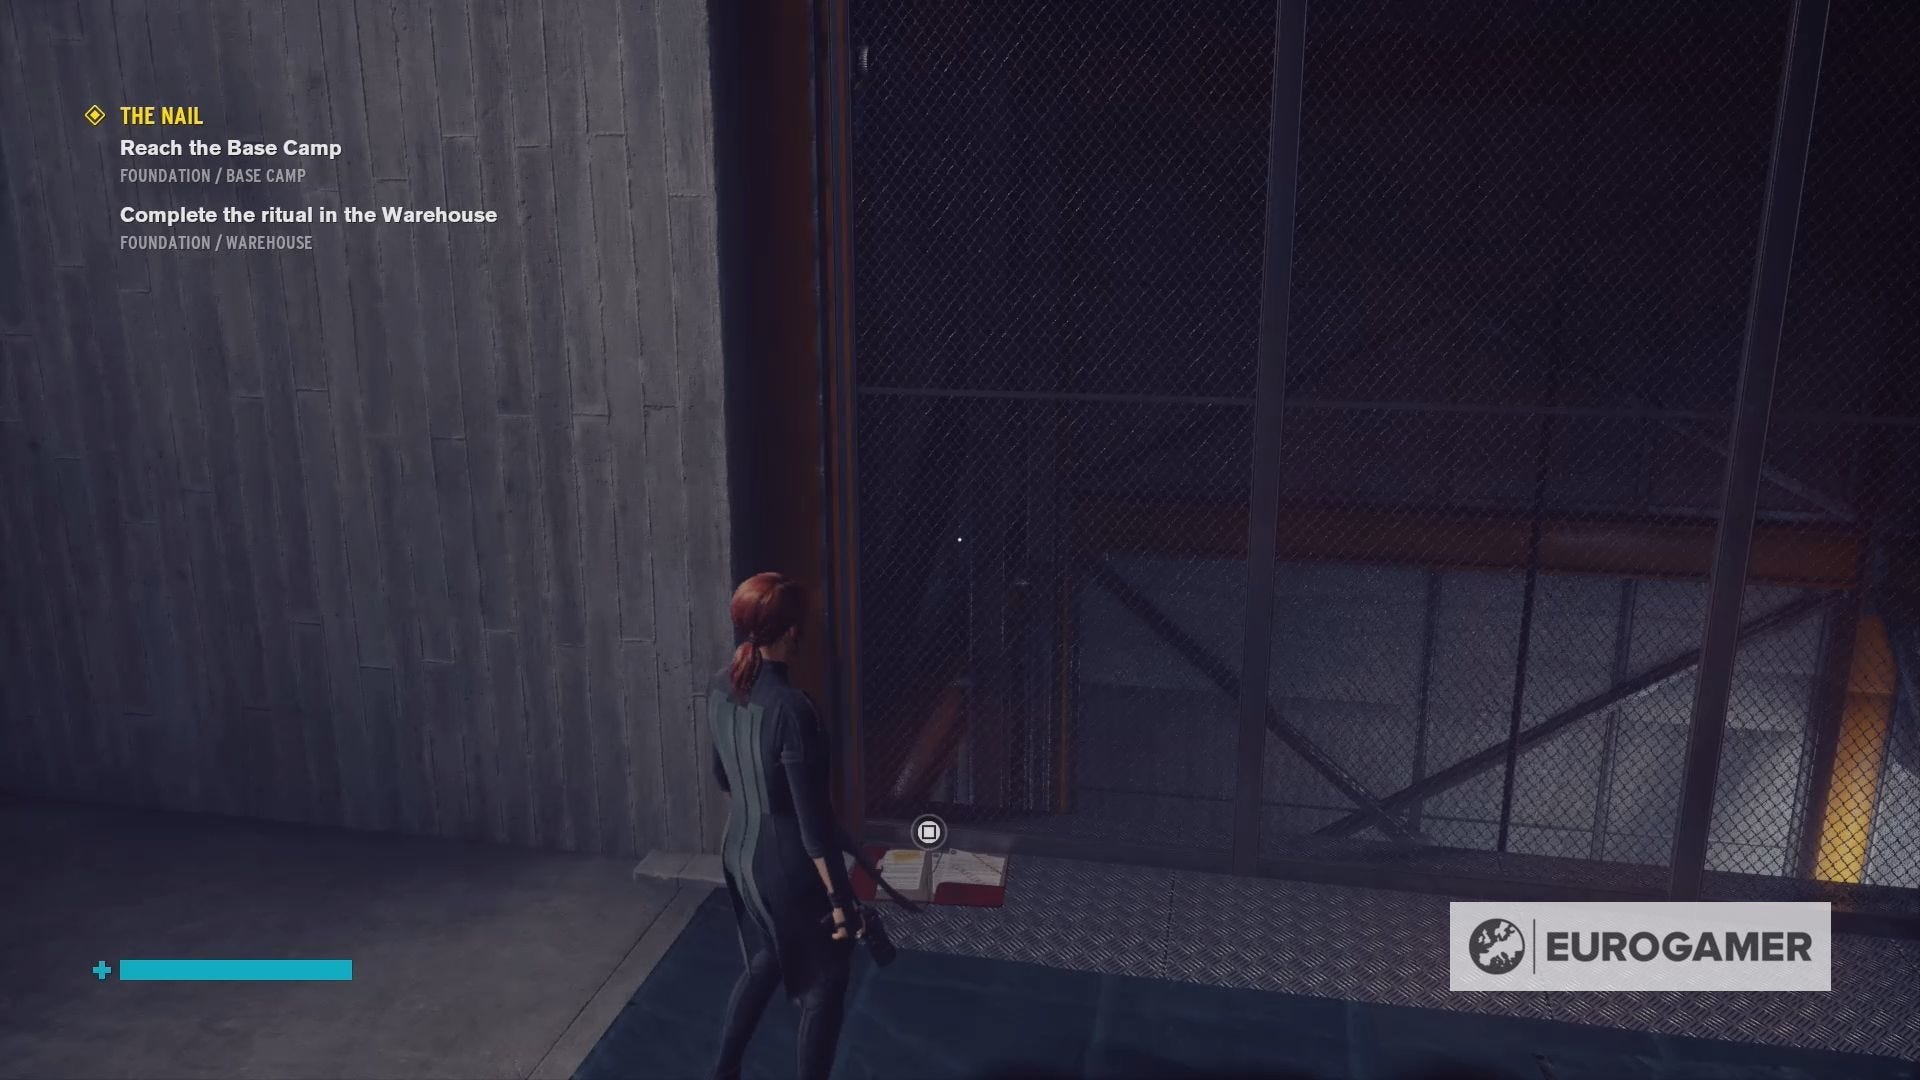
How to find the Warehouse in Control
To find the Warehouse Path you need to head west from the Crossroads Control Point and, using Shape, create platforms that will allow you to reach the tunnel entrance.
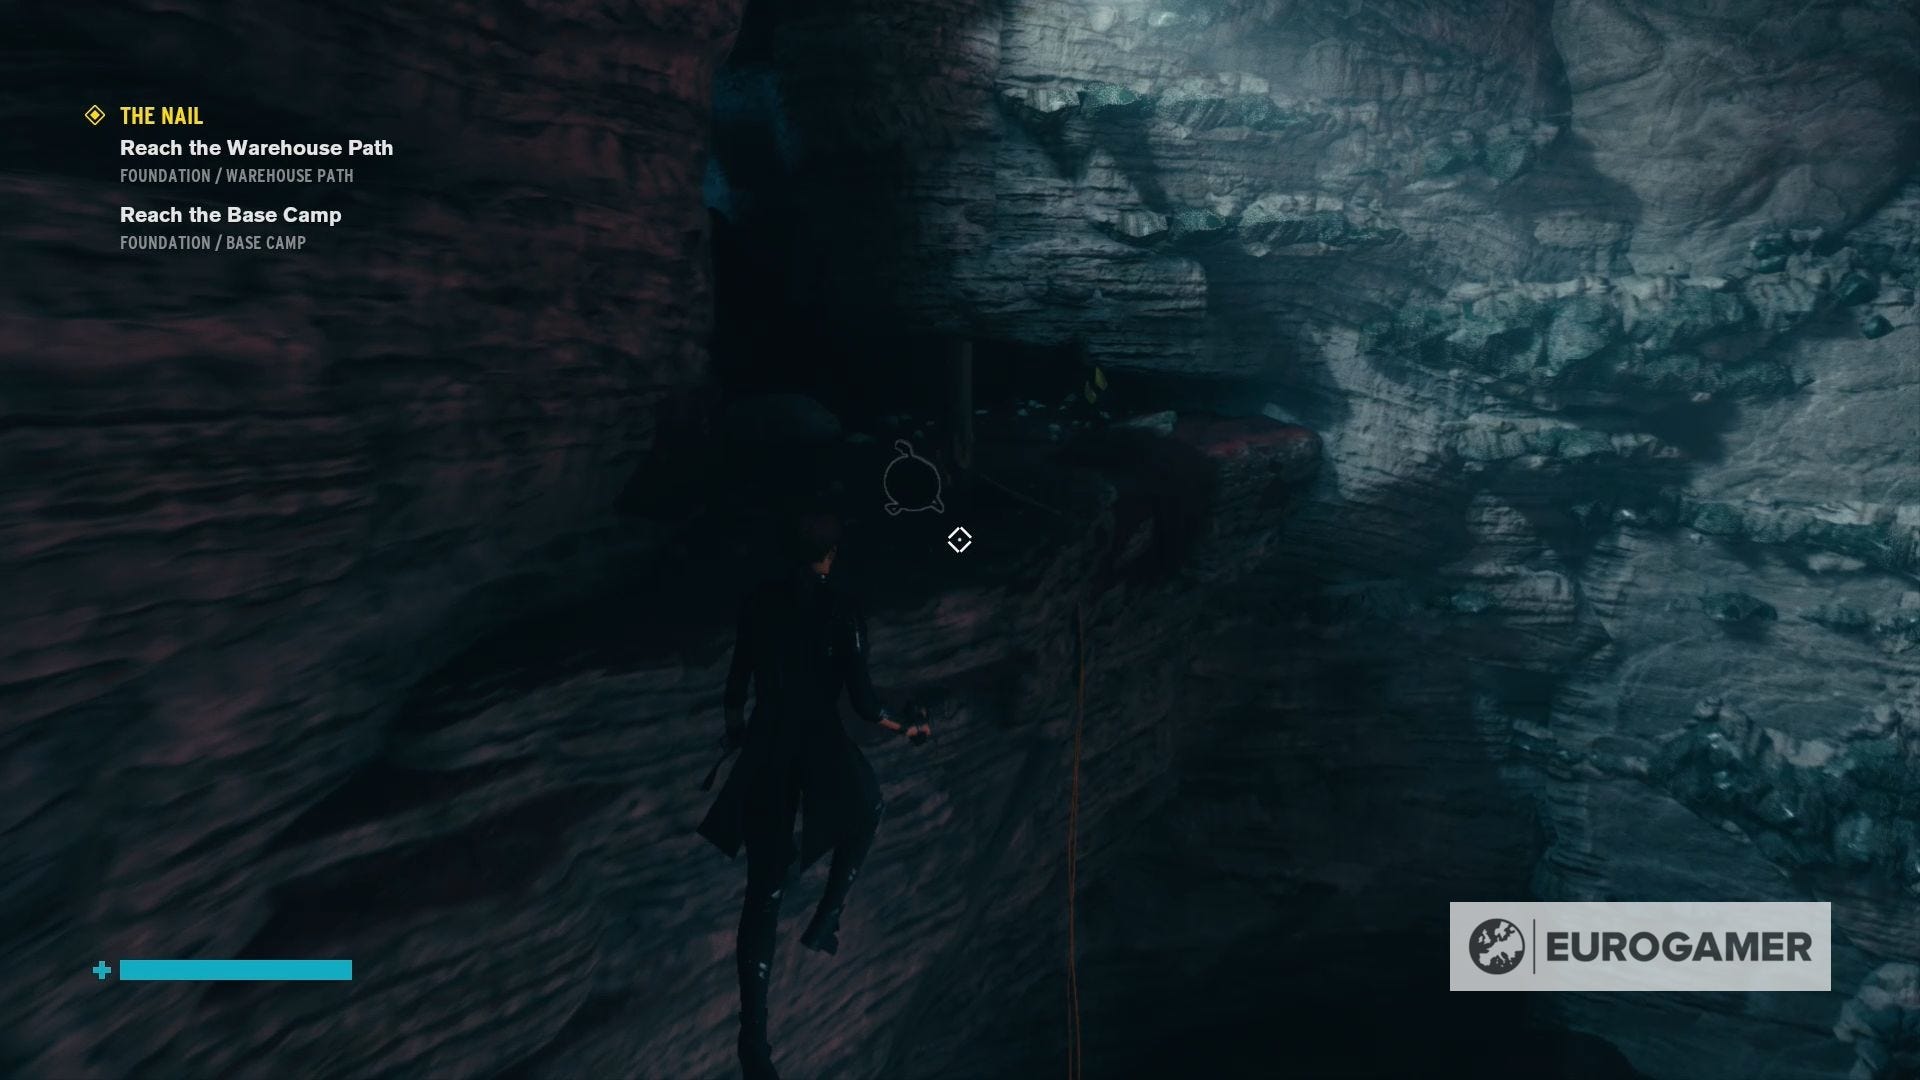
Use a combination of levitate and crystal platforms to explore these new tunnels, until you reach a locked door. Luckily this problem has an easy solution - all you have to do is melee the wooden barricade and then use launch to place the Power Core back in the socket.
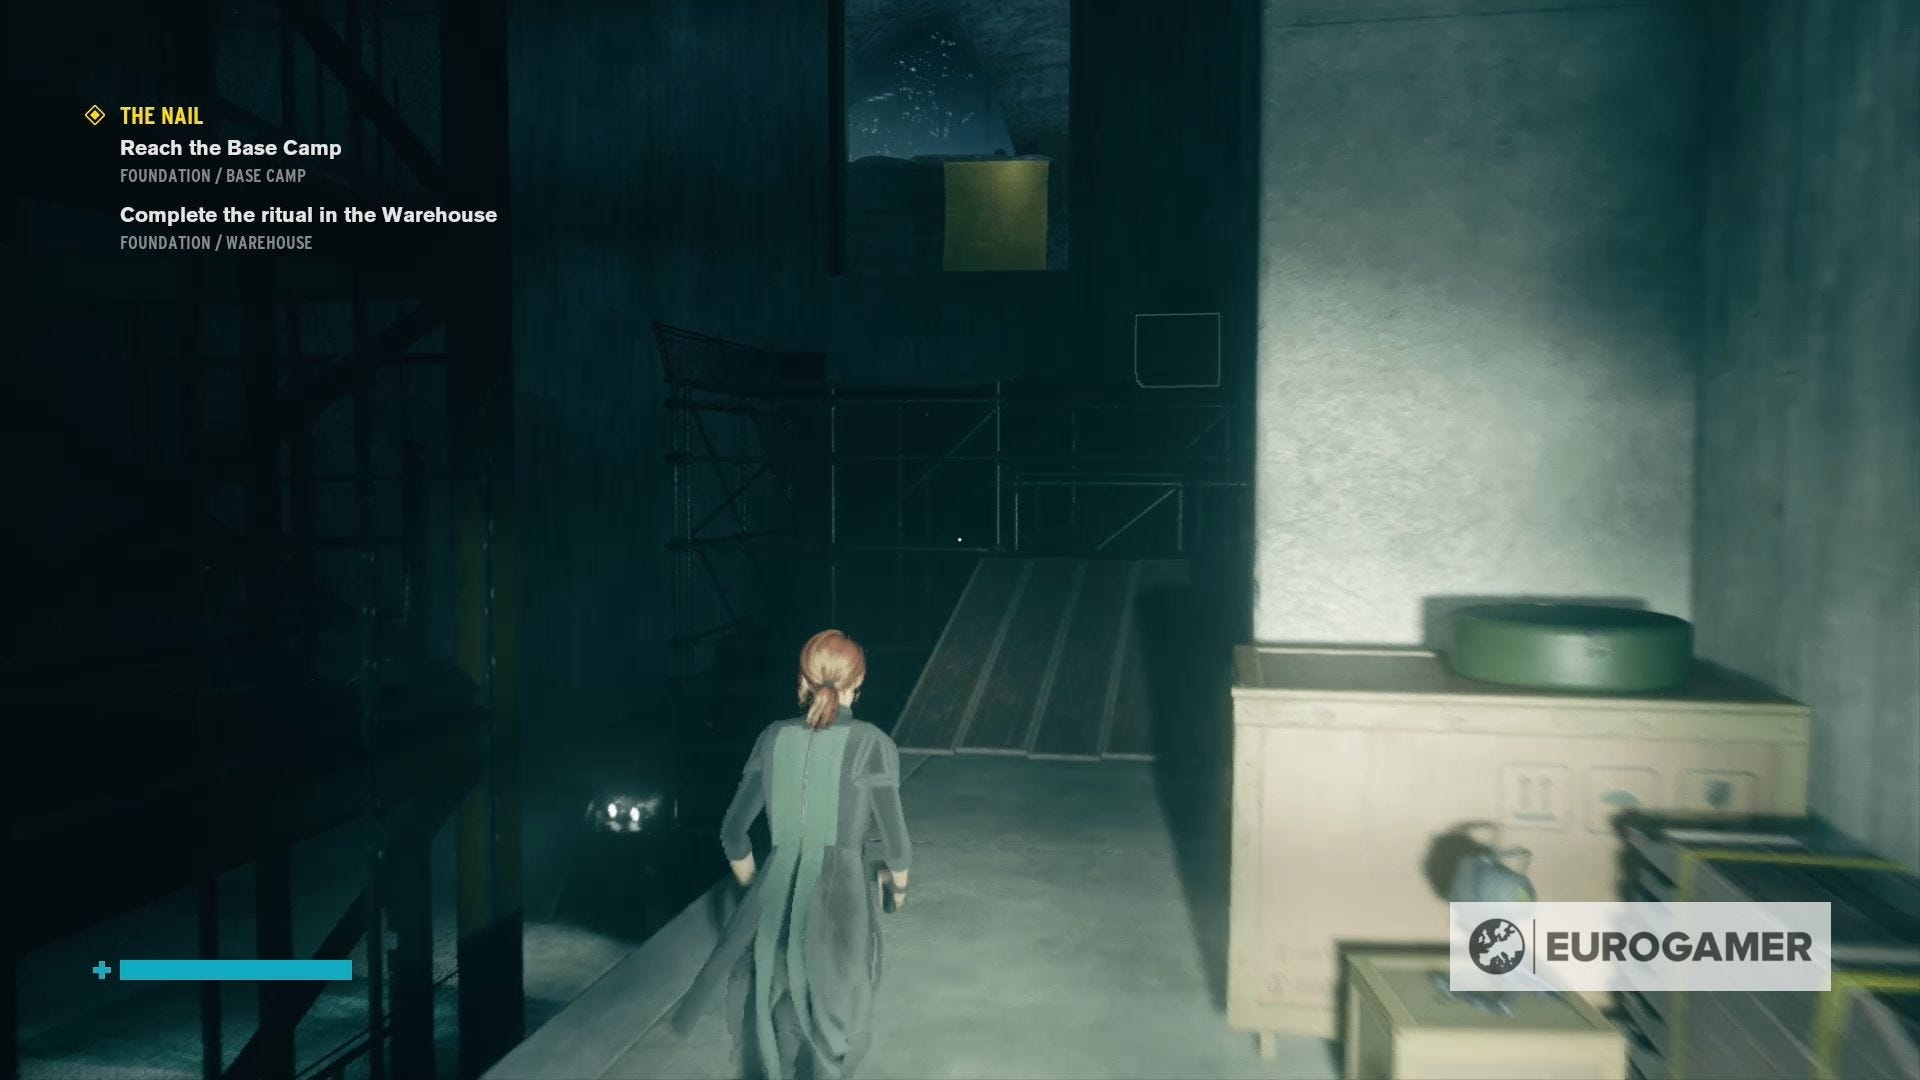
With the door open, you can now enter the Warehouse and cleanse the Control Point you find in there.
Complete the ritual in the Warehouse in Control
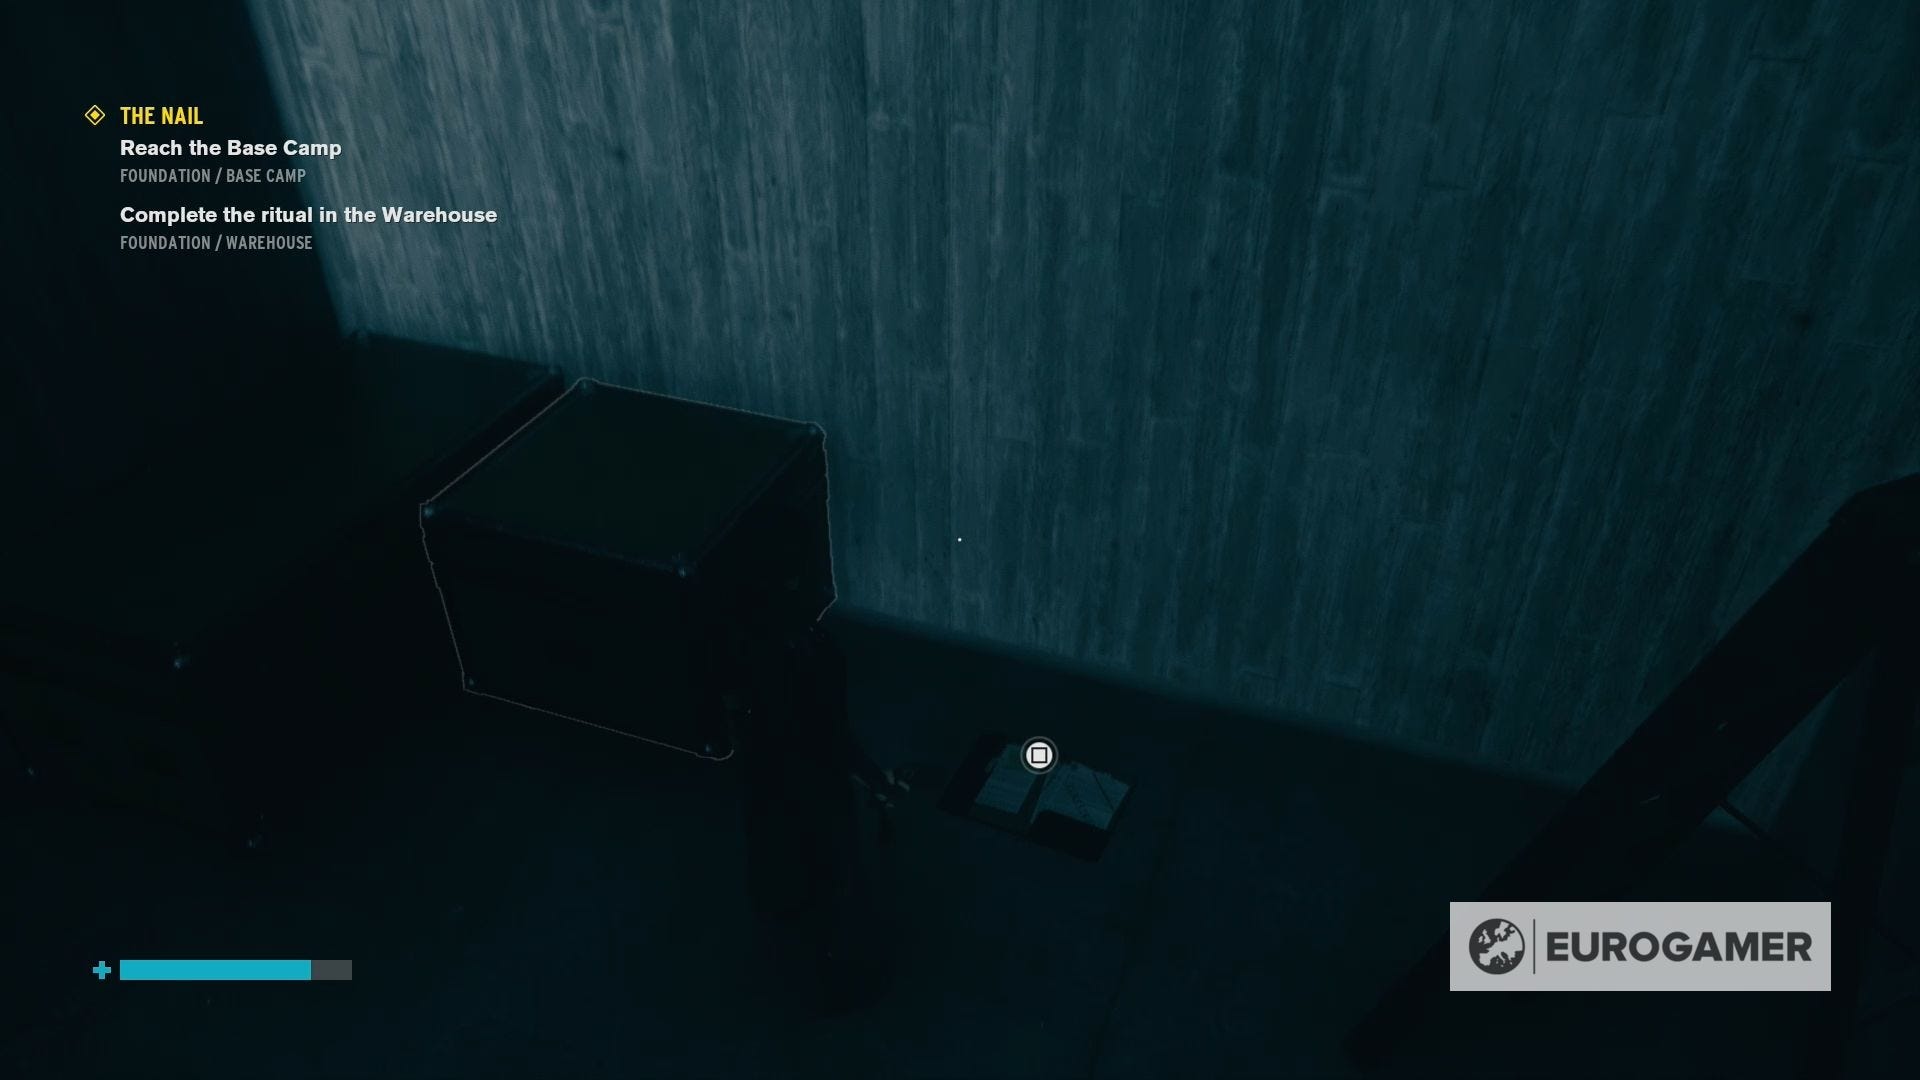
Before you start exploring the Warehouse it's important to know that you can find a number of ID cards in this area and, if you pick one up, you'll be able to start the side mission - Pope's Collection - by talking to Emily Pope.
There are also a number of flying Hiss enemies you should keep an eye out for.
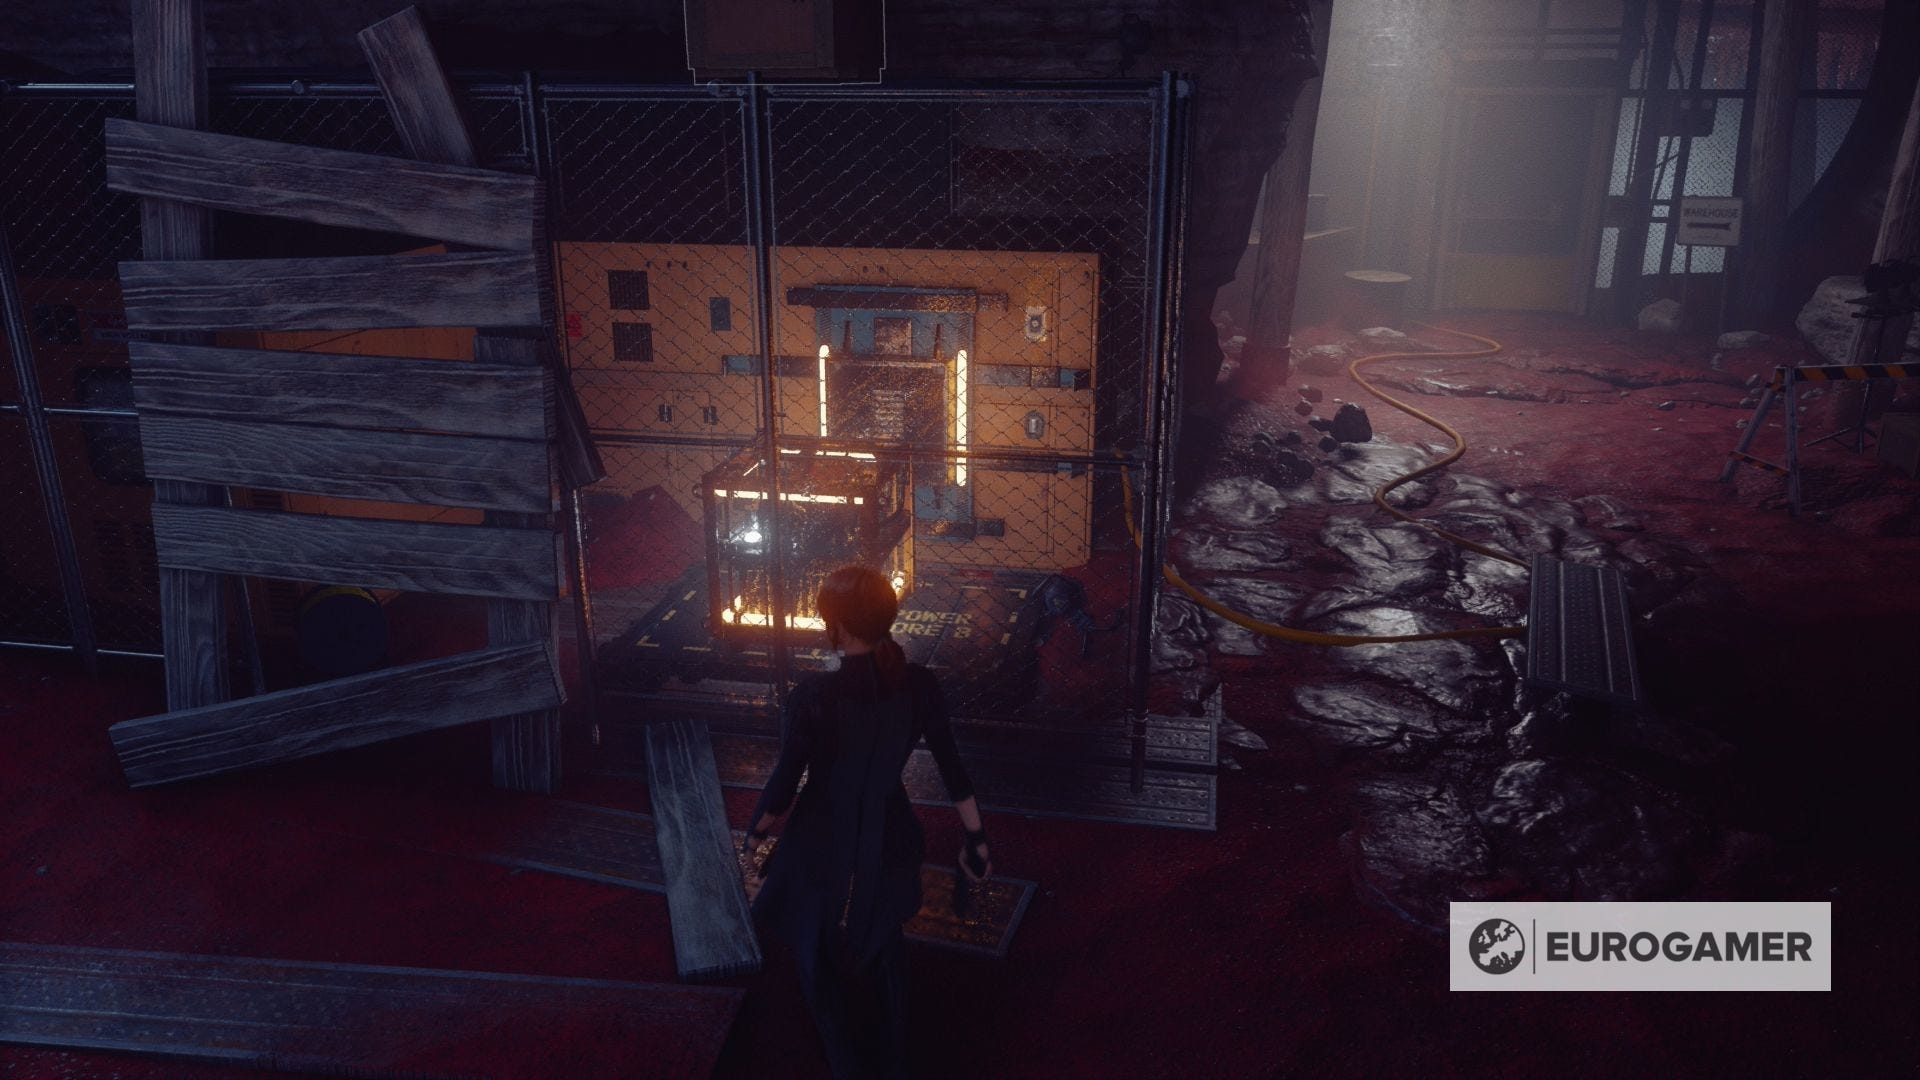
When you're ready, head up the cliffs to the right of the Control Point and enter the Warehouse. Press the button to call the elevator once you're inside and then use launch to place the Power Core back on its socket.
Take the elevator up to the Power Core Storage and exit the elevator to the right to side the next electricity box you need to get the lift moving again to the Tunnel Entrance.

On this level, you'll want to head up the ramps and then levitate across to the tunnel entrance opposite you.
Follow this tunnel and claim the Control Point you find inside it. After this continue down the tunnel and engage in a battle with another group of Hiss; make sure you use Shape to your advantage and take out a number of their foes quickly.
Once all the Hiss are dead, head through the cavern and into the new tunnel on the other side to find yourself back at the Warehouse, but higher up.
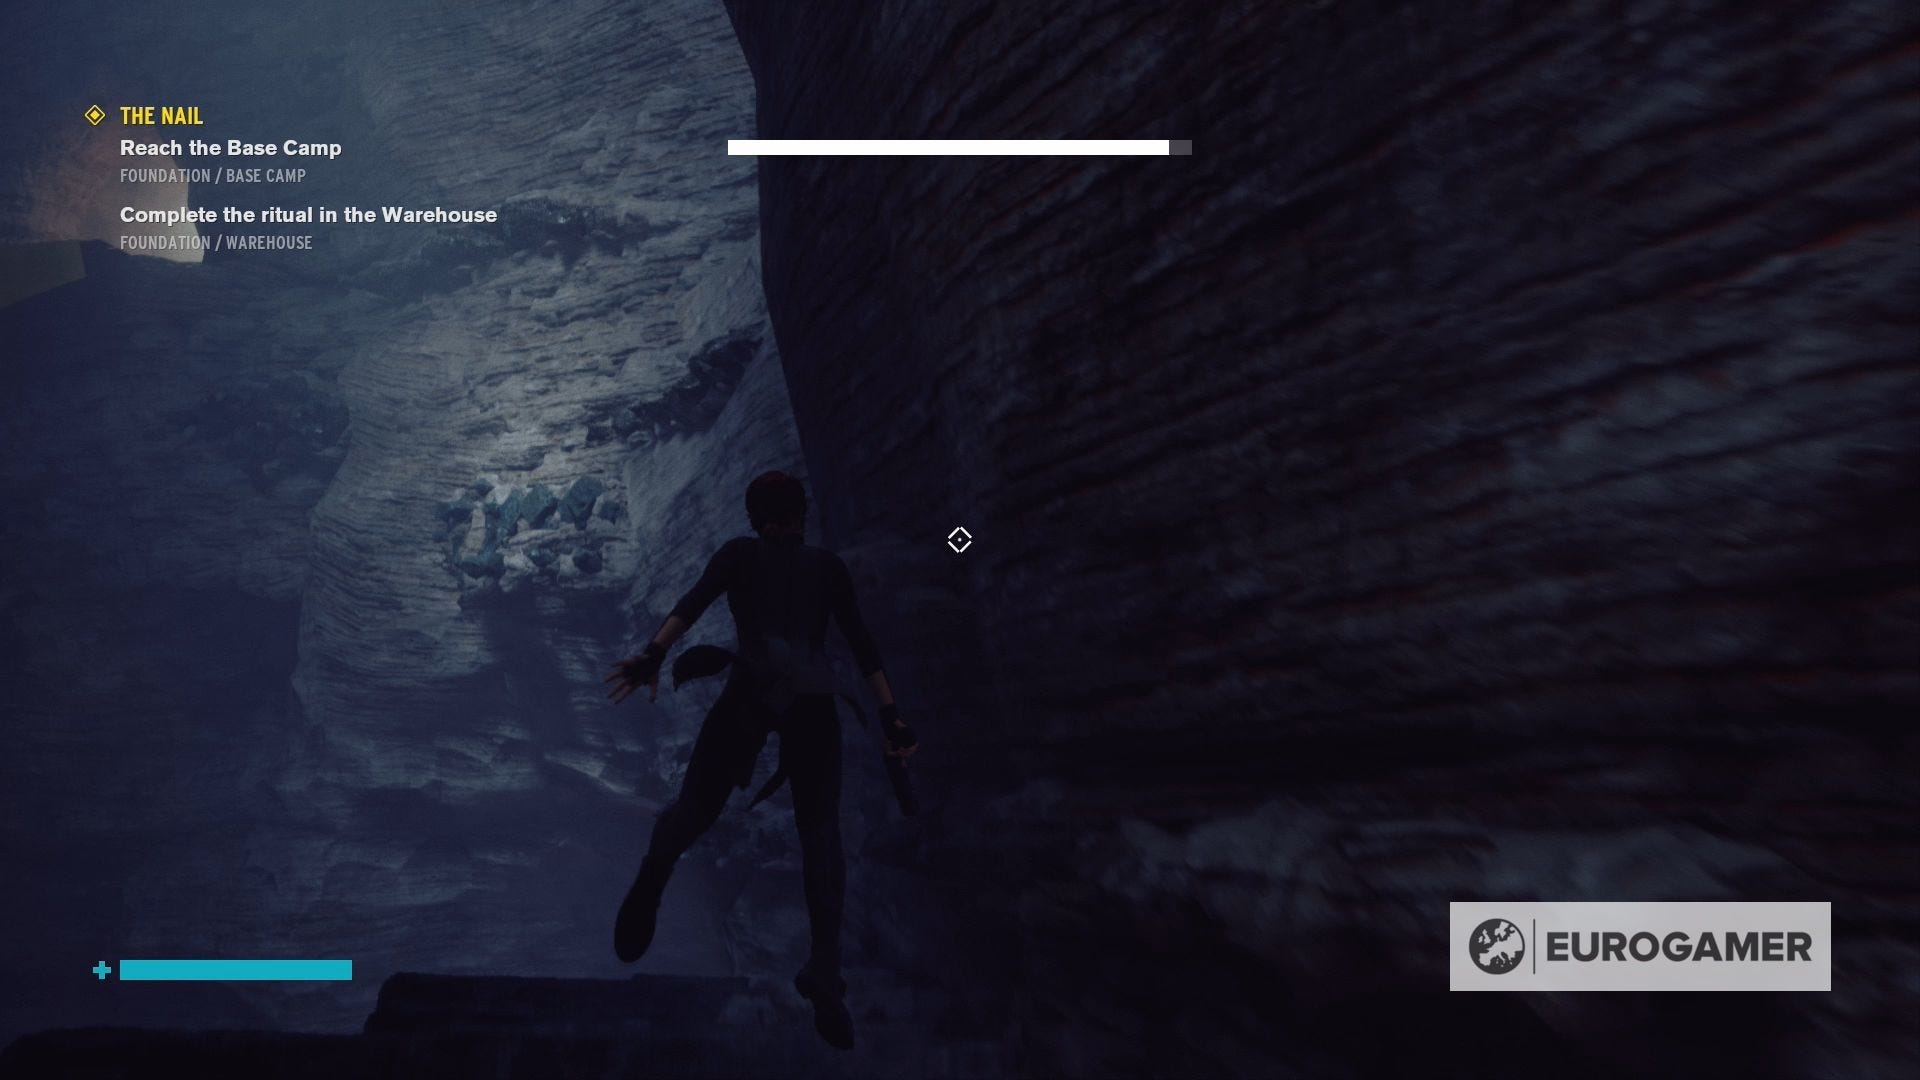
You'll be able to see another tunnel for you to explore higher up in the cavern wall, so, once again, use a combination of Shape and Levitate to climb your way to the top.
Like with the previous tunnel, head inside, cleanse the Control Point and defeat the Hiss inside, before continuing your way through the Foundation.
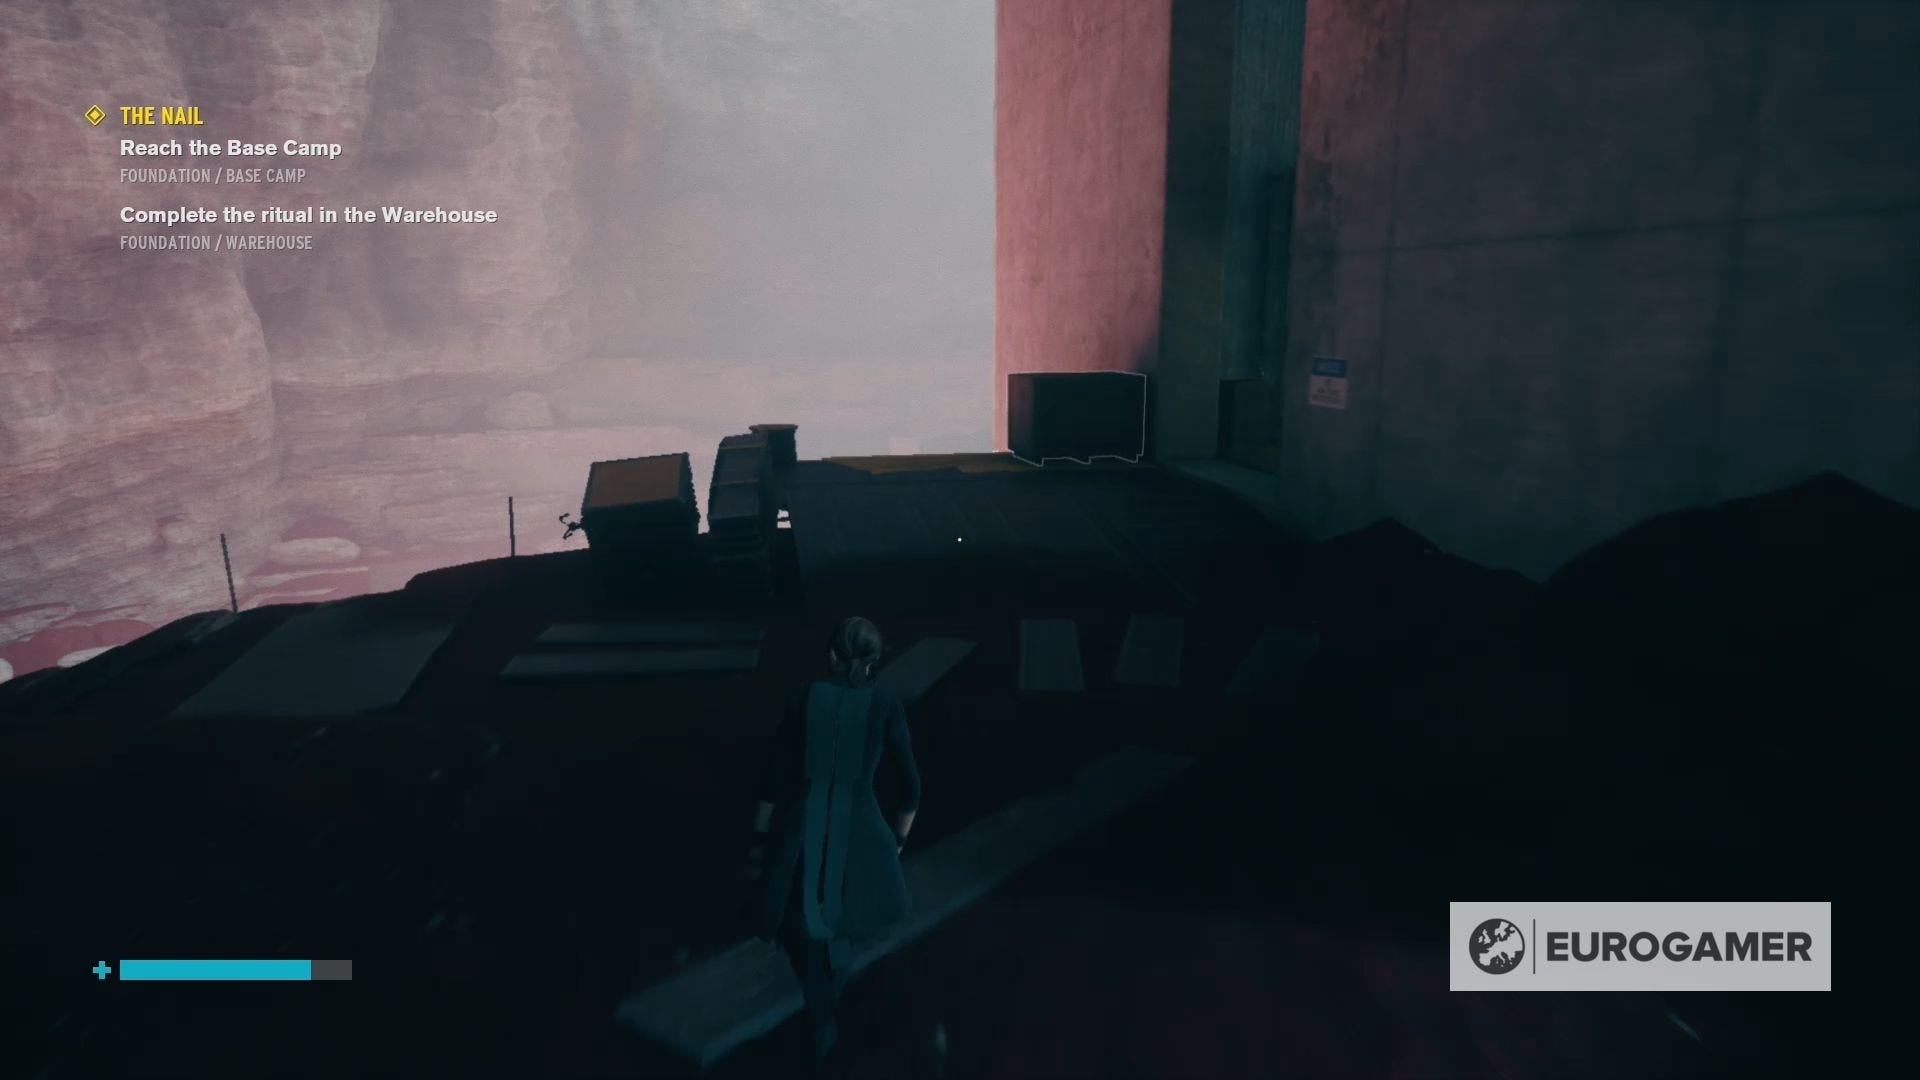
At the end of this tunnel, you'll find another area which you can cross by creating platforms and levitating. From there, fly back inside the Warehouse and destroy the Hiss Nodes that power the barrier blocking your path.
There are three Hiss Nodes in total, which can be found:
- On the cavern wall opposite the Warehouse
- Behind some boxes inside the Warehouse
- In the elevator shaft and can only be destroyed by launching a box at it

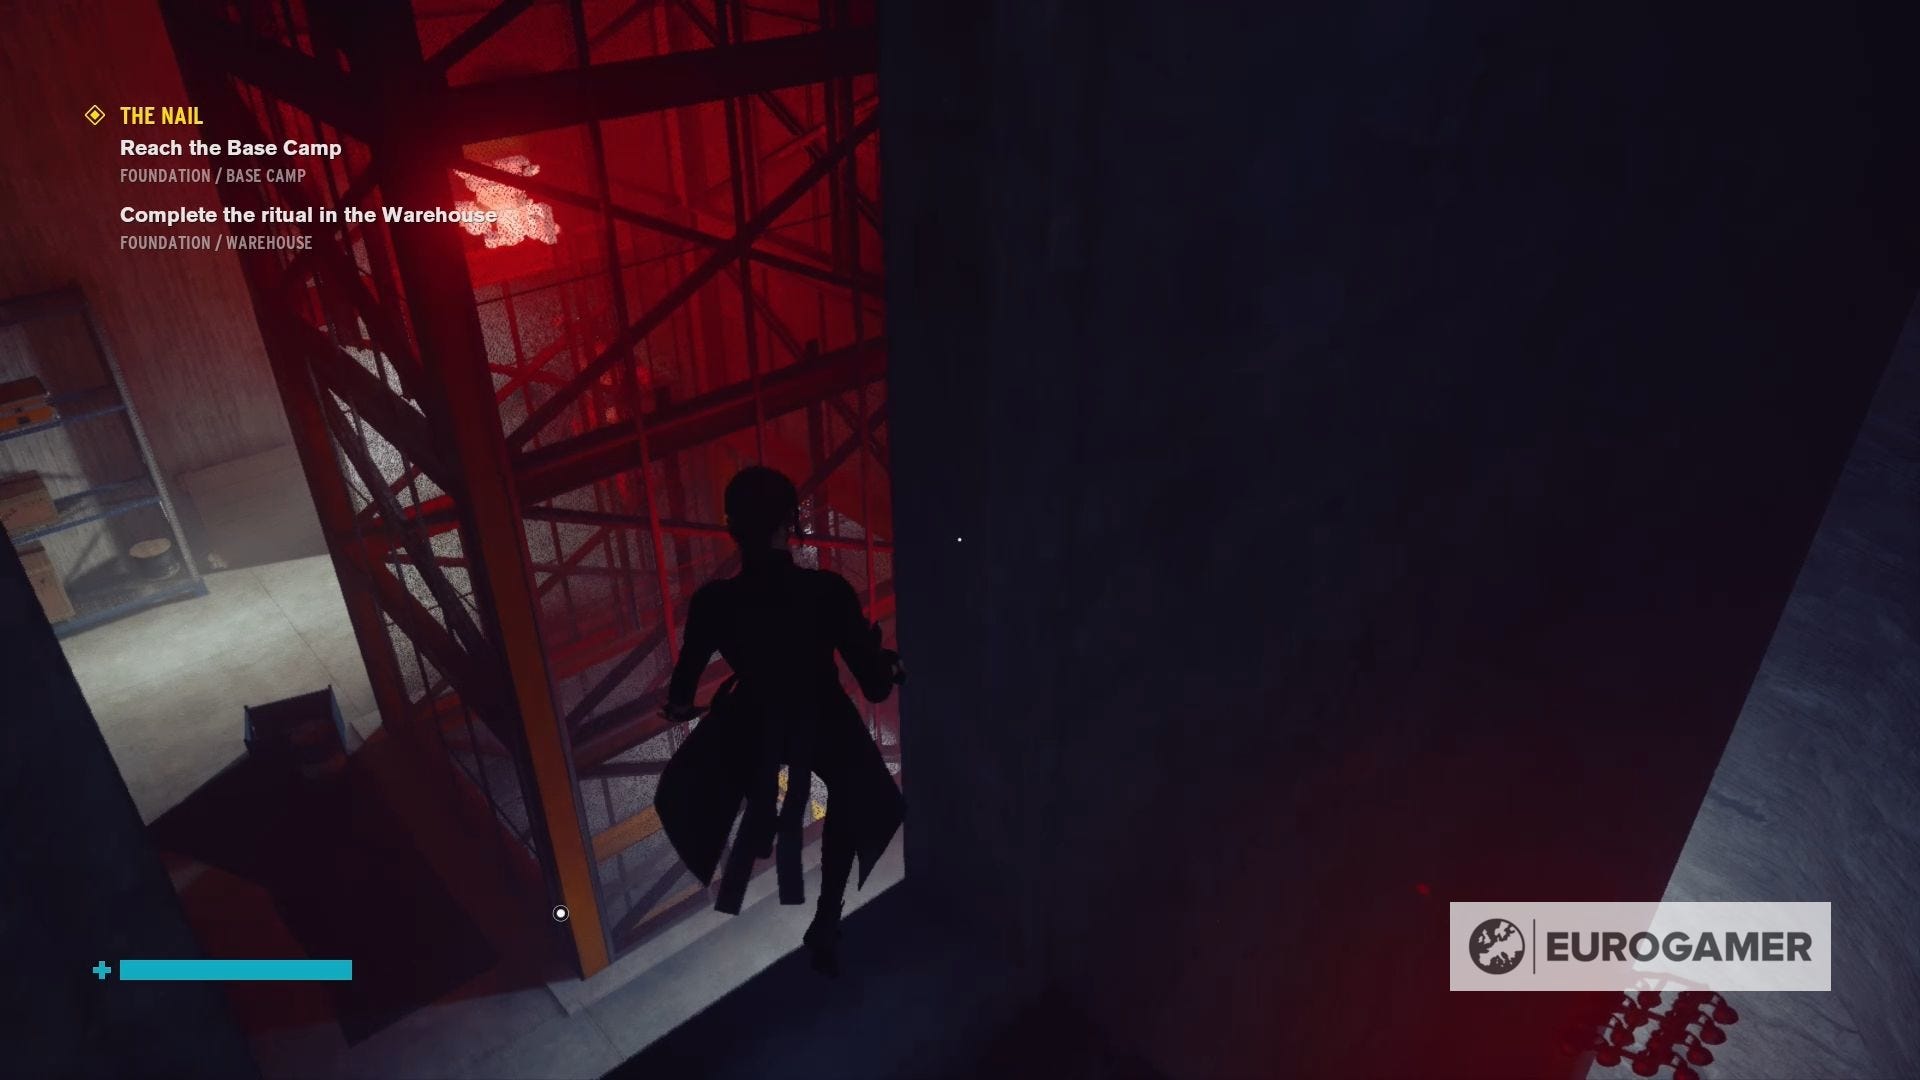
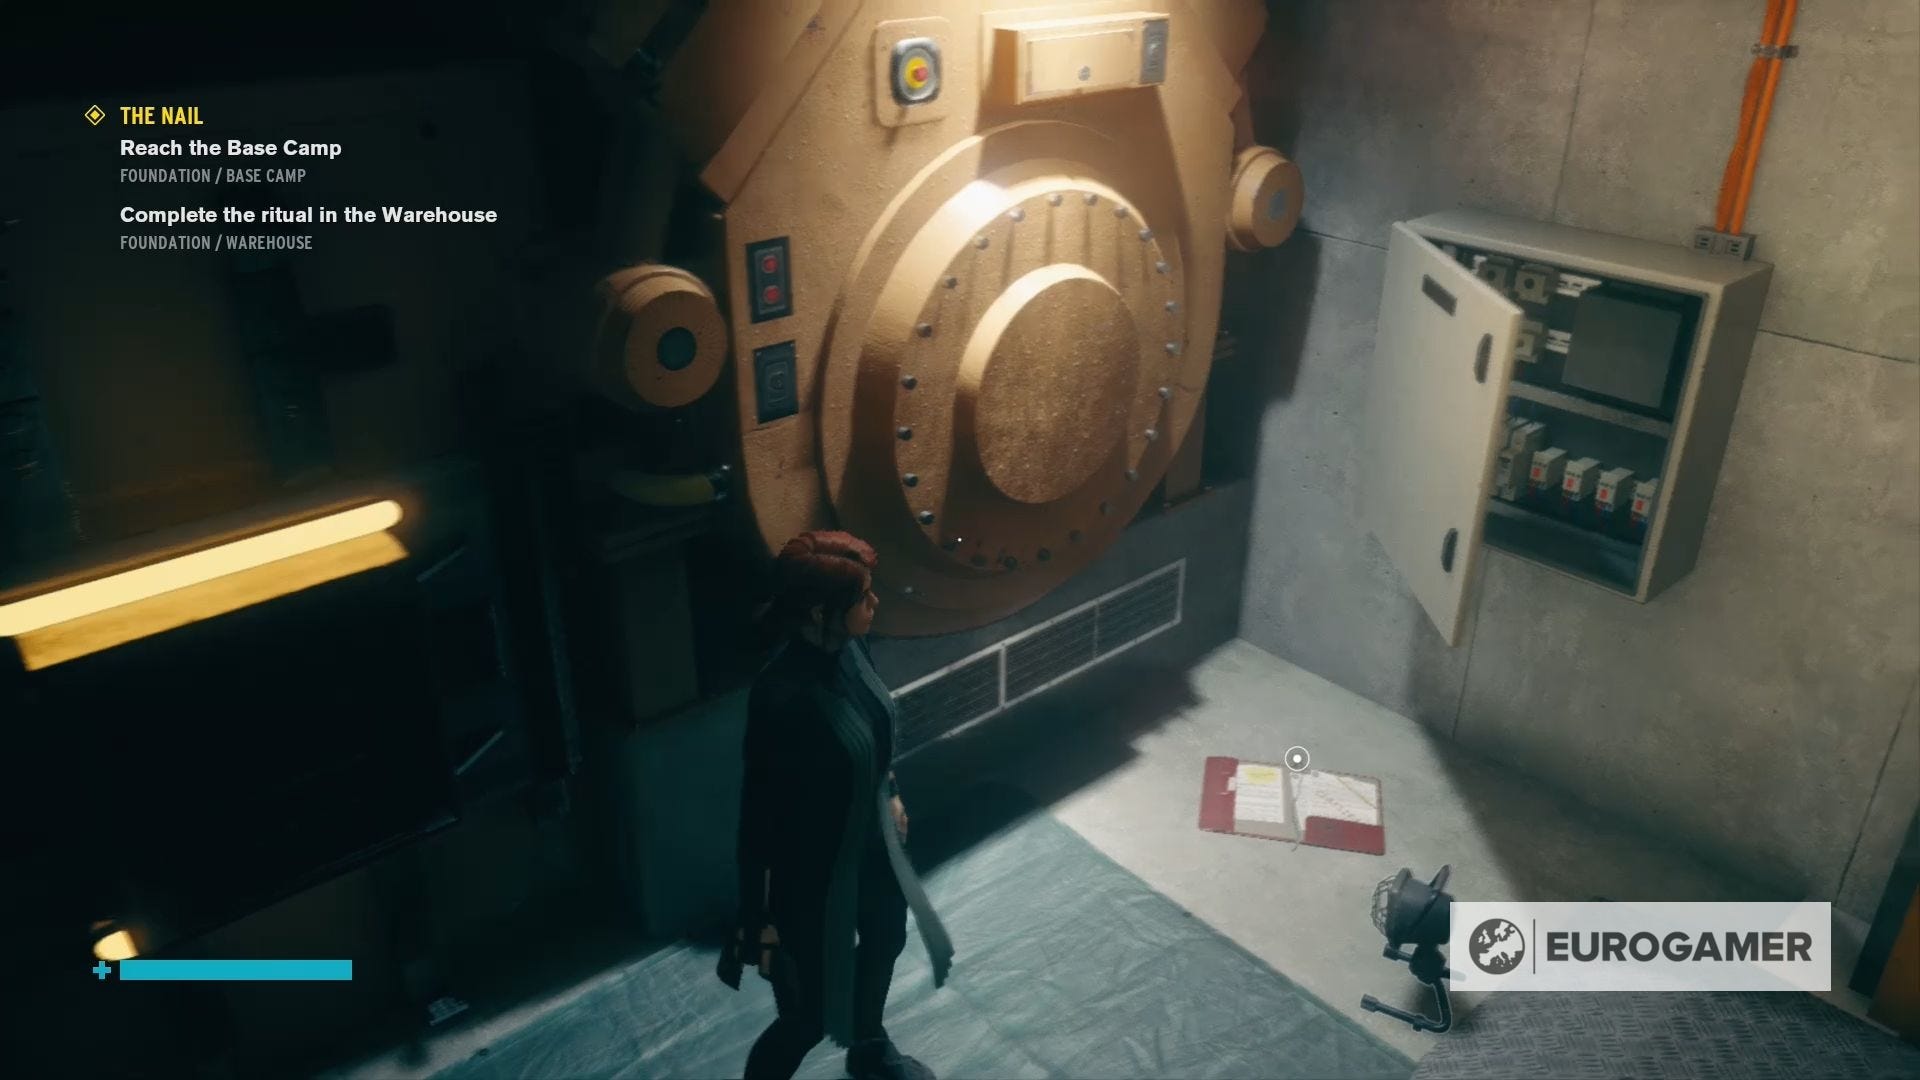
With the Hiss Nodes destroyed, call the elevator and place the nearby Power Core on the socket, so that you can travel up to the Upper Warehouse.
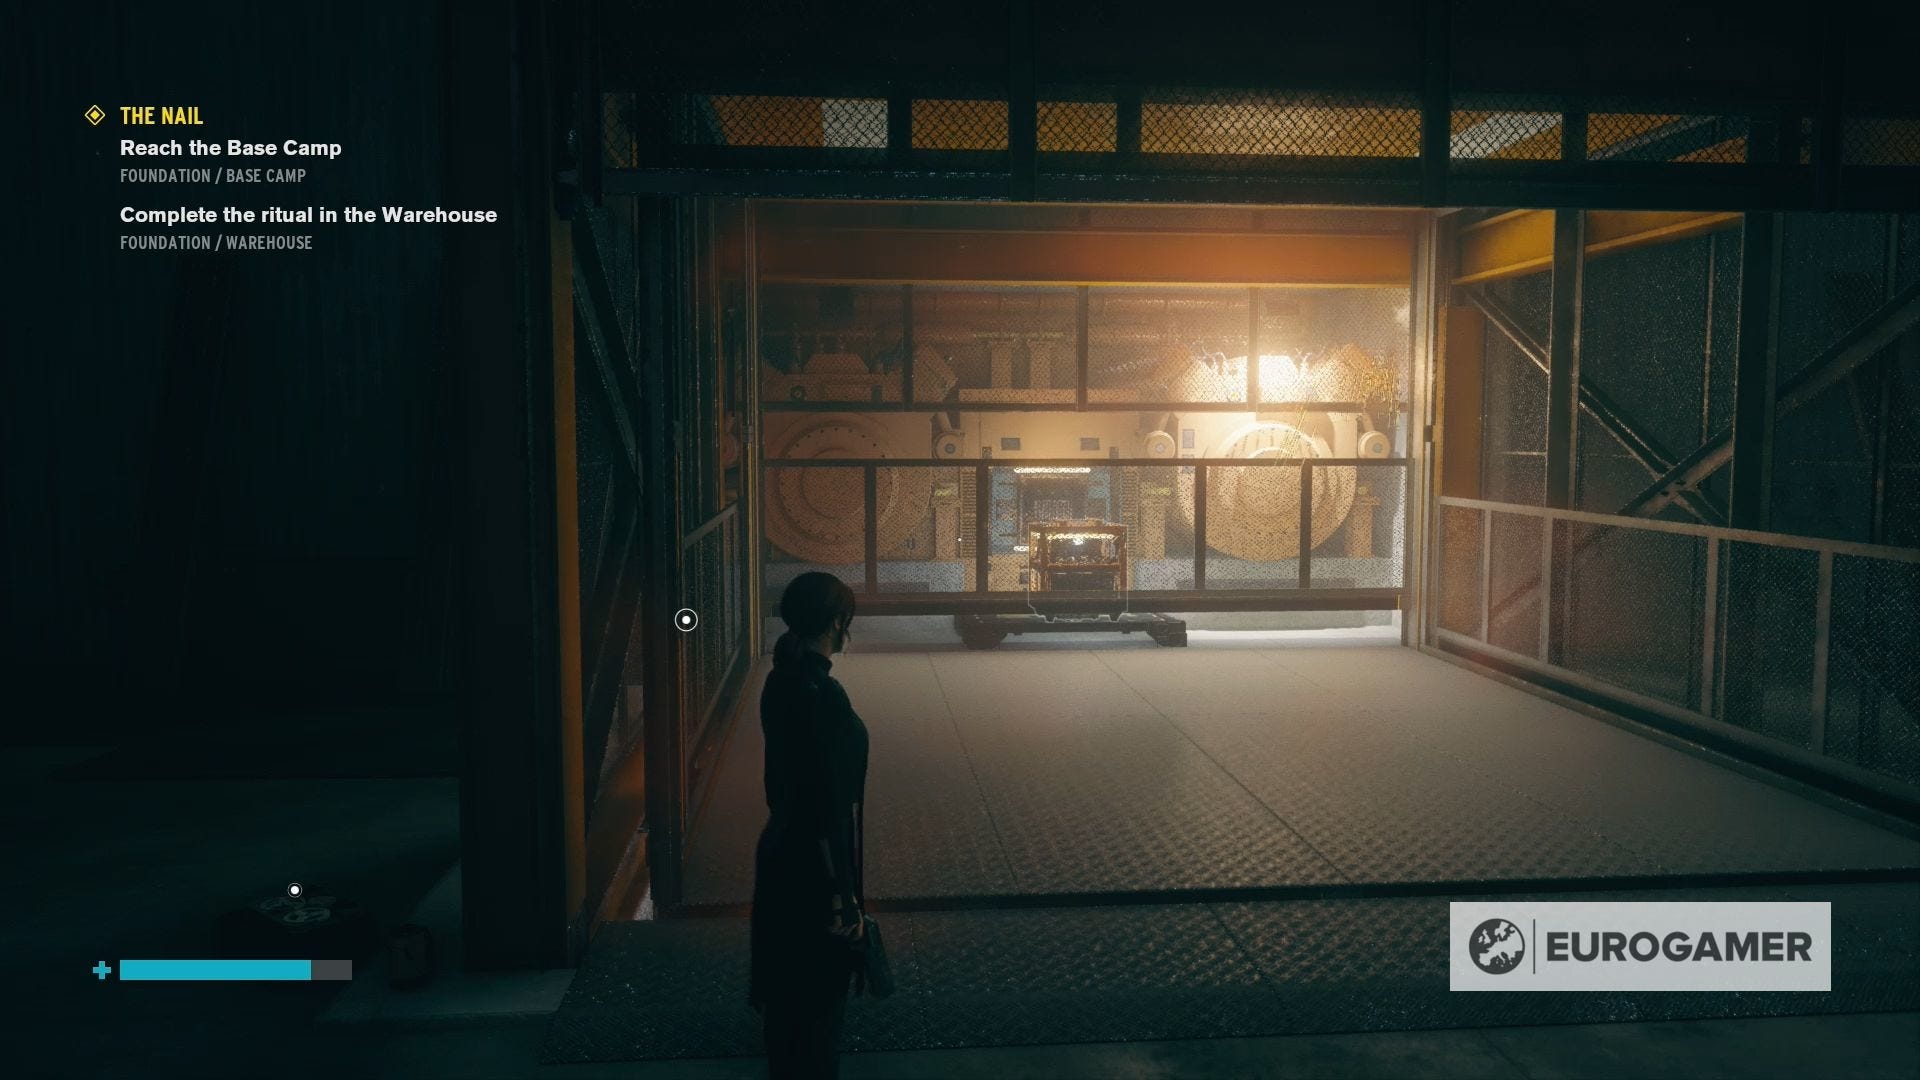
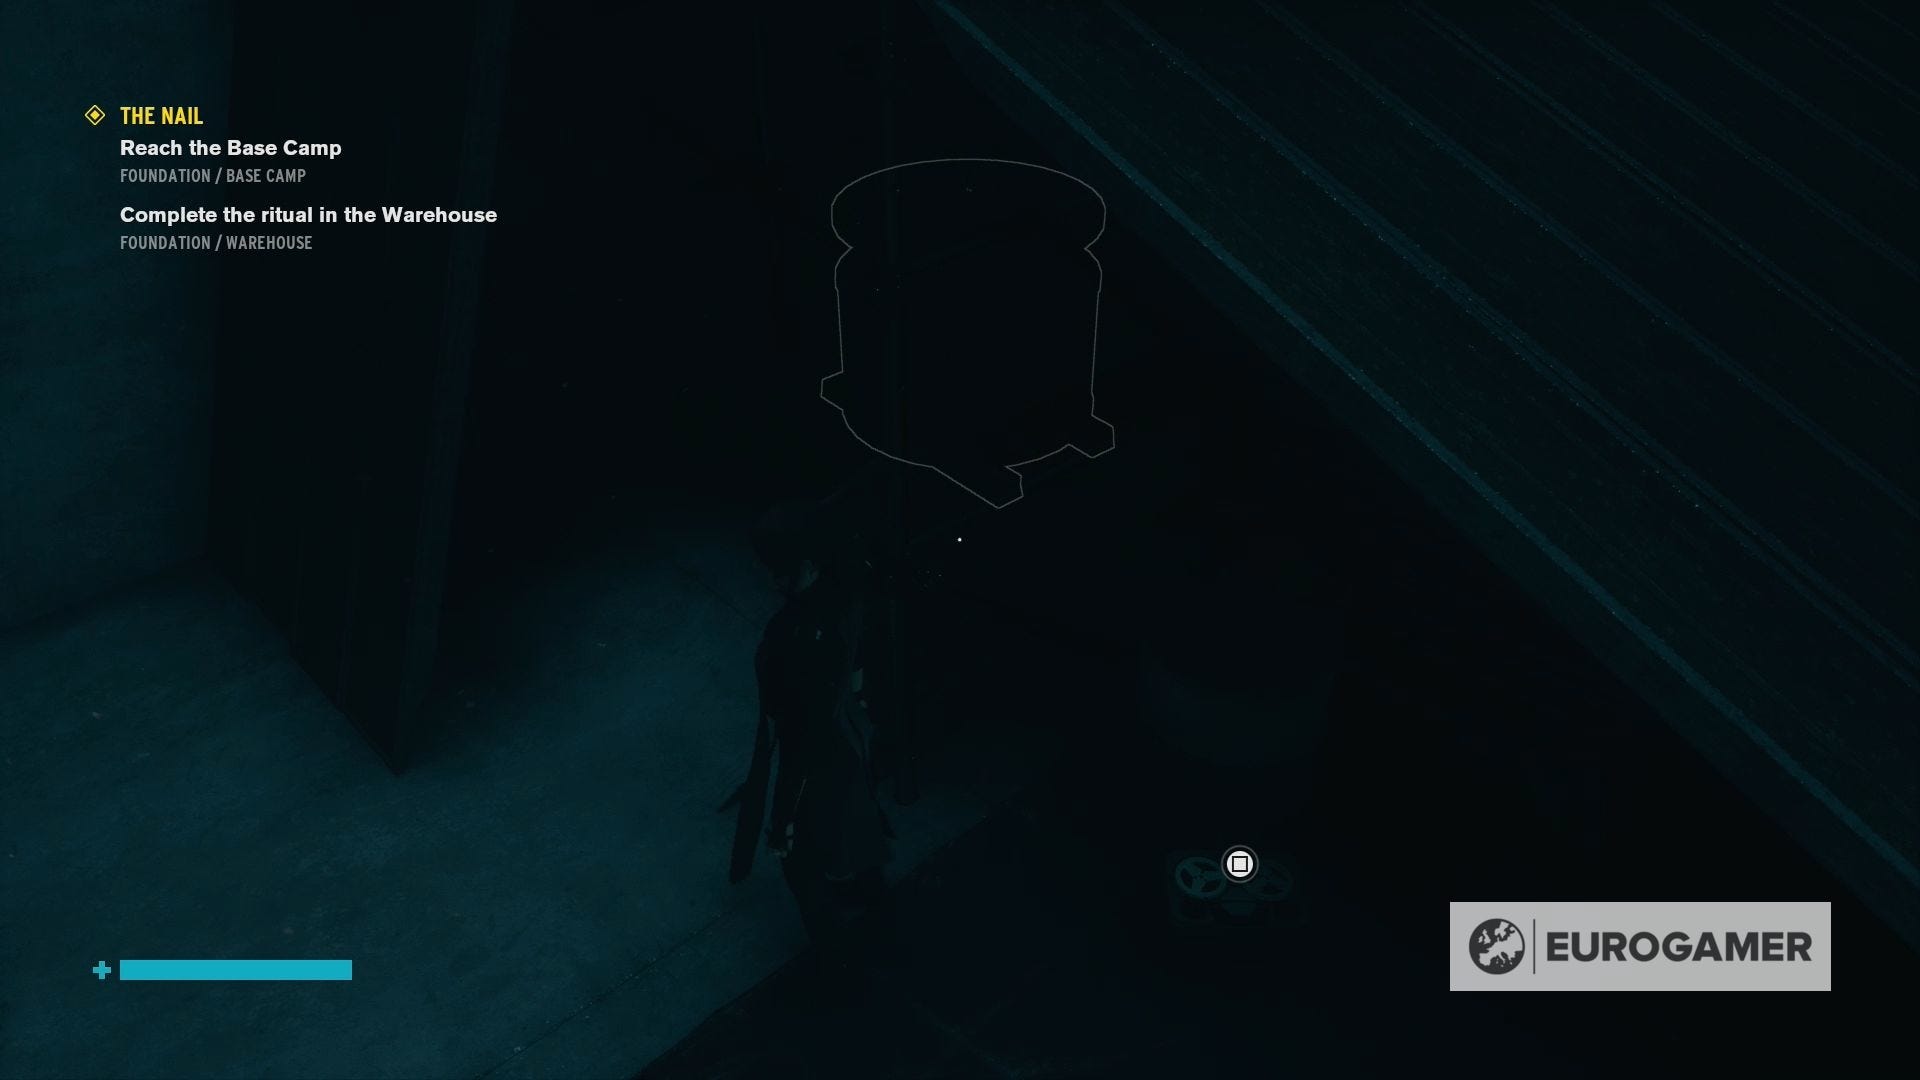
Here you'll find another etching that you need to interact with and, when you do, a battle with the Hiss will begin. If you're having trouble with this fight, we recommend levitating as much as you can and using Shape to create spikes that will kill anything they touch.
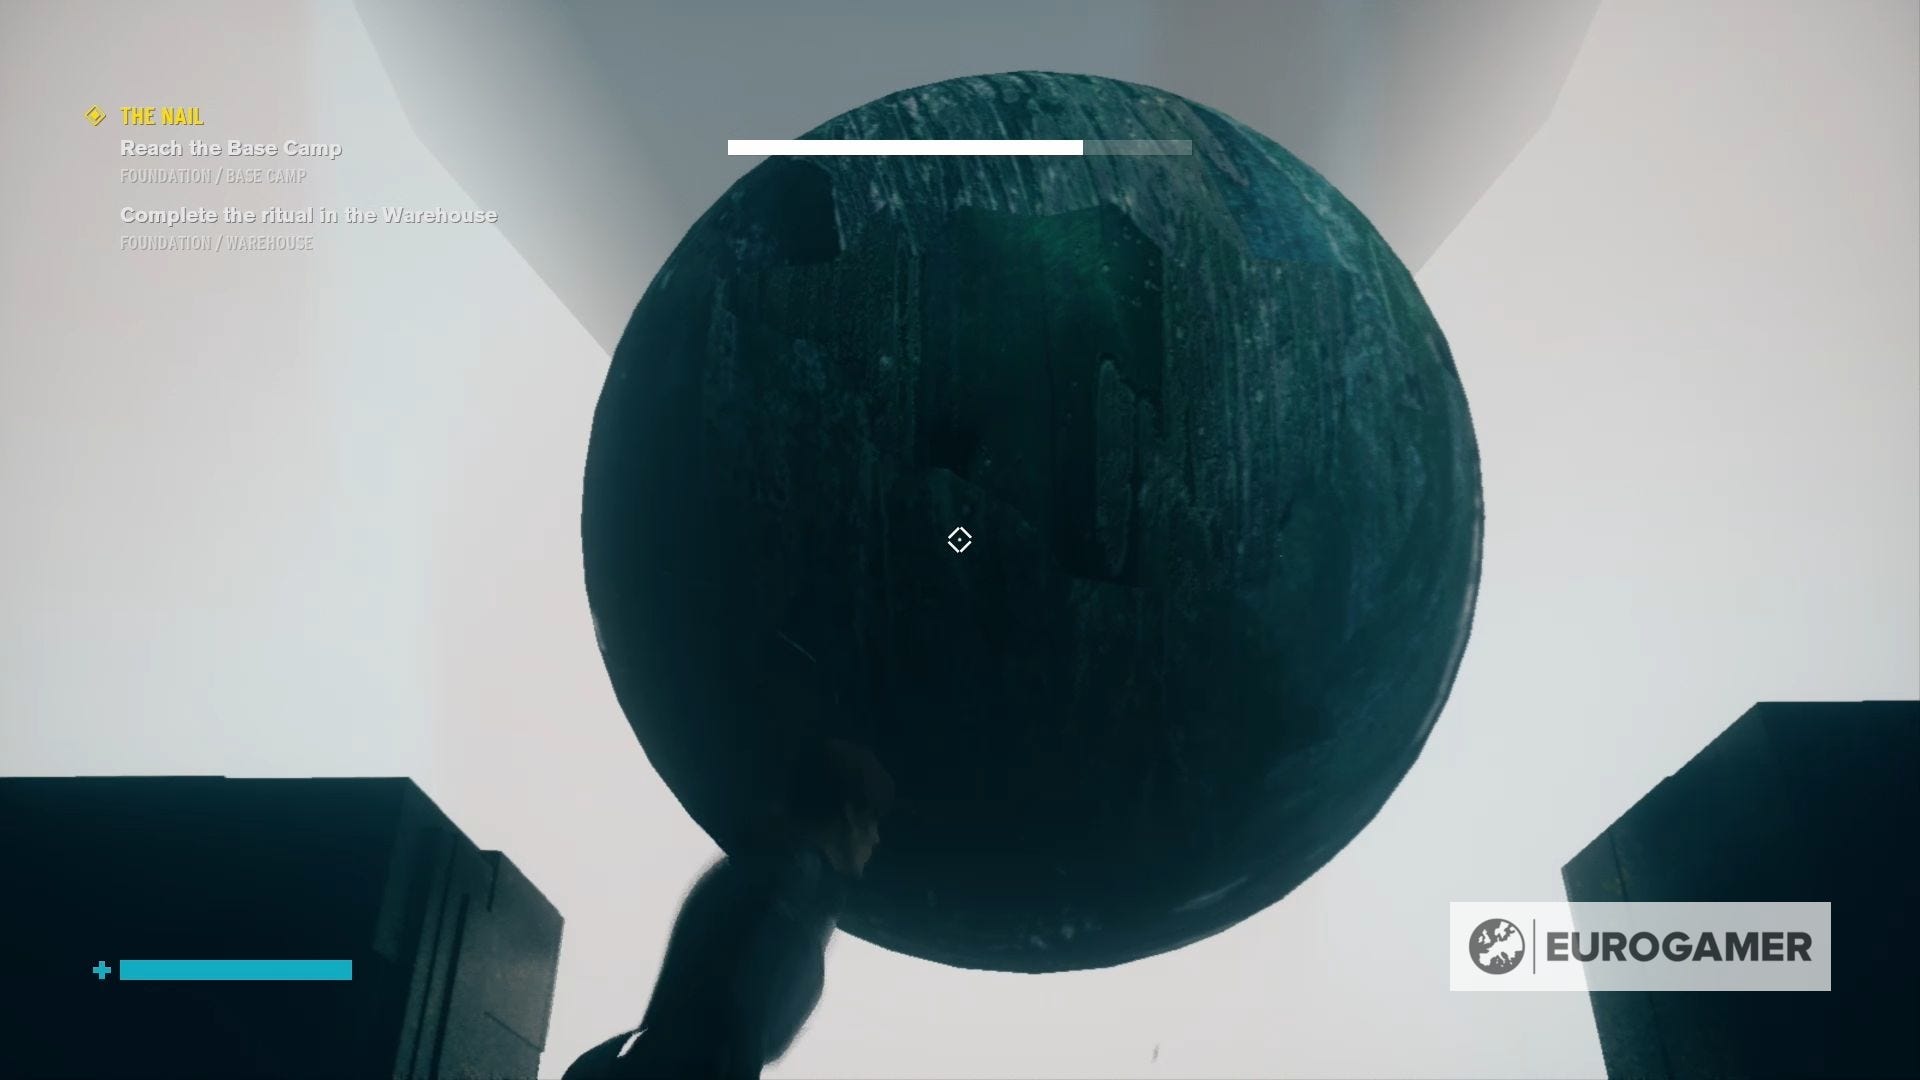
After defeating the Hiss, touch the etching again and you'll be sent to the Astral Plane, where you need to use the Shape ability to fix the key. (Or is it a lock?)
Once the key is fixed, return to the Foundation and this part of the mission will be completed, rewarding you with:
- 4 Ability Points
- 1 Personal Mod
- 1 Material
Collectibles to be found:
- Research & Records - Research - History of the Oldest House
- (Found in one of the yellow buildings in the Warehouse.)
- Research & Records - Research - Pyramidic Geometry
- (Found in one of the yellow buildings in the Warehouse.)
- Multimedia - Ash Tapes - Log 3: Work
- (In the main tower of the Warehouse by the elevator, which is accessed by simply walking through the gap in the wall.)
- Case Files - Altered World Events - Meteor Hill Summary
- (Use Shape to create platforms along the side of the cavern wall to reach the gap in the side of the Warehouse. Once inside, you'll find this file directly beneath the ledge you entered through.)
- Research & Records - Reports - Power Cores
- (On the floor by the Power Core socket on the Power Core Storage level of the Warehouse.)
- Multimedia - Ash Tapes - Log 5: Pyramids
- (On the Tunnel Entrance level of the Warehouse beneath the ramp leading out of this level.)
- Hotline - Marshall - Becoming Director
- (Found as you enter a tunnel as part of the storyline.)
- Case Files - Altered World Events - Meteor Hill Supplement
- (On a higher level of Warehouse accessed by travelling through the tunnels and levitating over when close by. This floor is labelled Tunnel Quick Access.)
- Research & Records - Research - Foundation Etchings
- (After cleansing the second tunnel Control Point, fly, from the following cavern chamber, over to the Warehouse and you'll find this document at the end, opposite the gap you enter by.)
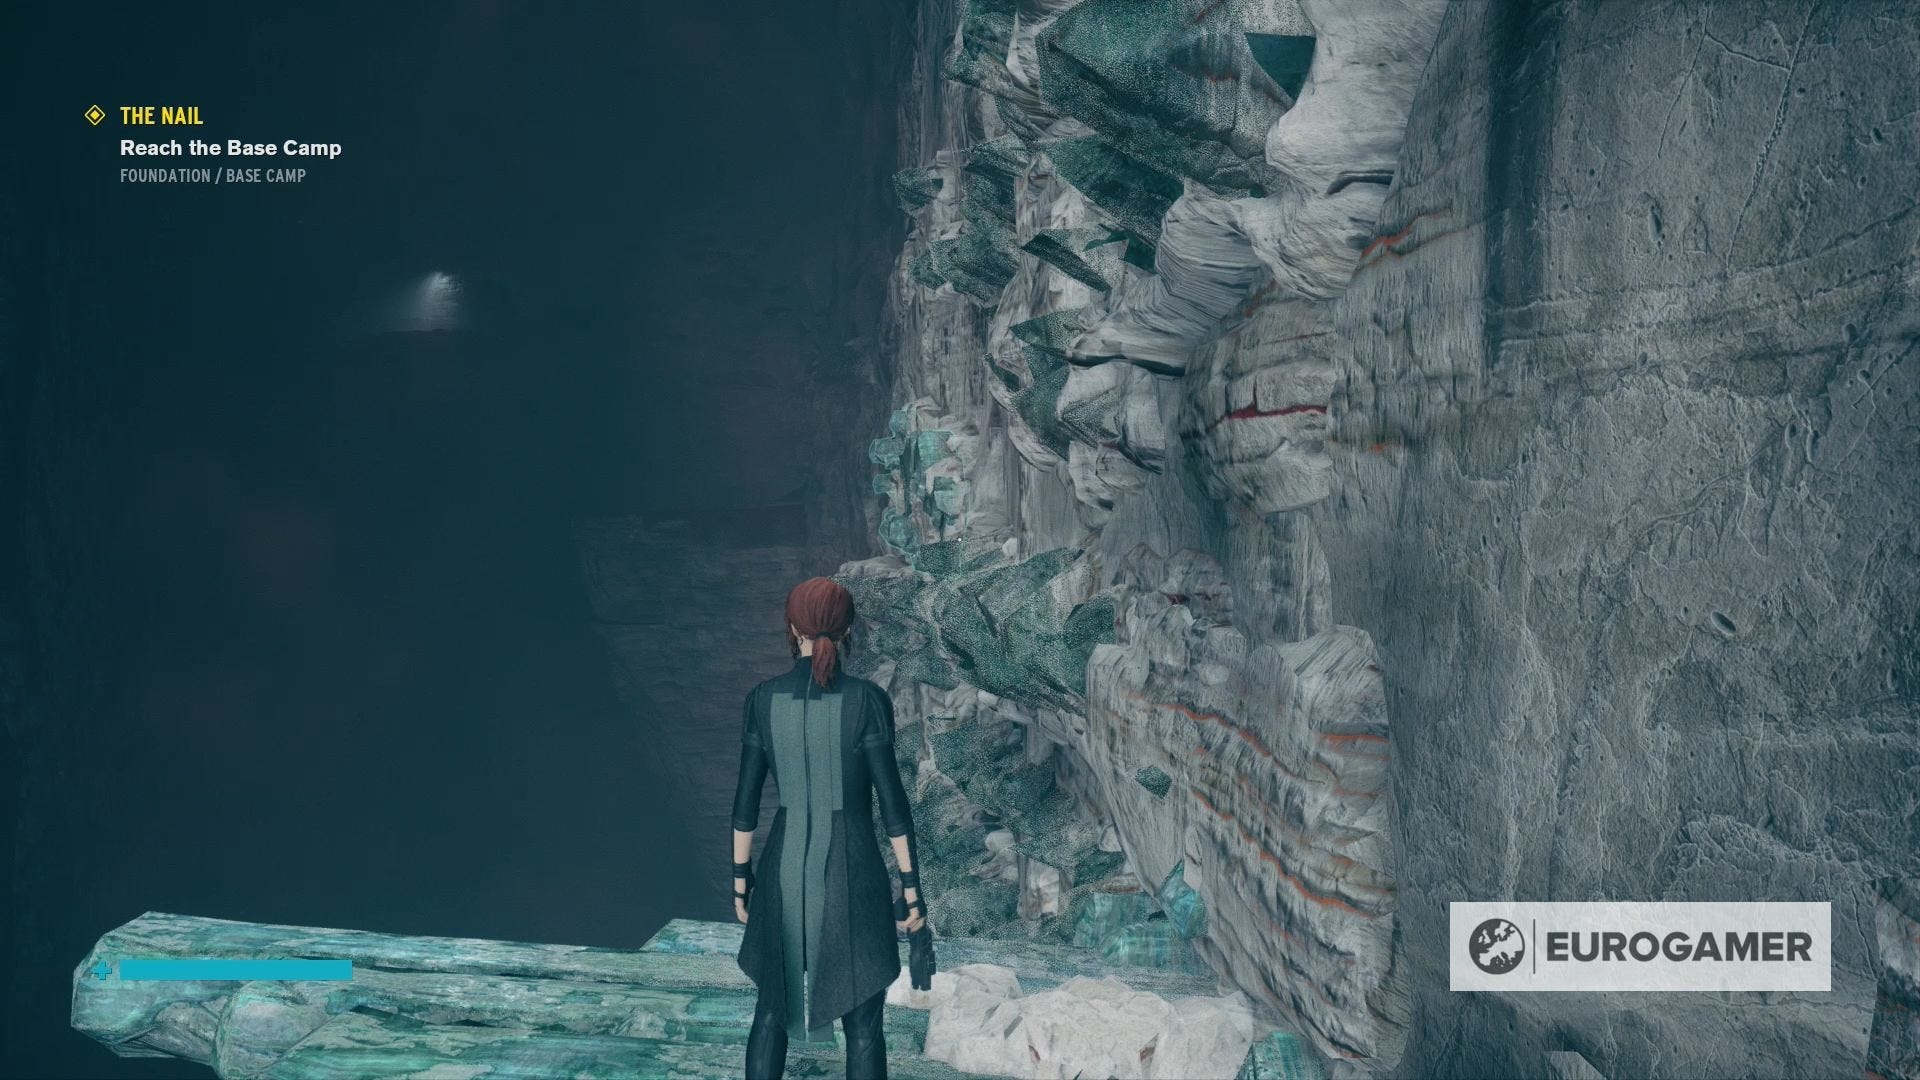
How to find the Base Camp in Control
With this ritual completed, it's time to head back to the Crossroads and you'll discover that Emily Pope has made her way down to the Foundation. Take the time to fill her in with the situation, though she already seems to know, and, if you talk to her again, you can take part in the Pope's Collection side mission.
After you've finished talking to her, head over to the right-hand side of the Crossroads and you'll find another series of platforms for you to create, which will take you to a new tunnel.
Head down this tunnel, keeping an eye on those toxic geysers, and defeating the Hiss you encounter, before exploring further into the caves. This will lead you to yet another large cavern, where you'll fight a number of Hiss, before leaving down a tunnel to a gated area.

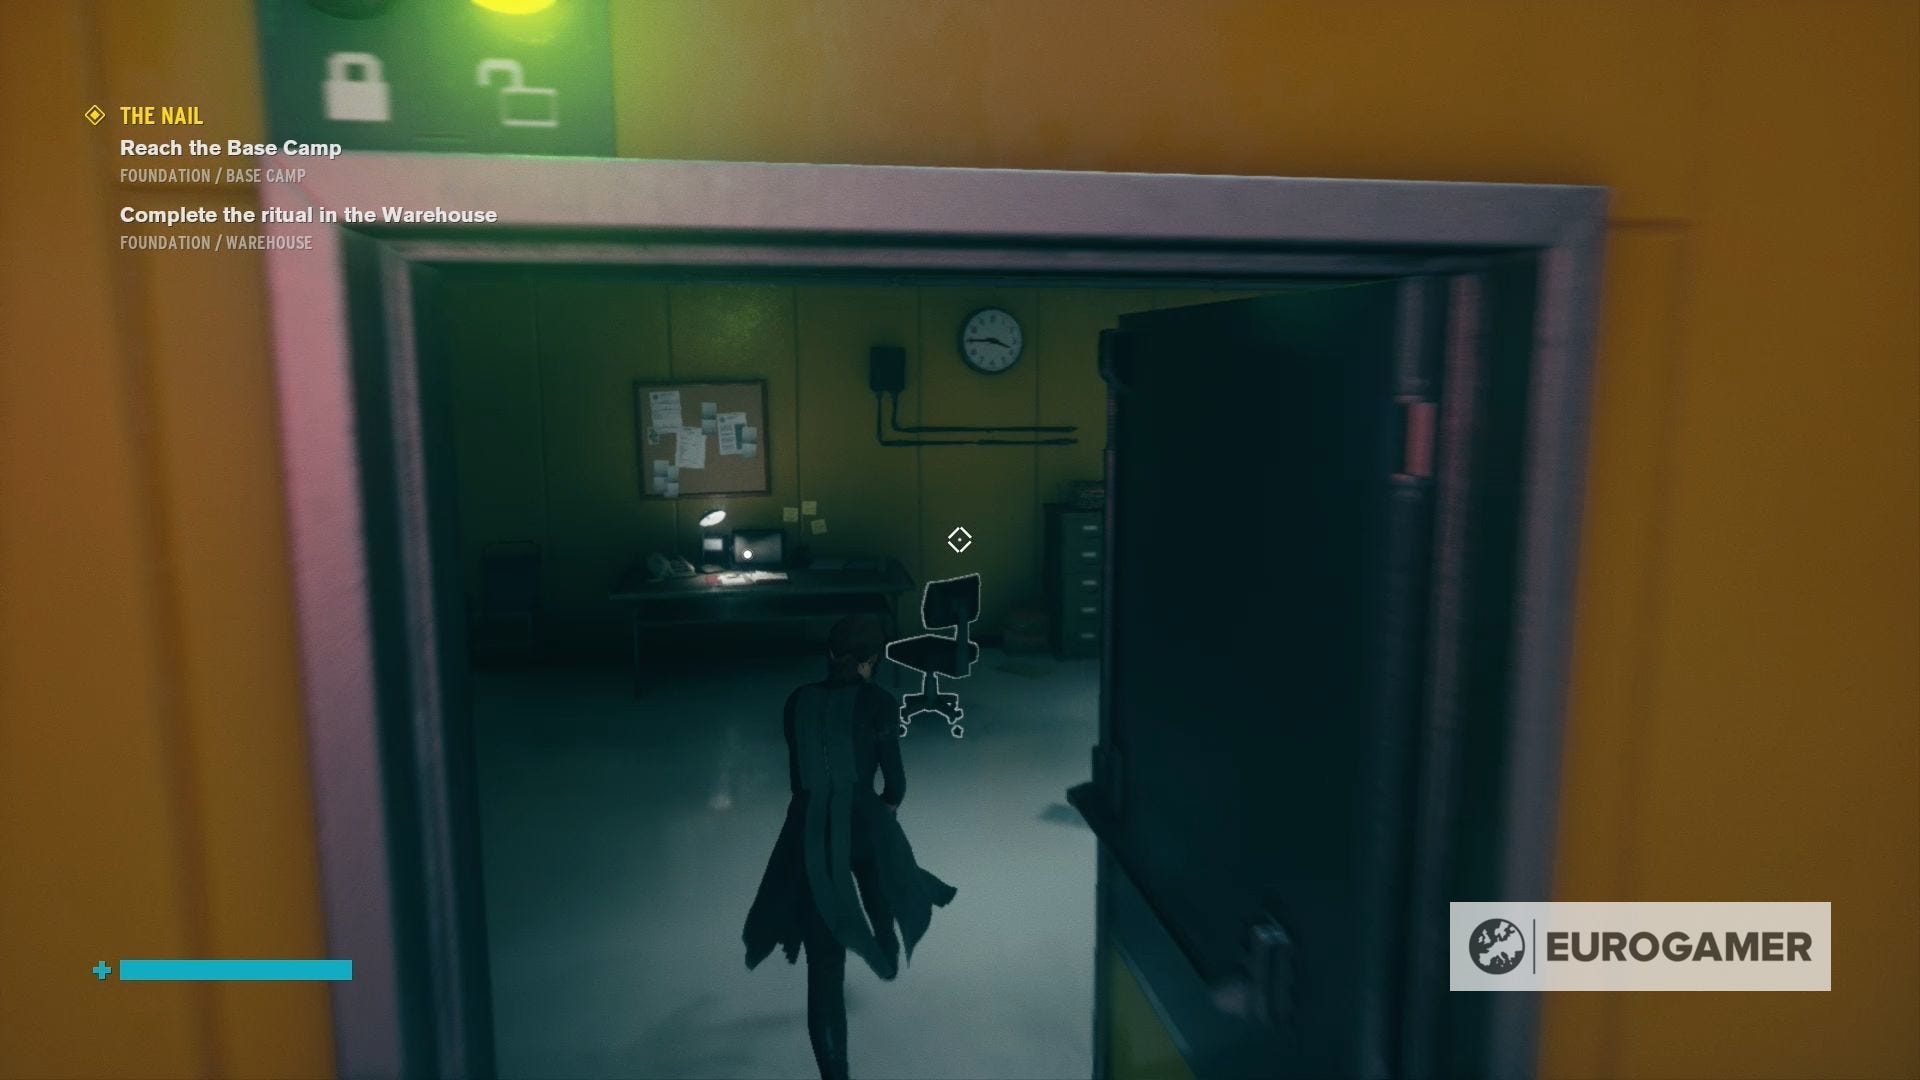
Kill the Hiss Sharpened that tries to attack you and then place the Power Core, which is inside the small office space, on the socket to open the door.
It’s time to journey into the mysterious Federal Bureau of Control. Our Control walkthrough can help you through the storyline missions, including Welcome to the Oldest House, Unknown Caller, Directorial Override, Old Boy’s Club, Threshold, My Brother's Keeper, The Face of the Enemy, Finnish Tango, Polaris and Take Control. You can also learn new supernatural powers by completing A Merry Chase, A Good Defence and A Captive Audience. We also have guides on upgrading the Service Weapon, your Abilities, how to use Weapon and Personal Mods, how to unlock every outfit and the solution to the Roulette Wheel puzzle.
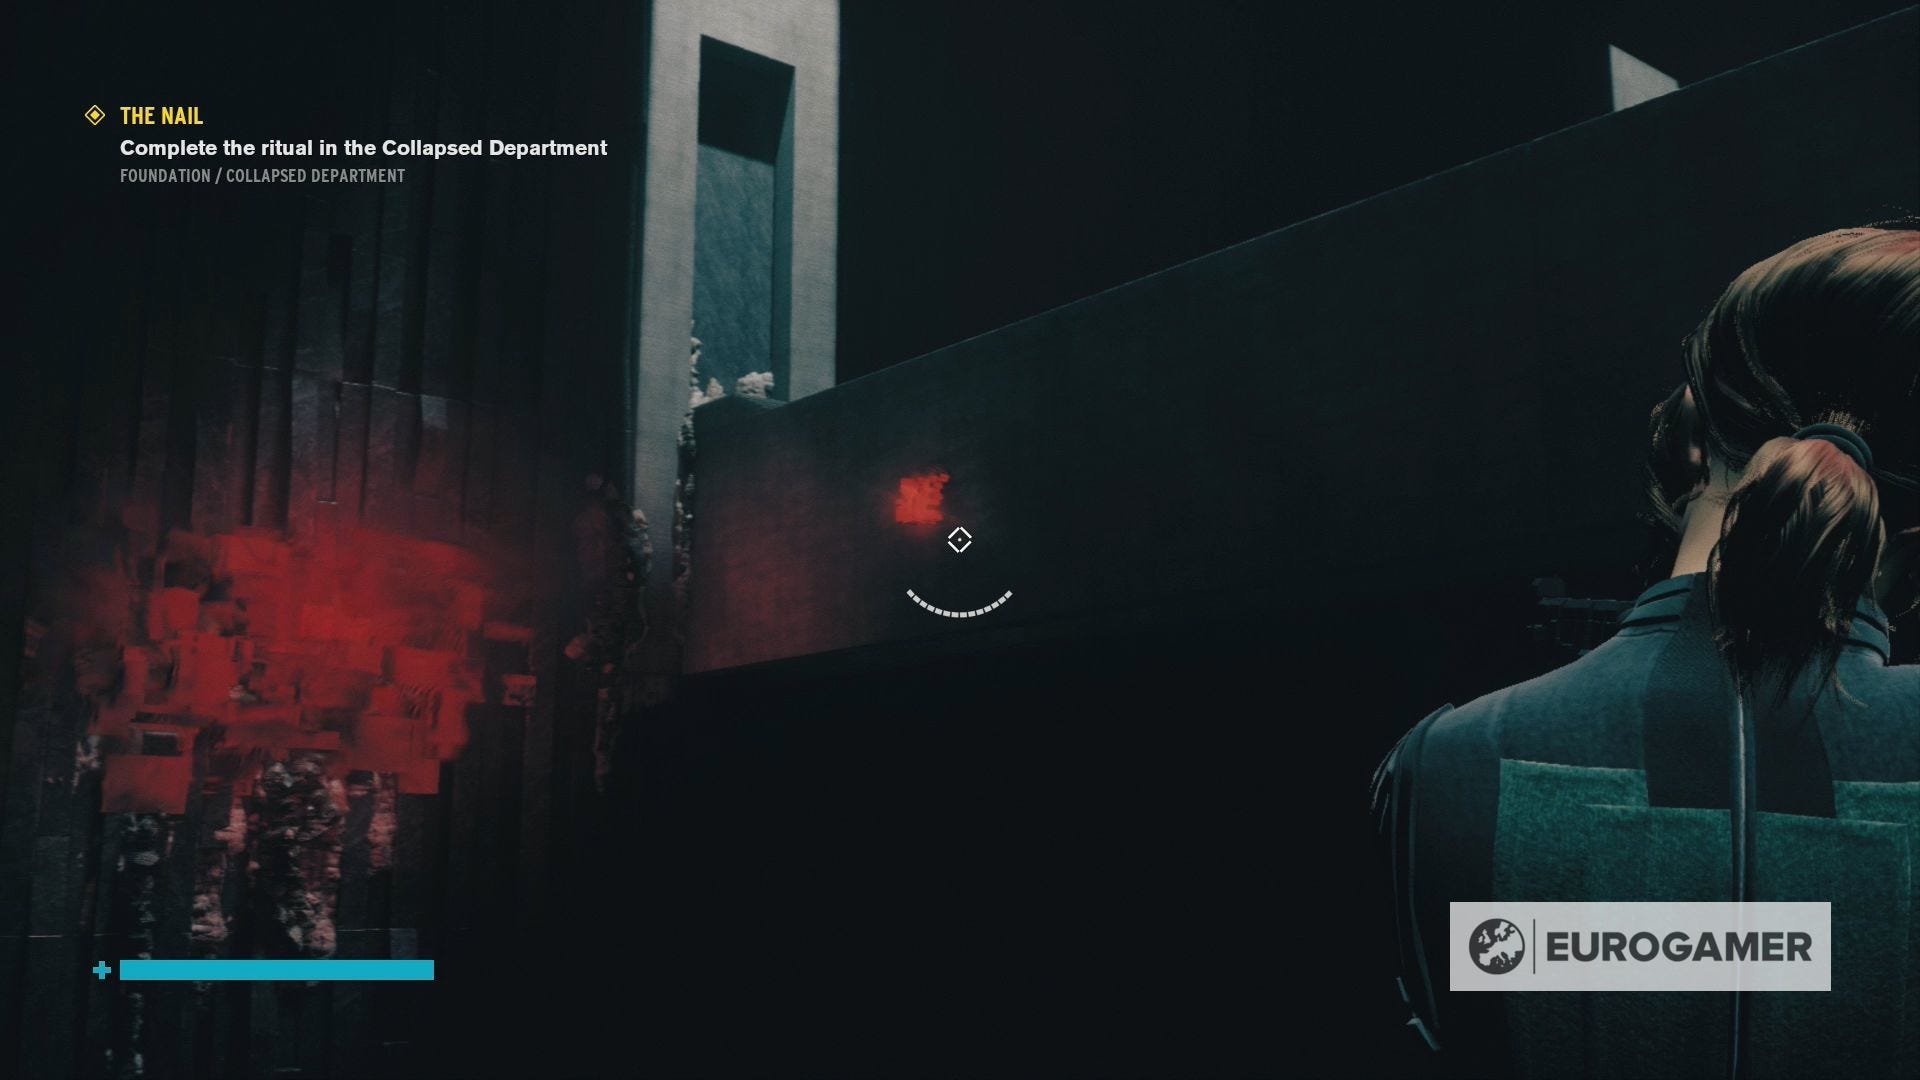
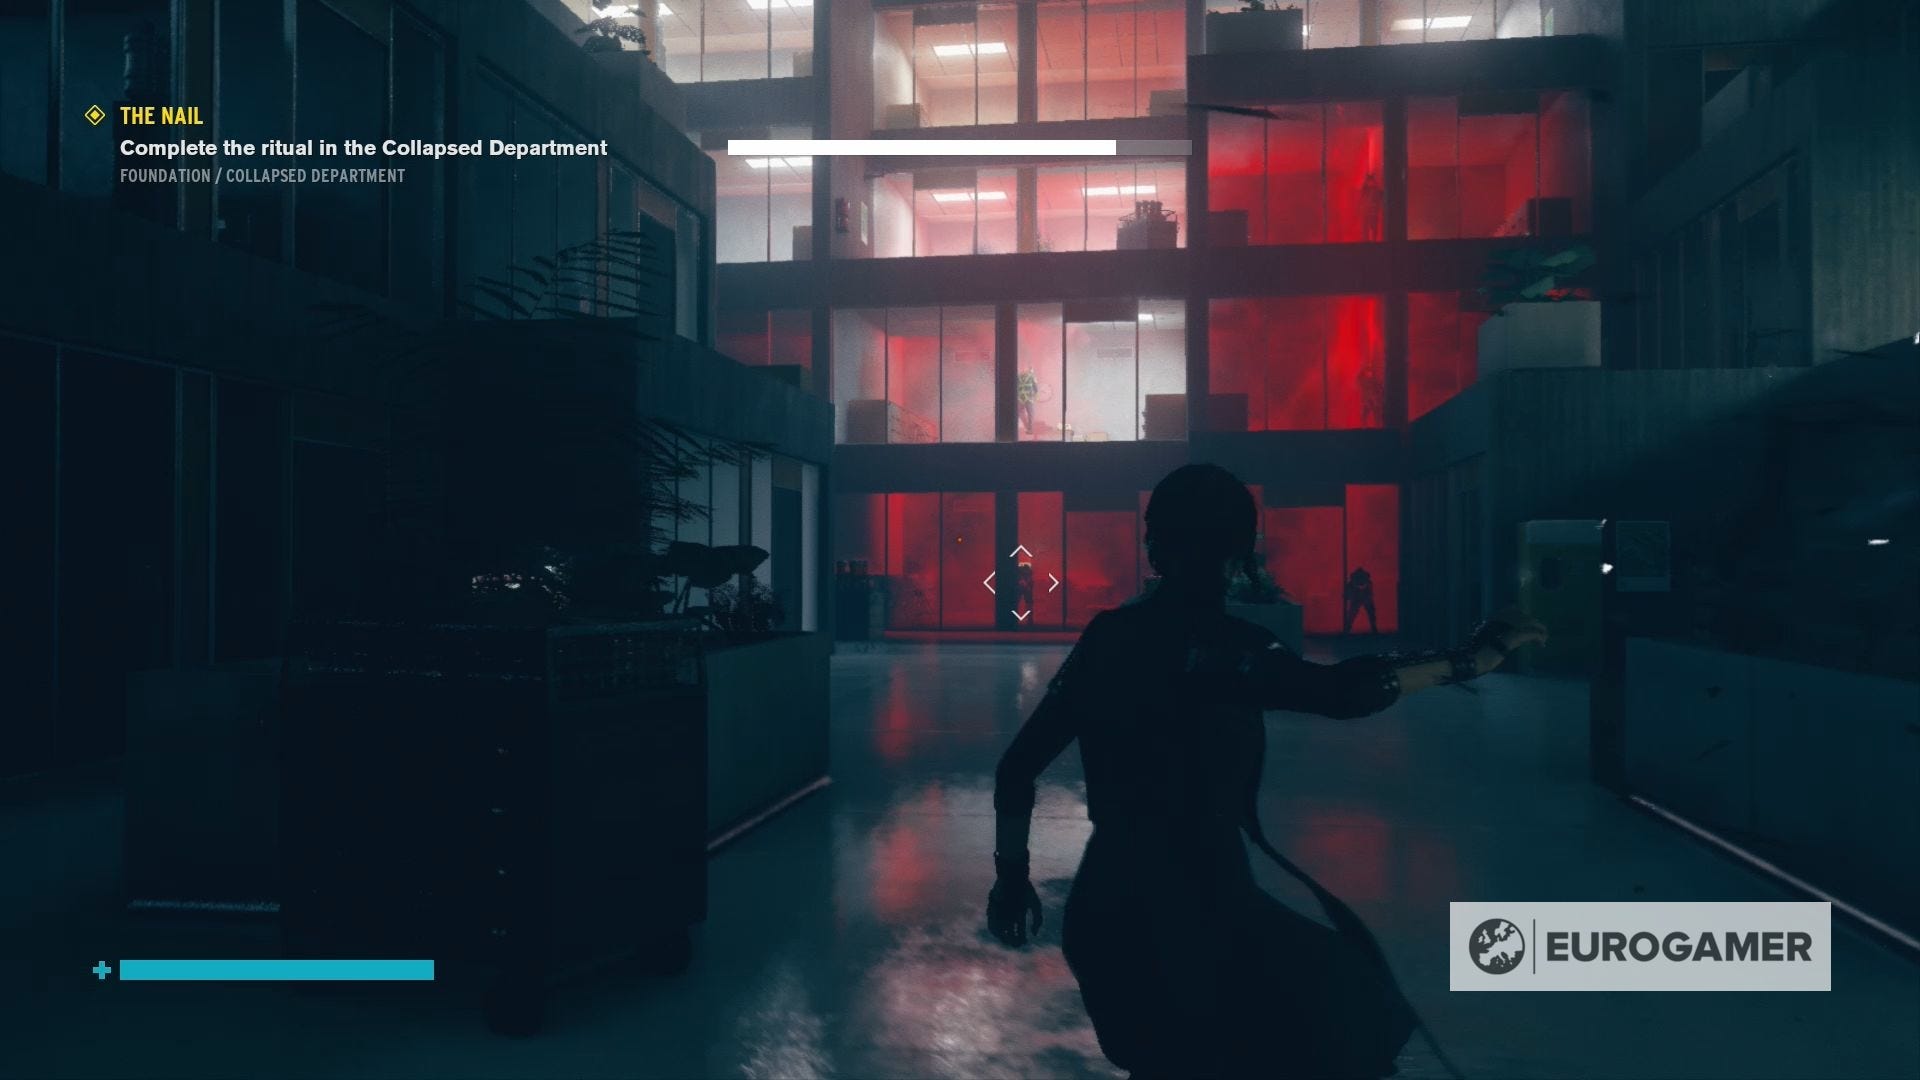
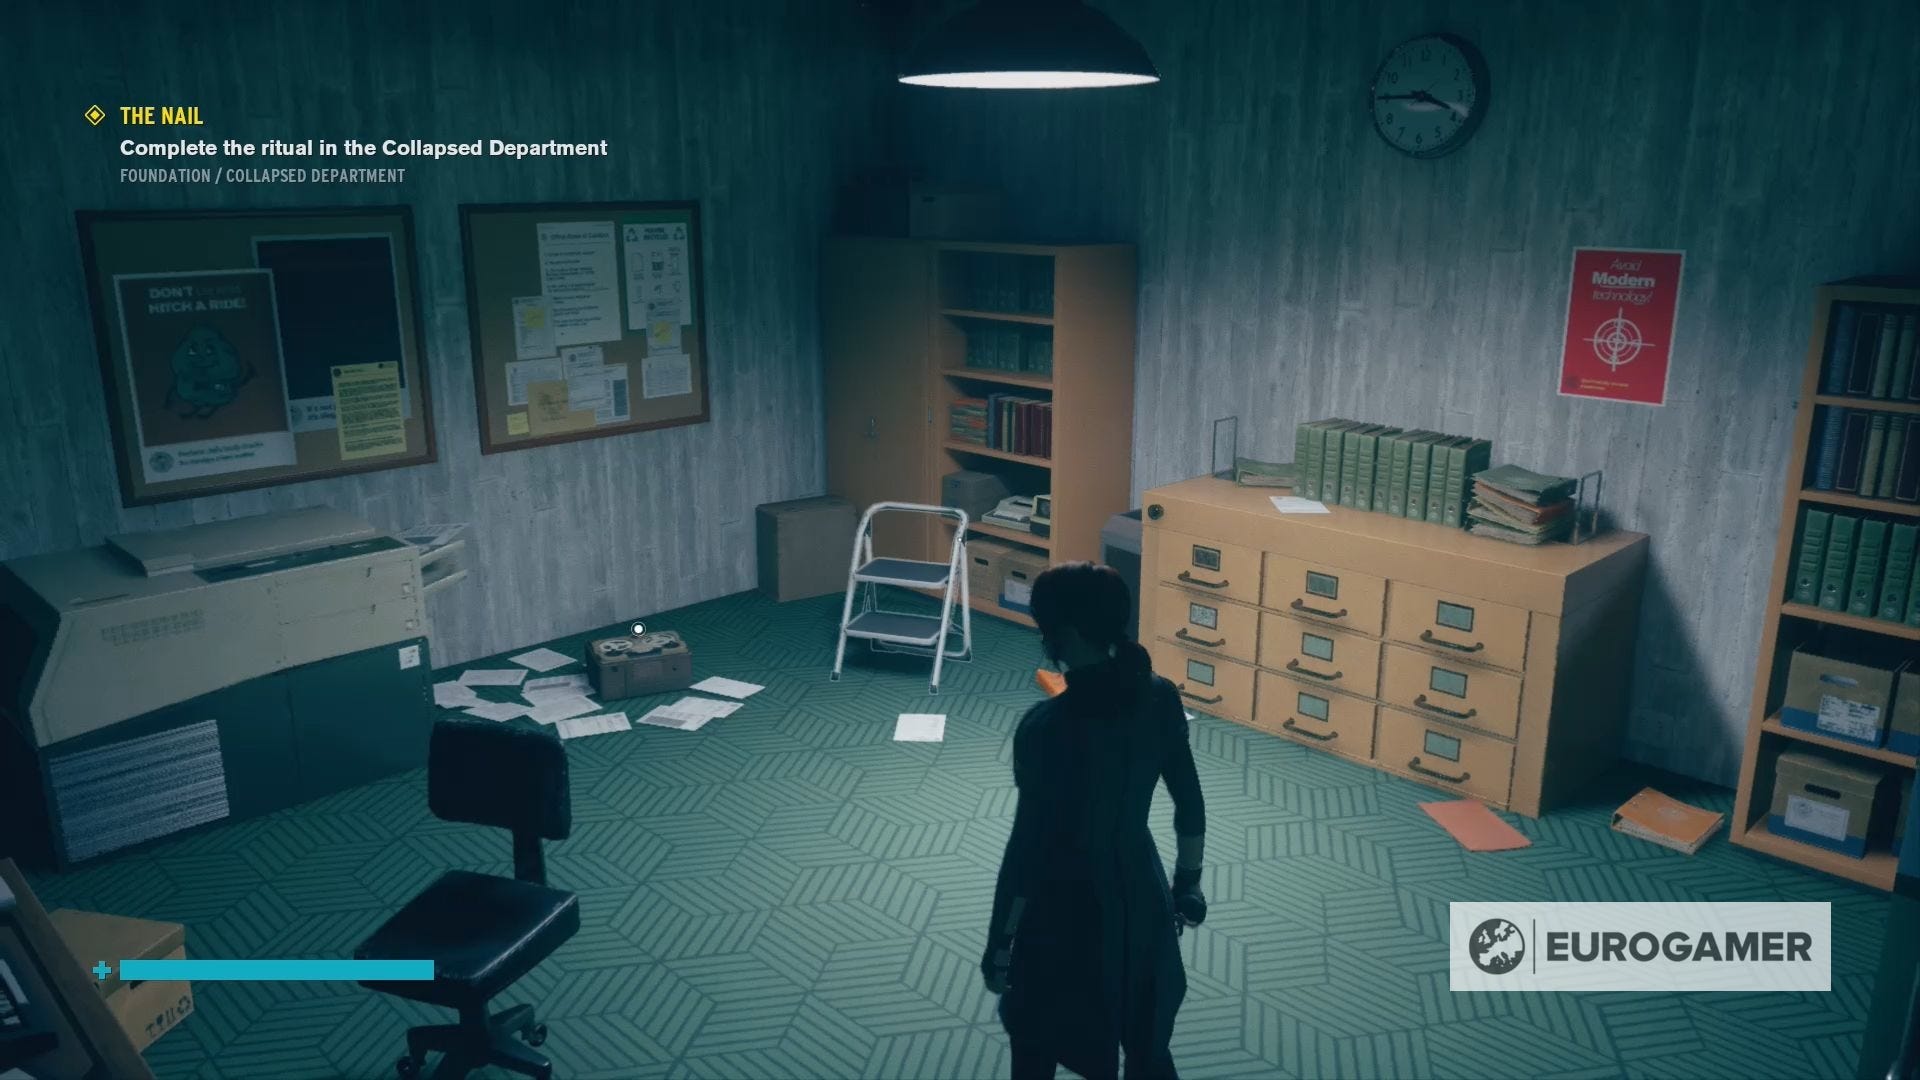
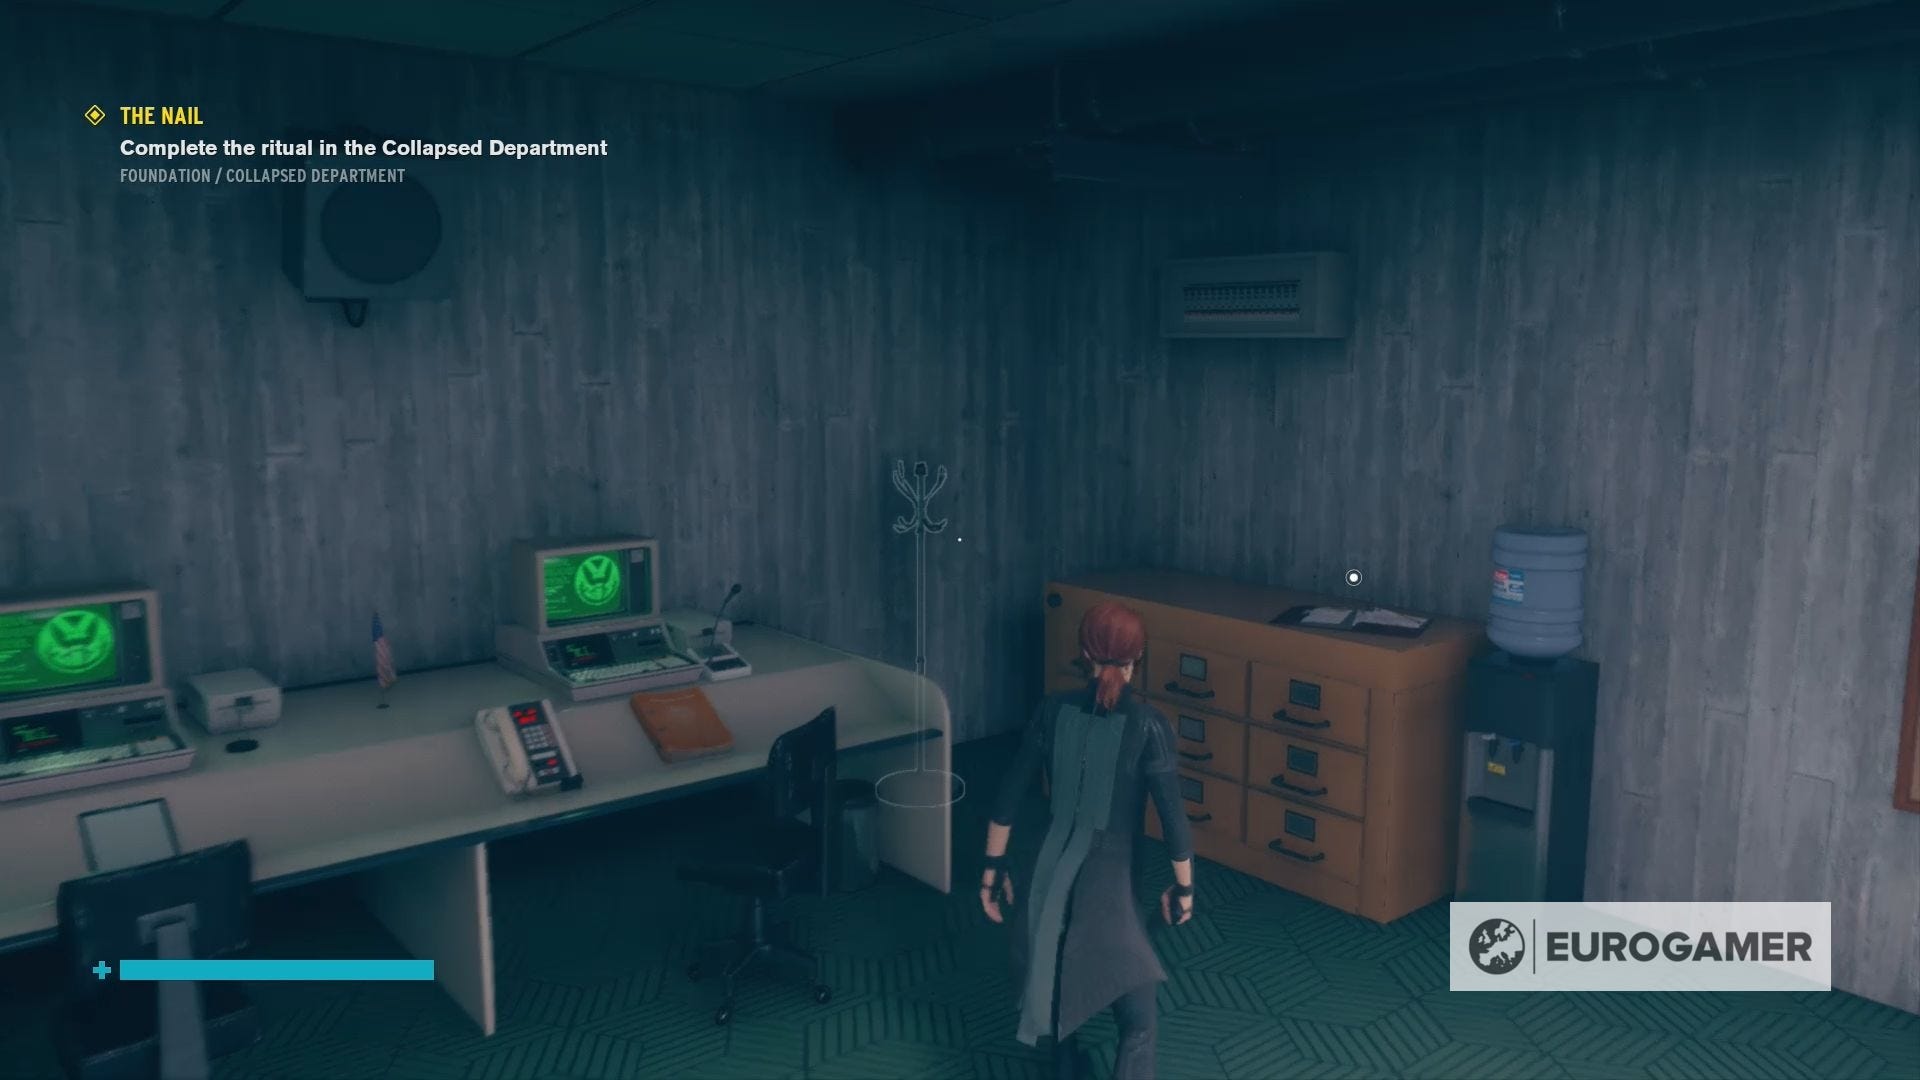
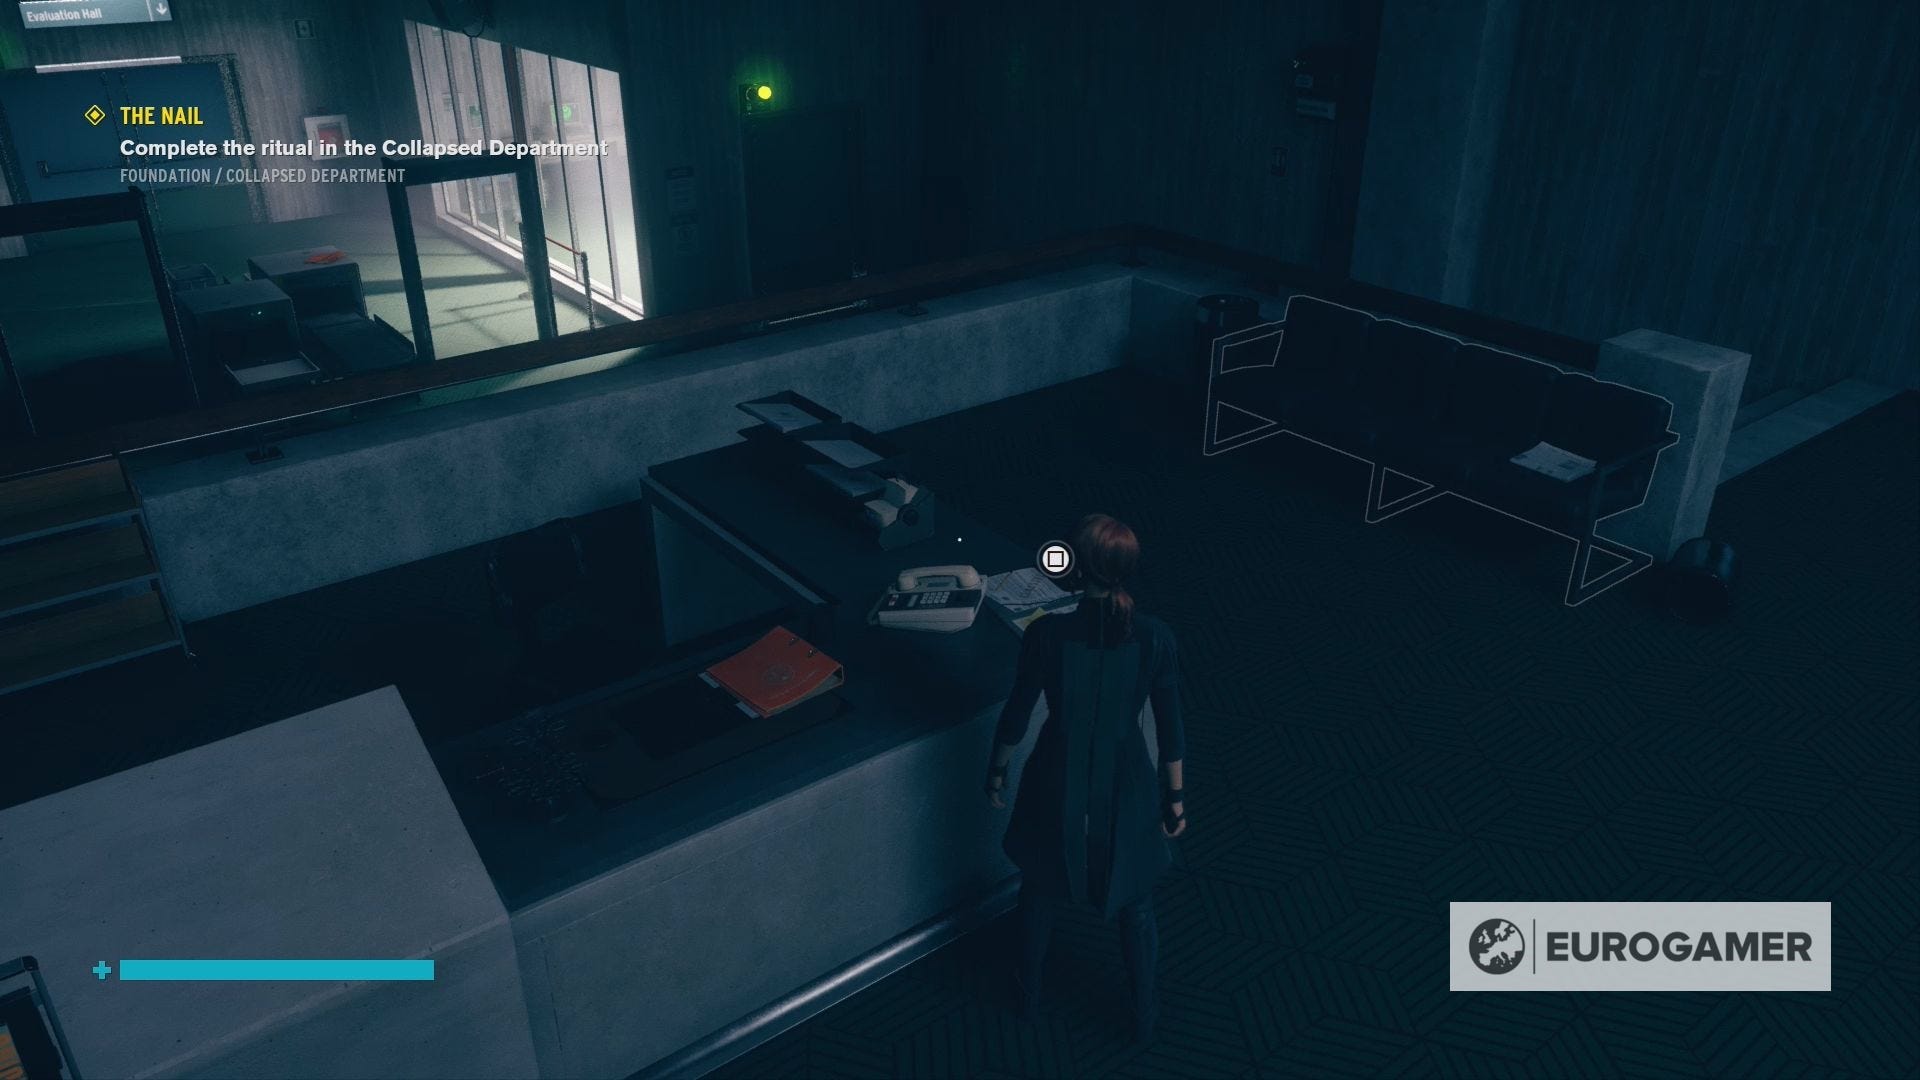
Complete the ritual in the Collapsed Department in Control
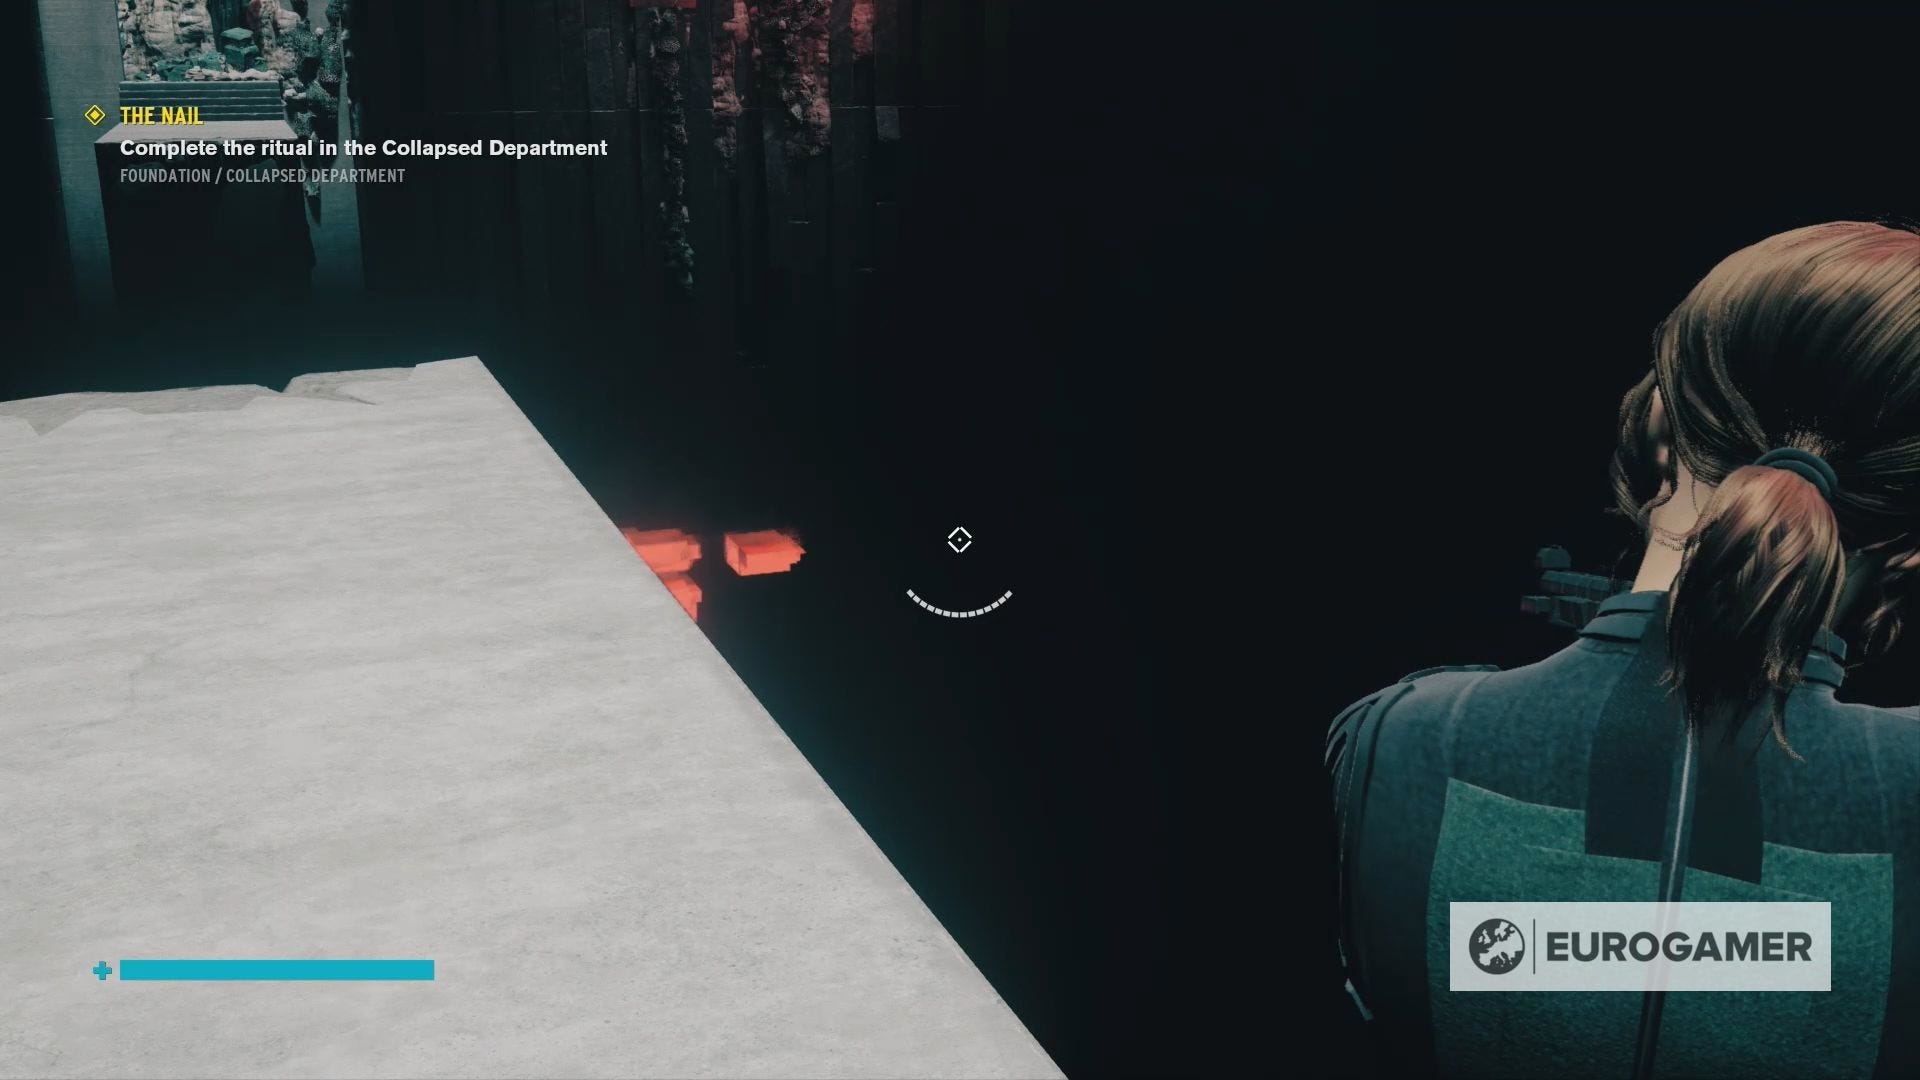
Going through the Firebreak, you'll find yourself in a familiar setting and with a familiar task of destroying some Hiss Nodes.
There are three Hiss Nodes in total, which can be found:
- On the broken ledge directly in front of you when you enter the Firebreak
- Attached to the right-hand side of the Firebreak you're standing on
- On the side of the Firebreak above you
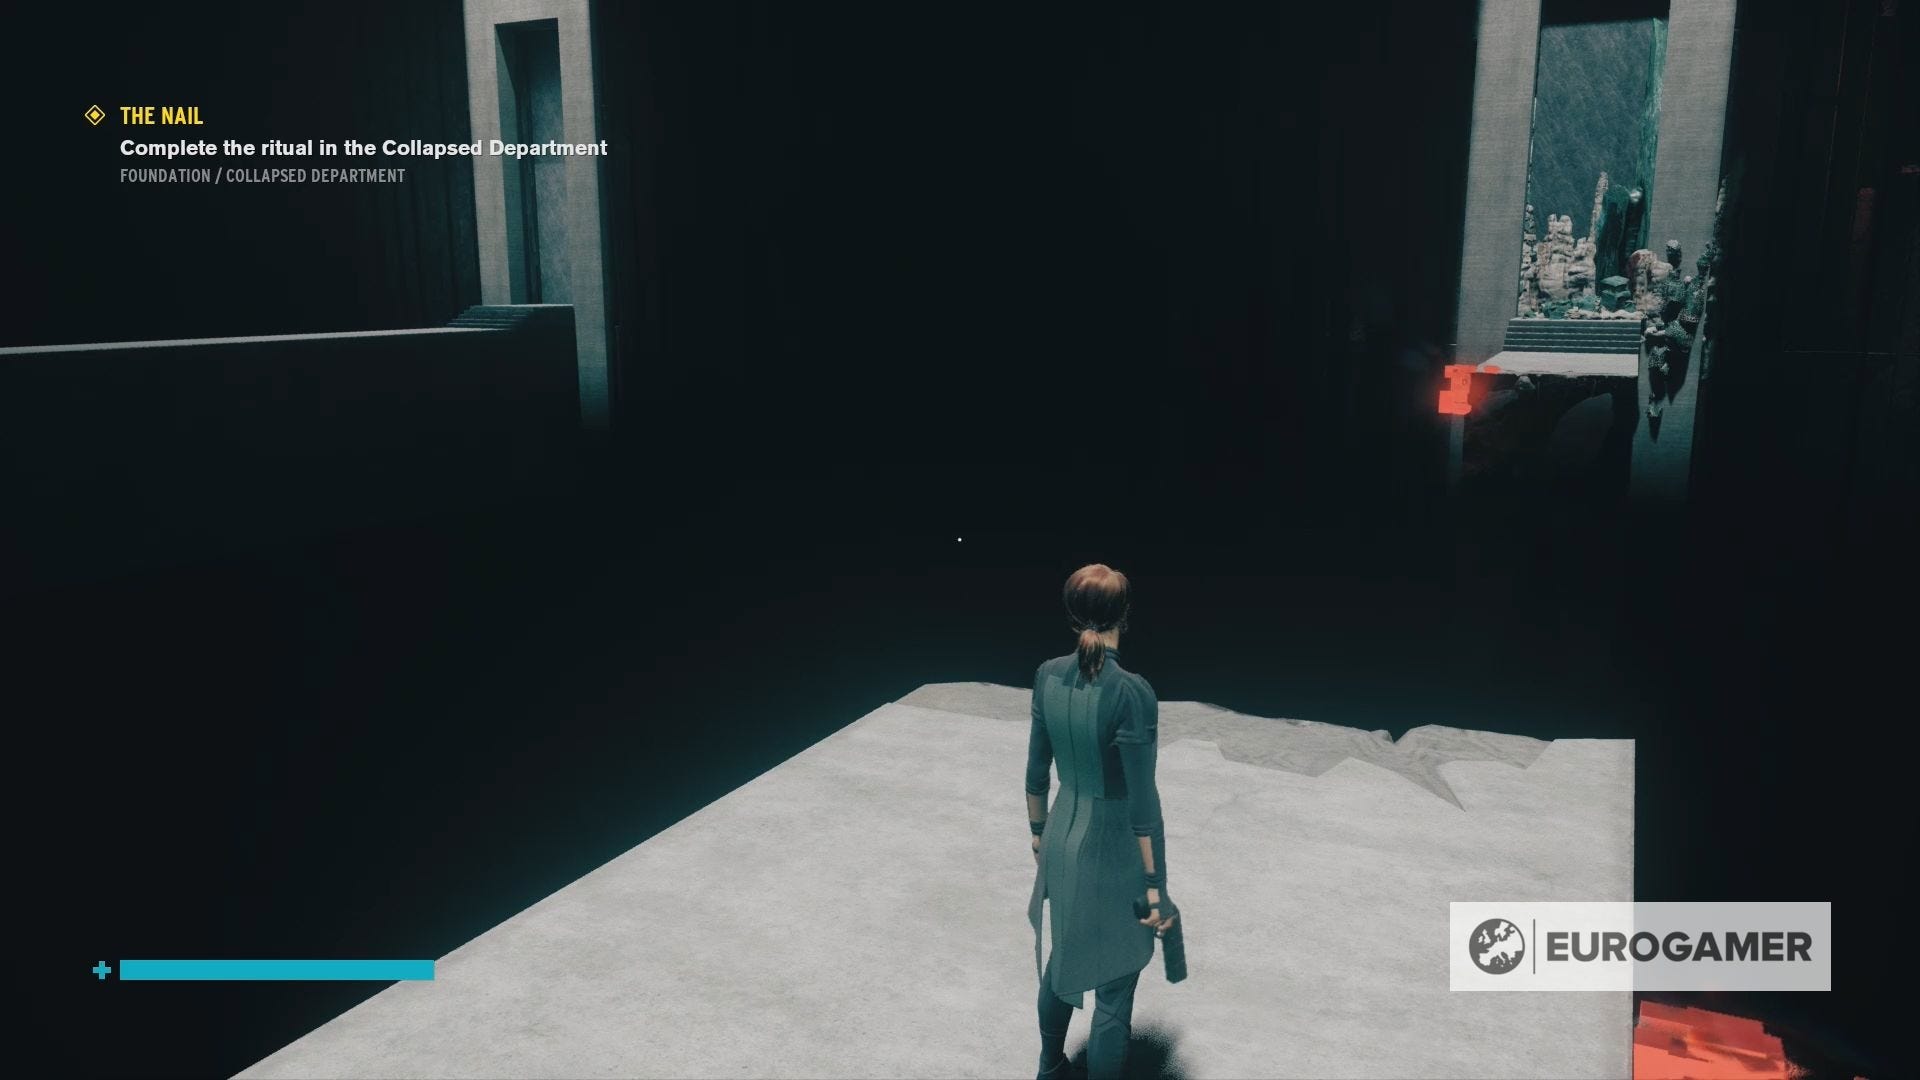
With these nodes destroyed, you can now float across to the other side, create a platform where the barrier was once located and reach the other Firebreak platform. From there, you can enter the Collapsed Department and cleanse the first Control Point.
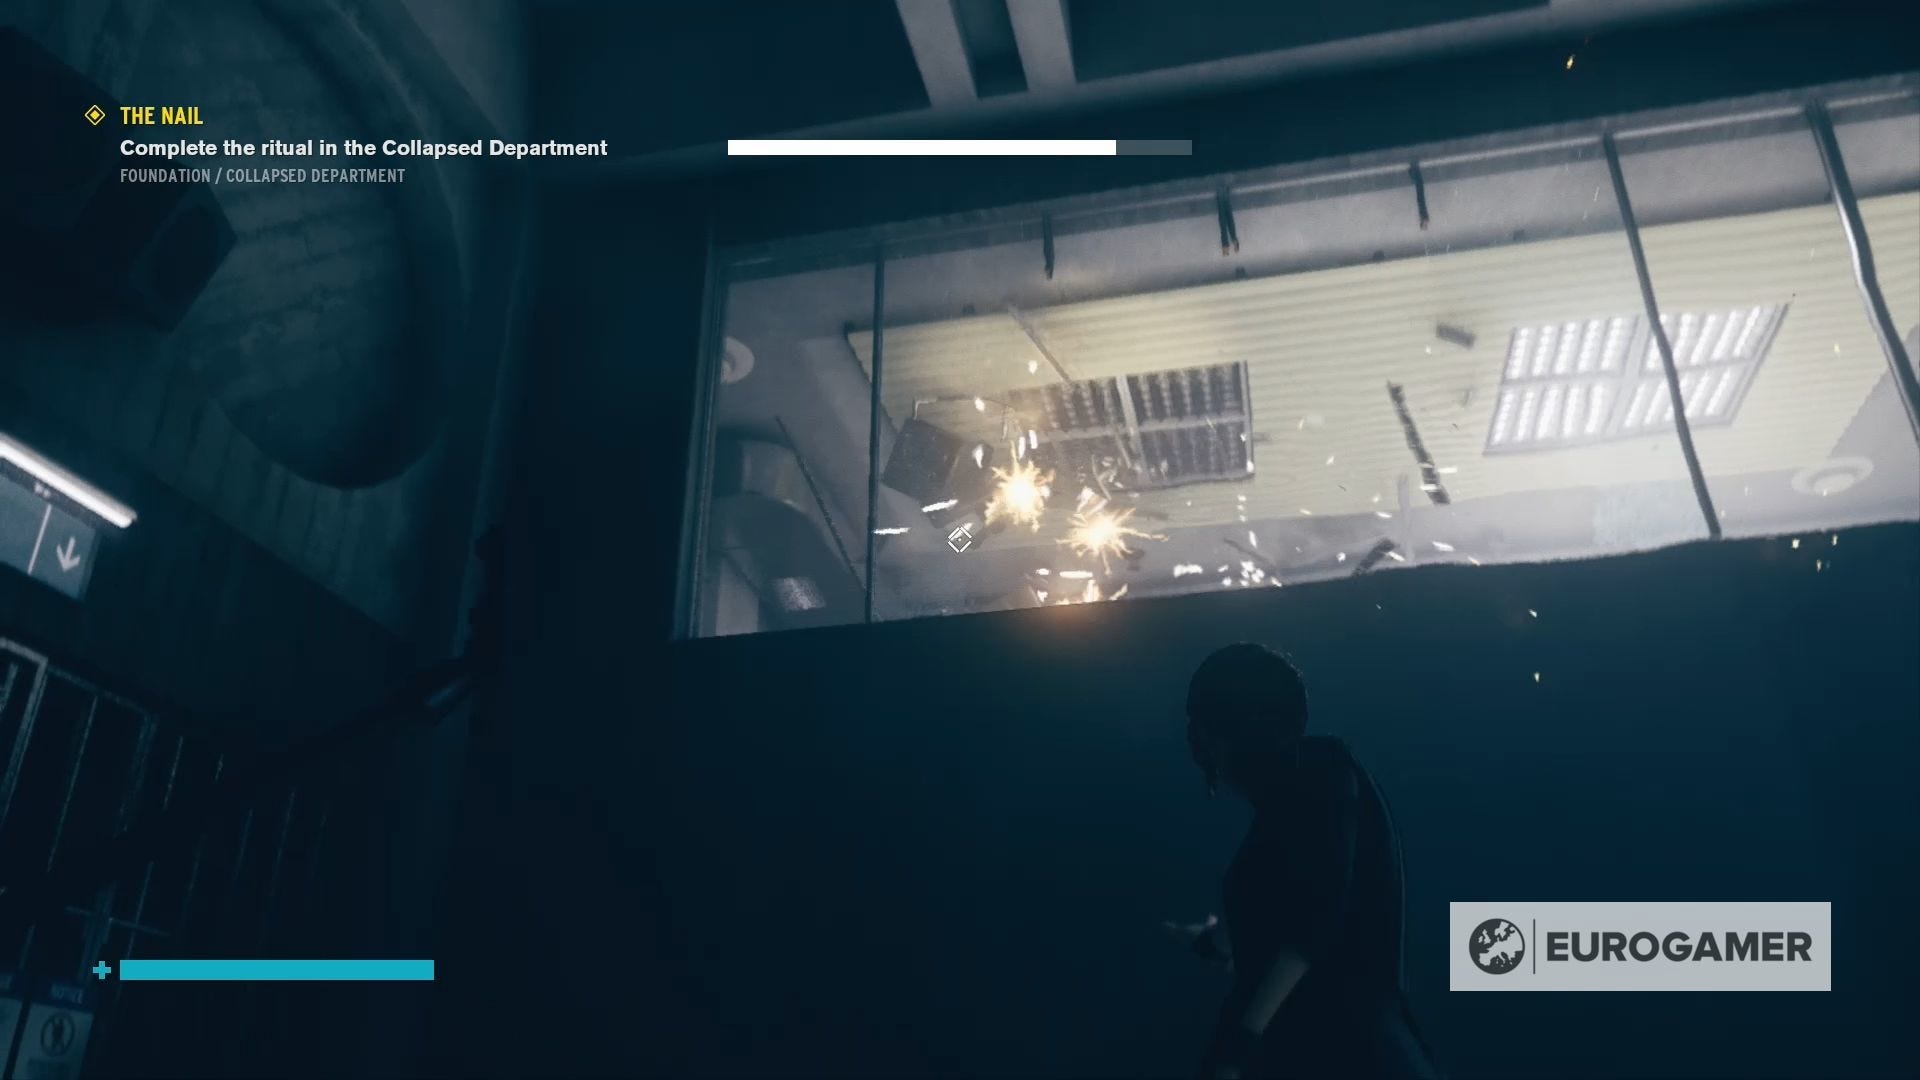
Next - it's smashing time.
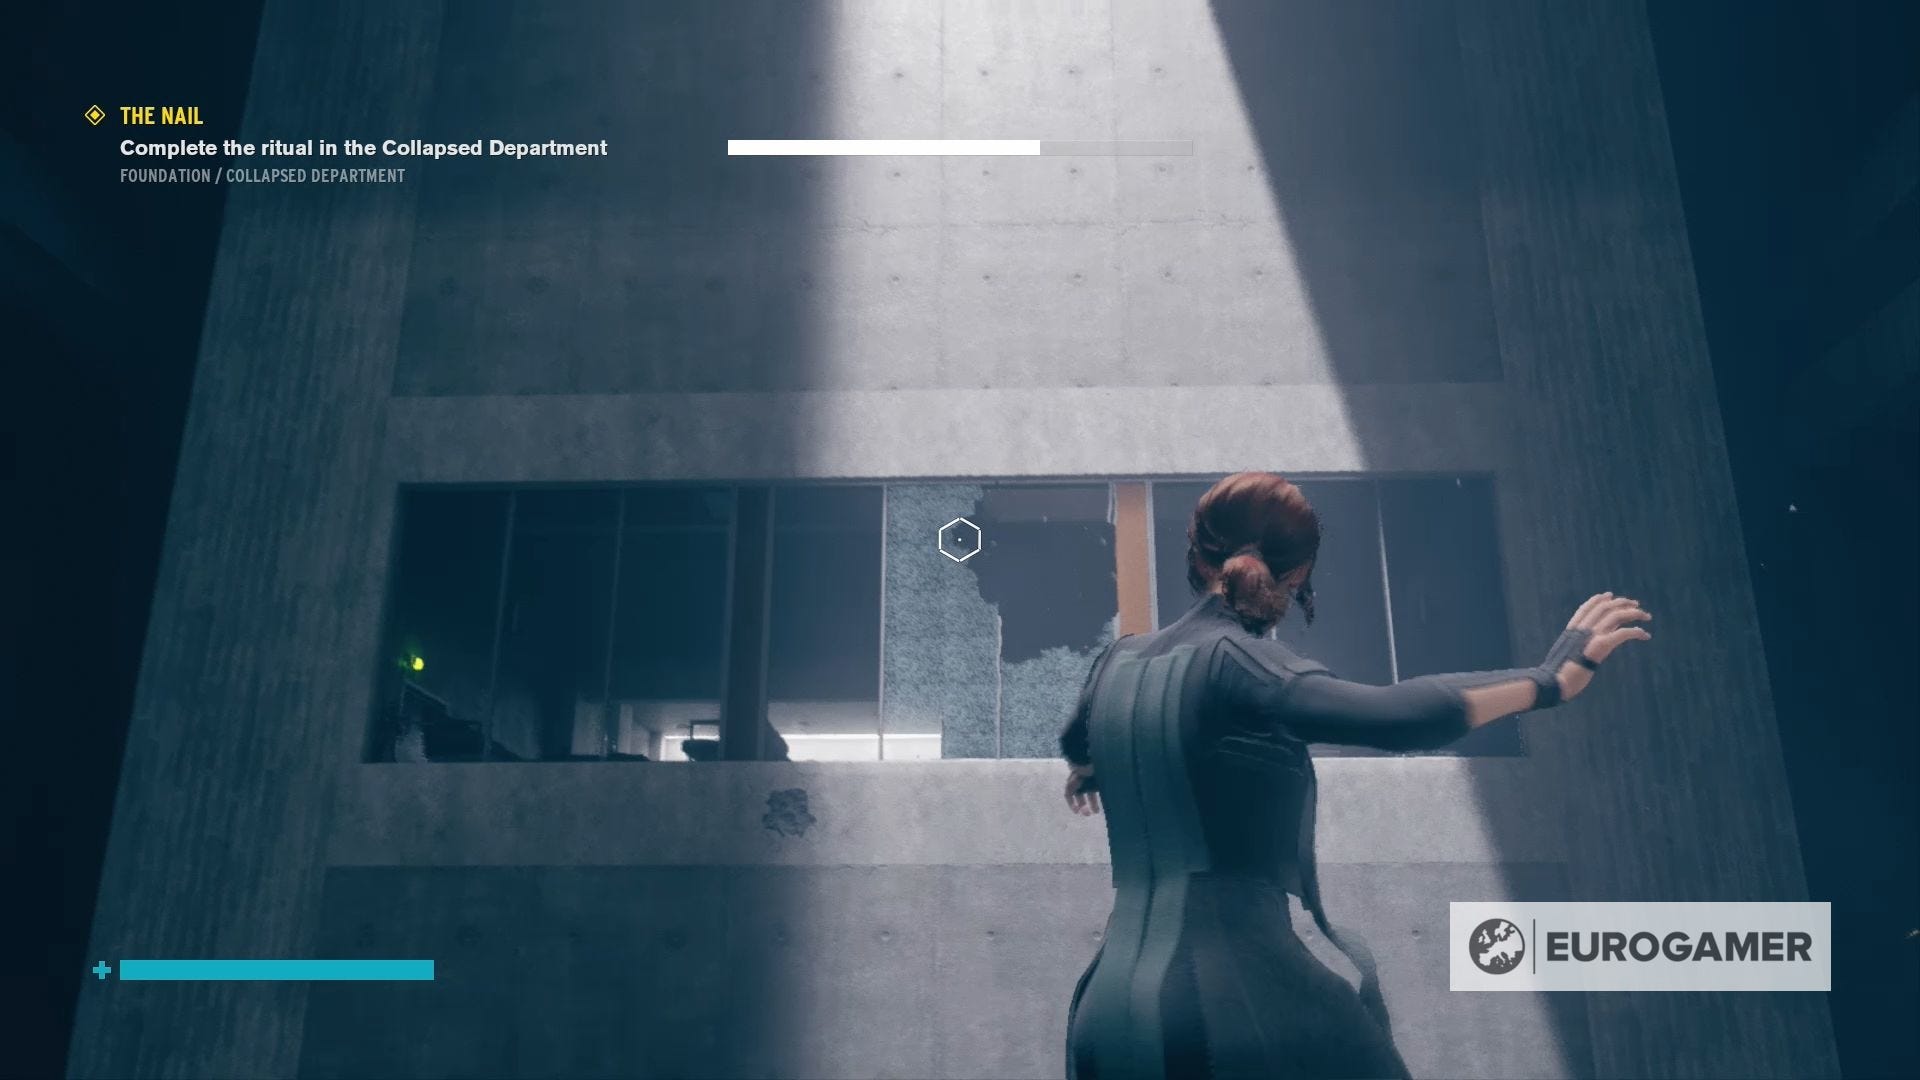
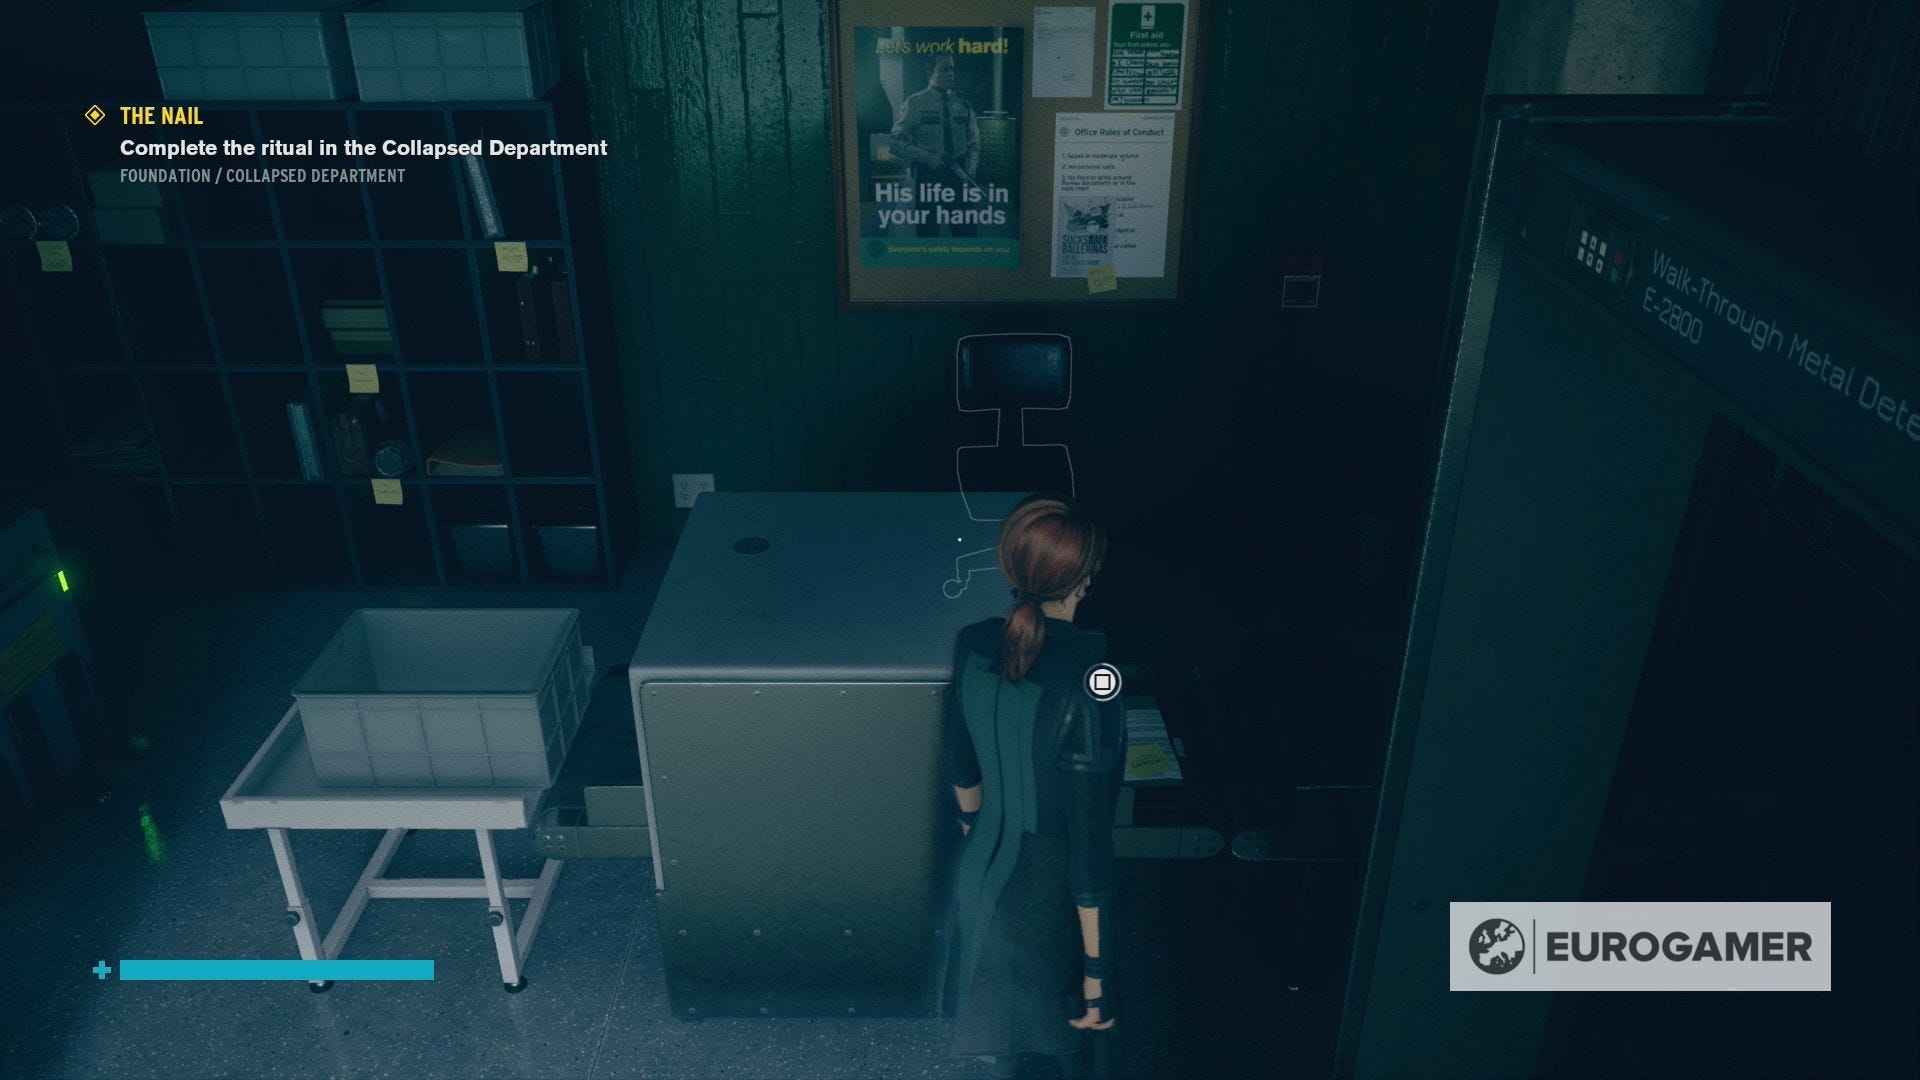
Use whatever you like - bench, vending machine, bin - and launch it into the office window above you. Once there, exit through the open door and go down the stairs.
If you want to create a quick shortcut, you can go through the doors on your left-hand side and open the security gate.
After that continue down the corridor and head further into the Collapsed Department. Before you do, however, it's a good idea to call a ranger as backup from the nearby station, as, once you enter the next room, you'll find yourself in a long battle with the Hiss.
This fight takes place in an area with multiple levels, so the ranger can take care of any Hiss enemies on the ground floor, while you concentration the ones hiding higher up or flying around.
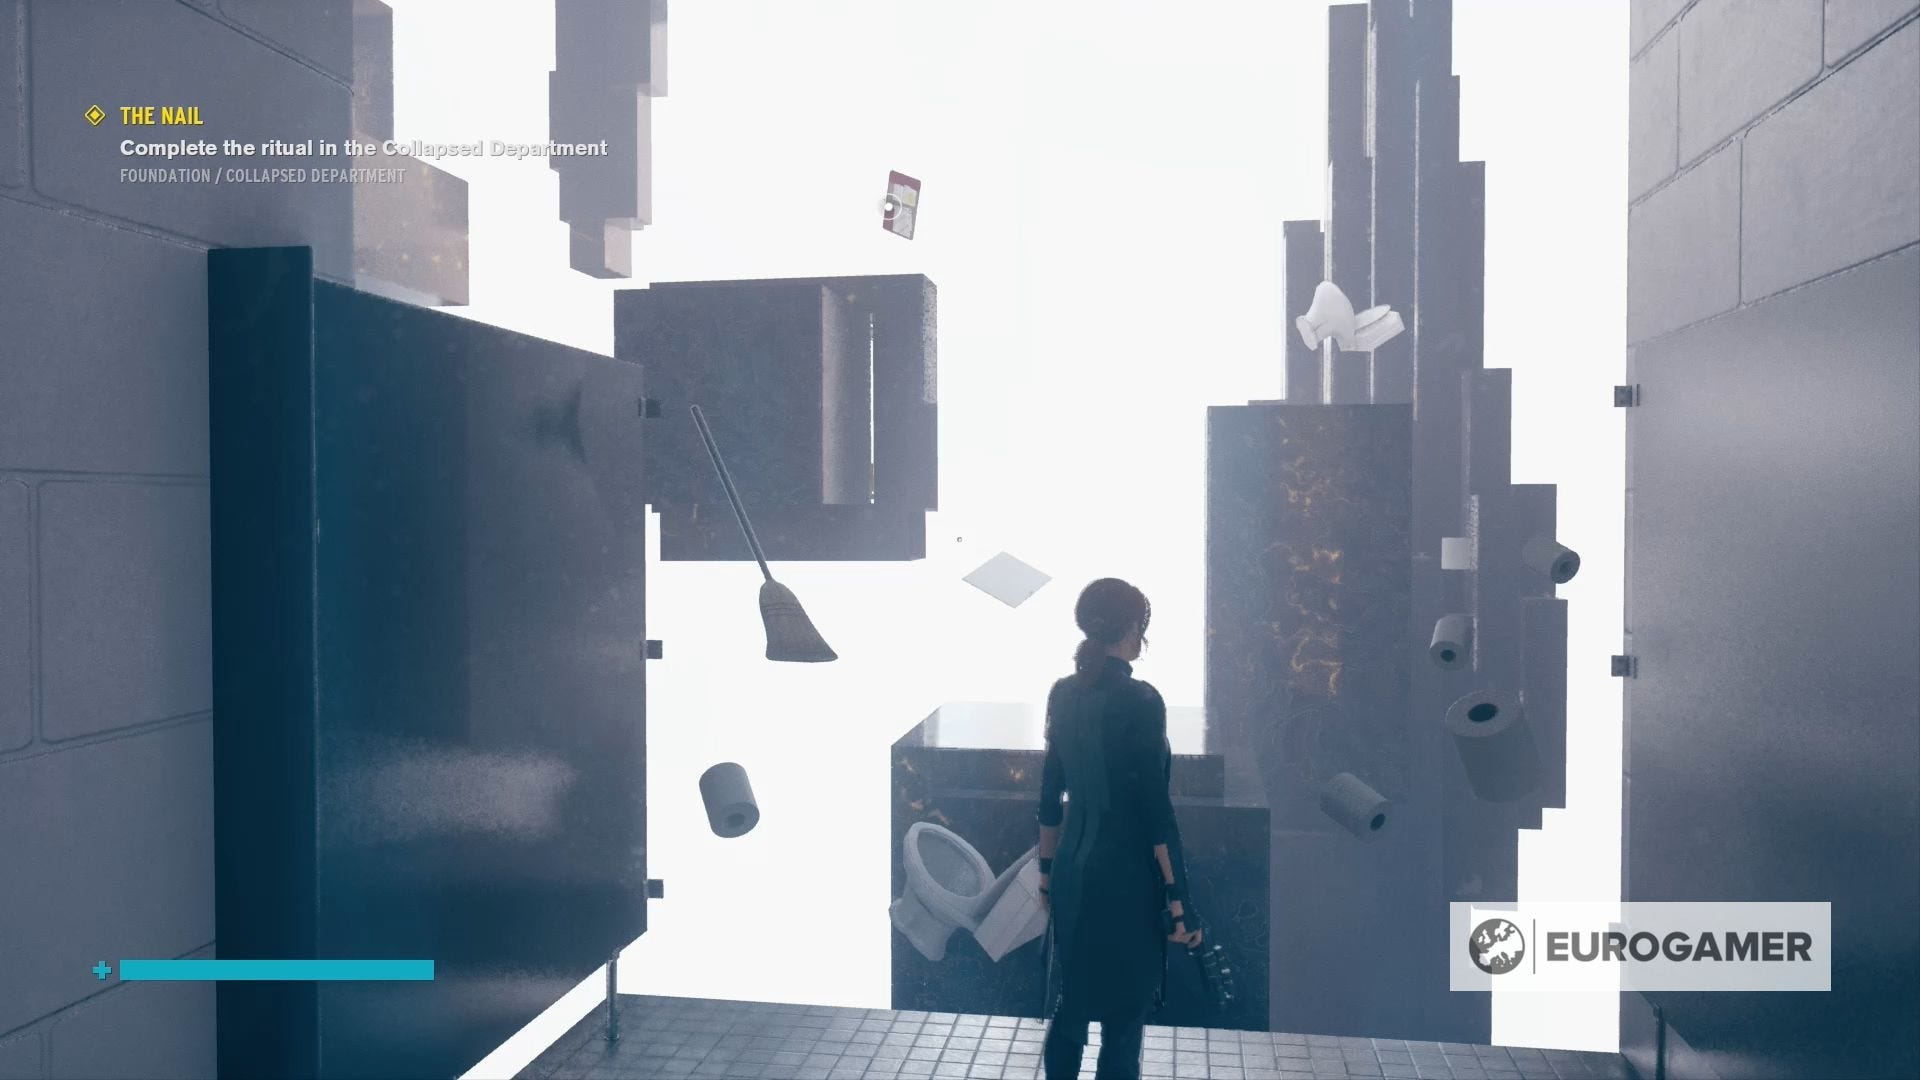
With these Hiss defeated, exit this area through the office at the top of the office stack and head deeper into the department by heading through another Firebreak door. (We highly recommend having a look in the ladies toilet before you do so though.)

Across the gap in the platform and then head through the door in the far left-hand corner to reach another Control Point.
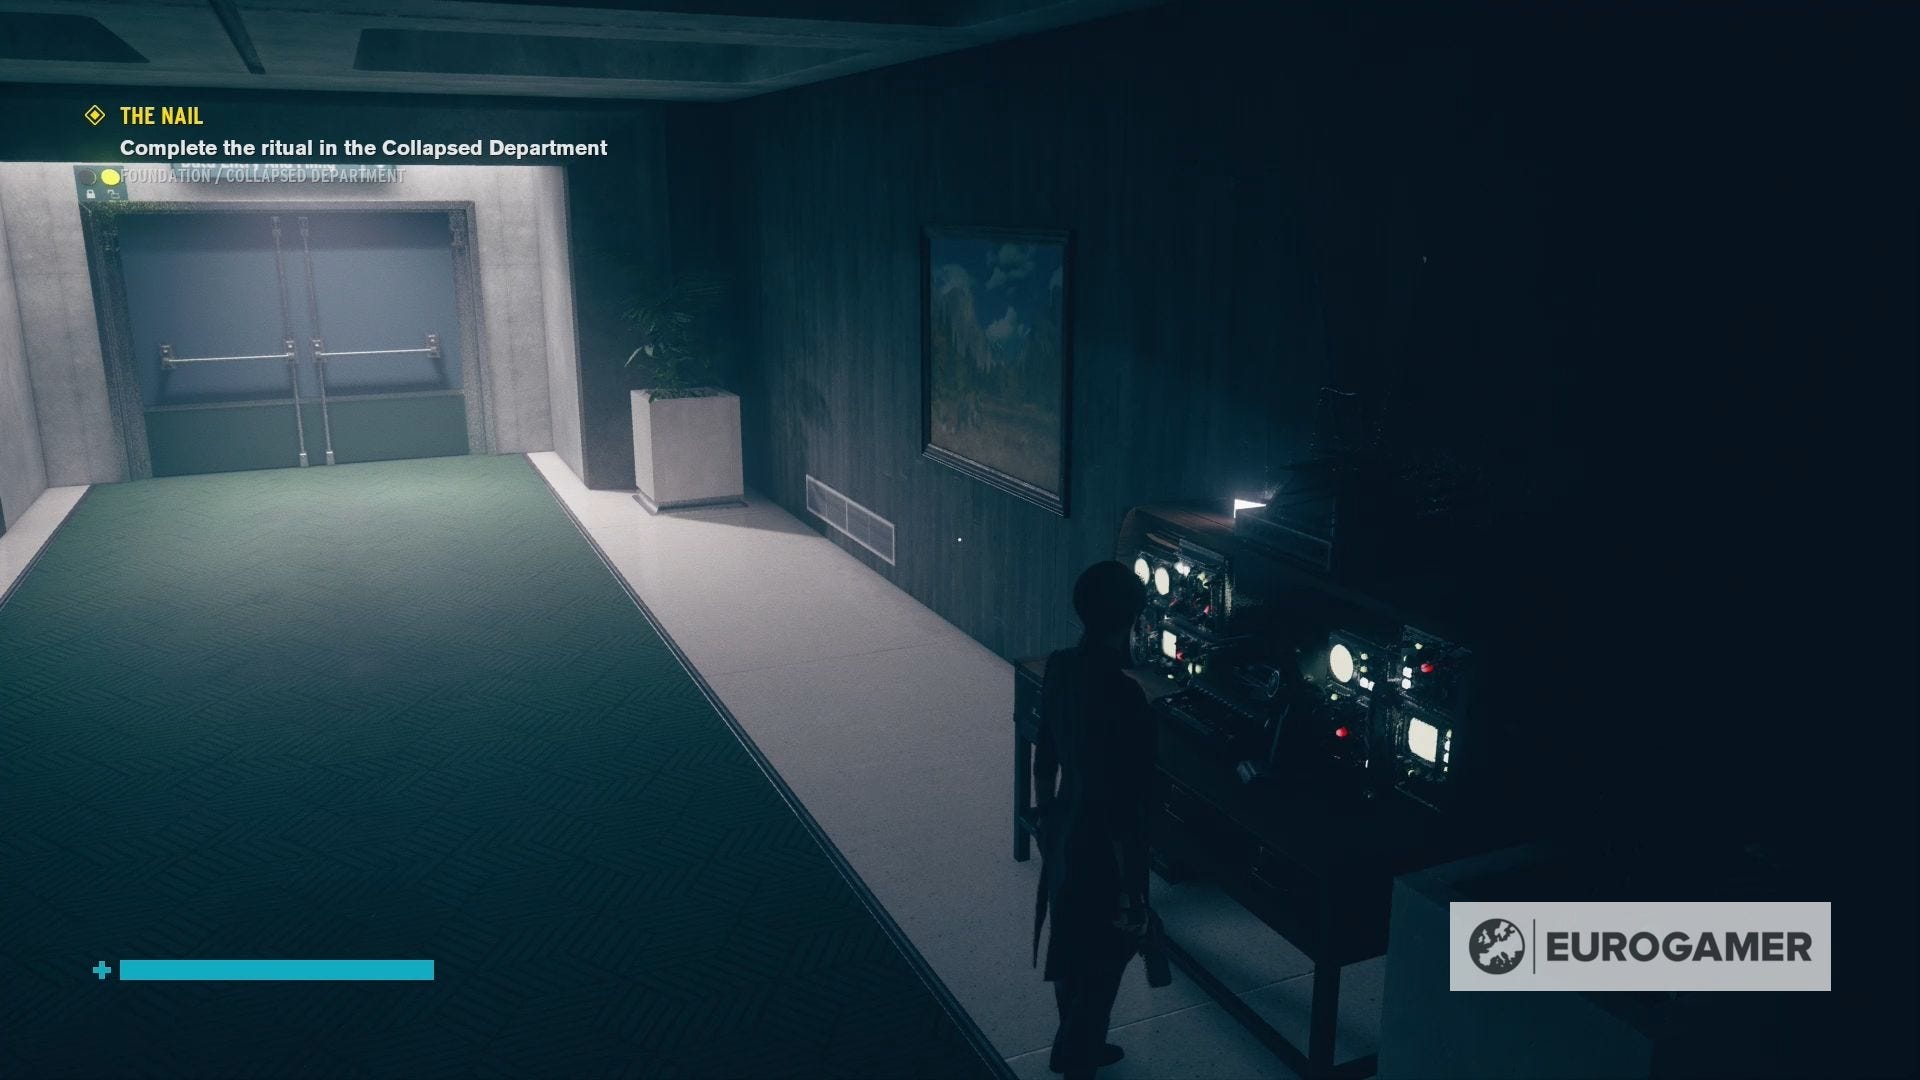
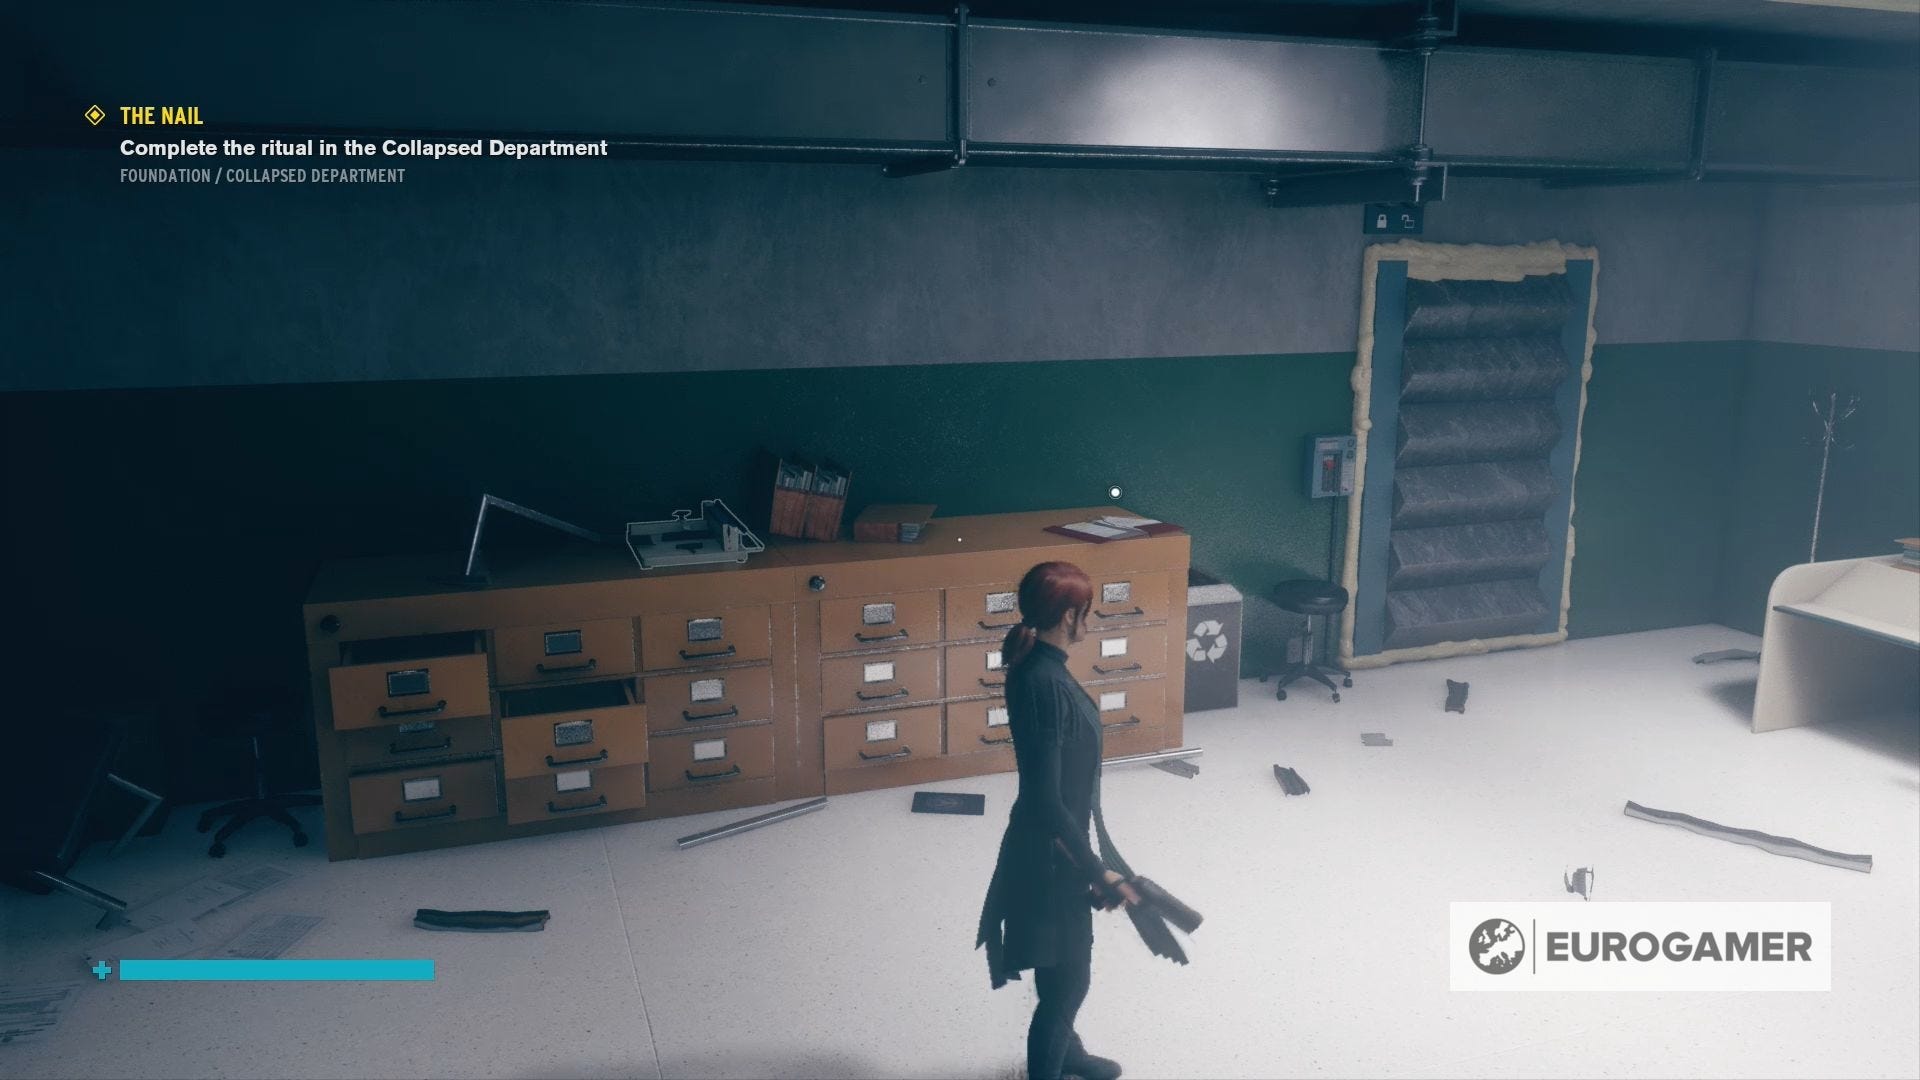
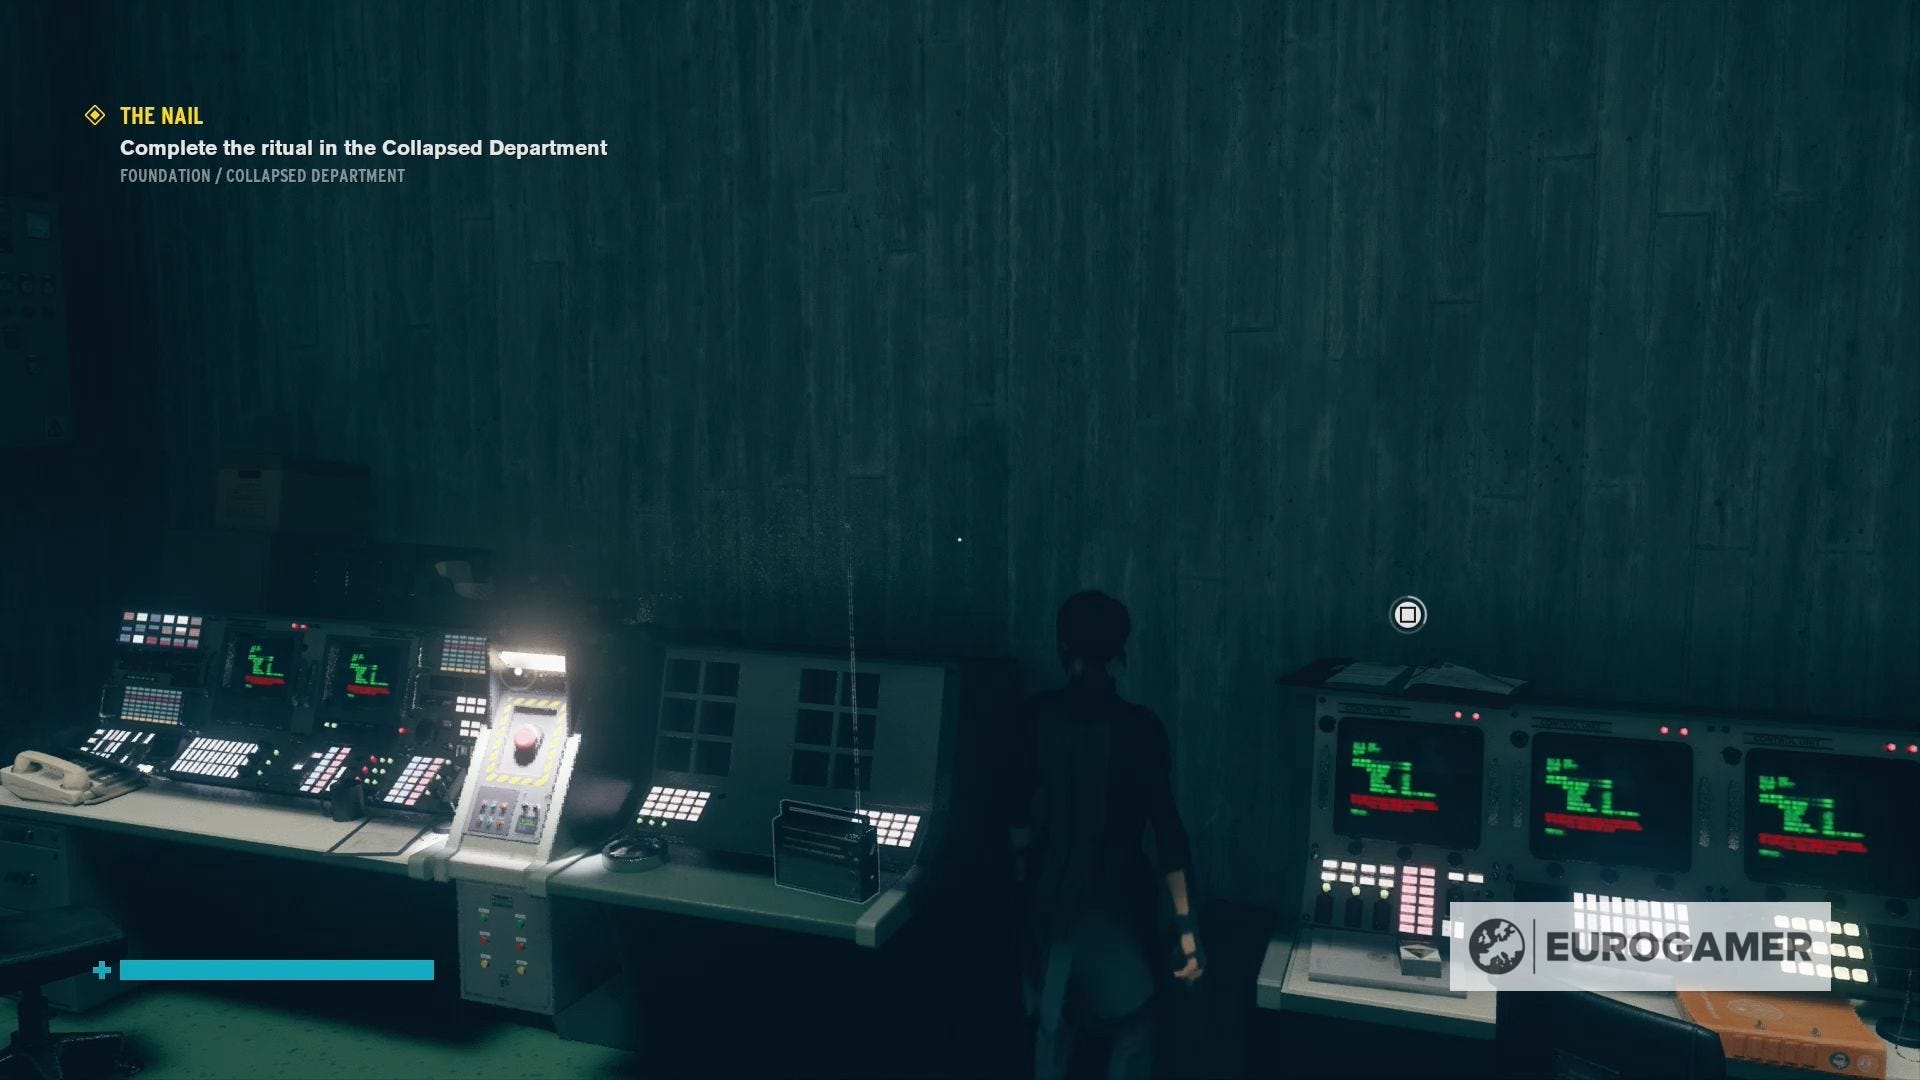
After you've cleansed this Control Point, head up the stairs to your left and press on the big red button, which is part of the computer banks, to open up the doors. Hitting the red button in the next room, however, will cause a P.A to tell you that there's an Altered Item in the transport bay and, because of this, you can't enter.
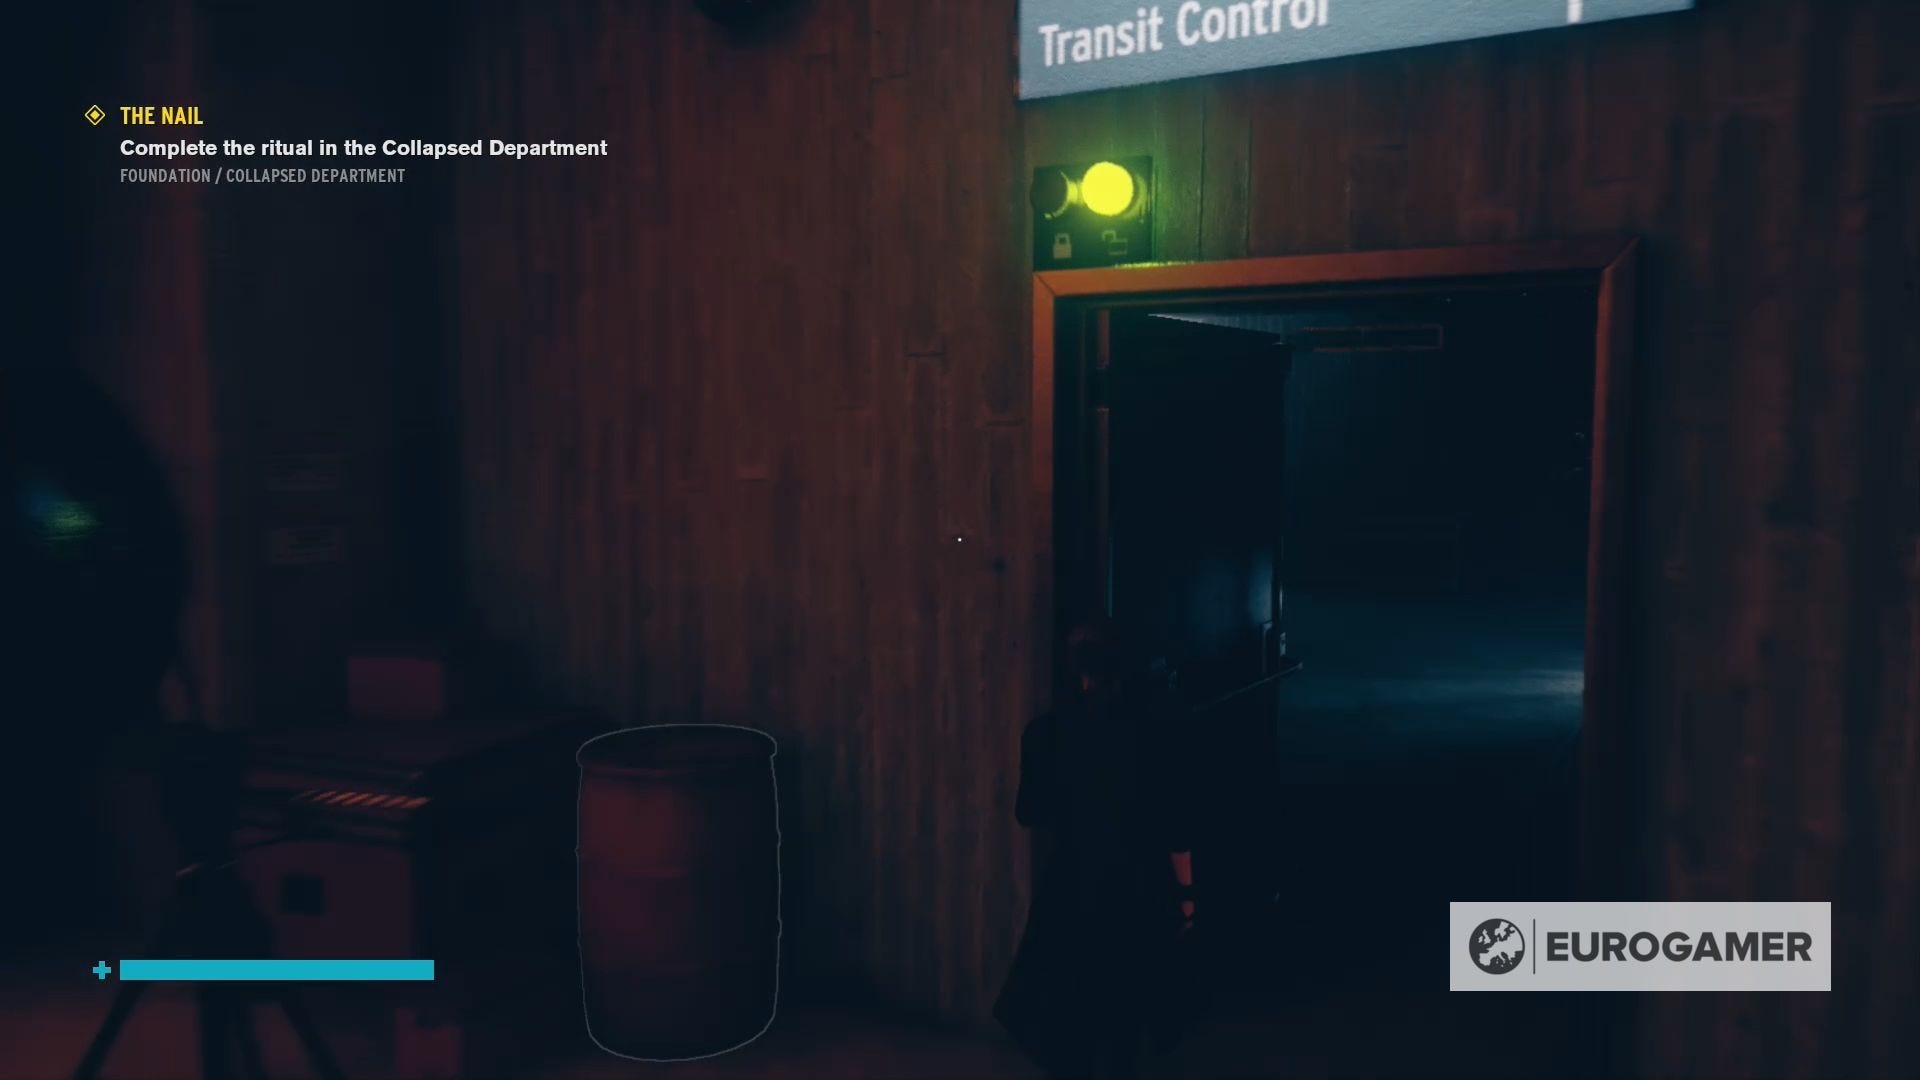
Instead, you need to head through the door on your right and follow the corridor along to reach the Transit Control. Annoyingly, the Transit Engine has no power, so head down one of the corridors to access it.
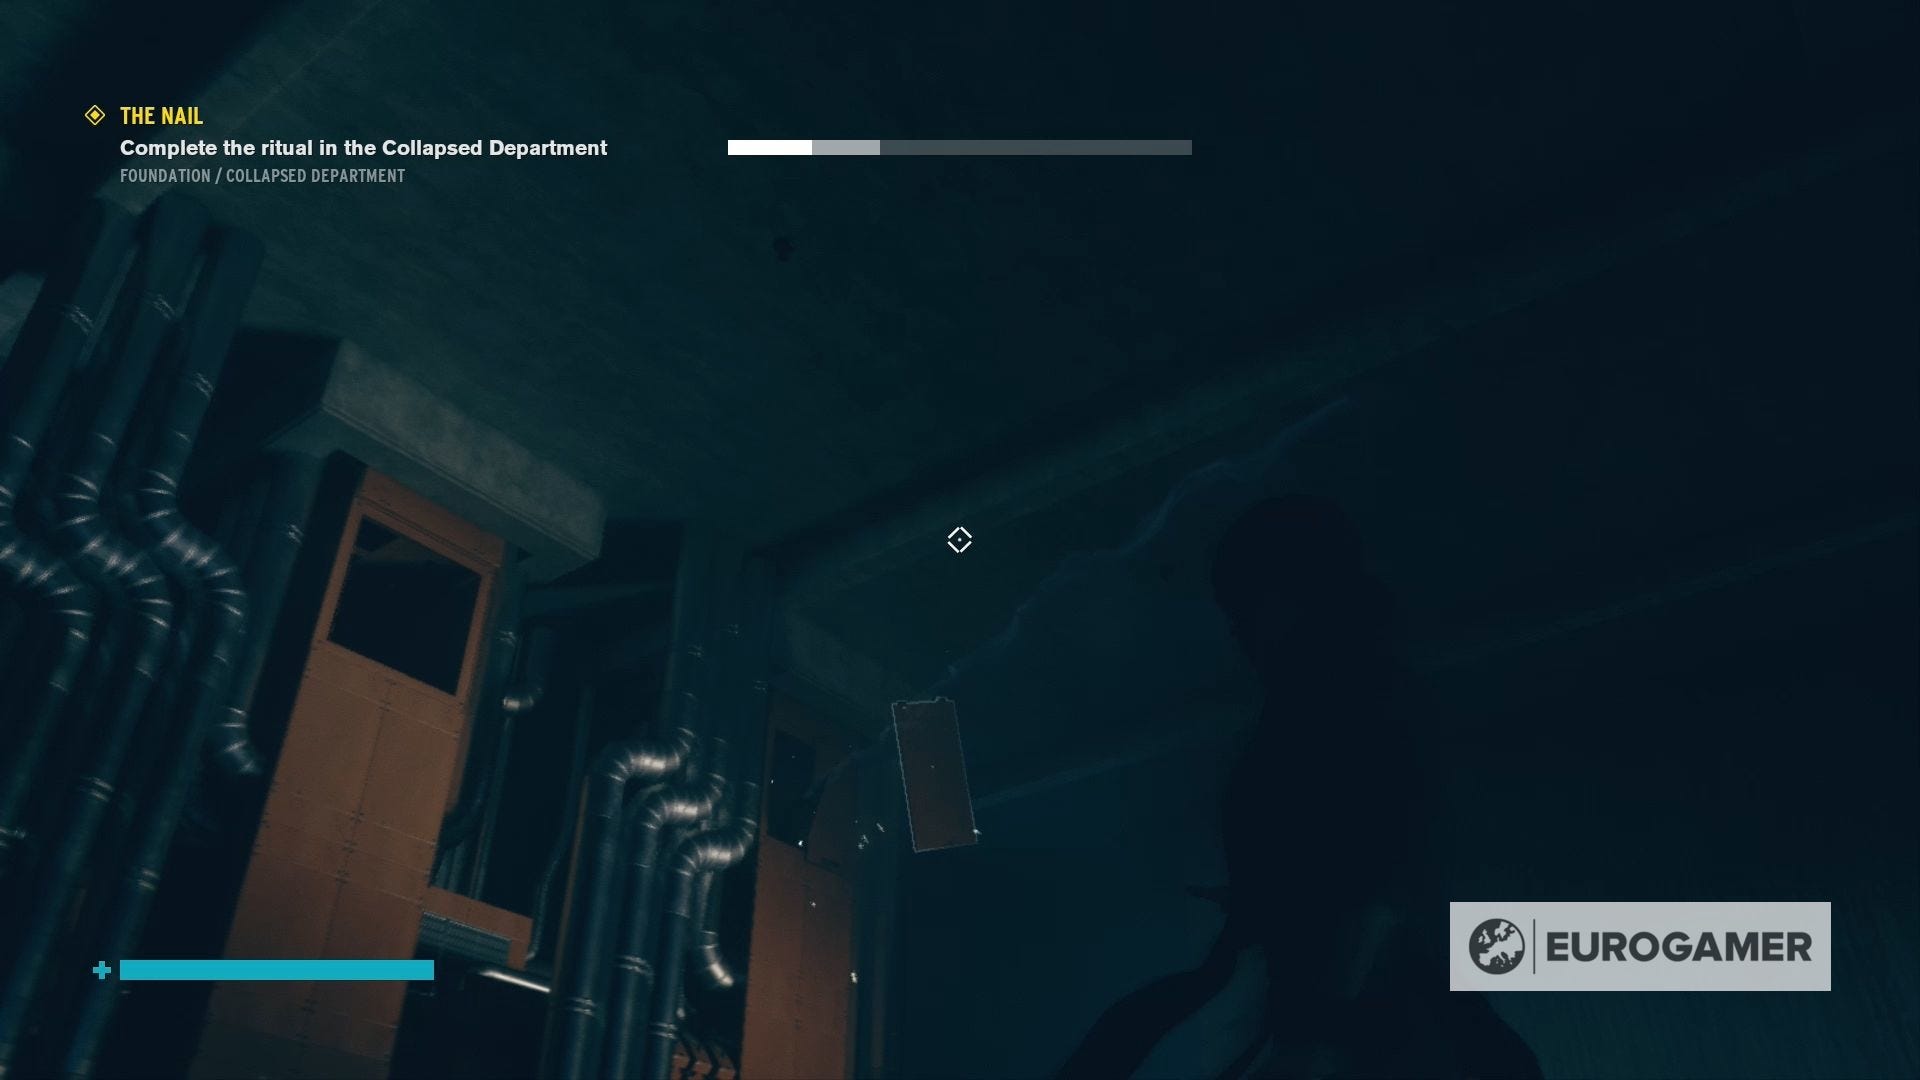
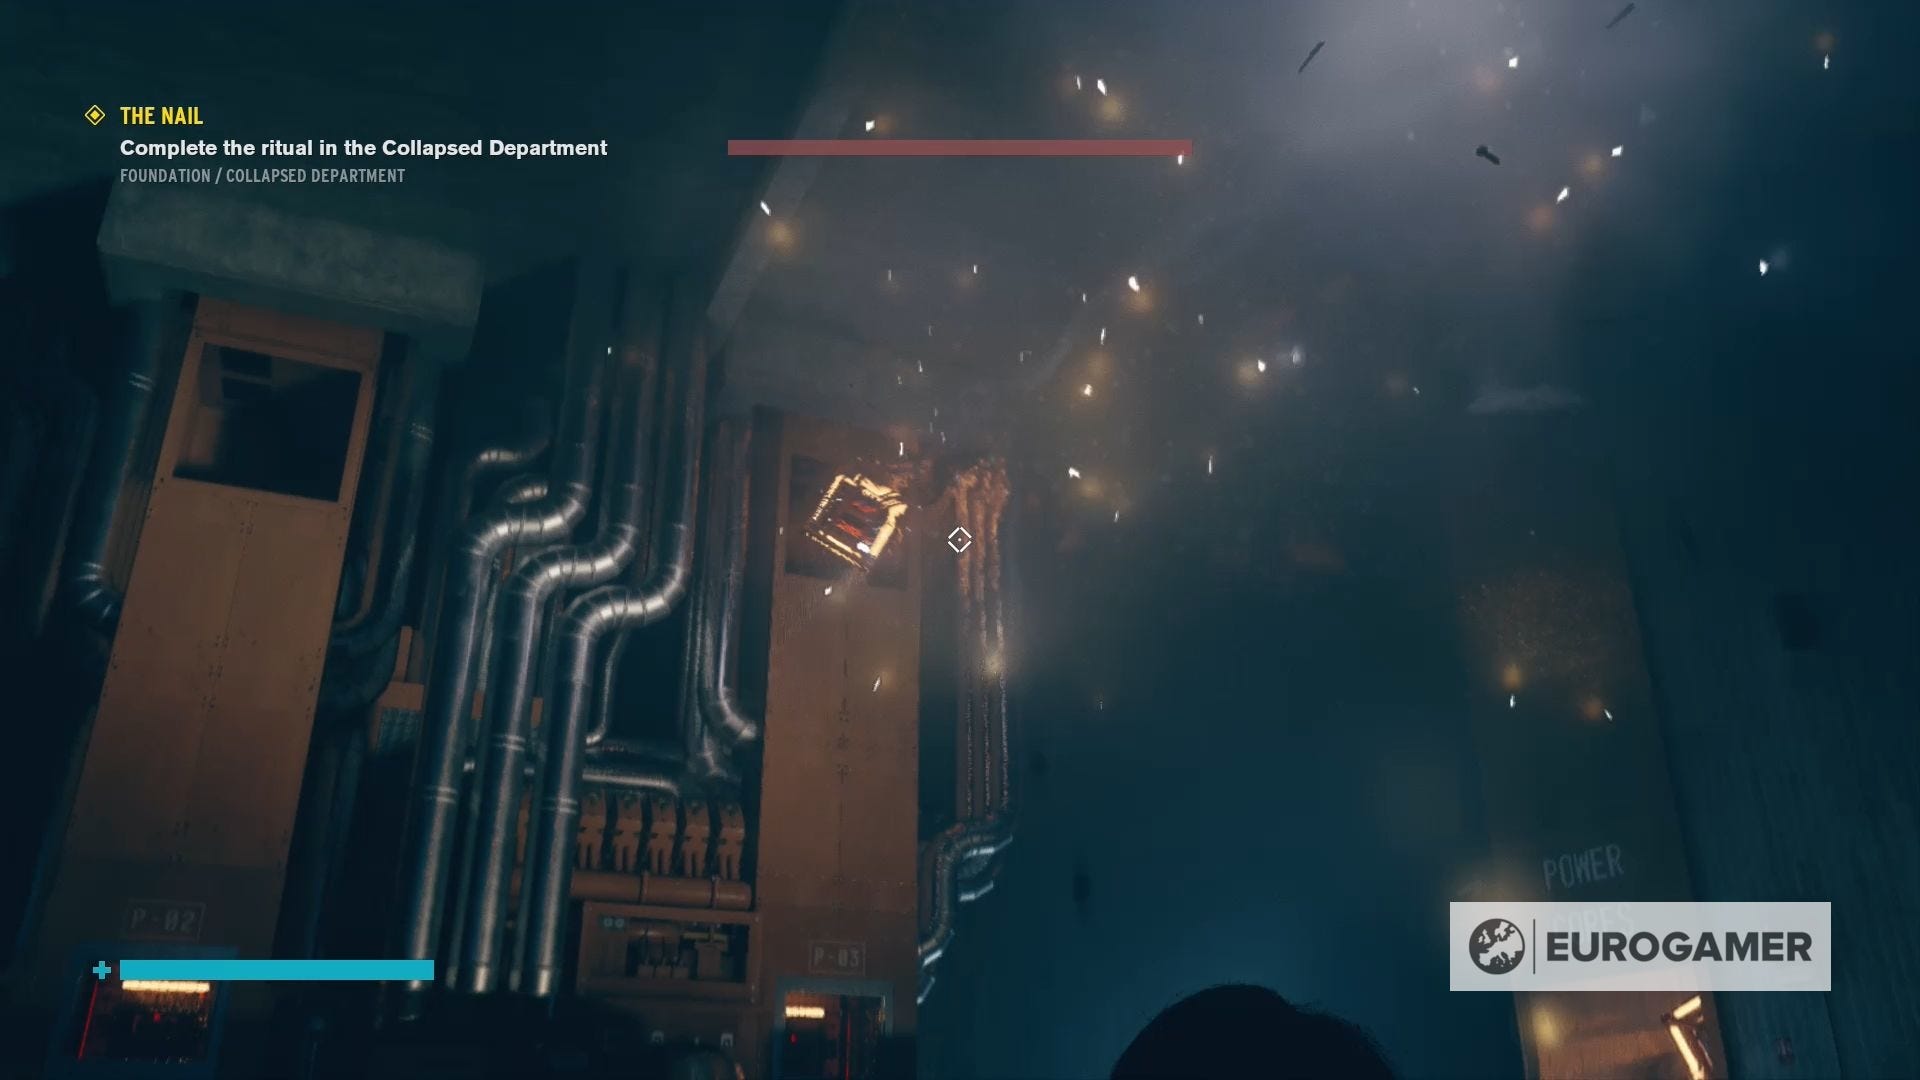
The first thing you'll want to do in the Transit Engine room is rip the doors off both the tops of the engine shoots and the Power Core container. Once you've done this, you can use launch to toss Power Cores down into each engine socket, powering up the Transit Engine once again.
Now you can head back to the Transit Control and move the Altered Item into storage, granting you access to the transit area. After you've defeated the Hiss infesting the area first of course.
With the Hiss defeated, you can use the blocks on the right-hand side of the room to climb atop one of the corridors and then, after smashing the glass, levitate over to the next office space.
From there, head through the double doors and follow the pathway till you reach a third Firebreaker door. Go through this door and cross the walkway beyond to find the second etching you need to interact with.
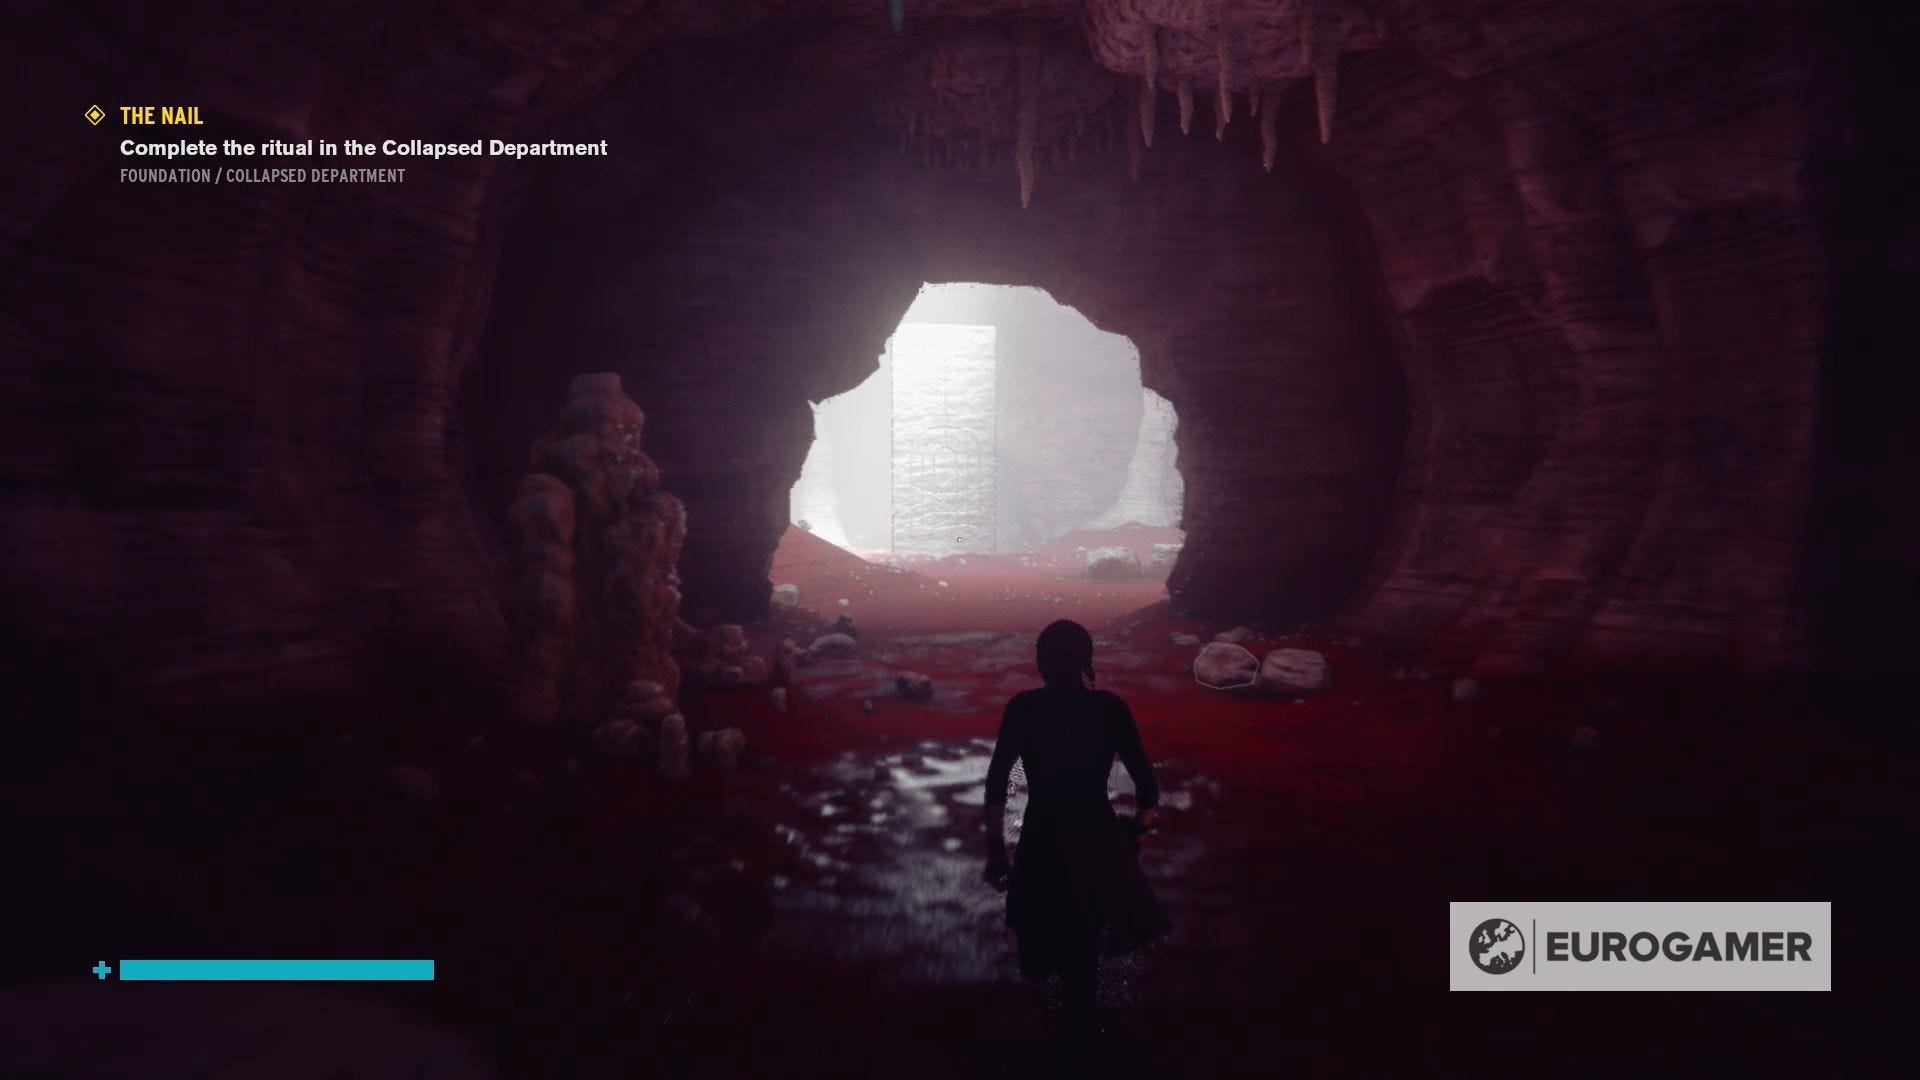
Doing so will return you to the Astral Plane, where you'll use your abilities to restore the key. Once you've done this, one of two events will occur depending on how many rituals you've already completed.

If this is the second ritual you've completed, you'll find yourself transported back to the Astral Challenge area to learn the ability you previously passed over.
If, however, this is the final ritual you needed to complete, the Astral Plane will begin to fall apart. To escape, you'll need to head over to the right-hand side of the platform where you'll be able to eventually create a bridge to the next platform, which will continue a new exit back to reality.
Either way, the mission will be completed once you return from the Astral Plane, giving you:
- 4 Ability Points
- 1 Personal Mod
- 1 Material
Collectibles to be found:
- Correspondence - Non-Official - Shift Account Pt. 1
- (In the office above the first Collapsed Department Control Point.)
- Case Files - Altered World Events - Kyiv Summary
- (Behind the guard gate for the Collapsed Department.)
- Correspondence - Dead Letters - Computer Program
- (In the first ladies toilet you can visit in the Collapsed Department.)

- Multimedia - America Overnight - Ep. 382
- (After cleansing the second Control Point in the Collapsed Department, head through the locked doors and head through the doors until you can reach the guard's office where this collectable can be found.)
- Case Files - Altered World Events - Kyiv Supplement
- (On the conveyor belt opposite the room where you find America Overnight Ep. 382)
- Correspondence - Non-Official - Shift Account Pt. 2
- (Atop a computer to the east of the second Control Point in the Collapsed Department.)
- Correspondence - Dead Letters - New Language
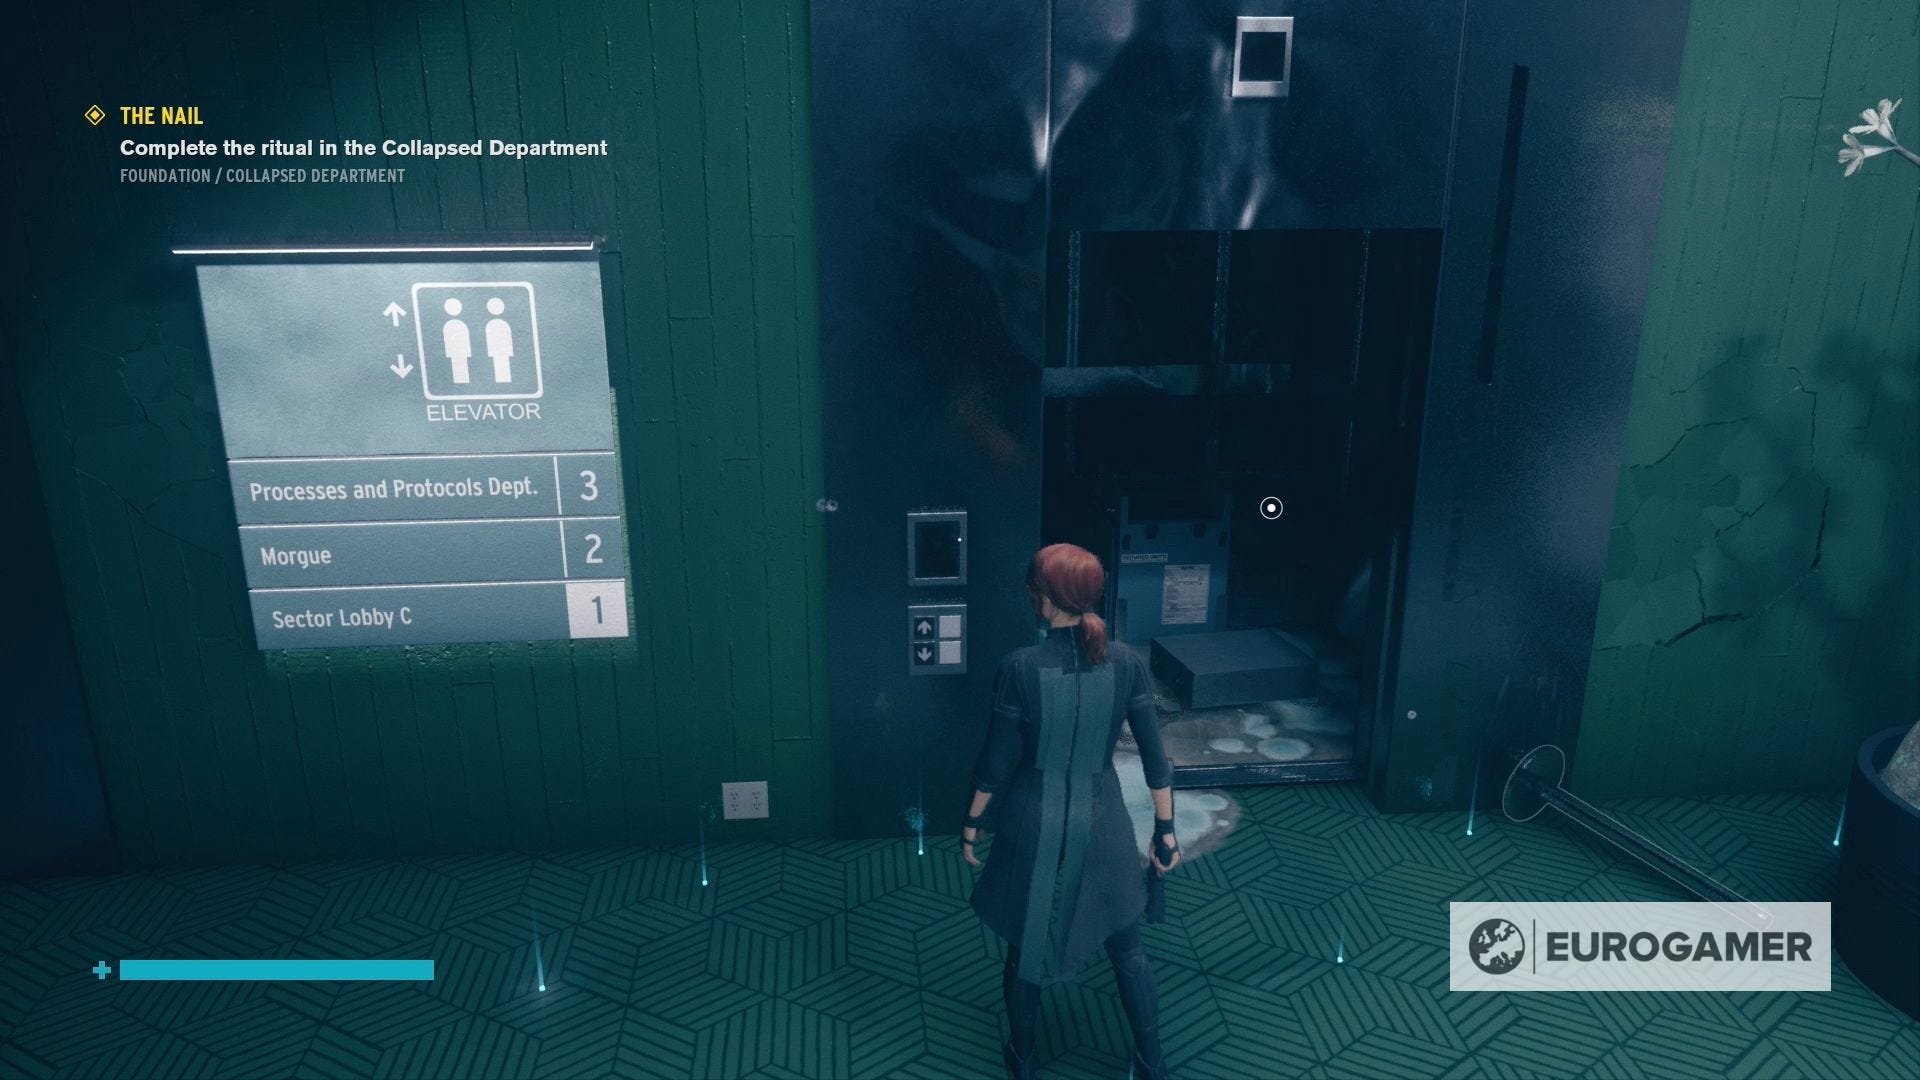
- (In the elevator containing the Mold monster in the Collapsed Department.)
- Case Files - Altered Items - Movie Camera Supplement
- (In the office on the right near the Firebreaker door after you've crossed the Transit area.)
- Correspondence - Non-Official - Shift Account Pt. 3
- (On the desk opposite the Firebreaker door found past Transit.)
- Hotline - Marshall - End of the World
- (Receive this once you go through the Firebreak door after the Transit office.)
With these two rituals completed, it's time to explore the Canyon's Rim and the Deep Cavern.
If, however, you've now completed all the rituals, you'll automatically start the final mission, The Pyramid, which will see you battle Marshall at the foot of the Nail.