Warzone Hunting the Enemy Intel Mission locations: SIGINT was relayed, An enemy laptop could provide intel and more explained
Where to find all the second Intel locations in Modern Warfare: Warzone.

Warzone's Hunting the Enemy Intel Missions are set of objectives within Modern Warfare's battle royale mode.
Released following the mid-season Reloaded update in Season 4, these have you find items on the map while playing matches by following a series of clues.
Completing each one rewards you with XP, while the entire set rewards you with 10,000XP - giving you a boost towards completing your Season 4 Battle Pass.
Currently, as of Warzone Season 4, you can no longer complete this activity. If you're looking for more help, check out our on-going best Warzone weapons page and the Vanguard Royale meta.

Warzone Hunting the Enemy Intel Missions and their locations
The following mid-season 'Hunting the Enemy' Challenges went live on June 30th, 2020.
Similar to the previous Fractured Intel, each Hunting the Enemy Intel step must be completed in sequence. You can find it within the Challenges area of the Warzone menu, then tab to the end to find these objectives.
- Hunting the Enemy Intel location 1: Find the location in the message Ghost sent you
- Hunting the Enemy Intel location 2: SIGINT was relayed from Airport military wing...
- Hunting the Enemy Intel location 3: Communication interference tracked to Western bunker...
- Hunting the Enemy Intel location 4: An enemy laptop could supply intel...
- Hunting the Enemy Intel location 5: A meeting took place downtown...
- Hunting the Enemy Intel location 6: The enemy wants to catch a train...
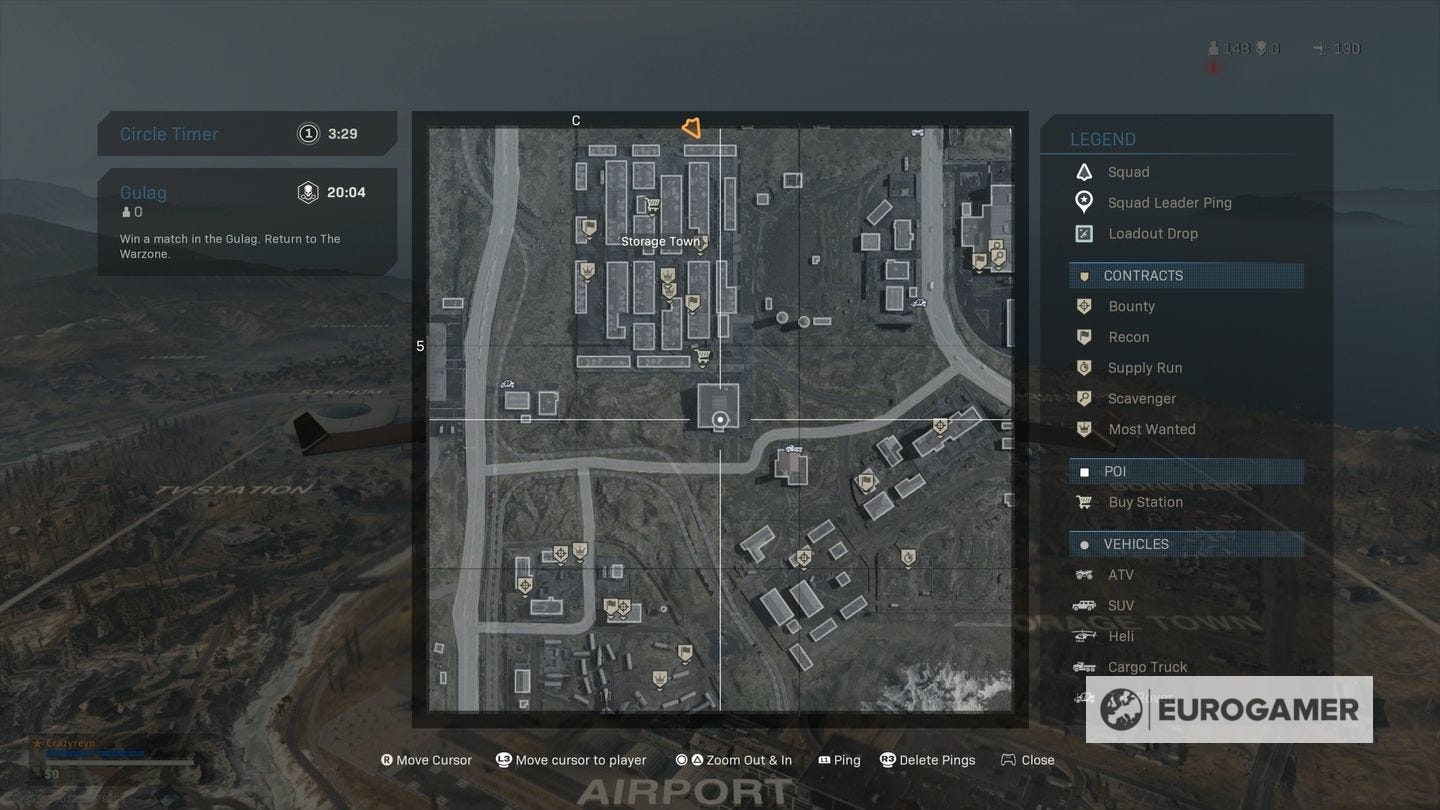
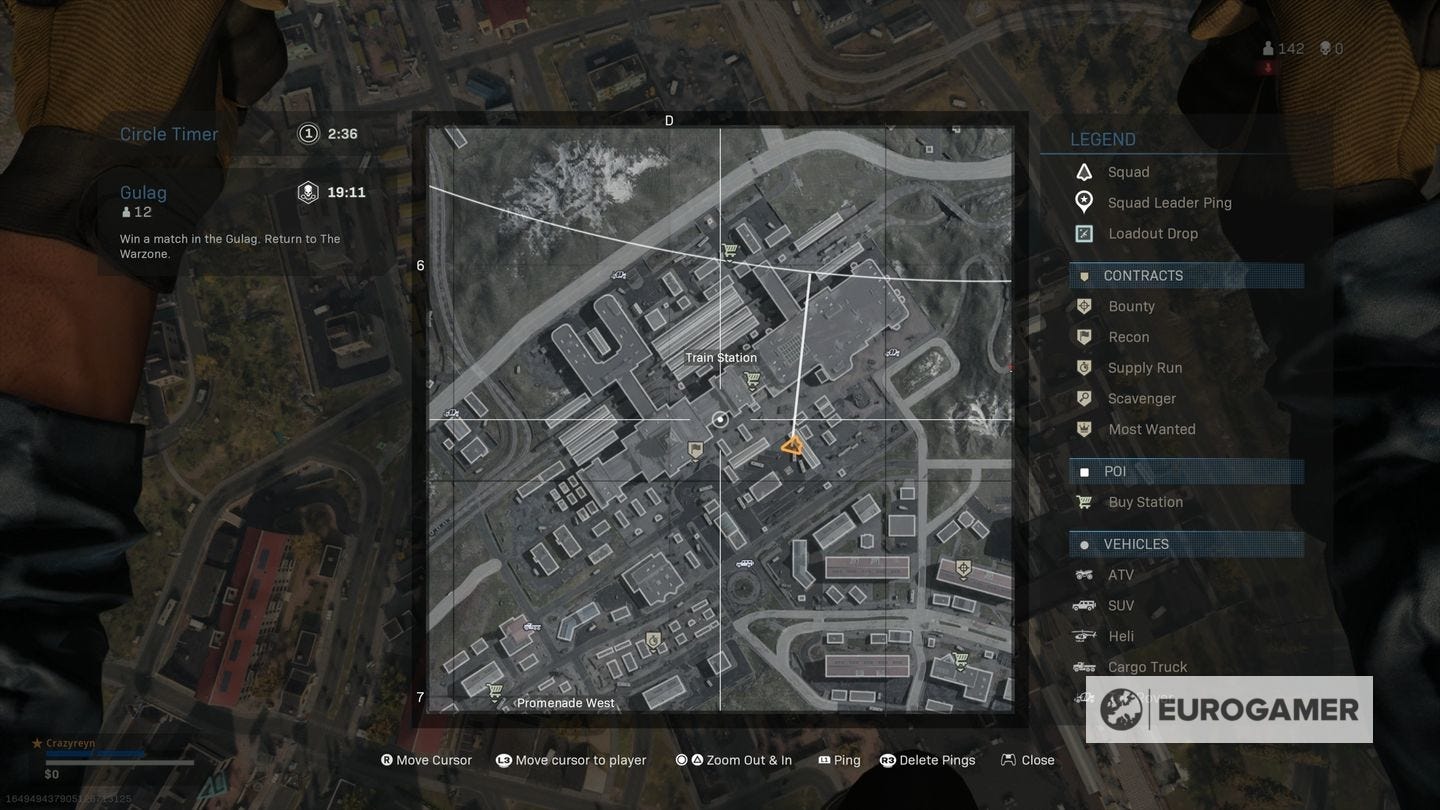
Remember these need to be done in Warzone matches. If you're struggling to grab certain items because the areas are heavily populated - the Intel locations are the same for everyone, after all - then try landing near the location and give it a few minutes before moving in, or play until you enter the Gulag and use that second match appearance to pay a visit (assuming you win, of course).
Also, you can only complete one Intel per match. So continue playing, purposely lose or simply quit out to start another match and the next objective.
Once done, you can move onto the Hidden Cargo Intel.
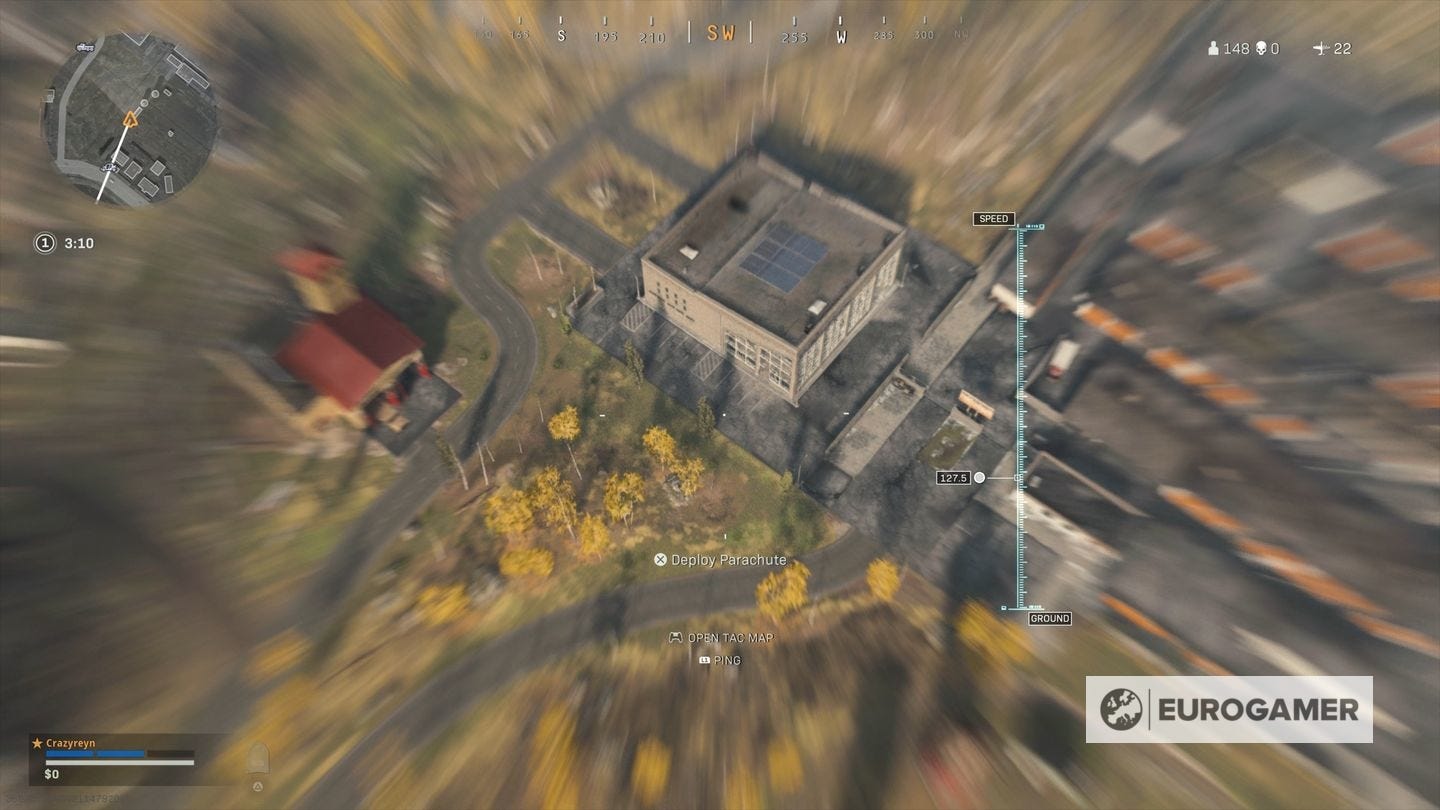
Warzone Hunting the Enemy Intel location 1: Find the location in the message Ghost sent you
For the first Hunting the Enemy objective, you are given the clue "Find the location in the message Ghost sent you" and the following image for 2500 XP:
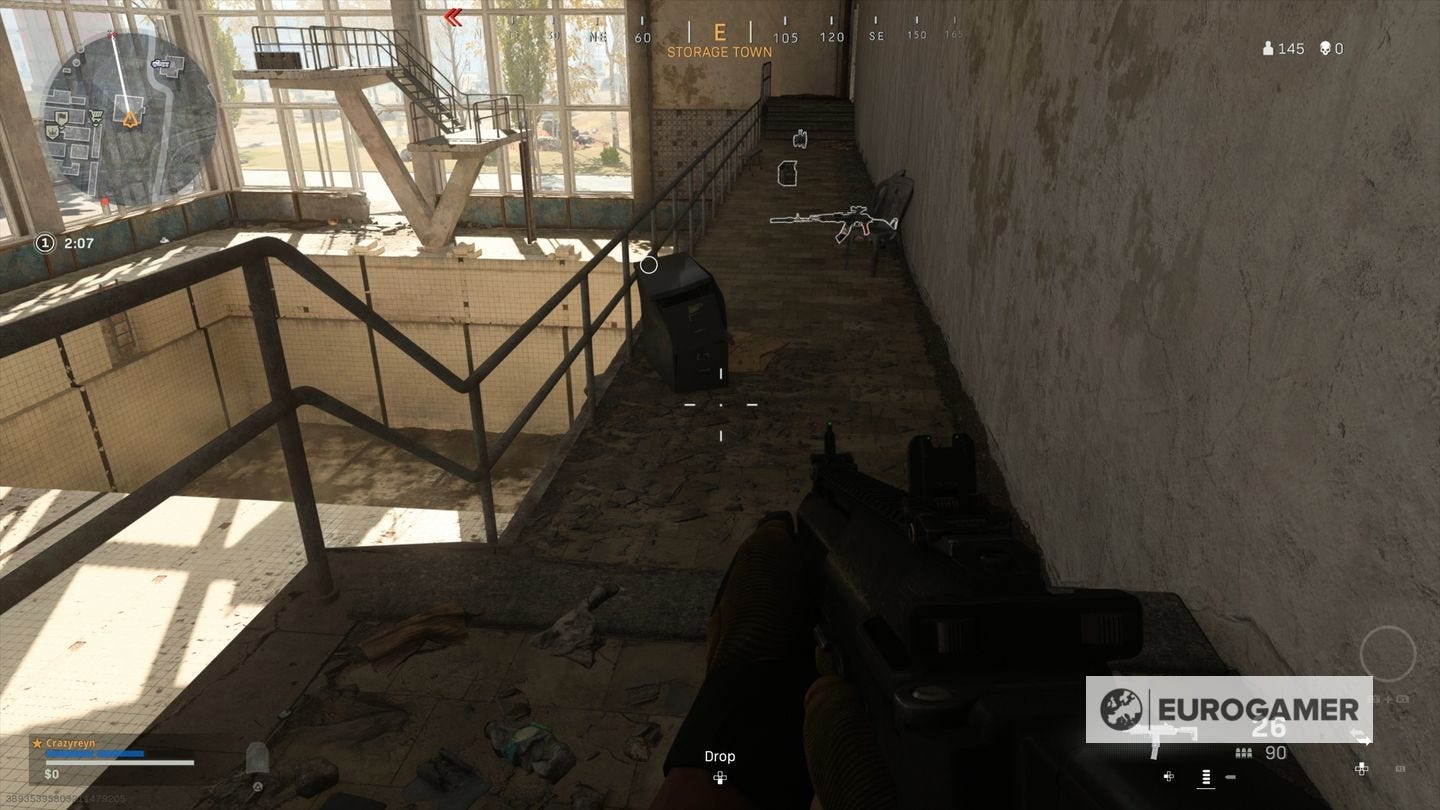
To complete this, visit the south-most building - which is larger and taller than the rest.
Inside is an empty swimming pool. You want to get up onto the balcony section to the side.
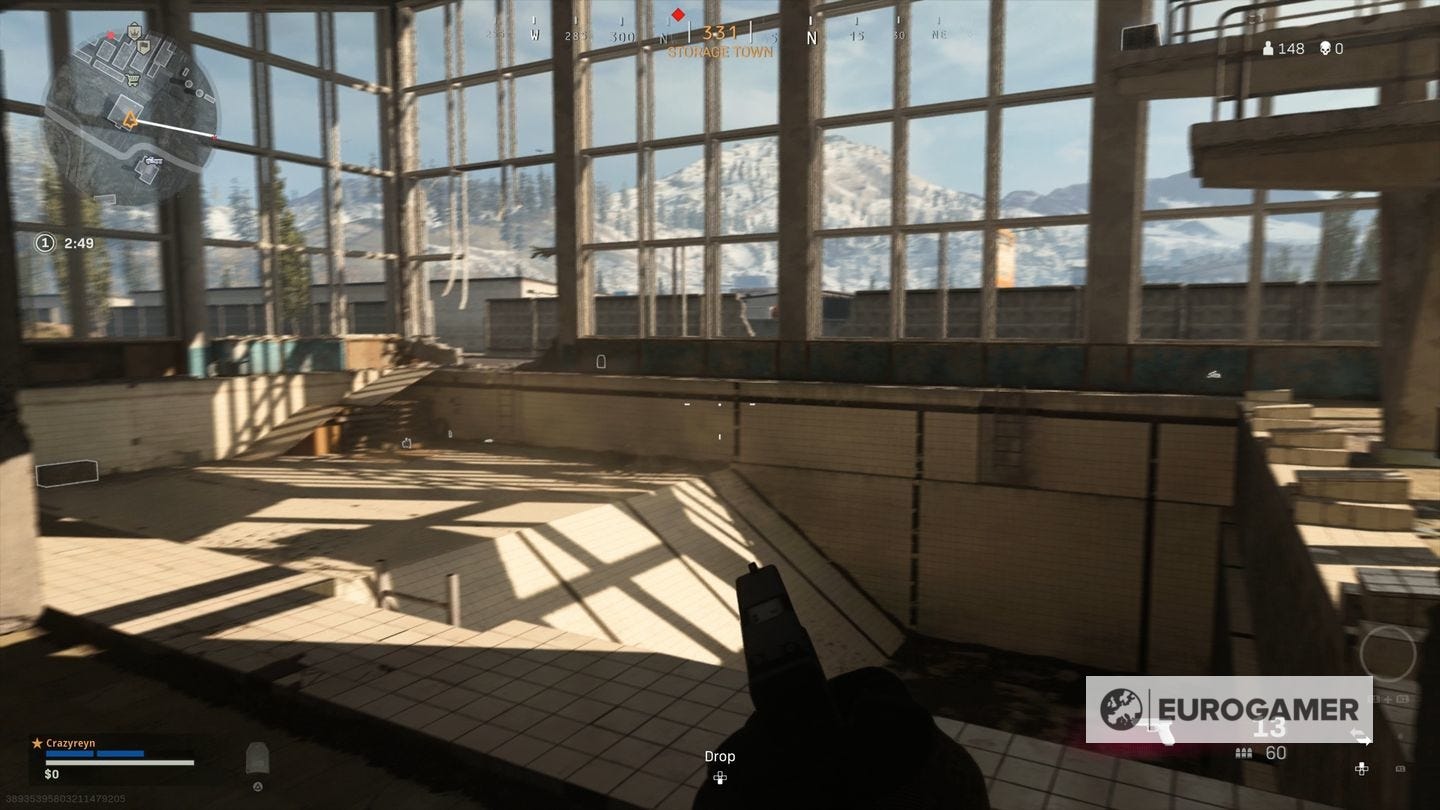
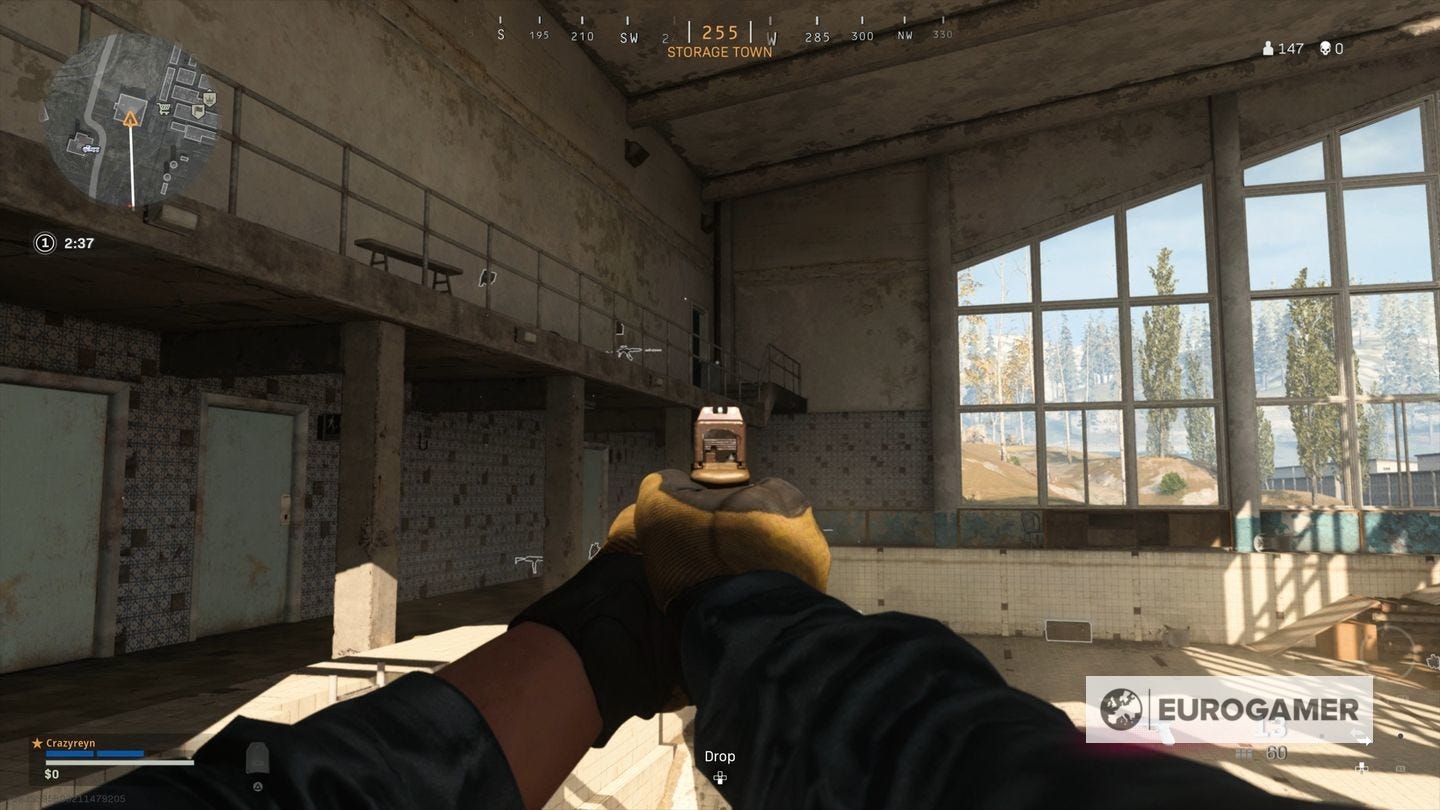
If you take the middle door on the side, you can take some stairs up.
On this balcony, on top of a filing cabinet, is the Intel.

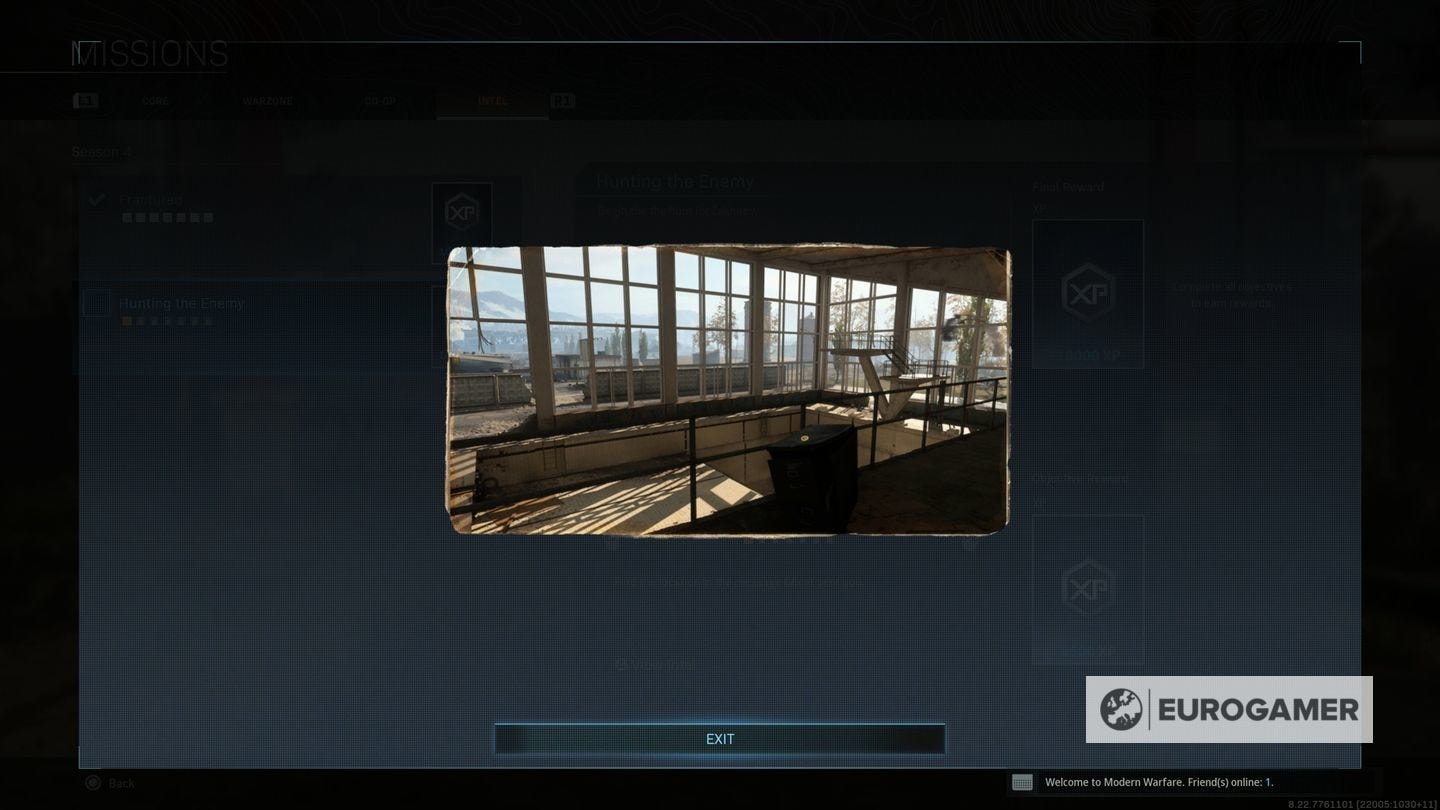
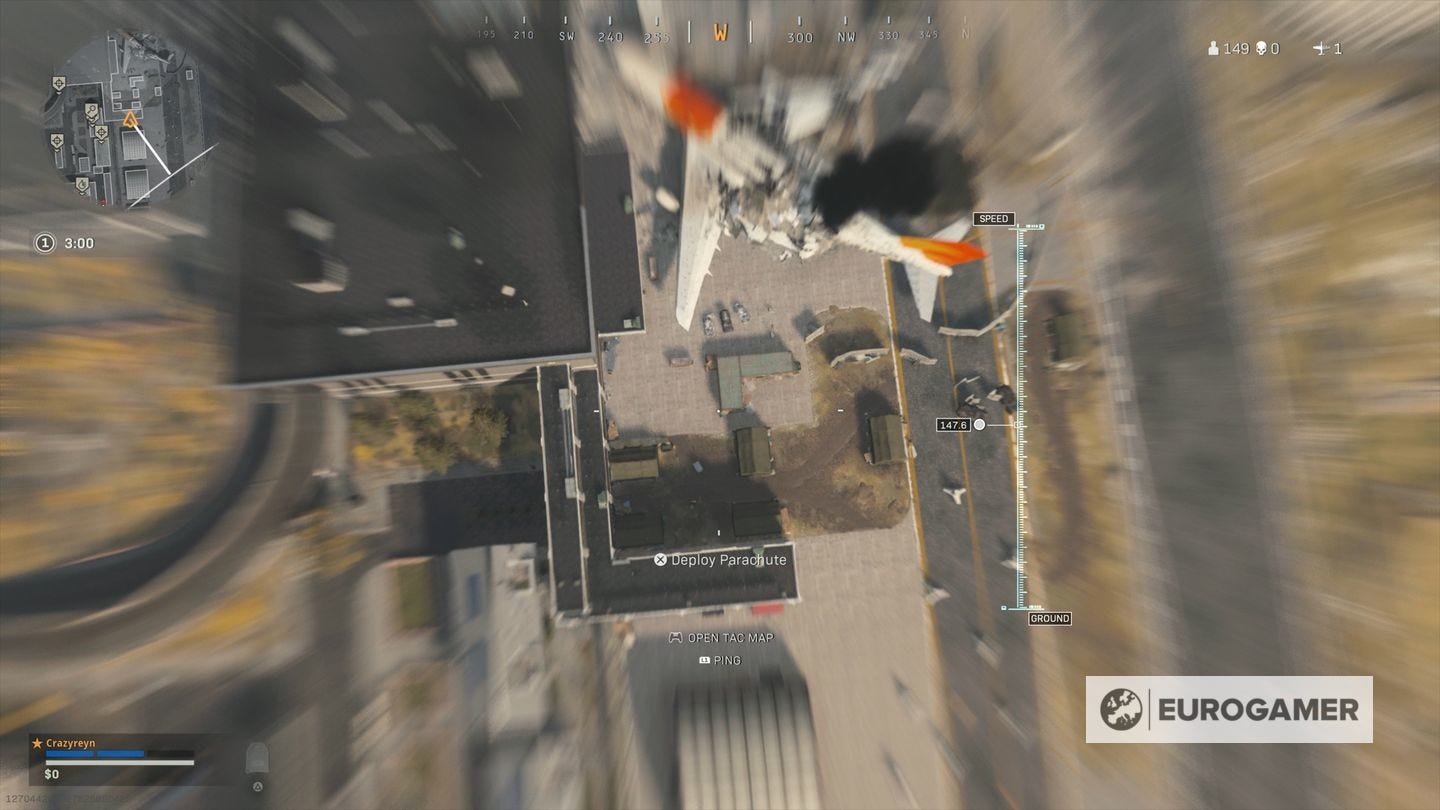
Warzone Hunting the Enemy Intel location 2: SIGINT was relayed from Airport military wing...
For this Hunting the Enemy objective, you are given the clue "SIGINT was relayed from Airport military wing..." and the following image for 500 XP:
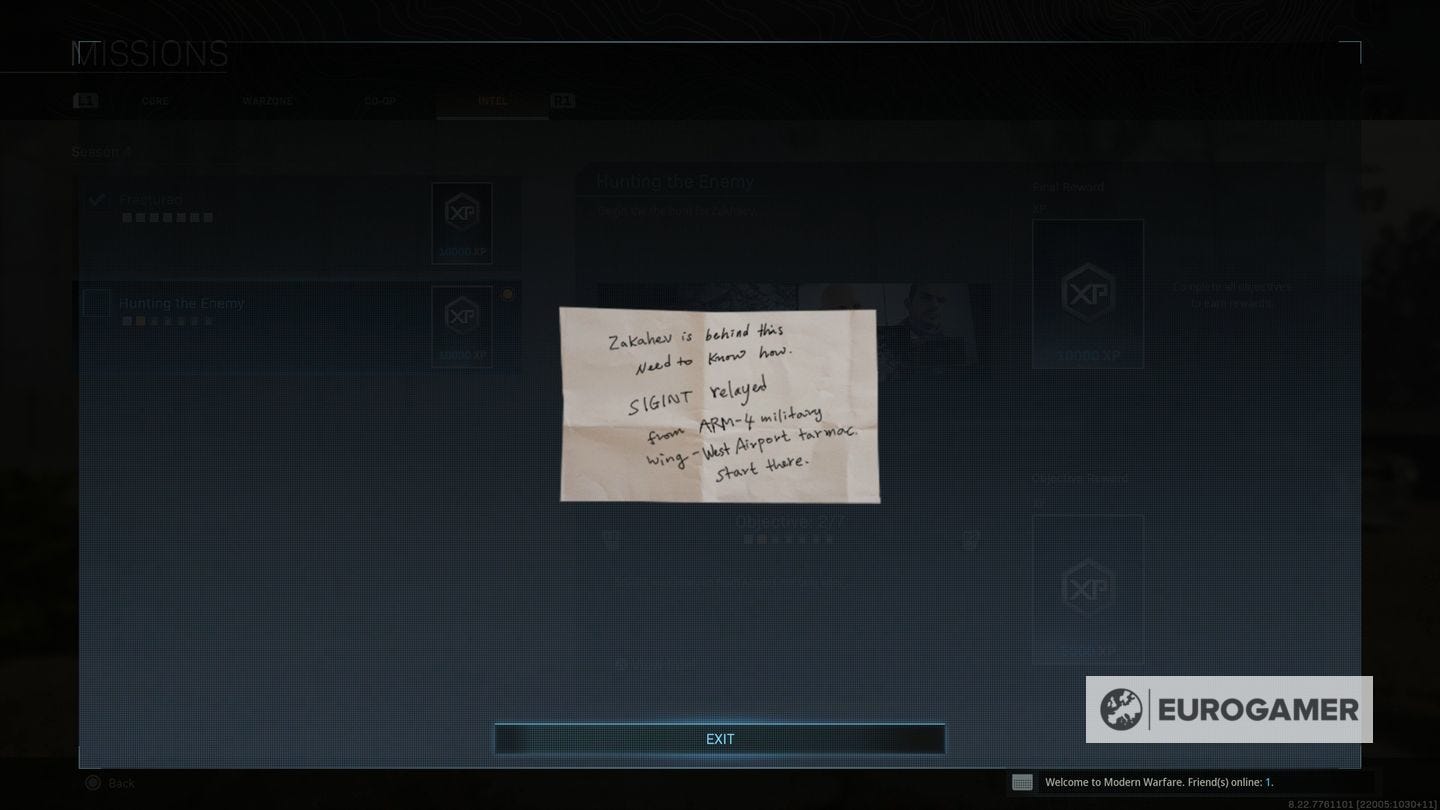
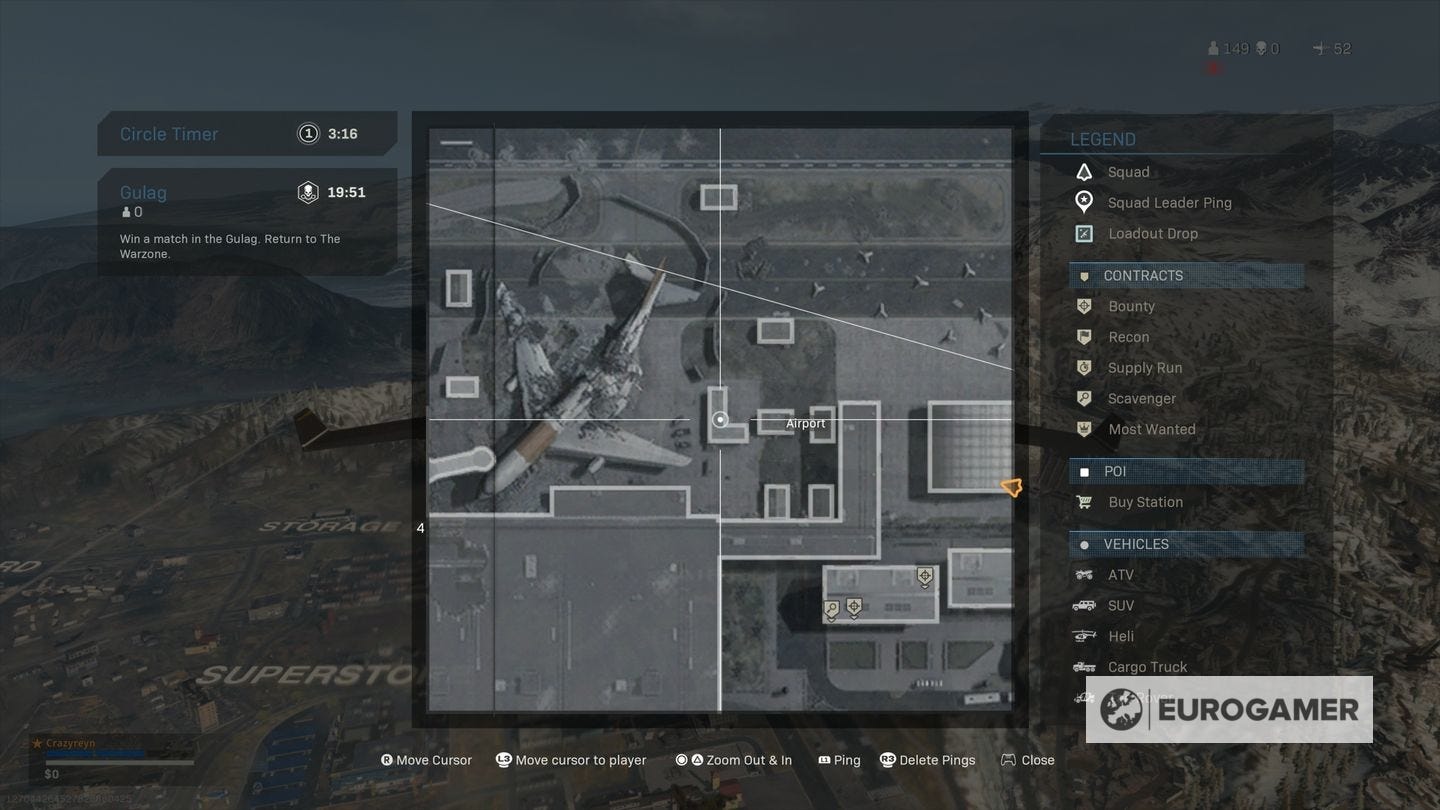
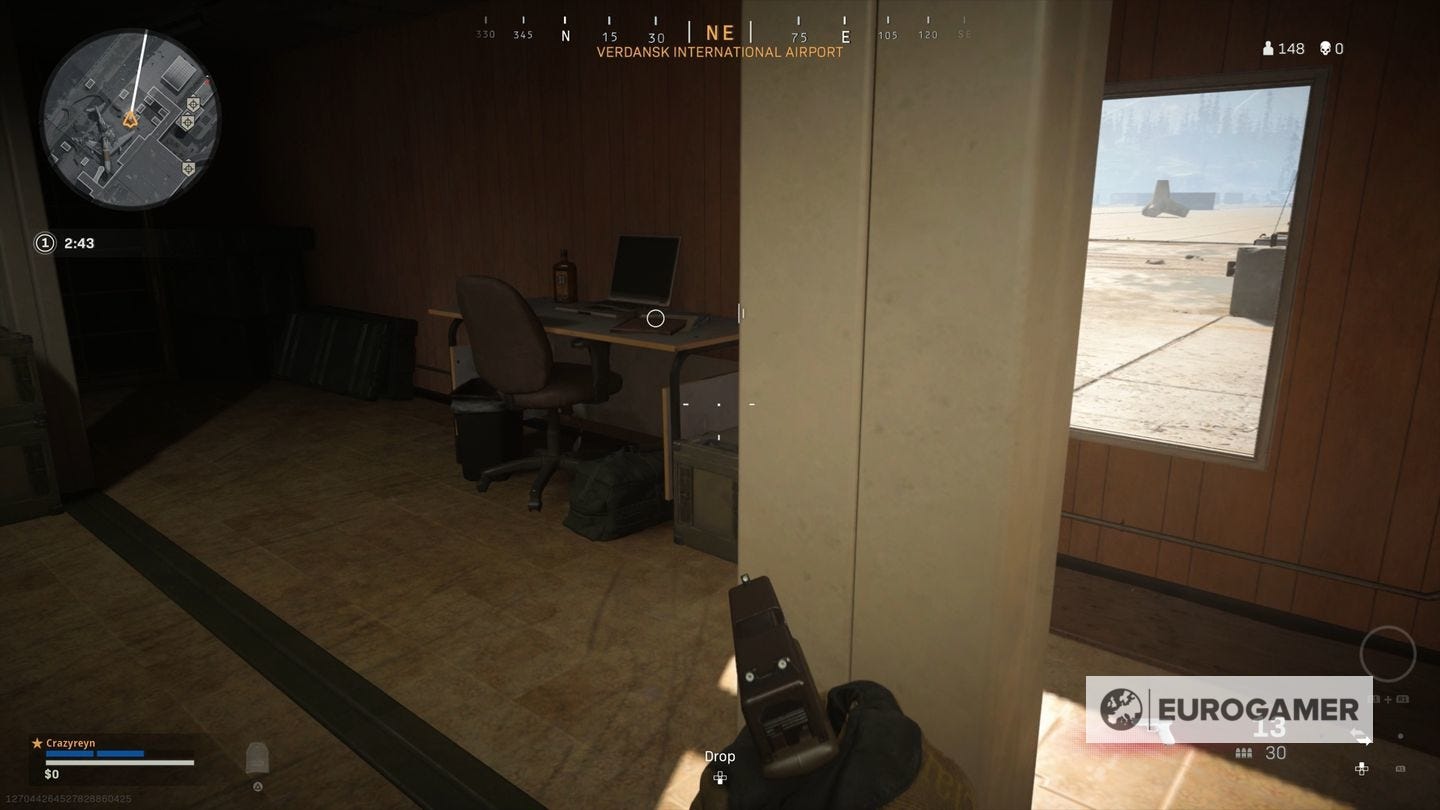
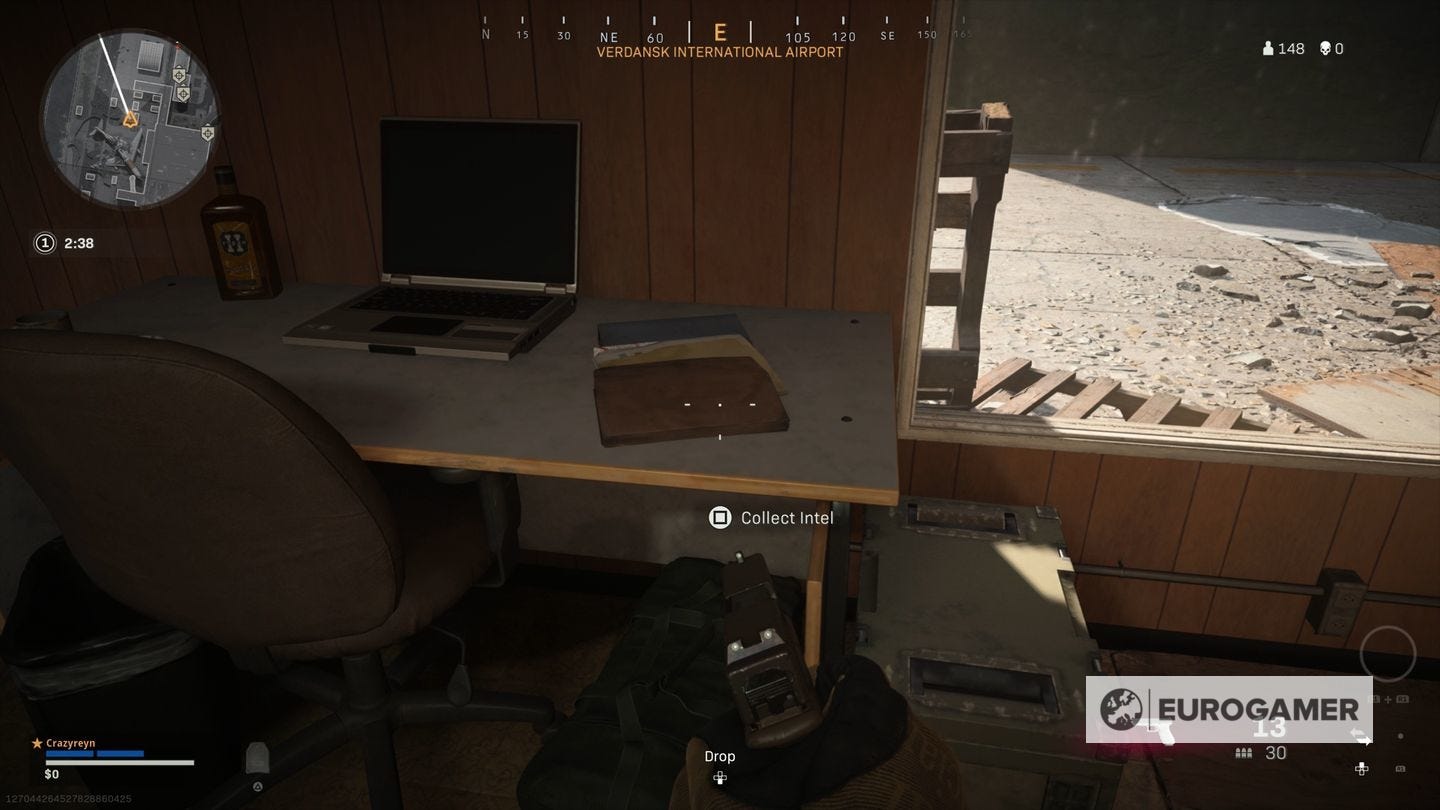
To complete this, visit the Airport, as mentioned in the description.
Specifically, locate the plane wreckage in the middle of the location. Directly east are several small, green buildings.
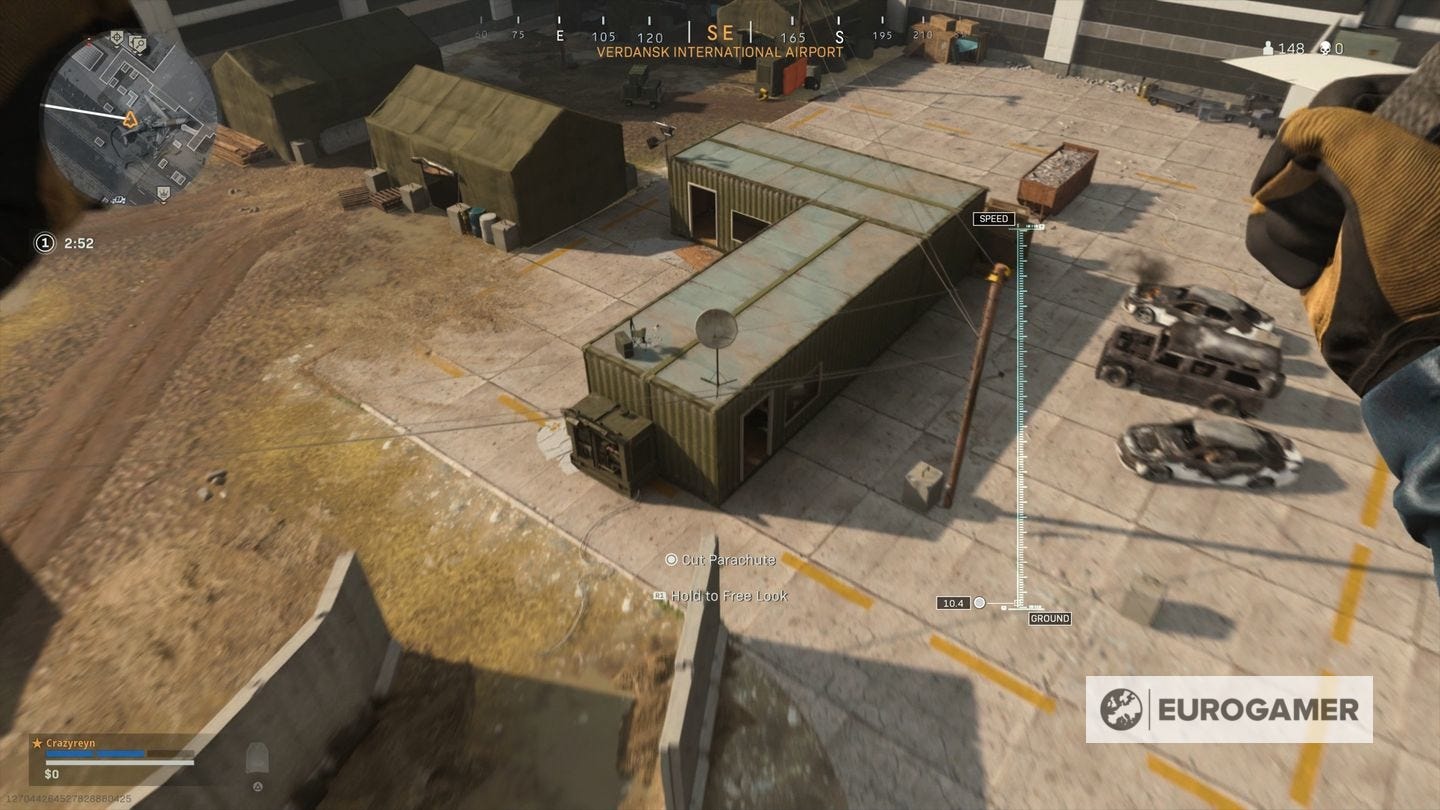
Enter the closest one shaped like an L-Block in Tetris.
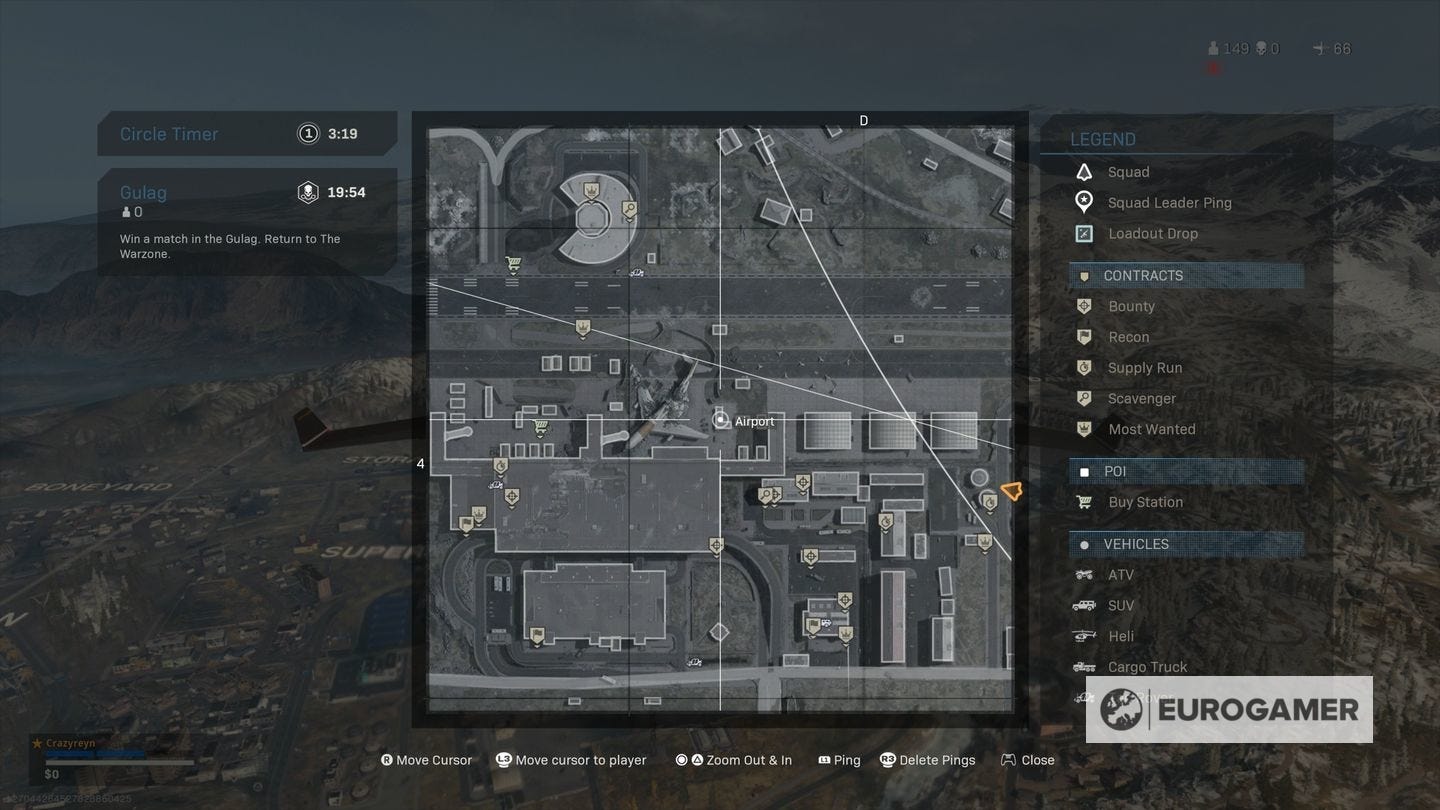
You can find the Intel on a desk inside.
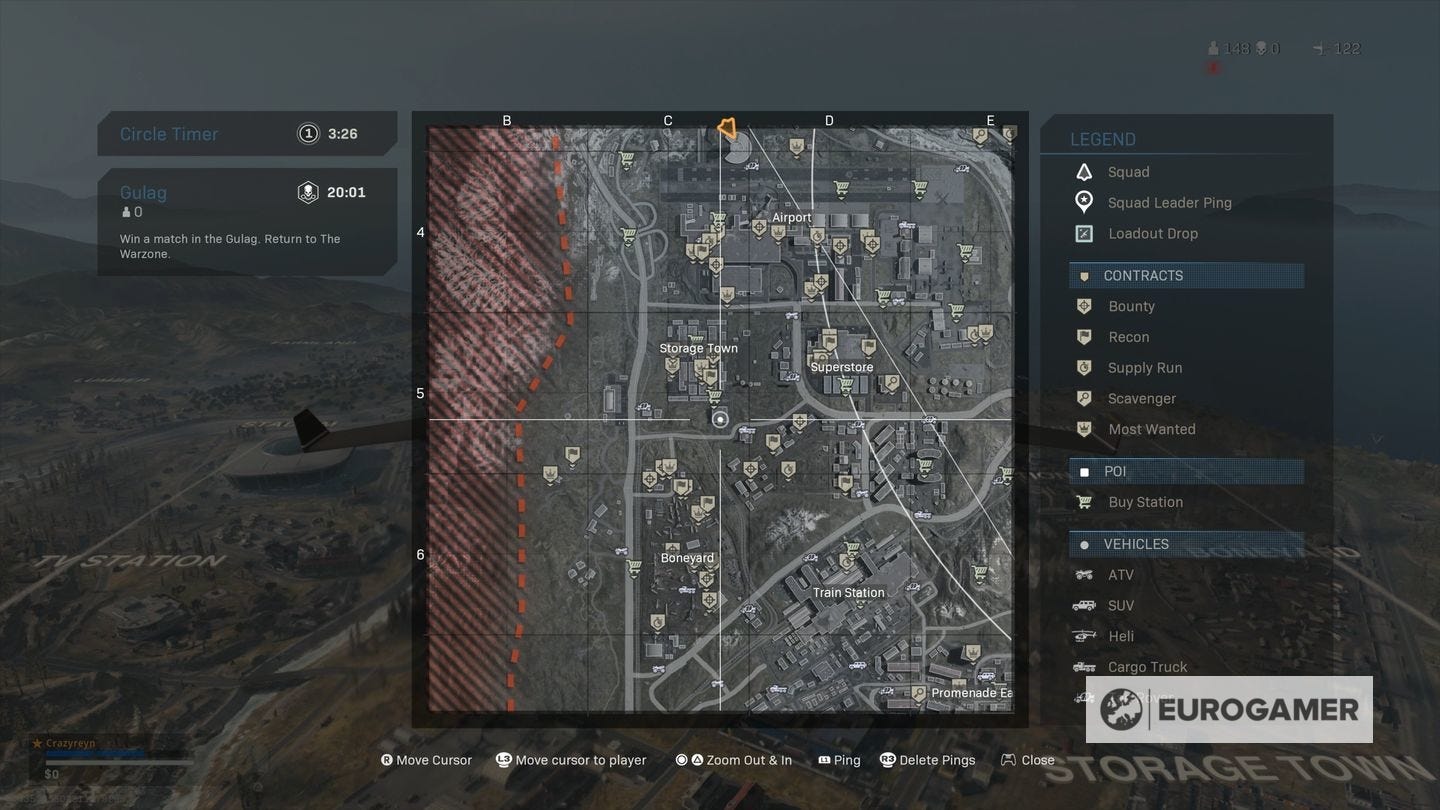
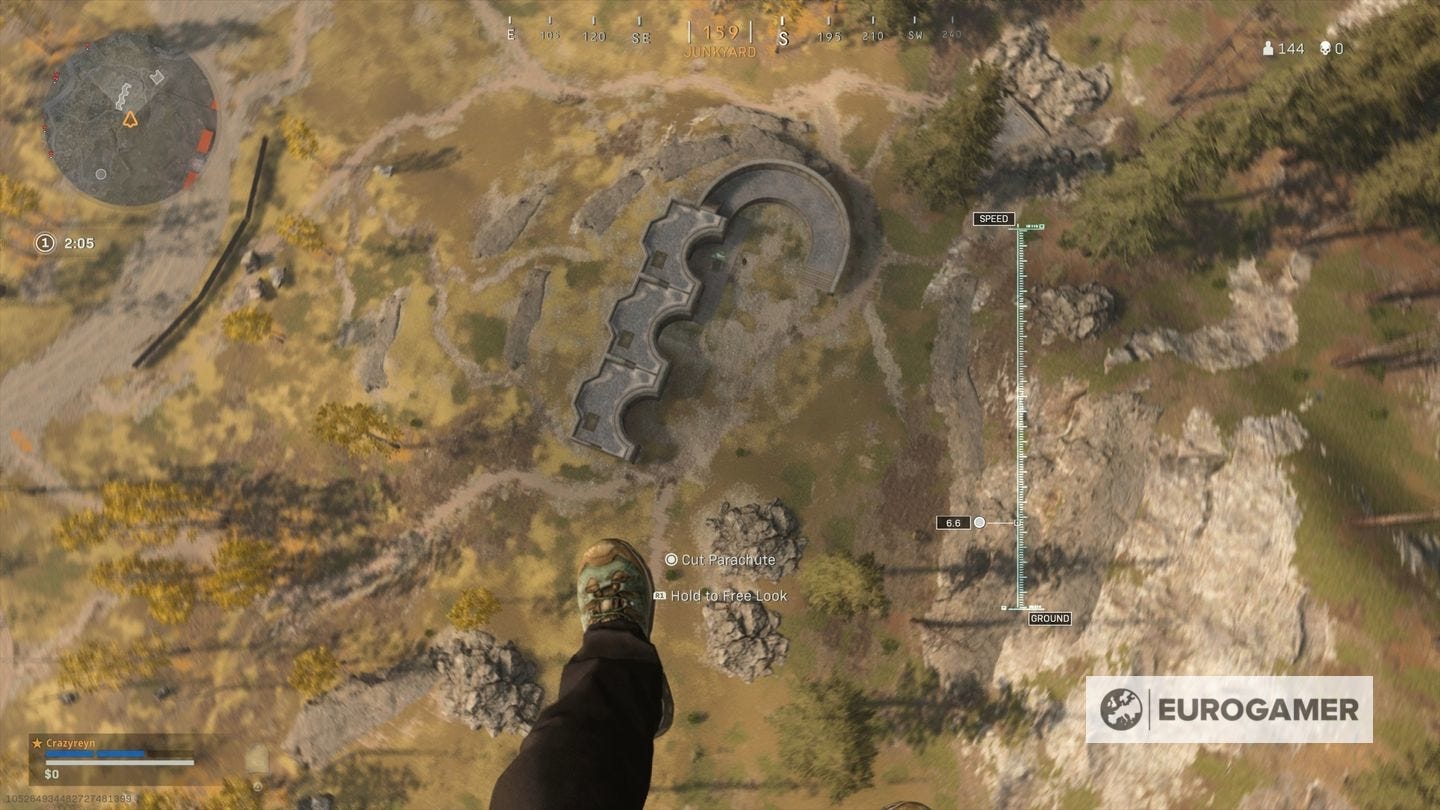
Warzone Hunting the Enemy Intel location 3: Communication interference tracked to Western bunker...
For this Hunting the Enemy objective, you are given the clue "Communication interference tracked to Western bunker..." and the following image for 5000 XP:

To complete this, visit the bunker location on the far west side of the map, positioned off to the side between Boneyard and Storage Town.

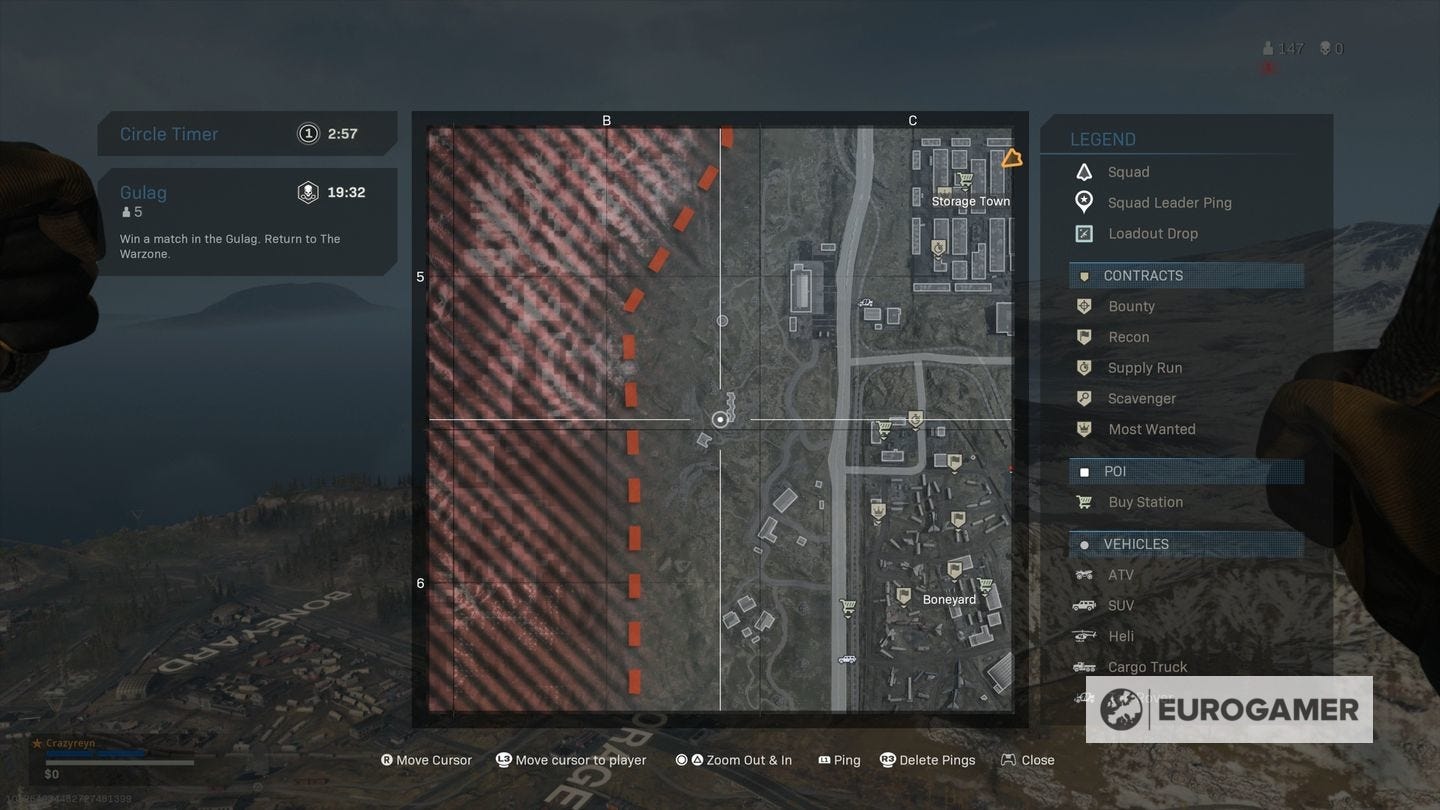
The bunker from above will match the image clue.
Once found, enter the south-most door to find an underground section with a bunker door.
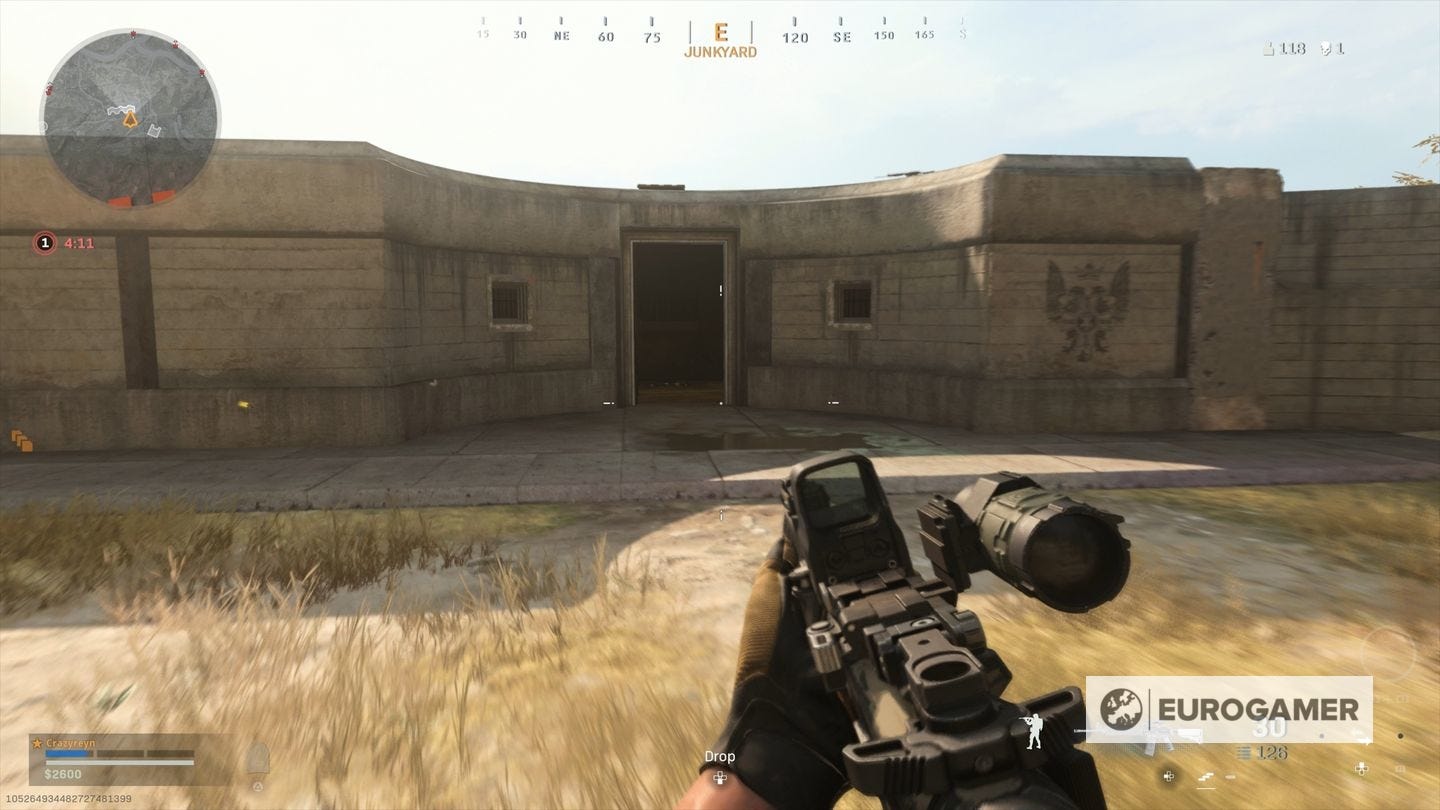
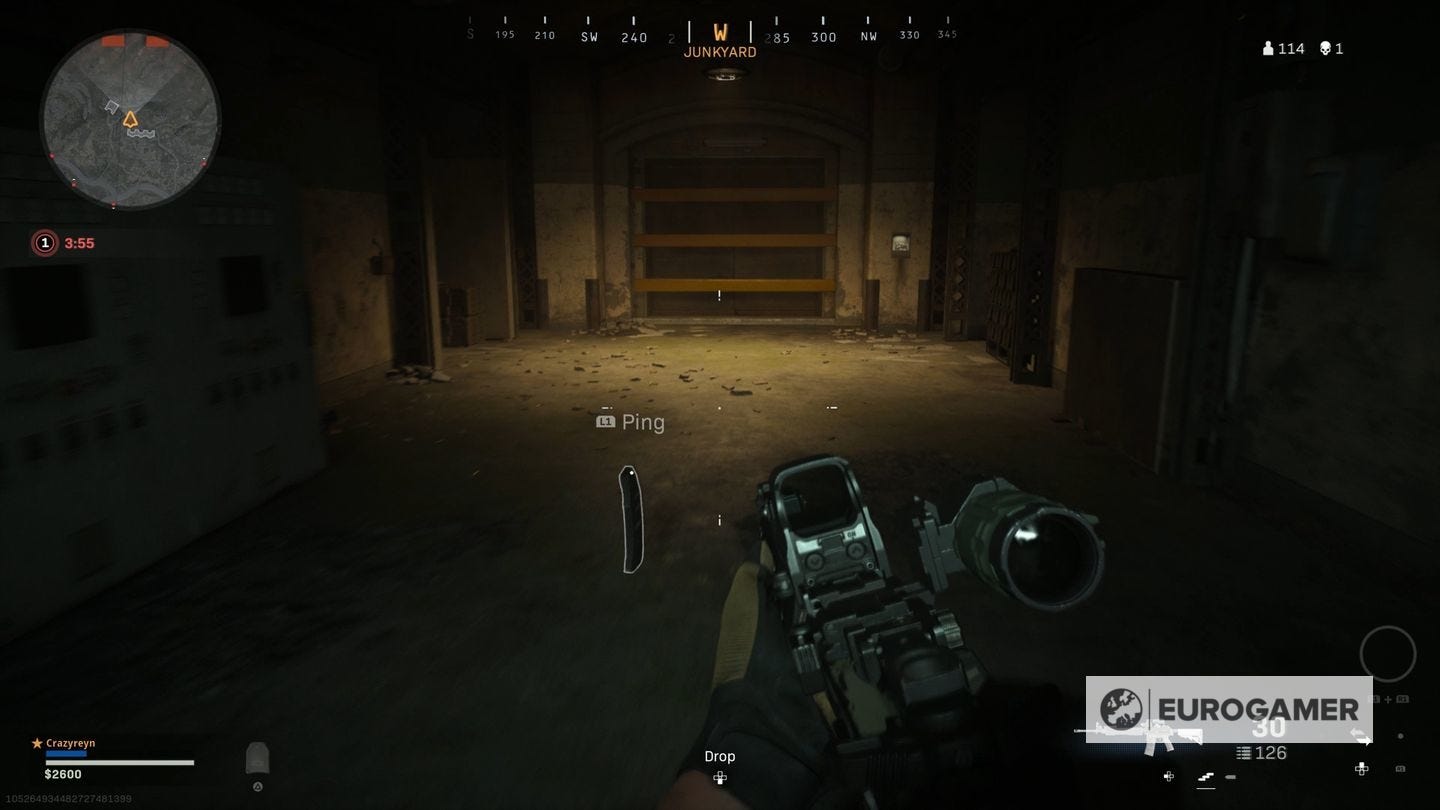
To the left of the door is a laptop, with the Intel location.
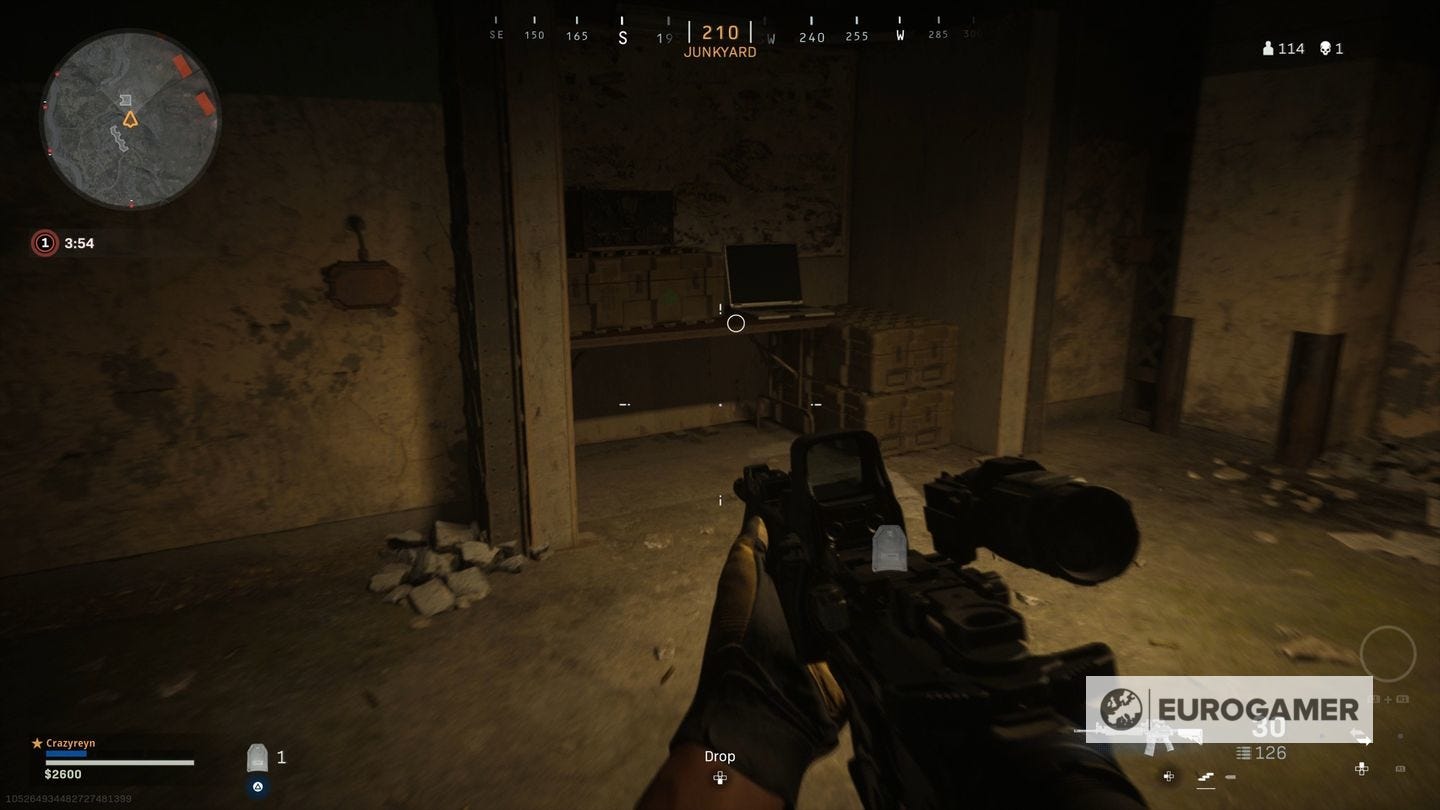
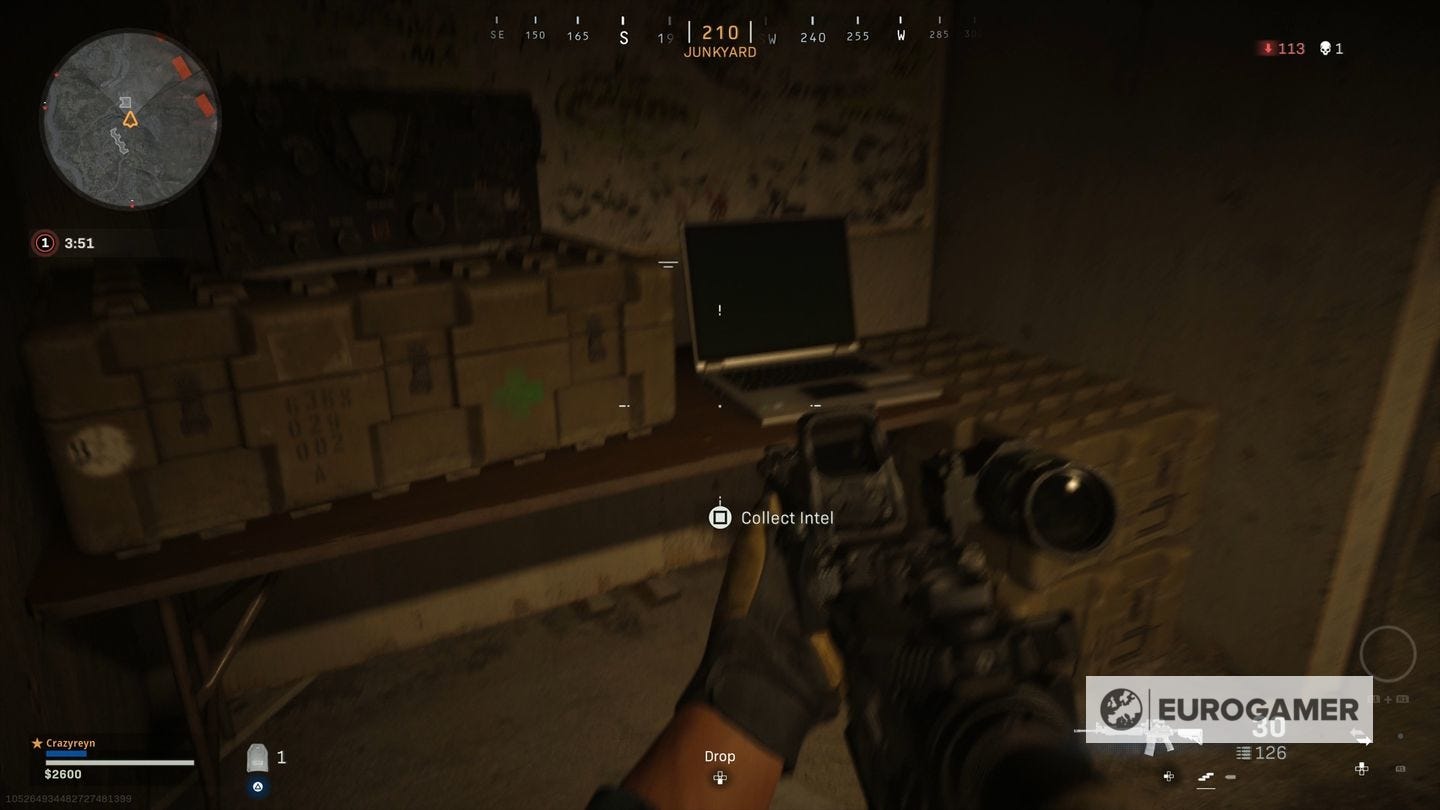
Warzone Hunting the Enemy Intel location 4: An enemy laptop could supply intel...
For this Hunting the Enemy objective, you are given the clue "An enemy laptop count supply intel..." and the following image for 5000 XP:
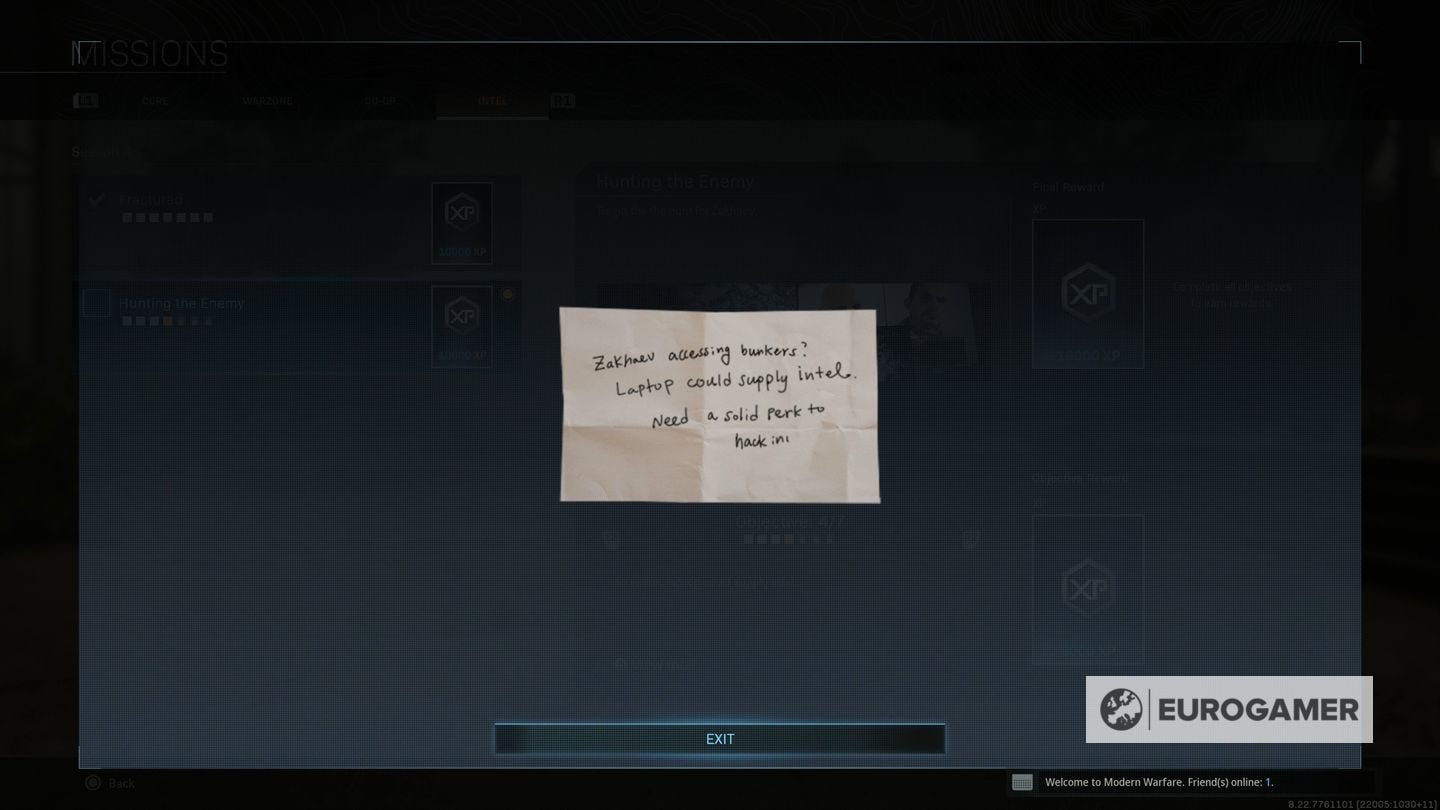
Interestingly, this is the exact same location as the above - the bunker on the west side of the map - except with one key difference.
As the image says, you need a "solid perk" to complete this. You need to have a loadout ready with Spotter equipped (thanks 116morningside on reddit for the tip) then visit the laptop again.
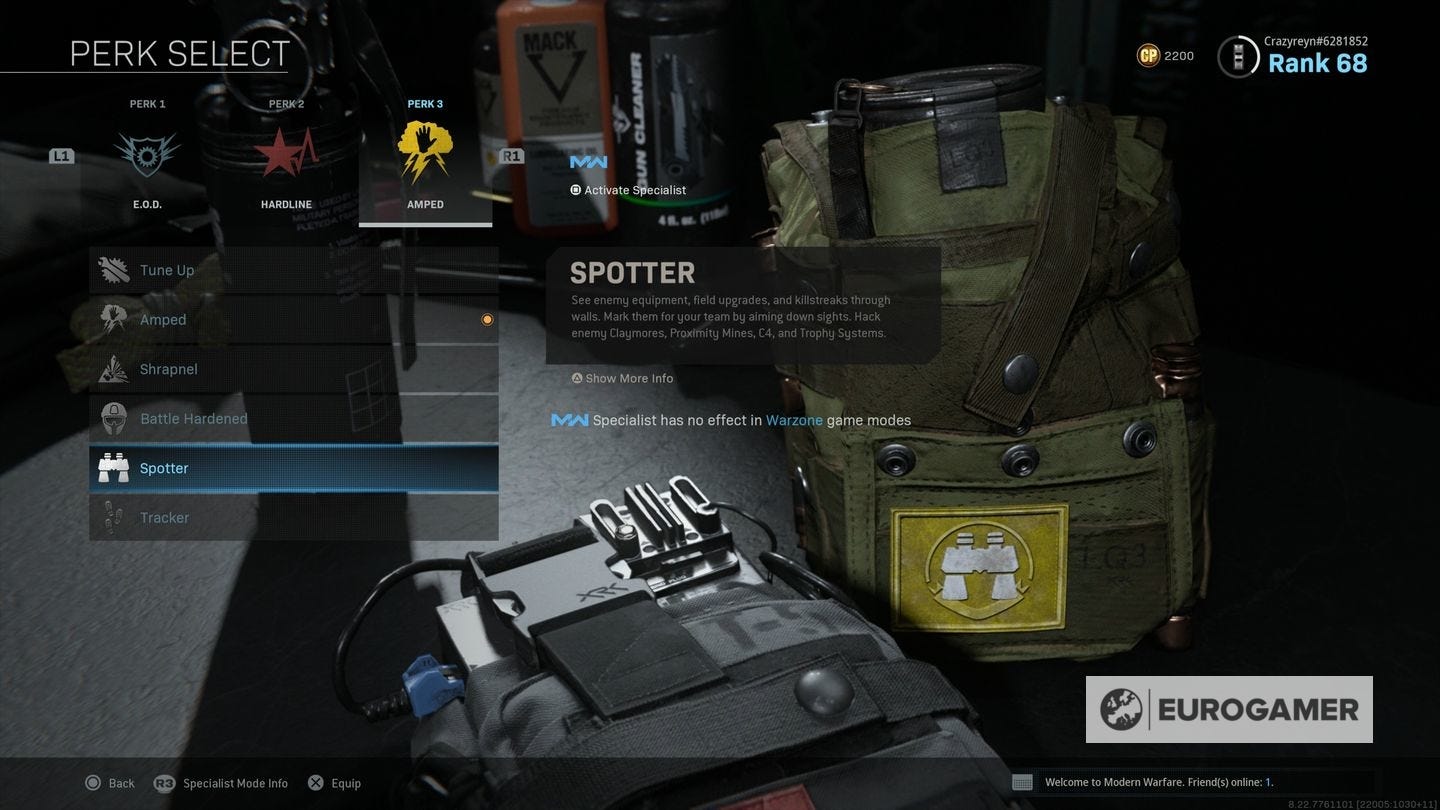
Of course, getting a Loadout in Warzone requires you get a Loadout Drop - either save up for one, wait for one to drop at random, or play on Plunder, where you can select a Loadout from the beginning of the match and make your way there.

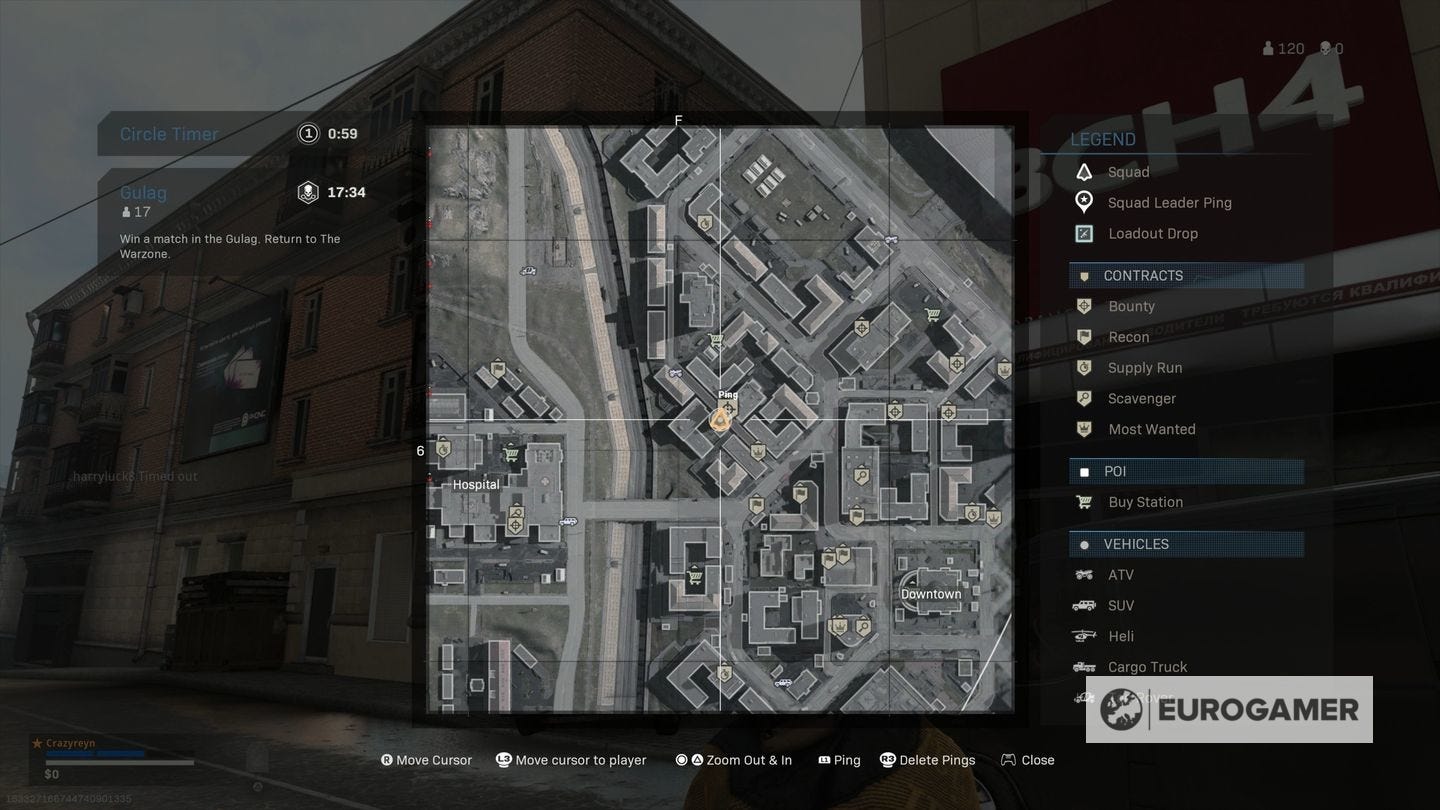
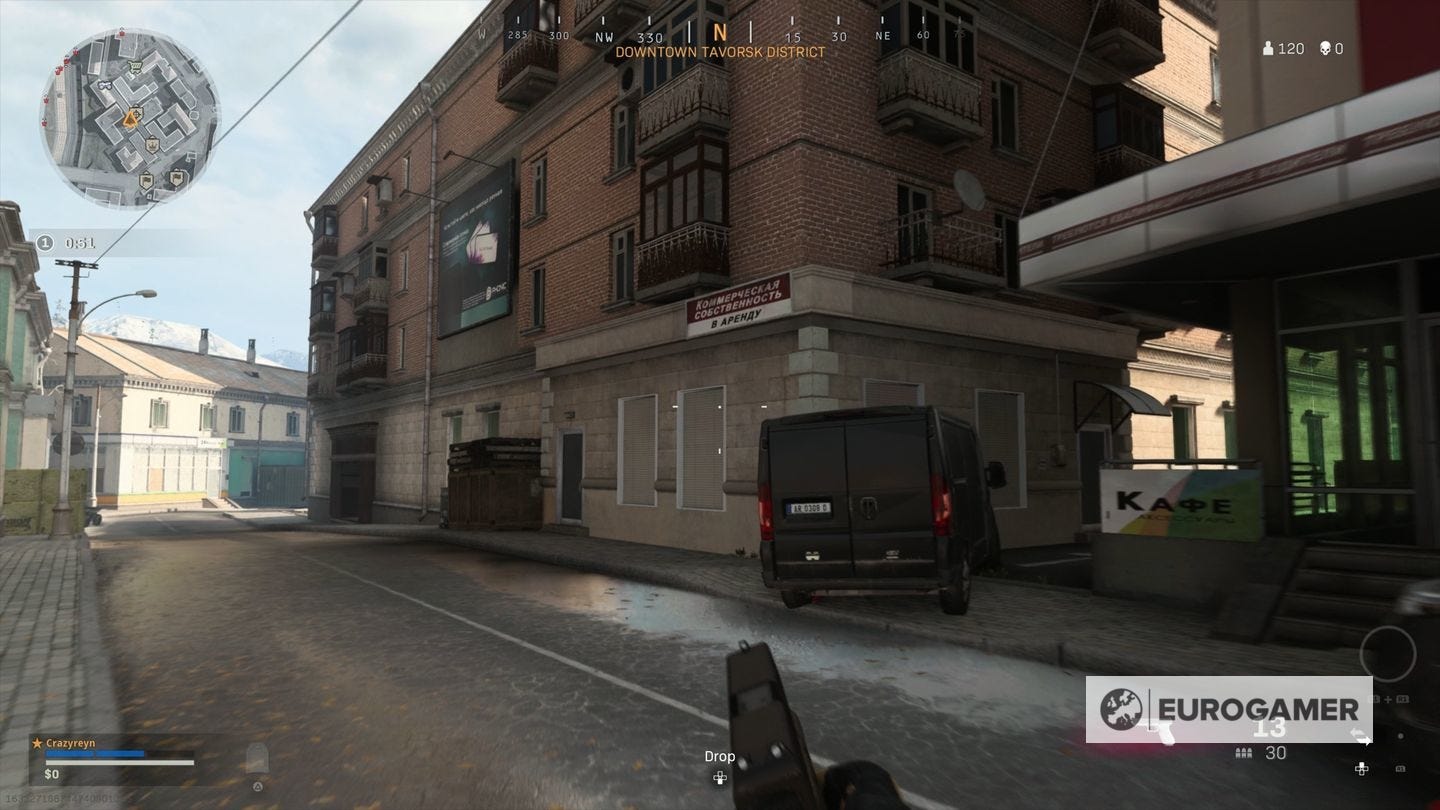
Warzone Hunting the Enemy Intel location 5: A meeting took place downtown...
For this Hunting the Enemy objective, you are given the clue "A meeting took place downtown..." and the following image for 5000 XP:
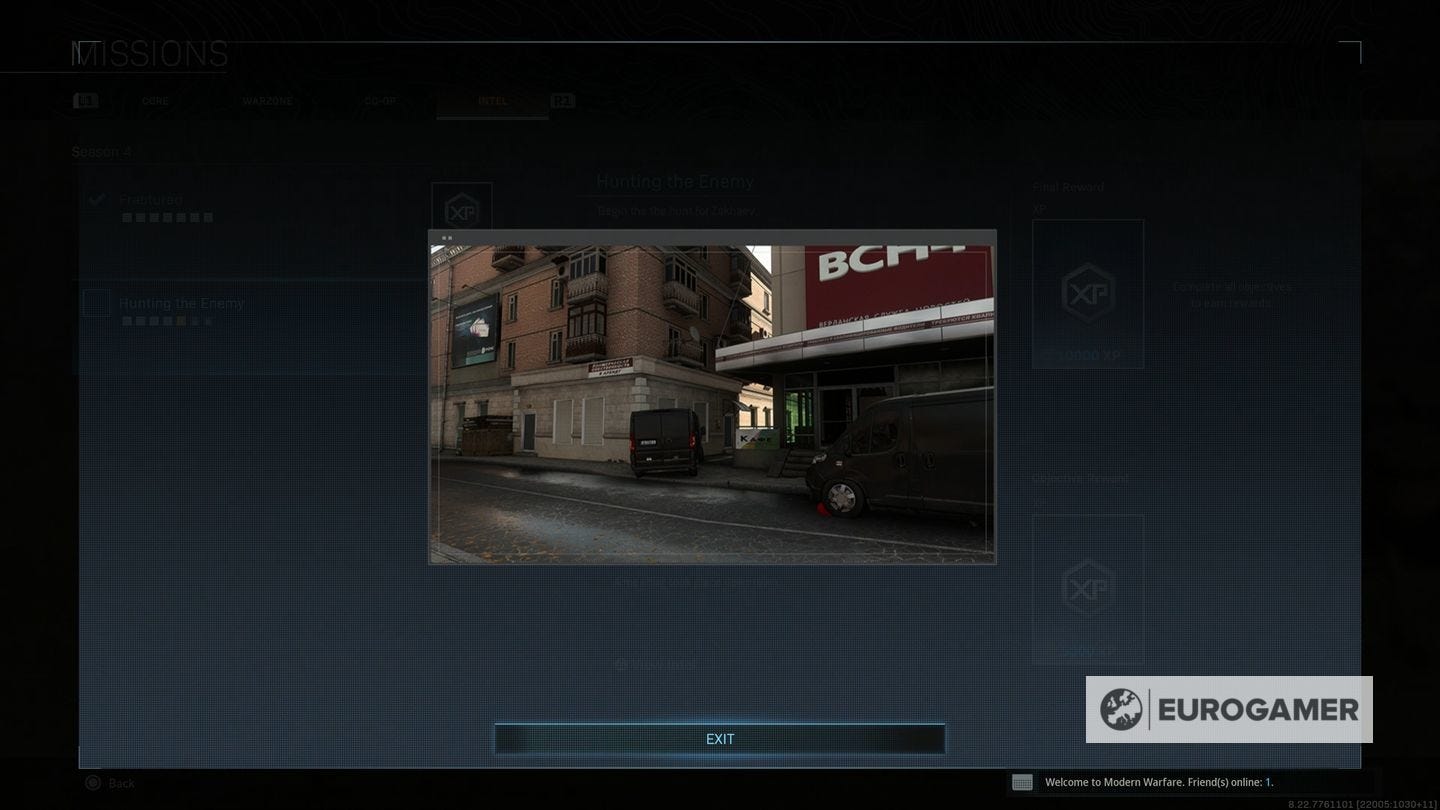
This Intel location is in Downtown as described, in the north-west:
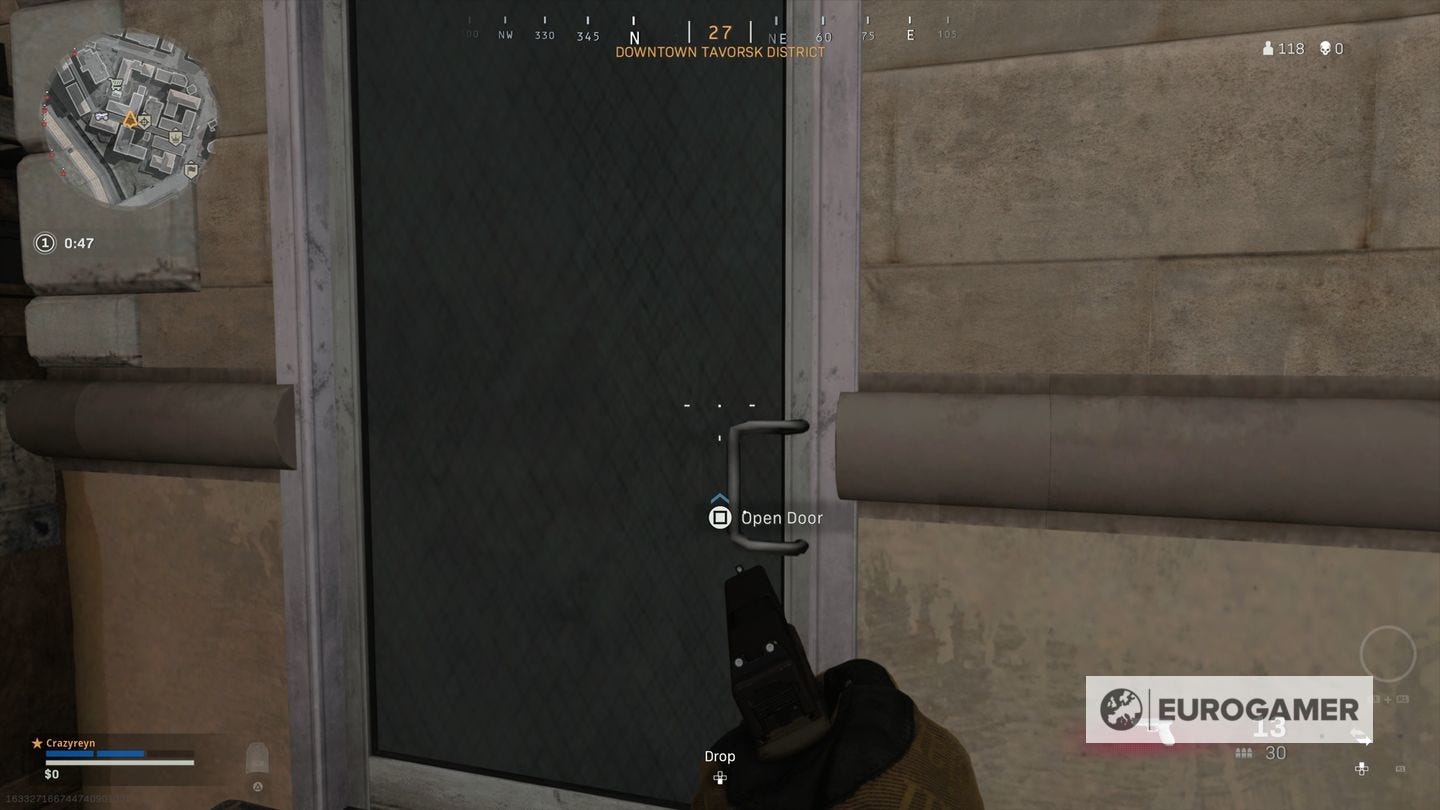
It's hard to see from above, but once you get closer, you'll recognise the building in the clue shown, with the red BCH4 logo on the front.

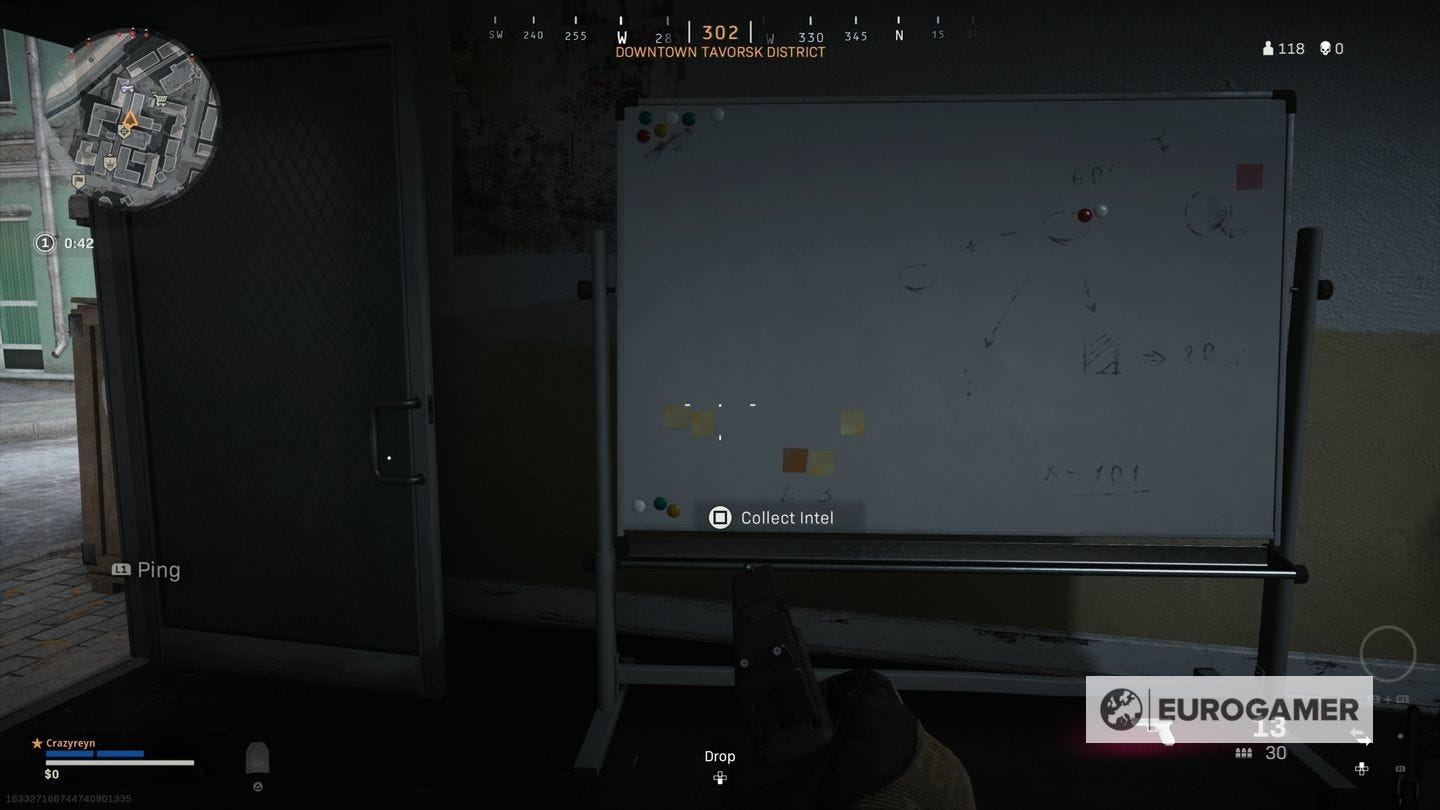
You want to go through to the building next door (to the north), where the Intel can be found in the first room.
Inspect the board to get the Intel location.
Warzone Season 5 is almost here! If you want to learn more about firepower from previously, we explain the best Welgun loadout, best Cooper Carbine loadout, best Gorenko Anti-Tank Rifle loadout, best STG44 loadout, best MP40 loadout, best Automaton loadout, best BAR loadout, best Combat Shotgun loadout, best Type 100 loadout, and best Kar98k loadouts.
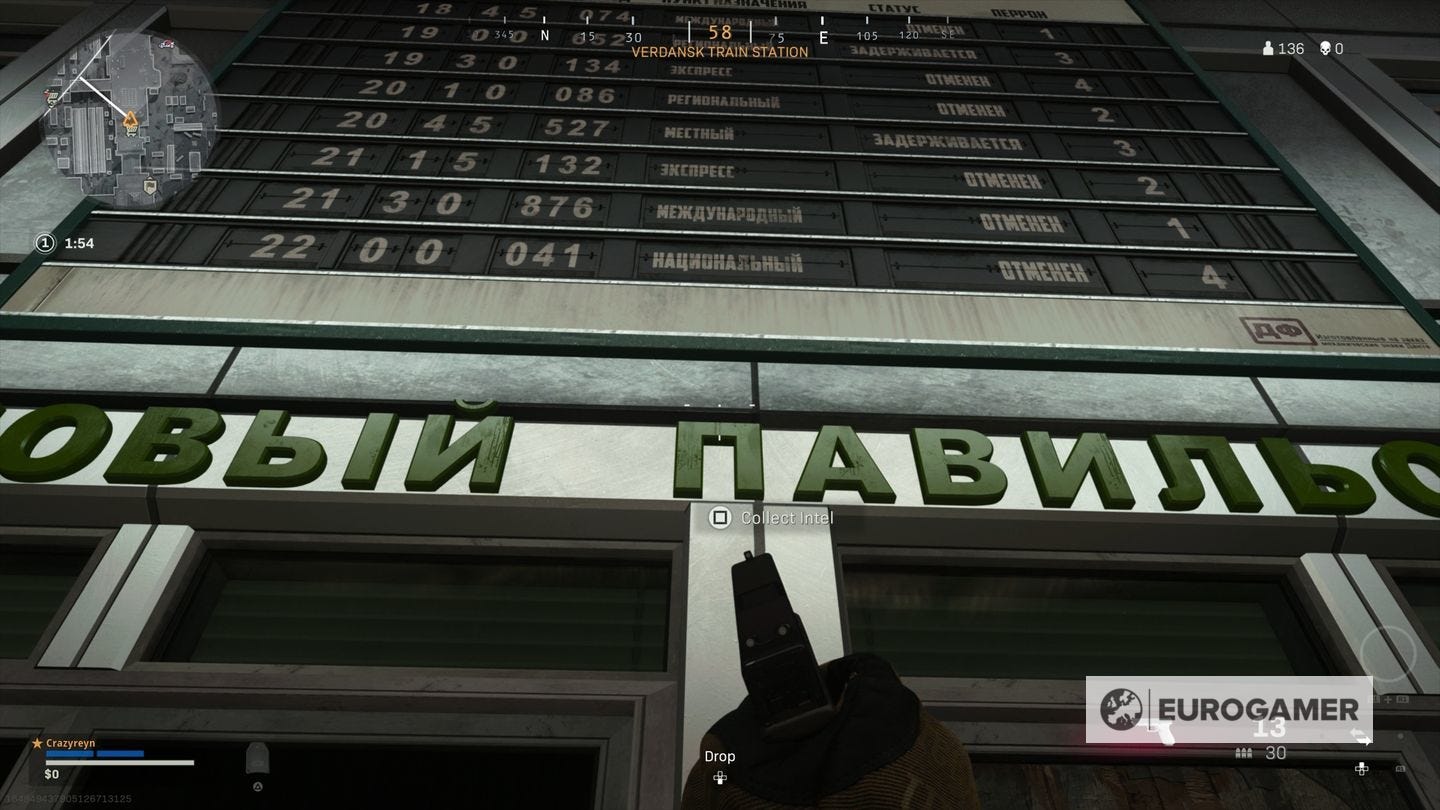
Warzone Hunting the Enemy Intel location 6: The enemy wants to catch a train...
For this Hunting the Enemy objective, you are given the clue "The enemy wants to catch a train..." and the following image for 10,000 XP:
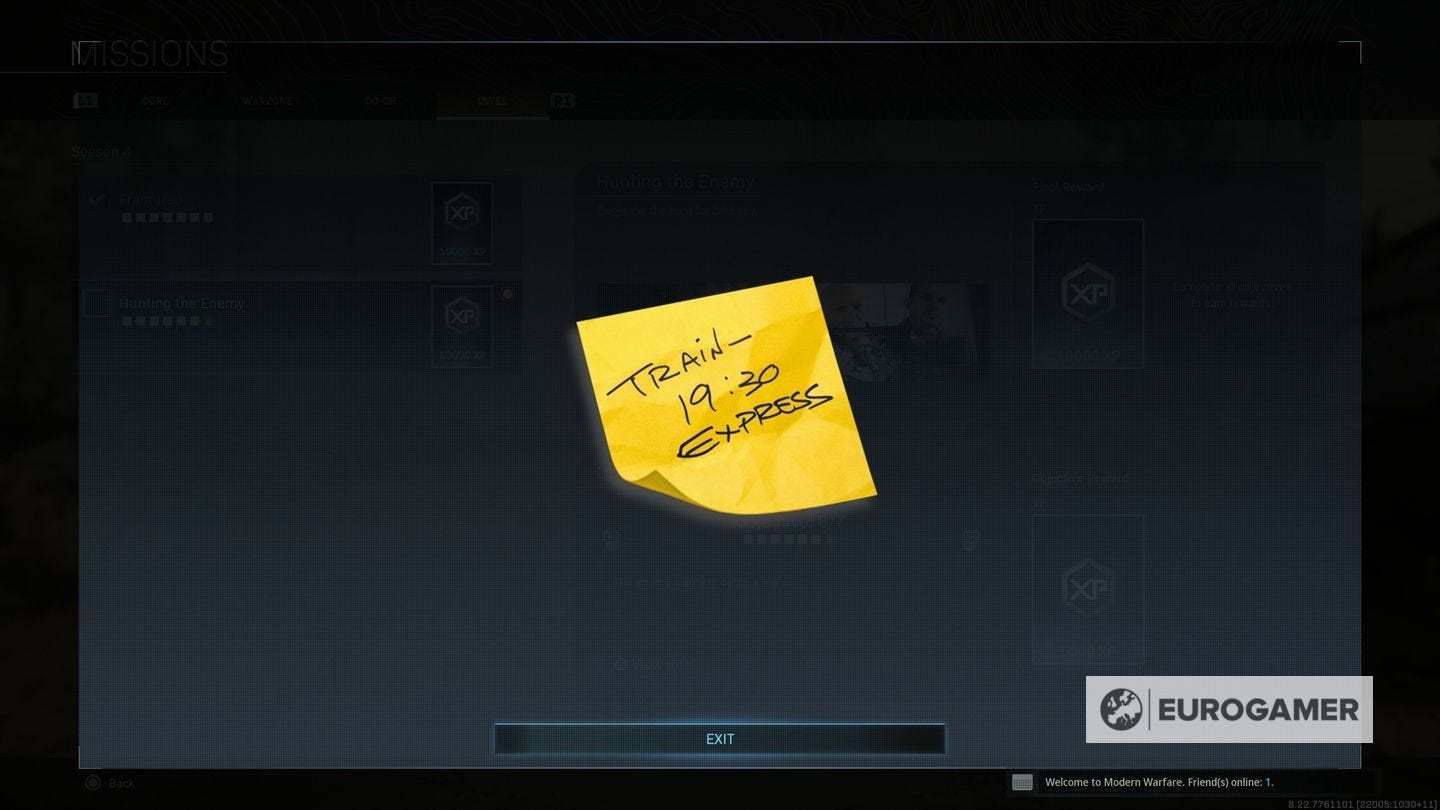
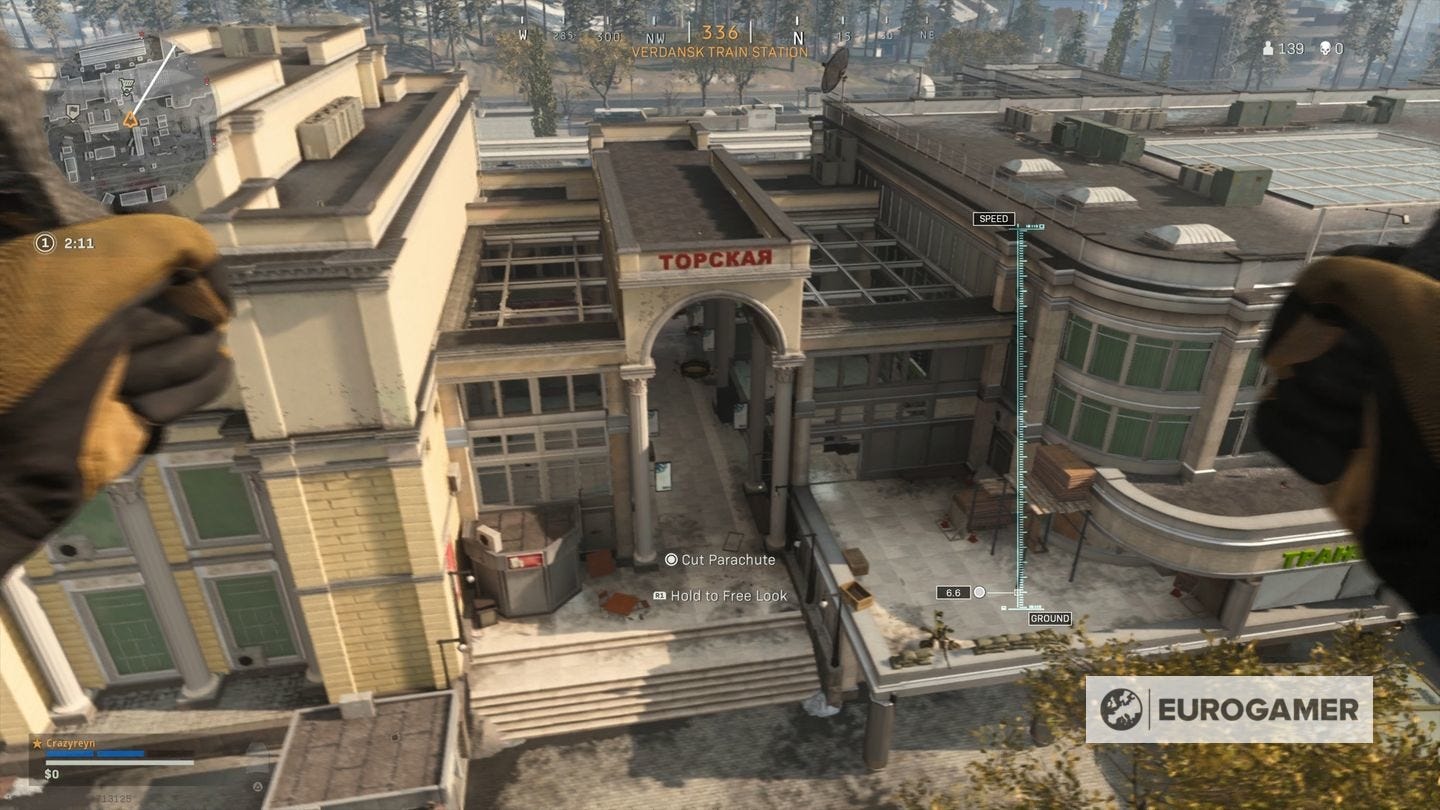
To complete this, visit the Train Station. You want to specifically go to the station building itself - which is the biggest structure at the location.
Once there, go into the center, to a concourse, where to the side is a listing of train times.
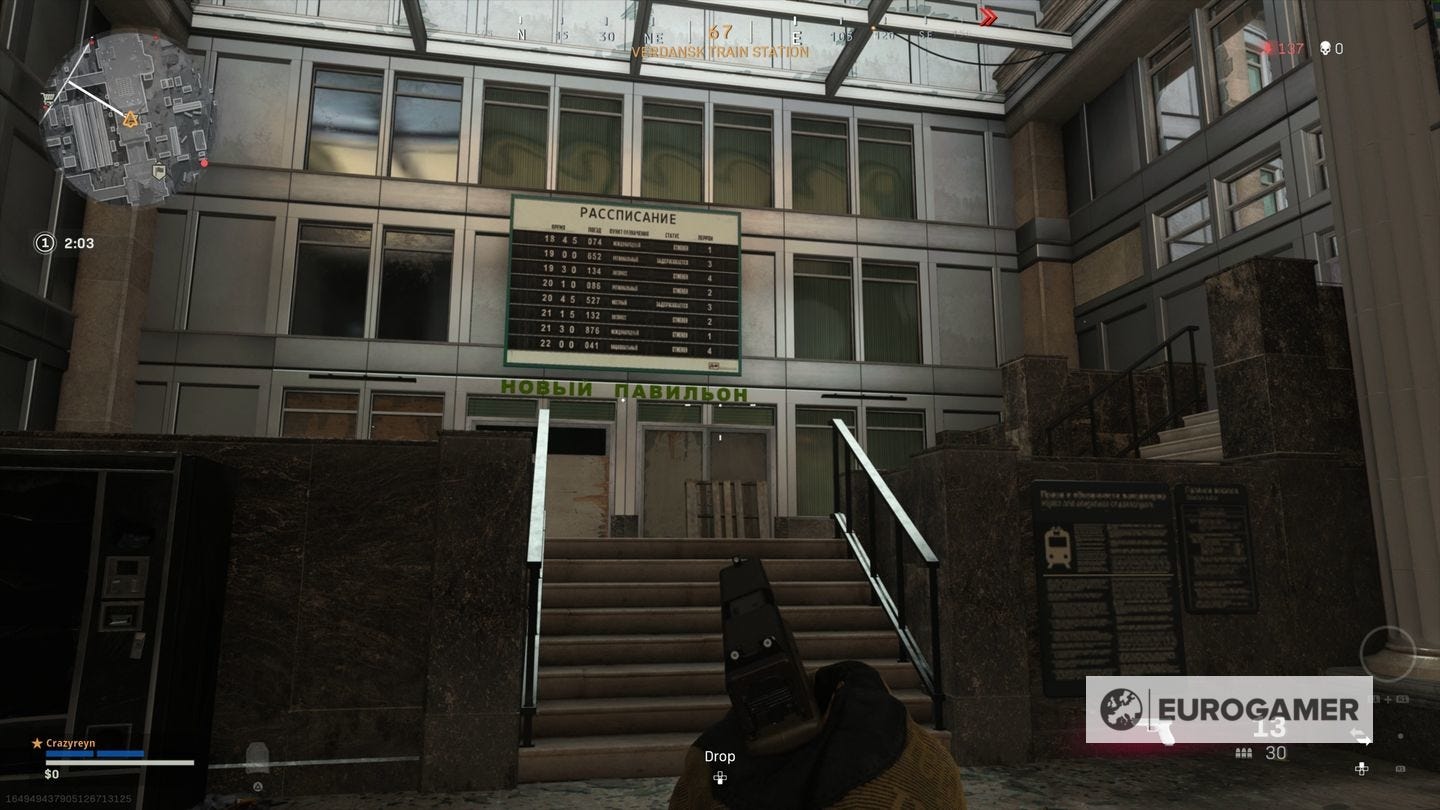
It's this listing you need to interact with to get the Intel. You have to get nice and close before you can interact.
After that, as with the previous Fractured Intel, the seventh step is automatically completed - hinting at possibly what's to come...
Hope you enjoyed the storyline and the XP which comes with it!
Once done, you can move onto the Hidden Cargo Intel.