Borderlands 3 - The Rampager boss strategy
Maybe this whole Vault Hunter business isn’t the best of ideas.

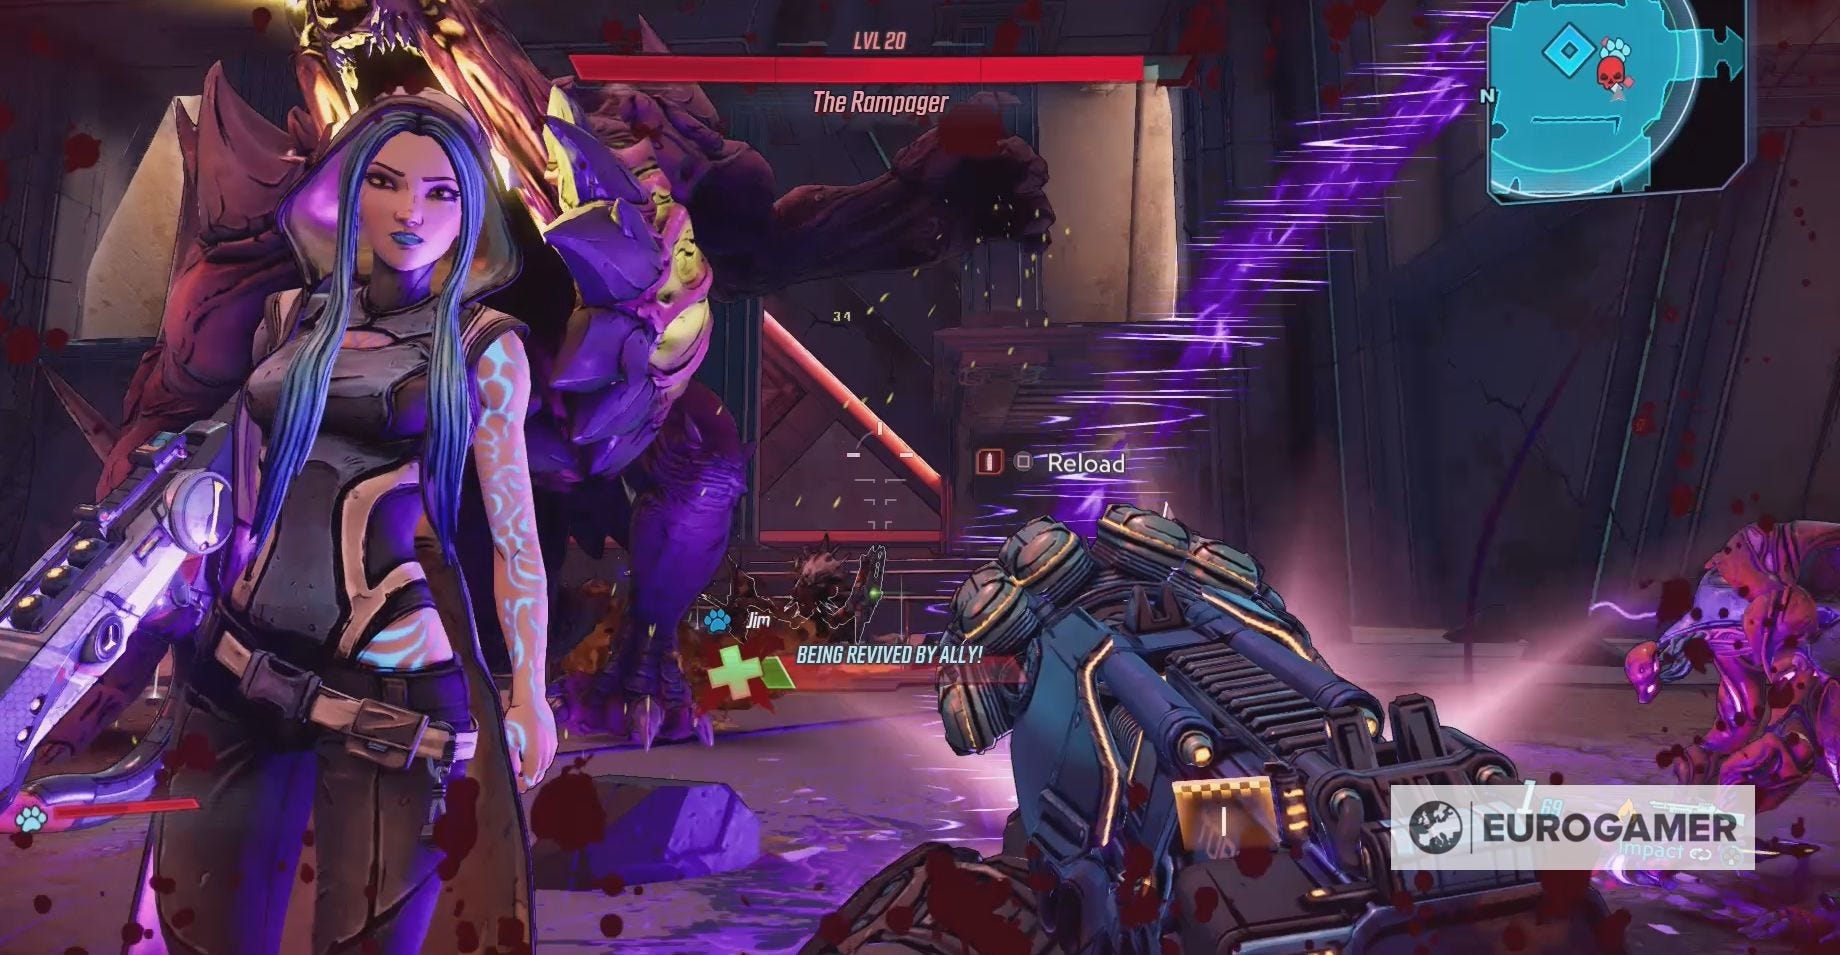
The Rampager is the monster guarding the vault on Promethea that you loot during the tenth mission of Borderlands 3, Beneath the Meridian.
The Rampager has one job, which is killing you, and it definitely wants to succeed.
This is going to be a hard battle, even with the help of Maya the Siren, so get your trigger finger at the ready and make sure that your shield is at full capacity. The only way into the vault is over the dead body of Rampager.
On this page:
If you're looking for more help in the crazy galaxy of Borderlands 3, then check out our Borderlands 3 walkthrough.
Everything you need to know about The Rampager and its attacks in Borderlands 3
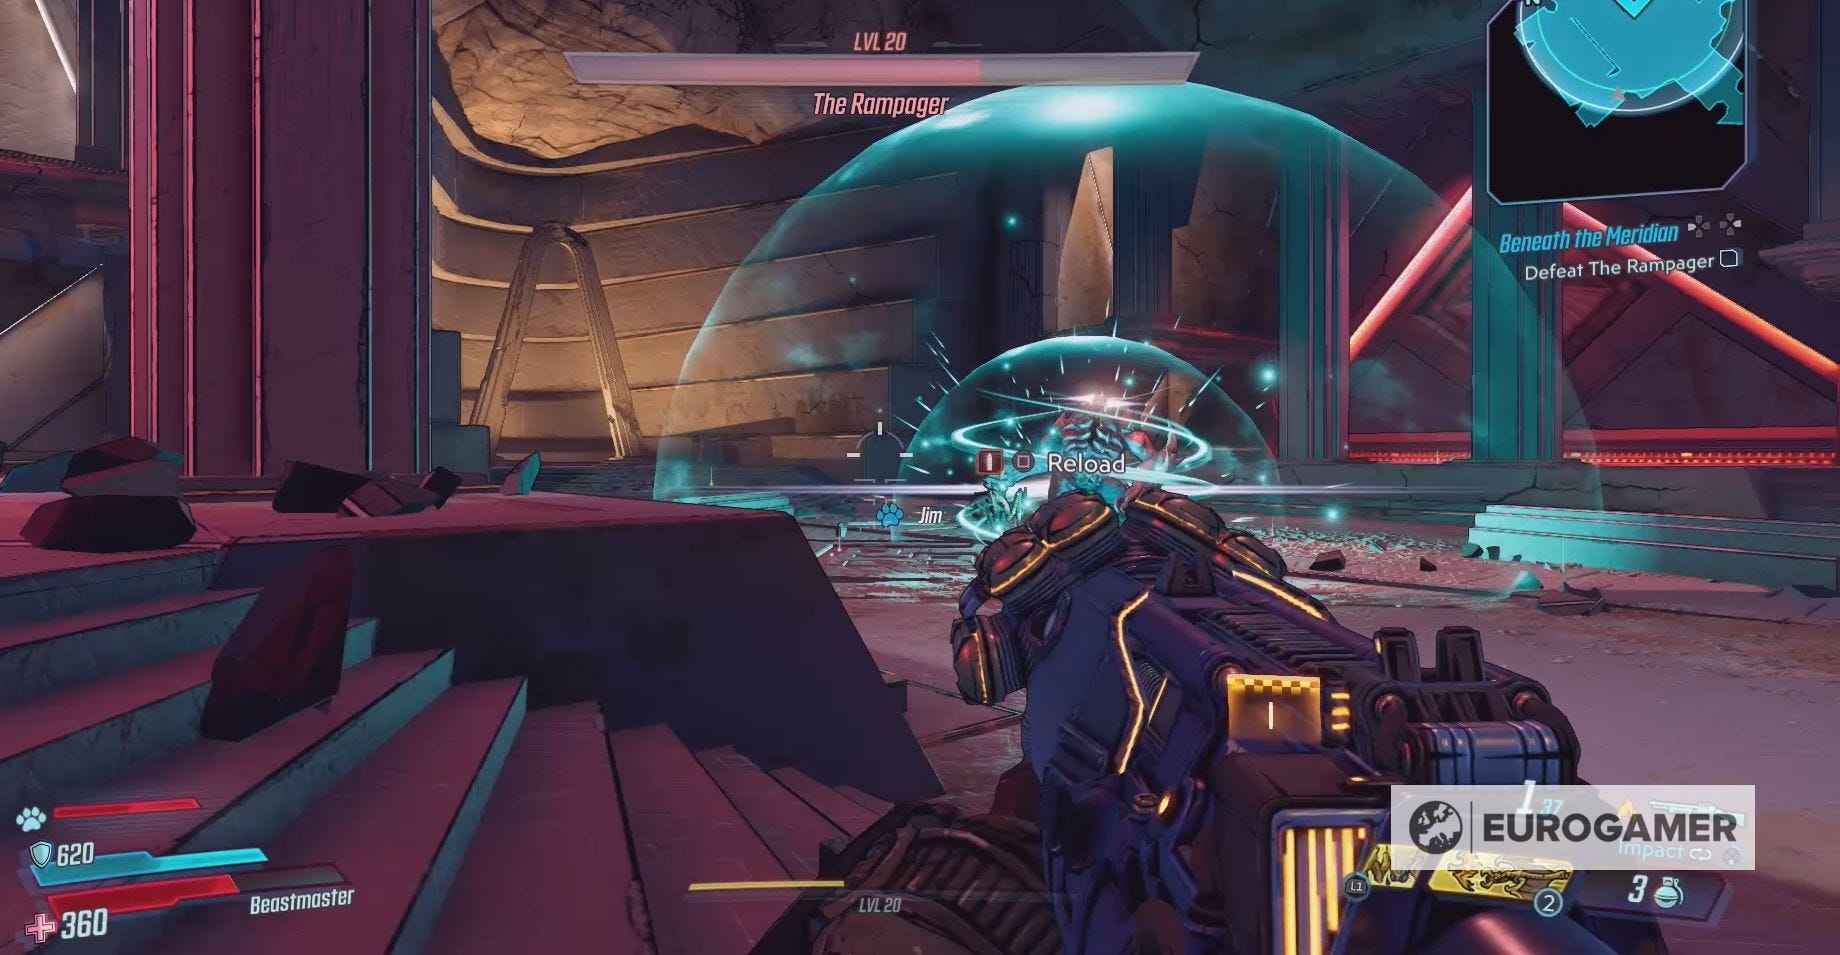
The Rampager is a Level 20 vault monster.
The Rampager boss battle is divided into three different stages. In each stage, The Rampager will be attacking with a different kind of Elemental Damage.
In the first stage, it will attack you with Radiation Damage by throwing large energy balls at you. It will also jump around the battlefield, swinging from the ceiling, and attempting to slam you.

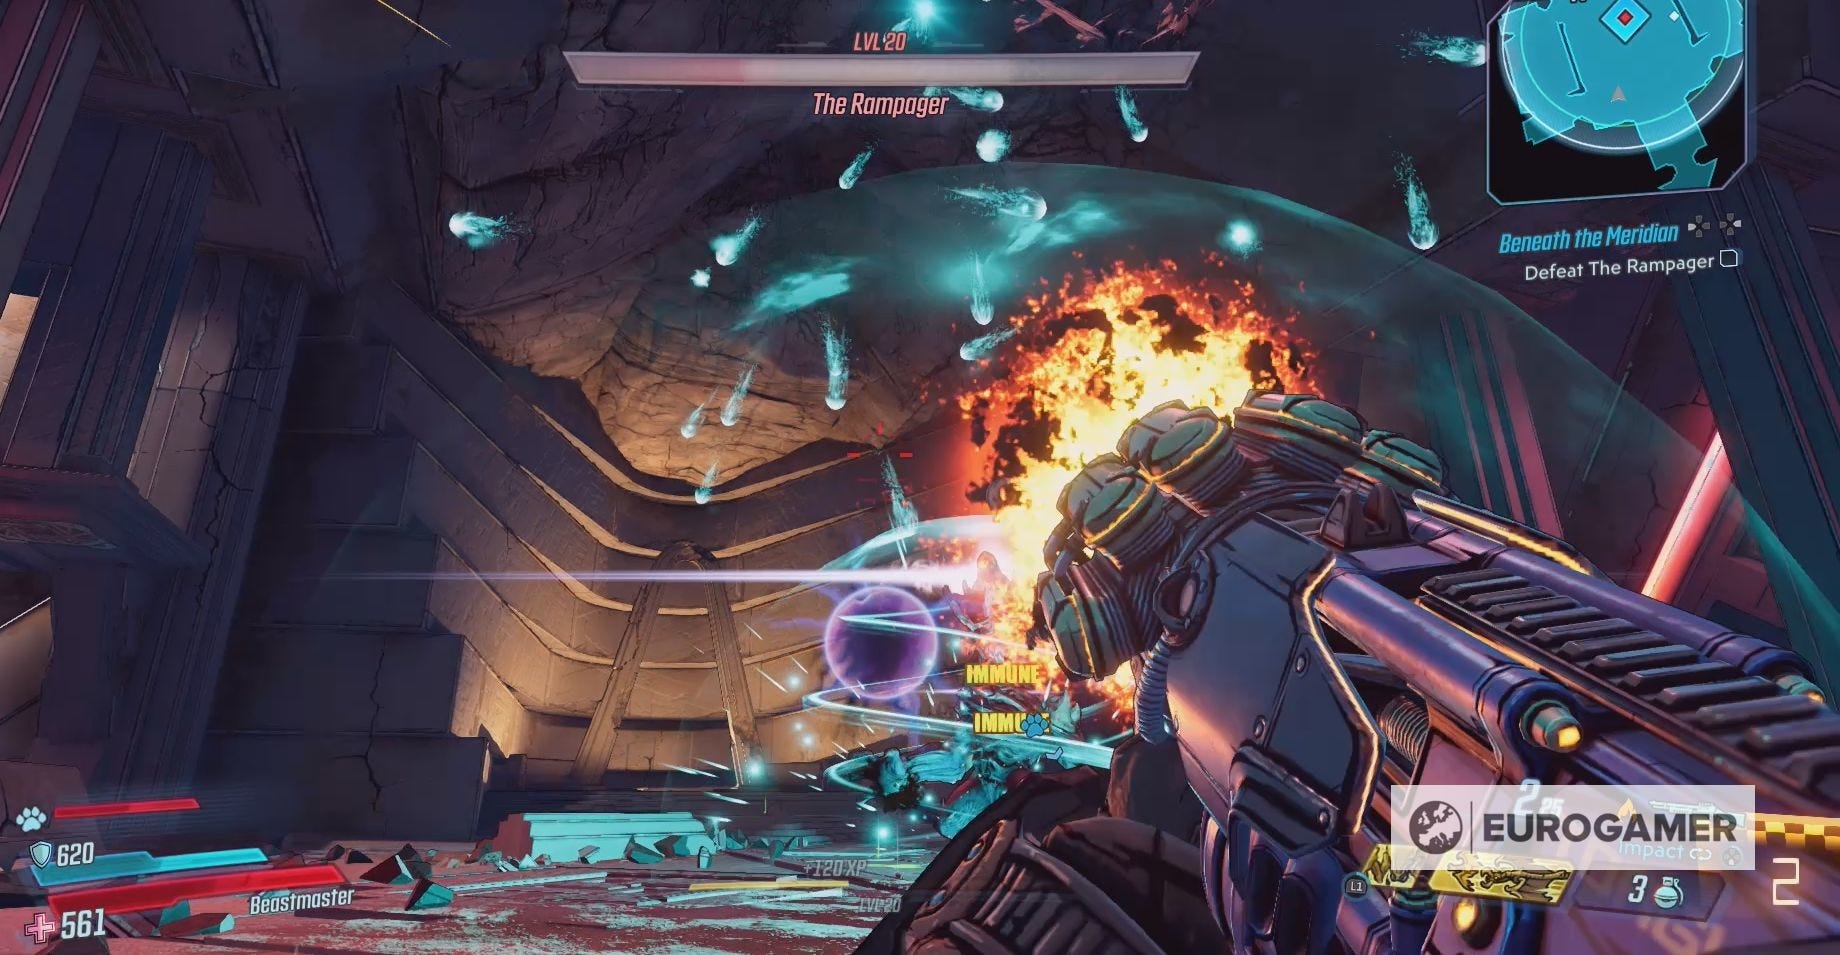
When you decrease The Rampagers health by a third, it will become immune to all of your attacks. During this time, it will begin to evolution and the air above it will become full of glowing blue balls. Shooting down these balls will spawn ammo and health.
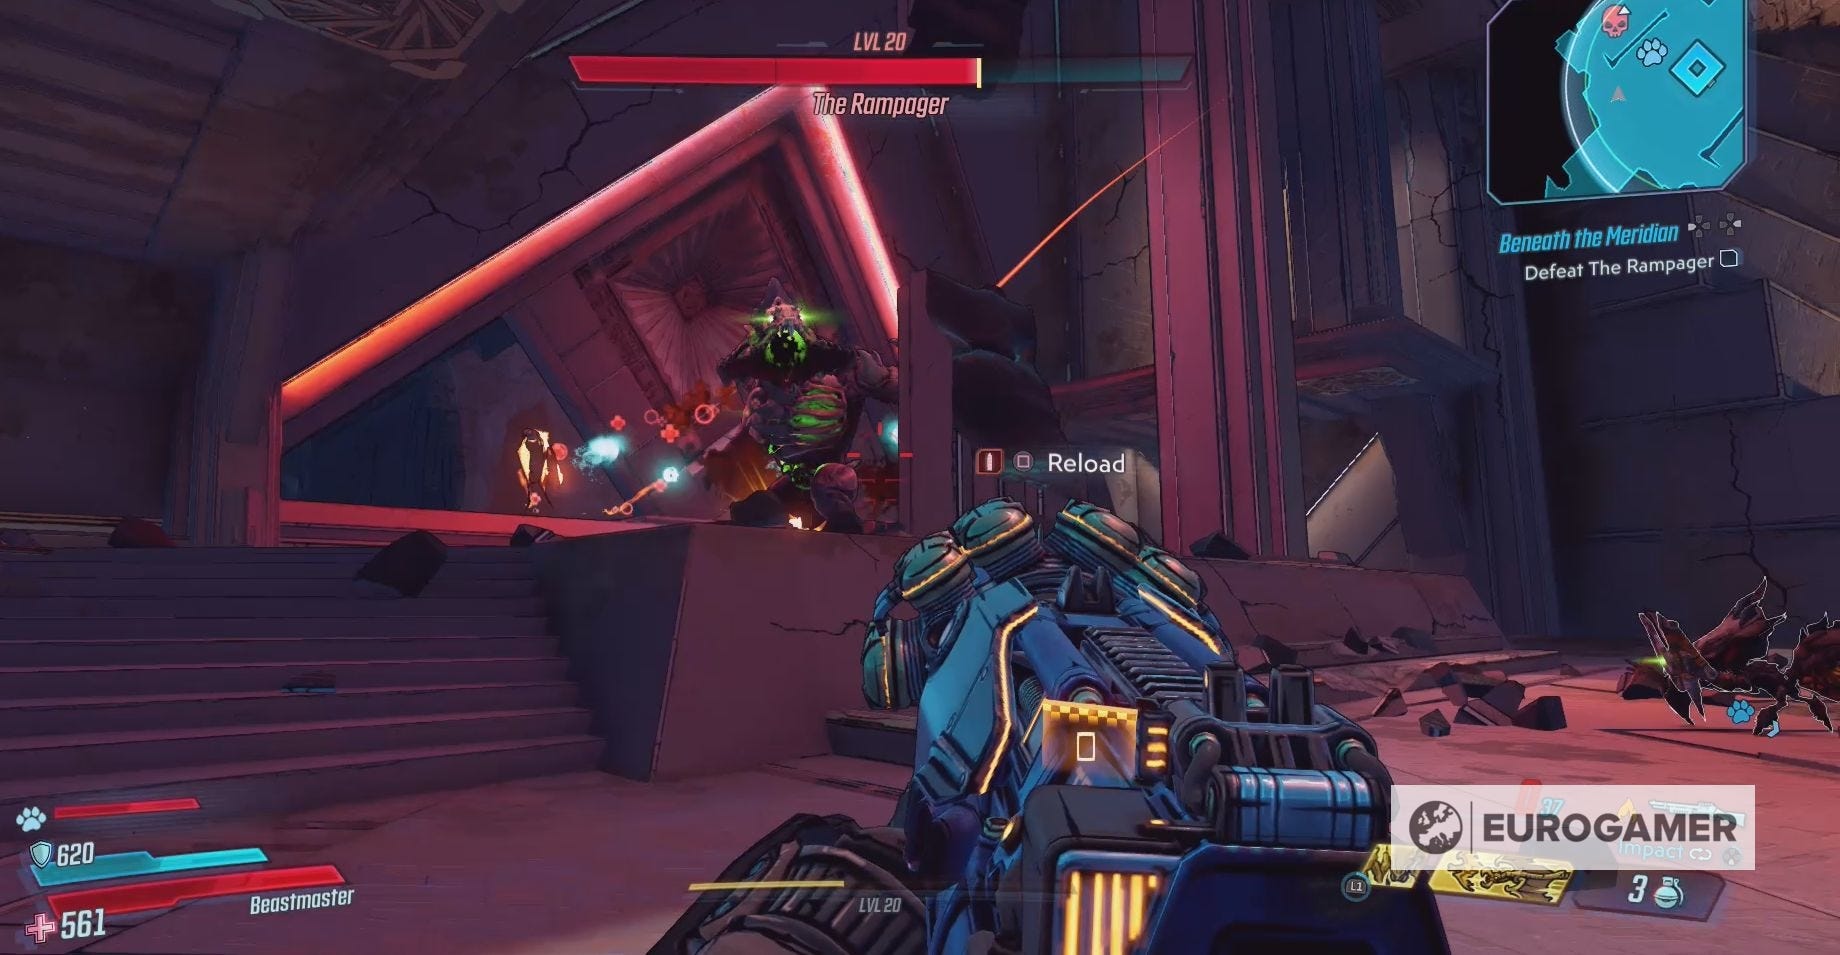
During the second stage, The Rampager will attack with Corrosive Damage. It will also continue to jump around the battlefield, it's attacks becoming more dangerous to both you and the building your standing in.
After decreasing The Rampager's health by another third, it will once again become immune. This process is exactly the same as before, including the blue lights shining from above.
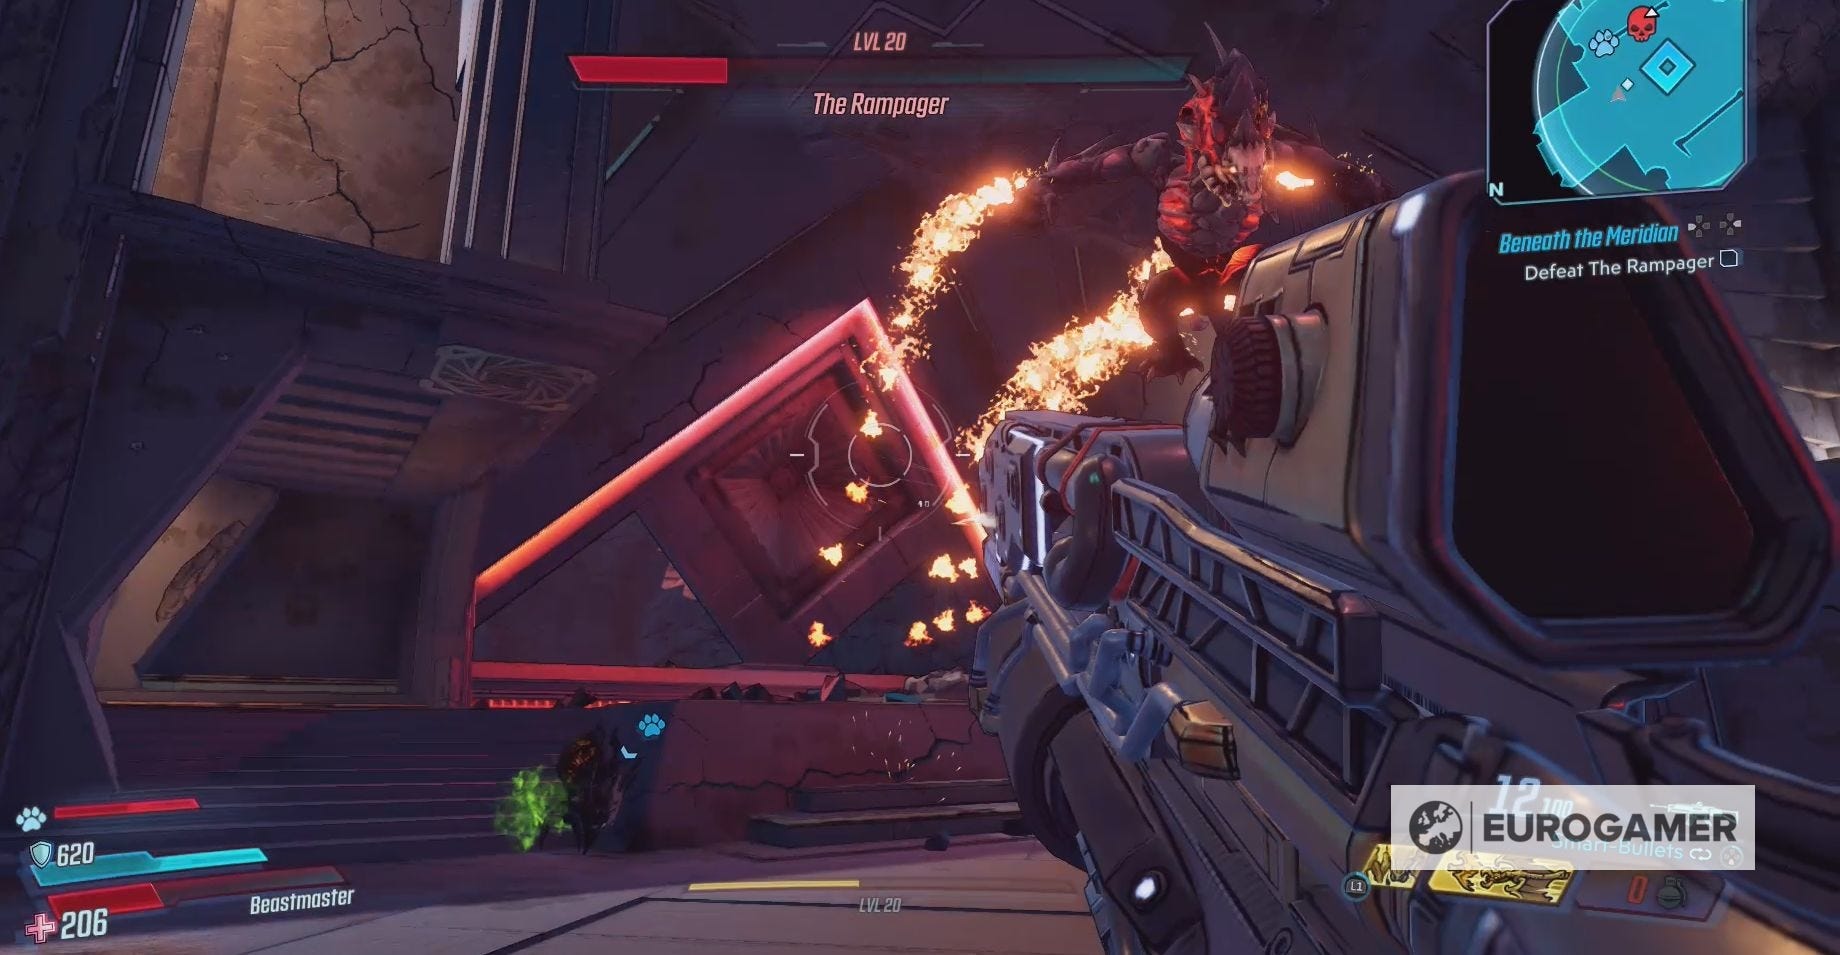
The third and final stage sees The Rampager attacking you with Incendiary Damage. The Rampager will continue its strategy of throwing energy balls and jumping about the battlefield. It also has a new attack in this stage, which is dropping balls of fire as it flies over the battlefield.
The Rampager will concentrate the majority of its attacks on you; following you around the battlefield and ensuring that it always lands on the floor near where your standing. This means that you can't rely on Maya to distract it for you.
Throughout the battle, The Rampager will summon a variety of Wraiths. These will attack both you and Maya. Thankfully, however, they can be easily killed off using any strong weapon.
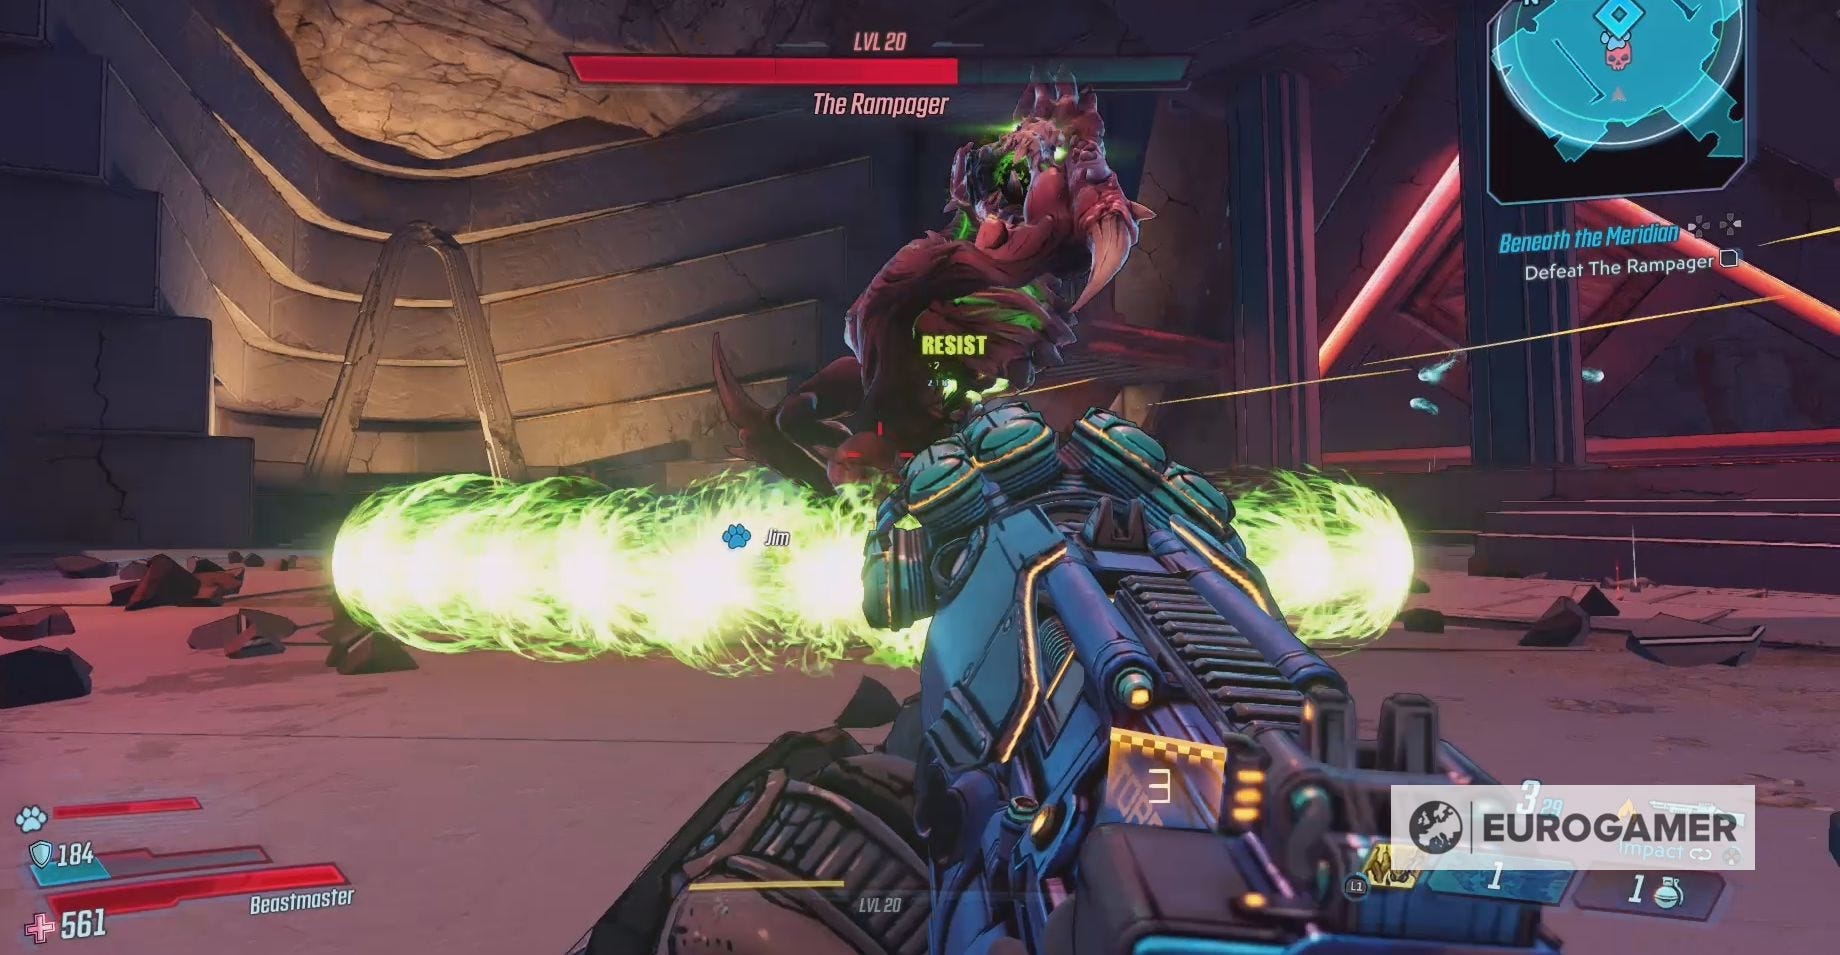
The Rampager weak spot in Borderlands 3
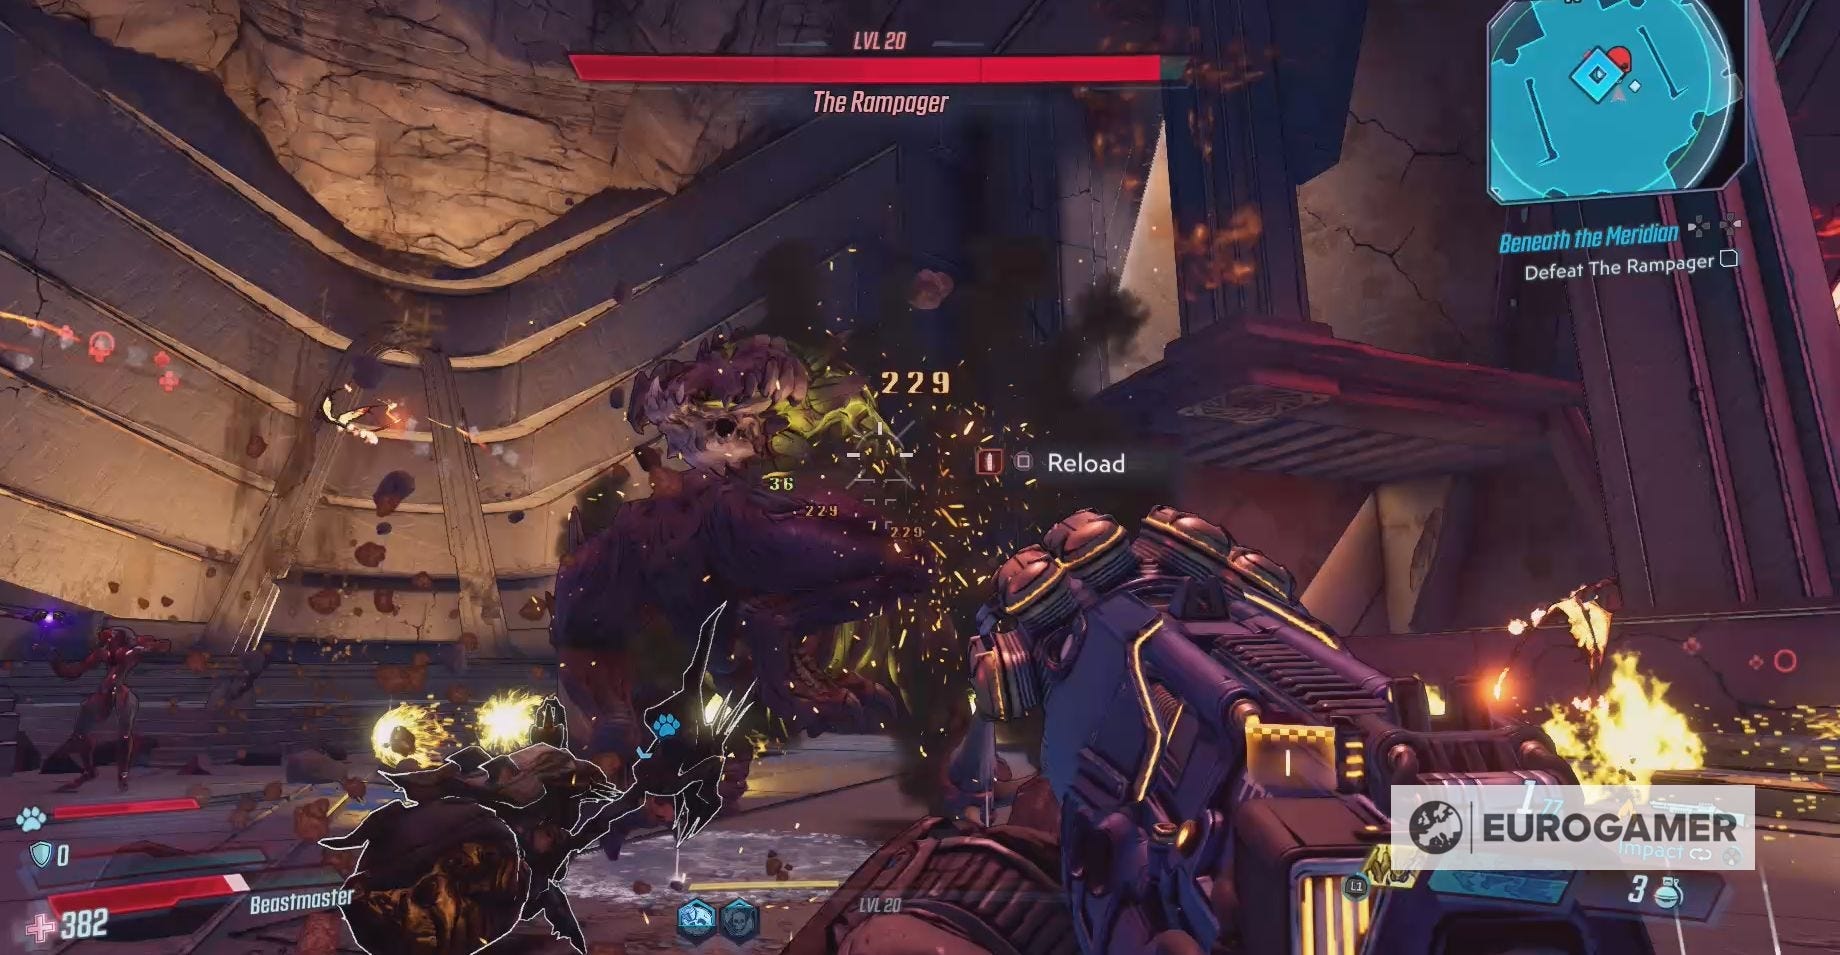
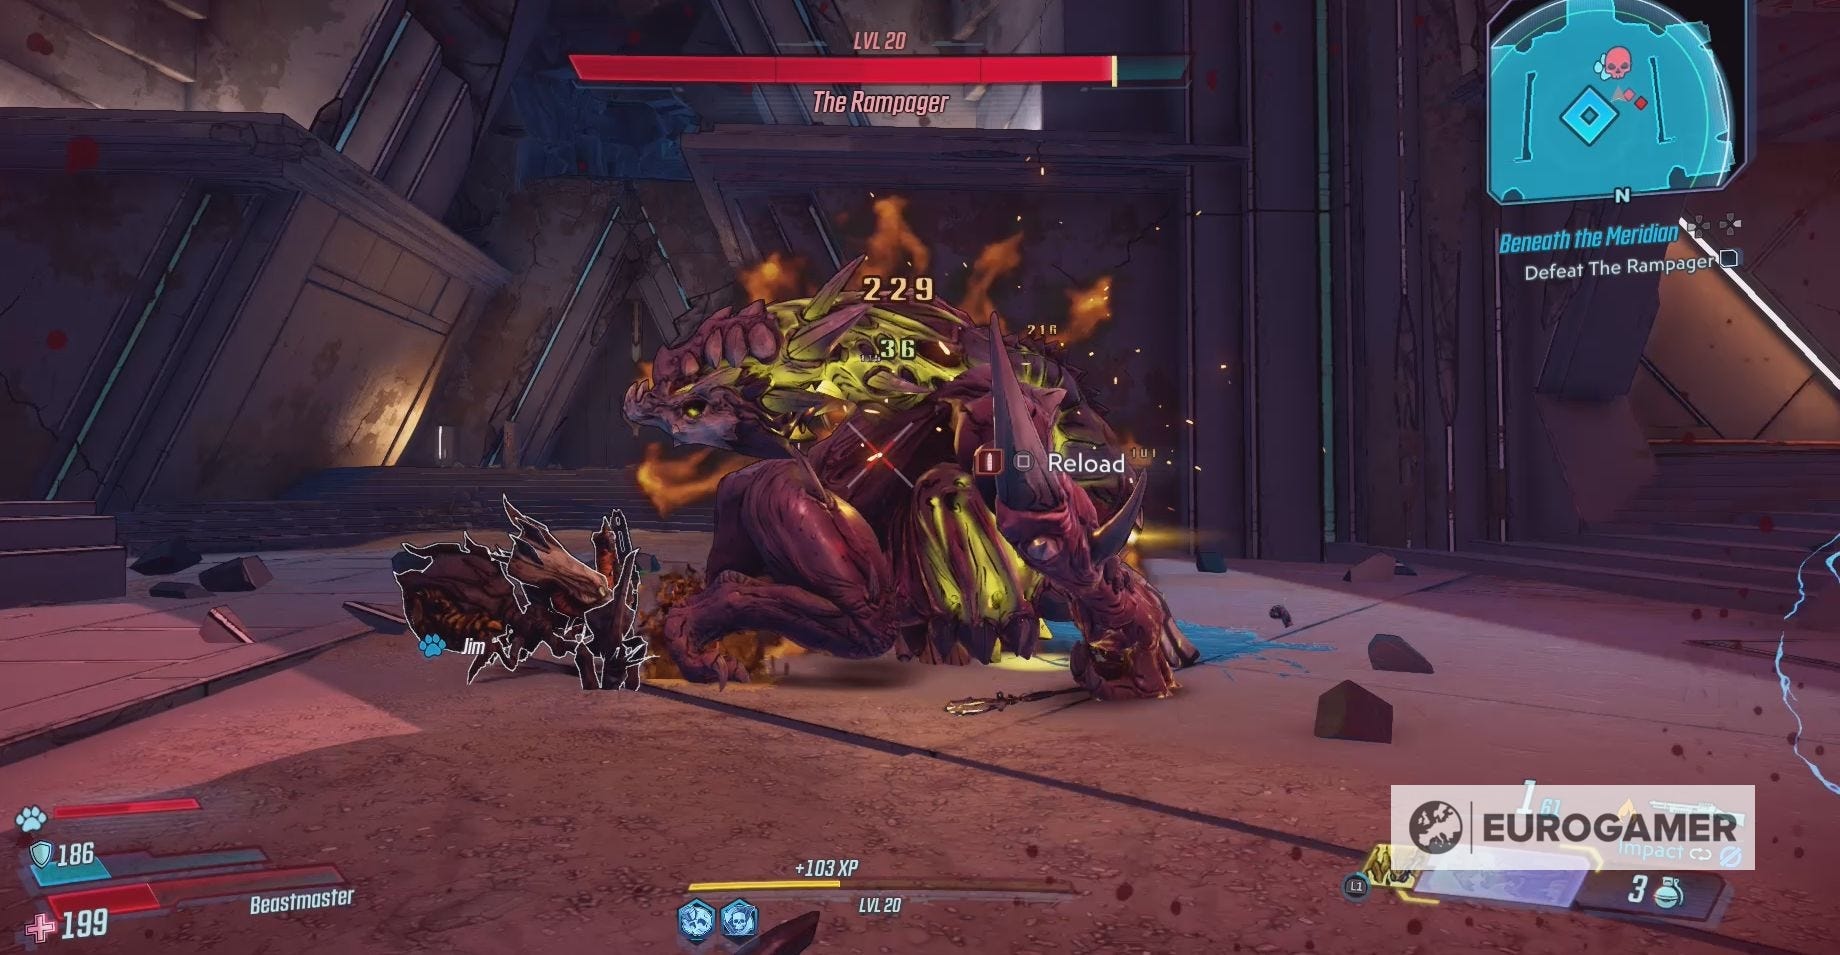
The best place to hit The Rampager is in its head and the best time to take advantage of this weak spot is when the monster is immobile.
Several times throughout the battle you will manage to knock The Rampager immobile. When this happens, sprint to The Rampager's head and start filling it with bullets.

Borderlands 3 has arrived! Check out our skill tree guides for Amara, Fl4k, Moze and Zane.
If you're looking for more challenges to complete, check out our guides on the Dead Claptraps, Broadcast Towers, Eridian Writing,Hijack Targets, Legendary Hunts and Typhon Logs and Typhon Dead Drops. If you want some easy rewards, consult our Borderlands 3 Shift Codes and VIP Codes page. When you've finished Borderlands 3, visit our guides on Guardian Rank and Rewards, Mayhem Mode and True Vault Hunter mode to learn more about what you unlock in the post-game.
The Rampager boss strategy in Borderlands 3
The first thing to remember when fighting The Rampager is the Element it's currently attacking you with. This will allow you to switch shield if needed and will prevent you from using a gun with the same Elemental type.
If you hit The Rampager with a Radiation gun during its first stage, for example, it will resist the attack. This means that it's taken no damage and you've wasted a bullet.
During the first and second stage, a gun dealing Explosive damage will work quite well against The Rampager. In the third stage, you can switch to a gun that Cryo damage if you have one for some added damage.
The second thing to remember is that, even though Maya is battling alongside you, The Rampager will focus the majority of its attacks on you. Any jump it makes on the battlefield to any ball of energy will made in your direction.
For this reason, you'll want to be constantly moving and firing. The Rampager isn't going to give you a second to breathe, so you should return the favour.
Take to keep your distance from The Rampager. This will give you a better chance of seeing when and where it plans to jump. It will also give you a better chance of dodging the balls of energy (and bone) that The Rampager will send your way.
Due to The Rampager's large size, it's quite easy to hit and an ideal gun for the job is a Shotgun or SMG. You'll be able to easily hit the monster and deal large amounts of damage. You should also constantly use your grenades and Action Skills.
The aim is to knock The Rampager down, making it incapable of attacking, as quickly as possible, then unleashing your strongest weapons on its head.
A collection of blue lights will appear above The Rampager when it starts to evolve into its next stage. Do as Maya suggests and shoot these lights.
This won't affect The Rampager, but it will help cover the battlefield in a collection of ammo, grenades and health.
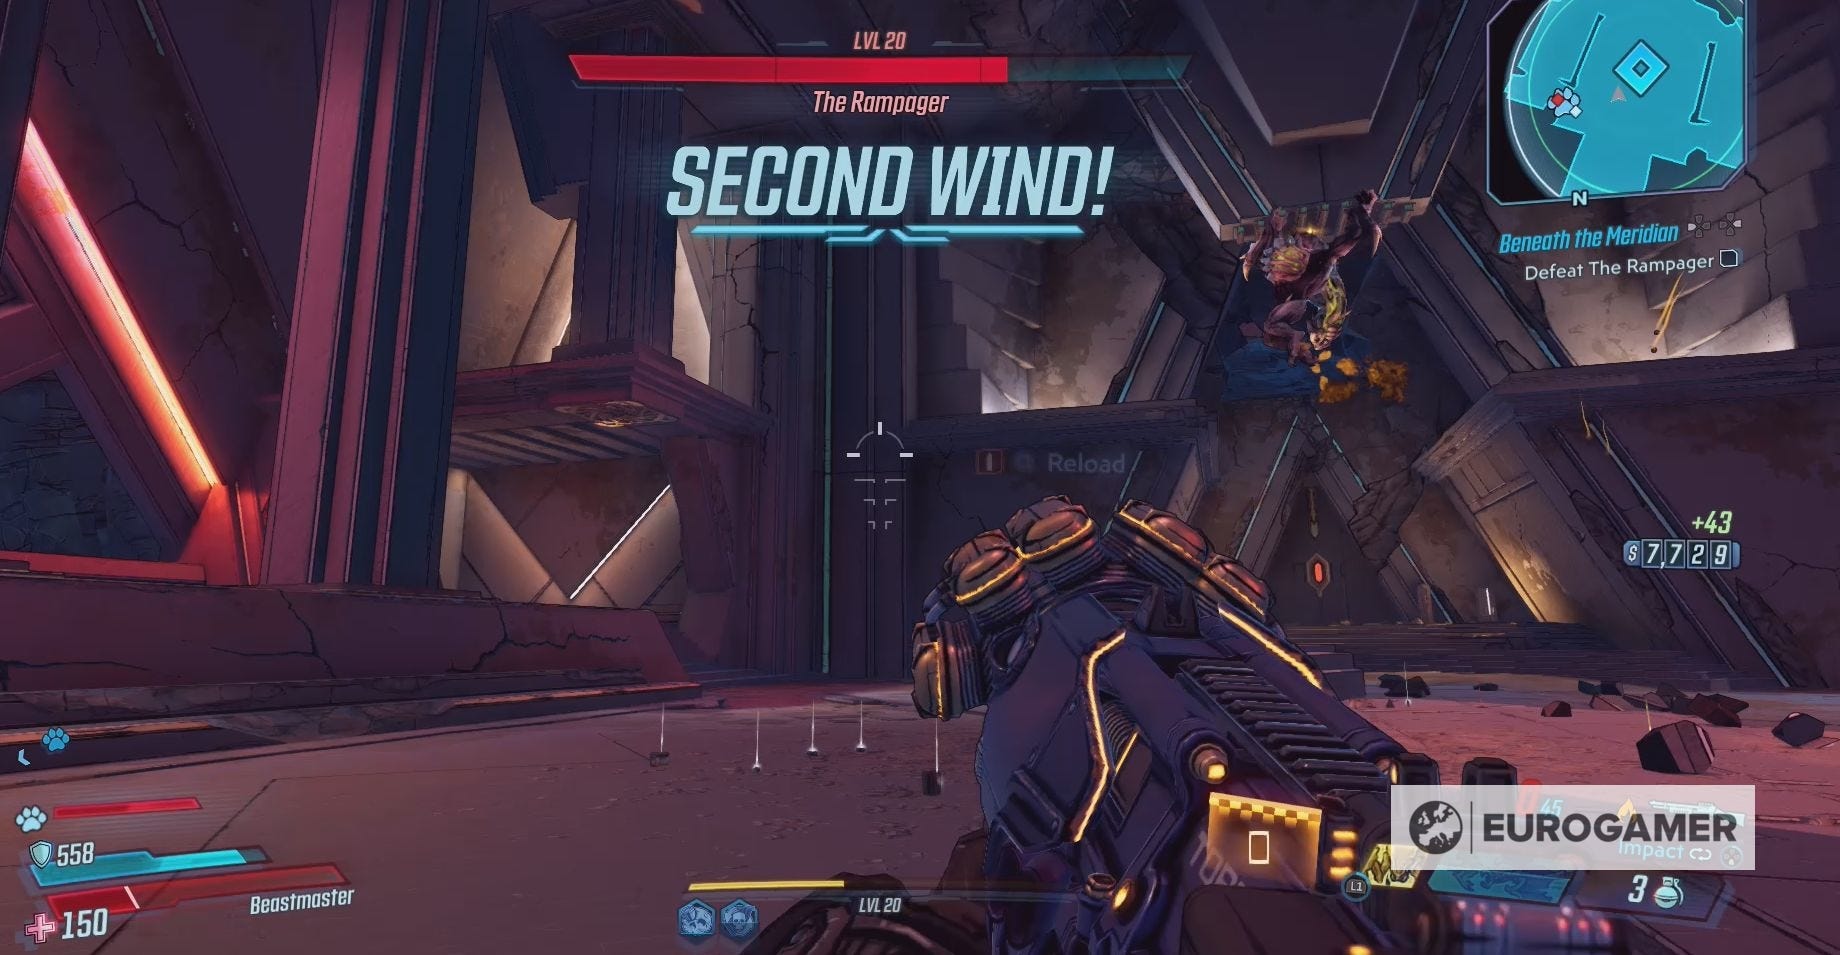
If The Rampager does manage to kill you during the fight, then you can either kill one of the Wraith or crawl towards Maya. Reaching Maya in time will allow her to heal you, bringing you into a Second Wind.
Don't be reckless, however, just because you have Maya's support. She can get momentarily knocked down by the Wraiths or The Rampager itself. When this happens quickly kill a Wraith, they don't like Shotguns, to quickly return to the battlefield.
Finally, on the subject of the Wraiths, The Rampager will summon these throughout your battle, but, ideally, you should ignore them. Maya does a good job of keeping the Wraith number down and all the Wraiths currently on the battlefield will die when the Rampager evolves.
The Rampager can take some time, so get your best gun and make sure your Action Skill is charged, before tackling this beast.