Assassin's Creed Origins - Aya I and May Amun Walk Beside You
Everything you need to know about stealthing and stabbing your way along the Nile.

Aya I and May Amun Walk Beside You are the third and fourth quests you'll encounter in Assassin's Creed Origins, which have you tackle a spot of exploration and a spot of walking and talking.
These follow on from The False Oracle.
We'll cover everything you need to know about completing May Amun Walk Beside You and Aya I below, while you can head back to our main Assassin's Creed Origins walkthrough and guide hub for all the other missions so far, and more.
May Amun Walk Beside You
This one's simple enough! We'd suggest mopping up the remaining sidequests in the region first, but when you're ready to leave go and speak to Hepfeza.
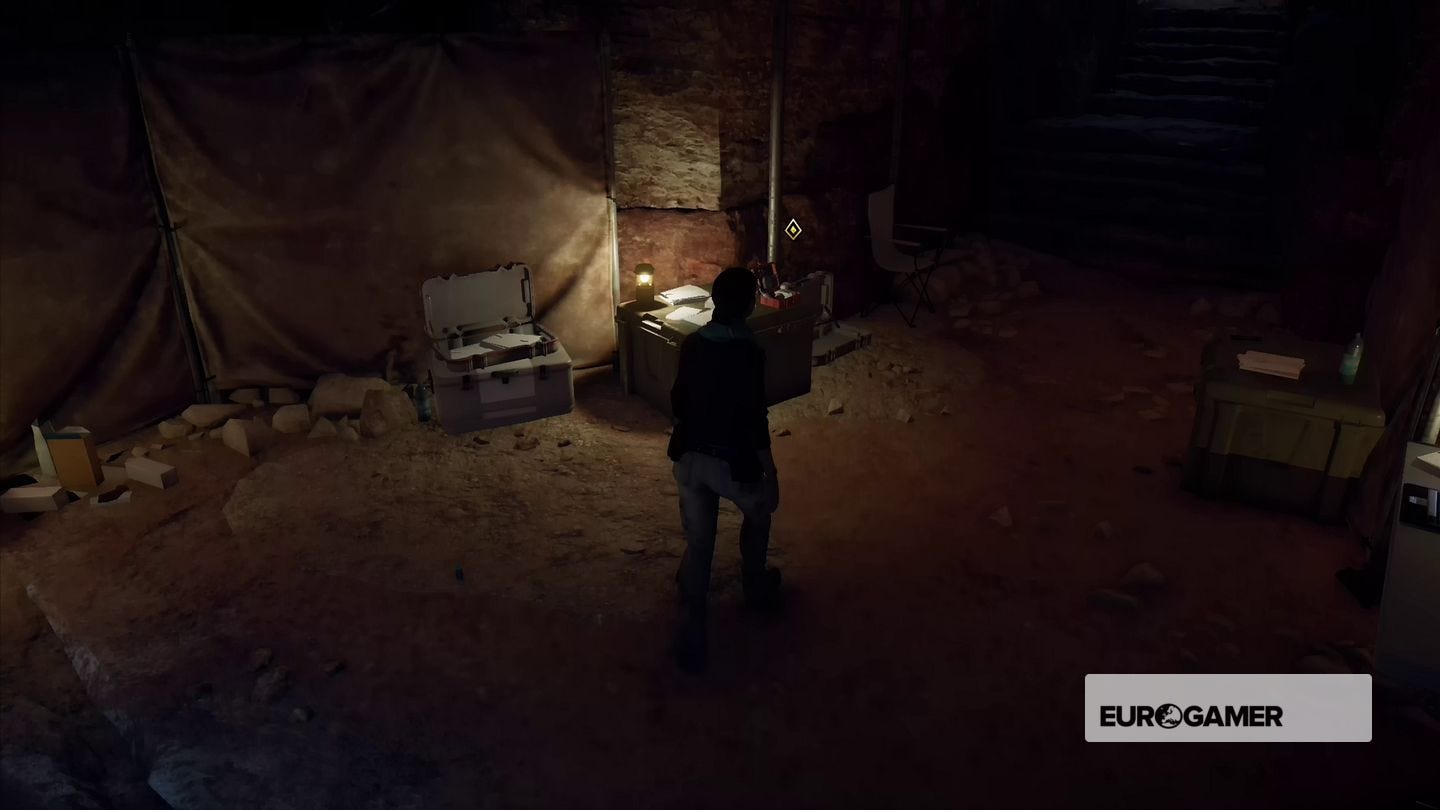
Aya I
If you've not played an Assassin's Creed game before the sudden change of perspective may be a little confusing, but for now just roll with it. You can explore the cave if you fancy, but there's not a lot you can do anywhere so we'd suggest leaving sightseeing for later, and instead just grabbing the pills from the crate and getting back in the Animus device.
Once you're back in the past you can follow the marker all the way to your destination, but we'd strongly suggest stopping off in Lake Mareotis on the way when the game prompts you - without doing the available sidequests you'll be severely underlevelled when you reach Alexandria and just end up having to backtrack anyway.
Need more help? Our Assassin's Creed Origins walkthrough and guide will take you through every step of the main story and quests, whilst we also have guides on how to grind XP and level up, plus explainers on how Assassin's Creed Origins sidequests work, alongside how to get crafting materials and animal goods, and even complete solutions and walkthroughs to all Assassin's Creed Origins Tombs, Silica, and Anchient Mechanisms. We also have a list of all Papyrus Puzzle locations, Origins' cursed and legendary weapons and how they're acquired, and finally a detailed page Phylakes, Phylakes' Prey and how to get the Black Hood outfit.
When you arrive, head into the Great Library and make your way through towards the marker. Interact with the statue at the top of the stairs and then follow Phanos; once he's left you climb the leaf-covered trellis and dive into the darkness below.
Follow the tunnels, and examine the notes on the desk in the room at the end to trigger a cutscene.

Next Up: Gennadios the Phylakitai and End of the Snake
Once it's over leave through the iron bars and return to the surface. The mission will now be put on hold while you tackle Gennadios the Phlakitai and End of the Snake; you can do them in either order, but based on their level requirements we recommend Gennadios first.