Zelda: Skyward Sword - Lanayru Mining Facility dungeon: How to get and use the Gust Bellows explained
Mining time.

The Lanayru Mining Facility is the third dungeon you'll traverse in The Legend of Zelda: Skyward Sword.
After you've completed the Earth Temple, you'll traverse the abandoned waste of the Lanayru Desert and find the nodes to raise the facility from the sands.
Hidden within the Lanayru Mining Facility are the Gust Bellows and it's boss, Moldarach.
On this page:

If you'd like to learn more, visit our Skyward Sword walkthrough.
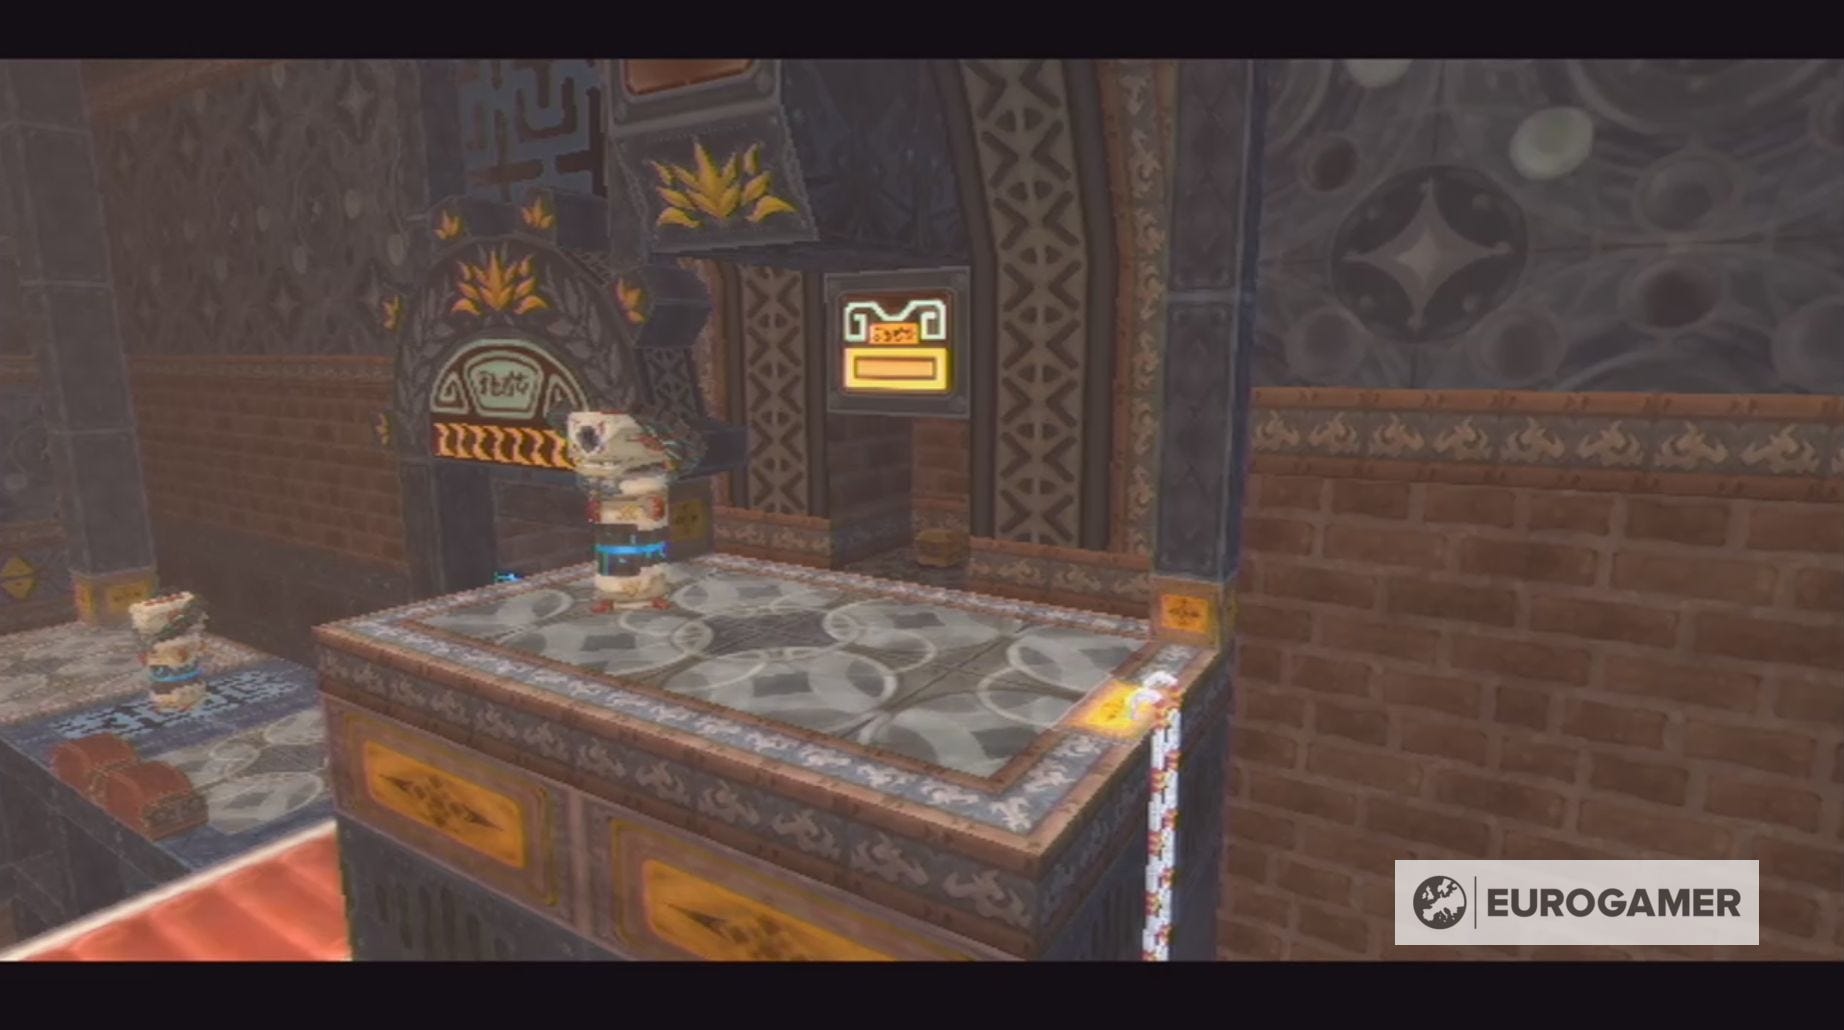
Lanayru Mining Facility small key location explained
Before entering the Lanayru Mining Facility in Skyward Sword, it's a good idea to have either the Wooden or Branded Shield, because this dungeon is home to a lot of enemies with electric attacks and, having an Iron Shield equipped, could make for a shocking experience.
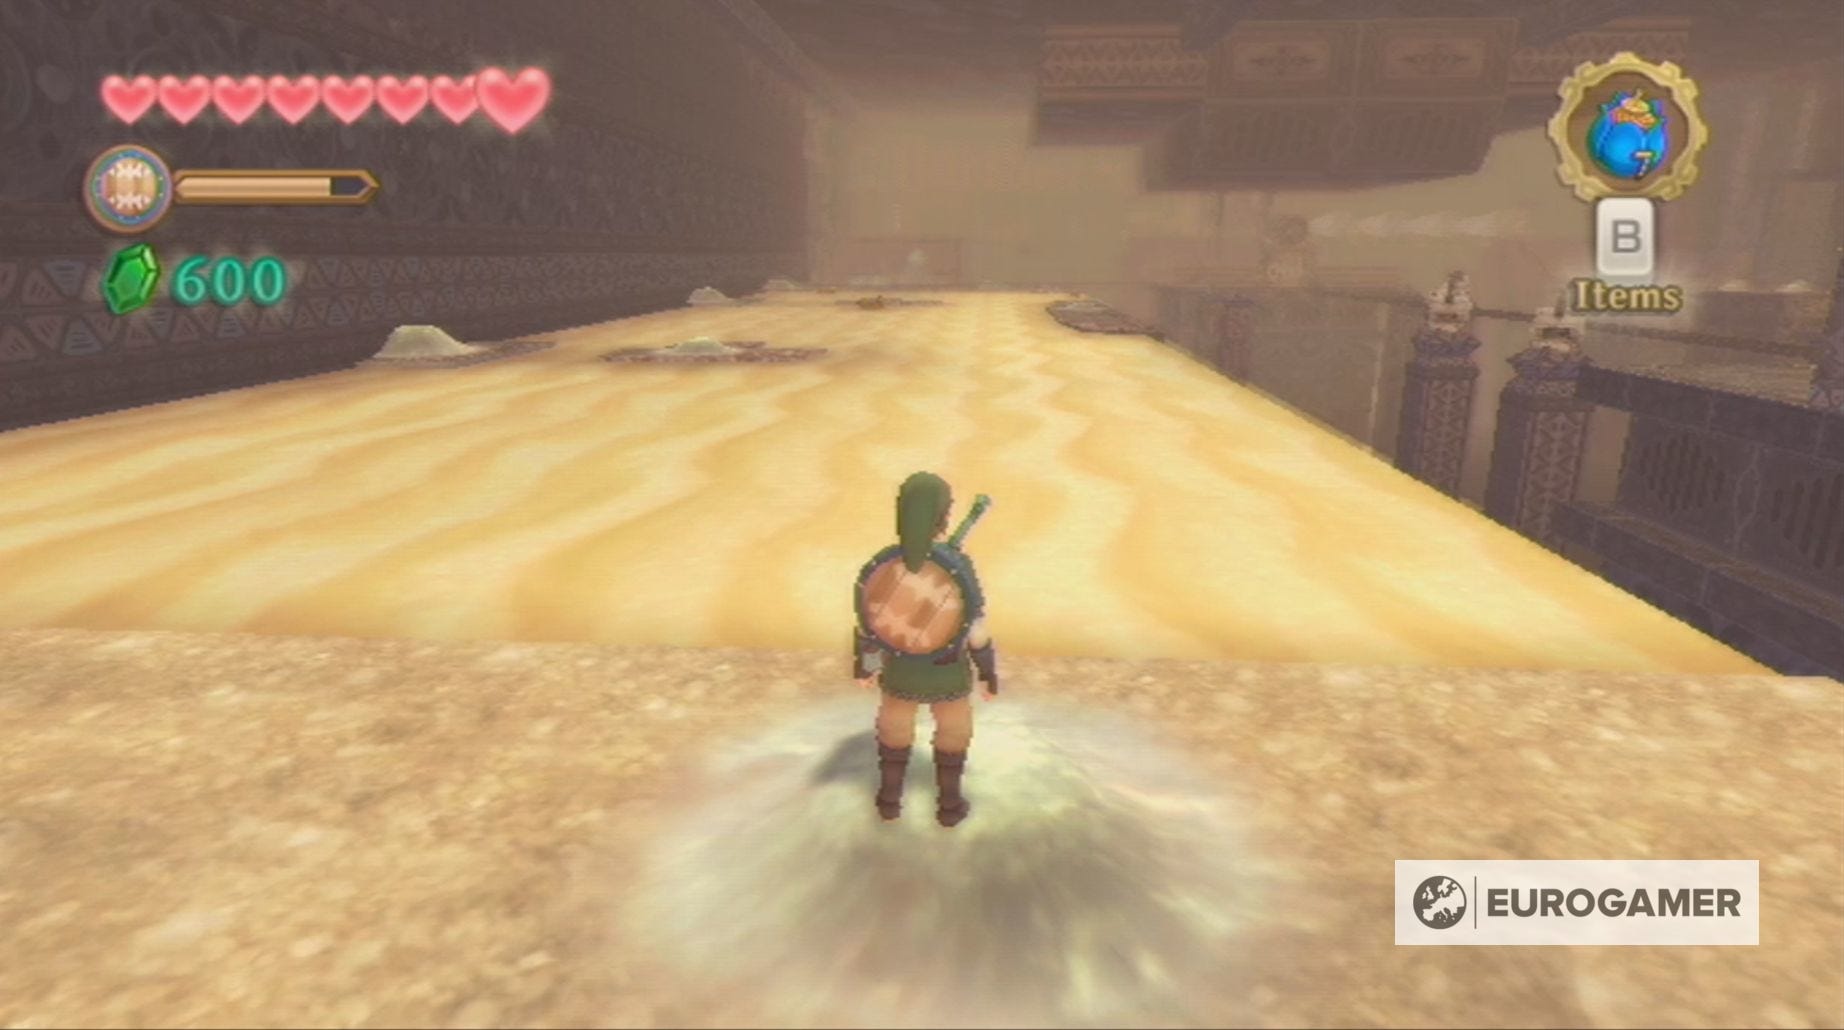
When you're properly equipped, head on into the Lanayru Mining Facility!
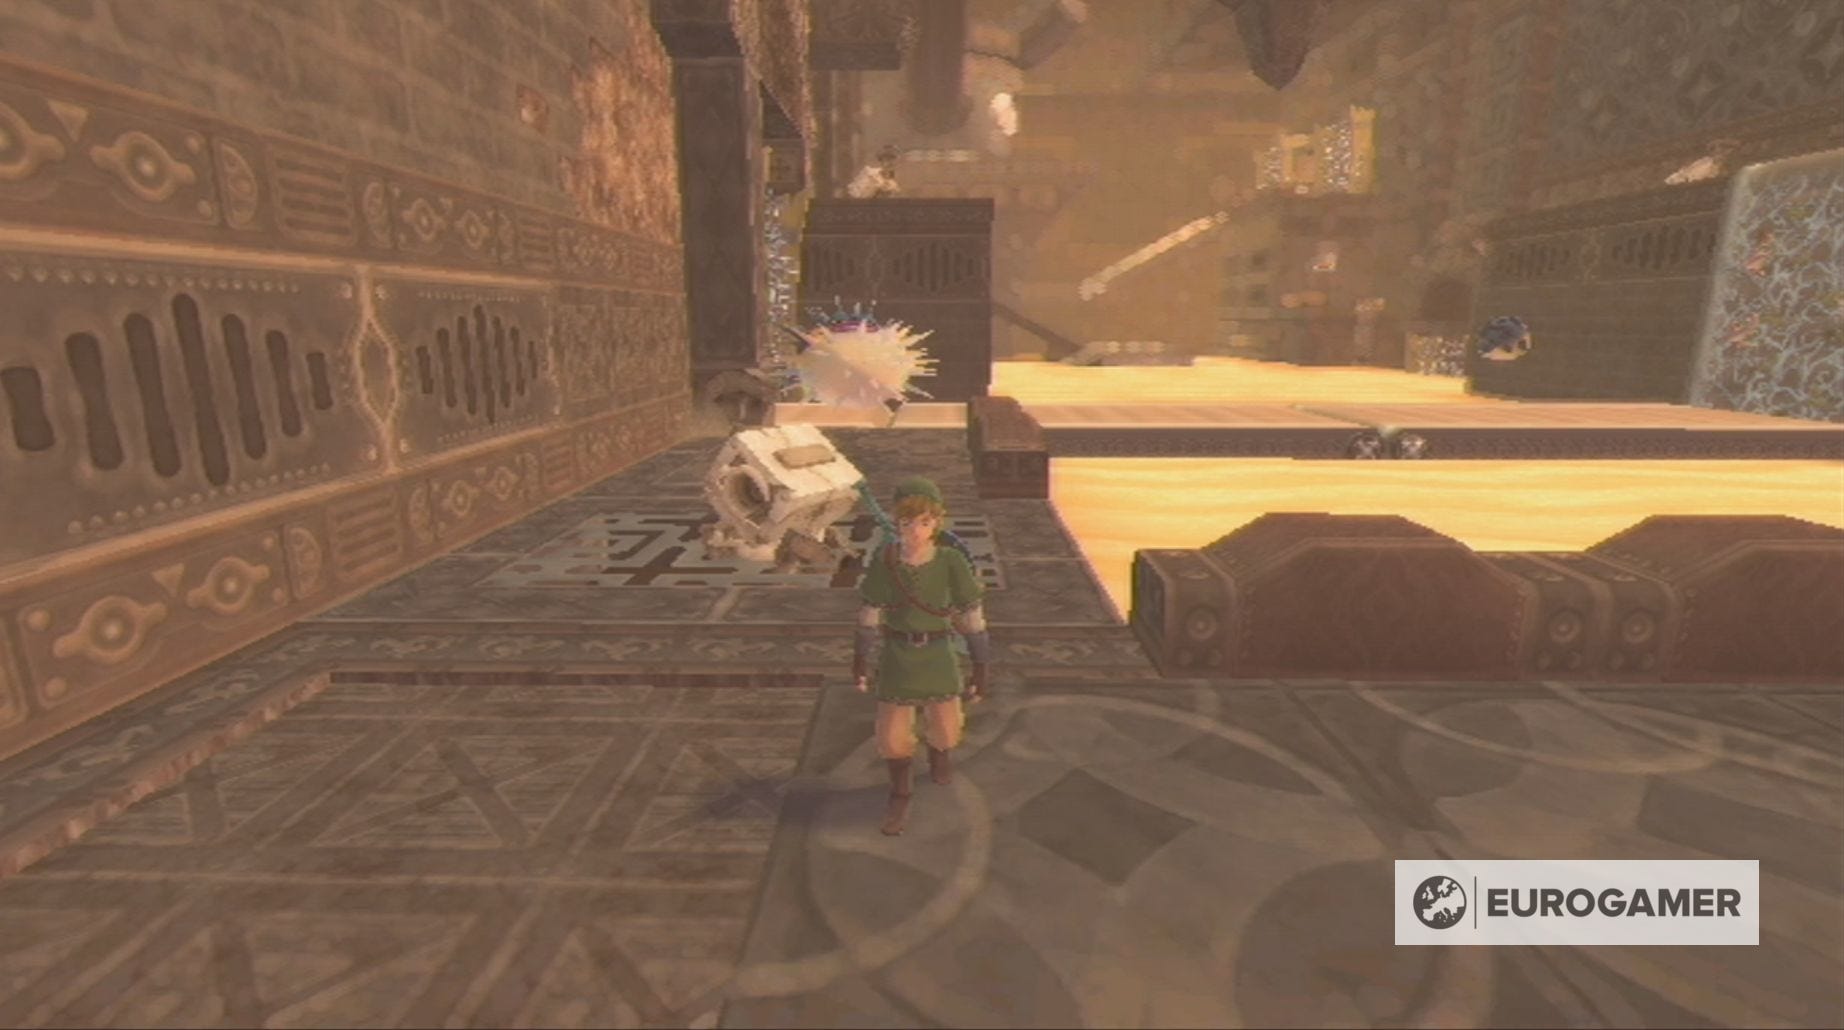
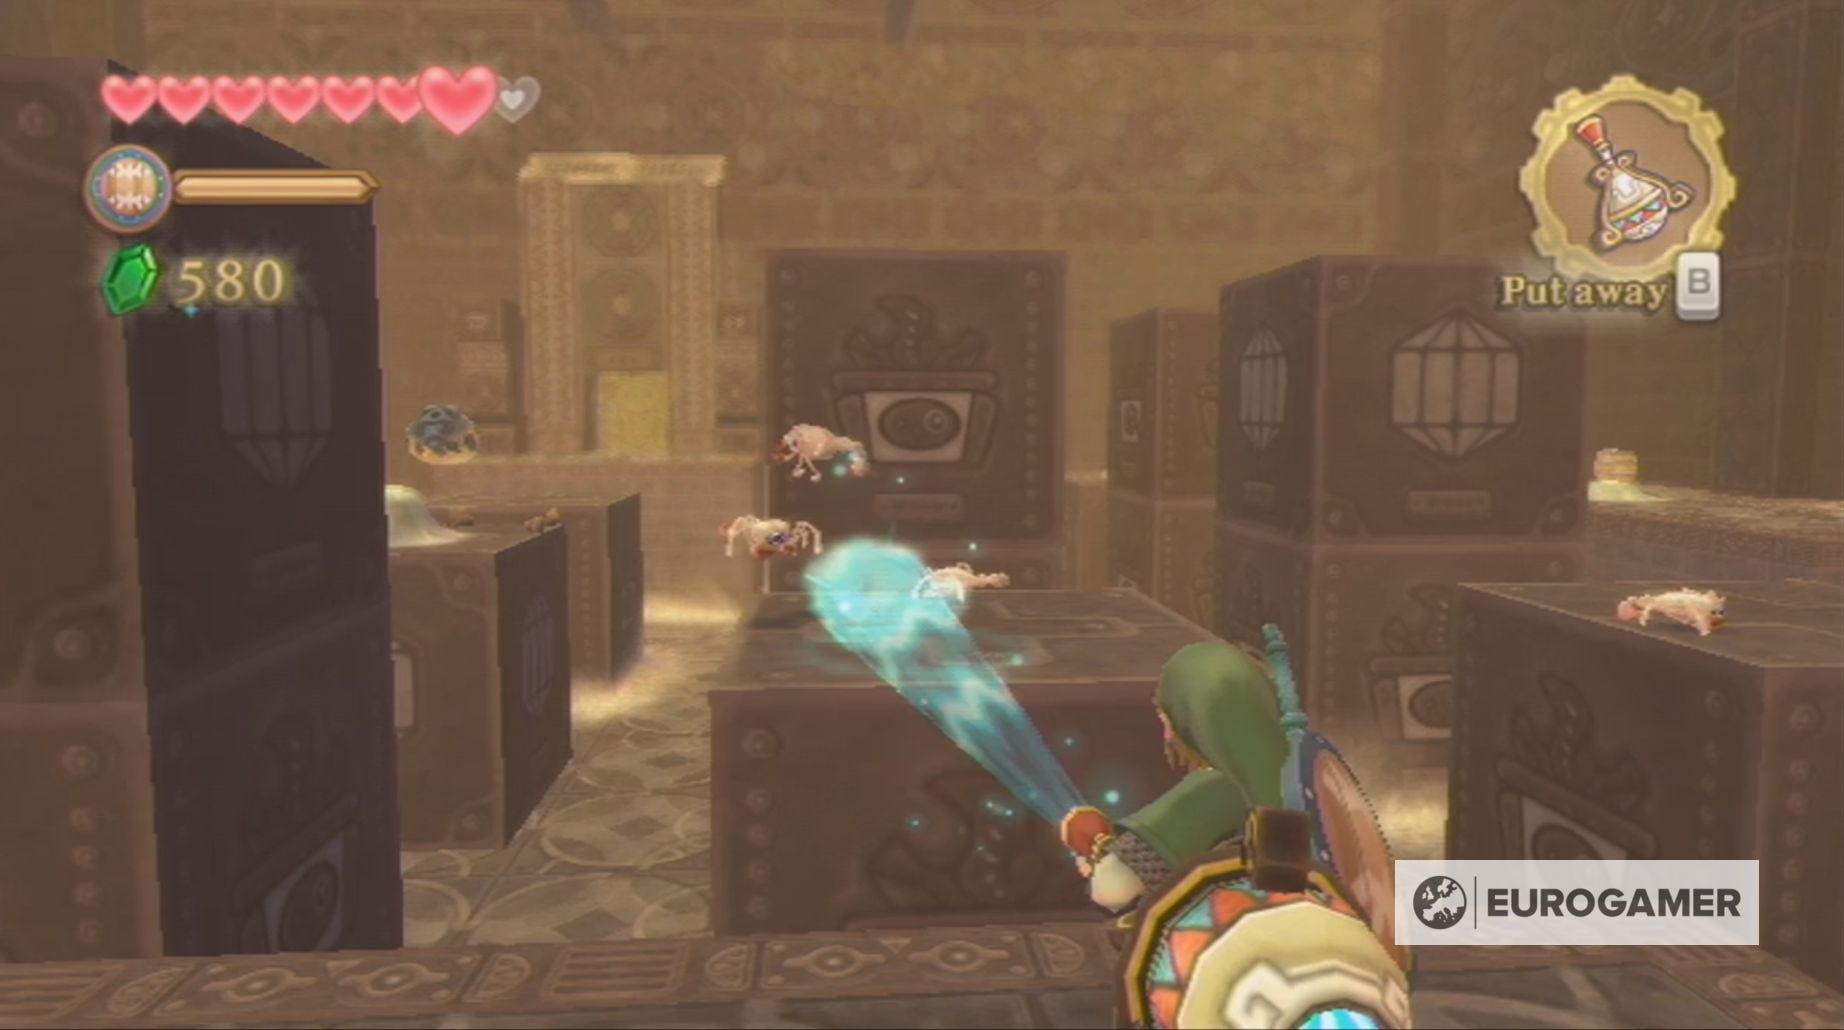
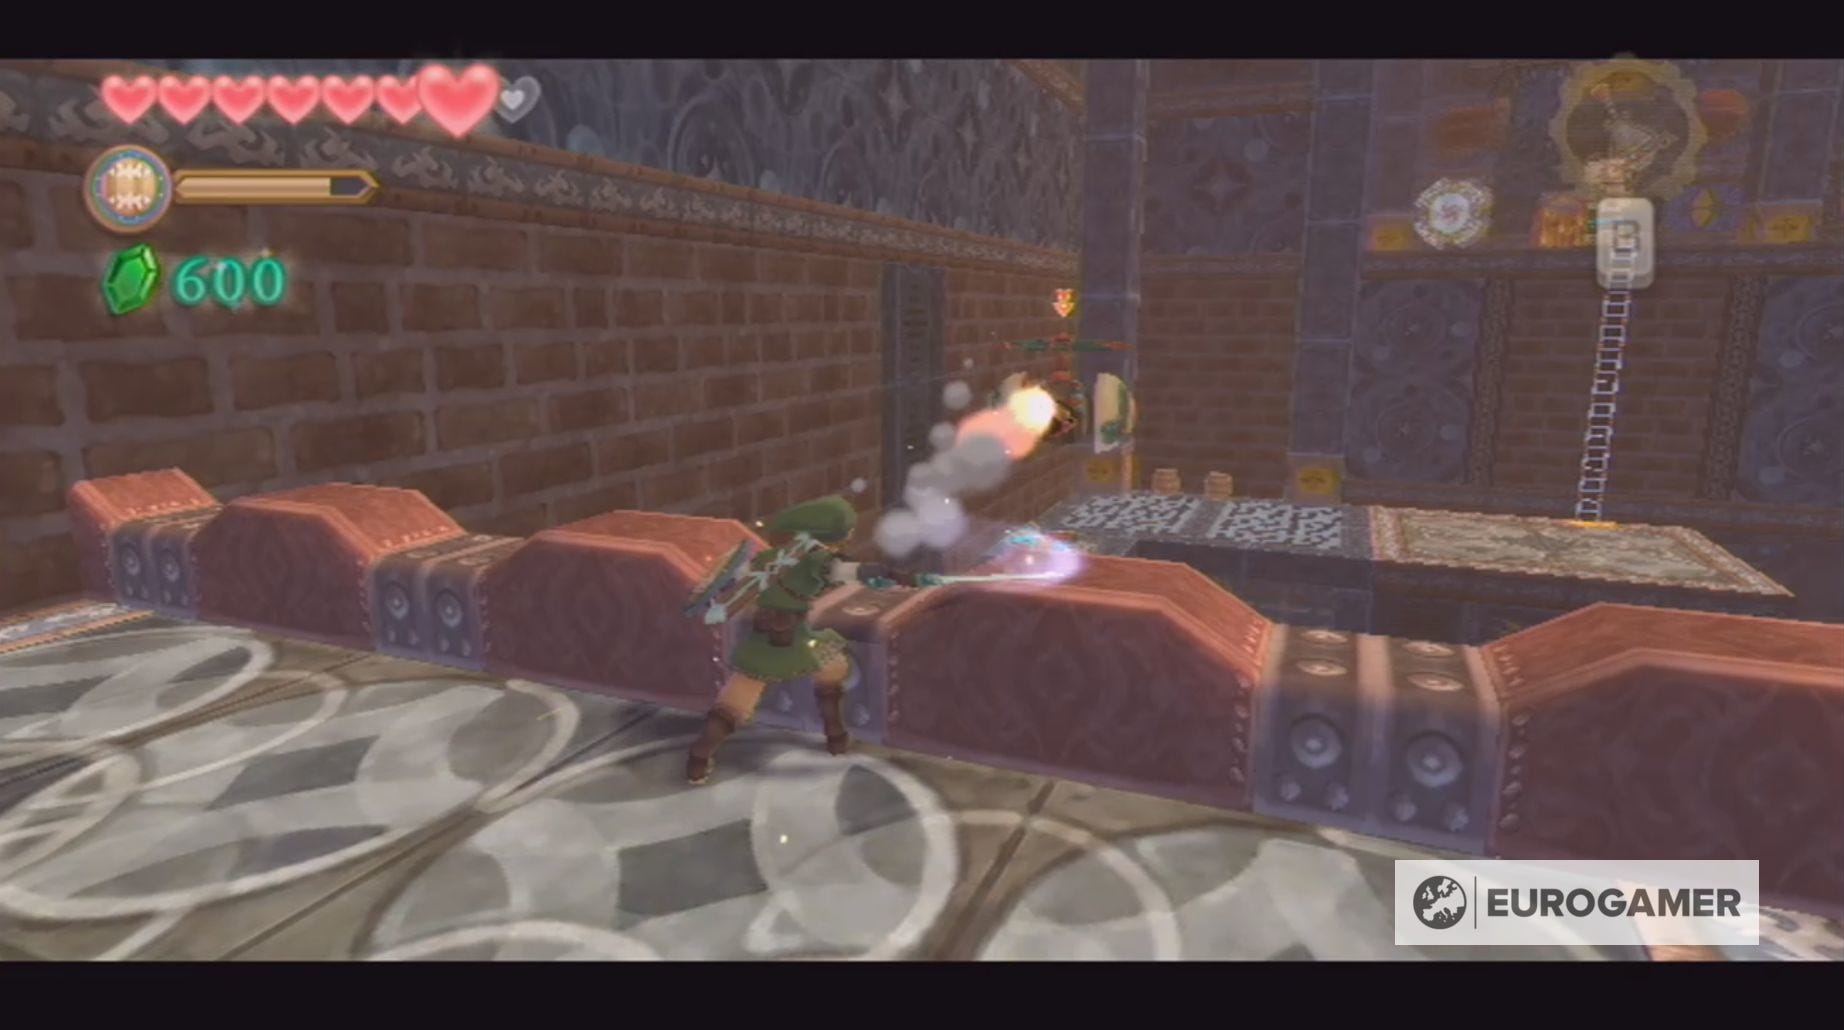
First things first - clear the room of monsters by attacking the Aracha with your sword and the Electro Spume with bombs.
It's important to note that, unlike other monsters, Aracha will reappear when you reenter the room they were defeated in. They're also a good source of Jelly Blobs!
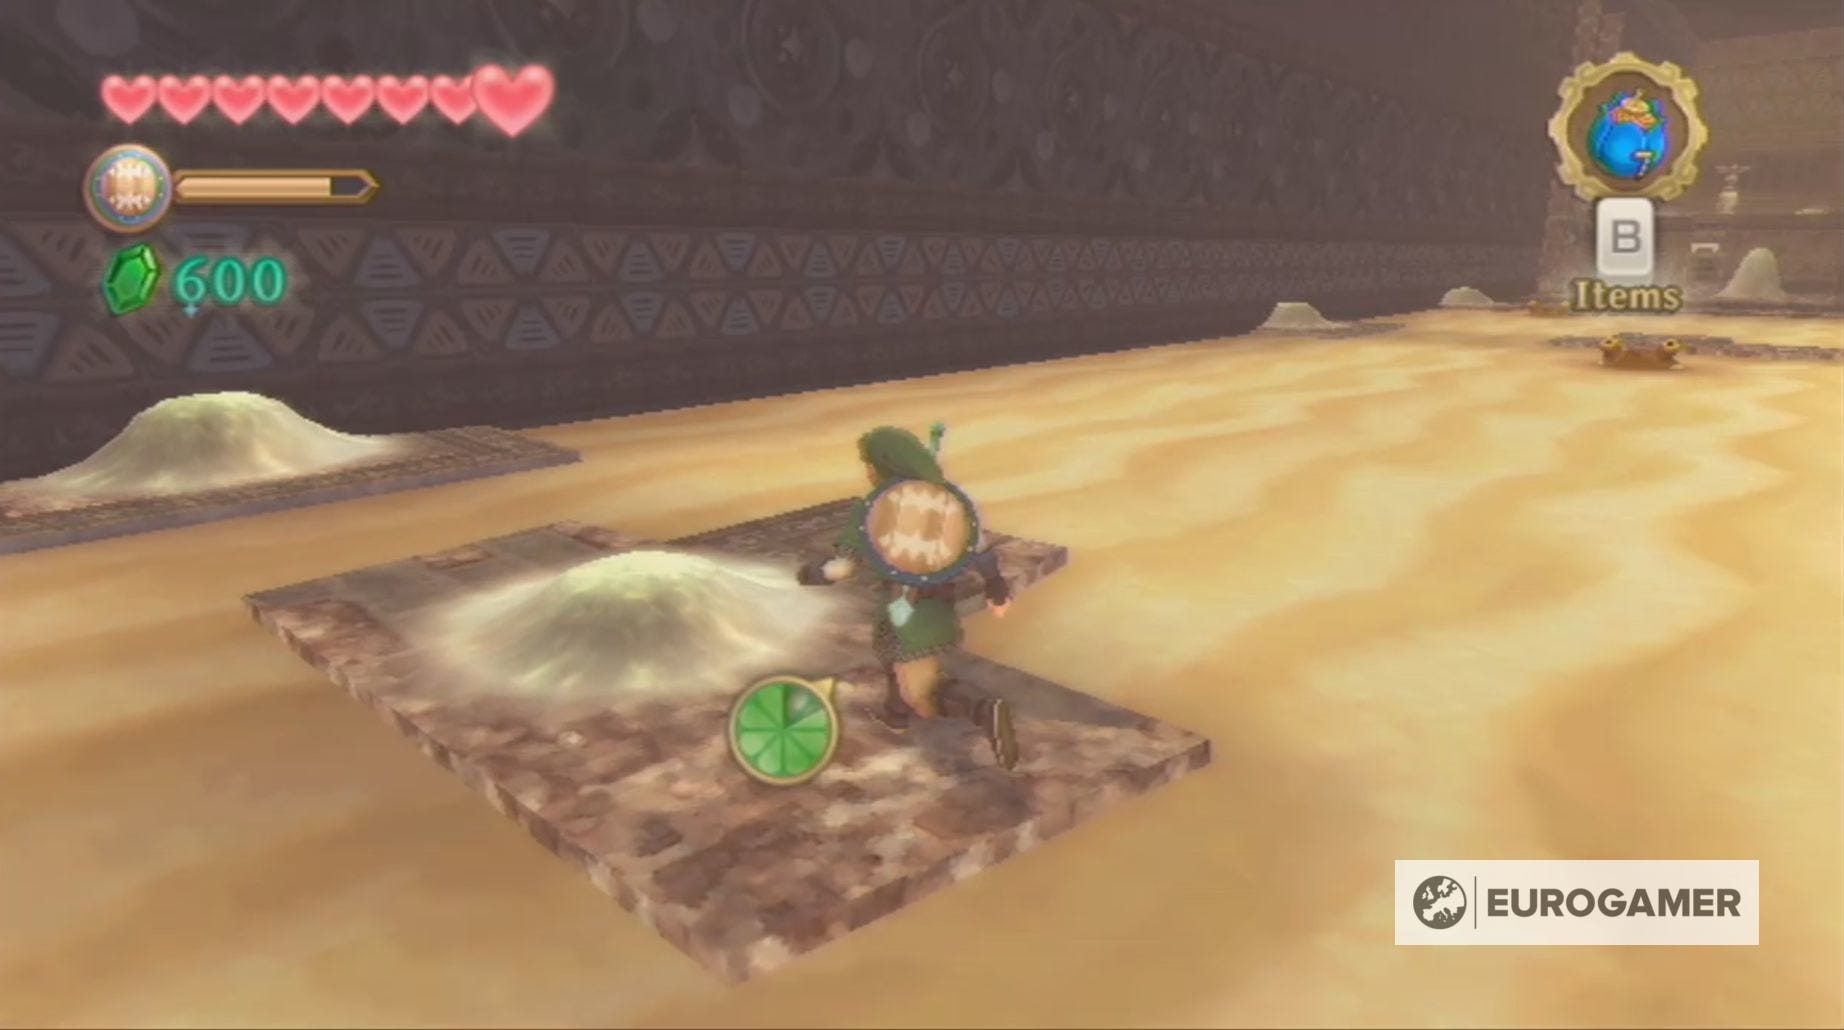
Next, you can earn 20 Rupees from the nearby chest by crossing the sand on the right-hand side of the room and, afterwards, sprint by the wall to reach the lever to unlock the gate.
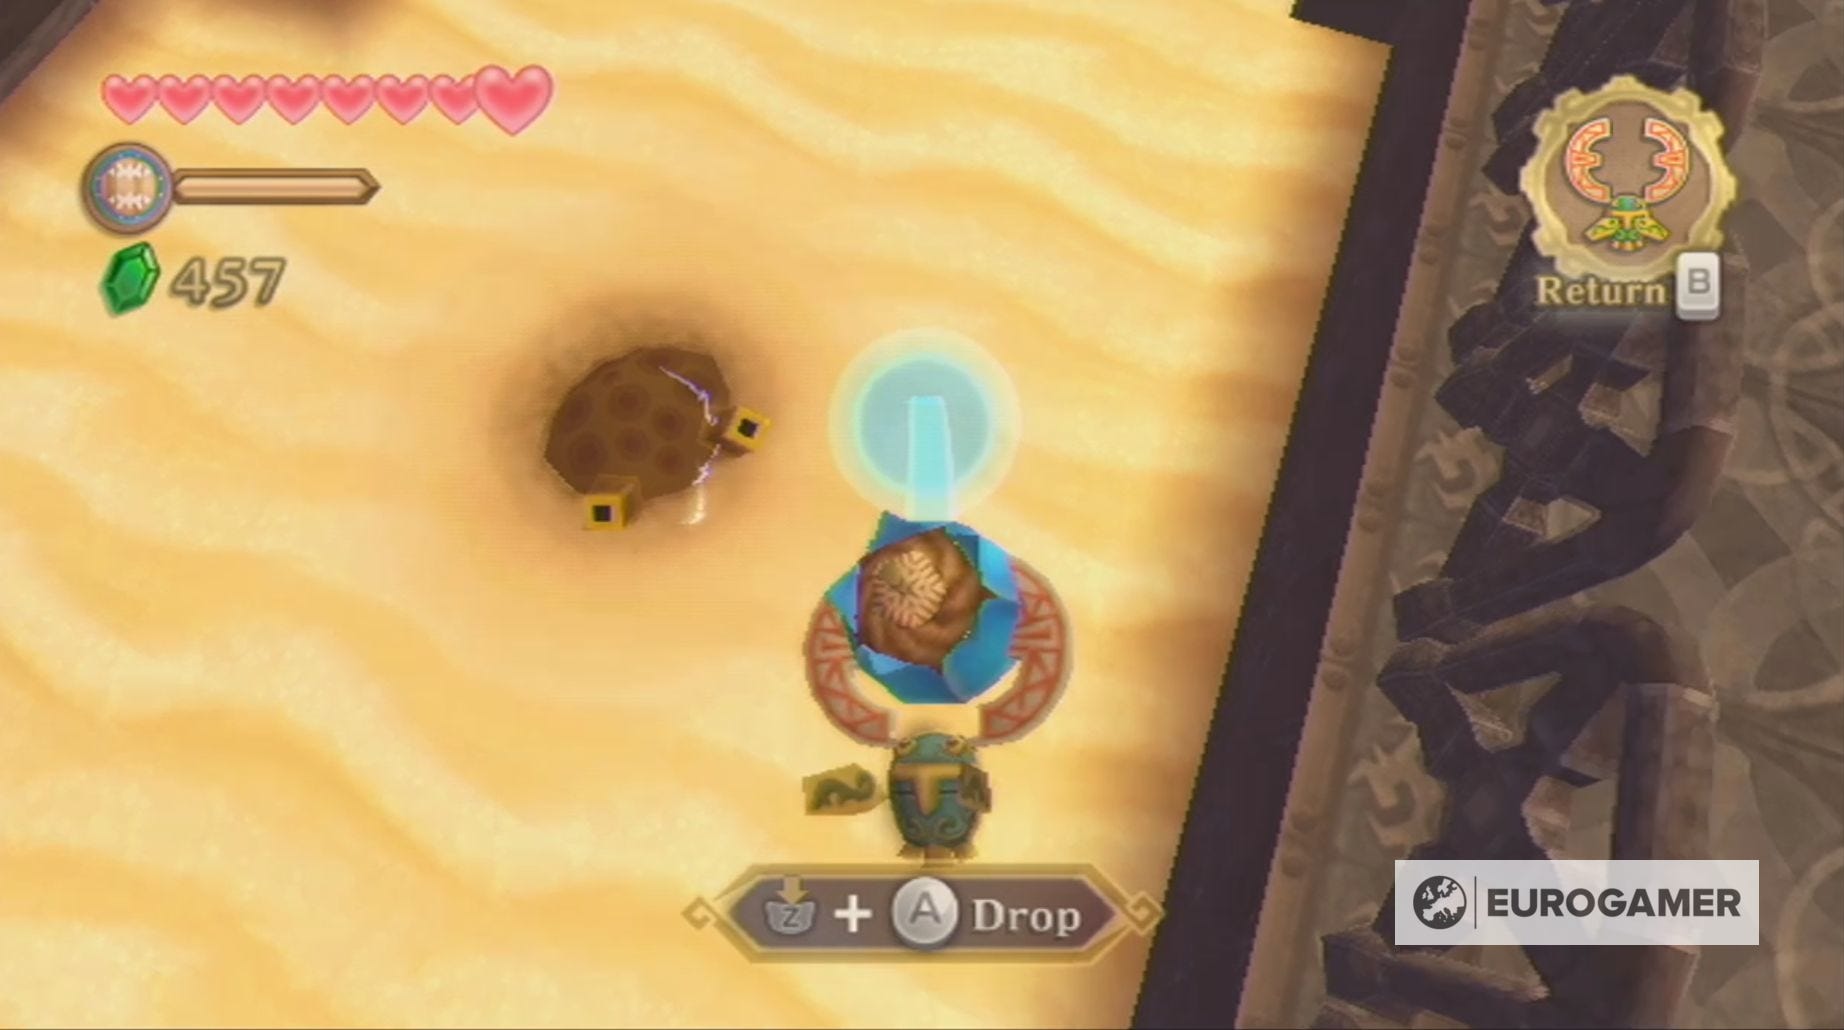
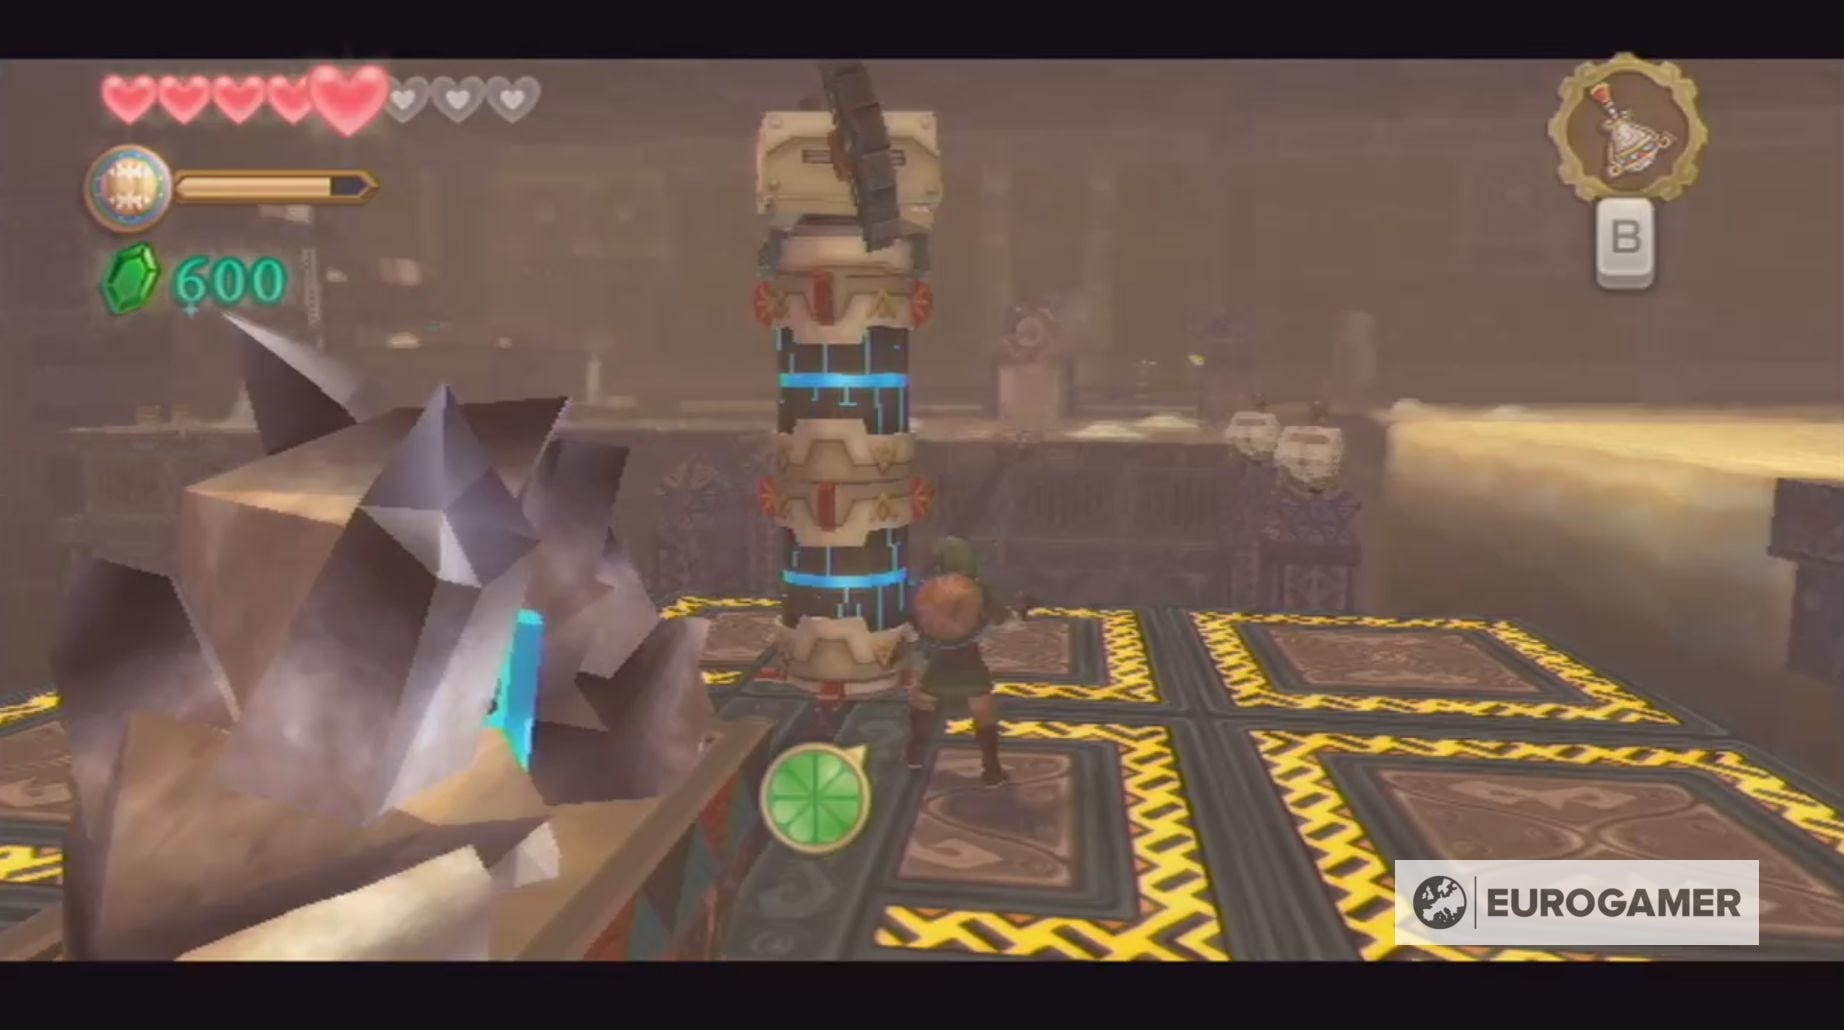
Now, you need to drop a bomb using the Hook Beetle into the bowel held by the statue on the left-hand side of the room.

Once it's fallen, sprint across the sand and then pull the lever. With that done you can head through the door into the next room.
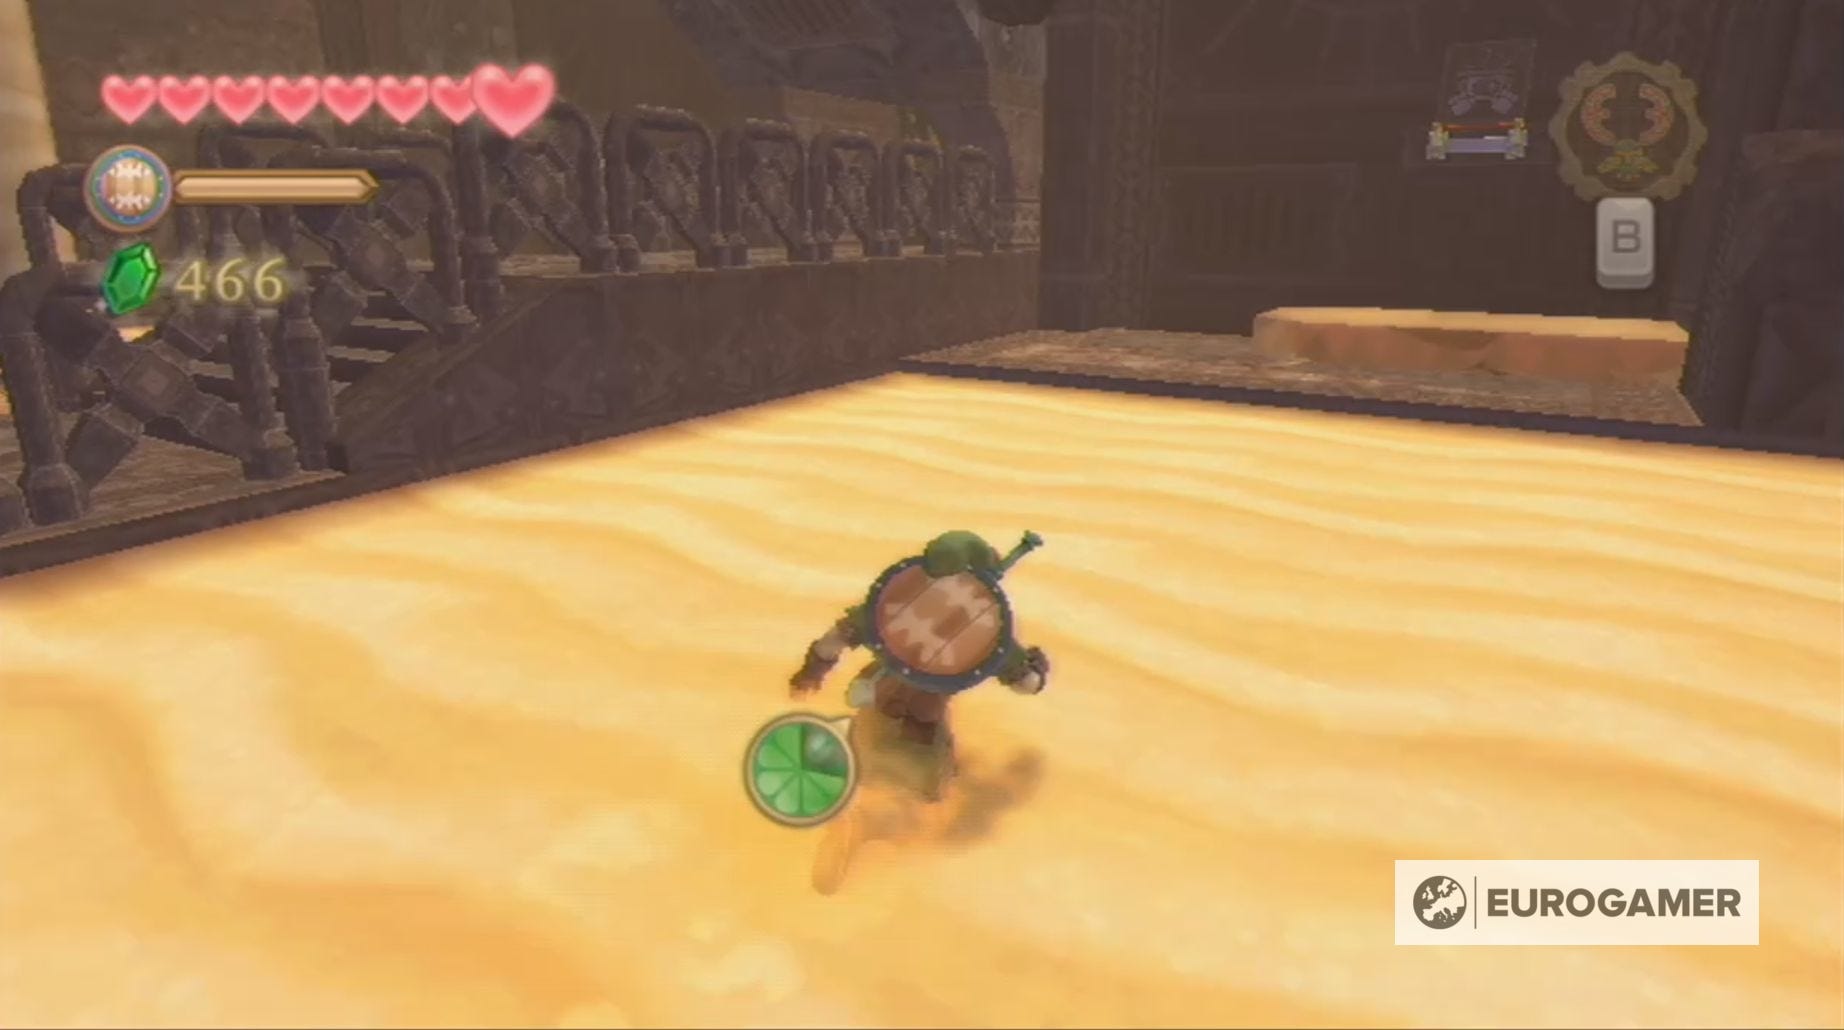
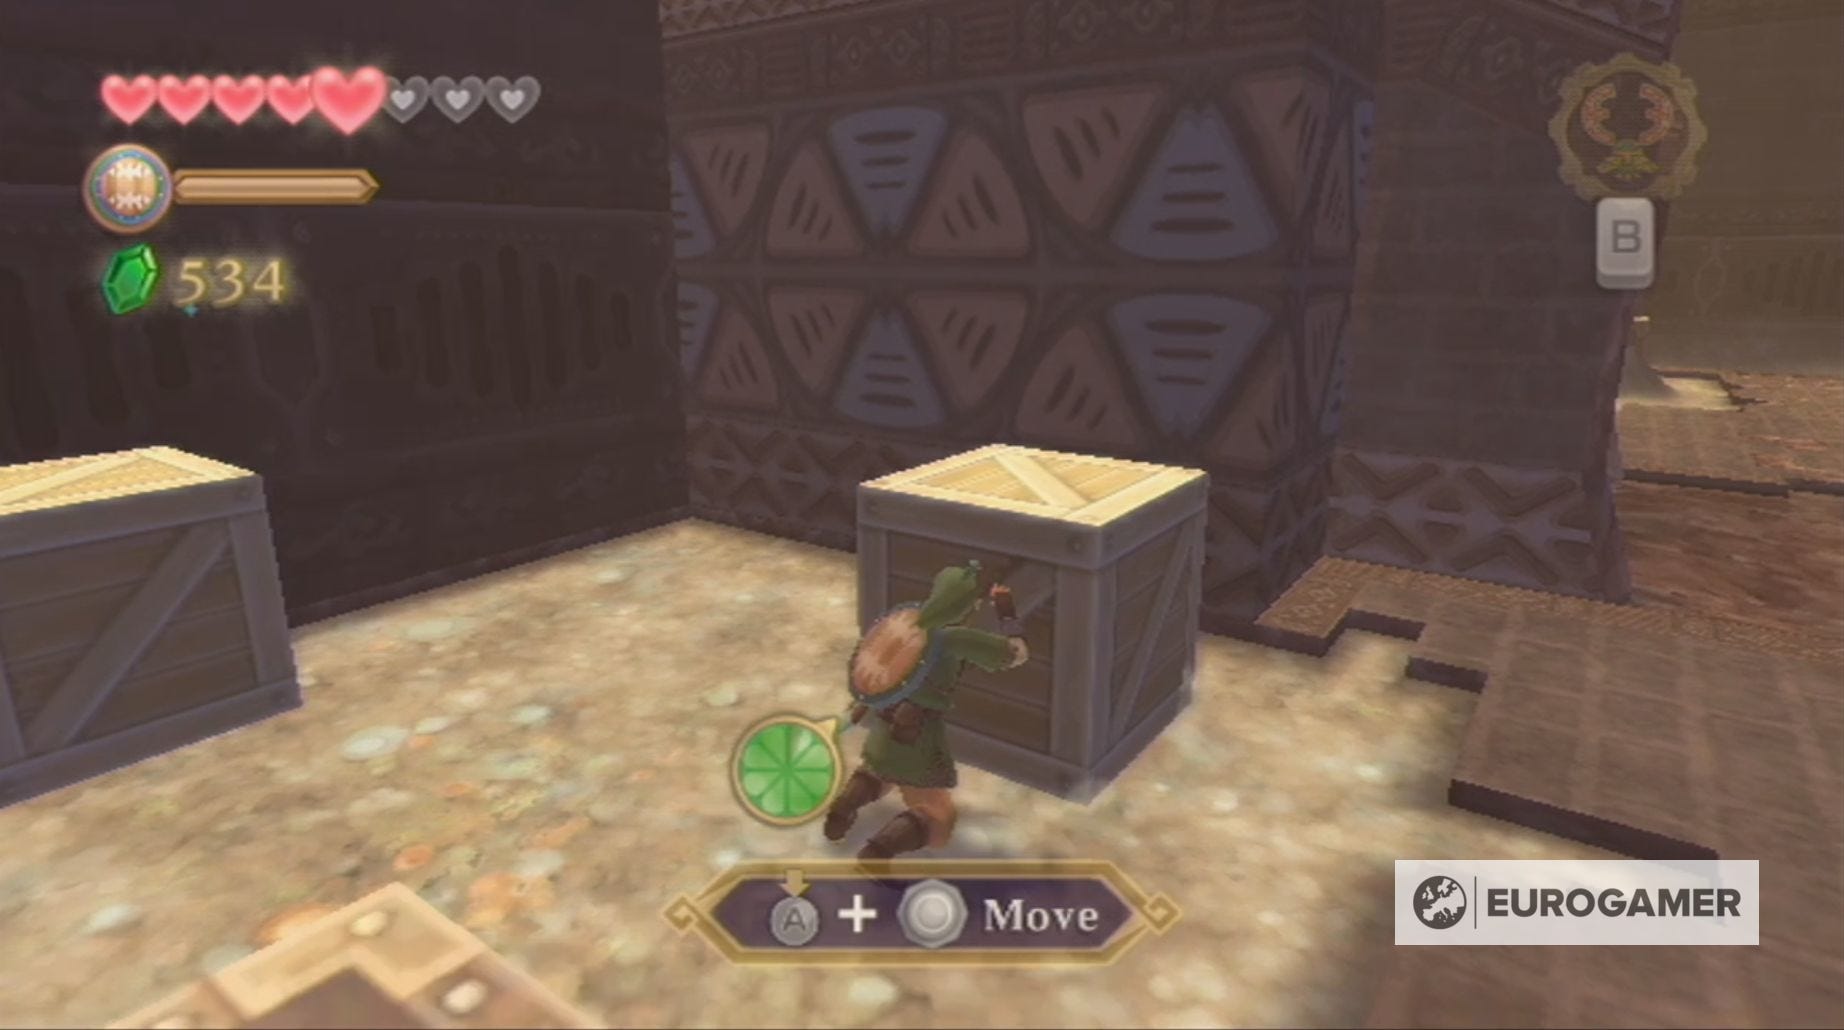
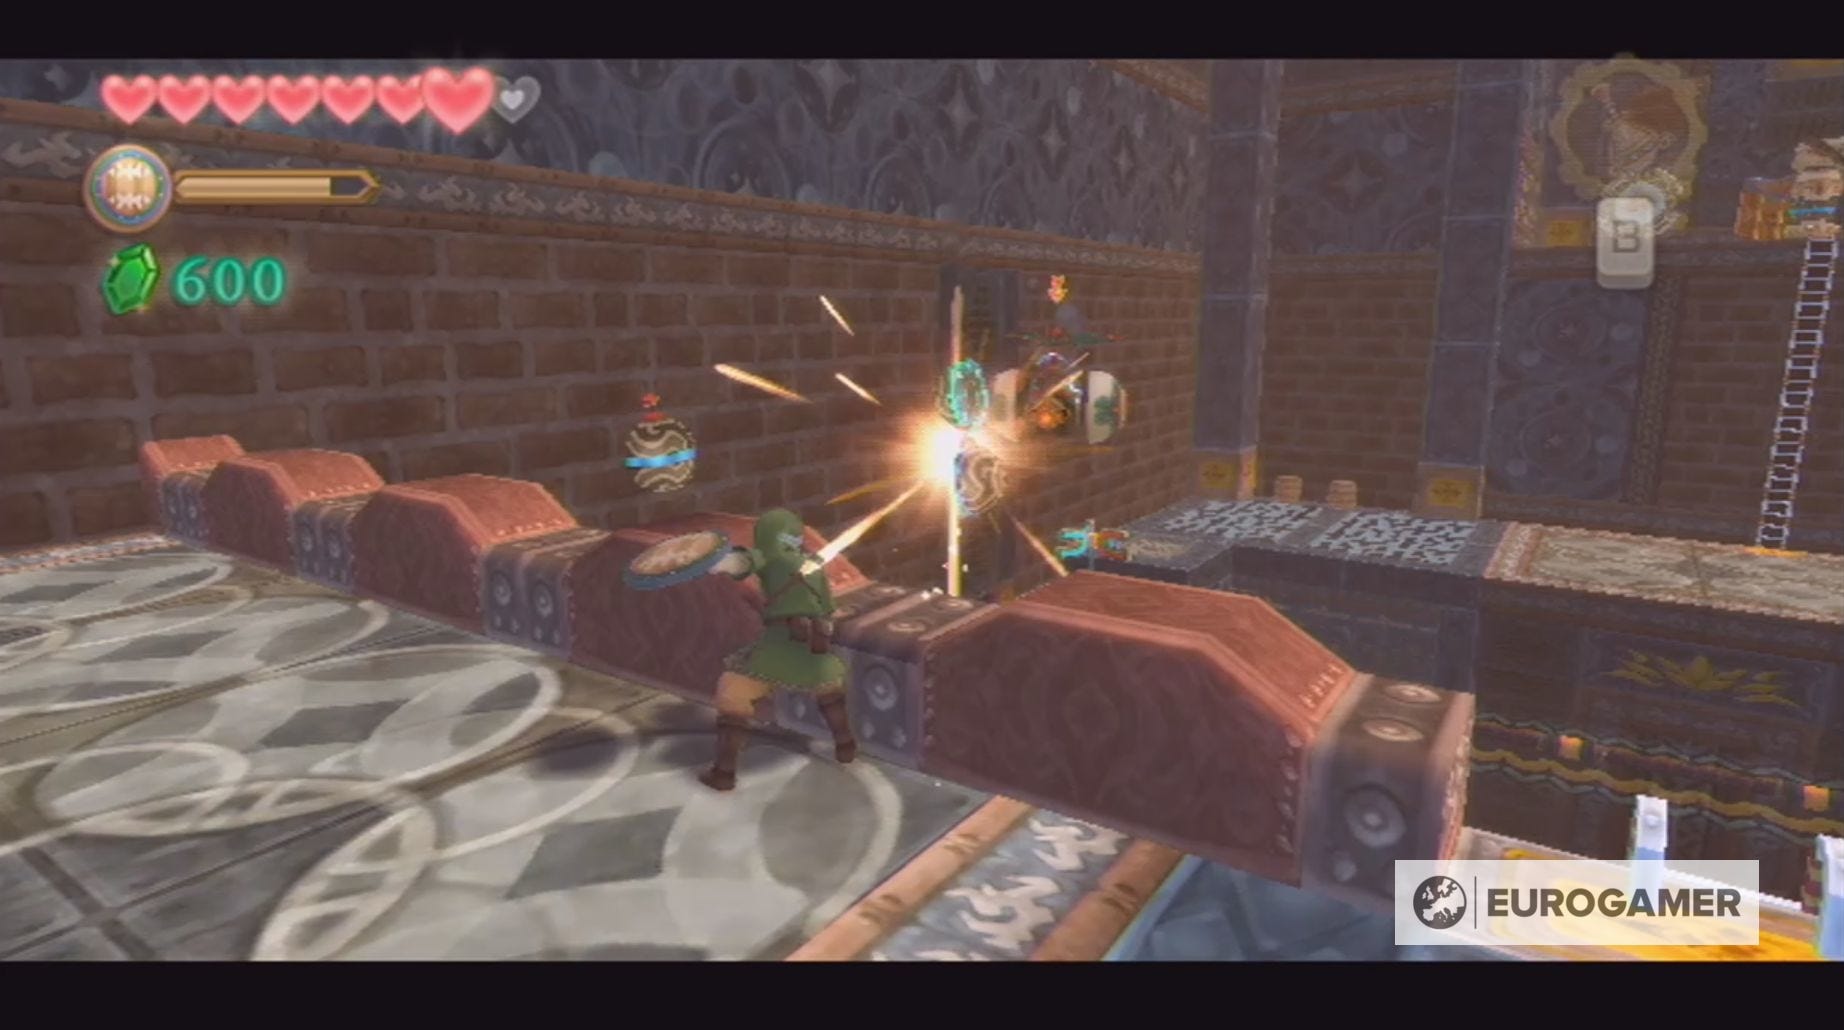
Here you'll have to defeat two Staldras, which are defeated in the same manner as the one in Skyview Temple. With them defeated, head to the far end of the room and, on the left-hand side, push one of the crates against the wall, so you can reach the door above.
You'll now find yourself in the main room of the Lanayru Mining Facility, but, at the moment, you can only explore a small portion of it.
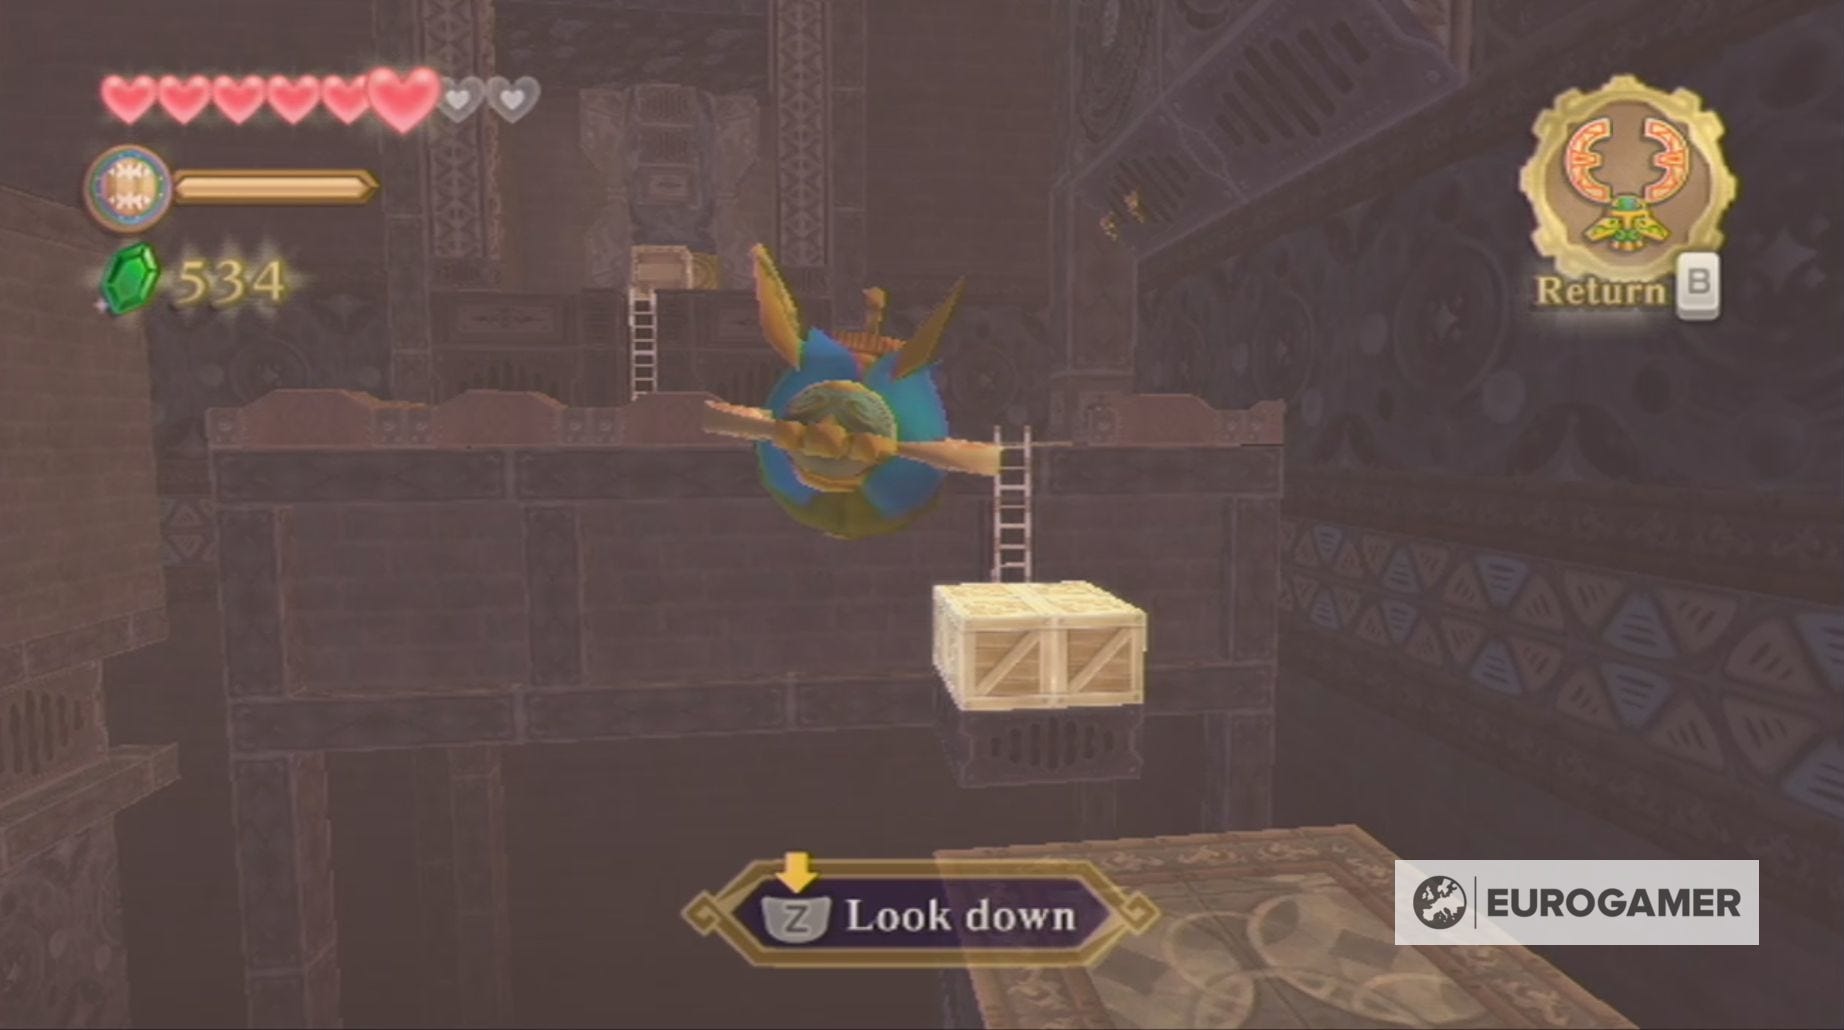
To progress, you need to use the Hook Beetle to grab a nearby bomb and drop it on the crates sitting in front of the ladder to your right. With that done, defeat the Yellow Chuchu and jump across the gap.
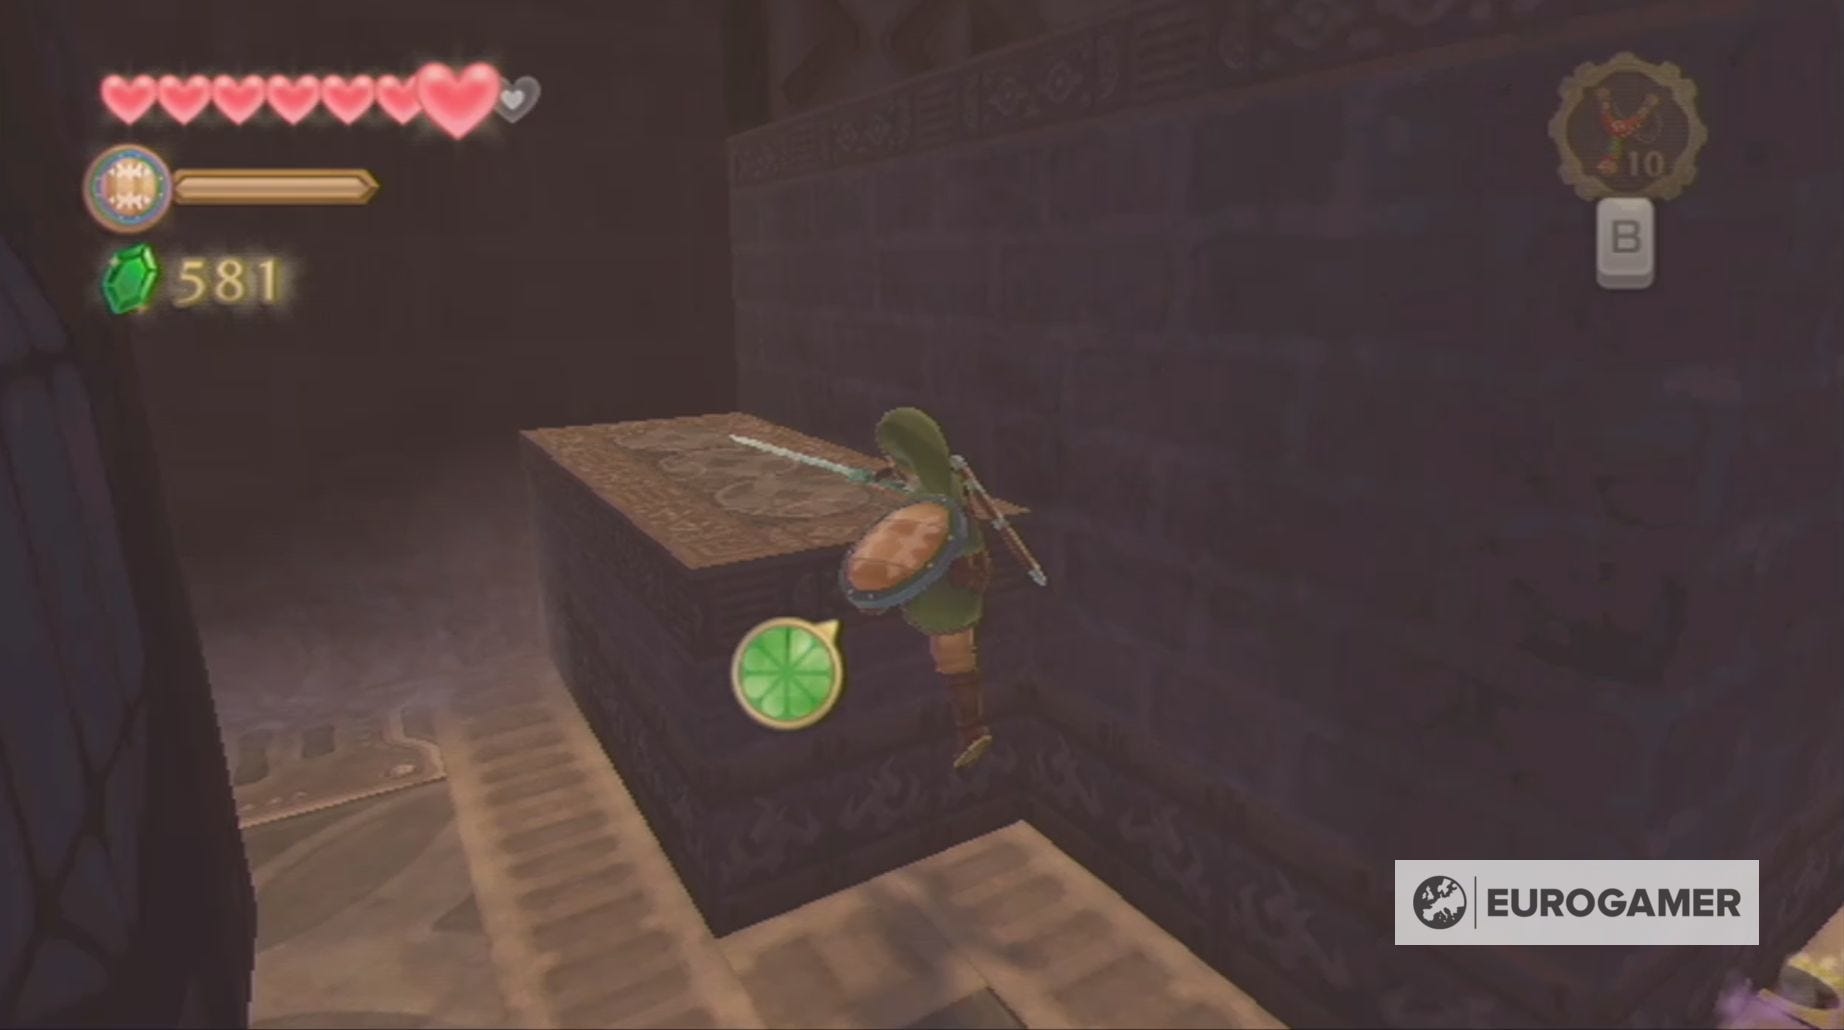
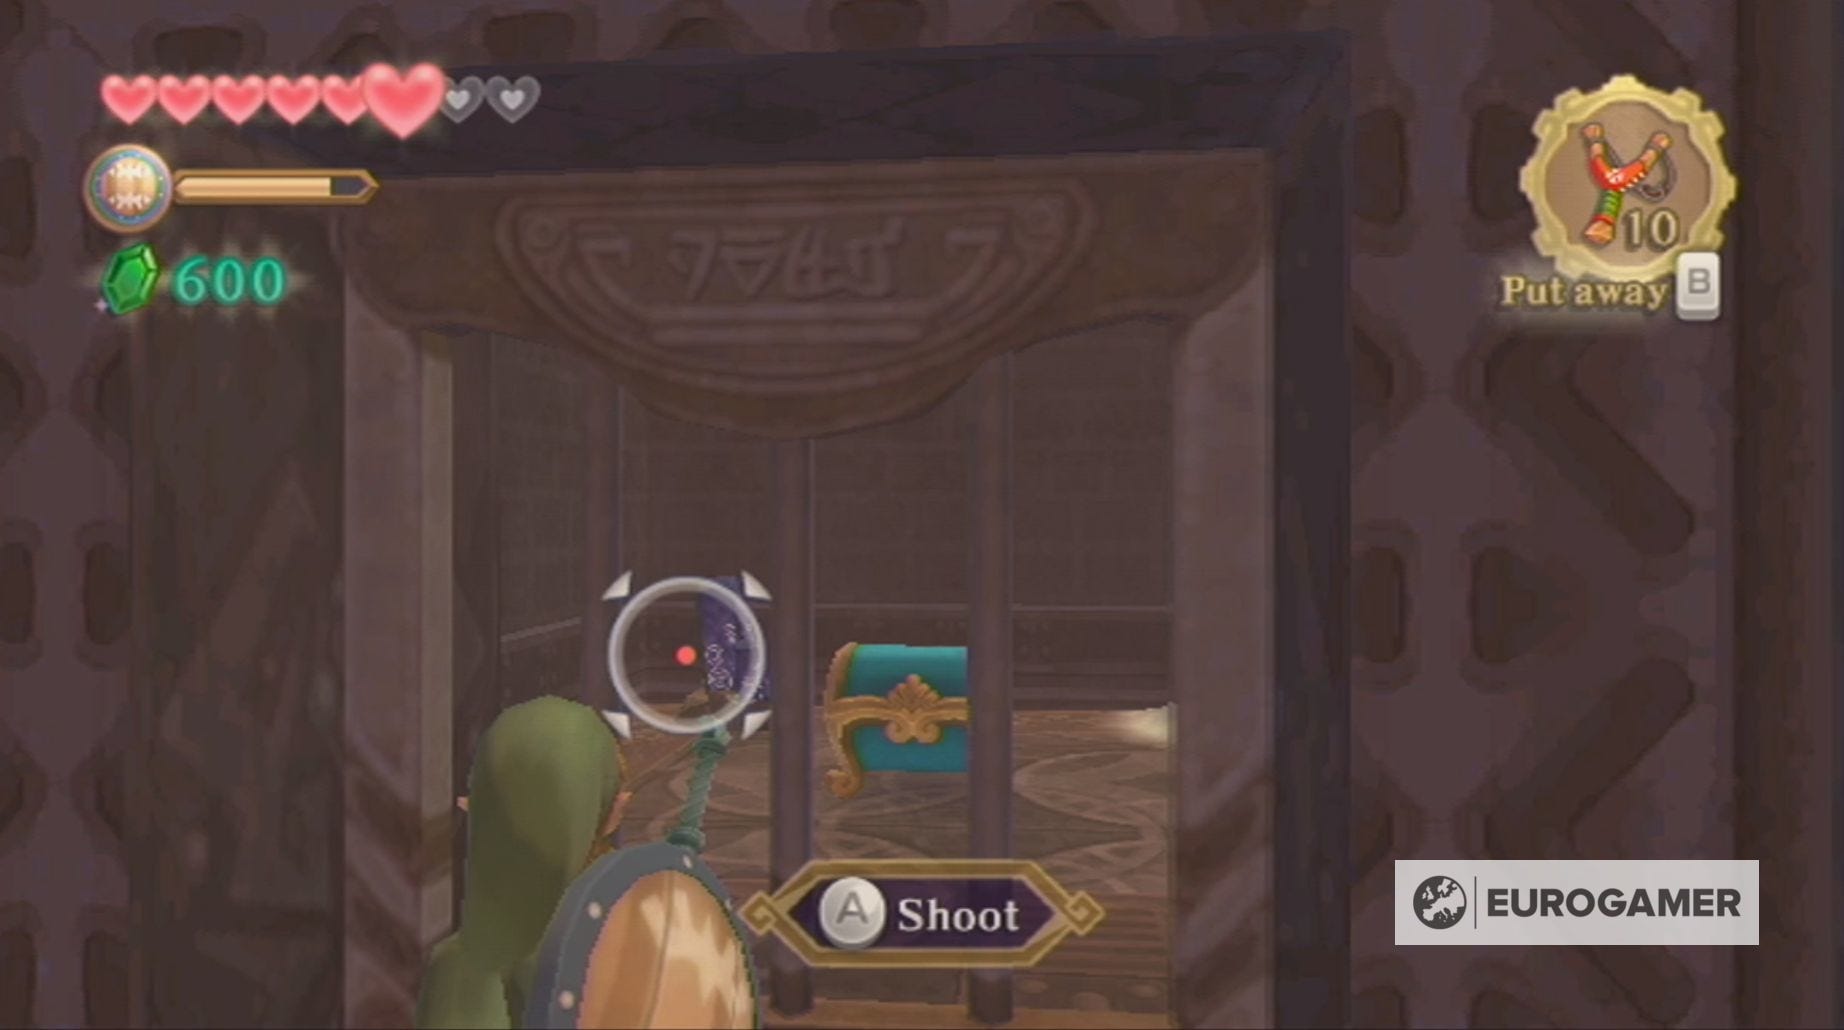
At the top of the ladder, you'll have your first encounter with Thunder Keese and find a chest containing a small key.
Lanayru Mining Facility Gust Bellows location explained
With the small key in hand, you can return to the previous room and open the locked door, so you can find the treasure of the Lanayru Mining Facility - the Gust Bellows!
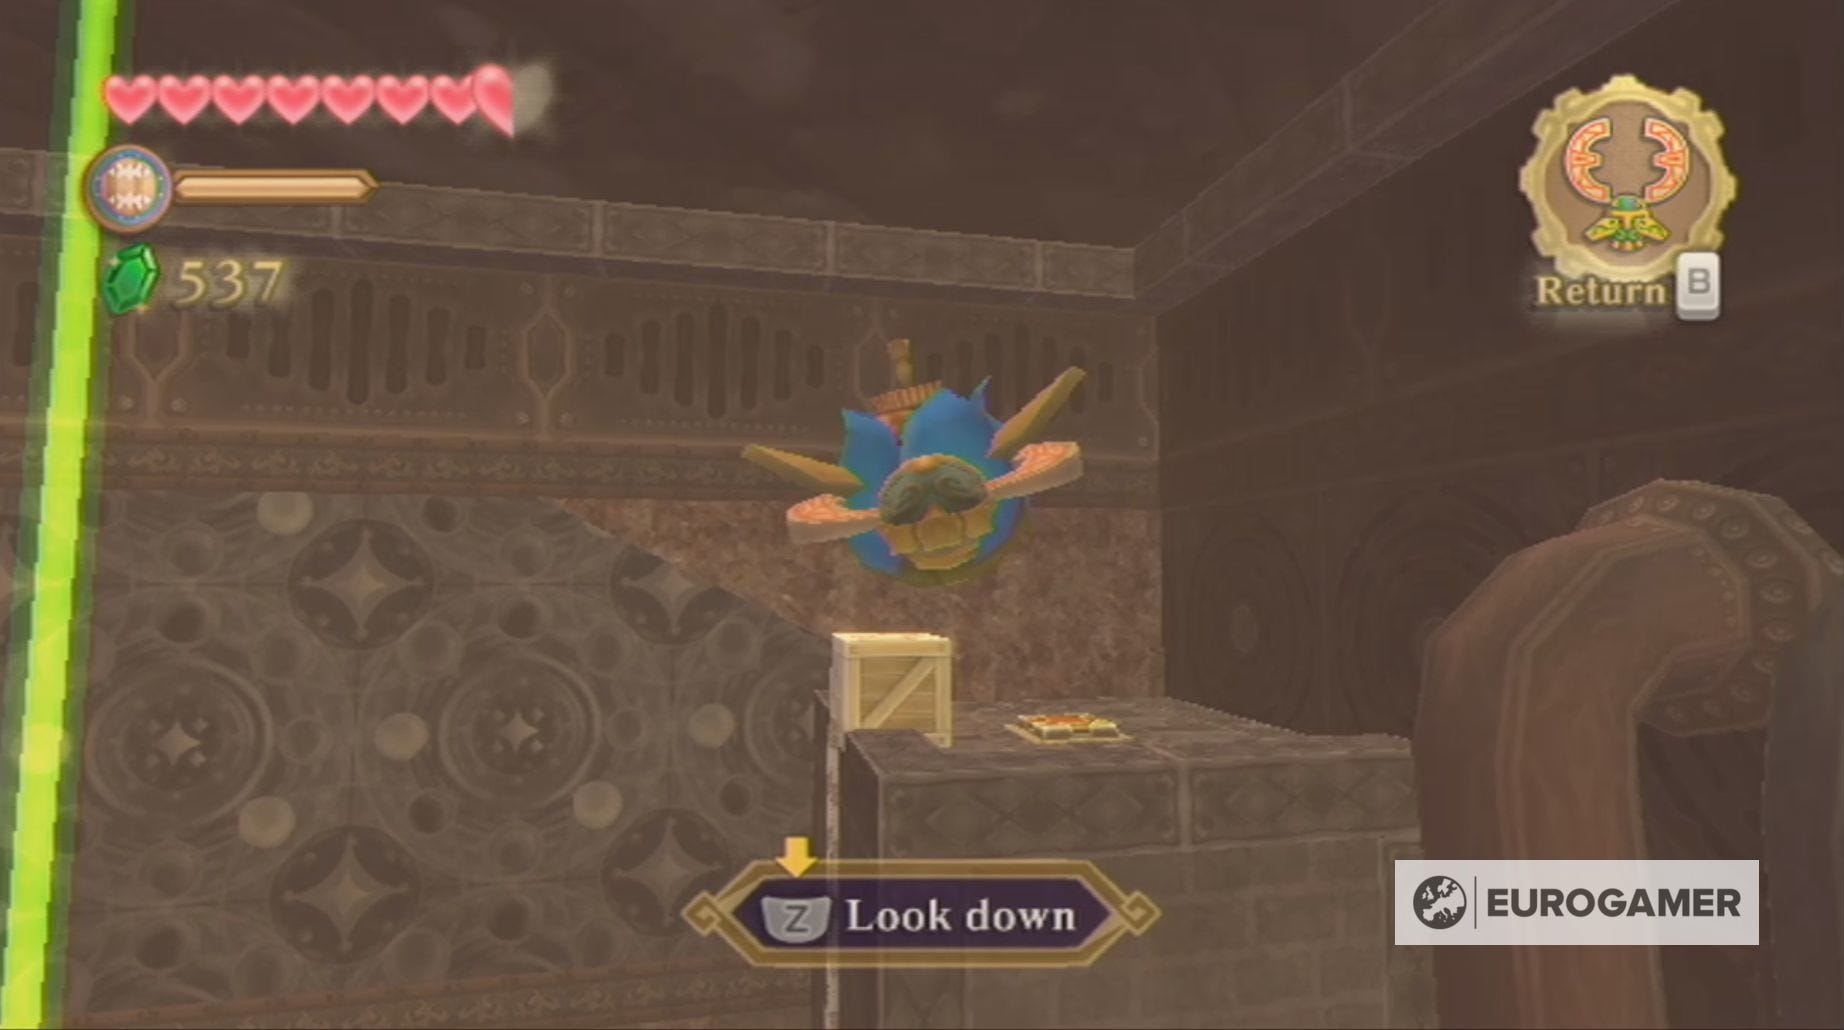
You'll enter a room containing broken conveyor belts, an awful lot of sand and Froaks. These flying fish monsters can be killed by shooting them with the Slingshot when in their non-spikey form.
Head up to the platform on your left-hand side, killing any monsters which cross your path, before using the Hook Beetle to bomb the crate at the top of the ladder.
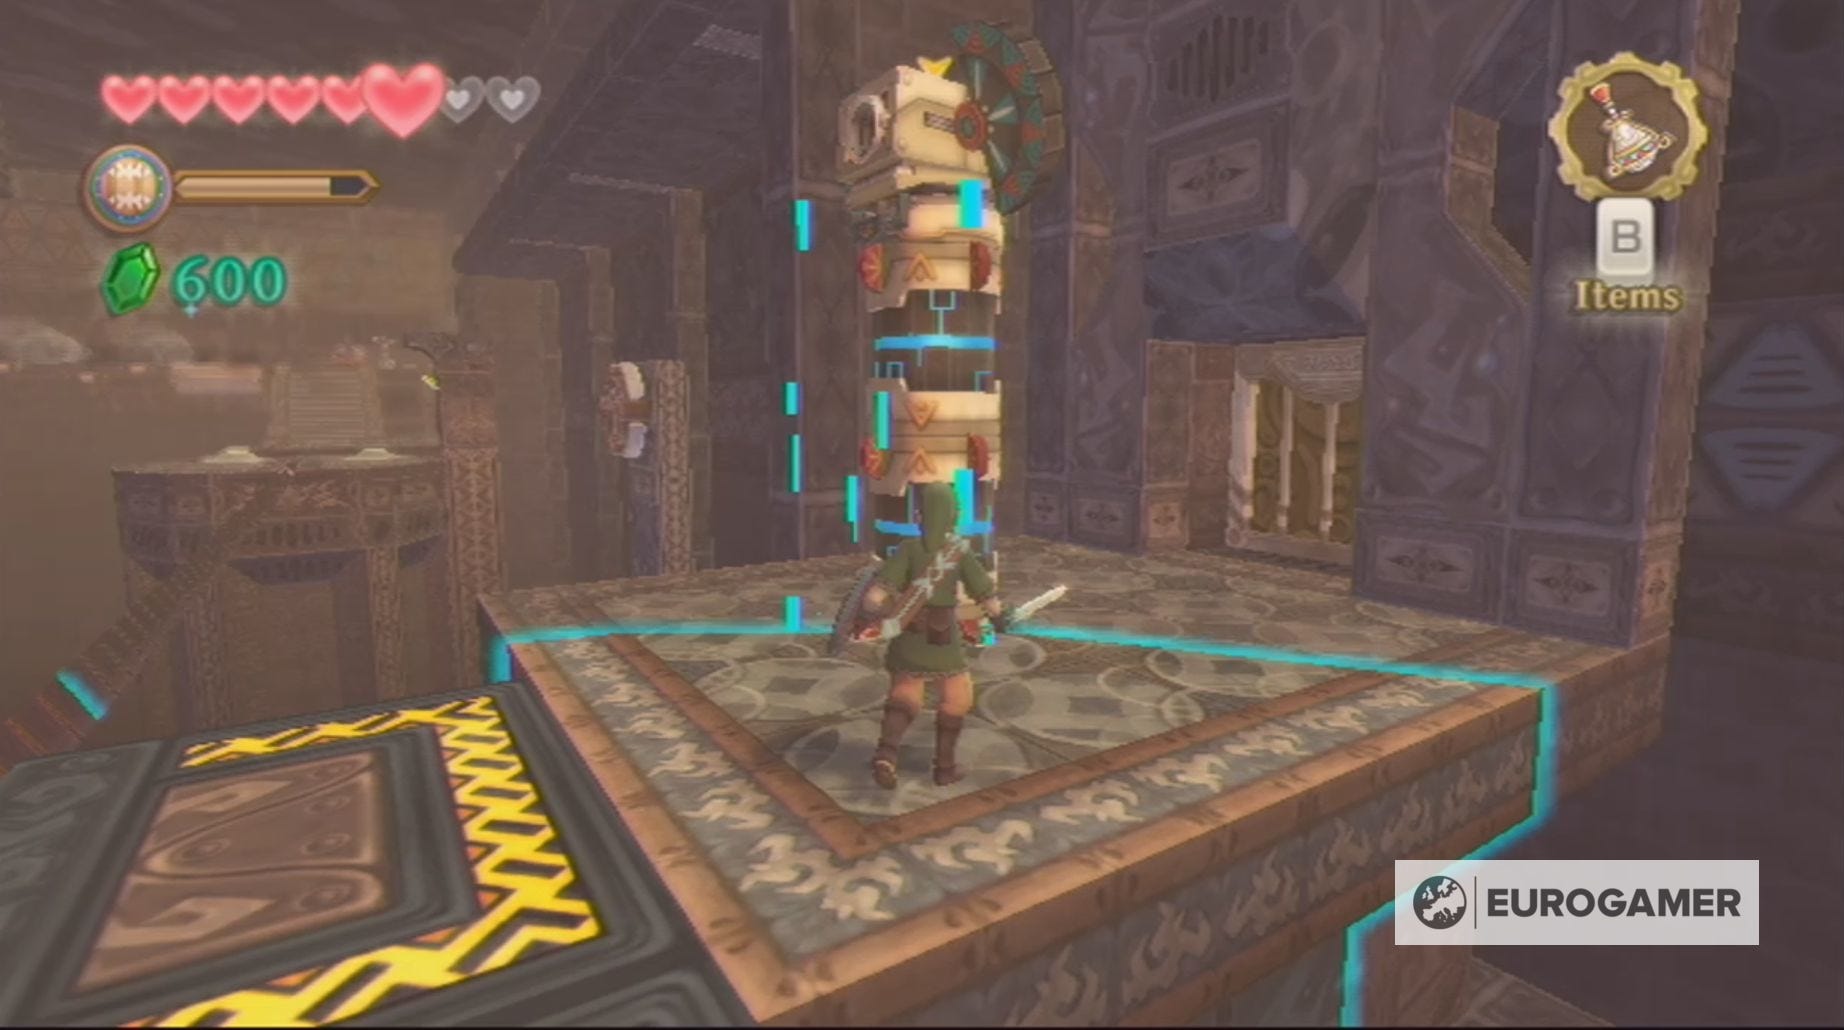
This will grant you access to the Time Stone in the middle of the room, which you need to hit with your Hook Beetle.
The room will now be returned to its working state, including the Beamos. These guard towers are defeated by slashing your sword along the blue lines on their body pieces and then stabbing them in the eye.
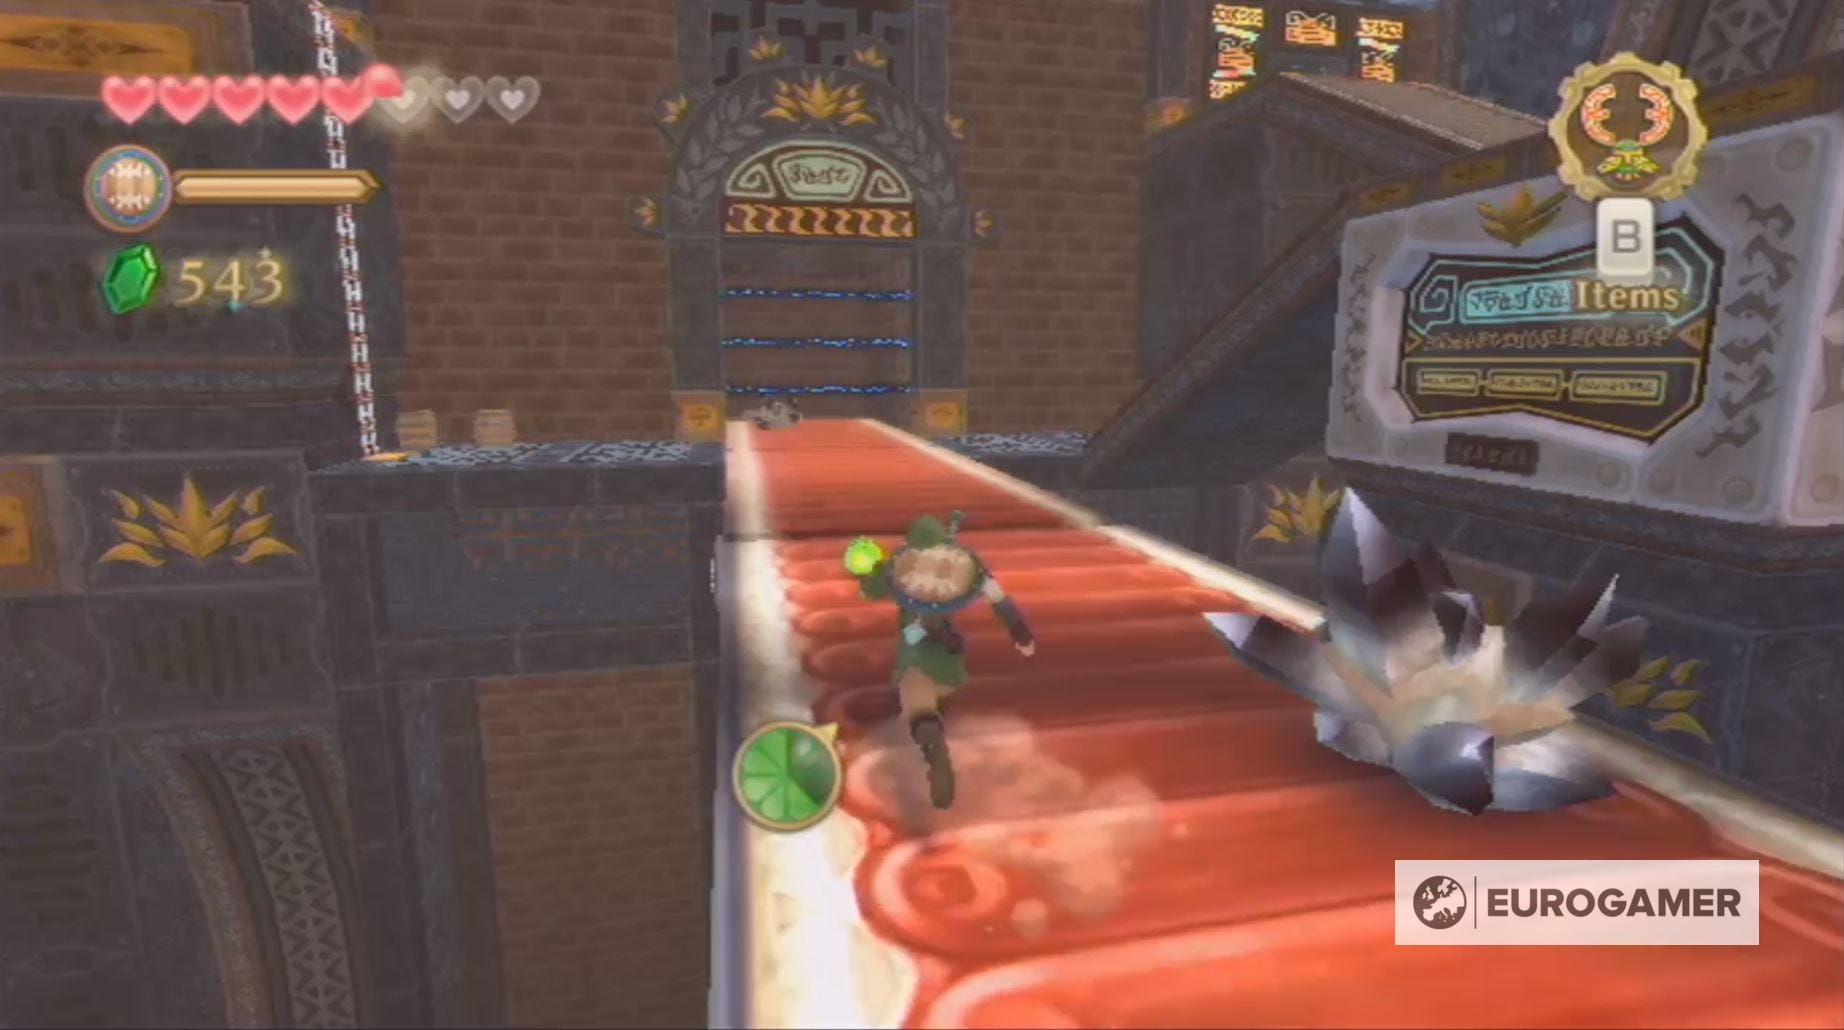
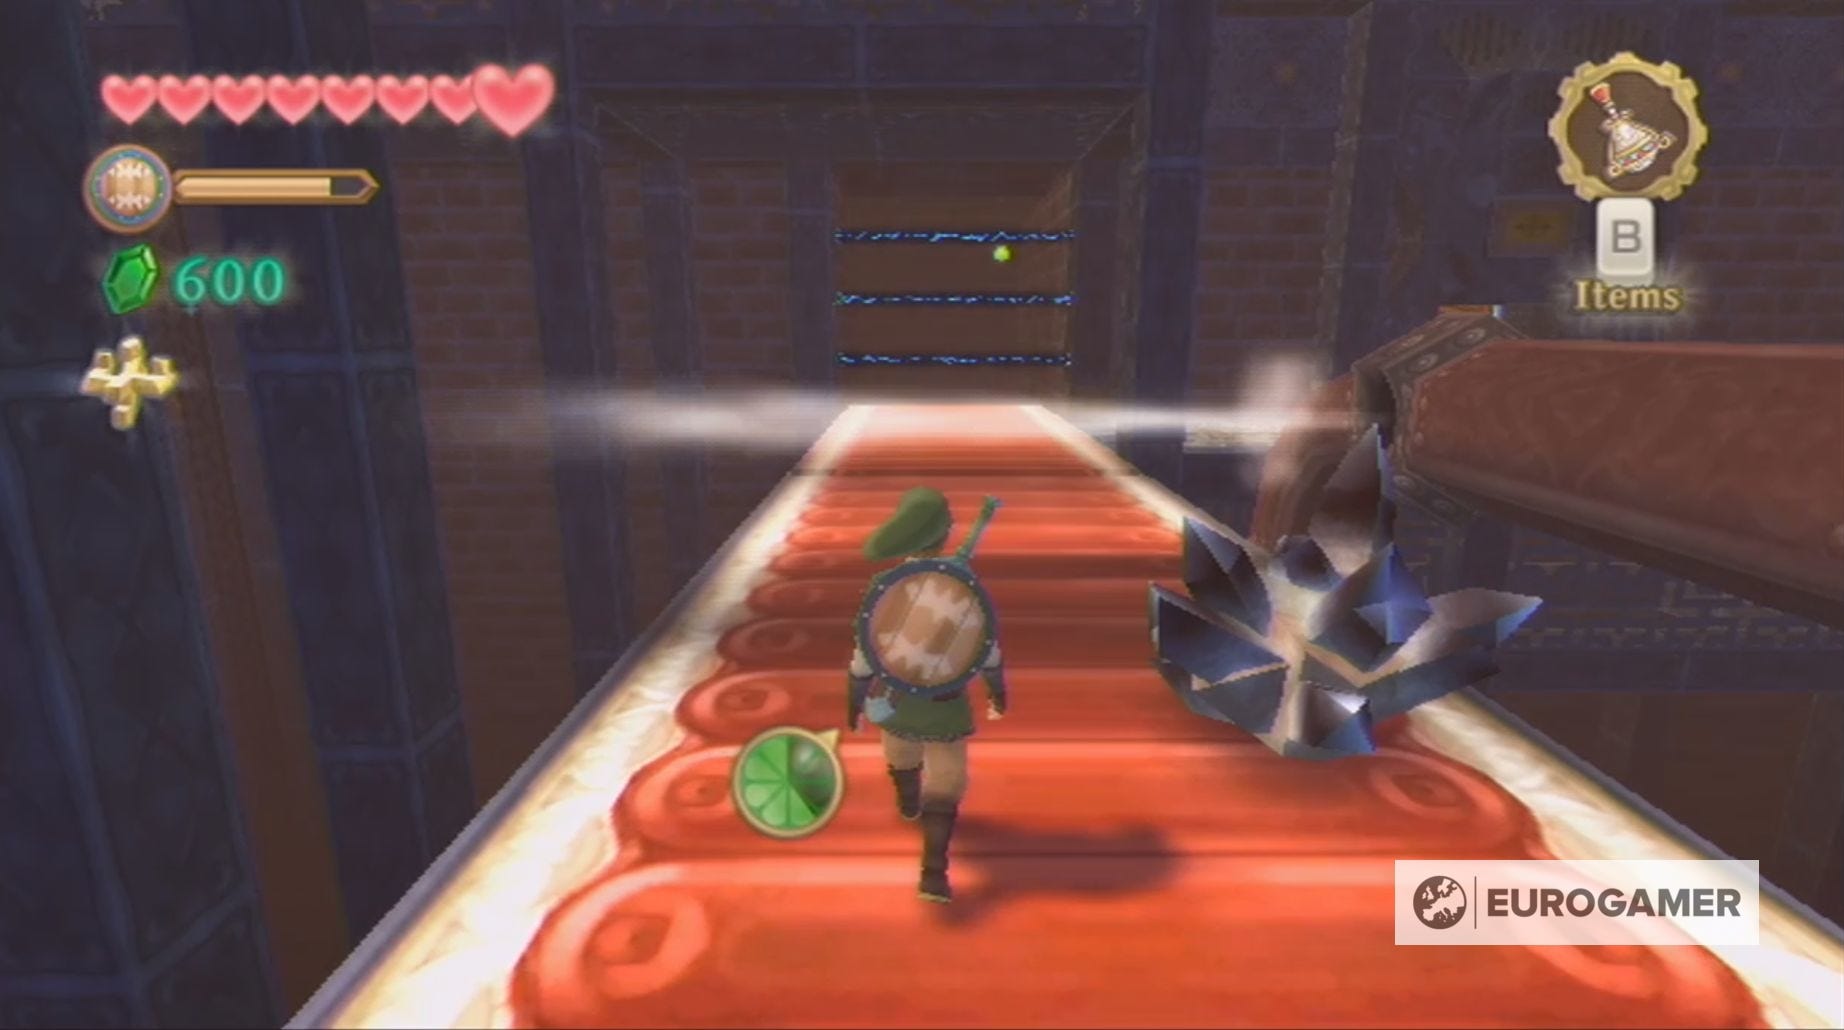
Now you need to drop down to the platform below, kill the Beamos you encounter and sprint across the conveyor belt. It's important to note that both belts have an electric fence at either end that will cause damage when hit, so make sure you're careful when crossing them.
After crossing the belt, kill the next Beamos and head down the ladder to reach another conveyor belt, which is going in the opposite direction to the previous one. It has a number of ores placed upon it and one stamina fruit, which will always appear on the left-hand side.
If you want to open the chest containing 20 Rupees on the opposite side of the room, you'll need to go to the opposite side of this conveyor belt. The easiest way to do this is to enter the belt from the side furthest away from the wall, because it will grant you enough time to run across without hitting the wall. With that done, climb the ladder and pull the lever above and, afterwards, head back across the conveyor belt.

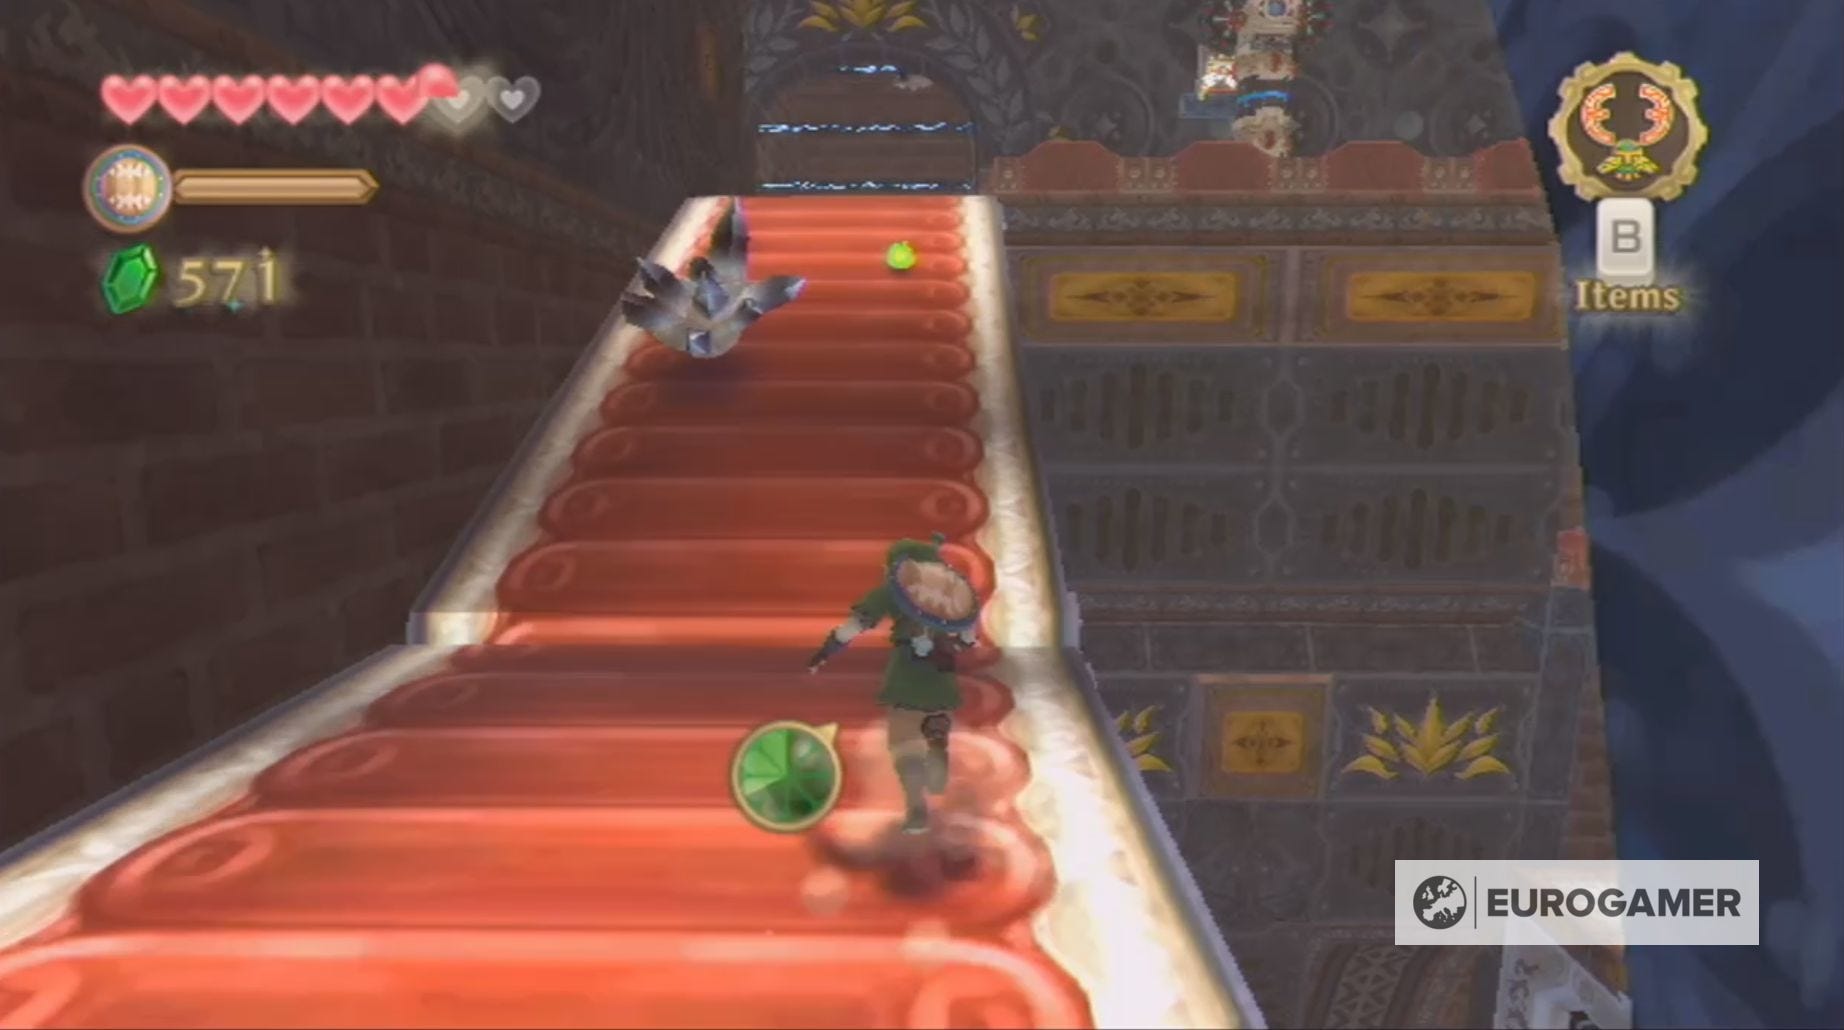
The conveyor belt is the only way to reach the other side of the room and the reason we recommend starting your journey on the left-hand side is that this is the side the stamina fruit will appear on. You must collect this fruit when it appears or else you'll run out of stamina and end up hitting the electric fence.
Wait until you can see the stamina fruit coming towards you and then enter the belt; collect the fruit and make sure you avoid the ore or else you'll take some damage. If you want to open the chest, leave the belt on it's left-hand side and, if not, leave on the right.
Head up the stairs until you reach the third conveyor belt, which, again, is running in the opposite direction. Like before, enter the belt when you can see the stamina fruit coming towards you, making sure you collect it every time, as you dodge the ore.
At the top of the belt, kill the Beamos and pull the lever, before enjoying a trip back down the belt, so you can go through the now open door.
This room is traversed by jumping from block to block, but, as you'll notice, some are covered in stones.
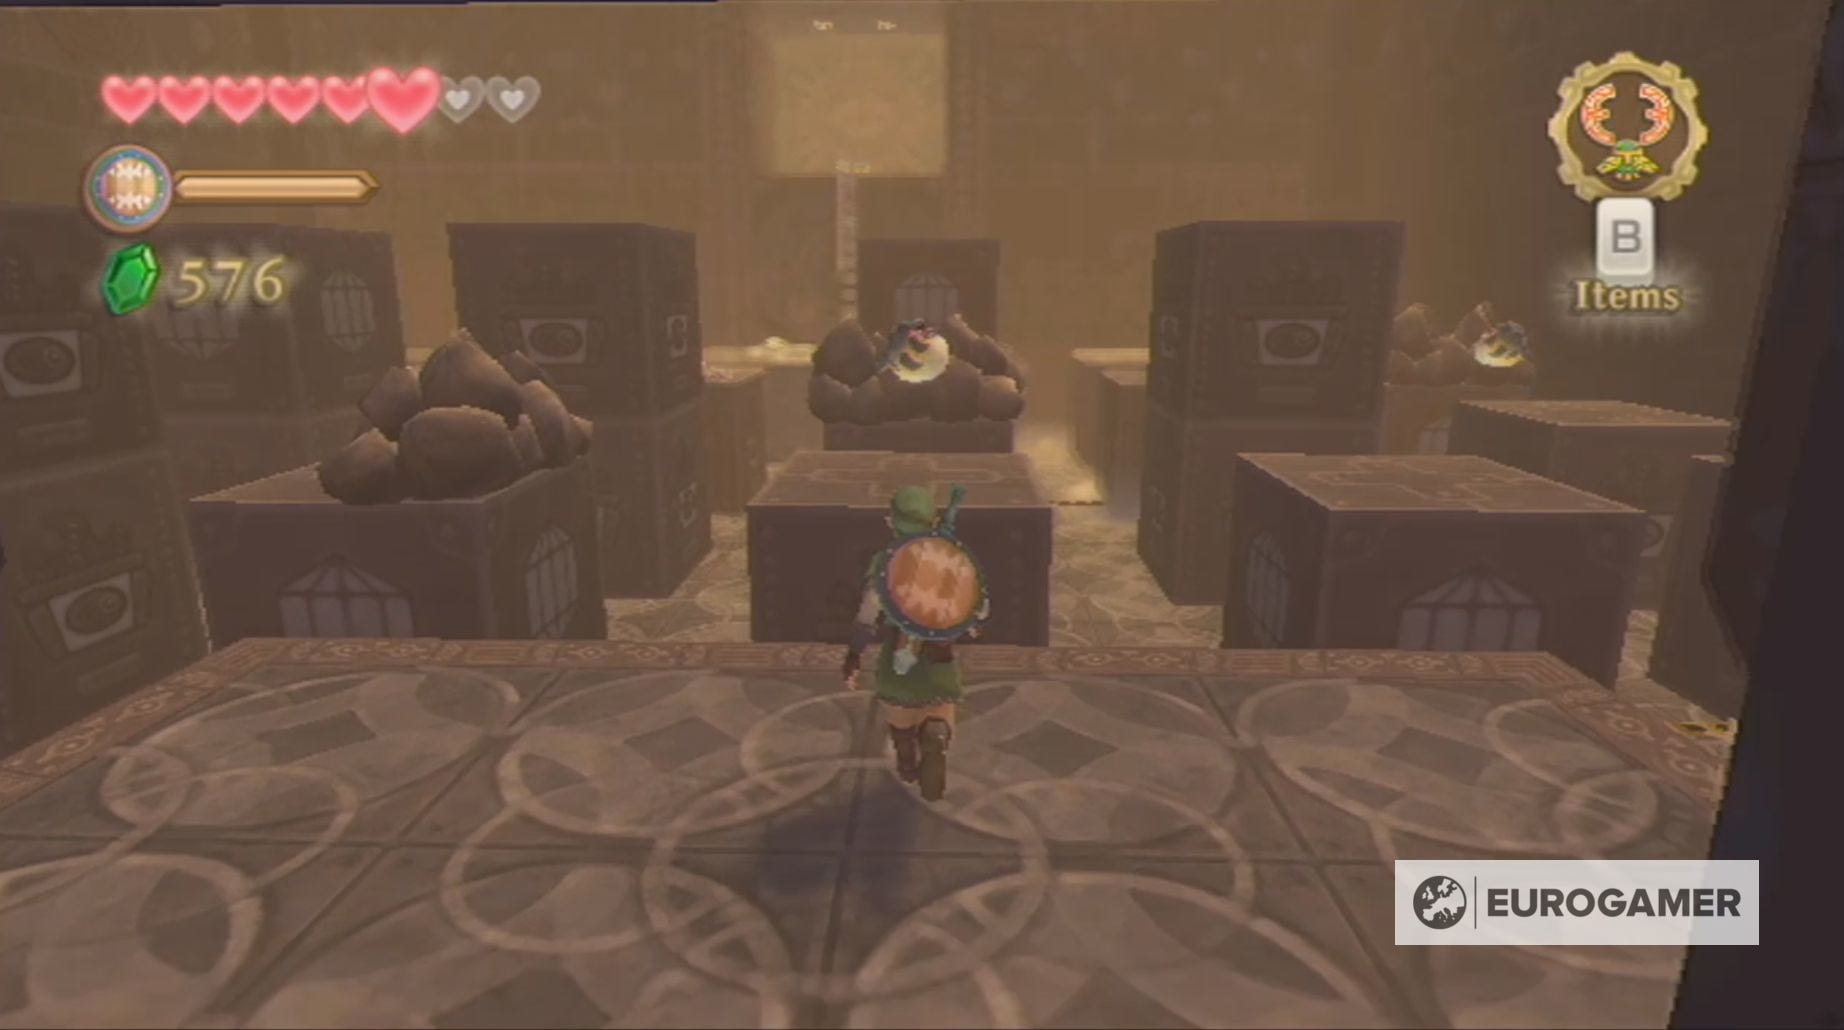
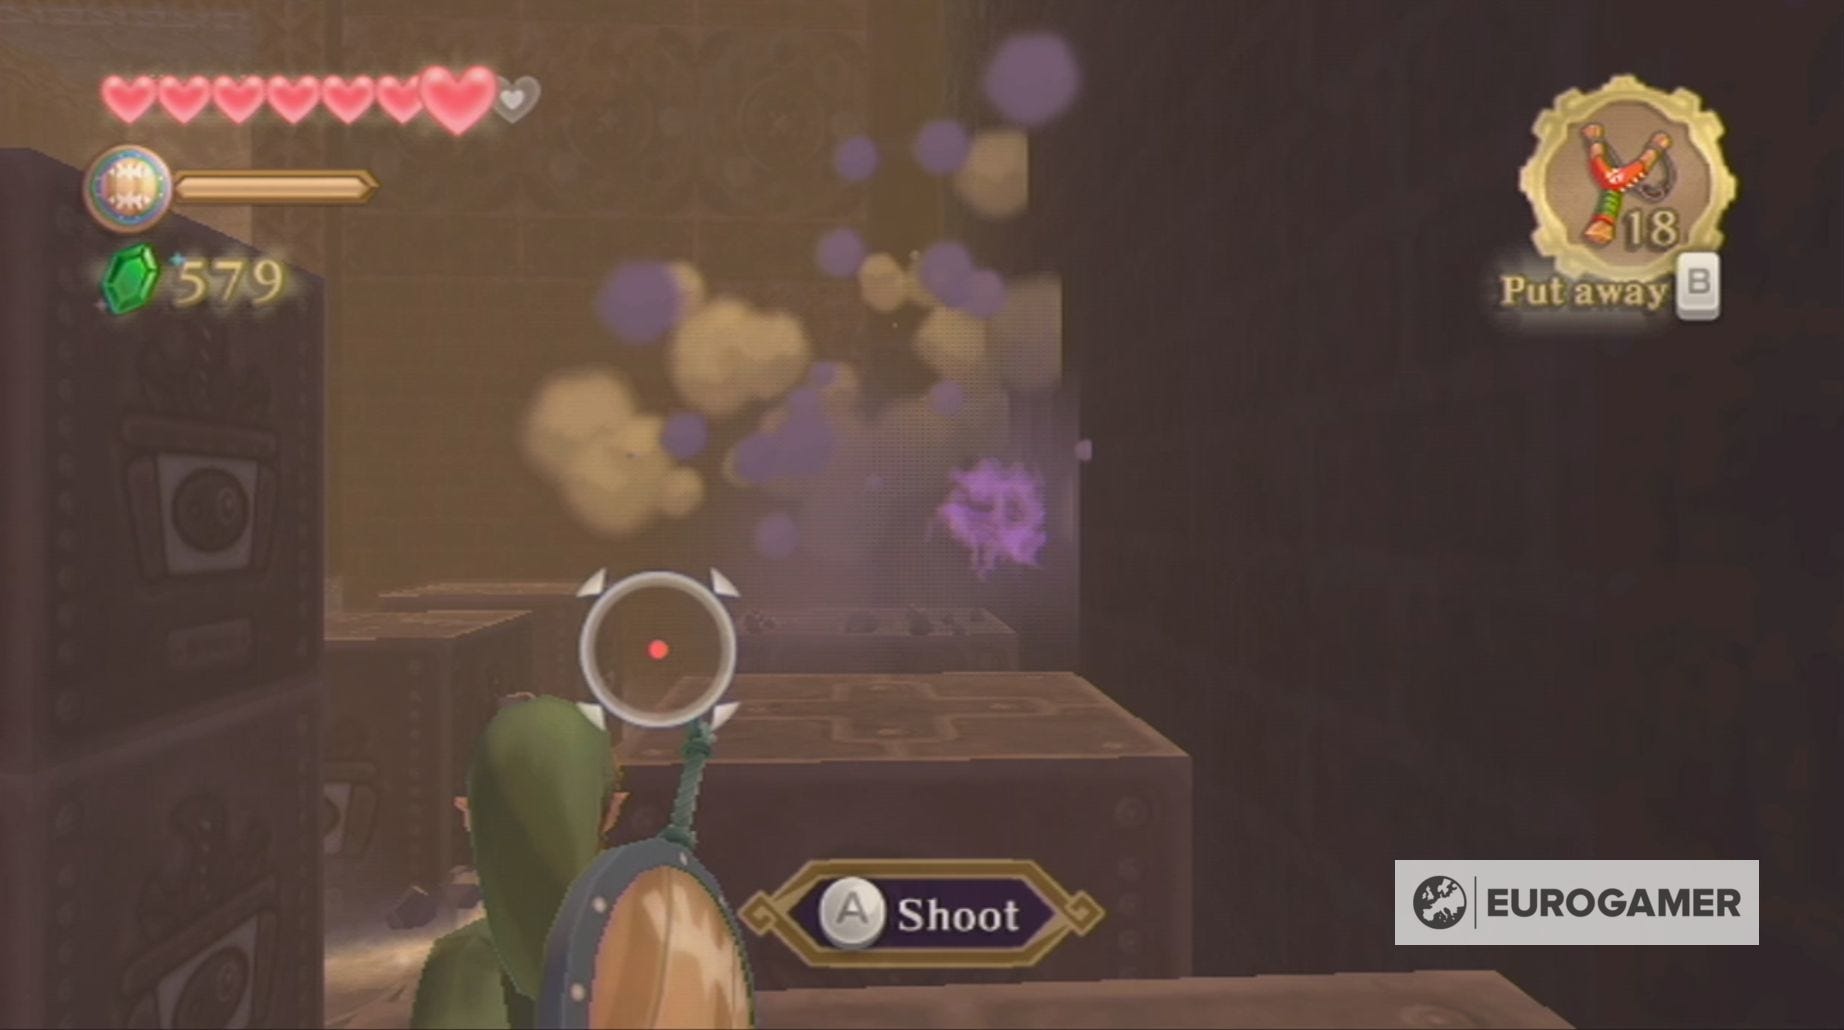
Sadly, any bomb you throw towards them will roll off, so, instead, you need to explode the nearby Froaks. You can position a Froak by shooting it with the Slingshot when it's inflated, before running away to make it deflate.

If you decide to explore the floor, you'll encounter a number of Aracha and spikes which will block your path.
To find the treasure hidden in this room, jump onto the block in front of you and, then, onto the ones to your right. Now you need to use the nearby Froak to destroy the stone, so you can reach the platform with the ladder.
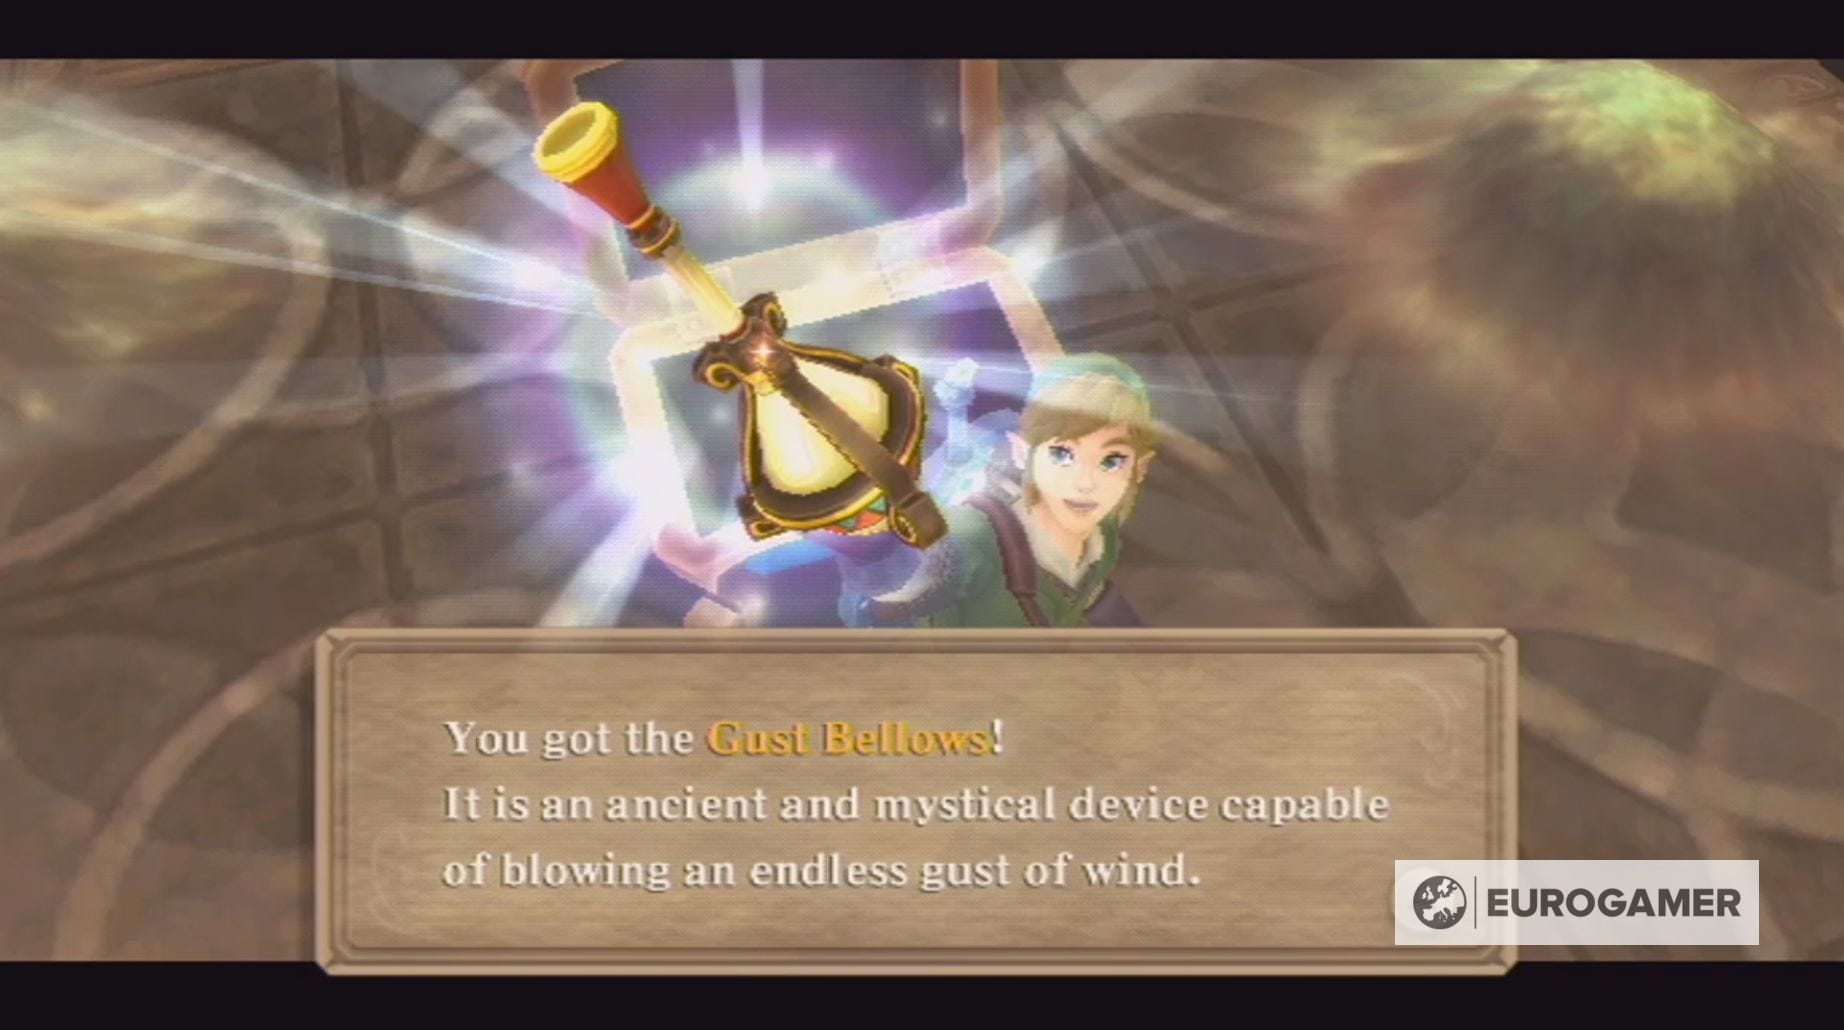
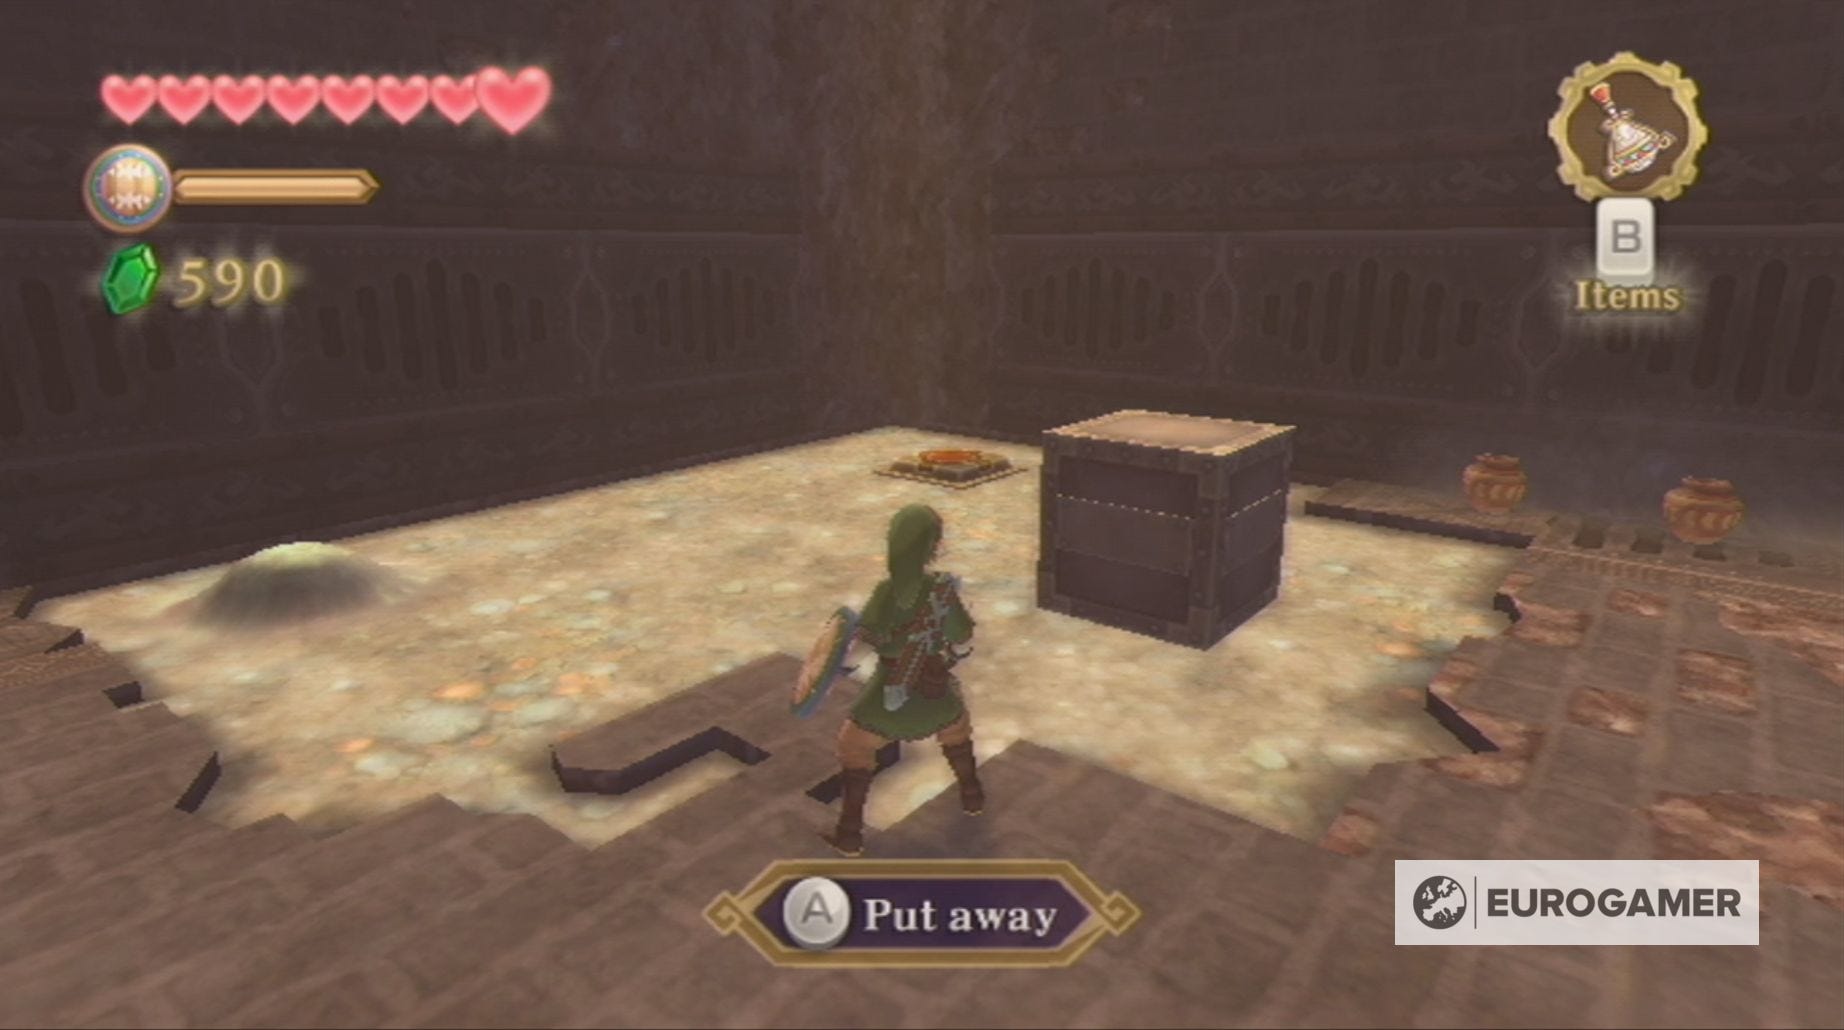
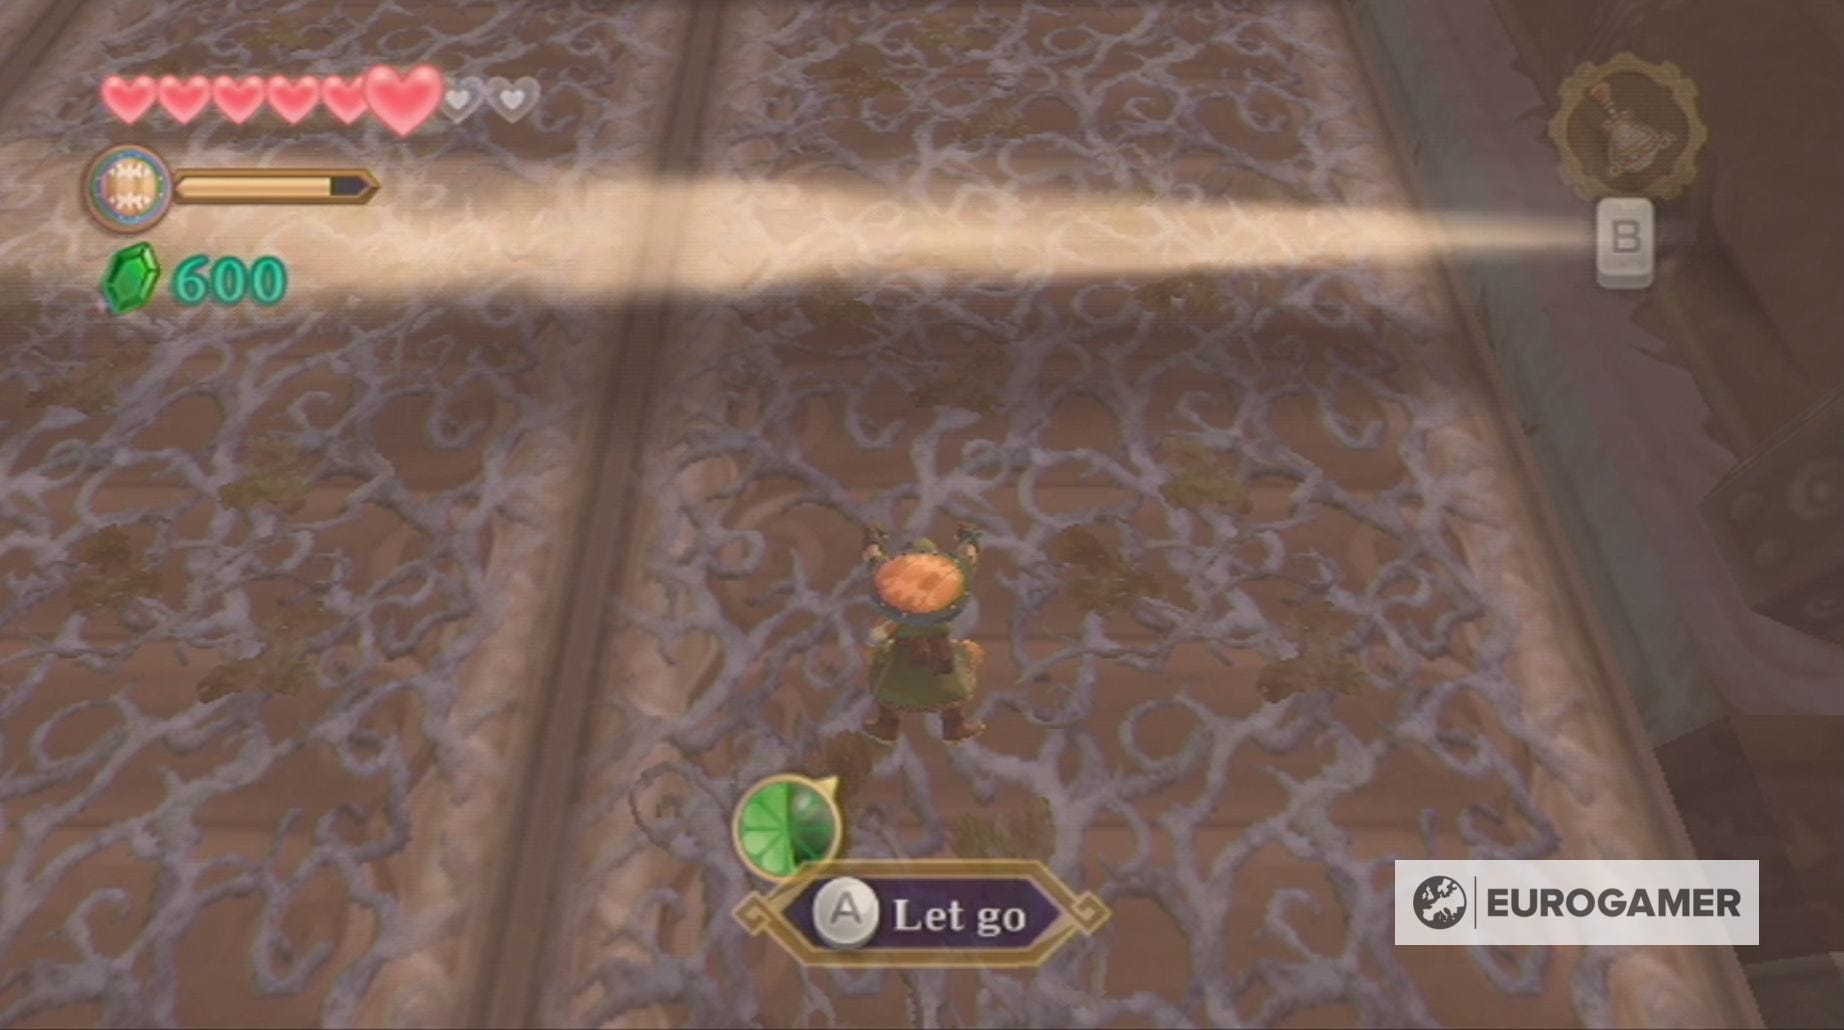
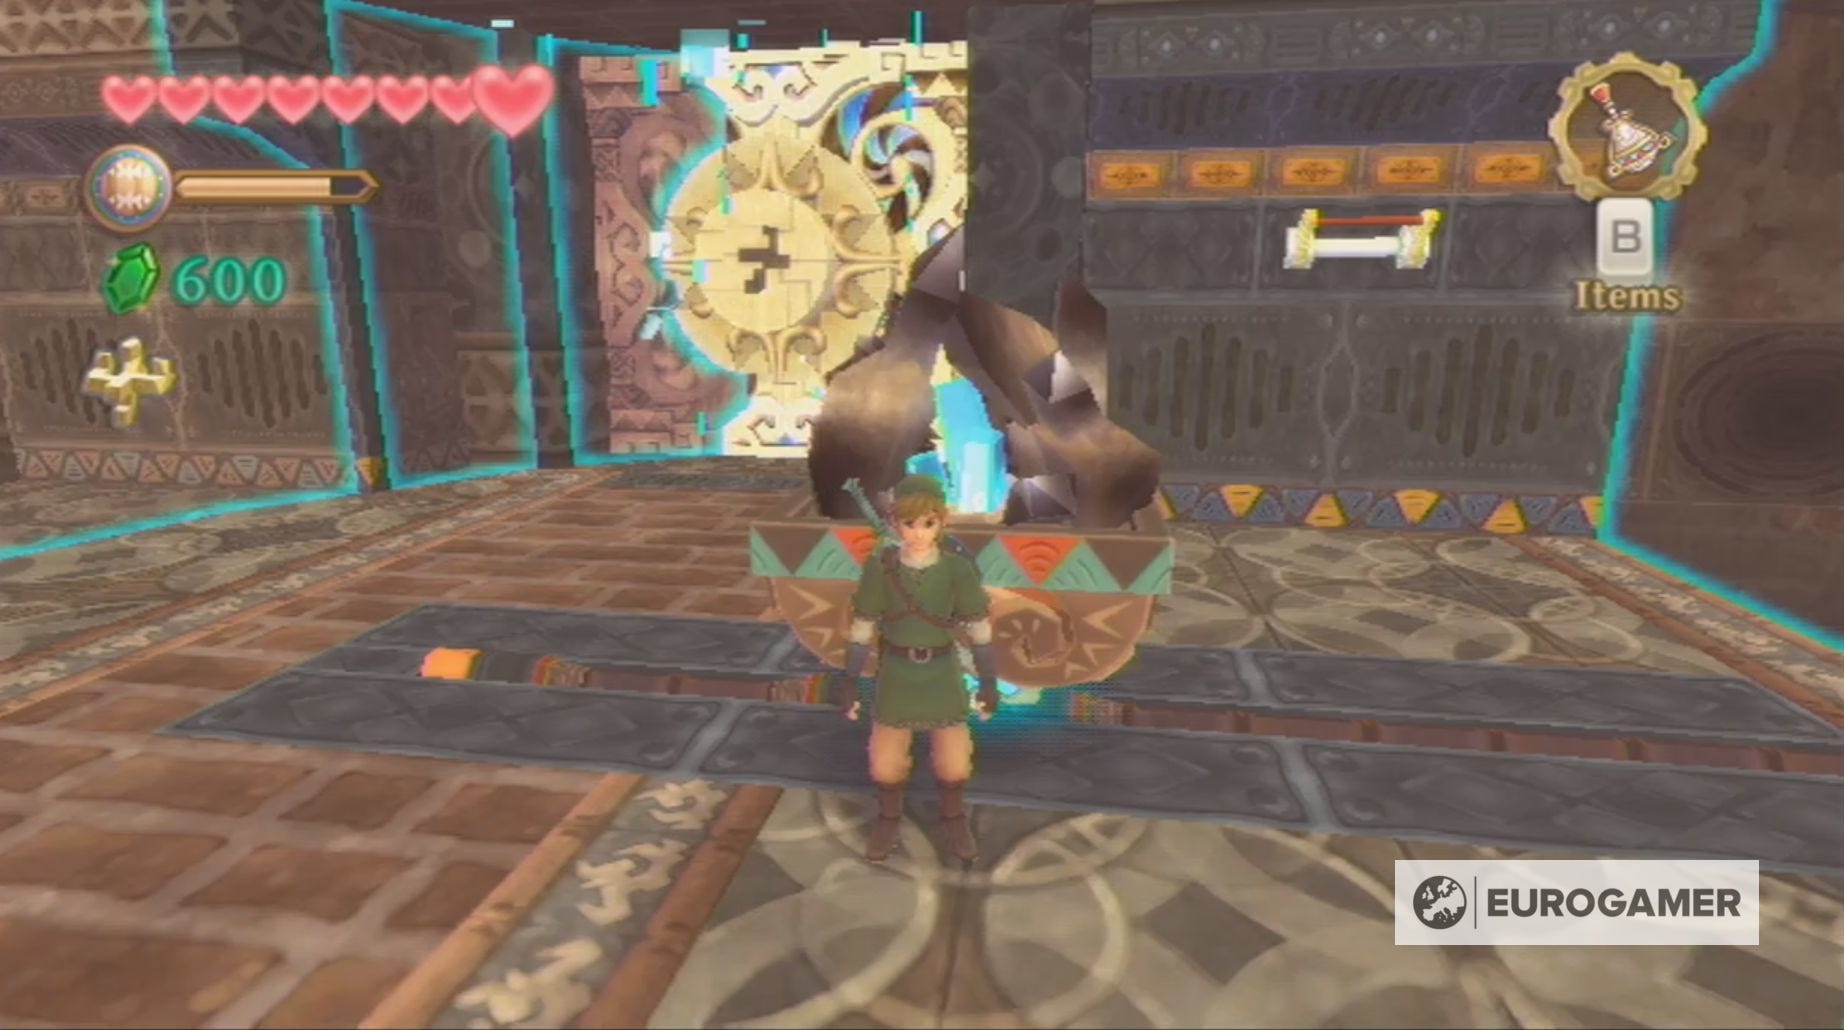
Head up this ladder and kill the Aracha waiting for you, before opening the chest containing the Gust Bellows.
You can use the Gust Bellows to blow away piles of sand for puzzle solving purposes or to see if they contain any treasures. It can also be used to knock certain enemies, like Aracha, out of your way or to move platforms.
Lanayru Mining Facility dungeon map location explained
Now you have the Gust Bellows, it's time to find the dungeon map for the Lanayru Mining Facility.
First, however, you need to leave this room, which is done by following the set of blocks in front of the platform you're currently on. You can use the Gust Bellows to push the Aracha onto the floor and ensure the Froak is in the right position, so you can use it to destroy the stones blocking your path.
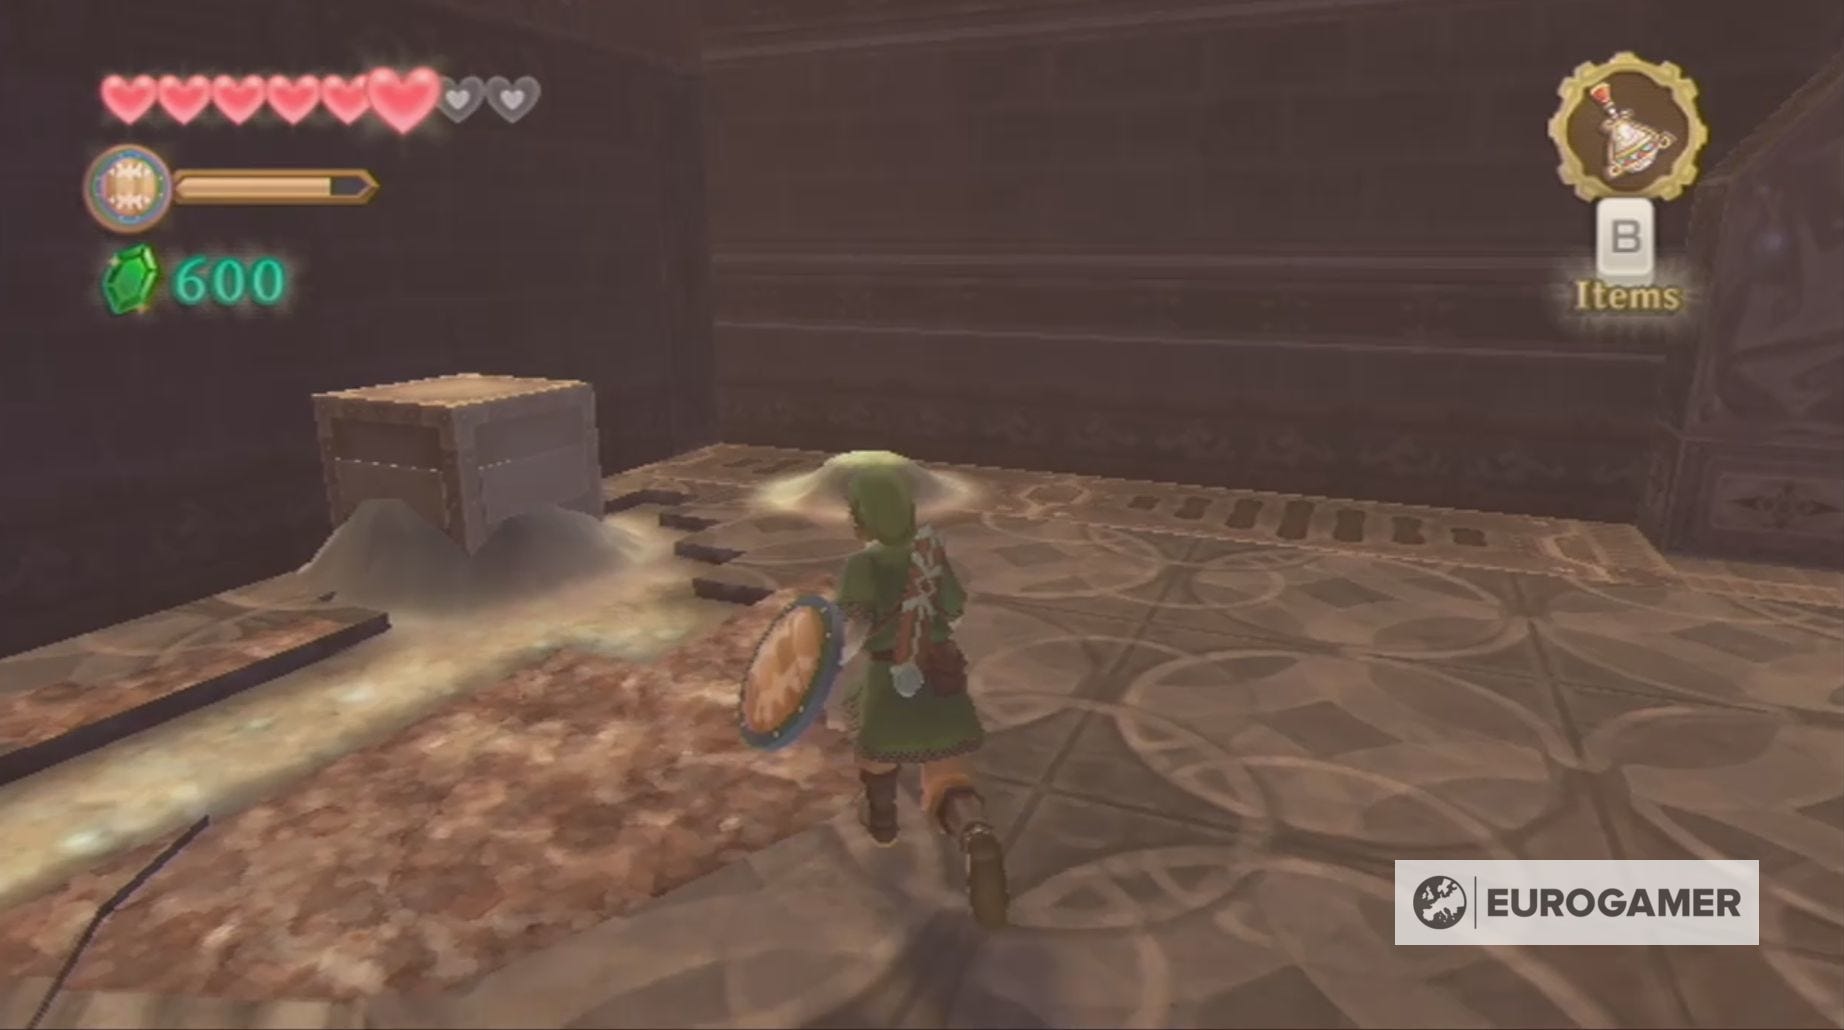
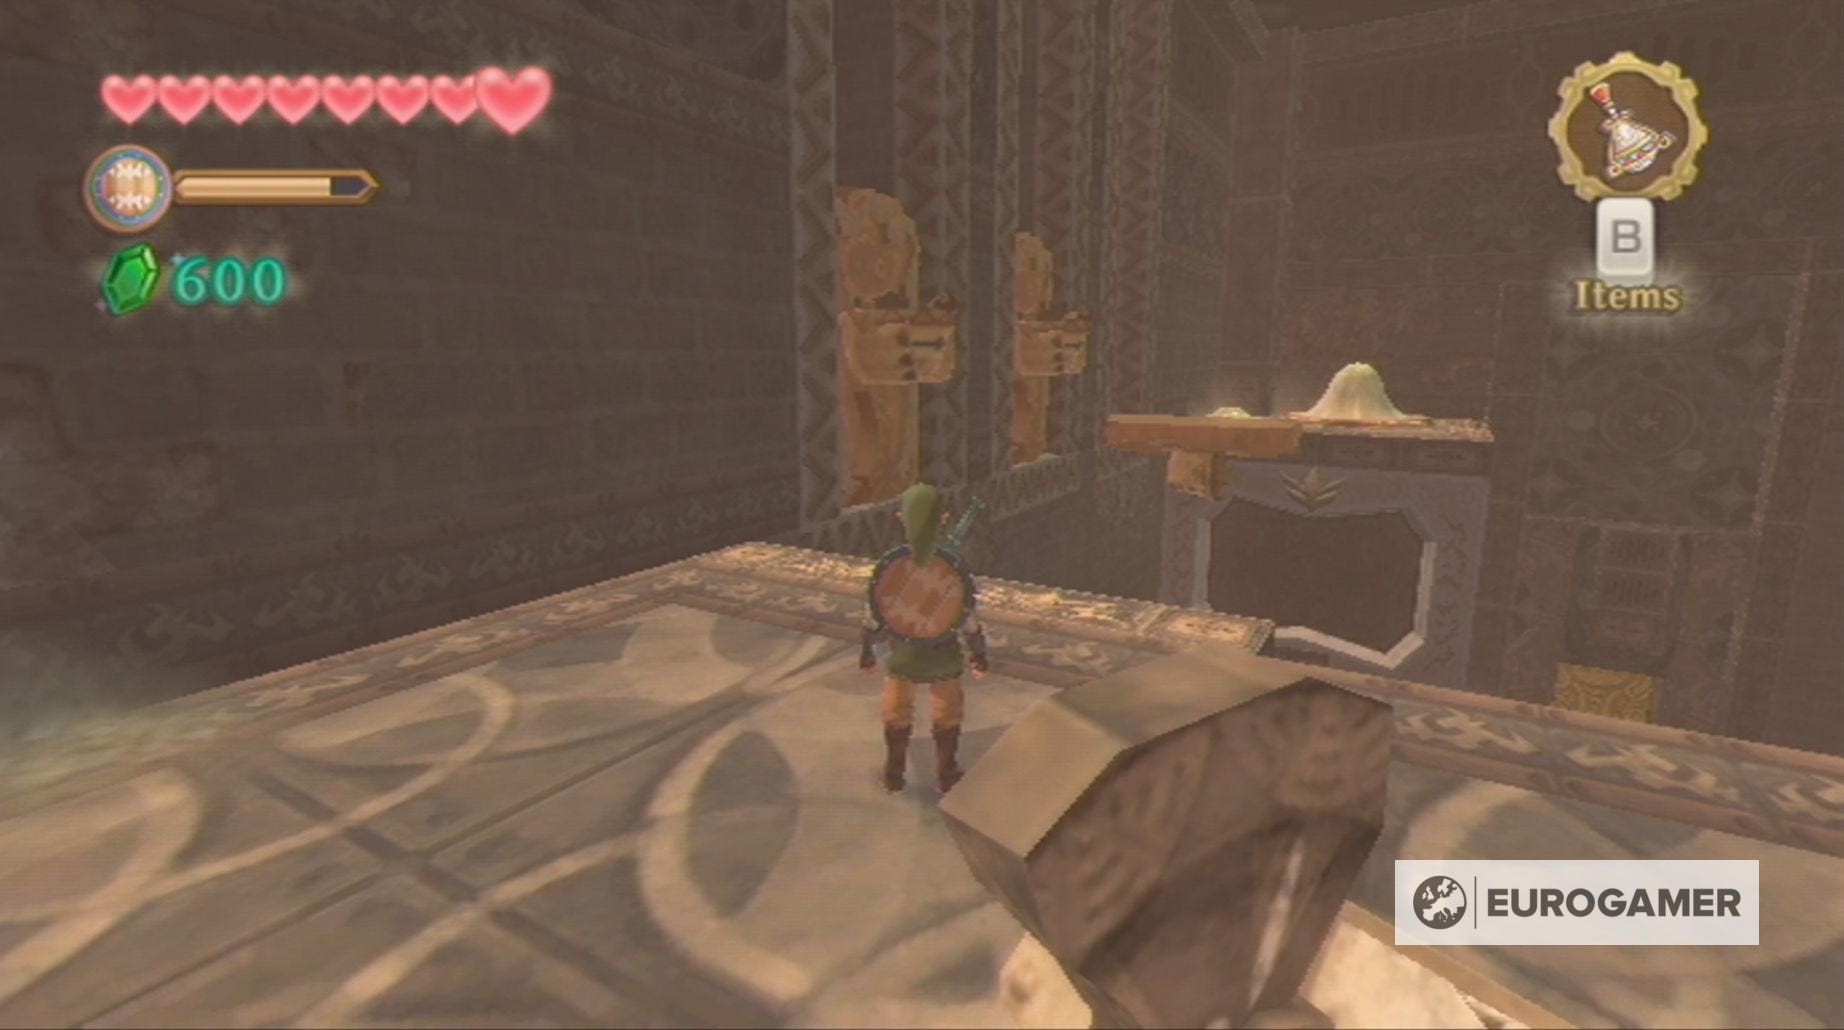
On the way, you might also want to open the nearby chest for a random material. If you do, you can reach the upper level again by using the blocks next to the platform where you found the Gust Bellows.
Once you're on the platform beneath the door, kill the Aracha waiting for you and push the nearby block to the floor in case you ever find yourself returning to this room.
Now all you need to do is climb the ladder and use the Gust Bellows to clear the sand, so you can exit back into the main room of the Lanayru Mining Facility.

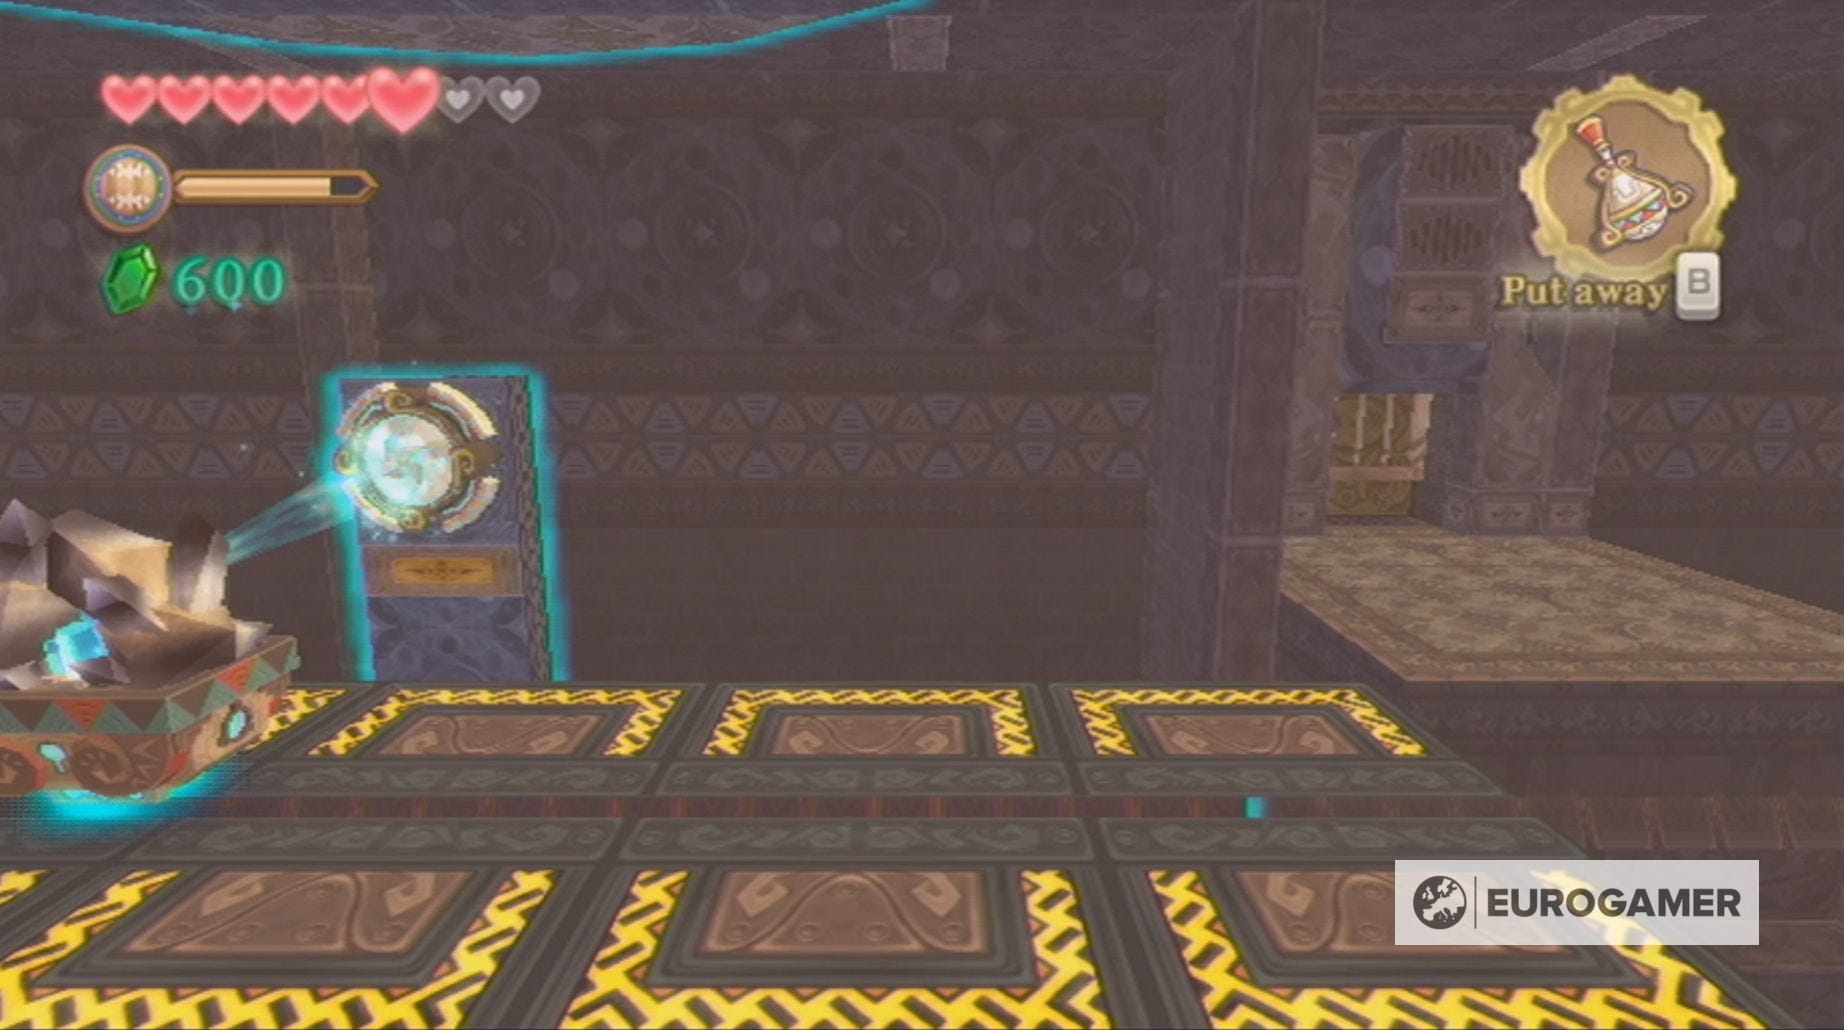
Next, you need to push the block out of the way and return to the second room you visited in the facility. Here you need to use the Gust Bellows to rid both the crate and the nearby switch of sand, so that you can place the crate atop of said switch to open the left-hand side door.
Inside this new room you need to use the various platforms to reach the bottom left-hand corner of the room. Use the Gust Bellows to blow enemies out of your way and, when you reach the corner, the large pile of sand hiding the Time Stone.

Like in the previous room, hitting the Time Stone will return the room to it's past state and you'll now have to traverse it by using the Gust Bellows to move various platforms.
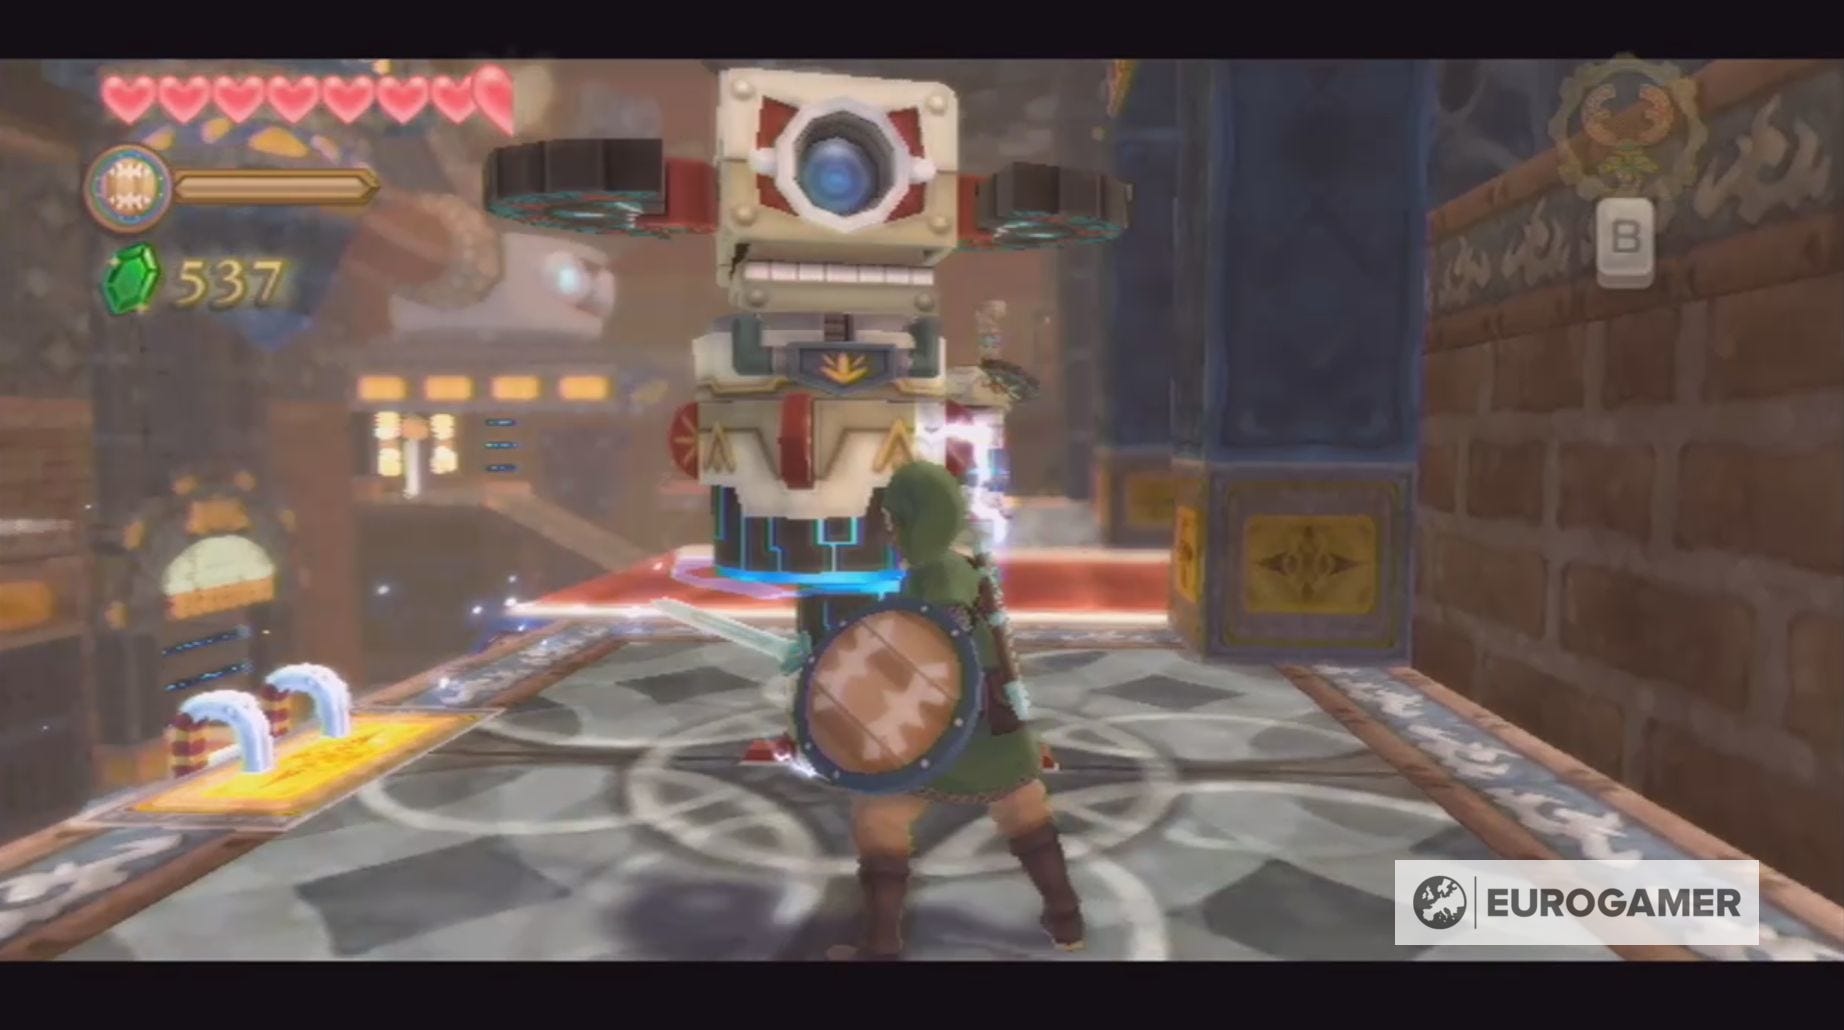
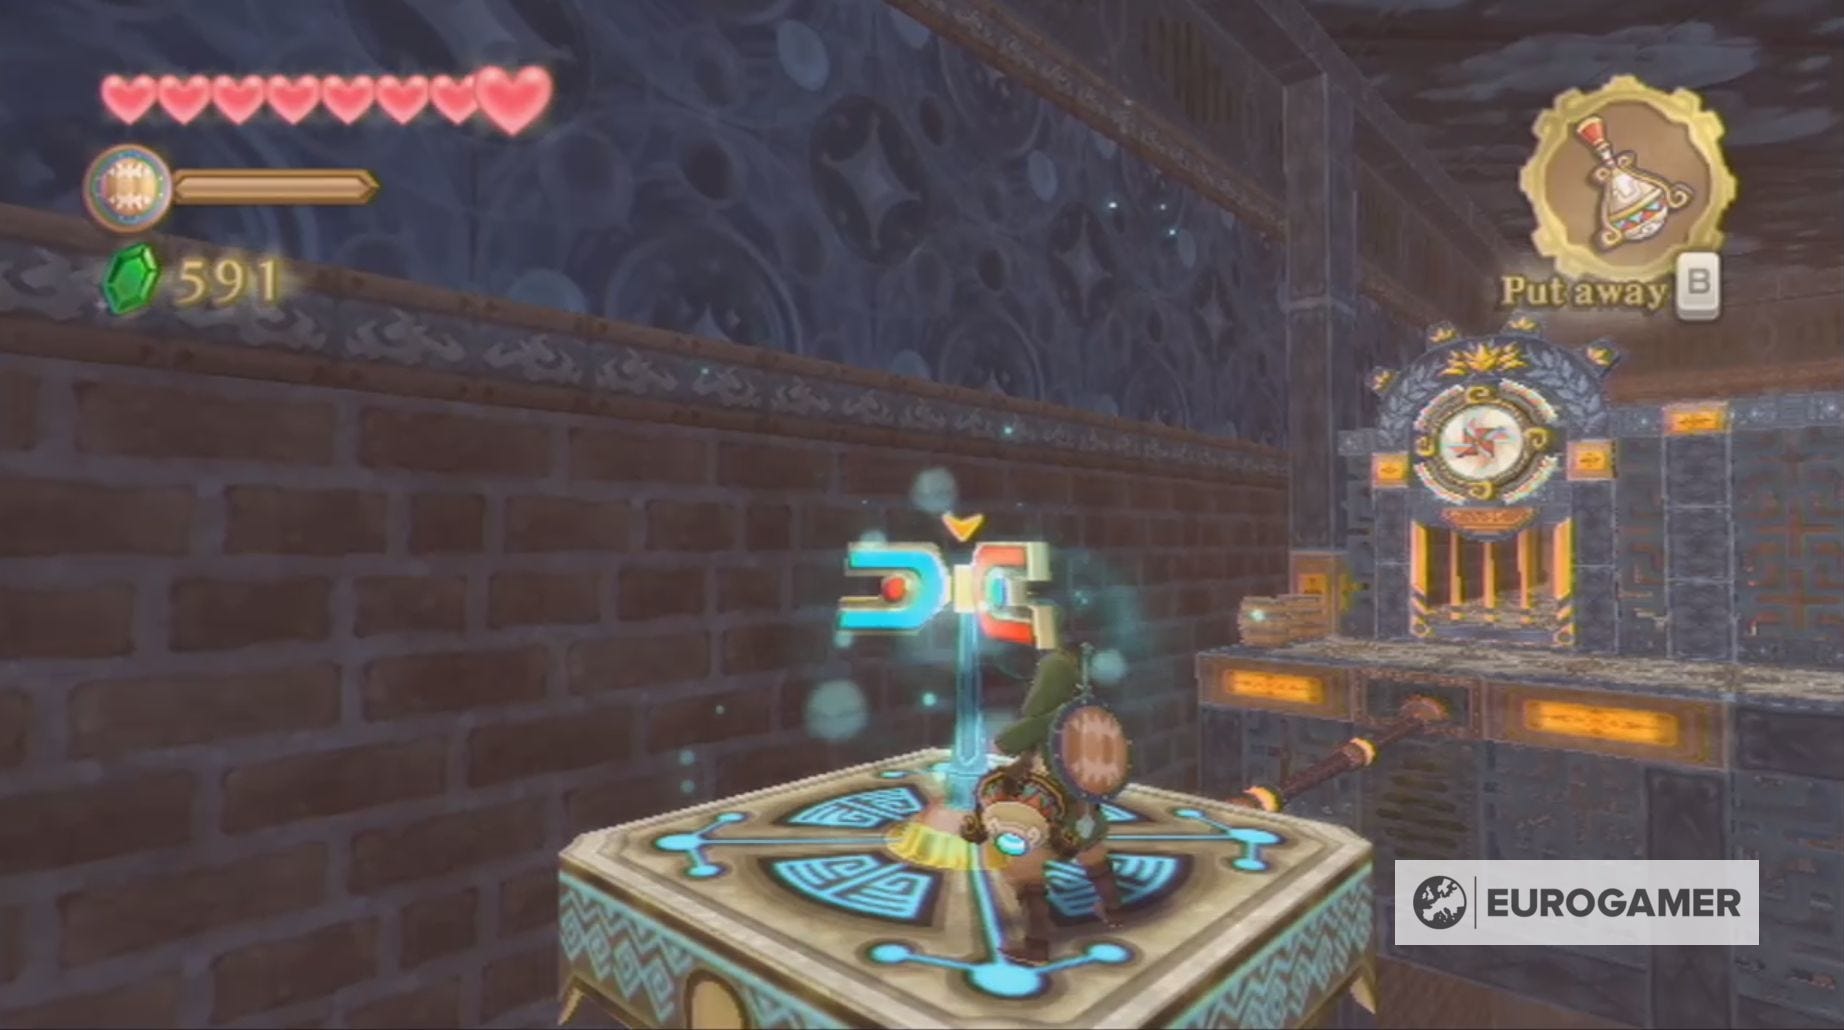
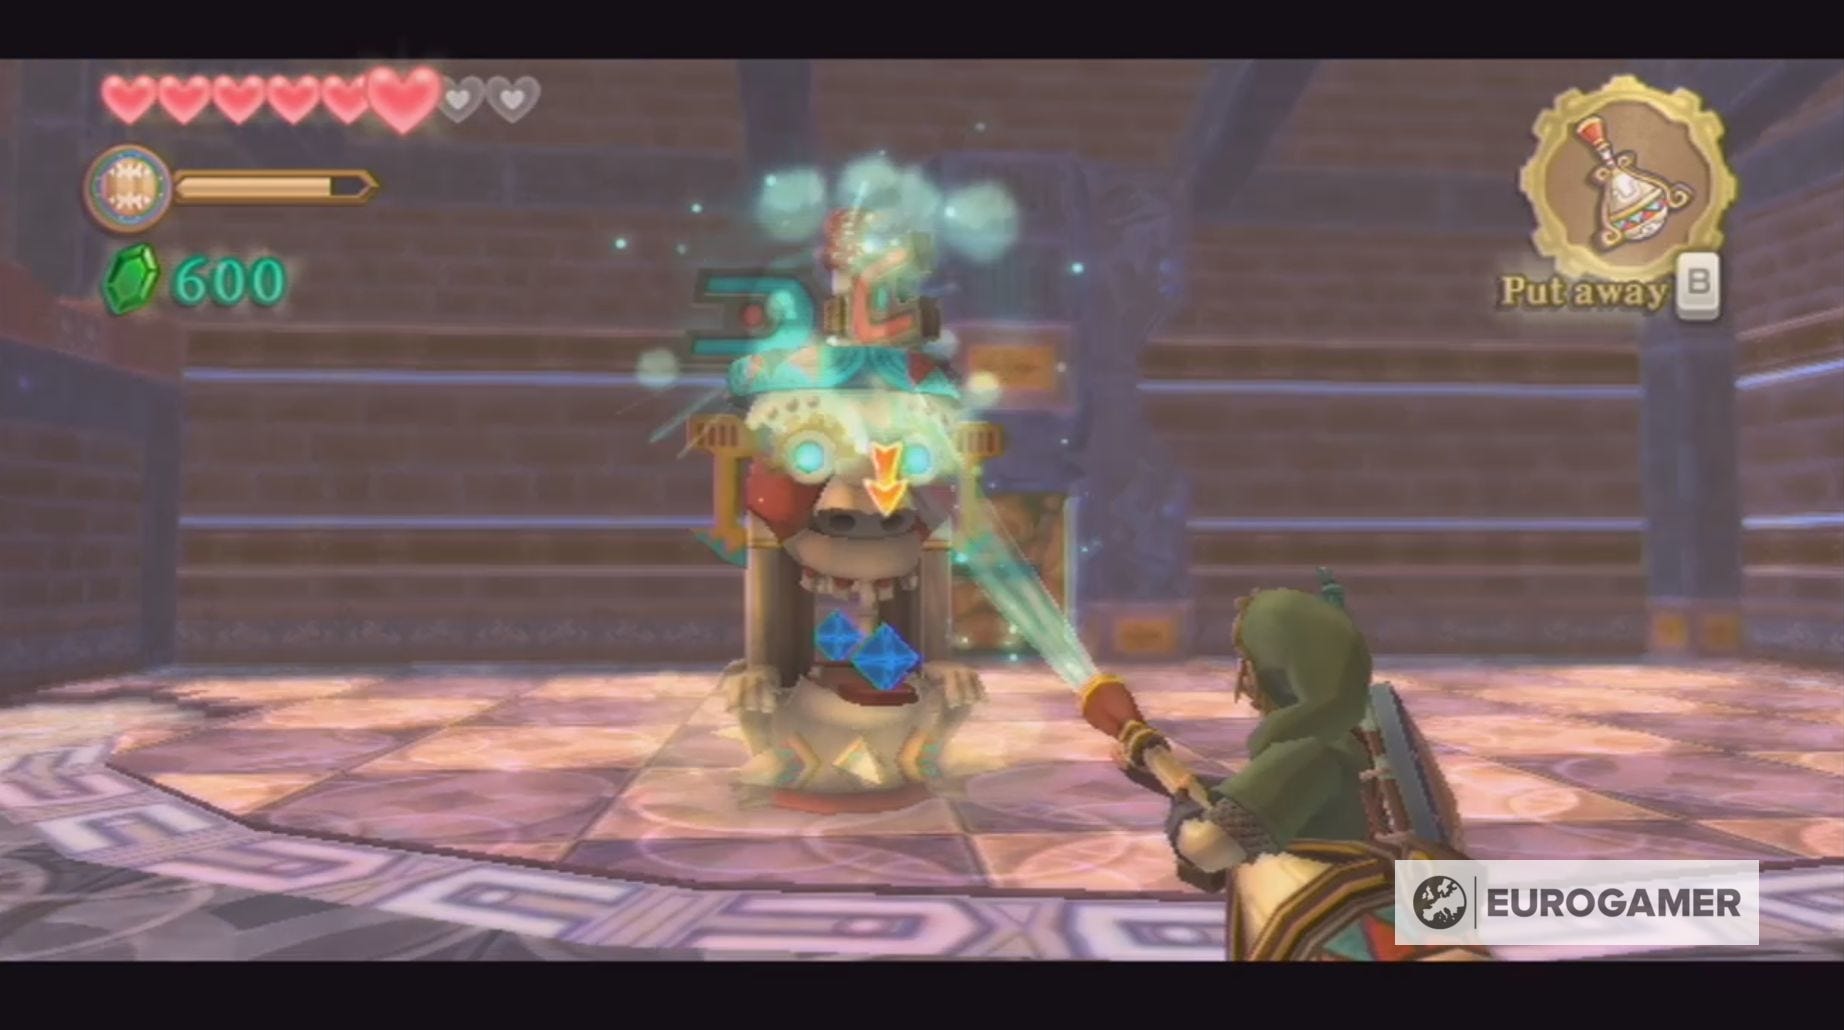
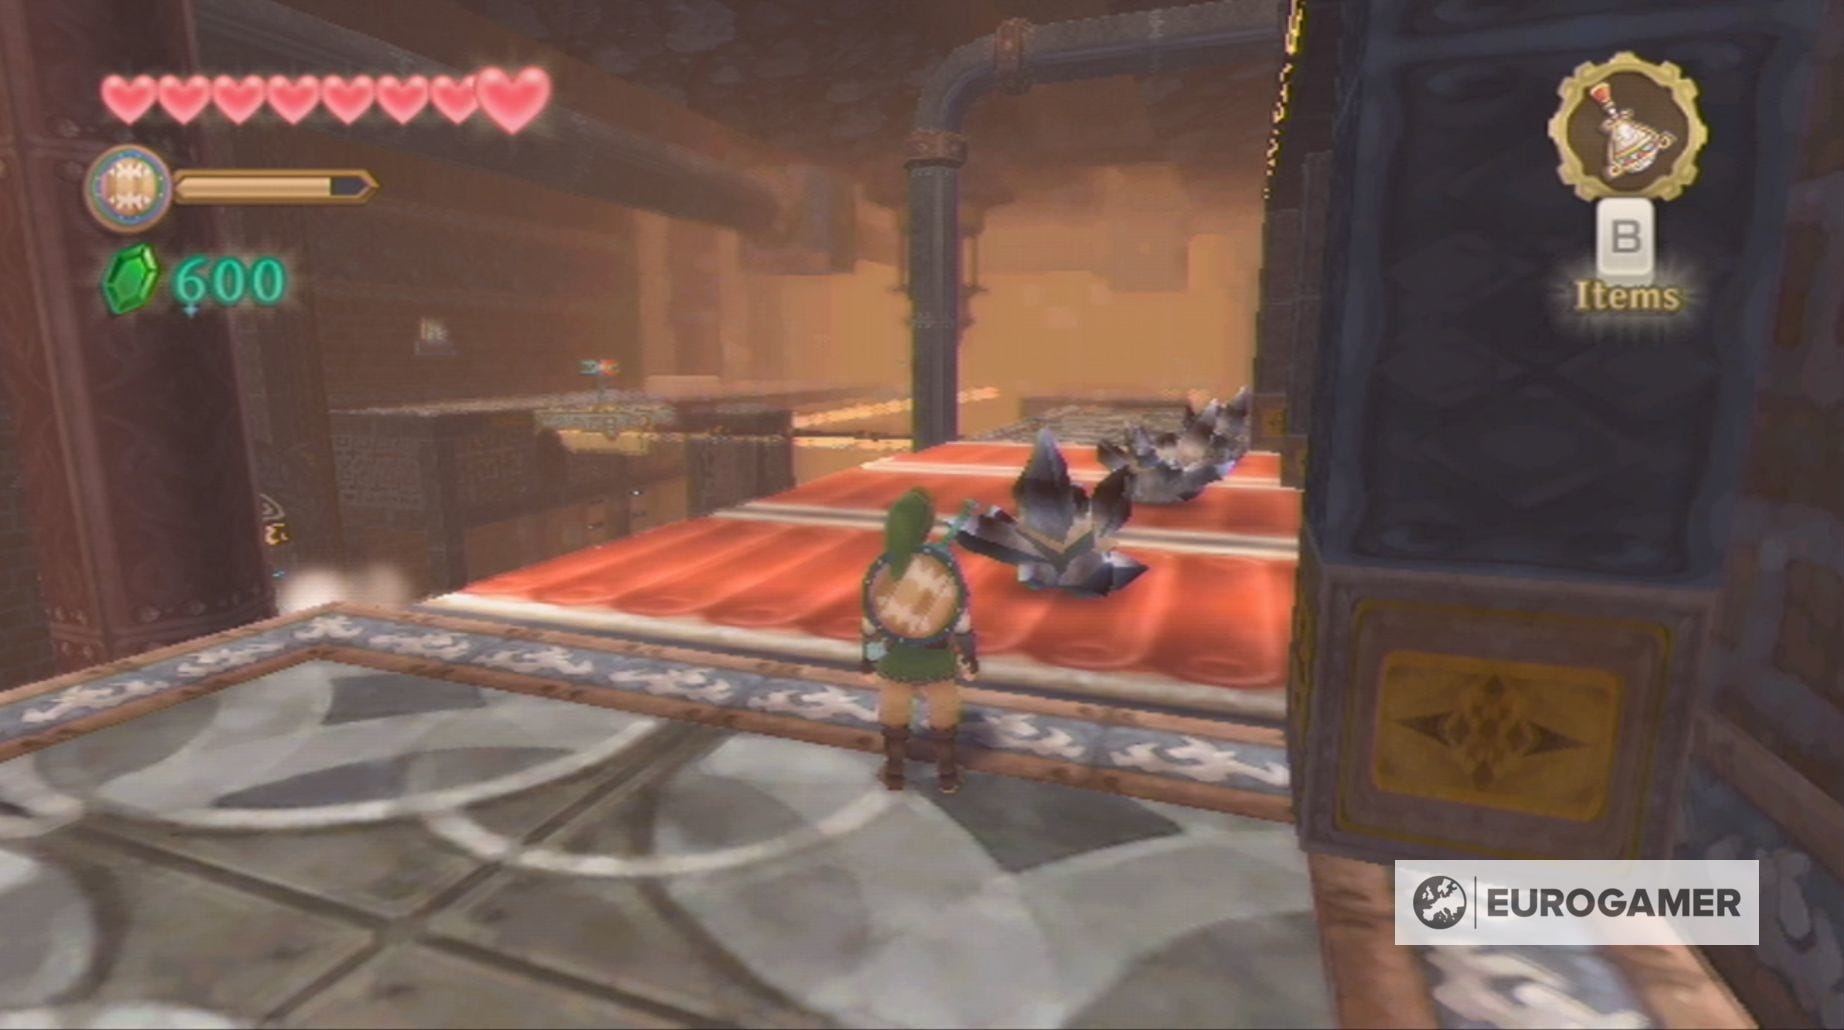
First, you need to return to the previous platform and use the Gust Bellows on the pinwheel to open the gate. After passing through the gate, you'll encounter a Beamos and your first Sentrobe.
Sentrobes are defeated by deflecting a mission back at them by either using your sword or shield. After this it will deploy two drones, which are defeated by matching the blue lines on their bodies with one of your sword swings. To finish the Sentrobe off, you will have to deflect a final missile.
With the Sentrobe defeated, head down the ladder and use the Gust Bellows to move the platform to a place where you reach it. Jump onto the platform and then quickly move it, so you can reach the chest containing a random material.
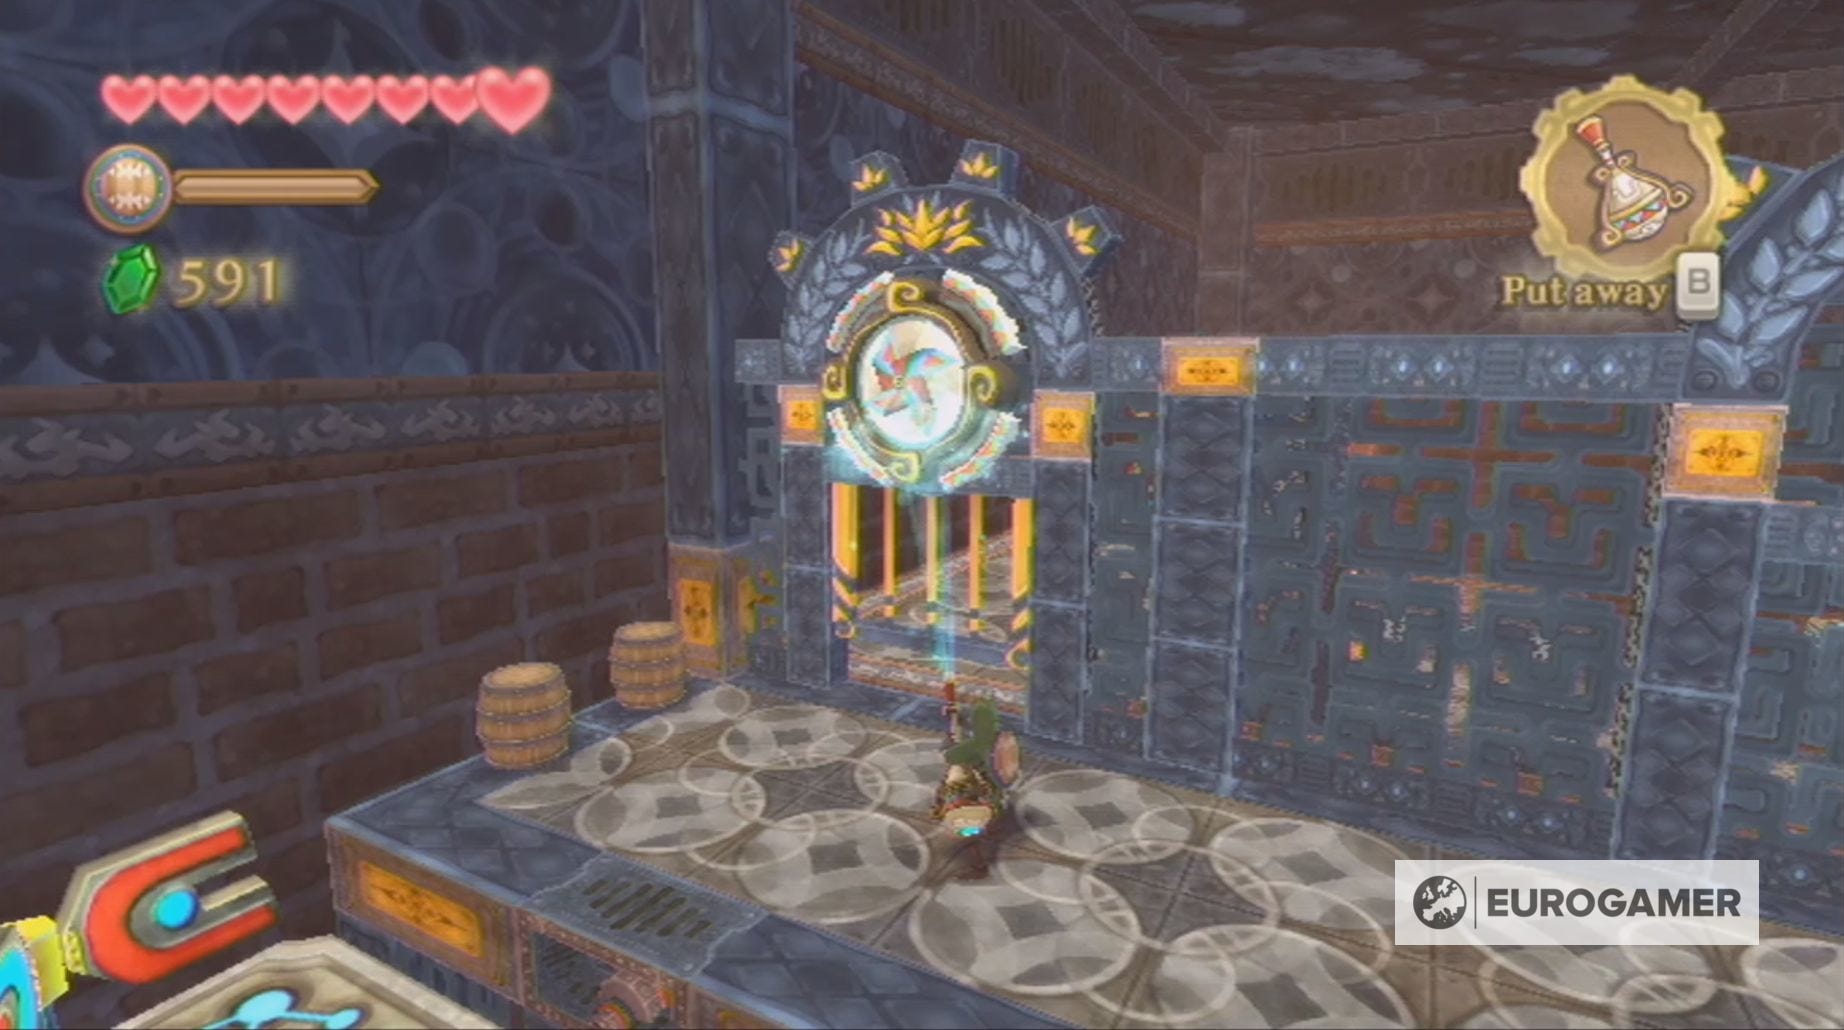
Next, you can use the platform to reach the other side of the room and quickly kill the Beamos waiting for you at the top of the ladder. Now all you have to do is use the Gust Bellows on the pinwheel to open the door.
You're back in the present in this new room and sharing it with two Staldras. After defeating these beats, blow the sand away from the block with the Gust Bellows and then, using the small path on the wall, push it into position, so you can reach the upper level of this area.
Here you'll find a chest locked behind a gate, with a large pile of sand sitting to its left. By using your Gust Bellows on this sand, you'll encounter a Time Stone which can be activated by hitting it with the Slingshot.
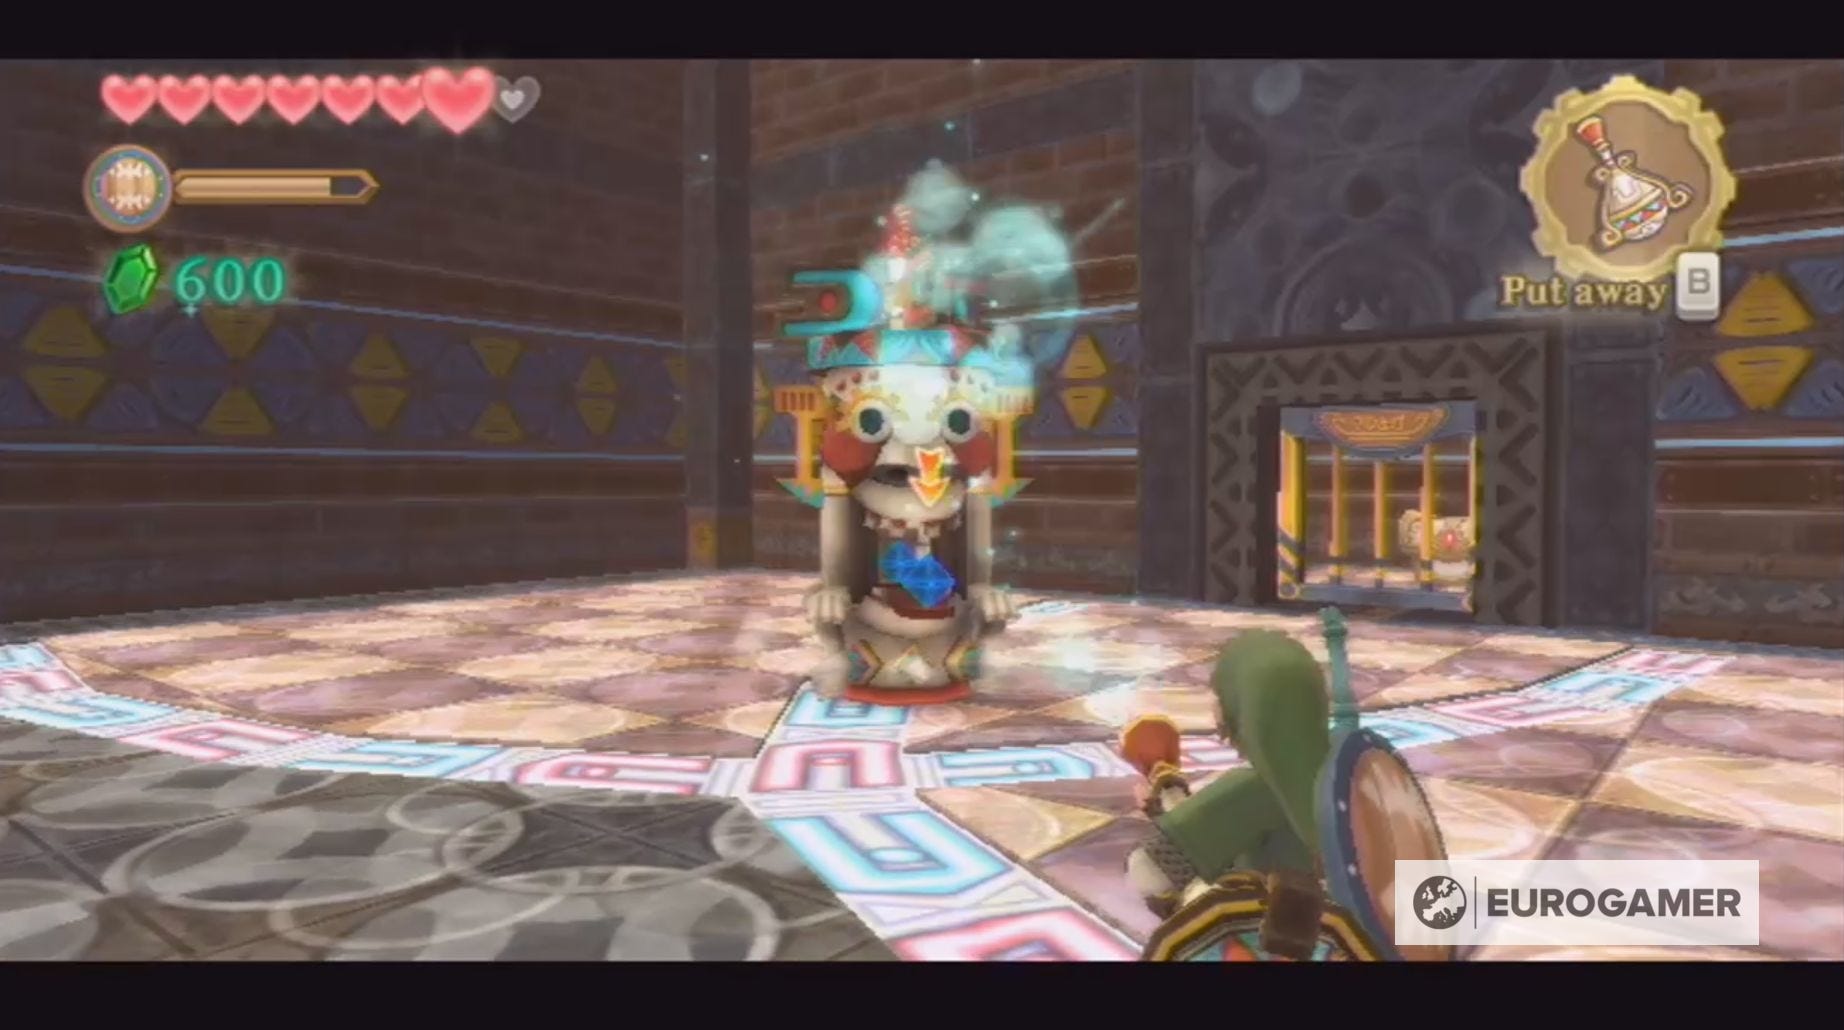
With the room now engulfed in the past, you now need to defeat the nearby Armos.
This is achieved by using the Gust Bellows on the pinwheels atop the Armos' head until its two mouths open, granting you access to the two gems hidden inside the machine. You need to hit both gems with your sword to defeat the Armos, which may involve opening its mouth twice.
Once the Armos has exploded, climb back up onto the upper level and open the chest containing the dungeon map. This map will reveal two secret rooms which you need to visit to complete the Lanayru Mining Facility.
For now, however, go through the, now open, door to return to the dungeon's central room and push the switch to open the gate.
Our Skyward Sword walkthrough will help you find every Heart Piece and Empty Bottle. We can also help you defeat Ghirahim, Scaldera, Moldarach, The Imprisoned, Koloktos, Tentalus, Bilocyte and Demise. You can also discover where to find Kukiel to unlock the Gratitude Crystals and a number of side quests, including the toilet paper quest, missing sister location and party wheel location.
Lanayru Mining Facility boss key location explained
Your final task before reaching the Lanayru Mining Facility's boss is to find the boss key.
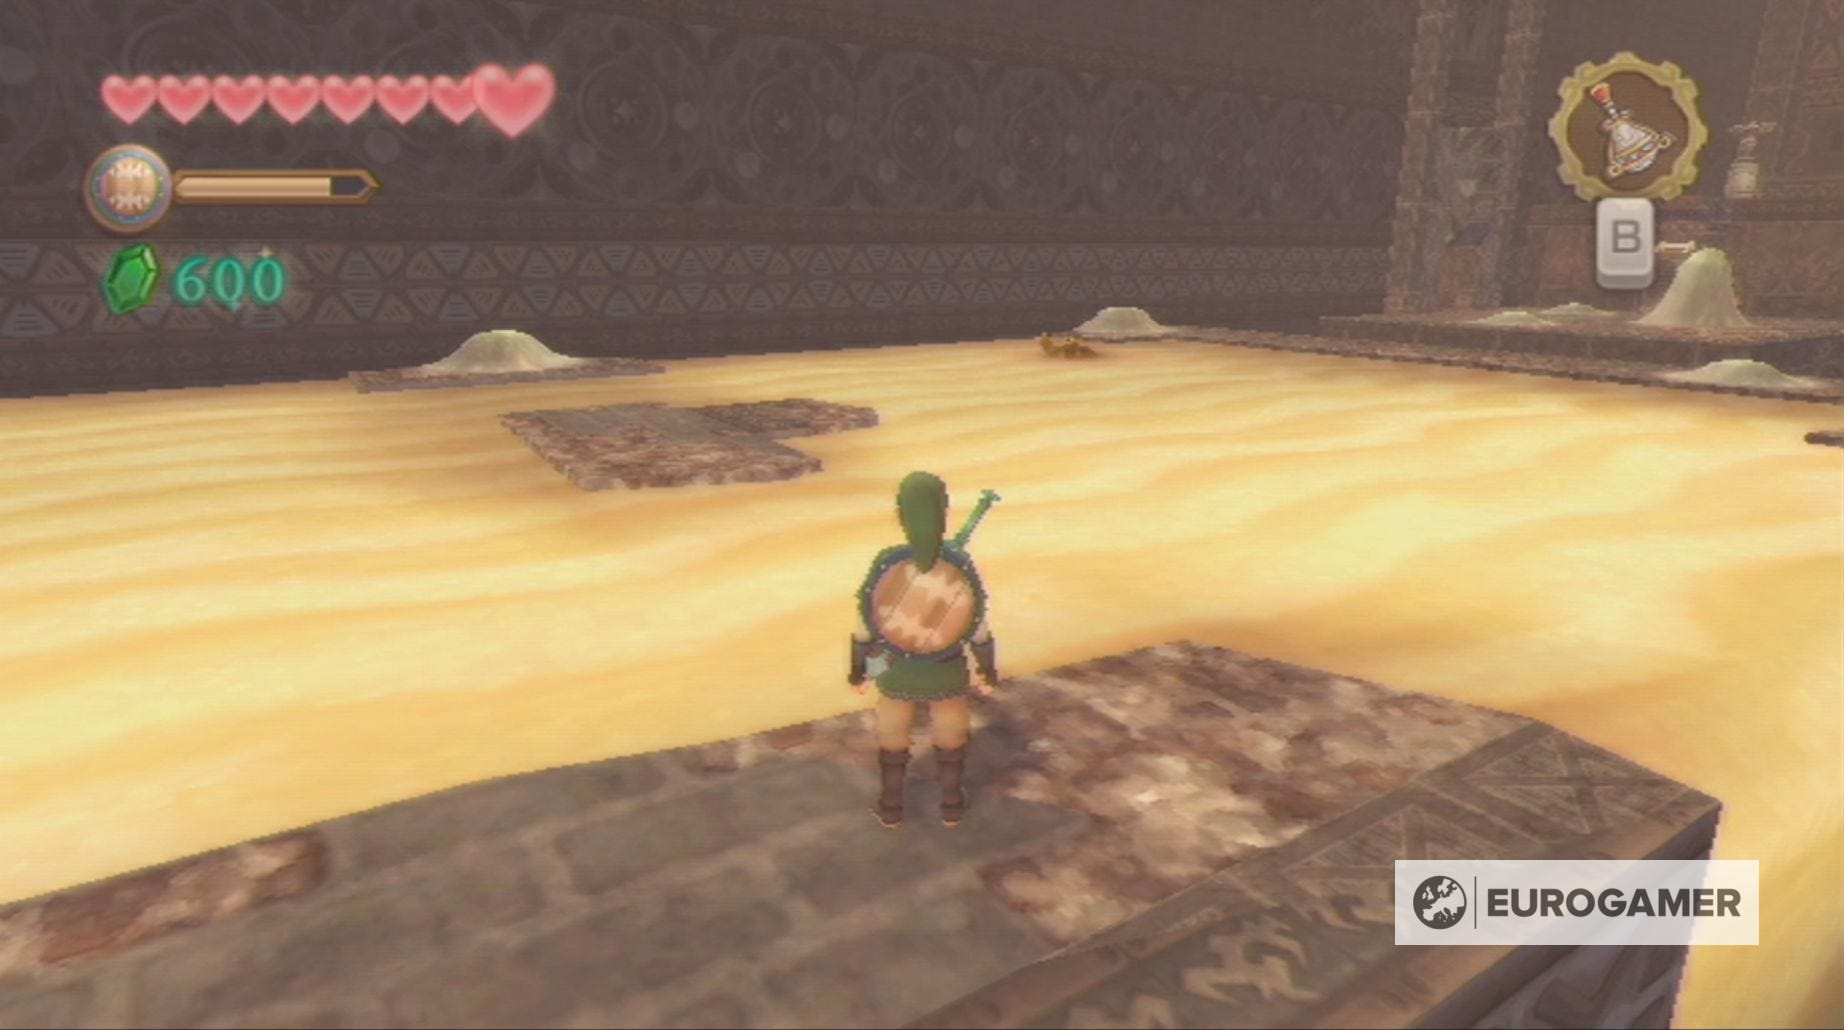
The first step in finding the boss key is navigating the mass of sand, ensuring you kill the Electro Spume by rolling bombs as you go. The trick to avoiding death by sand is to open up the dungeon map and see where, like outside the mine, the paths which will allow you to walk safely are.
Your first path begins opposite the pile of sand closest to the edge of the moving sand and then turns to your left when you're parallel with the first piece of stone path. It's best to walk these sections, so that, if you accidentally wander off the path, you'll have enough stamina to return to it.
Once you've reached this first safe spot, you can find a chest containing a random material by blowing away the patch of sand in front of the wall to your left to reveal a small crawl space for you to explore.
When you're ready to continue, use the map once again to safely make your way across the sand - you'll want to walk forward from the first piece of path until you're parallel with the beginning of the section on your right-hand side, which you then need to walk towards.
If you encounter a Yellow Chuchu, which you can easily avoid, then you're on the right path.

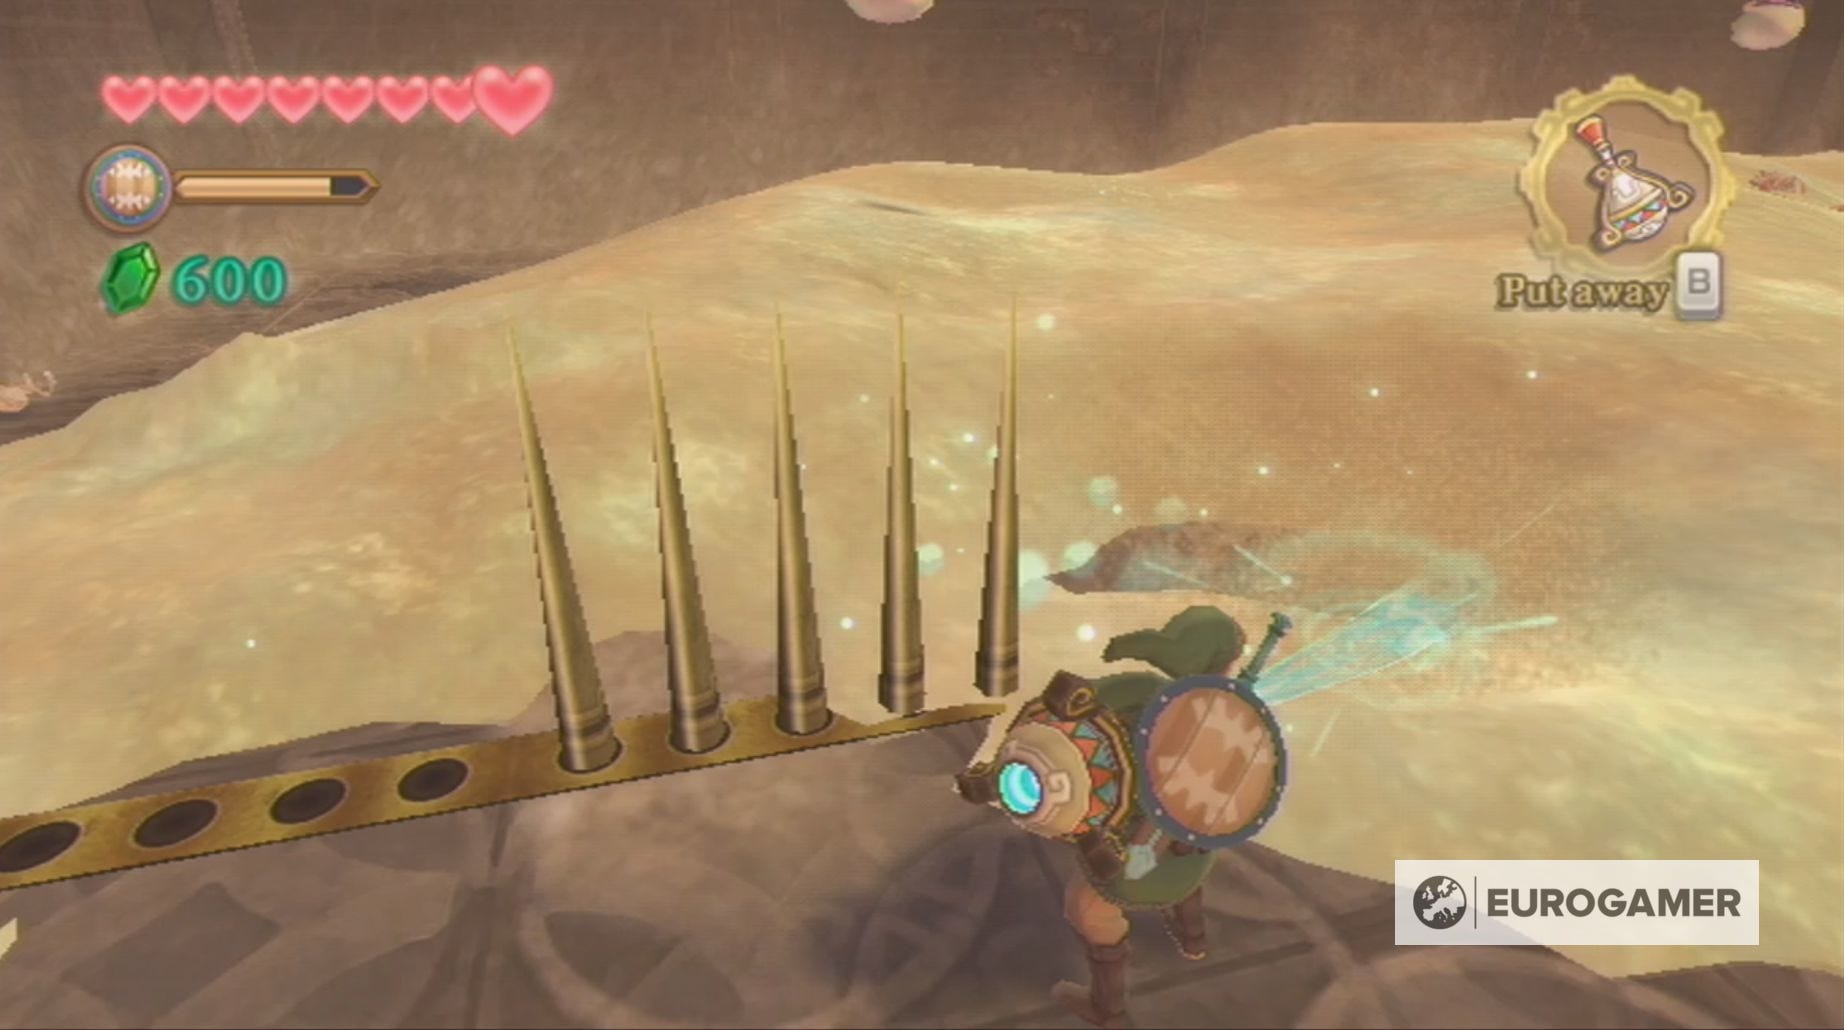
From there, all you have to do is walk up this piece of stone and then head to your left, until you reach the wall. Here you'll need to use the Gust Bellows to blow the sand out of the way, so you can enter the crawlspace and reach the room beyond.
You'll find yourself in a room filled with piles of sand which need to be blown away with the Gust Bellows. Watch your step though, because, not only are there Aracha and Froaks, there are a number of spikes which will emerge from the wall to block your path.
Carefully navigate this room until you hide a switch which, when stood upon, will open the door to the mining facility's central room. There is also a chest containing 20 Rupees hidden amongst the sand.

Back in the central room, you need to blow the sand off the mine cart to reveal a Time Stone.
Hitting this Time Stone will activate the mine cart which will create a moving patch of the time for you to follow, with you opening a gate to help it progress. The Time Stone will create walkaways for you to use and, sadly, activate a number of Beamos and a Sentrobe.

You won't be able to reach the majority of the Beamos, so, instead, you'll have to avoid the majority of their attacks.
When the mine cart reaches the end of its path, use the Gust Bellows to open the nearby gate before heading to your right and blowing away the sand surrounding the mine cart.
Once again, you need to activate the Time Stone and follow the mine cart. Shortly into this journey, a Beamos will be restored on your right-hand side, which you need to destroy as quickly as possible.
Continue following the mine cart after this and, when it appears, use the Gust Bellows on the nearby pinwheel to open the door which the Beamos was guarding. You can return to this door by making the mine cart retrace its steps by turning the Time Stone on and off.
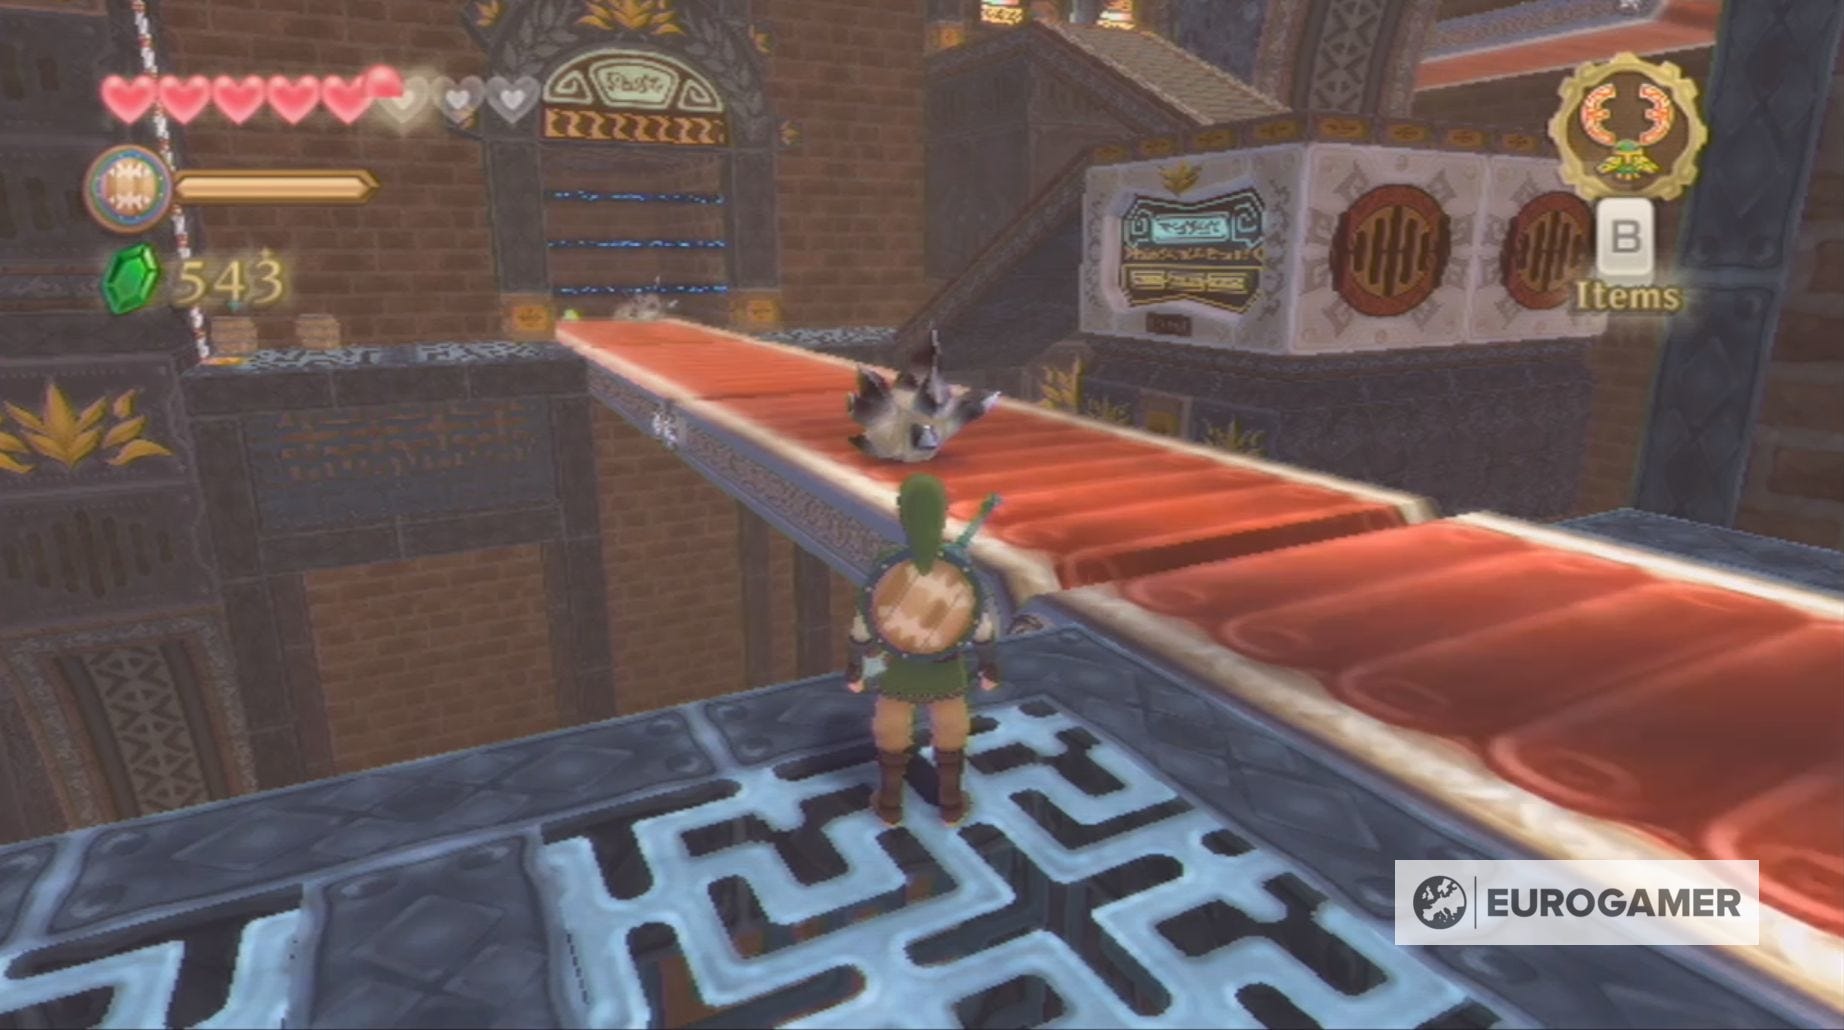
Oh look - the conveyor belts are back. Great...
Your first task in this room is to cross the broken conveyor belt, around the gusts of wind, and climb up the wall it leads you to. You will want to take care of the Aracha clinging to the wall first and pay attention to where the gusts of wind blow or else you'll be thrown off.
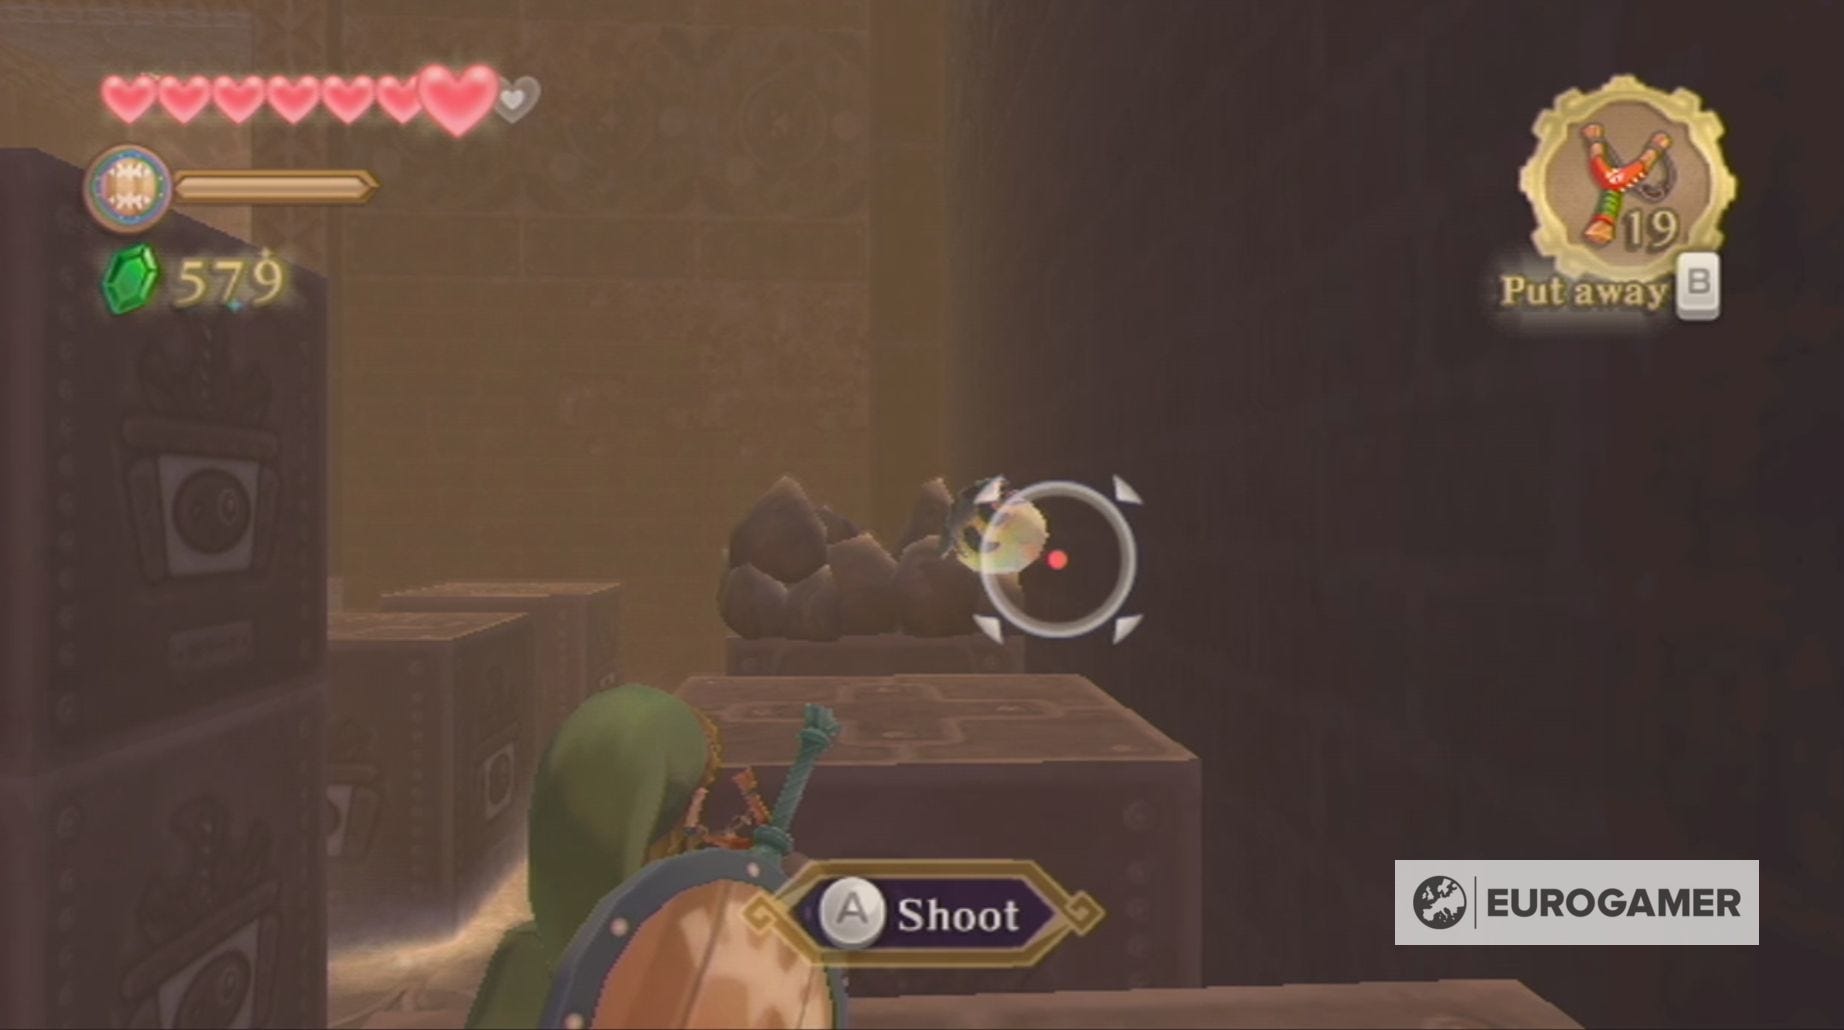
At the top, kill the Thunder Keese and then head to the right-hand of the platform to find a series of statues.
Just like at the beginning of this dungeon, you need to throw bombs into the statues waiting hands, so you can reach the sand covered Time Stone at the end.
Hitting the Time Stone will transport you to the past once again; return across the statues, killing the Beamos waiting for you on the other side and, avoiding the ores, run across the conveyor belts.
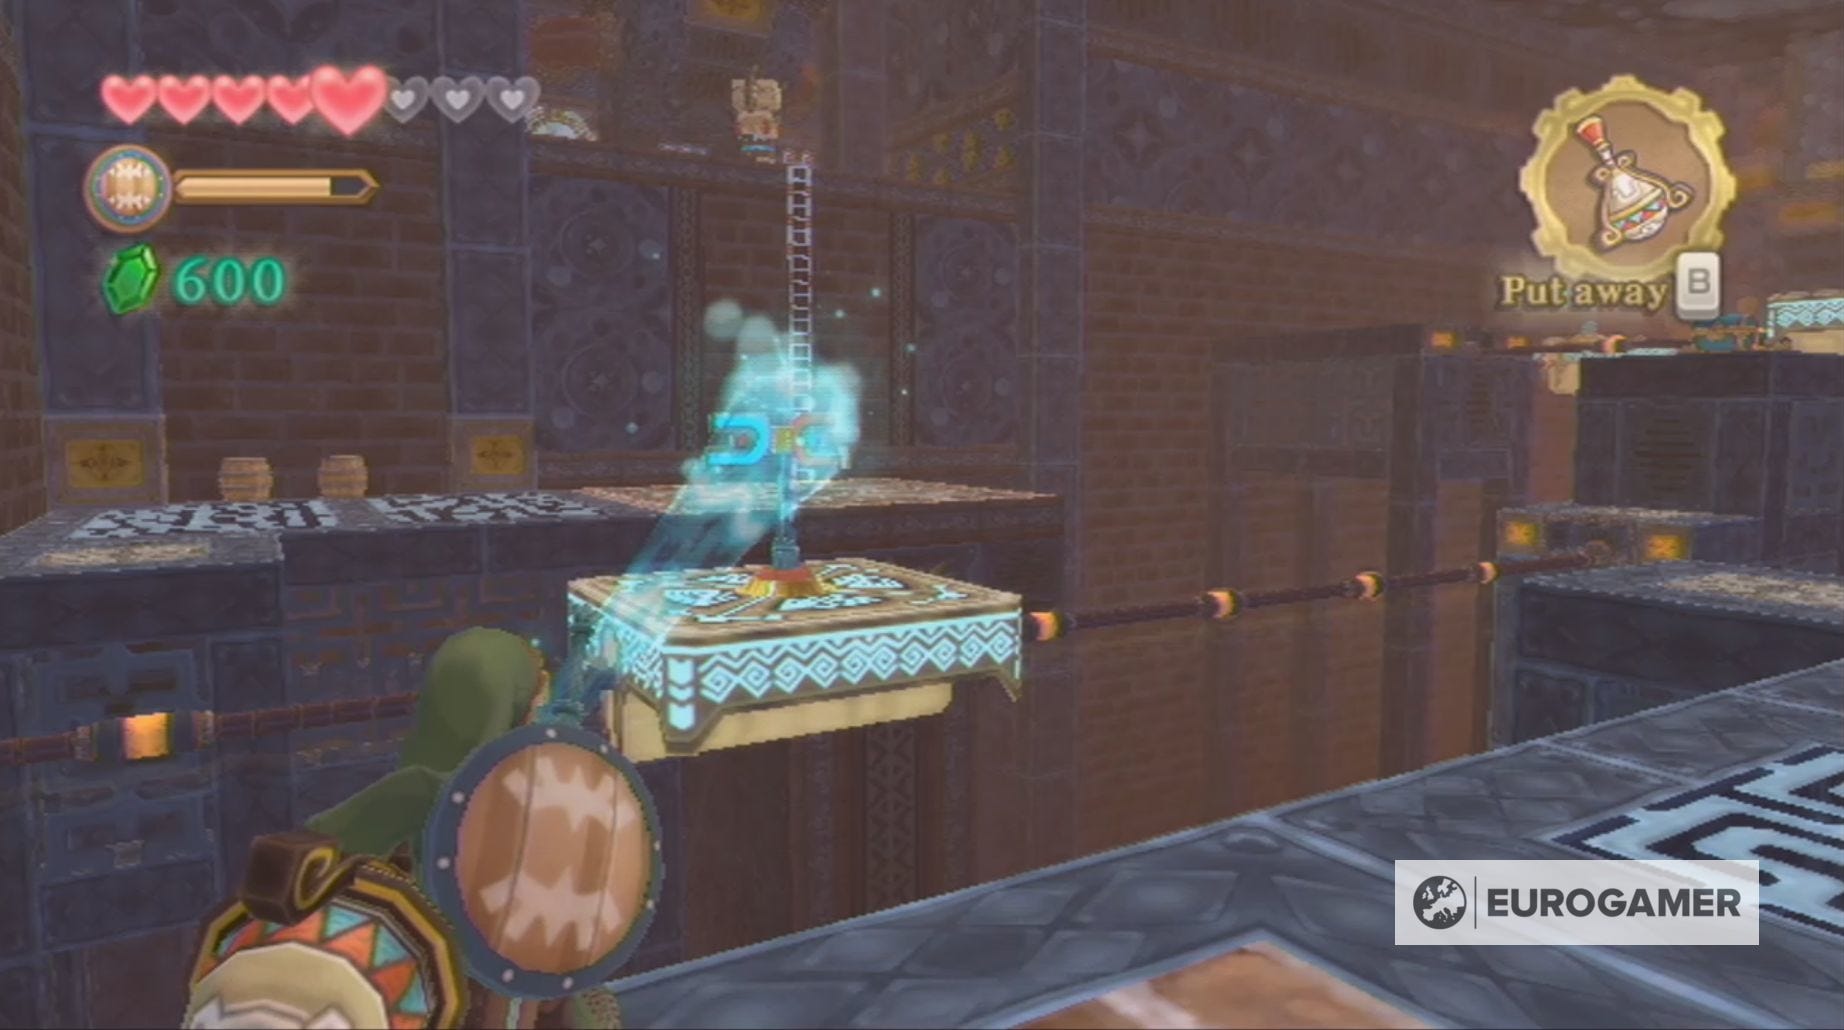
Once you're on the other side, use the nearby lever to bring the platform towards you and then, using the Gust Bellows, travel to the other side of the room upon it.

Here you'll want to destroy the Sentrobe and move the next platform towards you using the Gust Bellows again. You also knock down the statues to reveal a solution for an upcoming puzzle.
When you're ready, use the platforms to reach the far-end of the room and drag the block out of the way, so you can access the ladder.
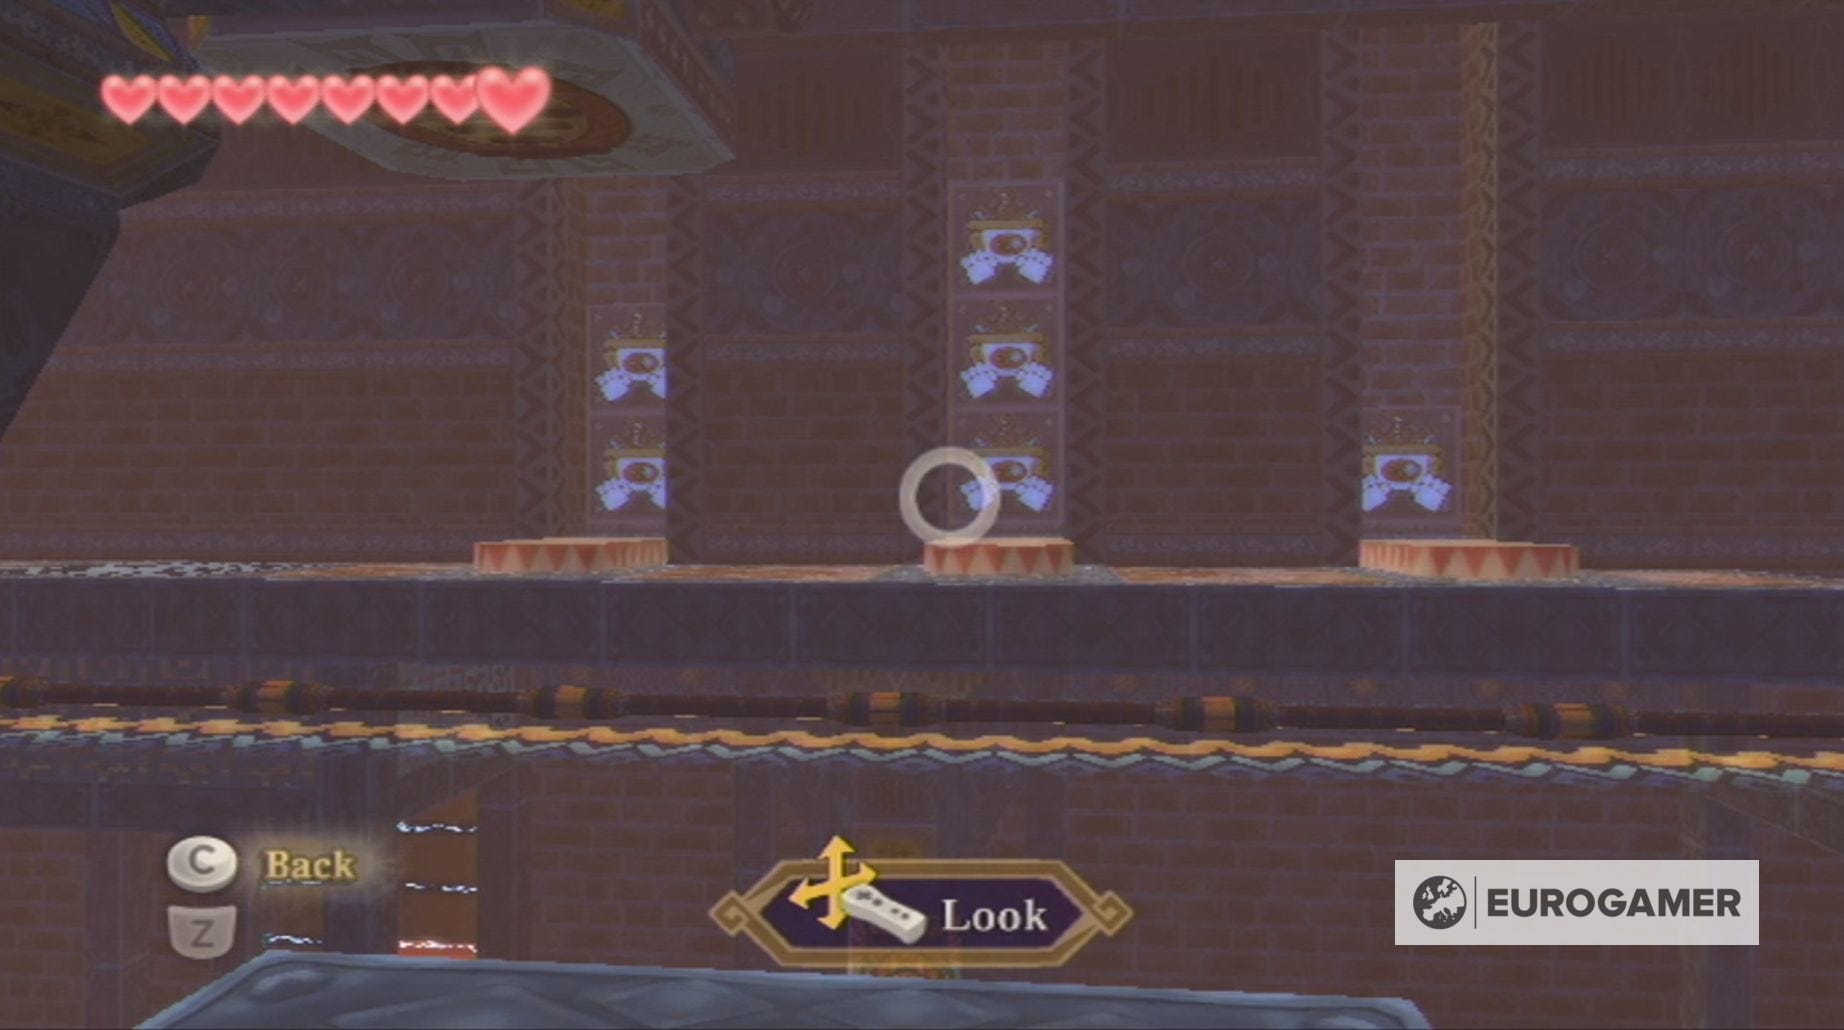
Next, you'll need to move the left-hand platform in front of the statues, so you can throw bombs into each one to reveal a switch. The order in which you need to hit these switches is the same as the murals on the other side of the room.
To help you out, here is the order in which you need to hit the switches:
- Switch closest to the door
- Furthest switch to the right-hand side
- The middle switch
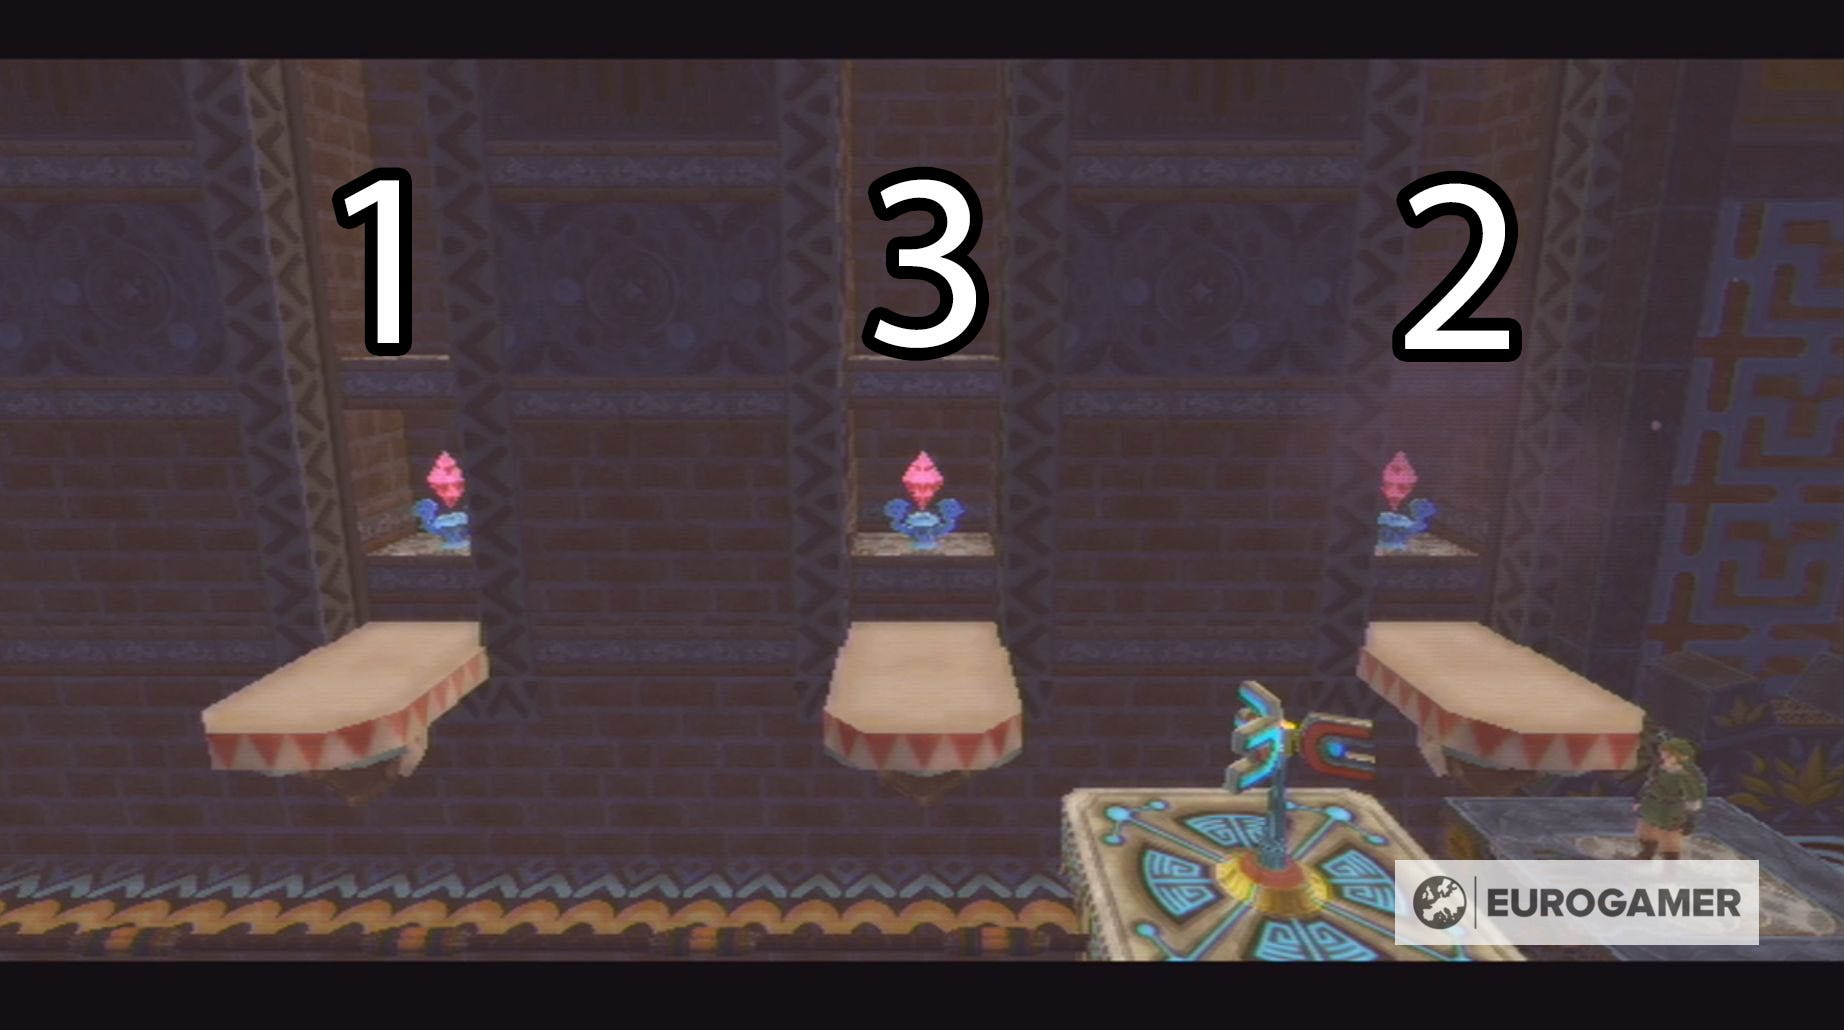
Hitting the switches in the correct order will open the gate leading to two Armoses, which, when defeated, will allow you to open the chest containing the boss key.
Now you have the boss key, it's time to go down the ladder, killing the roaming Beamos, before heading to the conveyor belt.
To cross this conveyor belt, you need to dodge both the oncoming ores and two gusts of wind. The best way to avoid the wind is to momentarily stop sprinting; this moves Link backwards and out of the way, while also returning some of his stamina, so you can quickly move on when needed.
Like with the past conveyor belts, it's a good idea to grab every stamina fruit and start moving across the belt when one is coming towards you.
When you do reach the other side, head through the door and, on the other side, climb the ladder to your left to find a chest containing 20 Rupees. Afterward, head back the way you came and climb the stairs to reach the mine cart.
An important thing to note is that, unlike the previous cart, hitting this Time Stone will not cause a pathway to appear. Instead, you'll need to jump on the platform and use the Gust Bellows to reach the other side.

Here the Time Stone will grant you access to the final door of the dungeon.
Take the time, as always, to prepare yourself before the boss battle; ensuring you have enough potions and Link is at full health. When you're ready, enter the final chamber and face the Lanayru Mining Facility's boss - Moldarach.
After its defeat, you'll have your first battle with The Imprisoned, before visiting the Isle of Songs and returning to Faron Woods to find the sacred water, so you can enter the Ancient Cistern.