Zelda: Skyward Sword - Fire Sanctuary dungeon: How to get and use the Mogma Mitts explained
At the volcano's summit...

The Fire Sanctuary is the sixth dungeon in The Legend of Zelda: Skyward Sword.
It's located at the summit of Eldin Volcano and can only be reached if you quench the thirst of three frog statues.
Once inside the Fire Sanctuary, you need to find and use the Mogma Mitts, which allow you to burrow through the dirt and uncover the secrets of this dangerous, yet beautiful, dungeon. A path which will eventually lead to another confrontation with Ghirahim.
On this page:
- How to start the Fire Sanctuary dungeon in Zelda: Skyward Sword
- Fire Sanctuary small key location explained
- How to get the Mogma Mitts in the Fire Sanctuary dungeon
- Fire Sanctuary dungeon map location explained
- Fire Sanctuary Empty Bottle location explained
- Fire Sanctuary boss key location explained

If you'd like to learn more, visit our Skyward Sword walkthrough.
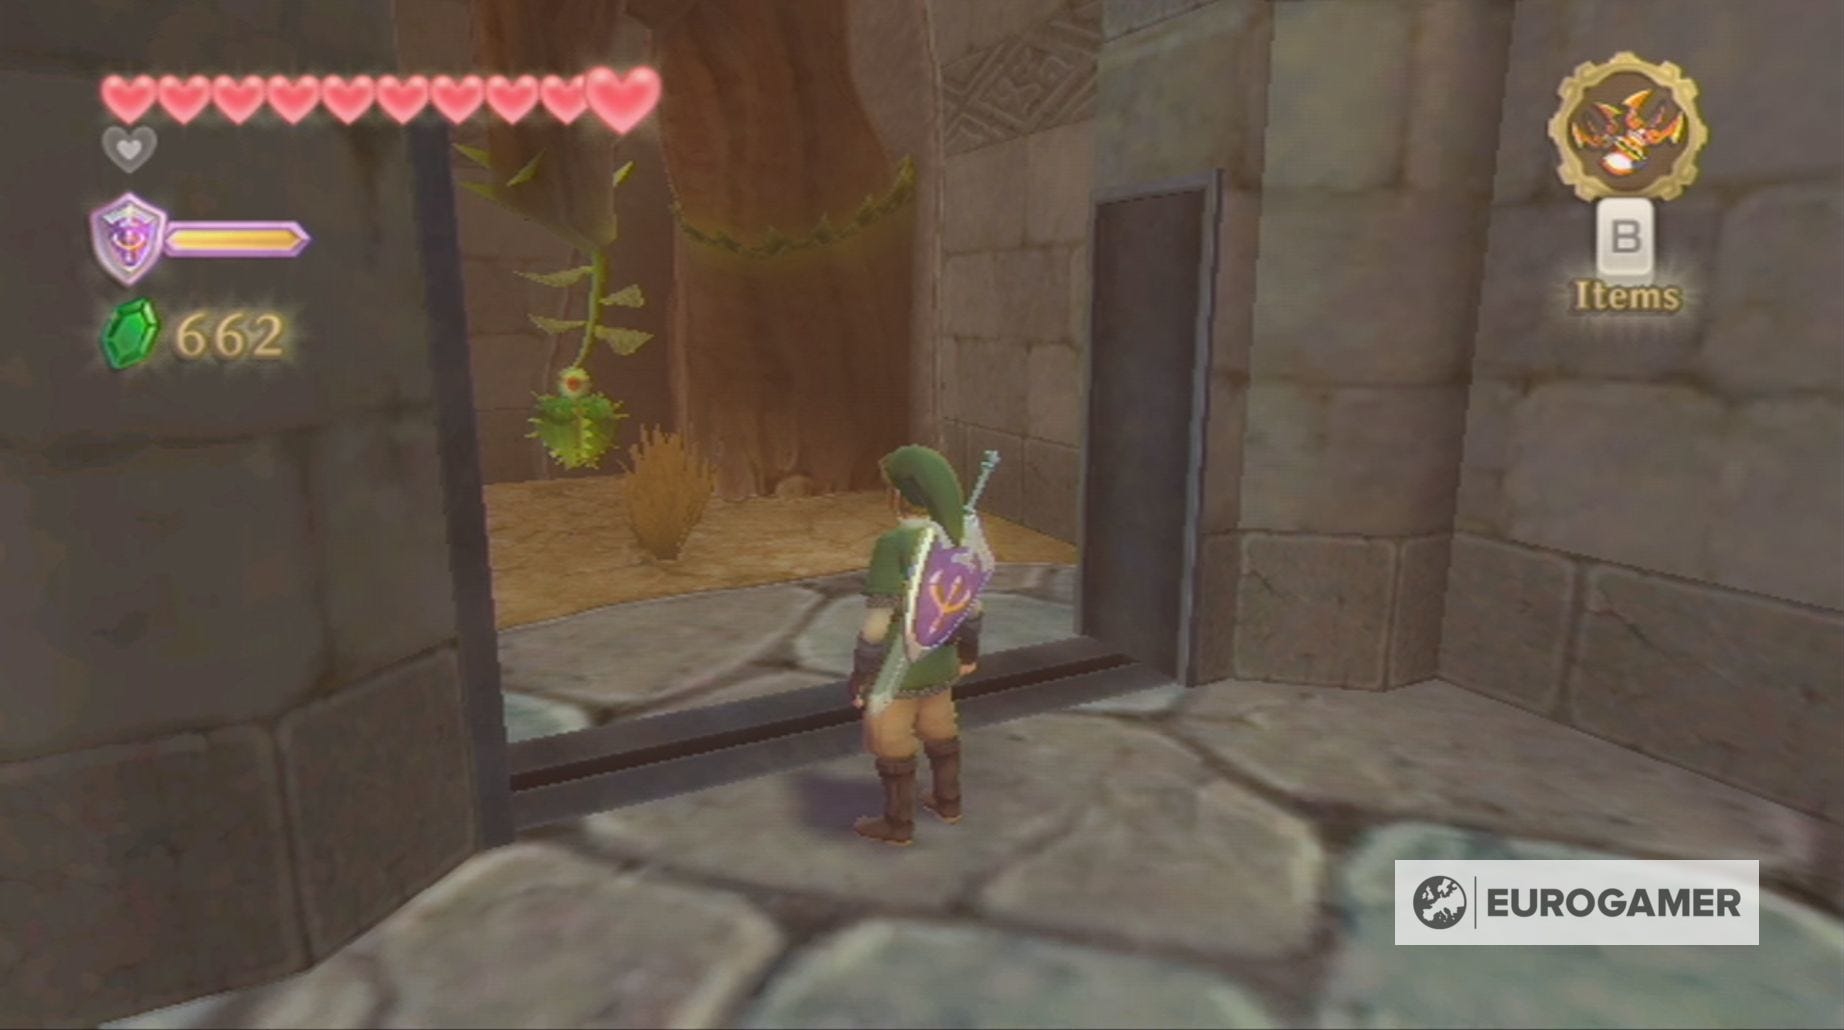
How to start the Fire Sanctuary dungeon in Zelda: Skyward Sword
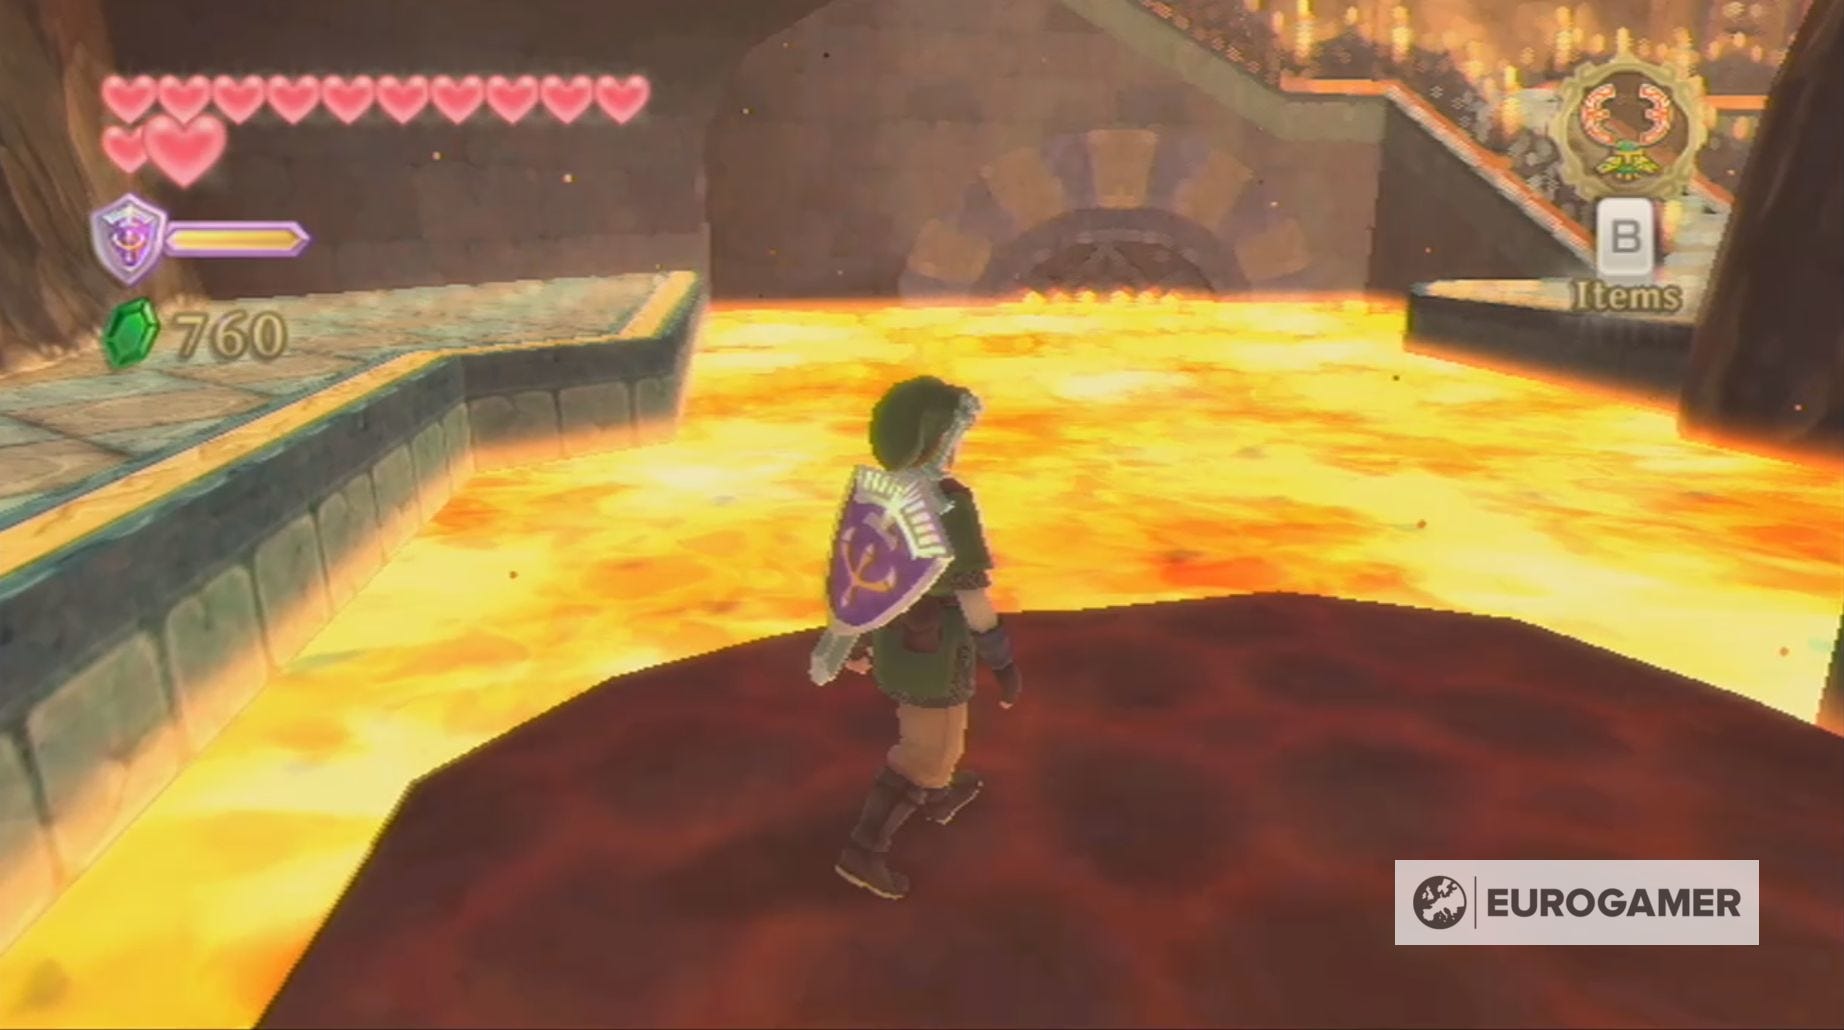
Your first task in the Fire Sanctuary dungeon of Skyward Sword is to use the Hook Beetle to cut down the green plant hanging above the pool of lava. Doing so will create a piece of stone which you can use to cross the lava.
Before you go any further, however, it's a good idea to ensure you're not carrying the Wooden Shield, as it won't last very long in this fire based dungeon.
On the other side, you need to cut down a second green plant and jump onto the stone it creates. This odd little boat will take you down the lava current and, as you drift, take out the Bokoblin Archers to your left. This will allow you to safely jump onto the solid platform at the end of the lava river.
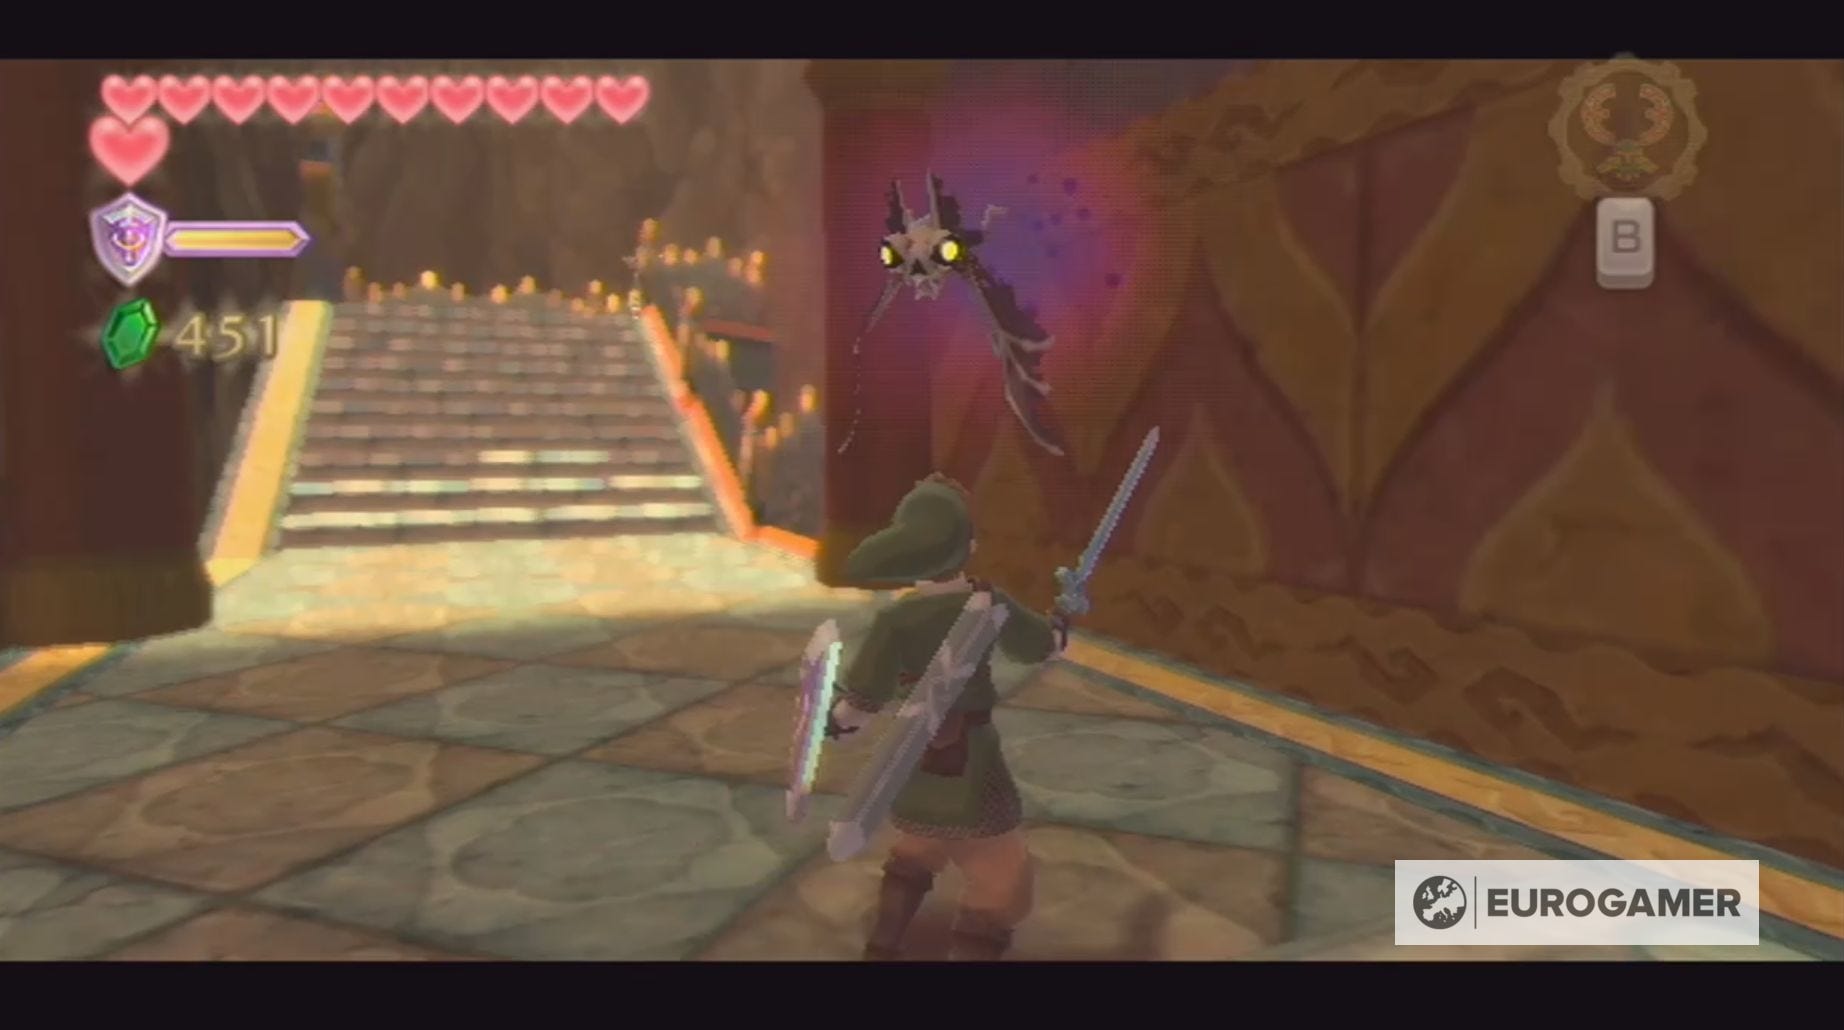
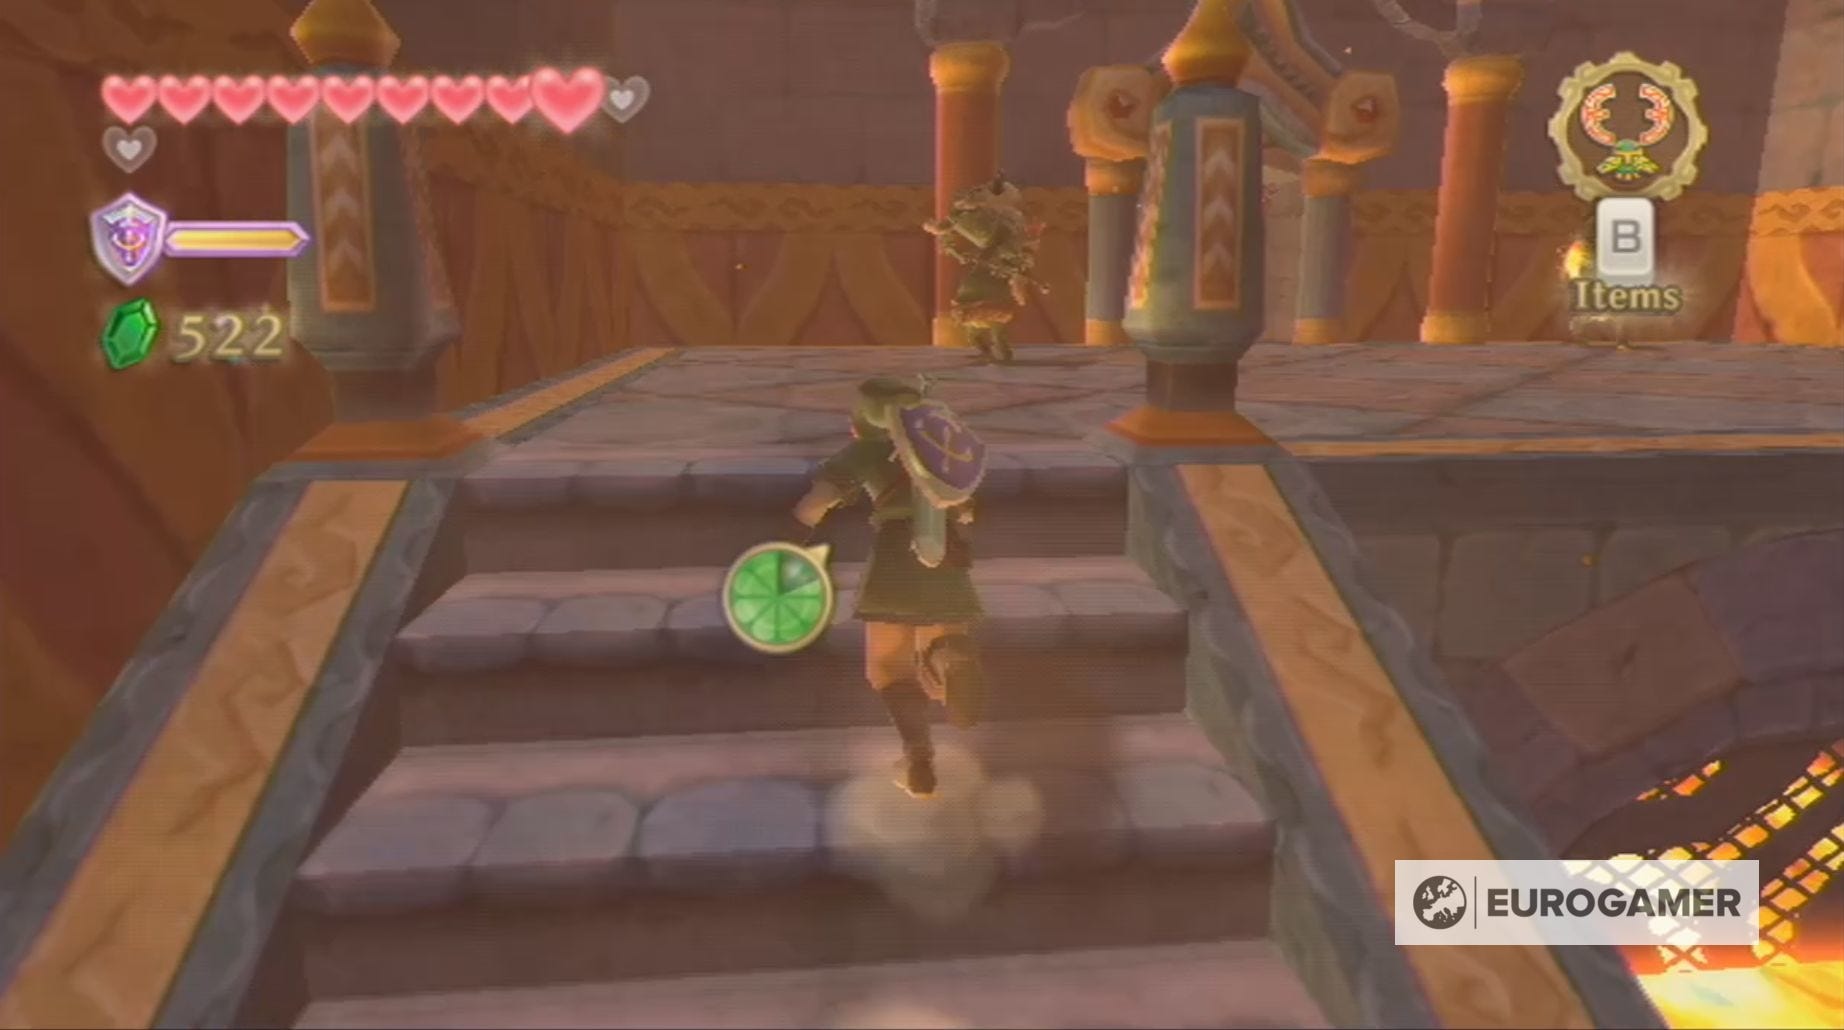
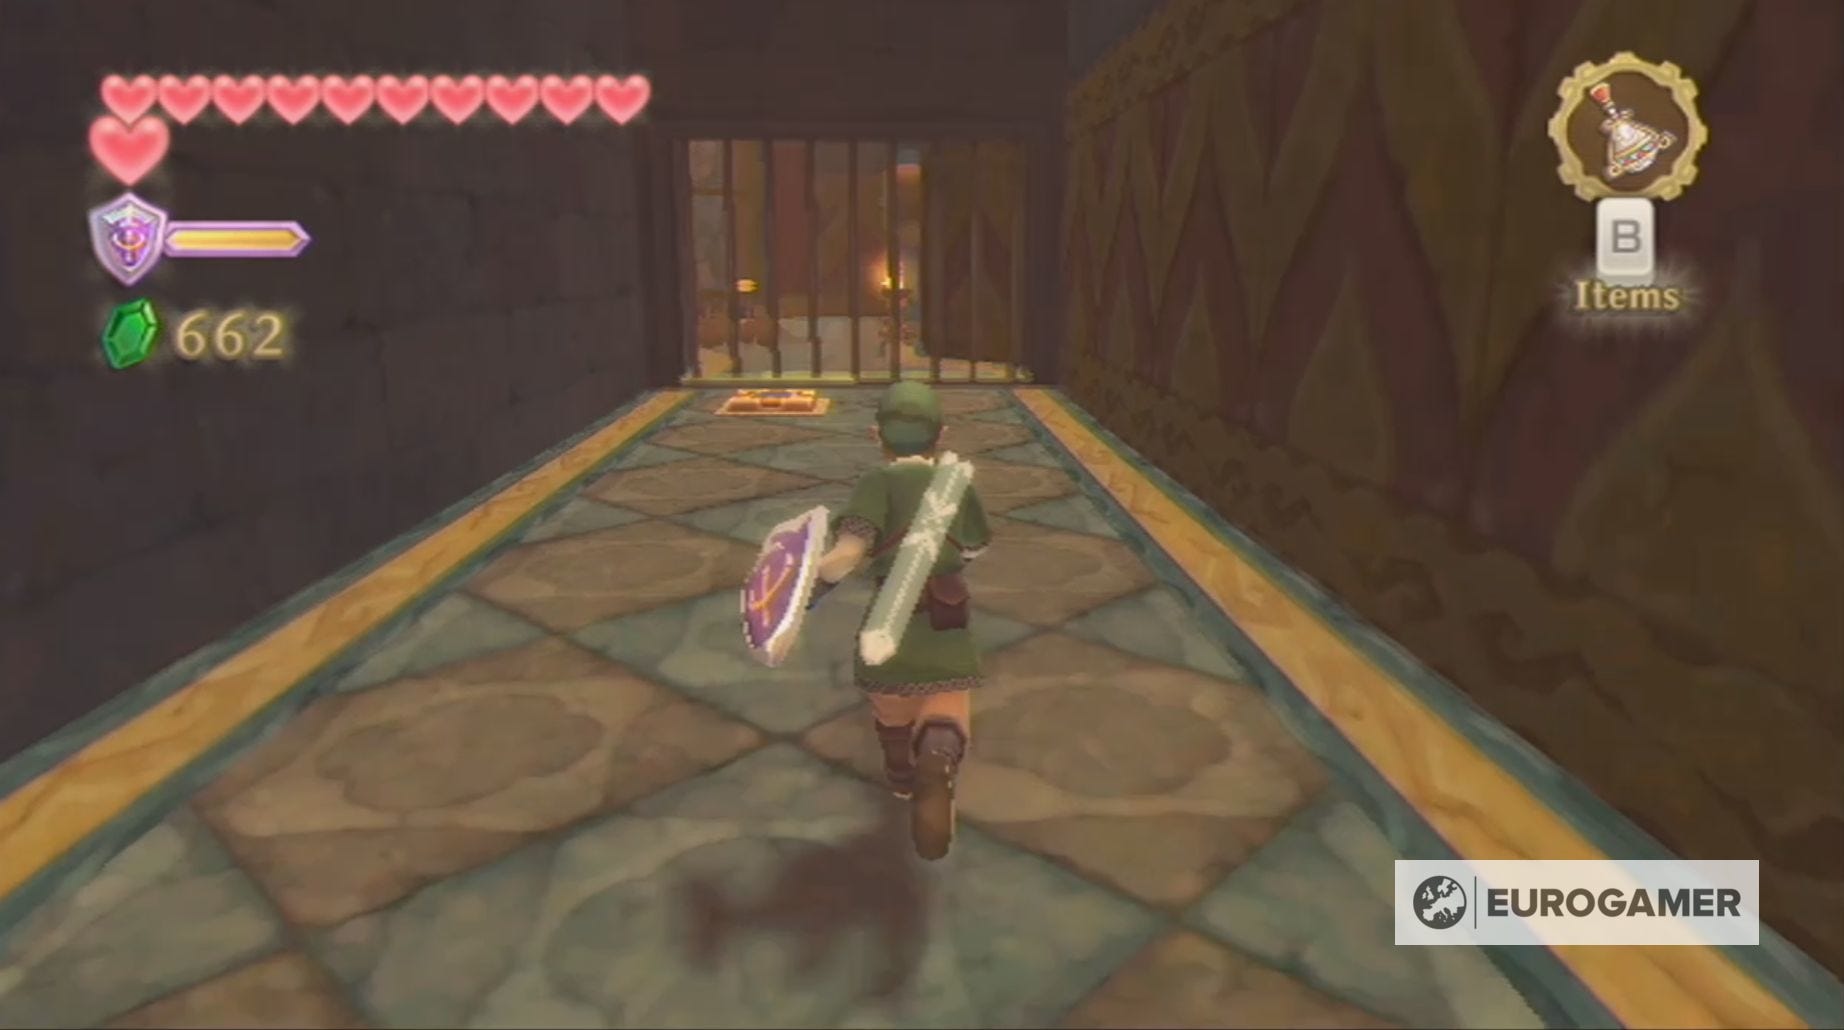
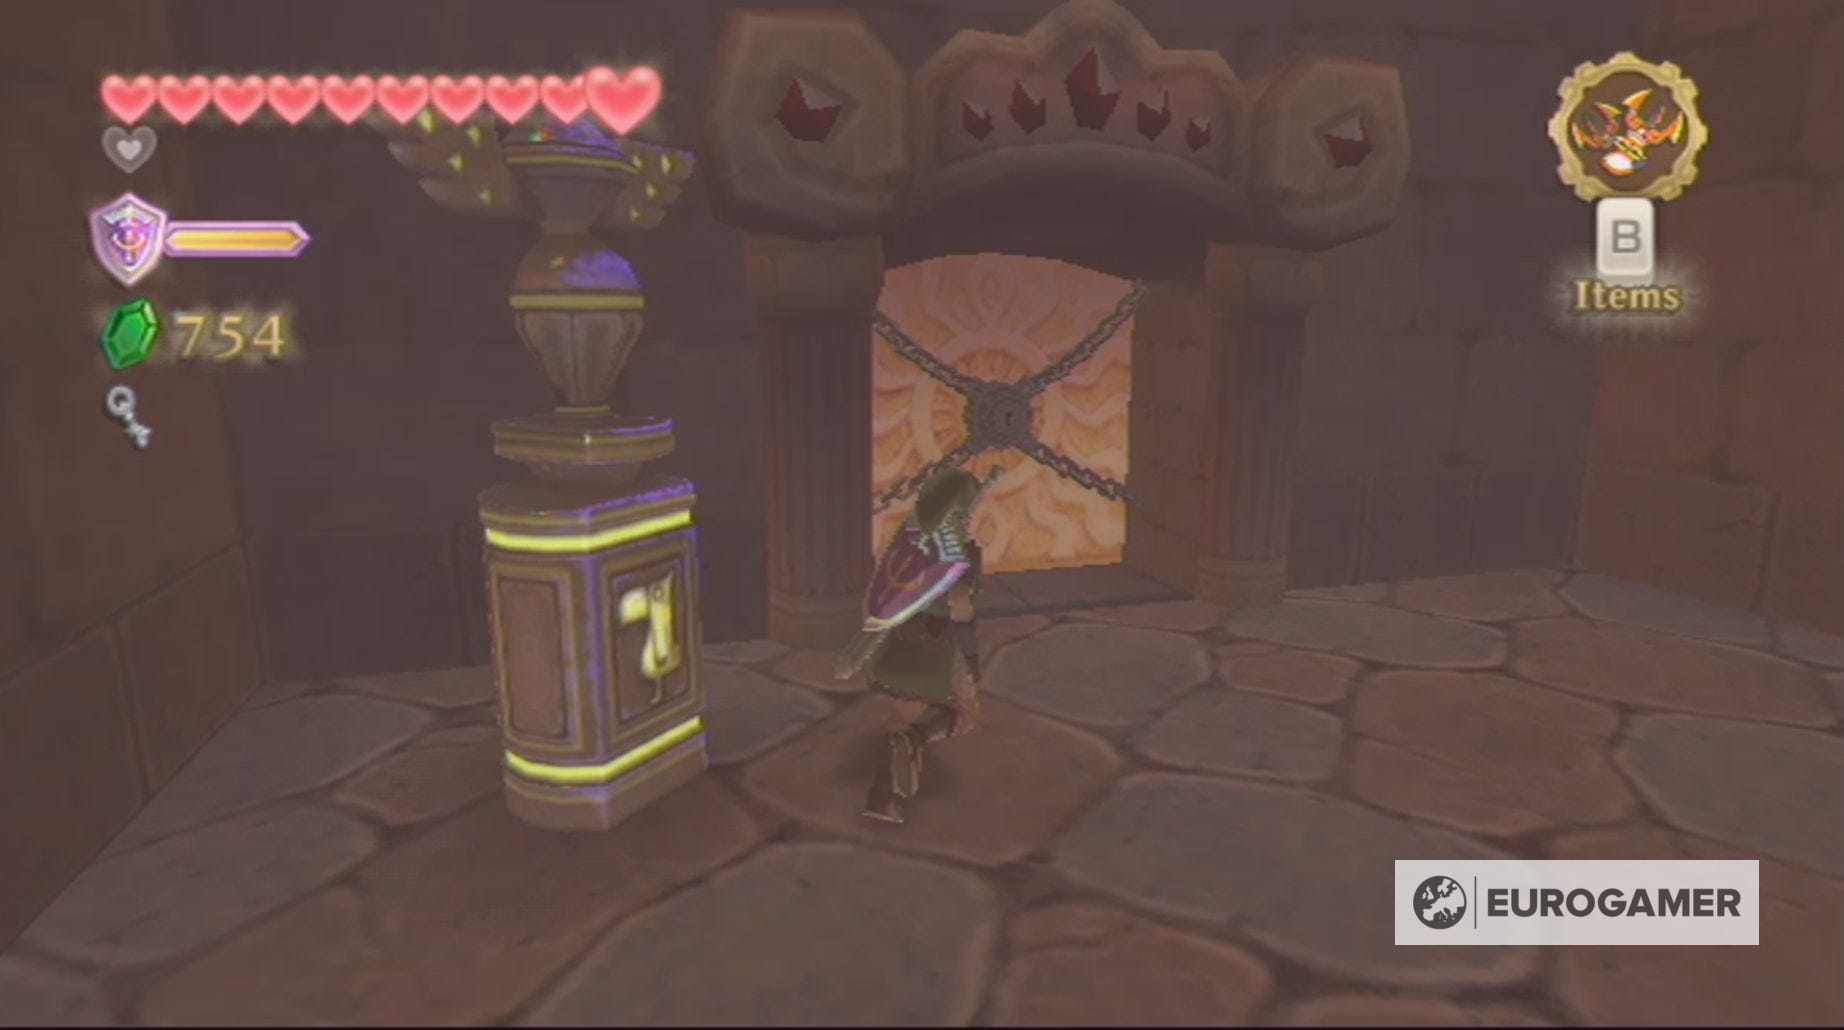
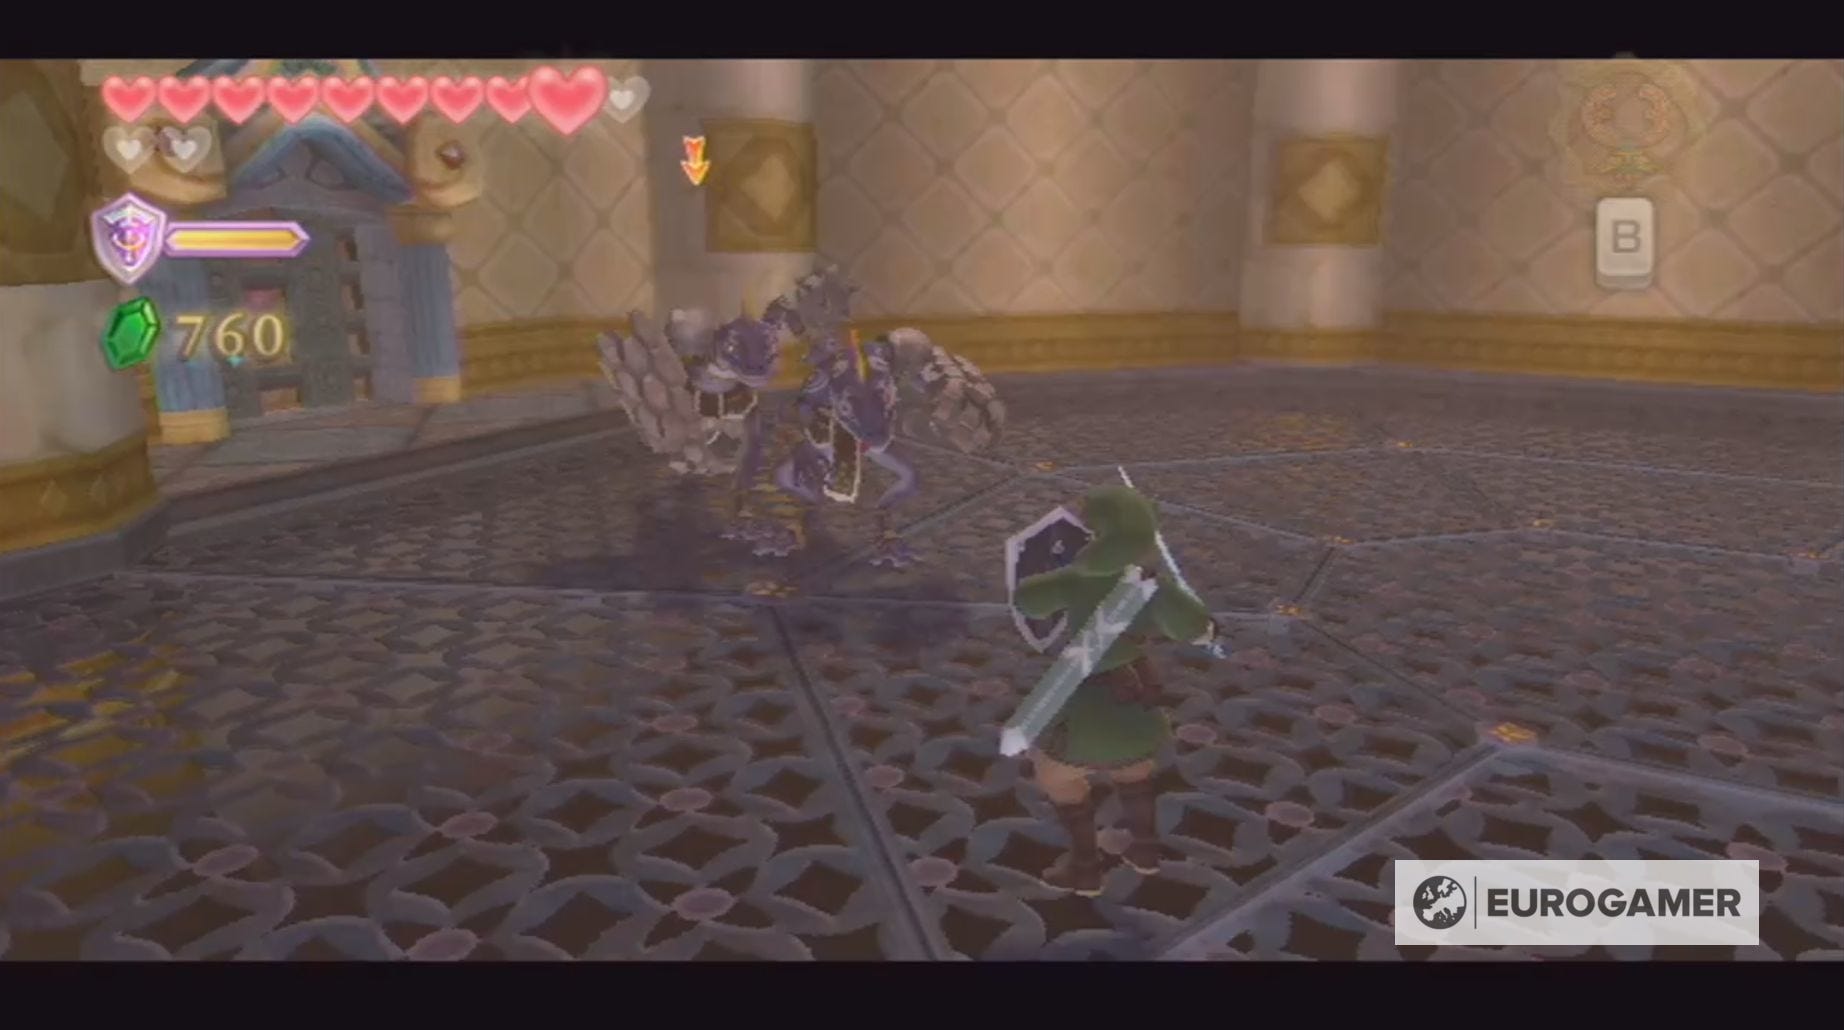
Once you're there, you can then head up the stairs and kill any Bokoblins you might have missed, so the bars in front of the chest containing the small key rise.
With this key, you can now go through the locked door directly below you, but first Guld - the boss of the Mogmas - will want to chat with you.
Fire Sanctuary small key location explained
To delve deeper into the Fire Sanctuary dungeon of Skyward Sword, you need to head the stairwell to reach the next door.
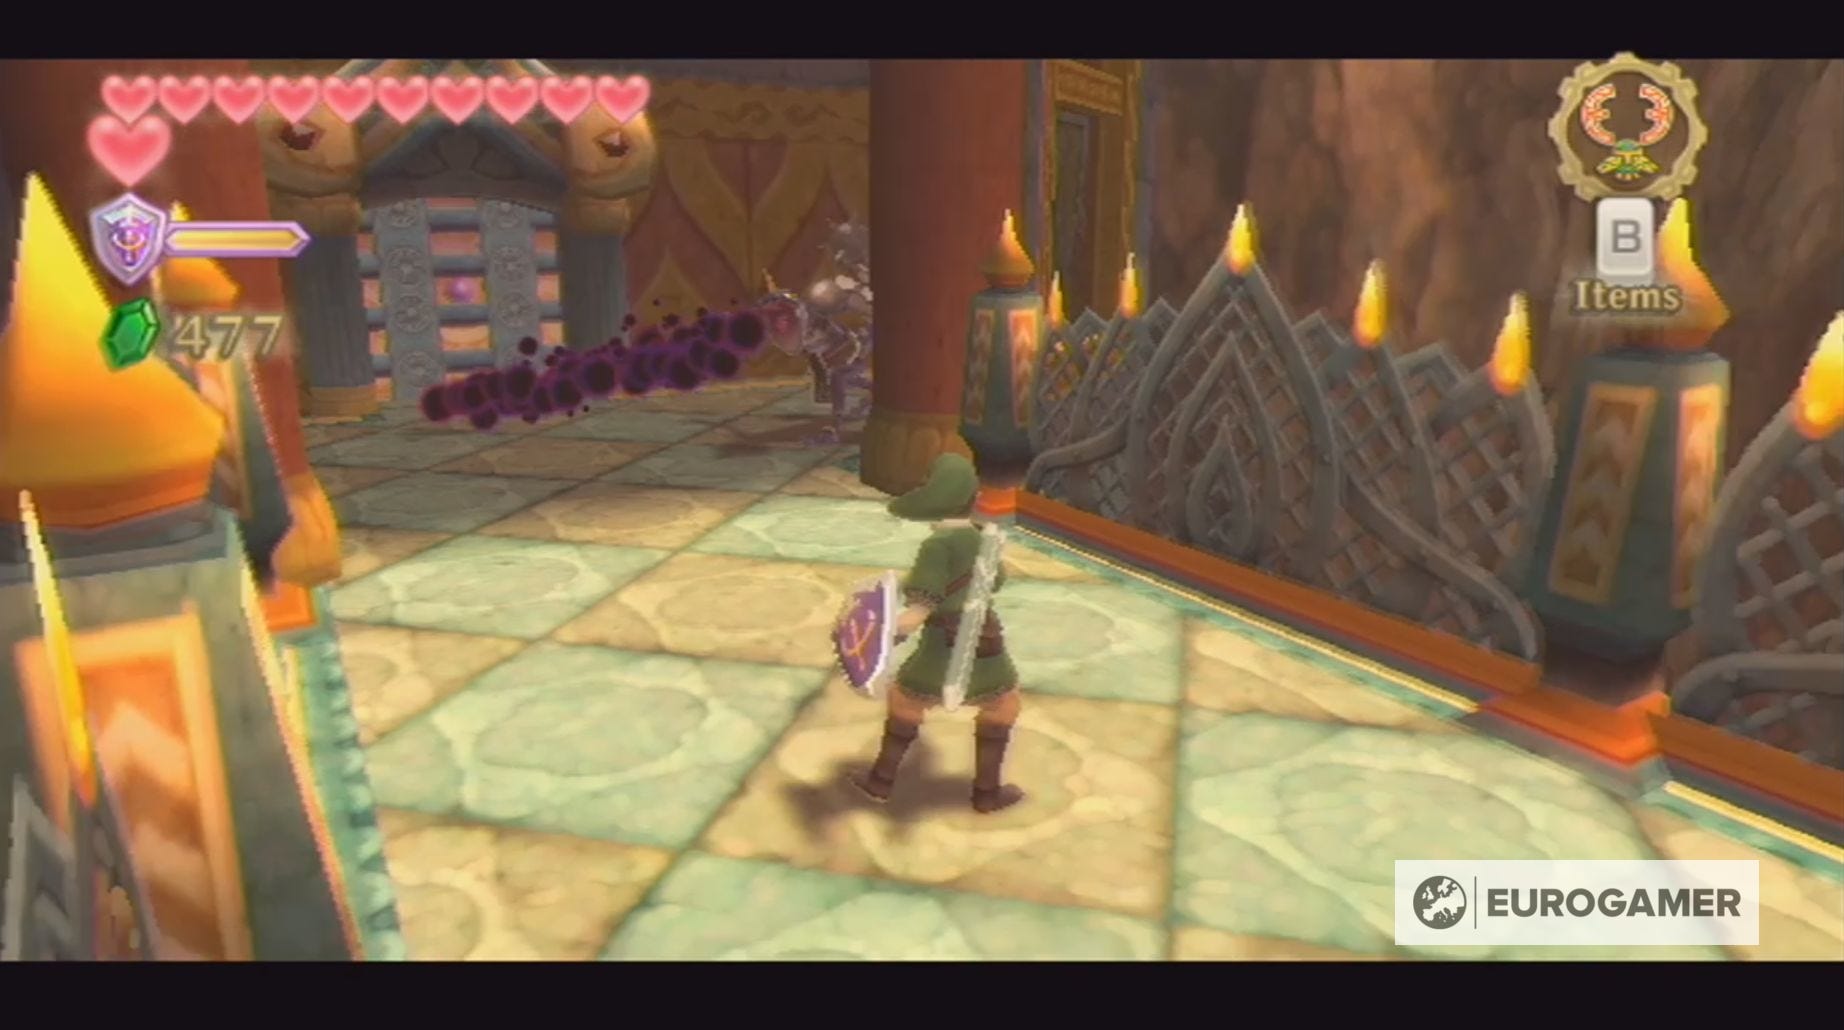
On your way, you'll have your first encounter with Dark Keese, which, if they touch Link, will prevent you from using your items for a short period of time. This is quite annoying here, because, right before the door, you'll have to defeat two Bokoblins.
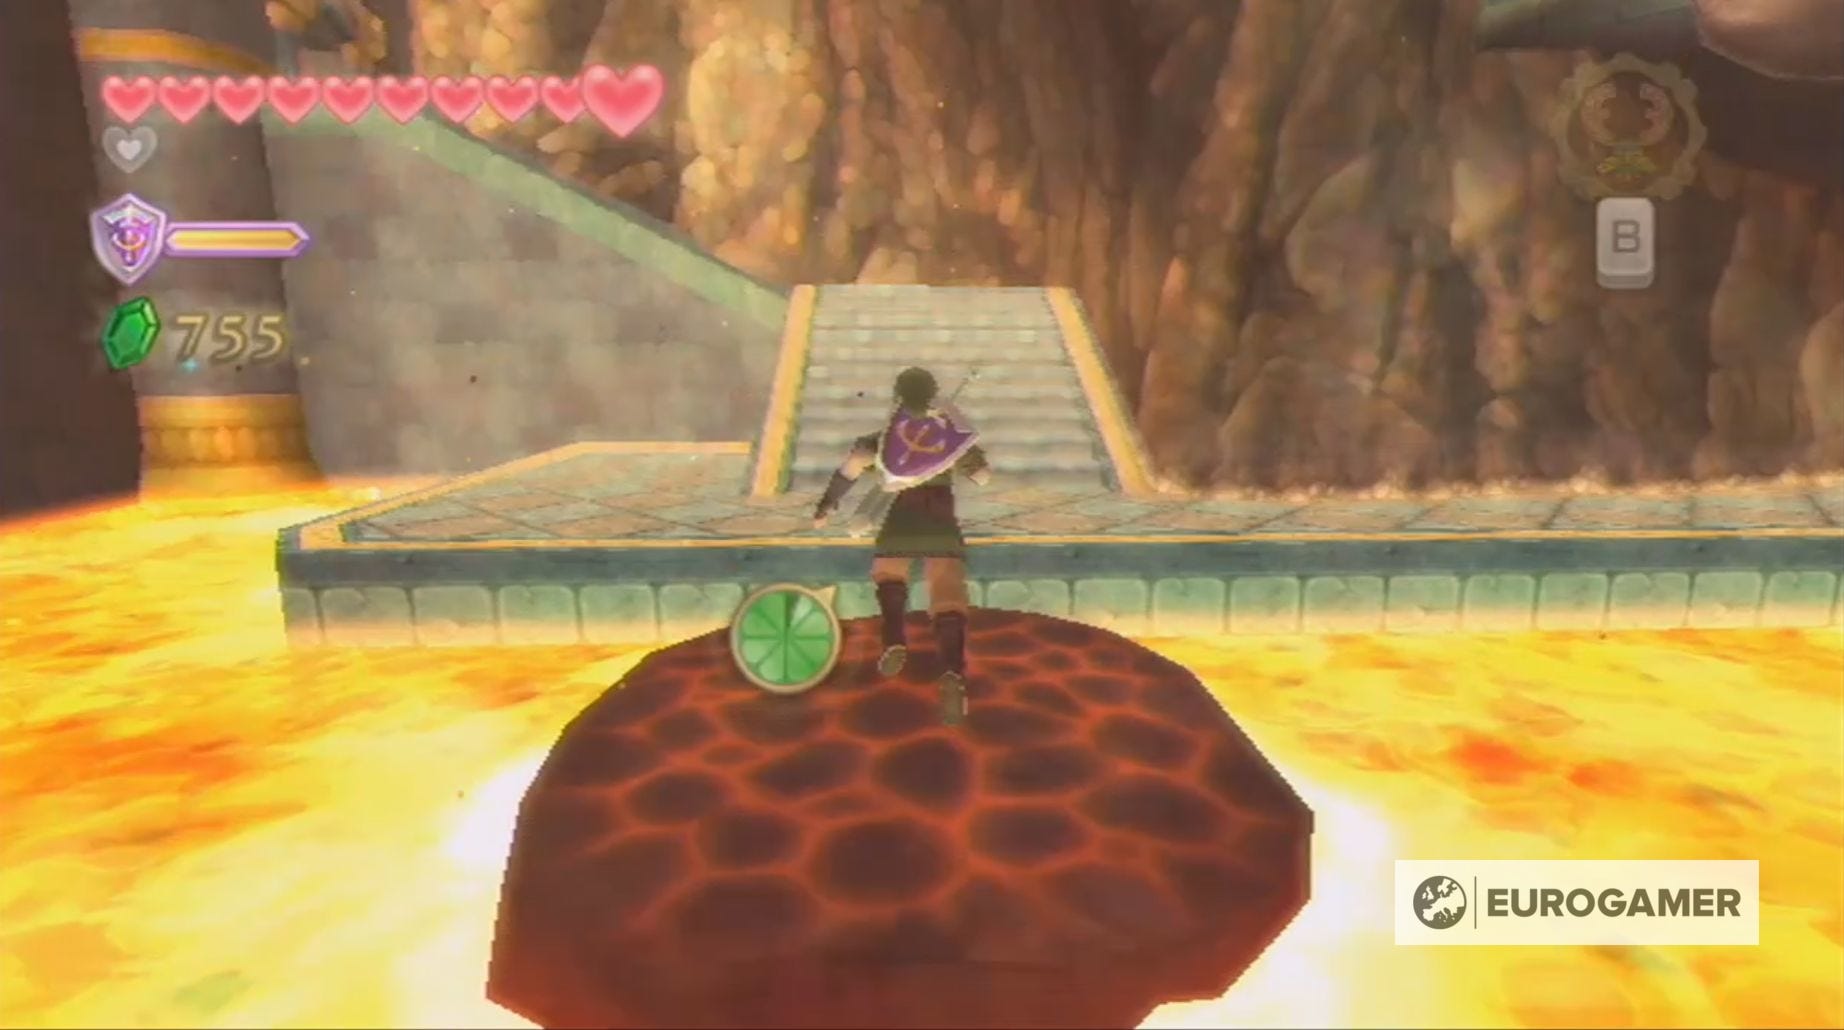
Next, go up the stairs to your left for a chest containing 20 Rupees, before heading back down all the stairs to an area containing a pool of lava.
Thanks to the grating, you can walk above this lava and use the block of stone to reach a ledge. Keep your movements quick, however, because there's something lurking inside the lava and its helpfulness seems to be more of accidental than purposeful.
On this ledge, you'll find some climbable vines and, at the top, Bokoblin Archers to kill. It's a good idea to take out the archers on the other ledges as well, so you can progress safely.
With the archers dead, you can now use the next set of vines to reach a new ledge and, from there, you can jump down to reach another door.
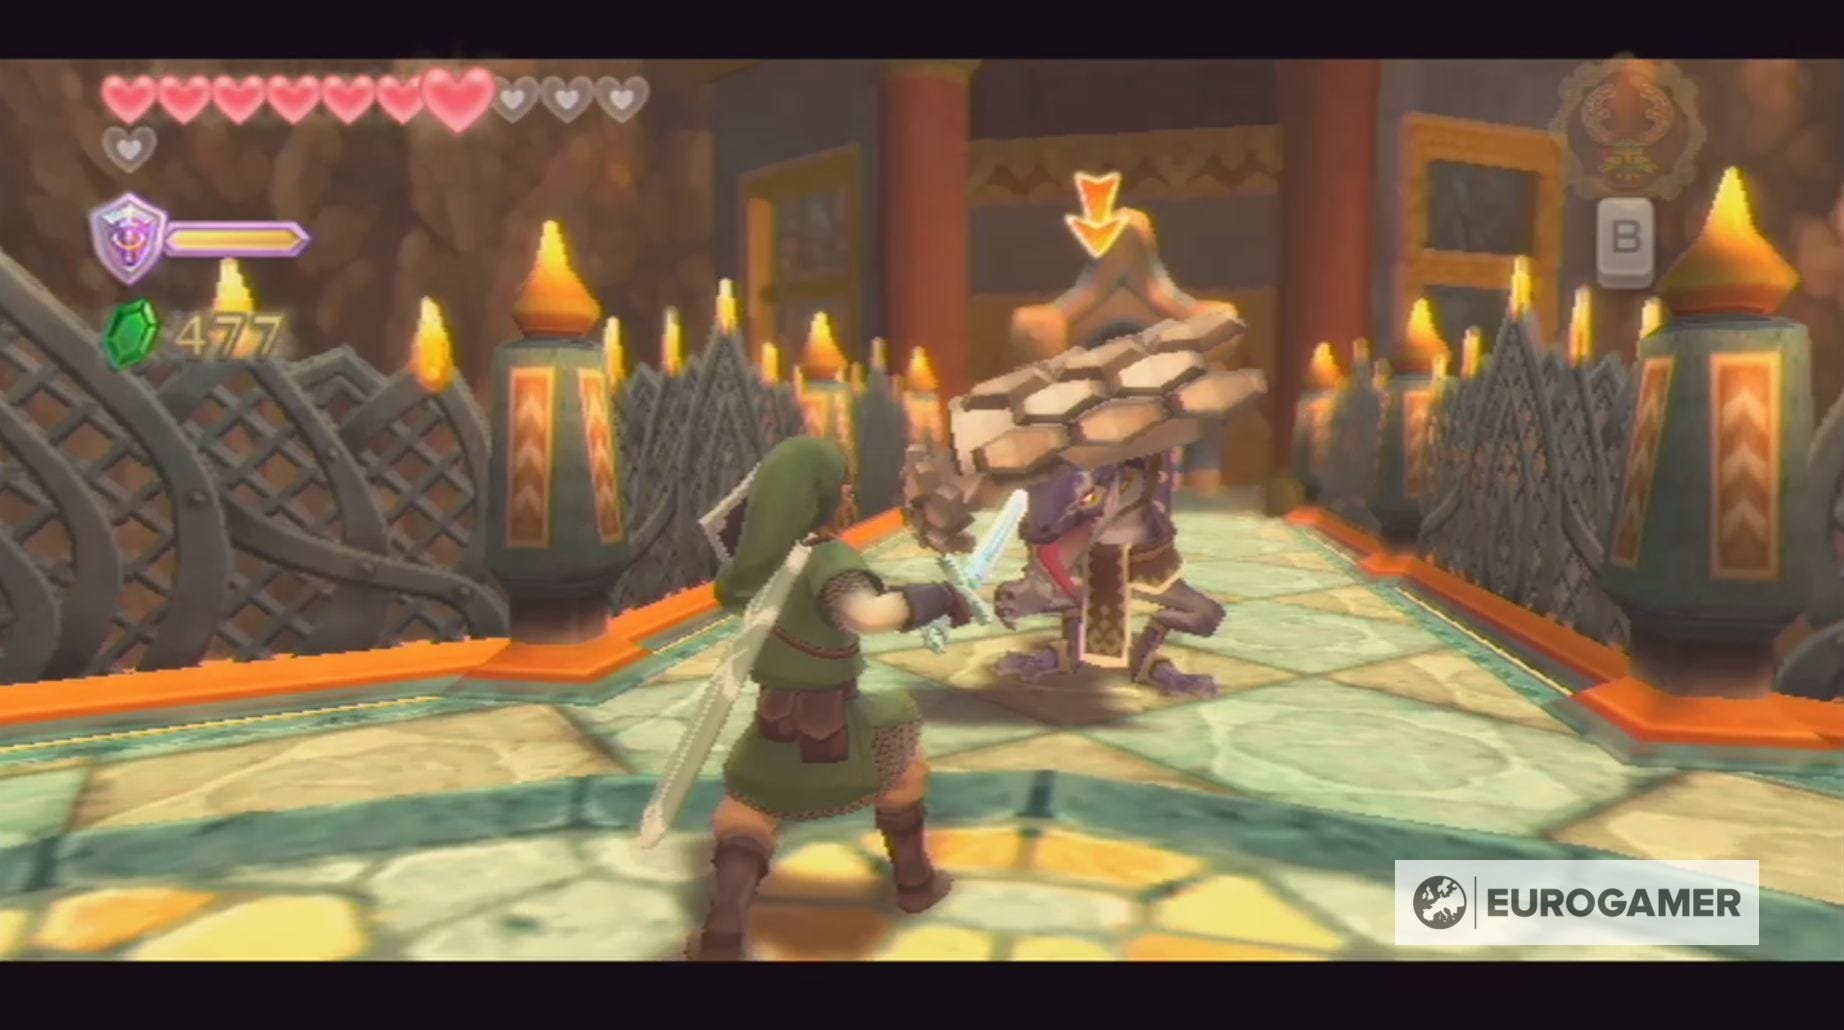
Beyond this door, you'll have to battle your first Dark Lizalfos.
These creatures are the more powerful versions of your regular Lizalfos, with the added bonuses of, rather than fire, they spit cursed energy. This means you definitely need to avoid these attacks or else you won't be able to attack for a short period of time.
Aside from this, Dark Lizalfos have the same attack pattern and are defeated in the same manner as the ones you've faced in the path. We do recommend fighting this monster in the central circle of this area, because it offers more room for dodging.
Once the Dark Lizalfos is defeated, head through the next door and kill the Cursed Spumes hiding in the lava.
With them killed, you can now use the Hook Beetle to grab a bomb from the alcove on the right-hand side of the room and fly it into the statue with the block mouth - also on the right-hand side of the room. There are a number of Rupees dotted about the room which you can collect with the Hook Beetle.
Now you can hit another green plant with an arrow or the Hook Beetle and use the stone it creates to reach the other side of the room.
Here you'll need to kill the two Bokoblin Archers, so you can safely go through the unlocked door.
Turns out the Bokoblin were guarding this door, because they were keeping a Mogma prisoner in the room beyond. You can't save the Mogma at the moment, so, instead, use the Gust Bellows to destroy the patches of magma on the path, so you can reach the chest containing the small key.

Now it's time to head back to the previous room, so you can unlock the other door using the key.
Our Skyward Sword walkthrough will help you find every Heart Piece and Empty Bottle. We can also help you defeat Ghirahim, Scaldera, Moldarach, The Imprisoned, Koloktos, Tentalus, Bilocyte and Demise. You can also discover where to find Kukiel to unlock the Gratitude Crystals and a number of side quests, including the toilet paper quest, missing sister location and party wheel location.
How to get the Mogma Mitts in the Fire Sanctuary dungeon
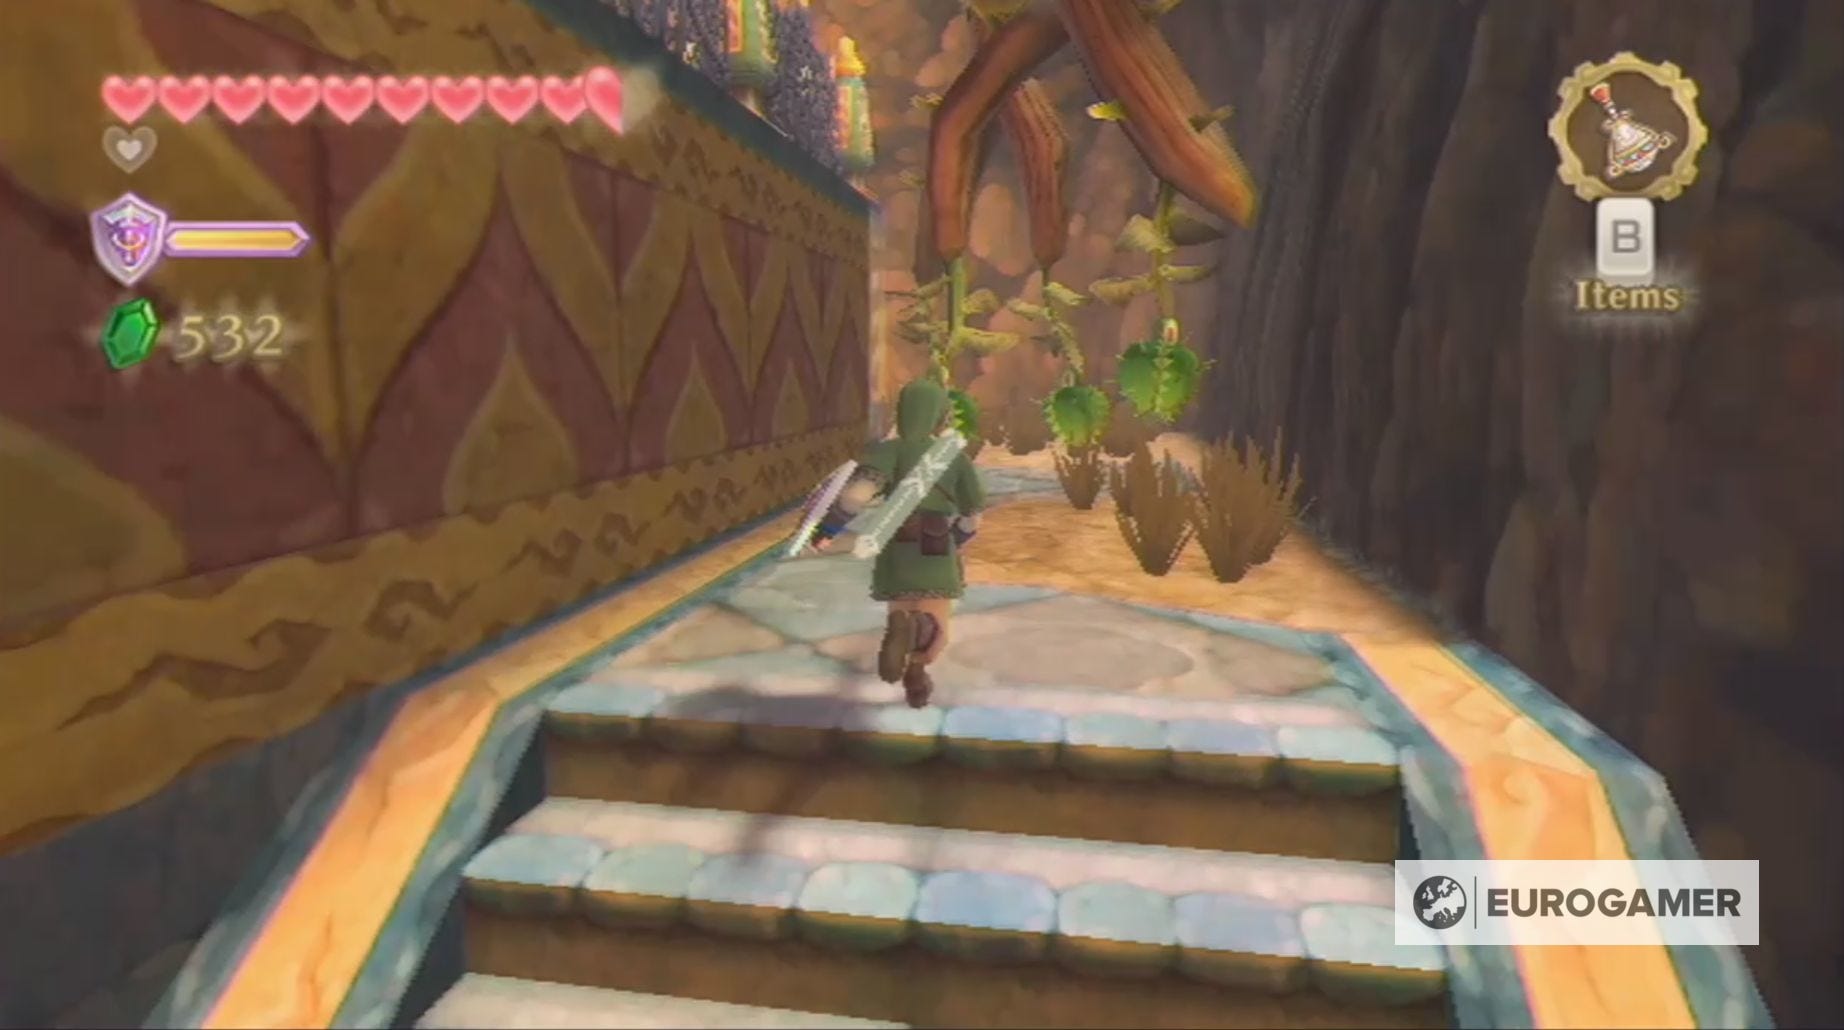
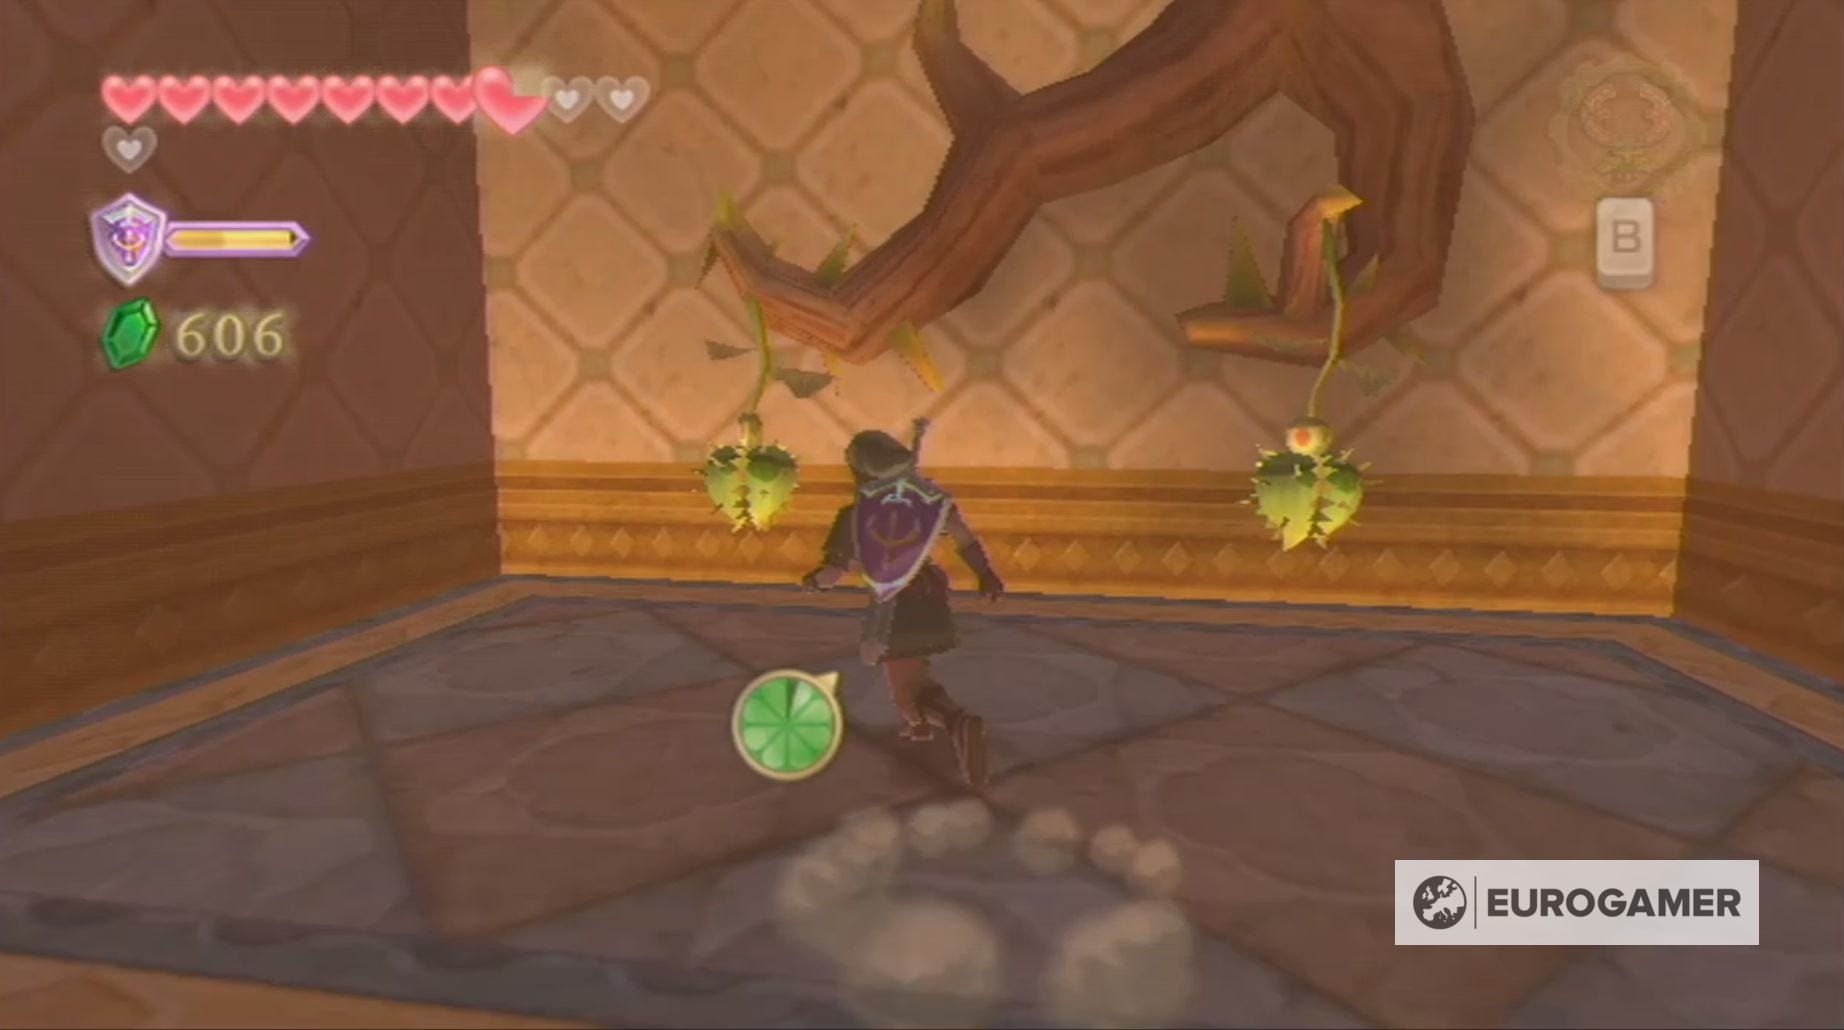
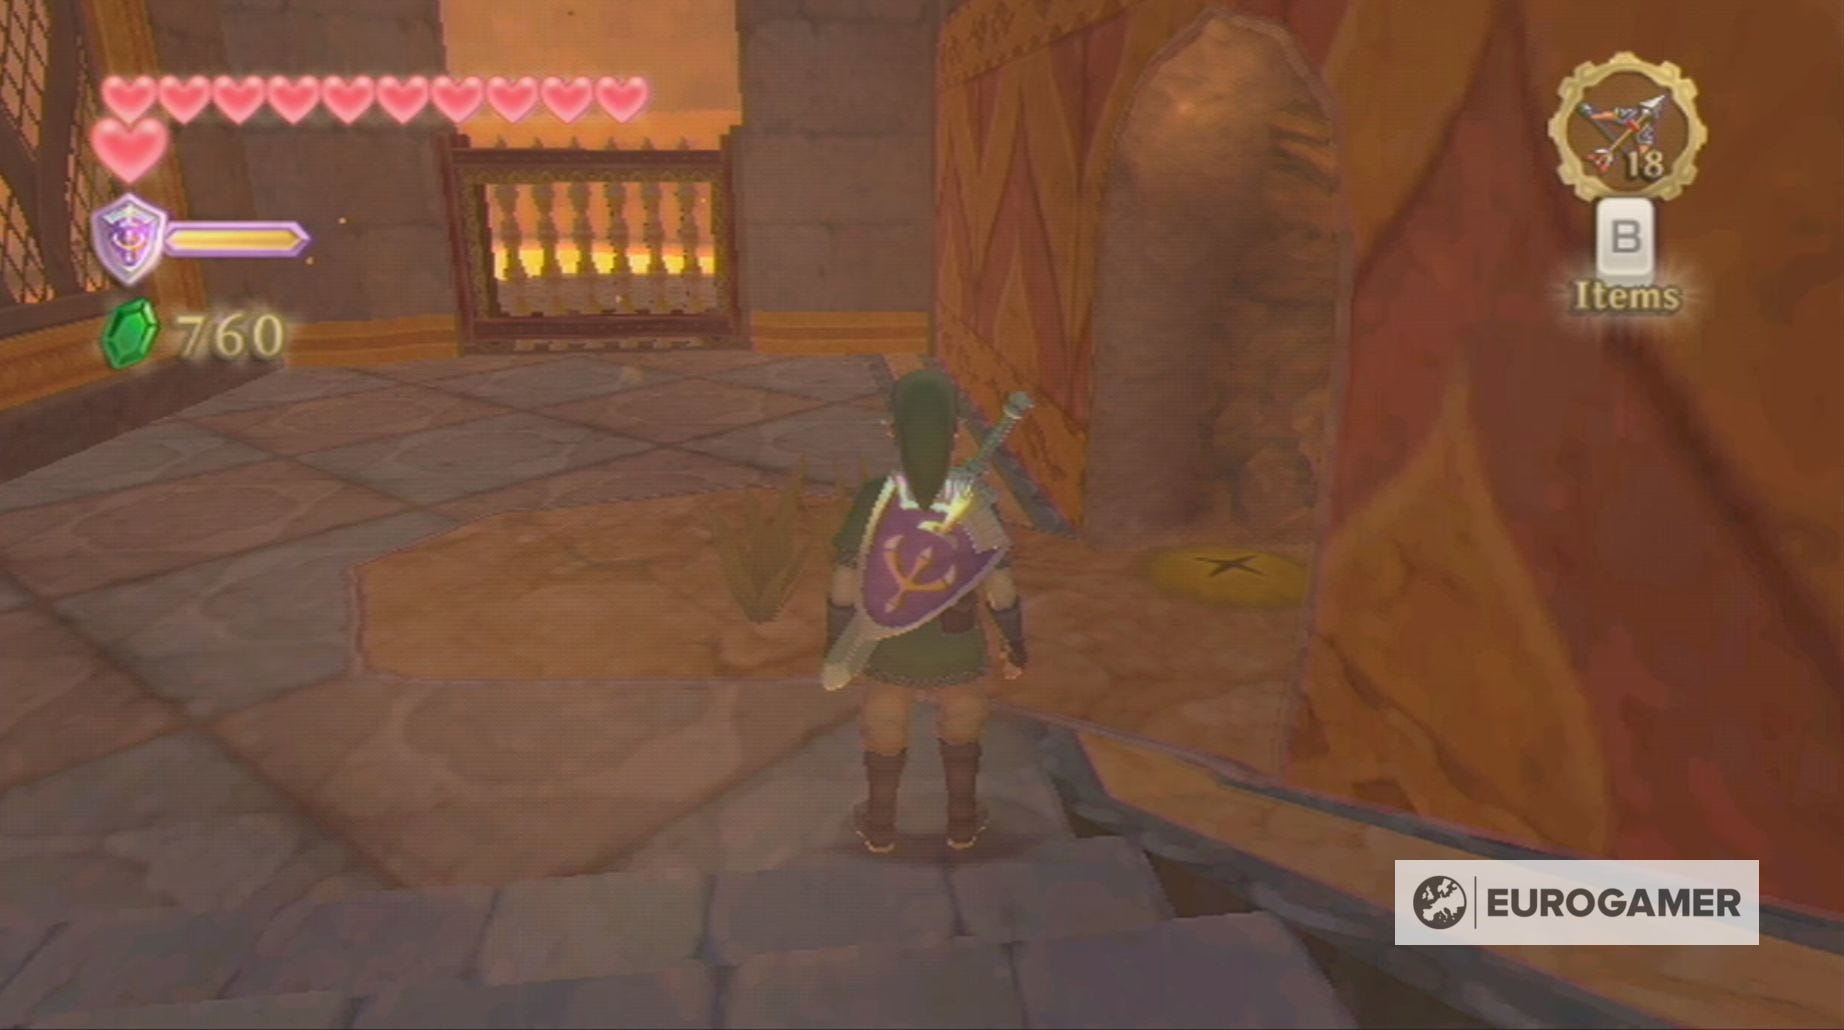
You will now find yourself in another outside section of the Fire Sanctuary in Skyward Sword, which is filled with those useful green plants. Avoid walking into them, however, as their thorns will steal a little bit of your health.
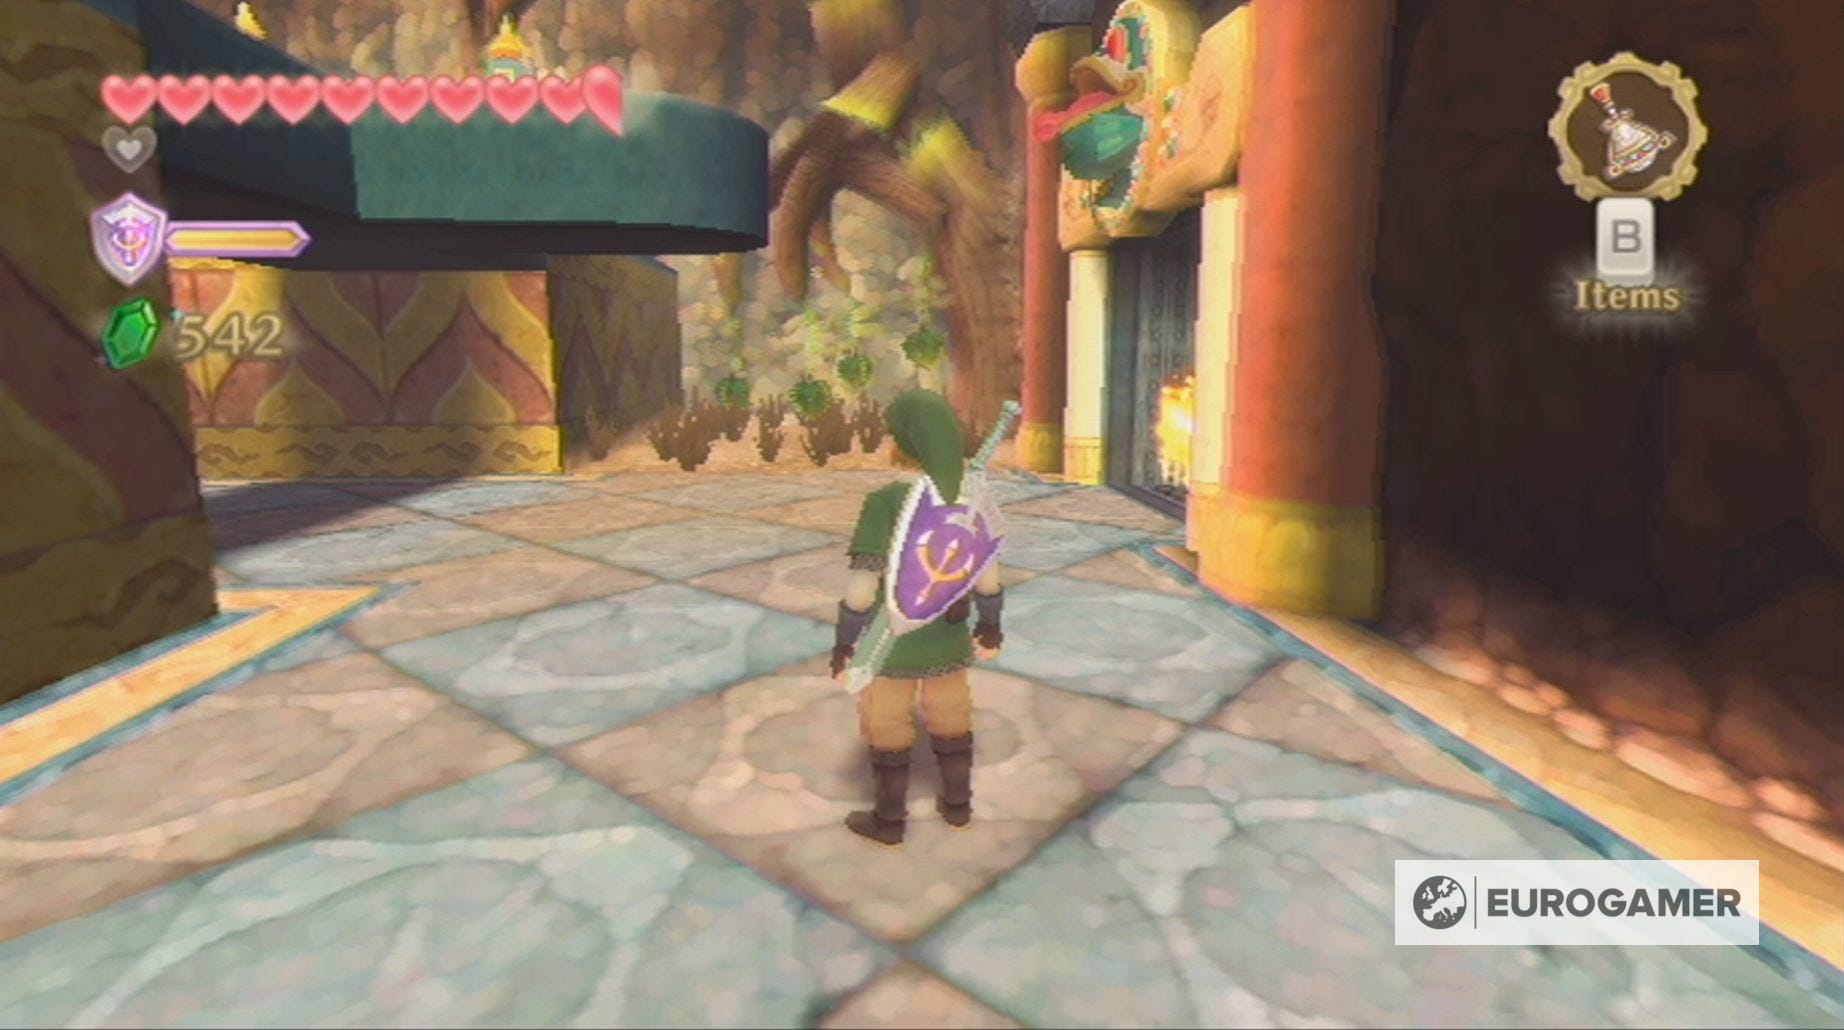
Follow the path around to the right, cutting down green plants and Red Chuchus as you go, until you reach a doorway blocked by fire. Just like the fire doorways you dealt with to reach the Fire Sanctuary, these flames will only vanish if you give the frog statue above water.
To do this you need to take the left passage - opening the nearby chest for 20 Rupees - and going up the left-hand stairs, so you can reach the chest containing a random material.
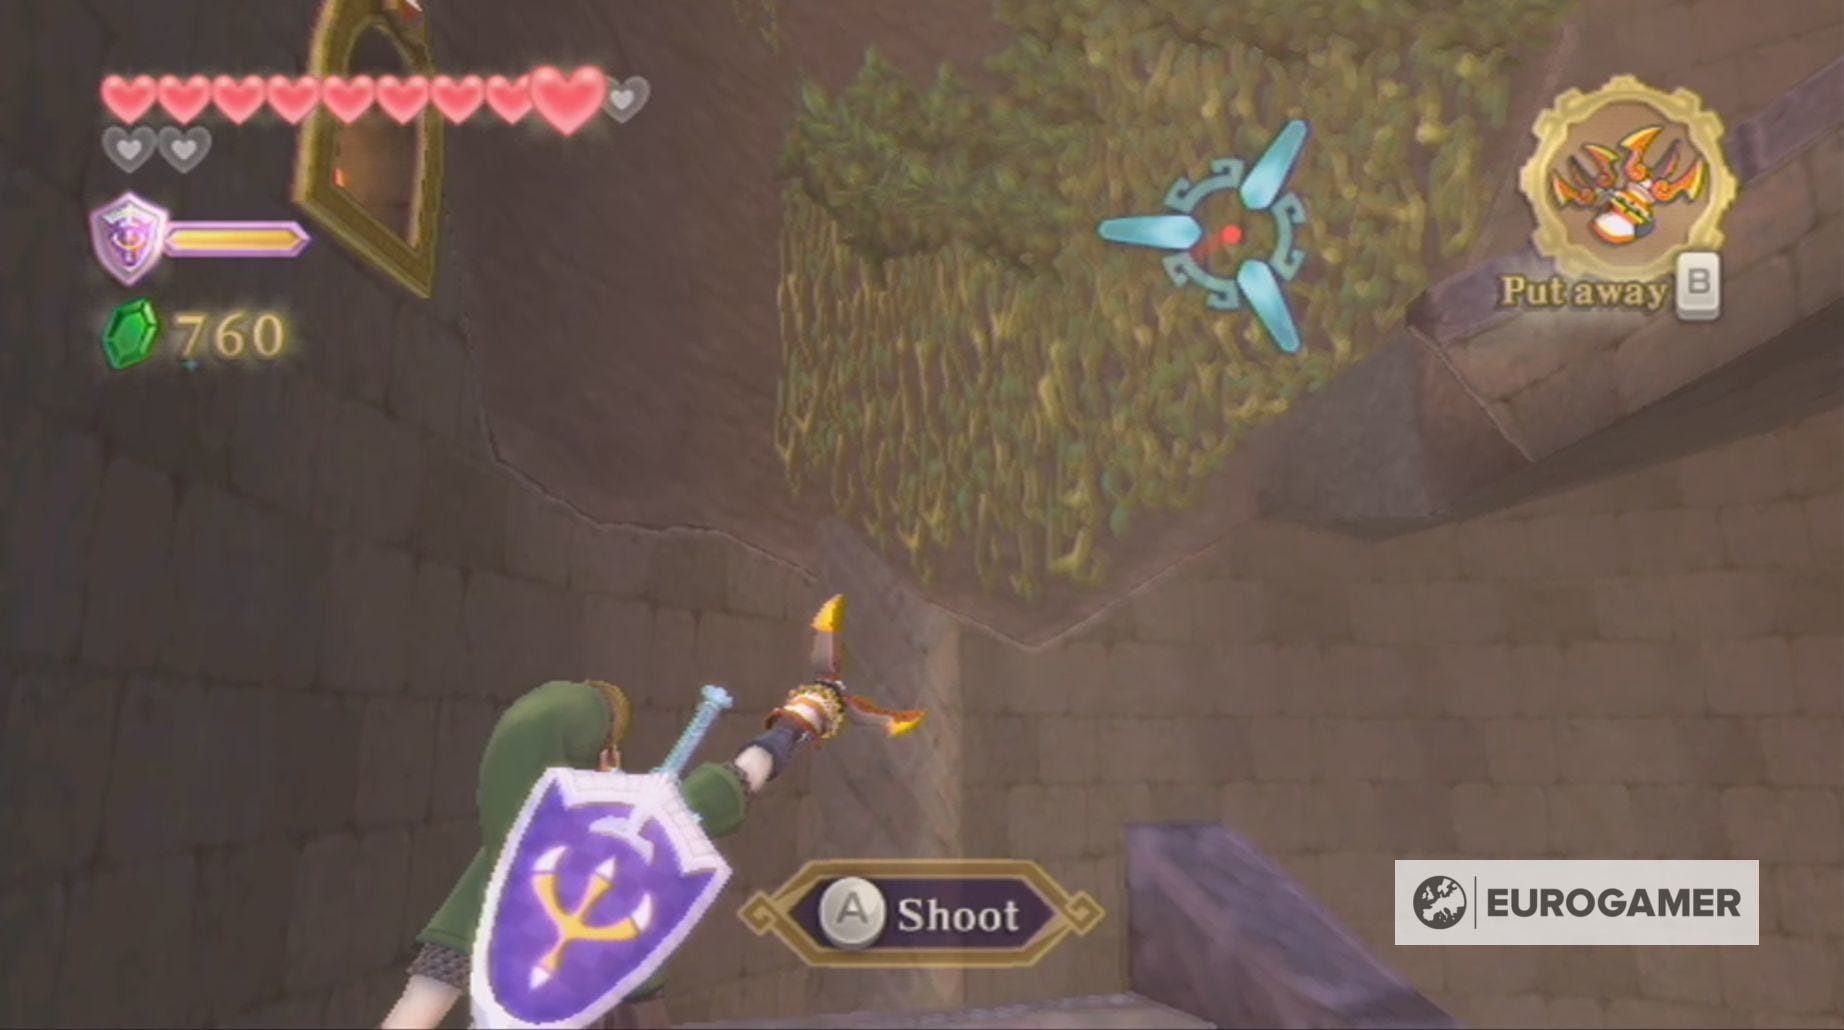
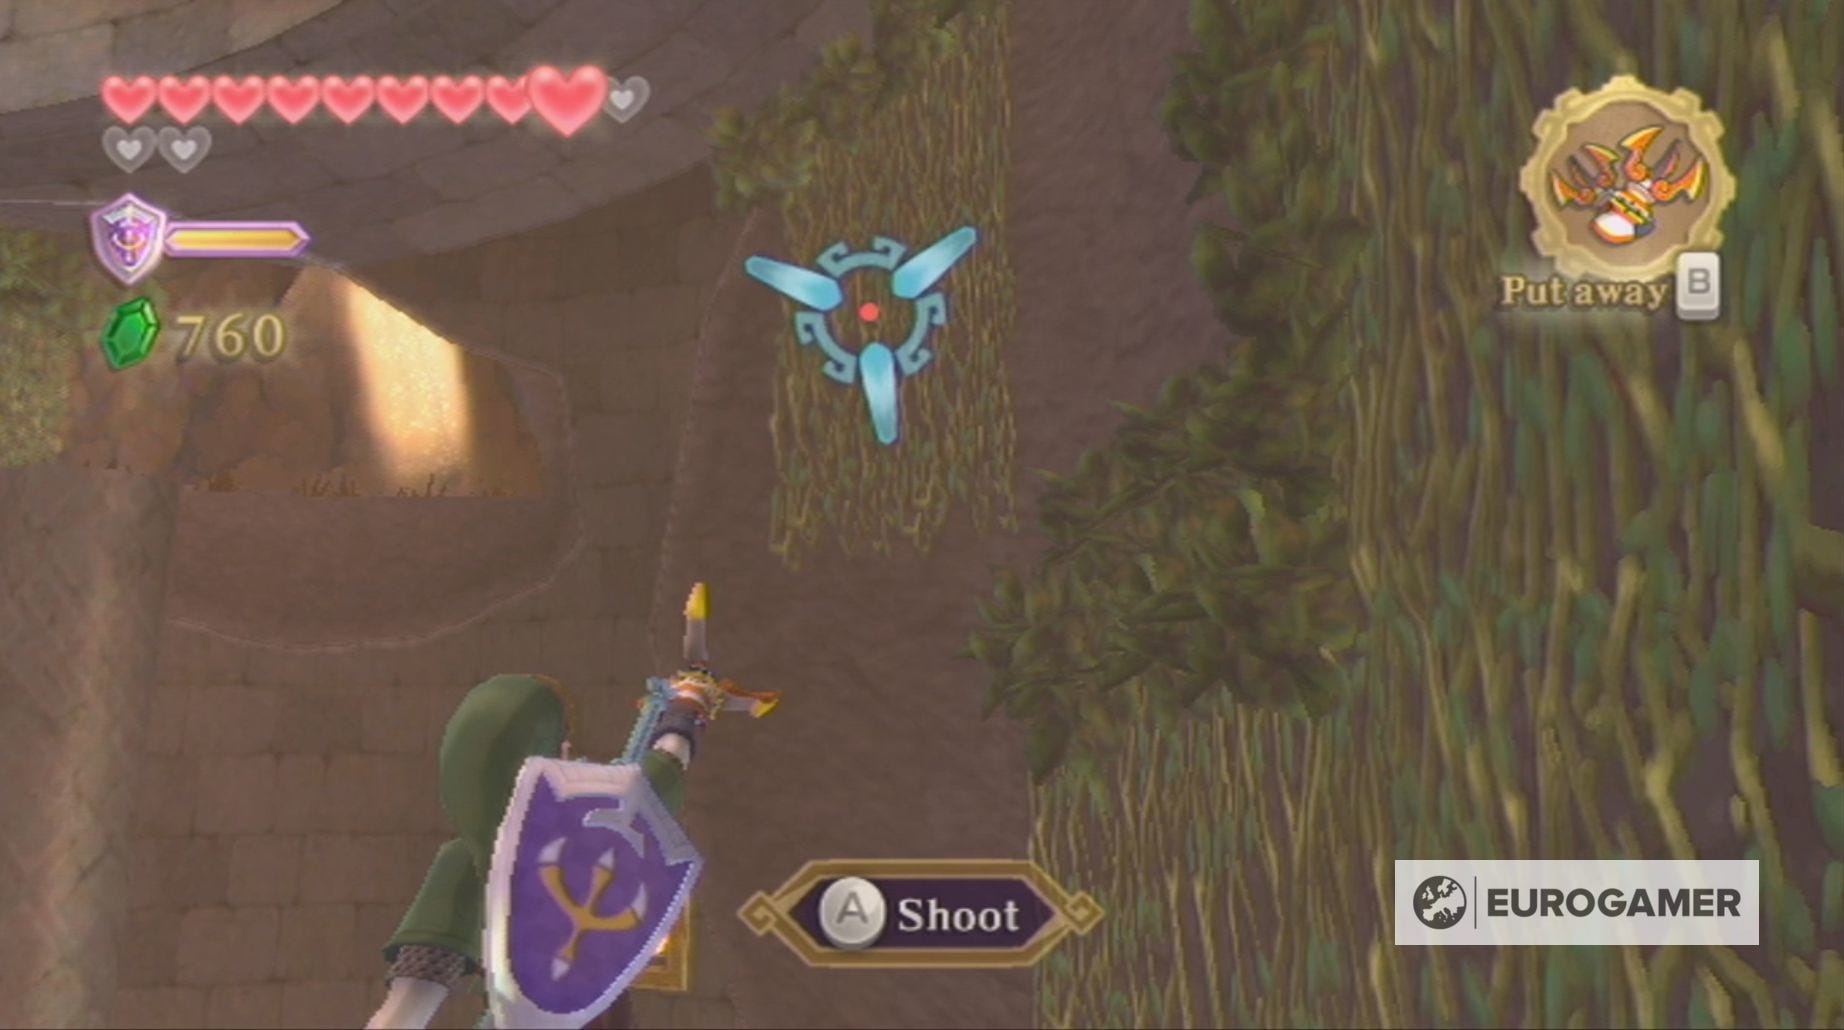
Next, you need to impale one of the green plants on your sword, which can be easily achieved by targeting a plant.
With the plant stuck on your sword, you now need to stand opposite the frog statue and, targeting it again, toss the plant onto the statue with a swing of your sword.
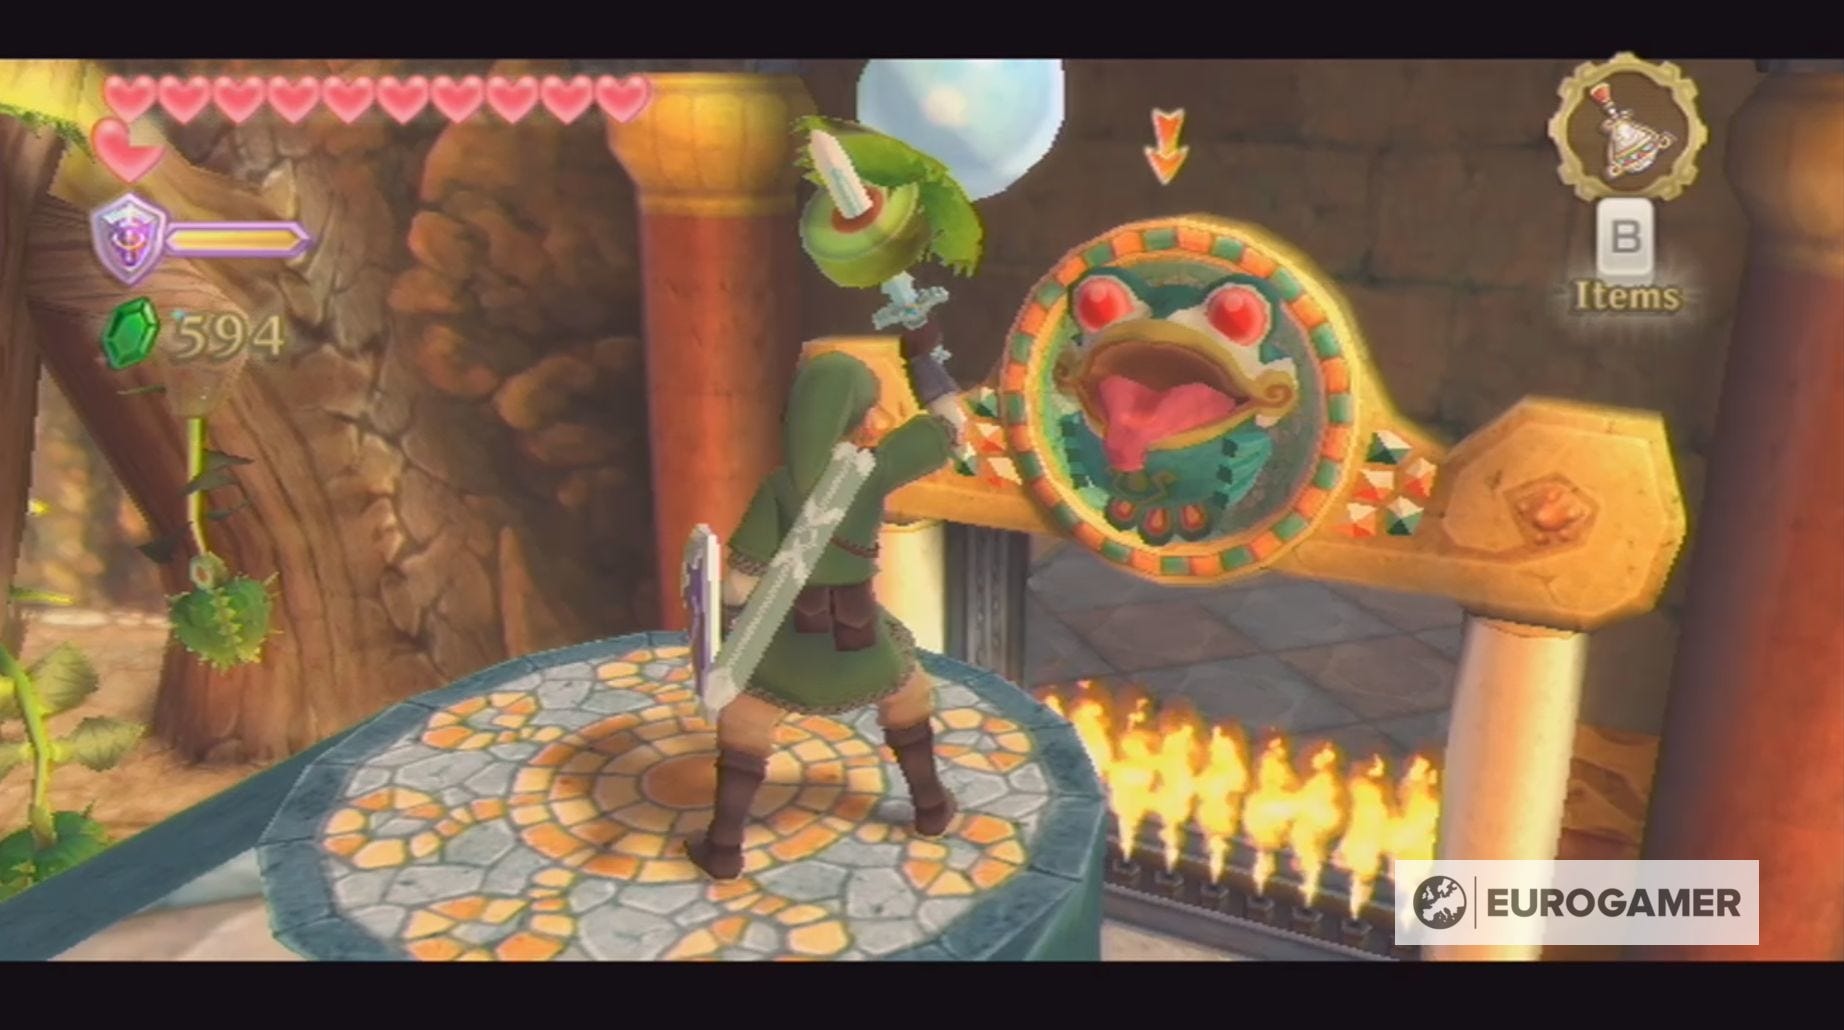
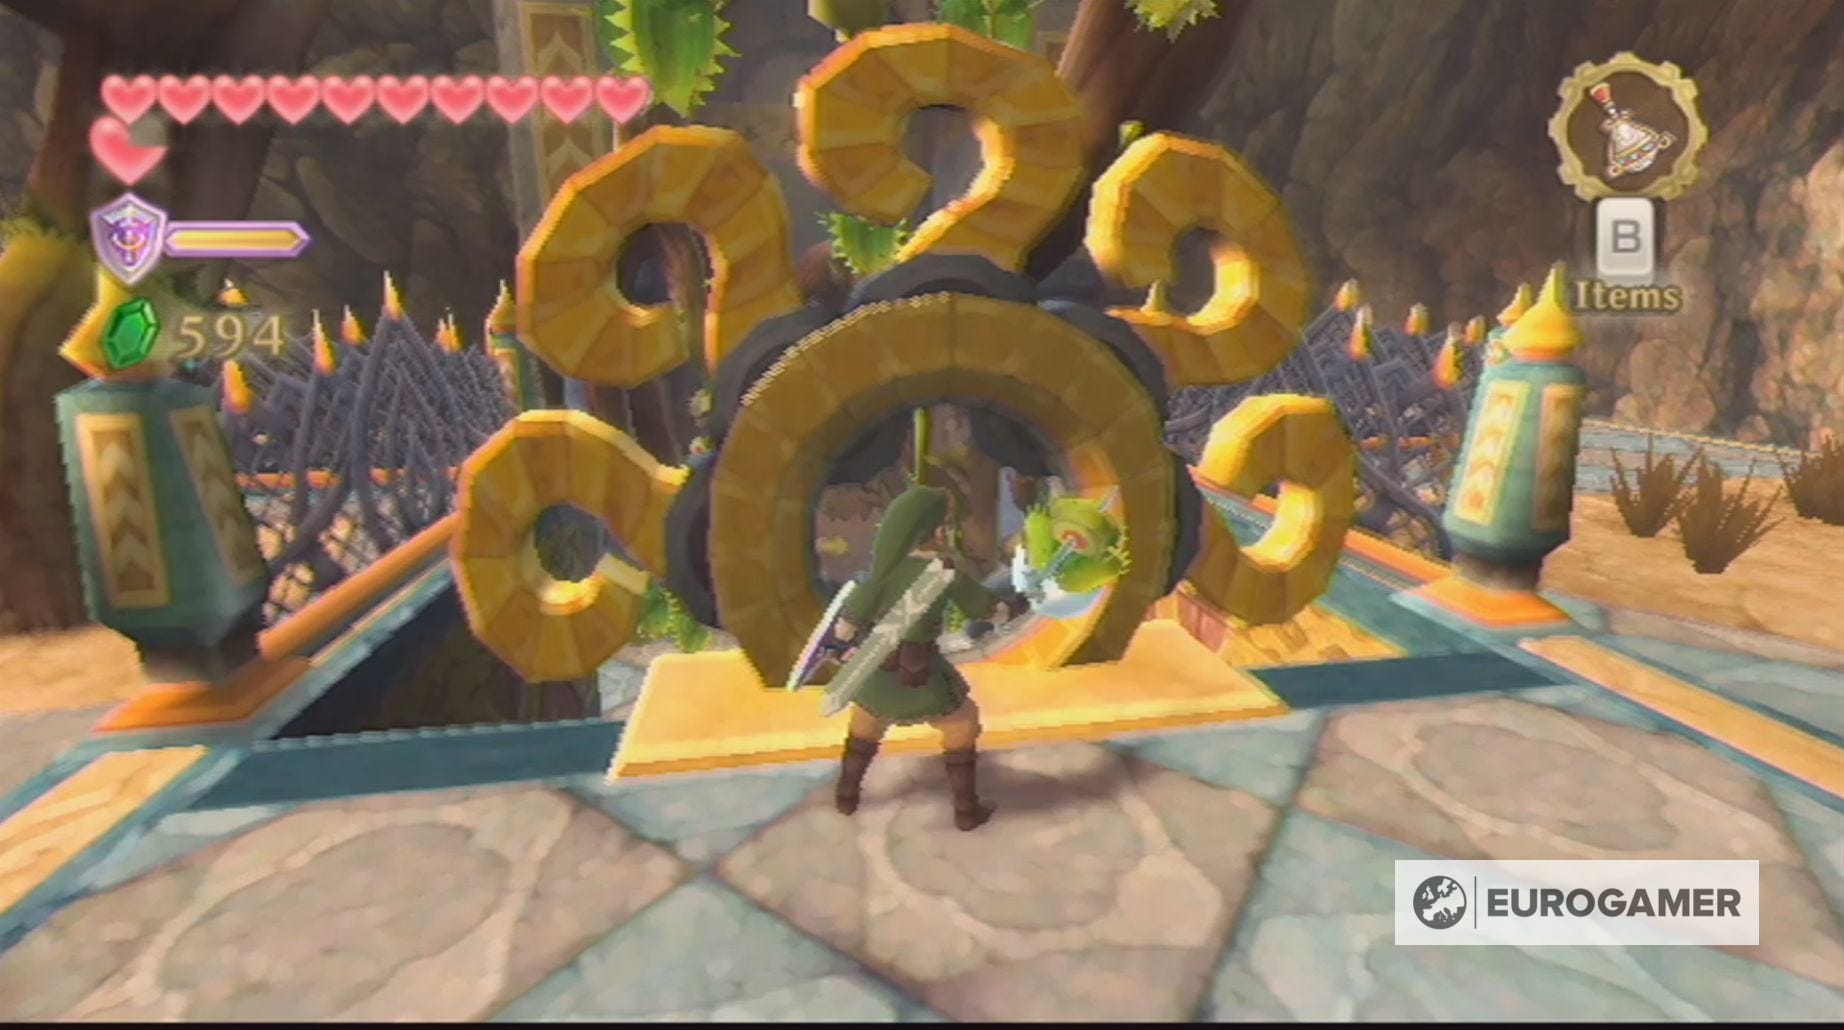
The flames will now vanish and you can kill the Bokoblins and Dark Keese waiting for you in the corridor beyond, before heading through the door at the end.
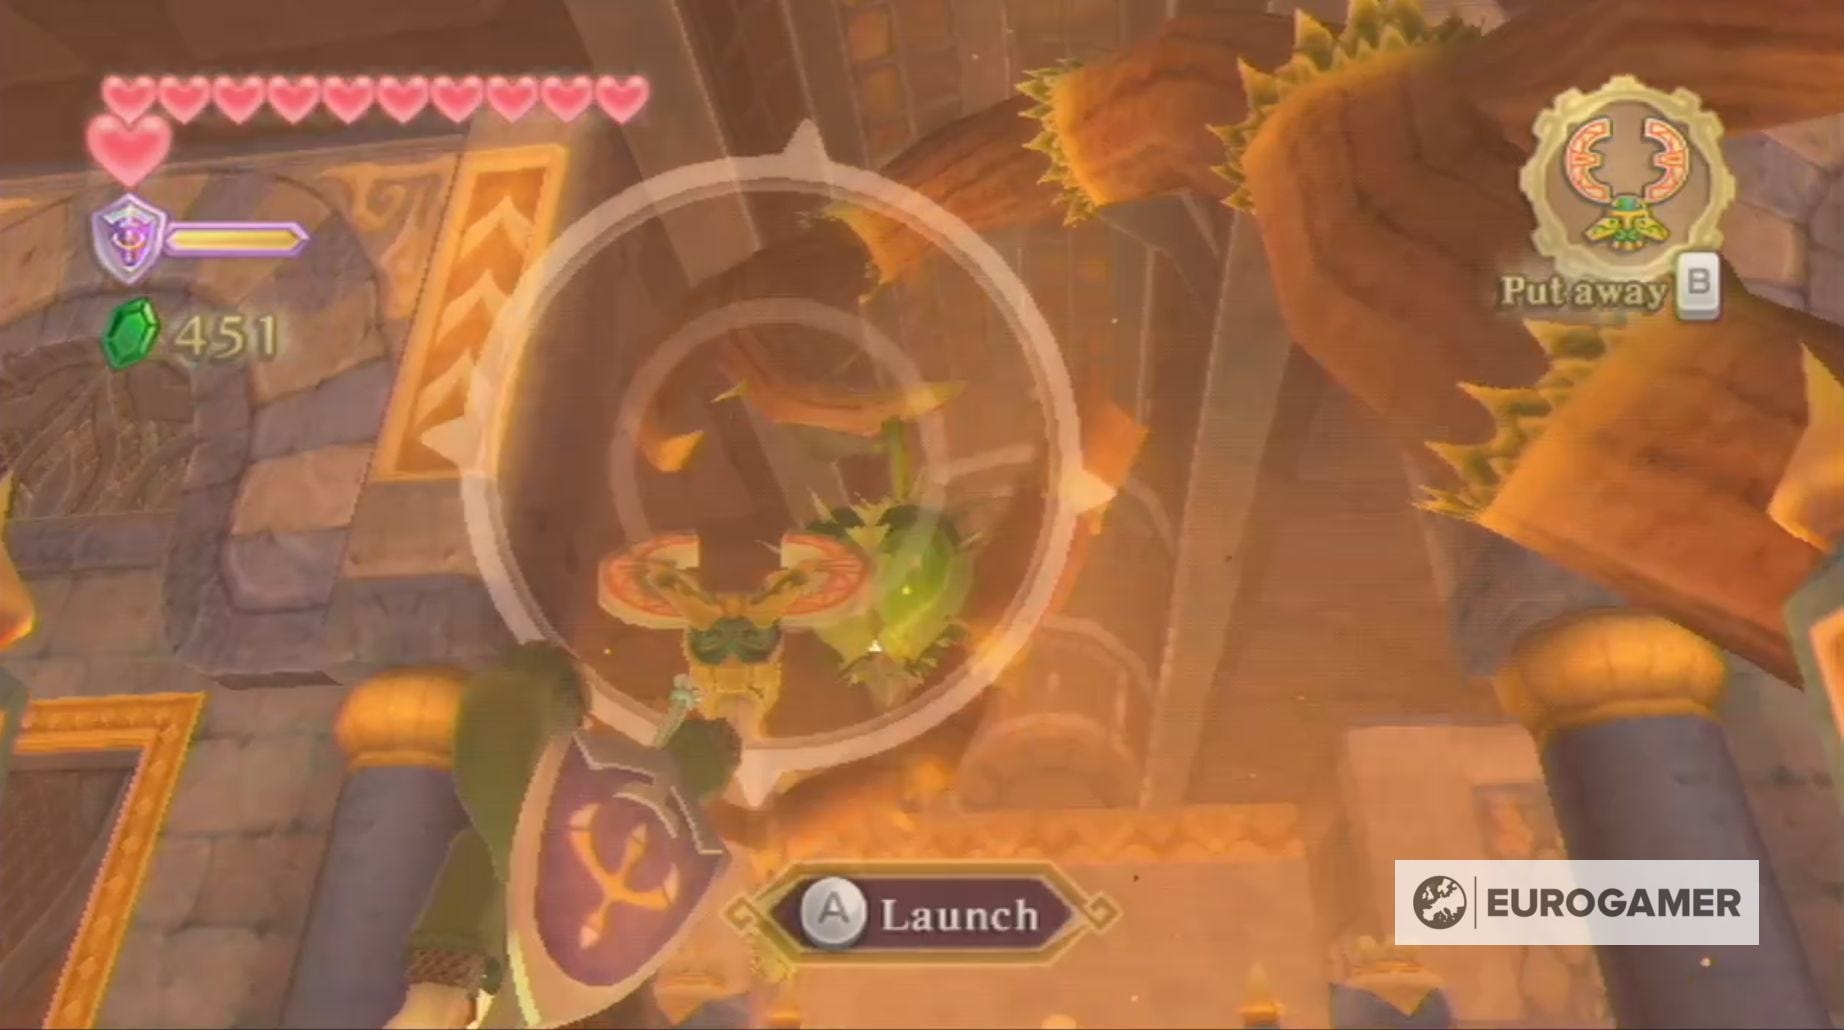
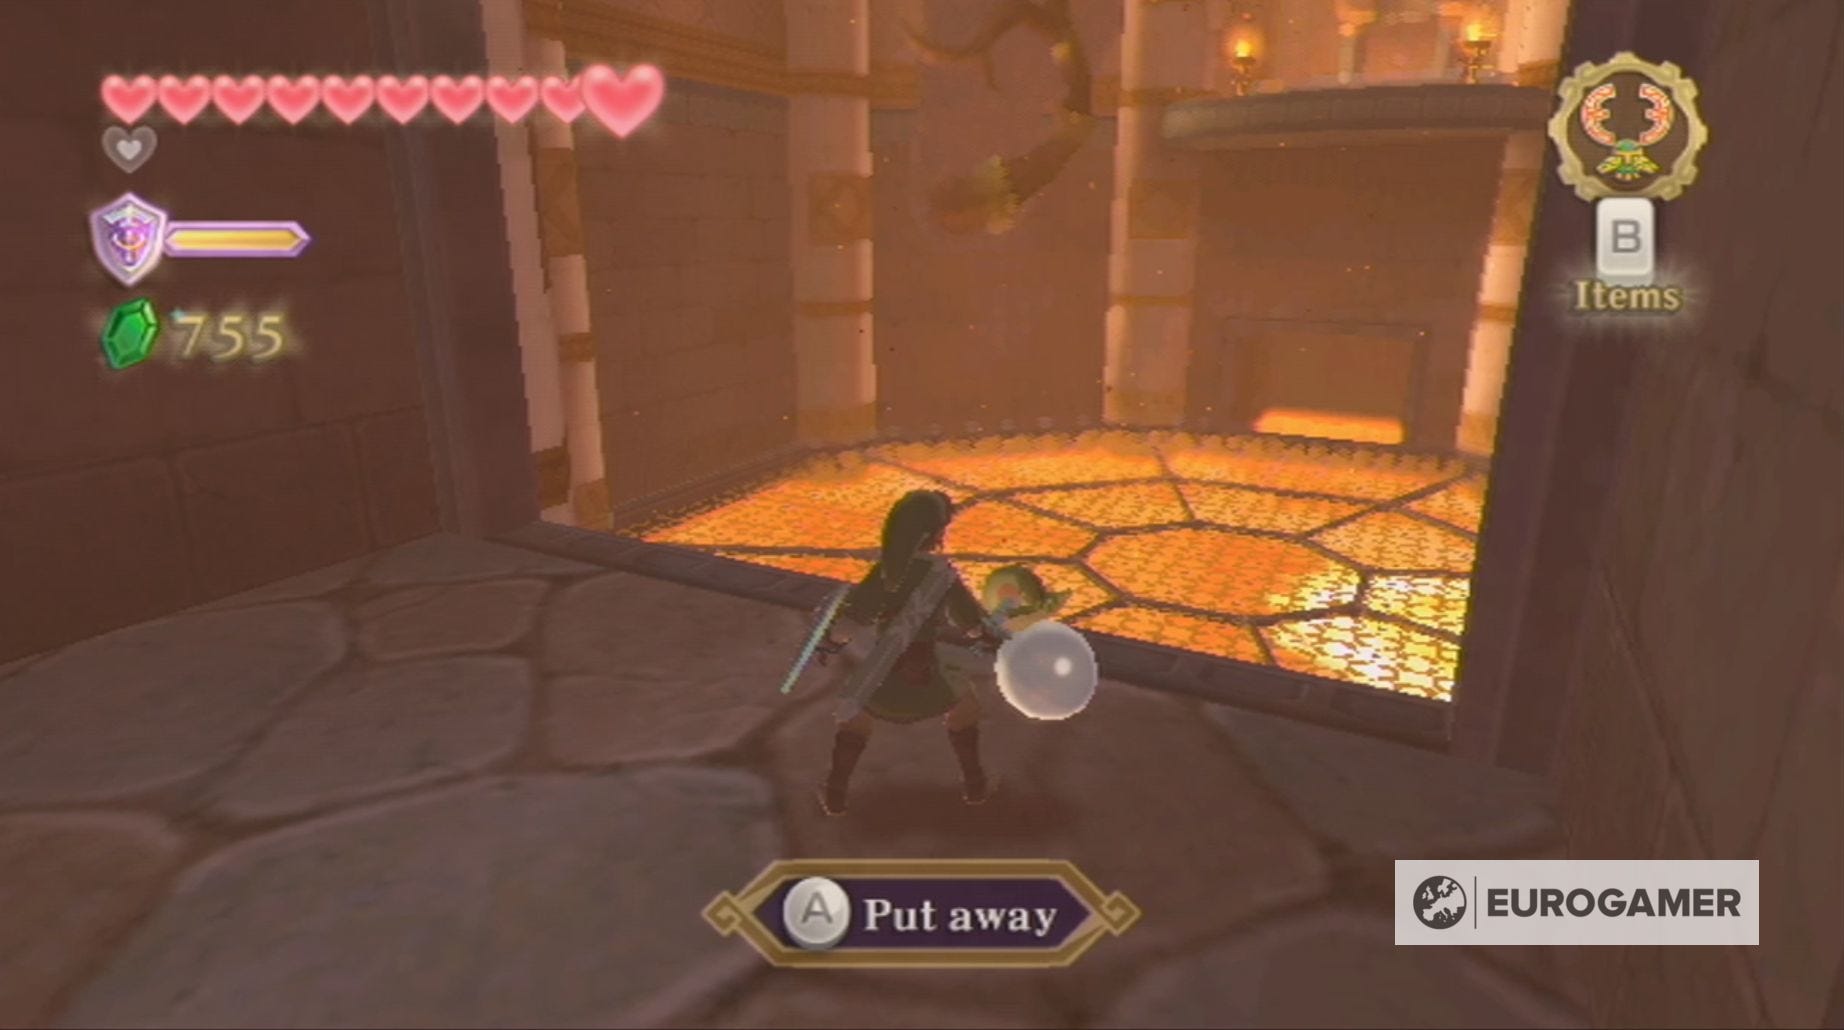
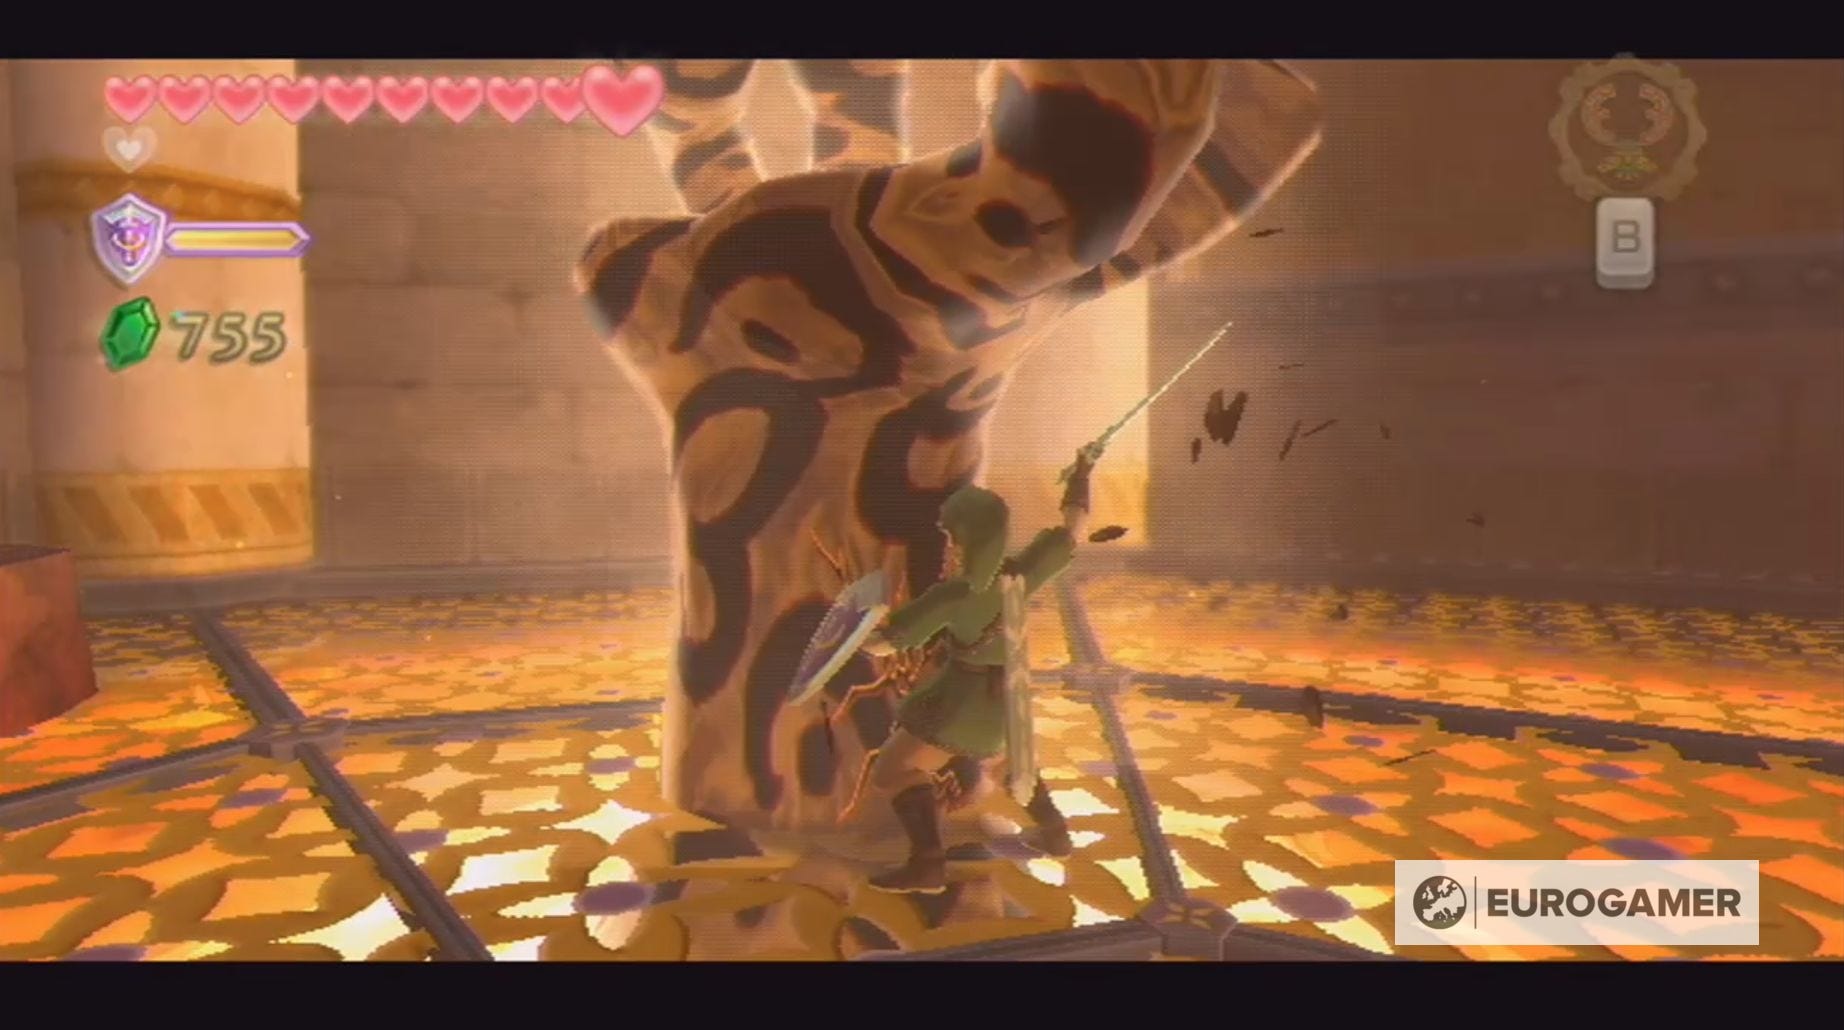
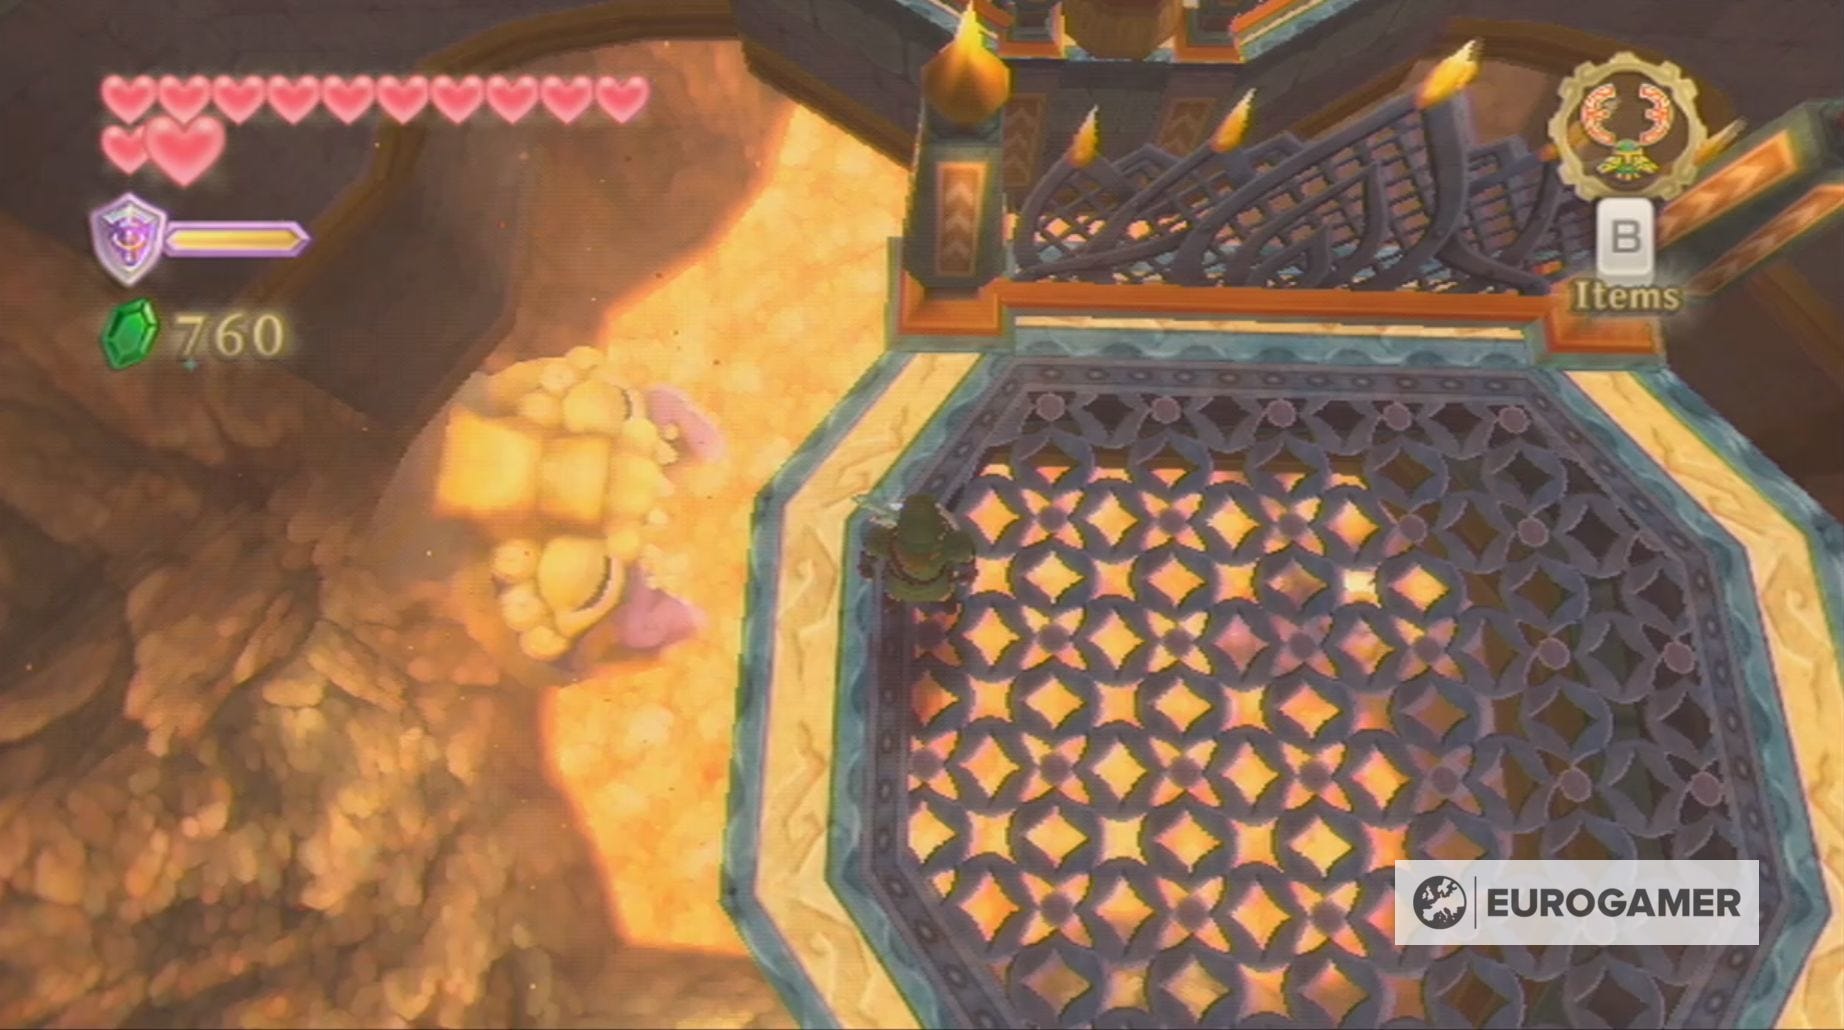
Going through this door will take you to a room containing a pool of lava covered with grating, which is very similar to a previous room you've visited. Jumping down onto this grating will cause two lava hands to appear.
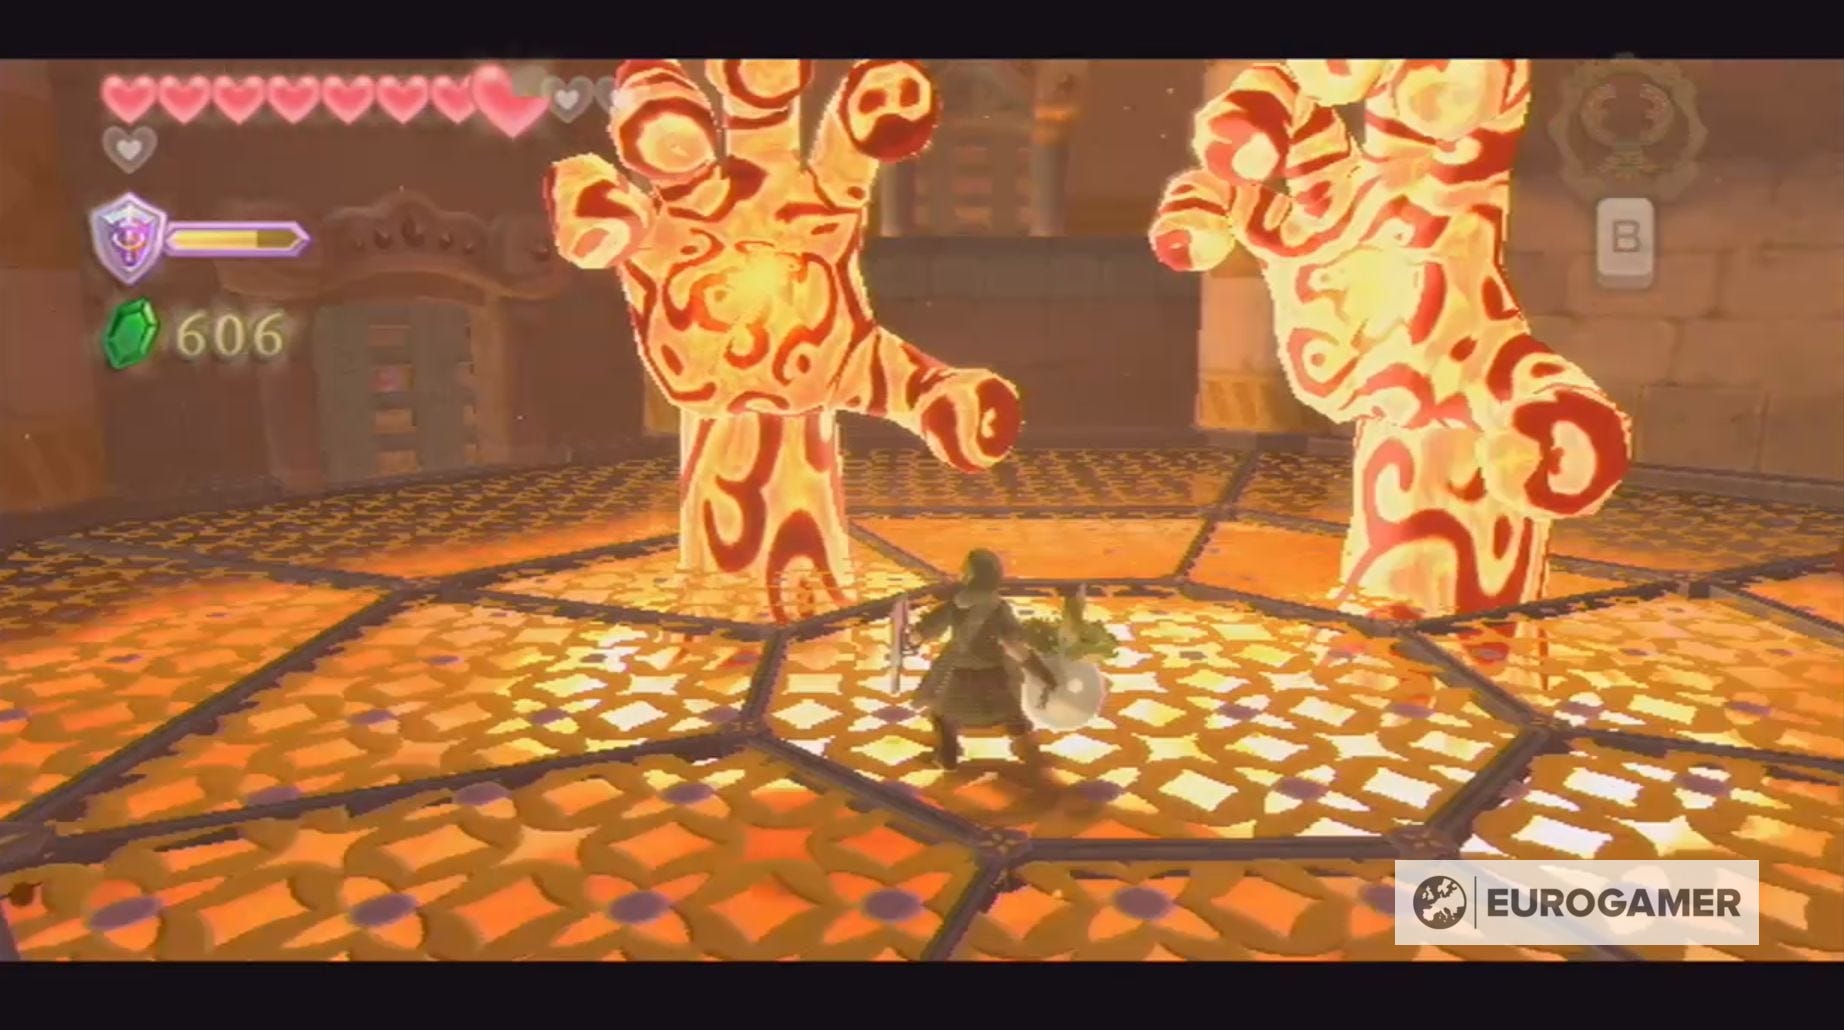
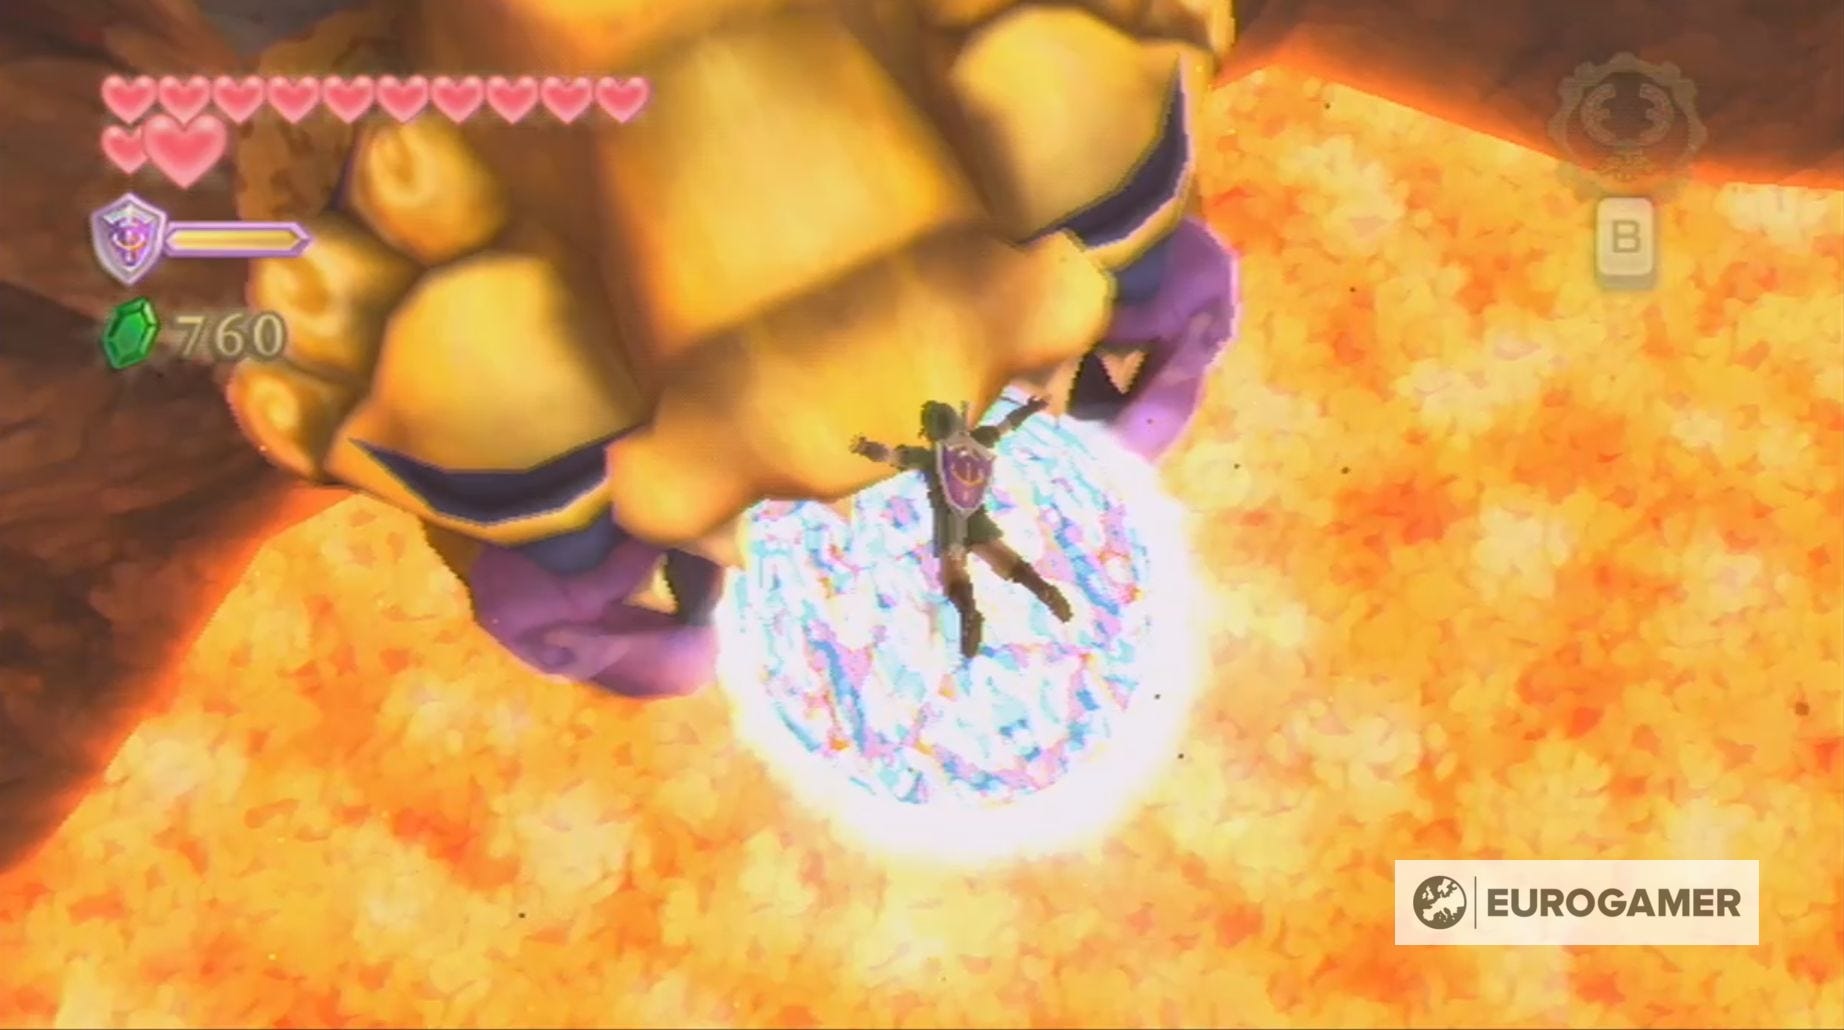
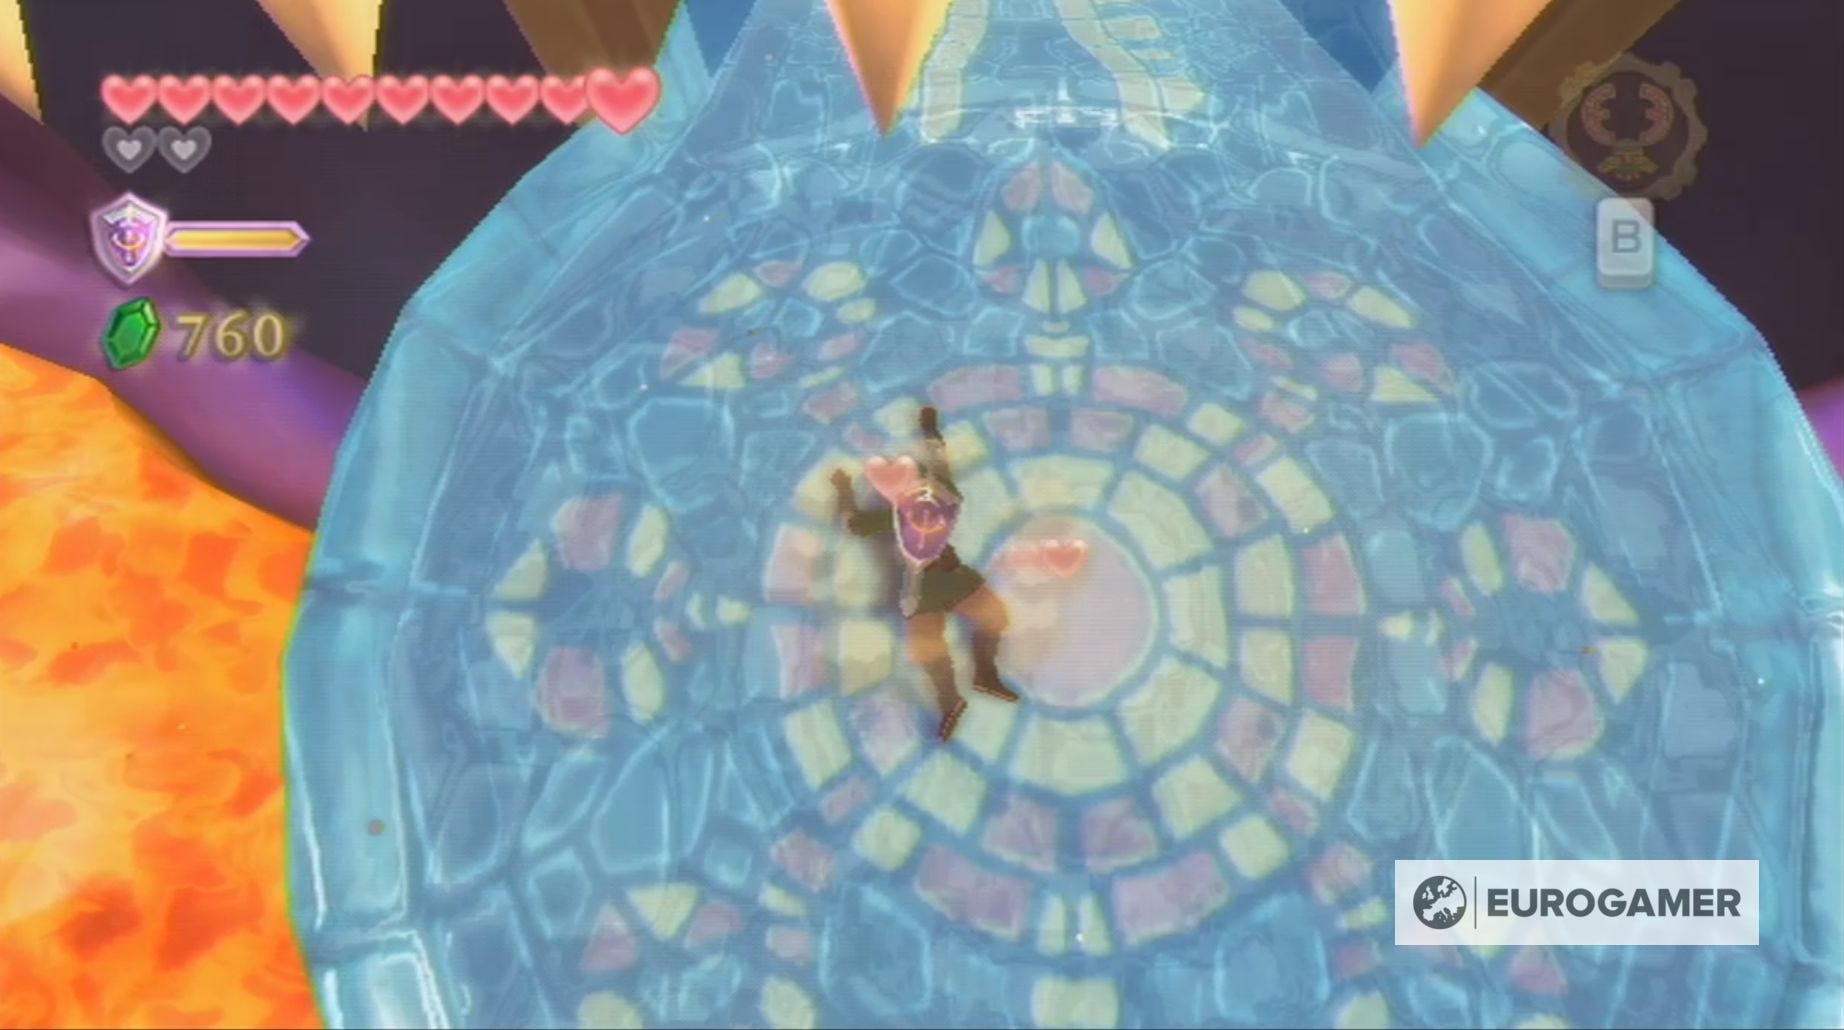
To defeat these hands, you need to climb onto the block of stone on the left-hand side. This will cause one of the hands to thrust it into the air, allowing you to reach the ledge containing two of the green plants.
Impale one of these plants on your sword once again and jump back down to the area below. You now need to toss this plant onto the hands, hopefully hitting both at the same time, to turn them to stone. Now all you have to do is hit the hands with your stone, until they break.
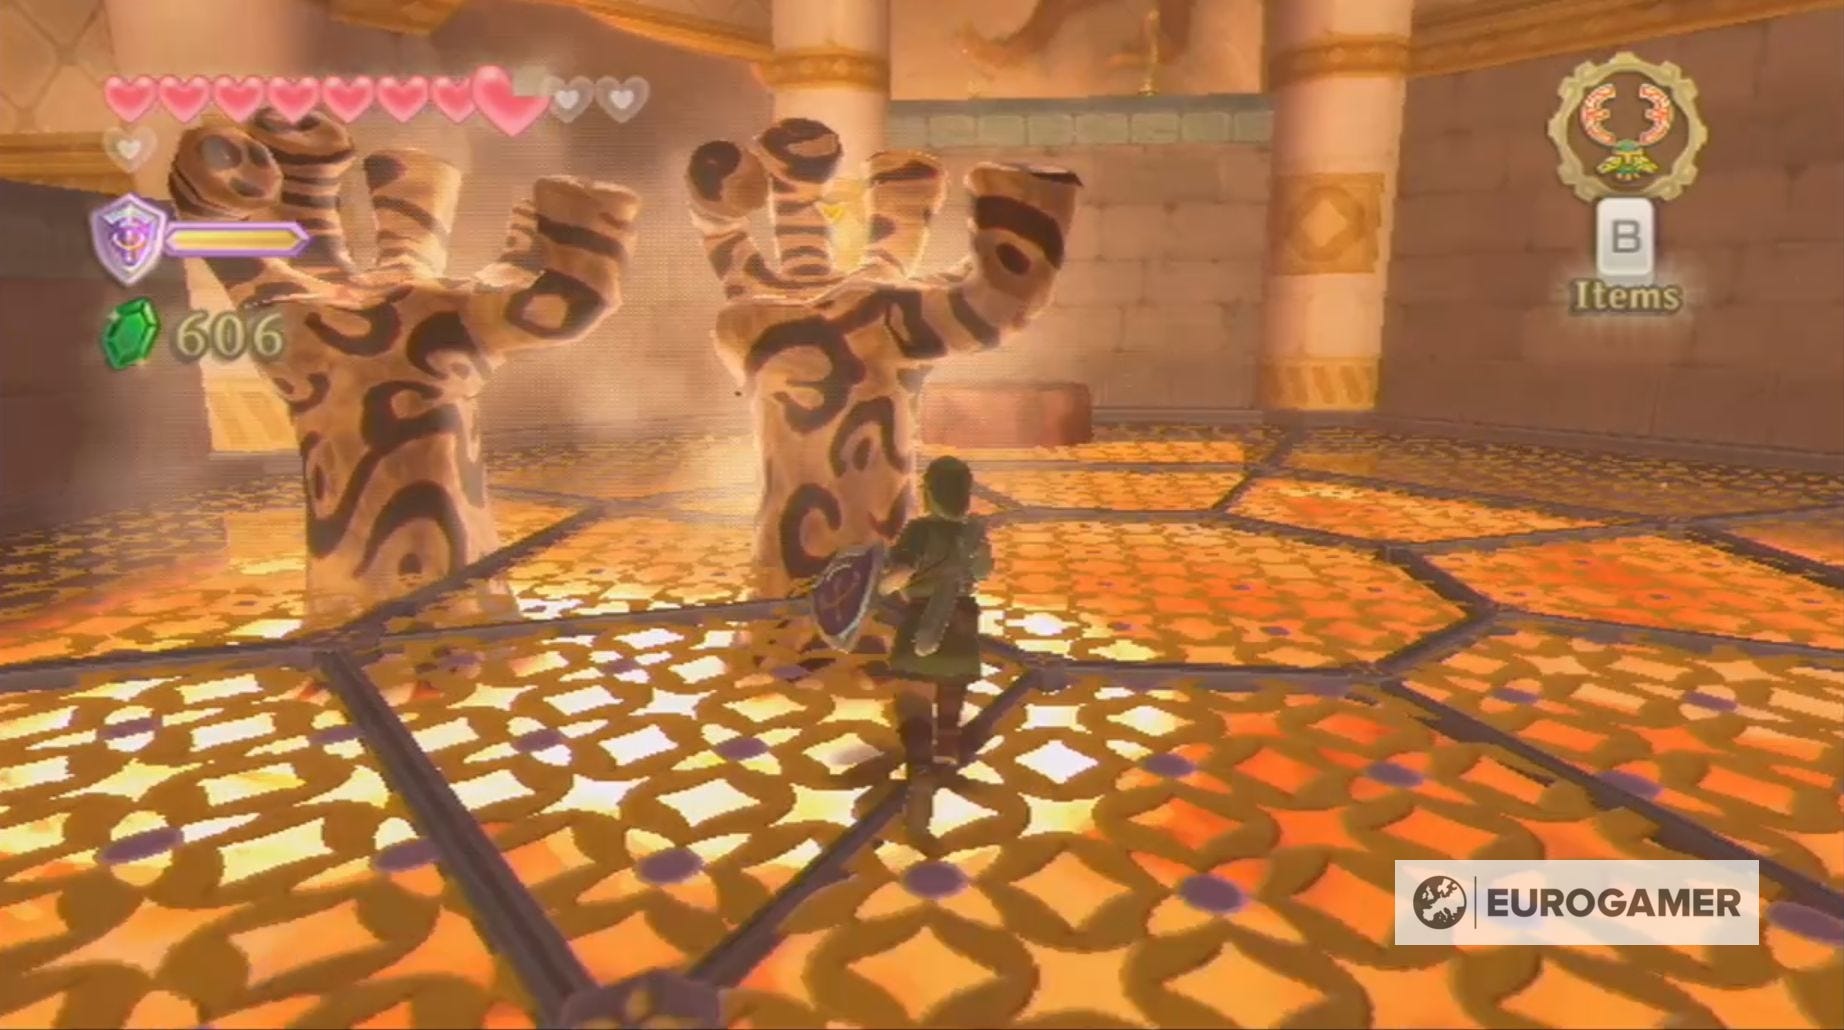
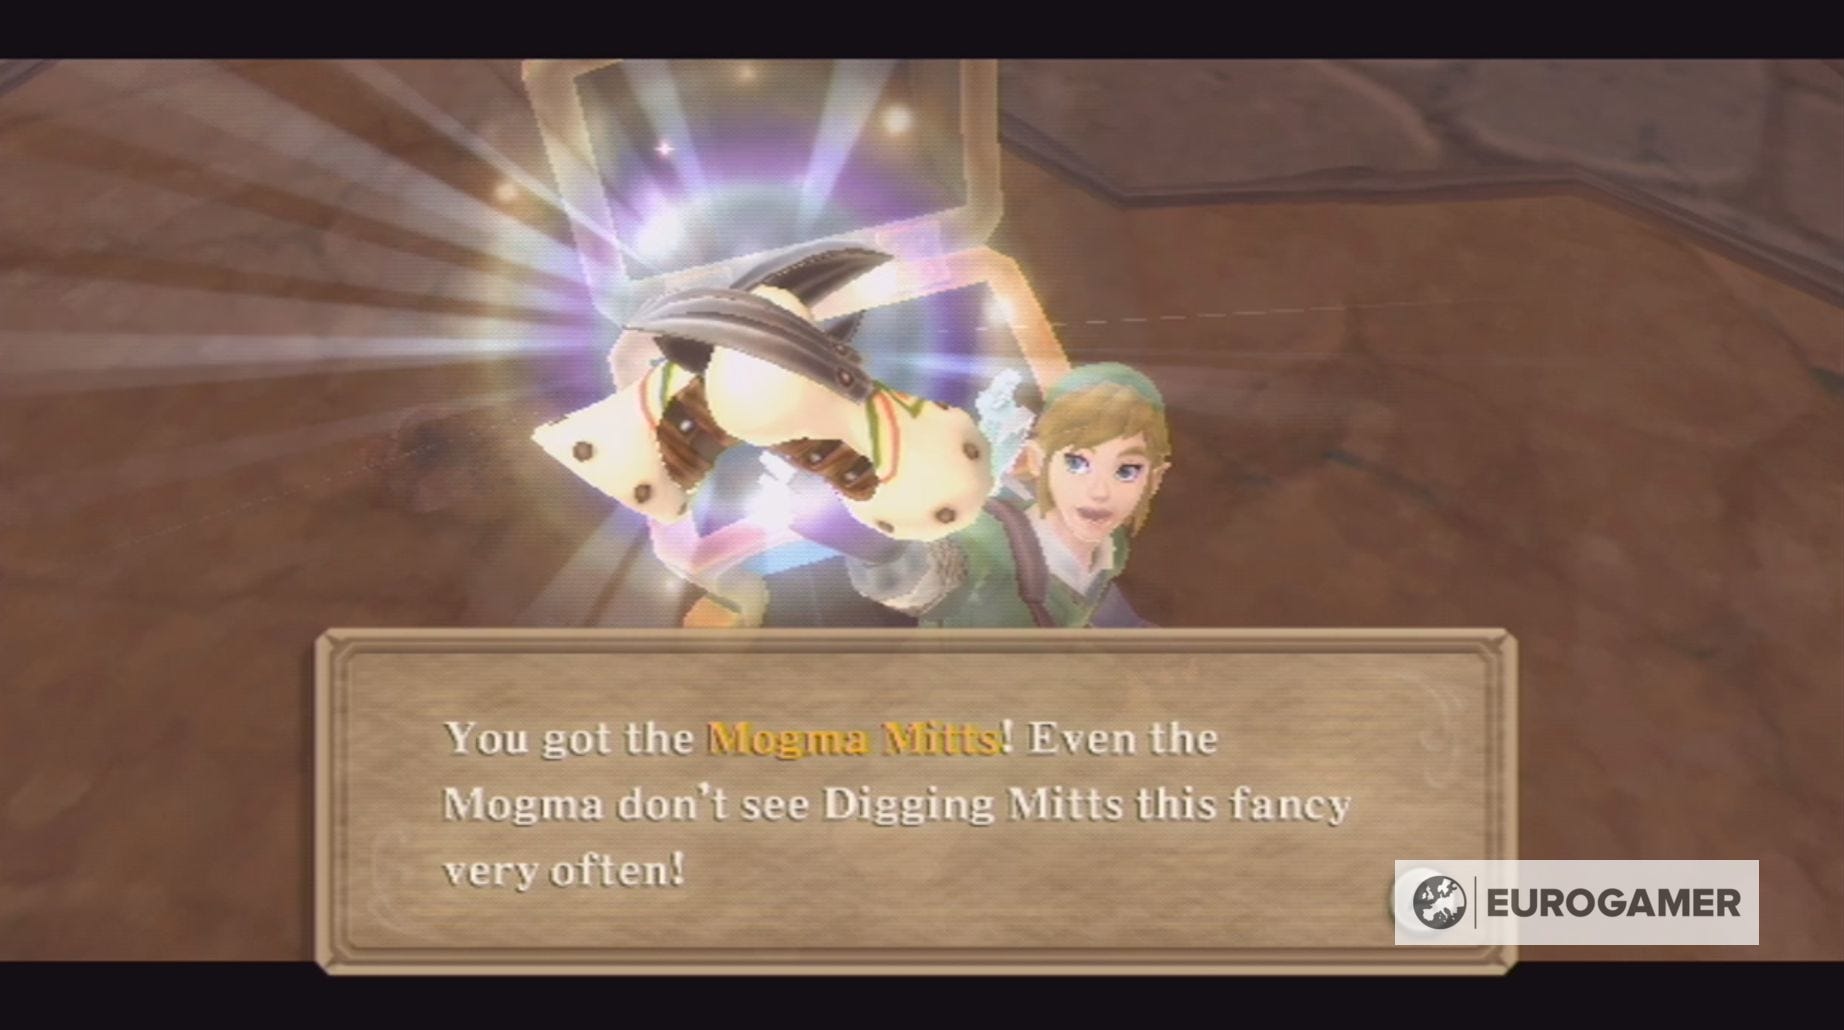
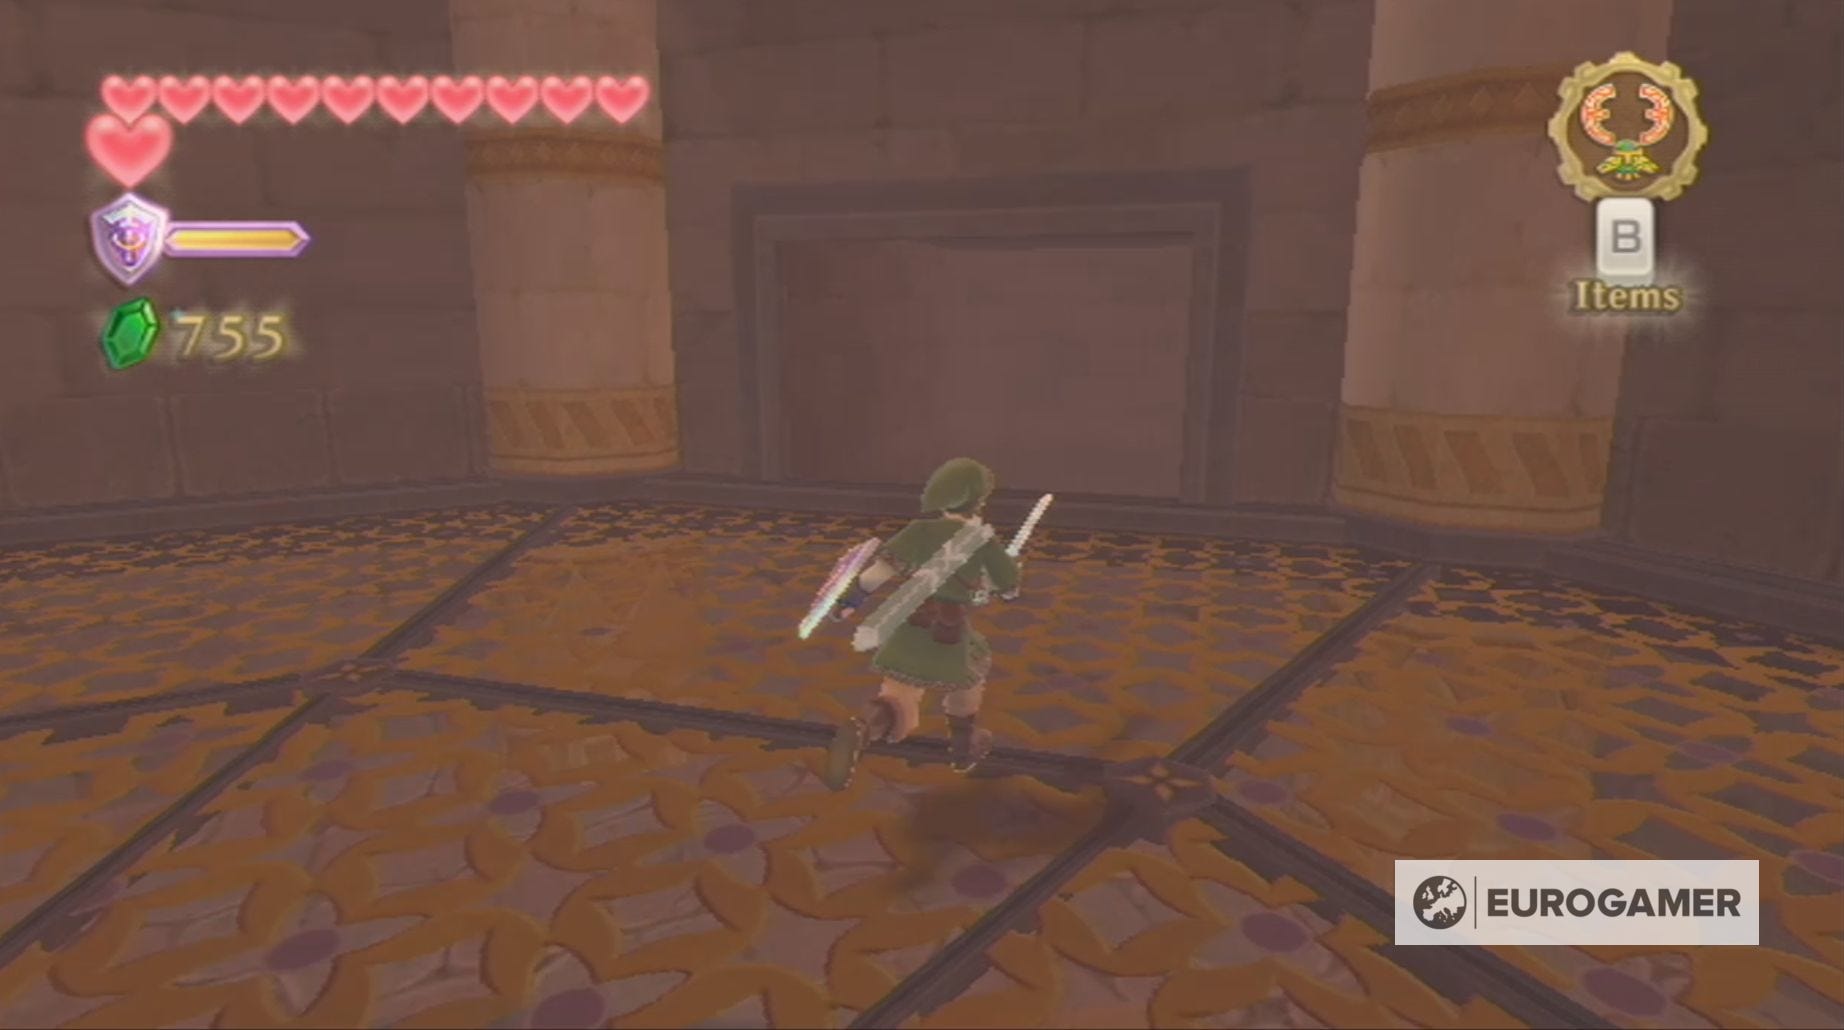
Upon the hands defeat, the lava will recede and you can use the door level with the grating to return to the room with the Mogma.
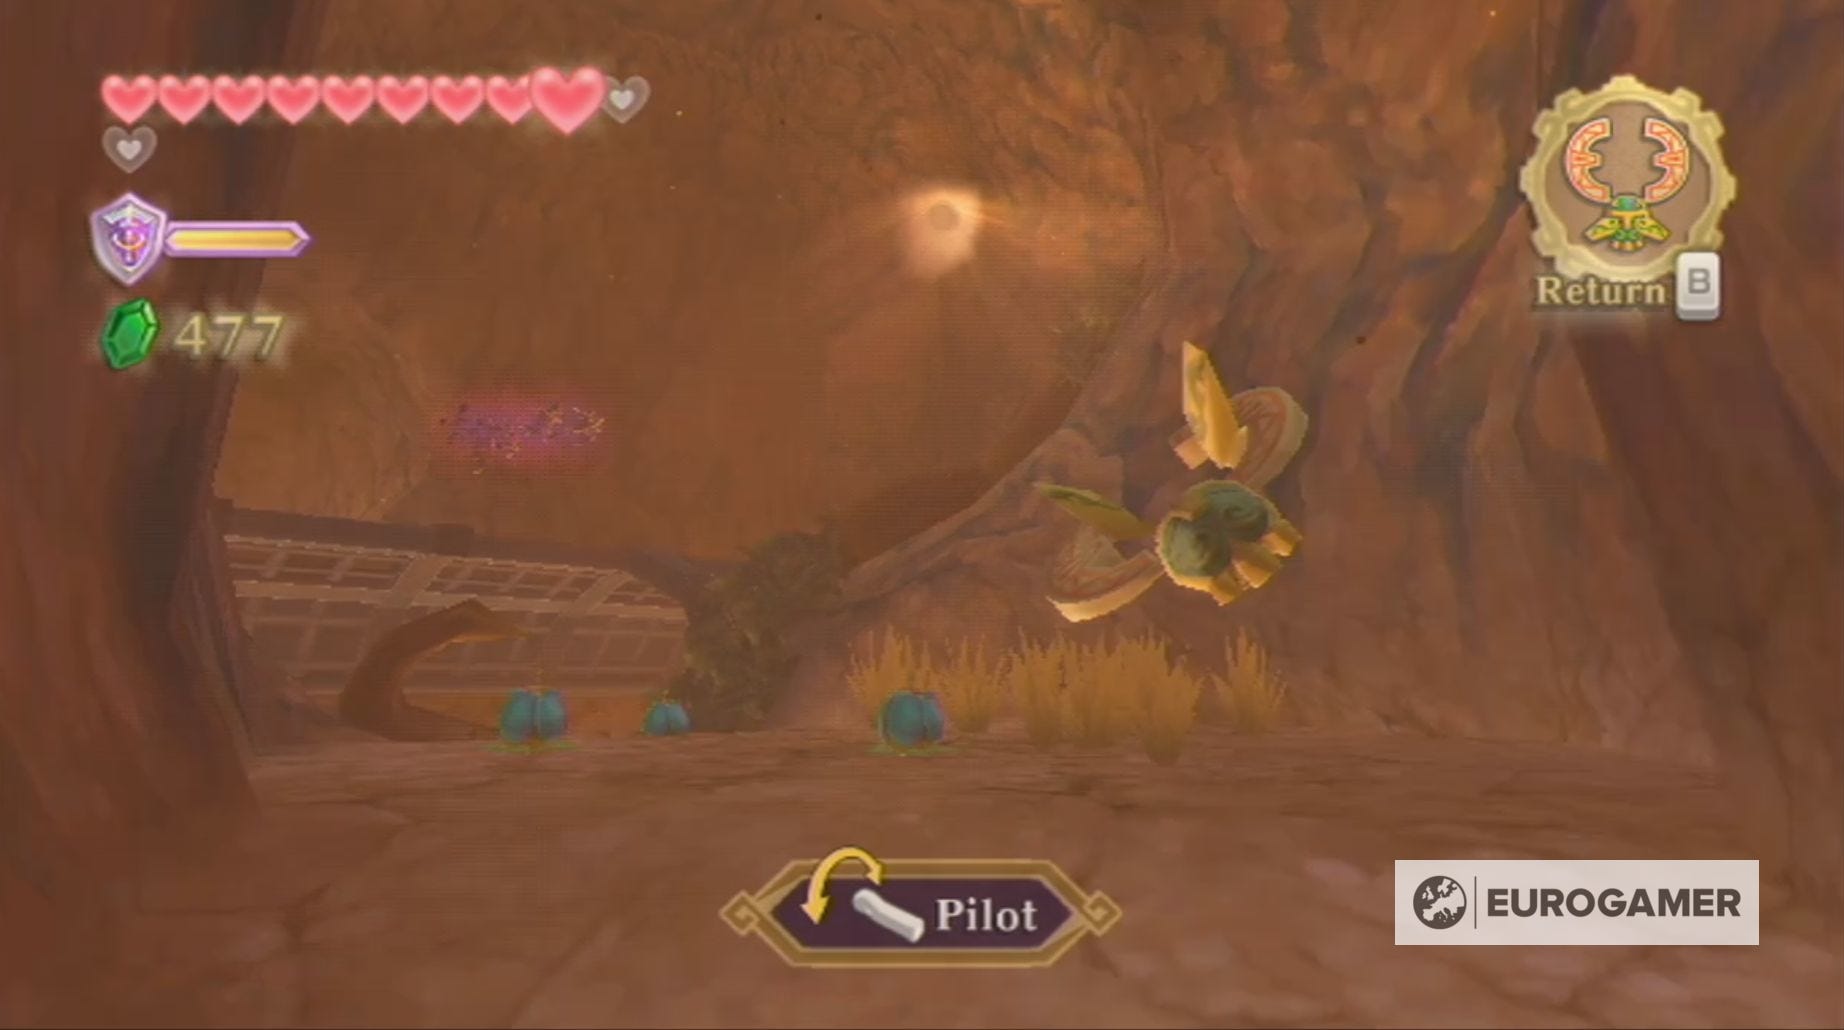
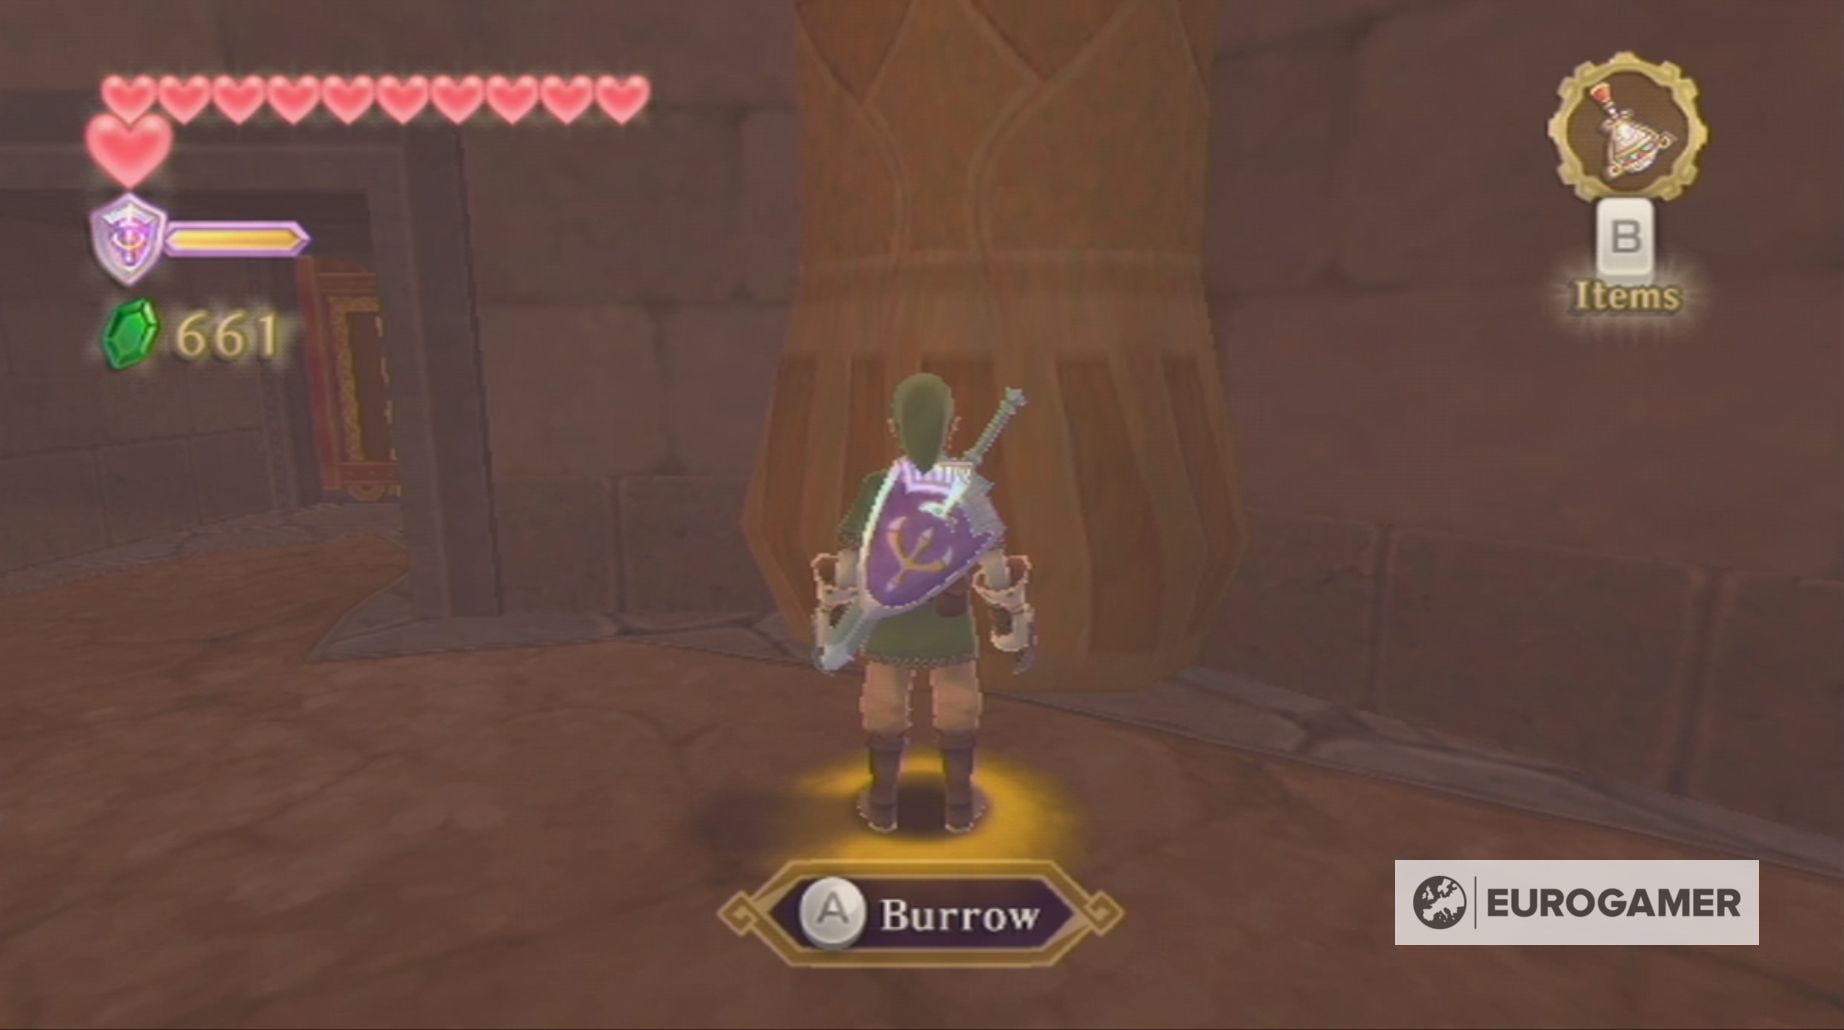
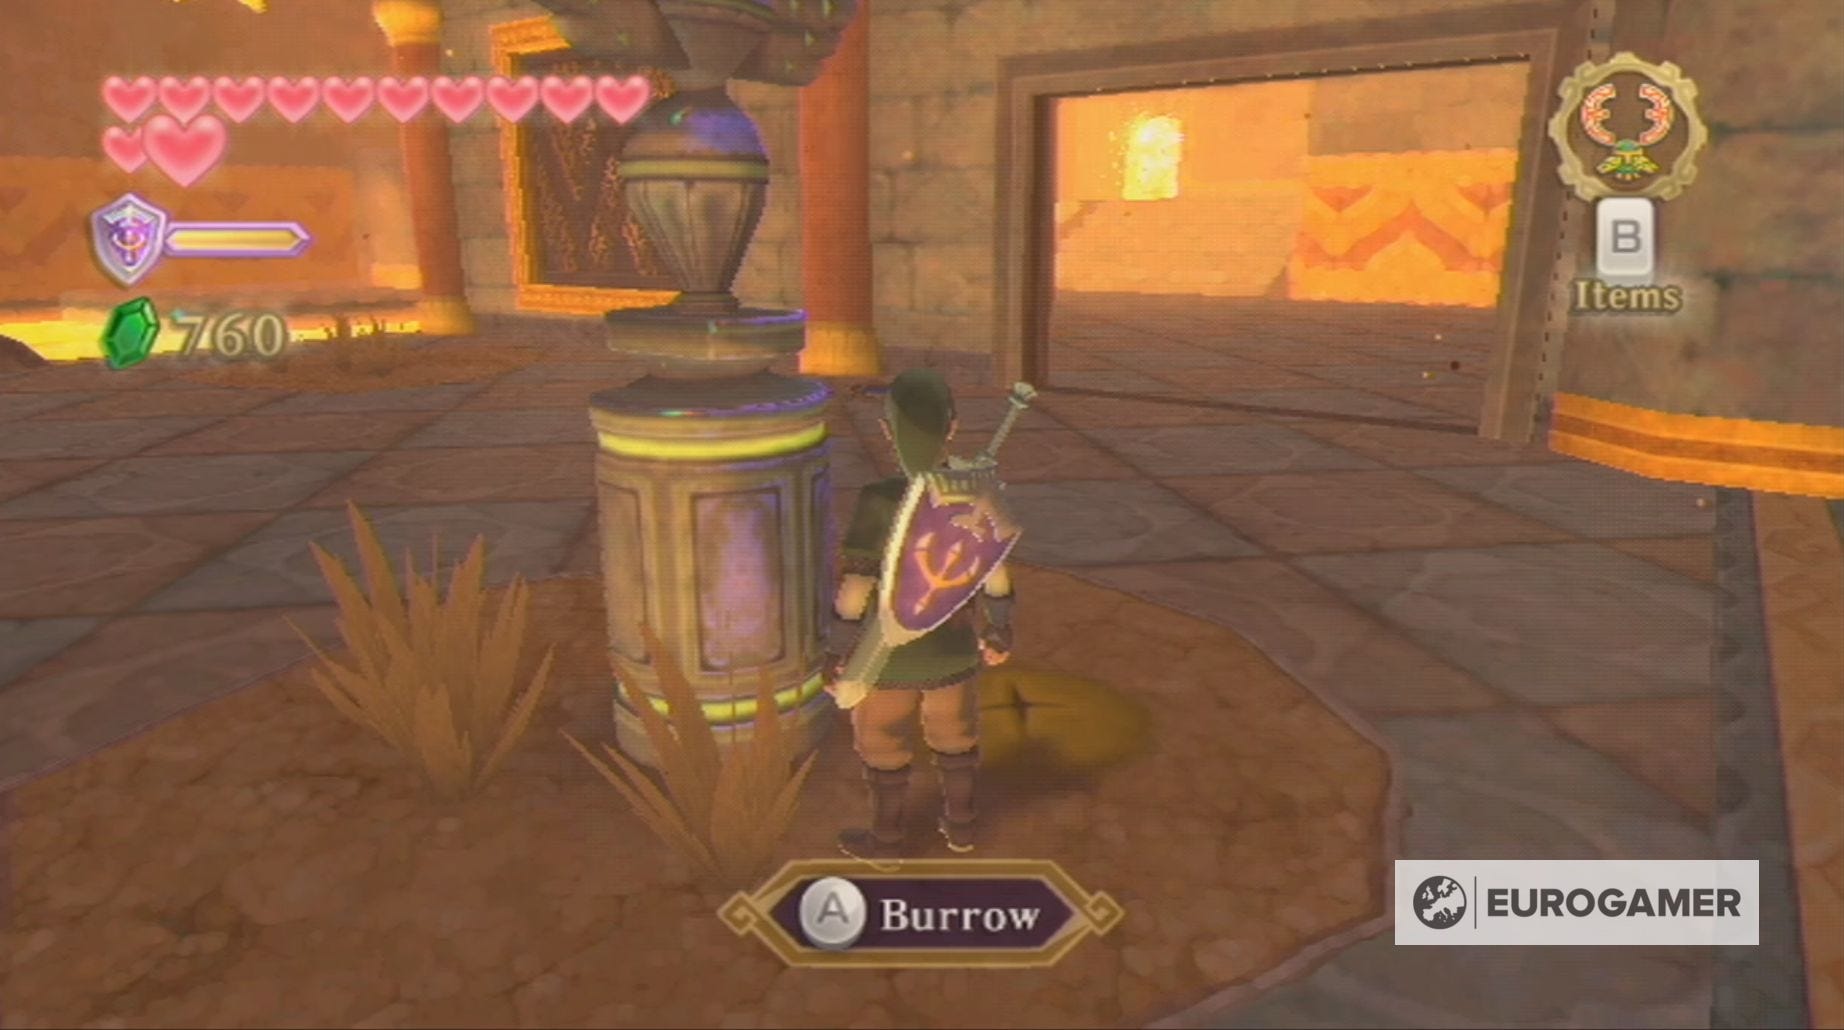
Here you can pull the lever to safely get the Mogma down and, in return, it will give you the Mogma Mitts to replace your Digging Mitts. These very special gloves will let you both dig up small patches of dirt and, in specific locations, burrow underground.
Fire Sanctuary dungeon map location explained
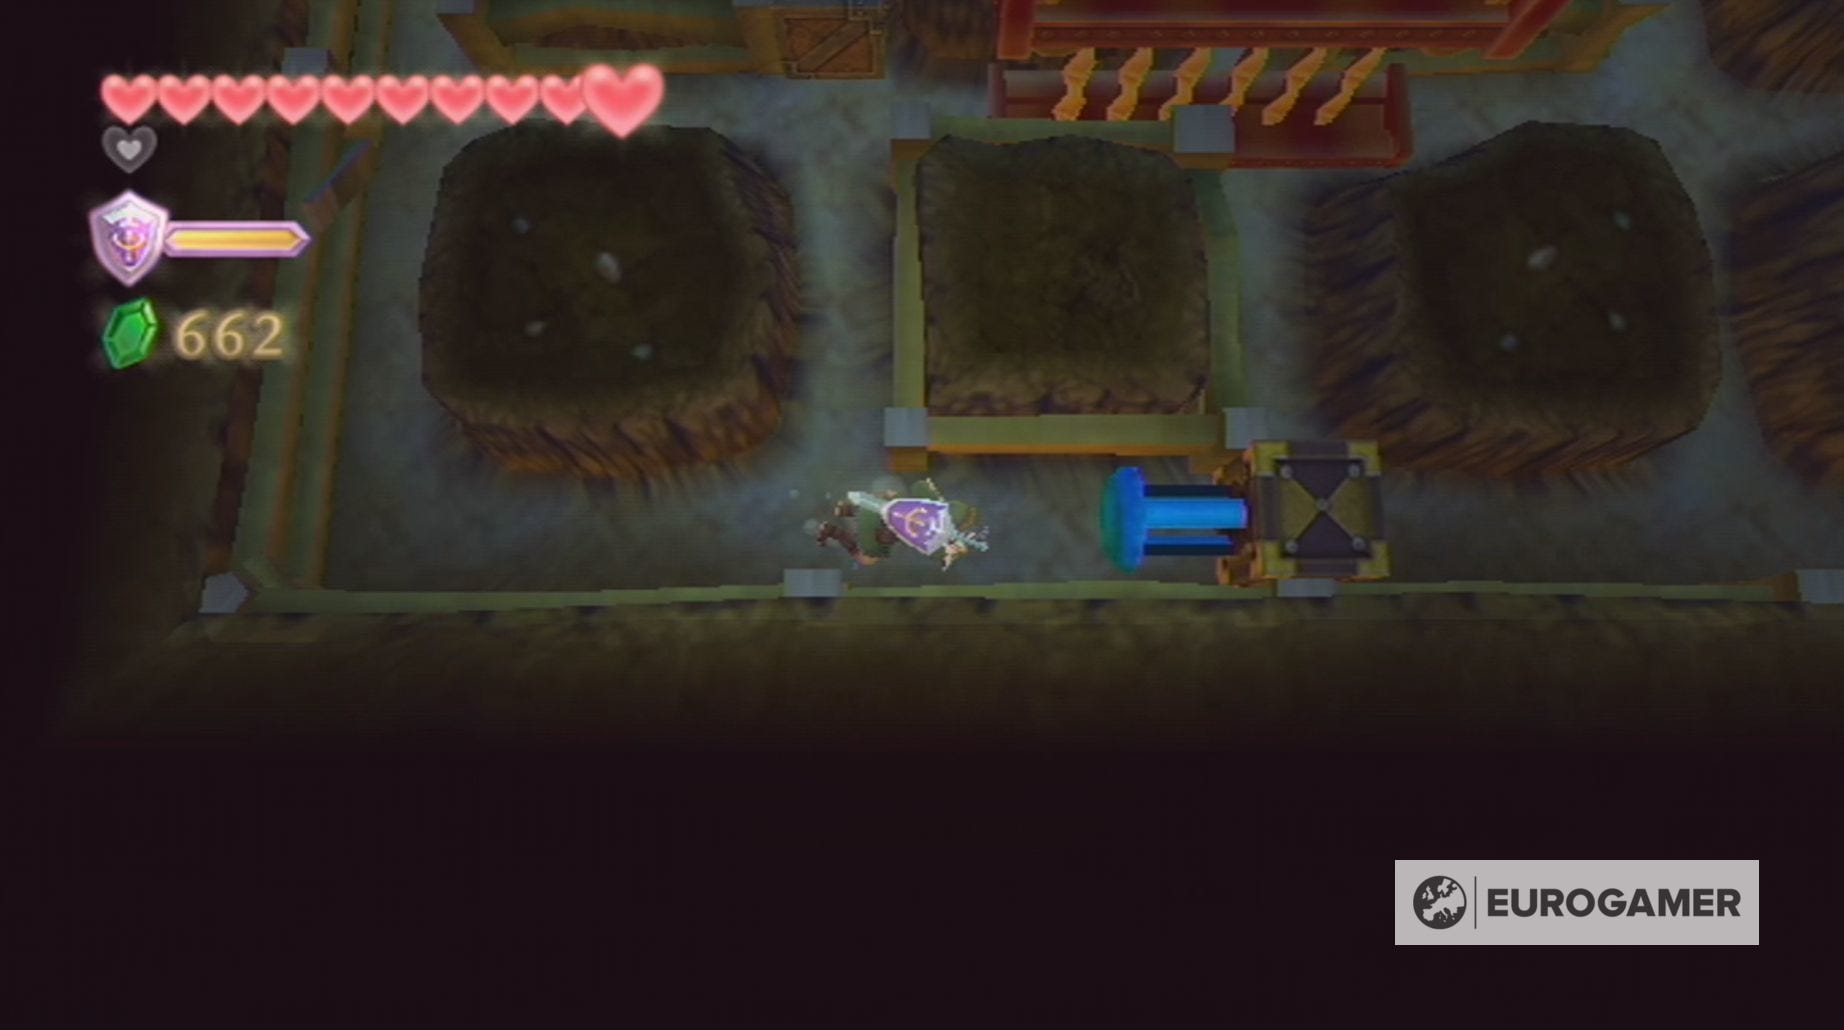
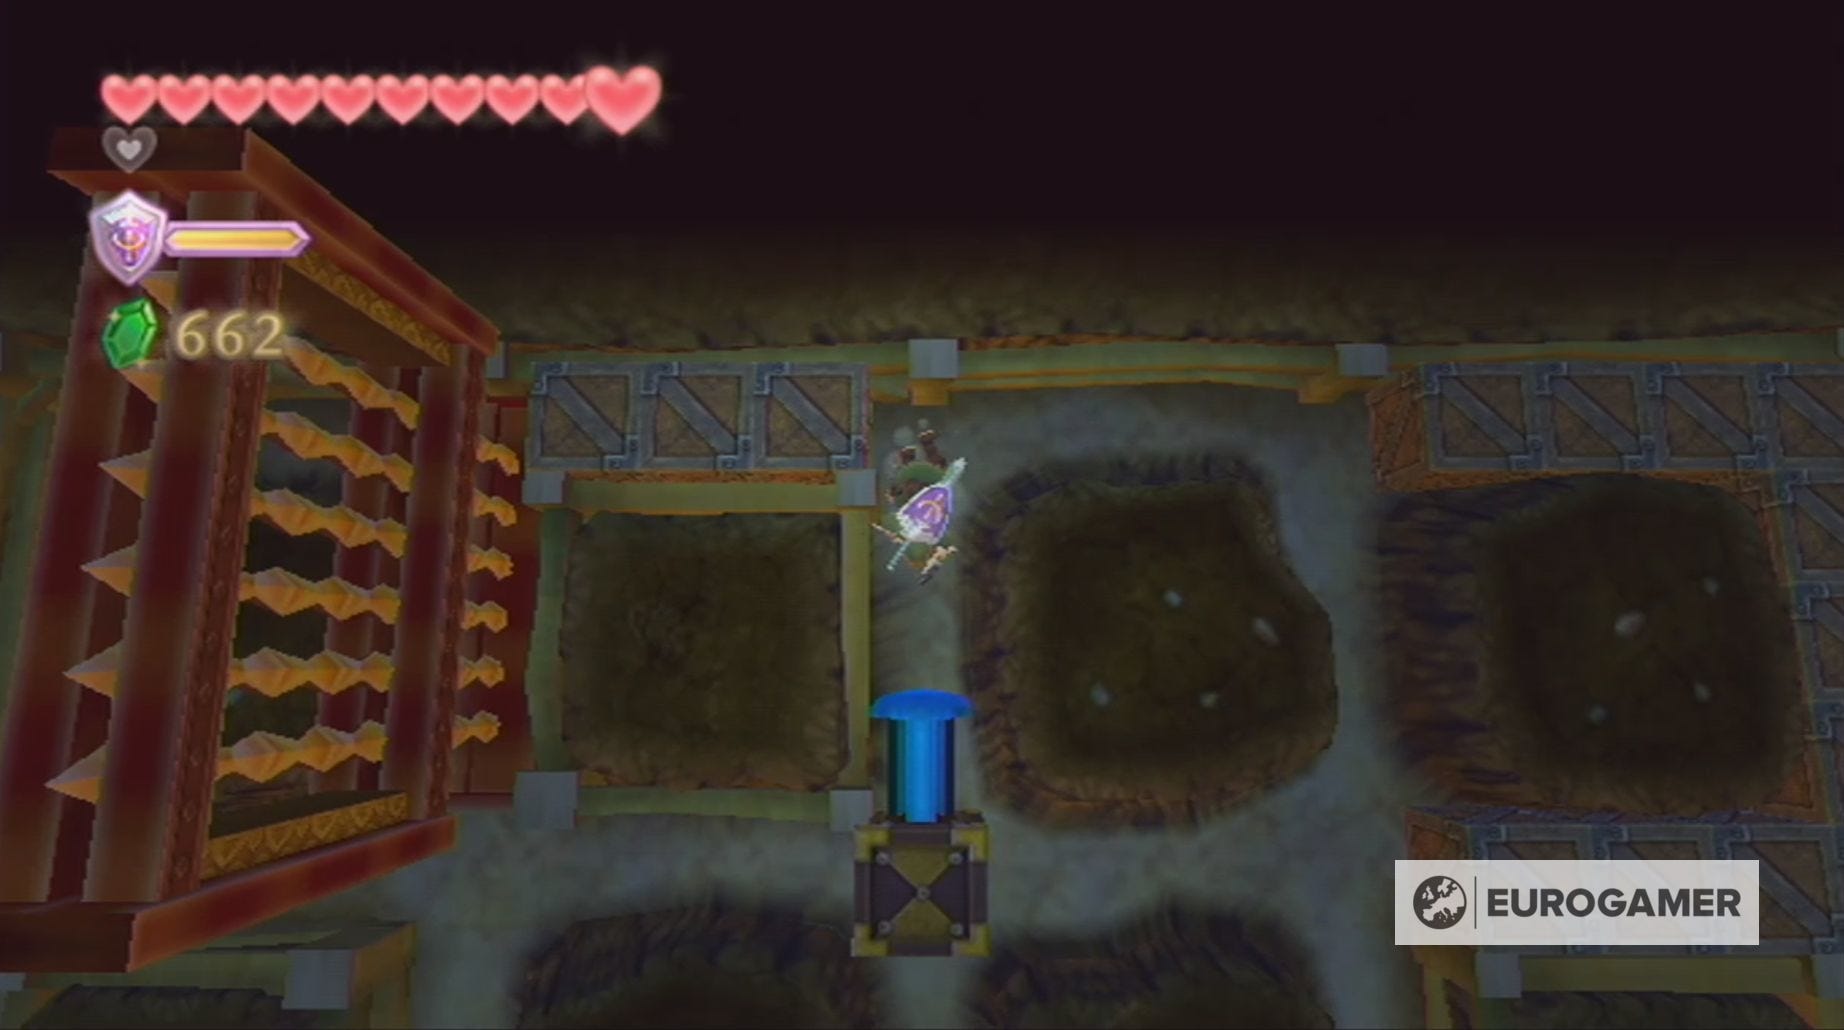
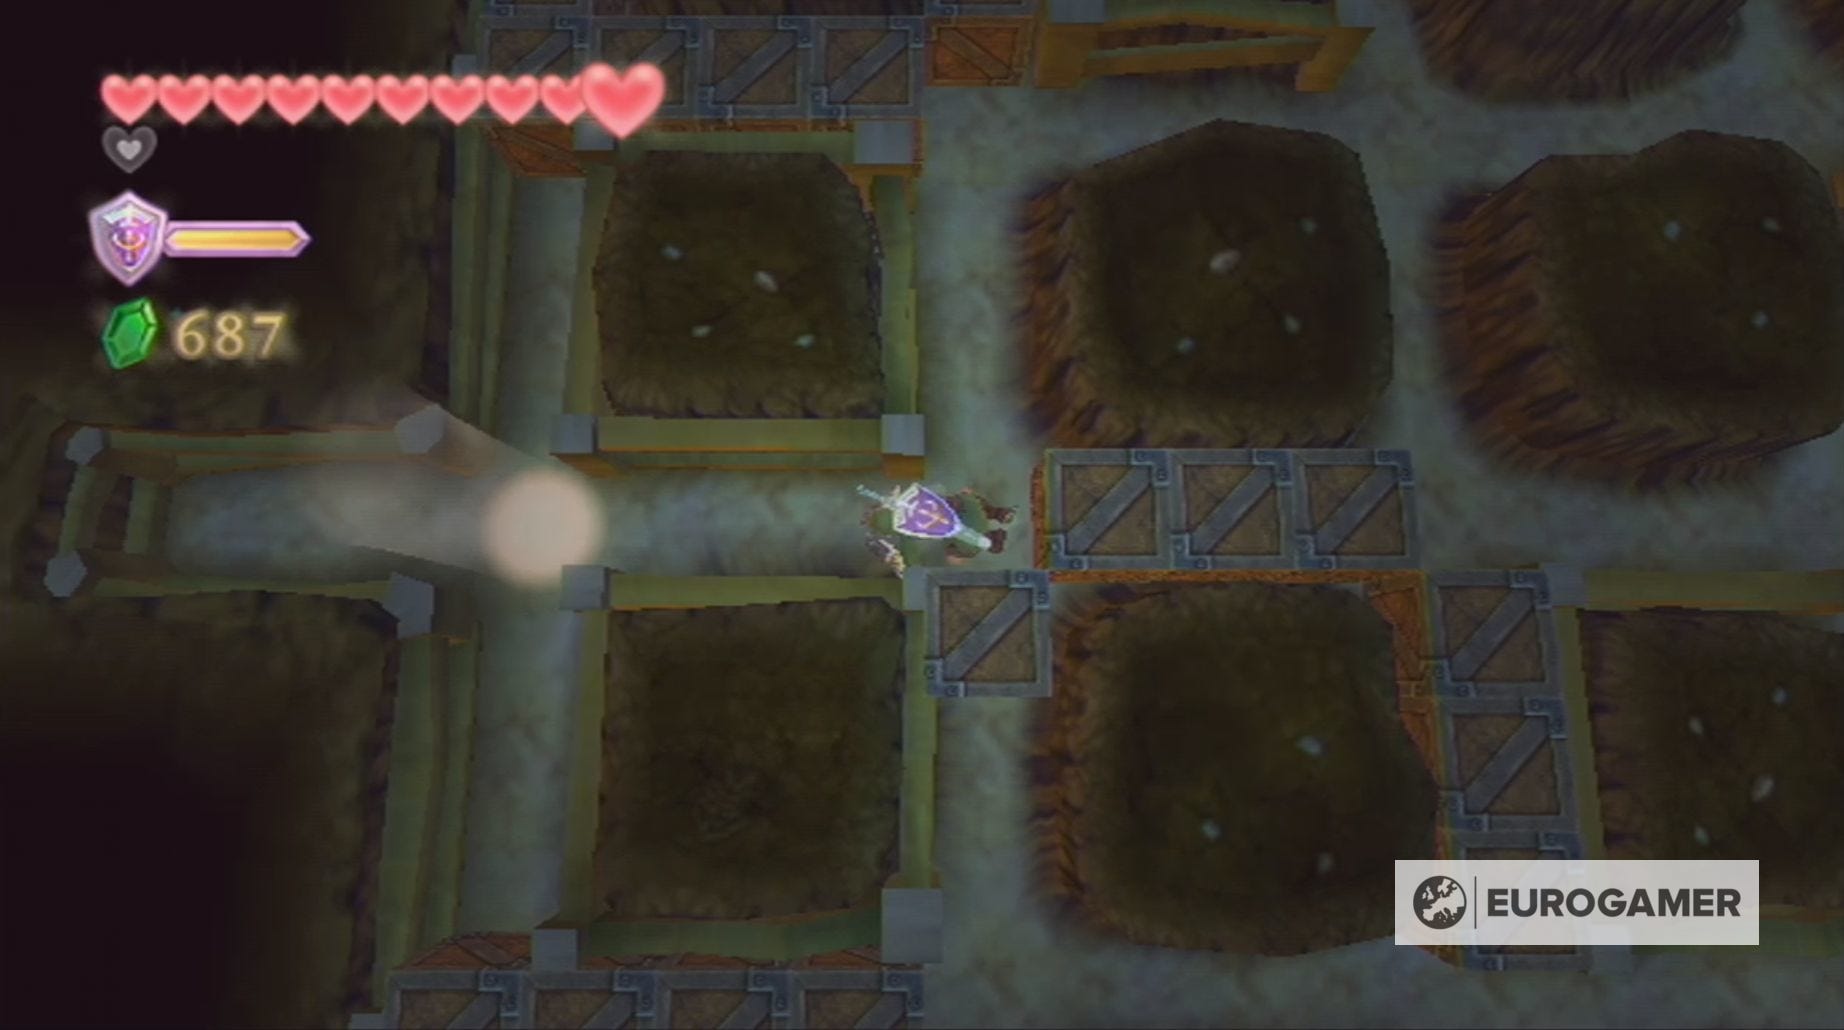
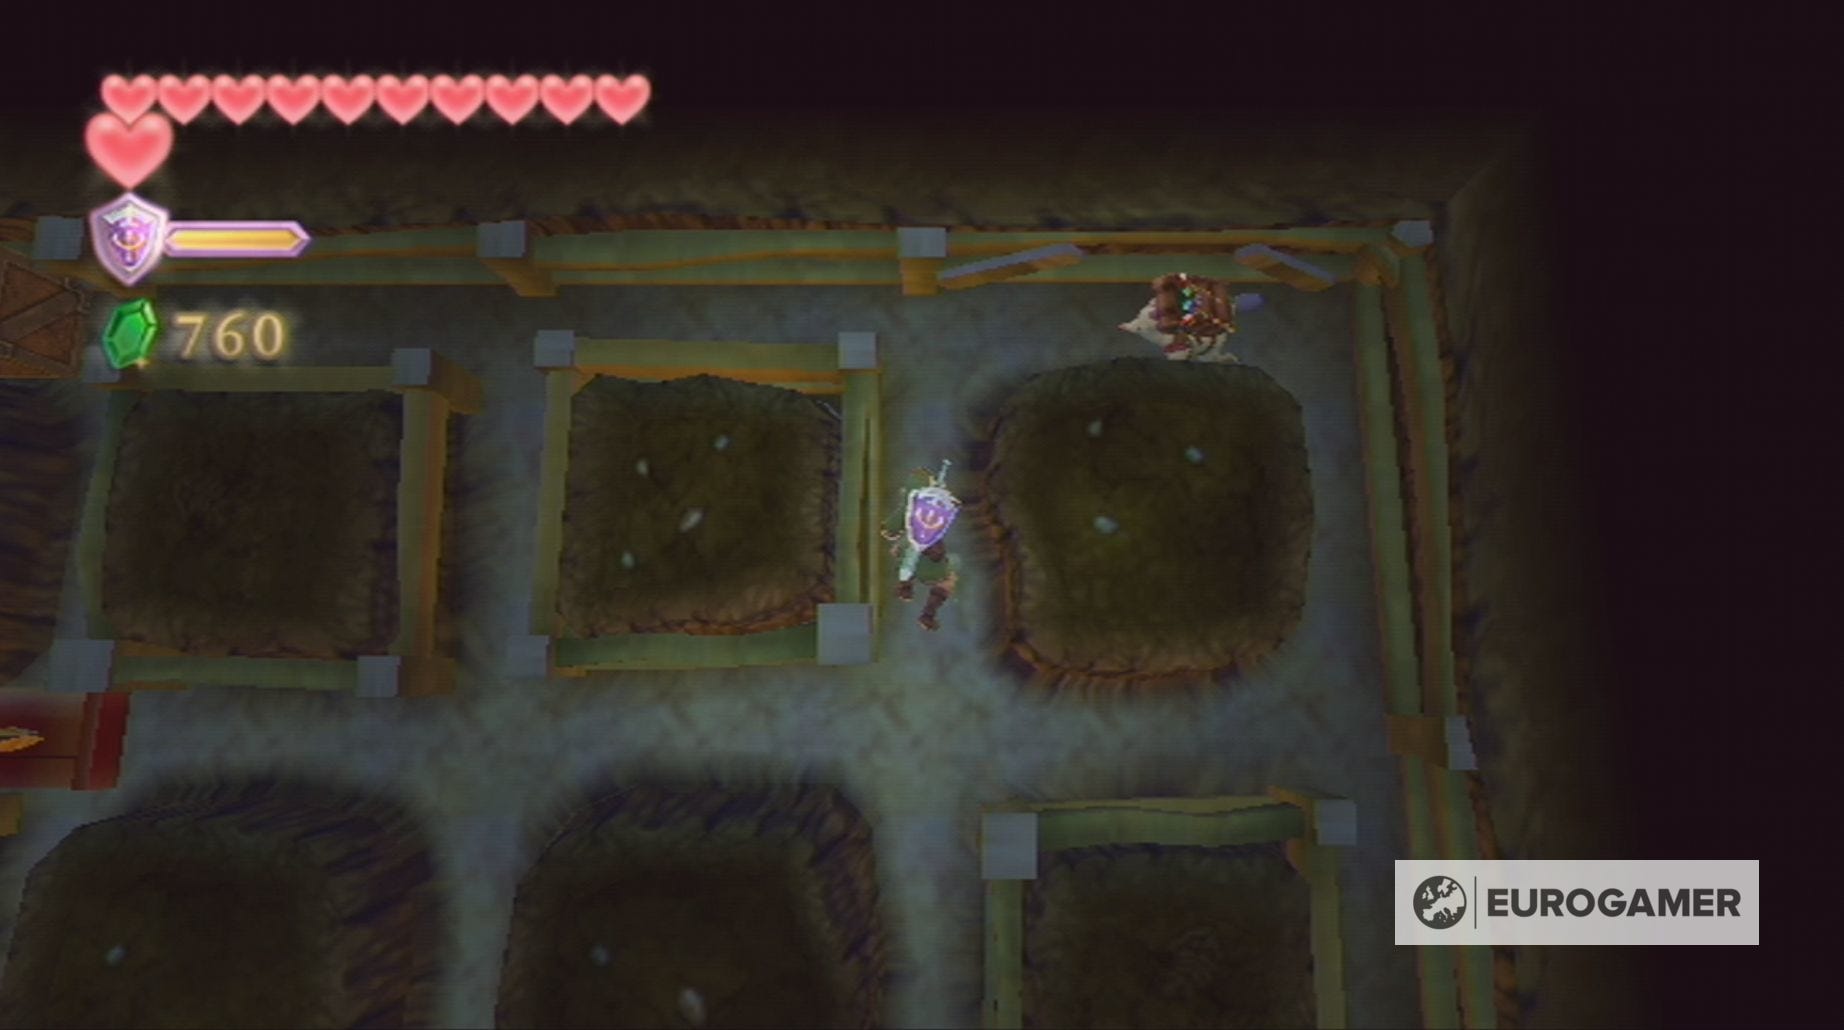
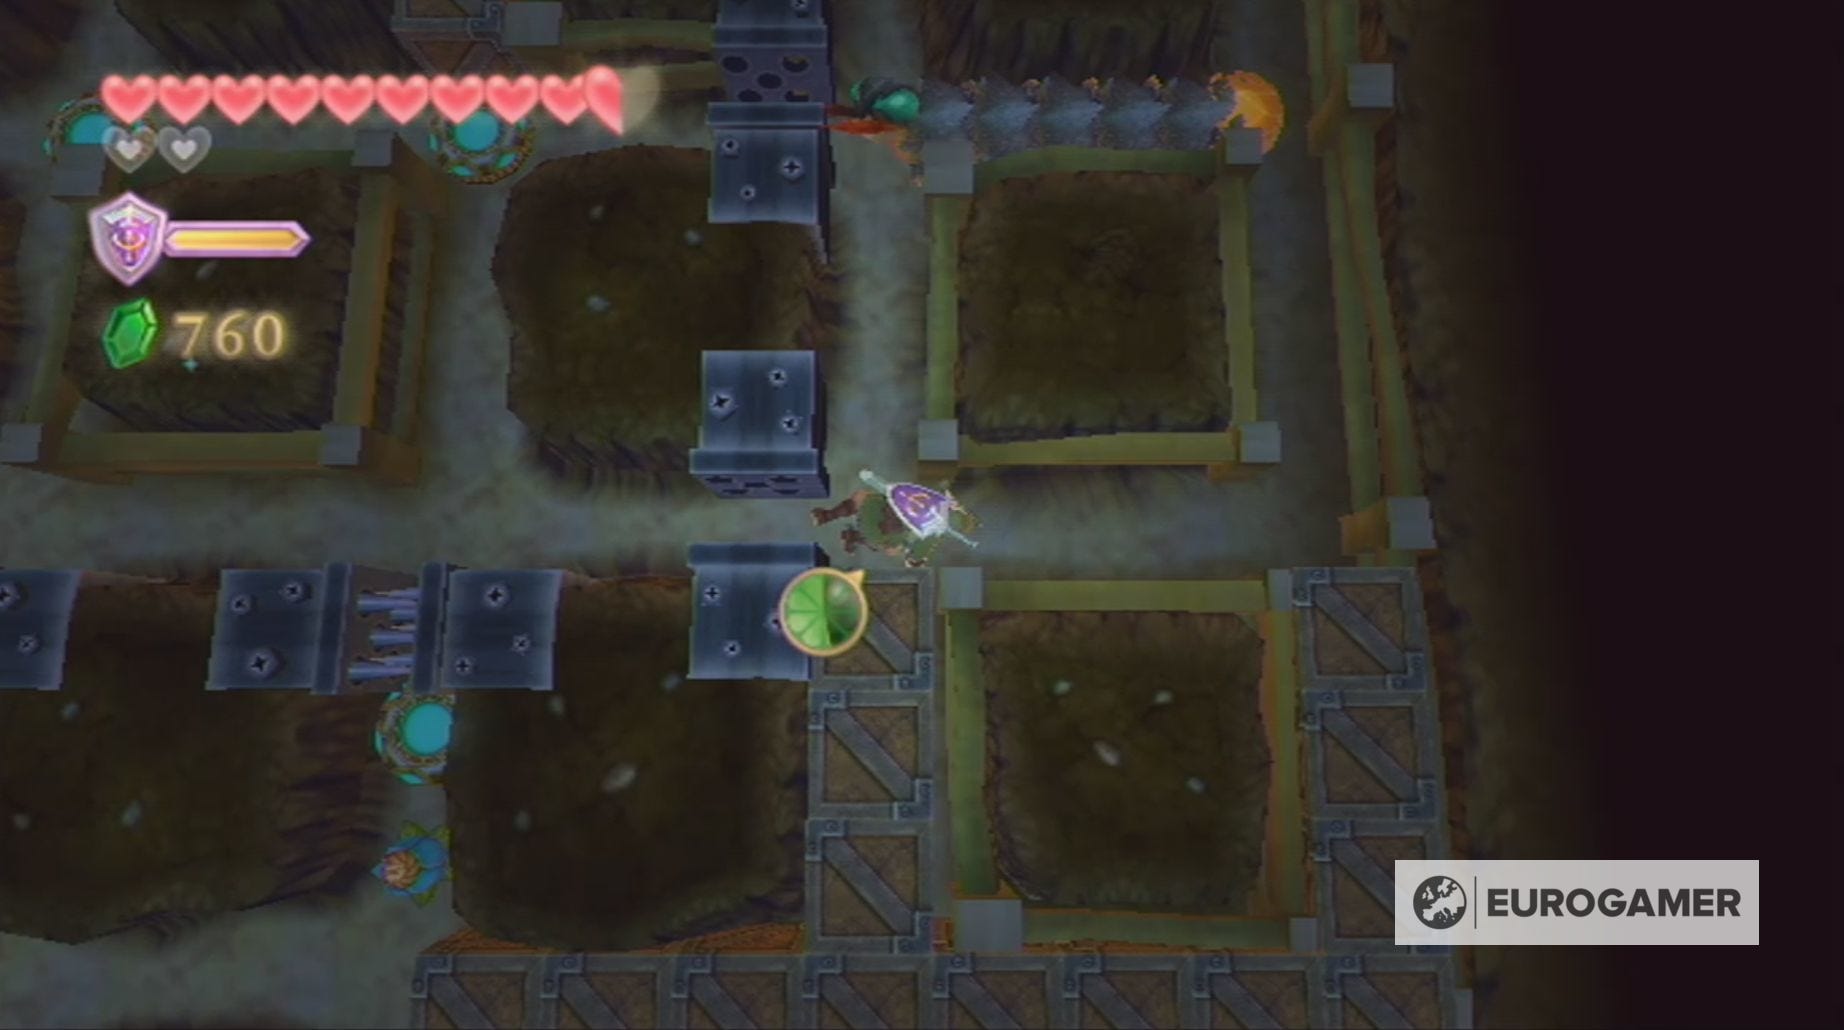
With the Mogma Mitts, you can now fully explore the Fire Sanctuary in Skyward Sword and find it's dungeon map. To begin with, dig into the patch of ditch closest to the screen directly opposite the chest which held the Mogma Mitts.
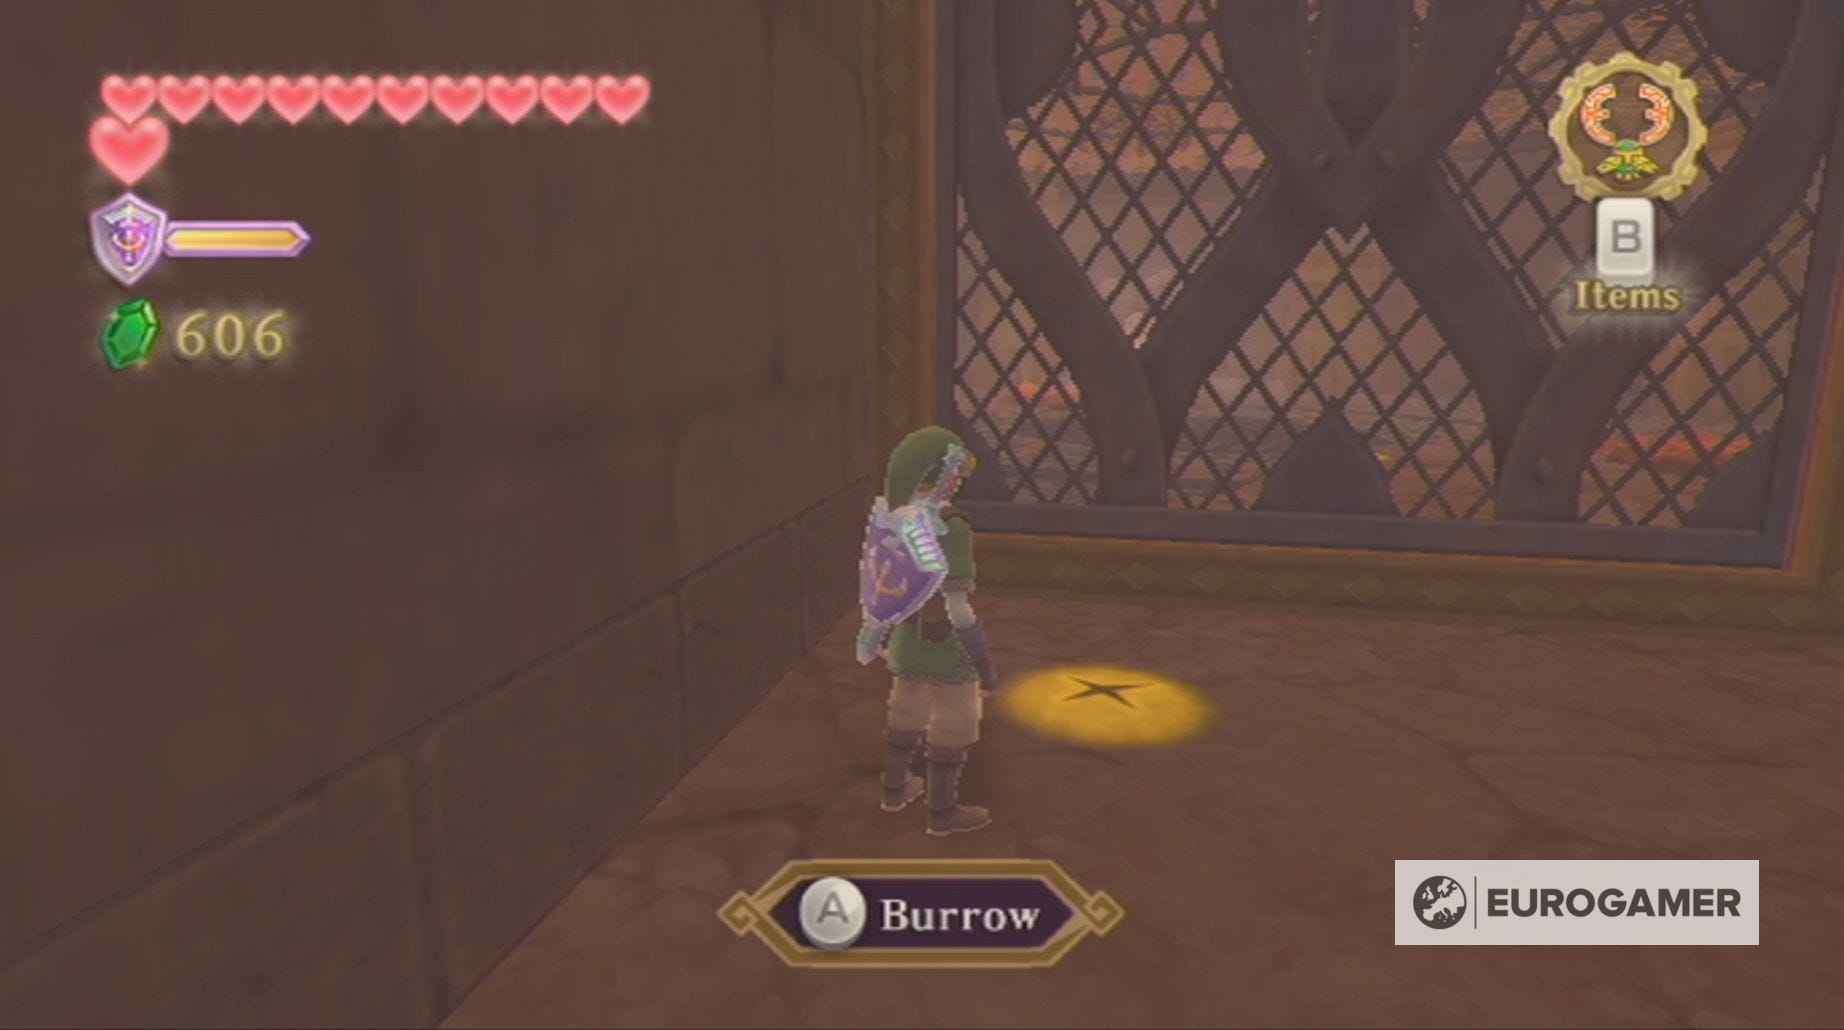
When burrowing underground, you'll be given a birds eye view of the area Link is currently exploring. This allows you to see any obstacles, enemies or treasures he might encounter. You also have the ability to check on your location above ground, so you know you're heading in the right direction.
You can destroy stones which block your path with the Mogma Mitts or by knocking bombs into them. You can't, however, destroy the crates.
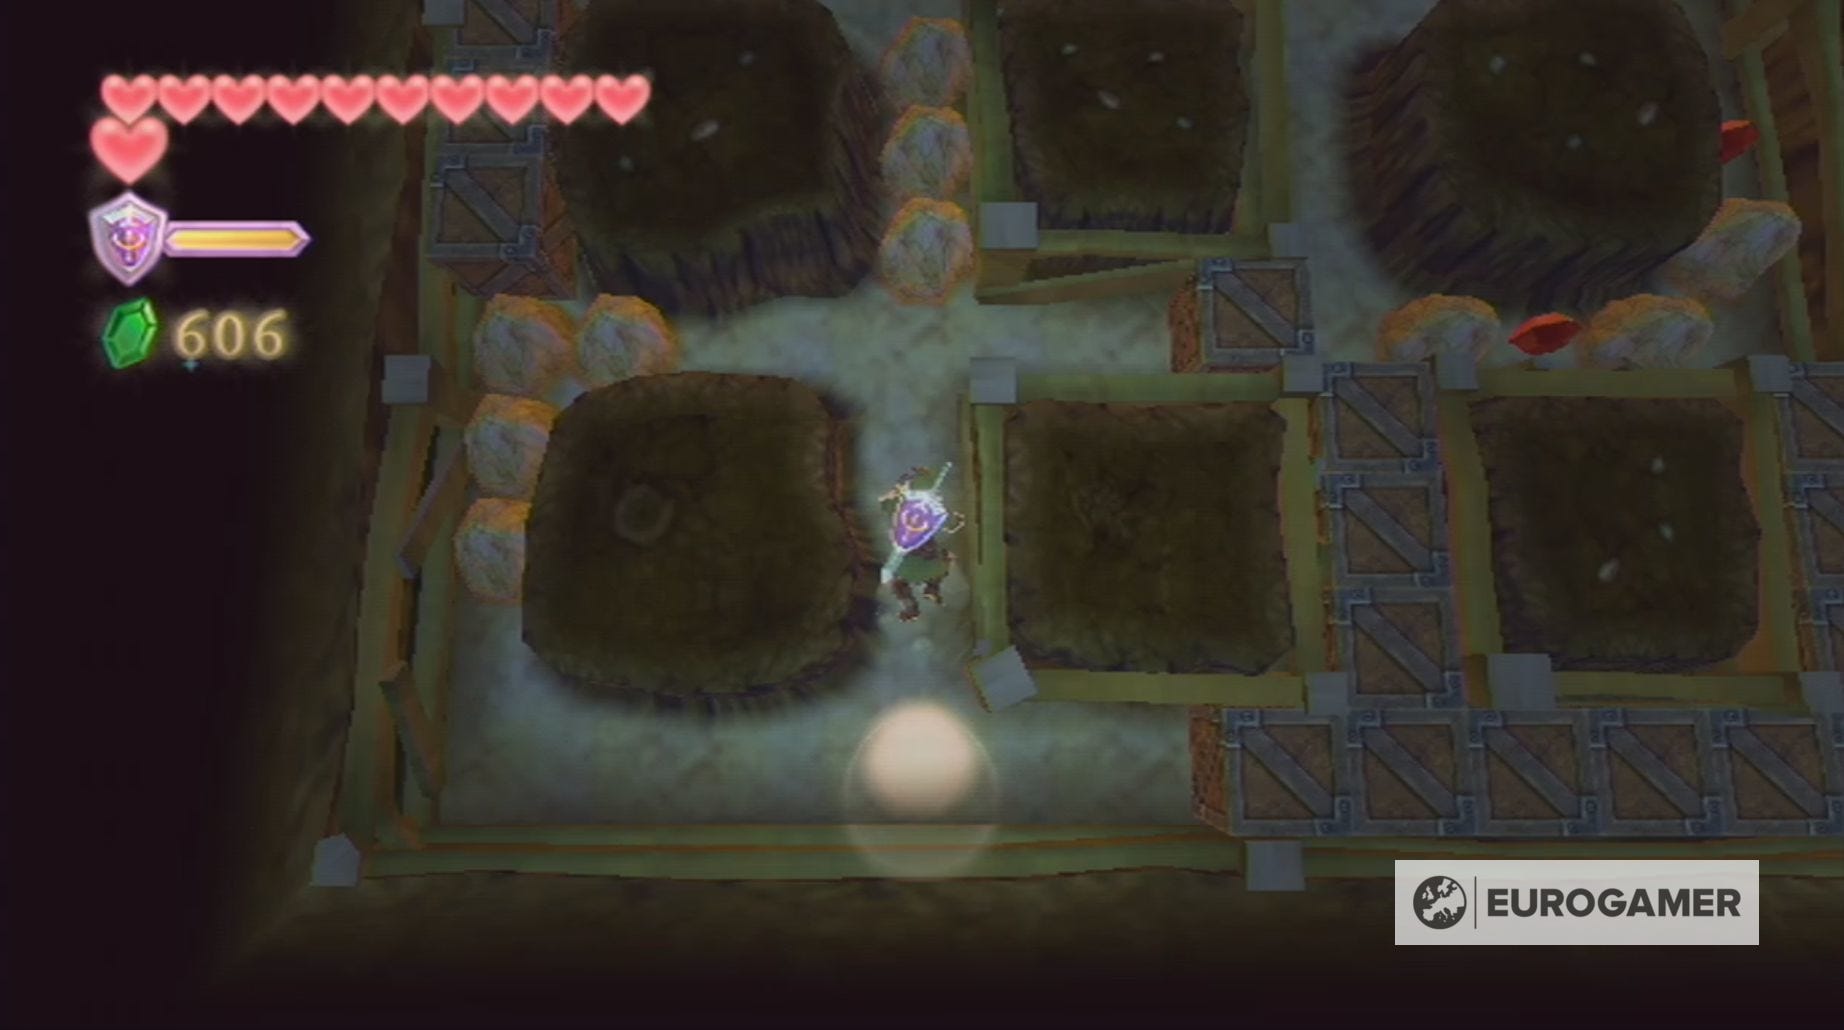
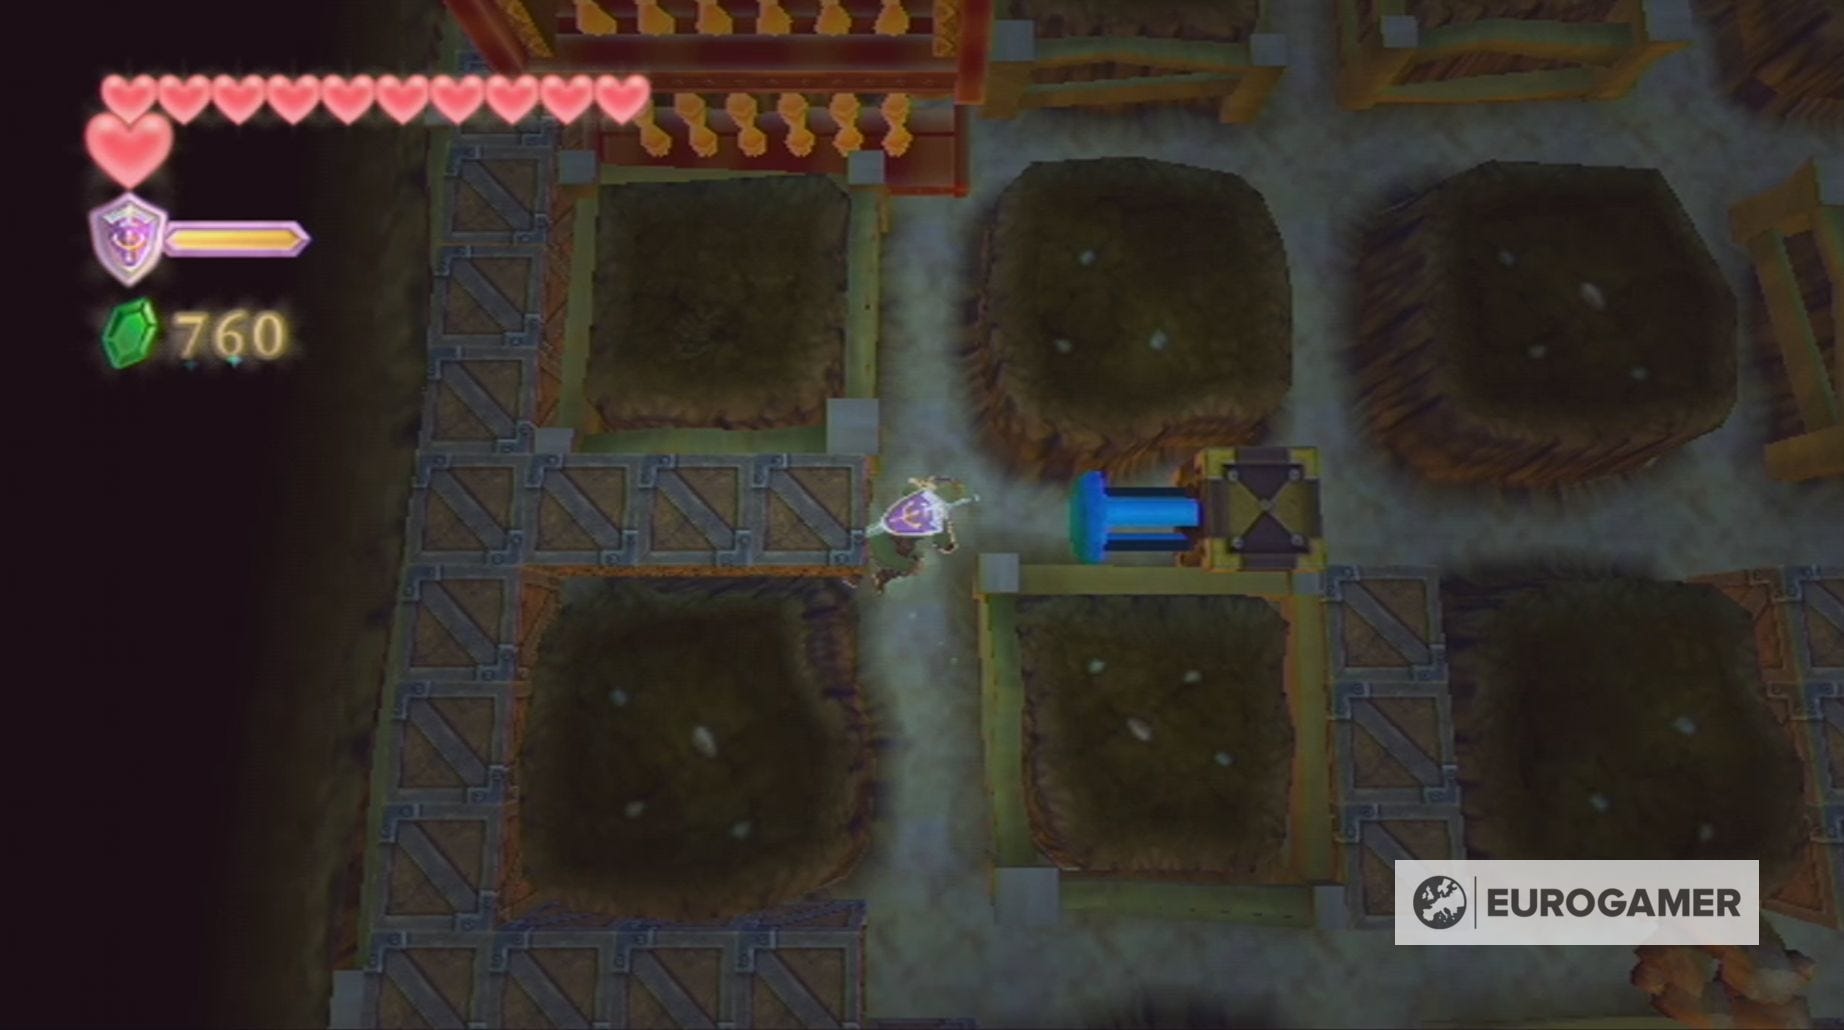
For this first burrow, you need to crawl forward, destroying the stones in your path, before knocking the Bomb Flower forward, so you can reach the exit. There are a number of Rupees you can collect if you so wish.
You will emerge in the space beneath where you fought the lava hands and now need to burrow into the patch of dirt to your right. Here you'll want to crawl around so you hit the switch, opening the gate above you.
Leave the burrow and go through the door you've just granted yourself access to.
On the other side of this door, you'll first want to go right, kill the Bokoblin you encounter, and stand on the switch you find. This will create a shortcut to the area where you fought the Dark Lizalfos.
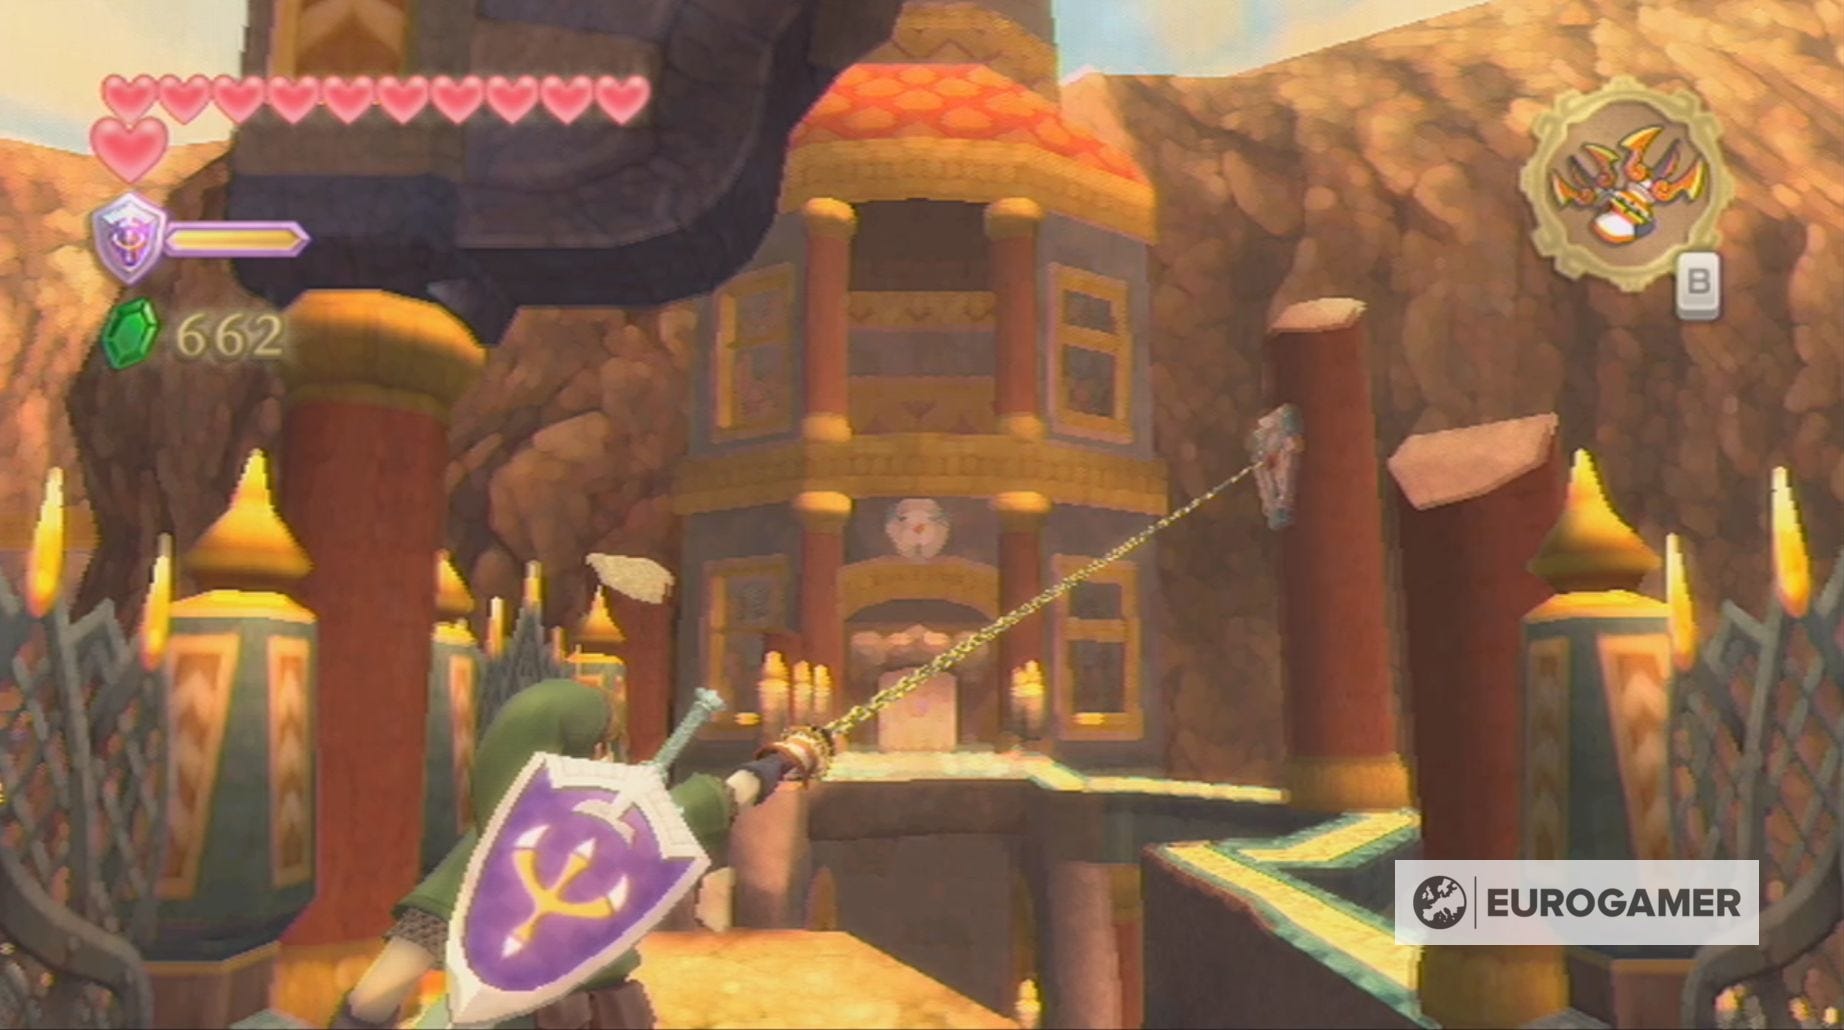
Next, head back the way you came and kill the other Bokoblins waiting for you, before using the Clawshots to cross the gap. Just watch out for the Bokoblin Archer hiding atop the tower you've just left.
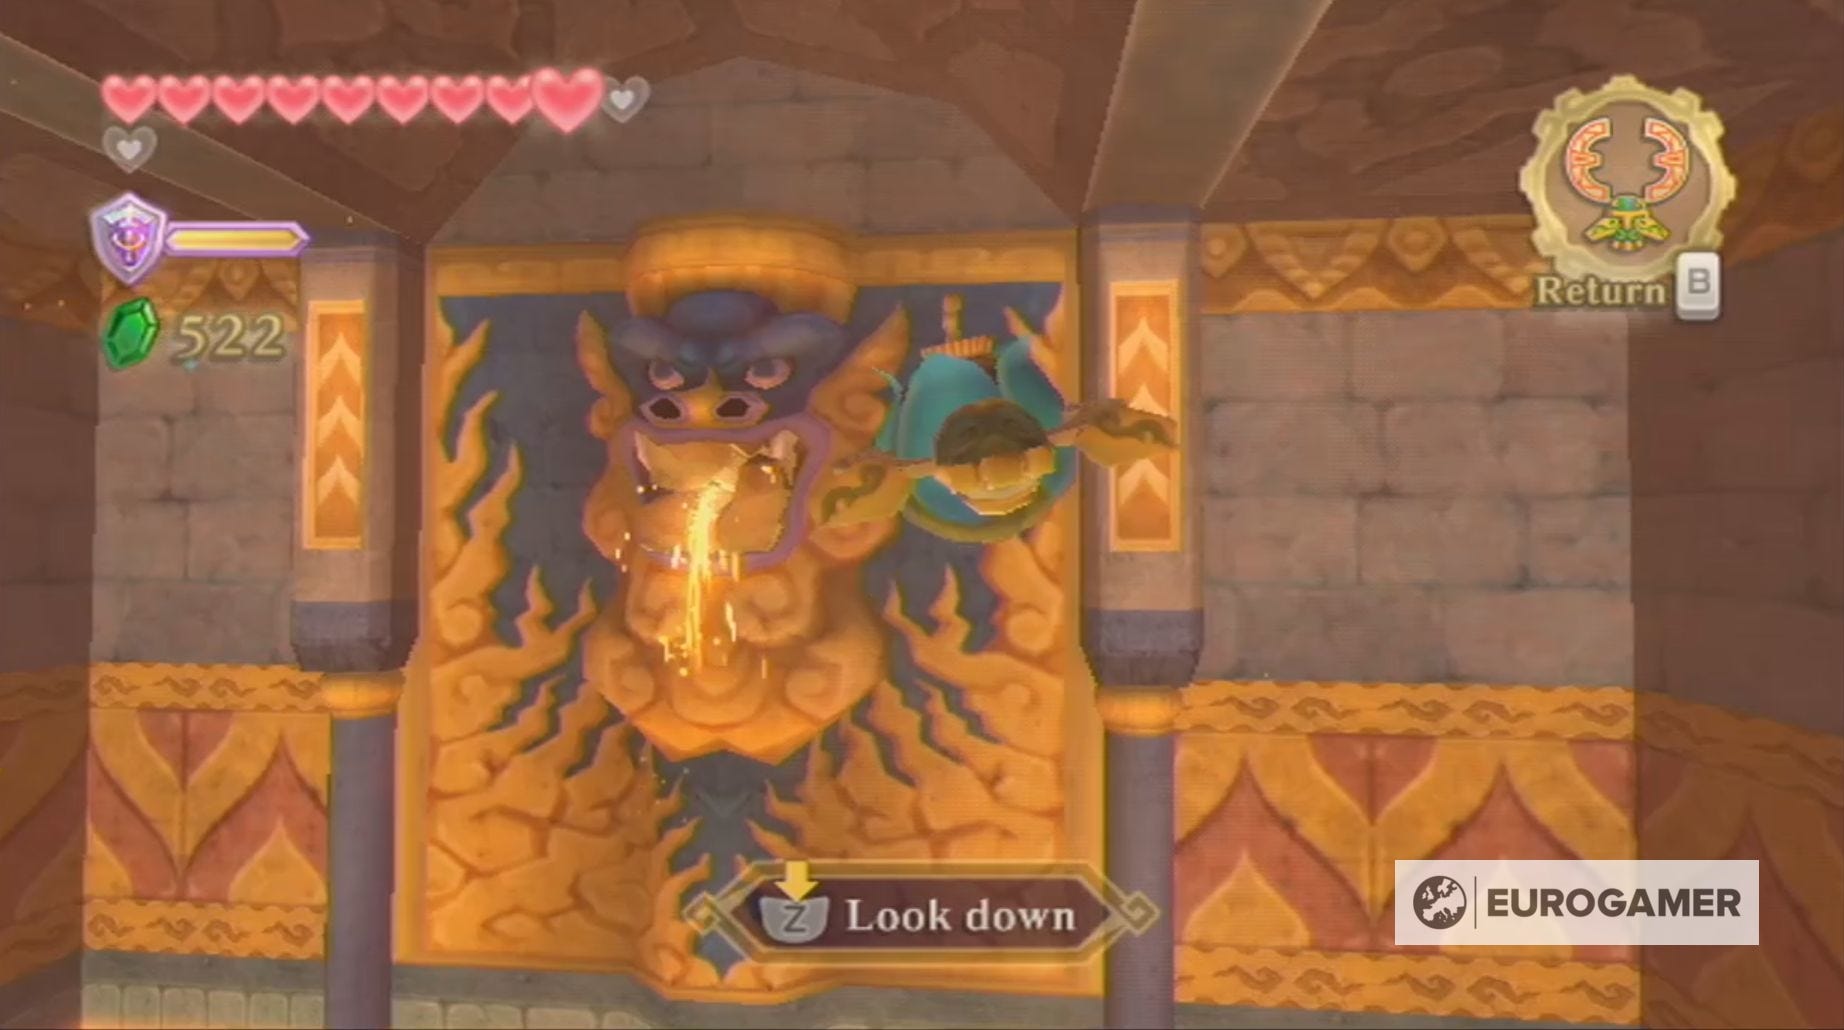
Once you've crossed the gap, go through the door to find another captured Mogma. To rescue it, you must first give water to the frog statue by tossing a green plant at it, but, to reach that plant, you need to do some burrowing.
Dig into the patch of soft dirt opposite the frog statue and, underground, you first need to push the blue switch at the lower end of the explorable area.
Afterwards, crawl to the upper end of this area and push the blue switch in.
Now all you have to do is leave the burrow, impale the plant on your sword, toss it into the frog's waiting mouth and pull the lever. The Mogma will then give you the chest containing the dungeon map.
Thanks to the dungeon map, the location of the secret room for the area you're currently in has been revealed.
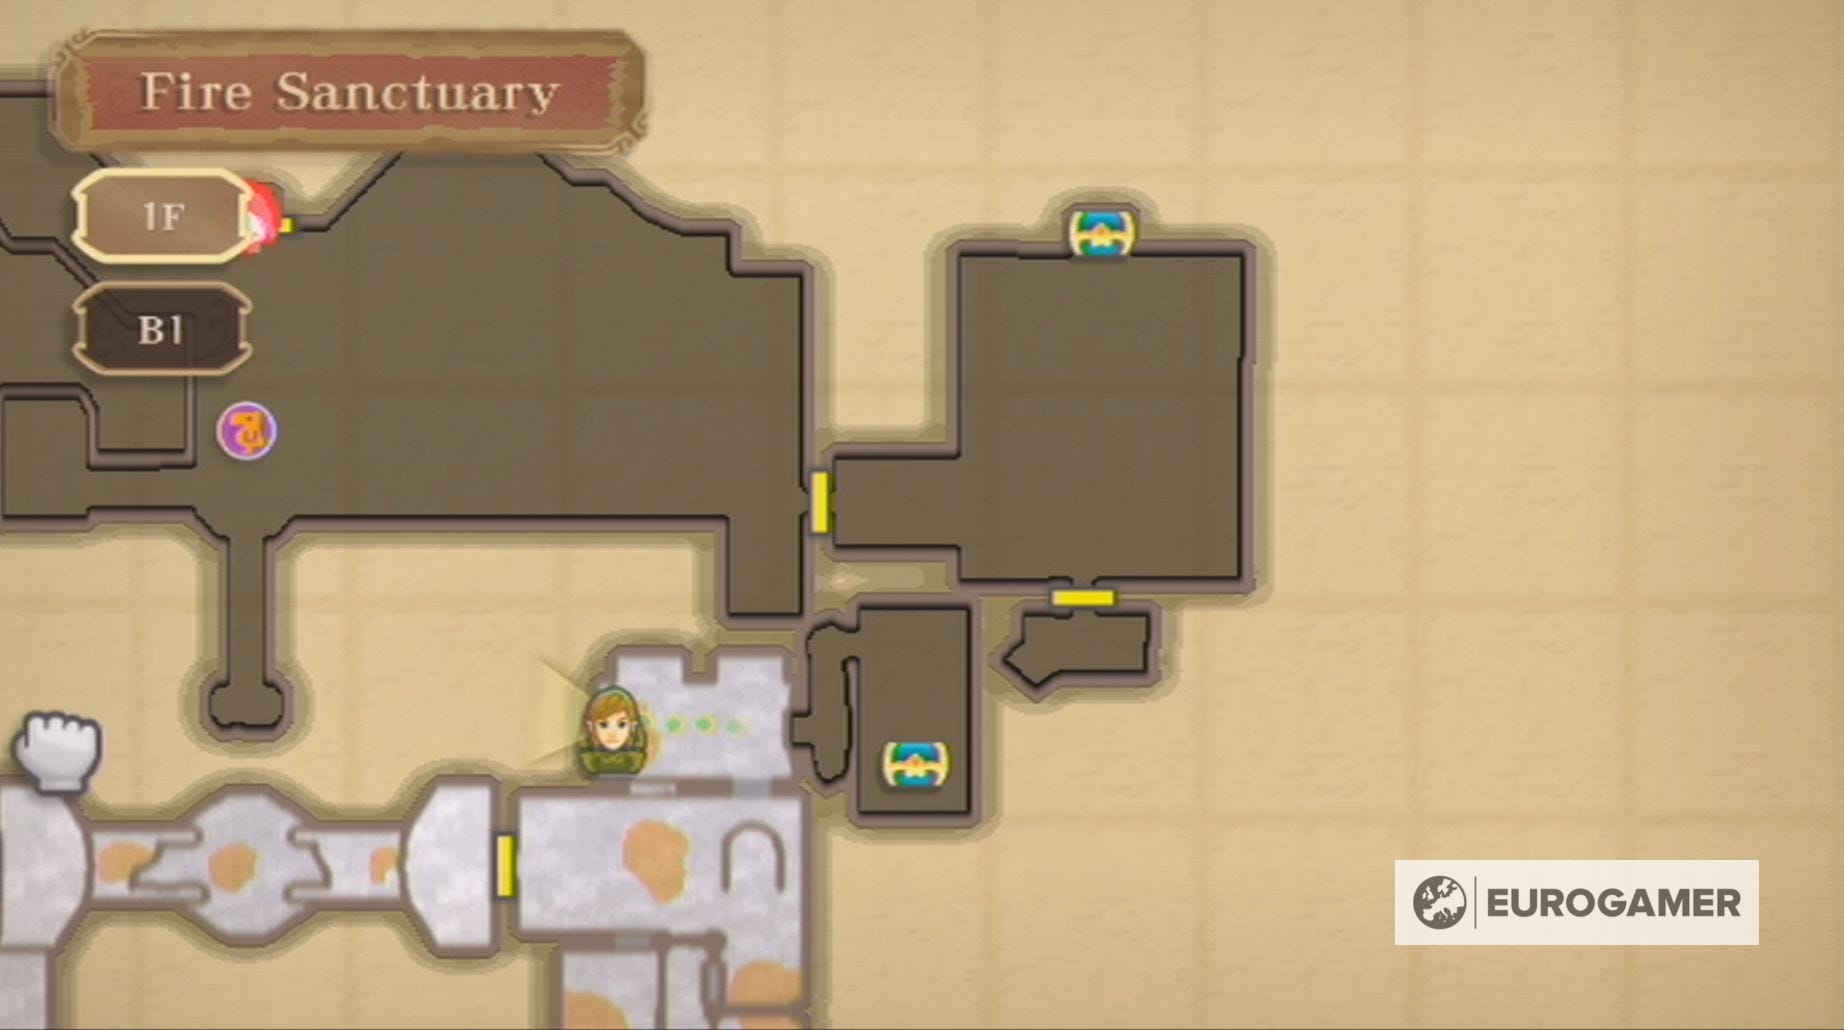
To reach this secret room, you simply need to bomb the wall opposite the chest which formerly contained the dungeon map.
All the room contains is a patch of soft dirt which can be burrowed!
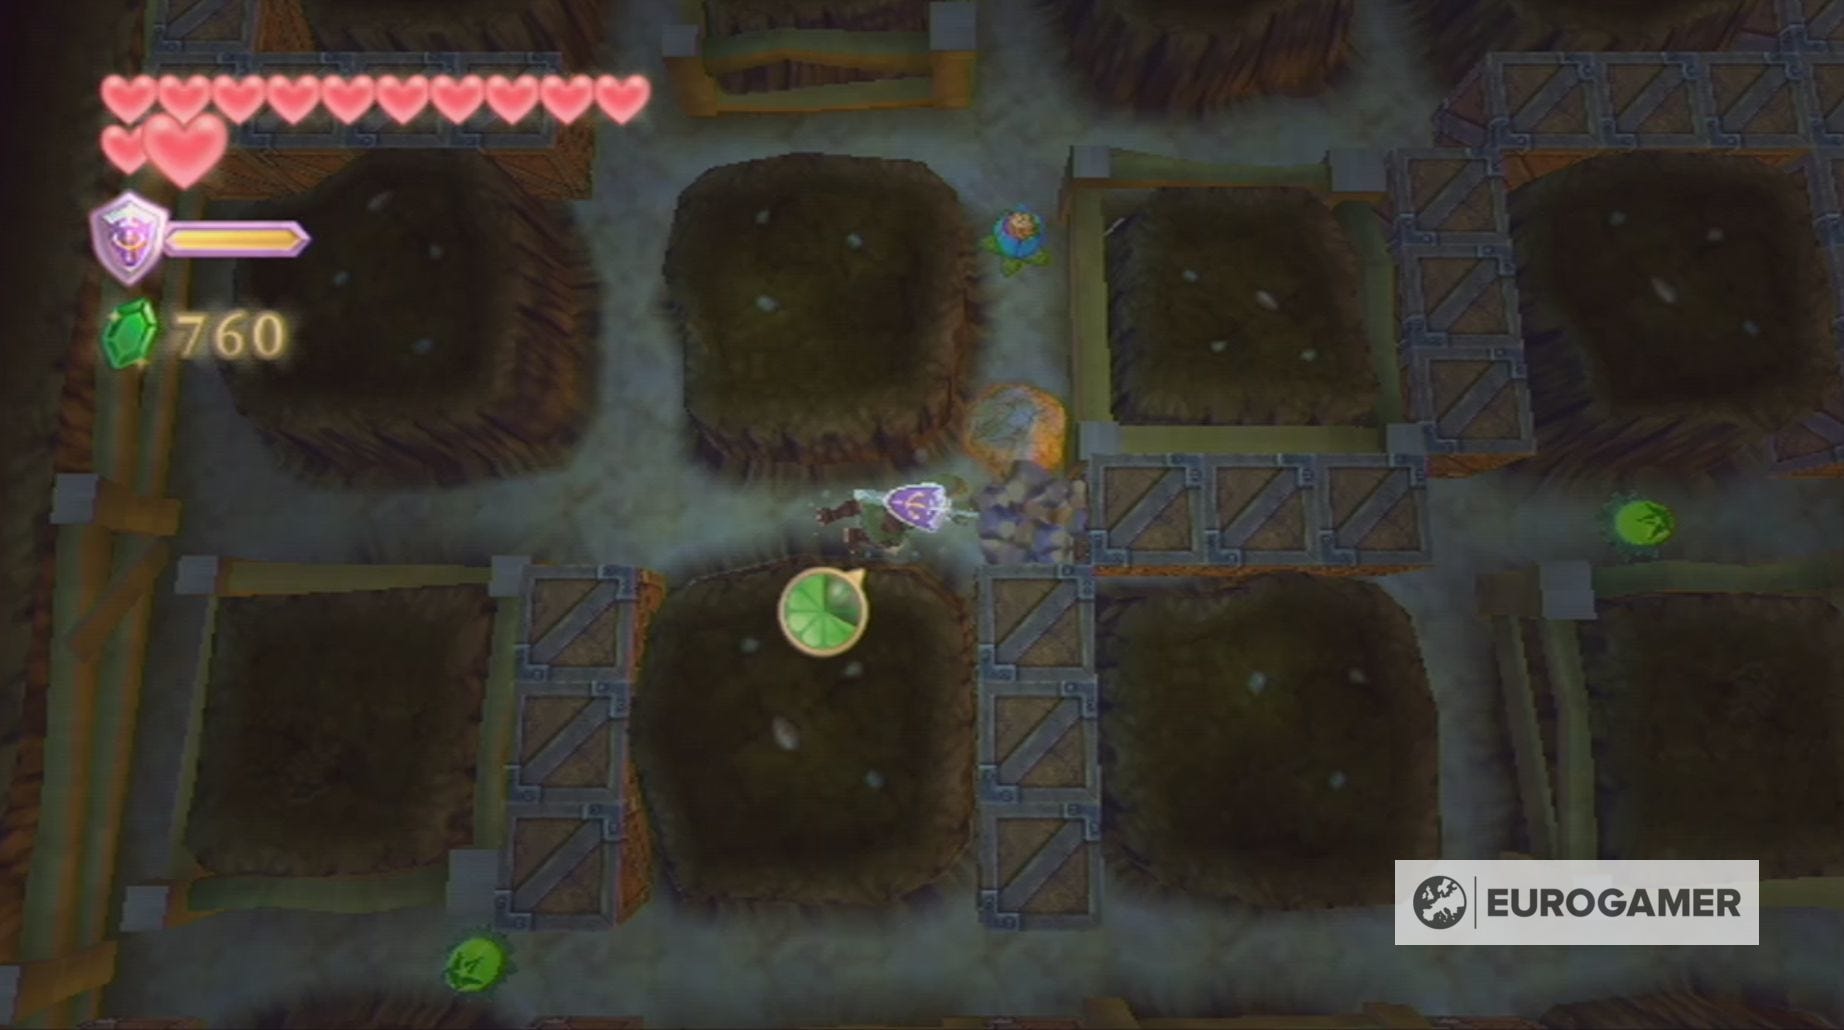
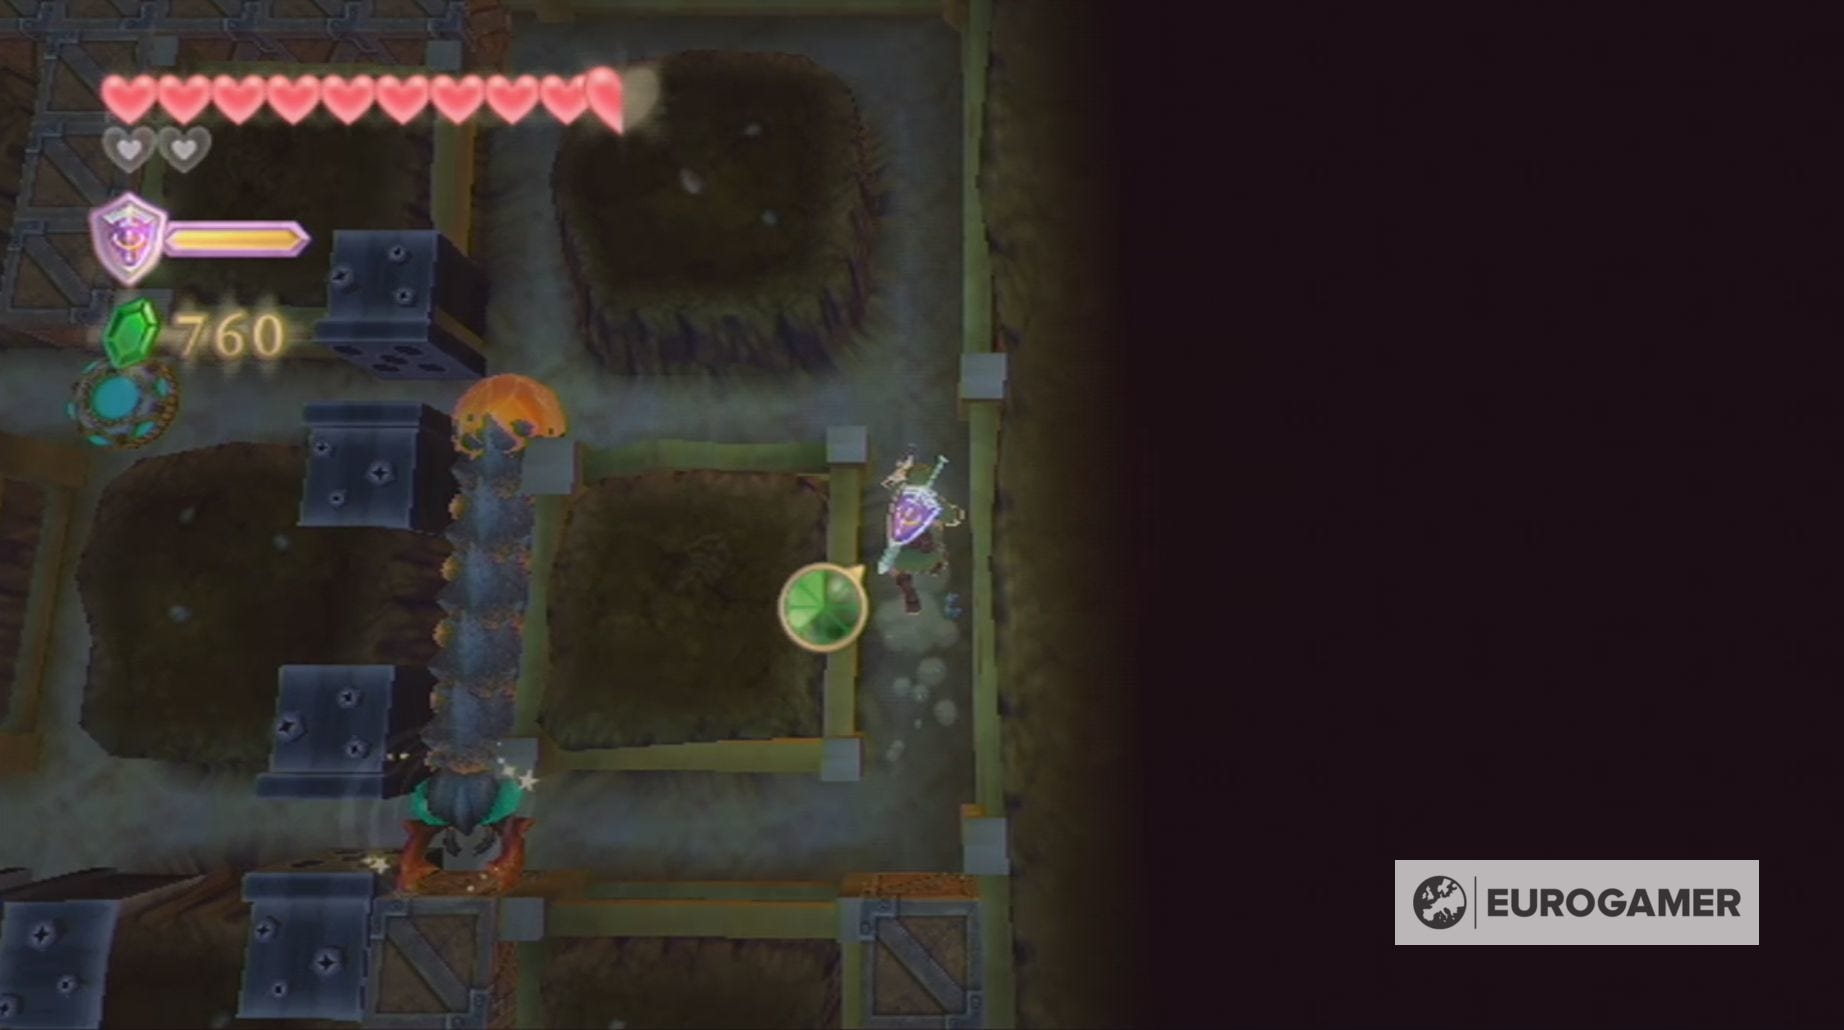
It's within this burrow that you'll encounter your first underground enemy. This centipede-like creature will follow a set path through the tunnels and will attack you if it sees you down any of the tunnels.
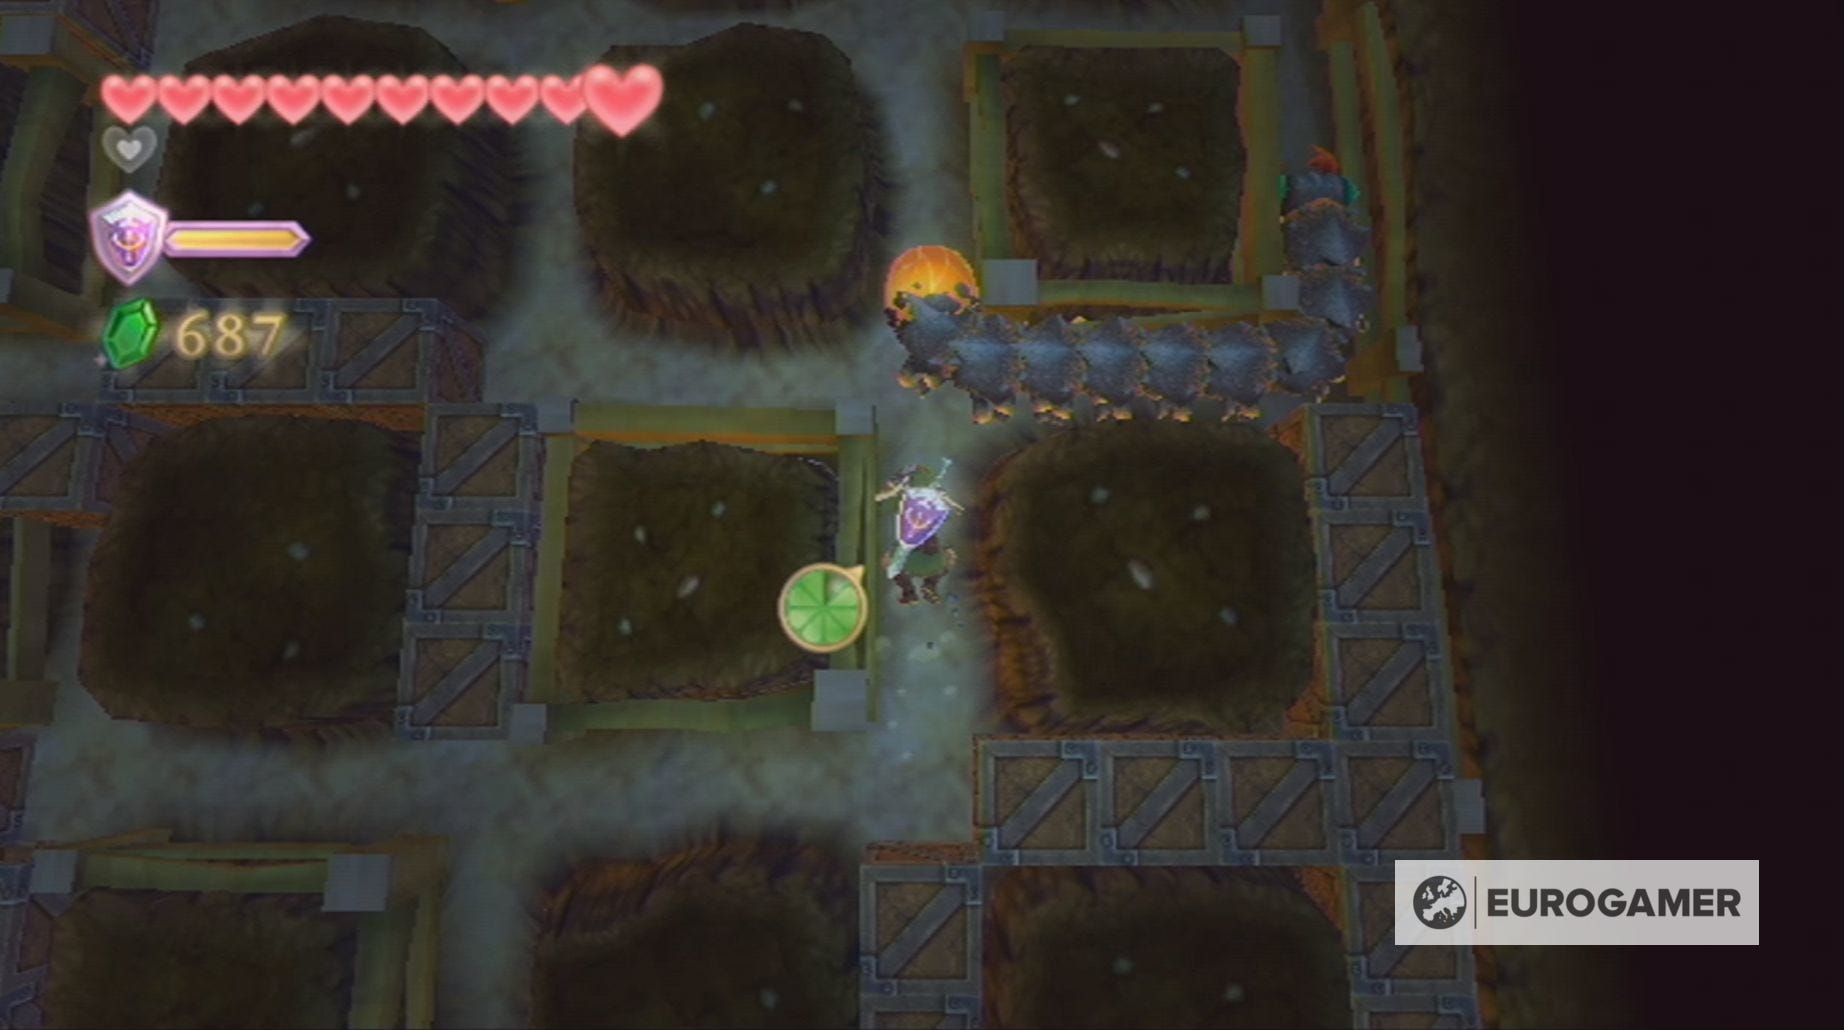
You can choose to avoid the centipede, but, if you want to kill it, then you need to hit the orange bulge at the tip of its tail three times. Every time you hit this bulge, the centipede will grow shorter and, temporarily, will have a boost of speed. Thankfully, you can sprint - kind of - underground.
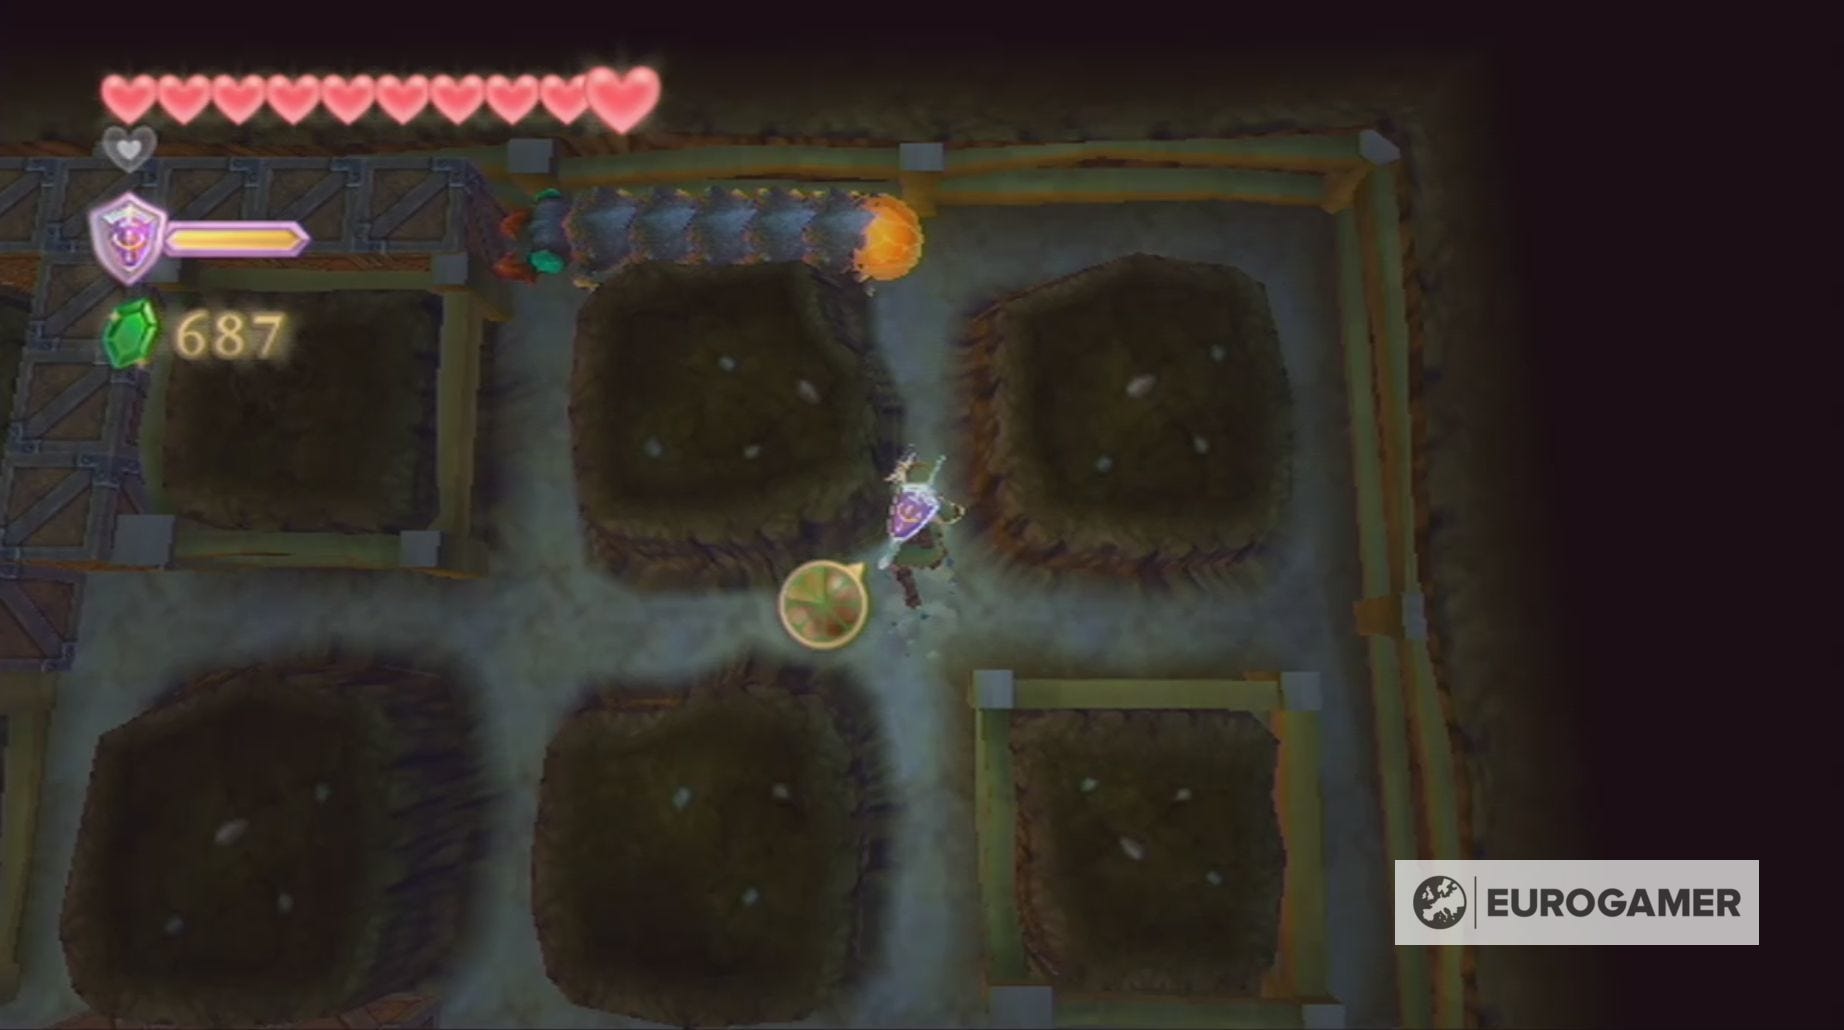
Whether you want to kill the centipede or not, you need to reach the spotlight on the left-hand side of this burrow to leave.
In this new room, you'll find a chest containing a small key and some vines, which will allow you to hop back to the previous room.
Fire Sanctuary Empty Bottle location explained
Hidden away in the Fire Sanctuary is one of five Empty Bottles for you to collect in Skyward Sword. These are highly useful items as they allow you to carry various potions for healing or ability enhancement purposes.
Finding the Empty Bottle does involve backtracking through the dungeon, so, if you'd prefer to simply defeat the boss, feel free to jump on over to the final section of this guide! Though, we do highly recommend collecting the Empty Bottle.
Return to the outside area before the room containing the dungeon map and use the shortcut you opened previously to return to the first room where you encountered a lava hand. (This is not the room where you defeat them for the first time.)
Once there, dig in the soft patch of dirt opposite the gate, which is, itself near the Bird Statue. Within this burrow, you simply need to flip the switch to move the gate and then leave.
Next, head down the passage you've opened to reach a collection of green plants and raise the bars by standing on the switch. Now you can impale a plant on your sword, before passing through the formally barred doorway and jumping down into the gated lava area.
Here you'll be confronted by one lava hand, which can be easily defeated using exactly the same method as the ones before - toss green water plant on hand to turn it to stone and then smash it up.
Upon its defeat, the lava will recede and you'll be able to access a new corridor, which leads to the chest containing the third Empty Bottle. If your Adventure Pouch is full, the Empty Bottle will automatically be sent to the Item Check on Skyloft.
With this detour completed, you need to head back to the lower level of the room where you first defeated the lava hand.
Fire Sanctuary boss key location explained
The journey to find the boss key for the Fire Sanctuary in Skyward Sword, begins by returning to the area below where you first defeated the lava hands. Here you can open a locked door with your new small key.
Outside once again, follow the walkway down to the lava river and, here, take out both the Bokoblin Archers and Cursed Spumes with your bow. Afterwards, knock down the green plant, so you can reach the other side and, while killing Red Chuchus, climb the stairs.
In this new area, kill the Bokoblin, Dark Keese and Cursed Spumes, so you can reach the patch of soft dirt near the gate on the far side of the room.
Within this burrow, you'll first need to move the blue switch and, then, venture into the furthest part of the area.
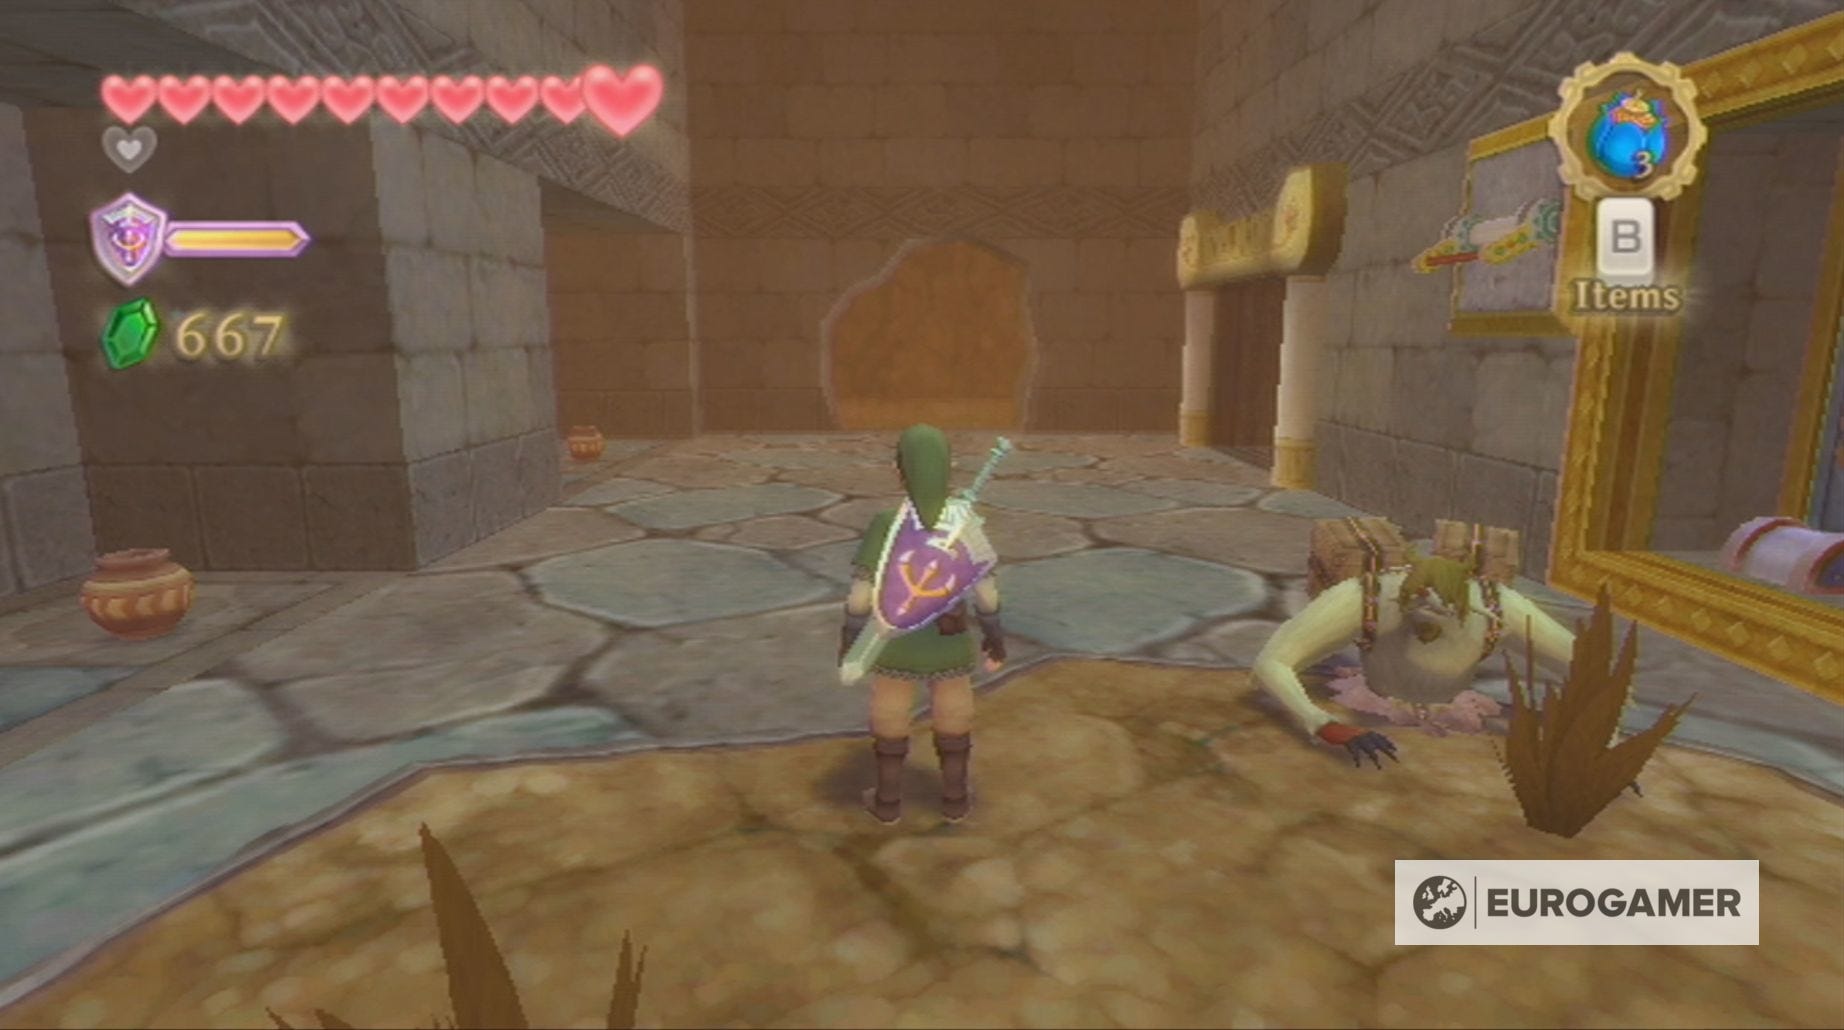
Doing so will make a Mogma appear and he'll mistake you for a monster. You'll now have to catch him, which can be easily done by slowly sneaking up on him and then dashing forward.
Once you've caught up with the Mogma, he will realise that you're not a monster; as an apology, he'll open the gate for you and give you a Piece of Heart!
Now you can go through the gate, shoot down the green plant and use the stone it creates to reach the other side of the room. It's a good idea to both save at the Bird Statue and unlock the shortcut by standing on the switch, before heading down the burrow next to the statue.
Within this burrow, you need to crawl along until you reach a set of three stones, which need to be destroyed. This will allow you to knock the Bomb Flower forward and, in doing so, unleash the lava.
Now you need to race out of the burrow or else the lava will melt you! The easiest way to do this is to sprint, ensuring you stop before you run out of energy, grabbing the first stamina fruit, but not the second.
When you exit the burrow, you'll discover that the lava has started flowing again, allowing you to access new parts of the Fire Sanctuary.
Head back down the stairs, shoot the green plant to create a stone platform and see where the current takes you! It's not far...
Go up the short flight of stairs to find a Bird Statue that allows you to return to sky and, vice versa, return to this point in the dungeon from the sky. If you need any potions or equipment, this is the perfect opportunity to make a trip to the bazaar.
From there, you now need to head past the stone tablet and out onto the walkway above the lava.
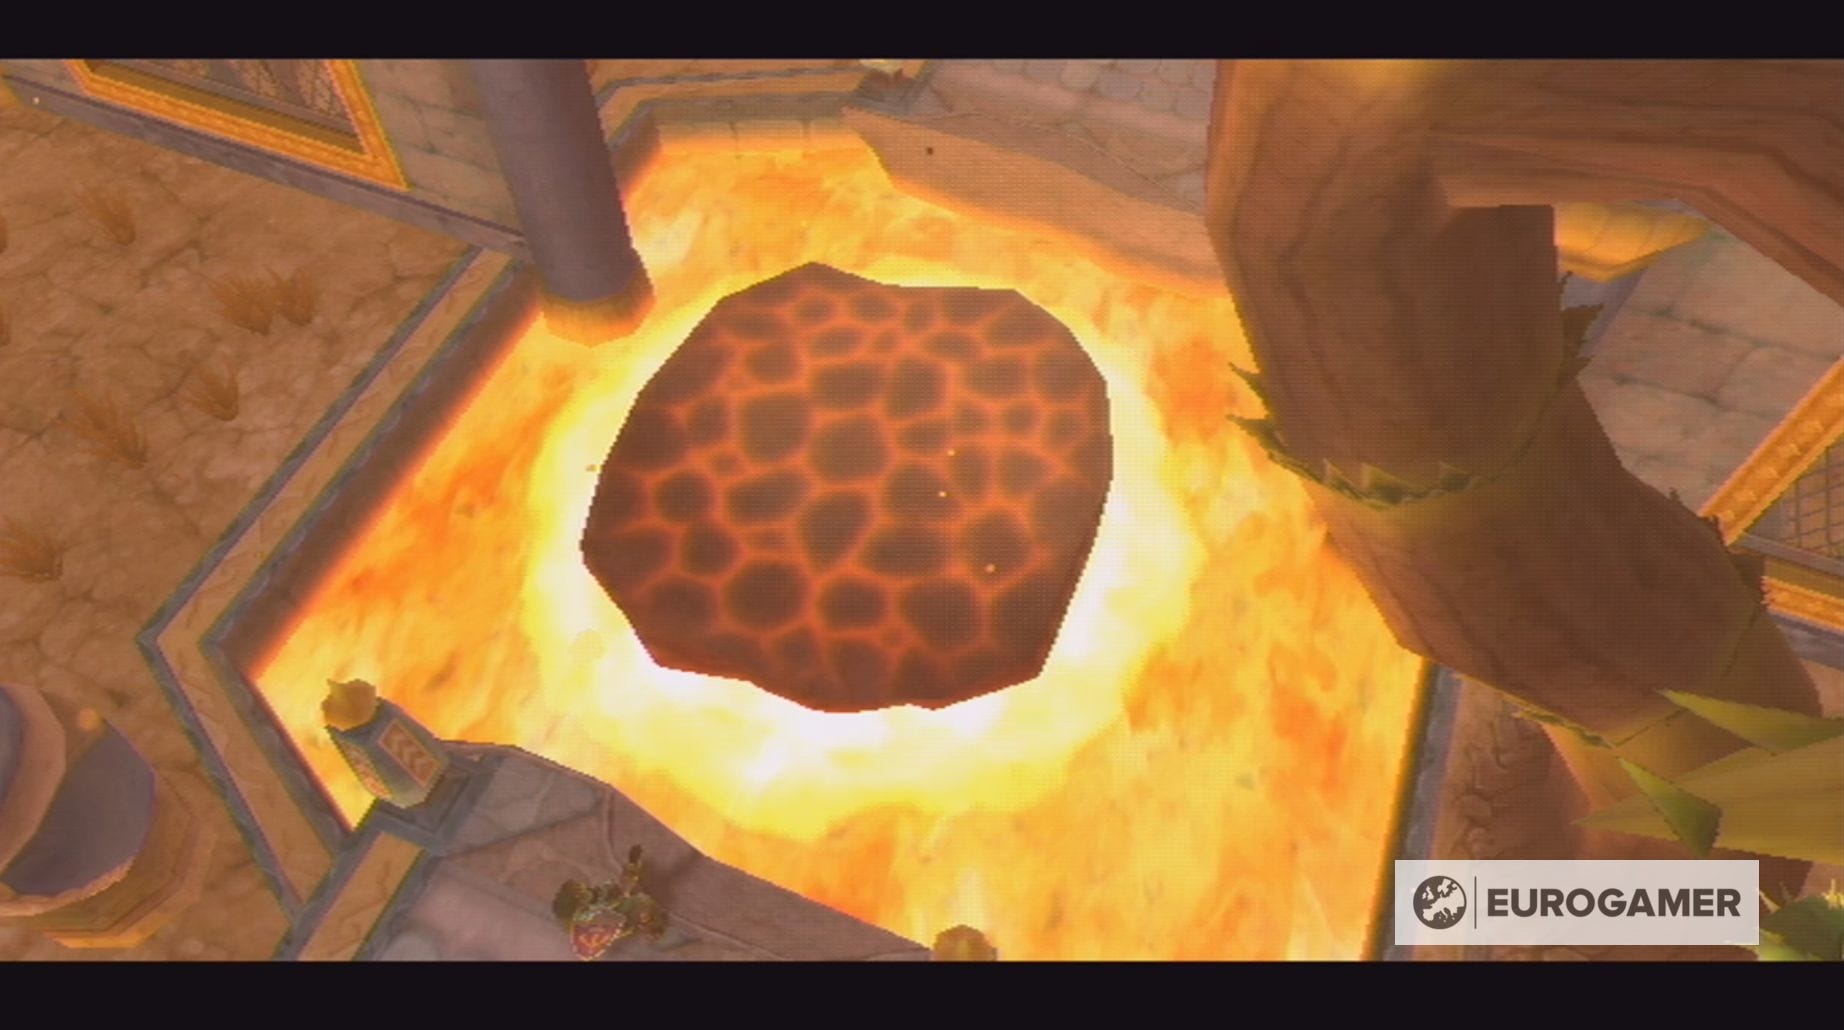
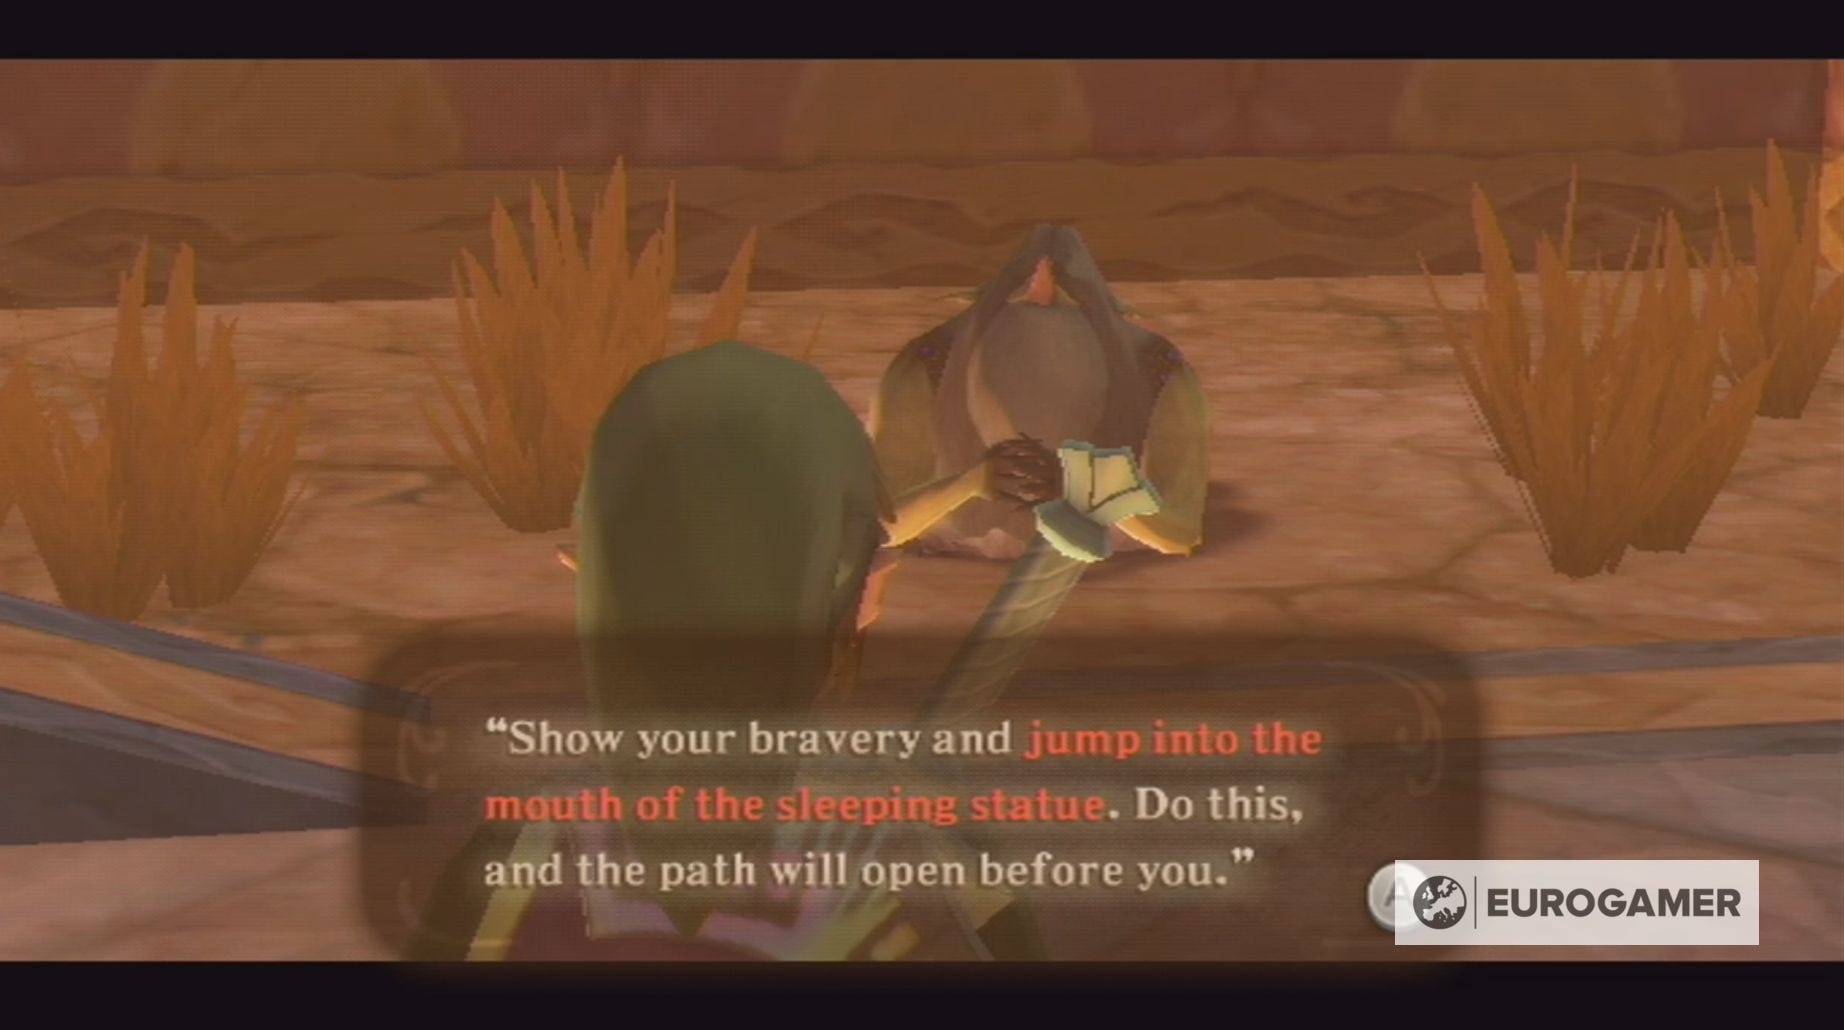
At the end of this path, and below the walkway, you'll be able to see two statue heads. To progress, you need to dive down towards the statue on the left-hand side, which has its eyes closed.
As you fall a blue platform will appear in front of the statue's mouth and, to avoid a fiery death, you need to land on this.
Head up the stairs and ensure you're at full health, because, in the chamber beyond, you'll have to defeat two Dark Lizalfos.
These monsters are defeated in exactly the same manner as the Dark Lizalfos you fought earlier in the Fire Sanctuary. You just need to dodge more often to ensure you don't get crowded by the two lizards. It's also a good idea to keep both of them in your line of sight.
With the Dark Lizalfos dead, climb up the platform and go through the door. You now need to climb the stairs, killing Dark Keese as you go, until you reach a gap in the steps. Here you can use the Clawshots on the nearby vines to continue your climb.
You can reach a chest containing a random material here by using the Clawshots on the nearby section of vines. This will allow you to reach the vines inside the alcove, again with the Clawshots, so you can open the chest.
Afterwards, continue the stairs - jumping over the gaps and killing the Dark Keese - until you reach the door at the top.
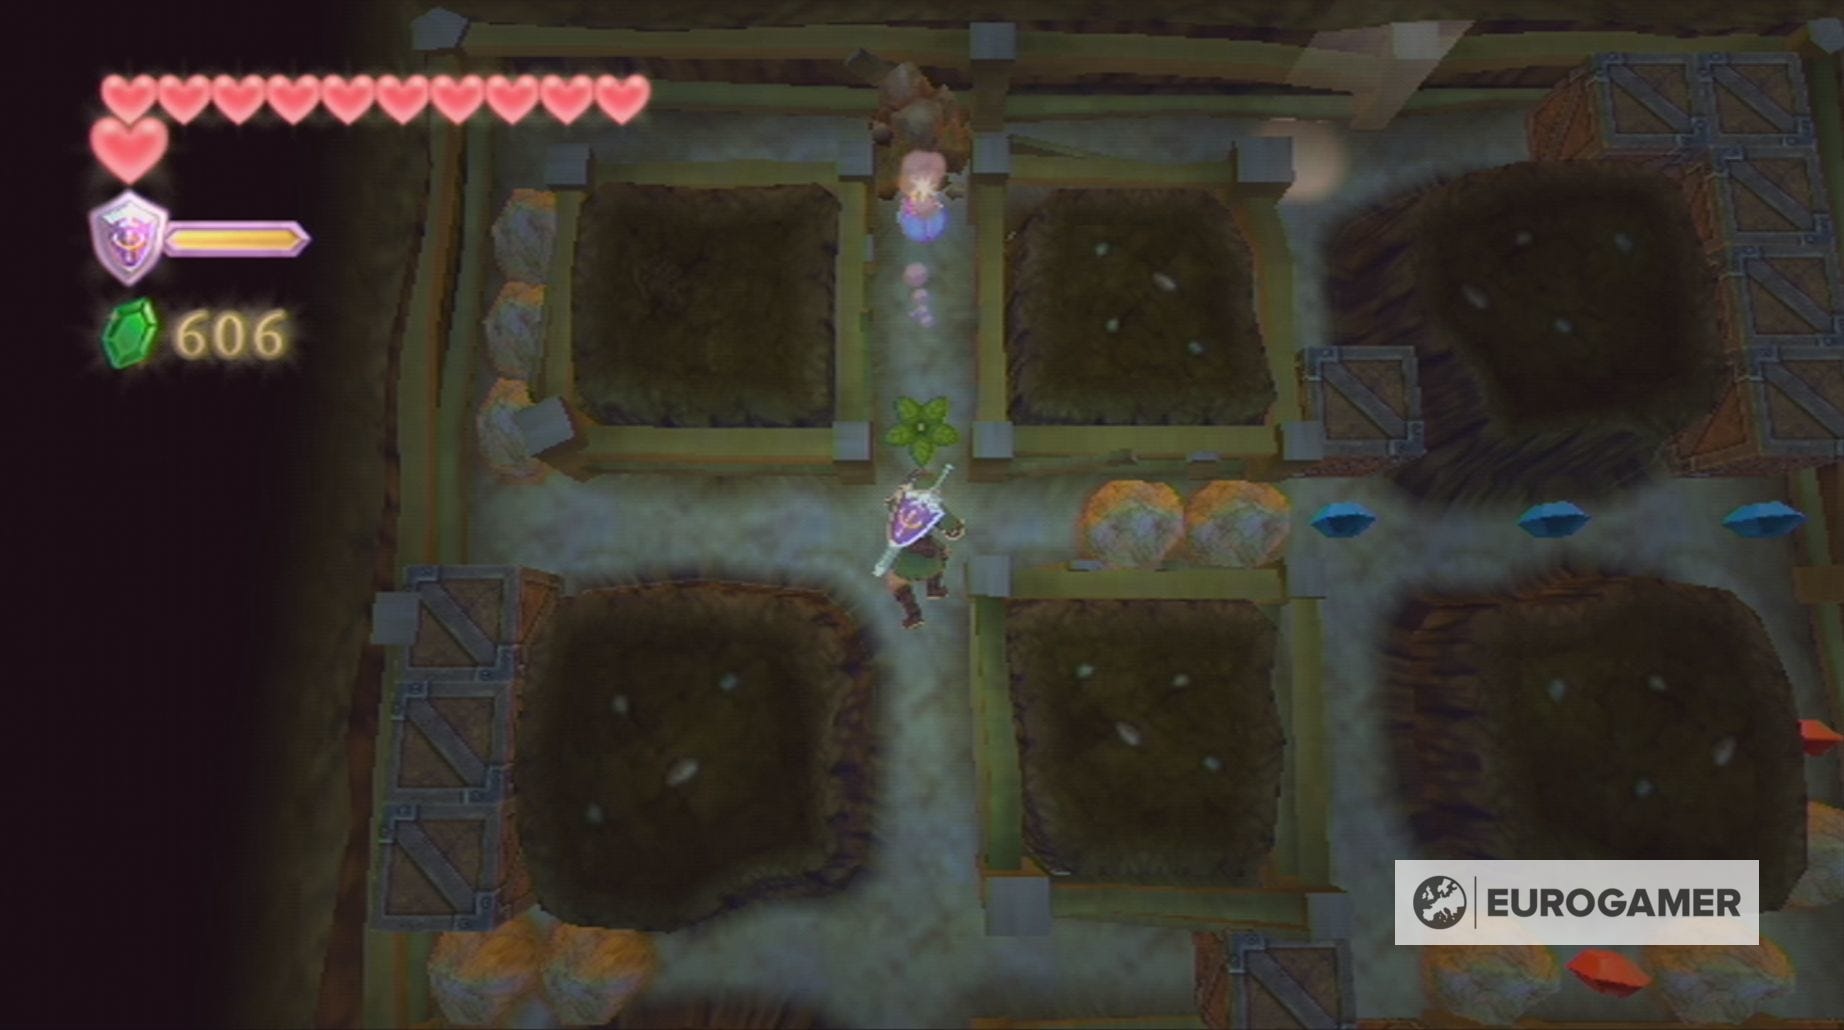
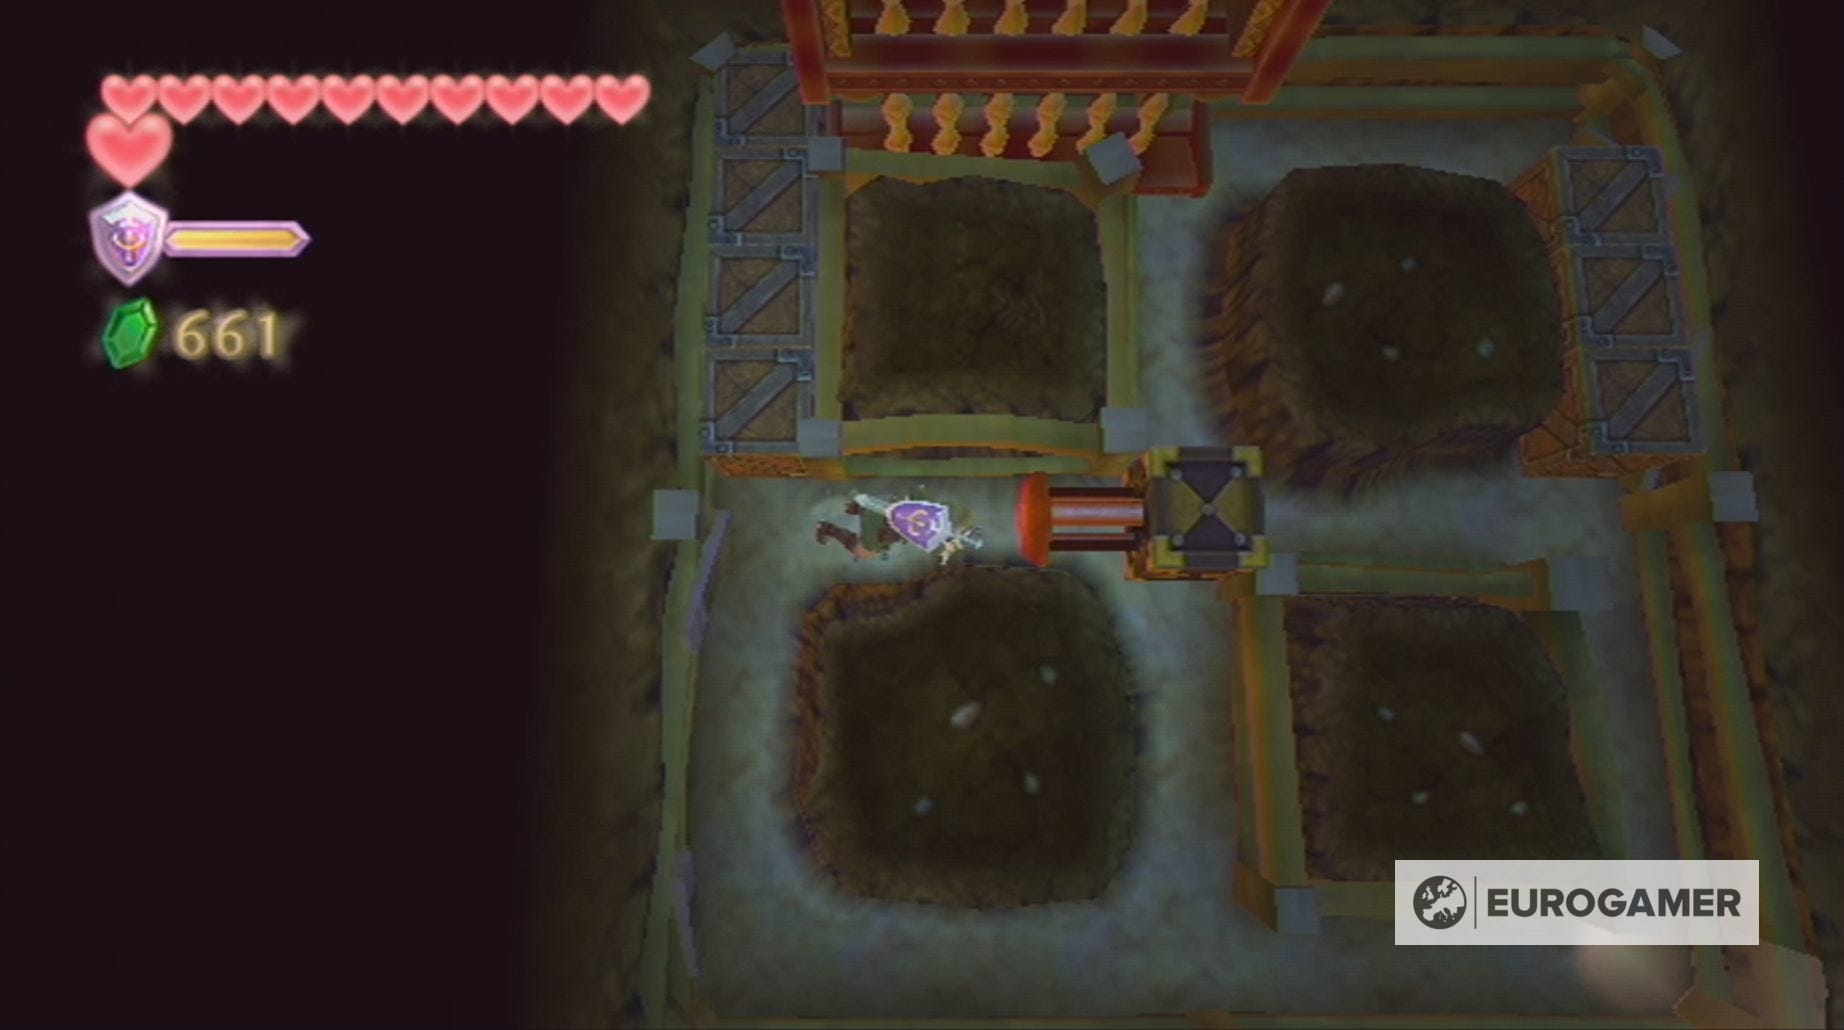
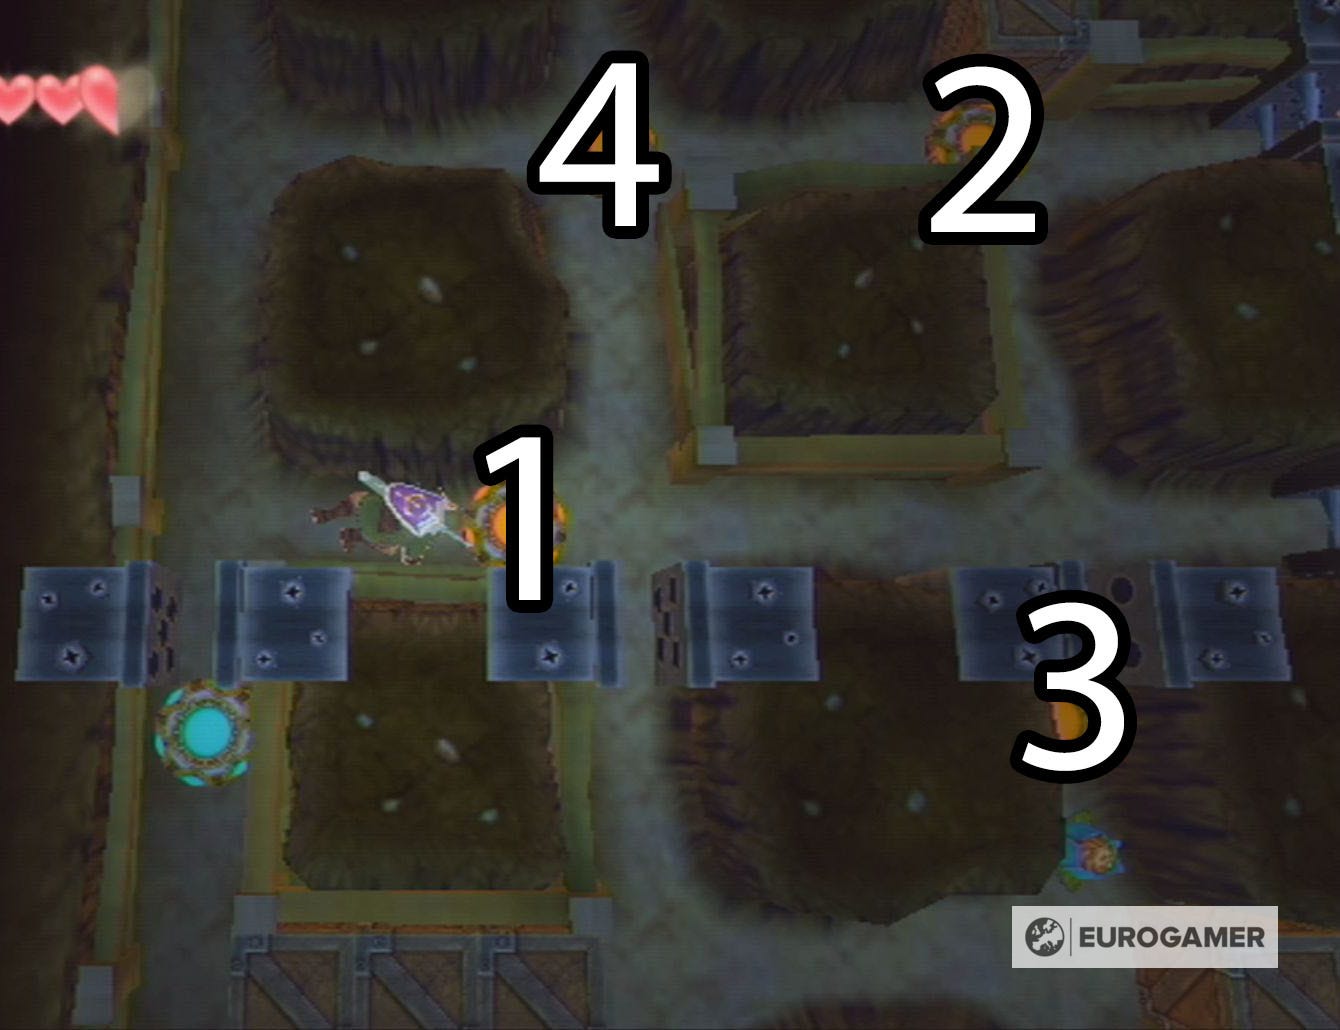
You'll now find yourself in the room containing the boss key chest. To reach, you need to illuminate the bird statues in order. This order is shown by how many wings the statues have - from zero to four - and is achieved by burrowing.
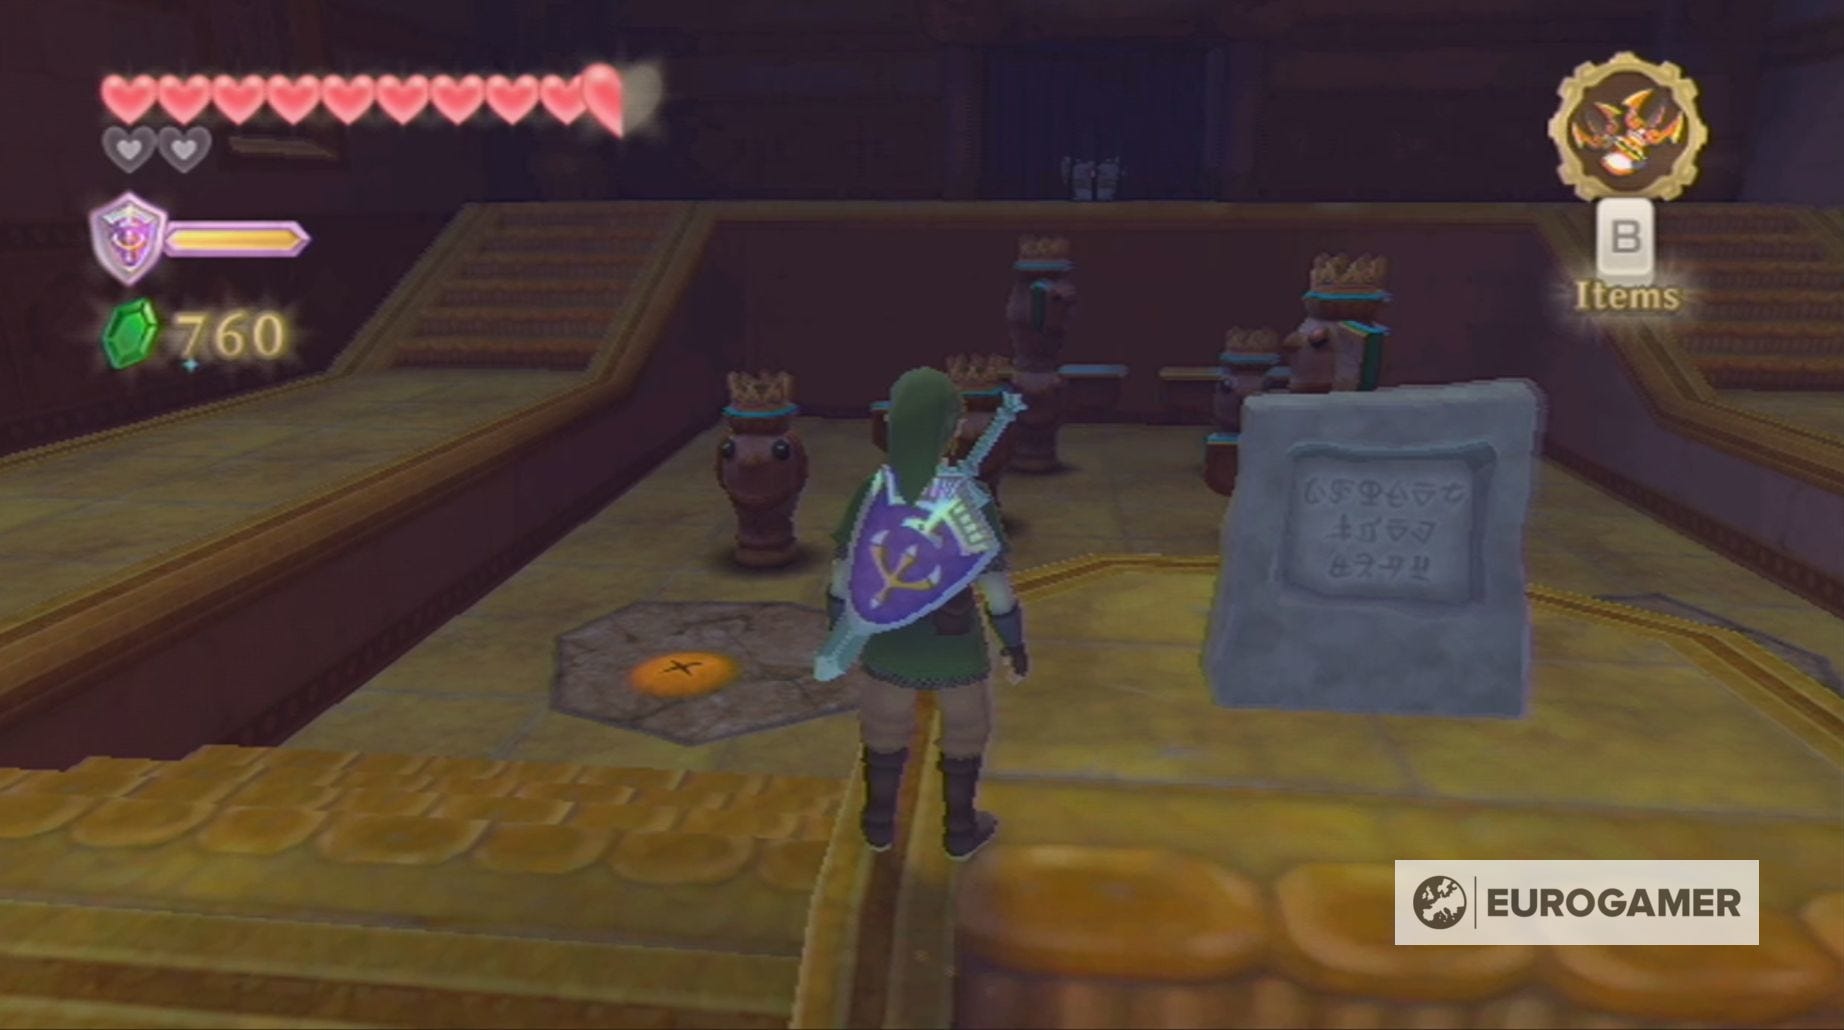
Before you illuminate any of the statues, it's a good idea to crawl around to the Bomb Flower and use it to destroy the stone. Once you've done that, head back to the starting point for this burrow.
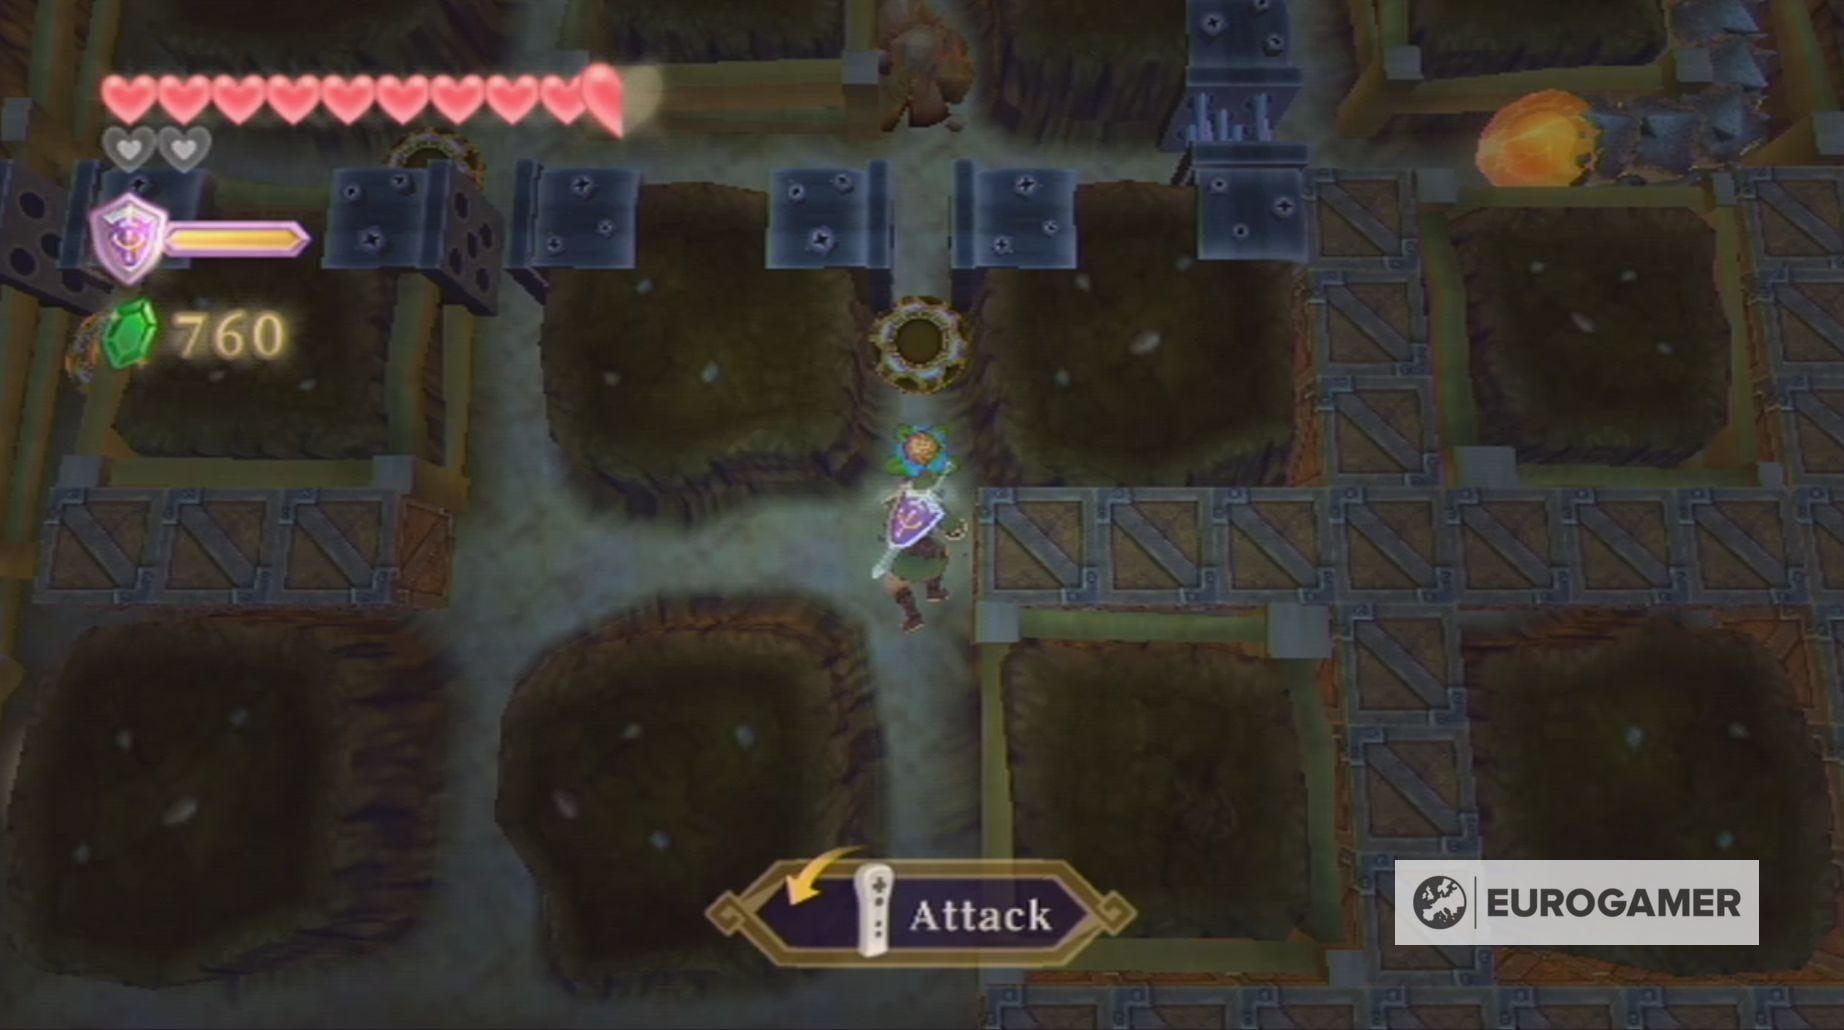
With the entrance to the burrow as our starting point, you'll want to head forward over the first statute. This will activate both the first statue and the other switches.
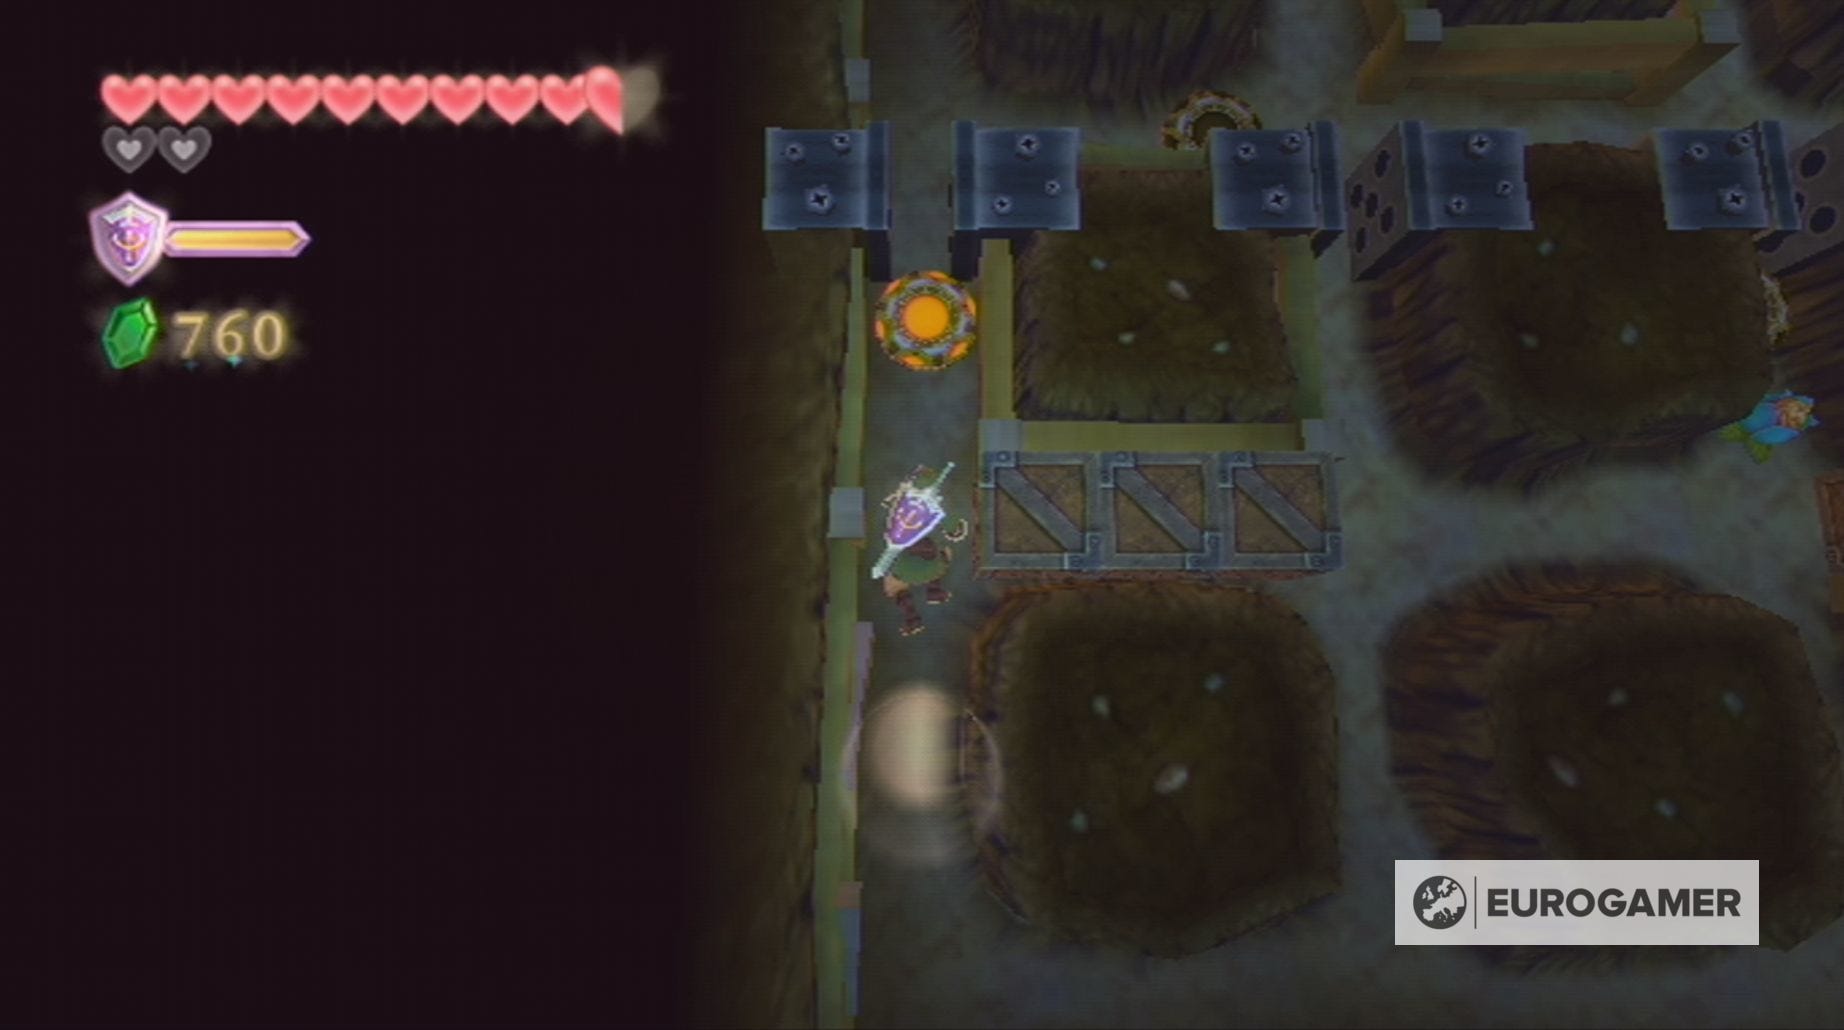
Here is the order in which you need to hit the other switch:
- Directly to the right of the first switch you activated
- Top right-hand corner
- Bottom right-hand corner
- Top left-hand corner
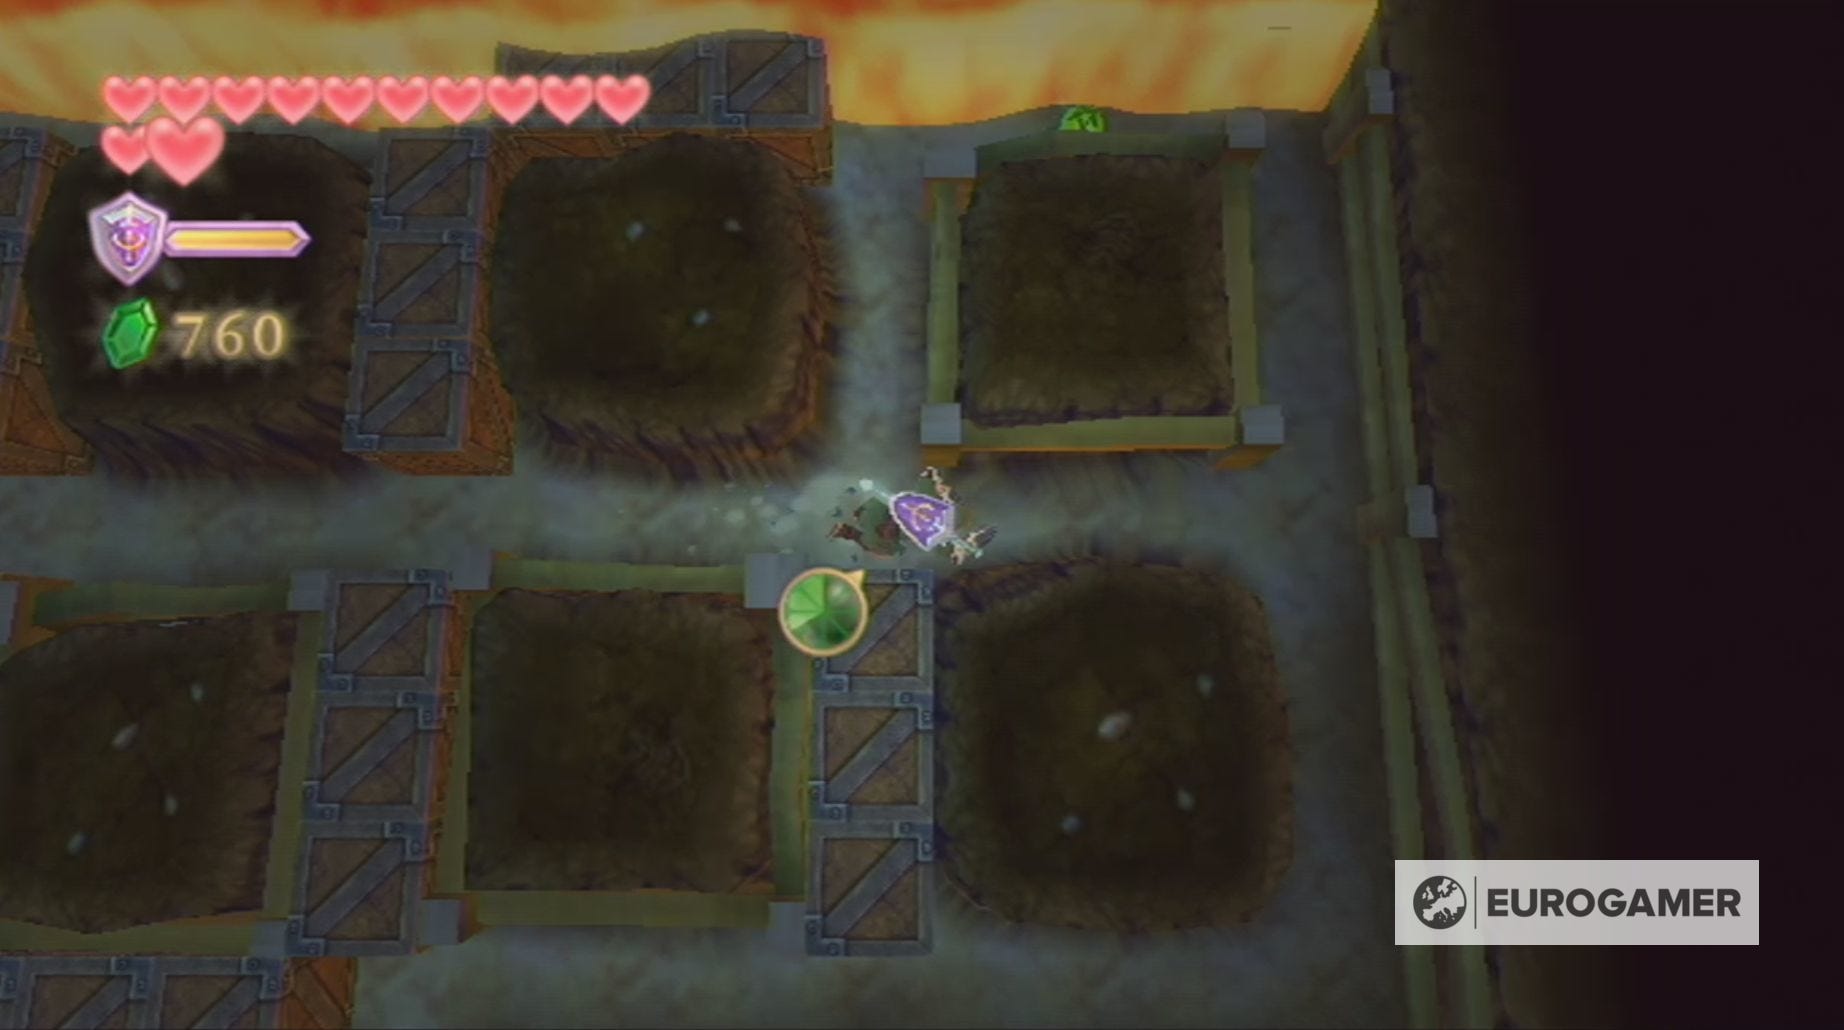
Once you've correctly activated the statues, the nearby centipede will be released and you'll have to kill it if you wish to leave the burrow.
If you're having trouble defeating the centipede, you can stun it by waiting near one of the crates until it spots you. The centipede will then charge towards you, leaving you to run away, and slam itself into the crate. This will give you enough time to kill it.
After exiting the burrow, open the chest for the boss key and exit through the nearby door. You then simply have to stand on the switch to find yourself by the Bird Statue opposite of the boss chamber.
Ghirahim returns as the boss of the Fire Sanctuary and, before facing him, it's a good idea to ensure you have some potions ready.
After defeating Ghirahim, it's time to return to the Sealed Grounds and battle The Imprisoned for the second time. Once you've resealed this monster, you need to return to Skyloft and free Levias from Bilocyte.