Zelda: Skyward Sword - Sandship dungeon: How to defeat Screvo and find the Wooden Bow explained
Time to explore a lost ship!

The Sandship is the fifth dungeon in The Legend of Zelda: Skyward Sword.
To board this vessel, you must first journey across the Lanayru Sand Sea to explore the Pirate Stronghold.
Afterwards, you'll be able to climb aboard the Sandship and defeat Screvo, the robot pirate captain who invaded it, so you can find the Wooden Bow.
With this new weapon in hand, you'll be able to defeat Tentalus - the boss of the Sandship.
On this page:

If you'd like to learn more, visit our Skyward Sword walkthrough.
Sandship small key location explained
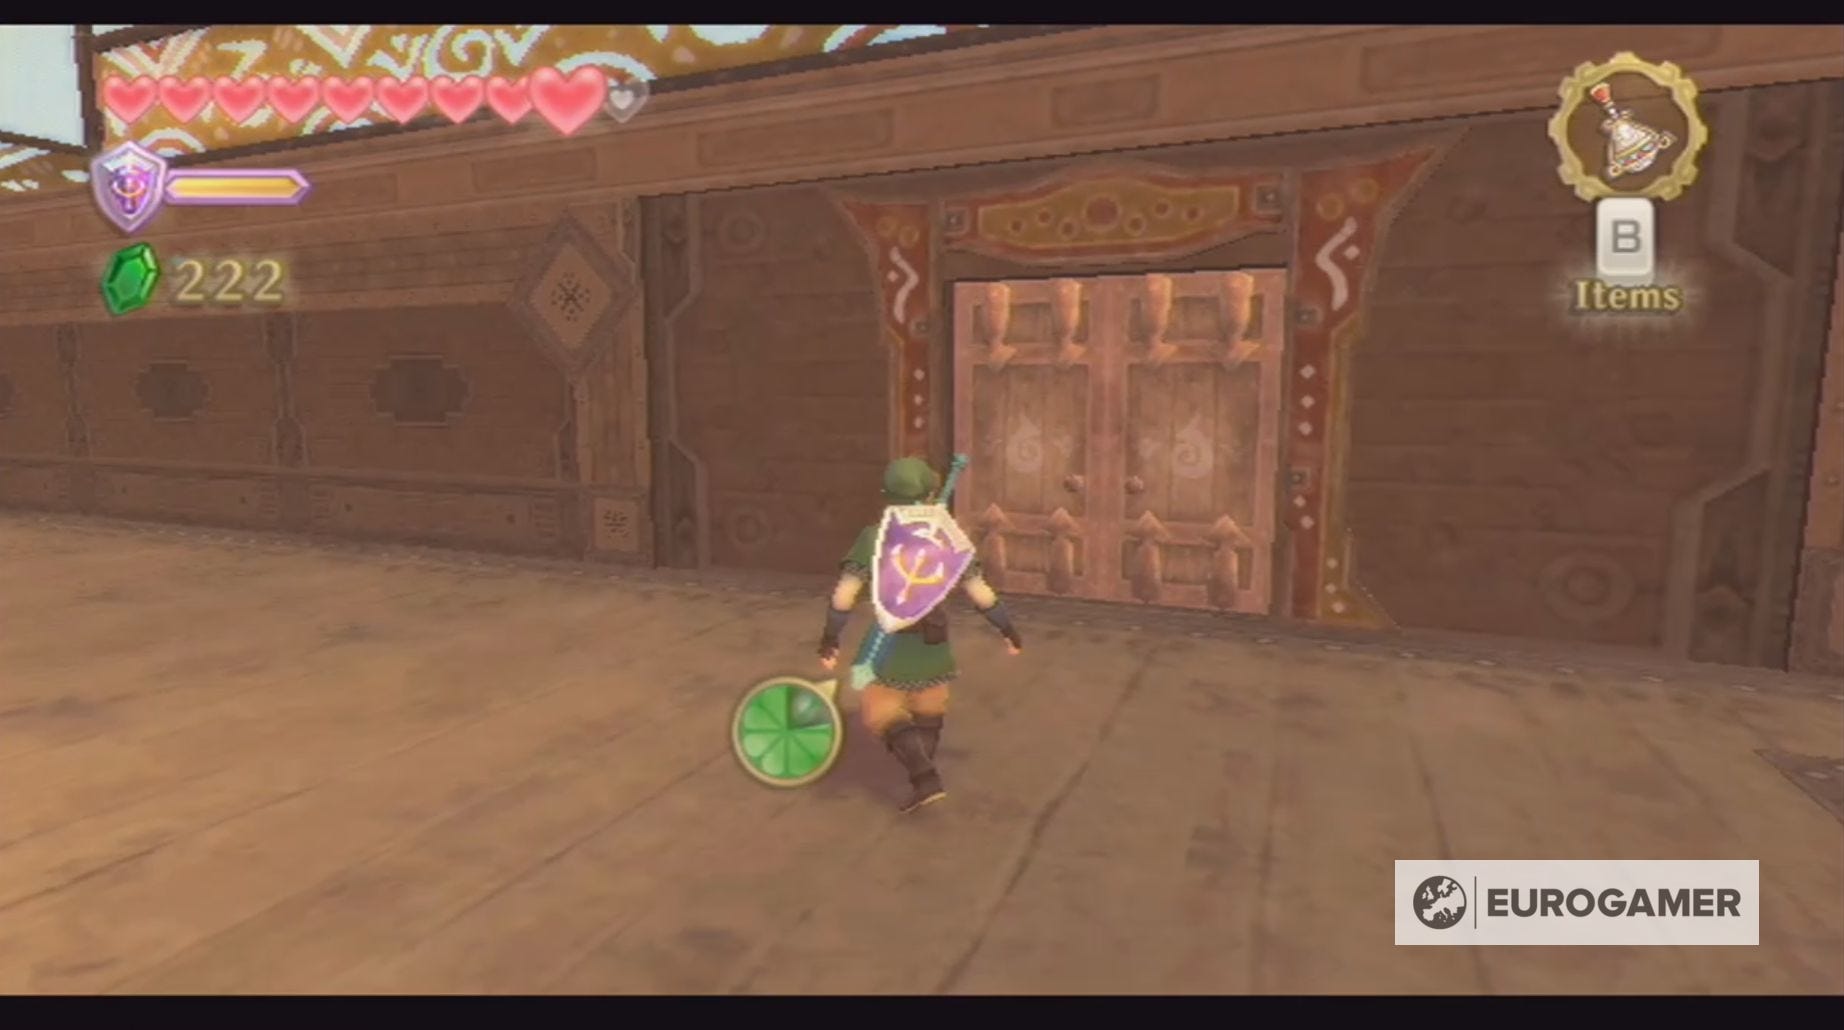
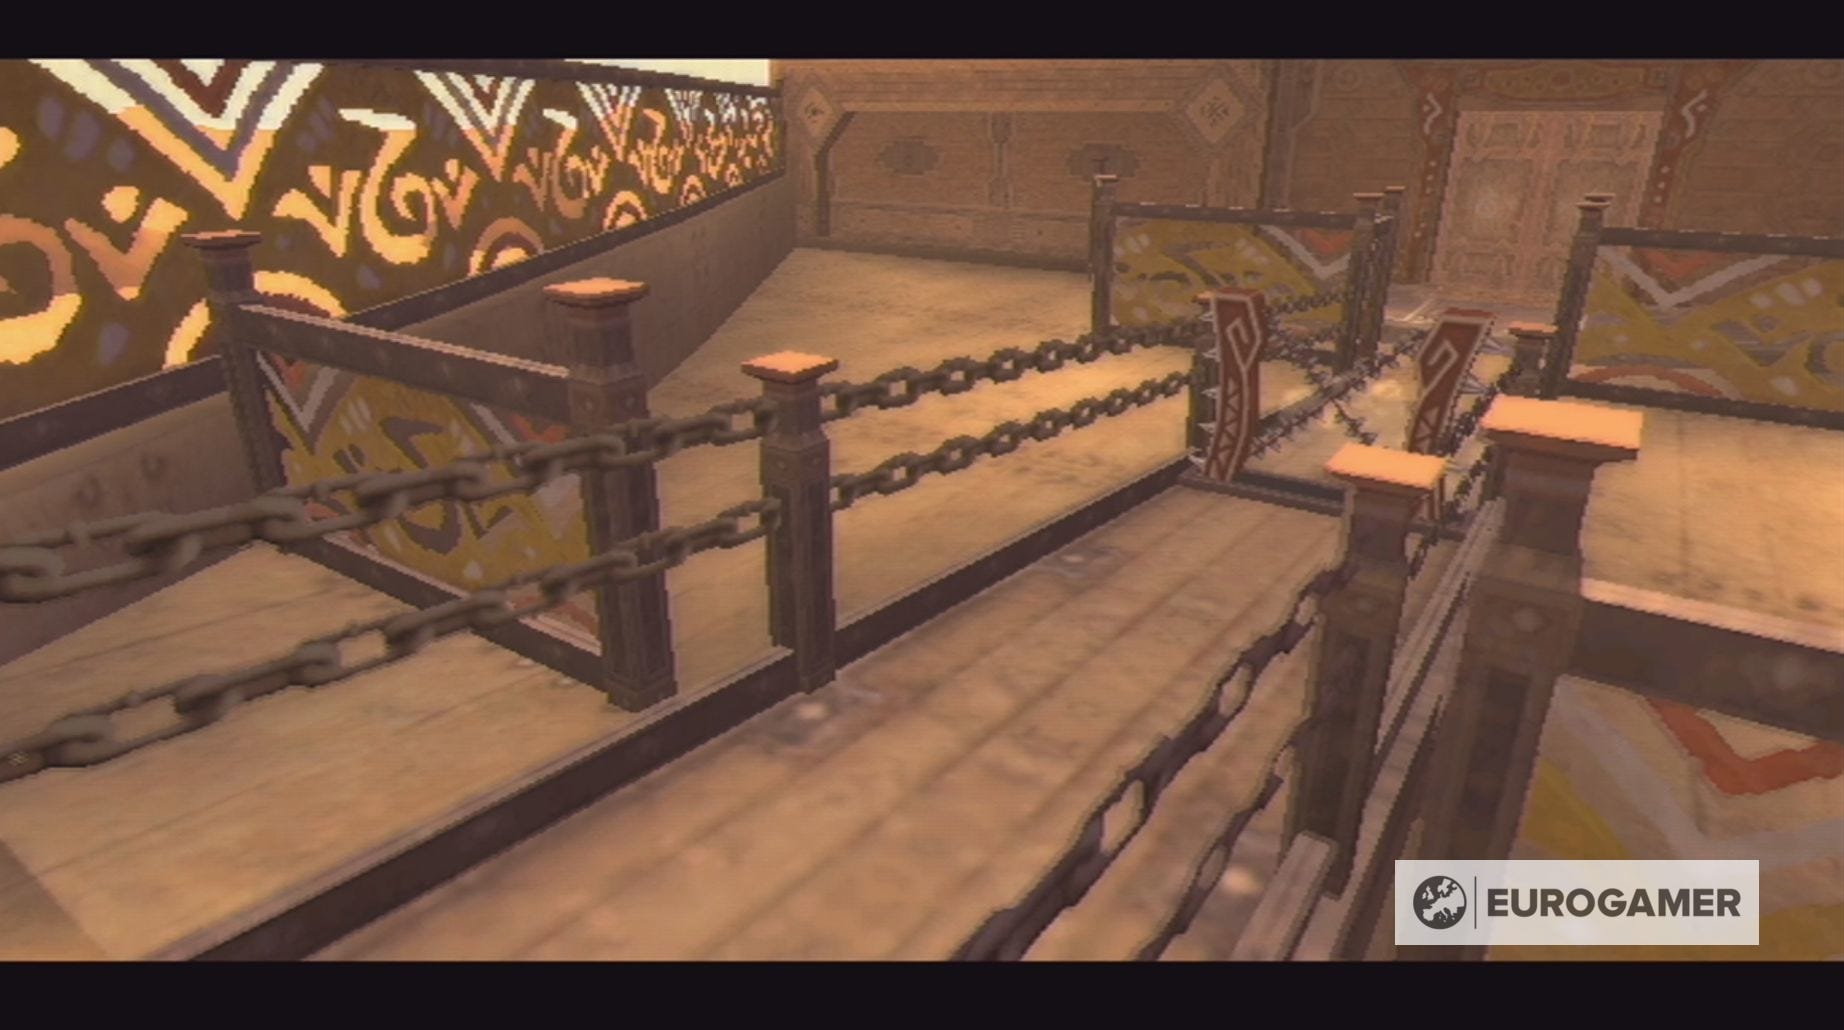
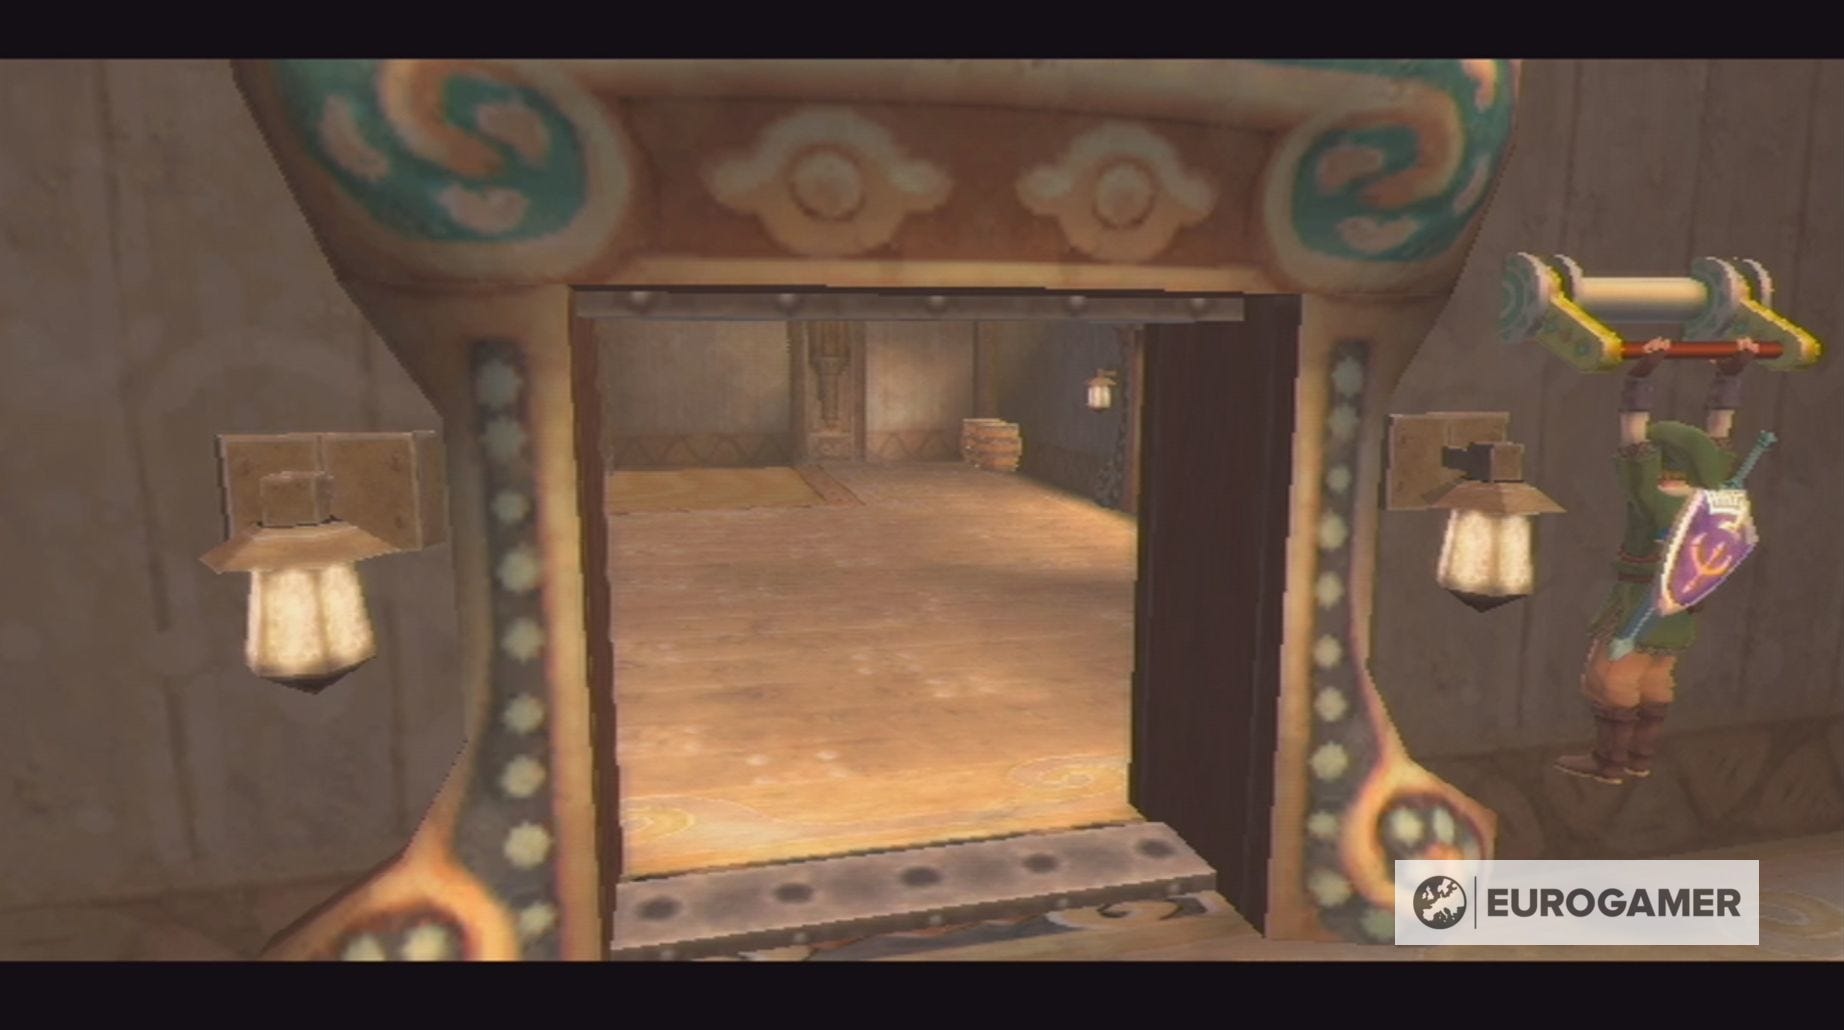
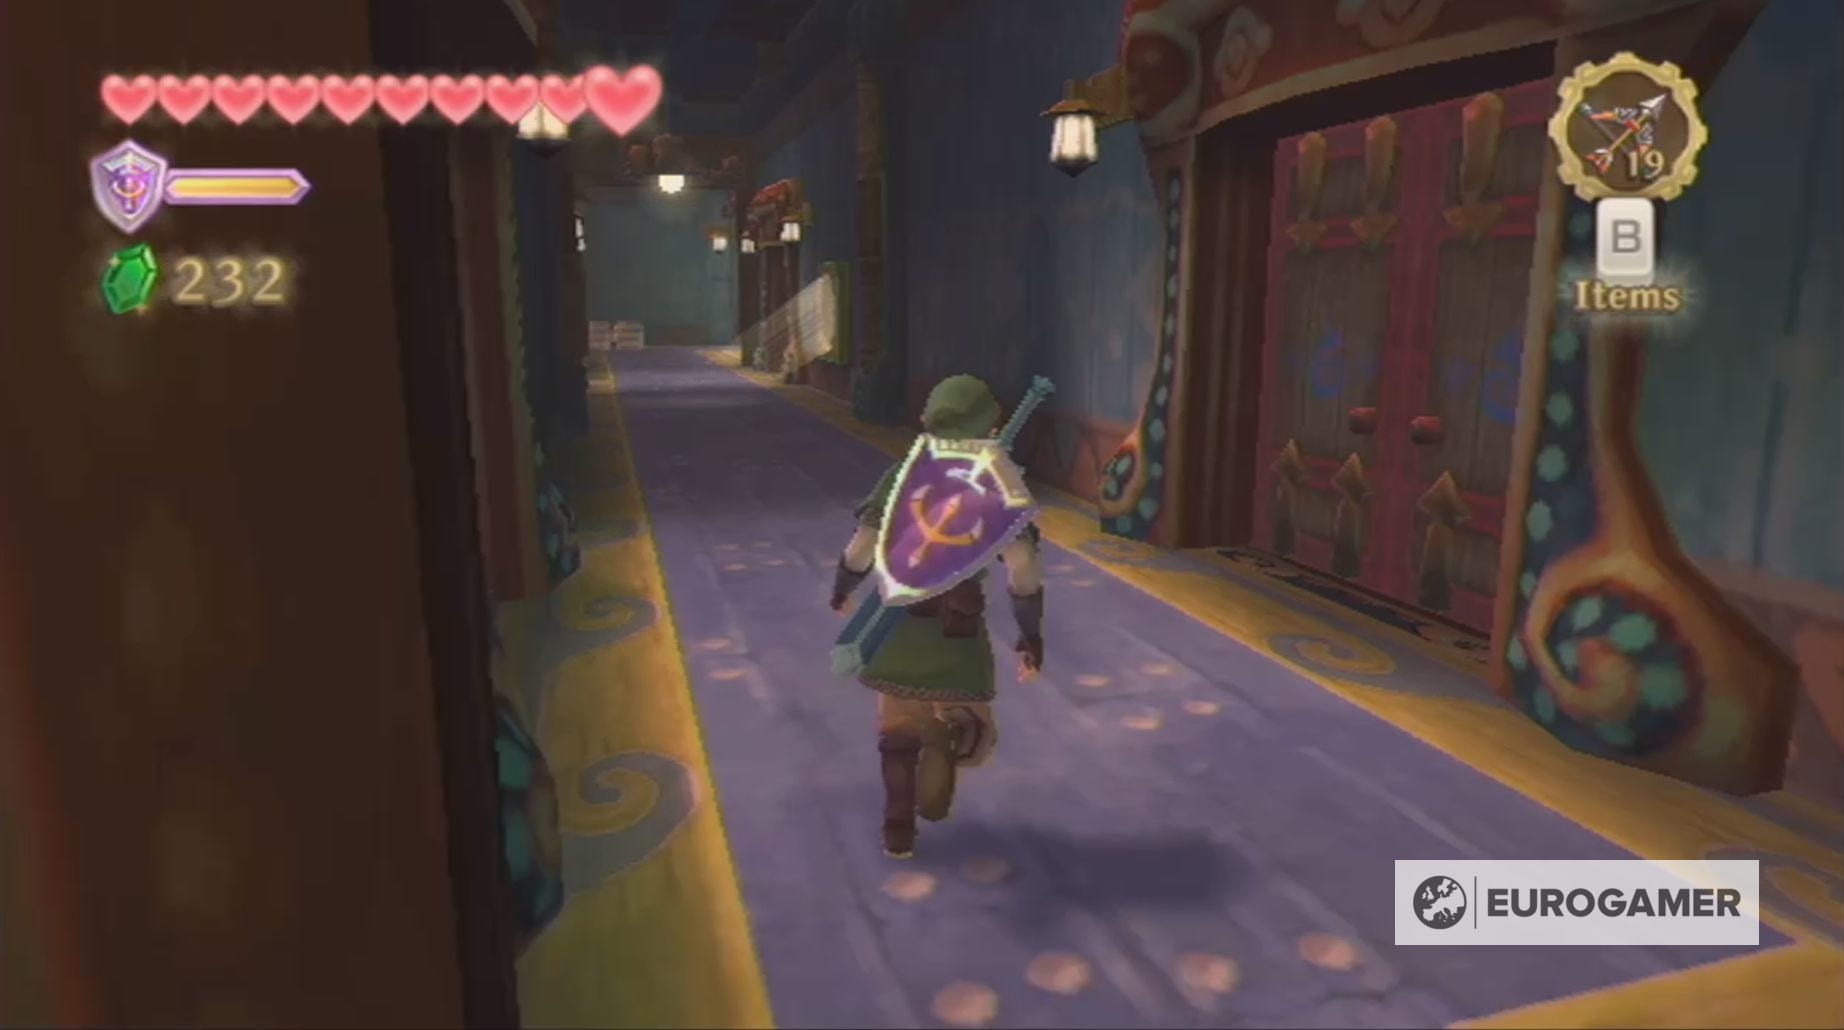
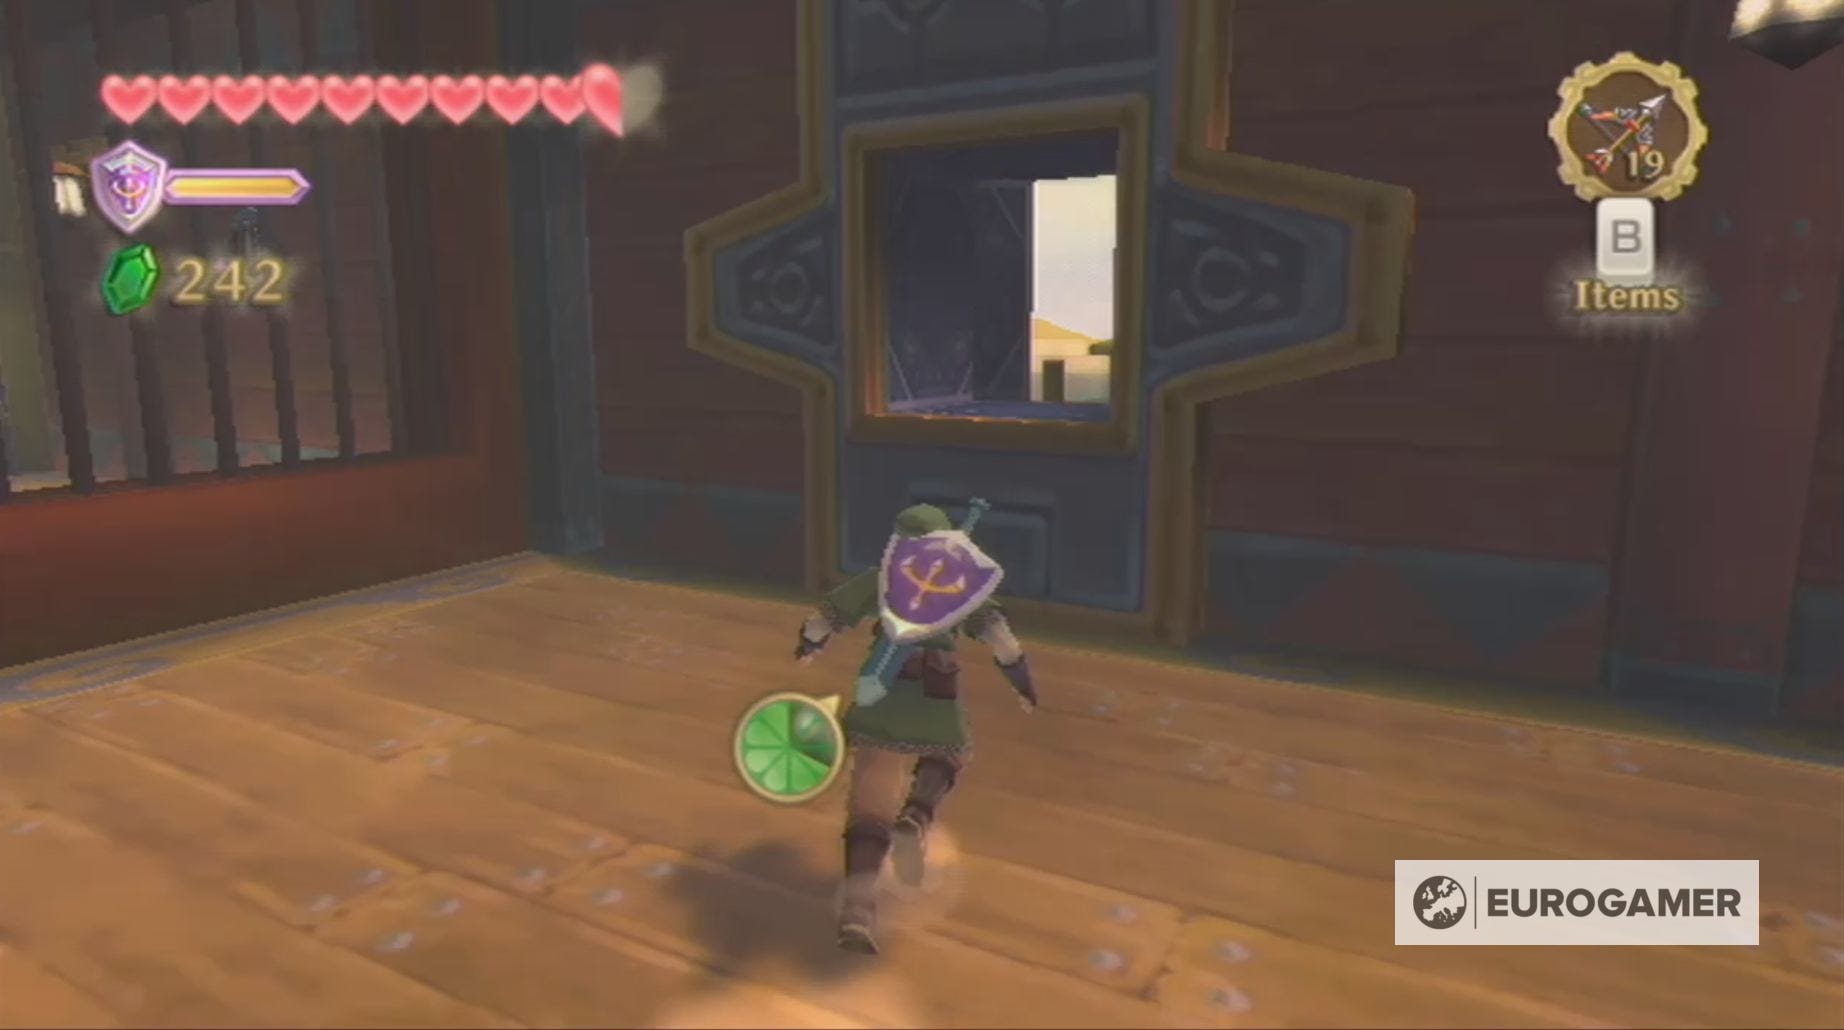
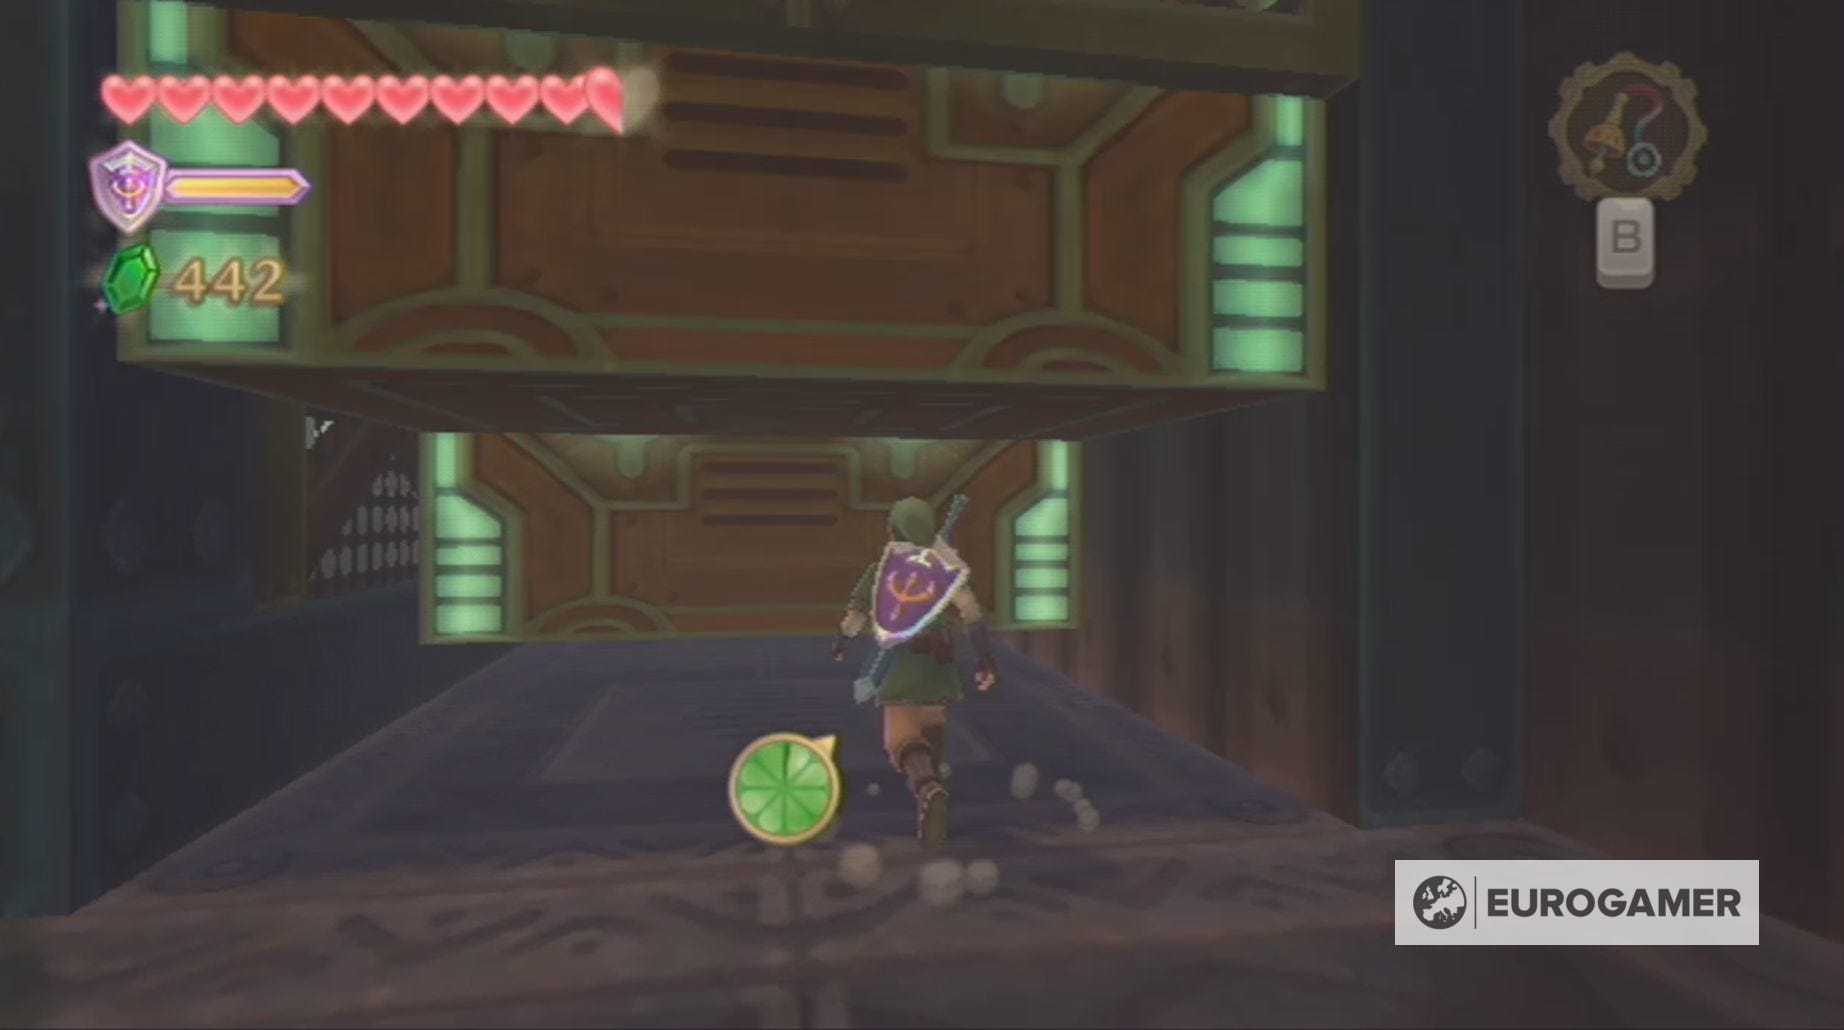
Your first task on the Sandship in Skyward Sword is to head through the double doors on your left and then go down the stairs. Before you go any further, however, make sure you've left the Iron Shield on Skyloft, because using it here will have electrifying results.
Next, on this lower level, you need to take the right-hand passage, kill the Thunder Keese and go through the door.

In this room, kill the Electro Spume and then sprint across the sand, before continuing down the corridor and going through the door at the end.
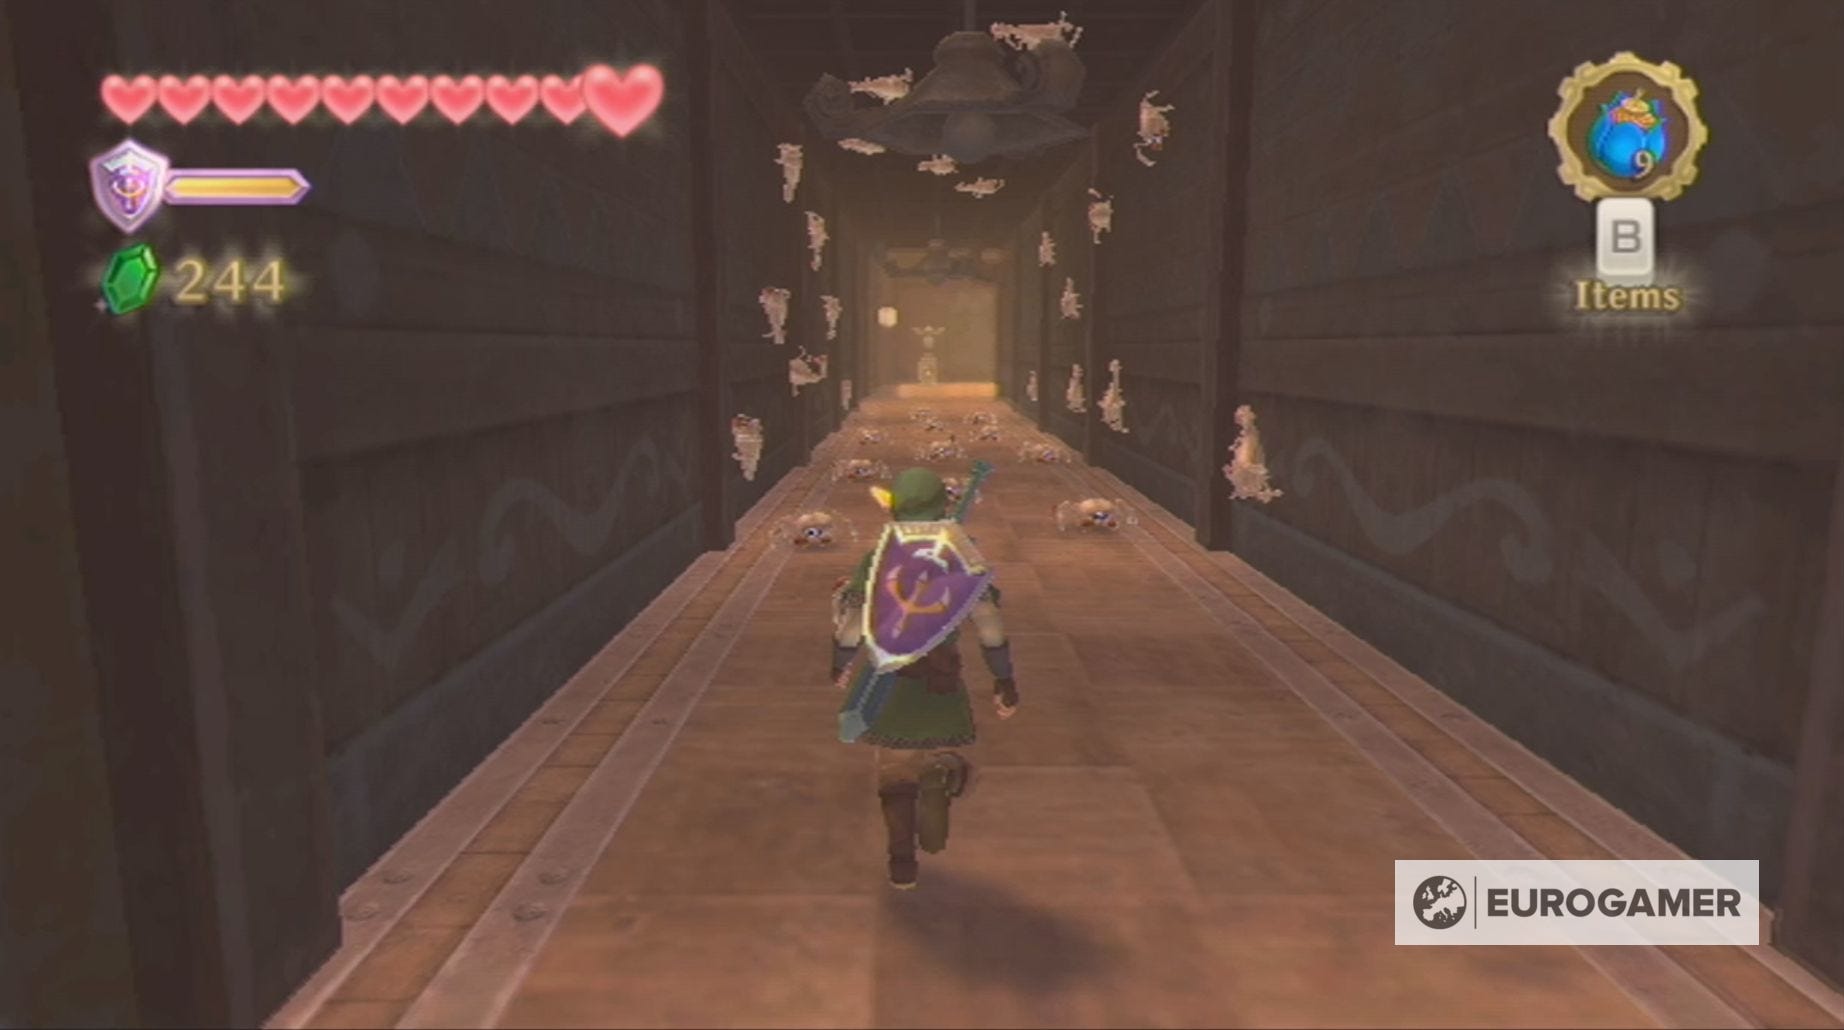
You'll now find yourself at the end of a corridor filled with Aracha, so start fighting your way through until they're all dead!
You're now outside the boss chamber, but, since you definitely don't have the key, continue down the corridor, kill the Keese and go through the doors at the end.
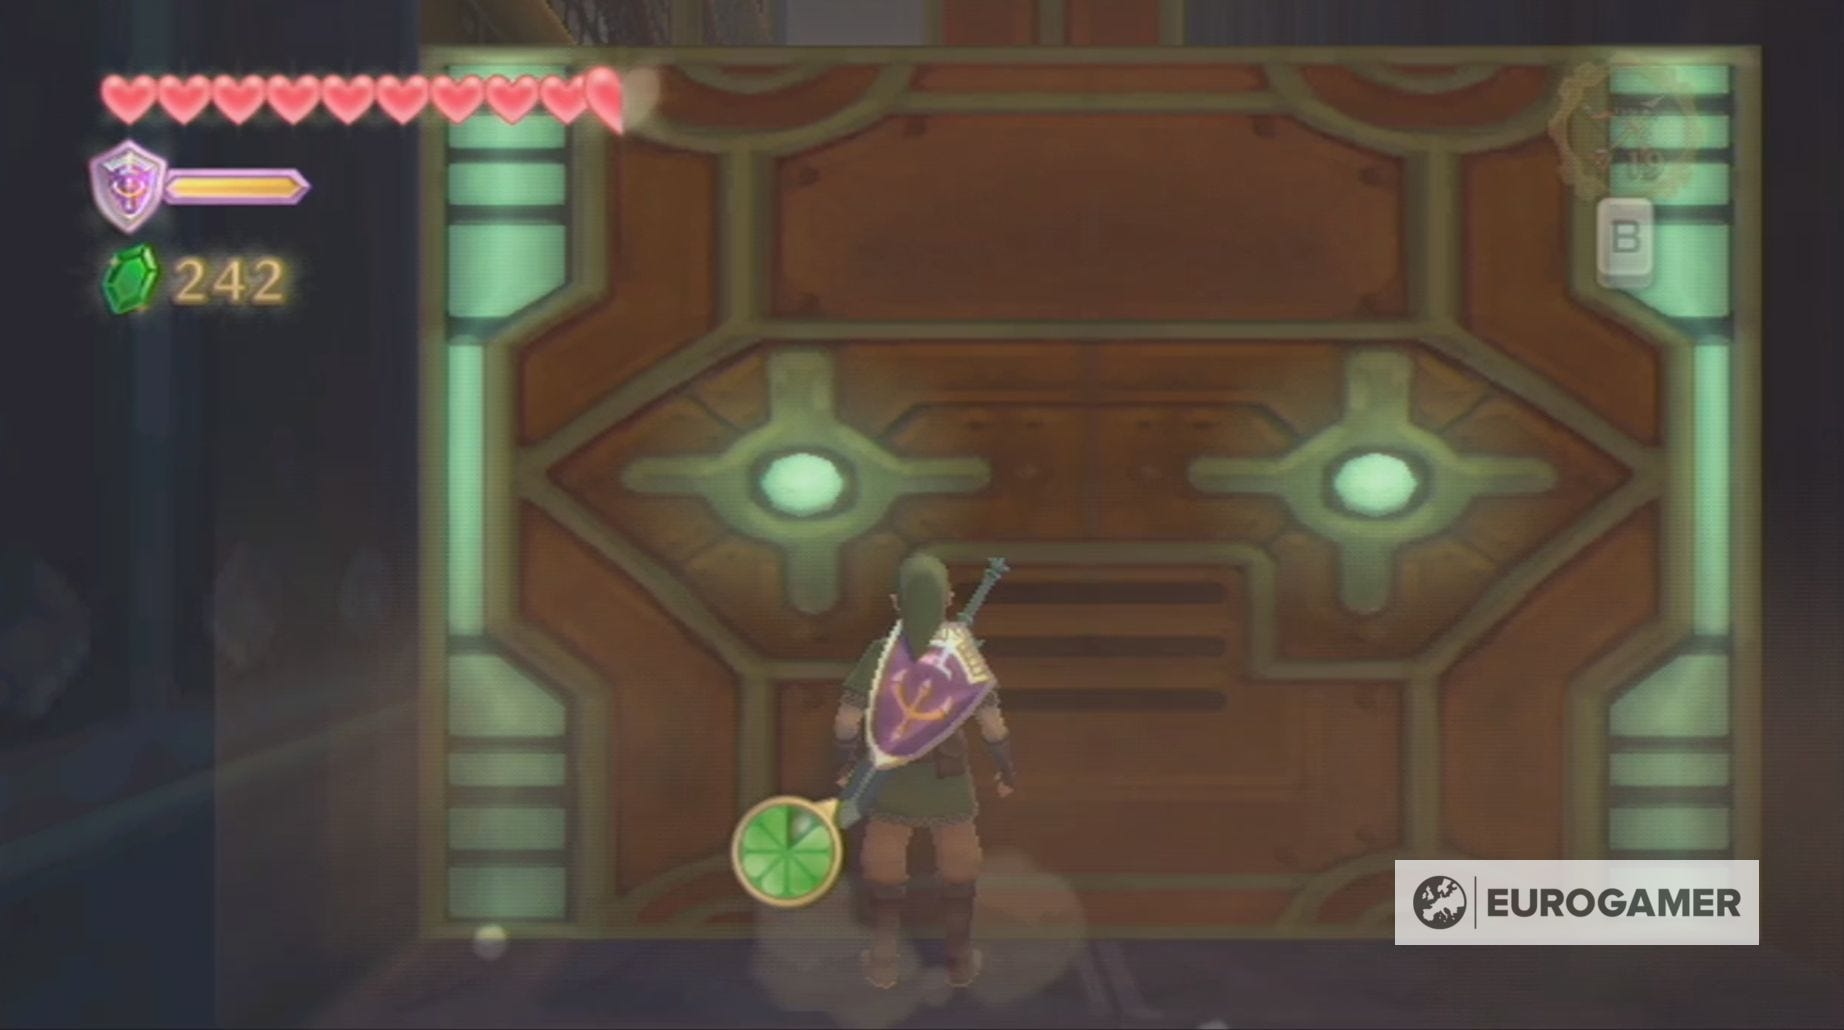
In this new room you'll find a massive pit of sand, some Aracha and a lock similar to one you encountered in the Ancient Cistern.
To remove this lock, you need to hit its buttons in this order with your sword:
- Down
- Up
- Down
- Right
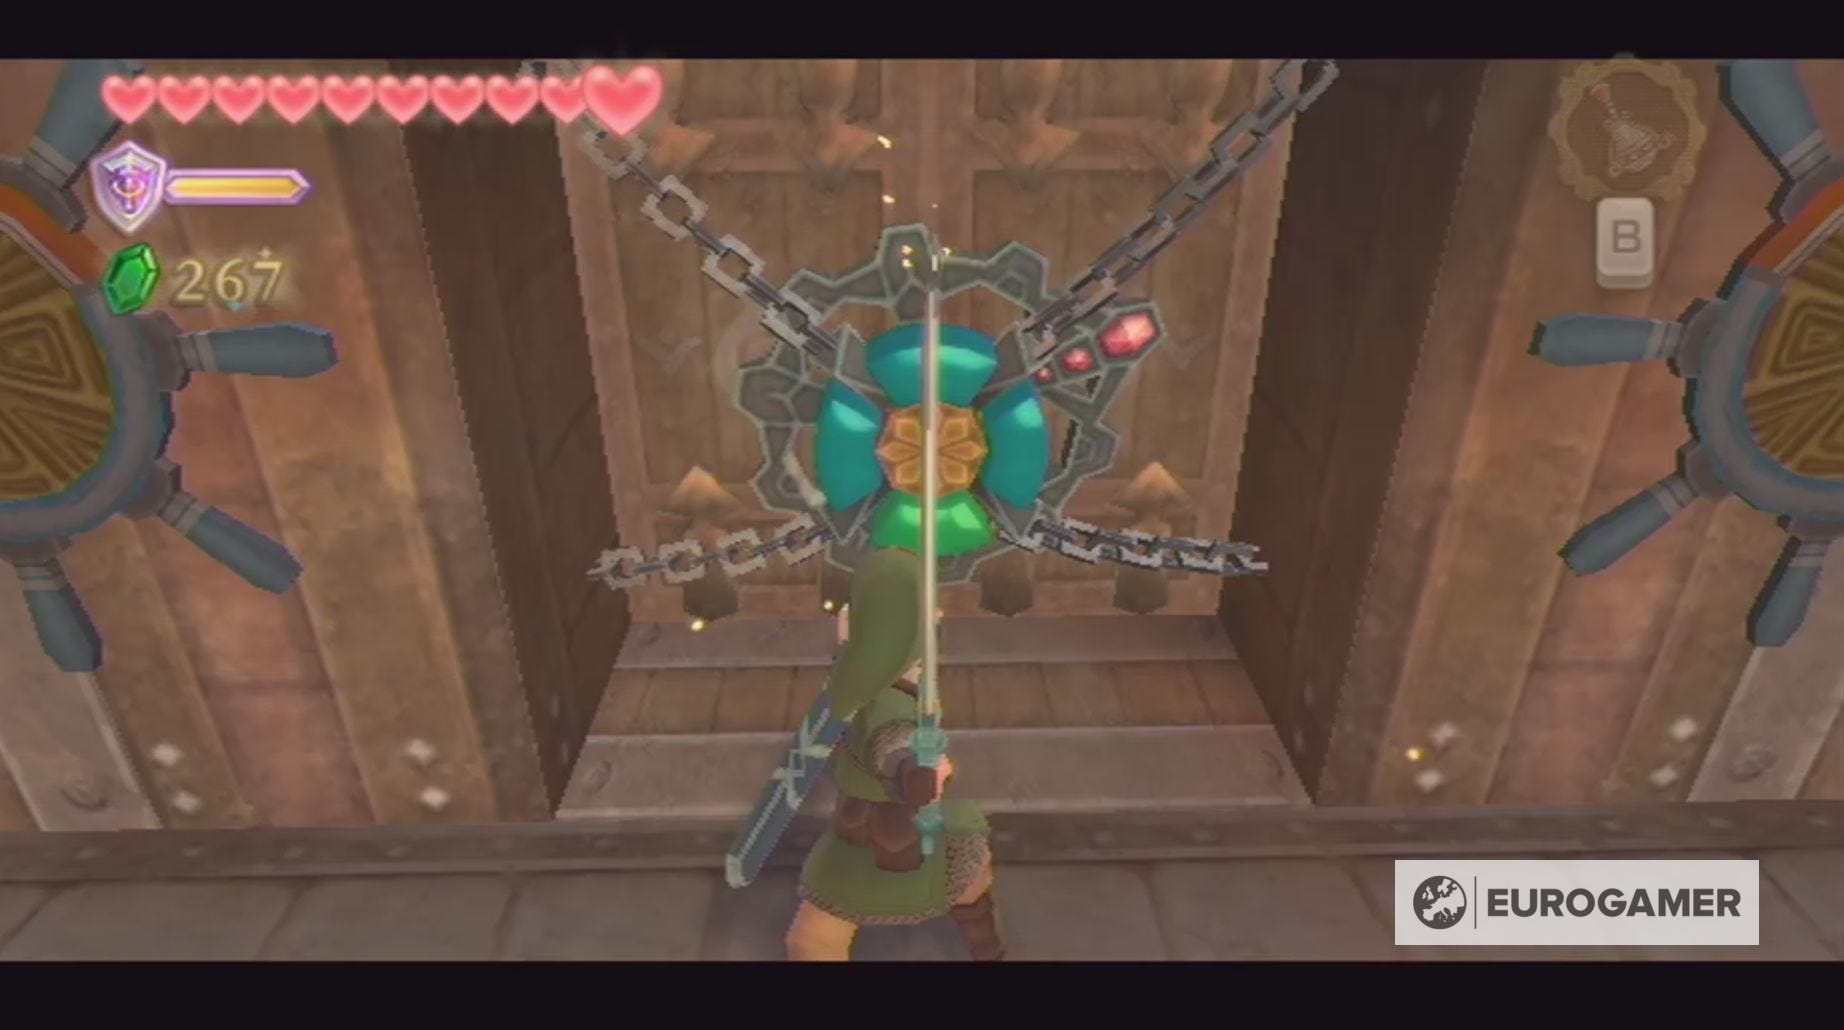
You can uncover this order by using the Gust Bellows on the nearby sand to uncover pictures of the ship's wheels, which, by highlighting sections of the wheel, explain the correct order.
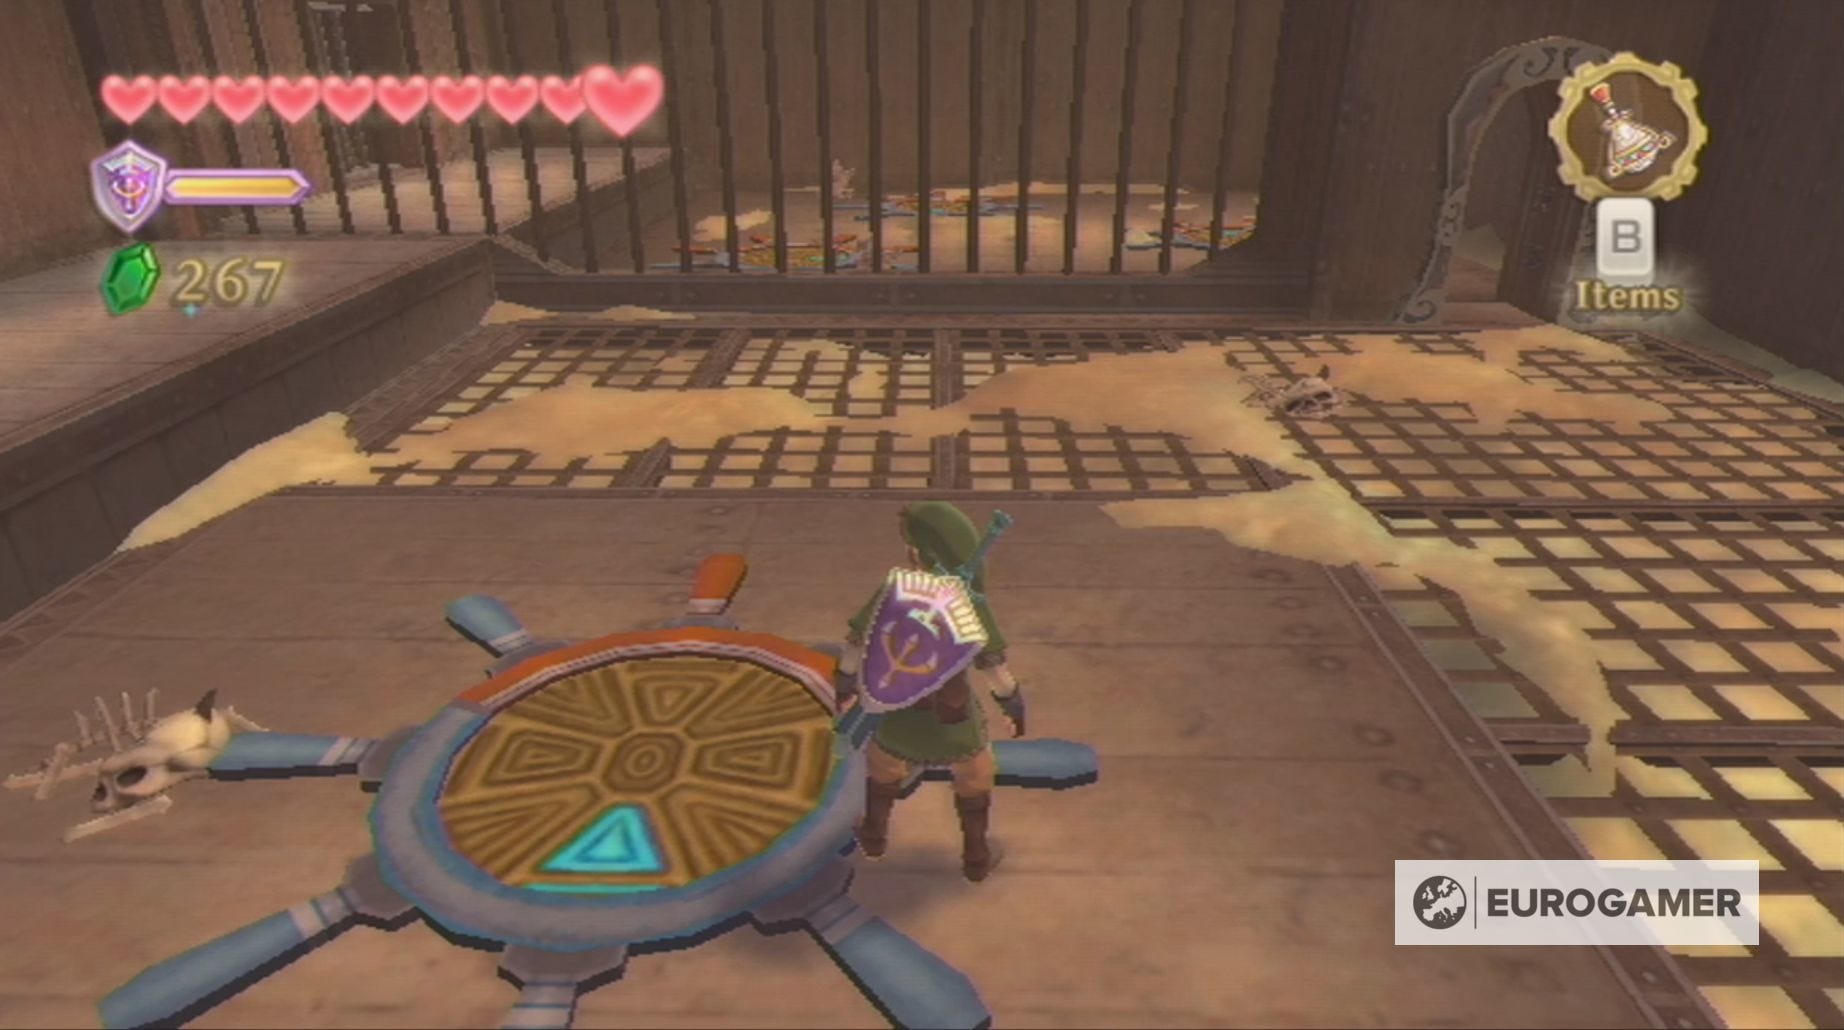
Opening this door will allow you to collect a small key from the chest and you now need to head back to the set of doors you originally entered the ship by. Here, next to the bird statue, you'll find the door this key belongs to.
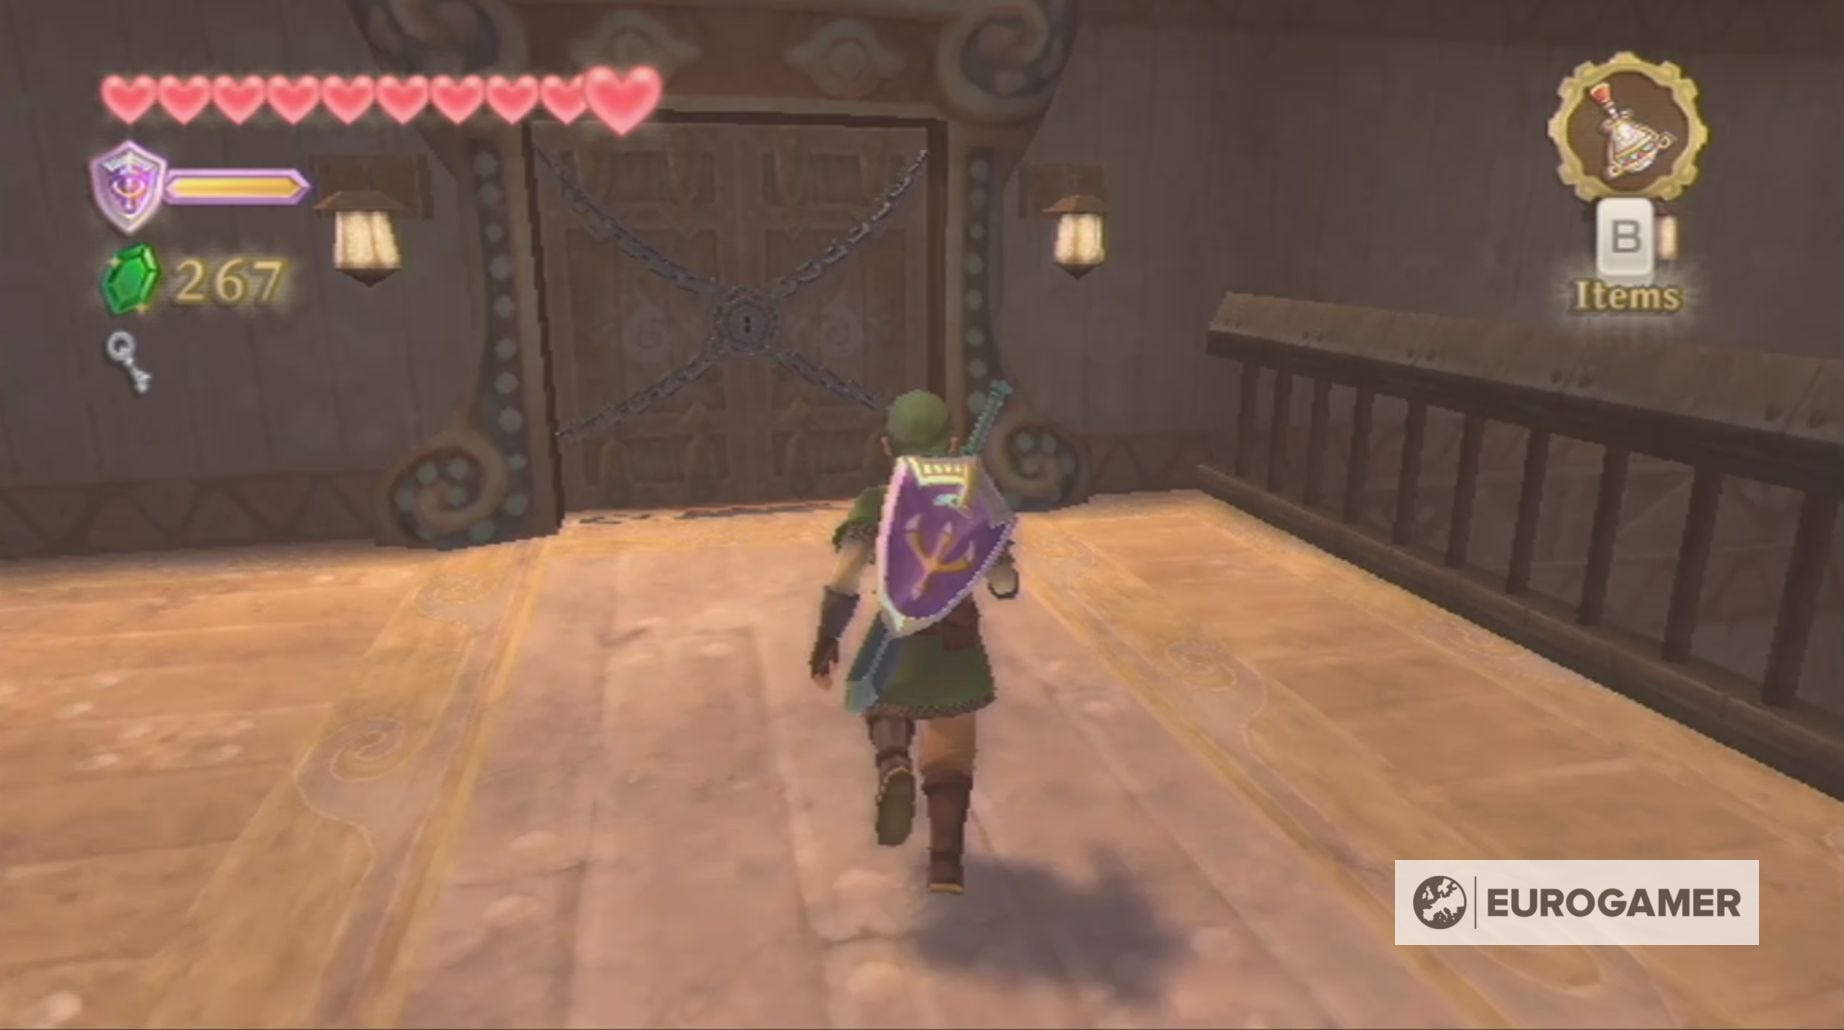
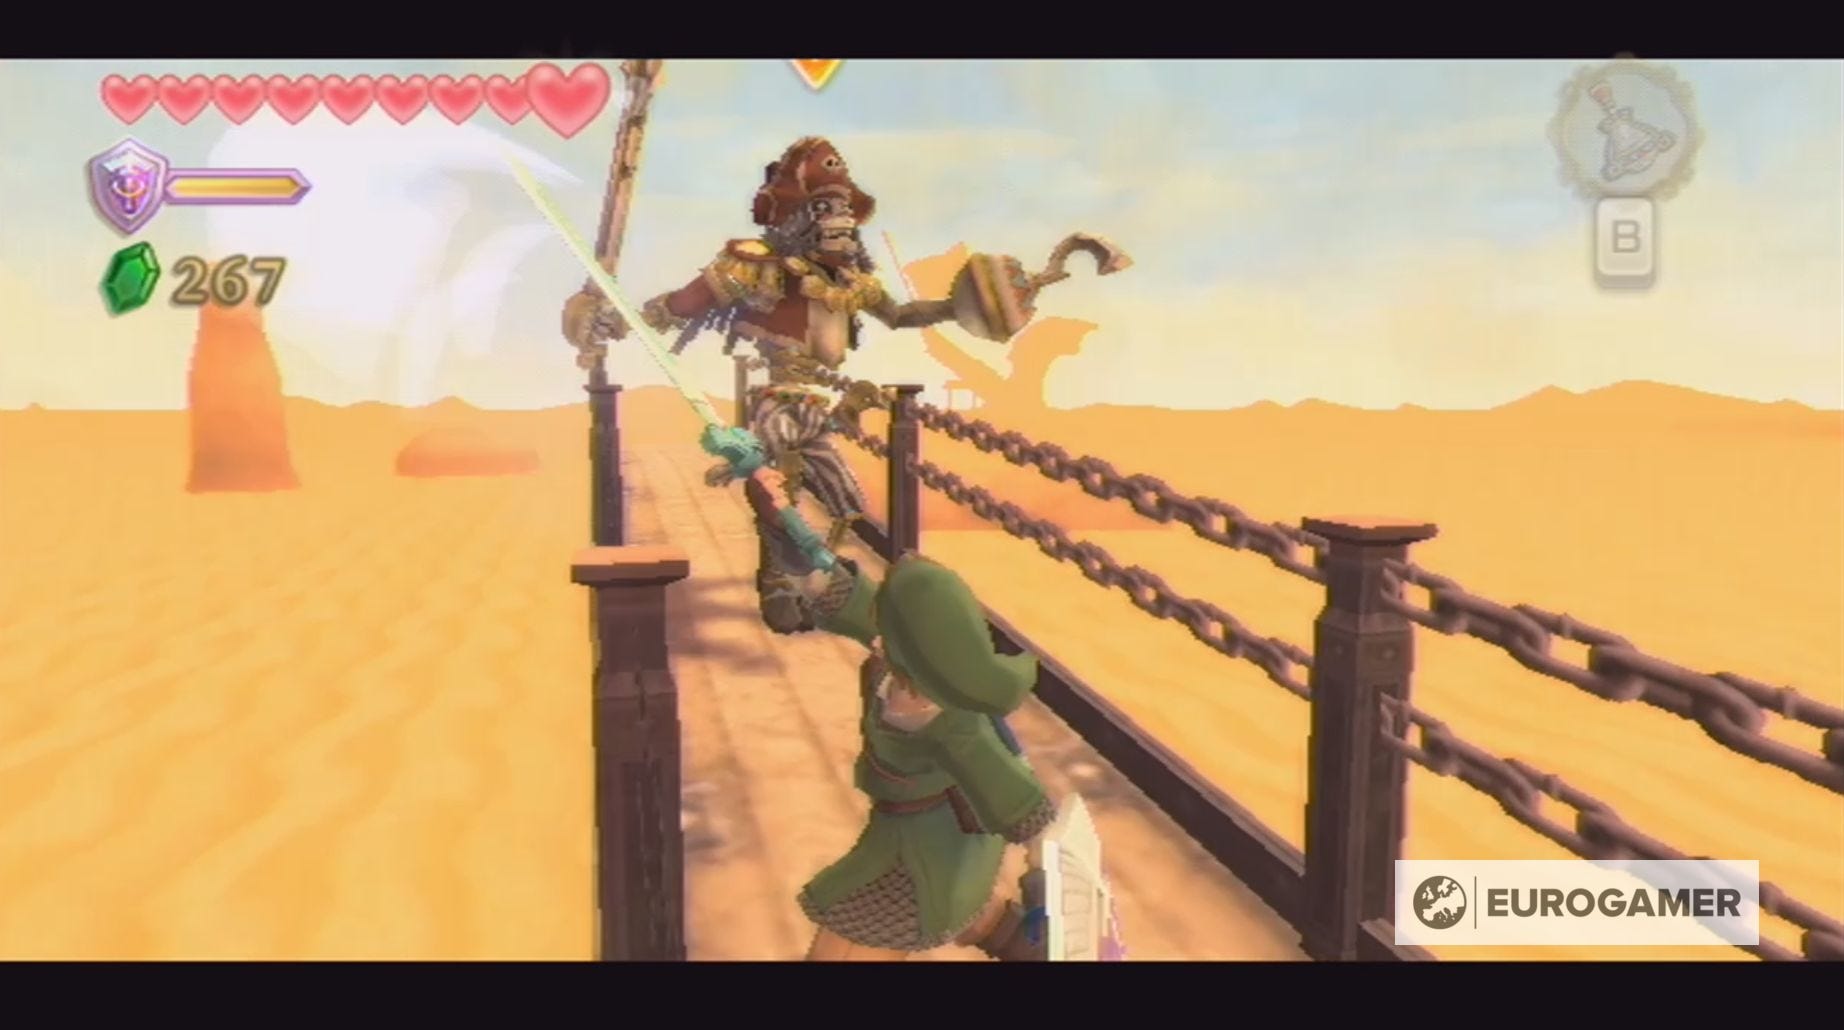
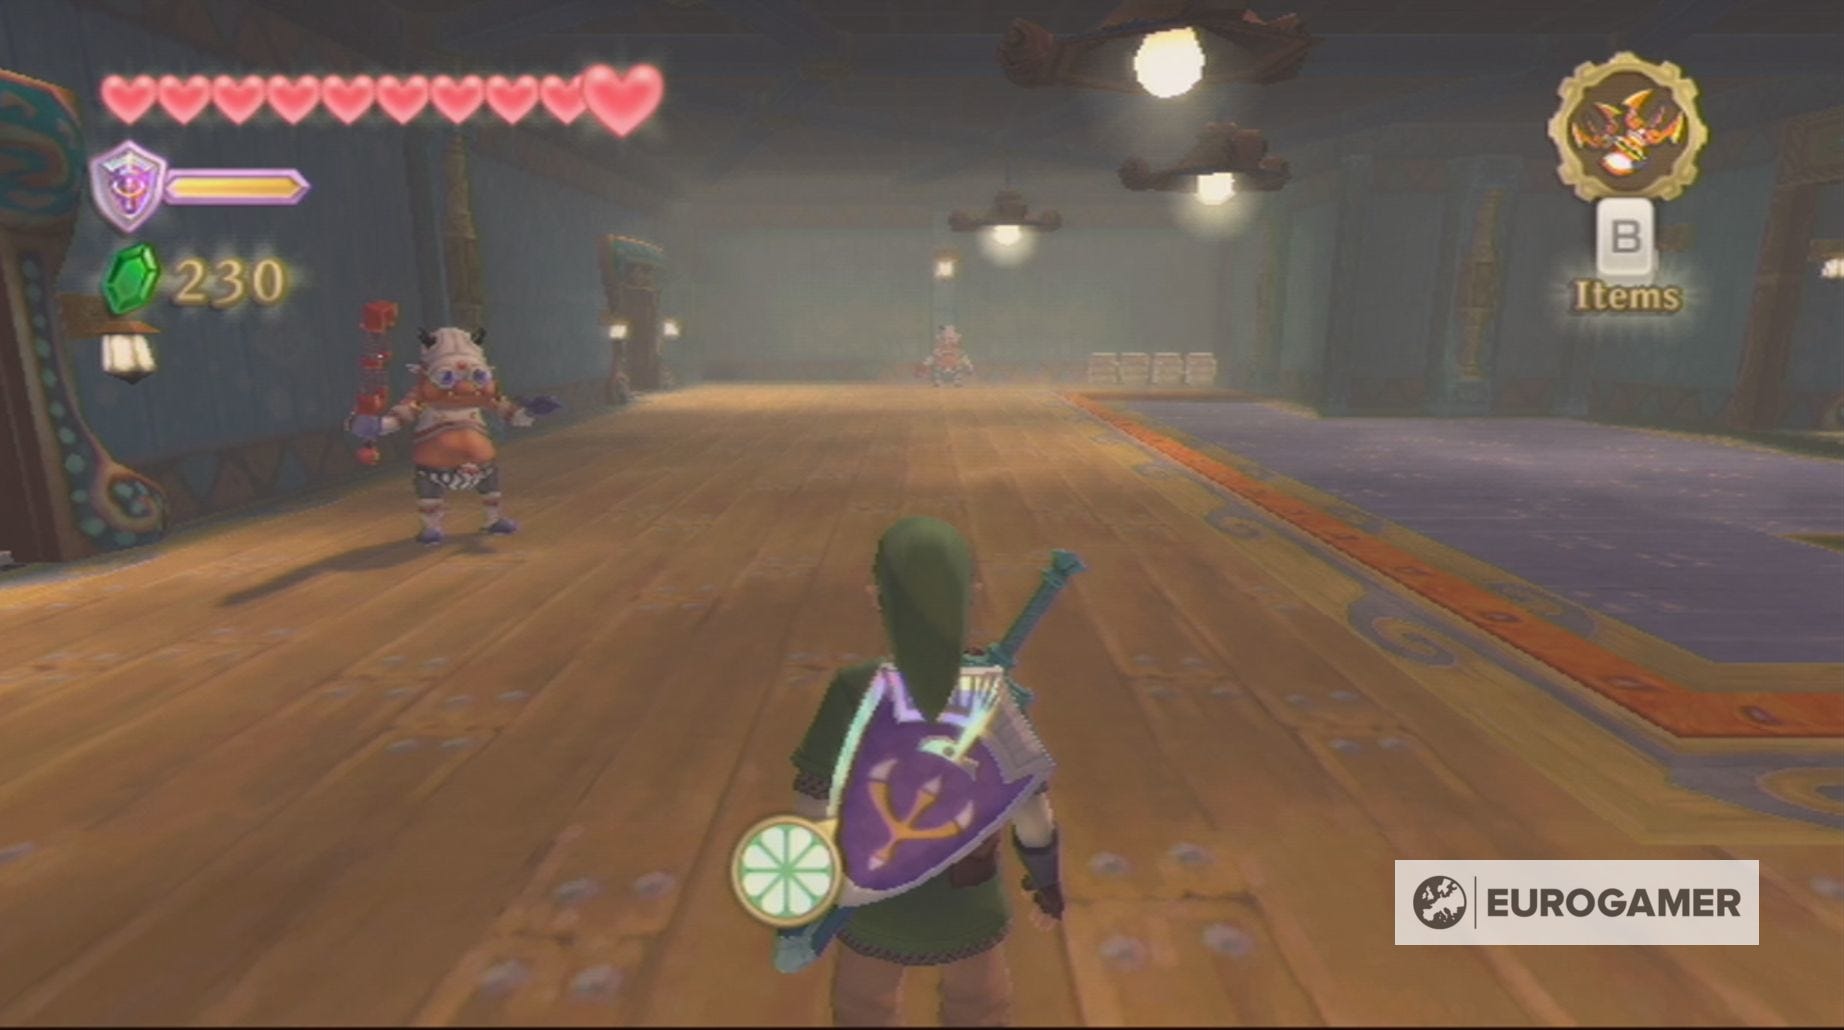
Make sure you're at full health before heading through this door though, because, beyond it, you'll face Screvo - the robot skeleton pirate captain. It's also a good idea to ensure you have a healing potion on hand.
Our Skyward Sword walkthrough will help you find every Heart Piece and Empty Bottle. We can also help you defeat Ghirahim, Scaldera, Moldarach, The Imprisoned, Koloktos, Tentalus, Bilocyte and Demise. You can also discover where to find Kukiel to unlock the Gratitude Crystals and a number of side quests, including the toilet paper quest, missing sister location and party wheel location.
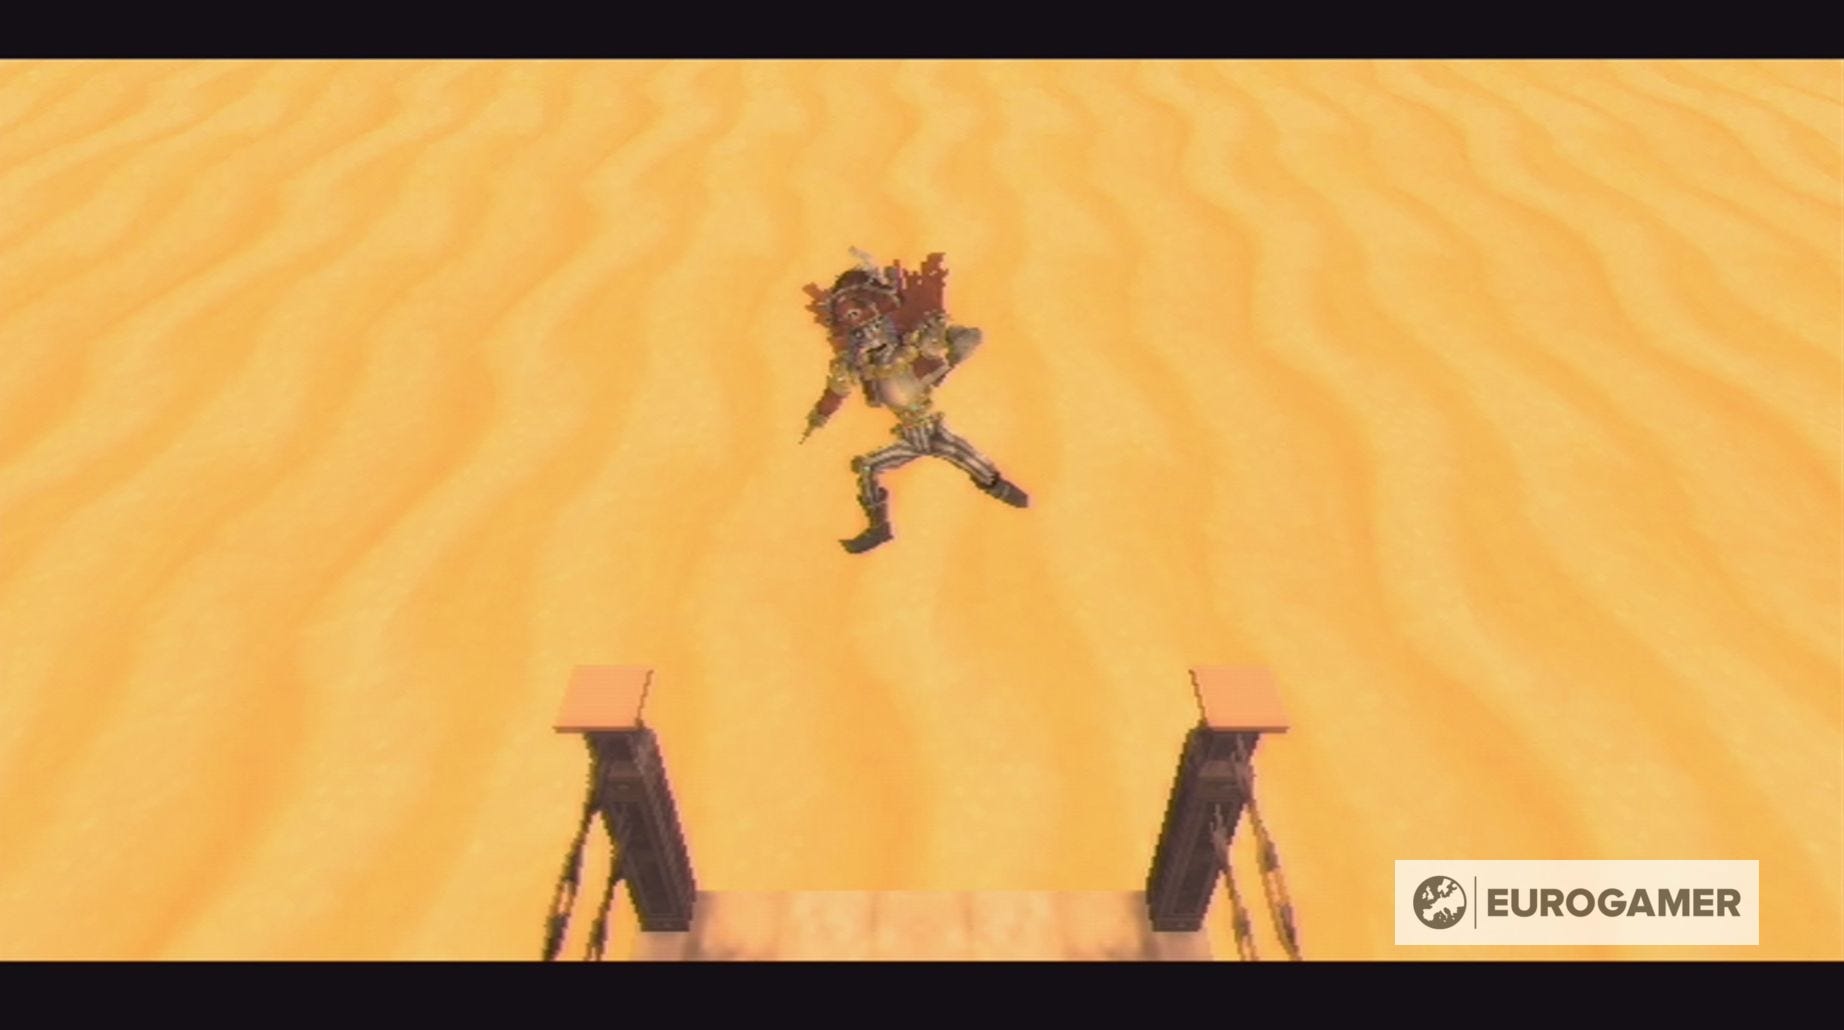
How to defeat Screvo on the Sandship in Skyward Sword explained
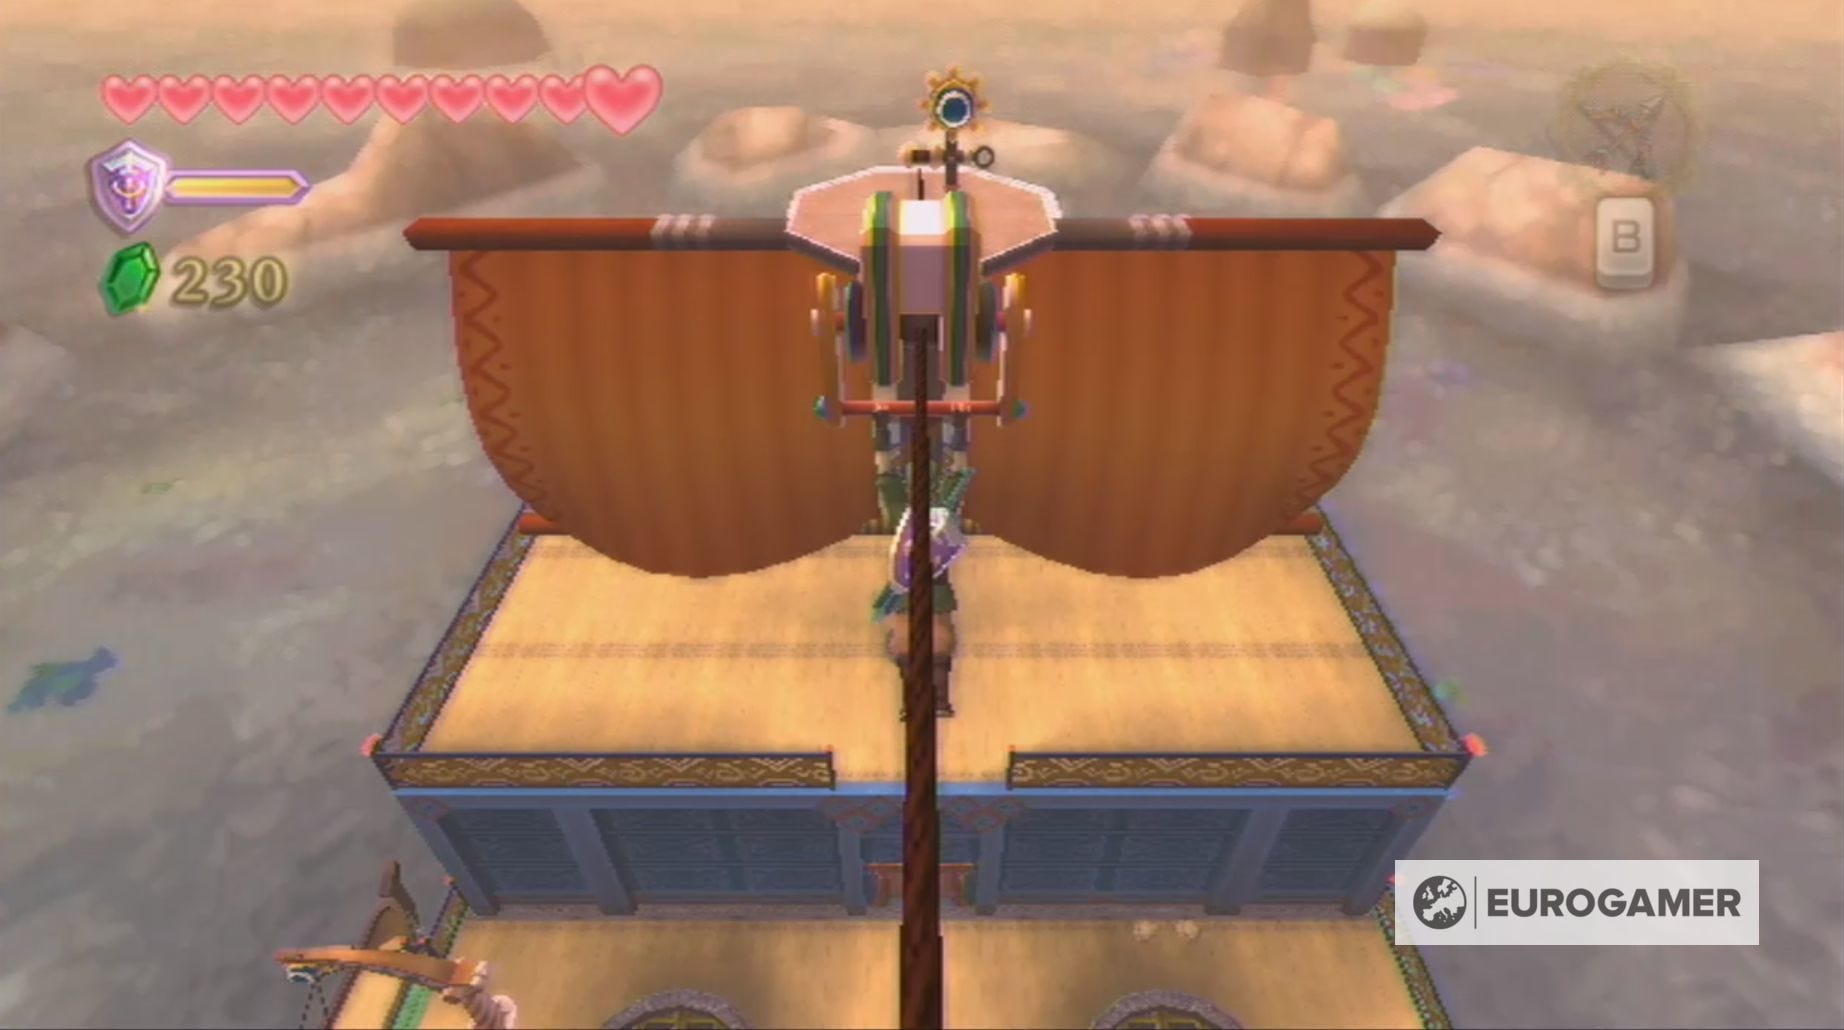
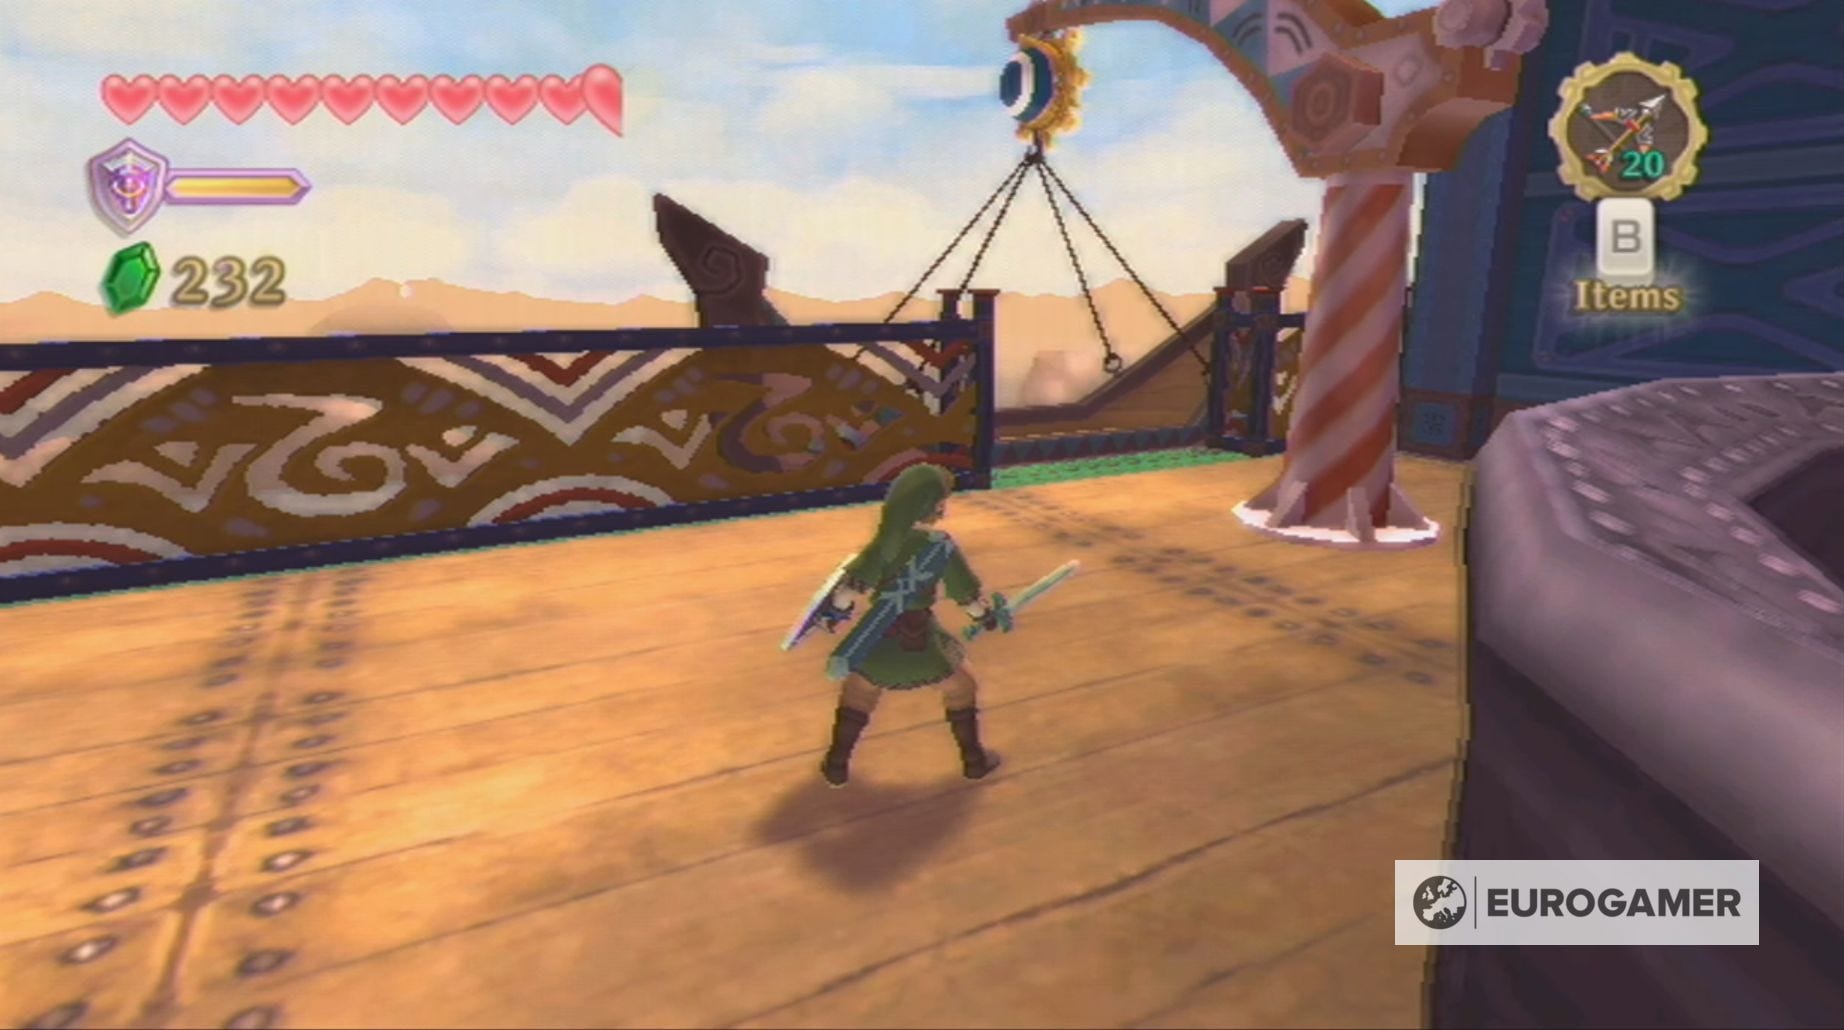
Your battle against Screvo in Skyward Sword takes place on the Sandship's gangplank which leads out into the Sand Sea.
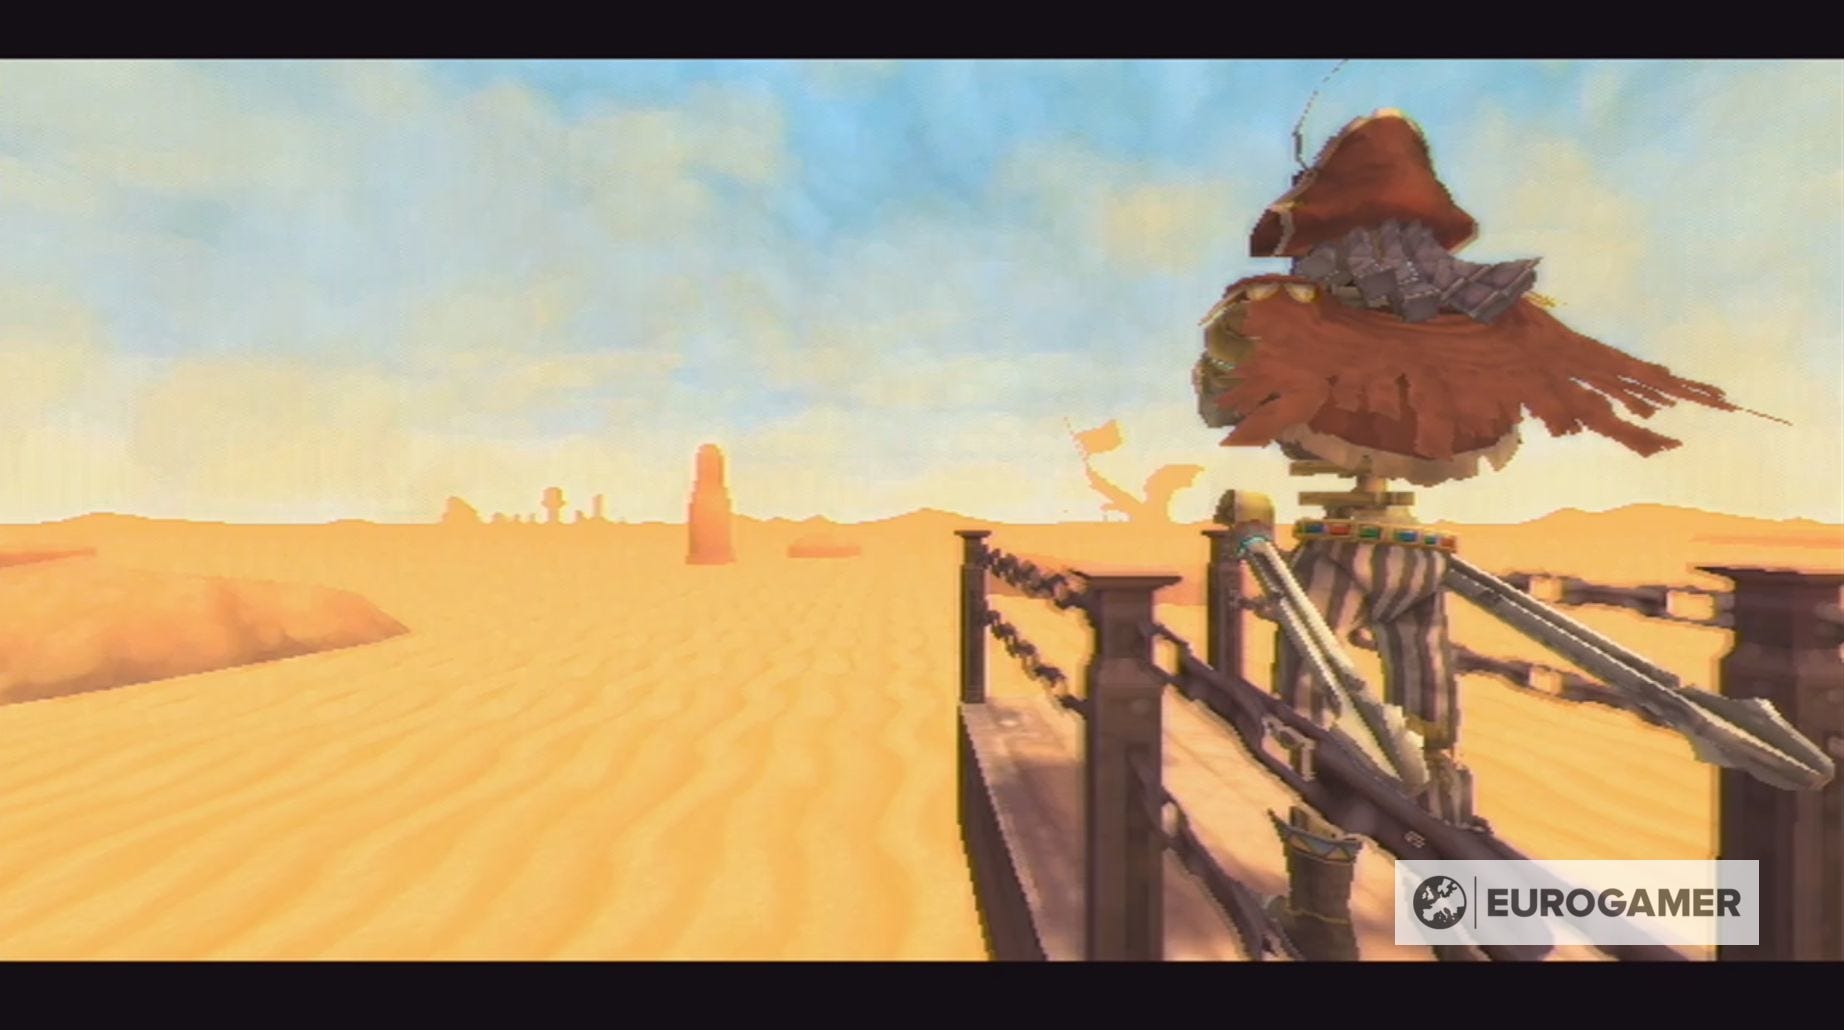
For this reason, you won't have much room to dodge Screvo's attack other than backflipping away. This tactic, however, is made more complicated by how, as the battle progresses, the gangplank will be shortened, forcing you to be more aggressive.
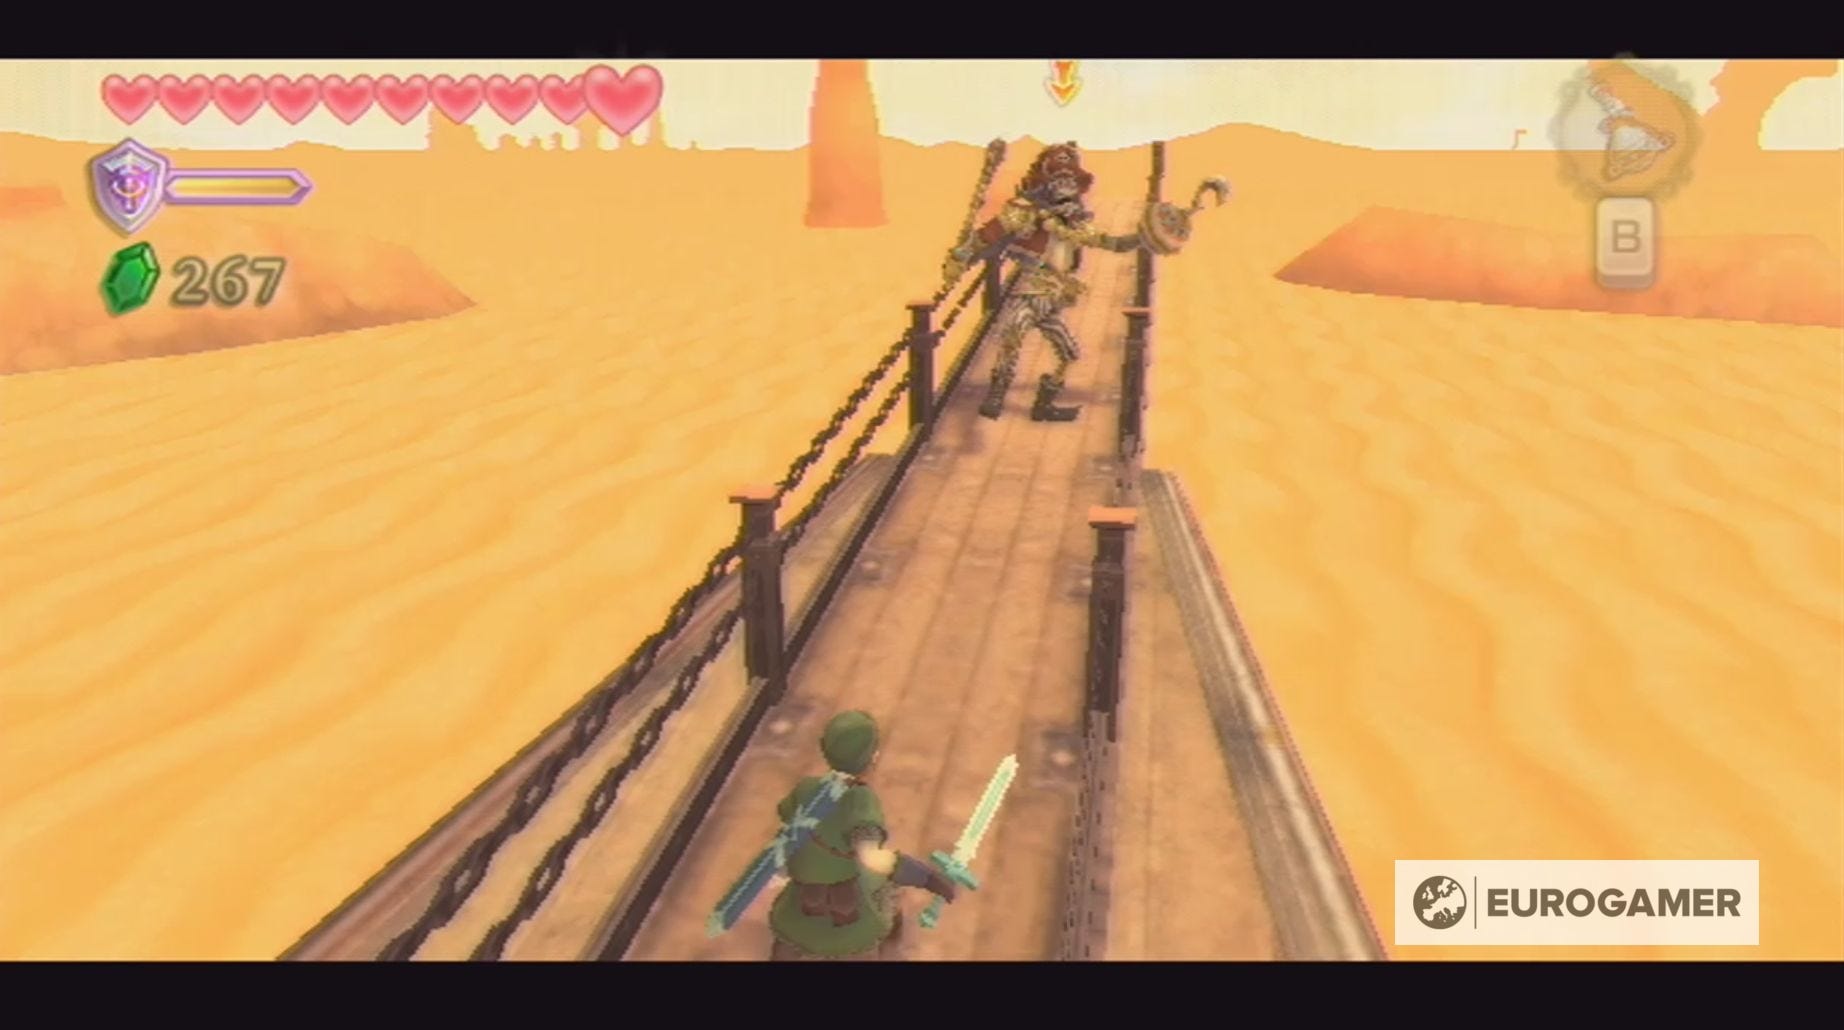
To defeat Screvo, you need to knock the robot pirate backwards with your sword, until he reaches the end of the gangplank.

You have to repeat this process three times and, to make it harder, you'll find yourself at opposite ends of the gangplank at the beginning of each new round.
As mentioned, you need to be aggressive in this fight, taking every opportunity to hit Screvo or else you'll be pinned to the end of the gangplank.
After a number of successful hits, Screvo will be momentarily stunned, allowing you to get some good hits in. You will, however, need to sprint up to him to ensure you take advantage of these moments.
Screvo will attack by thrusting his sword and, later, swiping at you with his hook hand. Due to the lack of room, these moves can be hard to dodge, so you need to either dodge backwards, take the hit or parry them with your sword or shield.
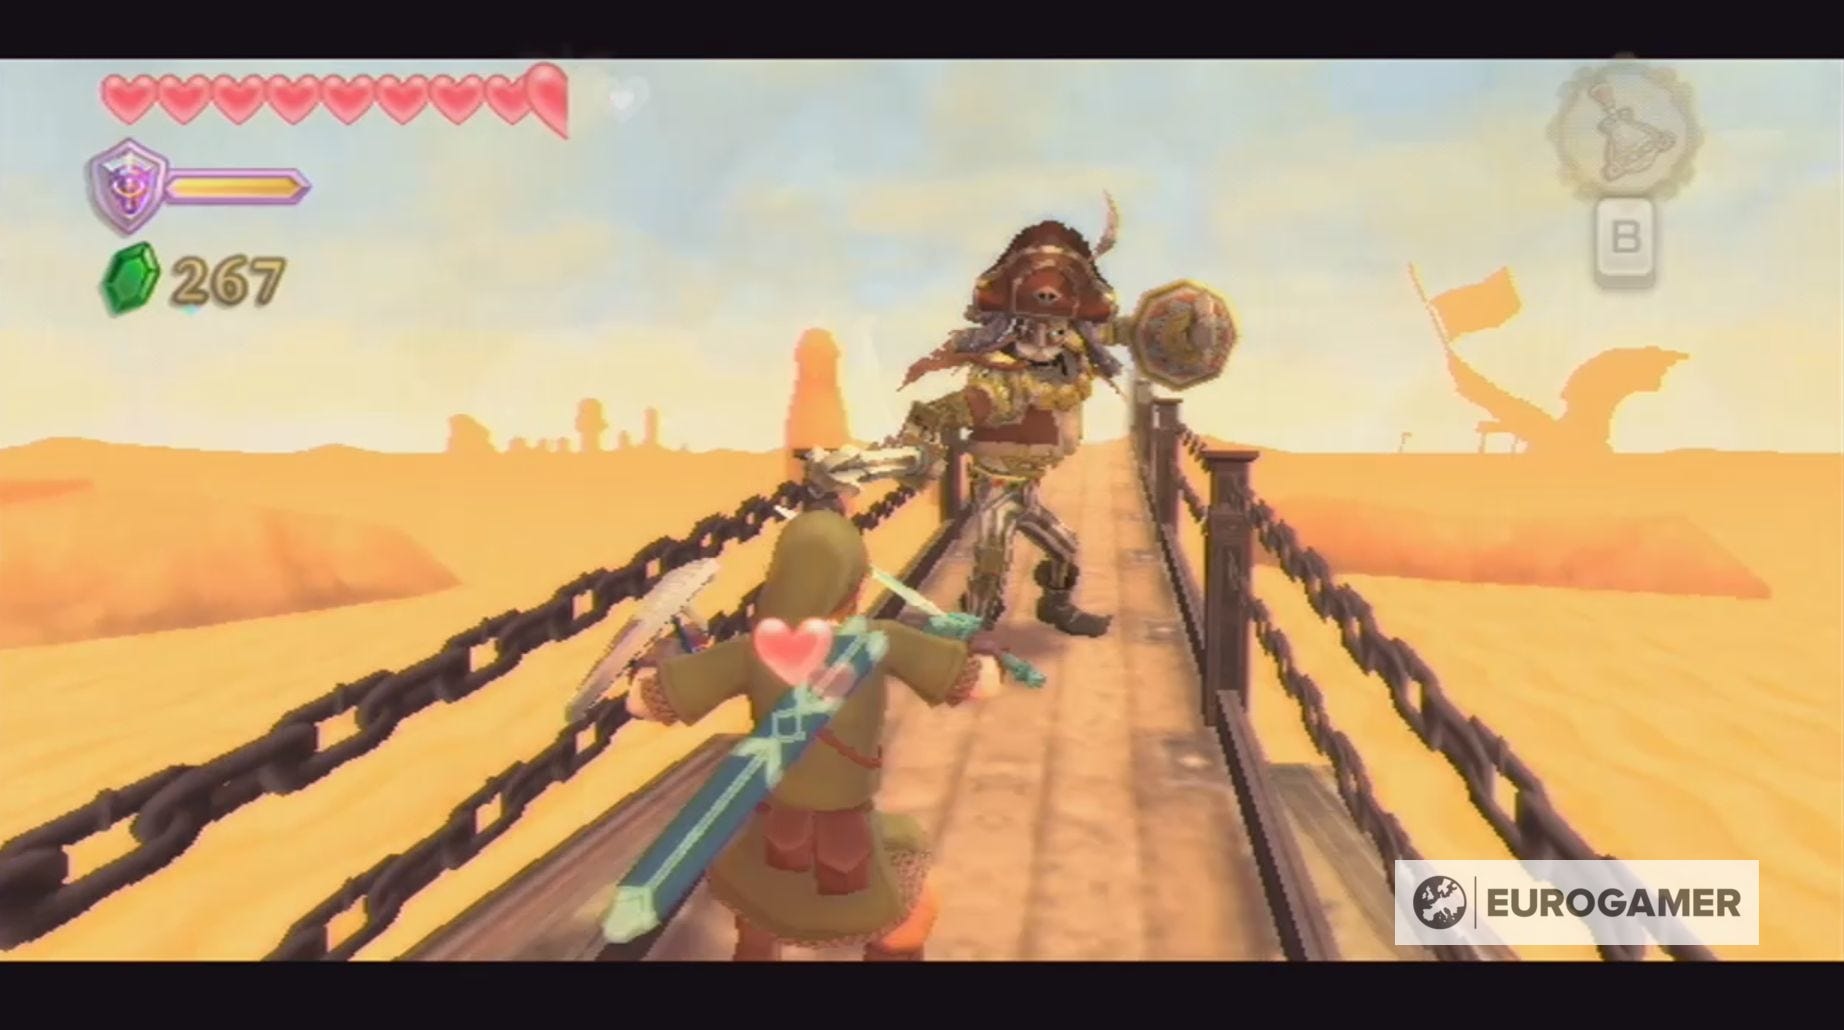
Keep a close eye on Screvo, because he will telegraph his moves, allowing you to respond accordingly.
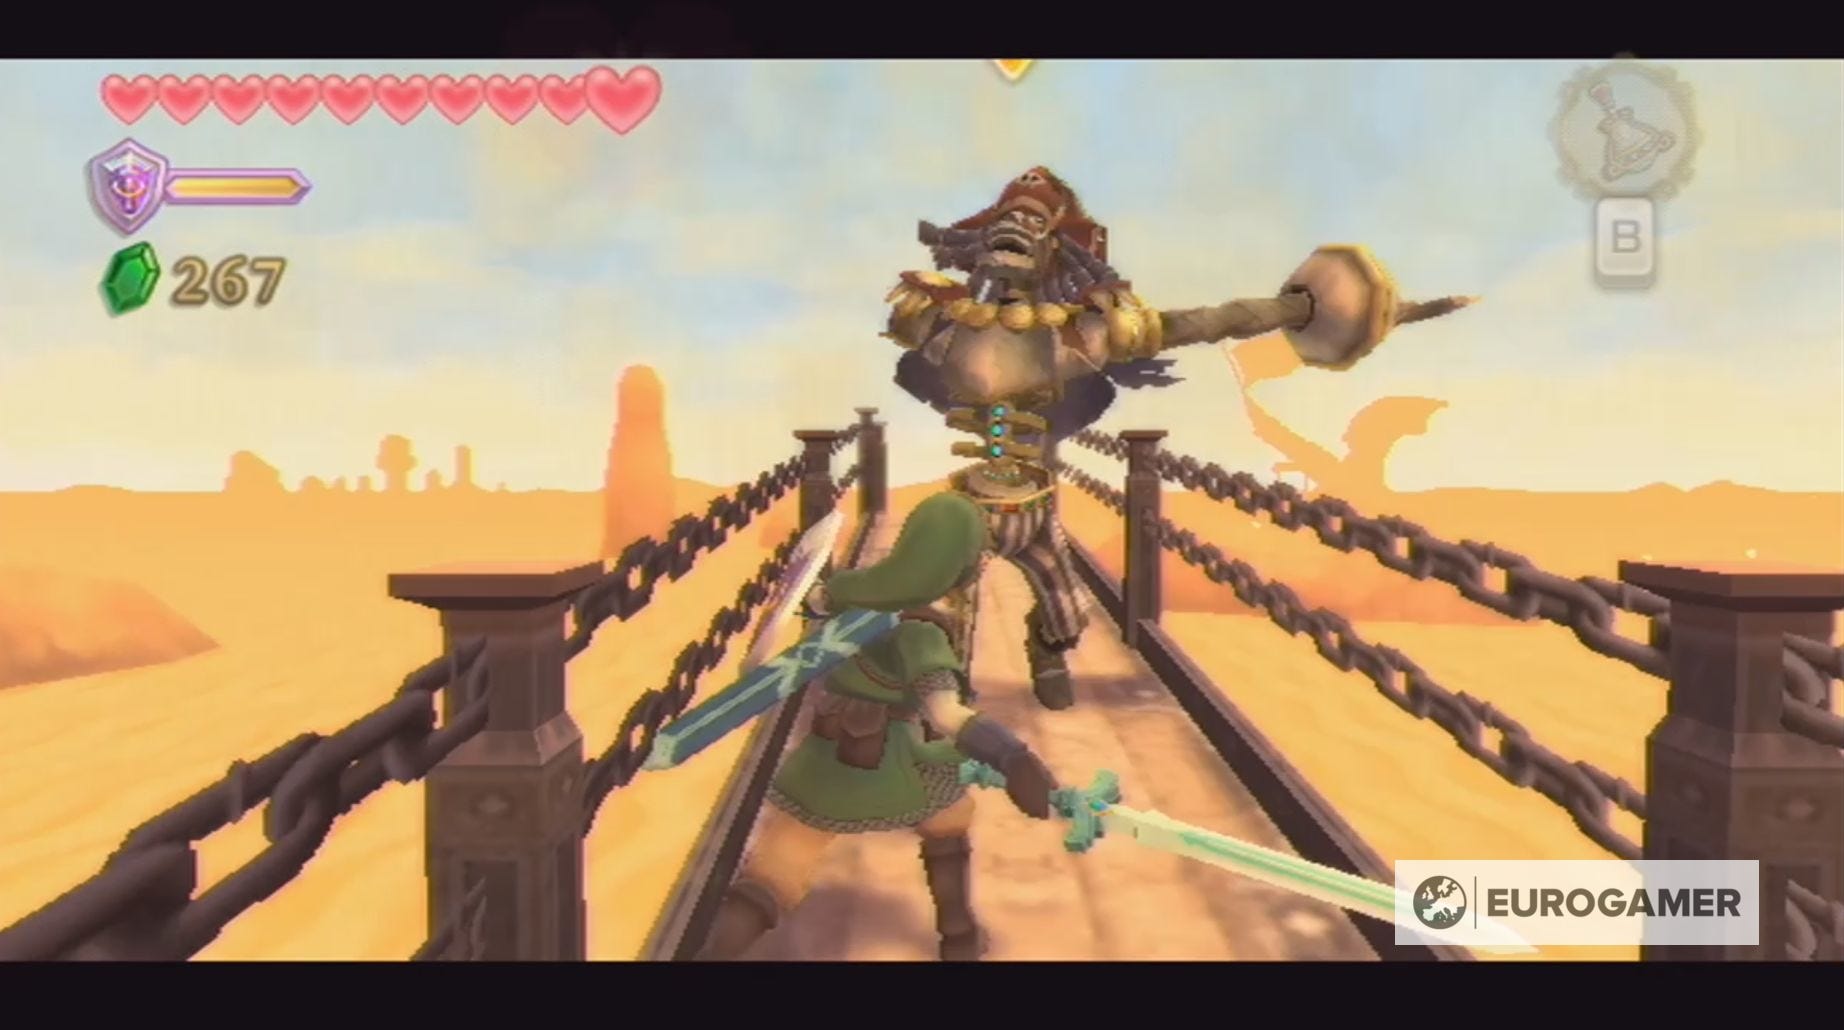
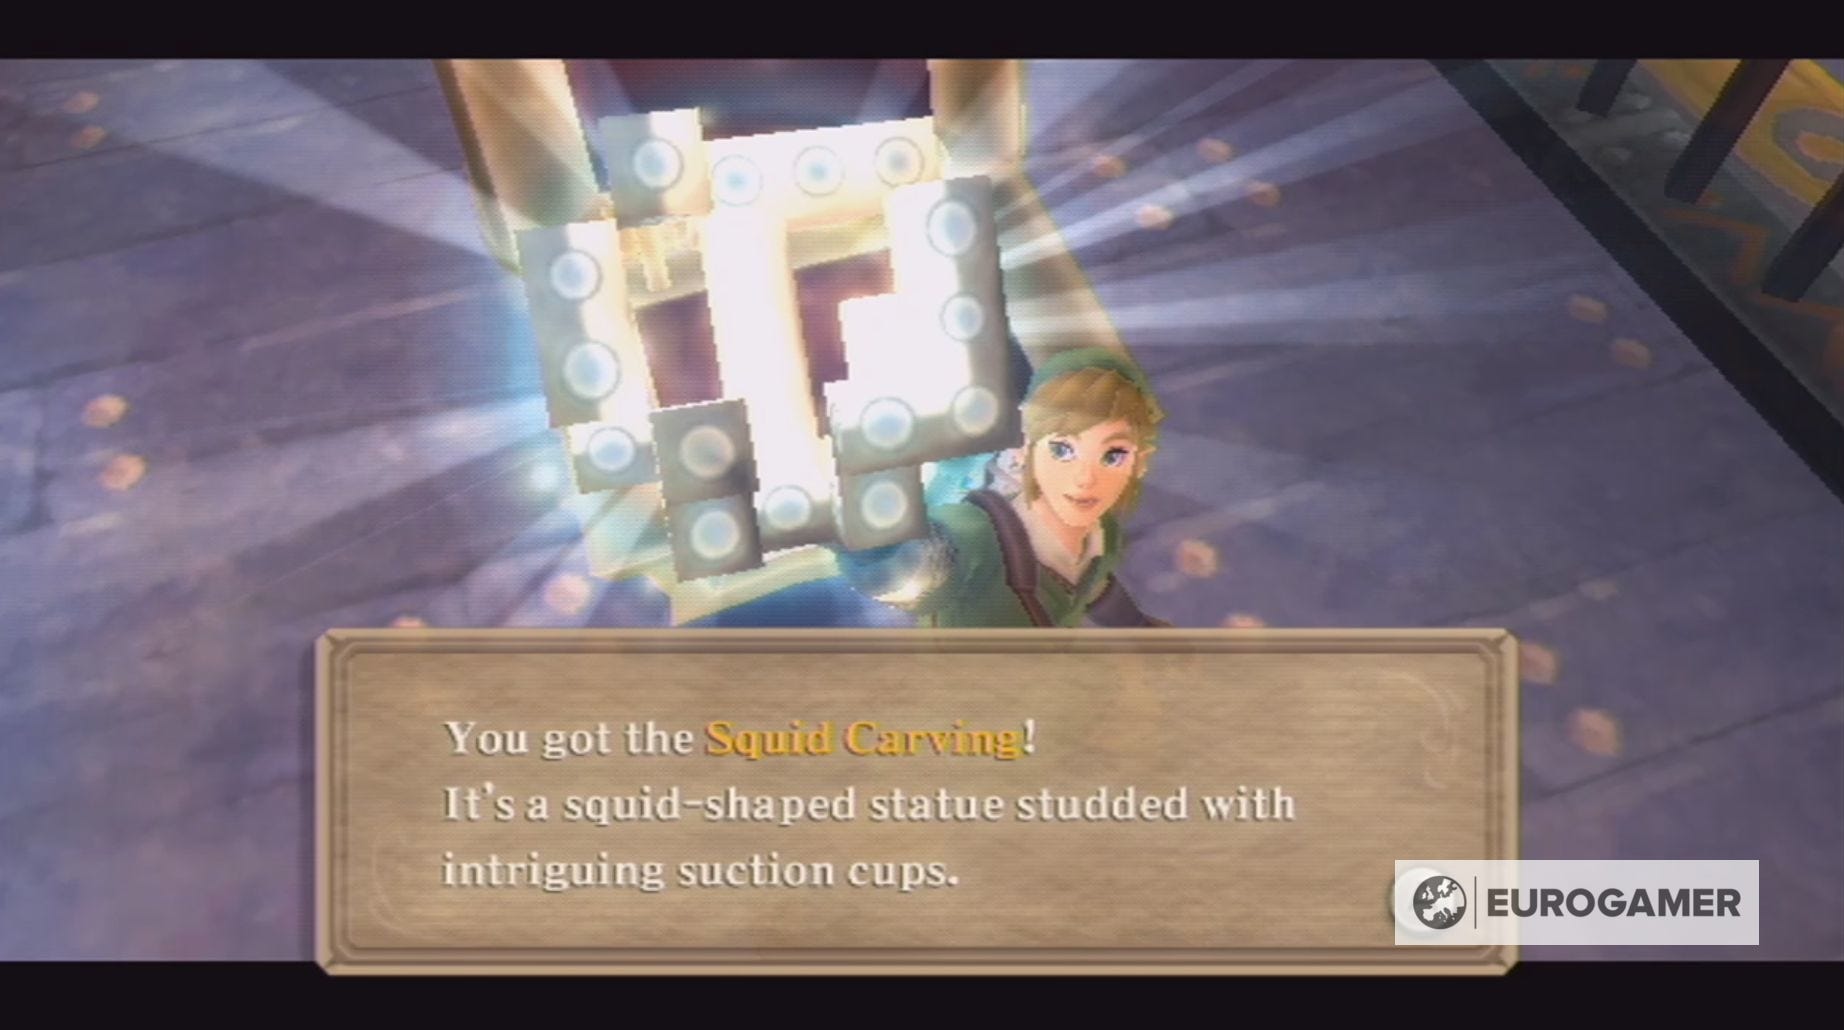
Screvo will, eventually, fatefully fall into the Sand Sea and the chest containing the Wooden Bow will appear.
Sandship dungeon map location explained
With the Wooden Bow in hand, you'll now be able to find the dungeon map for the Sandship in Skyward Sword.
First, you need to head back to the main deck and hit the blue switch on the mast to make the Timeshift Stone appear.
Now you need to hit the Timeshift Stone again to return the Sandship to its past state. This will cause a number of Bokoblins to appear on deck - one of which will lock the gate around the stone, which, in turn, will lock the gate to the ship's lower levels.
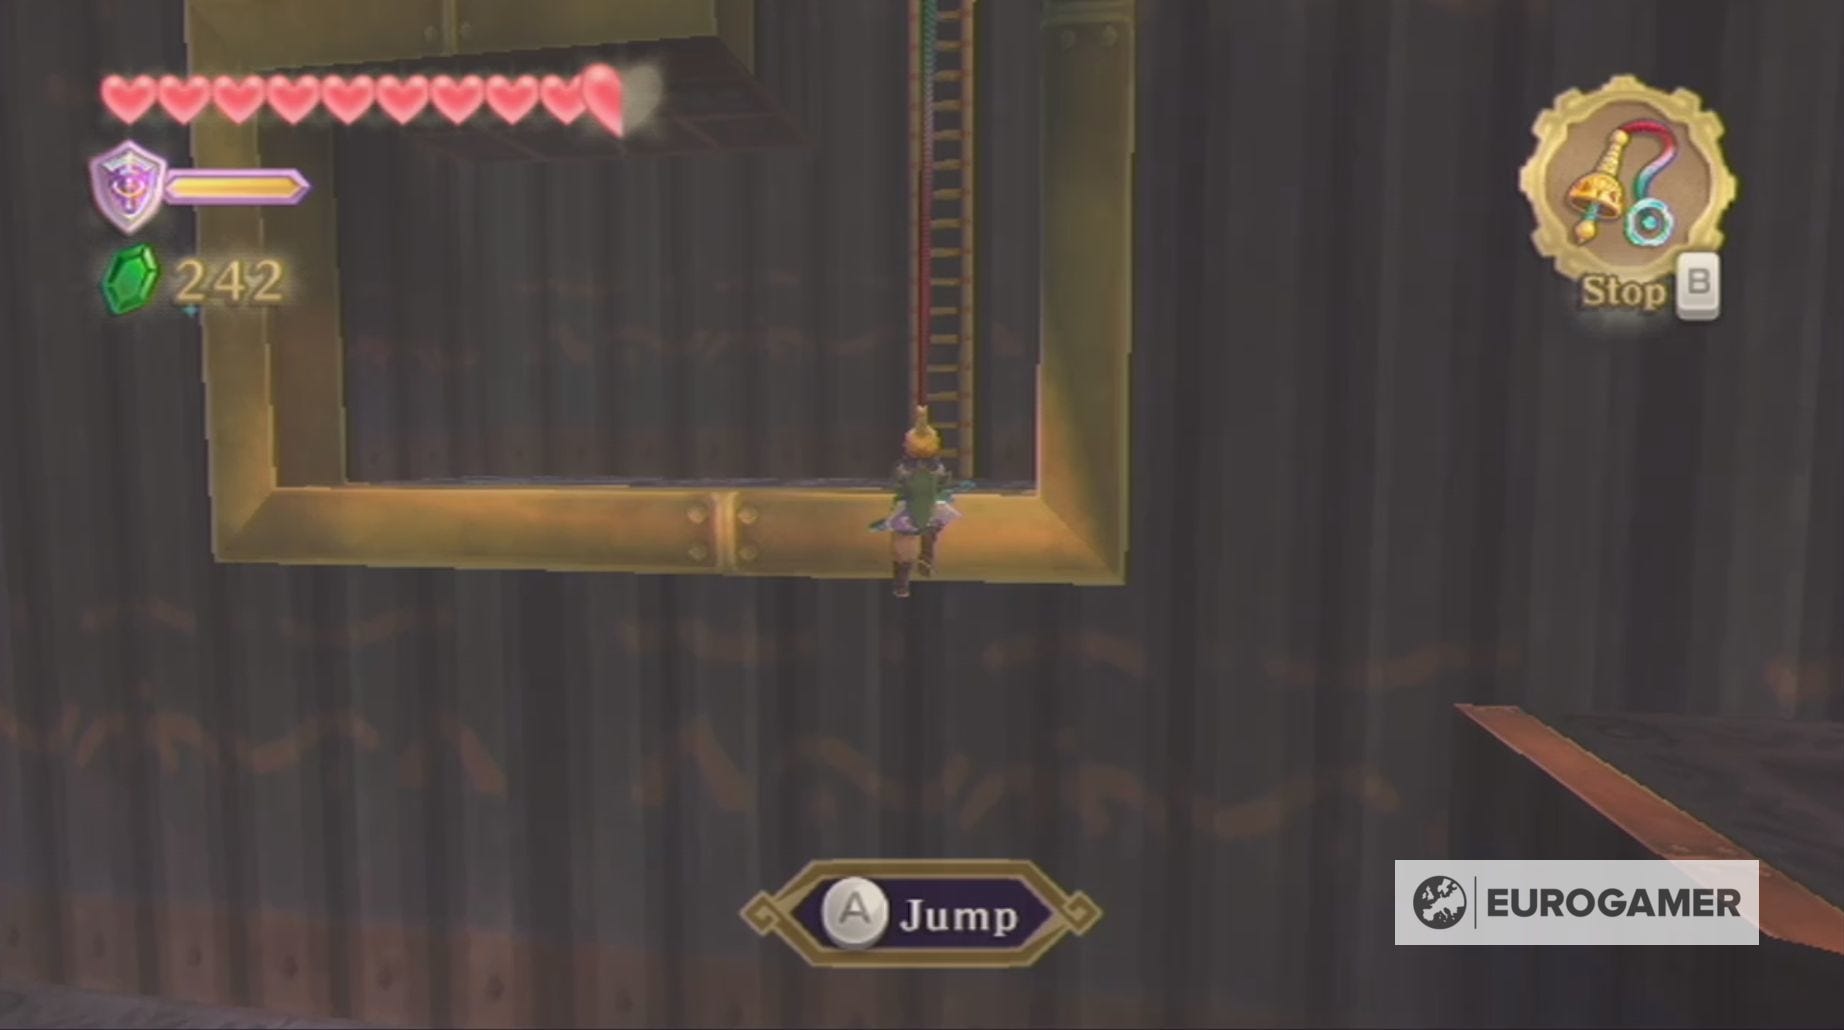
Before you do anything else, you need to regain access to that Timeshift Stone, so kill the nearby Bokoblins and begin climbing the mast's ladder.

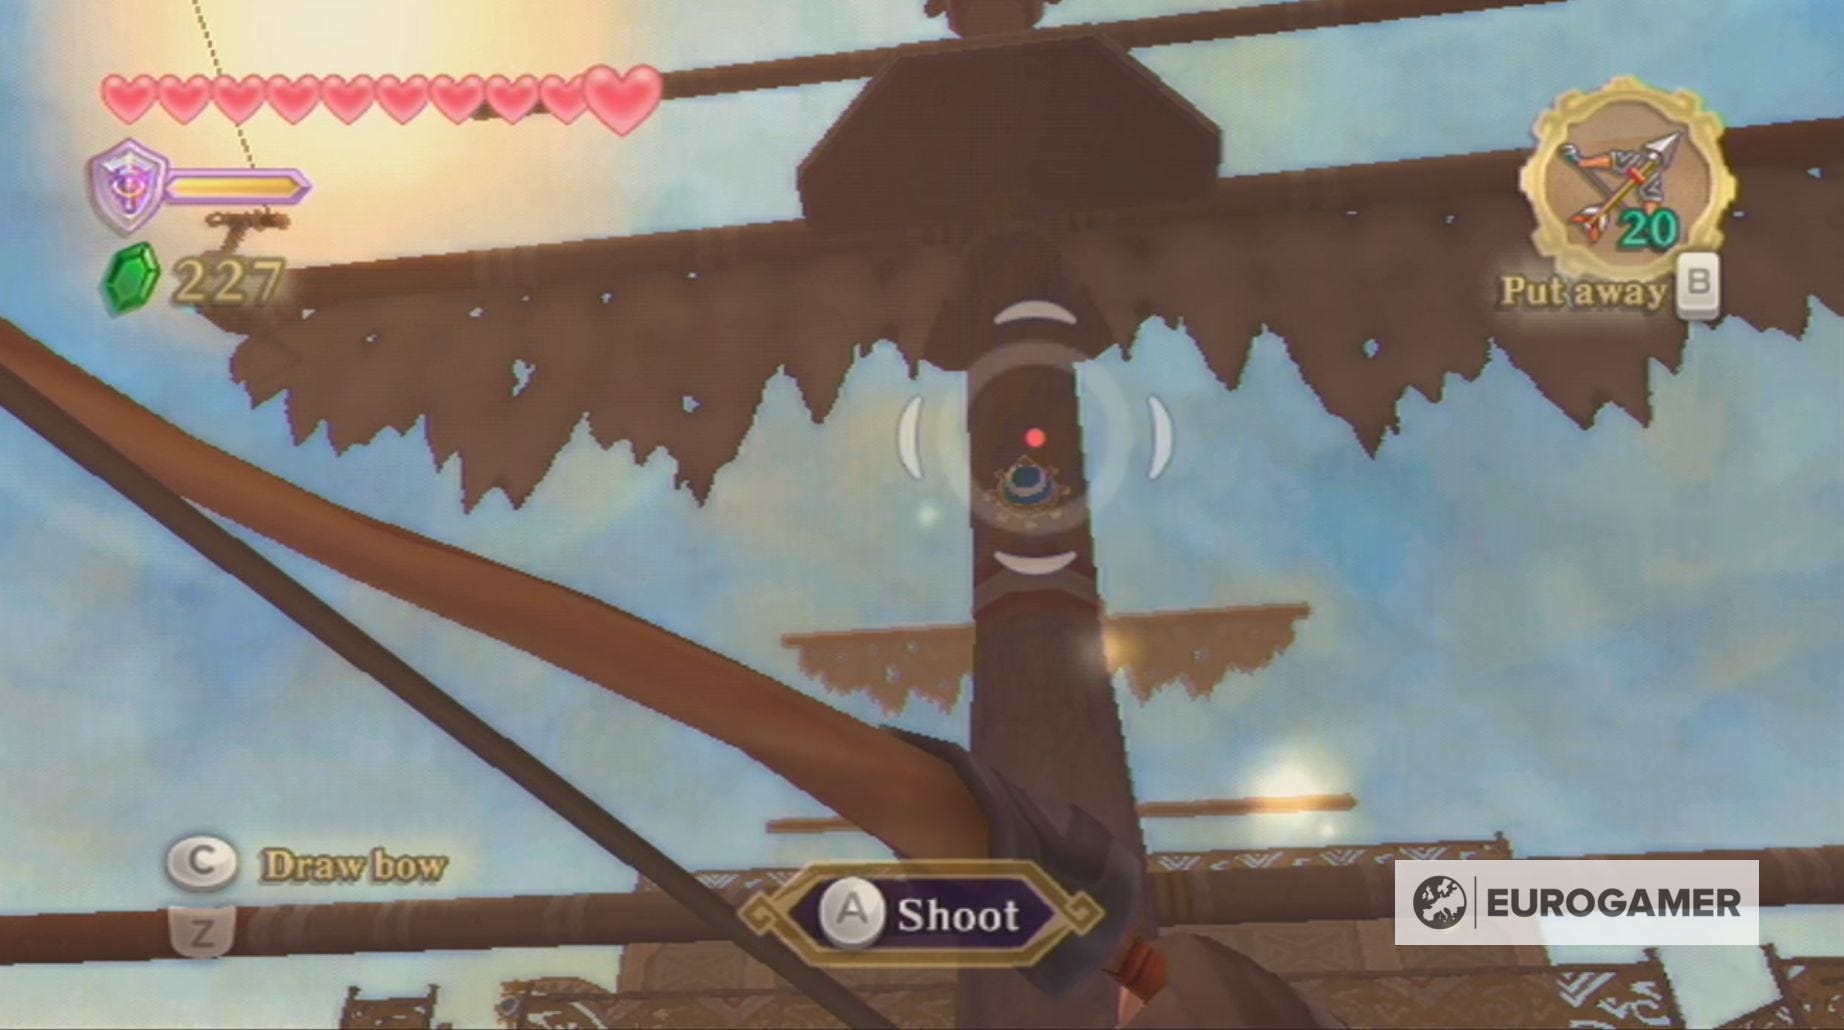
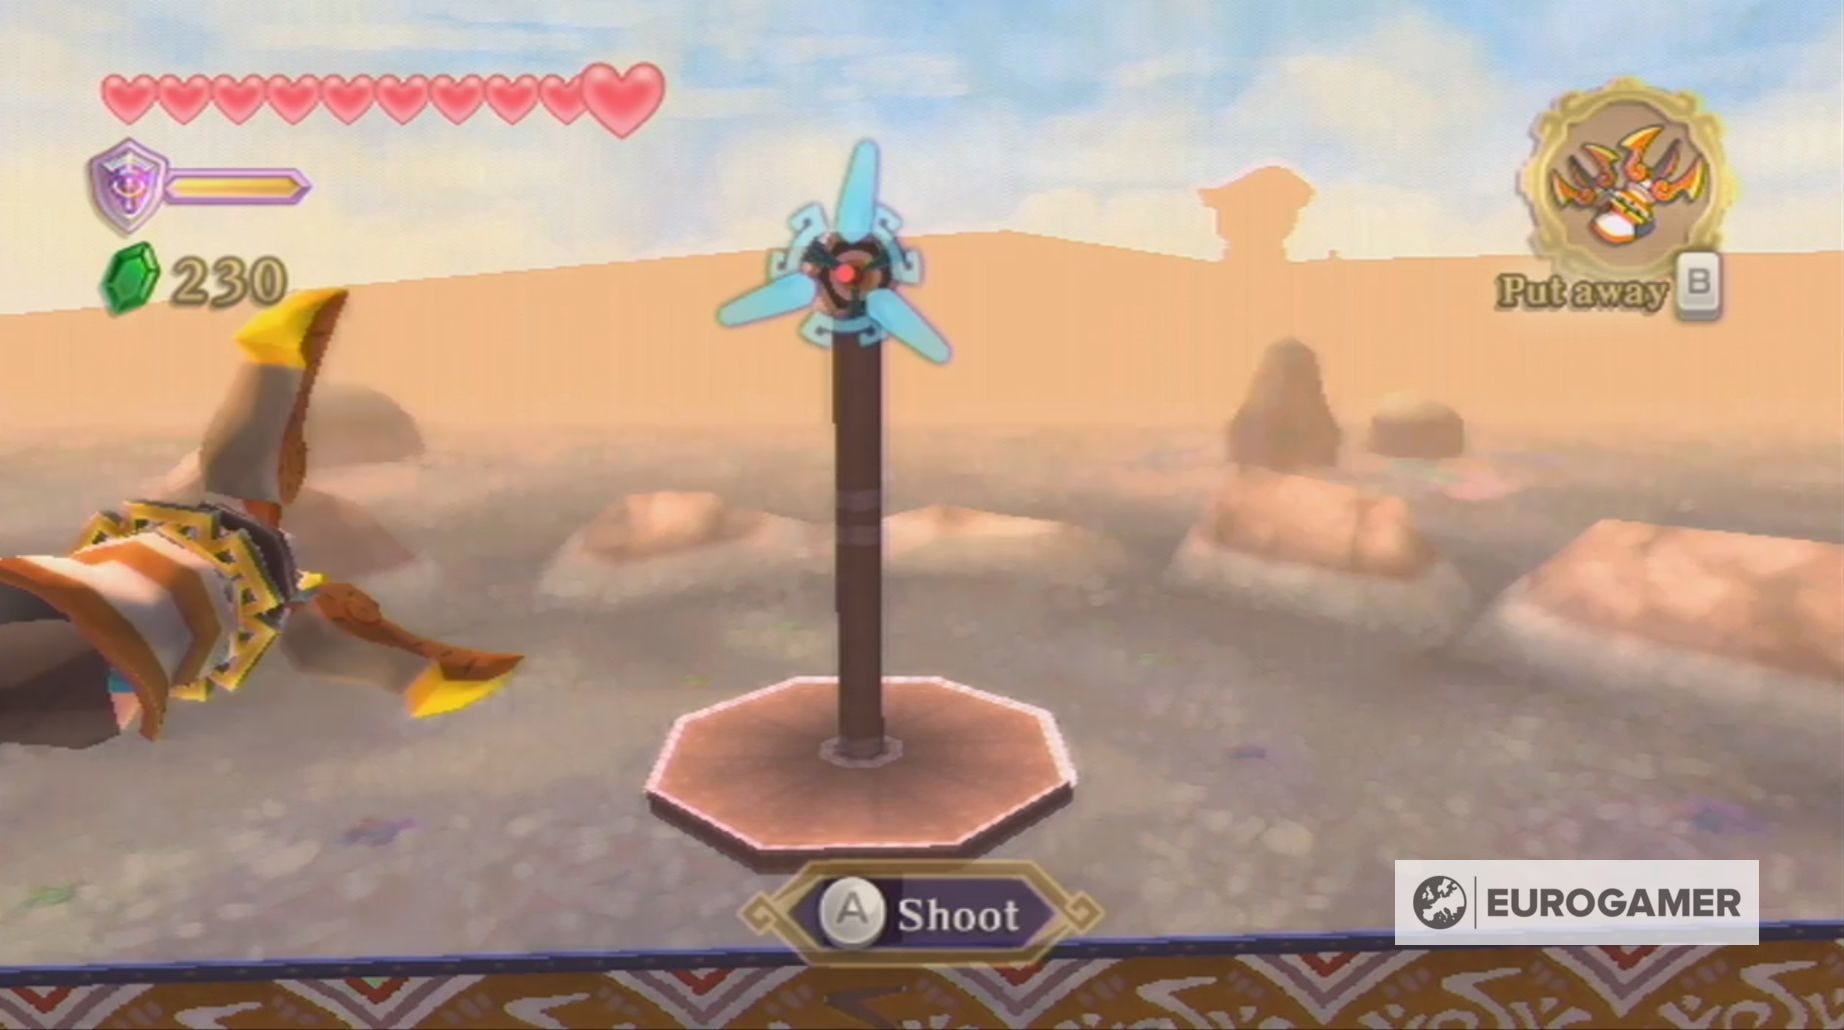
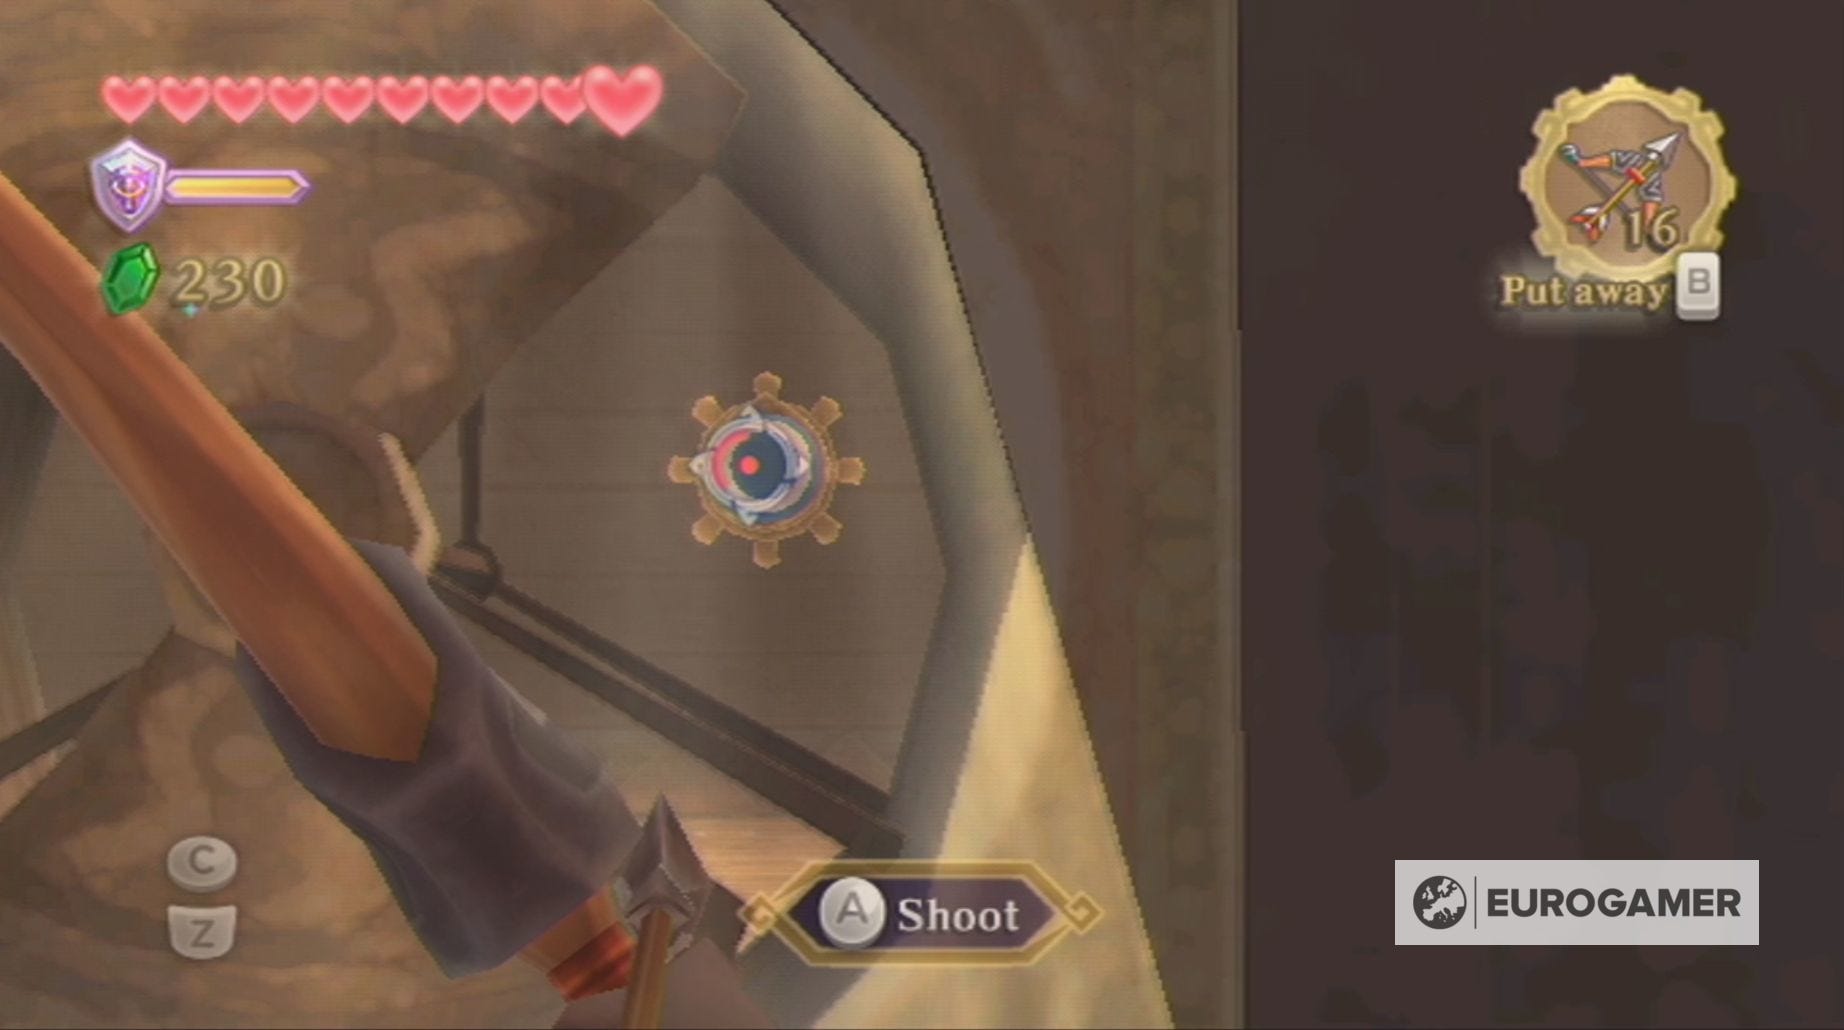
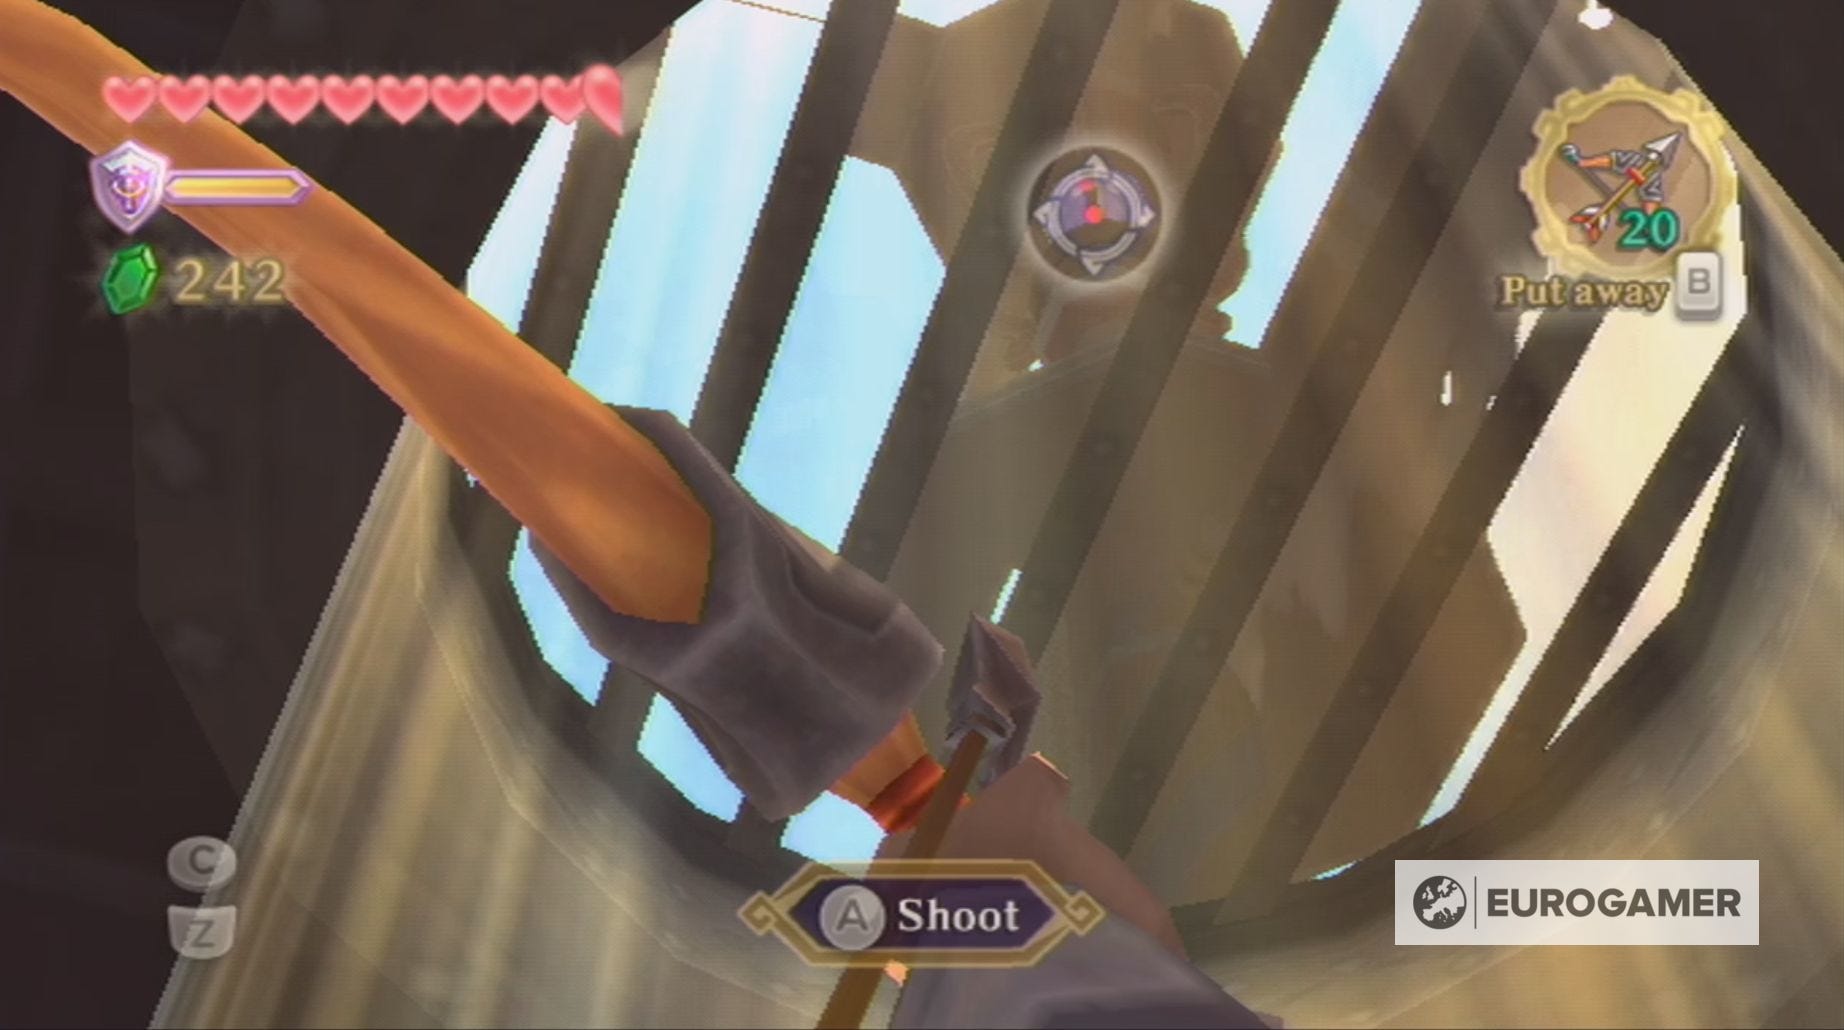
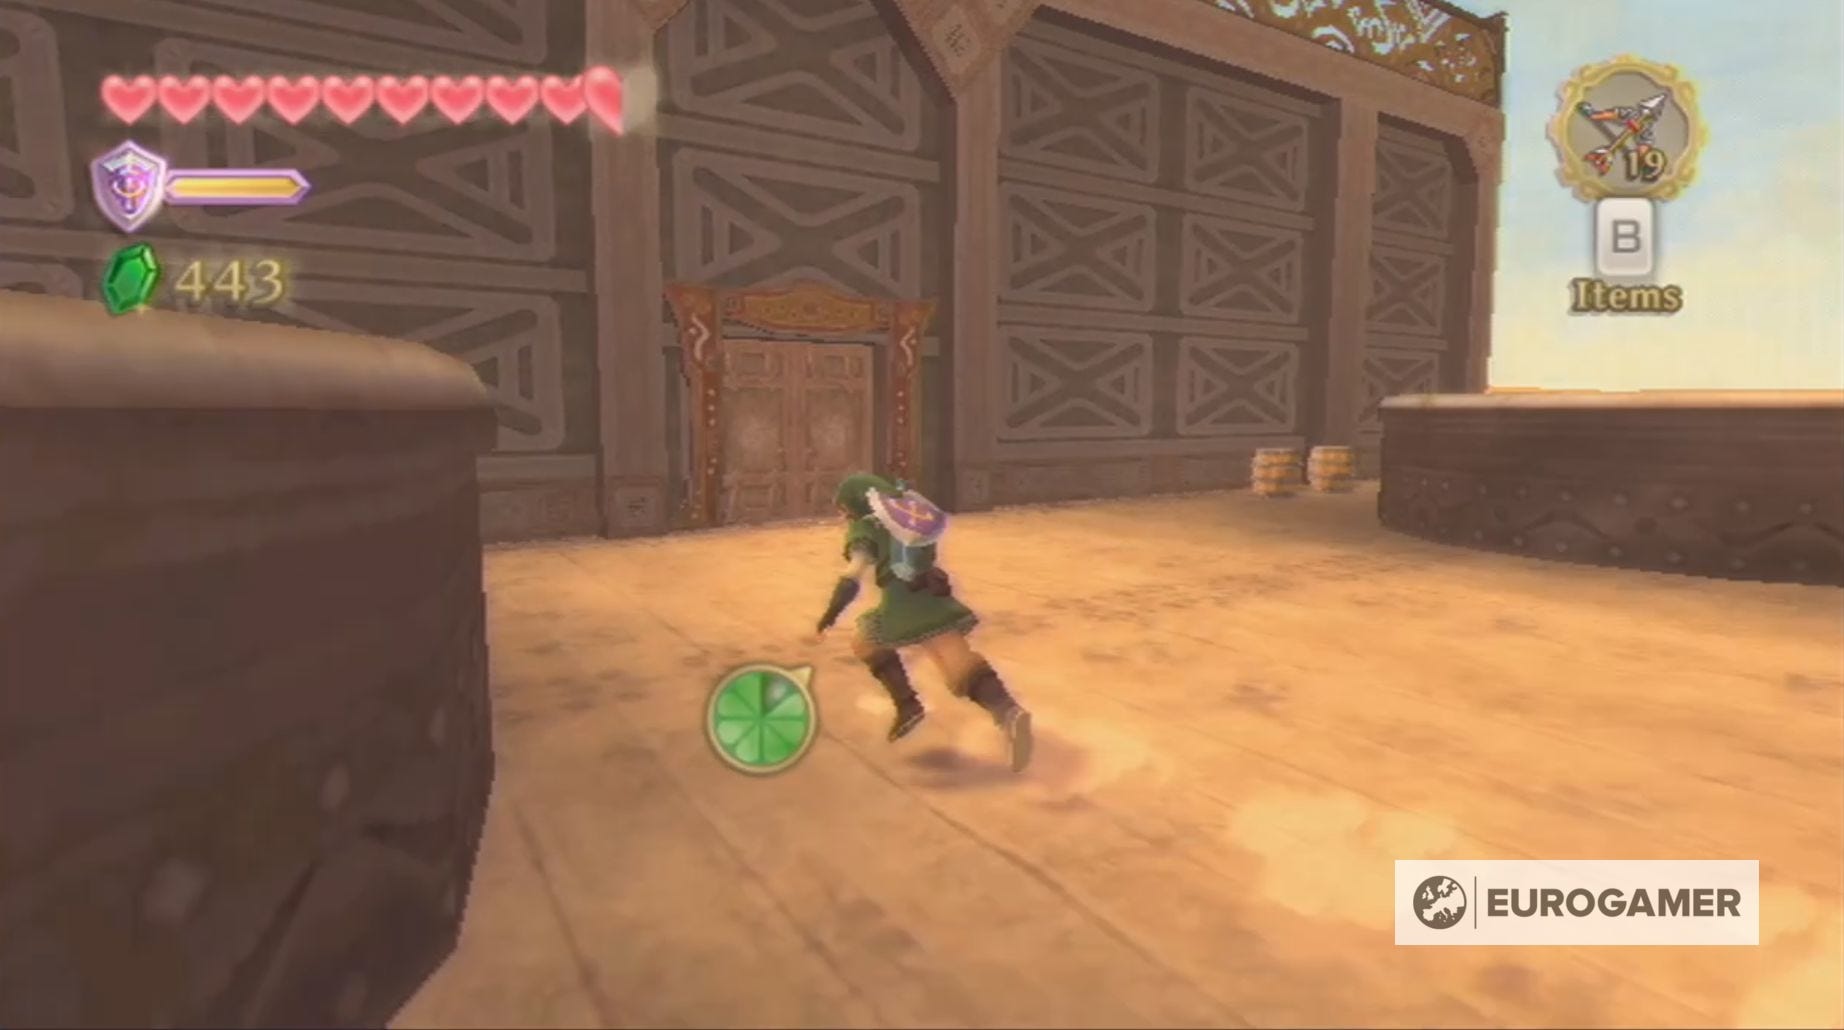
At the top of this ladder, you'll need to kill some more Bokoblins without falling back down. Thankfully, the Wooden Bow can easily kill any Bokoblin and you can also use it to take care of the ones waiting for you on the next mast.
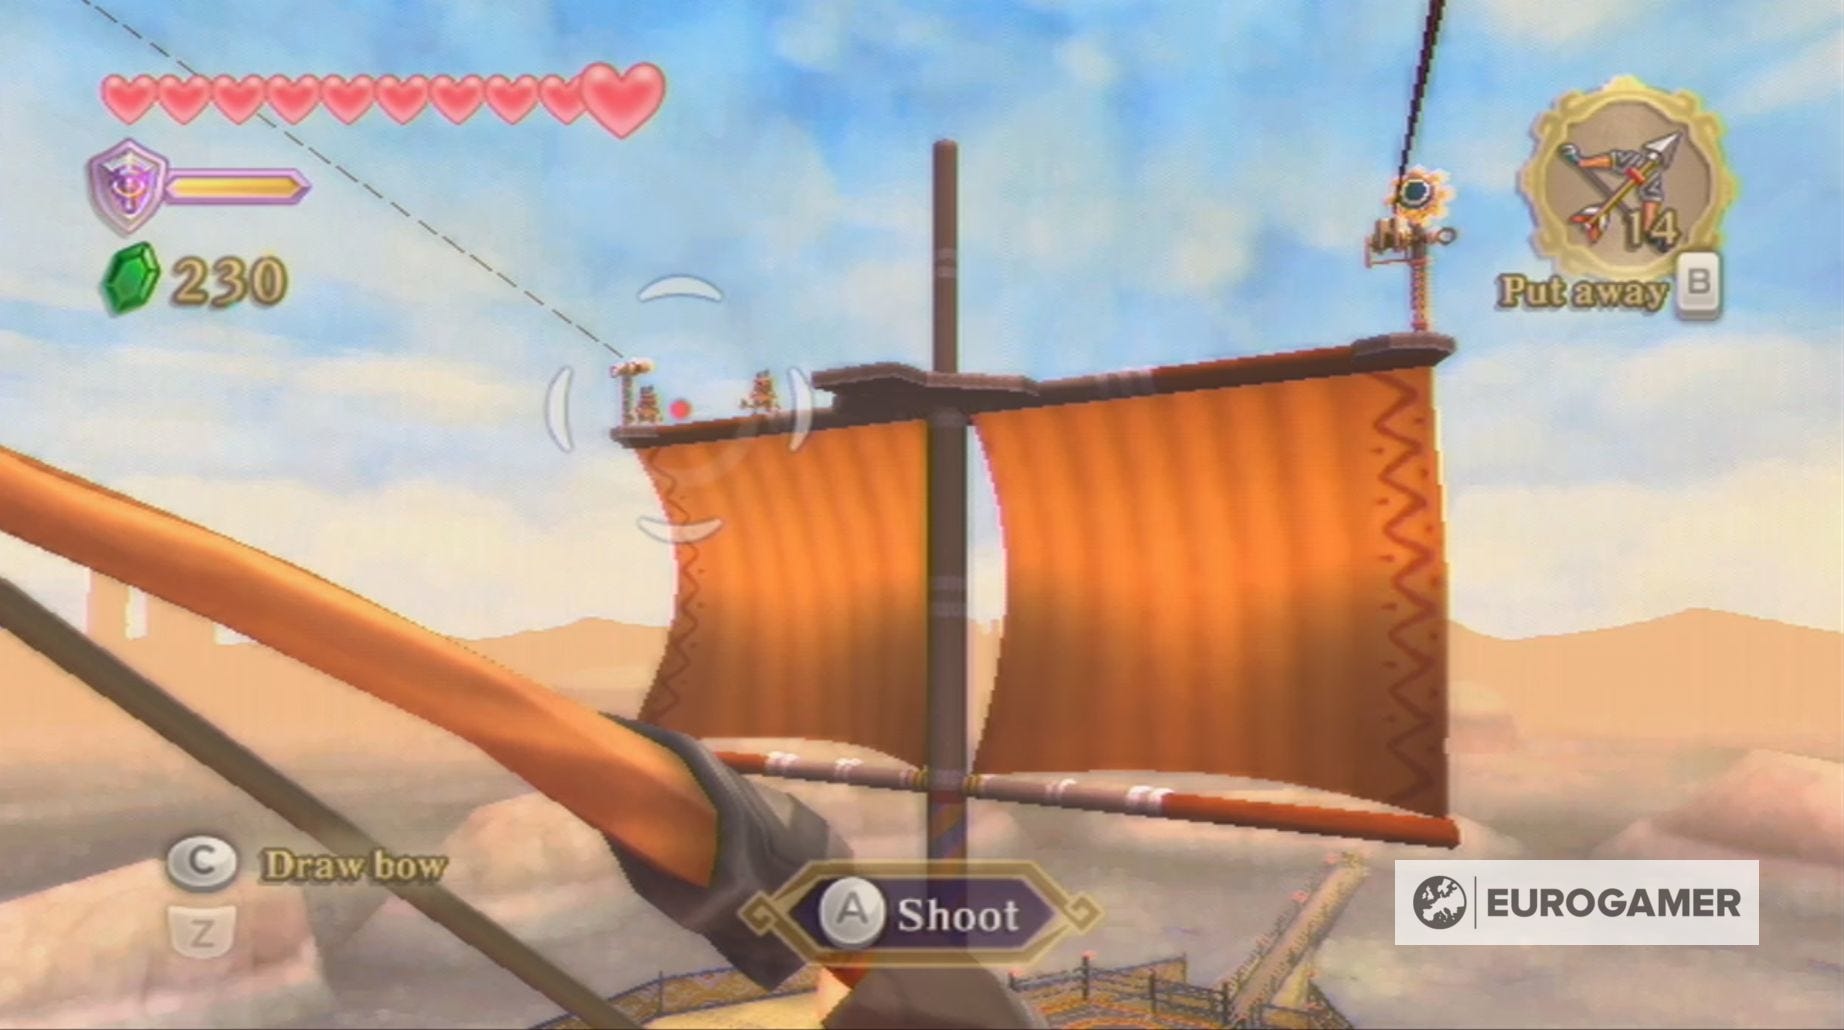
Don't use all your arrows though, because you'll need one to hit the switch for the zipline, so you can move from one mast to another.
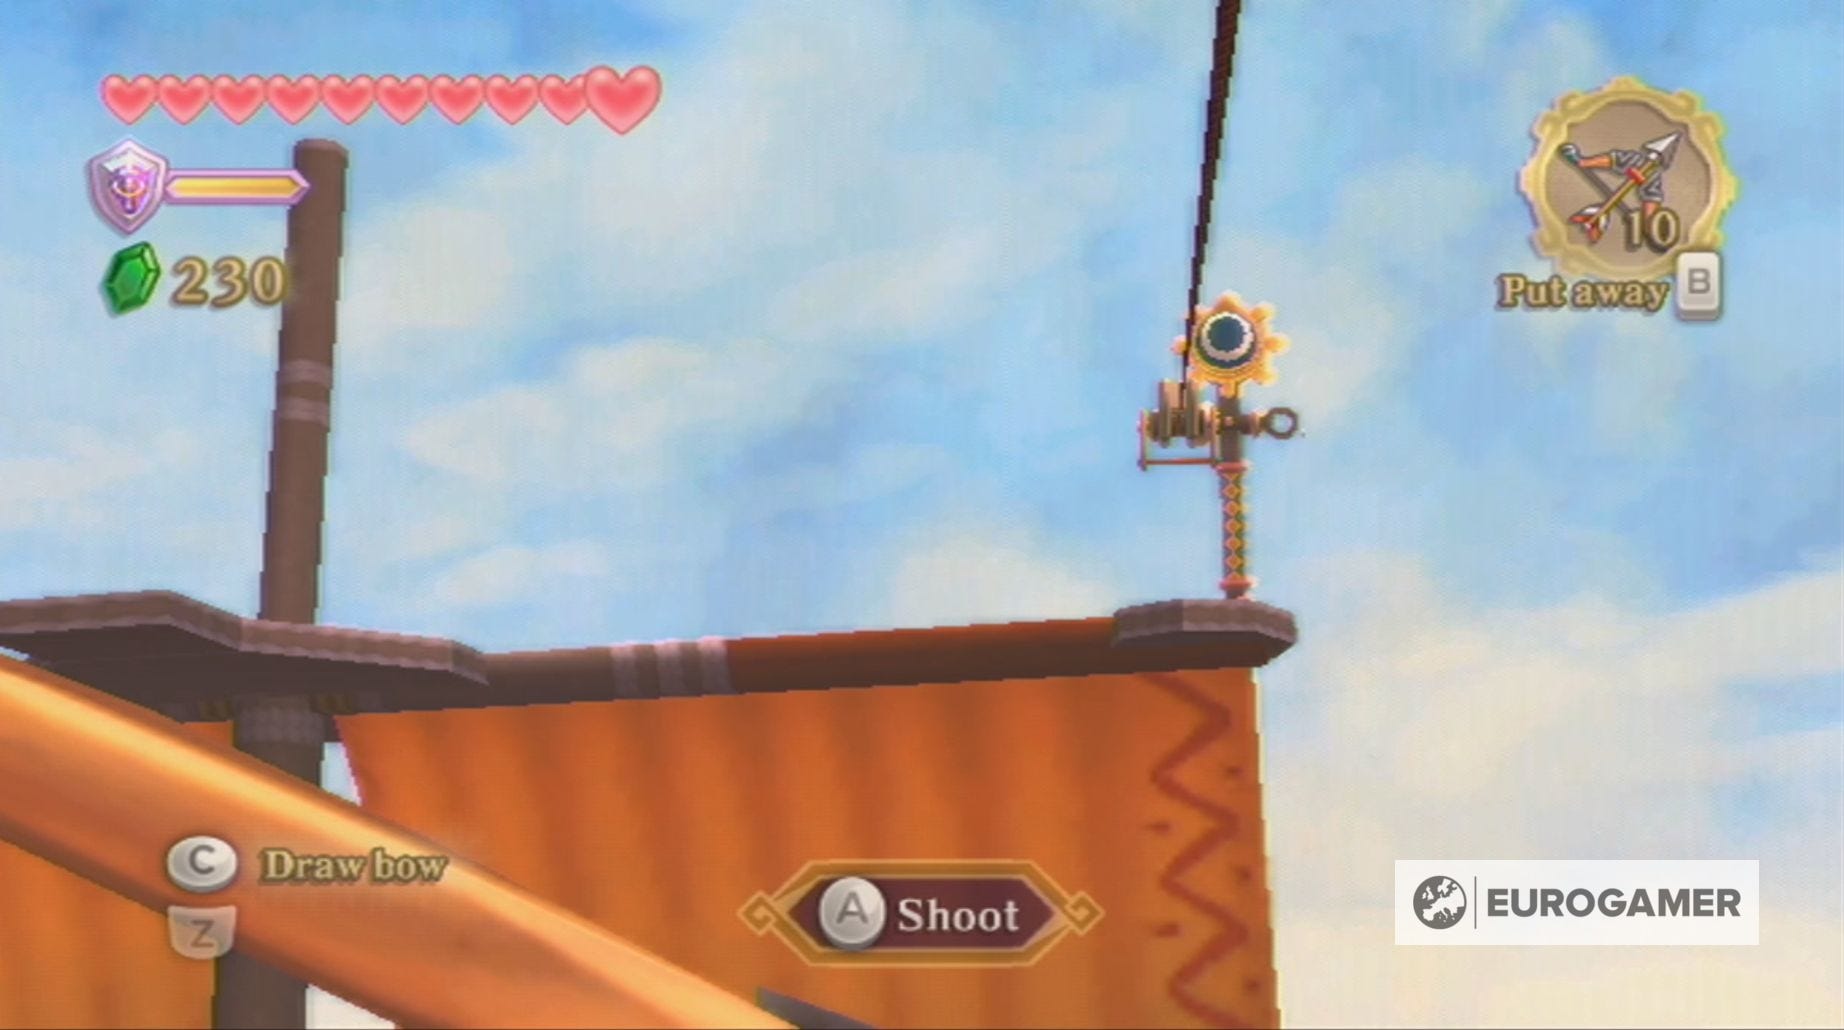
Travel across this next mast and then hit the zipline switch again to reach the top of the boat's main mast.
Here you'll have to defeat another Bokoblin and, using your sword, unlock both the Timeshift Stone and the door.

Rather than jumping back down to the deck though, you'll want to hit the zipline switch to the furthest mast on the ship and drop down to the deck.
You'll then be able to find a Clawshot spot on the back of this mast and, by following these Clawshot spots, you'll travel down the back of the Sandship. Here you'll find a chest containing a Heart Piece.

Return to the upper deck of the Sandship using the Clawshots and go back through those double doors again. Once you're through these doors, head back down the stairs and go through the first door.
Now that you've changed back time, the formally dead enemies will be alive again, so you'll need to take out three Technoblins in this room.
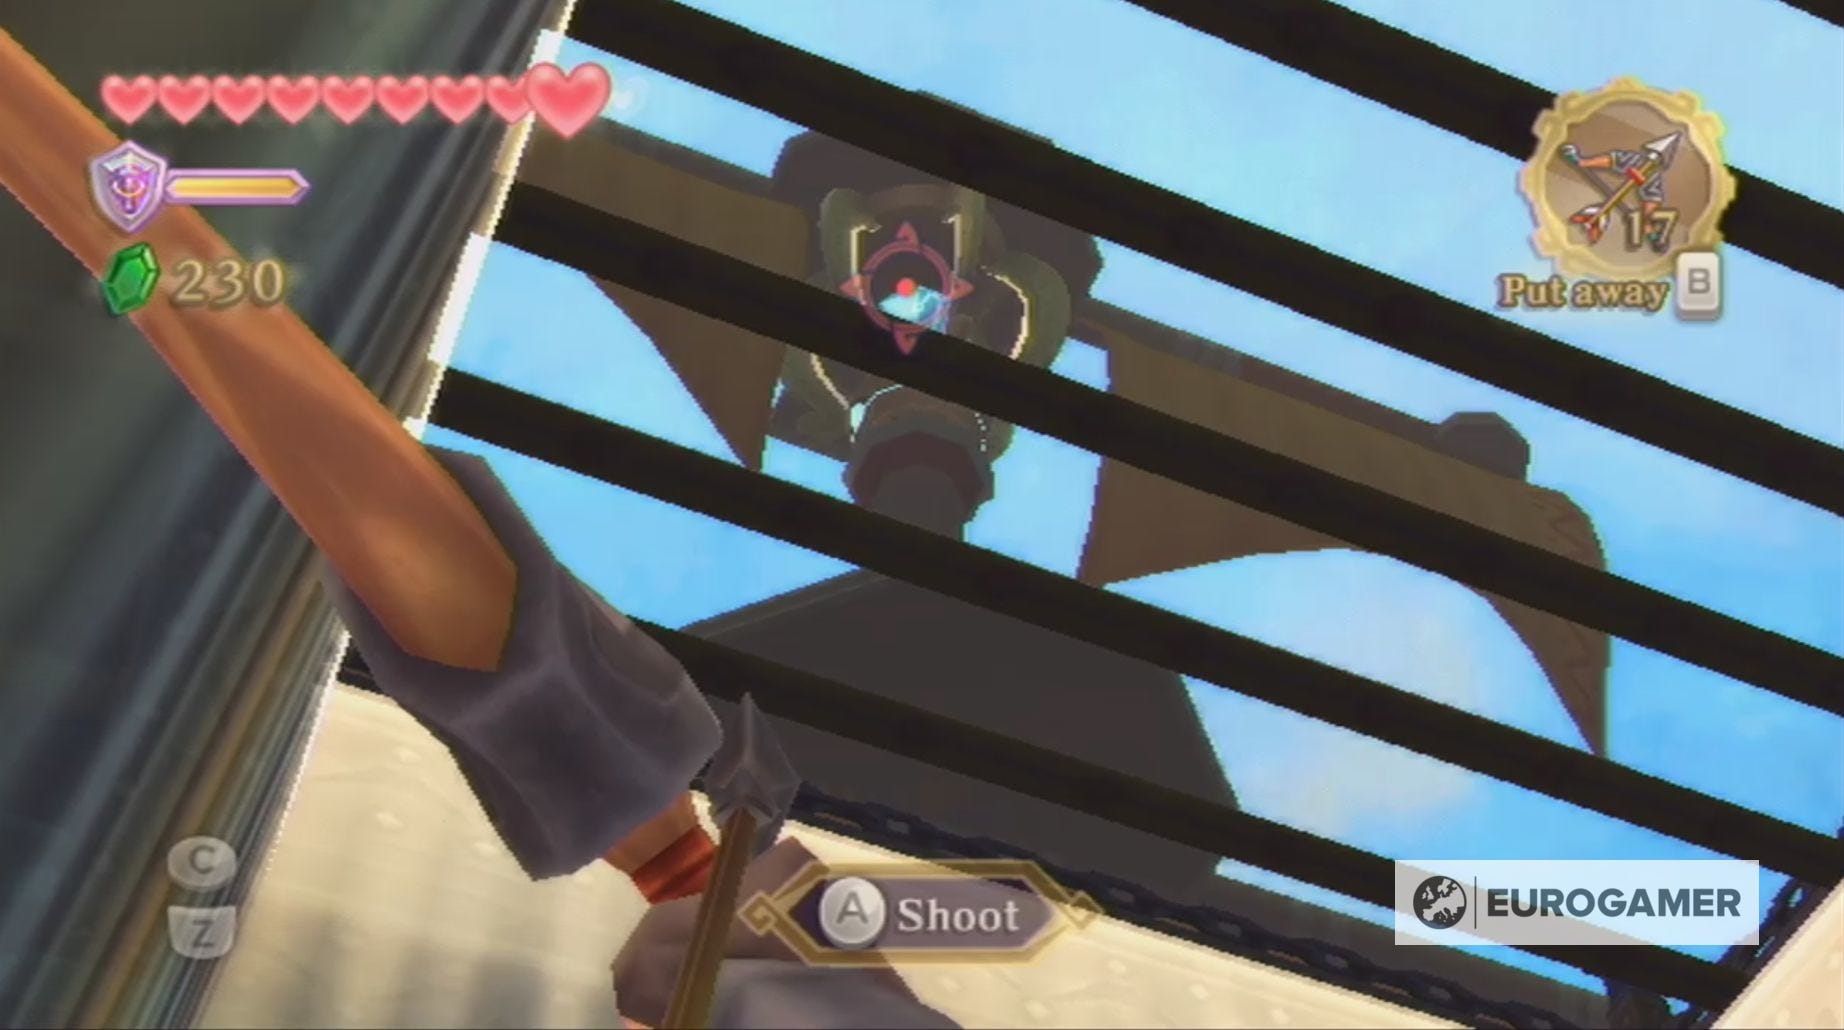
Before continuing on, head into the alcove to your left and shoot the Timeshift Stone with an arrow through the ceiling grate. This will return the Sandship to the present and allow you to access the chest containing the dungeon map.
Sandship boss key location explained
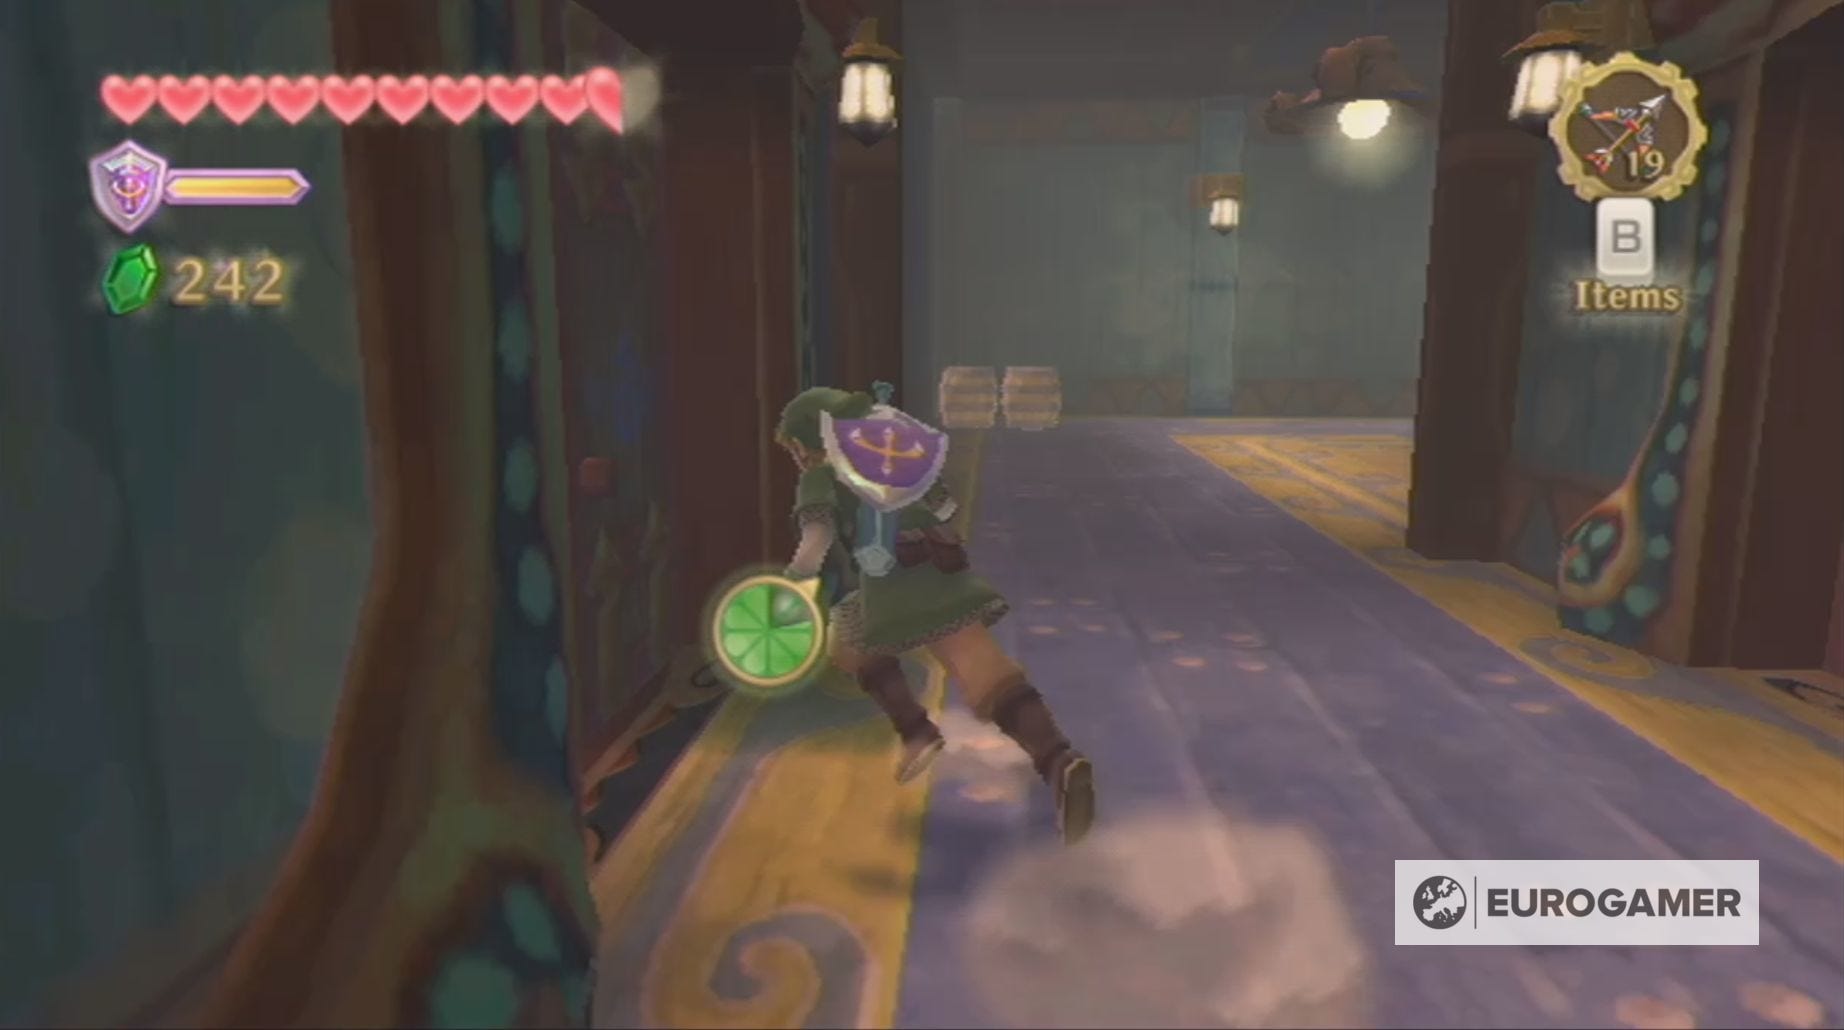
It's now time to find the boss key for the Sandship in Skyward Sword. First, however, pull the lever next to the bars and head down the hallway until you reach a fan on the right-hand side.
Through this fan, you'll be able to see and, with the Wooden Bow, hit the switch in the next room to open the door next to you.
Kill the Thunder Keese inside this room and then move the crate, so, when you stand on the floor switch, you'll be able to hit the blue switch with an arrow.
Doing this will open another door, but first you need to turn to the past by hitting the Timeshift Stone through the ceiling grate again.
Now head through the door you recently opened - this is the first on the right-hand of the hallway - kill the Technoblin inside and activate the generator inside.
You now need to go through the furthest door on the left, kill the two Technoblins and push the crate onto the switch.

Next, you need to return to the deck again, killing the waiting Bokoblins if you so wish, and climbing to the ladder to the second level of the deck. Here you'll find a rowboat and, by hitting the switch above it, you can send it to the lower levels.
Now hit the Timeshift Stone again and, once the present day has returned, jump down to the rowboat, before going through the open porthole.

You'll find yourself in the room where you last fought two Techoblins, but, this time, you can reach the other side since the electric fence is gone. Do so, killing the Keese waiting for you, and pull the lever next to the door to remove the bars.
Next, you, once again, have to shoot the Timeshift Stone through the grate to return the Sandship to the past. This will allow you to activate the second generator.
Head back into the hallway and go through the furthest door on the left to reach the other side of the room you were previously in. You now need to go through the left-hand porthole and go down the ladder, so you can reach the next door.
To progress through this next room, you first have to drop down to the lower level and then avoid being hit by the moving blocks.
The best way to do this for the first set you encounter is to wait for them to start rising upwards and then sprint beneath them. You will need to stand in the danger zone beneath one of them to move forward, but, by sprinting, you'll easily avoid death.
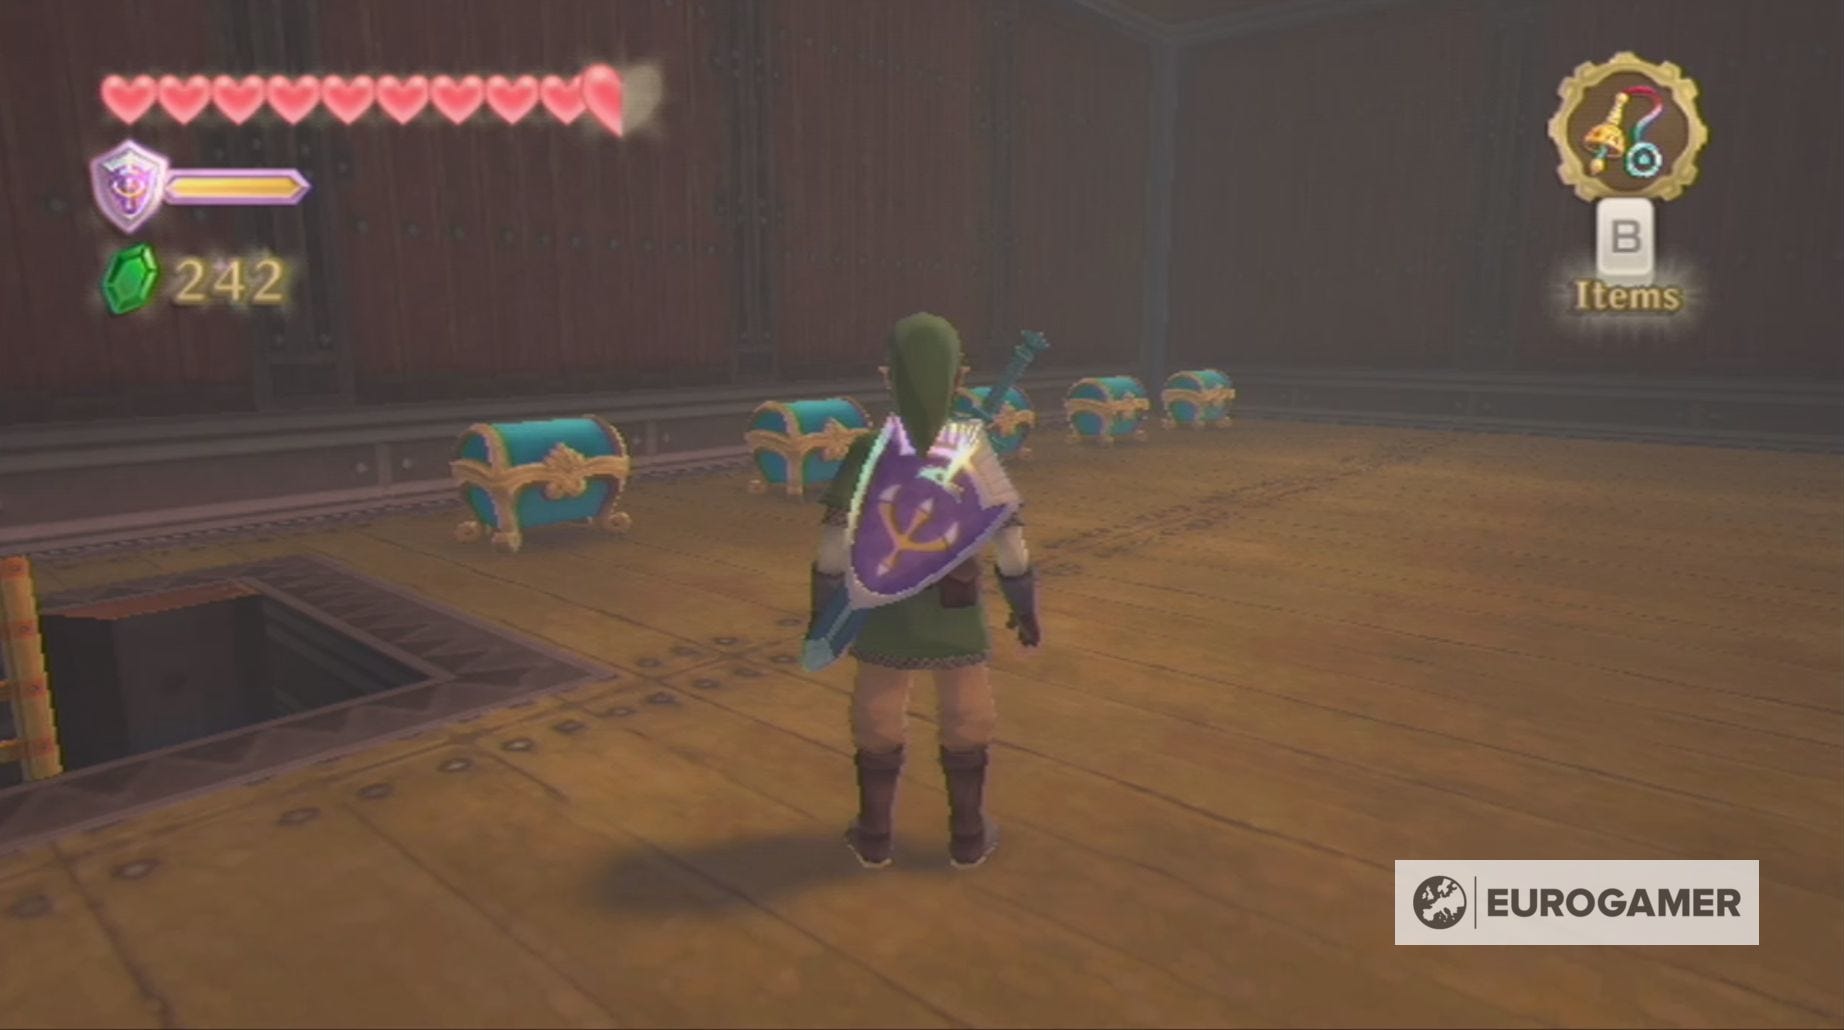
On the other side, you'll find a hook which, through the use of the Whip, can be used to cross the gap beneath. First, however, make sure you use the Whip to reach the alcove on your right, because, by climbing the ladder found here, you can reach the five chests you saw earlier on in the dungeon.
These chests contain a mixture of 100 Rupees and random materials. When you're ready, head back down the ladder and jump down to the right-hand side.
You'll find yourself in front of the first set of blocks, which move a lot faster than the first and have no space between them. To pass safely beneath these, you need to wait for the first one to begin to rise and immediately begin to sprint down the hall.
Afterwards, climb the ladder and use the Whip on the hook to jump atop the first block in front of you.
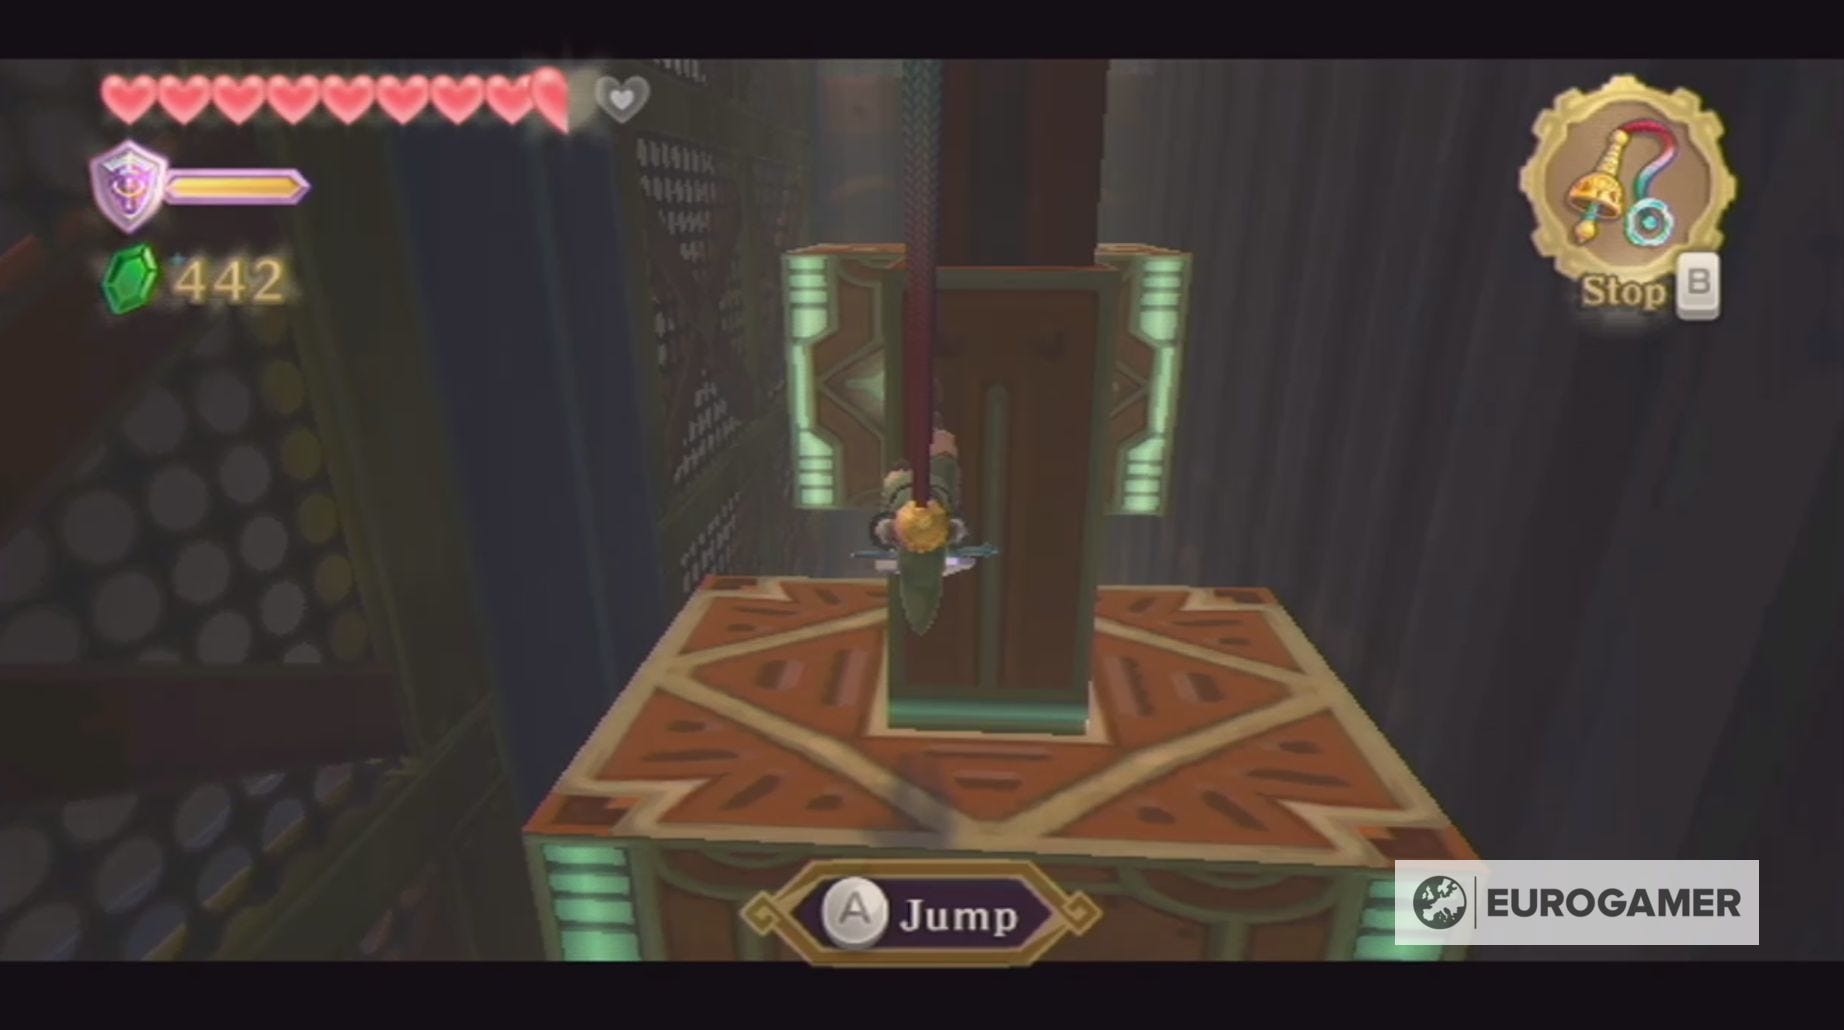
You can then jump across to the second block when it's positioned below the first, which will allow you to reach the end of this hallway. Before going through the crawlspace, however, pull the nearby lever to create a shortcut.
Once you've gone through the crawlspace and climbed the ladder beyond, you'll find a lever which will free Skipper's robot crew. One of the robots will give you the key to the captain's cabin.
To reach the captain's cabin, you need to head back the way you came, using the shortcuts, until you reach the deck. Once you're there, climb one of the ladders, before shooting the Timeshift Stone with an arrow.

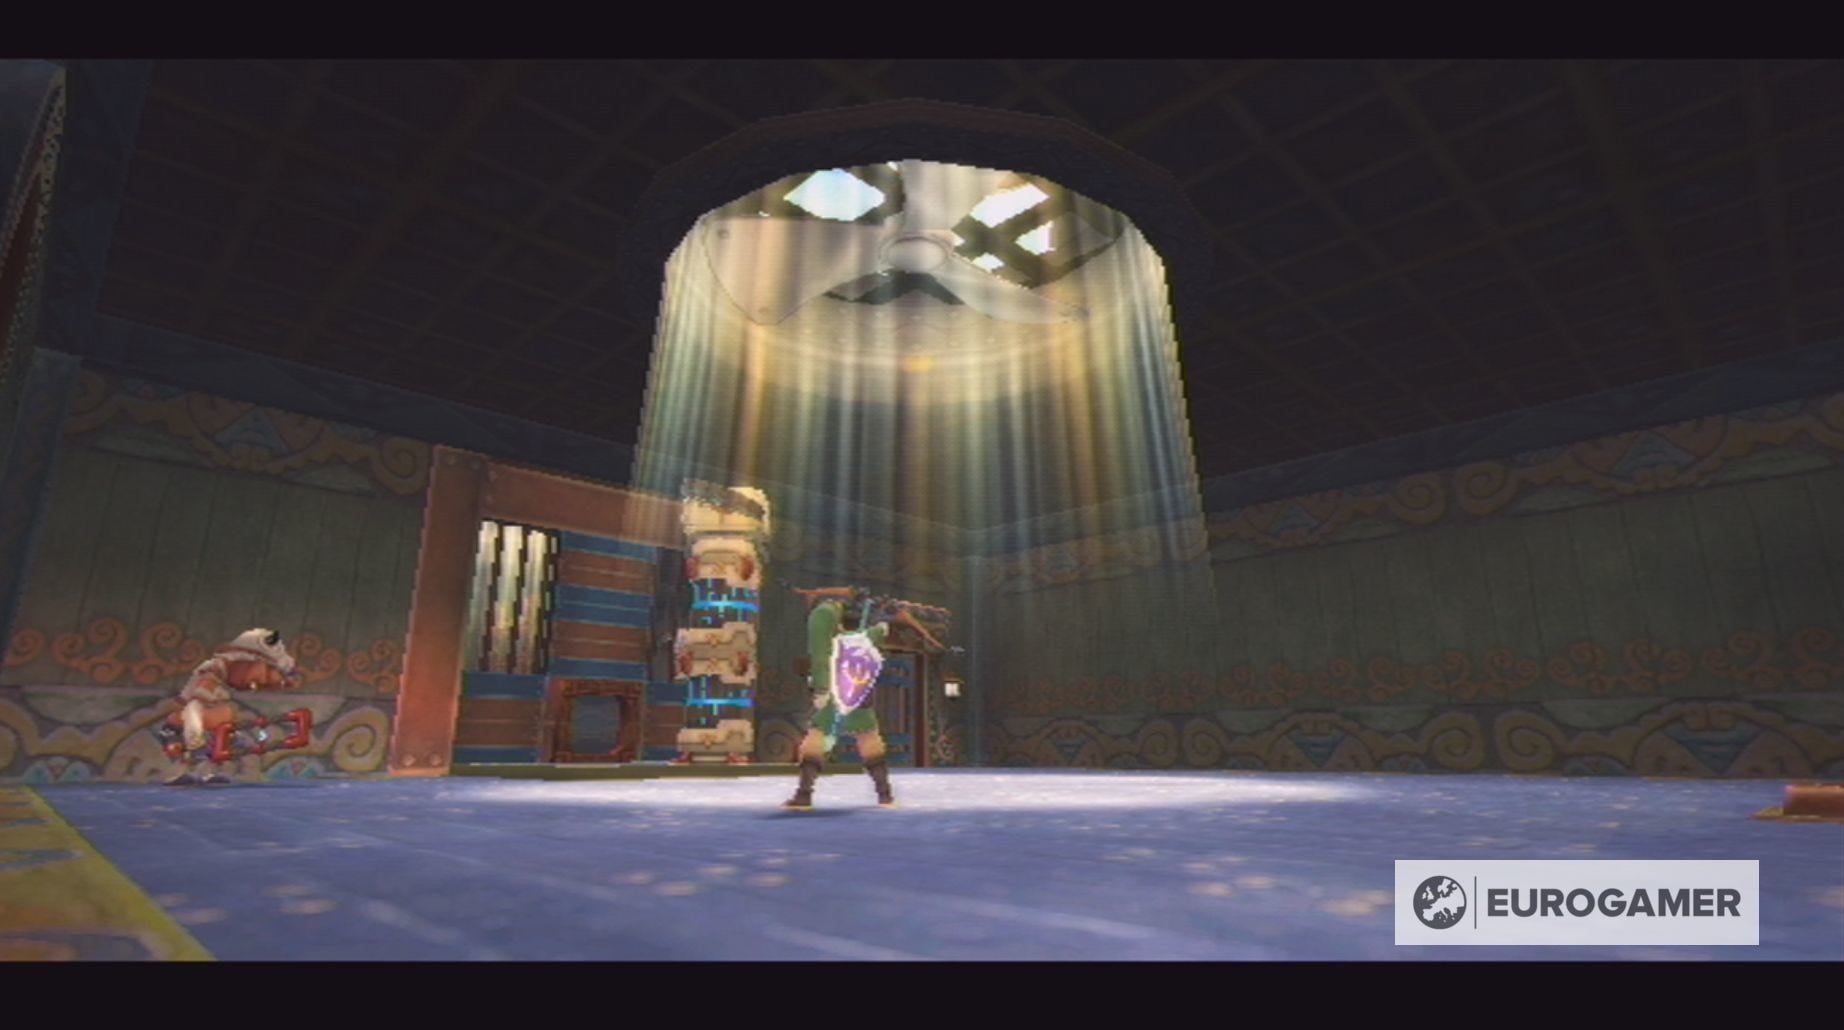
Now you can enter the door to the captain's cabin, which is located between the two fans.
Kill the Aracha waiting for you and then shoot the Timeshift Stone through the ceiling grate.
Next, quickly kill the Technoblin and Beamos, so you can safely stand on the switch on the left-hand side of the room. This will open a hatch which you can shoot an arrow through, which, in turn, will remove the bars from the nearby doors.
Go through said doors and kill all three Beamos waiting for you. Upon their defeat, the bars in front of the chest containing the boss key will rise, allowing you to collect it.
Now all you have to do is return to the door for the boss chamber, which you passed during your first exploration into the Sandship's lower decks. You will have to kill a Beamos and a Technoblin on your way.
Before entering the final unexplored room of the Sandship, make sure you save at the nearby Bird Statue, have a full quiver and health. When you're ready, place the boss key in the lock to begin the Tentalus boss battle.