World of Warcraft: Dragons Raid Guide
How to smash Malygos, Sartharion and the Twilight Drakes in the face.
Dragons. Wise, majestic and graceful beings entrusted by the Titans to watch over Azeroth in their absence. If you have even a cursory knowledge of World of Warcraft, you'll know that dragons frequently play an important part in events. However, today we come not to praise them but rather to bury them, for majestic they may be, but all too often they're either irredeemably evil or completely insane (usually both) and, more importantly, they tend to carry a fabulous amount of gold and loot on them.
While there are scores of dragons in Northrend, there are currently just two top-level raid encounters available for players looking for a change of scenery from Naxxramas. - Sartharion, in the Obsidian Sanctum, and Malygos, in the Eye of Eternity. We'll look at both in their 10-player incarnations.
The Obsidian Sanctum
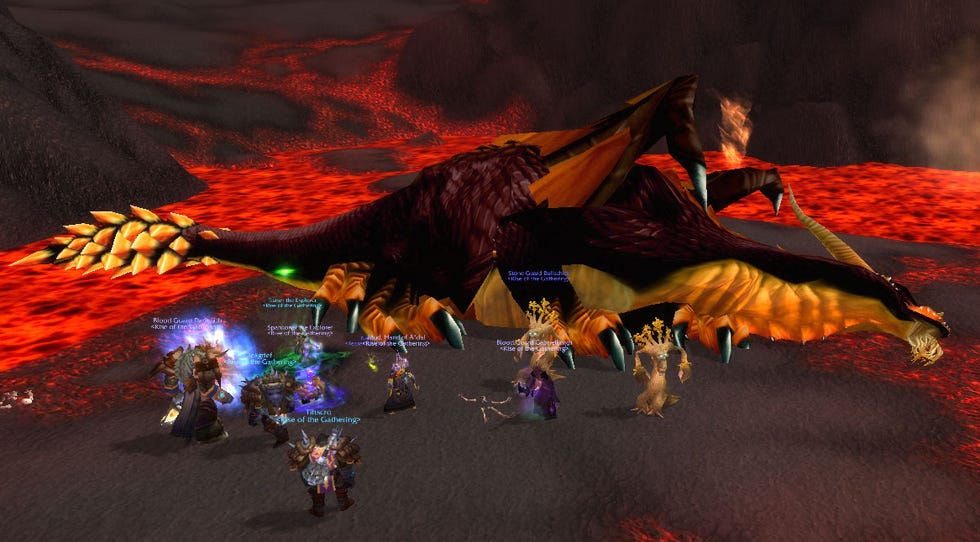
Let's start with Sartharion, the Onyx Guardian and his trio of Twilight Drake cohorts, Tenebron, Shadron and Vesperon. Between them, they guard the Black Dragonflight's latest little science project - a clutch of Twilight Dragonflight eggs. They can be found in the Obsidian Sanctum, which you can travel to via a portal below the Wyrmrest Temple in Dragonblight.
Why do we care? Officially, because a race of vampiric drakes gadding about the place would be a Very Bad Thing. Unofficially, the aforementioned fabulous amount of gold and loot.
The basics
The Sartharion encounter presents an unusual challenge in that it essentially has four levels of difficulty to choose from. In addition to Sartharion himself, the three Twilight Drakes found inside the Sanctum can each be killed beforehand or left alive for when you attack Sarthation. If you opt for the latter, each drake you haven't killed provides various buffs to Sartharion and debuffs to the players, making the fight considerably harder depending on how many you've left alive.
If you choose to kill all the drakes before engaging Sarthation, you won't have much to worry about. Alone, he has all the usual dragon characteristics - a flame breath that hits for around 10k damage, a (somewhat weak) cleave, a stunning tail whip and a generally withering contempt for any "lesser beings" intruding on his baby-sitting assignment. In addition, there are also the following to consider:
- Lava Wave: a tsunami of lava rises up from either the north or south and washes over the island, bar for a couple of gaps players run to to avoid it. In the most basic form of the encounter it knockbacks players caught in its path, and leaves a debuff causing a moderate amount of damage over time. In more challenging forms, it will pretty much kill any player it hits within a few seconds.
- Lava Strikes: small lava bombs caused by cyclones in the lava surrounding the island, a minor annoyance in the main, but they can be dangerous in the harder versions of the encounter.
- Lava Blazes: fire elementals that spawn randomly from Lava Strike impacts. They only have 28k health, hit like your grandmother and will need to be tanked and killed. However, if hit by the lava wave, they enrage, increasing health by 40k and dealing four times as much damage.
The main danger from the fight comes from the lava waves sweeping across the battlefield, as players not only have to make sure they avoid them, but ensure the Lava Blazes do as well. Other than that, all that's left to worry about is the final per cent, where Sartharion goes berserk in a last ditch attempt to stop the raid from killing him. Stay cool, don't panic and you'll finish him off.
The drakes
That's the easy way; the hard way is somewhat different. By leaving one or all of the Twilight Drakes alive, you introduce numerous factors into the equation. Each drake brings his or her own bag of tricks to the party which increases the threat posed by Sartharion as well. Once you pull Sartharion, the raid is immediately afflicted with debuffs from each drake still alive (The Power of Tenebron, Shadron or Vesperon respectively) and they will join the fray at certain intervals.
In Tenebron's case, she lands 30 seconds after the pull and presents arguably the biggest DPS test of the fight. Like all the drakes, her direct attacks are limited to melee, a shadowflame breath and targeting players with bright blue void zones, but she also has some unique abilities too. The Power of Tenebron is an aura doubling any shadow damage the raid takes, making the void zones fatal for anyone caught in them when they detonate. Additionally, some 15-20 seconds after landing she will open a twilight portal and hatch a clutch of eggs inside, the whelps from which will swamp the raid roughly 15 seconds later. The key to tackling any version of the fight with Tenebron up is to kill her before she spawns a second wave of whelps, as the whelps inflict a stacking armour reduction debuff on whoever they hit, meaning the person tanking them is going to be as strong as tissue paper if a second wave piles on.
If you haven't killed him either, Shadron will swoop down and join the fray 75 seconds after the fight begins. Shadron's unique abilities are the Power of Shadron, an aura that doubles any fire damage taken and which presents the biggest threat to the raid, as it makes Sartharion's flame breaths on the main tank practically unmanageable without resorting to whatever cooldowns the tank and the raid possess in order to survive them. Additionally, Shadron also opens a twilight portal inside which an Acolyte of Shadron can be found channelling the Gift of Twilight - a buff that makes Sartharion immune to harm and grants him 50 per cent more fire damage (note that when killing the drakes before engaging Sartharion, this will be cast on Shadron instead). Combined with the Power of Shadron, Sartharion's flame breaths begin to get alarmingly high...but wait! It gets worse!