The Last of Us Part 2 - Hostile Territory: All items, Martyr's Gate and the Relic of The Sages Trophy explained
How to complete Hostile Territory chapter and find everything along the way.

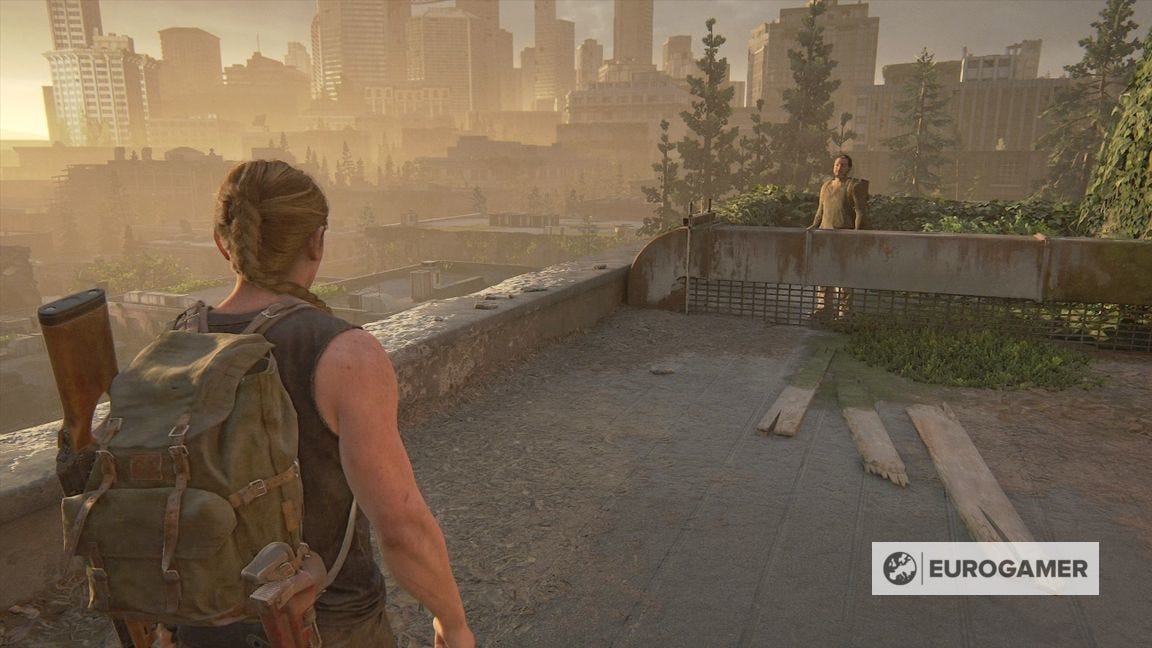
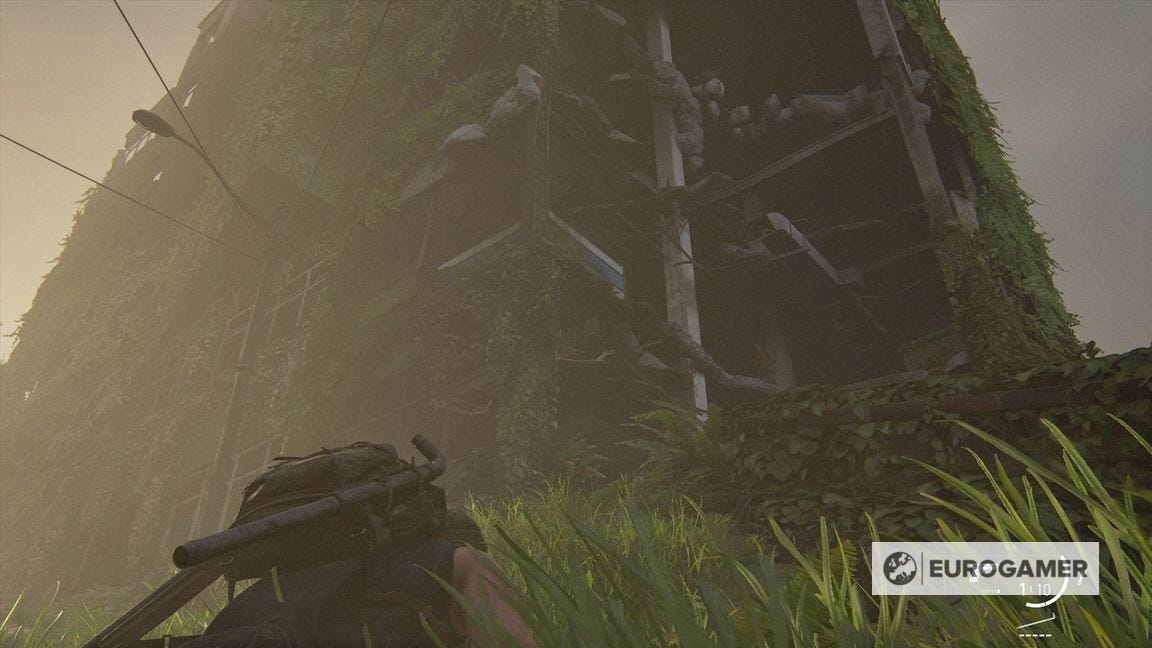
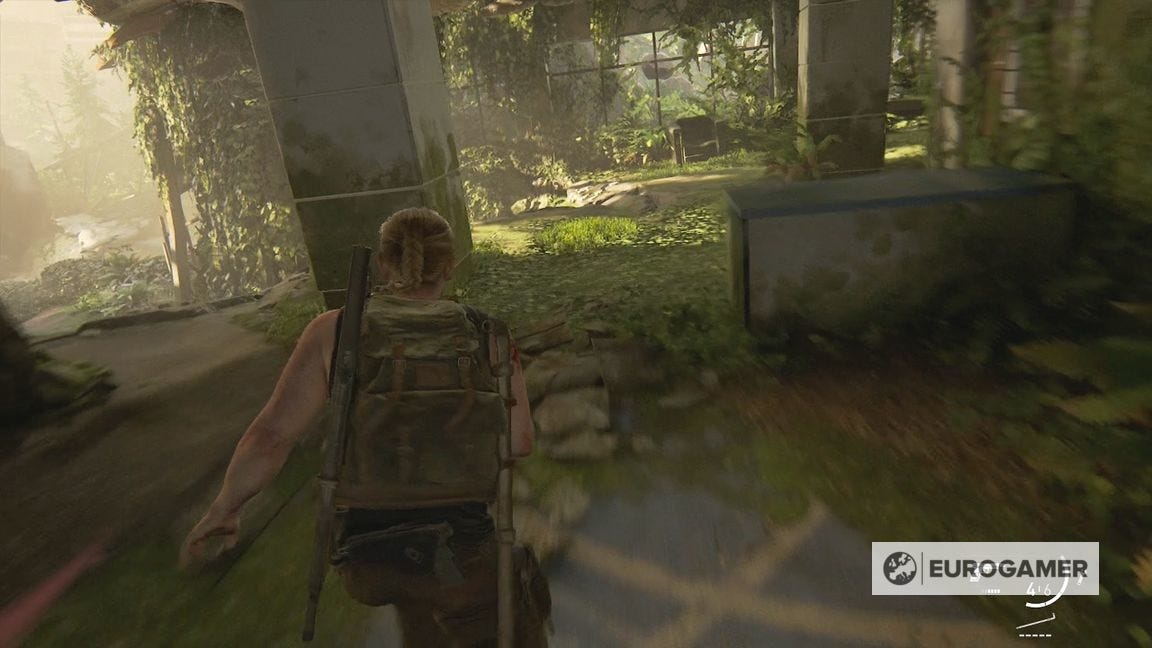
Hostile Territory follows on from The Last of Us Part 2's The Aquarium flashback.
This is a lengthy chapter which sees you leave Manny in search of The Aquarium - taking you through Scar territory.
There are several missable items in the chapter, which we outline on this page.
On this page:
- Starting Hostile Territory in The Last of Us Part 2
- Exploring Spicy Dumpling and Tang Fabrics and Imports in Hostile Territory
- Infected encounter in Hostile Territory
- Exploring Jasmine Bakery and Ruby Dragon in Hostile Territory
- How to get the Relic of the Sages Trophy
- Martyr's Gate in Hostile Territory explored
- Exploring the Scar camp in Hostile Territory

Looking for help in other areas of the game? See our The Last of Us 2 walkthrough and collectibles hub.
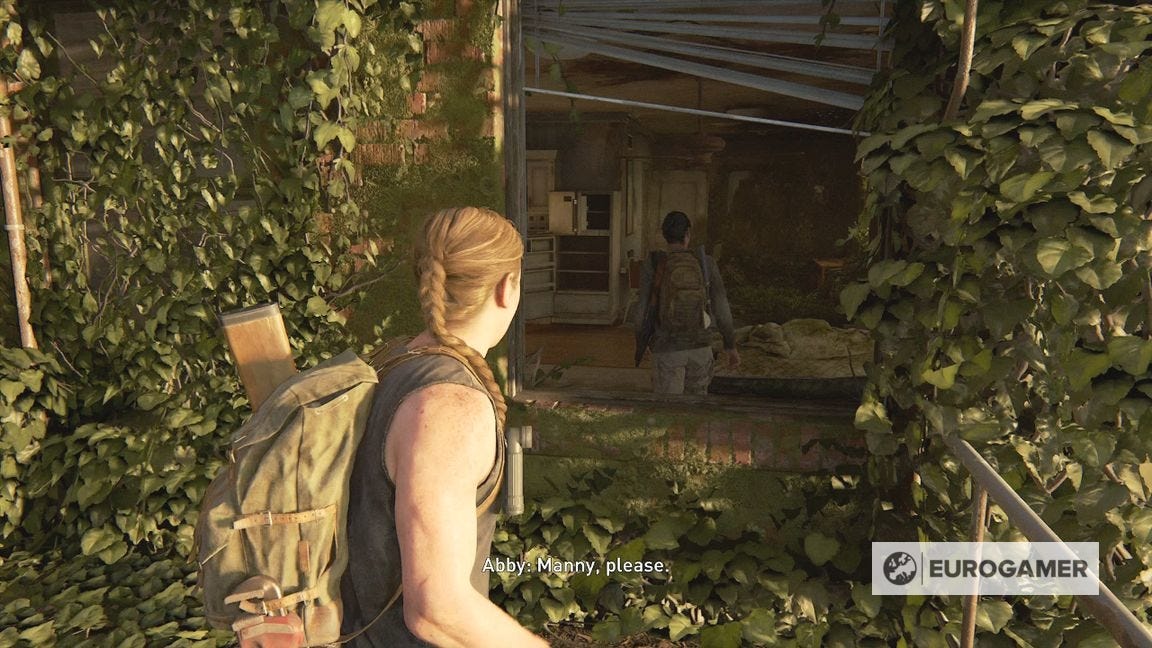
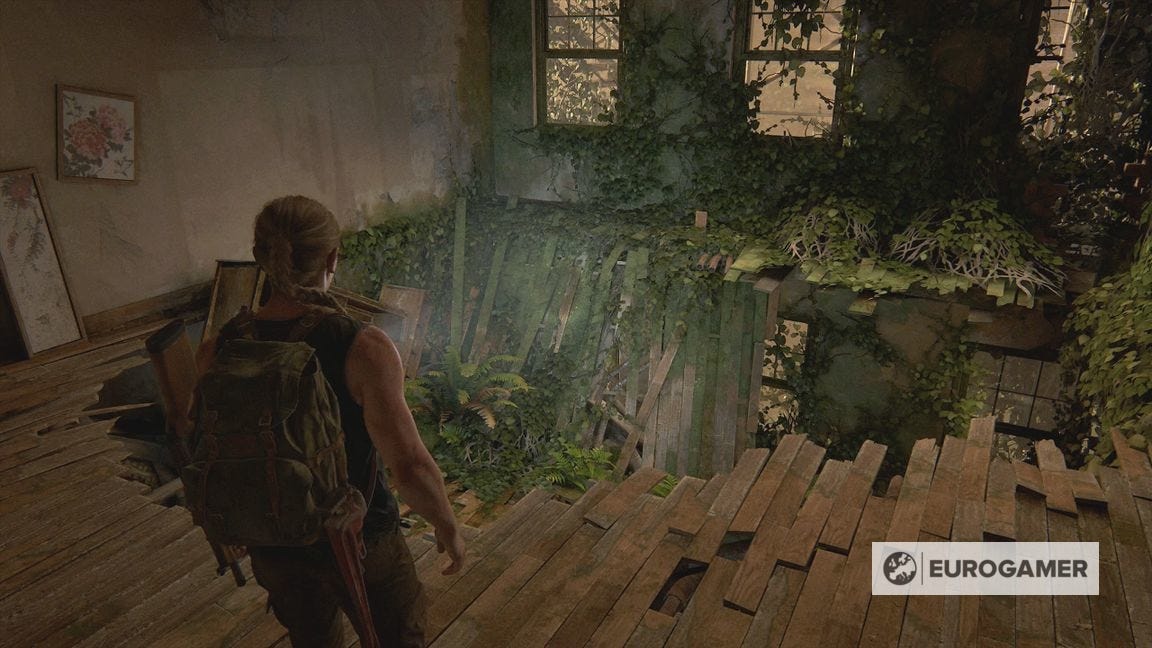
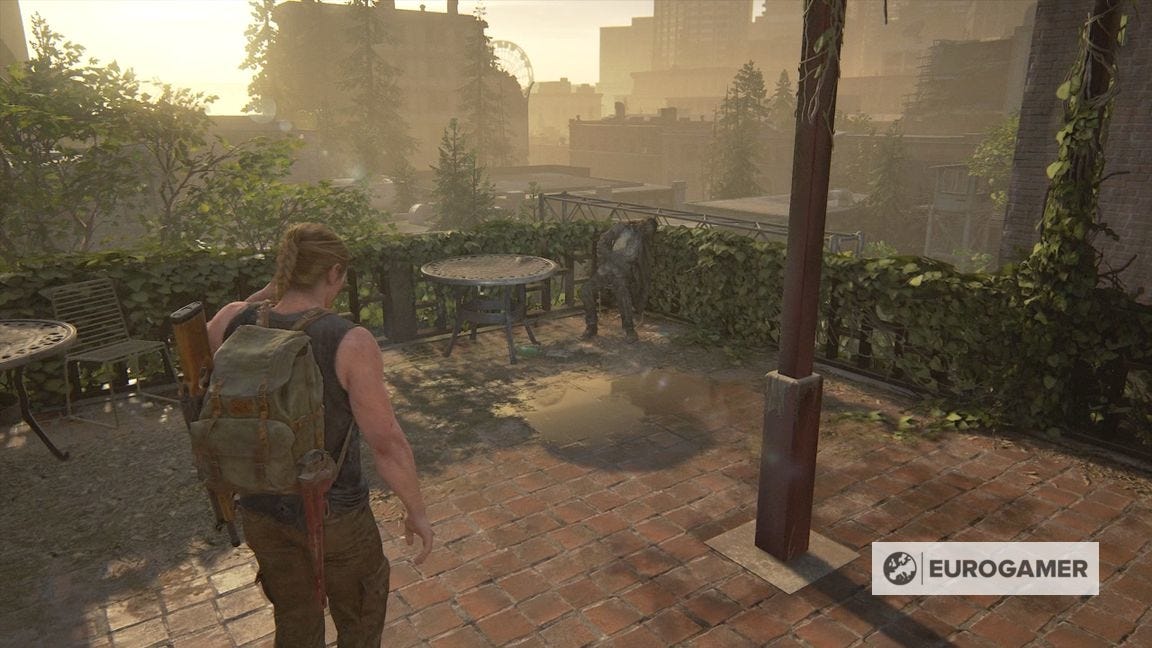
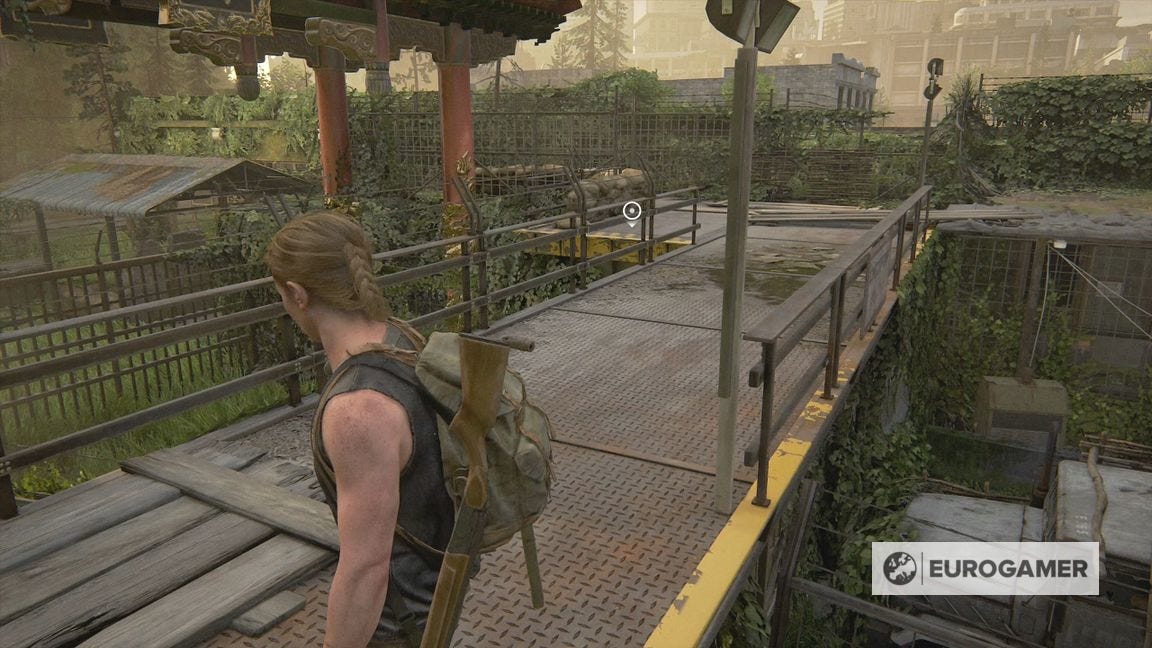
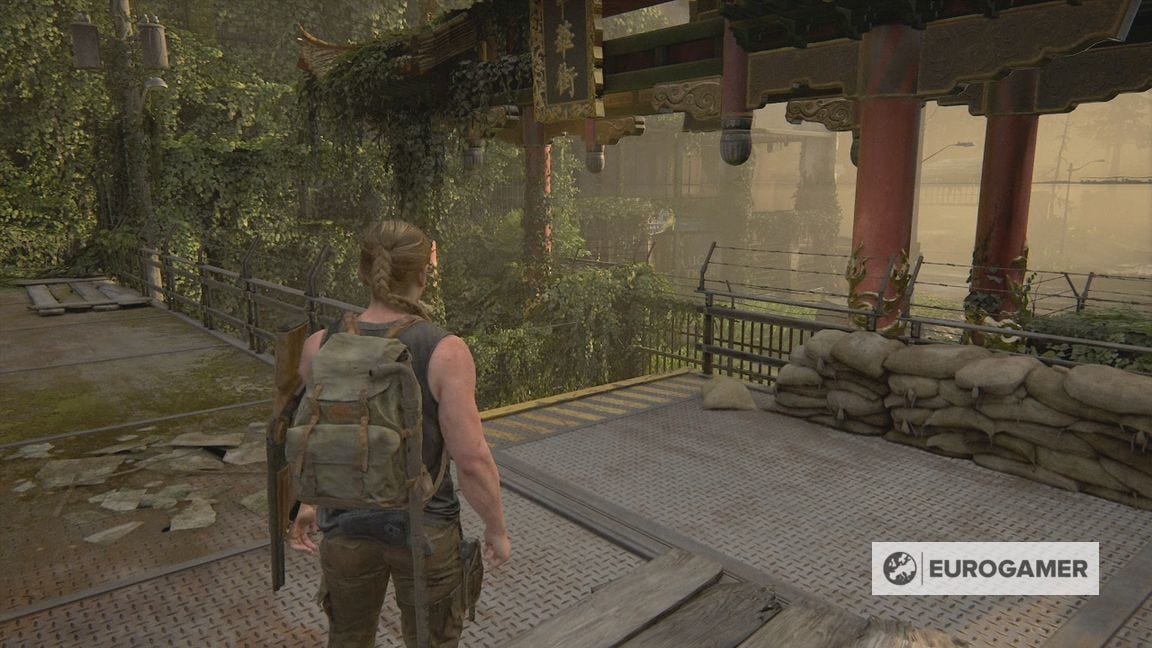
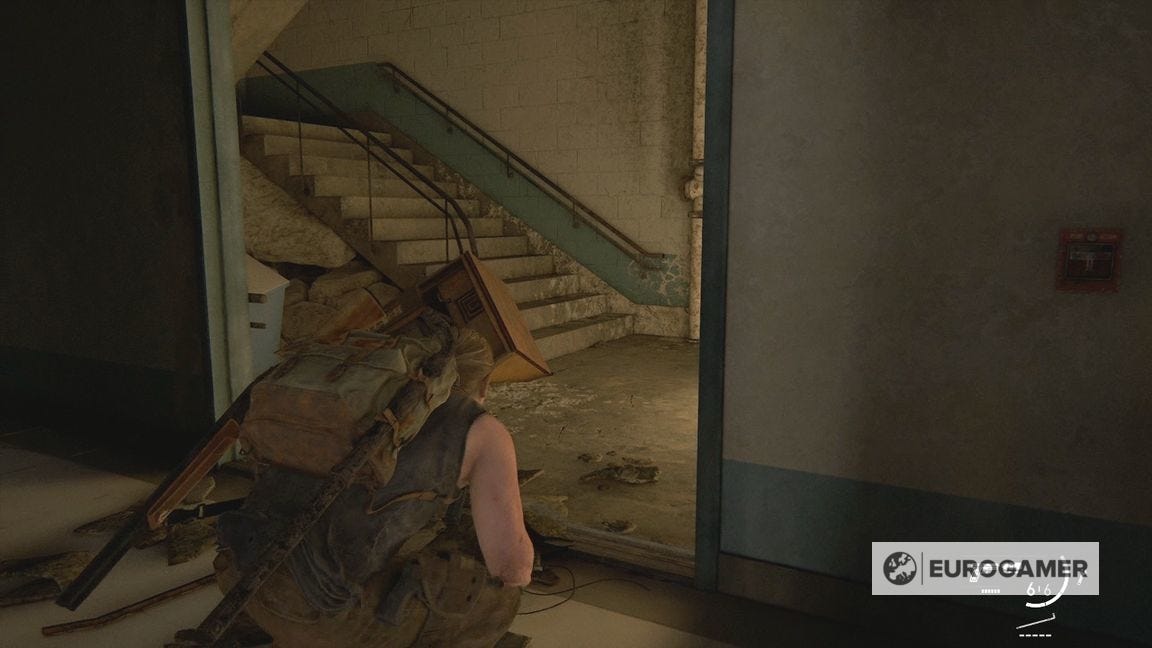
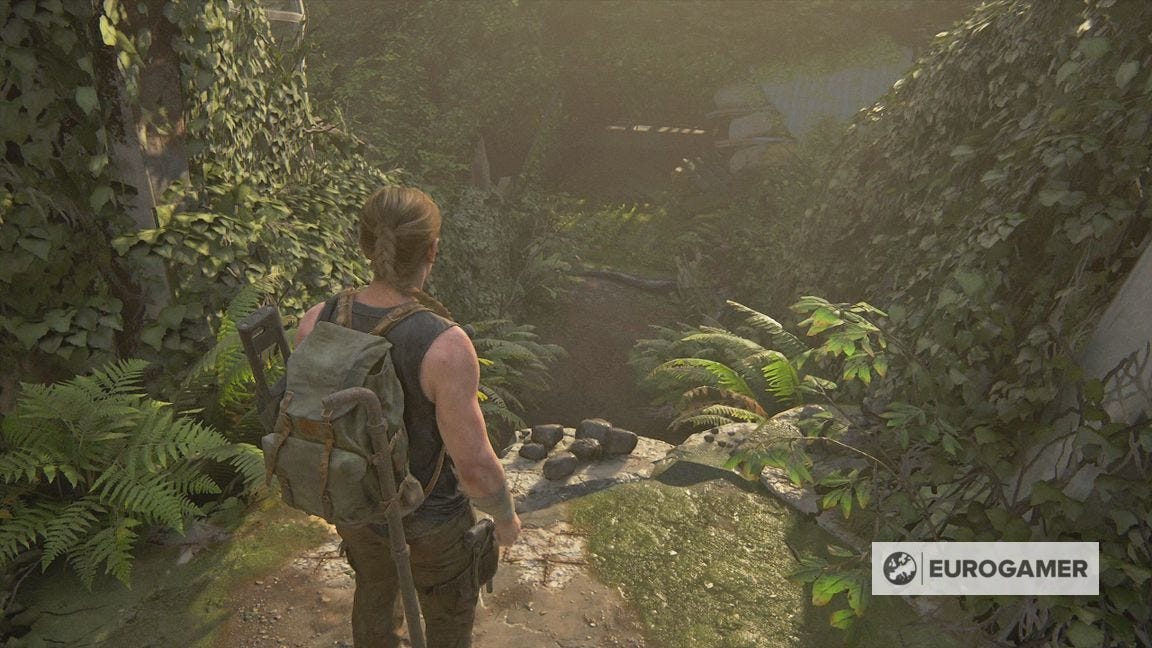
Starting Hostile Territory in The Last of Us Part 2
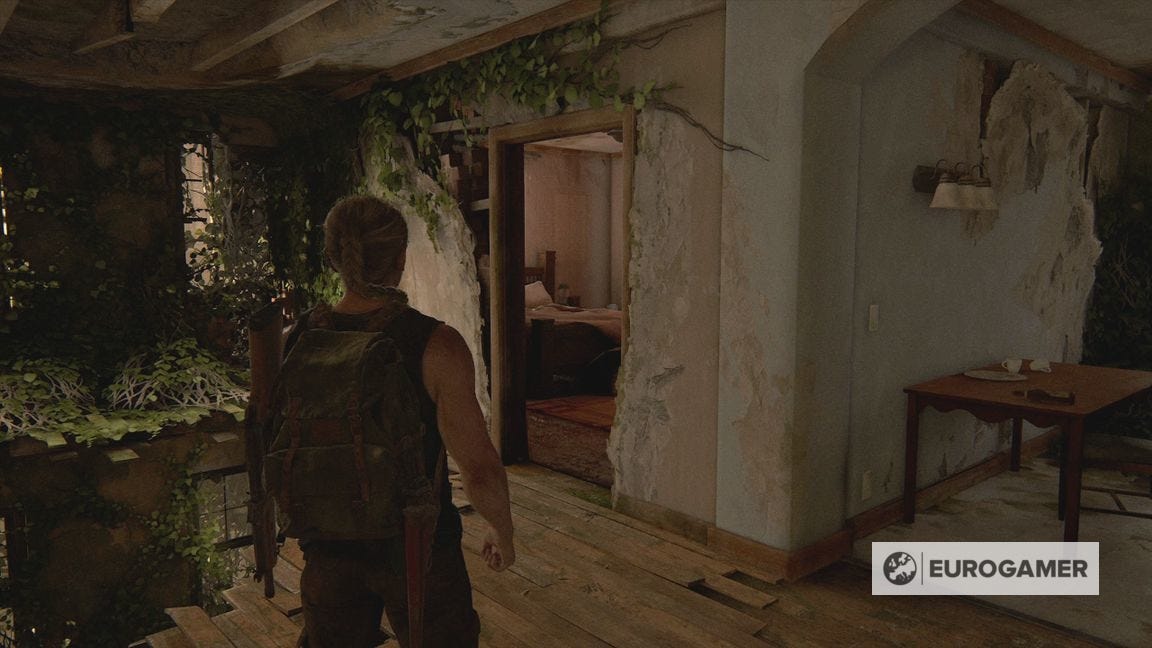
Follow Manny across the roof, down the stairwell and into the flat.
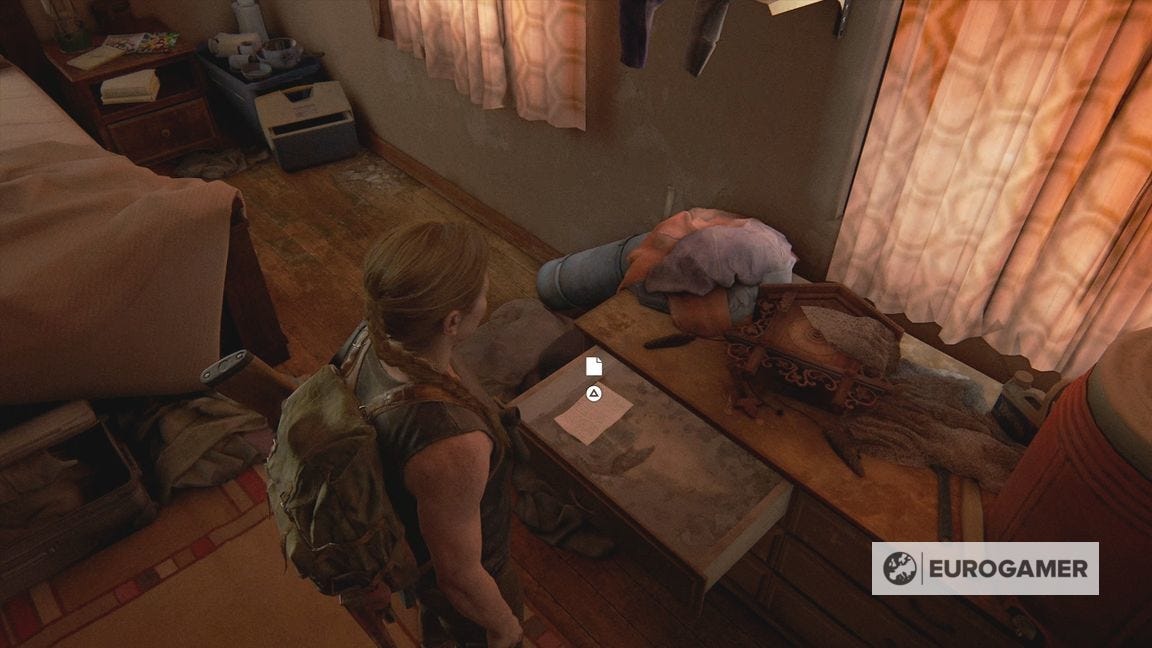
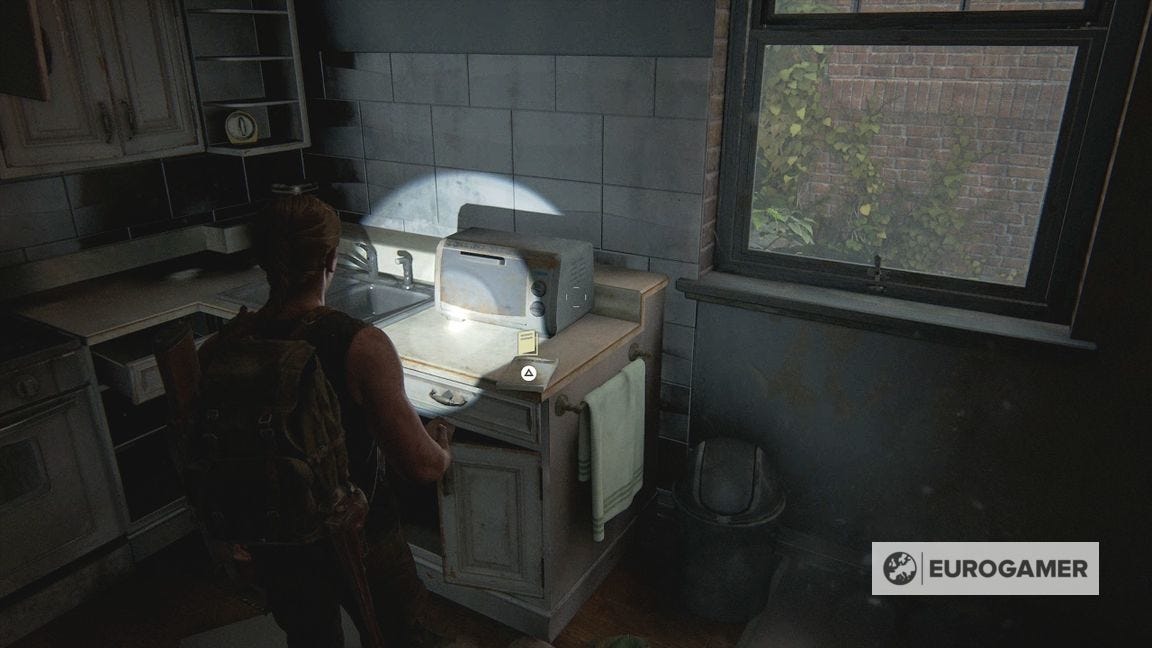
There are some supplies in the bathroom and kitchen, as well as an optional cutscene if you explore the drawers in the bedroom behind the door.
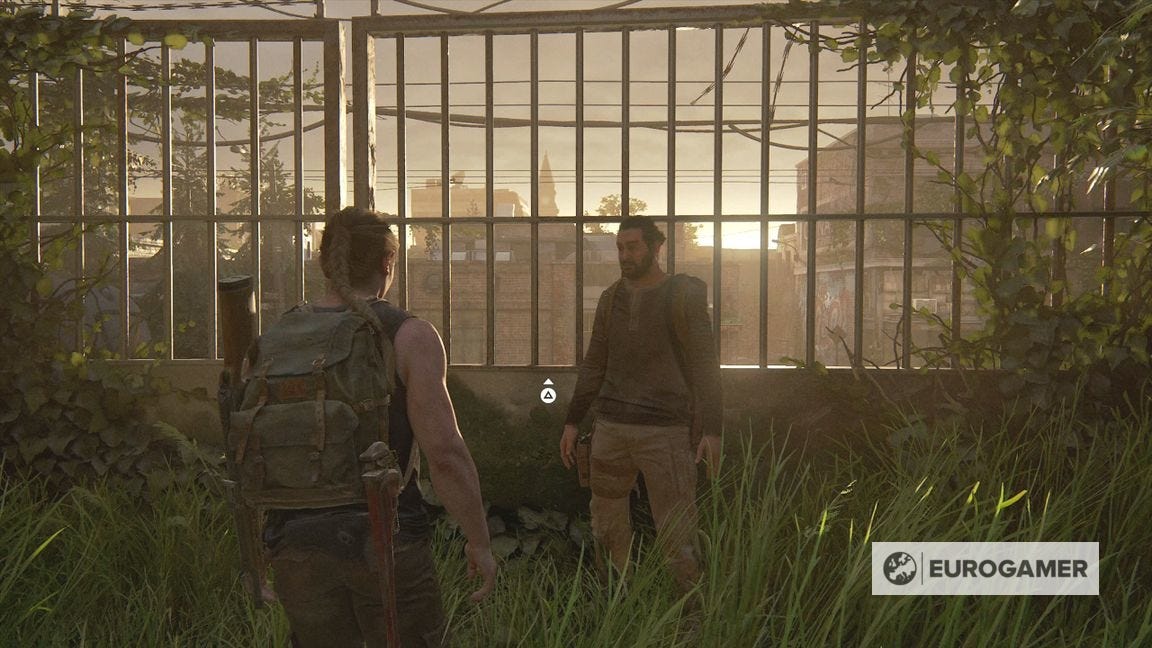
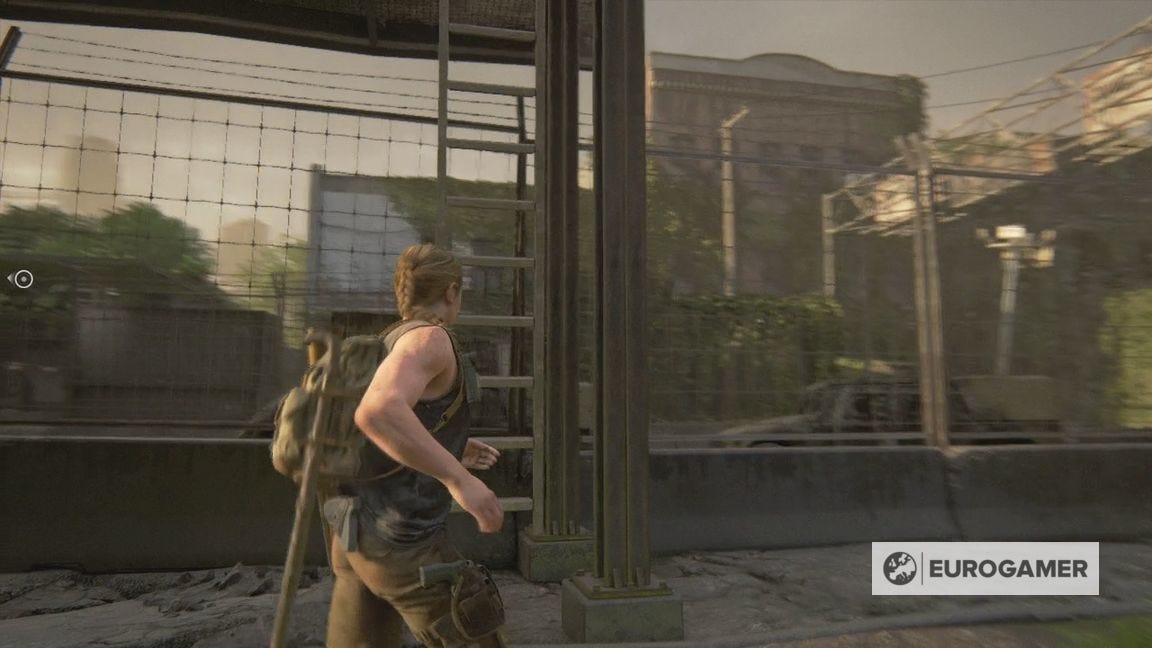
When ready, drop down through the floor to outside.
Let Manny help you over the fence to continue.
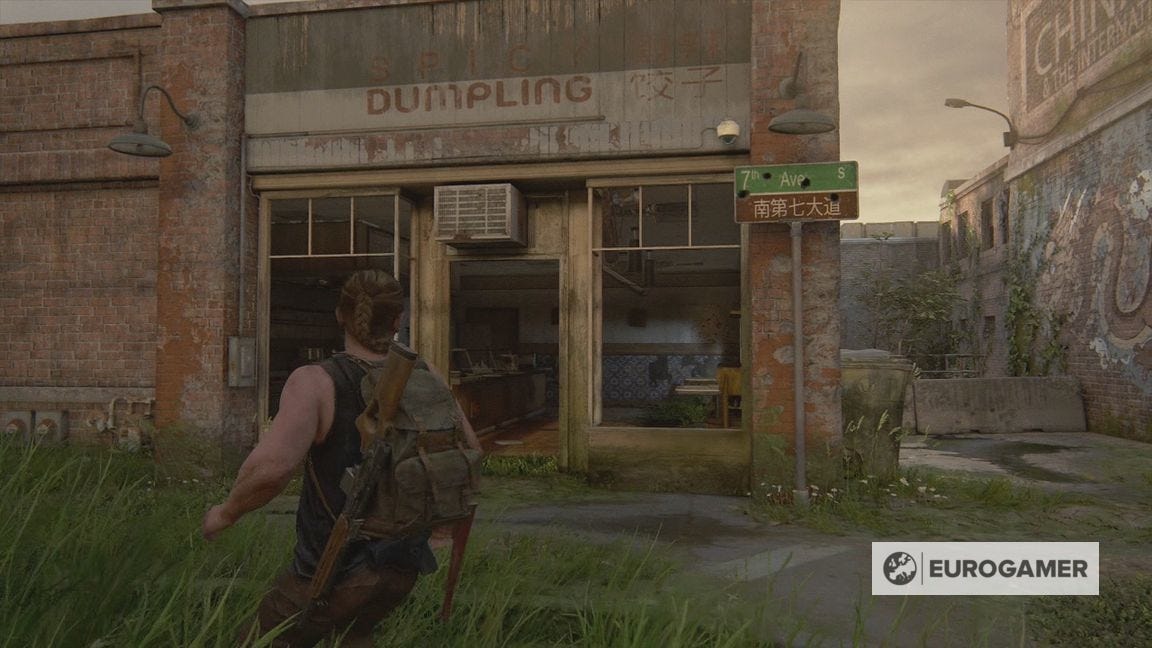
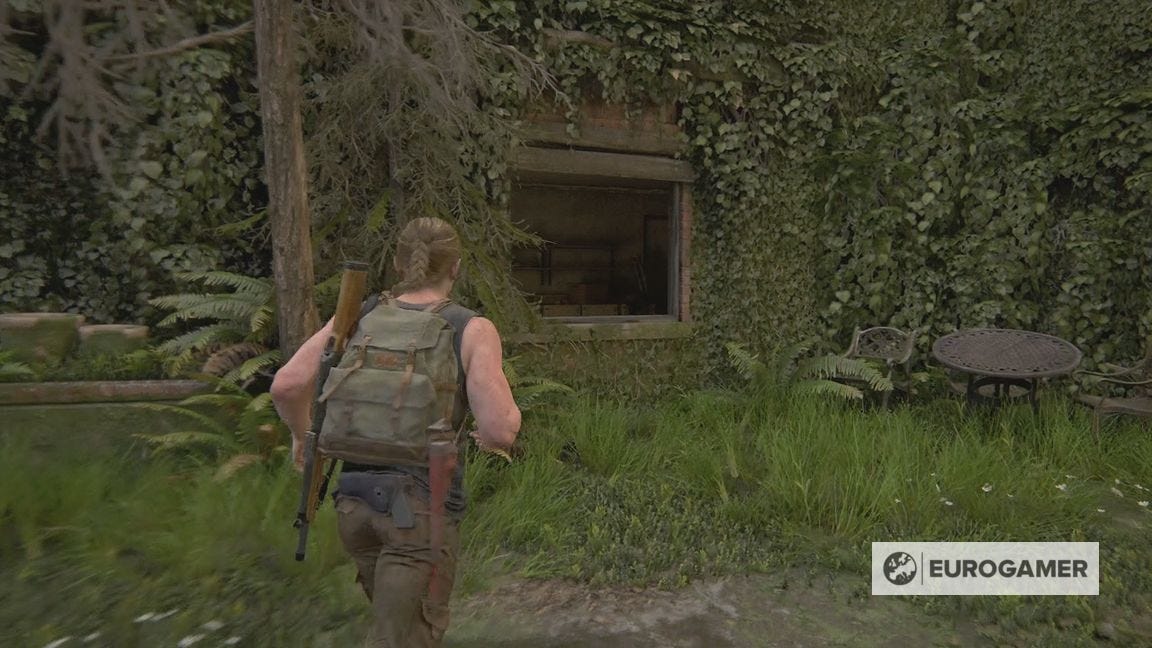
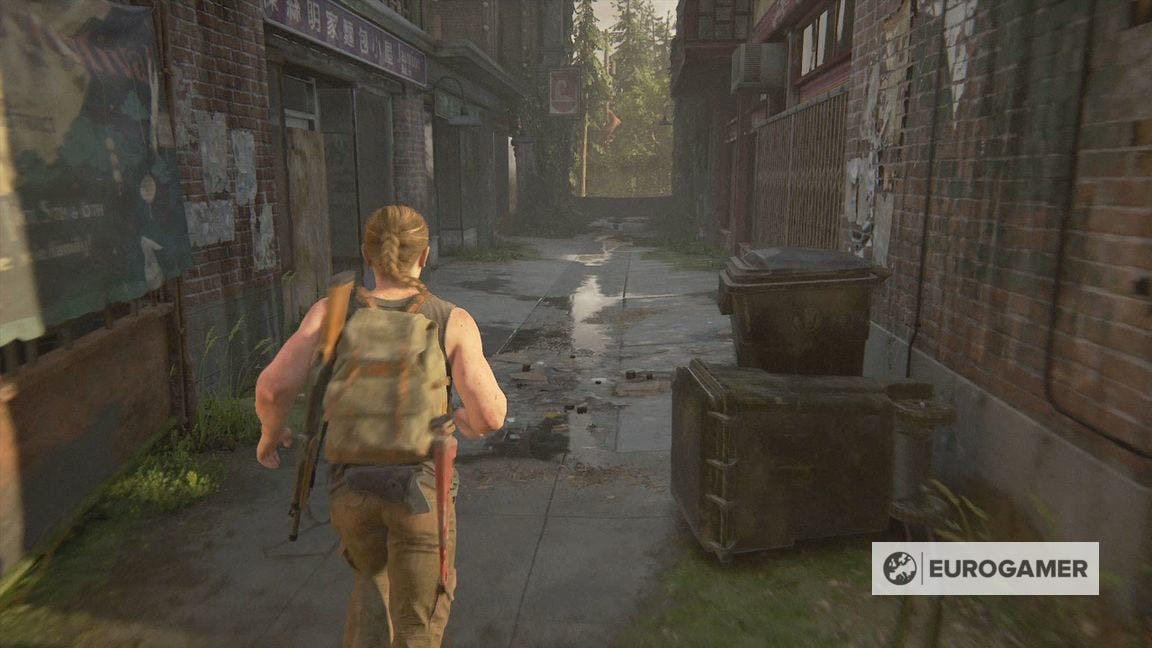
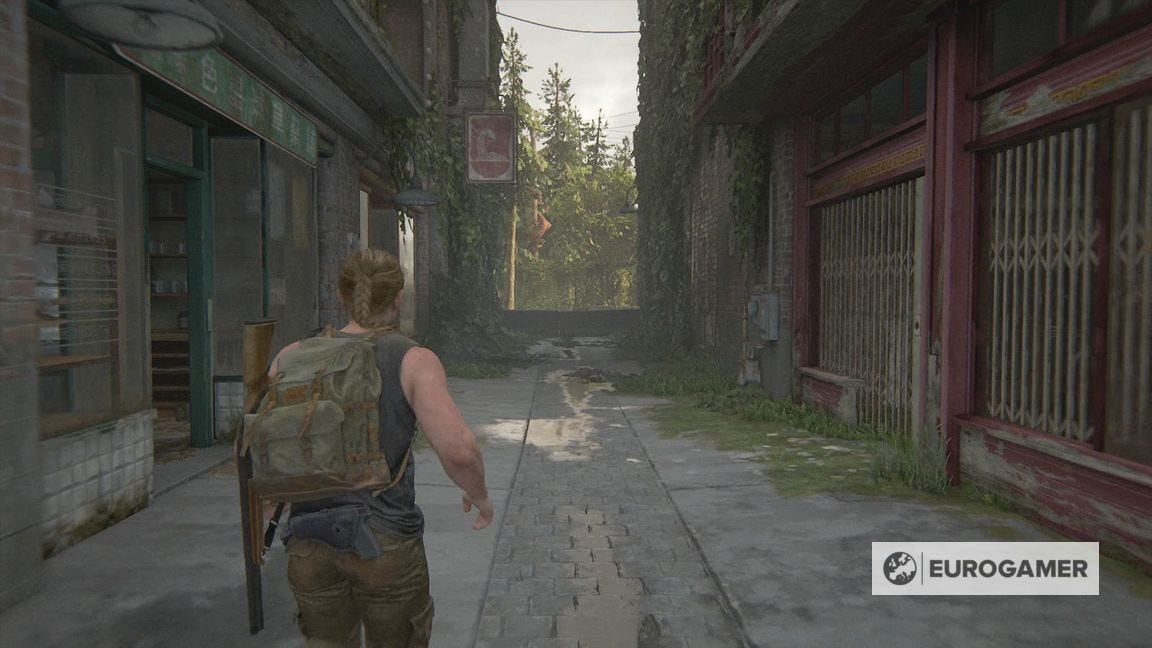
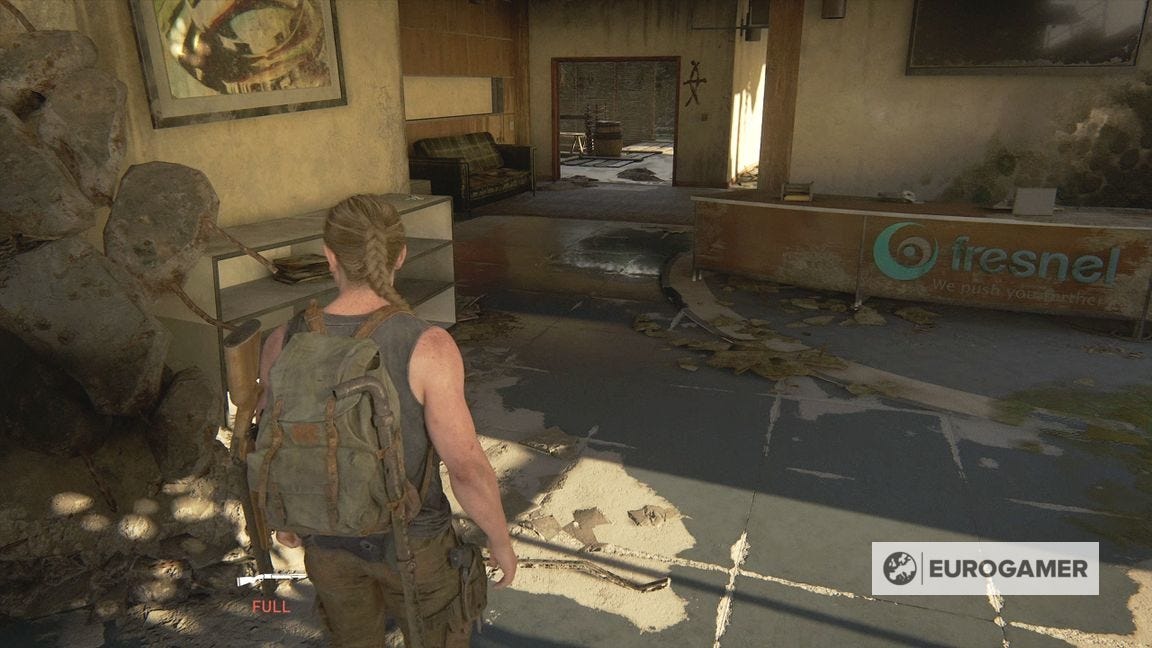
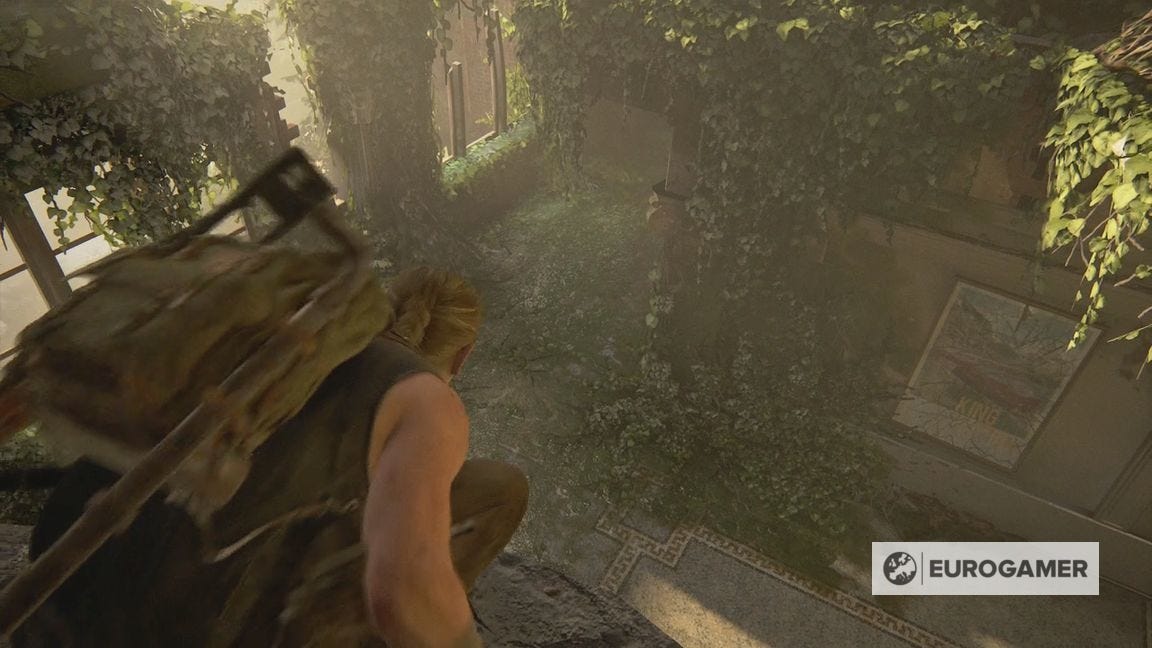
Exploring Spicy Dumpling and Tang Fabrics and Imports in Hostile Territory
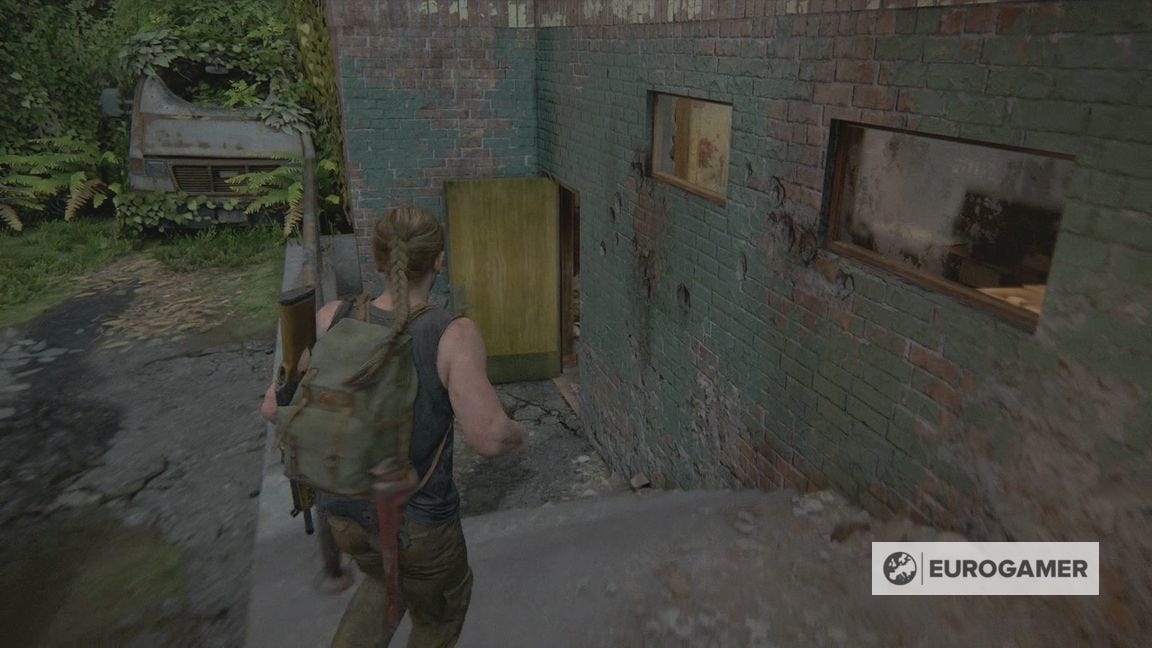
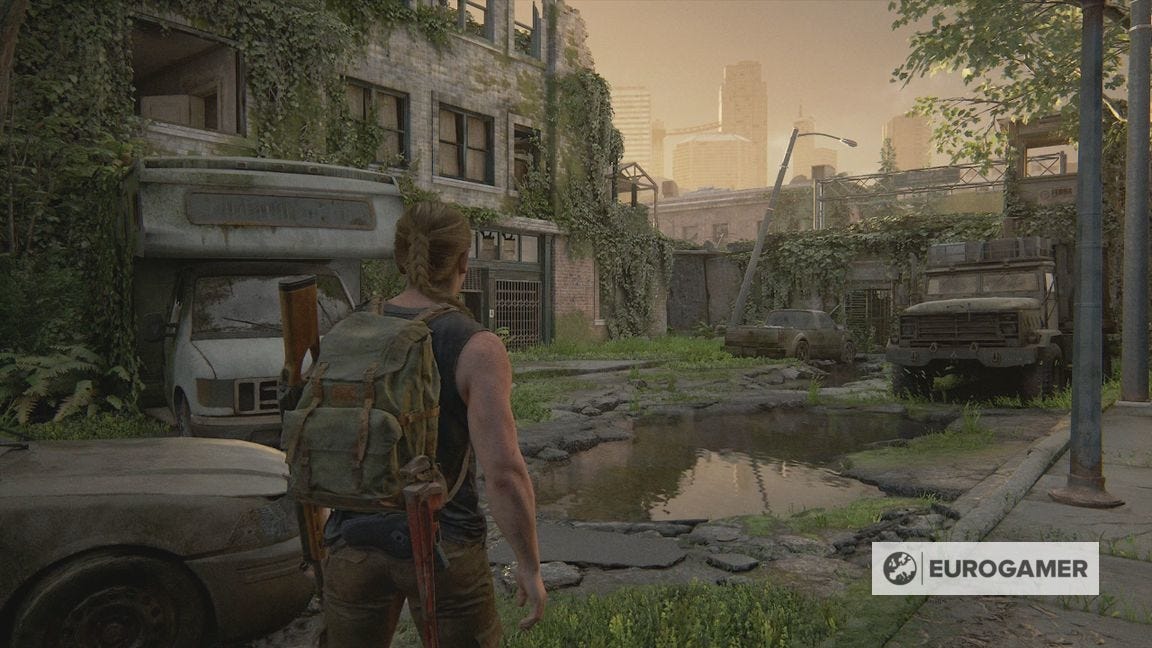
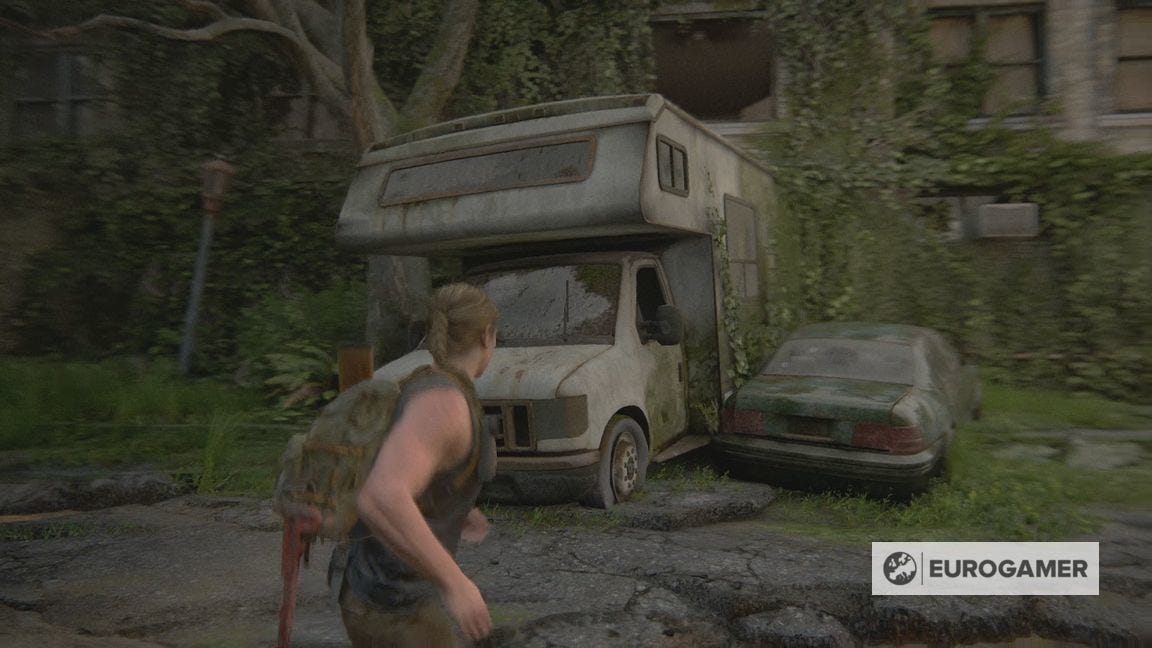
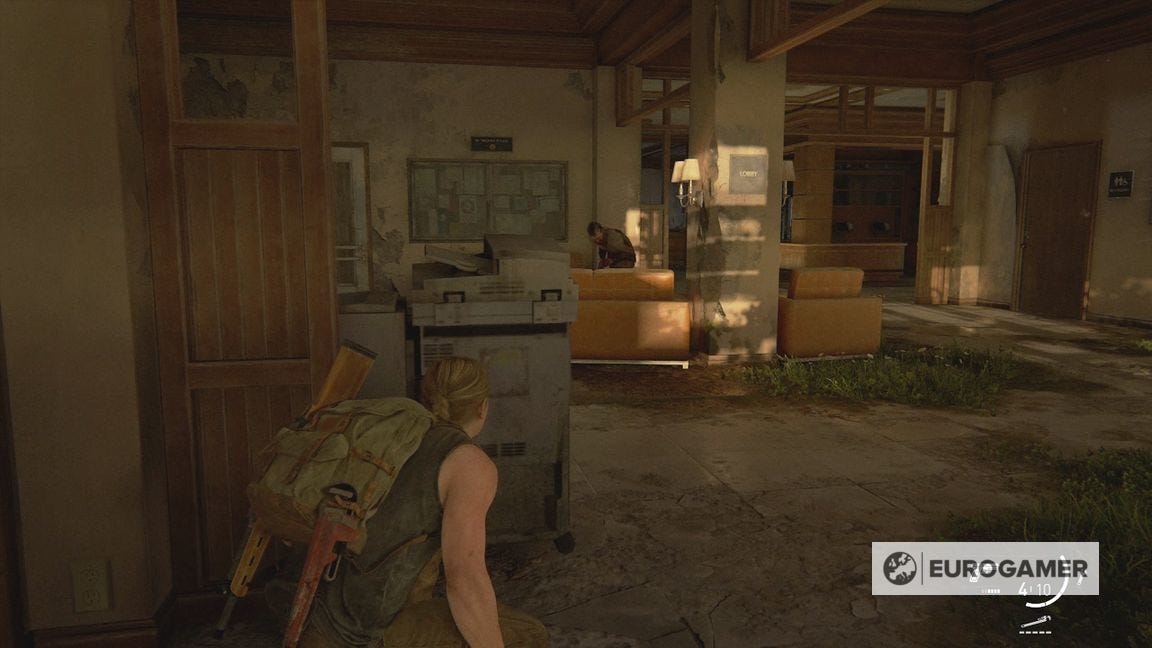
Now you're on your own. Go ahead to the Spicy Dumpling building opposite for some supplies.
Go down the alley at the side towards Tang Fabrics and Imports. Abby will remark on a smell.
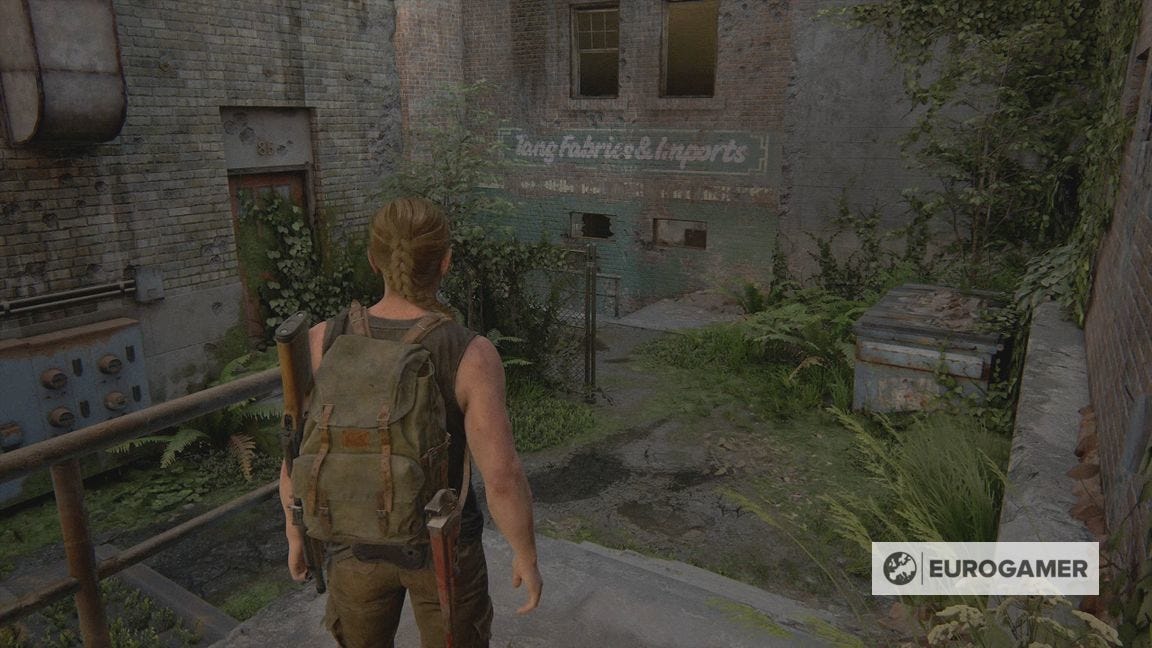
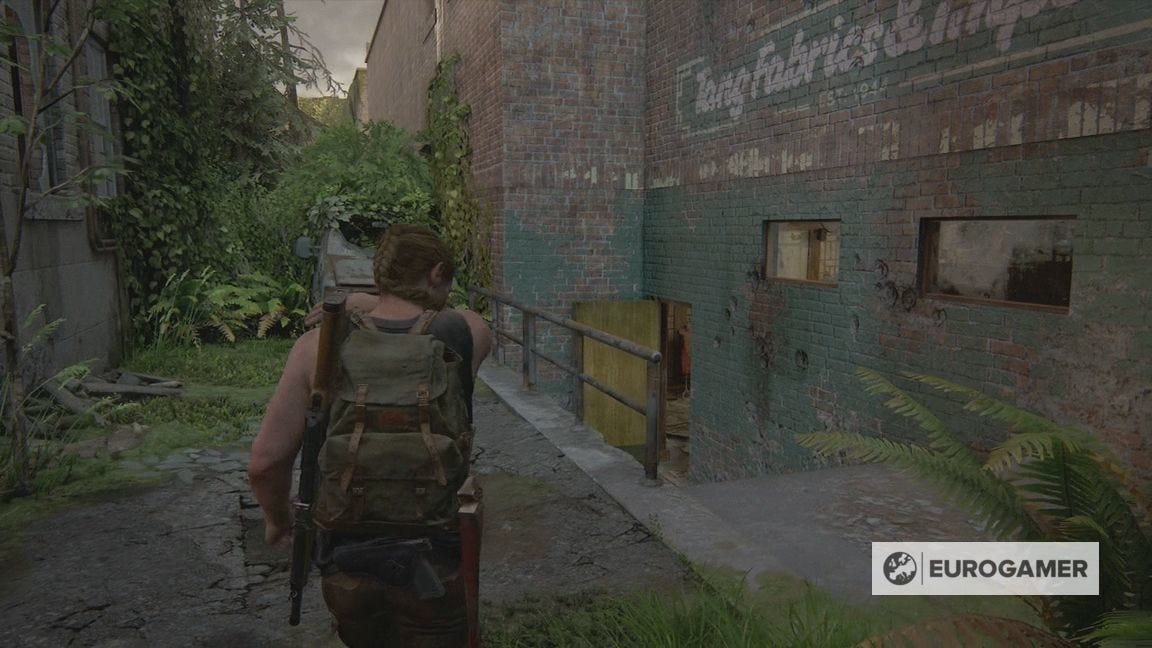
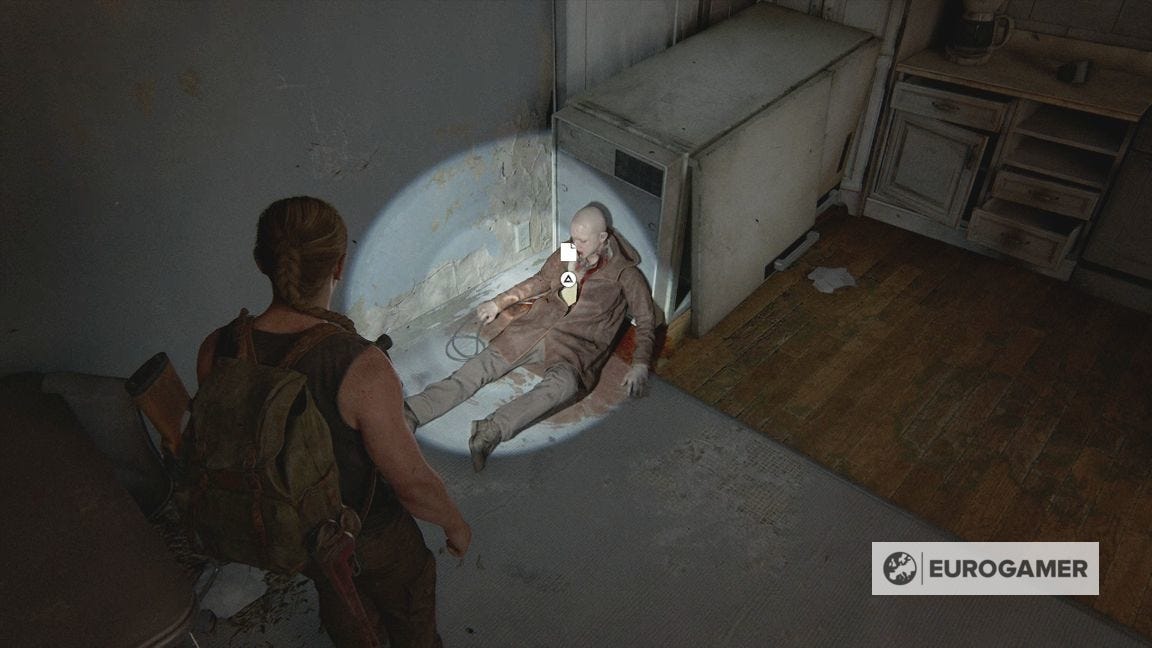
There is a window to the left you can jump into to find a body, with the Scar's Suicide Note Artefact.
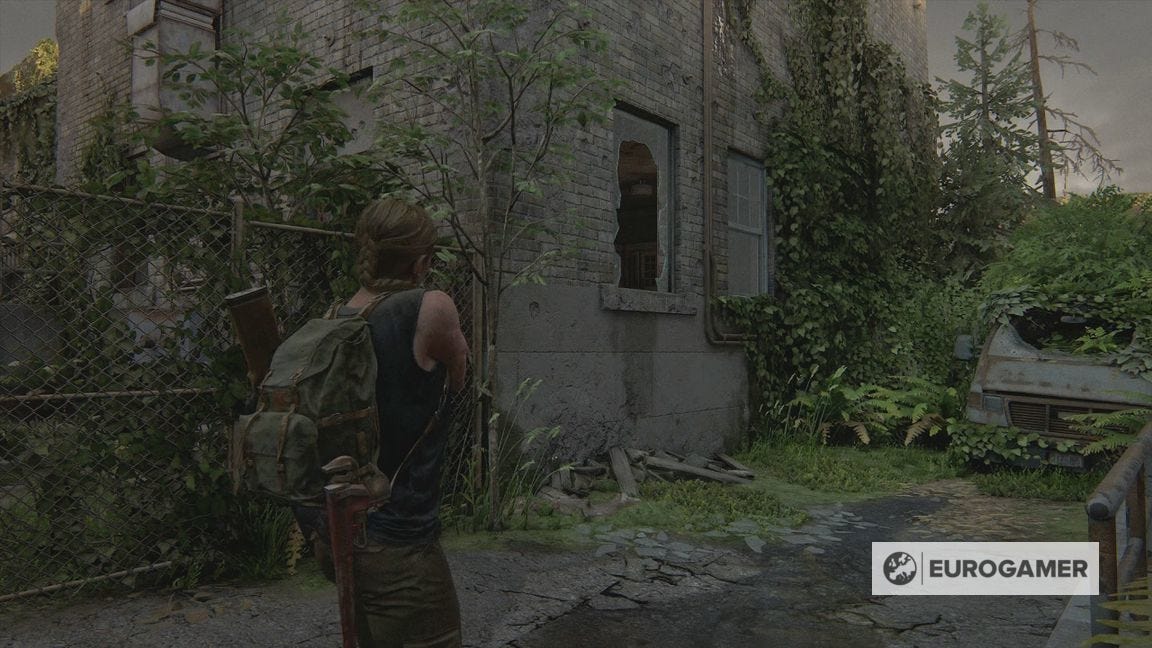
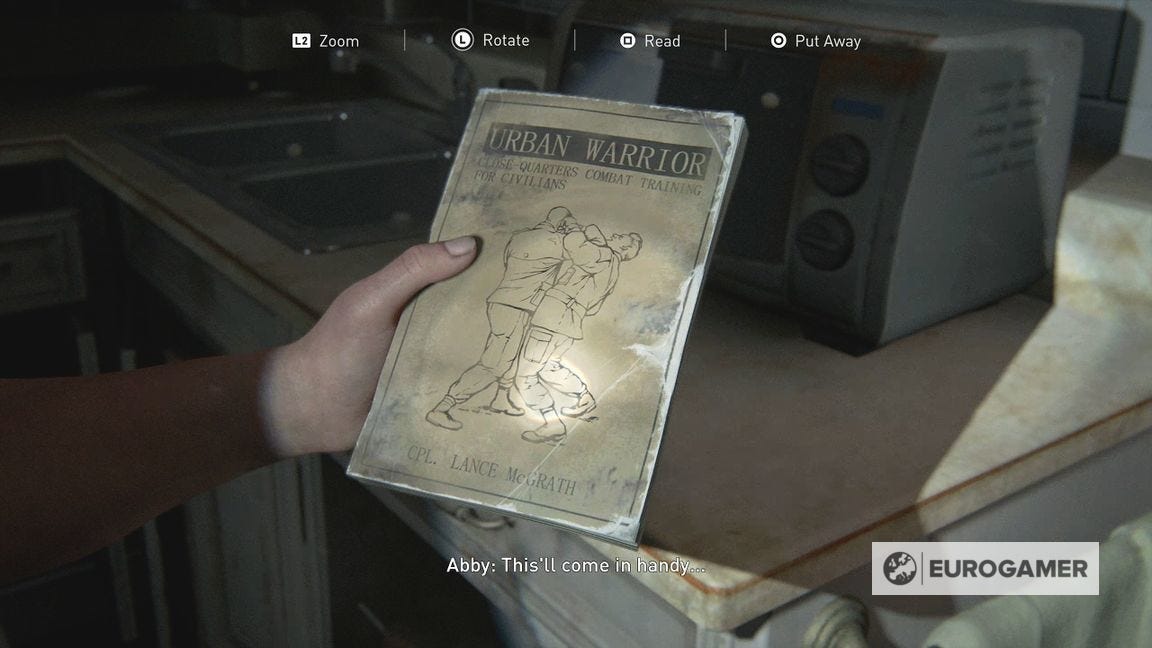
While here, grab the Urban Warrior Training Manual to learn the Close Quarters upgrade branch.
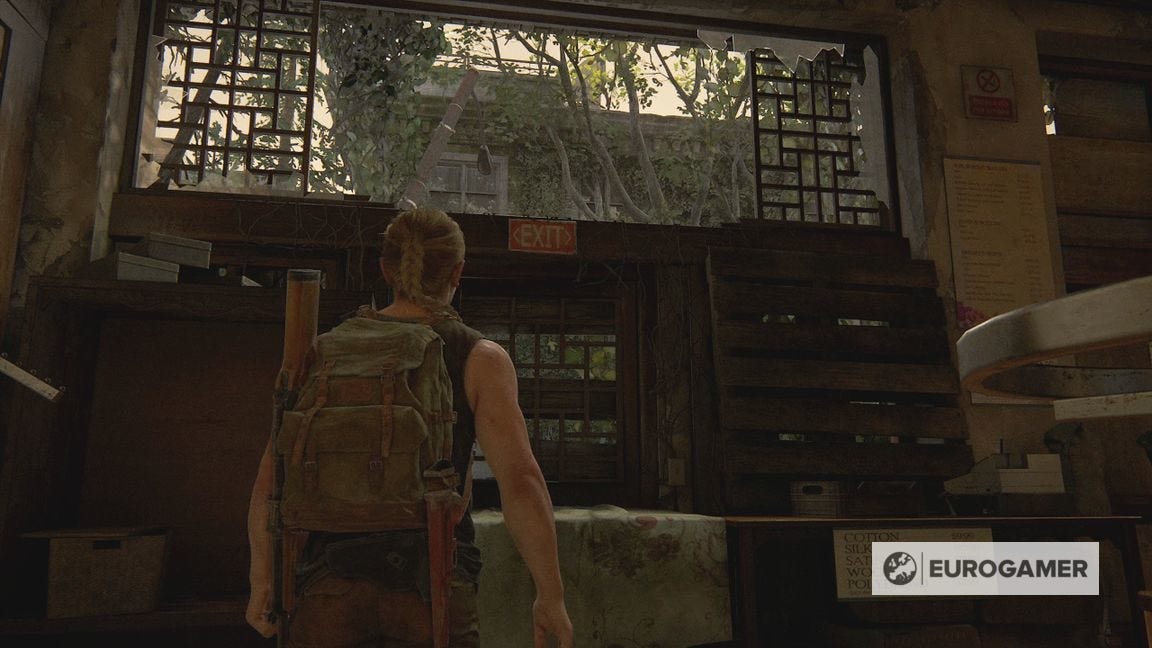
Head into the Tang Fabrics and Imports building, then through the window opposite and back outside.
The turnstyle at the checkpoint at the end here is unusable, so climb the car and the van in the middle and into the window.
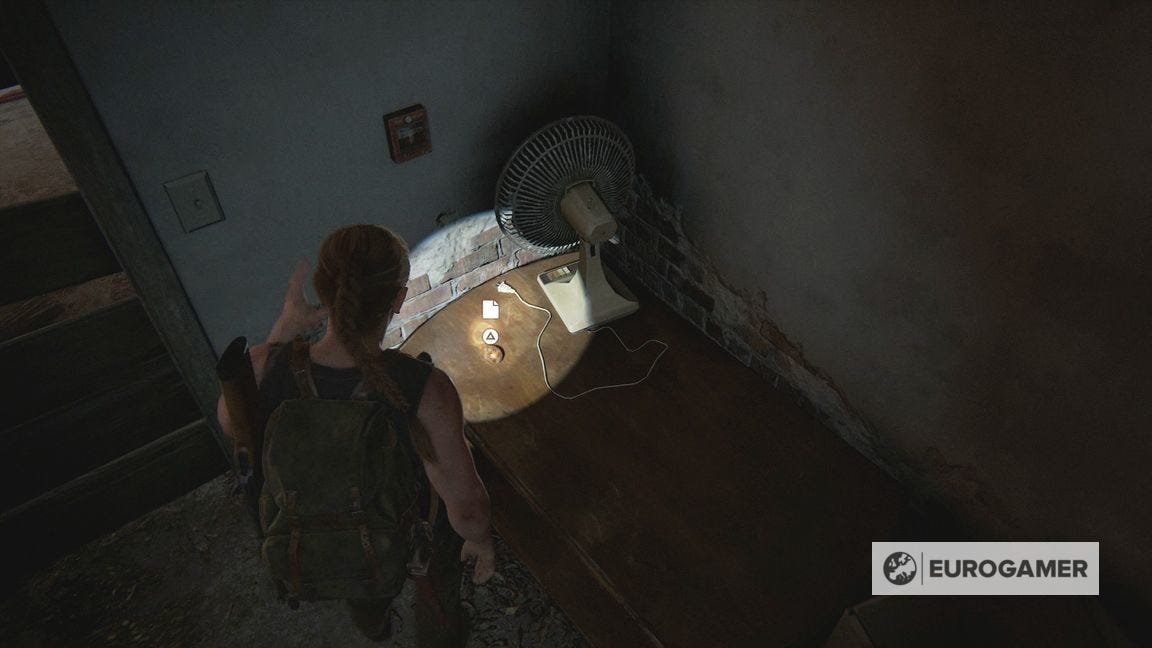
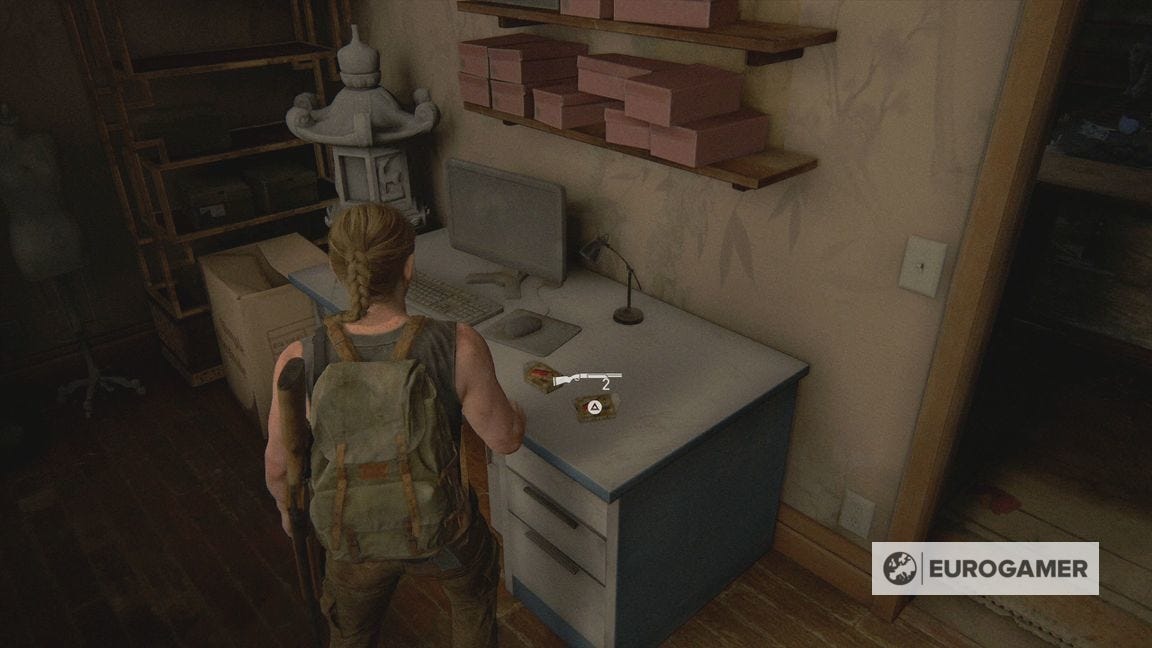
As soon as you enter, open the drawer ahead for the North Dakota Coin.
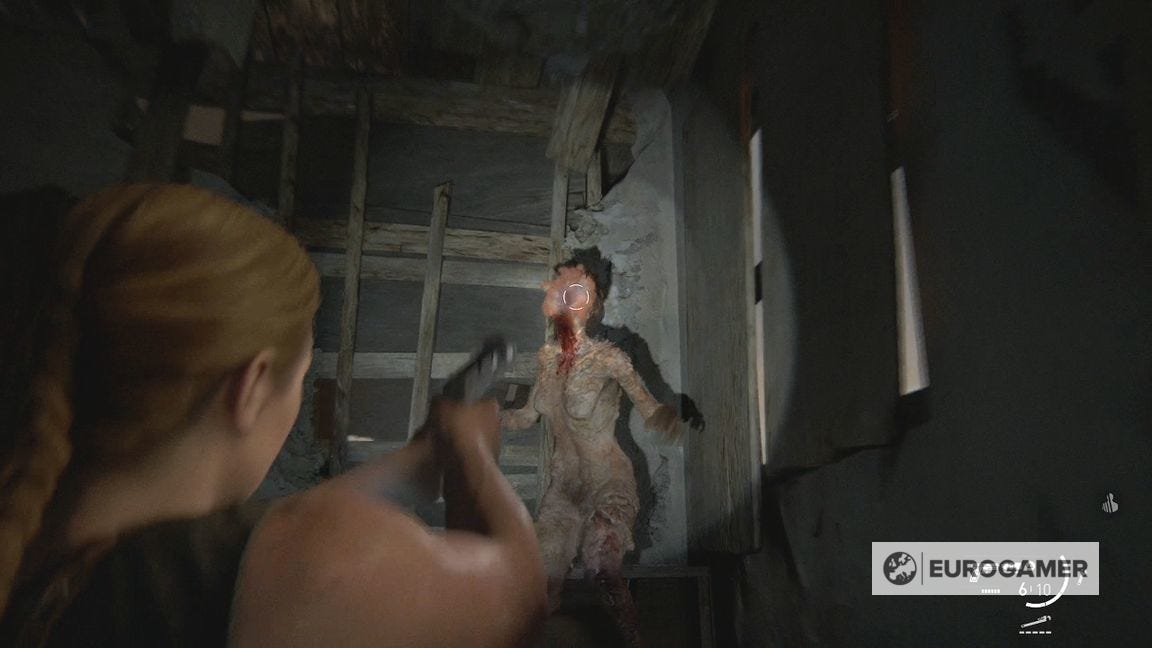
Continue to the next room and shimmy through the gap. There's a Clicker jump scare here.
Move back to the room you were just in, then fend it off with the prompt prompts and shoot it until down.
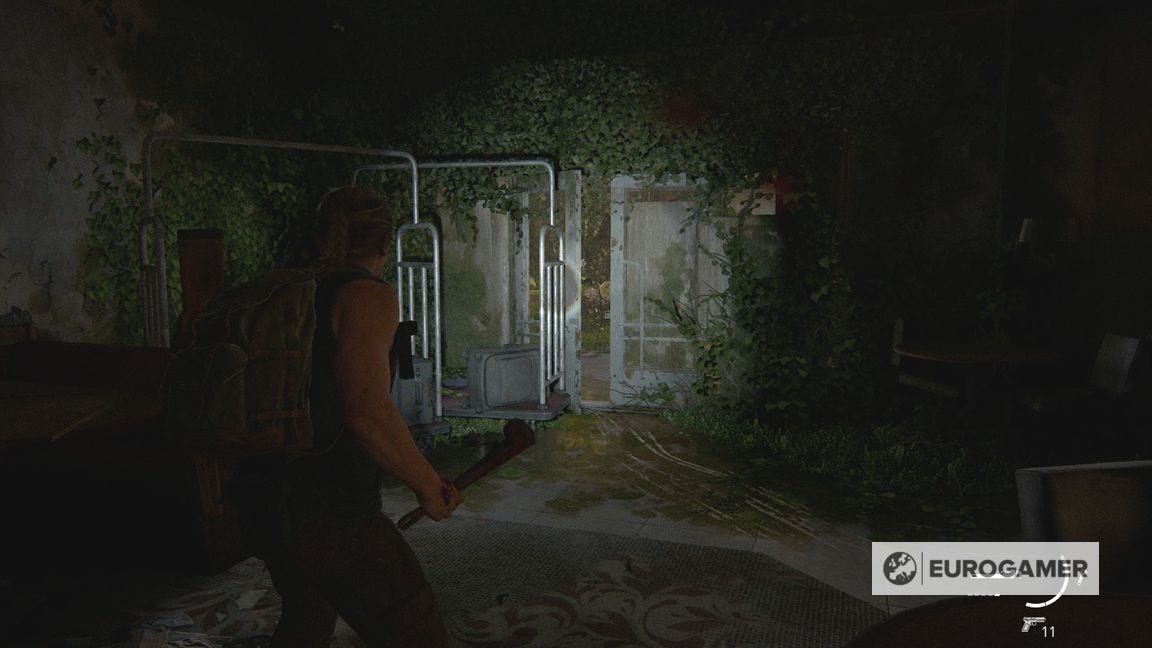
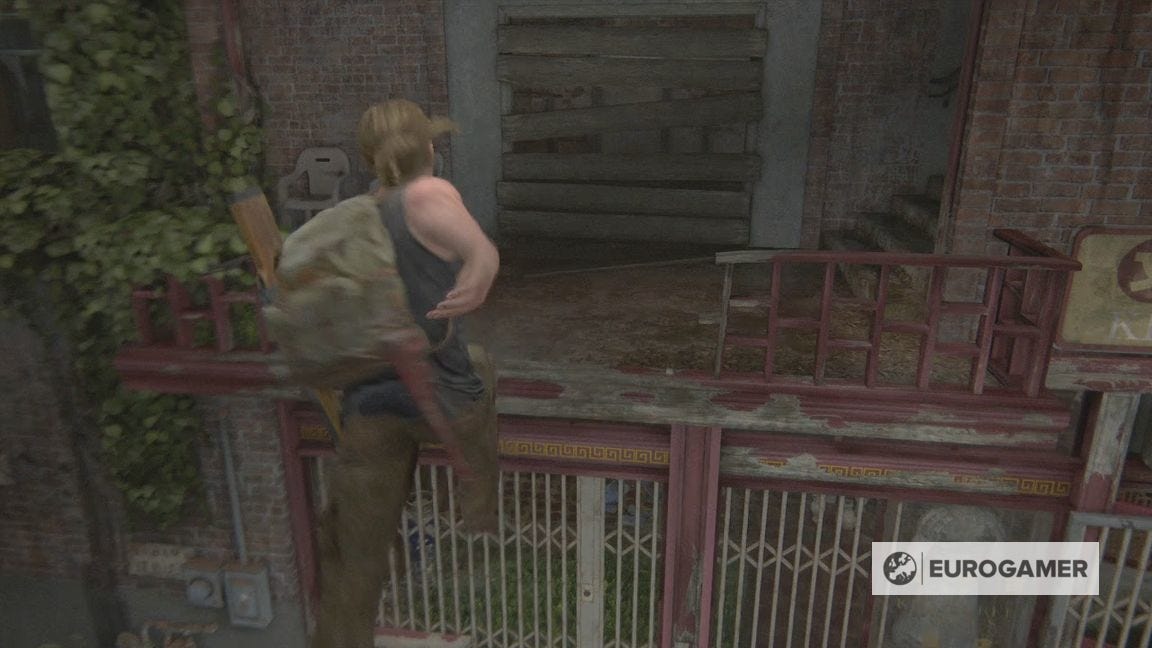
With the danger out the way, shimmy back through to the rest of the flat. There are supplies here to find. When ready, run and jump onto the checkpoint wall outside.
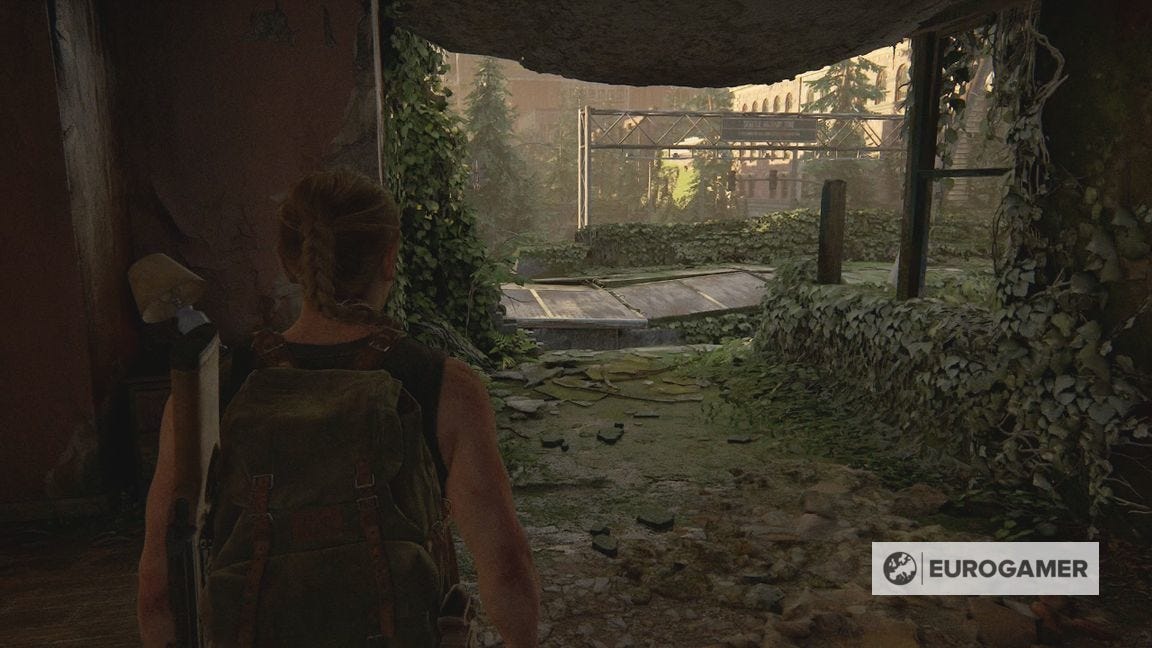
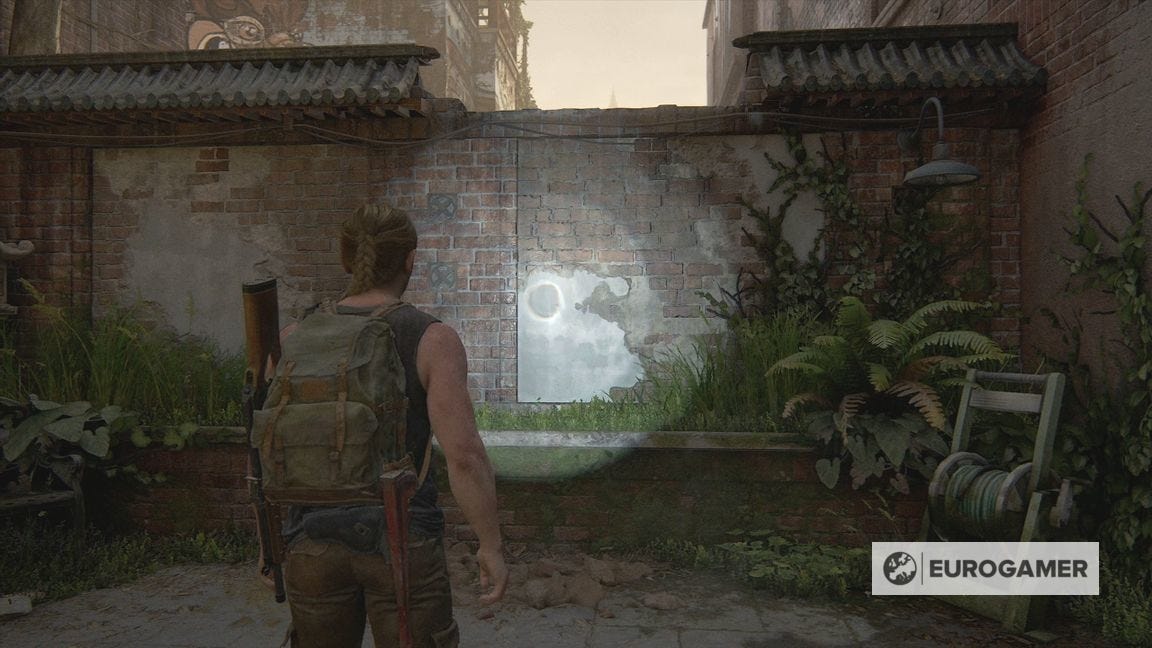
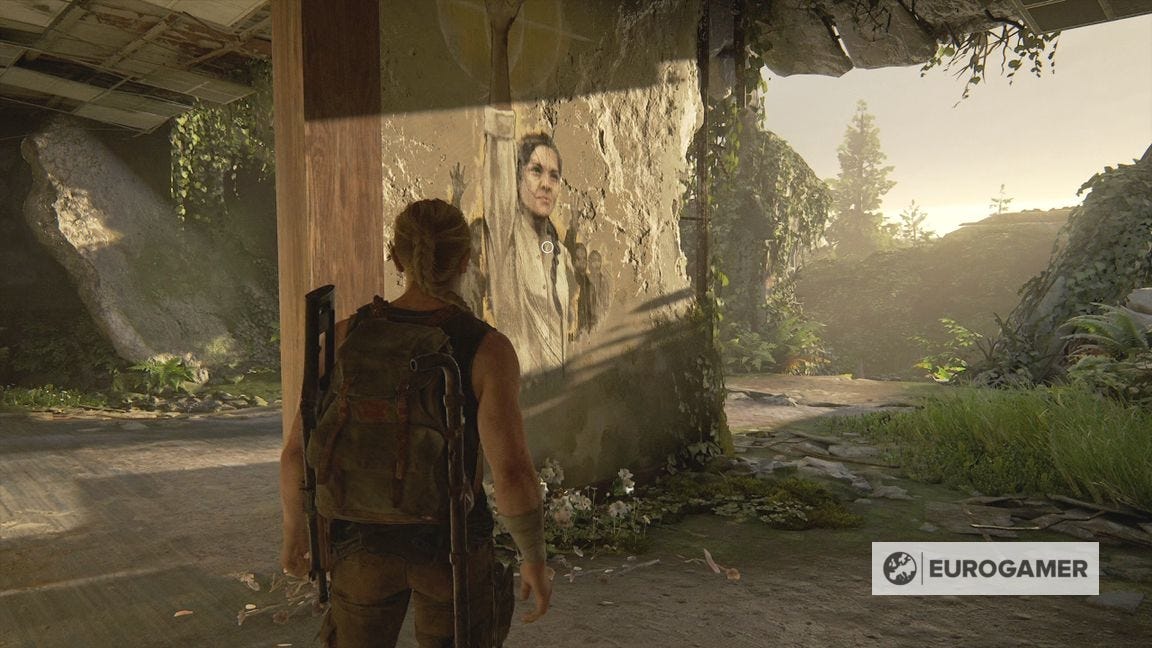
Go left and crawl through the vent and out to a courtyard with a mural opposite.
Infected encounter in Hostile Territory
There is a window to the far left you can enter with some supplies, then to progress, go to the right corner and drop into the area with the stairs and debris.
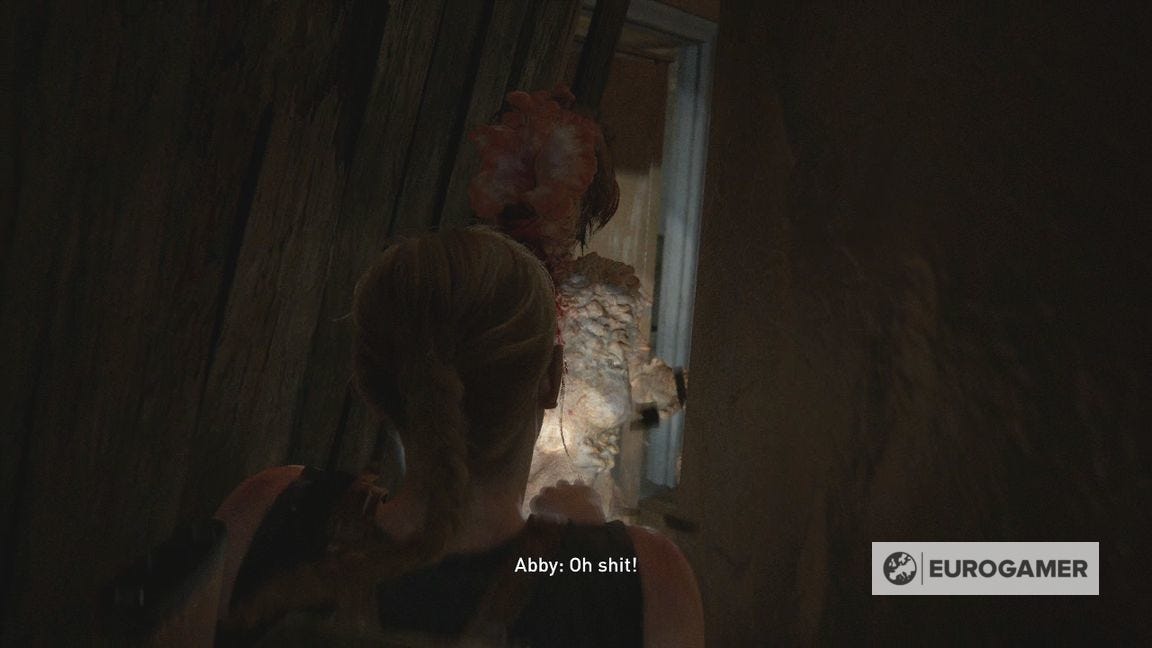
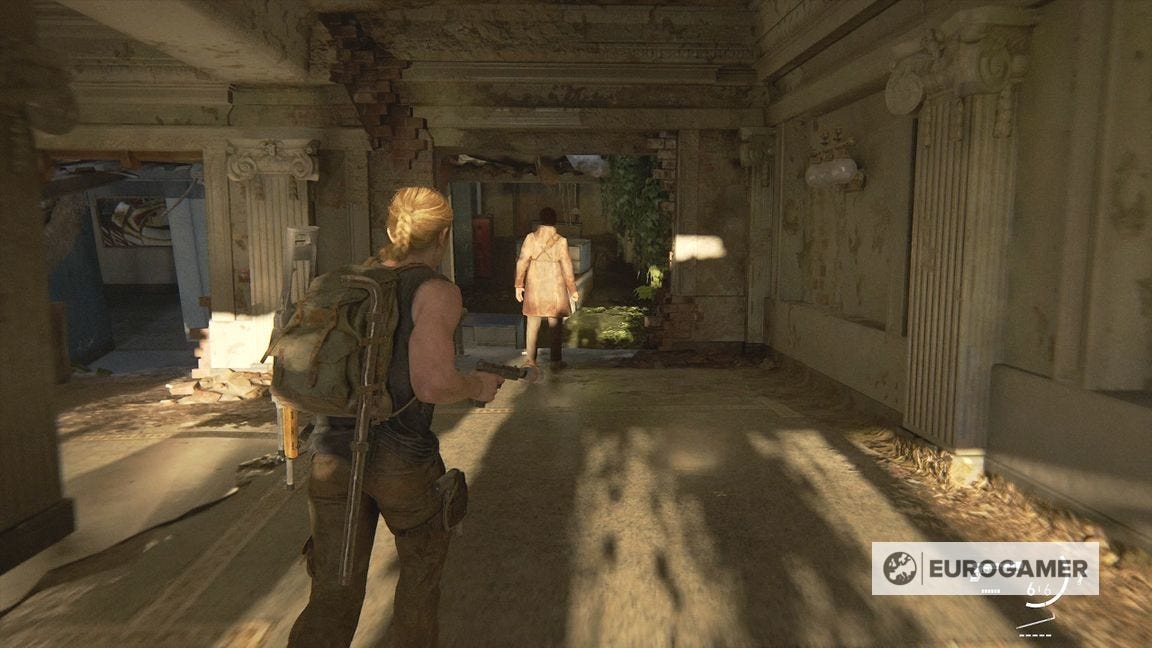
After crawling through and the vehicles drive by, you'll be in an area with infected.
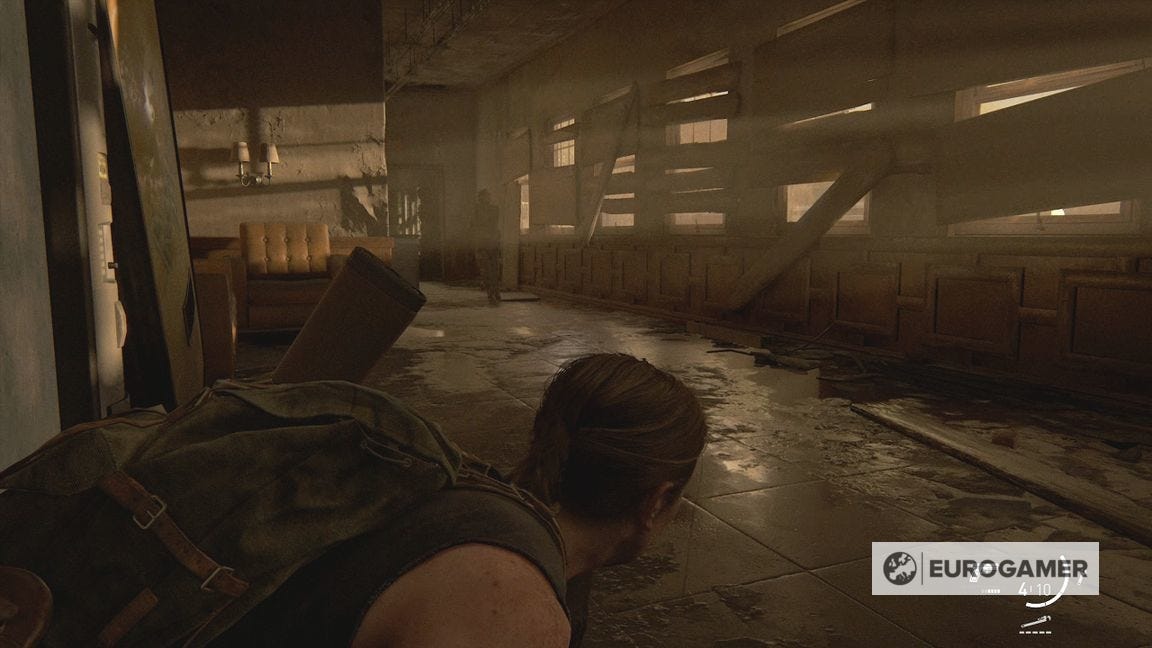
Clear them out as you go and head to the far left corner, where you can go outside by squeezing past the luggage racks.
Note you cannot stealth kill clickers without a shiv, so avoid or take them out in a gunfight.
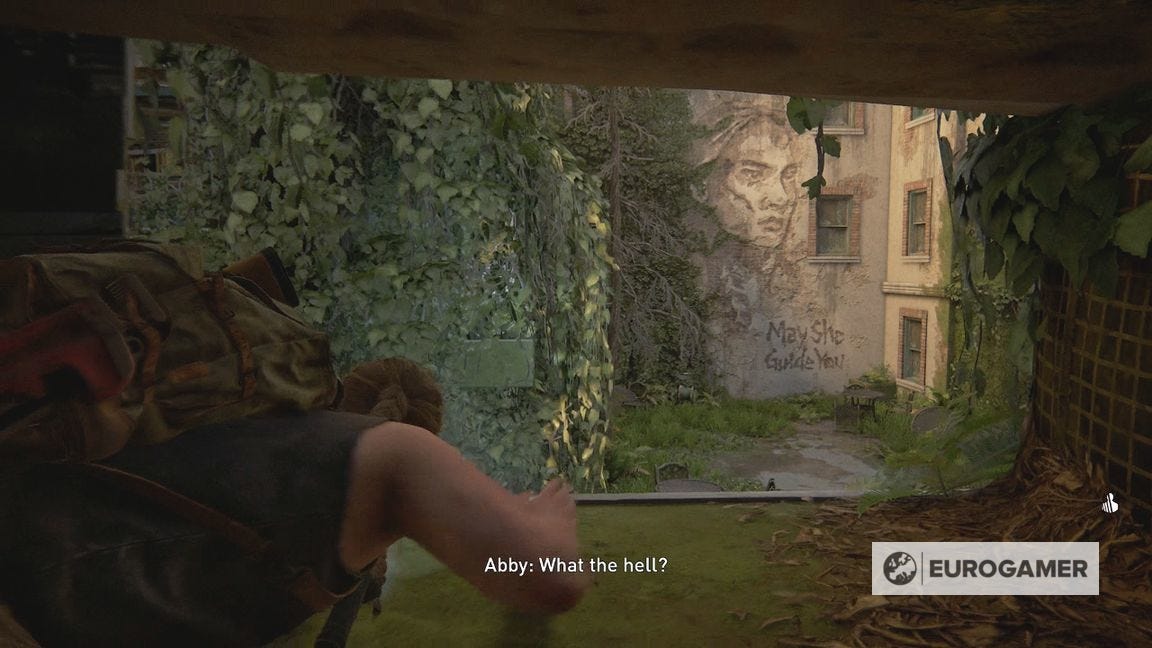
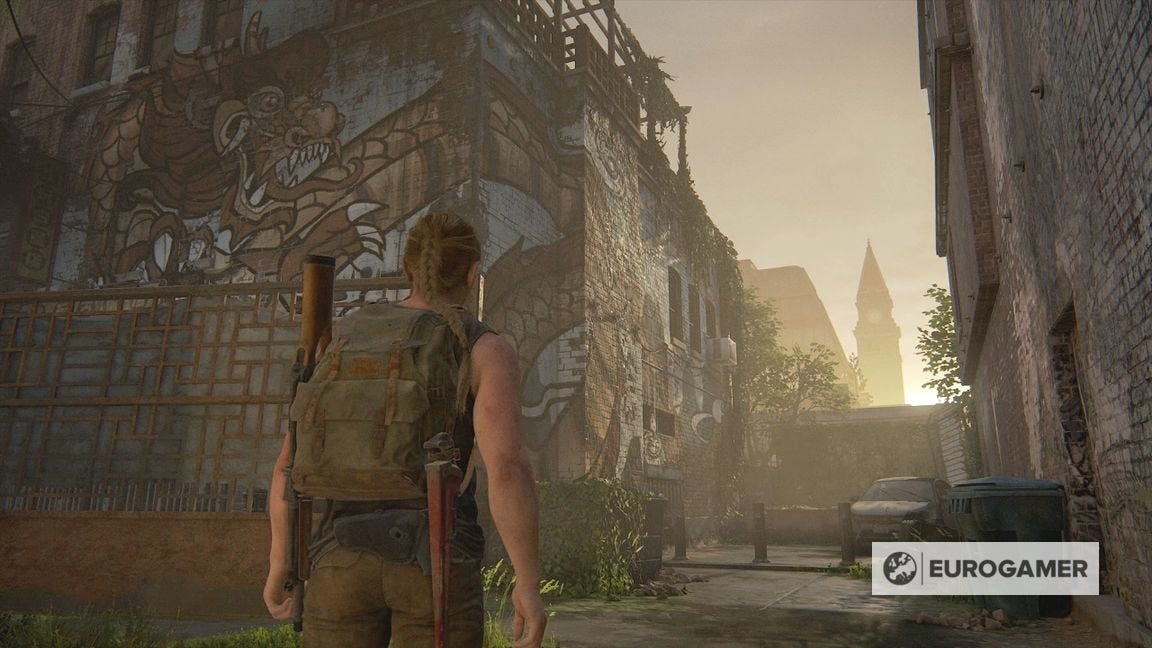
Once outside, climb the wall to an alleyway with a colourful mural on the corner of the building ahead.
Note you might hear some infected scream out as you explore - we'll point out when you will encounter them so there's no surprises.
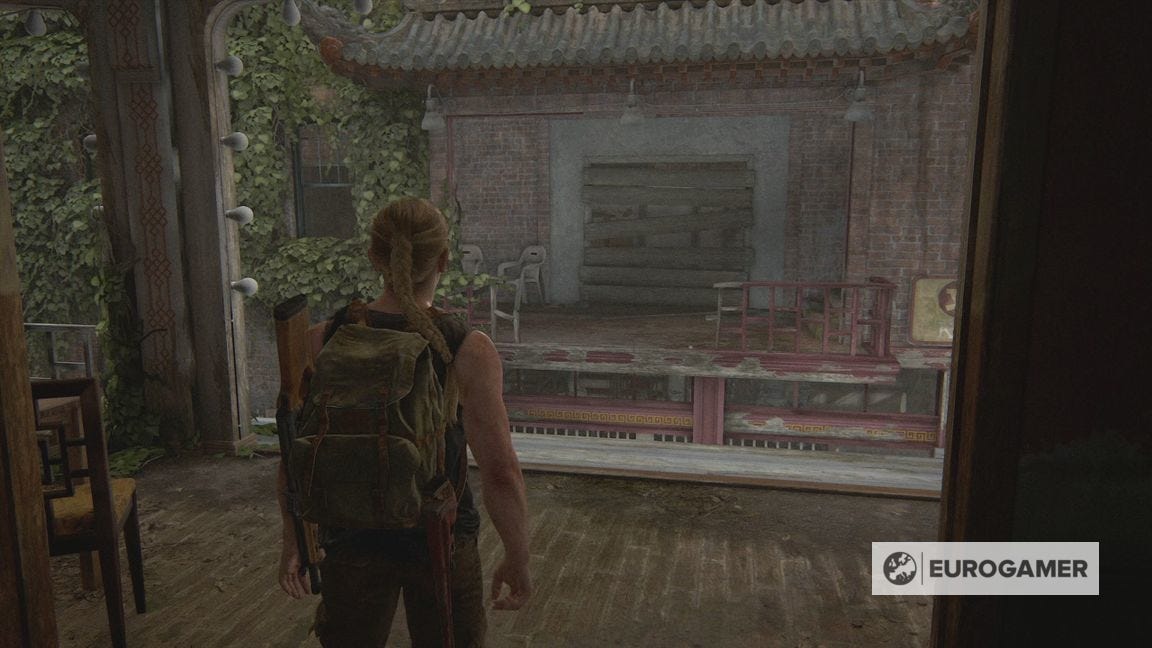
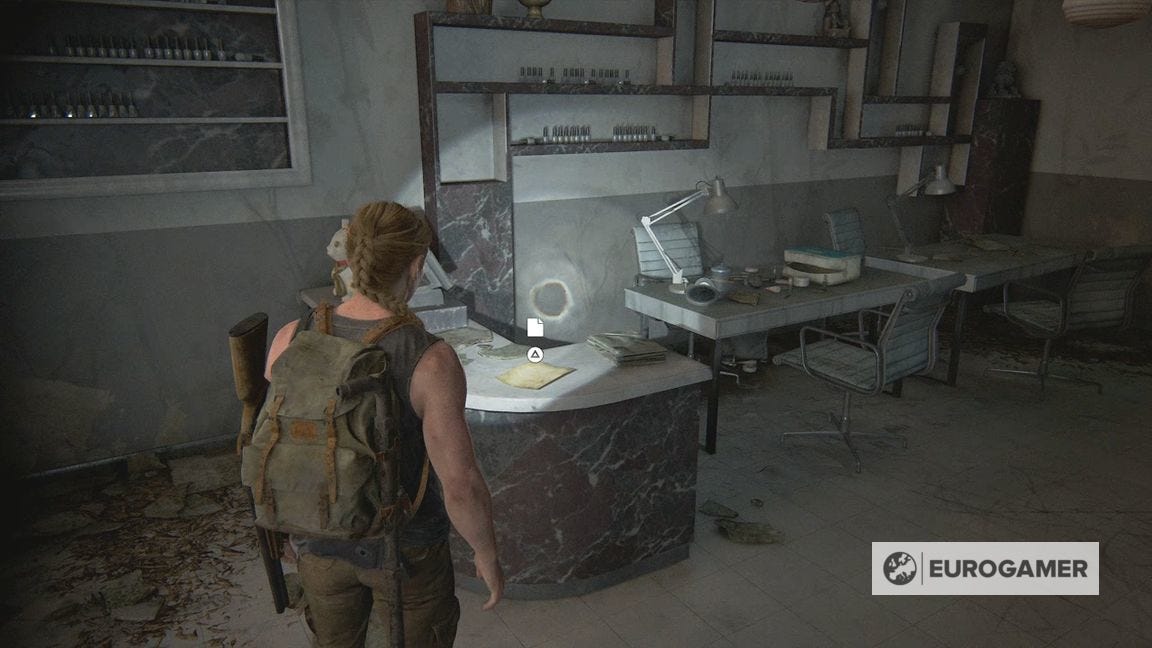
Exploring Jasmine Bakery and Ruby Dragon in Hostile Territory
Turn left down here for a series of boarded up shops. Let's start going through them.
Jasmine Bakery
You know the score here. Smash the window and climb inside.
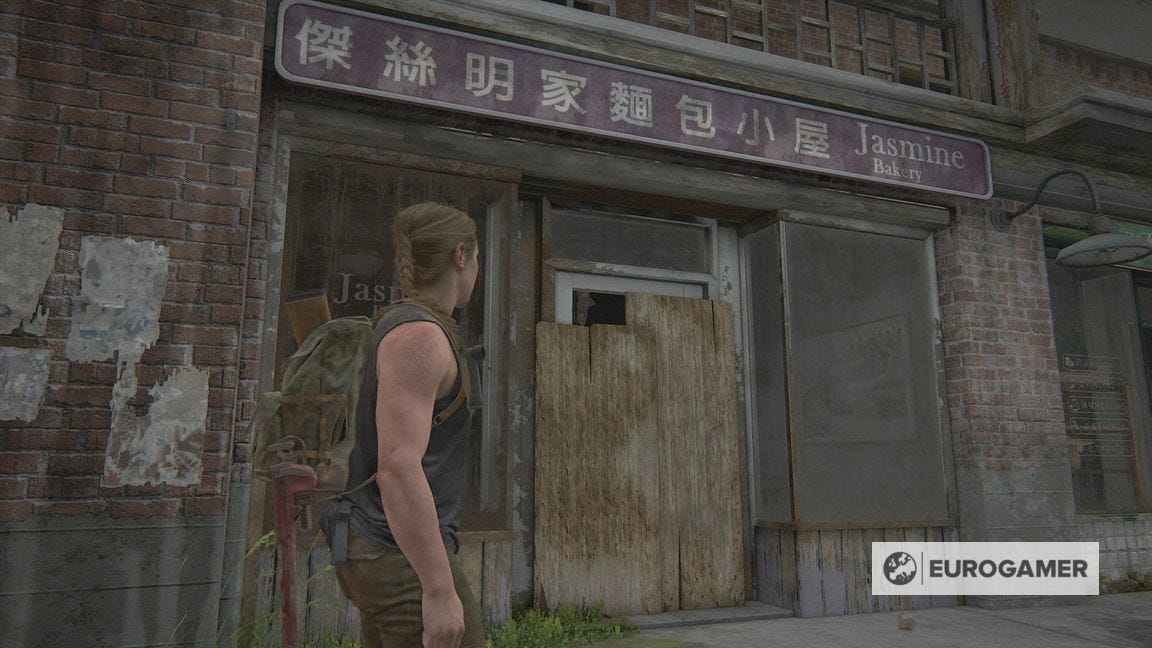
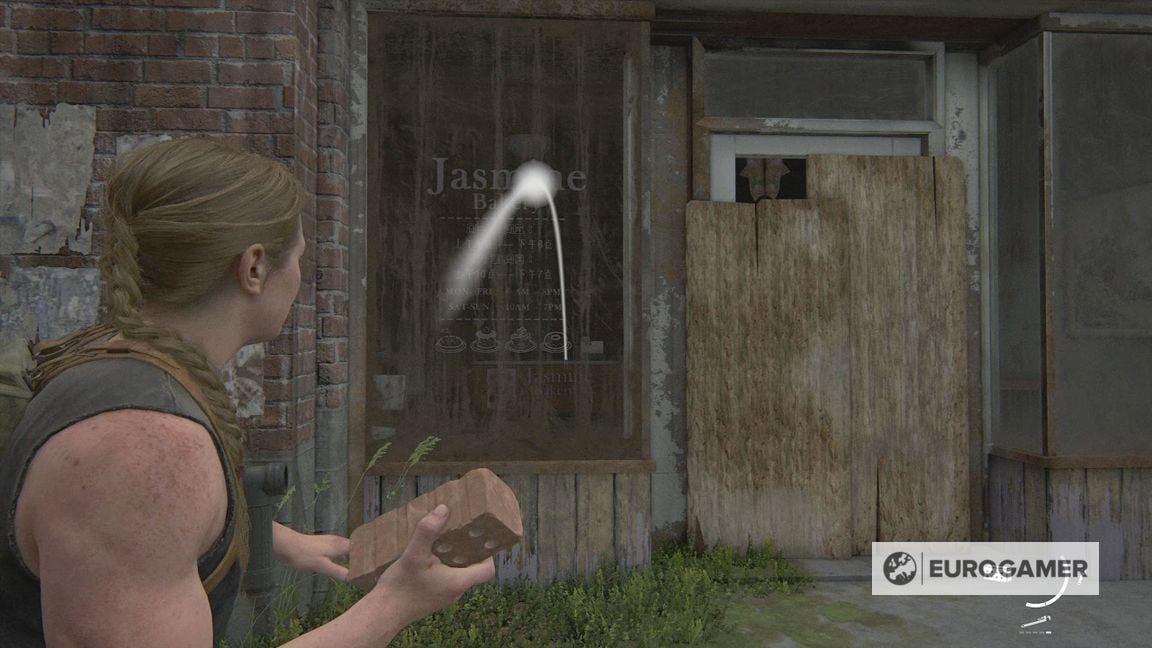
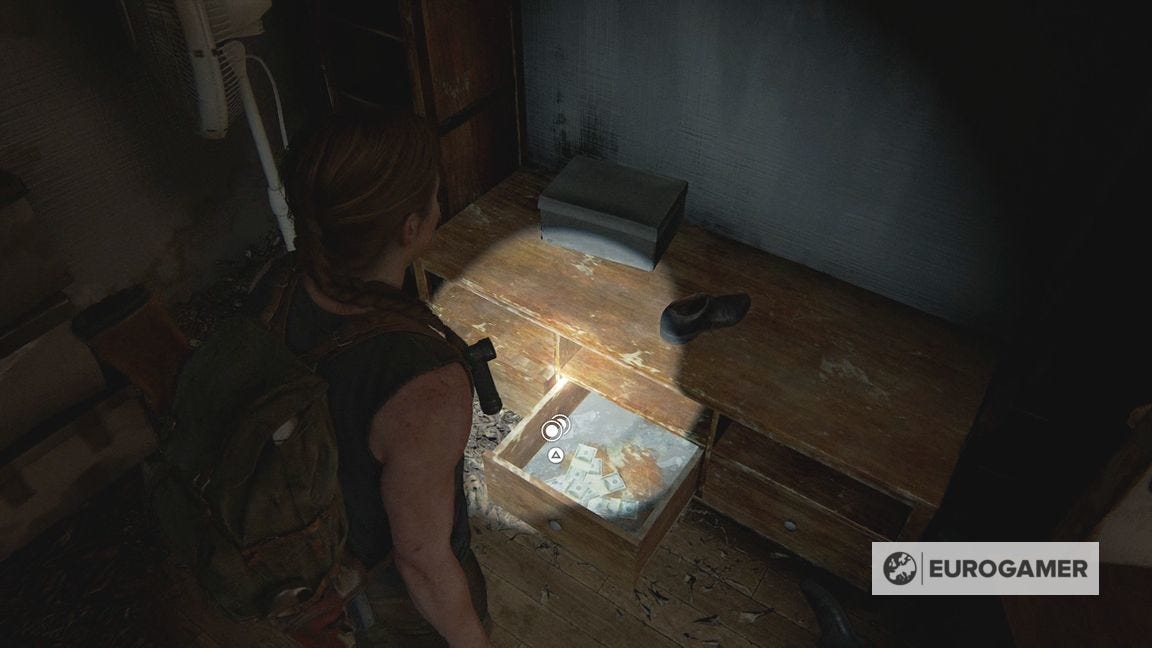
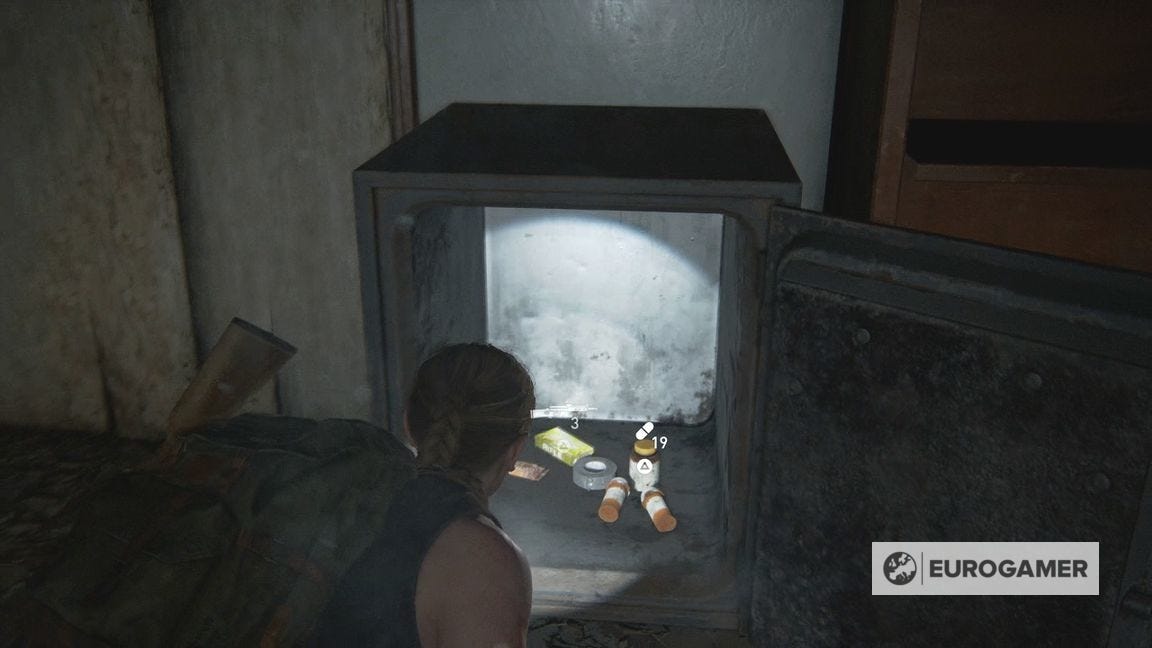
There are supplies and a safe here. We don't know the code yet - so let's keep exploring.
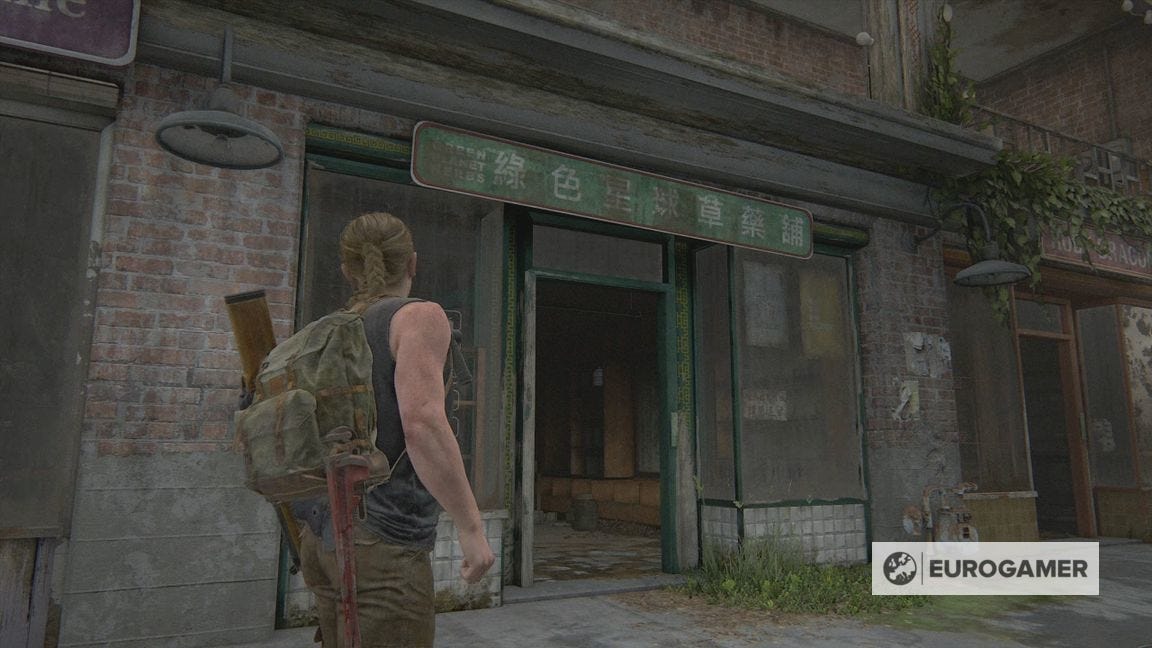
Green Planet Herbs
This has a handful of supplements and other supplies.
Ruby Dragon
There are crafting components behind the counter here.
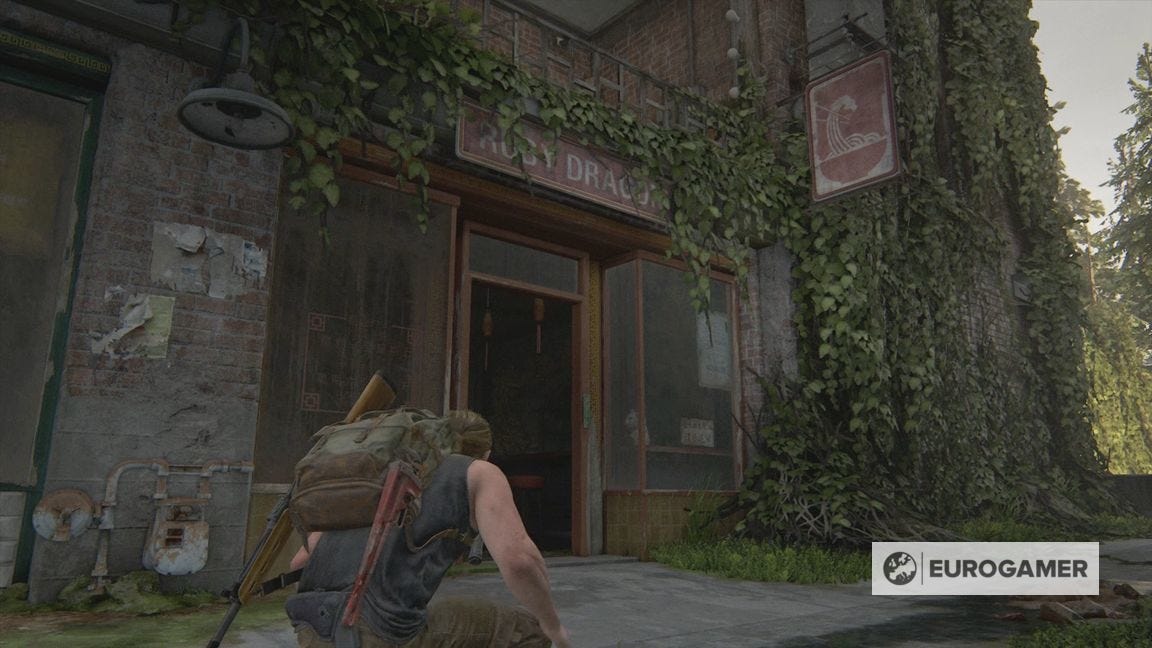

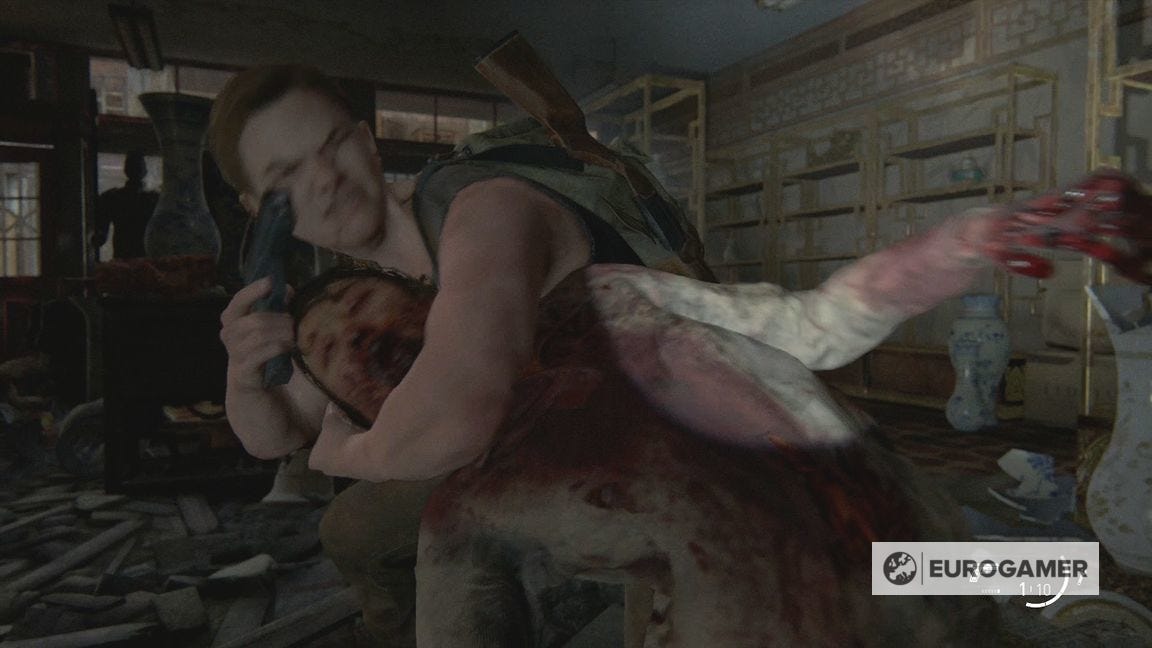
Take the door at the back and go upstairs, then crawl into the room. Here's where there are some infected - specifically two clickers.
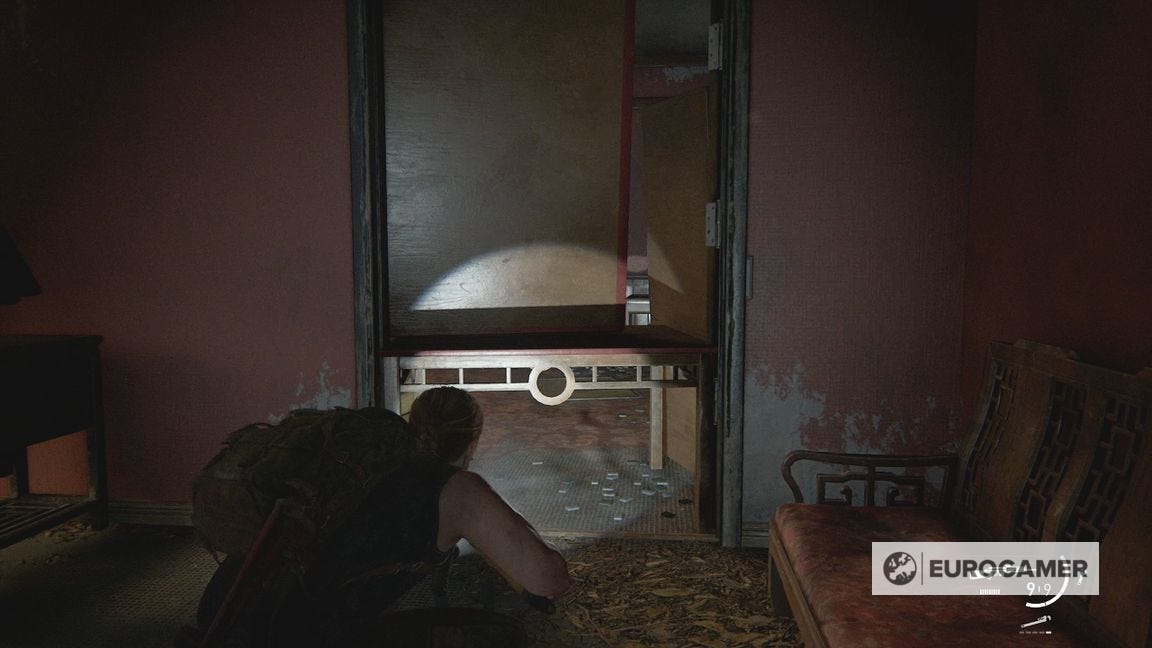
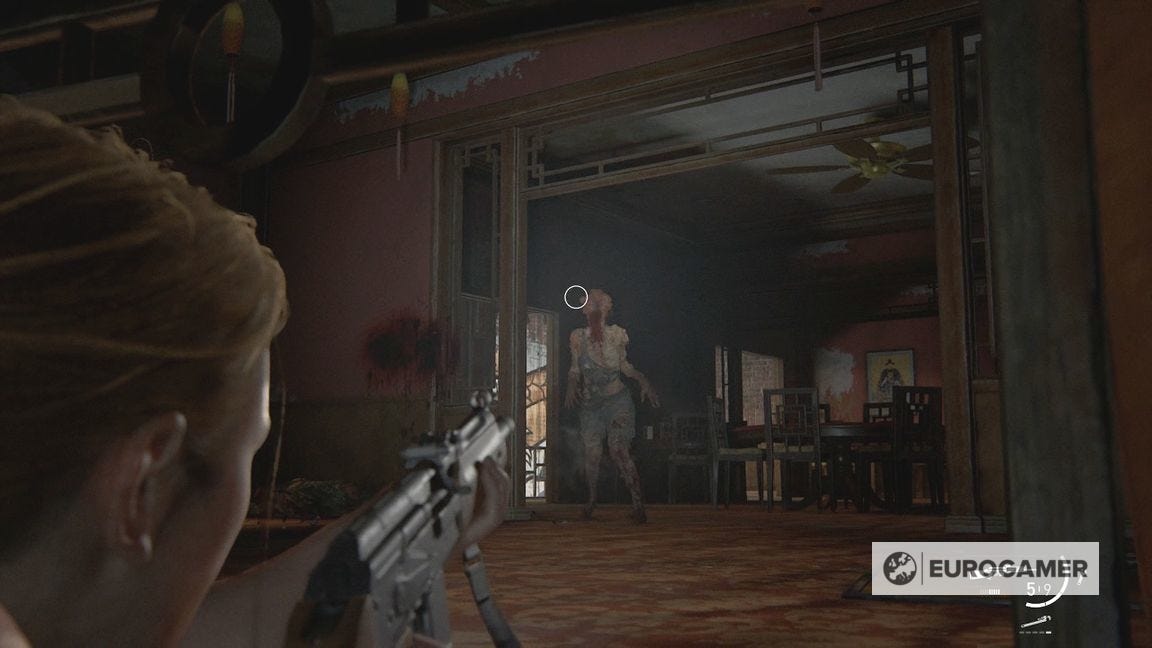
Deal with them - it might be easiest to shoot them while prone from the edge of the room - then go to the balcony.
You can run and jump from here across the alley to the building opposite.
Now go right, up the stairs, to the rooftop.
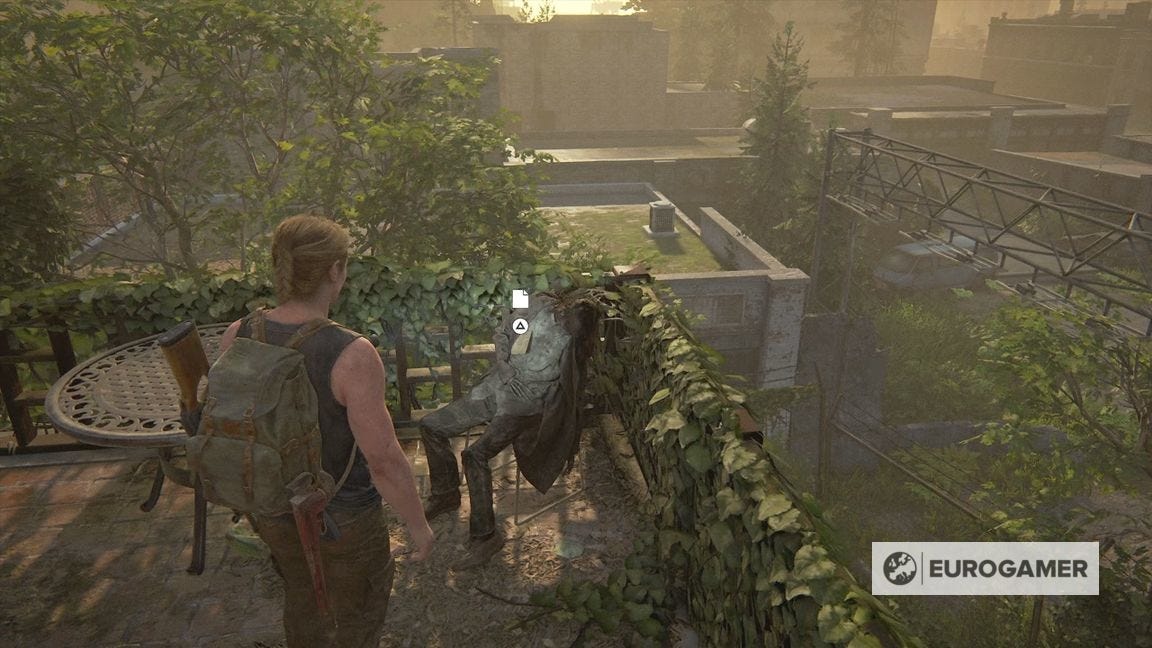
On the corpse in the corner is the Plea to Seraphite Prophet Artefact.
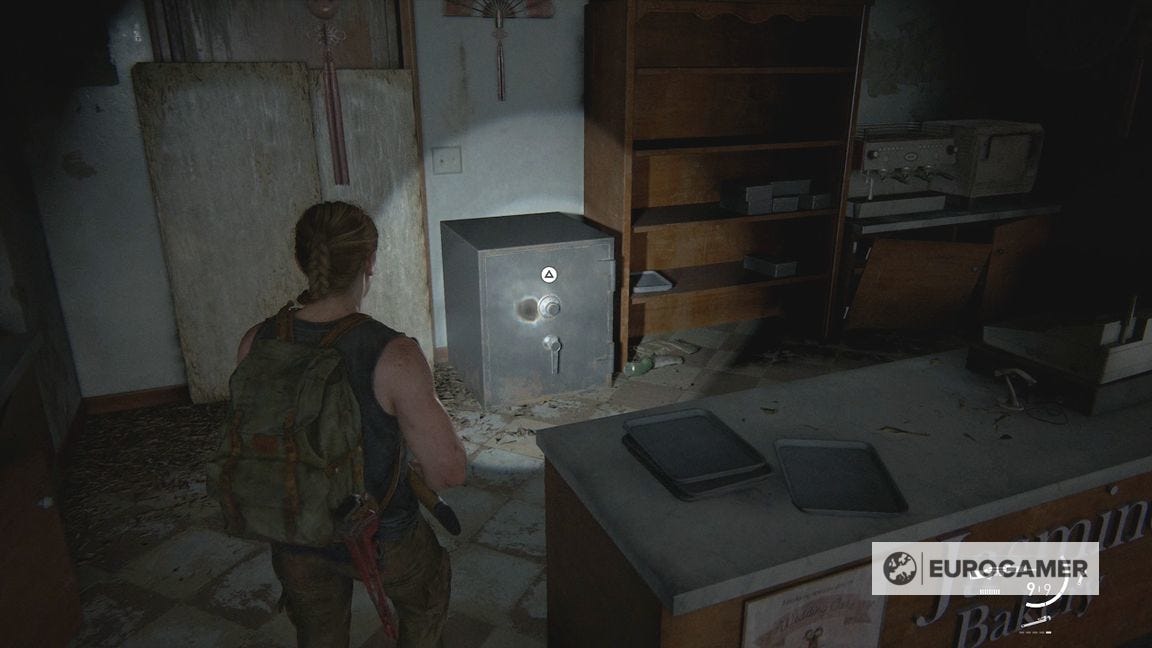
How to get the Relic of the Sages Trophy
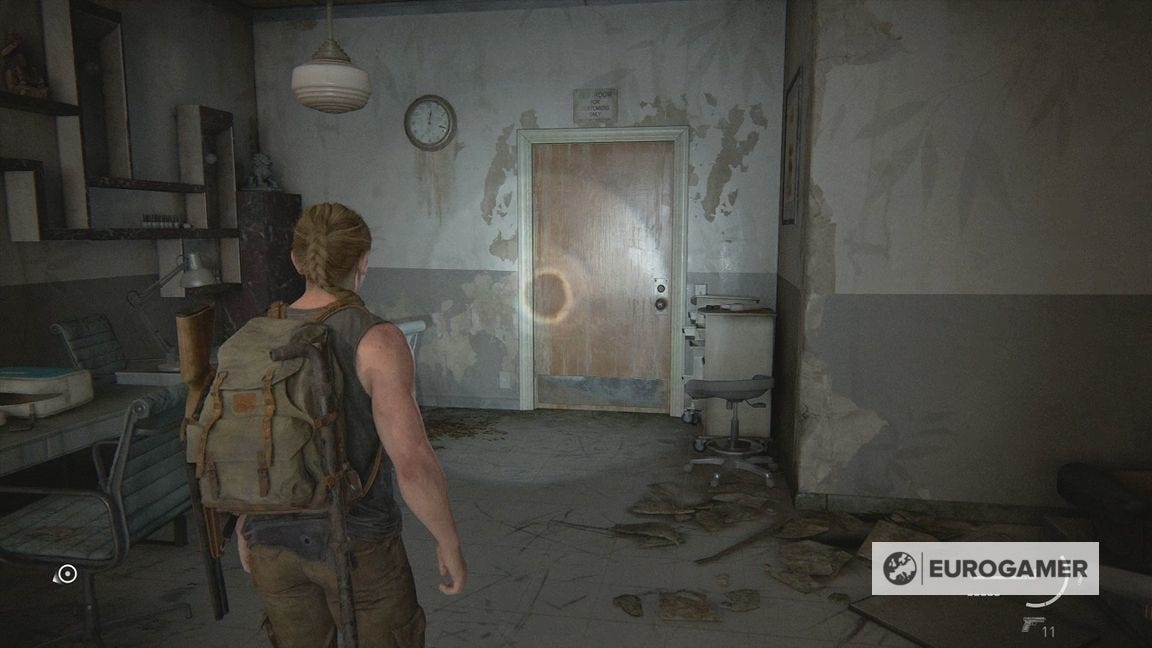
Now go back down, past the boarded up entrance, and into the room.
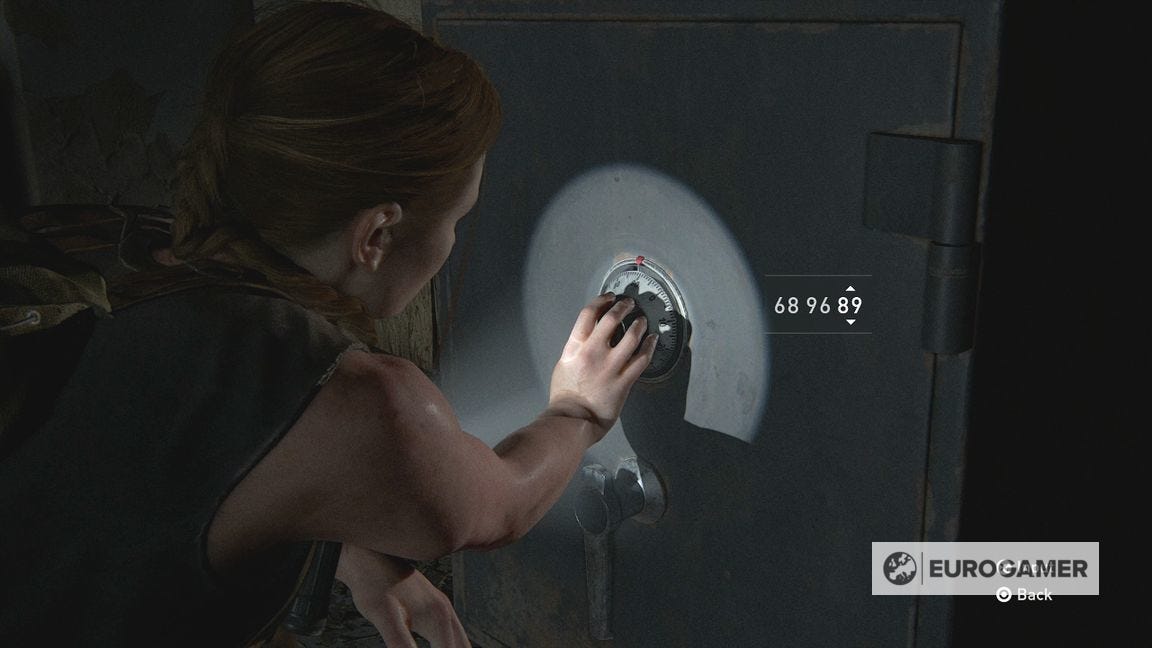
Grab the Jasmine Bakery Safe Artefact to read about the ration operation and safe code - 68-96-89.
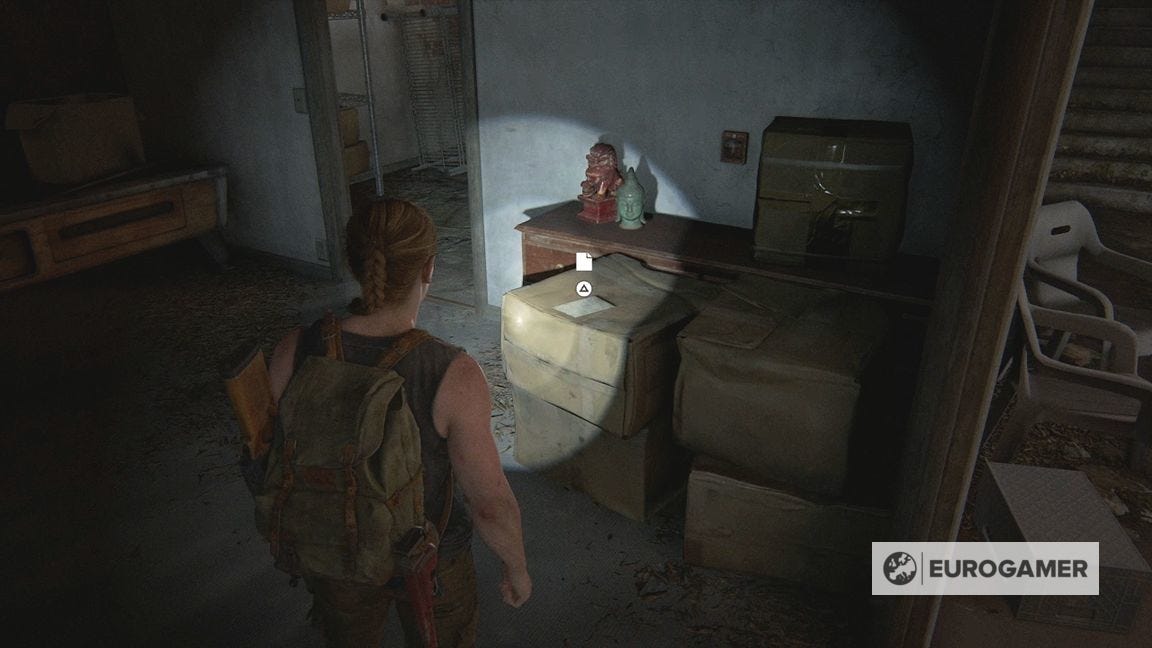
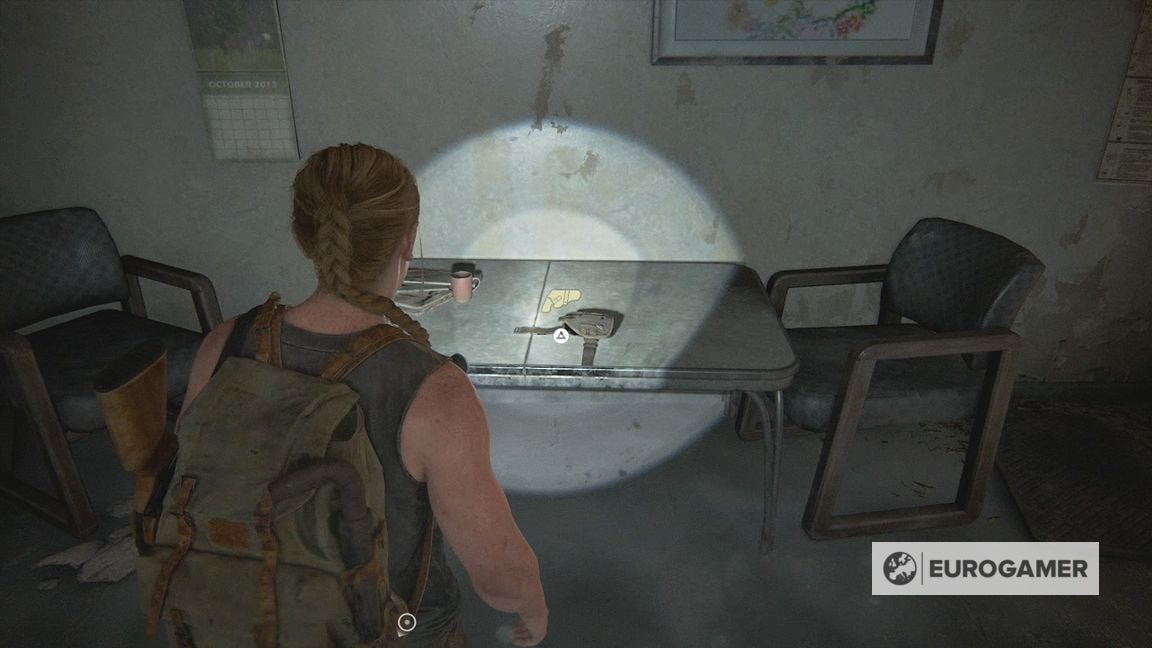
Go next door and grab the Strange Relic Artefact from the corner table - it's blinking but easily missed.
Getting it gives you the Relic of the Sages Trophy.

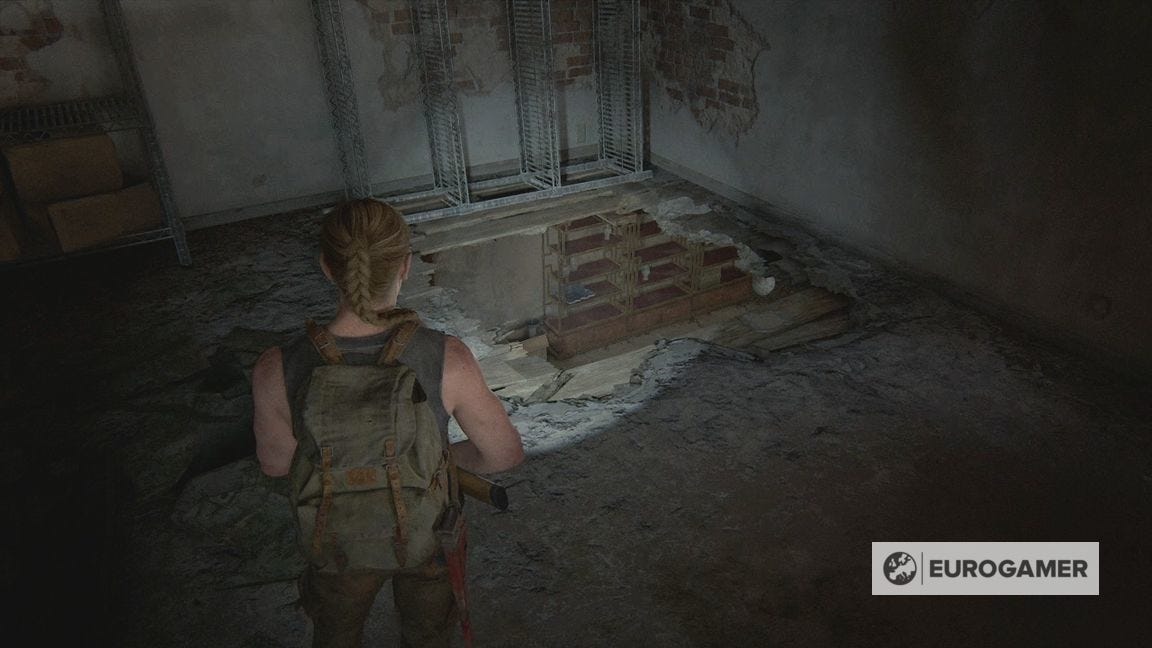
Now drop down in through the hole in the floor, and be prepared to be immediately set on by infected.
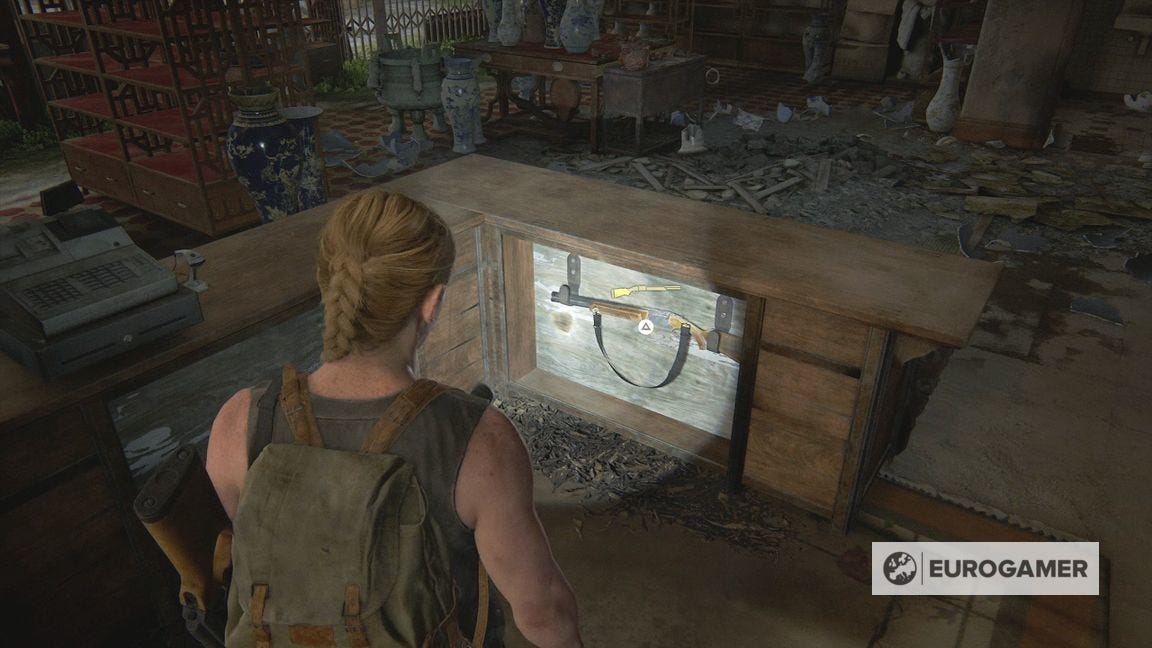
Grab the supplies lying around, and the Double Barrel Shotgun from behind the counter.

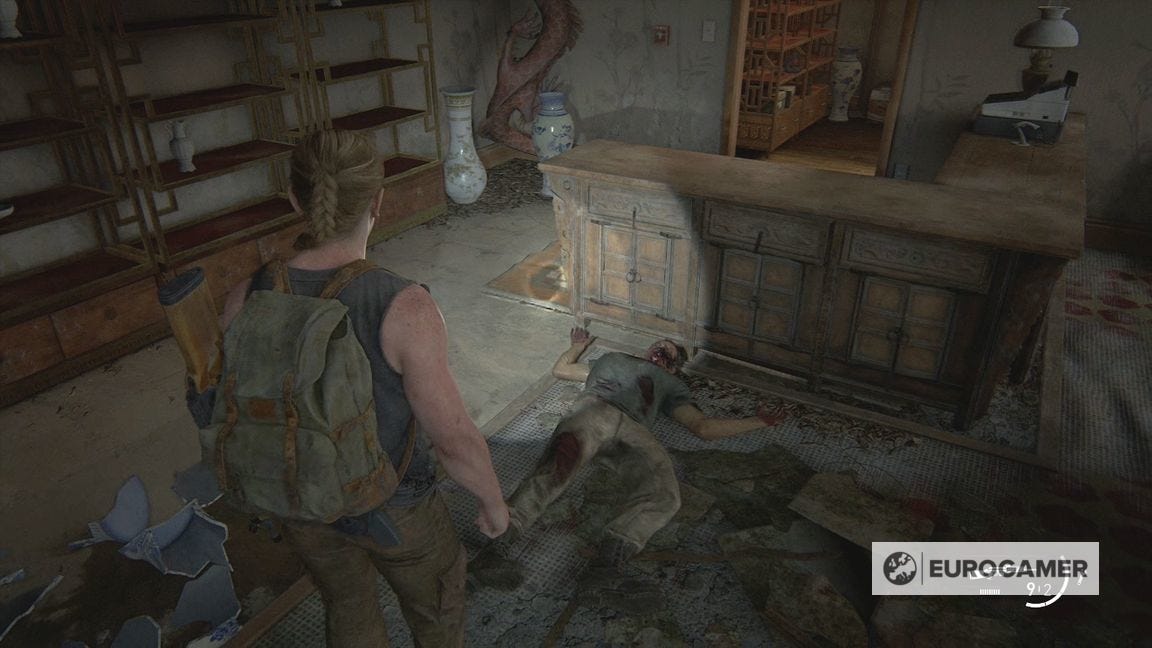
Check the back room for some ammo. As soon as you come back in, two infected will drop down through the ceiling.
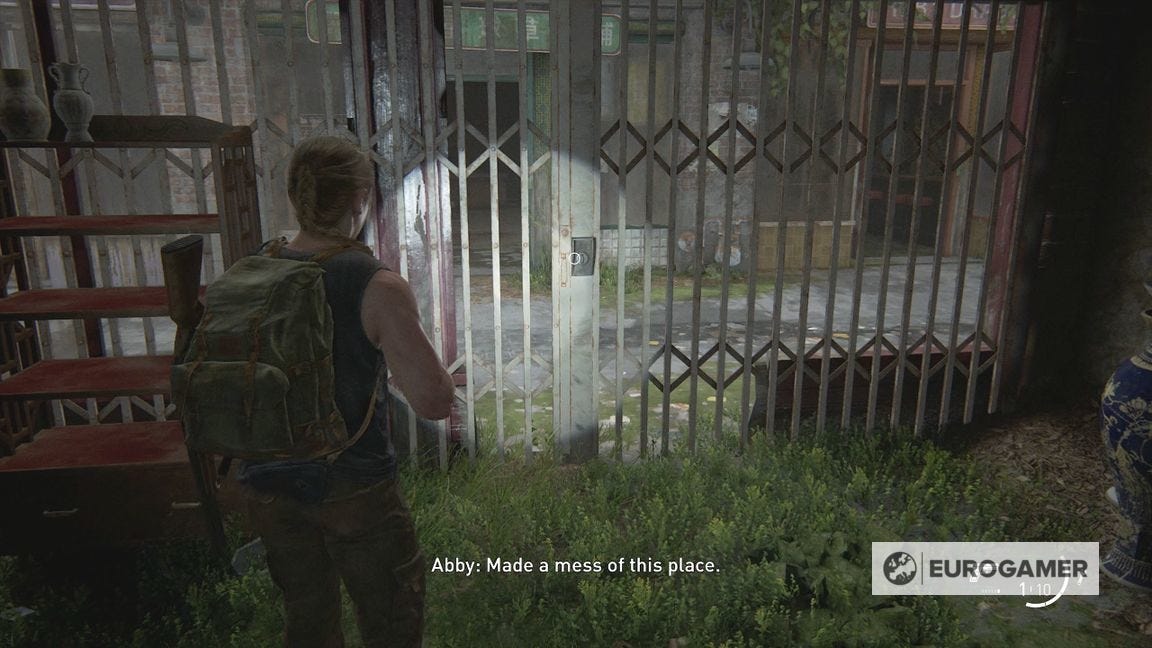
Once dealt with, exit out of the gate back on to the street, which you can now open.
Before you leave this area, don't forget to return to the Jasmine Bakery safe, and enter safe code 68-96-89 for various supplies.
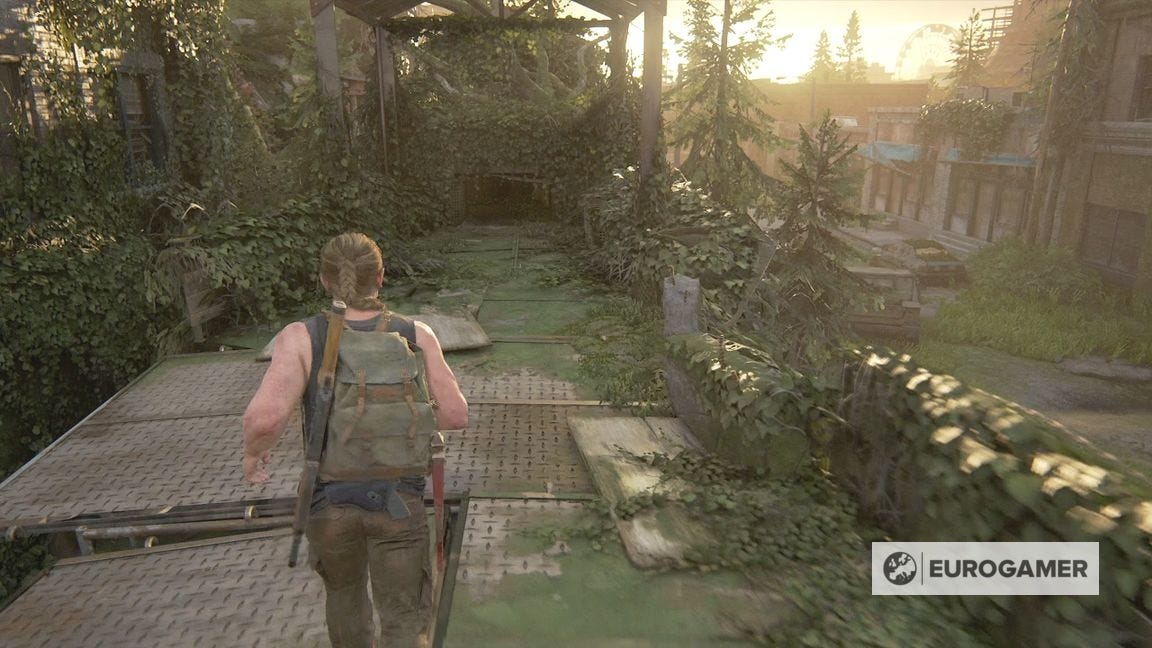
Once you have everything, continue to the end of the street towards Martyr's Gate.
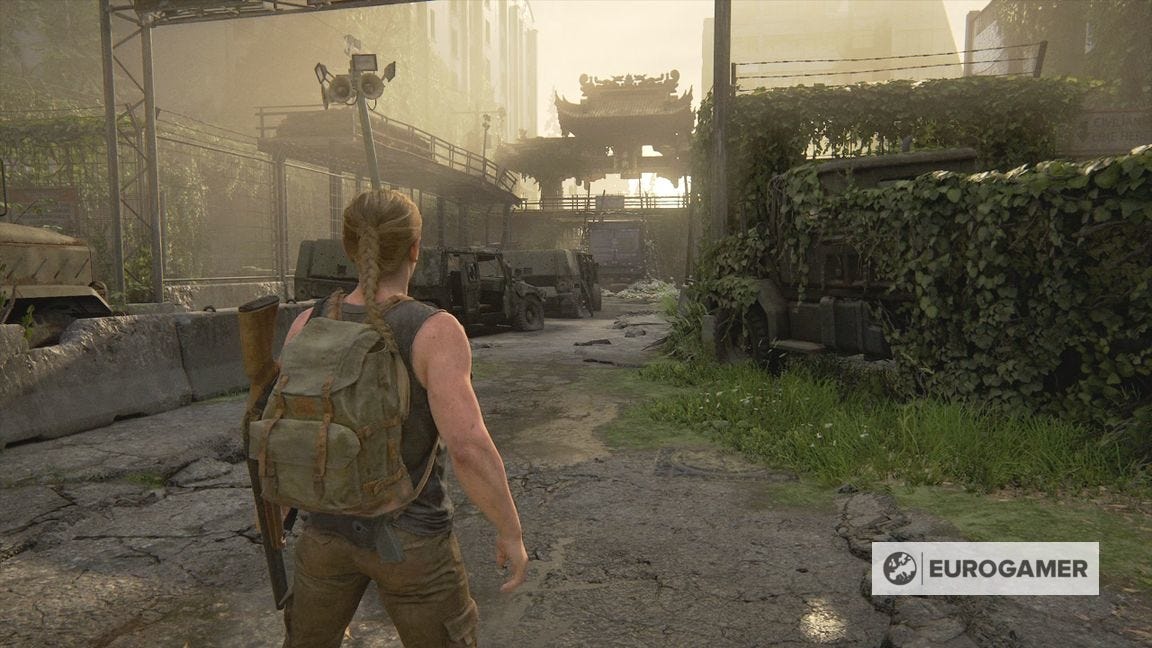
Martyr's Gate in Hostile Territory explored
At the end of this checkpoint gate location is a truck you can open.
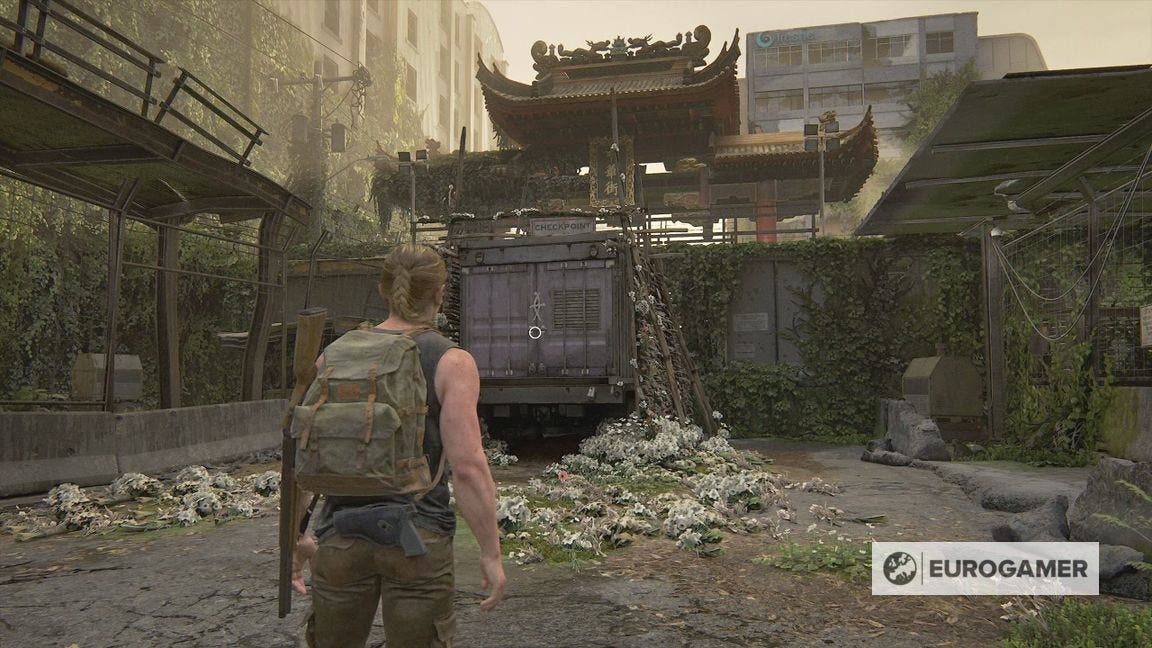
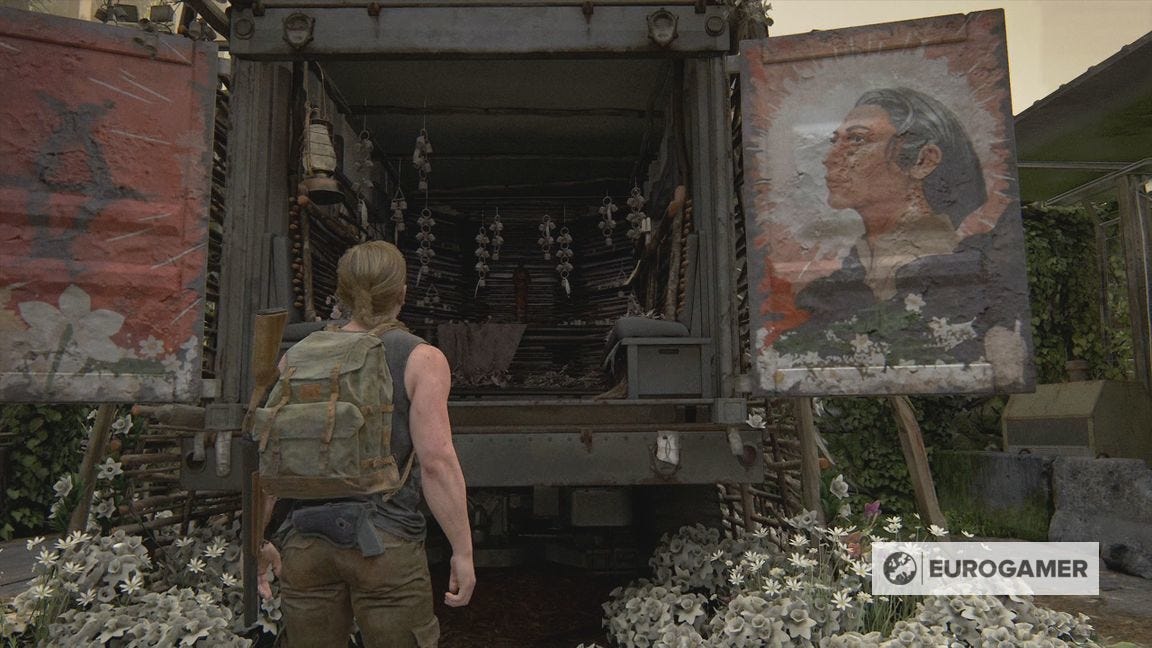
Collect the Seraphite Prayer to Prophet - Peace Artefact inside.

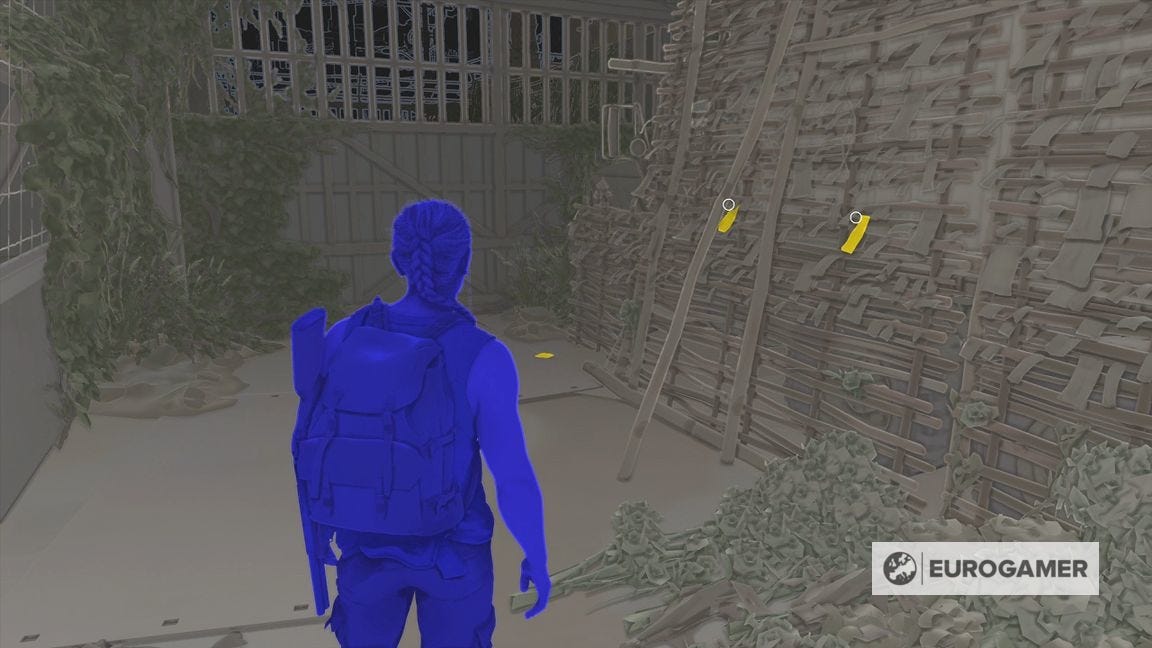
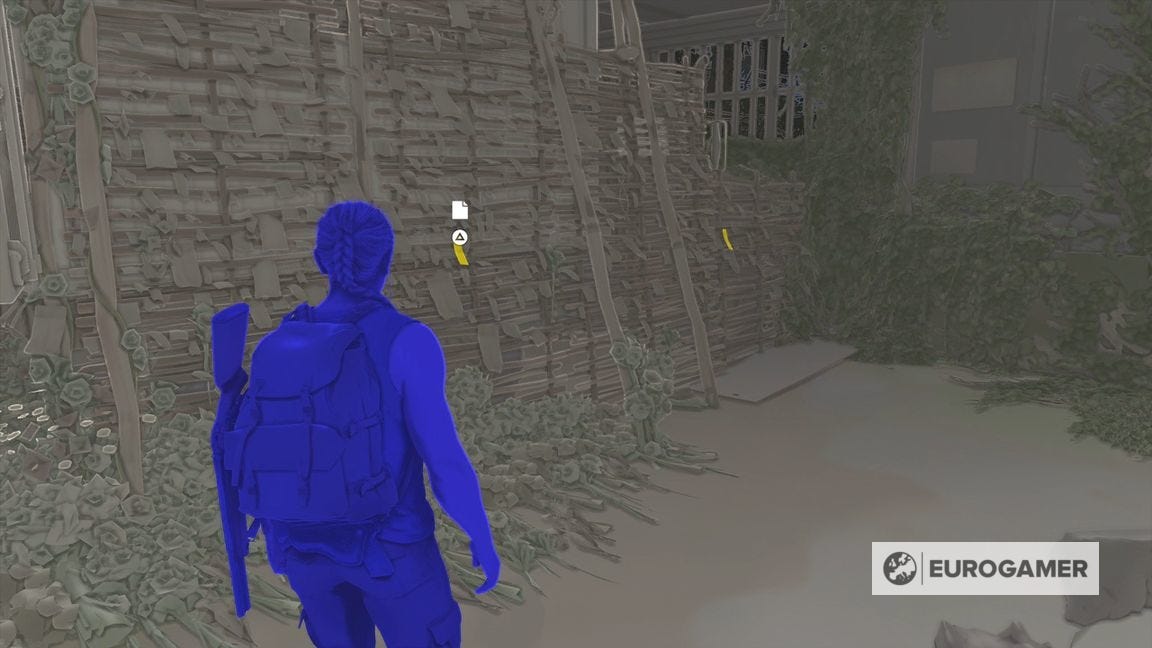
There are a further five other Artefacts on the sides of the truck - three to the left (with one on the ground) and two to the right. Including the one in the truck, there are five 'Seraphite Prayer to Prophet' Artefacts, and one 'Prayer to Victory' Artefact.
It's easy to miss a few - so here are they are highlighted in accessibility mode:
Once done, go to the salon building to the right, and grab the WLF Soldier Meets Prophet Letter Artefact.
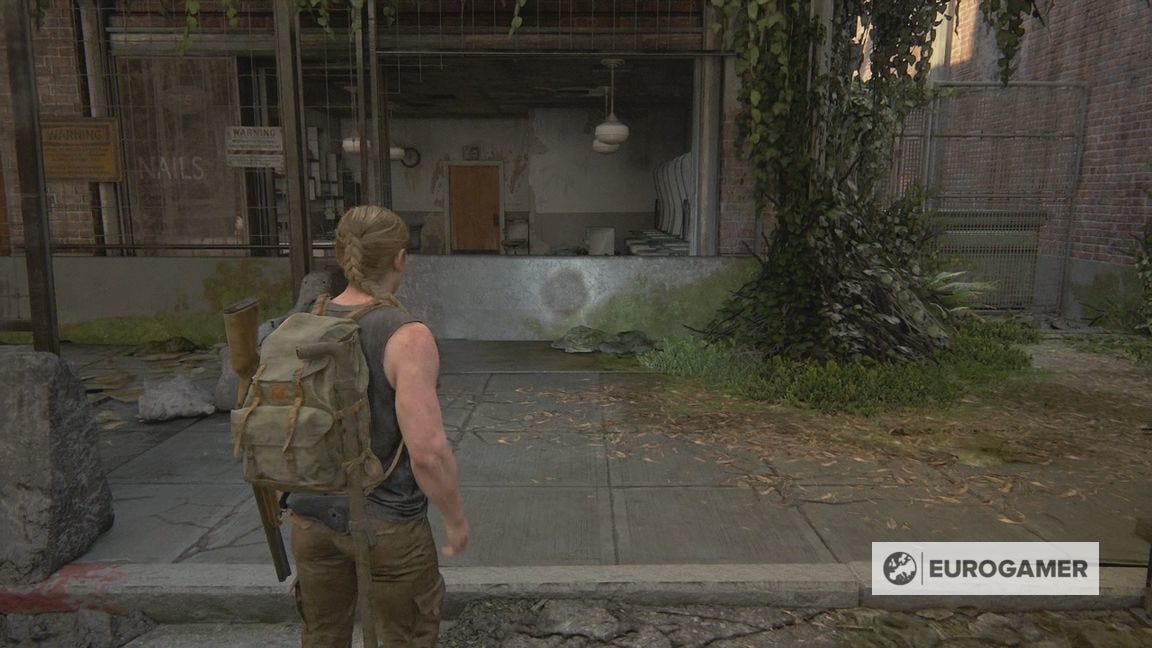
There is a Short Gun Holster in the back room here, too.
To continue, go to the left of the truck, then up the ladder to a walkway.

Leap across to the top of the checkpoint here, then drop down the other side, on the right.
Once you drop down and crawl through the fence, there will be Clickers ahead, who quickly get killed by Scars.
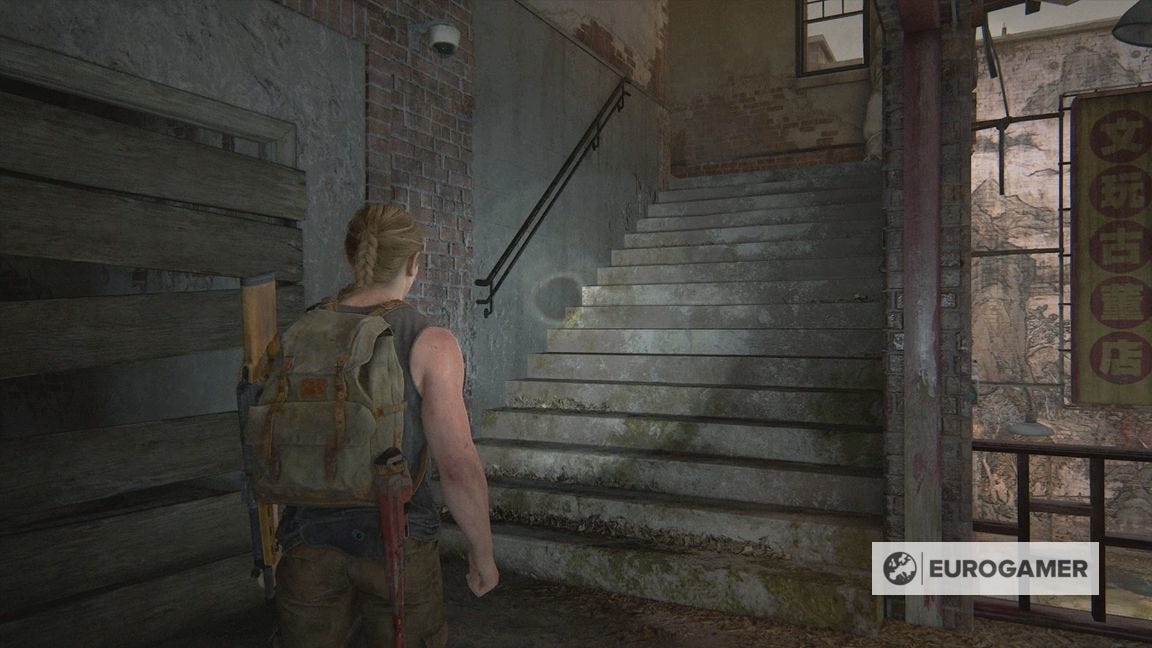
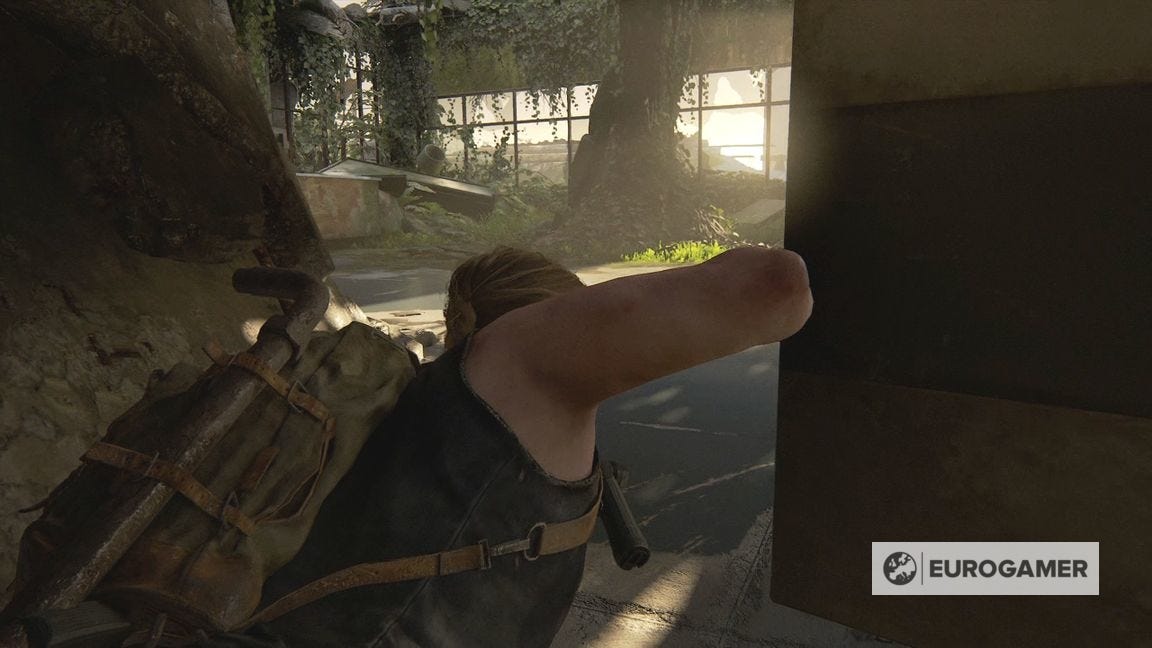
The Scars will be stationed in the building on the corner. This is where we need to go next - while avoiding detection as best we can.
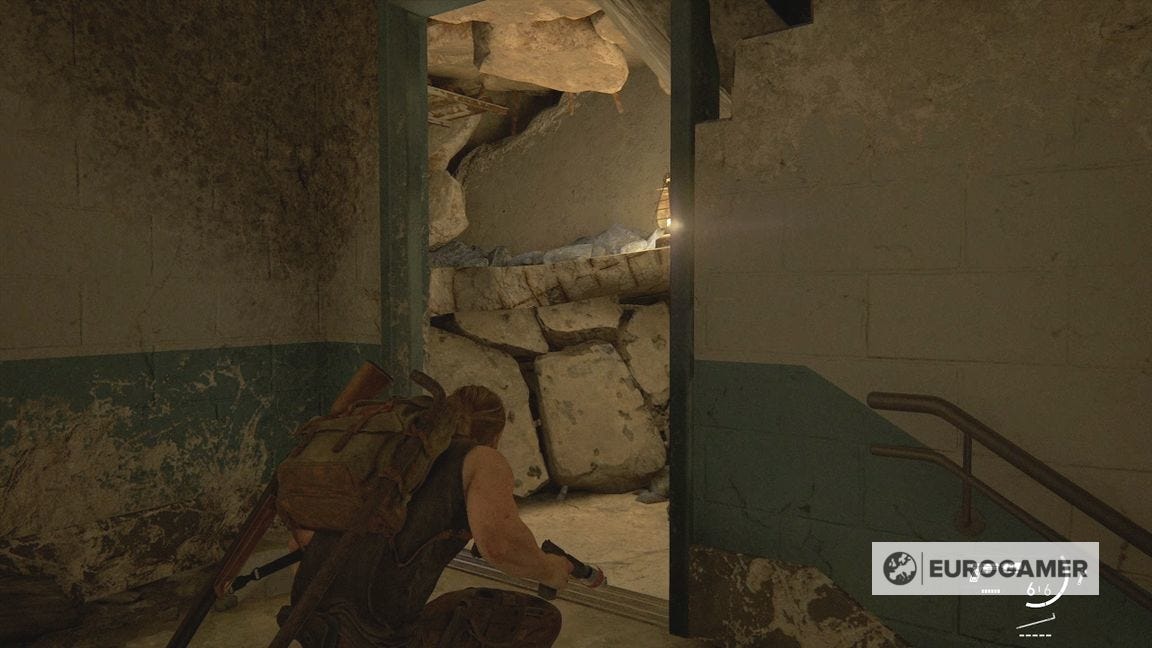
You have to approach the building from the side, then make your way to the back corner stairwell.
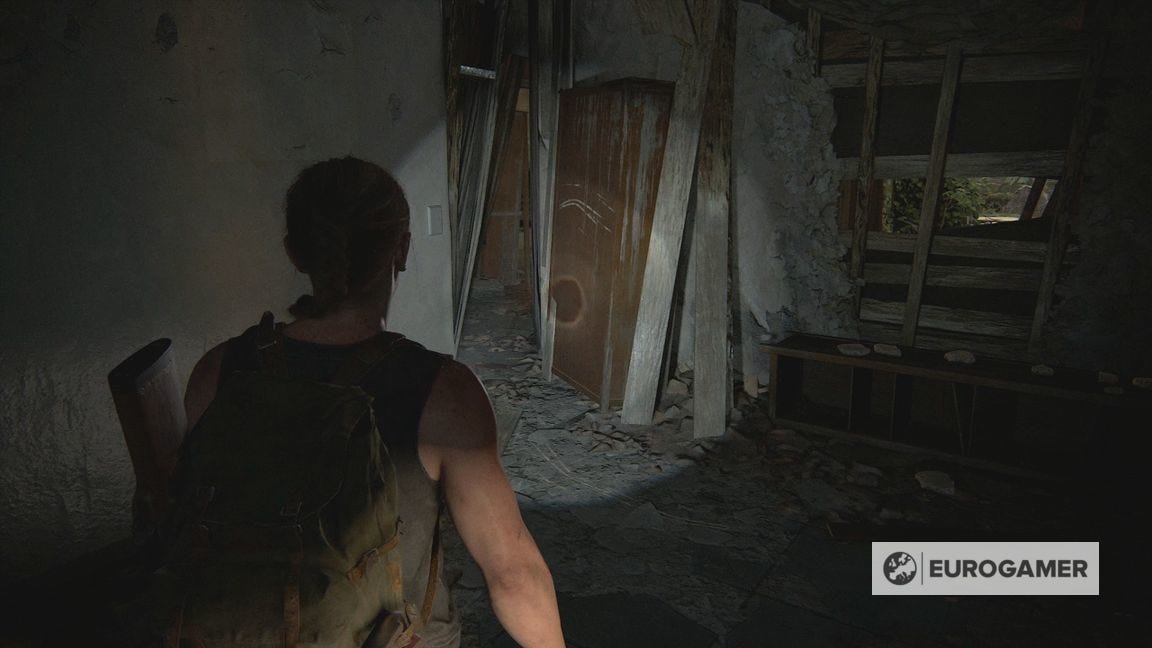
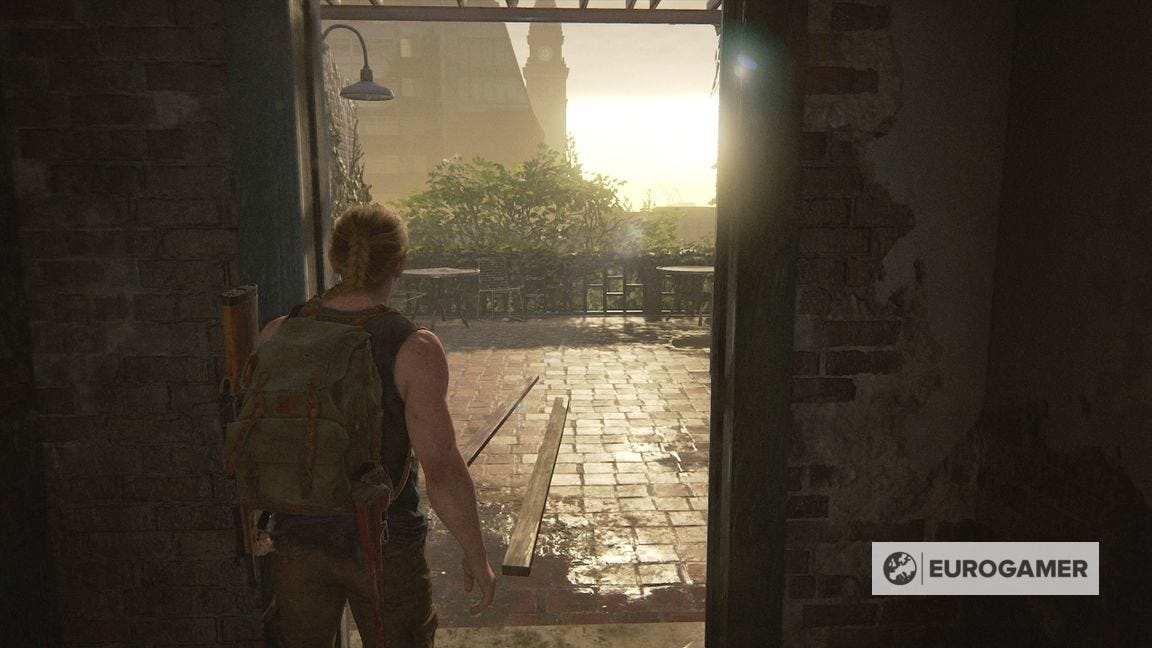
On the top floor, you have to crawl through the collapsed building, until you move an object to get out into the open.
Exploring the Scar camp in Hostile Territory
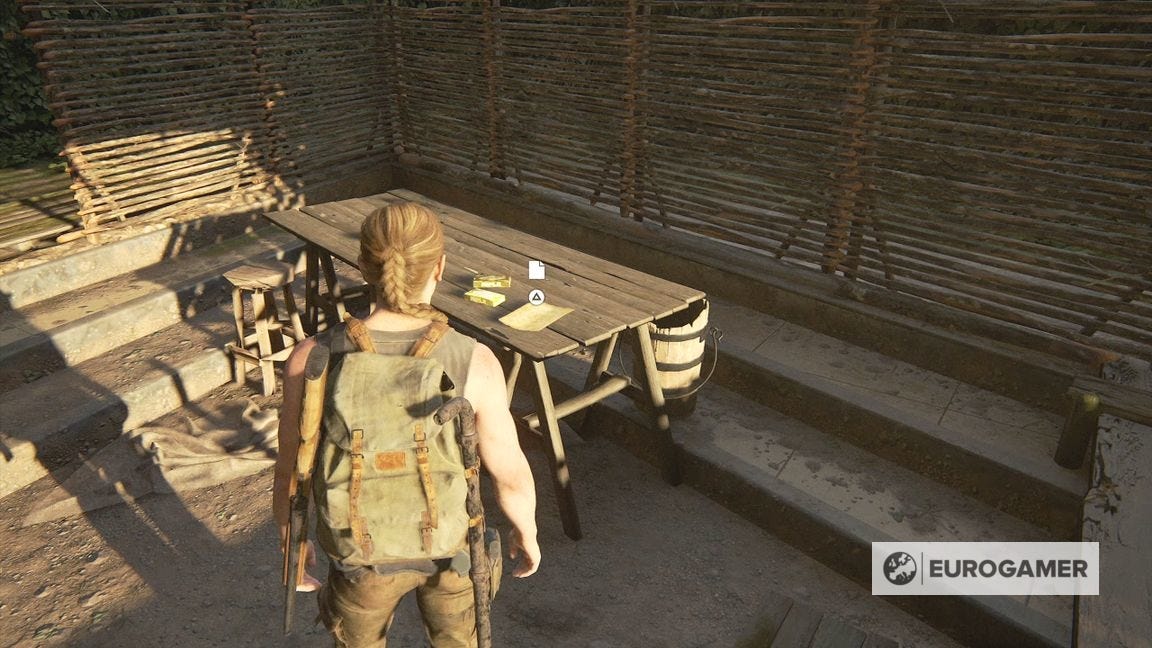
This area is a Scar camp. There are plenty of supplies here to grab, as well as some missable items.
The main room is to the back left. Here there's the Letter from Seraphite Father to Son Artefact on the table, next to some ammo.

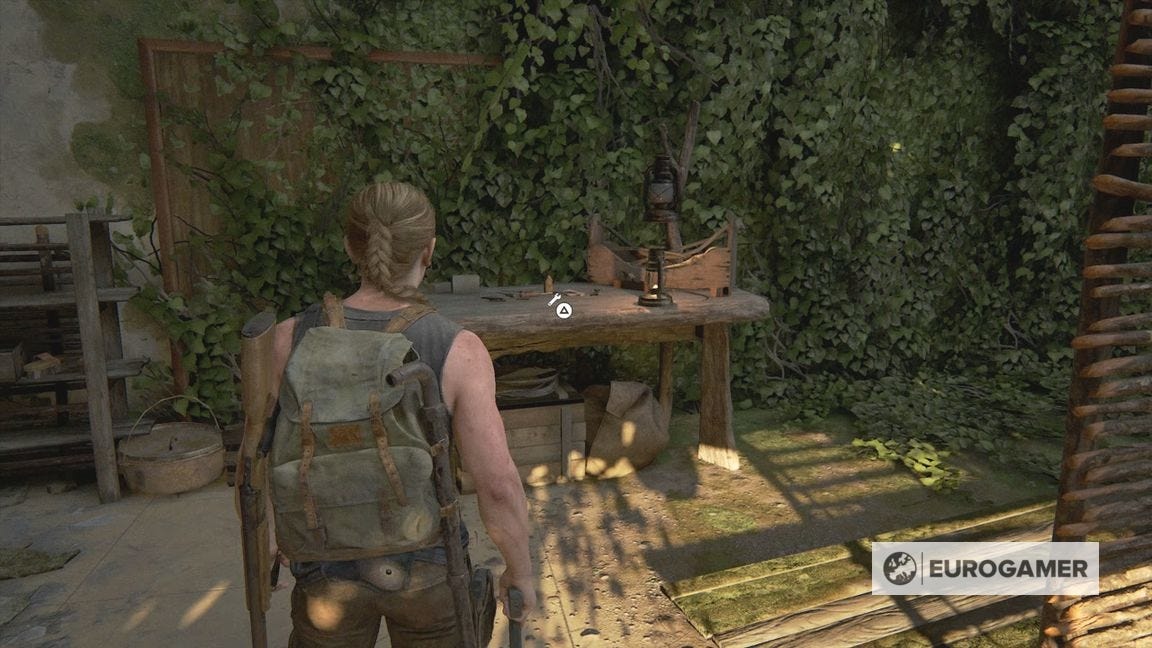
On the far wall is a Workbench.
To progress, drop down the edge of the building, just past the wall mural in the middle of the camp.
After crouching past a body then dropping down, you'll be in an area with more Scars.
The two in the corner you overhear will split up, allowing you to take them down quietly separately.

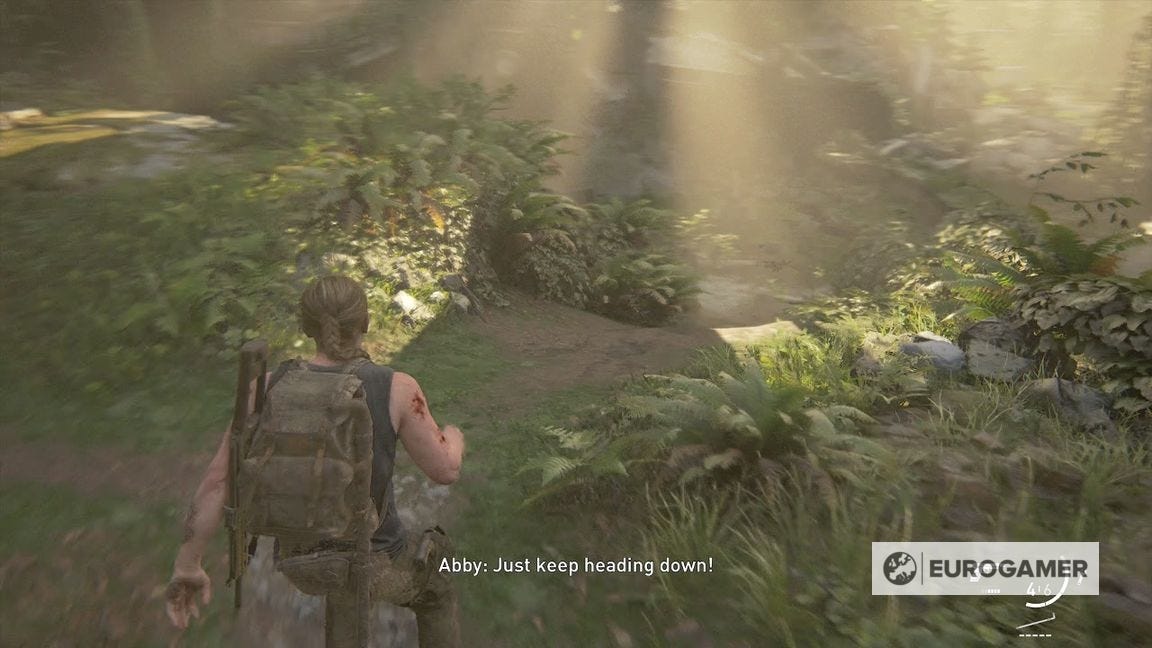
The aim is to go to the far left corner, into the next building, then to the lower ground where you can leave and slide down a slope.
Once you hit the slope you're in the clear - so if you're spotted and close, you can make a run for it.
After the cutscene is the end of the chapter. Next is Winter Visit.