The Last of Us Part 2 - The Birthday Gift: All items and how to get the Looks Good On You Trophy
How to complete The Birthday Gift section and find everything along the way.

The Birthday Gift follows on from The Last of Us Part 2's The Theatre area.
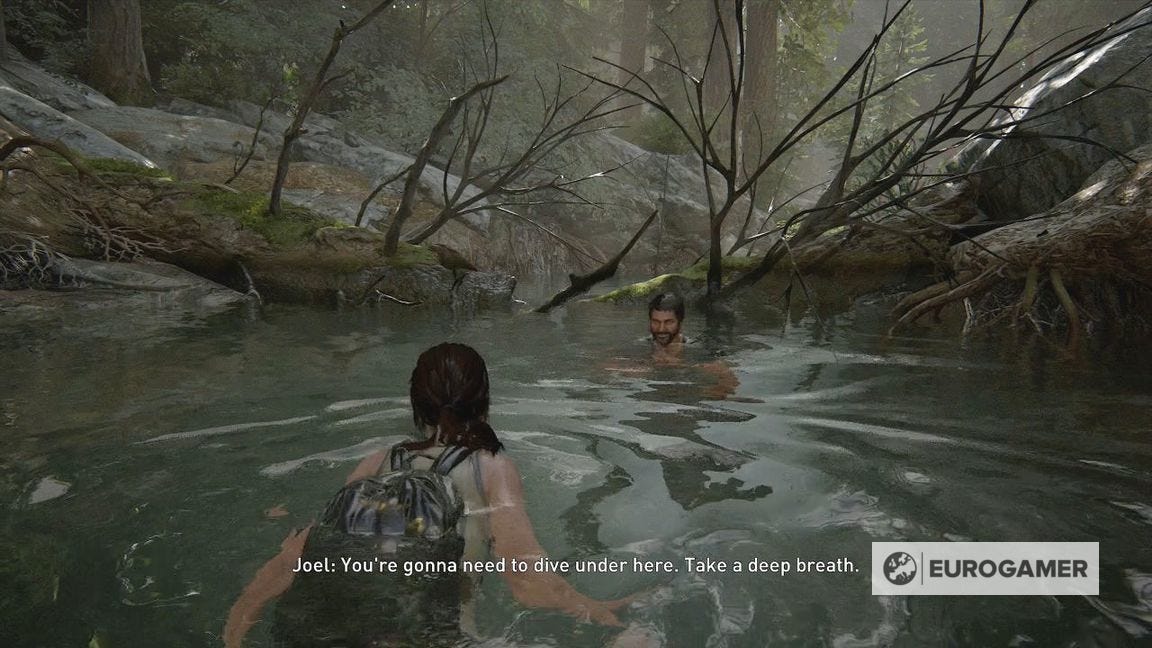
This is another break from the action - and sees us join Joel in a flashback.
Of course, just because it's set in the past doesn't mean there aren't missable items to find - as well as the hidden Looks Good On You Trophy.
On this page:

Looking for help in other areas of the game? See our The Last of Us 2 walkthrough and collectibles hub.
How to get the museum in The Birthday Gift
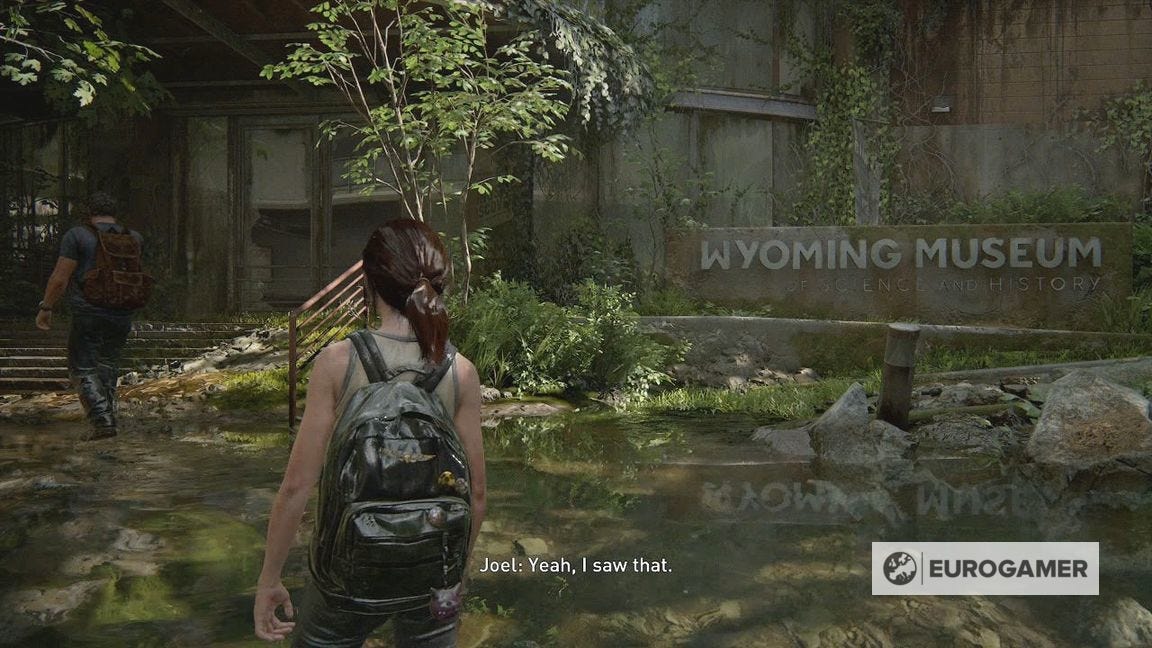
Follow Joel along the path as part of the flashback. You'll soon be in the water, learning to dive, as part of a swimming tutorial.
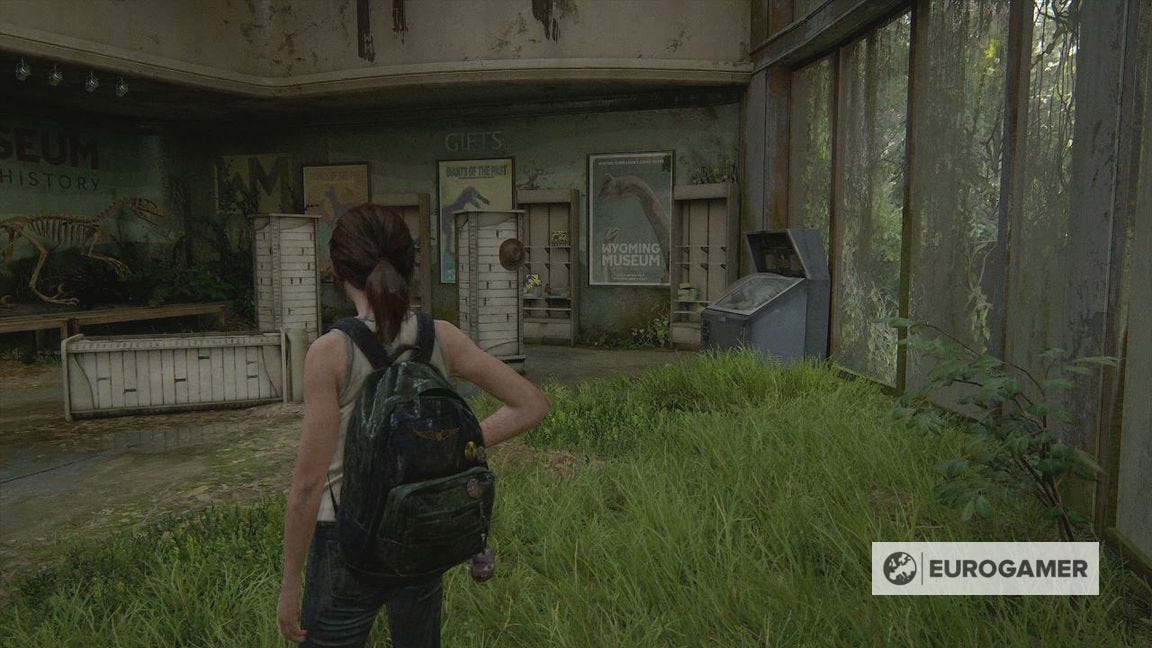
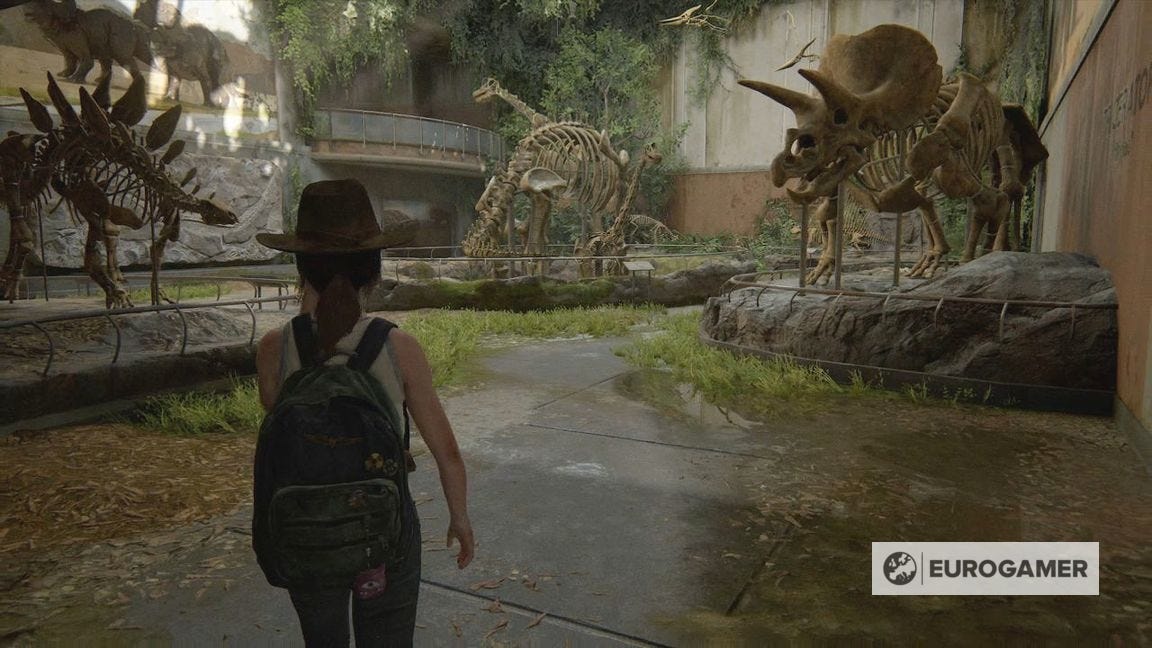
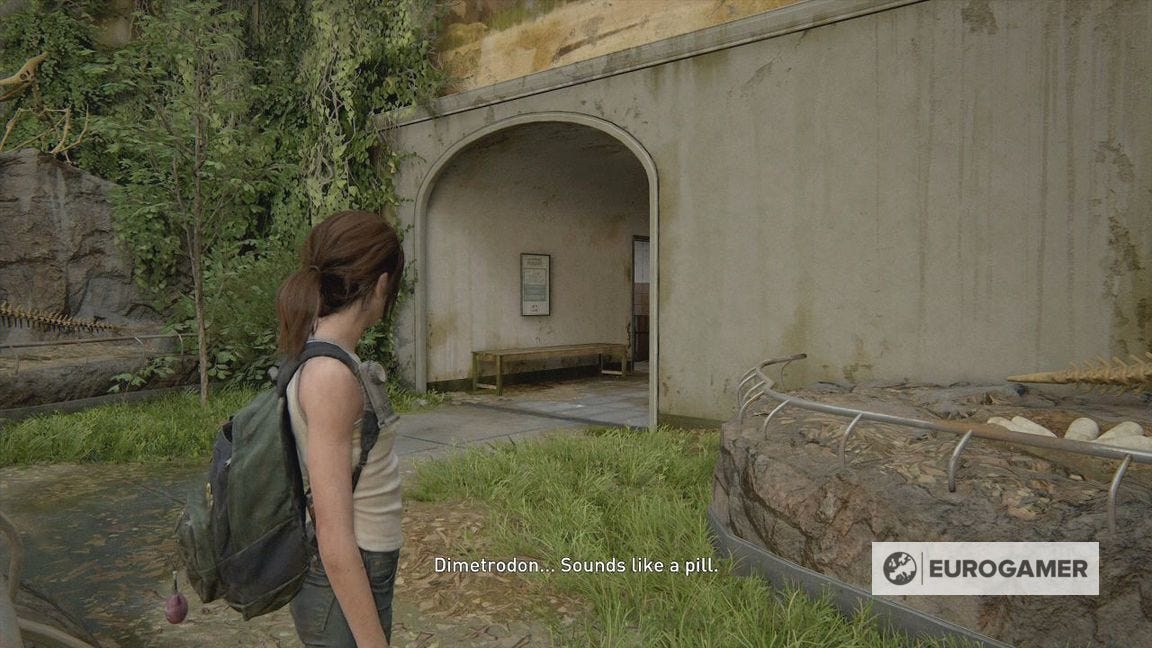
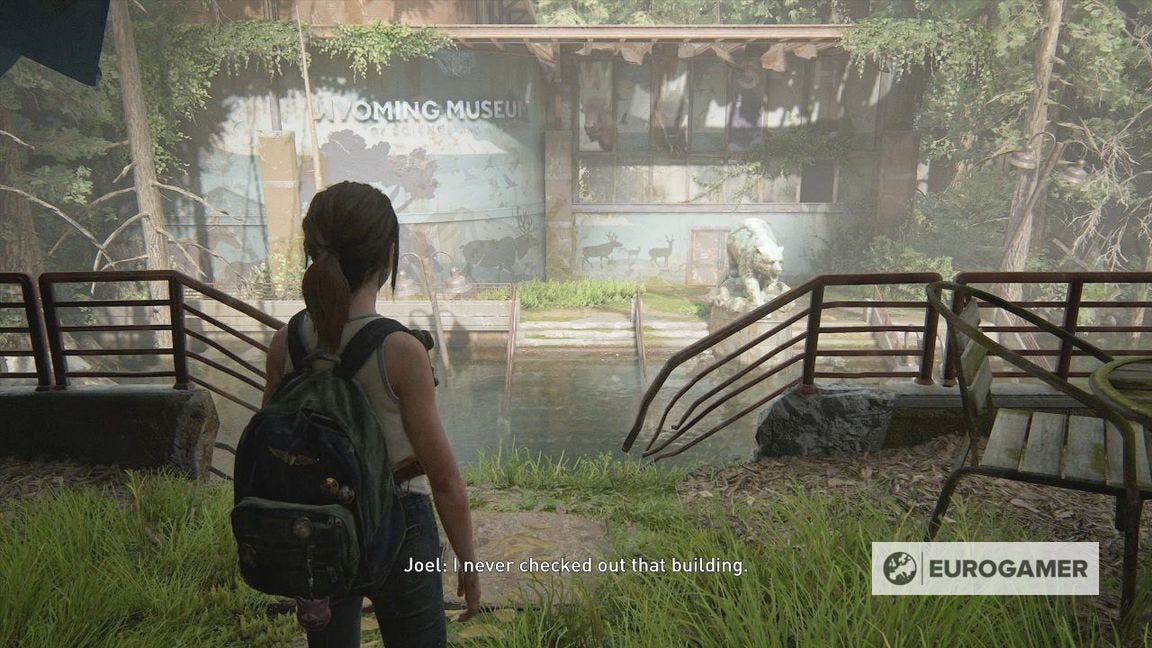
Soon you'll come to a museum.
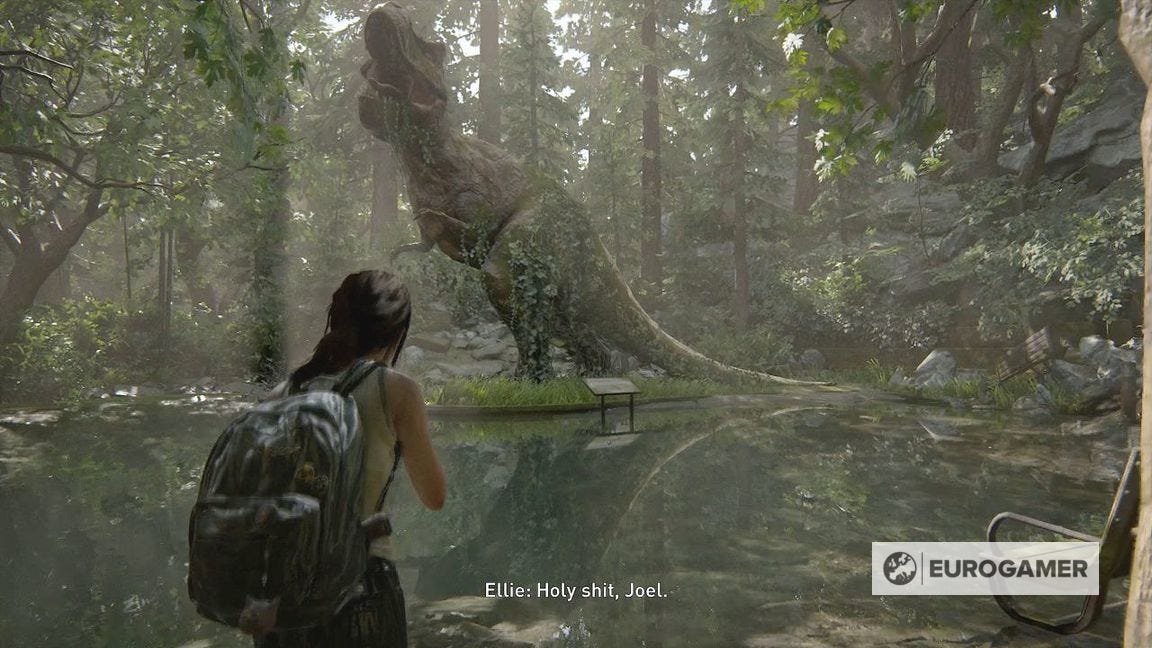
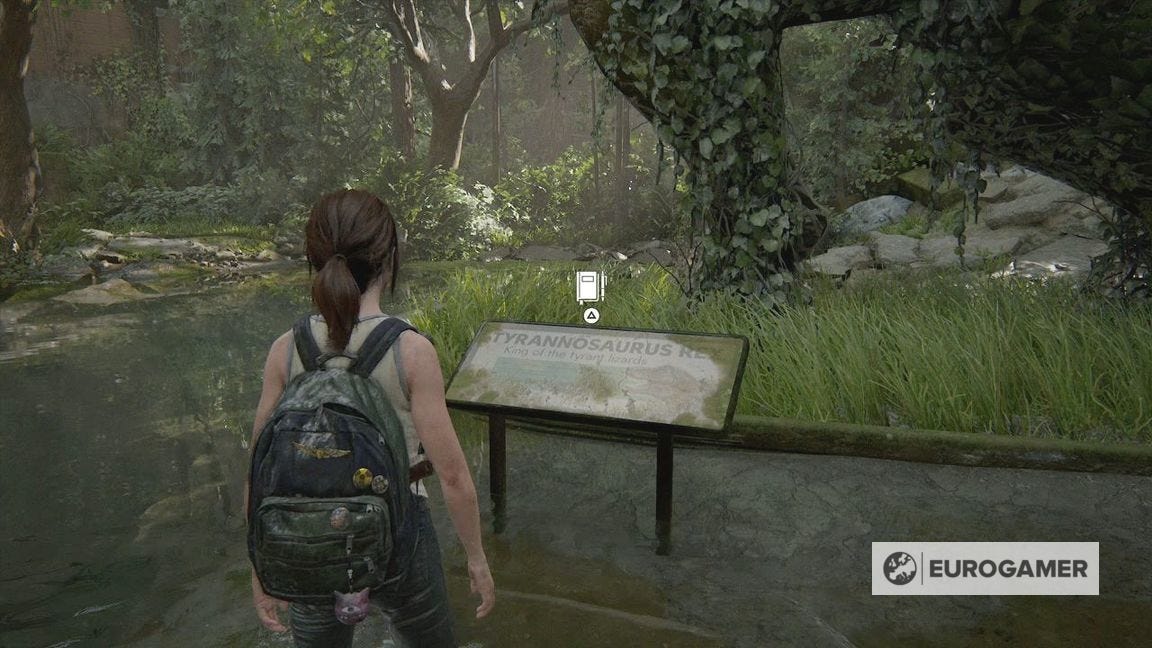
Investigate the sign in front of the Tyrannosaurus Rex statue for a Journal Entry.
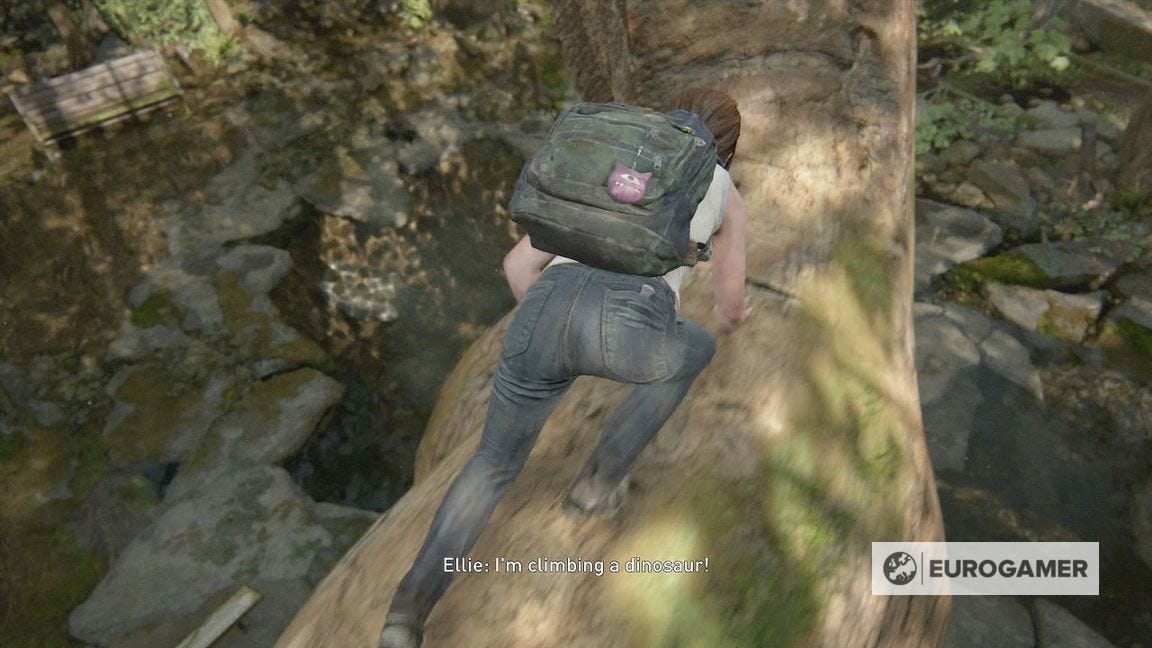
Scale the tail then enter the museum proper.
How to get the Looks Good on You Trophy in The Last of Us Part 2
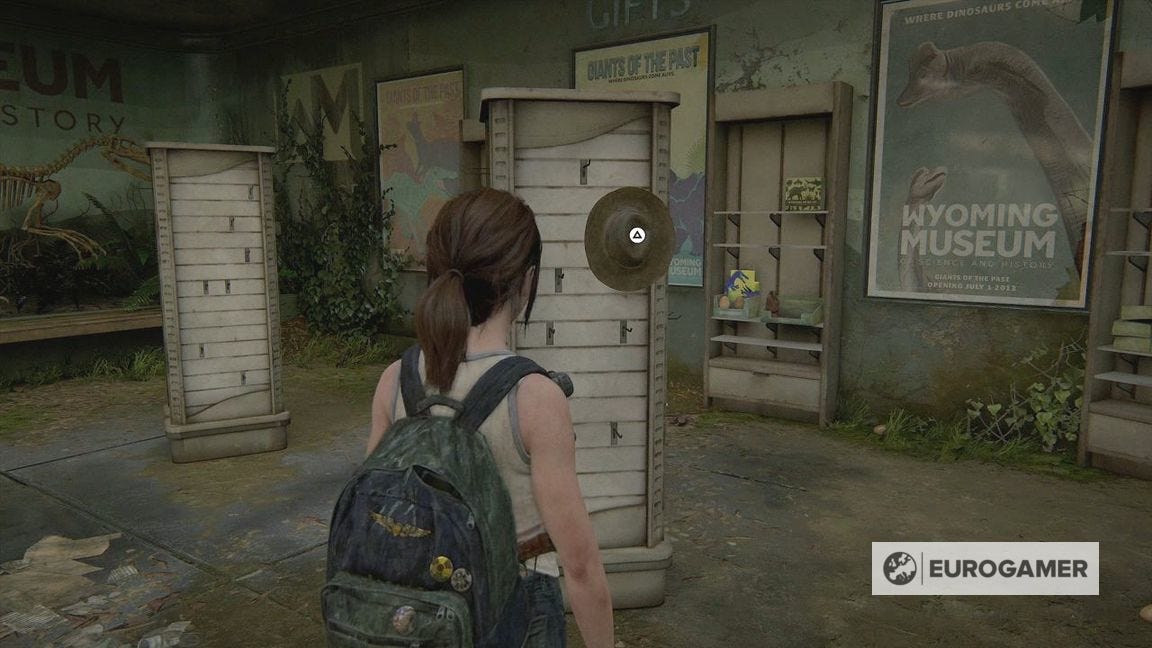
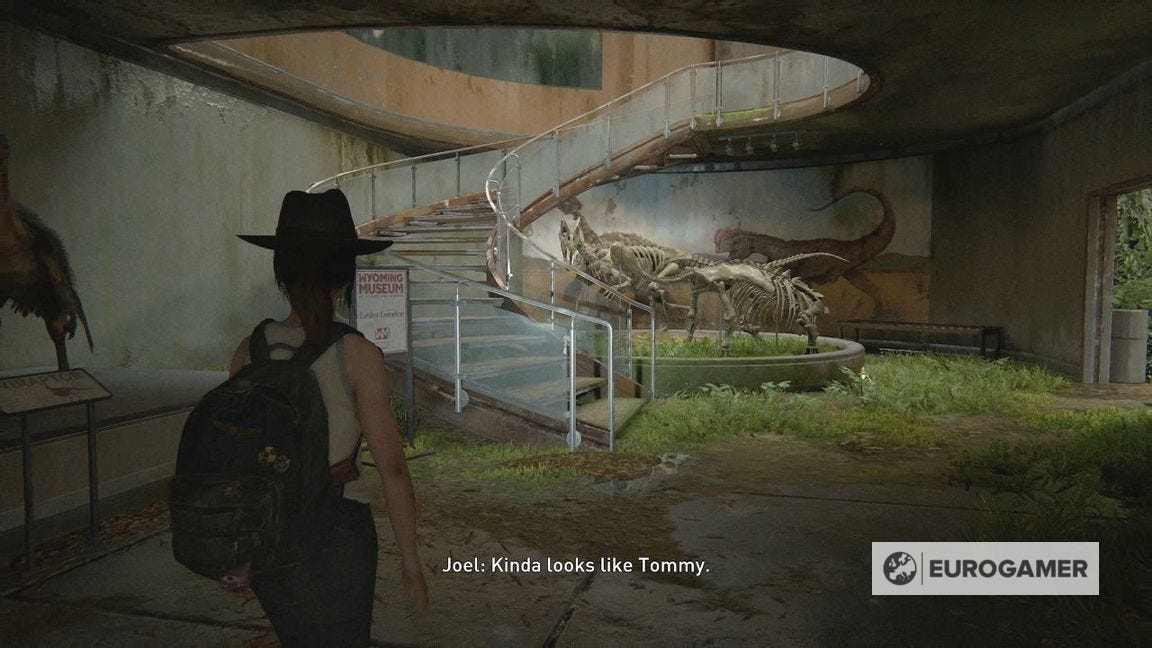
Once inside the museum lobby, grab the hat from the right gift stand. You'll need this as part of the Looks Good On You Trophy.
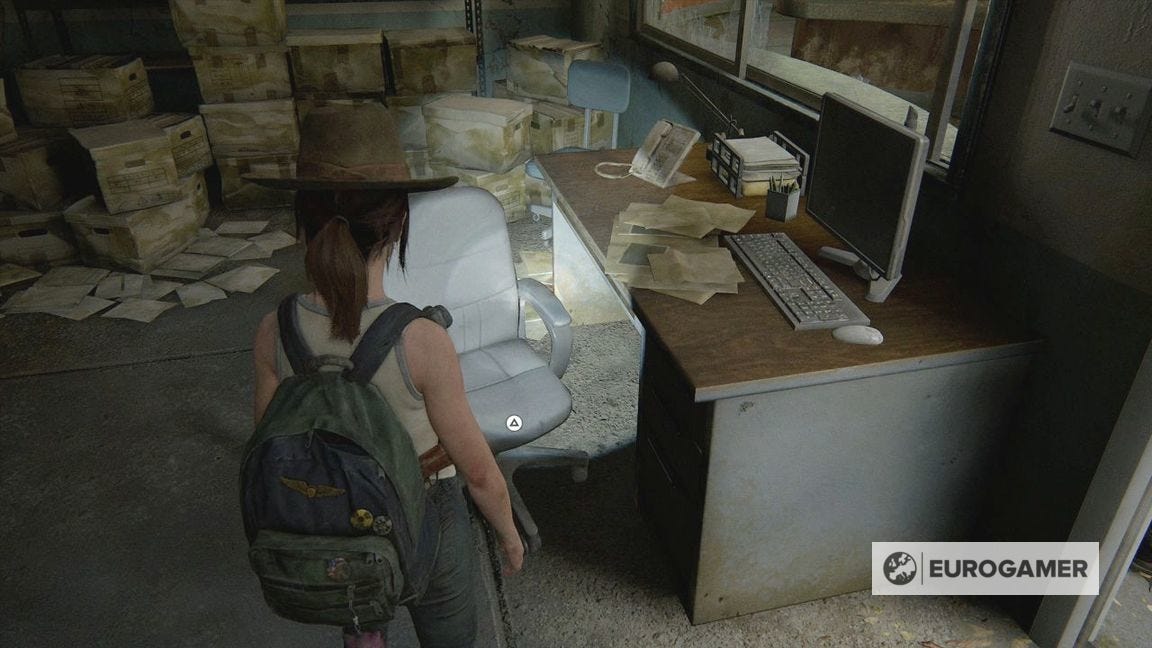
There are various things you can interact with along the way - the office chair in the room behind the front desk, and the various exhibits, including the dinosaur skeleton opposite the front entrance and the Compsognathus round the corner.
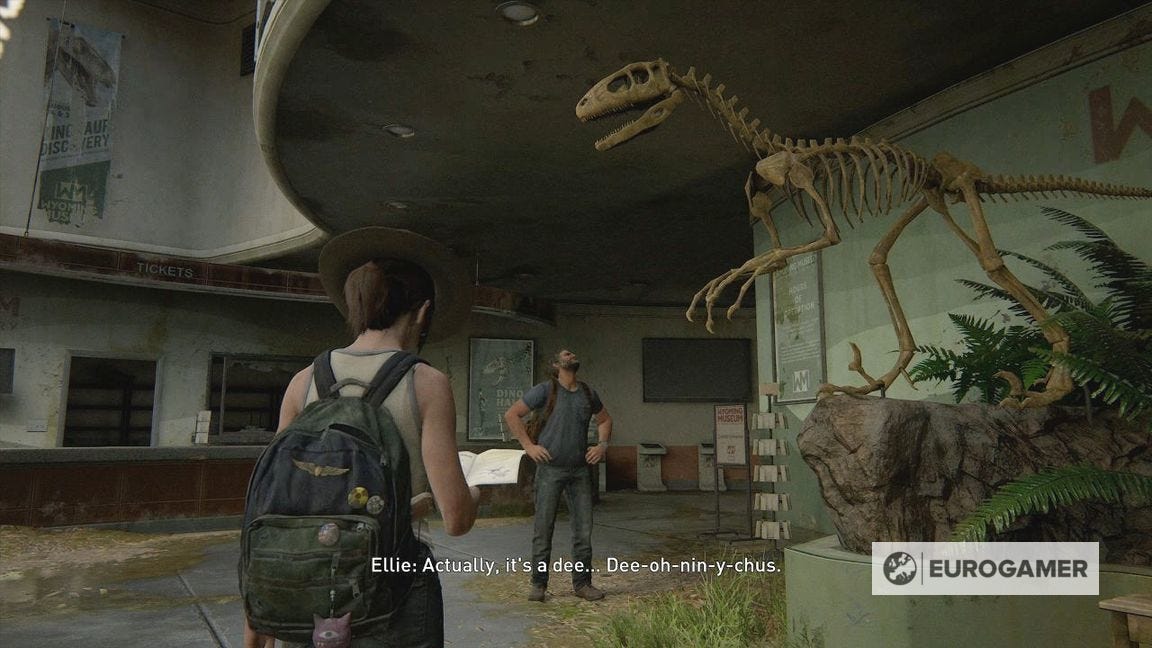
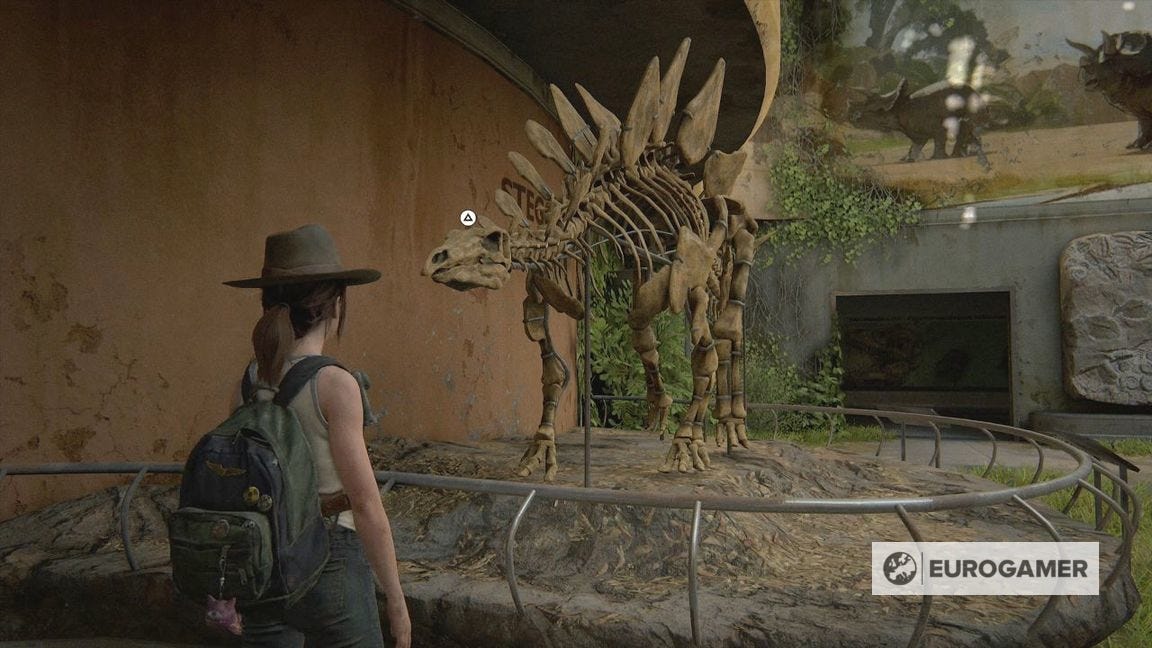
In the next part of the museum, you can place the hat on various dinosaurs.

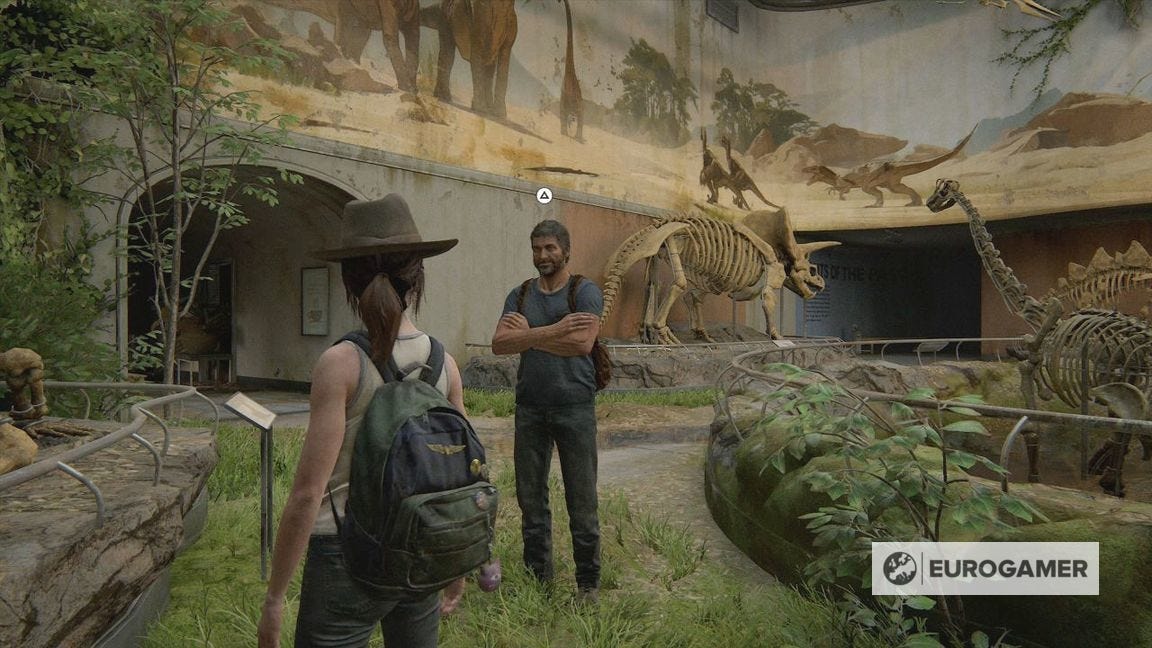
After so many, Joel will stand in front of you. Place the hat on him for the Trophy.
Continuing the museum tour in The Last of Us Part 2's The Birthday Gift
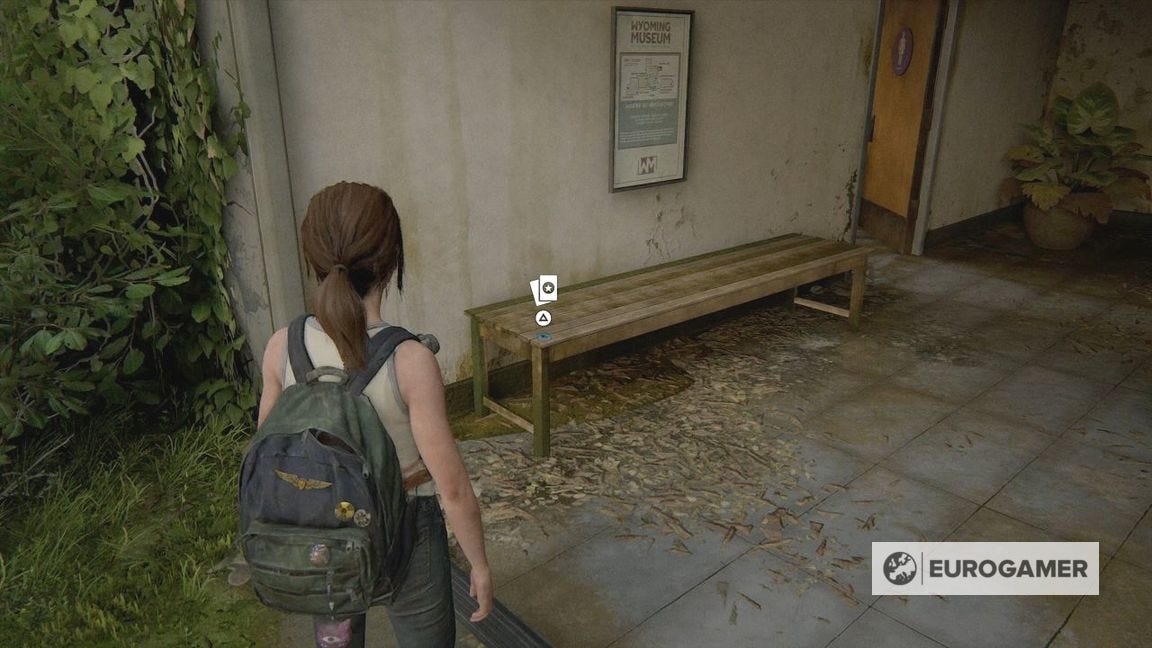
Look to the left of the Tricieratops skeleton for the bathoom. Just before, on a bench, is the The Nighthawk Trading Card.
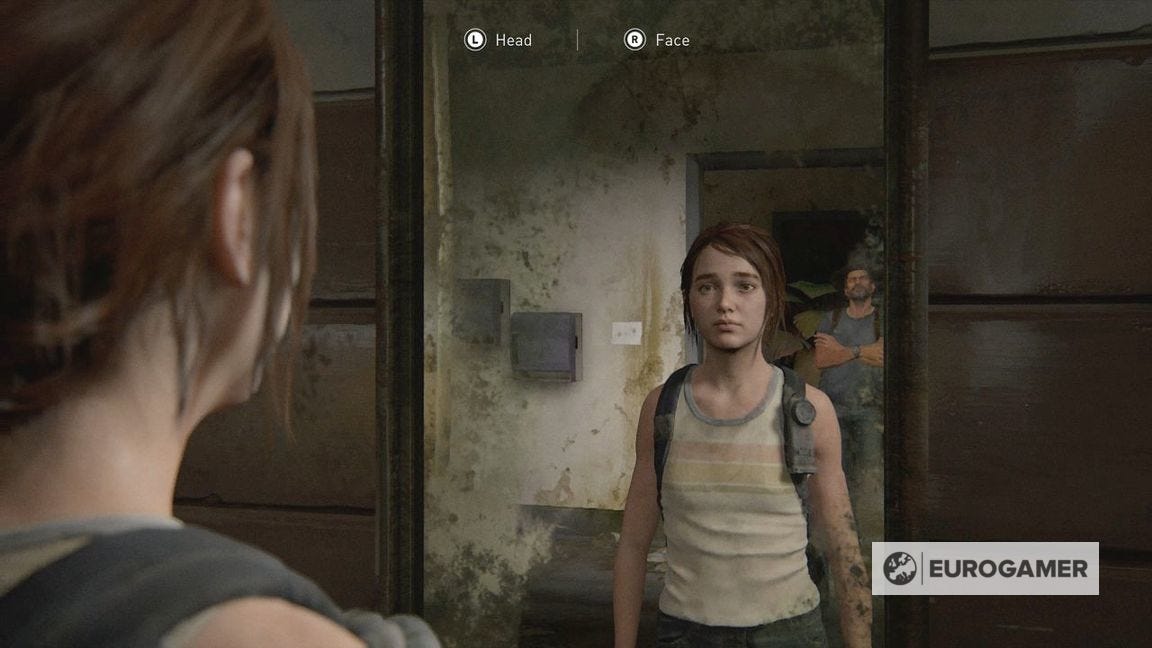
There are more dinosaur exhibits on the ground floor here, as well as a bathroom mirror to play around with.
When ready, head upstairs to the planets and space exhibit.
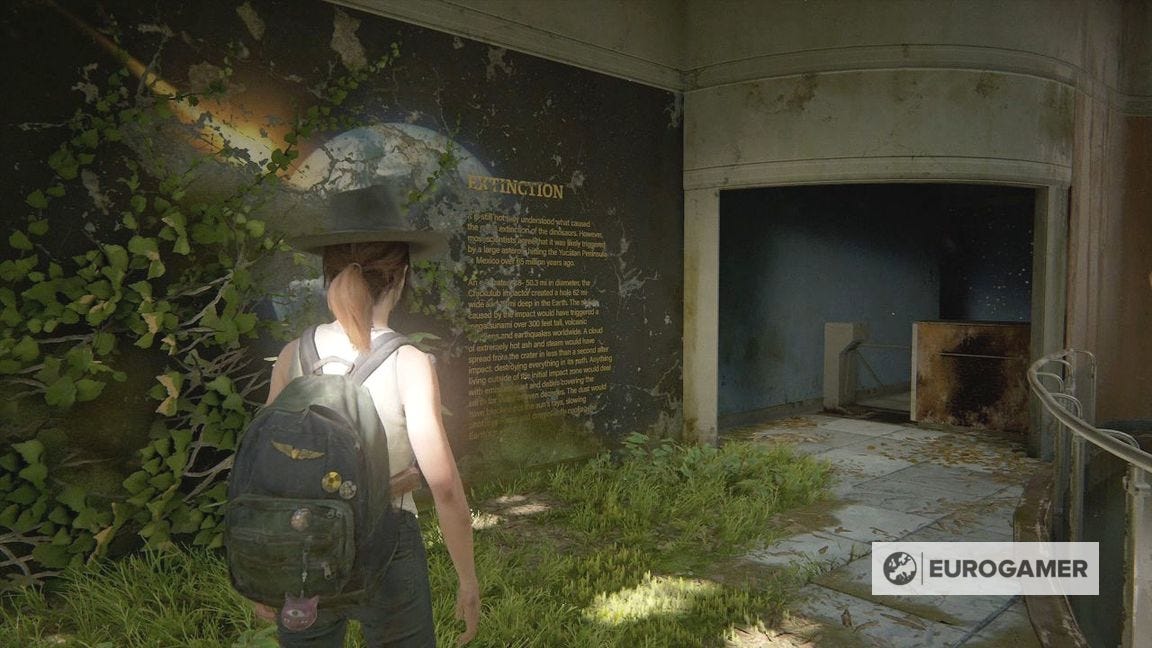
There's more to play around with here, so take your time in exploring it all.
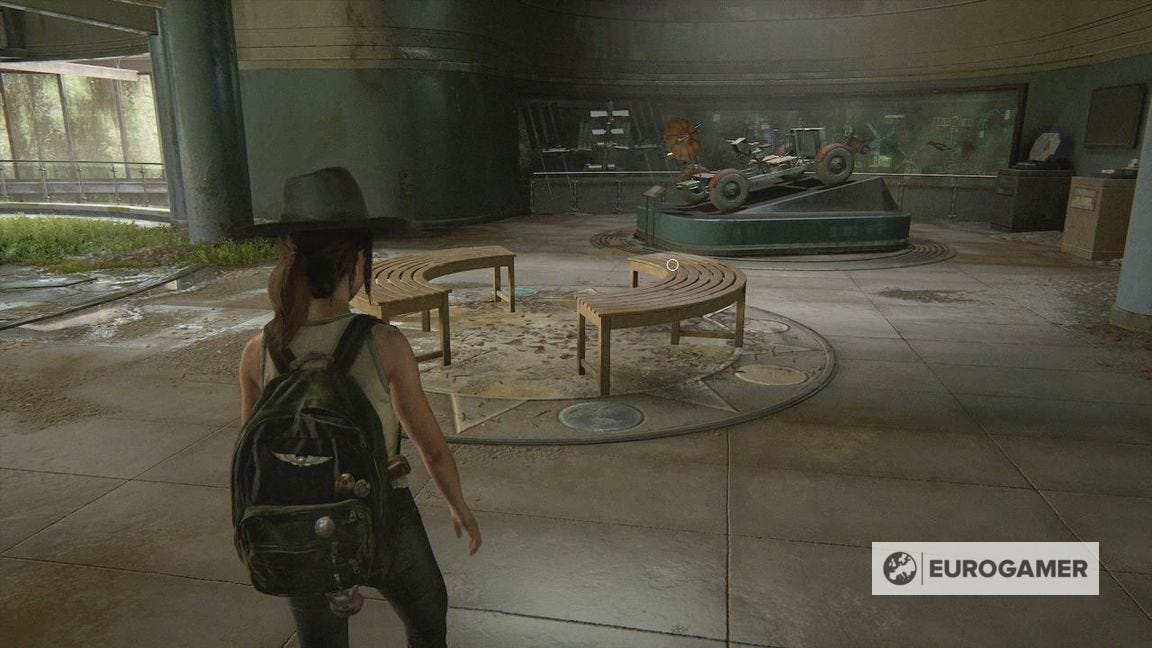
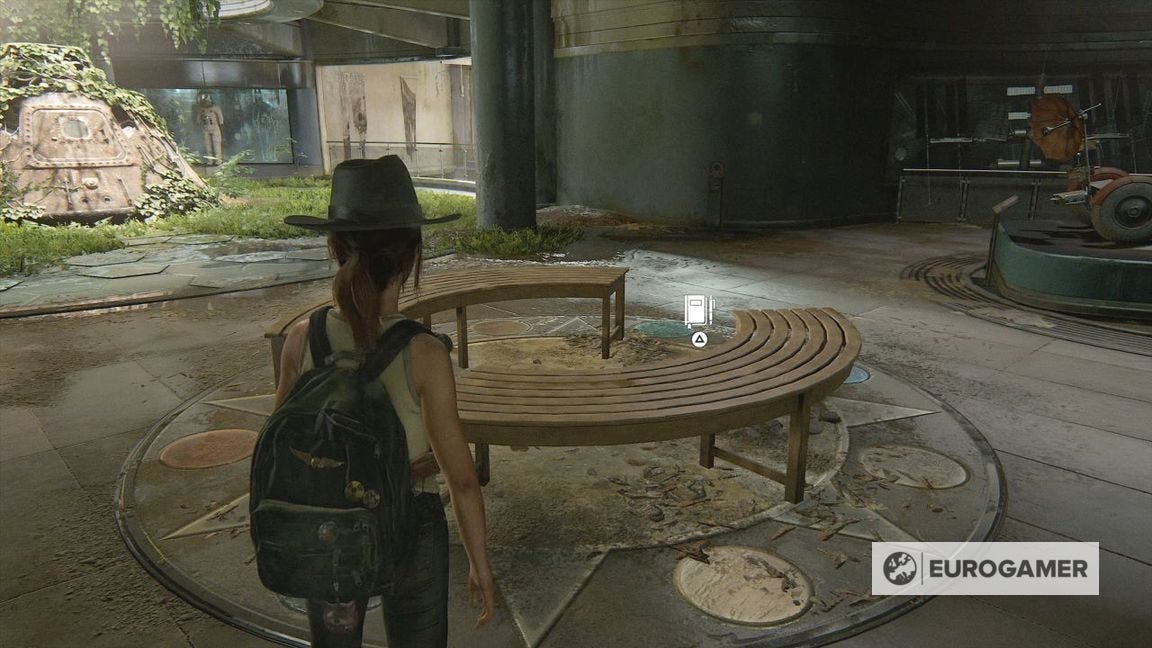
If you're after collectables, the benches next to the lunar rover give you a Journal Entry.
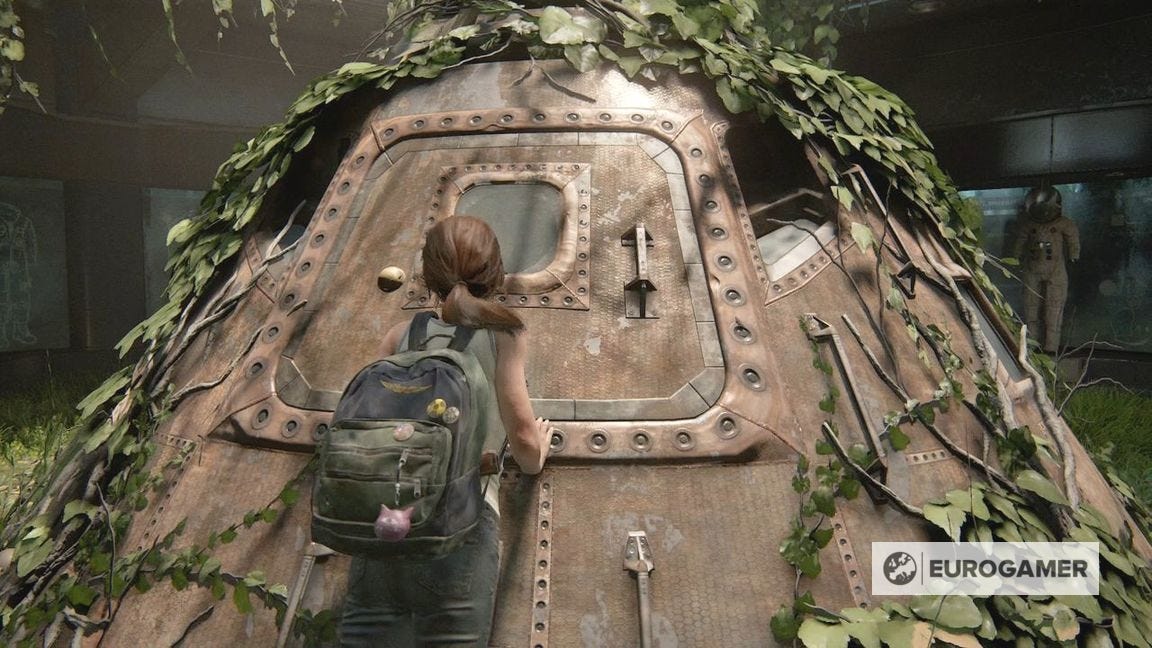
To continue, investigate the module, then choose a helmet and head inside.
After the cutscene, go through the double doors on the other side of the benches.
After diving into the water and getting boosted up, you'll continue the museum tour alone.
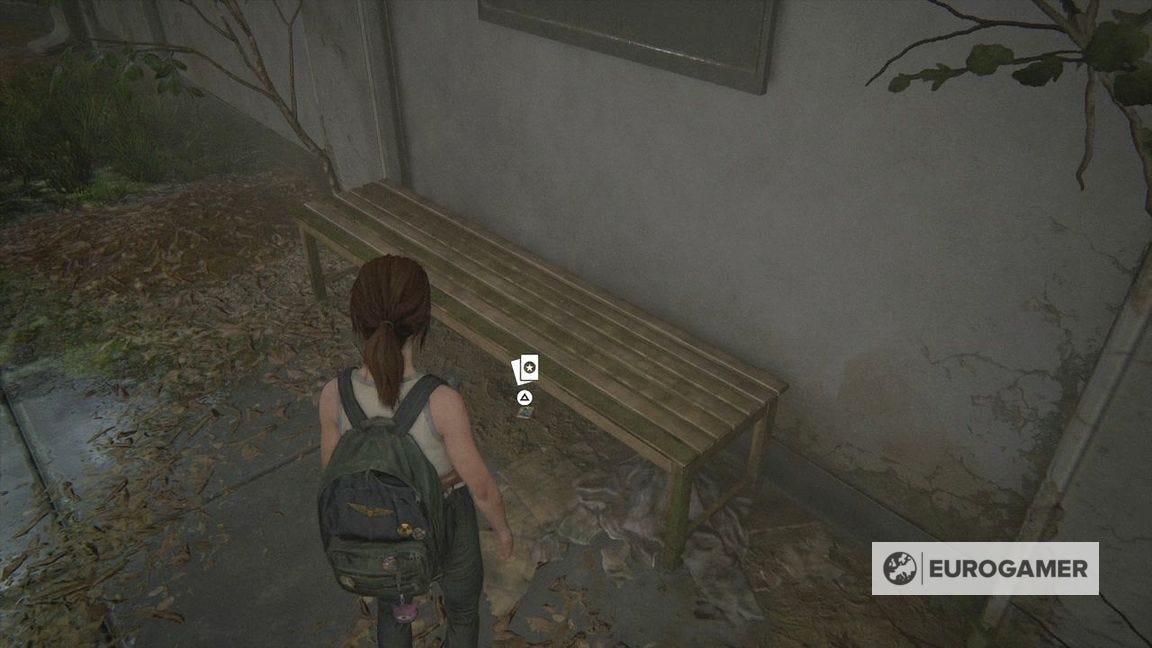
In the next area, there's a Moose statue in the middle of the exhibit.
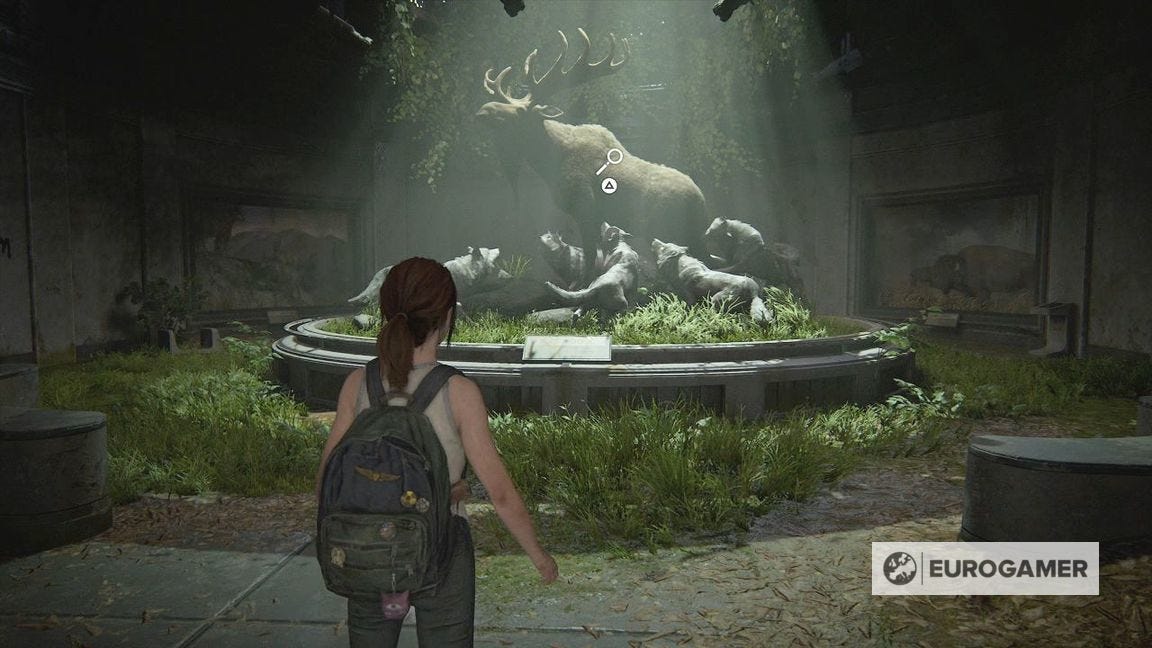
To the right, at the bench, is the Saura Trading Card.
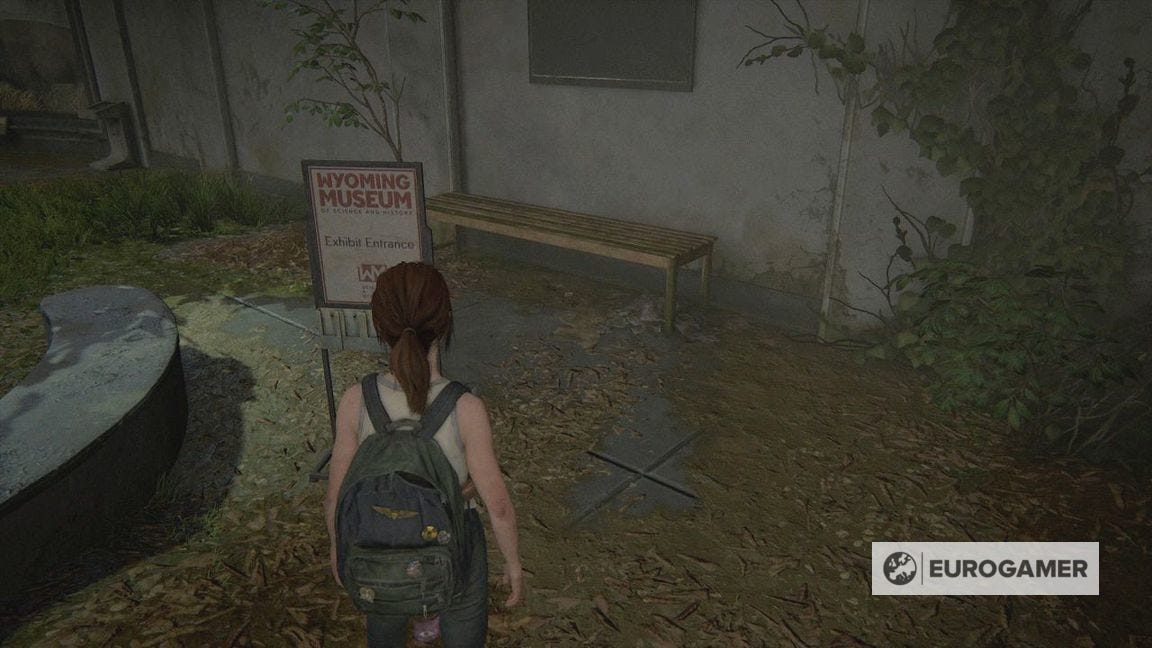
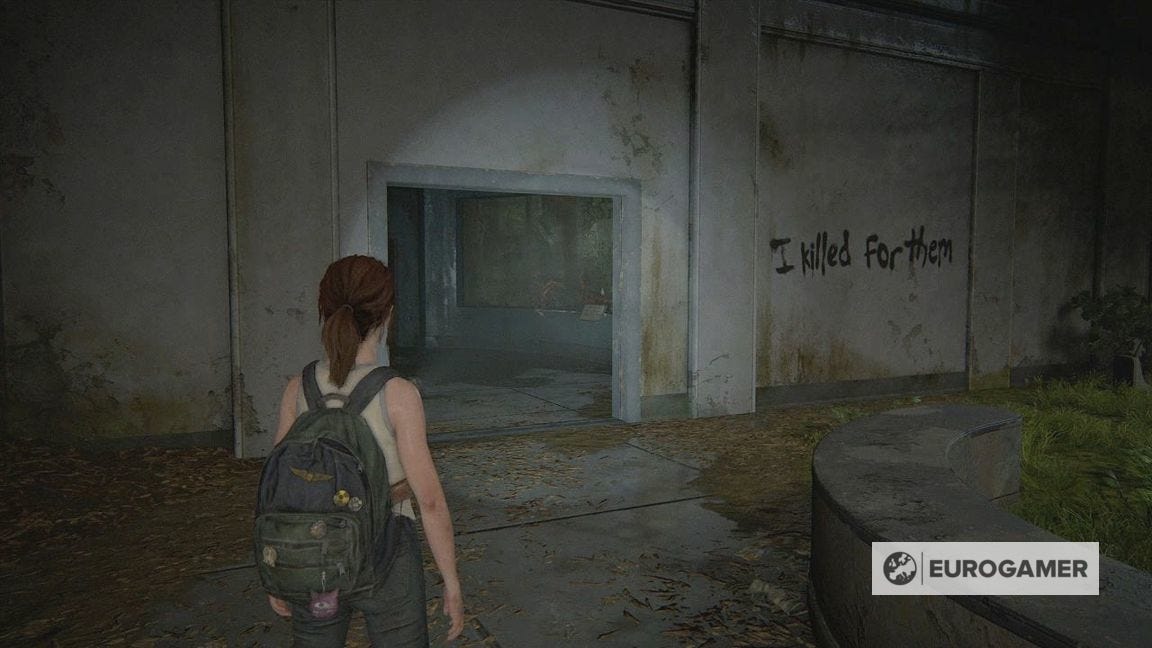
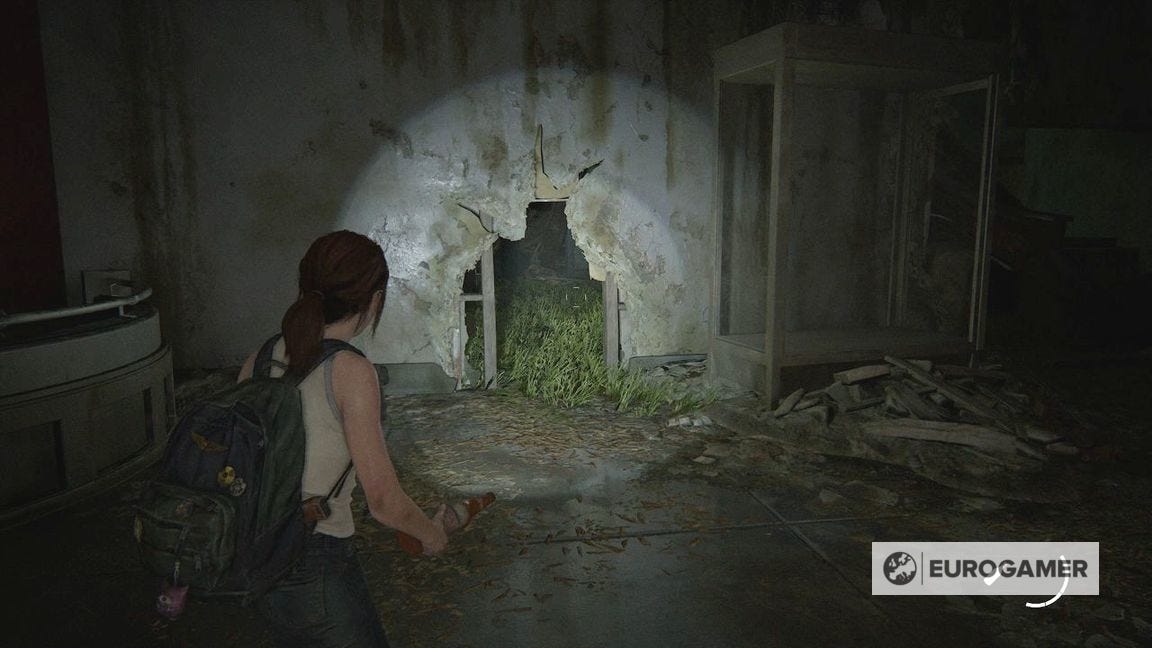
Continue exploring and following the graffiti. You'll soon crawl through the wall.
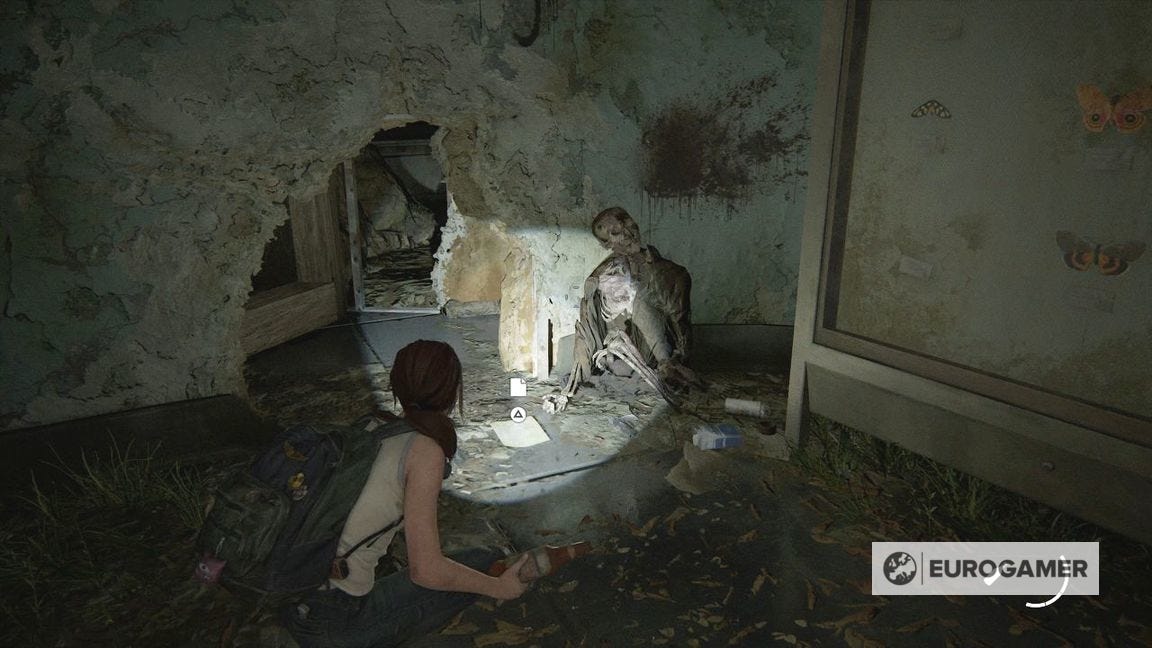
Go to the skeleton in the corner and get the Suicide Note Artefact.
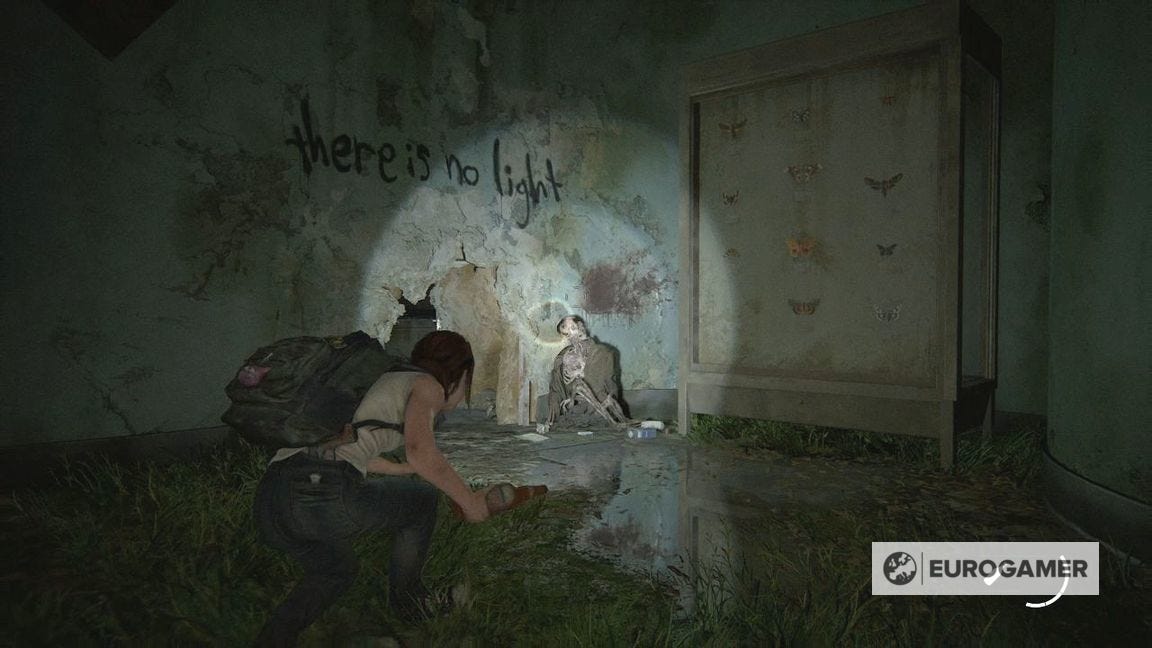
Go through the wall, over the counter and watch the cutscene.
That's Seattle Day 1 wrapped - time for Day 2 with the Hillcrest chapter.