Spelunky 2 shortcuts: How to find and unlock all shortcuts with Mama Tunnel
How to unlock each shortcut unlock method.

Spelunky 2 shortcuts allow you to jump ahead to a later stage in the Adventure without having to start from the beginning first.
While many of Spelunky 2's secrets are designed to be discovered over the course of a single playthrough, using shortcuts allows you to easily access later levels quickly.
This is perfect if you need to quickly reach the challenging later stages, practice facing their bosses or using their mounts, and get to the game's normal ending without starting over each time.
However, unlocking Spelunky 2 shortcuts is still a demanding endeavour - requiring you to complete each stage a number of times, and hand over certain items, before you can start using them.
On this page:
How shortcuts work in Spelunky 2
Similar to the first game, Spelunky 2 allows you to jump ahead to a later level in the Adventure provided you have unlocked the shortcut.
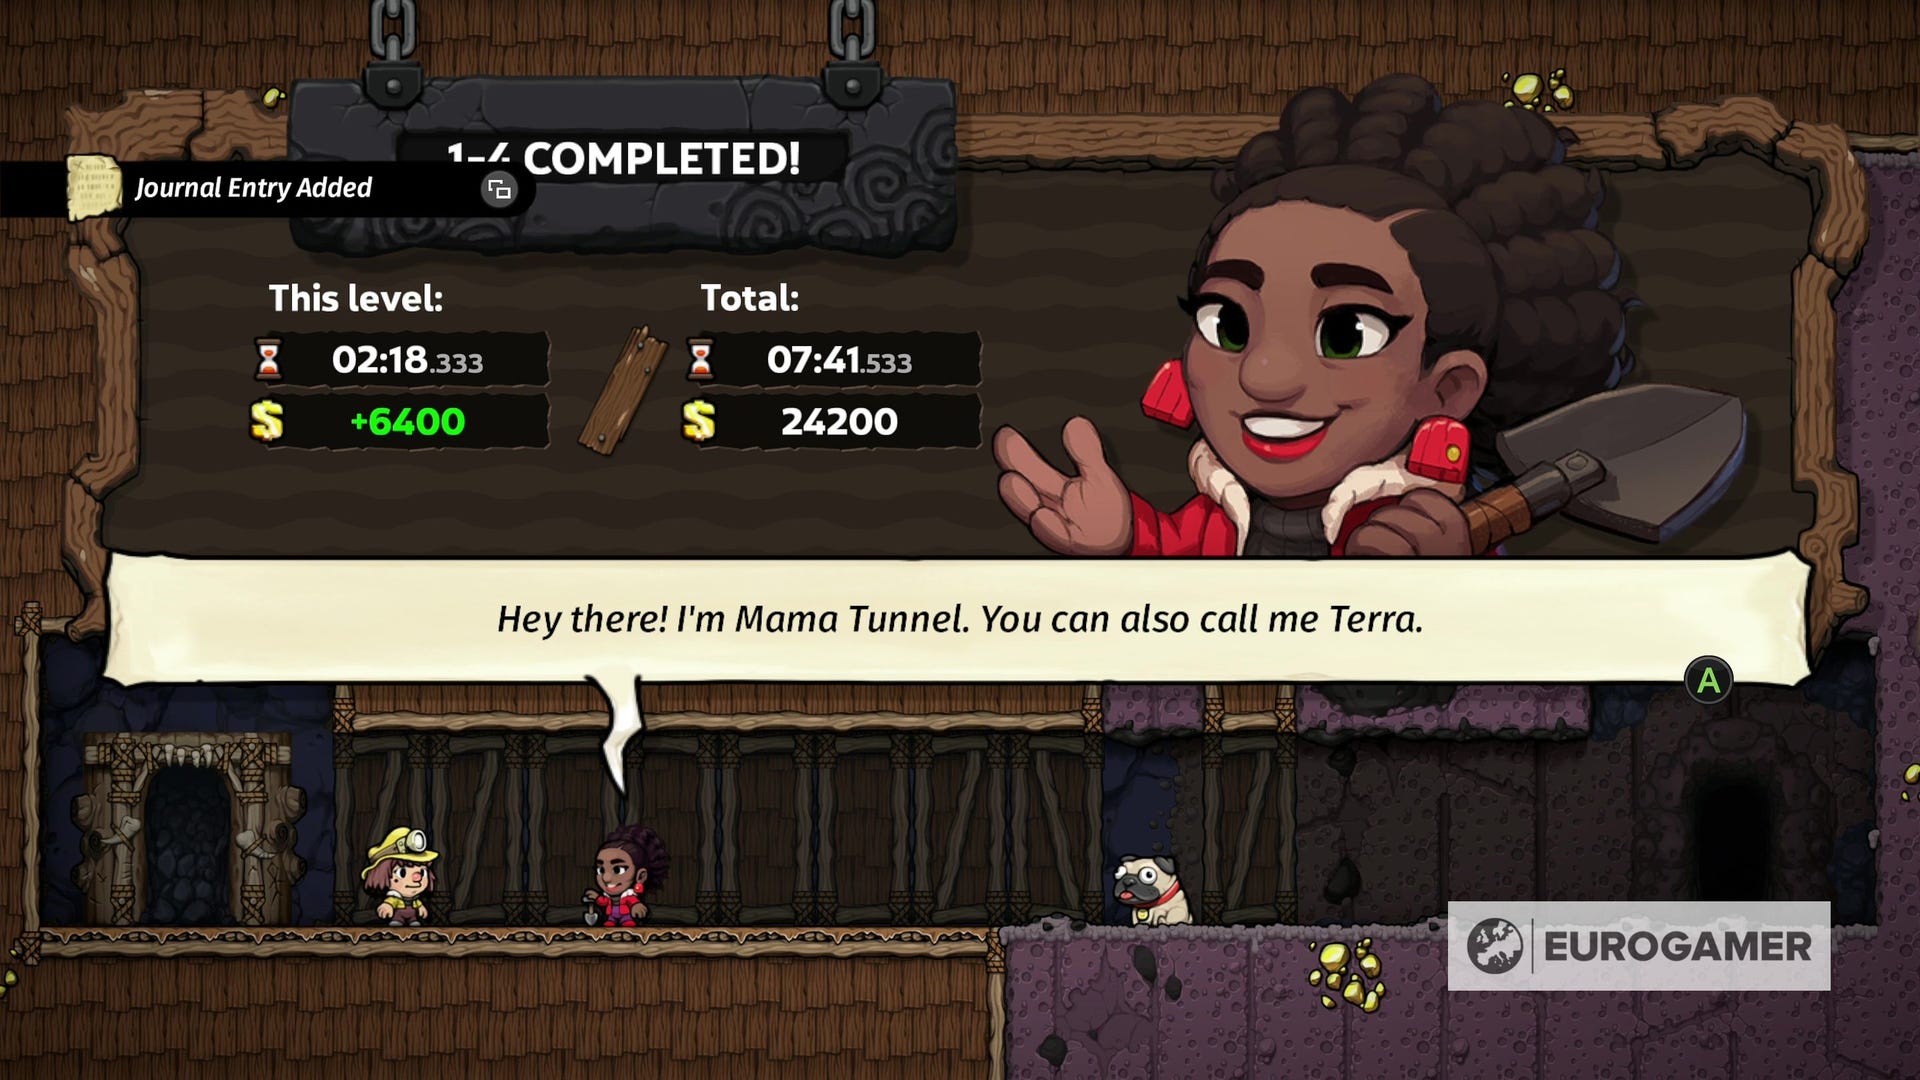
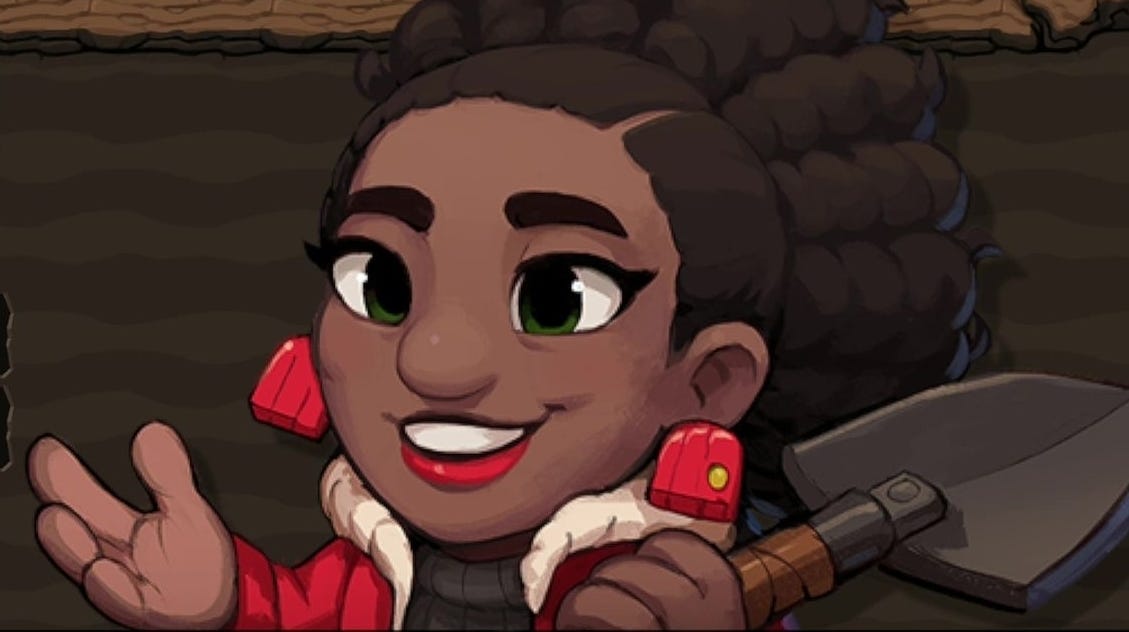
To do this, you need to reach the end of 1-4 in the Adventure through normal play, where you'll encounter Mama Tunnel - also known as Terra. They will request supplies from you - such as an item or money - to help construct the shortcut.
Once you have helped with their demands over several playthroughs, the shortcut will then unlock. You can access it on the starting hub area of the Adventure by exploring the left side.

However, something different to the first game - small structural spoilers ahead - is that the shortcut will take you the branch at the end of a set of stages, rather than ahead to a level itself.
For example, at the end of 1-4, there are two exits - one in each corner - which go to the Jungle and Volcana areas respectively.
In-between them there is a door which you cannot access. This is where the shortcut will be once you unlock it, allowing you to then choose which World 2 level you want to visit next.

The rest of the page is a list of requirements to unlock each shortcut. Many require specific items or resources before they unlock, so knowing what they are ahead of time will save you having to attempt a run again with the item in mind.
How to unlock the first shortcut in Spelunky 2
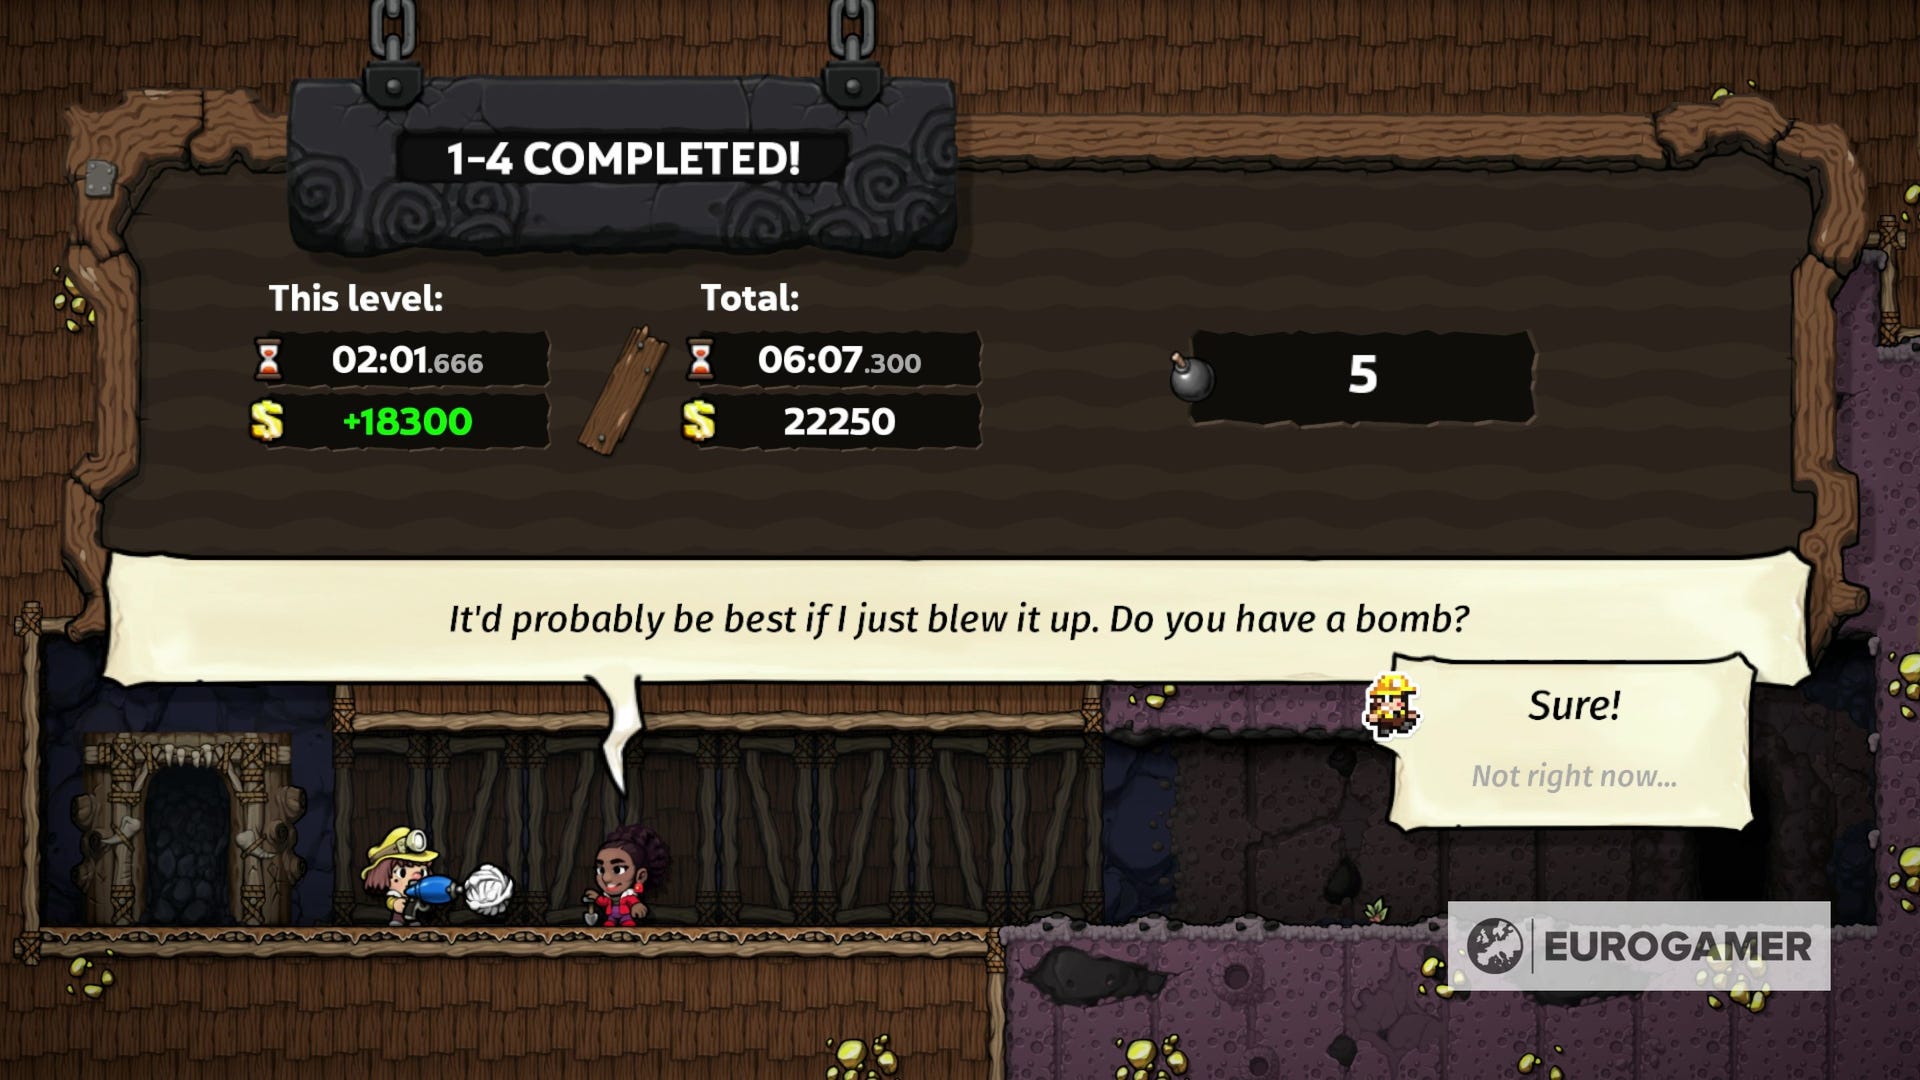
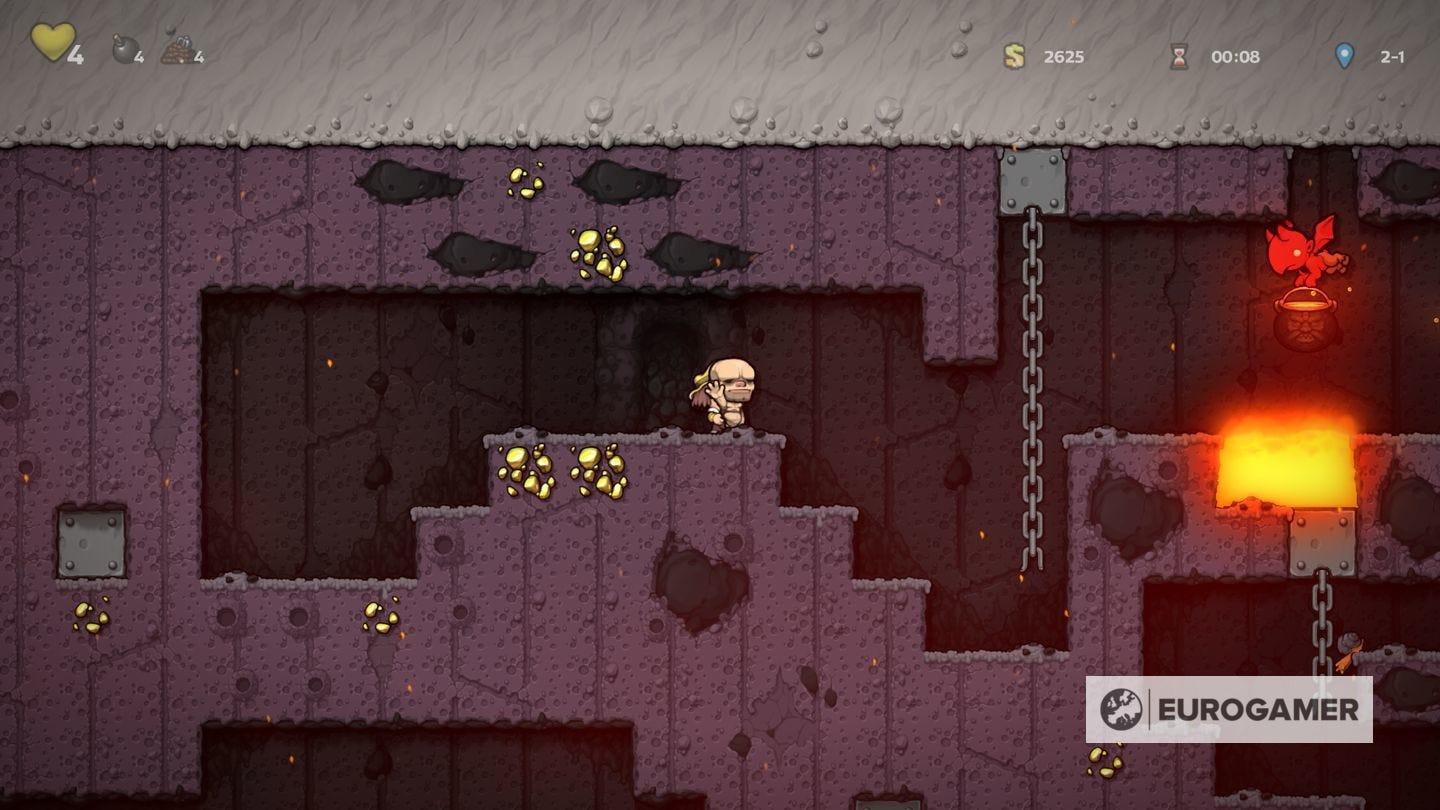
To unlock the first shortcut in Spelunky 2, you need to complete 1-4 - killing Quillback doesn't matter - and take either branching path. You then need to hand over the following on three unique runs:
- $2000 donation
- 1x Bomb
- $10,000 donation
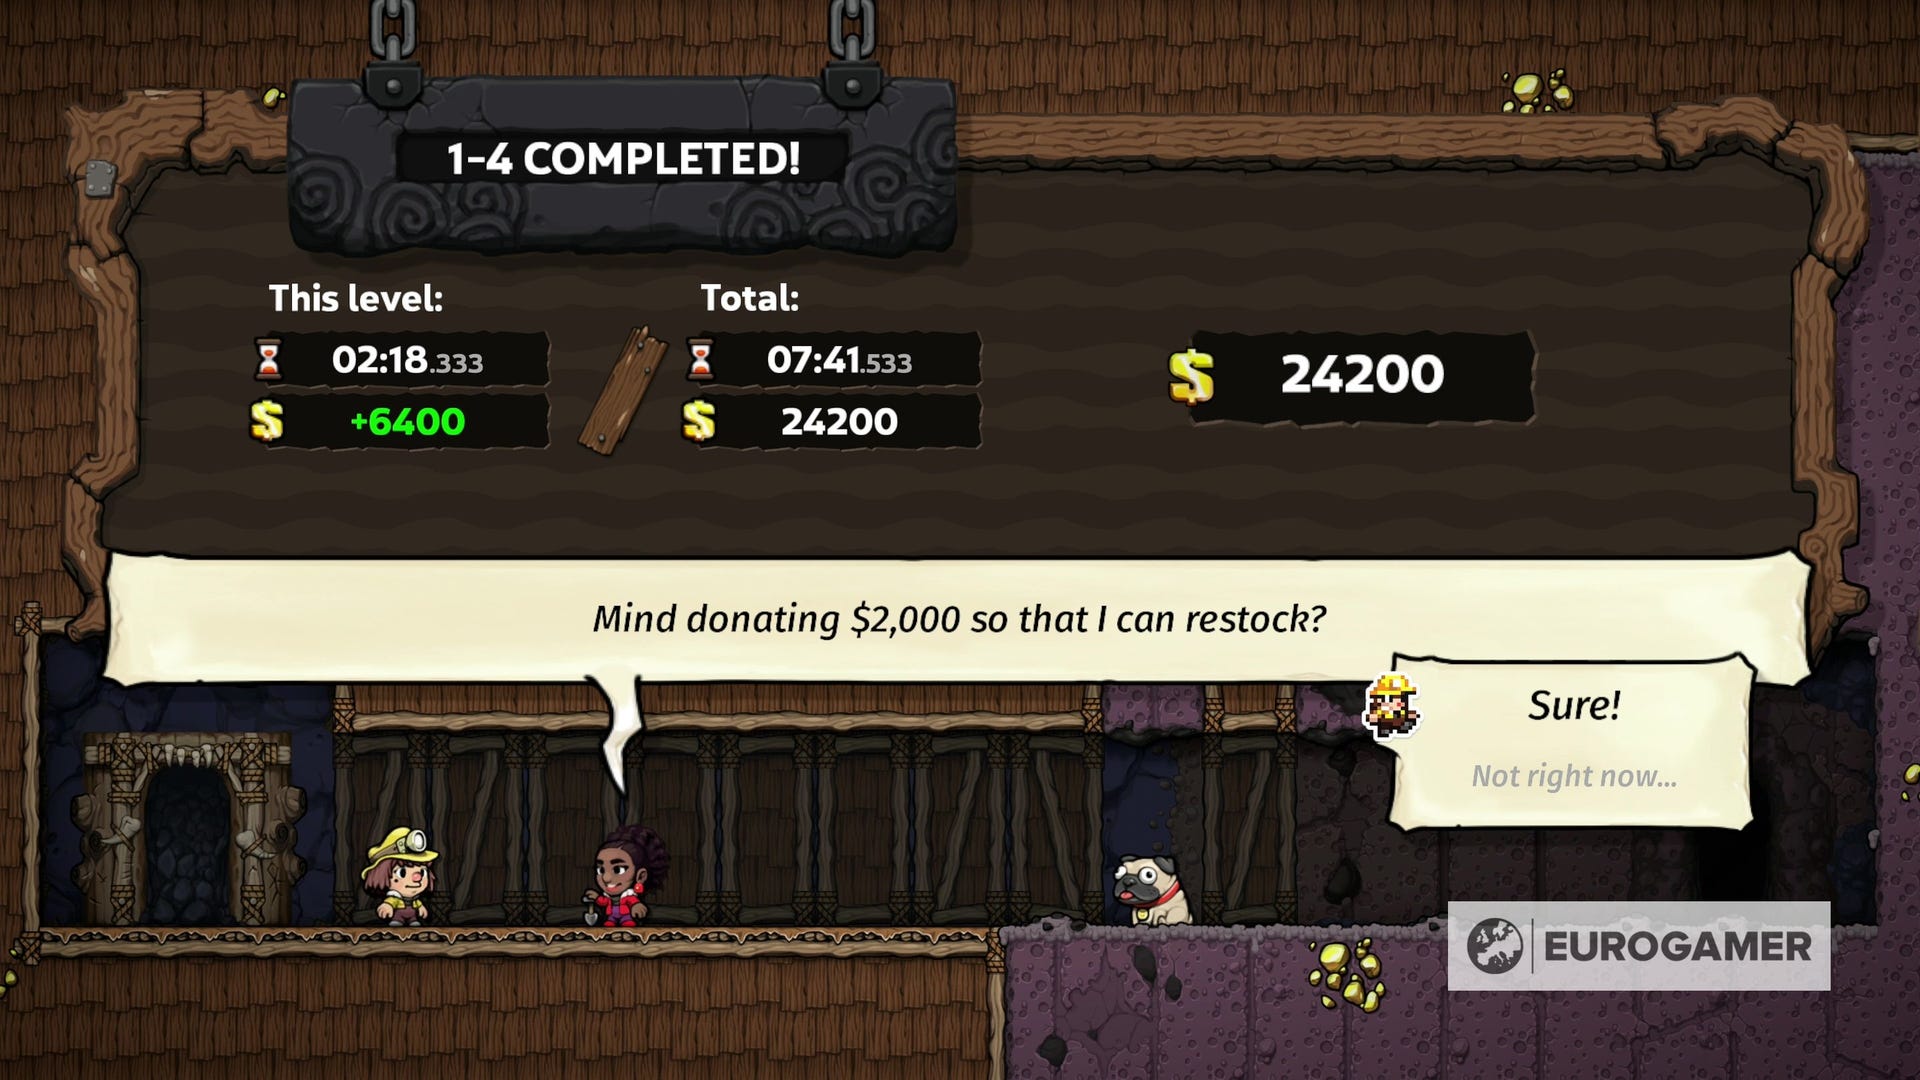
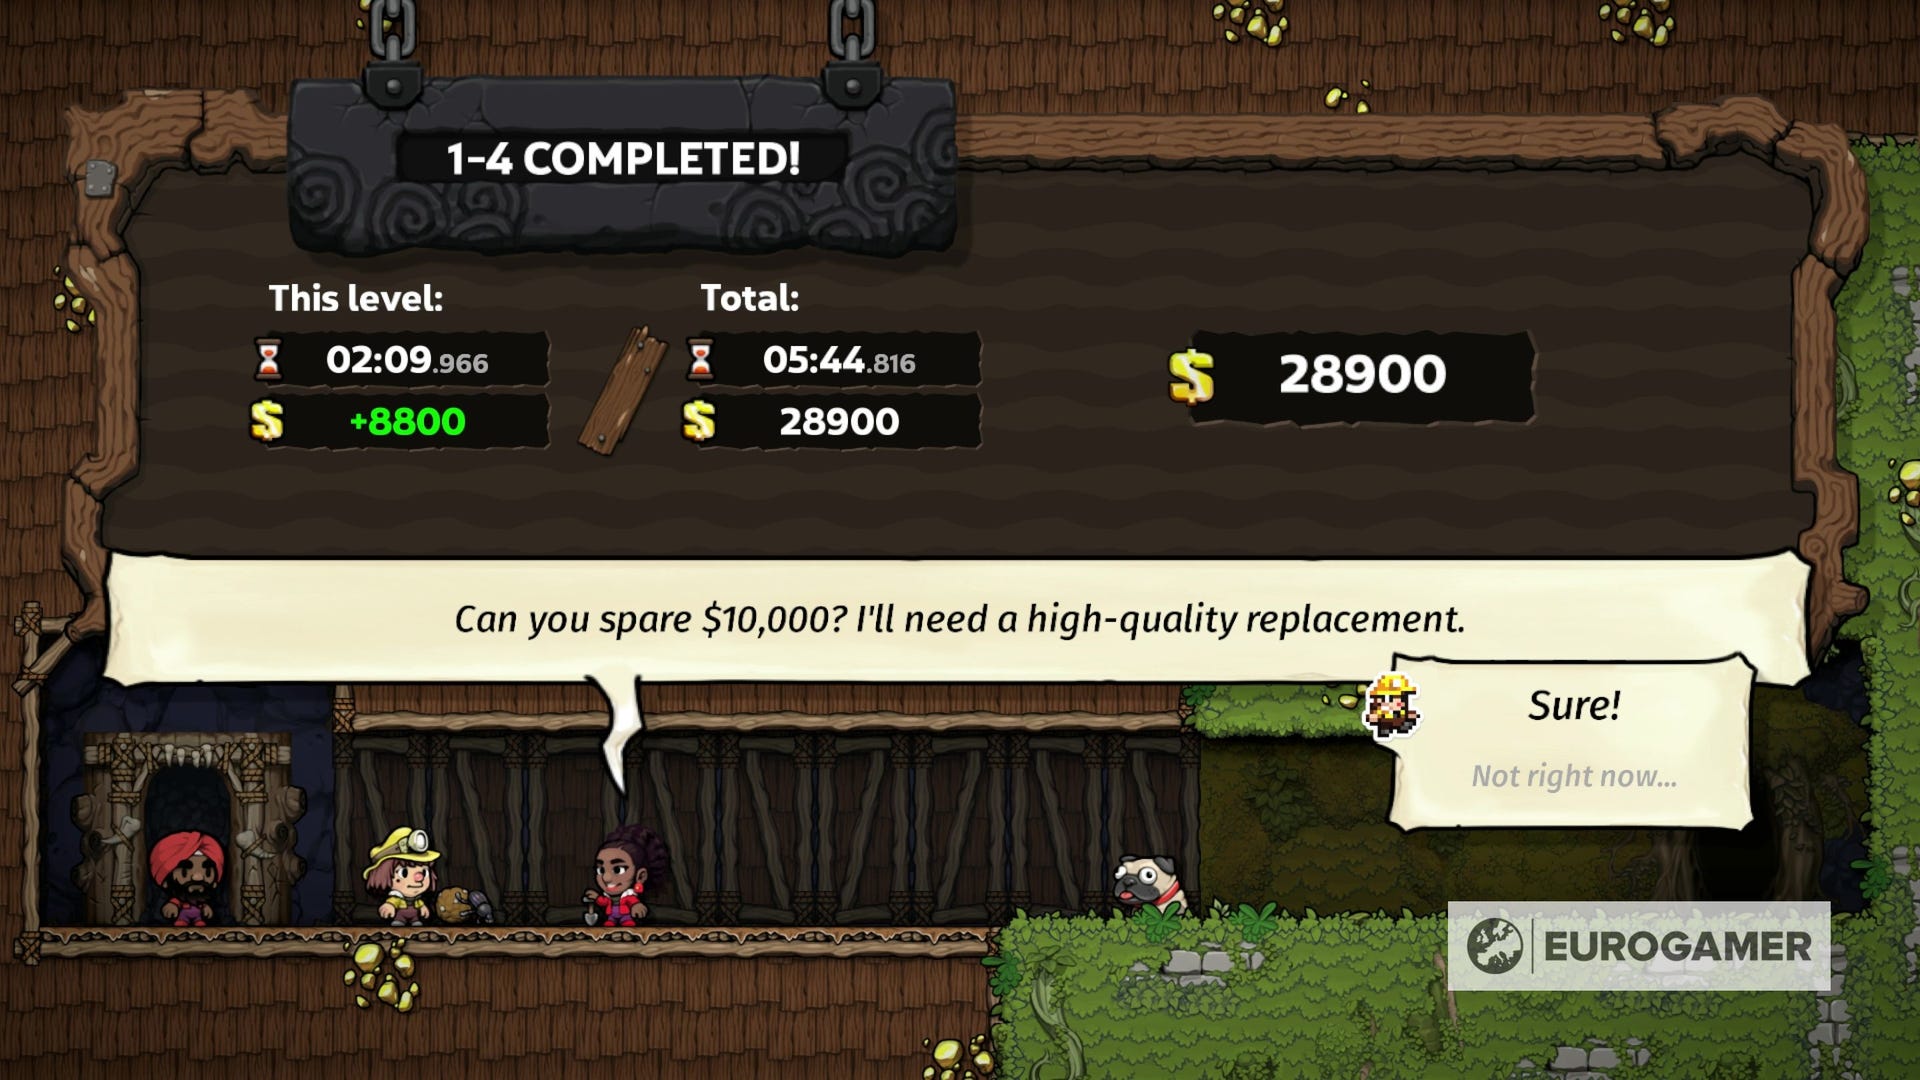
The shortcut will then appear in-between the two exits at the end of 1-4.
How to unlock the second shortcut in Spelunky 2
To unlock the second shortcut in Spelunky 2, you need to get past Olmec and take one of the two exits below. You then need to hand over the following on three unique runs:
- 1x Rope
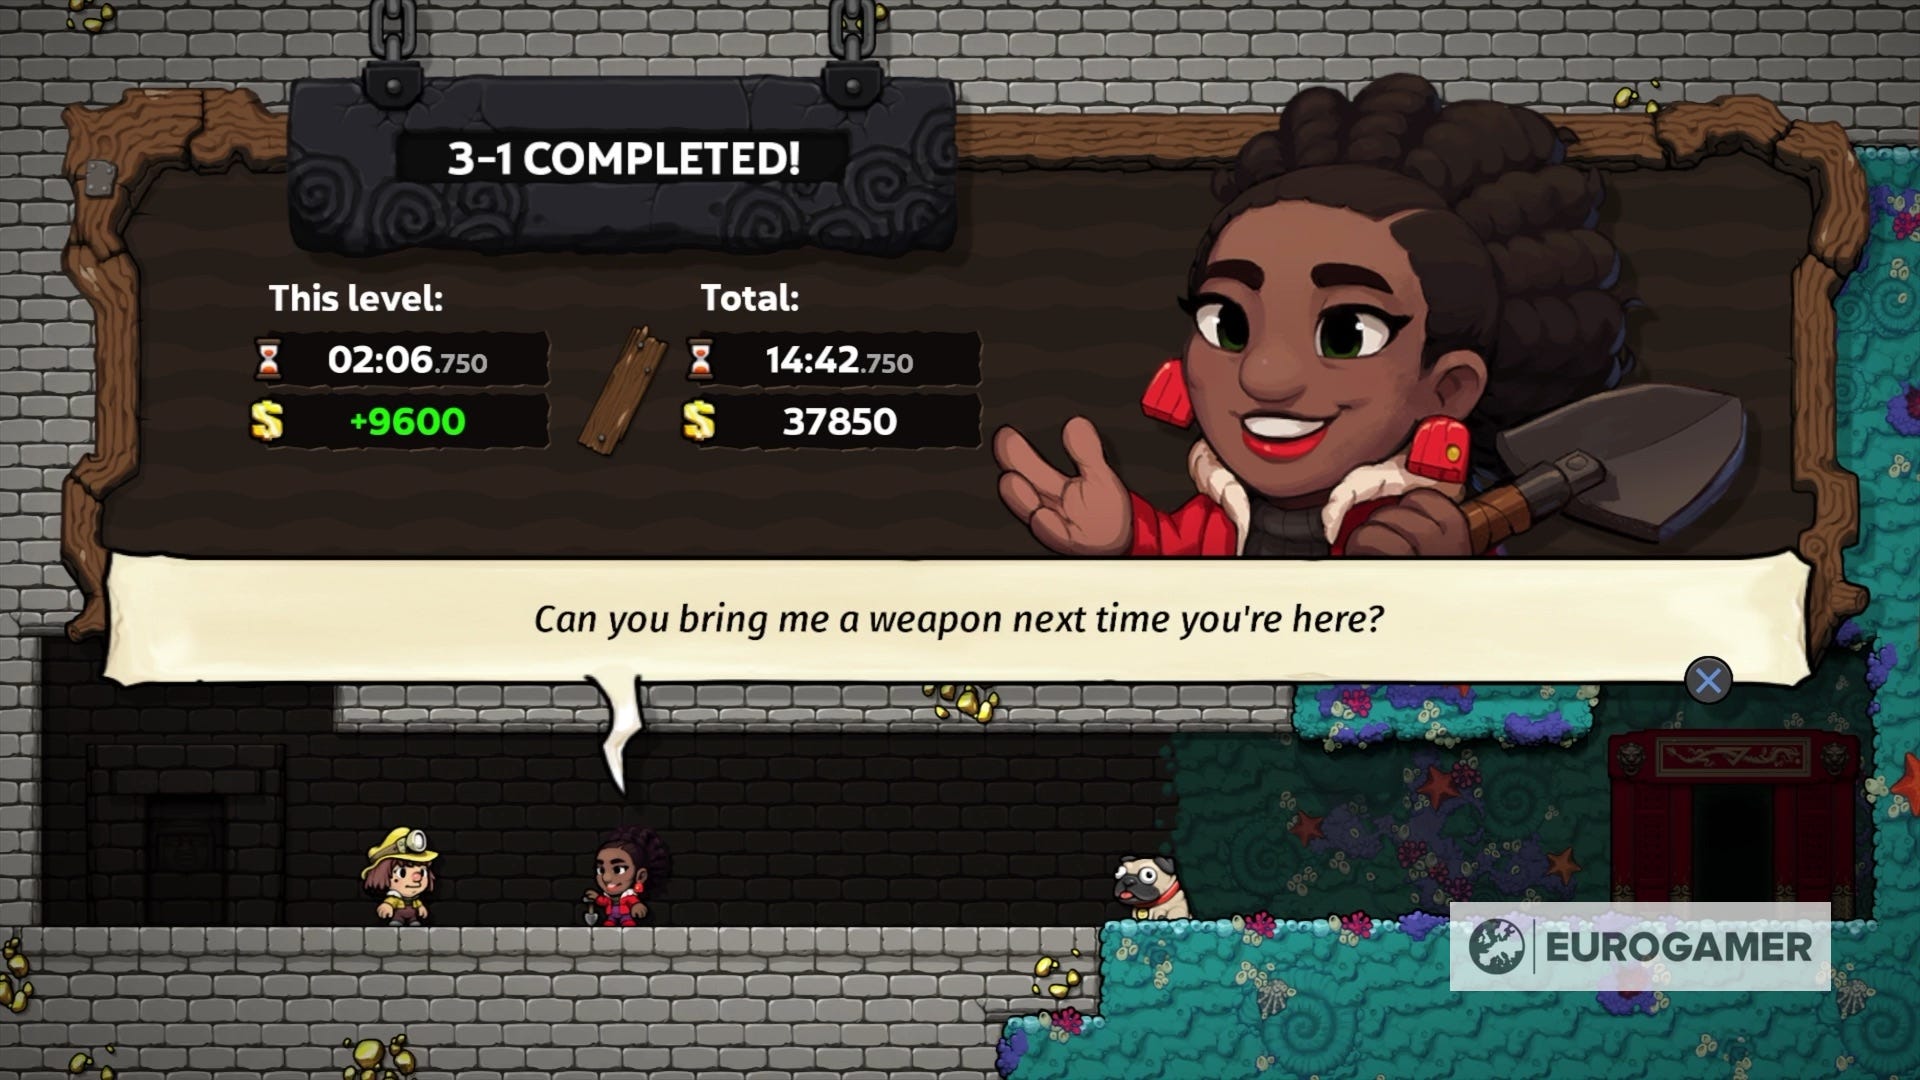
- A weapon
- A mount
Though a weapon can be found in either the Jungle or Volcana, the former is more reliable thanks to the boomerang-wielding foes. However, you can always purchase or steal a weapon from a shopkeeper in either world. Finally, for whatever reason, the bow and arrow you find in the Moon Challenge does not count as a weapon.
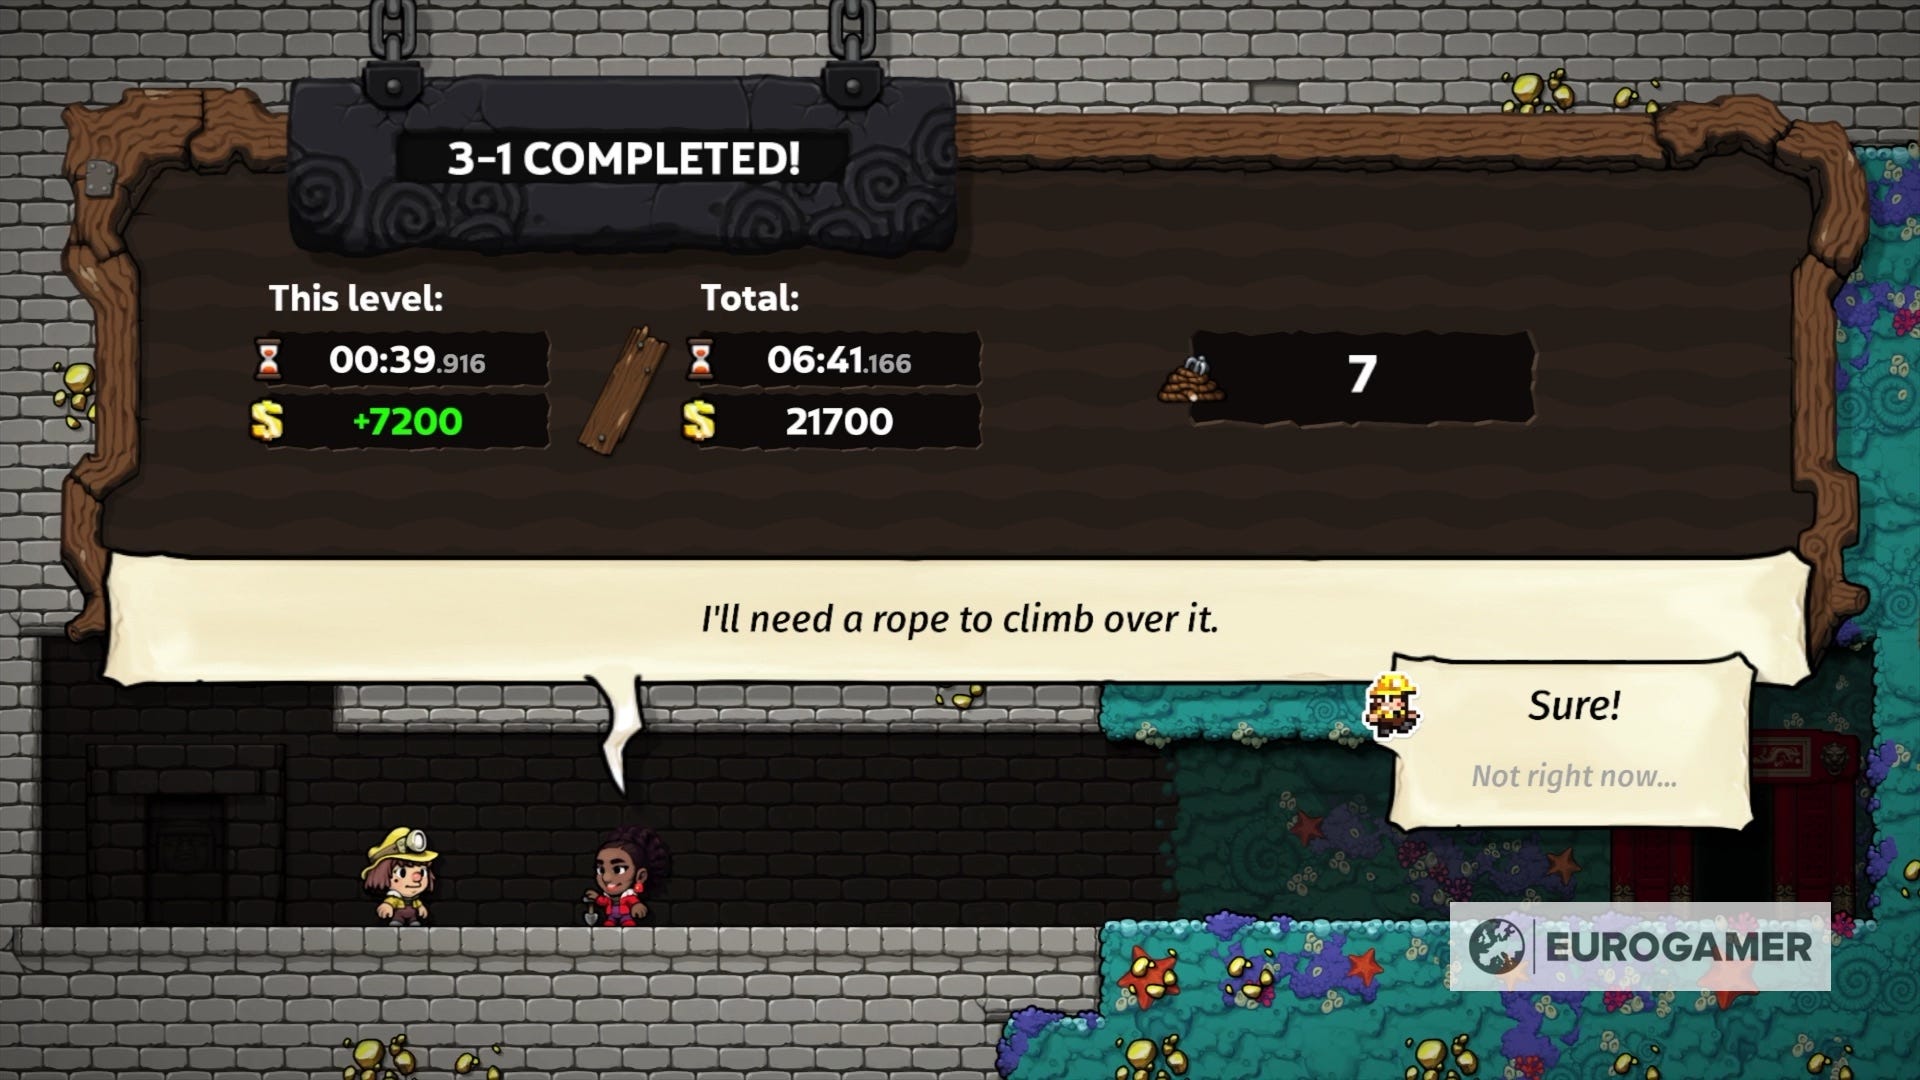
The shortcut will then appear on the same level as the first exit below Olmec.
How to unlock the third shortcut in Spelunky 2
To unlock the third shortcut in Spelunky 2, you need to get past World 4 (which is either Tide Pool or the Temple, depending on your choice on the previous shortcut). You then need to hand over the following on three unique runs:
- $50,000
- A hired hand
- The Golden Key (which spawns in World 1)
This is, unsurprisingly, the most difficult set of challenges yet to unlock this final shortcut.
Getting $50,000 is more realistic than you think, even if you start at the second shortcut and have a single world to complete it in. If you are starting here - which is how we unlocked it - then grab all loose pieces of gold and gems you can see, and collect as many of the more hazardous treasures where it's safe to do so.
For example, Idols on clam traps can be moved by throwing a bomb next to it, knocking it to the side, while curse pots - which spawn a ghost when broken open - can be carried to the exit first so you can leave the level without needing to rush.
On Tide Pool, you also have a surplus of chests thanks to the helmet crab spawns (just be sure to whip them first) and a chance of dice games spawning, which, if luck is on your side, is an additional way to get some bonus cash.

The hired hand is a considerable step up in difficulty. Sourcing one is straightforward - one will always appear next to the first shortcut, and another will spawn somewhere in World 2 - but the challenge is keeping them alive in each subsequent level.
There are, however, a few tricks to keeping them under control. One is carrying them. The issue is they will wriggle free every five or so seconds, so you need to drop them and pick them up again regularly. This makes completing levels a longer process, but otherwise they will do their own thing and kill themselves.
You can also force them to fall asleep by grabbing them, crouching and dropping them. This allows you to play the level normally, as as long as they are alive somewhere on the level when you exit, they will come with you. However, we only found this to work from World 4 onwards (Tide Pool or Temple), so you need to do the above carrying, drop and carrying method until then.
The final shortcuts step is the Golden Key. This is a returning challenge from the original Spelunky, and has you find the Golden Key in the first world - found in either 1-2 or 1-3, and is used to open the Udjat Eye chest - and carry it all the way to the final shortcut.
This is the toughest challenge yet, forcing you to play from the very beginning, completing three worlds, and ensuring you don't misplace the key along the way.
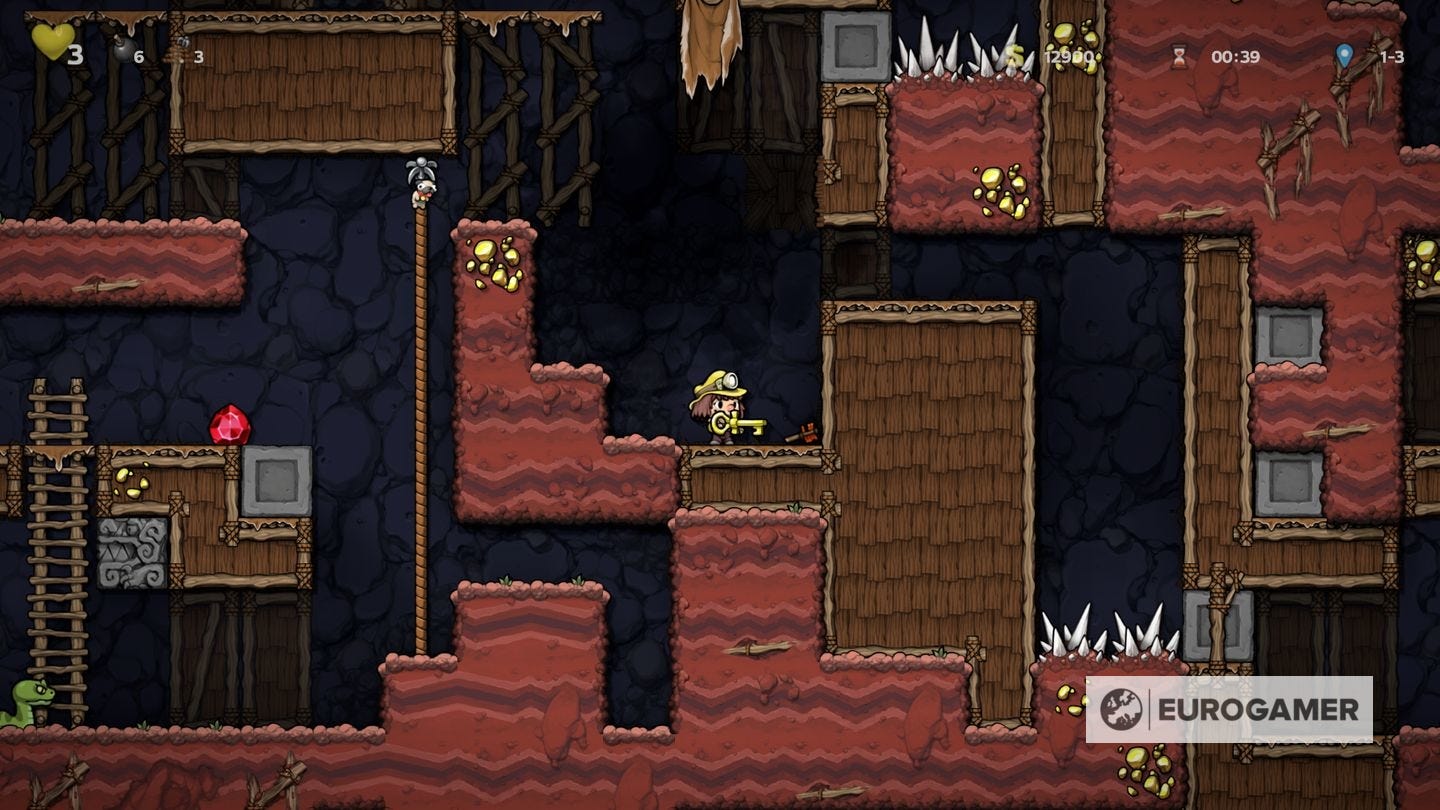
Taking your time is important here. Though you can use the key as a projectile in a pinch, we'd avoid using it blindly so you don't drop it on a spike bed or hard to reach place. With luck on your side, this will be doable, allowing you to access the final areas of the game that much easier. Good luck!