Final Fantasy 7 Remake Timer choice: How to beat first boss Scorpion Sentinel and 20 or 30 minute timer difference explained
Twenty or thirty minutes - you decide.
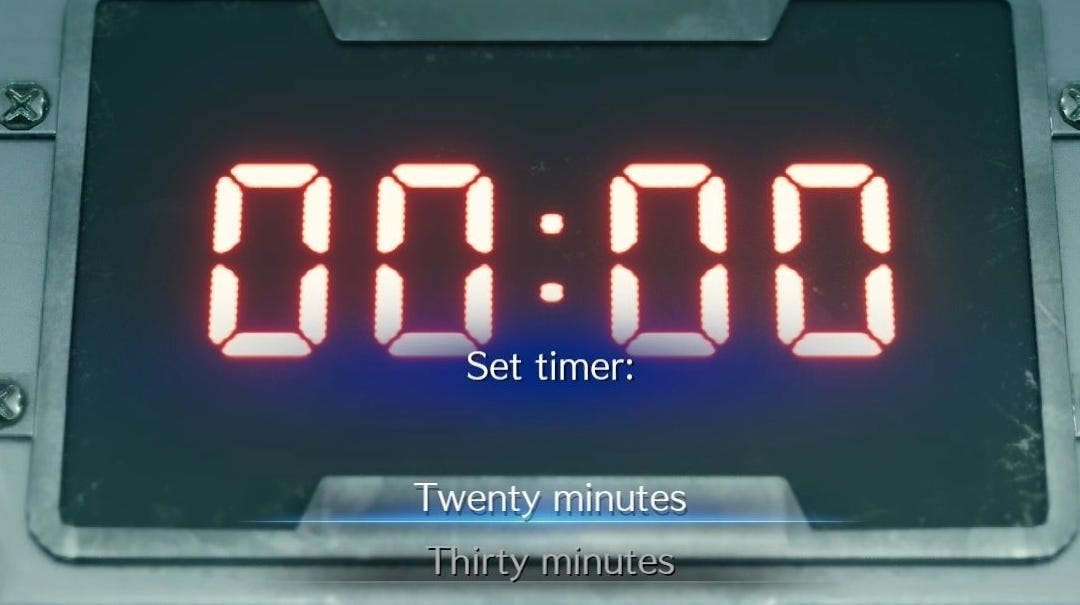

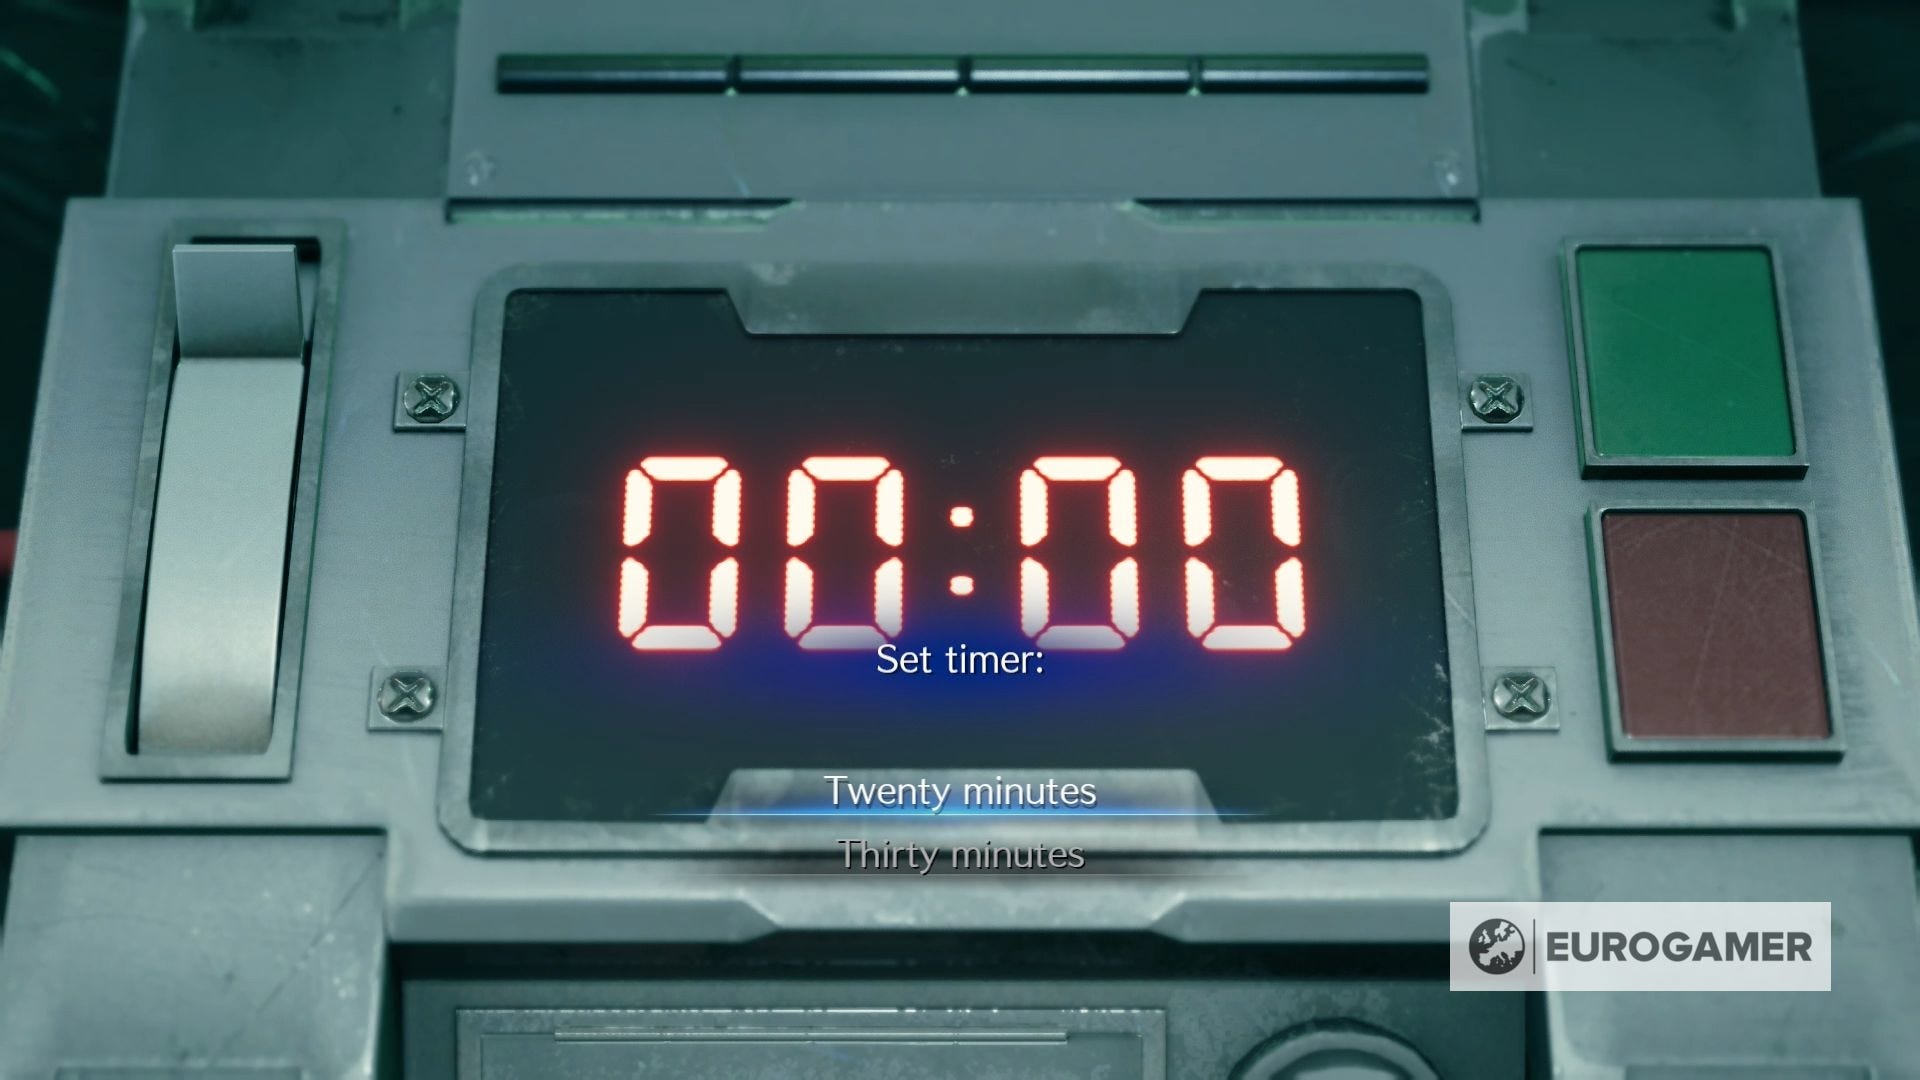
When it comes to setting the timer for the bomb in Chapter One of Final Fantasy 7 Remake, you have a choice between 20 minutes and 30 minutes.
Thankfully this timer isn't counting down while you defeat the Scorpion Sentinel, but it will slowly clock away as you escape from the reactor.
Be prepared, however, the time you choose will also be the time limit for your escape.
On this page:
 12 Biggest Final Fantasy 7 Remake Changes That We Totally Loved: Final Fantasy 7 Remake PS4 Gameplay
Final Fantasy 7 Timer choice explained: What's the difference between 20 or 30 minutes?
Upon reaching the reactor, Barret will insist that you place the bomb to prove your loyalty to Avalanche.
You can either set the timer to 20 minutes or 30 minutes.
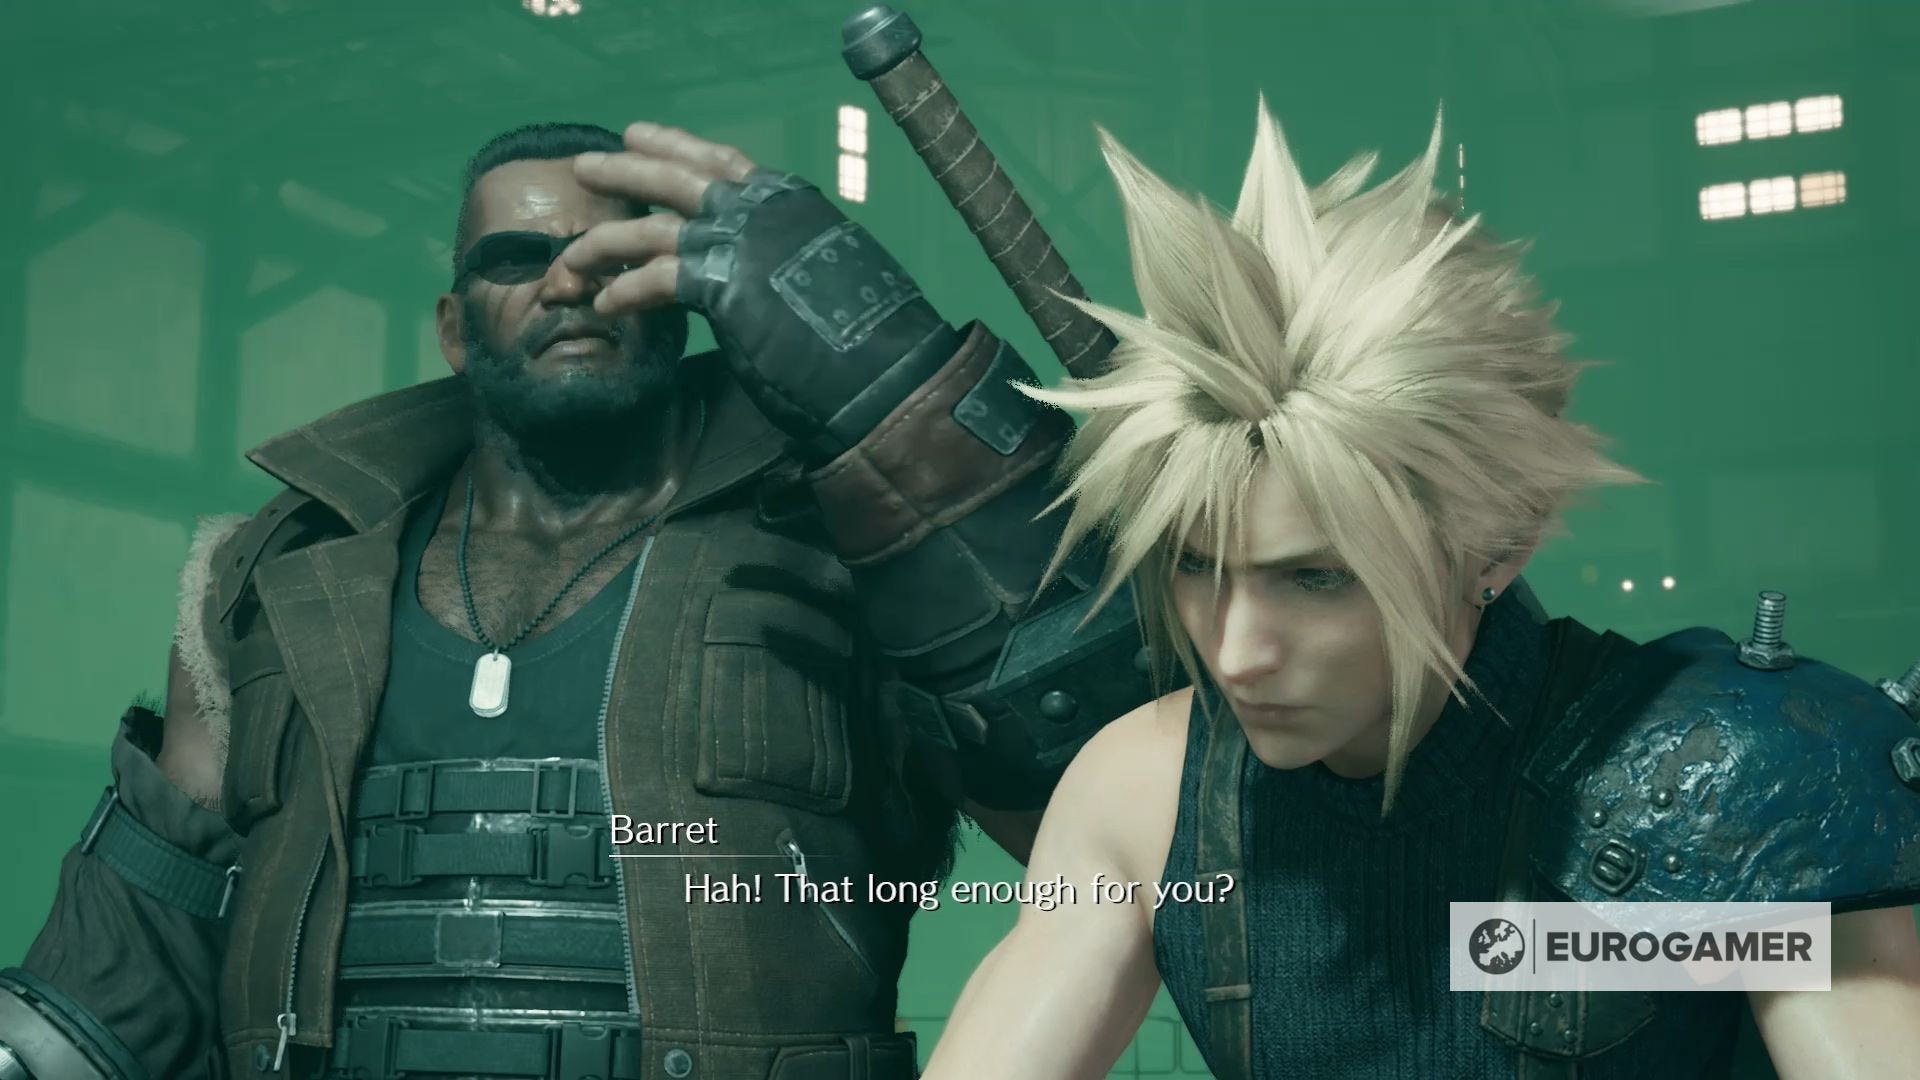
Your choice of time makes no difference to the story or the success of the mission. The only real difference you'll experience is a line of dialogue from Barret after you've set the timer.
The timer also doesn't come into play, until after you've defeated the Scorpion Sentinel, which means you can take your time defeating the boss without pressure.
If you pick 20 minutes, he'll say:

Picking 30 minutes, however, will lead to this line of dialogue:
Now that the timer has been set, you need to get out of the reactor as quickly as possible.

How to defeat the Scorpion Sentinel in Final Fantasy 7 Remake
Before you can escape the reactor in Final Fantasy 7 Remake, you must defeat the Scorpion Sentinel. This fight is divided into three different stages.
Throughout this battle you should try your best to stay out of the way of the Scorpion Sentinels tail. Not only will being hit with it cause a good amount of damage, but it can also bound you or your ally.
If you become bound, quickly switch to the other character and attack the Scorpion Sentinel to release the one they've captured, before it causes too much damage.
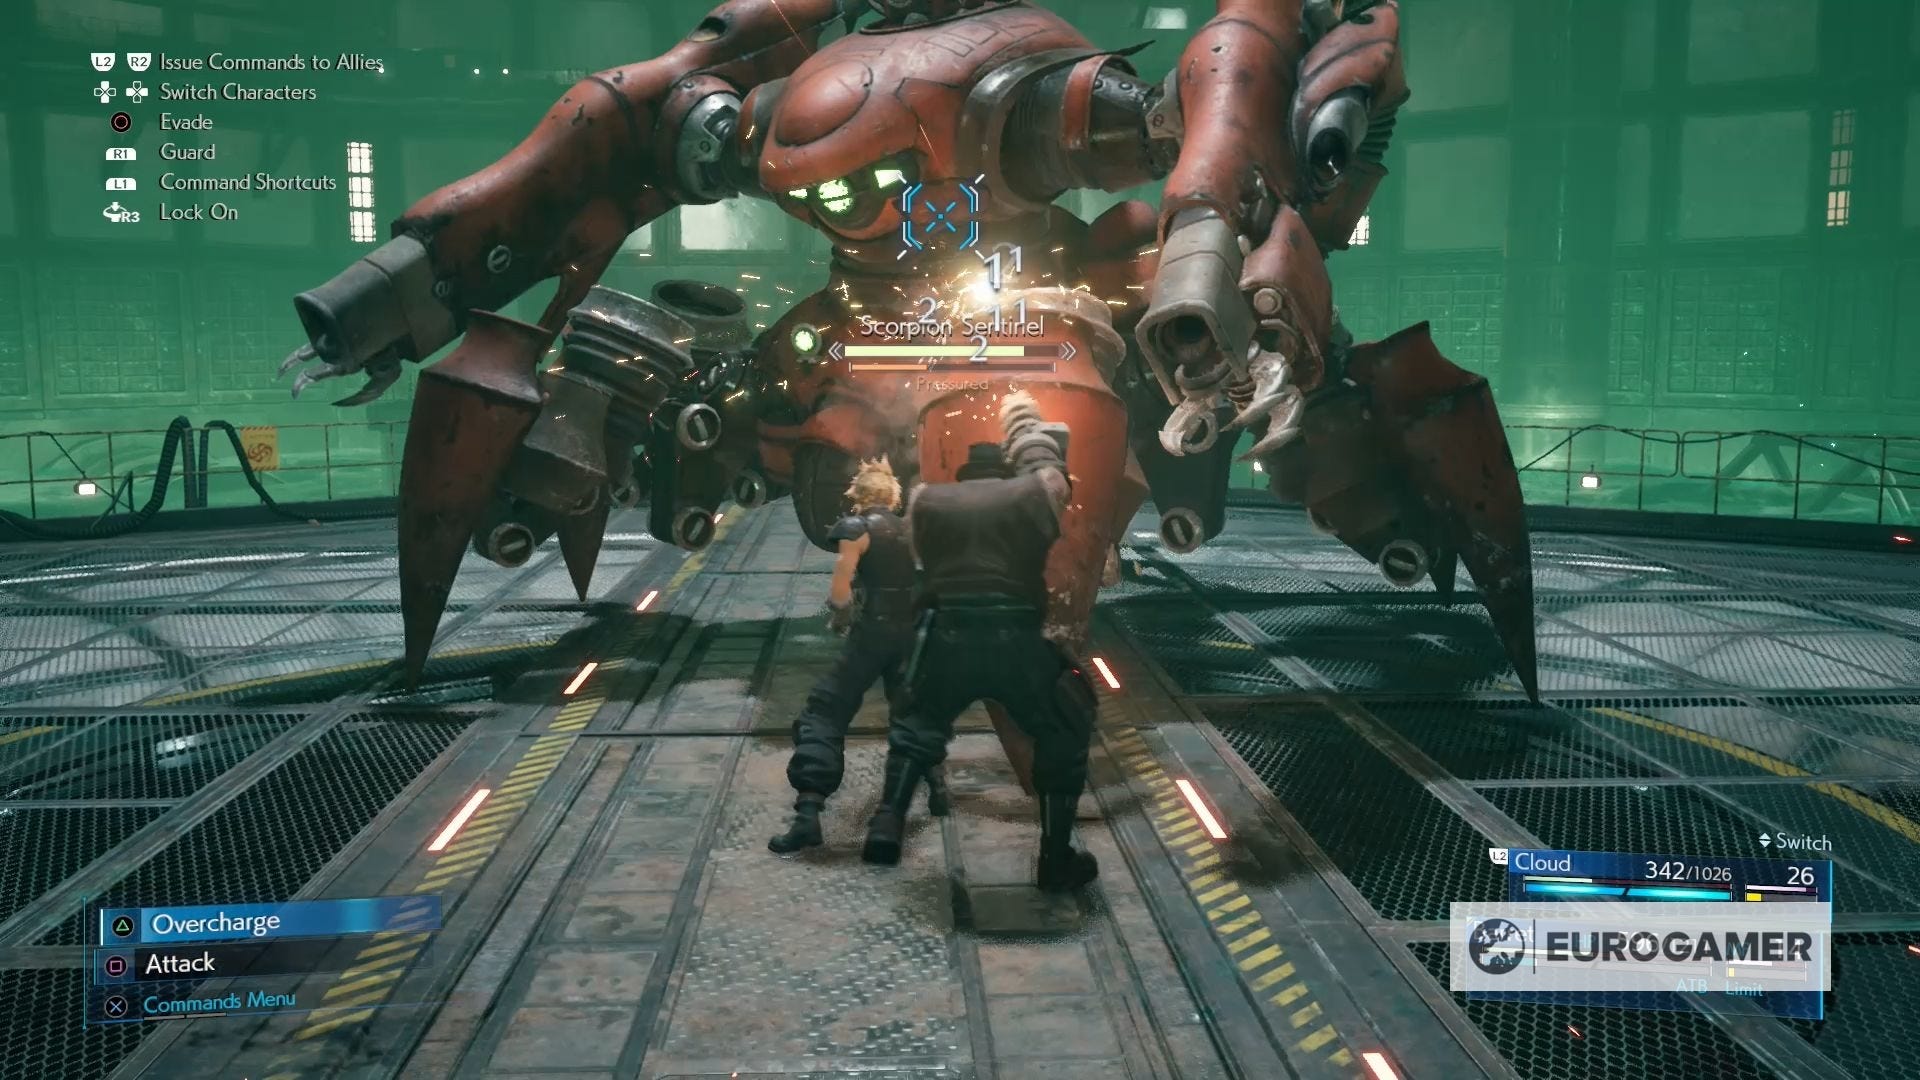
First stage
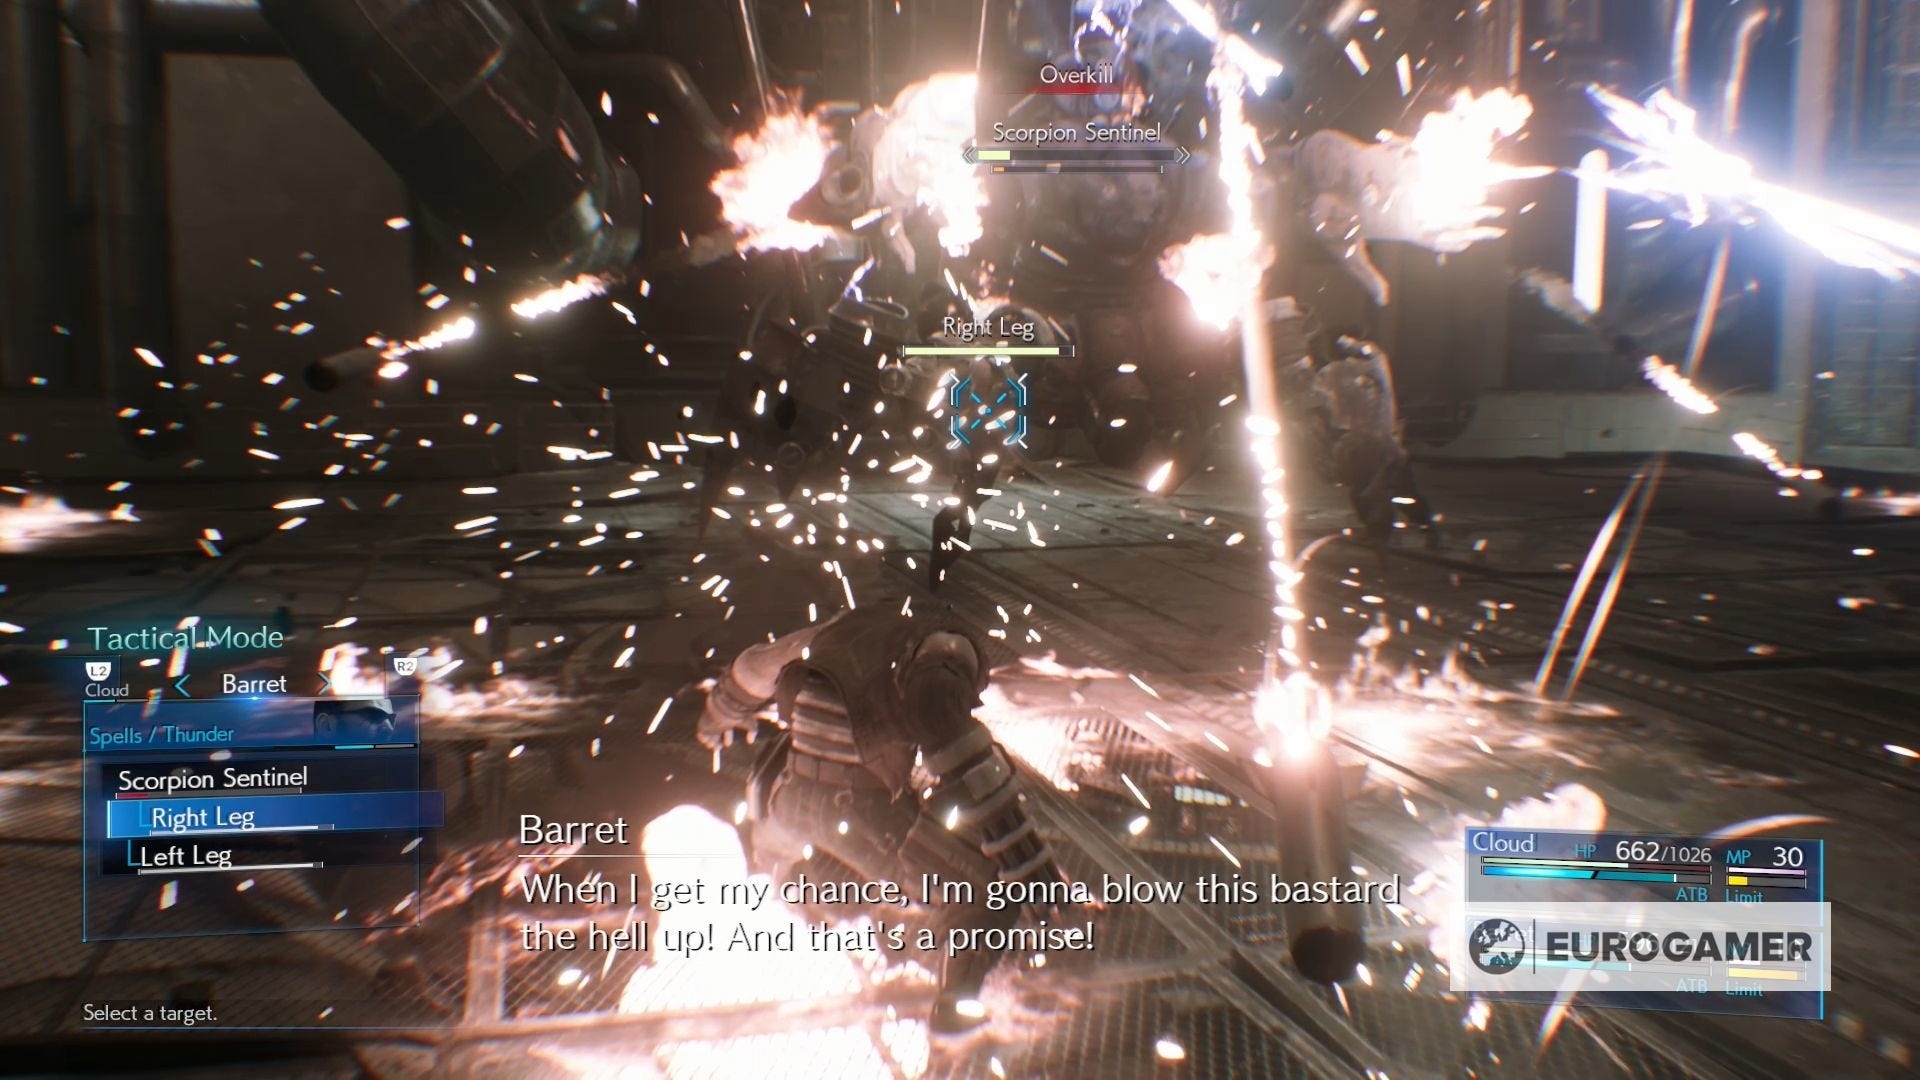
You need to be playing as Barret during the initial stage of your fight with the Scorpion Sentinel.
Attack the Scorpion Sentinel until you've filled at least one charge in the ATB gauge. Once you've saved up a charge, open Barret's Command Menu and select 'Spells,' followed by 'Thunder,' which will cost you 5 MP.
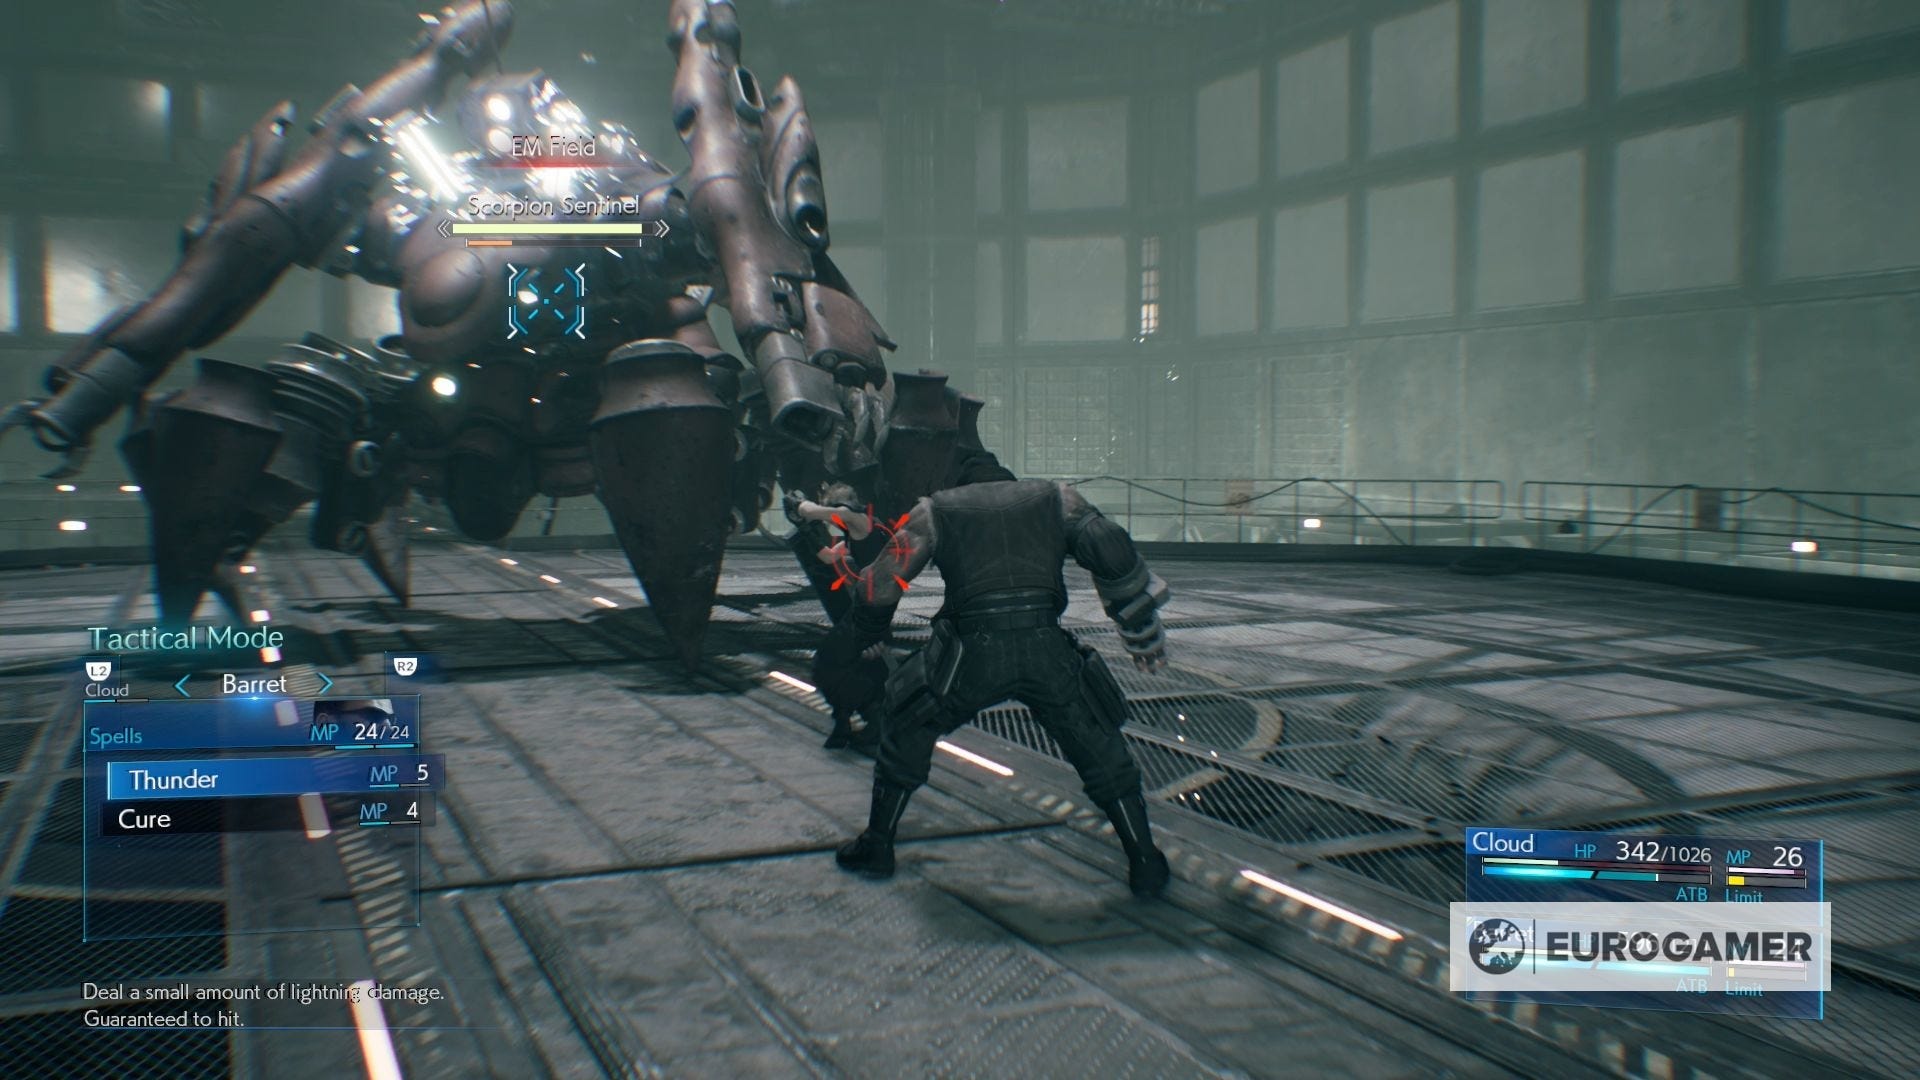
Casting this spell will make your enemy Pressured, allowing you to cause a good amount of damage. It's also easier to hit the Scorpion Sentinel while it's Pressured, due to its movement being restricted.
When it recovers from being Pressured, the Scorpion Sentinel will jump up onto one of the walls of the reactor. If you're not currently playing as Barret, once again, it's a good idea to switch over to him and use his range attacks.
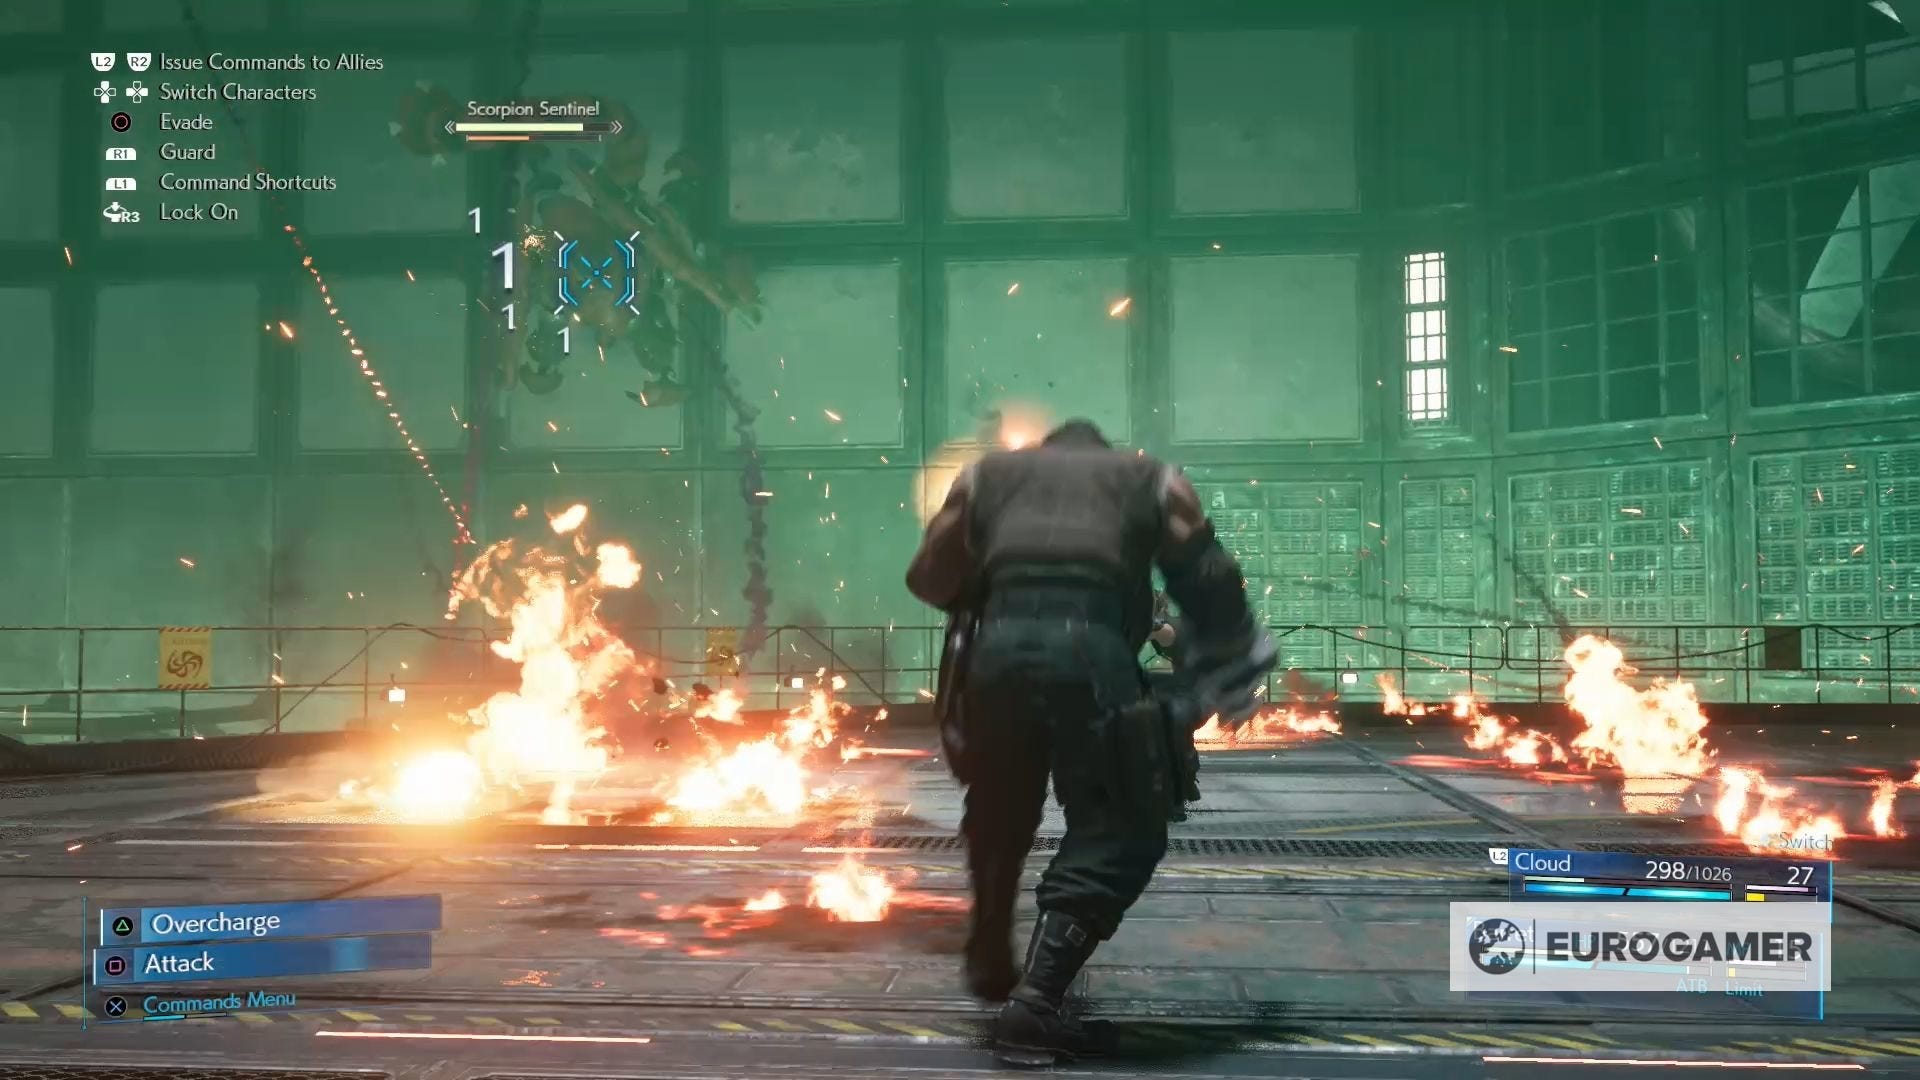
Just make sure you're ready to run after getting a few hits in, because the Scorpion Sentinel will use it's new position to rain down some rockets upon you.
When the Scorpion Sentinel returns to your level, continue attacking it with Thunder, until a cutscene plays, which leads to the battle's second stage.
Second stage
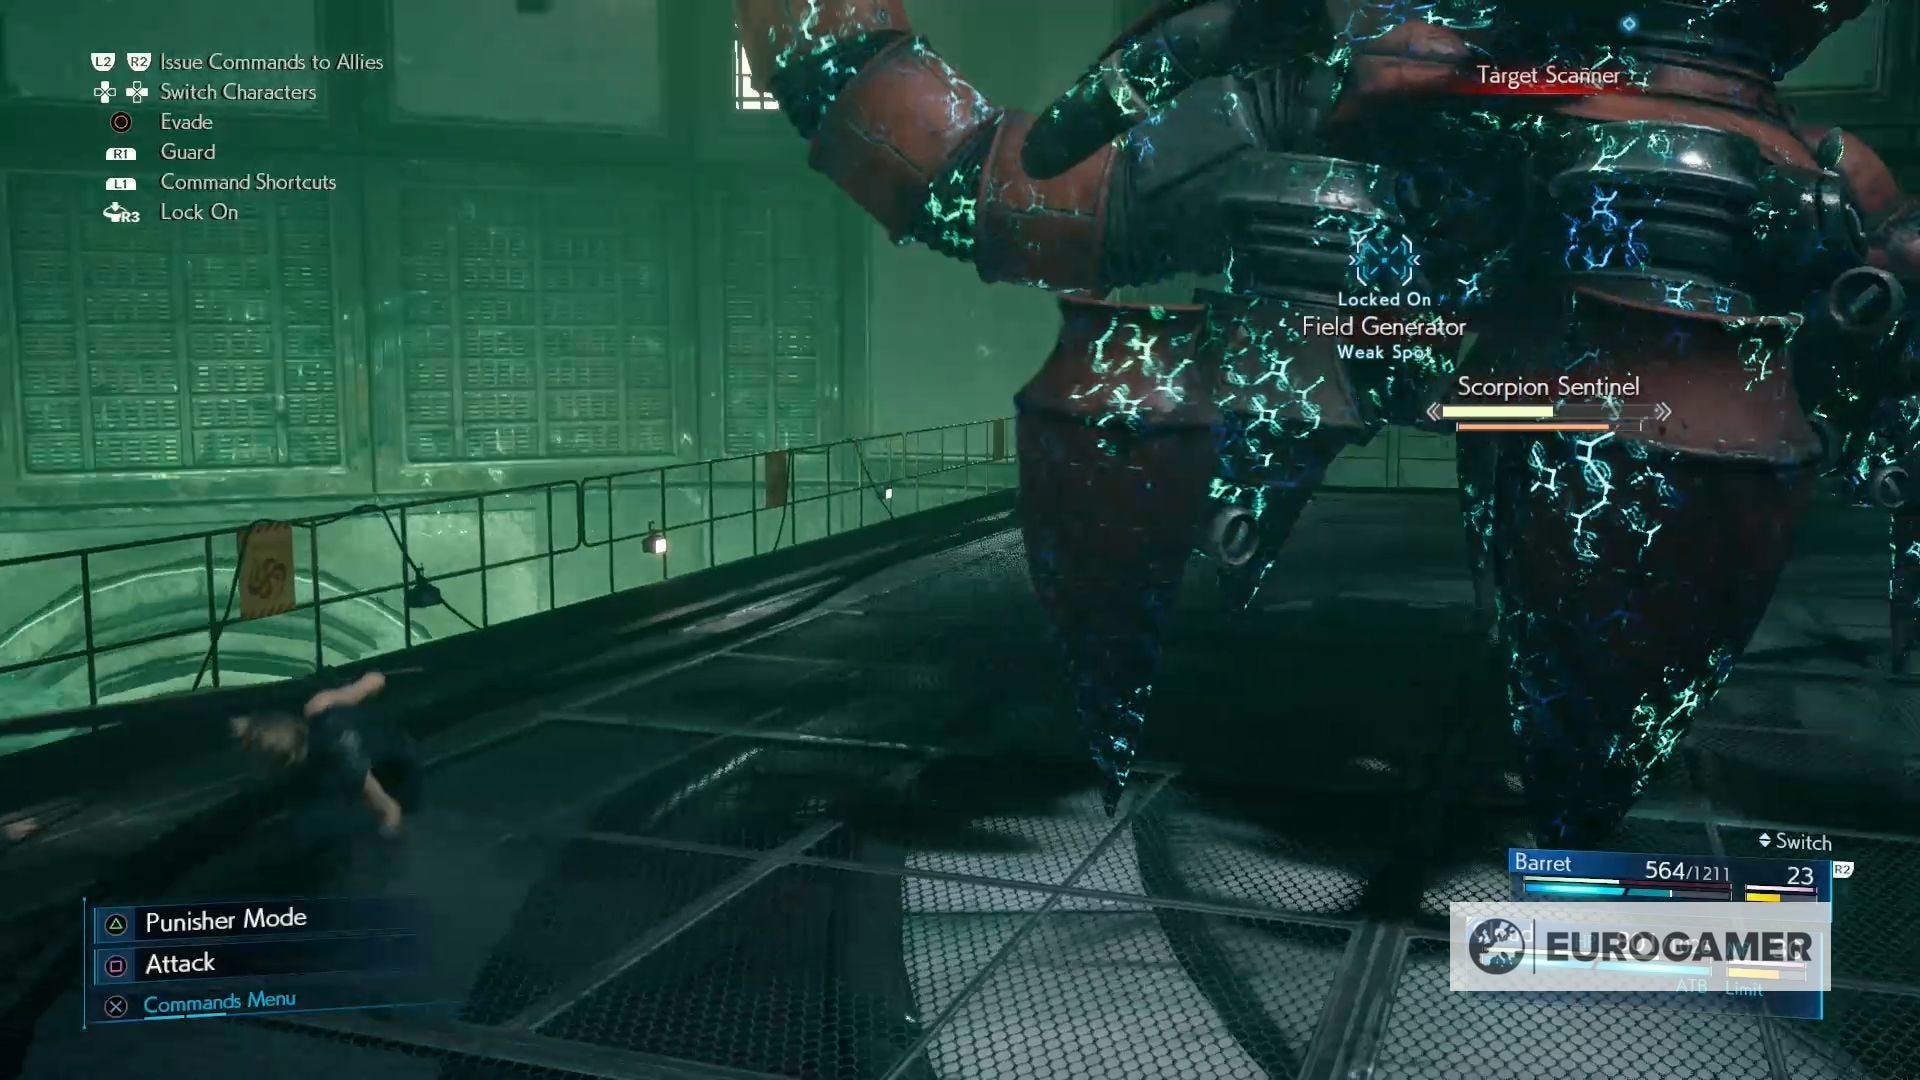
For the second stage of the fight, the Scorpion Sentinel will switch to the opposite end of the platform and raise a barrier around itself. Any damage you deal to the Scorpion Sentinel will be reduced while this barrier is up, so you need to knock it out as soon as possible.
We found this task slightly easier as Cloud, but you can continue playing as Barret if you prefer.
To knock out the barrier, you need to attack the Field Generator, which is at the base of the tail for the Scorpion Sentinel. Using Cloud you can easily get close to this spot and attack it with the Buster Sword.

Once you deplete the barrier, the Scorpion Sentinel will once again become pressured, allowing you to freely attack it. This will only last for a short period of time, however, as the Scorpion Sentinel will be able to place it's barrier back up.
Like in the first stage, it's a good idea to stay moving throughout this battle, so that you can dodge the various attacks that the Scorpion Sentinel sends your way. You'll also want to continue switching to Barret when it jumps up onto the wall.
After knocking the Scorpion Sentinel down to roughly half of its health, which may take knocking the barrier down twice, another cutscene will play, leading you into the third stage of the battle.
Third stage
For the third stage of the battle, the Scorpion Sentinel will return to where it originally battled you. Quickly head back to this area, so that you can finish destroying this machine.
At points throughout this stage, the Scorpion Sentinel will charge up a powerful beam attack. When this happens make sure you're standing behind the fallen debris to ensure you're not damaged by this attack.
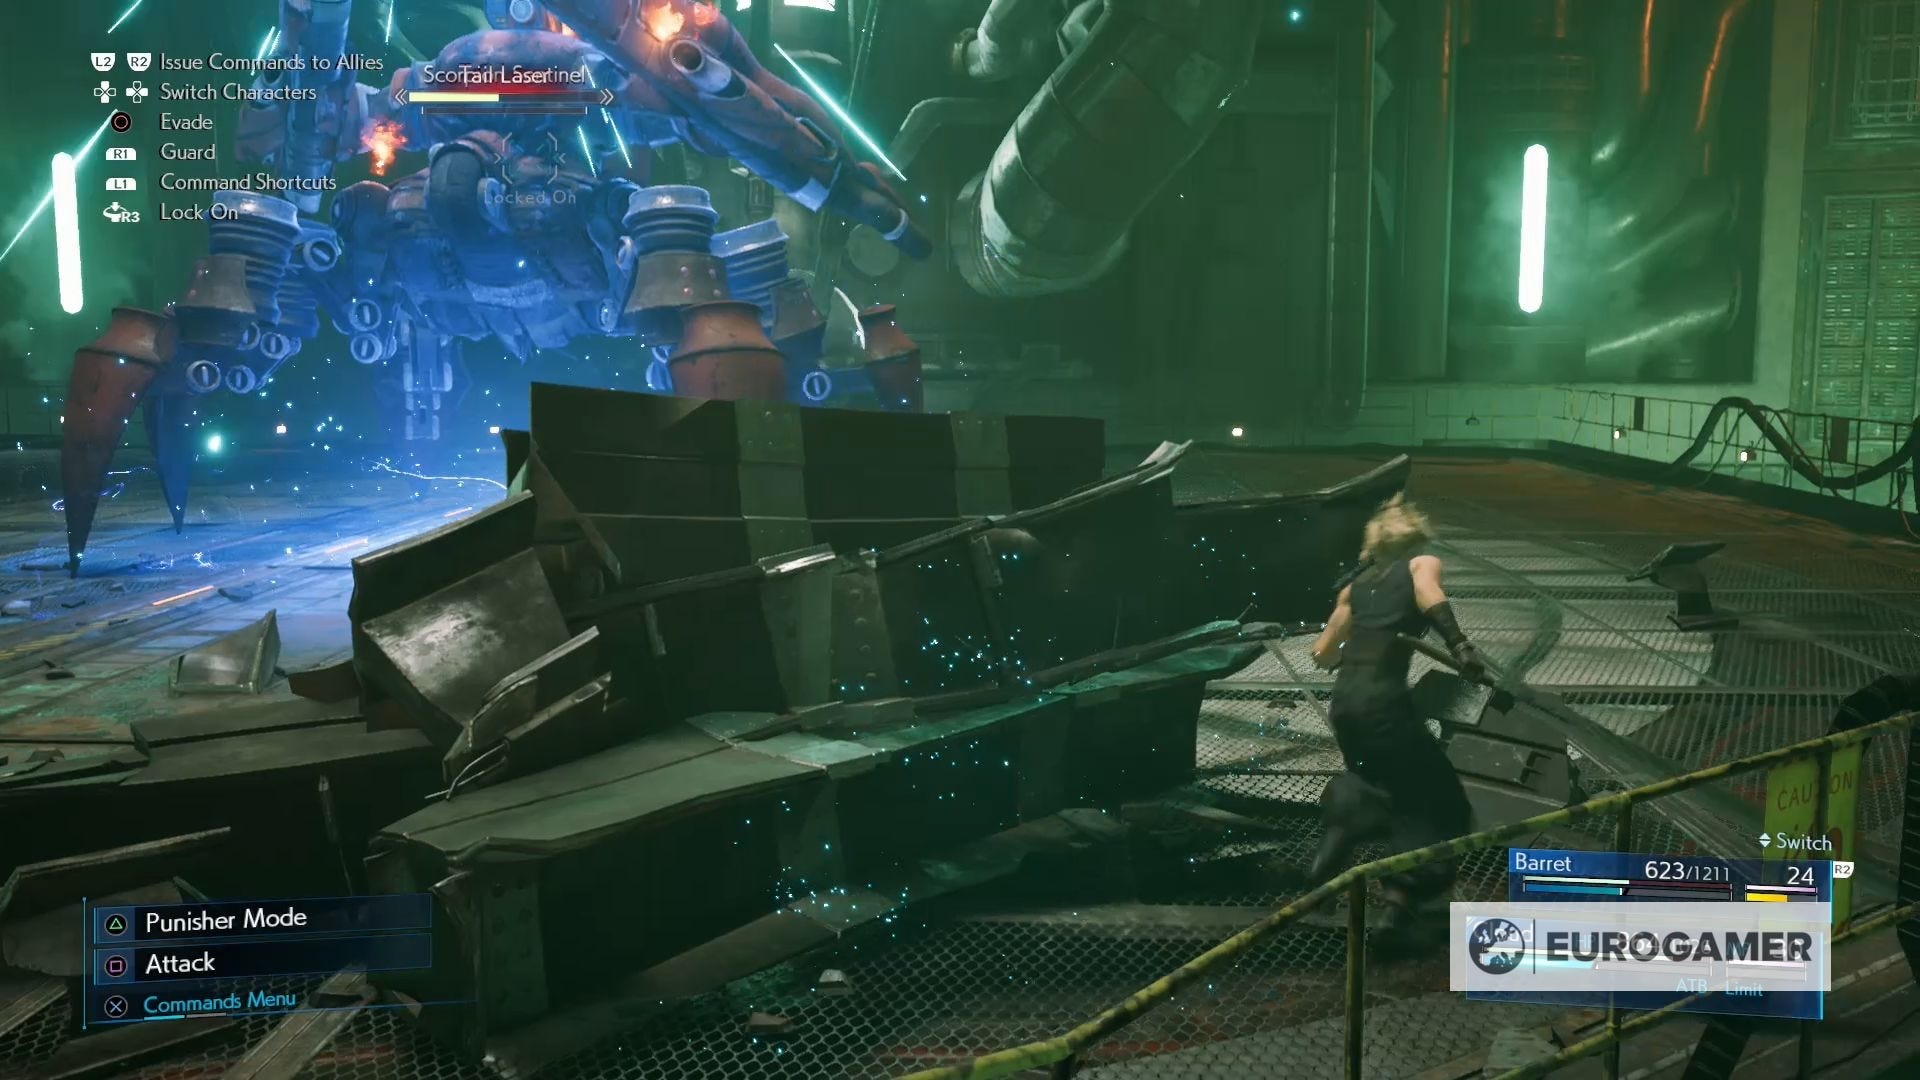
For the majority of this stage, you can freely attack the machine, so it's a good idea to focus on using Barret's Thunder magic to cause as much harm as possible.
When the Scorpion Sentinel reaches the last quarter of health, it will activate auto-repair. This, luckily, is very easy to stop, all you need to do is target either the Sentinel's right or left leg, depleting its health until you've crippled the leg.
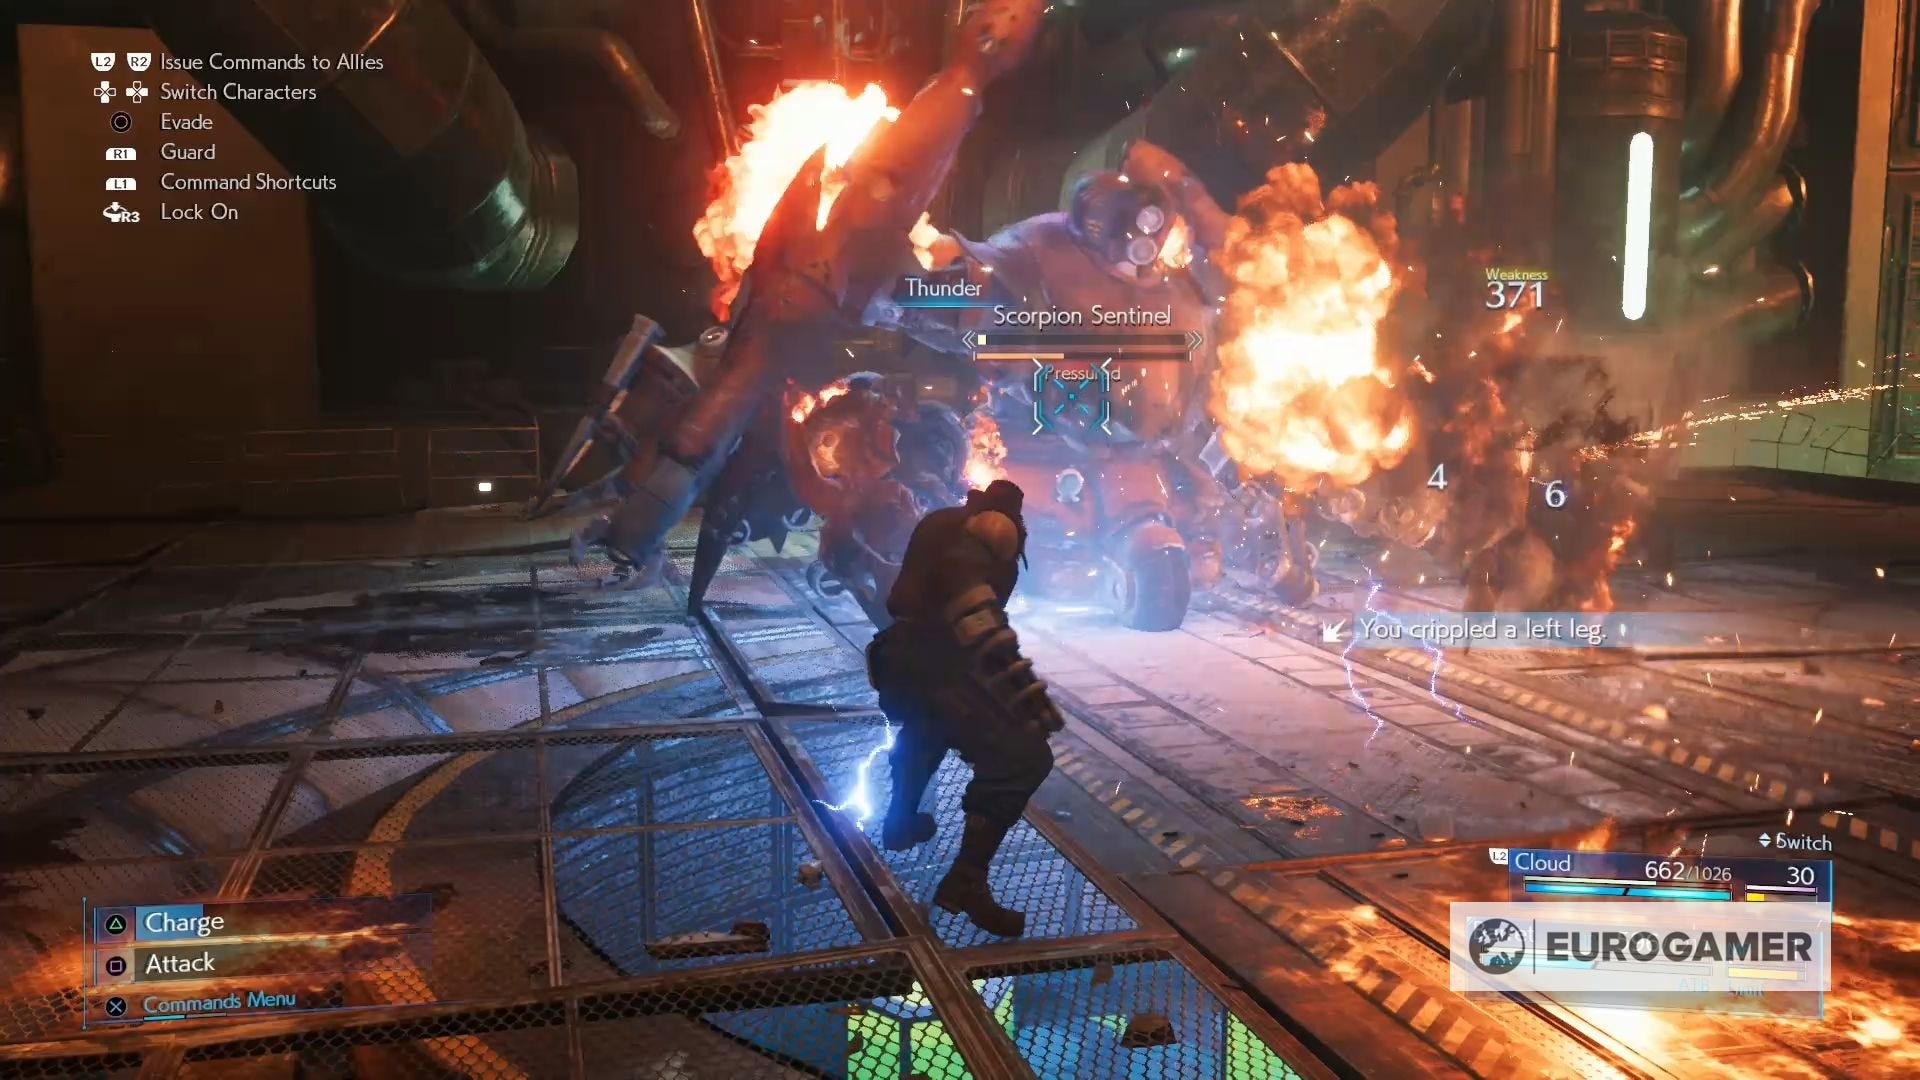
Doing so will halt the auto-repair for a short while and crippling both legs will prevent it completely, allowing you to finally end the Scorpion Sentinel.
Looking for more help with Final Fantasy VII Remake? Learn how to get the Best Materia, which can be levelled with easy AP sources. There's also Summons to unlock, most of which you get from completing Intel Battle Reports. Once you've finished the game, it's worth unlocking the remaining Final Fantasy 7 Dresses by choosing the correct options during the Johnny, Heads or Tails and Madam M massage course choices, and finding any weapon locations or Music Discs you left behind. And if you've just started, then learn what to do during the timer choice and the Lost Friends quest.
How to escape the reactor before the timer ends in Final Fantasy 7 Remake
Once you've defeated the Scorpion Sentinel in the first chapter of Final Fantasy 7 Remake, you need to escape Mako Reactor 1 before the bomb explodes.
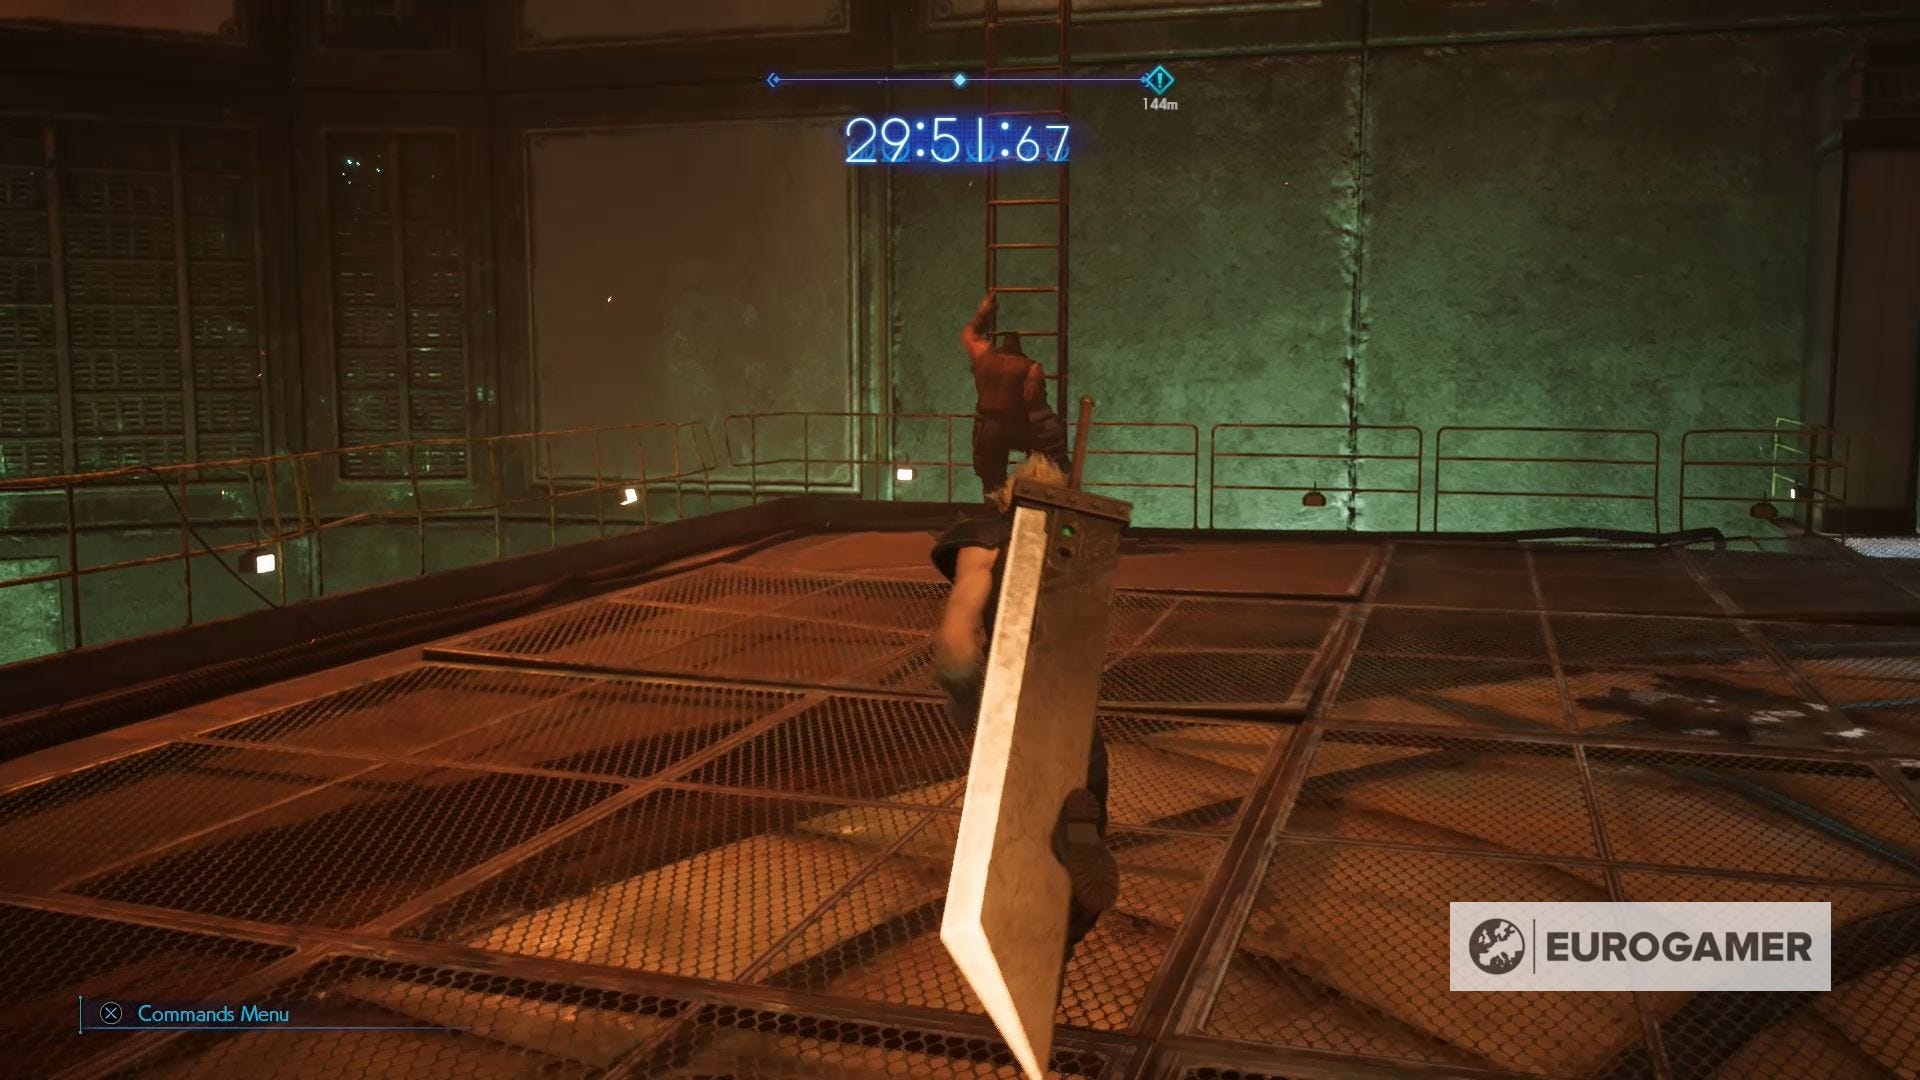
You'll notice that, at the top of your screen, a timer will appear, which will be counting down from whichever time you picked - 20 or 30 minutes.
Don't worry about this timer. No matter which option you picked, you'll easily be able to escape the reactor in time. (Unless you want to see what will happen, of course.)
To do this you first need to climb up the ladder that you originally brought down to the final level of the reactor.
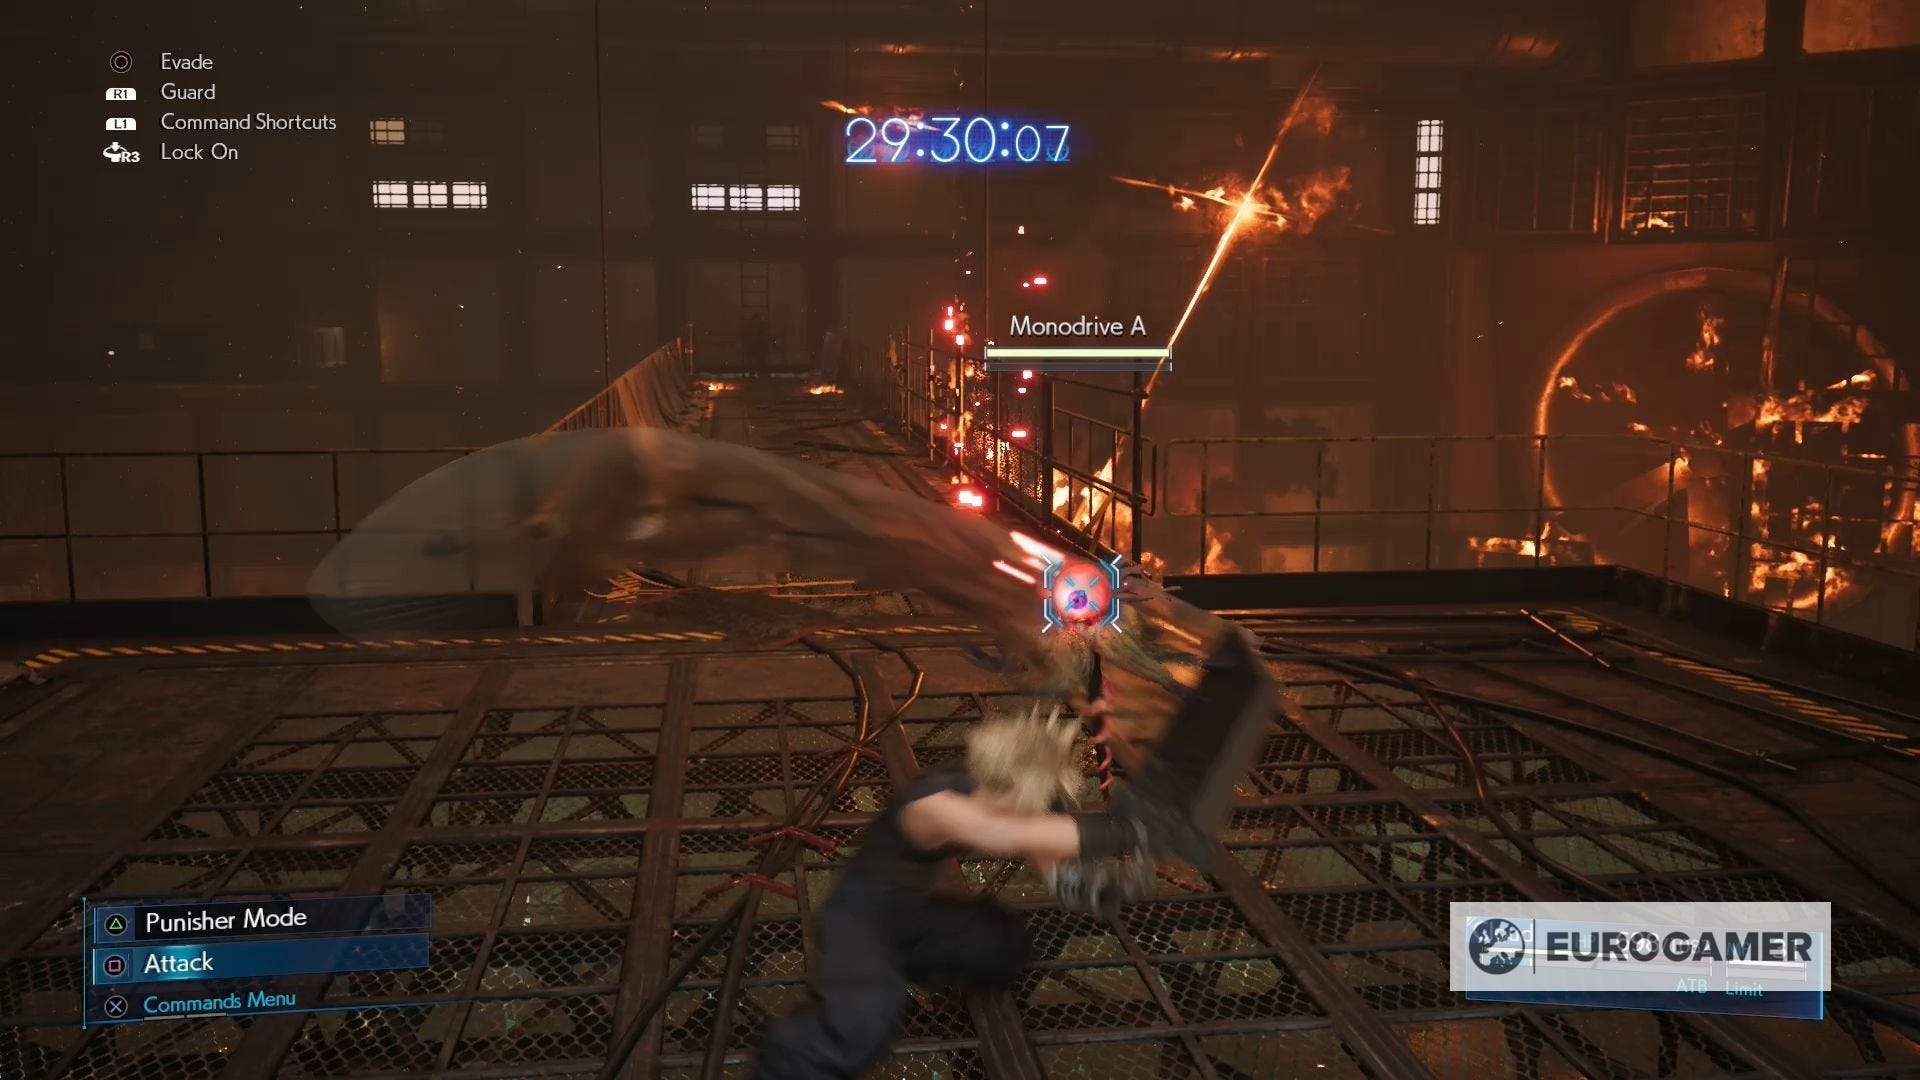
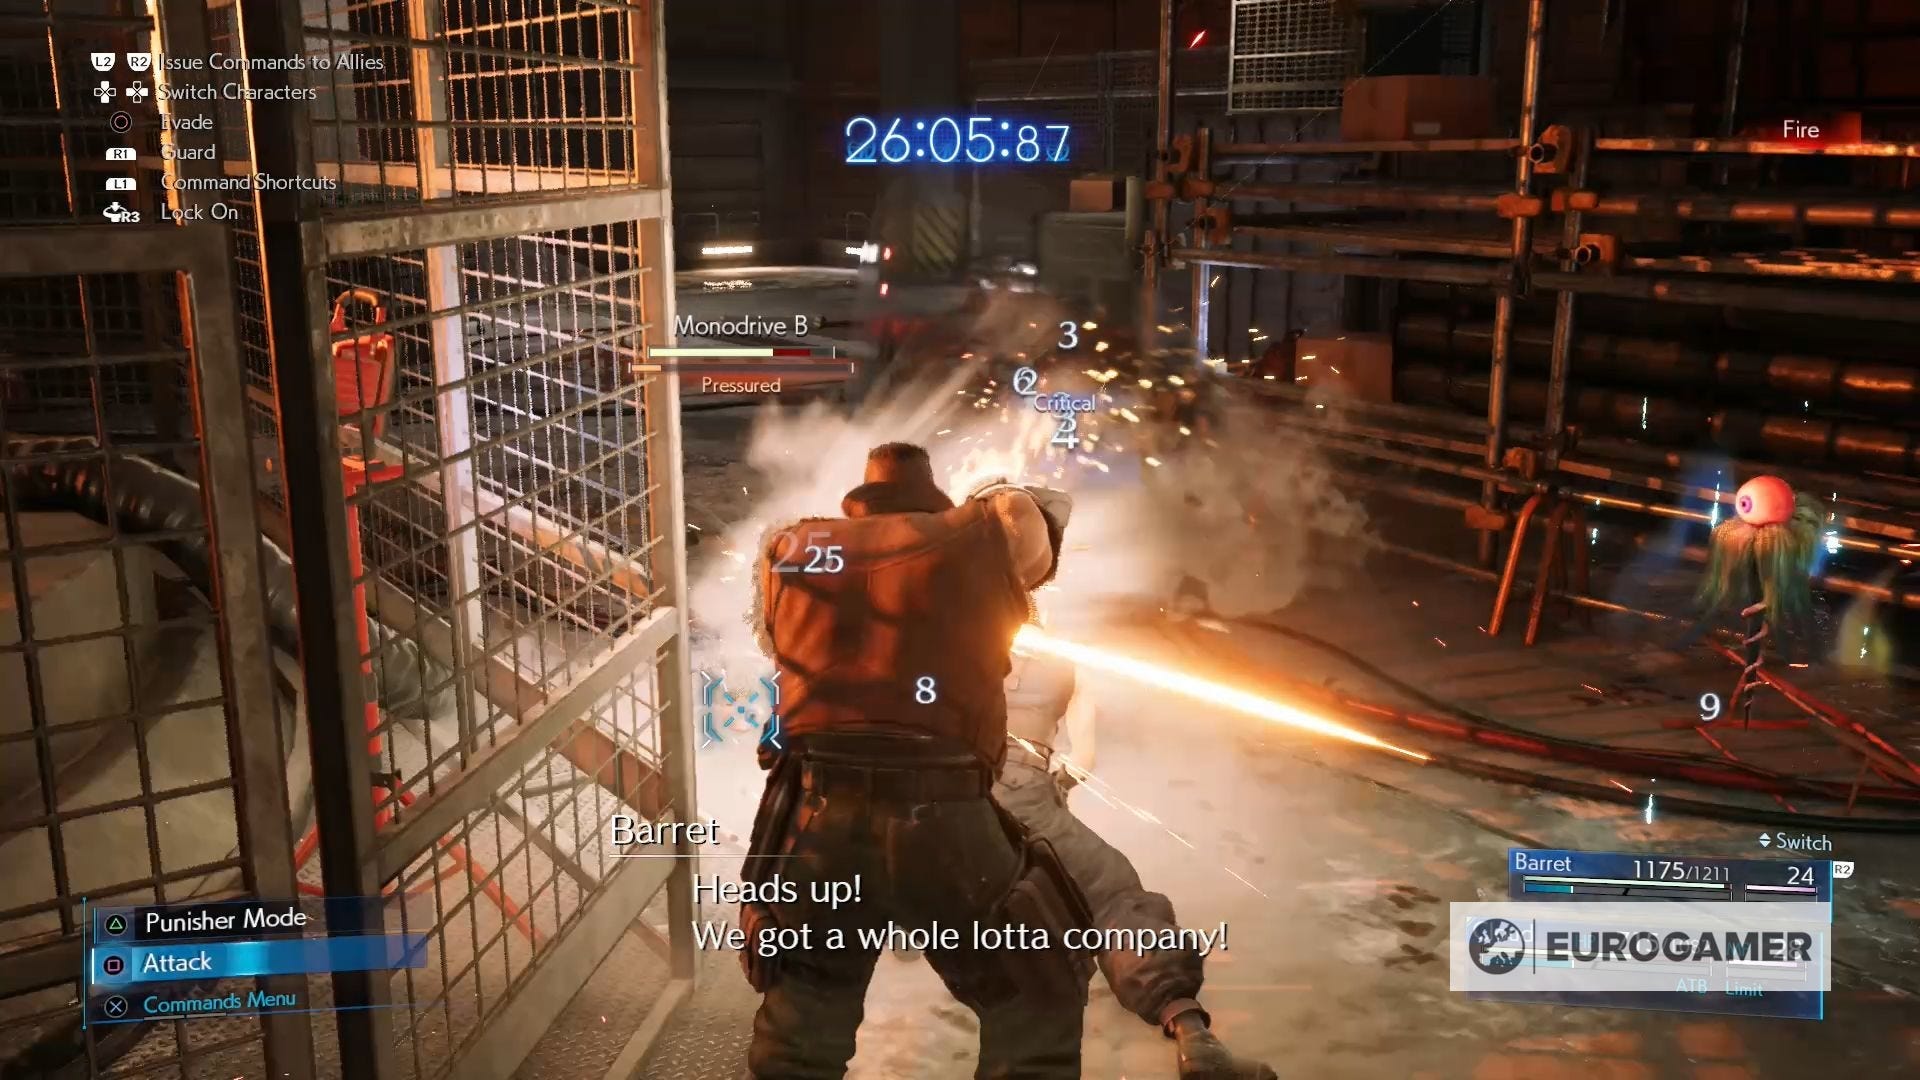
Once you reach the top, follow the platform around until you encounter a couple of Monodrives. You can easily defeat these creatures, before continuing after Barret by climbing the next ladder.

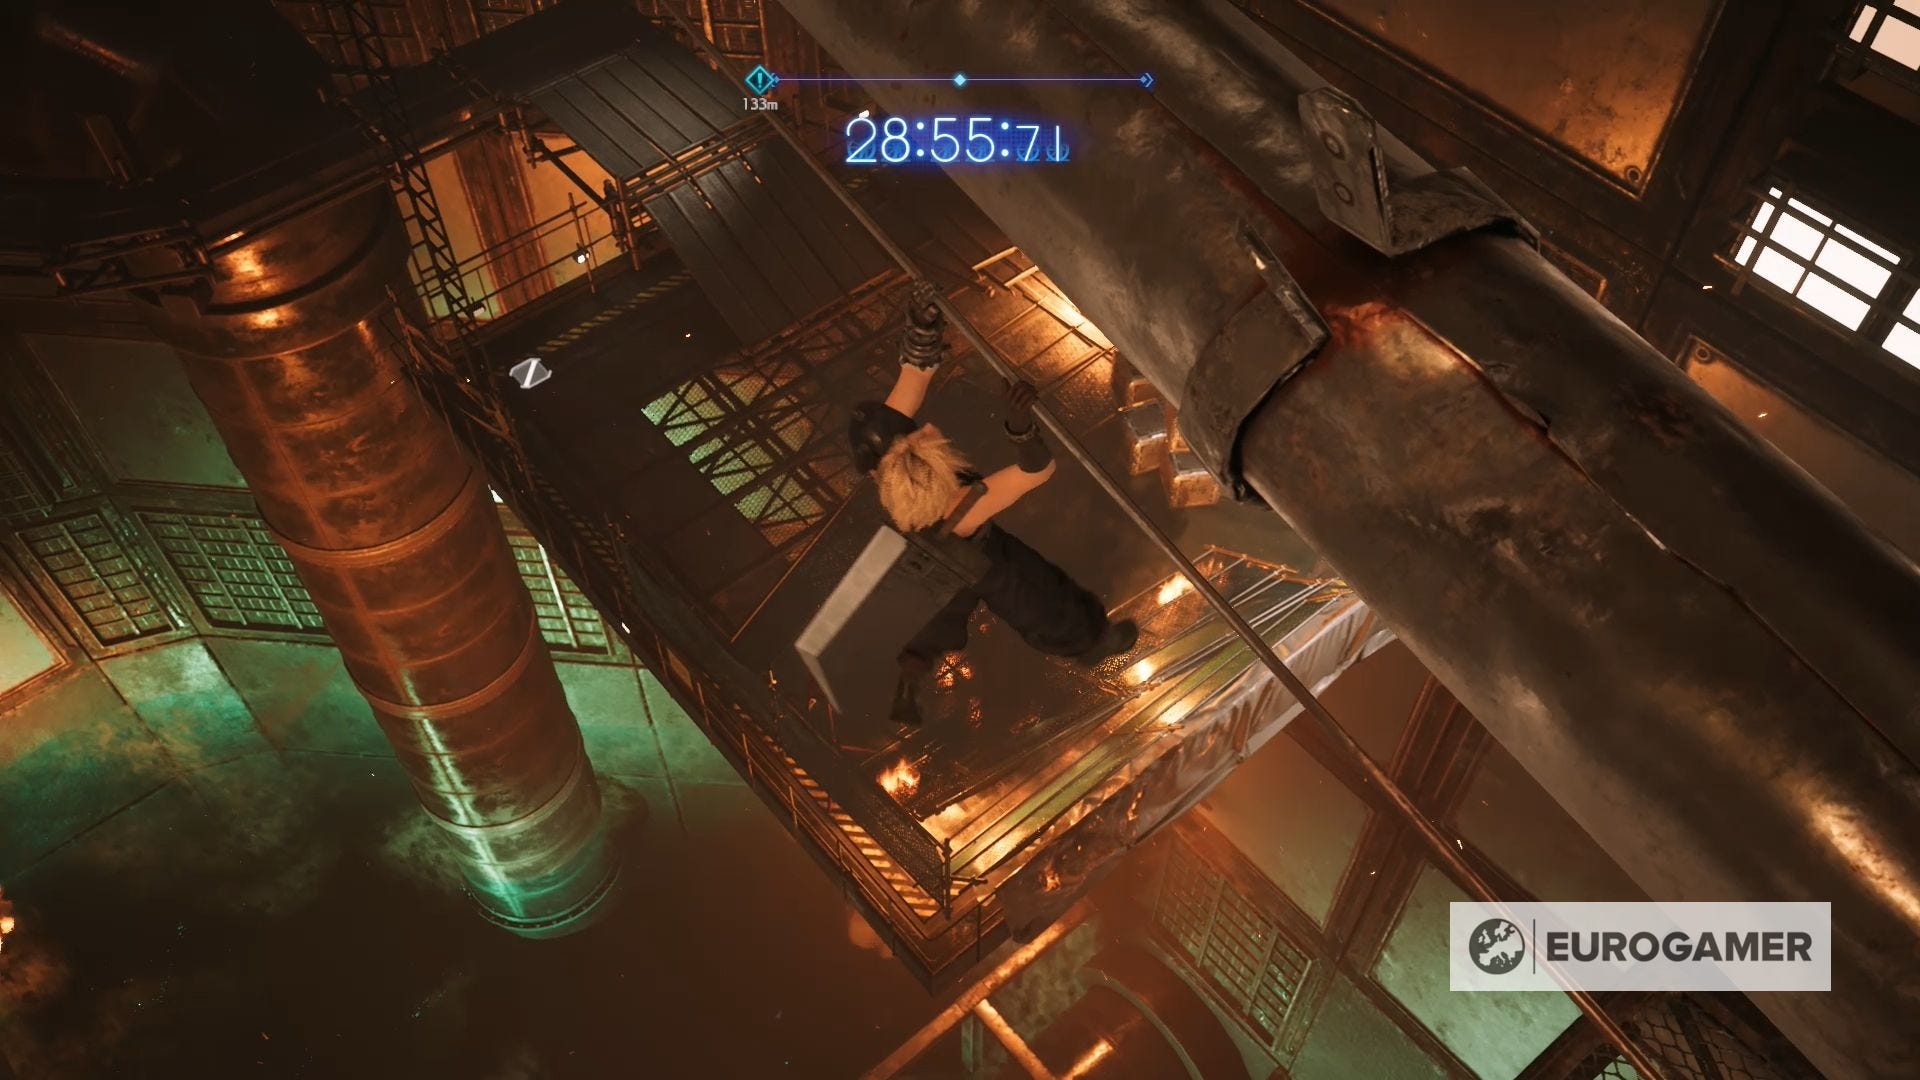
Upon reaching the top a short cutscene will play; you'll regain control of Cloud when he's holding onto a piece of piping. Move along to your left to make your way to Jessie and help her out.
With Jessie freed, you now need to follow her until you can reunite with Barret.
Follow Jessie down the ladder, along the metal platforms and then up the next ladder, which will bring you to yet another ladder for you to climb.
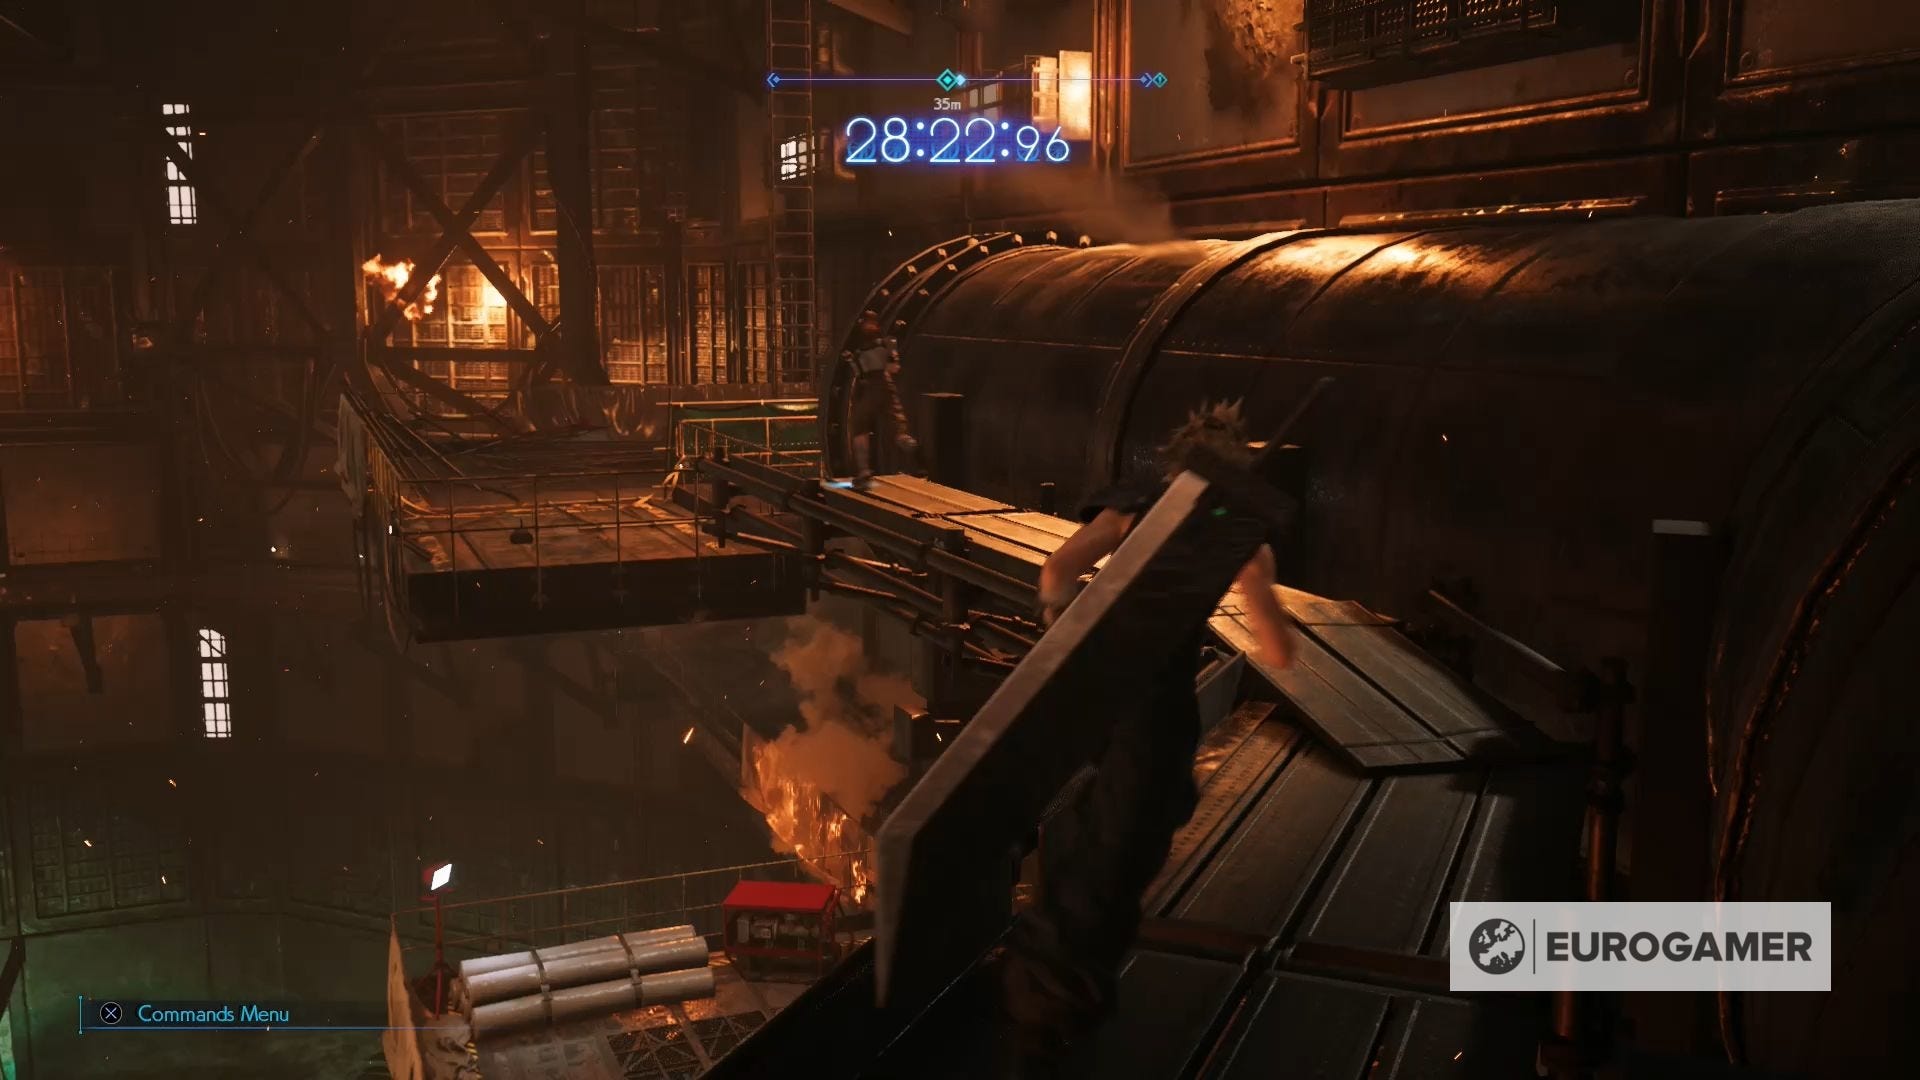
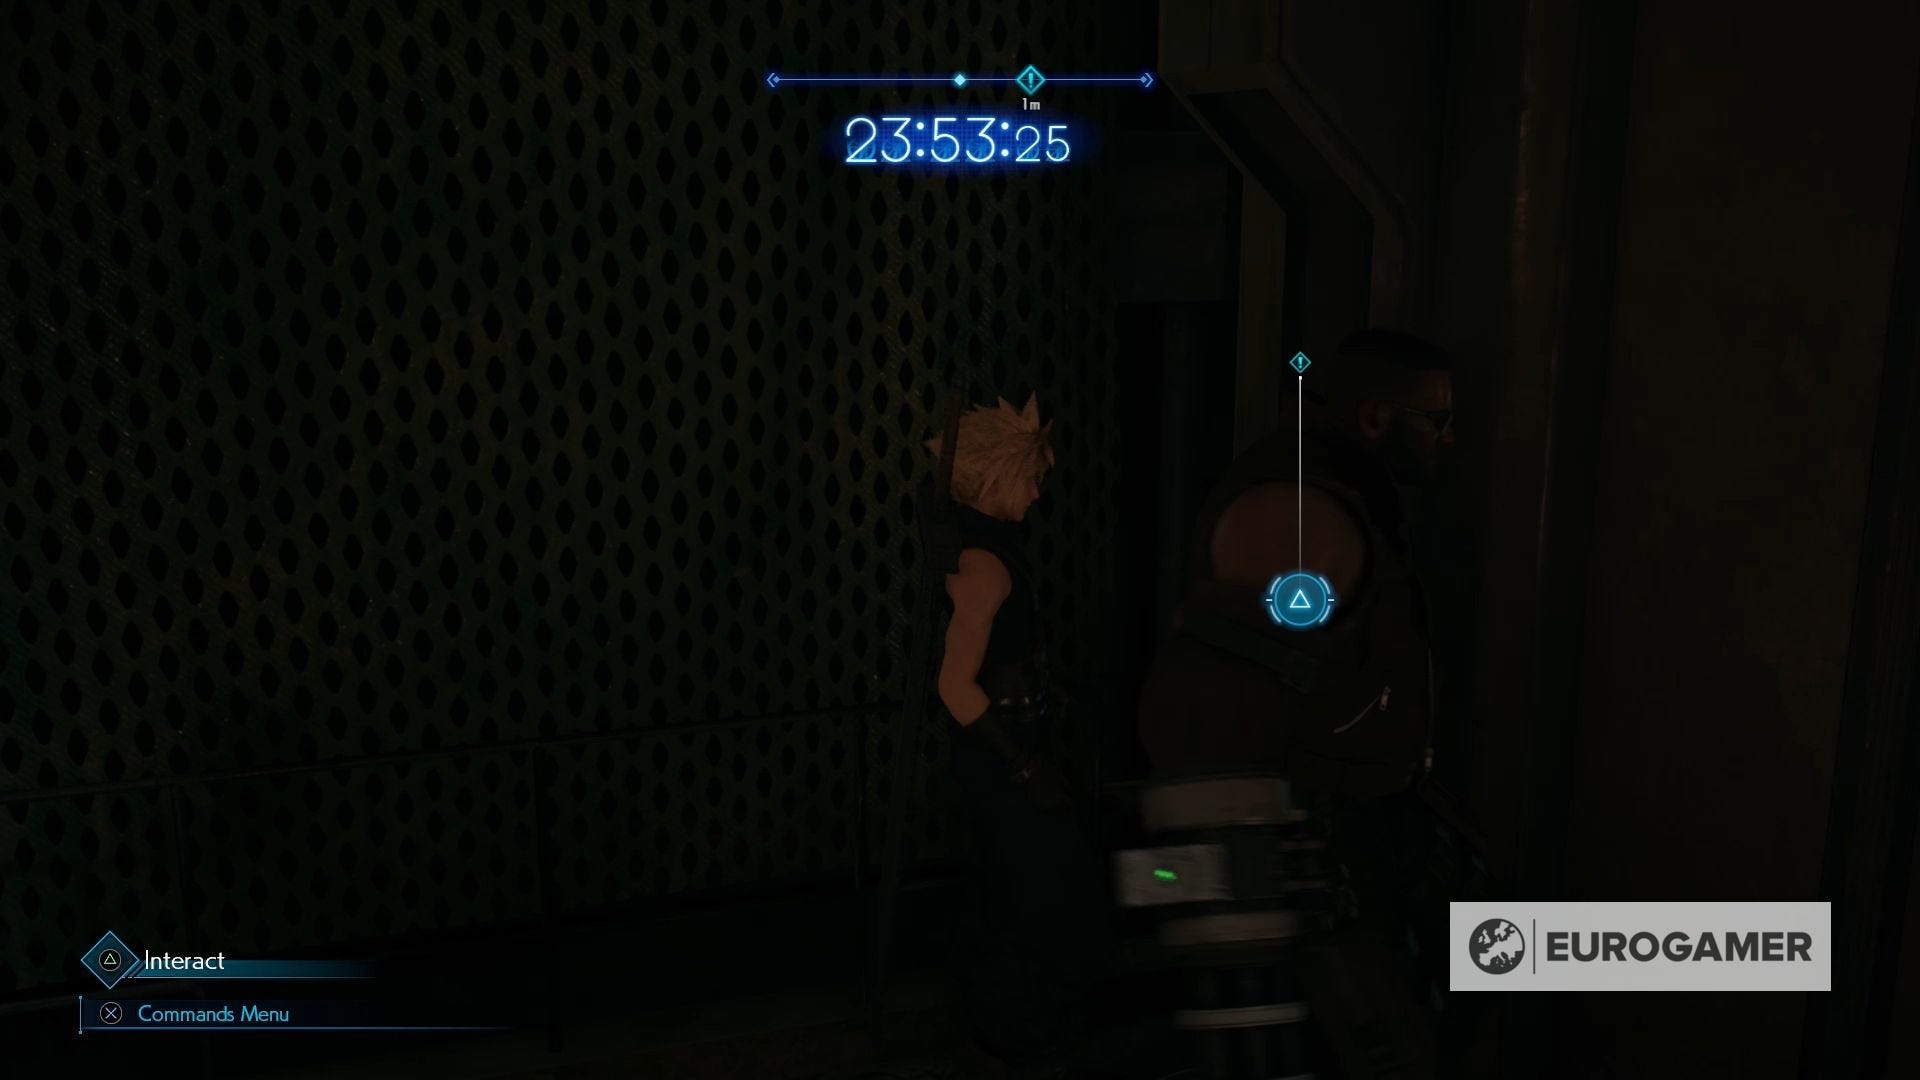
When you reach the top of this ladder, you can hop across a small gap to reach the entrance to the reactor, while also rejoining Barret.
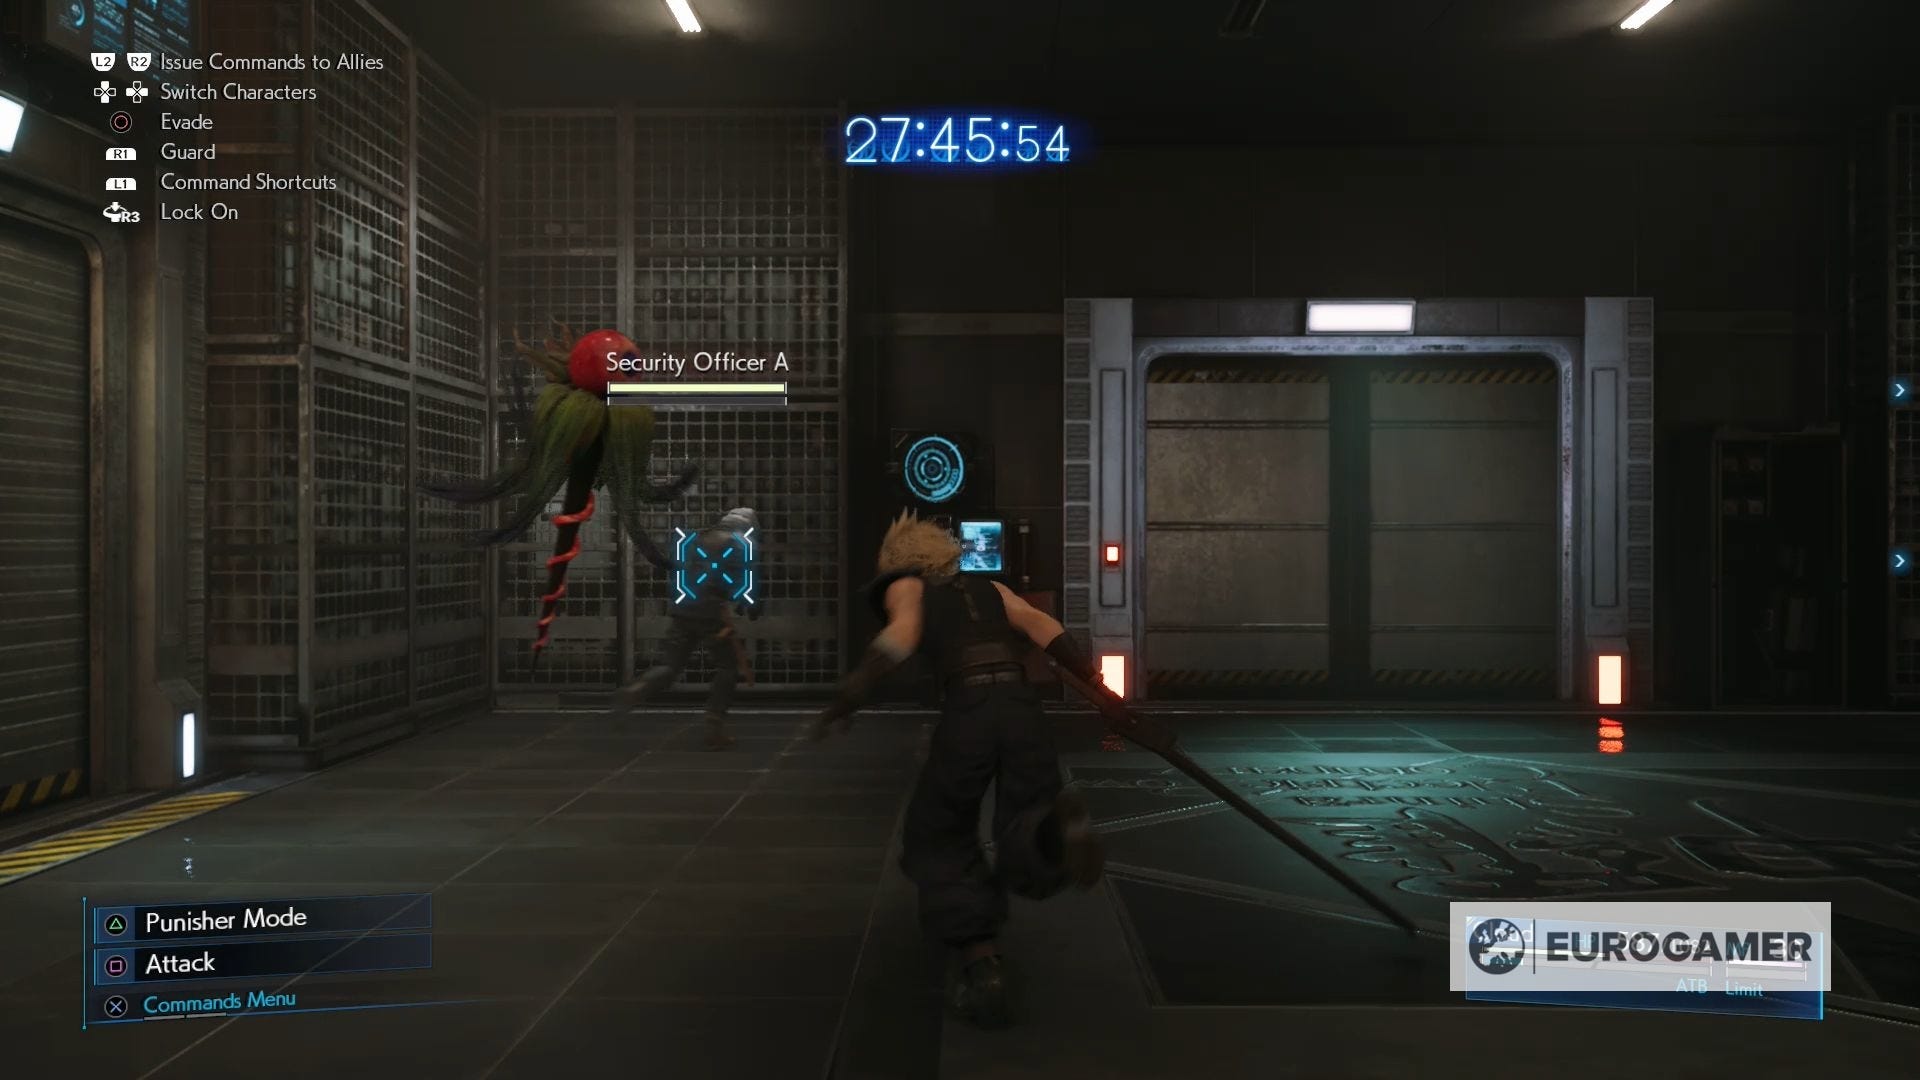
Before you can leave, however, you need to defeat two Security Officers and Monodrives. The door will open after you've defeated these enemies, allowing you to continue with your escape.
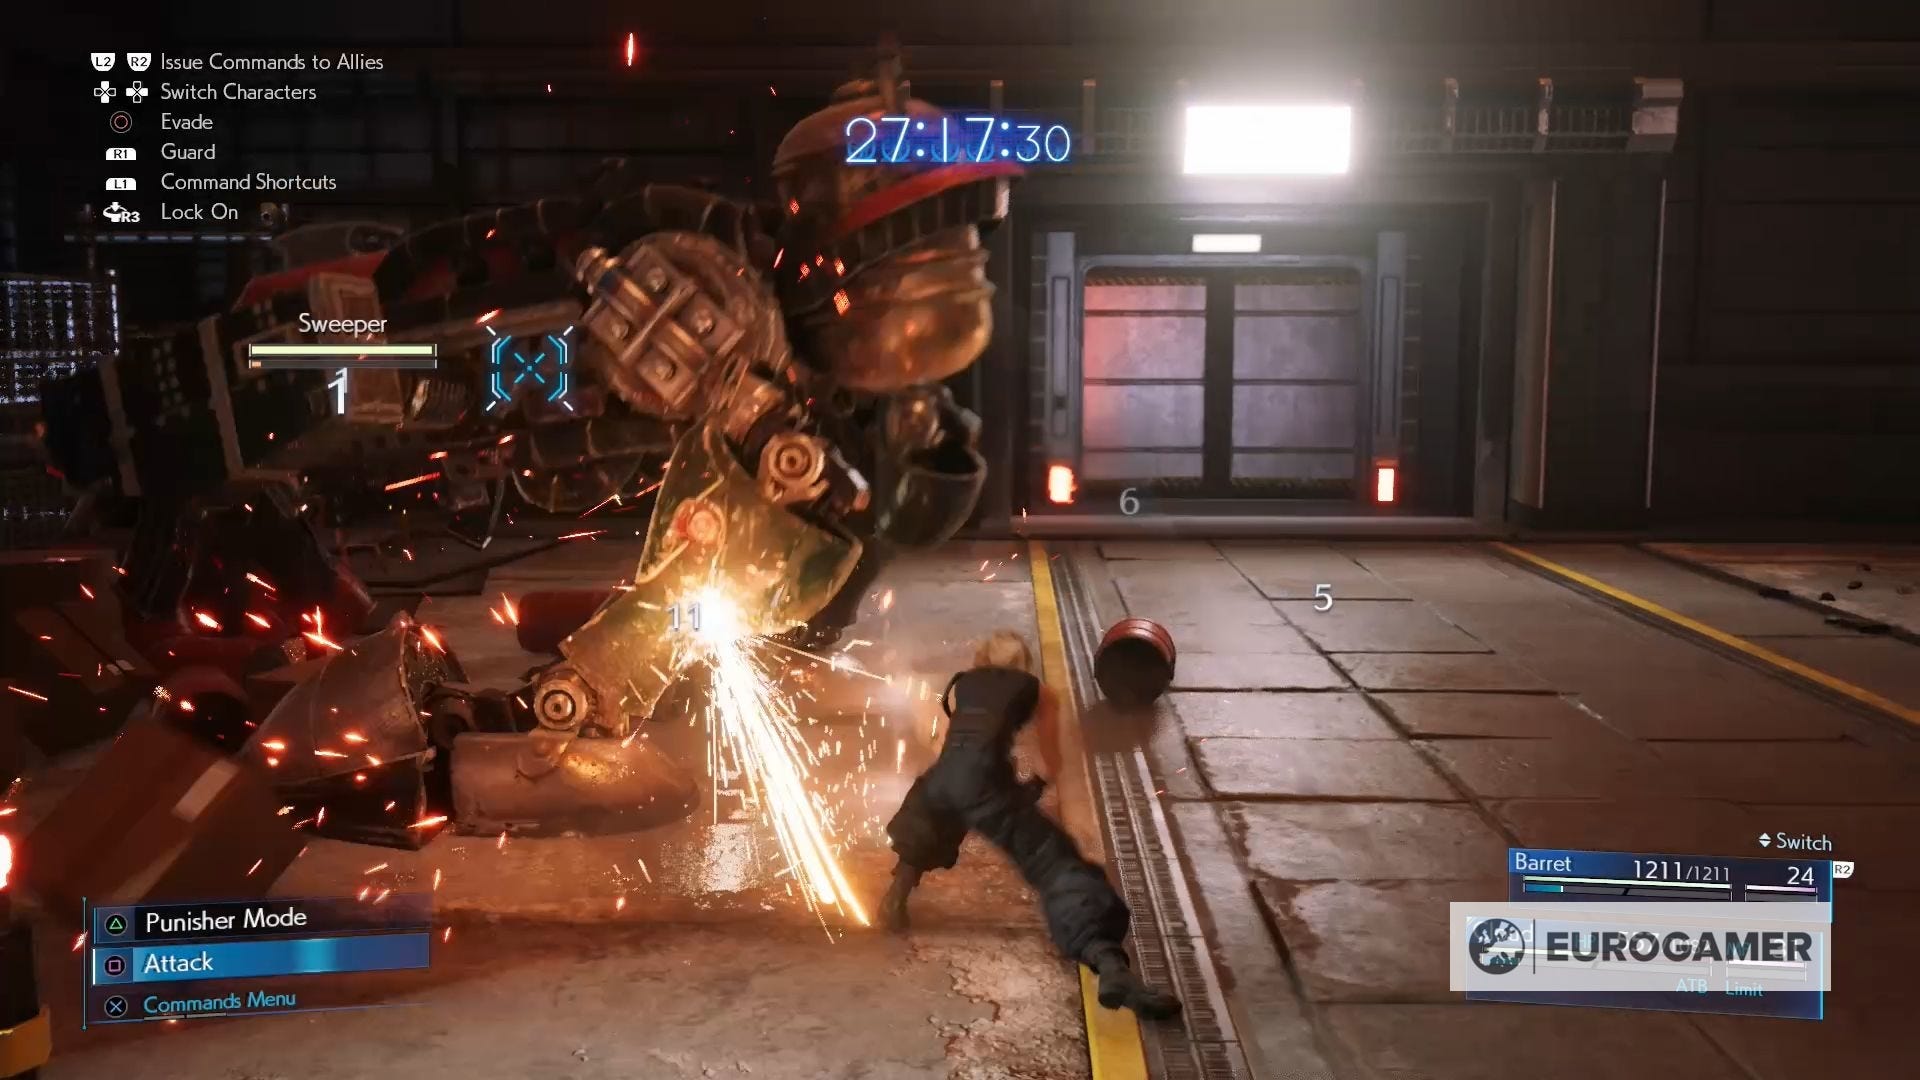
Follow the corridor along, until you're confronted by a Sweeper, which by now you'll know how to easily defeat.
Now take the stairs to reach the second floor of this area to discover that the laser security might be down, but four Monodrives are waiting for you.
Once you've smashed them to pieces, take the next flight of stairs and continue through this room, until you encounter a Shock Trooper.
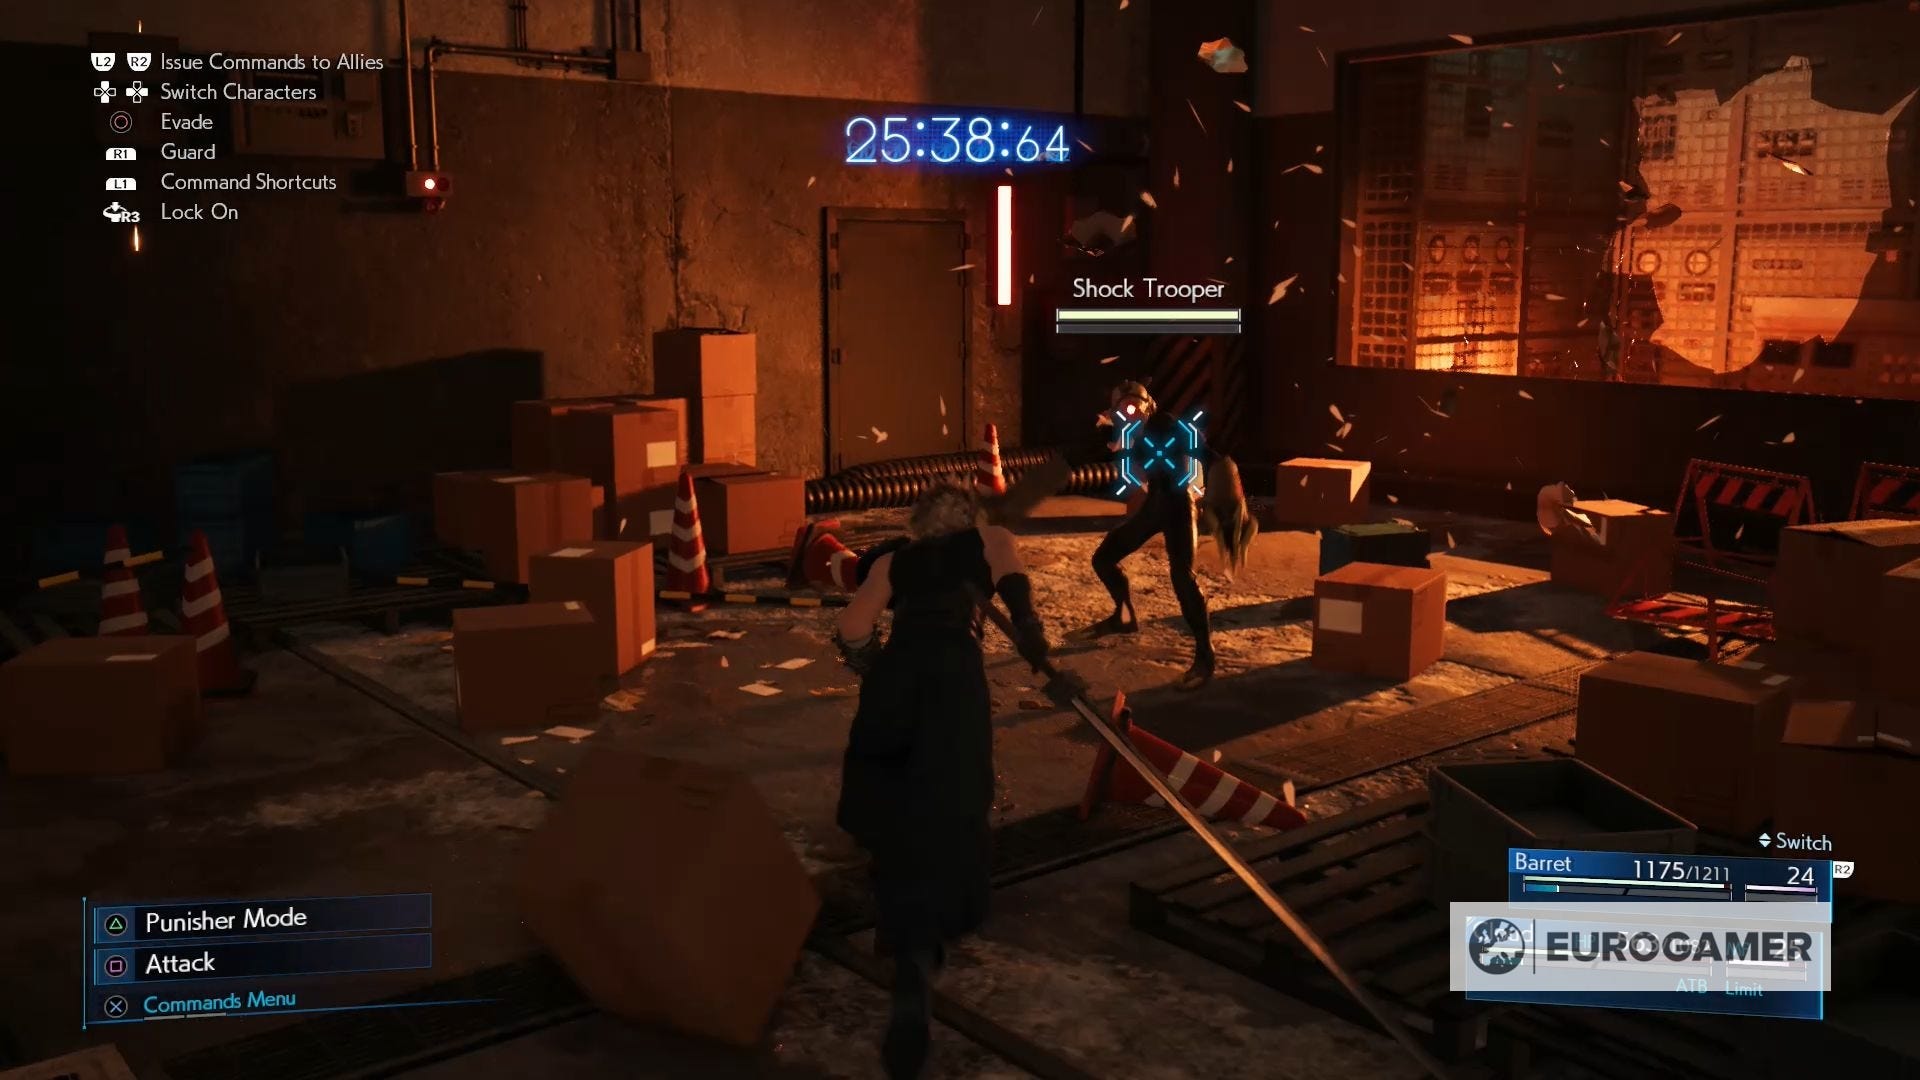
This enemy can easily dodge your attacks, so it's a good idea to hit this enemy with your Abilities.
With that Shock Trooper defeated, head up the next flight of stairs, where you'll be confronted by two more Shock Troopers. During this fight, you'll also have to deal with two Sentry Rays.
To make this fight easier, we recommend switching to Barret (if you weren't fighting as him already) and taking out the two Sentry Rays first. This will allow you to defeat the Shock Troopers without taking any extra damage.
After you've defeated these enemies, run up the final set of stairs to complete your escape.
Congratulations - you've completed Chapter One of Final Fantasy 7 Remake! Onwards to Chapter 2!