Far Cry 6 Cache Money: How to enter Bunker 2 and solve the Cache Money quest
Ka-ching treasure.

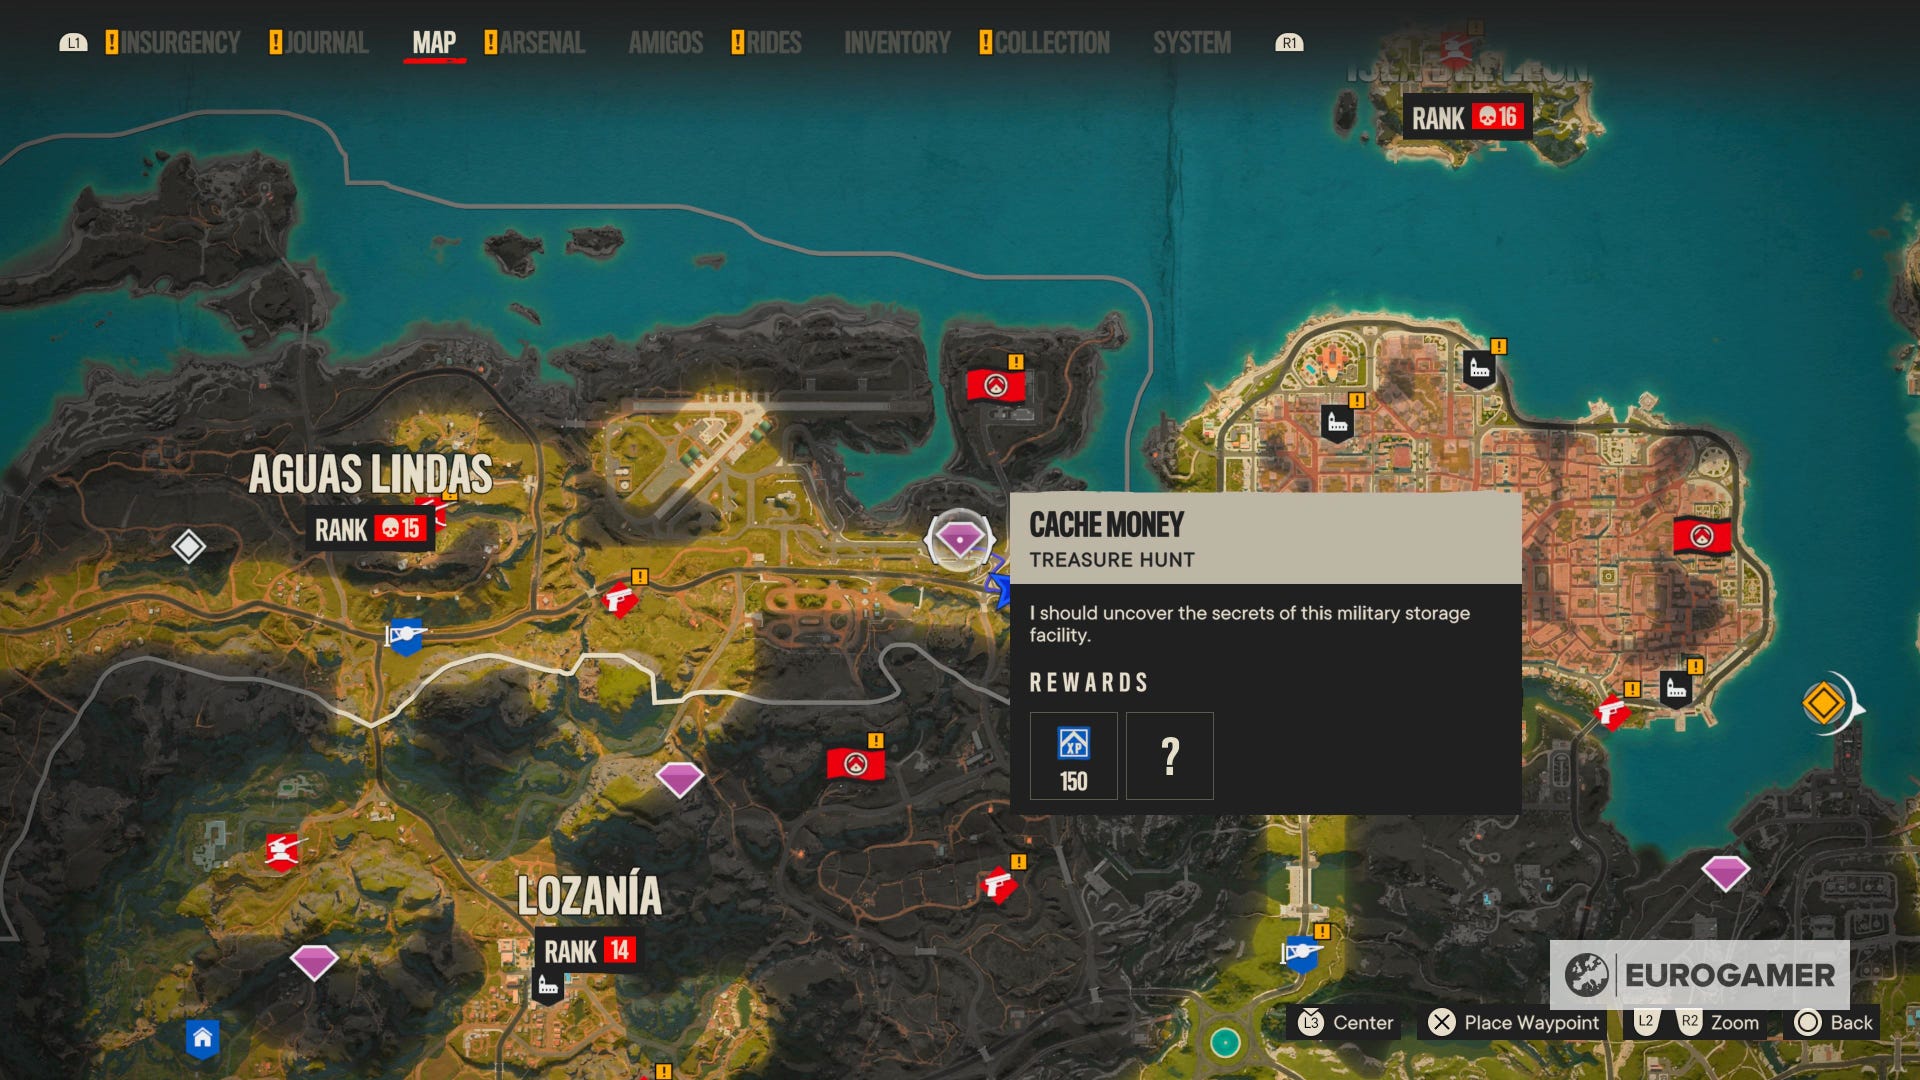
Far Cry 6's Cache Money is one of the treasure hunts in the game.
Tasking you to infiltrate a military base and finding the chest inside an abandoned bunker, this can be an intricate treasure hunt without knowing the steps at first glance.
This page explains how to enter Bunker 2 in Far Cry 6 to complete the Cache Money treasure hunt easily.
On this page:

Far Cry 6 Cache Money location
Treasure hunts in Far Cry 6 are optional activities that often involve solving environmental puzzles and putting your grapple to good use with some acrobatics inside caves or military bases. At the end of each you will receive unique rewards, from unique weapons to weapon charms.
Here's where you can start the Cache Money treasure hunt:
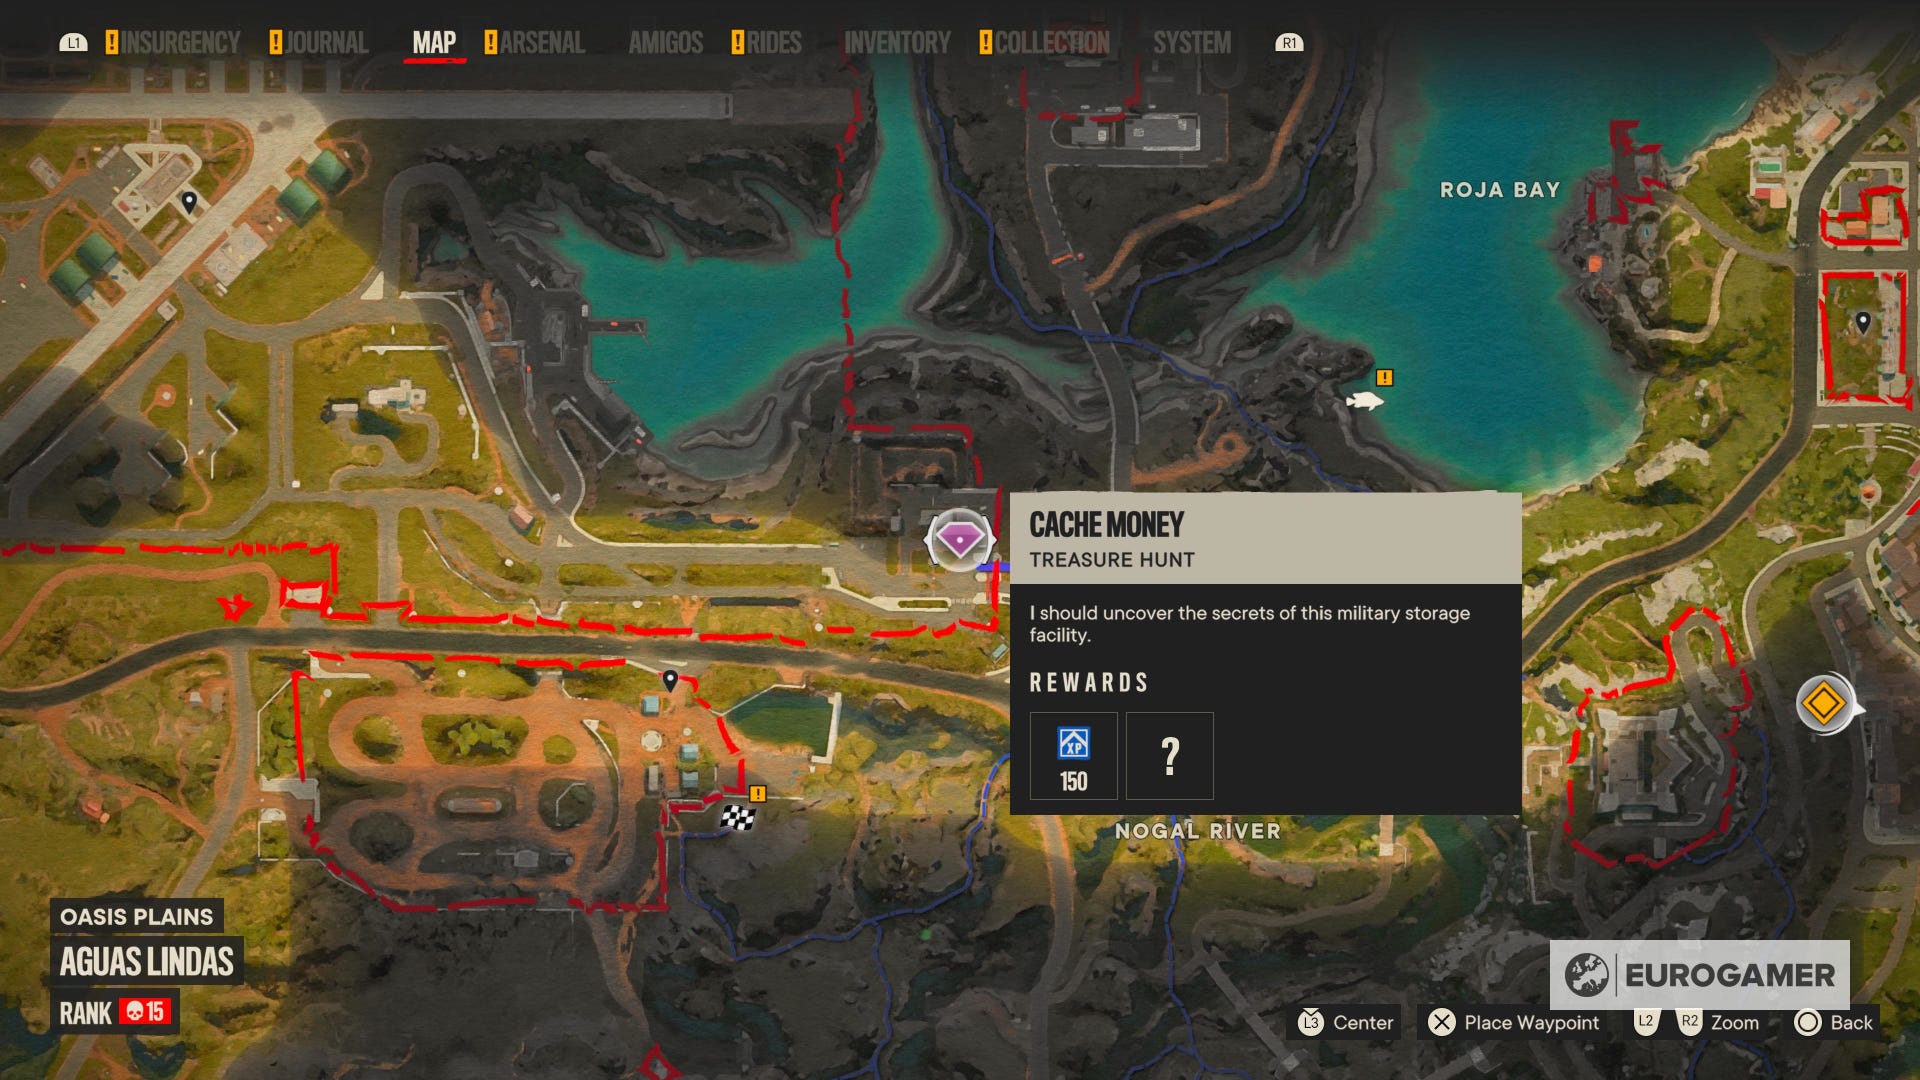
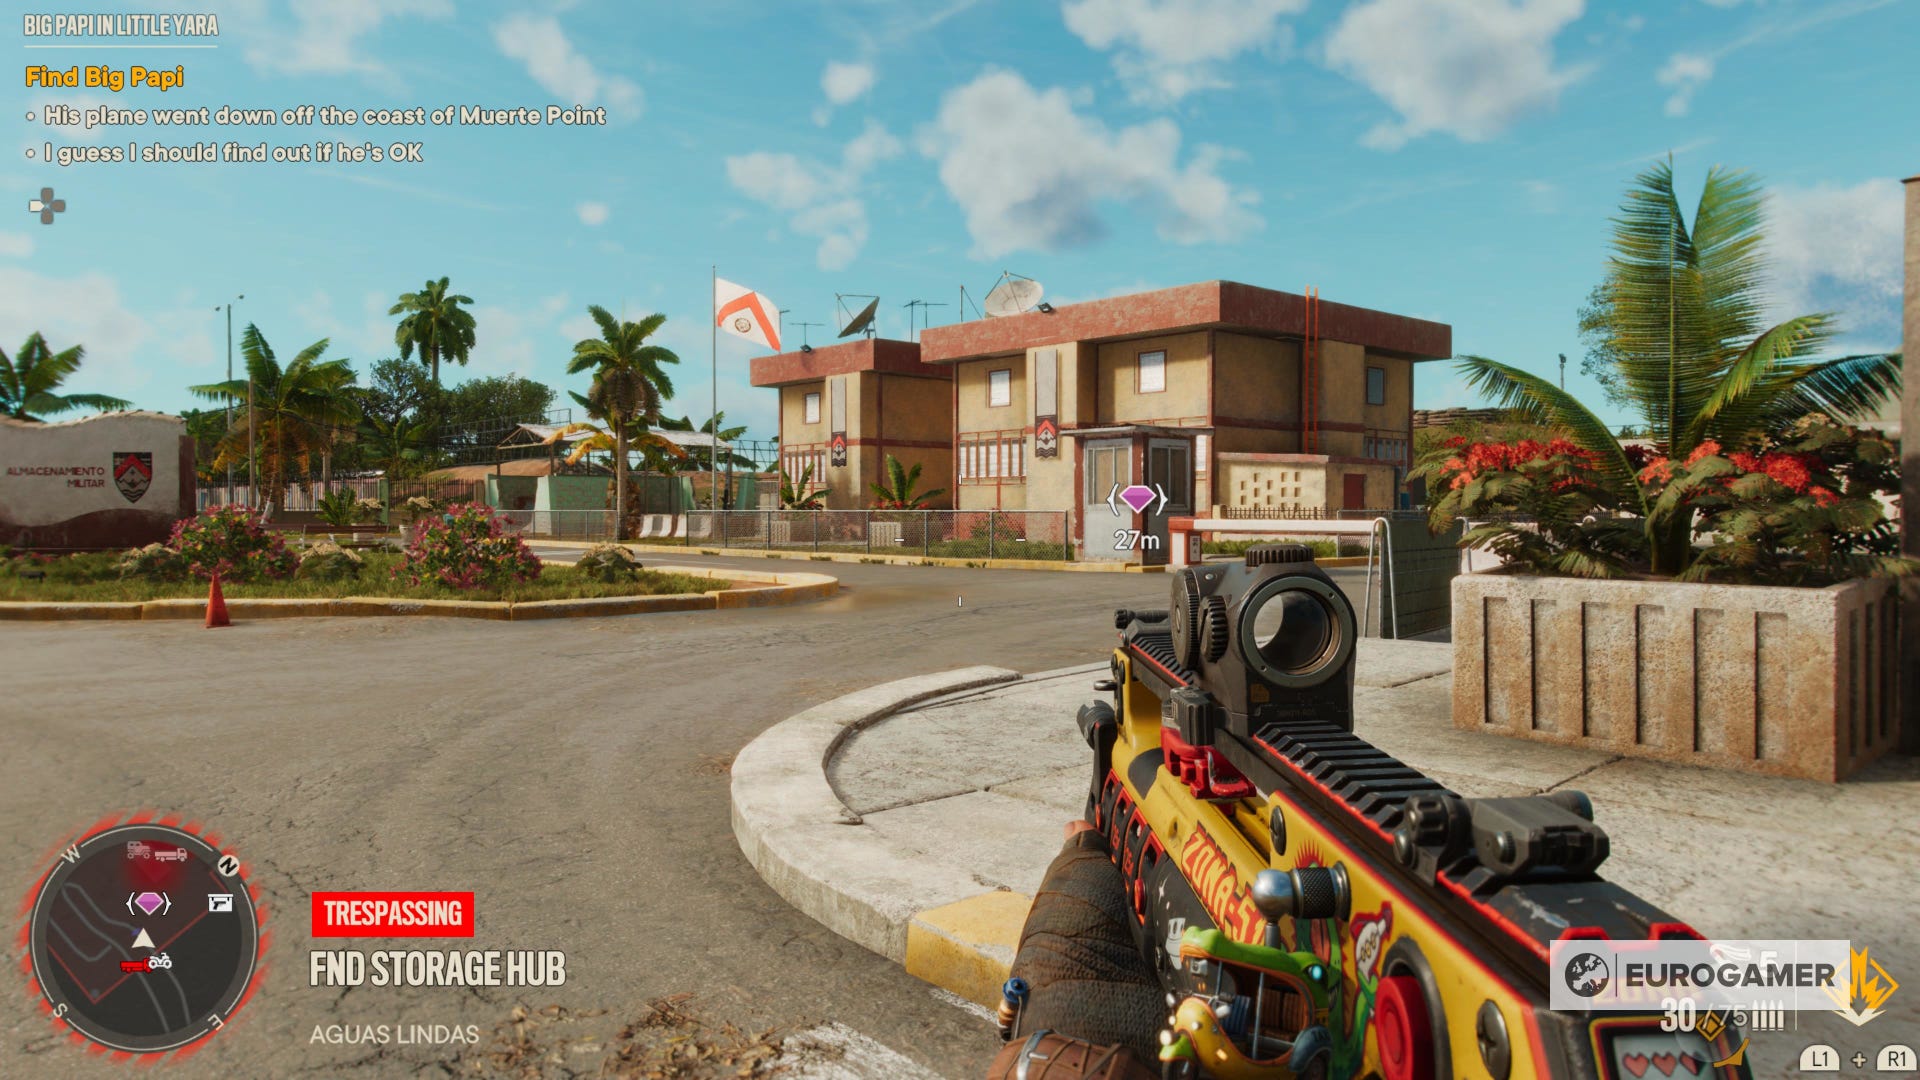
- Cache Money location: East of Oasis Plains in Aguas Lindas.
Now, let's jump to the steps to complete the quest.
Looking for more help? If you're just starting, we have pages on male or female Dani Rojas, completing Fuel the Revolution, how to destroy anti-aircraft guns, and where to go first on the map. Elsewhere, we explain where to find Triada Relic locations, Parting Gifts, The Long Drop, Cache Money, Rising Tide, High Supply, And the Beat Goes On, The Last One to Leave, Liquid Courage, The Missing Muse, The Emerald Skull, The Truest Yaran, Chorizo's location, the best Far Cry 6 weapons, and the GDP Oil Platform, Finally, we explain Far Cry 6's secret ending.
How to complete Cache Money and enter Bunker 2 explained
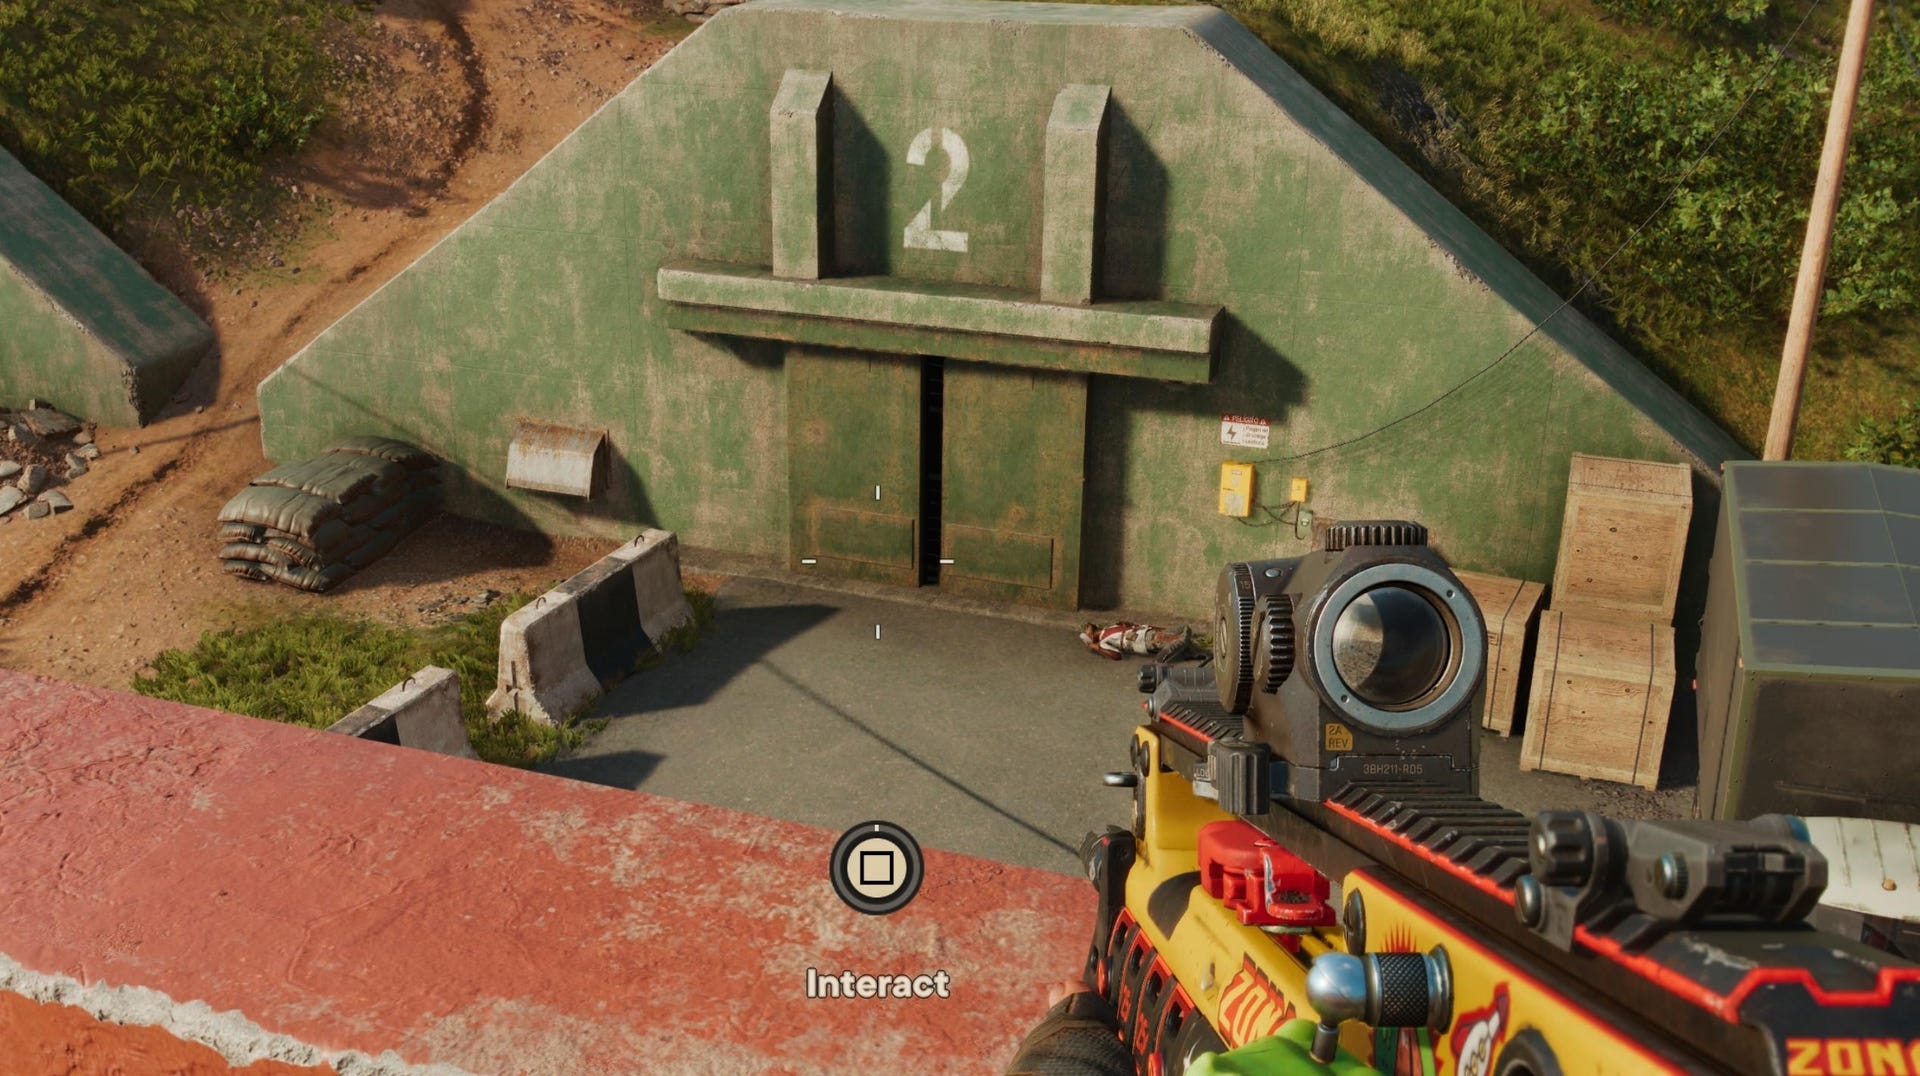
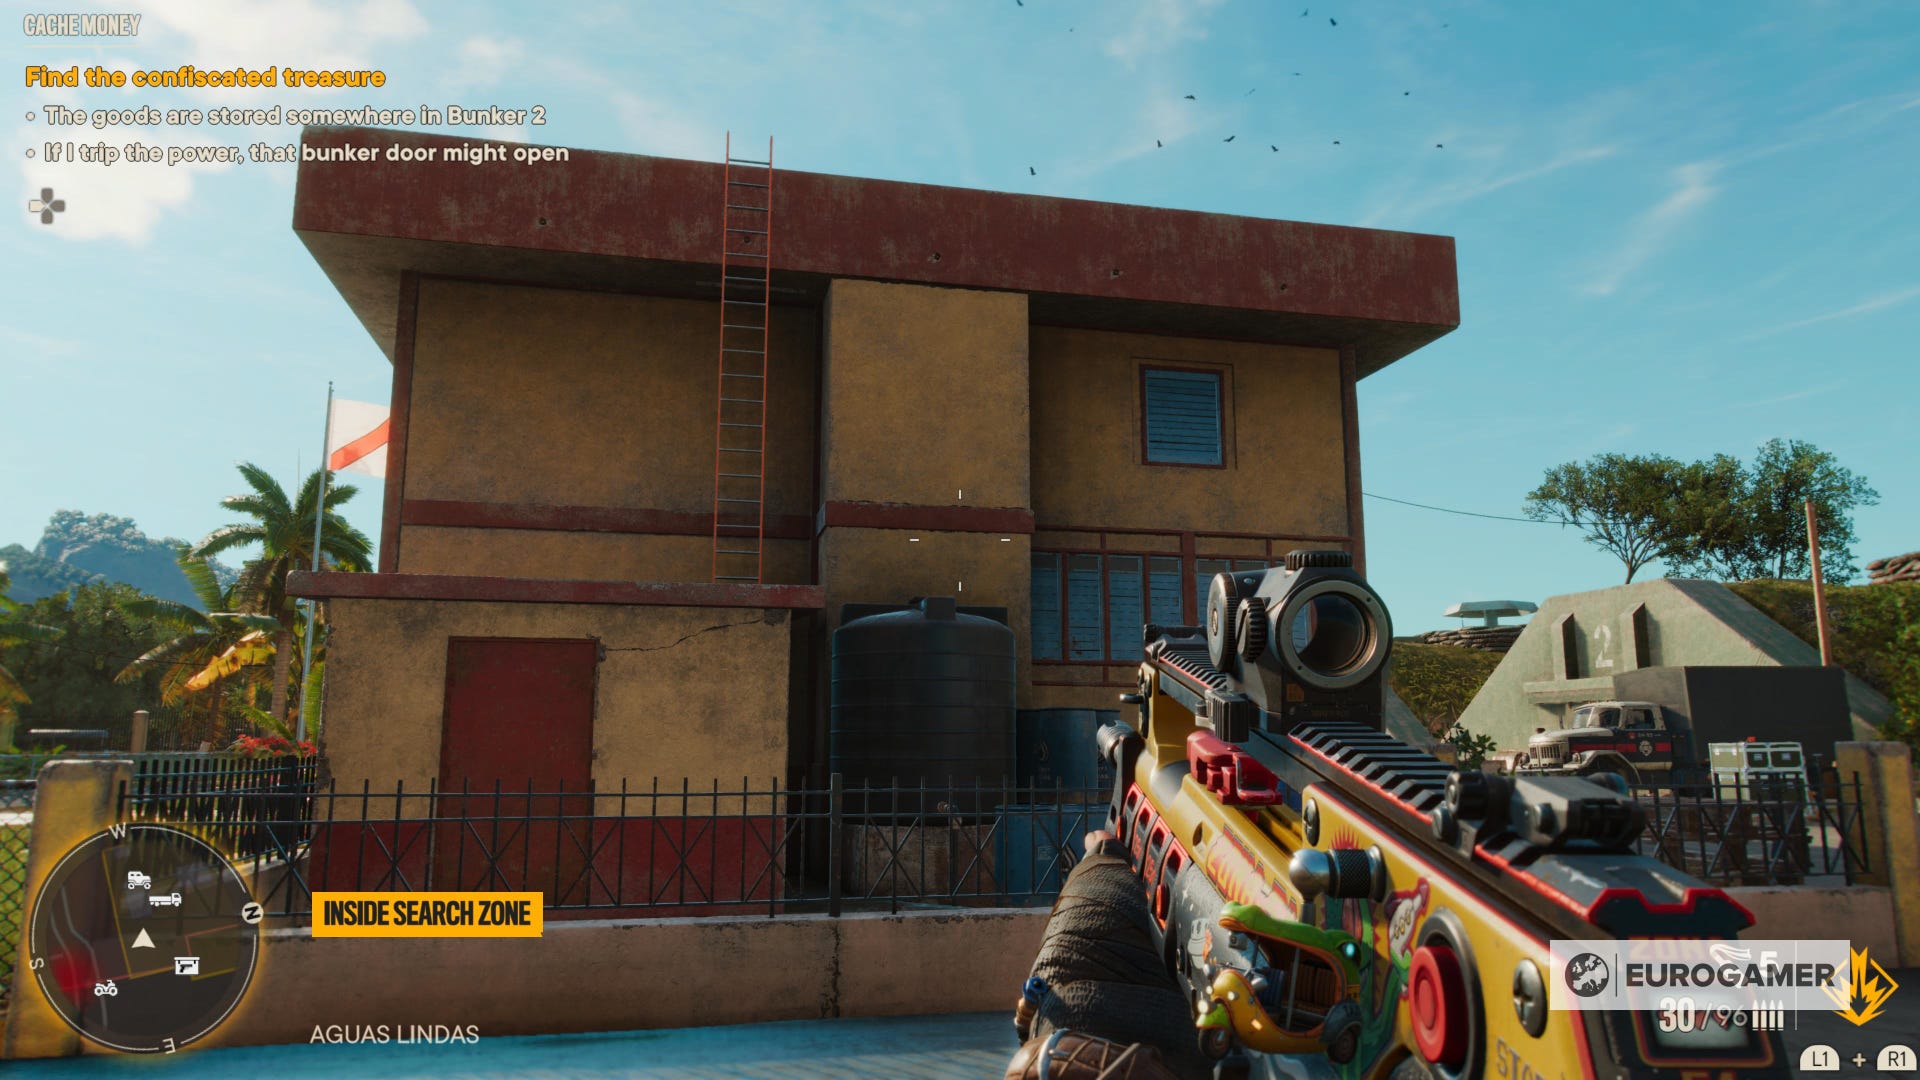
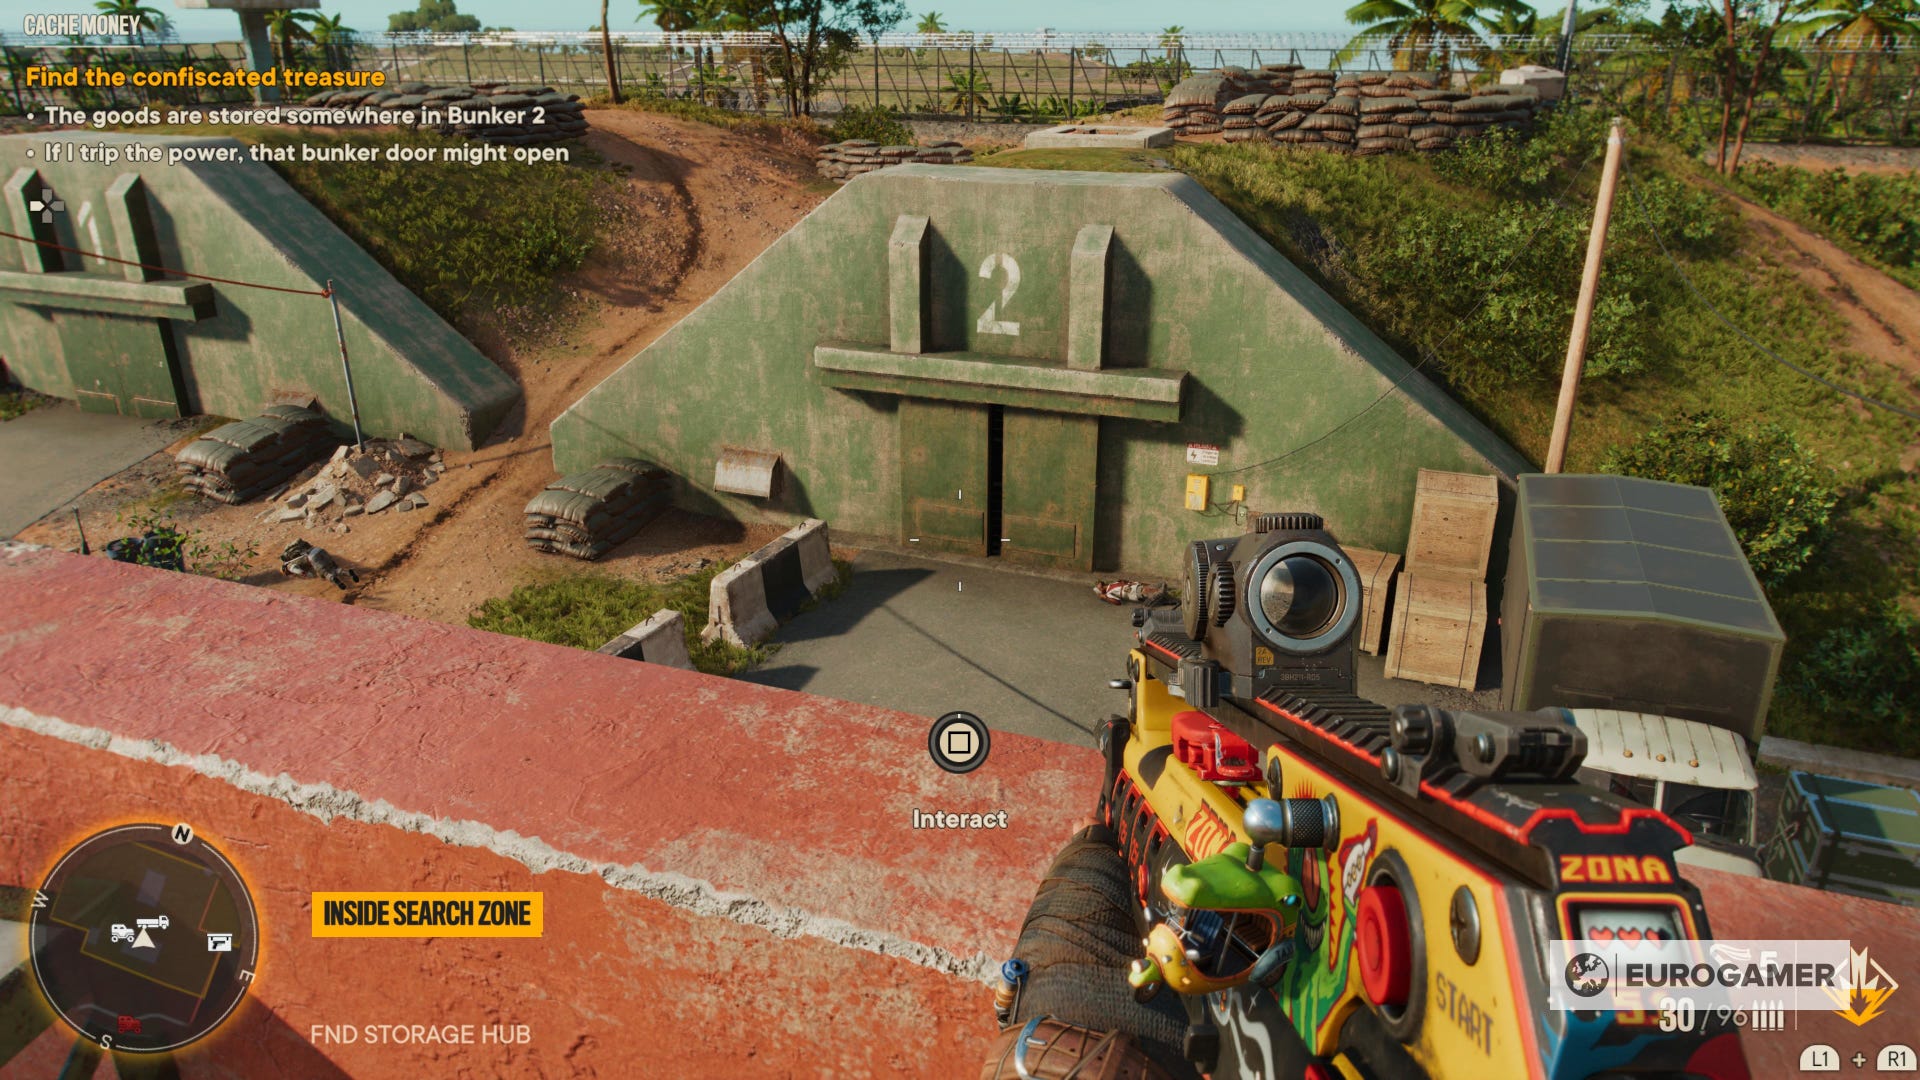
This treasure hunt is started by picking up a note close to the entrance of the military base east of Oasis Plains in Aguas Lindas. From here, we'll be heading to Bunker 2. From where you just picked up the note, keep moving forward and turn around the corner to see the bunker on the other side with the number 2 on top.
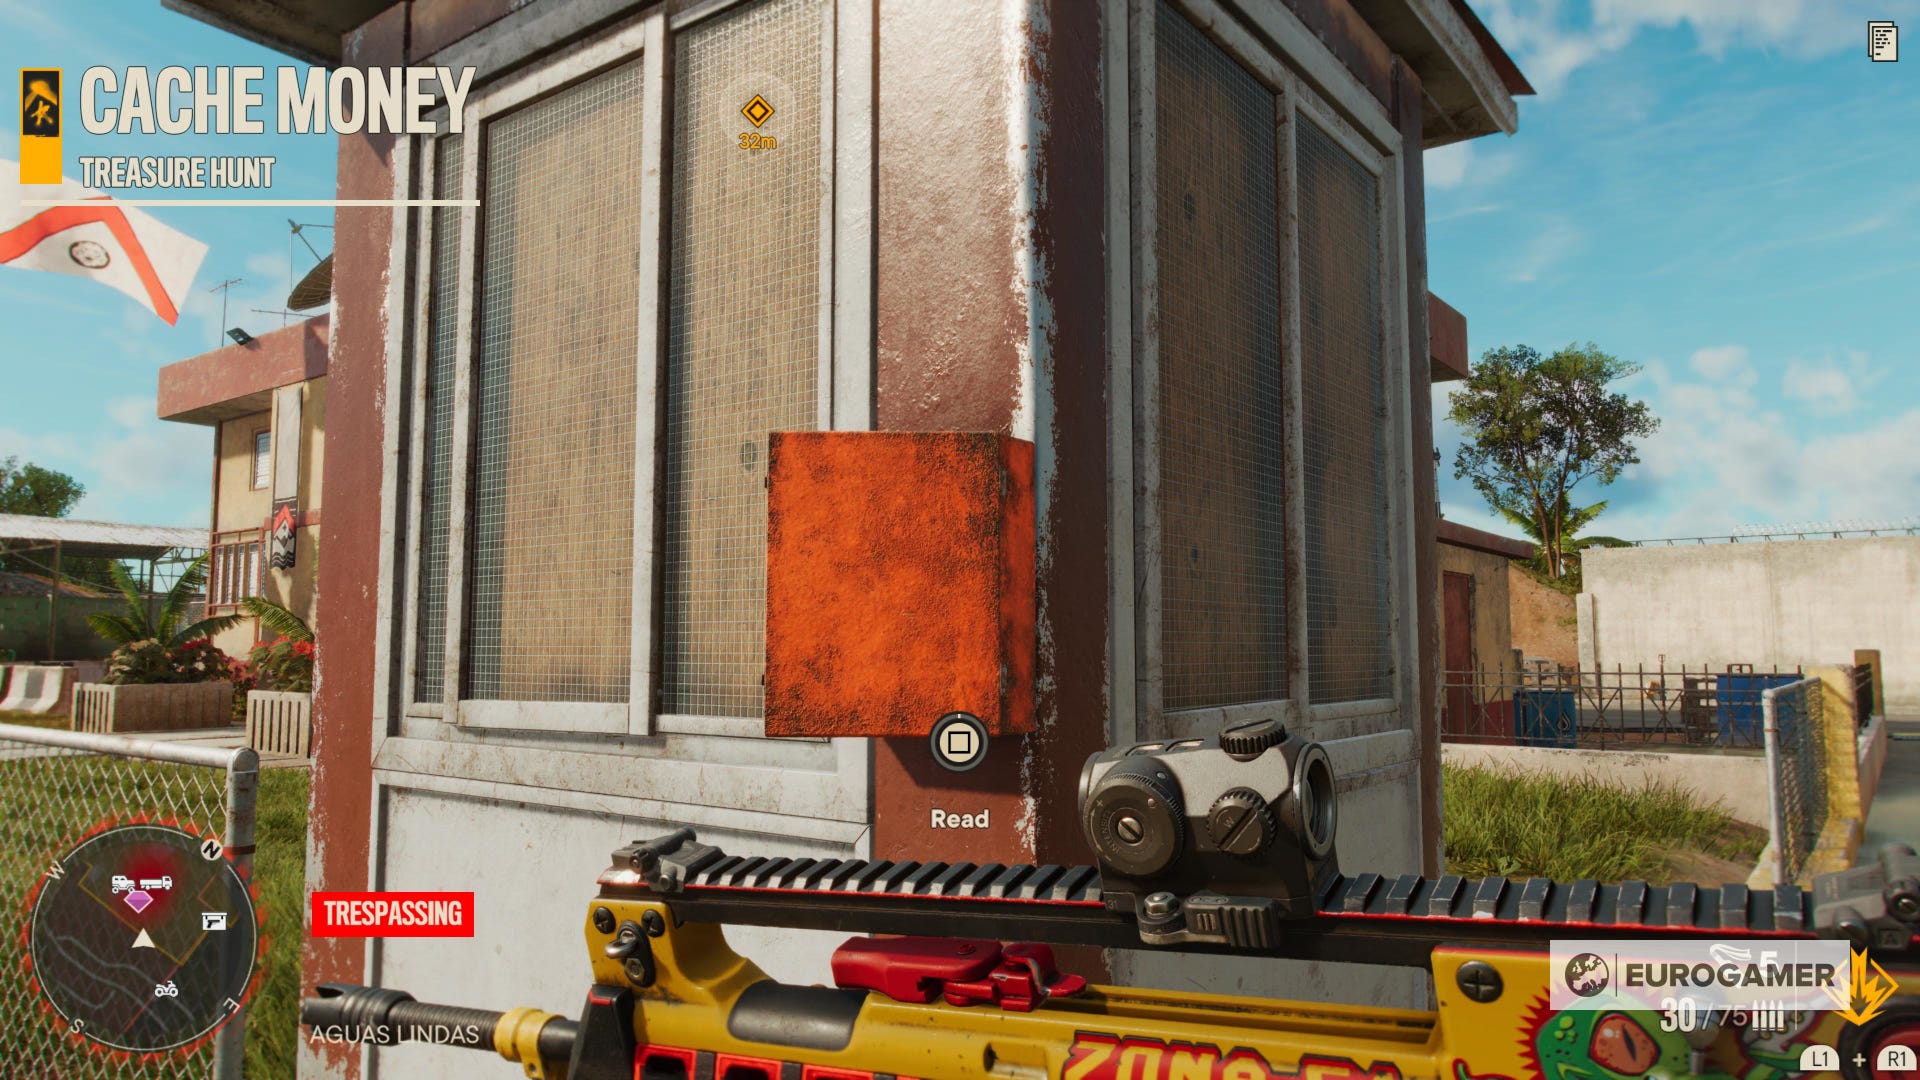

Upon your arrival, you will see a guard reading a note next to the door. Get rid of them and interact with said note.

Naturally, the door is out of power. For this, head back around the building you just passed and hop on the small shack that leads to the stairs. Climb to the roof and you'll see a button next to a table with tools.
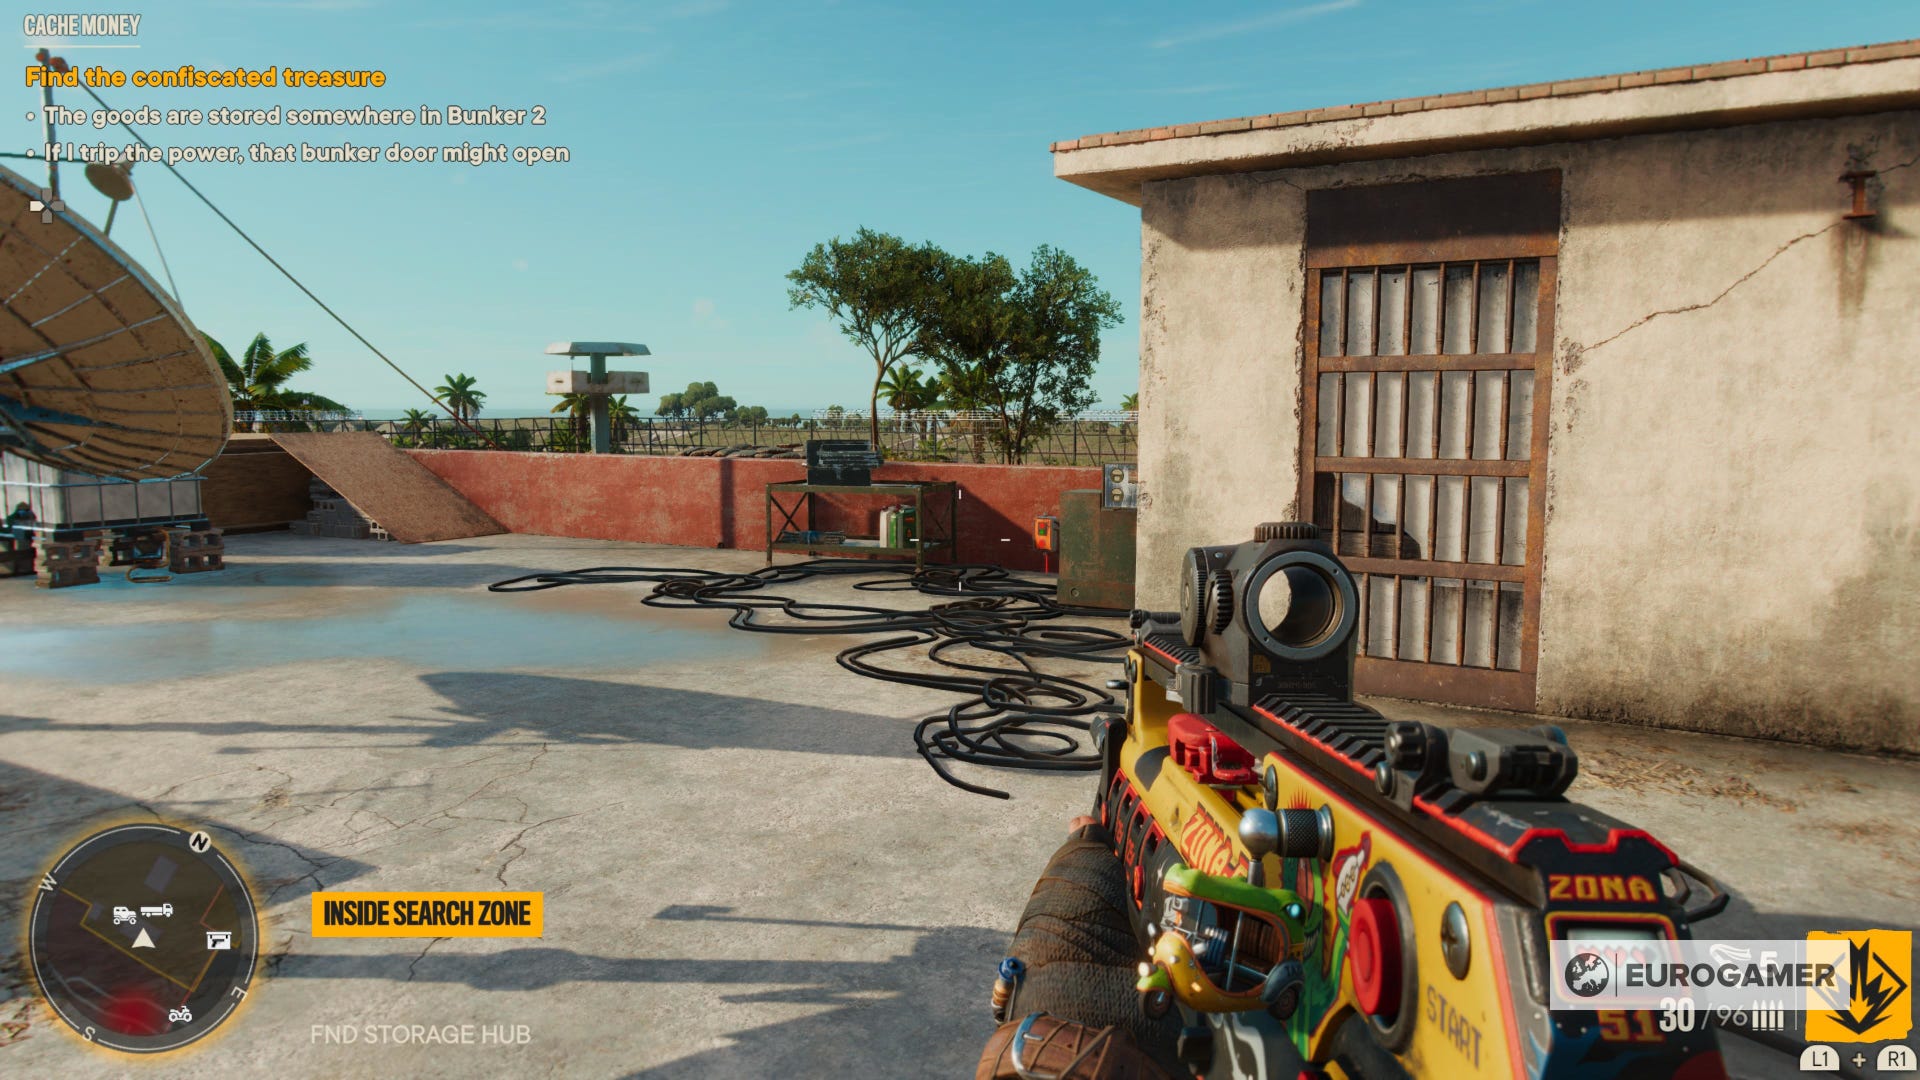
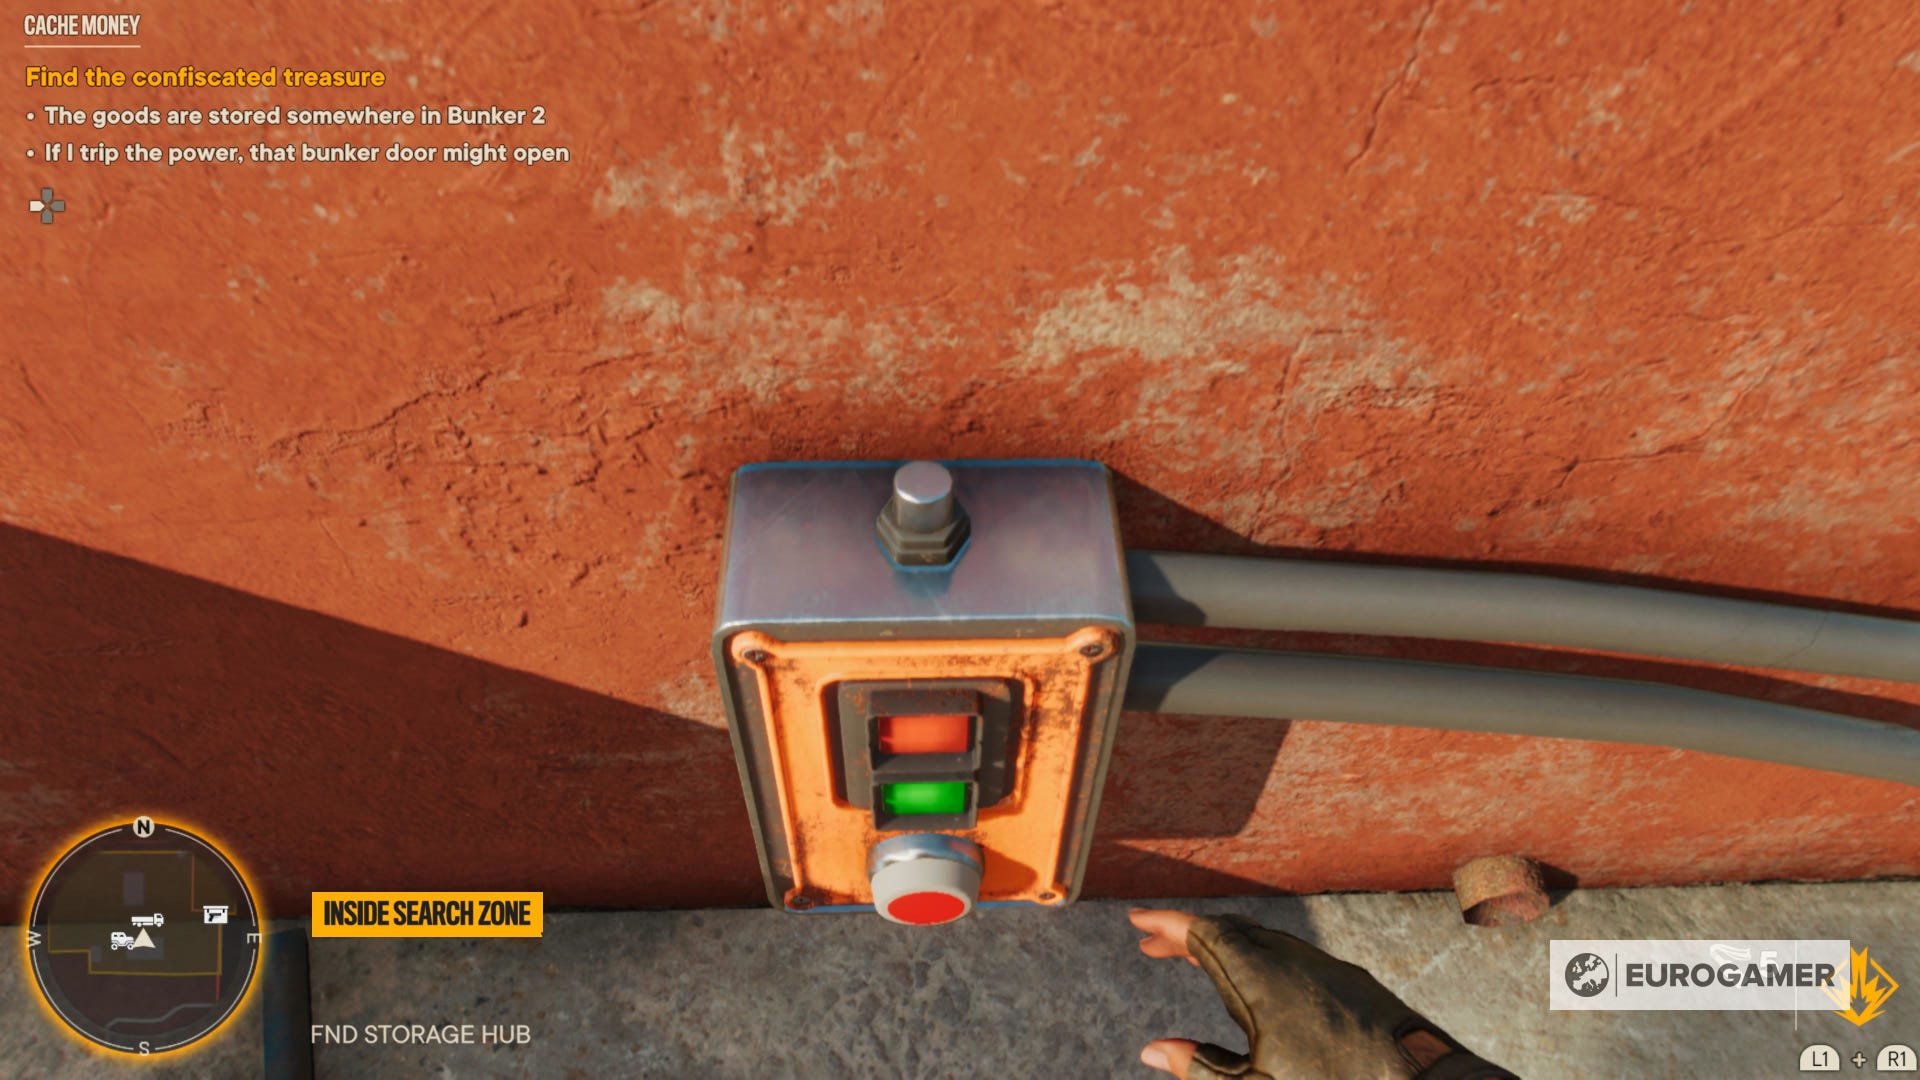
The trick here is simple: the door will open for a few seconds and then shut itself again. During that in between moment, go ahead and shoot inside to trigger an explosion.
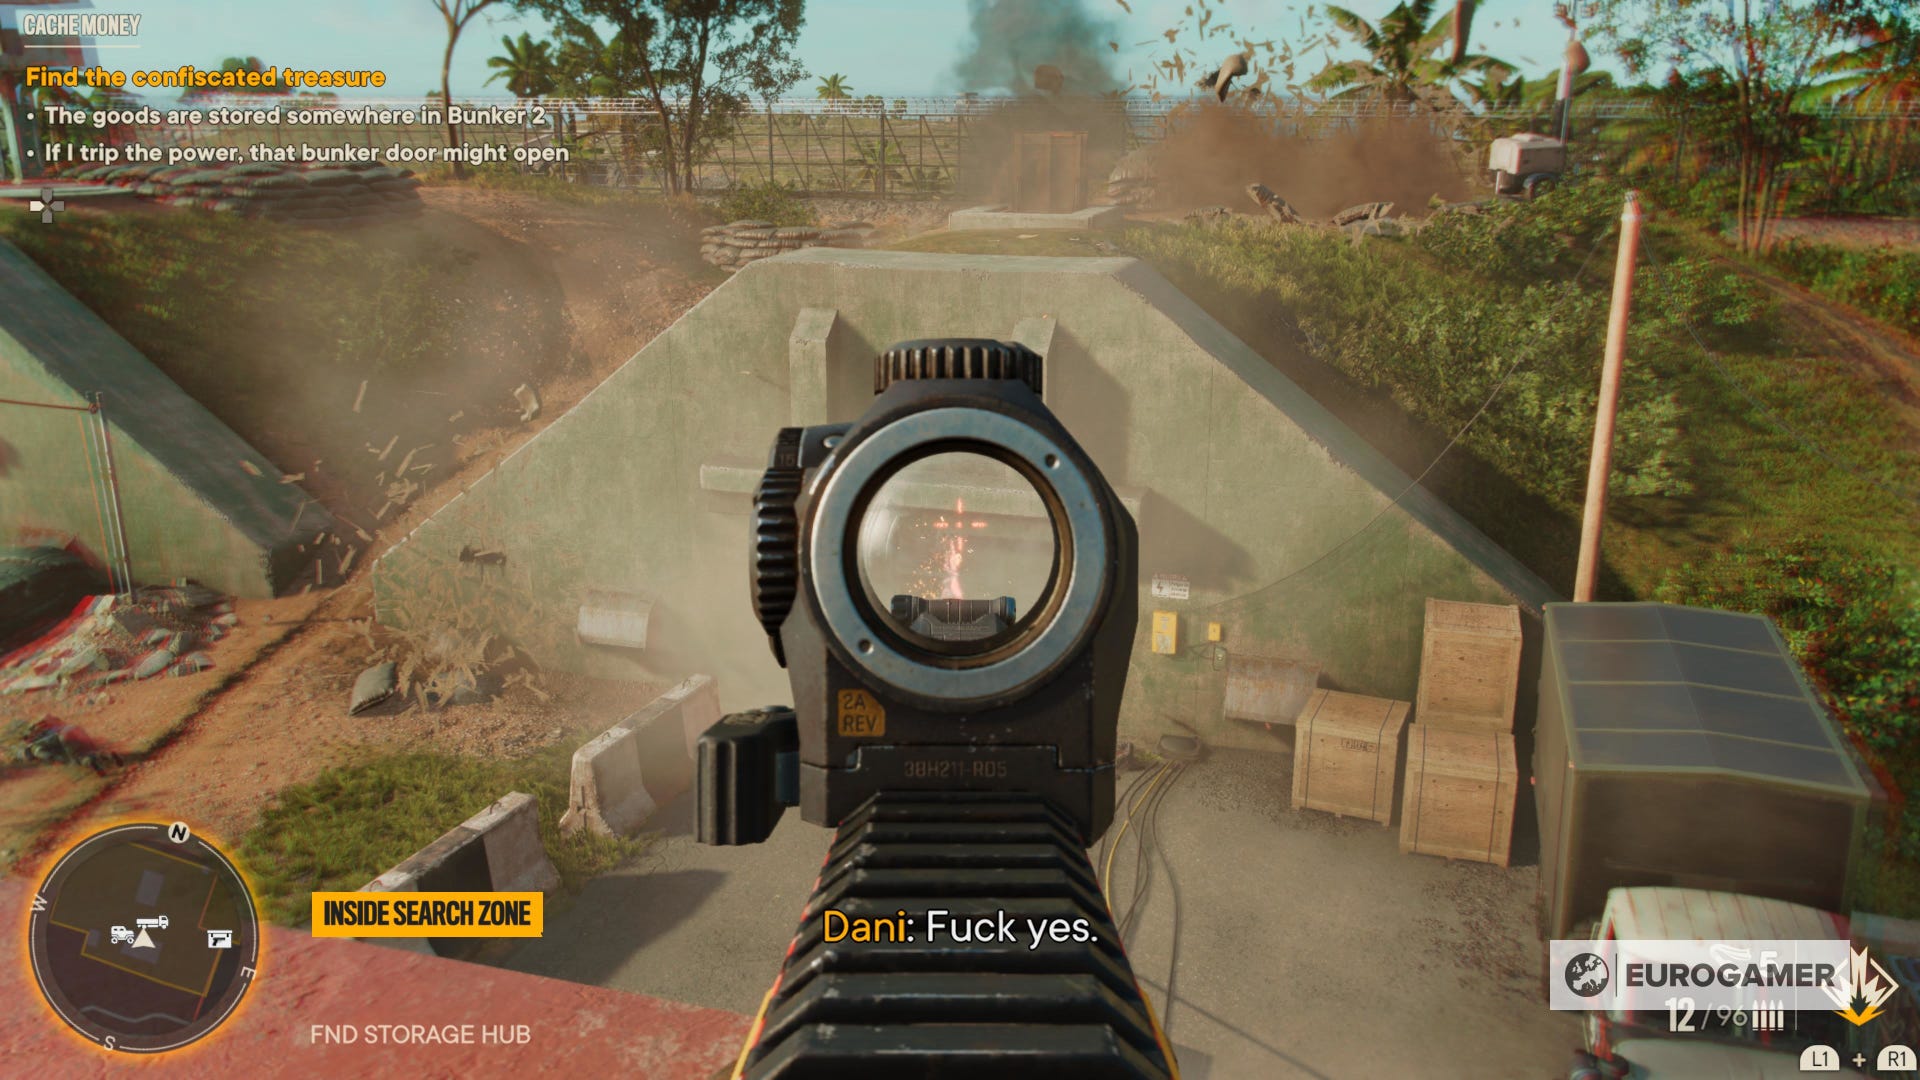
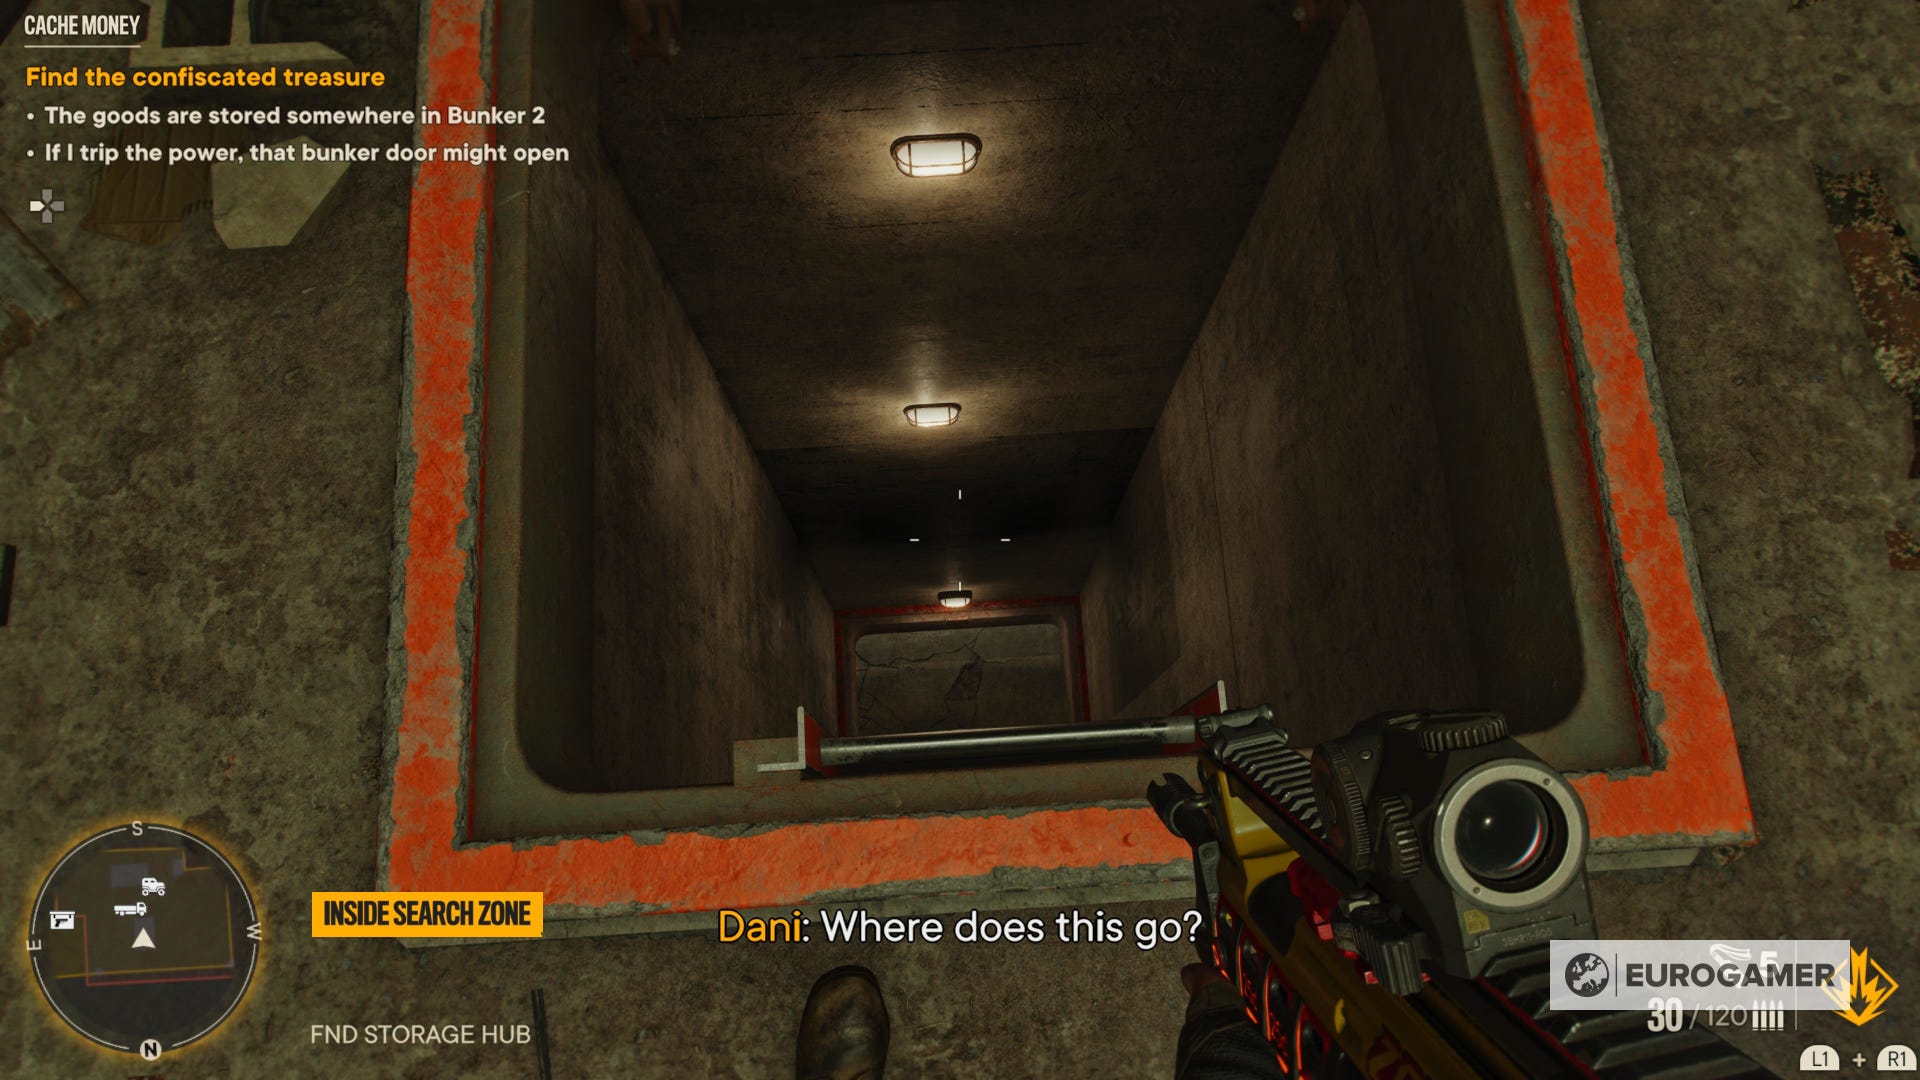
This will burst upon a hatch on the roof, and you'll be able to hop within the bunker from there. There isn't much inside except for a mess after the explosion. That being said, the trap door on the ground is one you want to interact with.
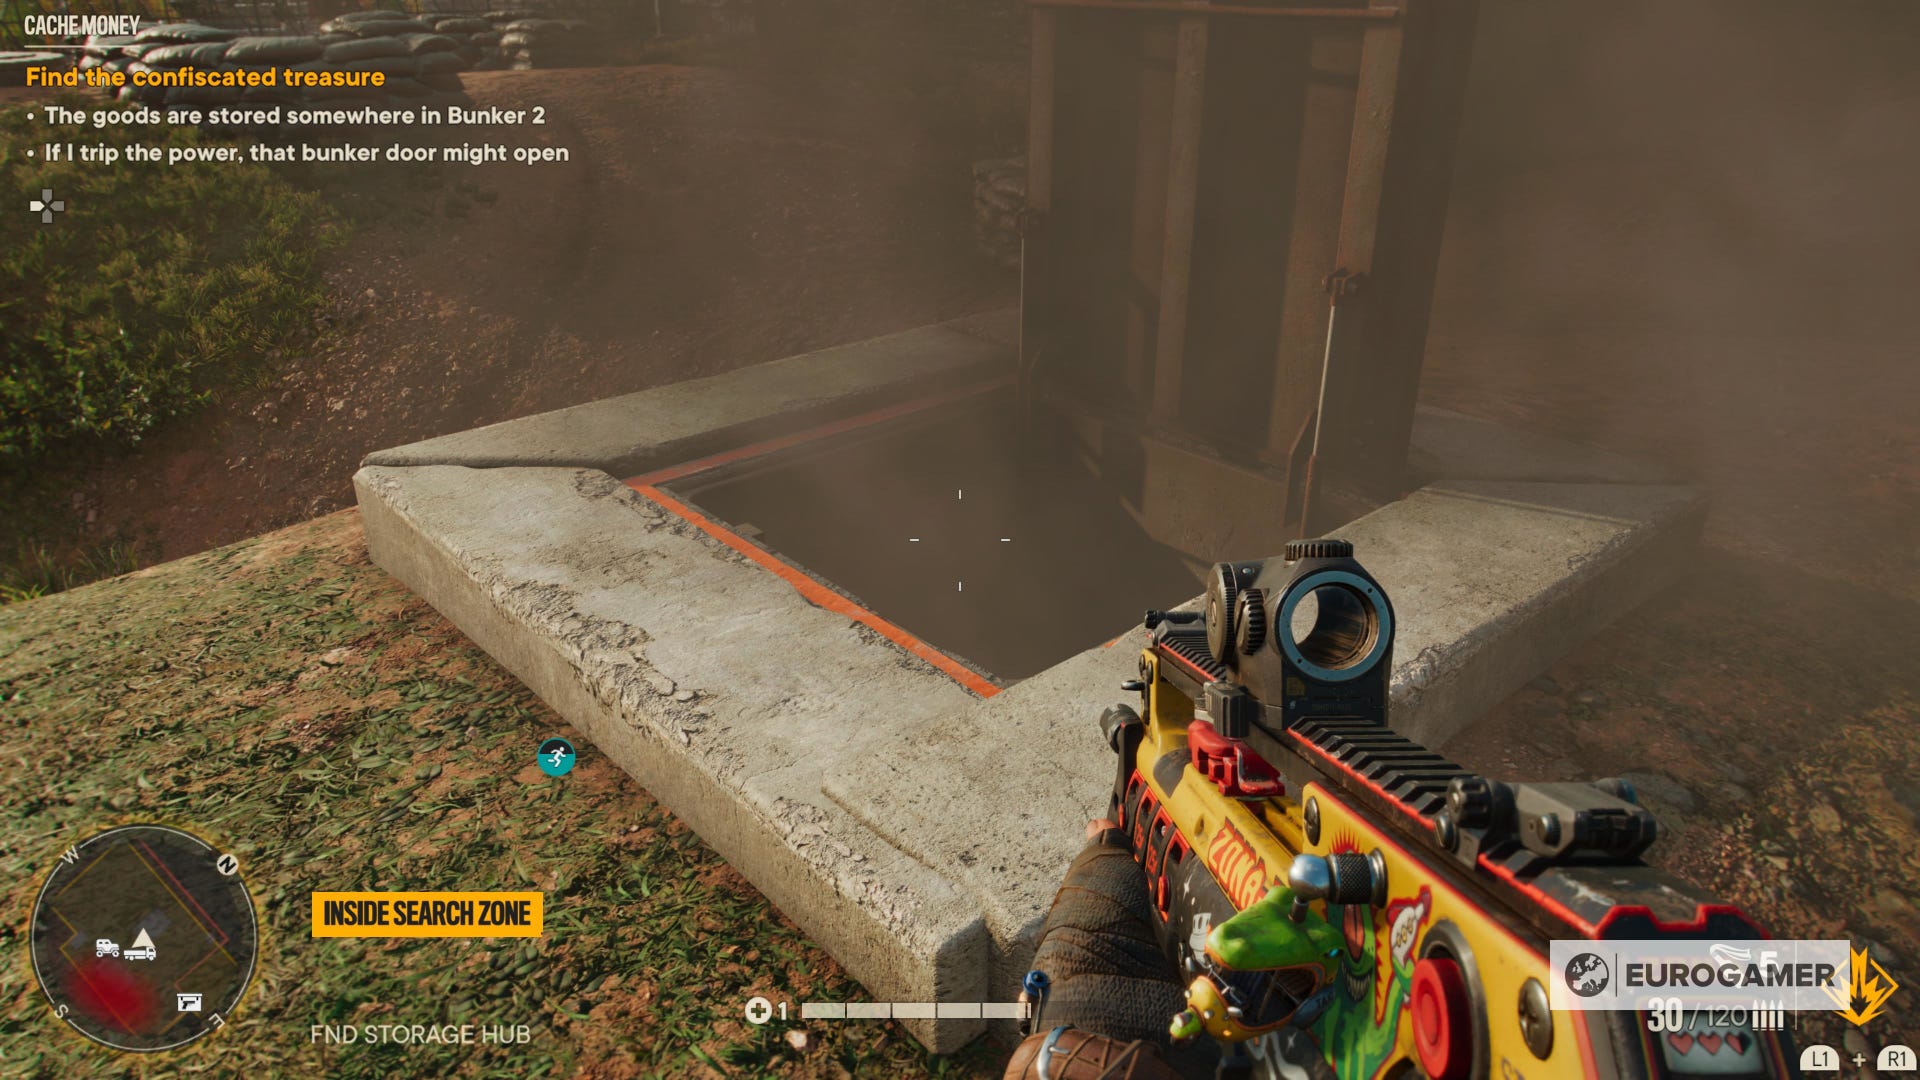
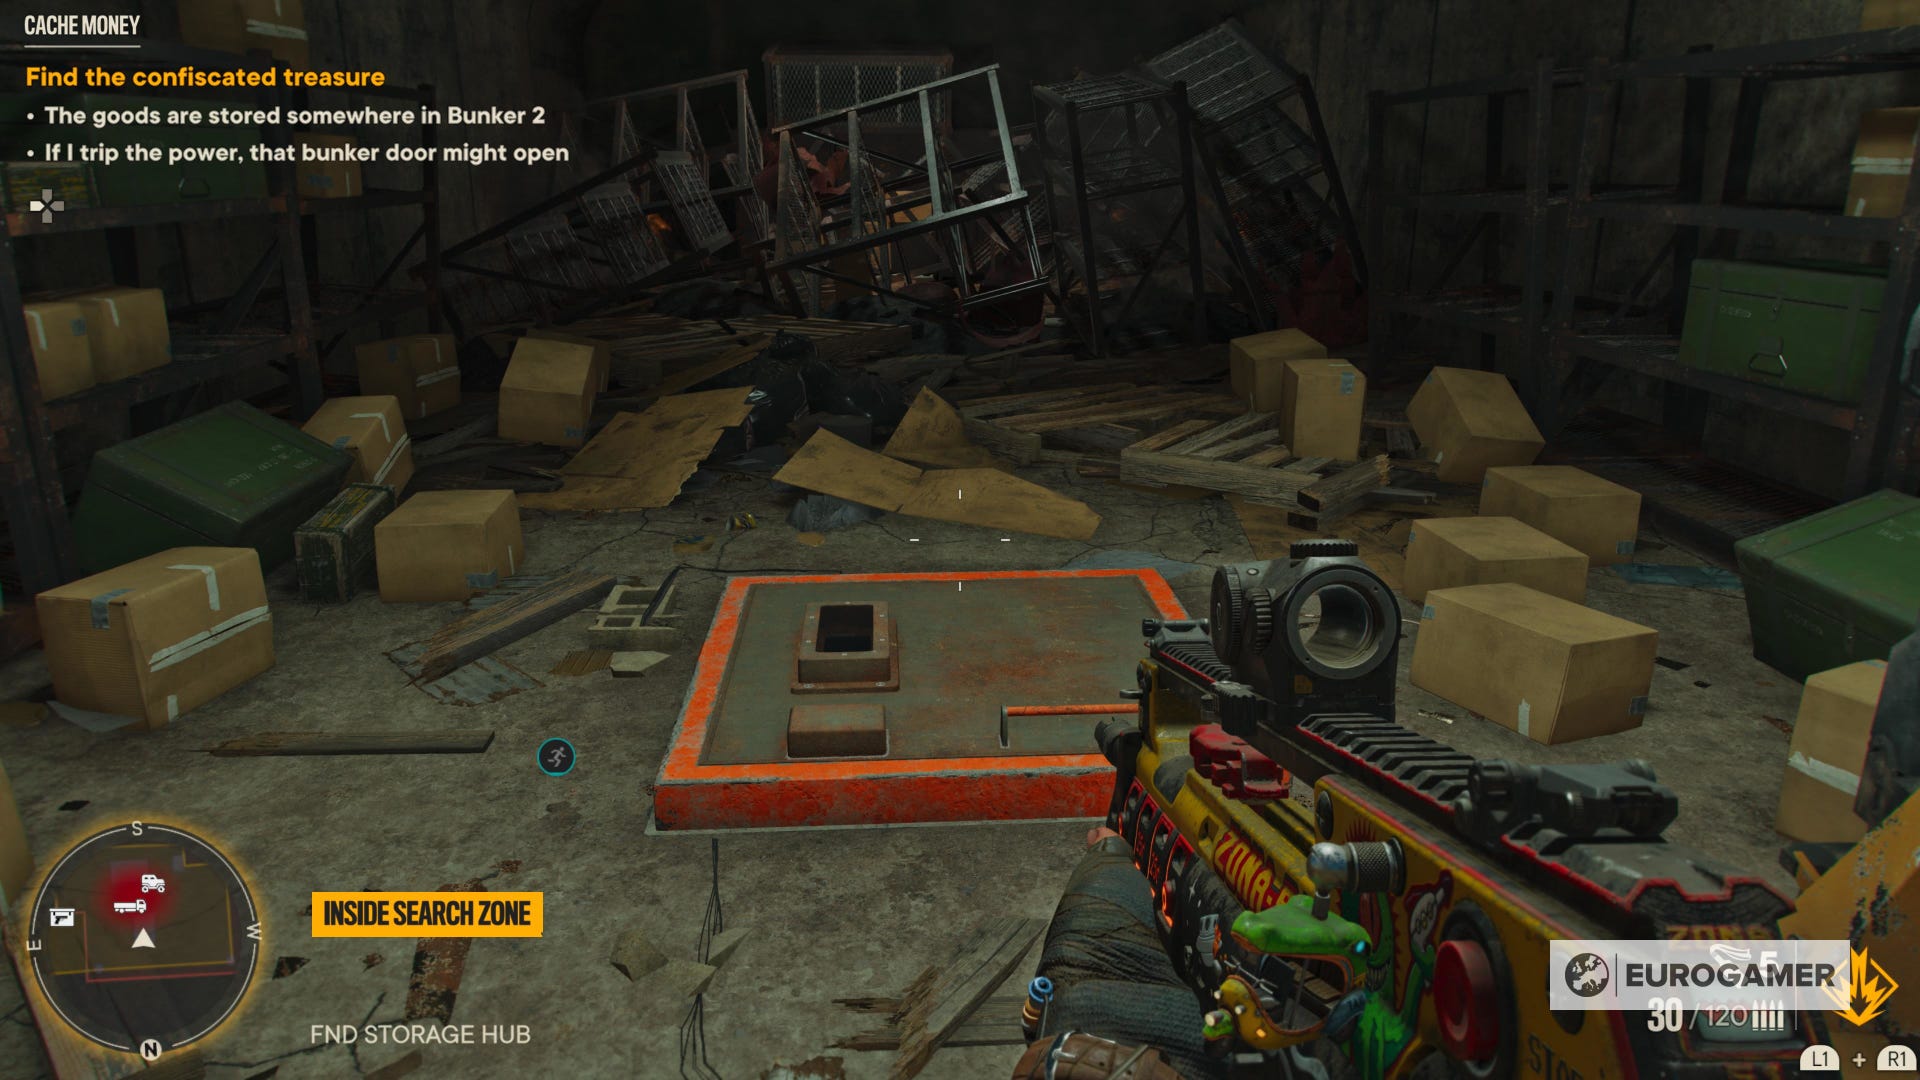
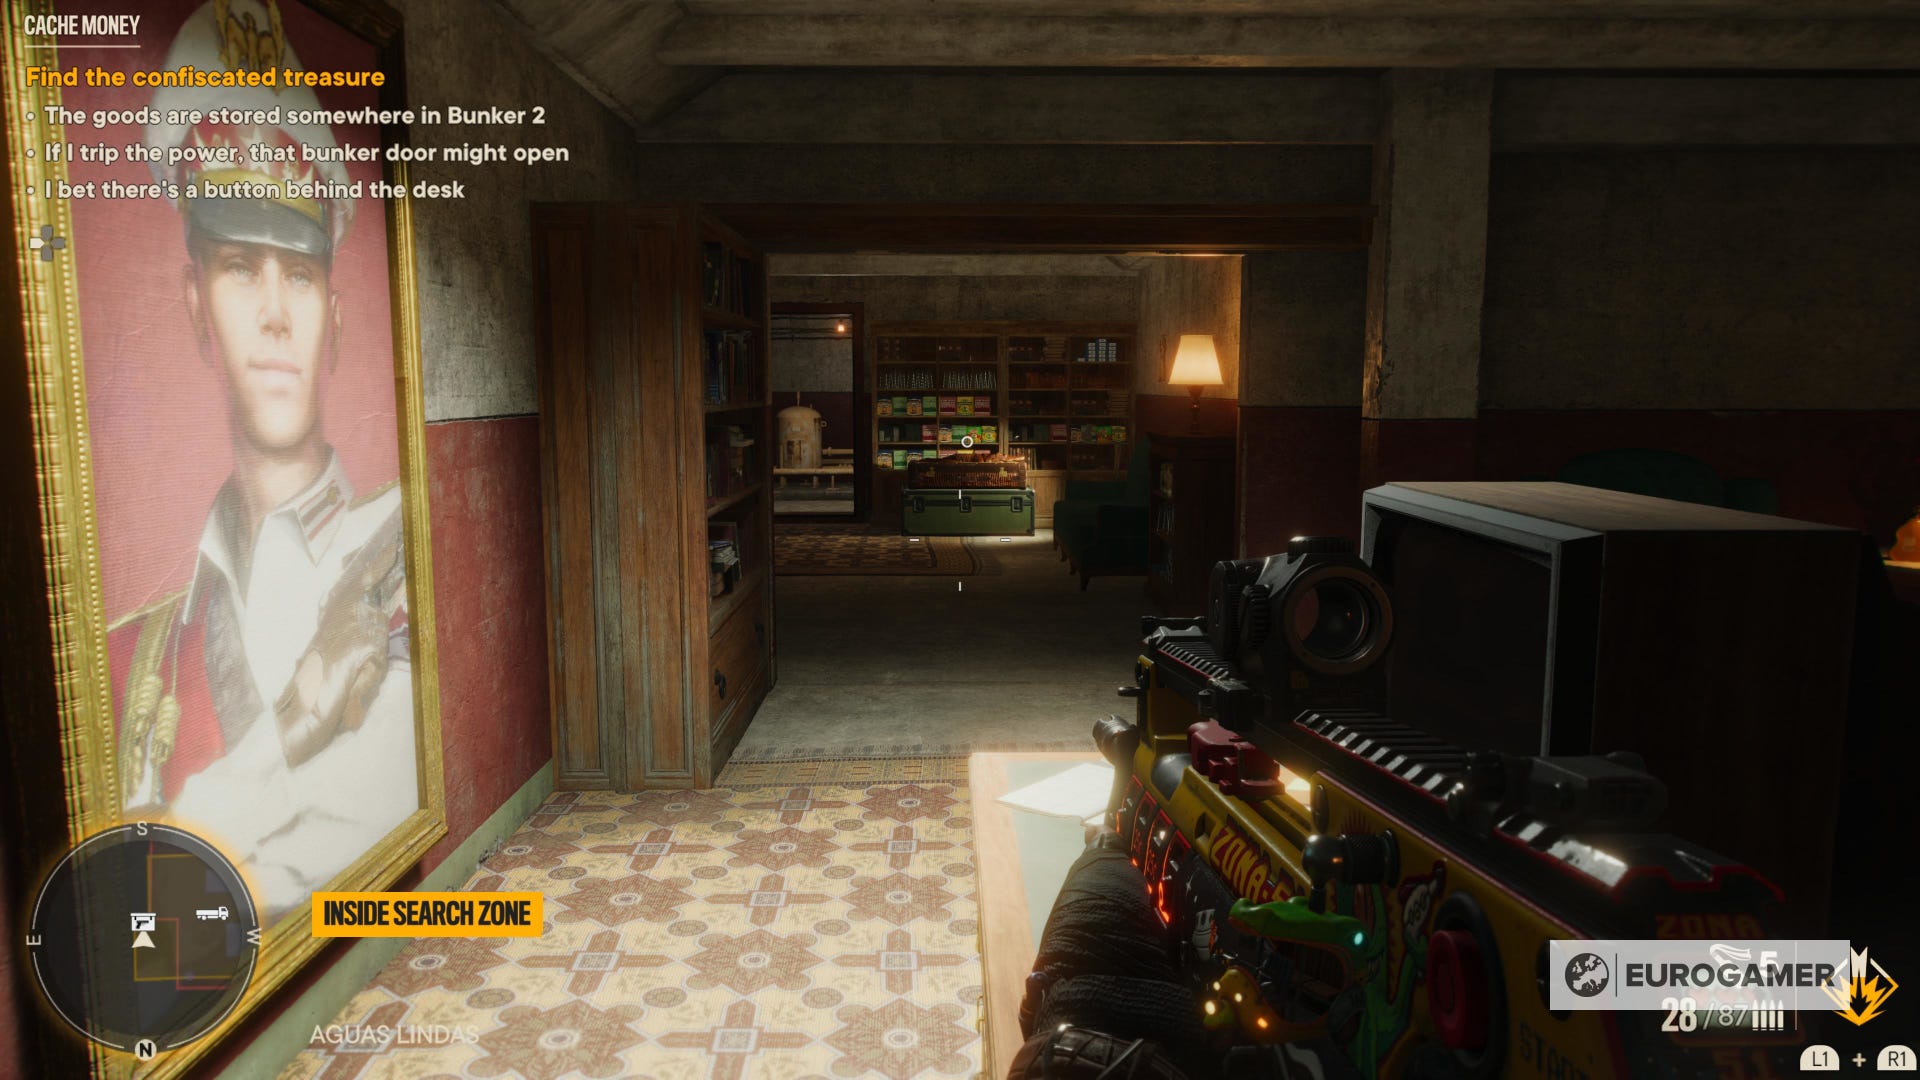
Use the ladder to head down below and make your way through the corridors until you get to the room.

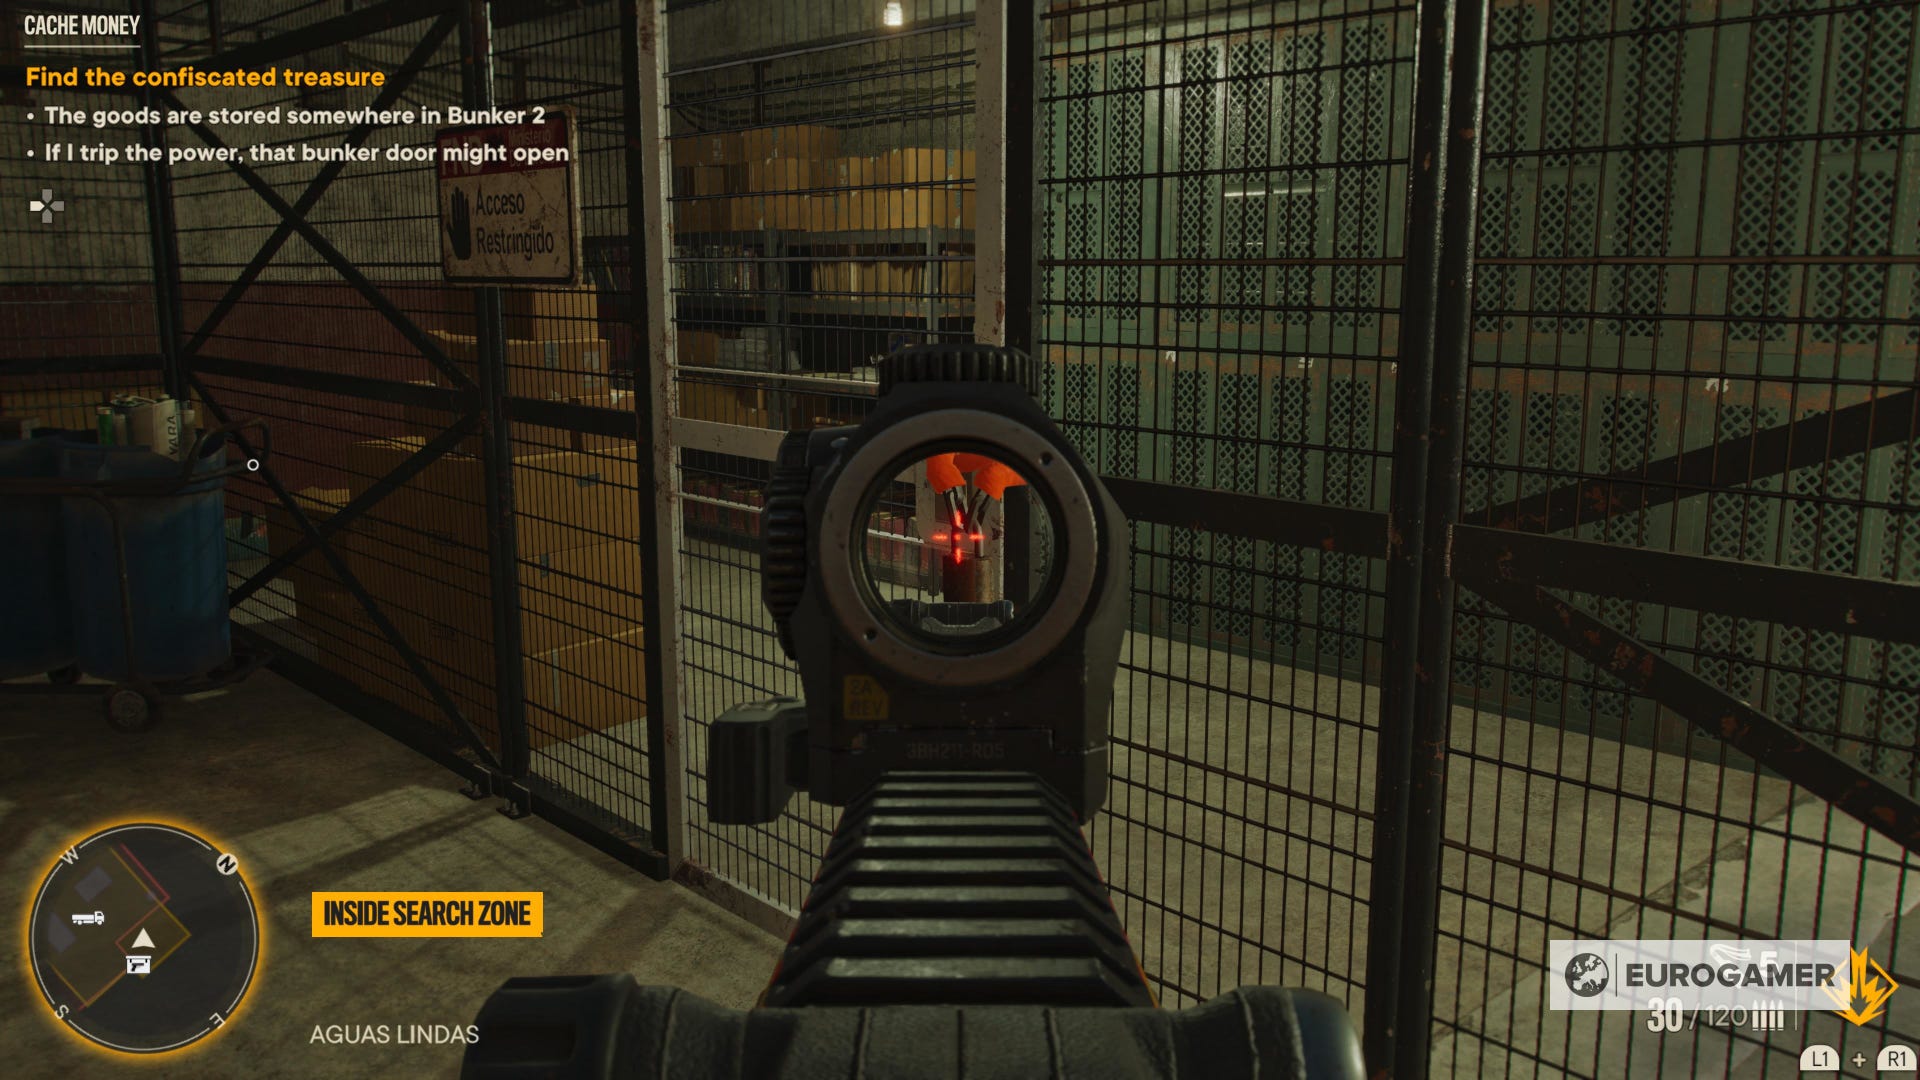
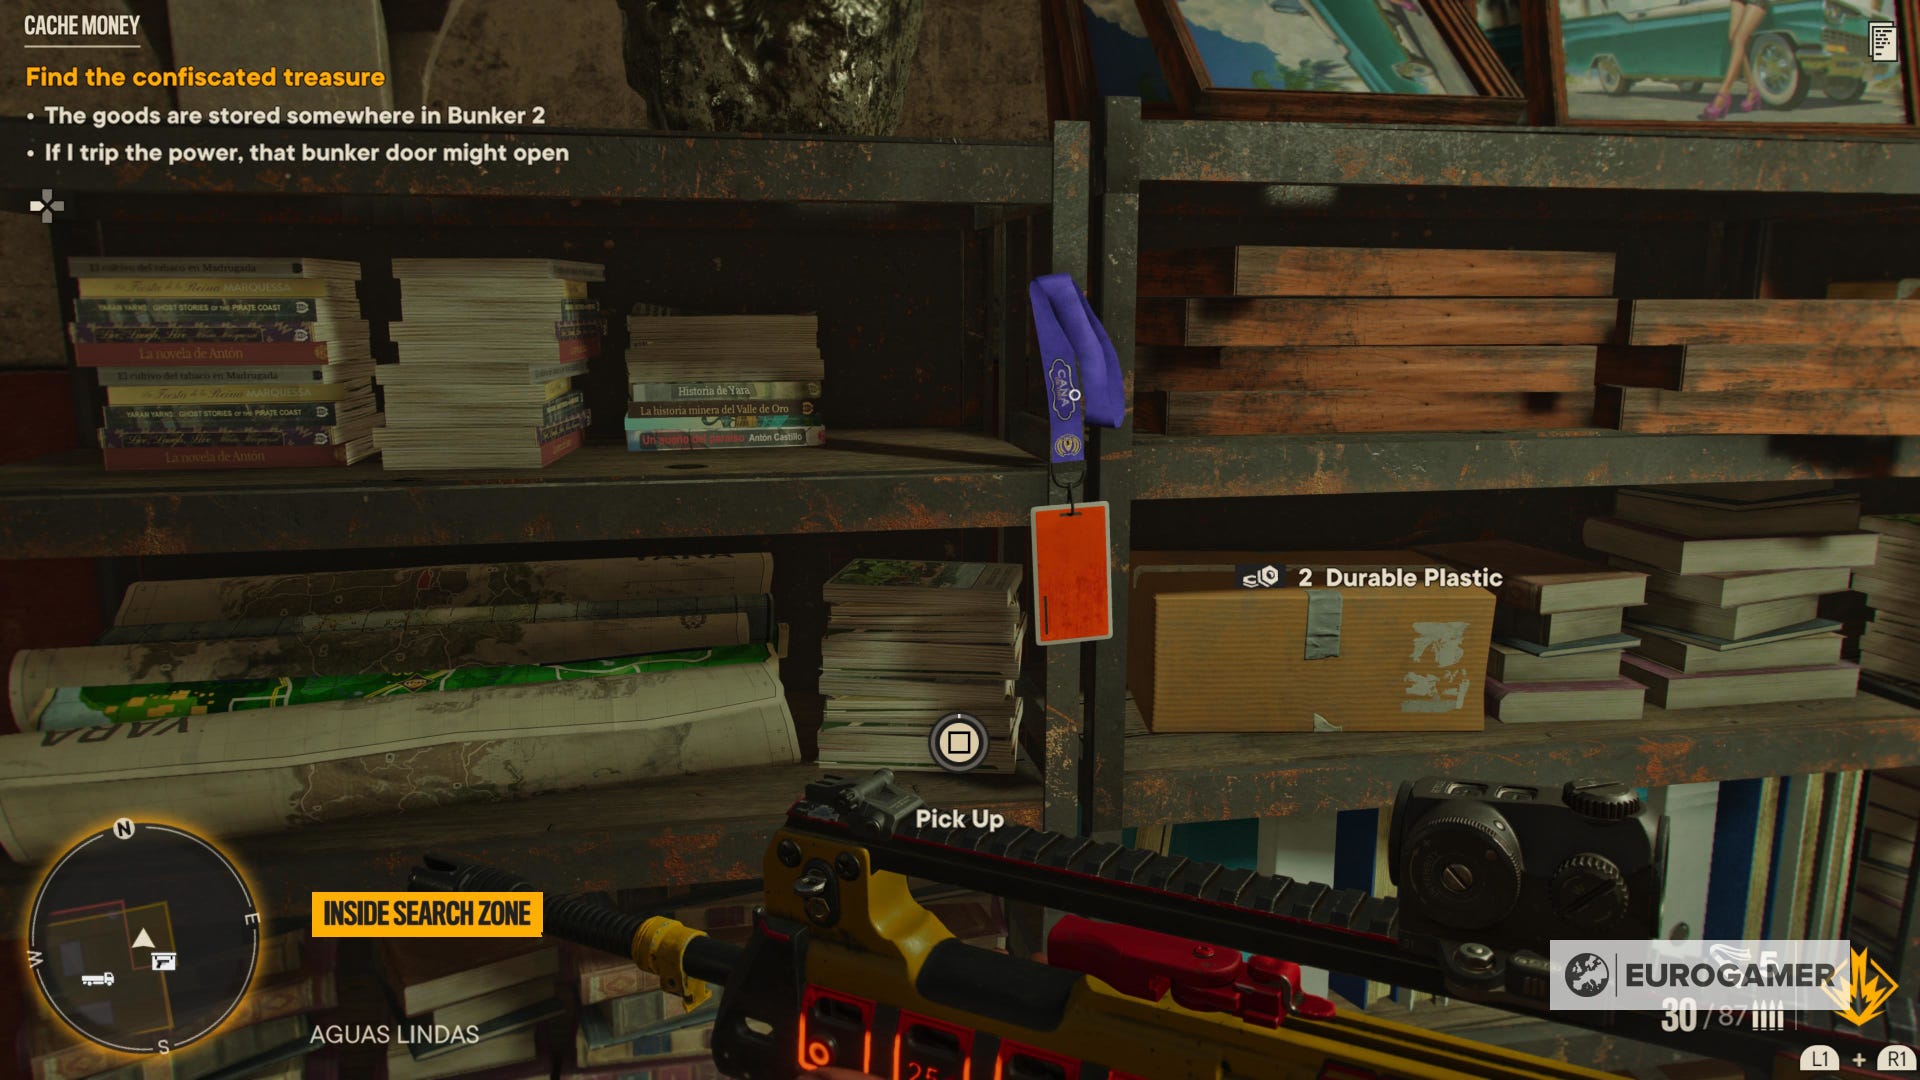
You will see a locked door that needs a keycard. On the opposite end, there's another door that lets you inside the storage. Shoot the lock in the handle and hop inside. You will see the keycard right away, hanging from the shelves.
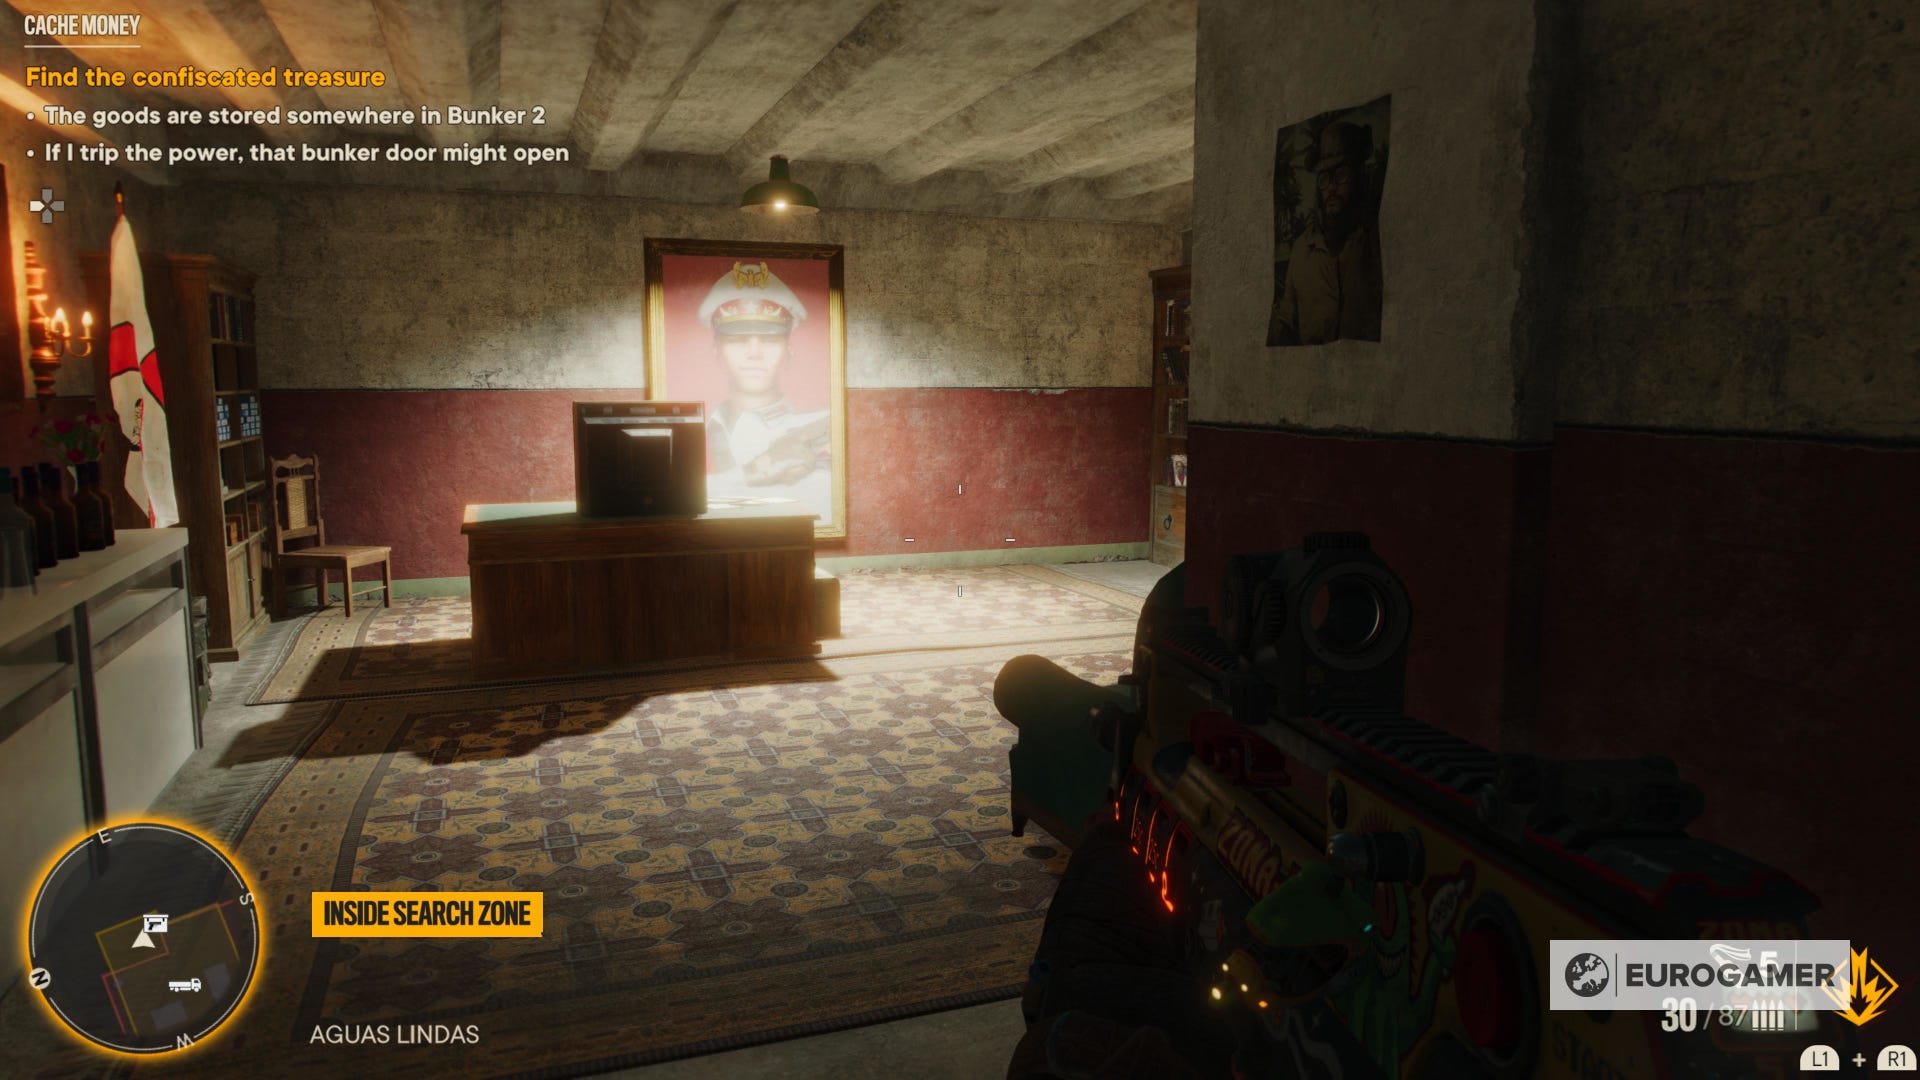
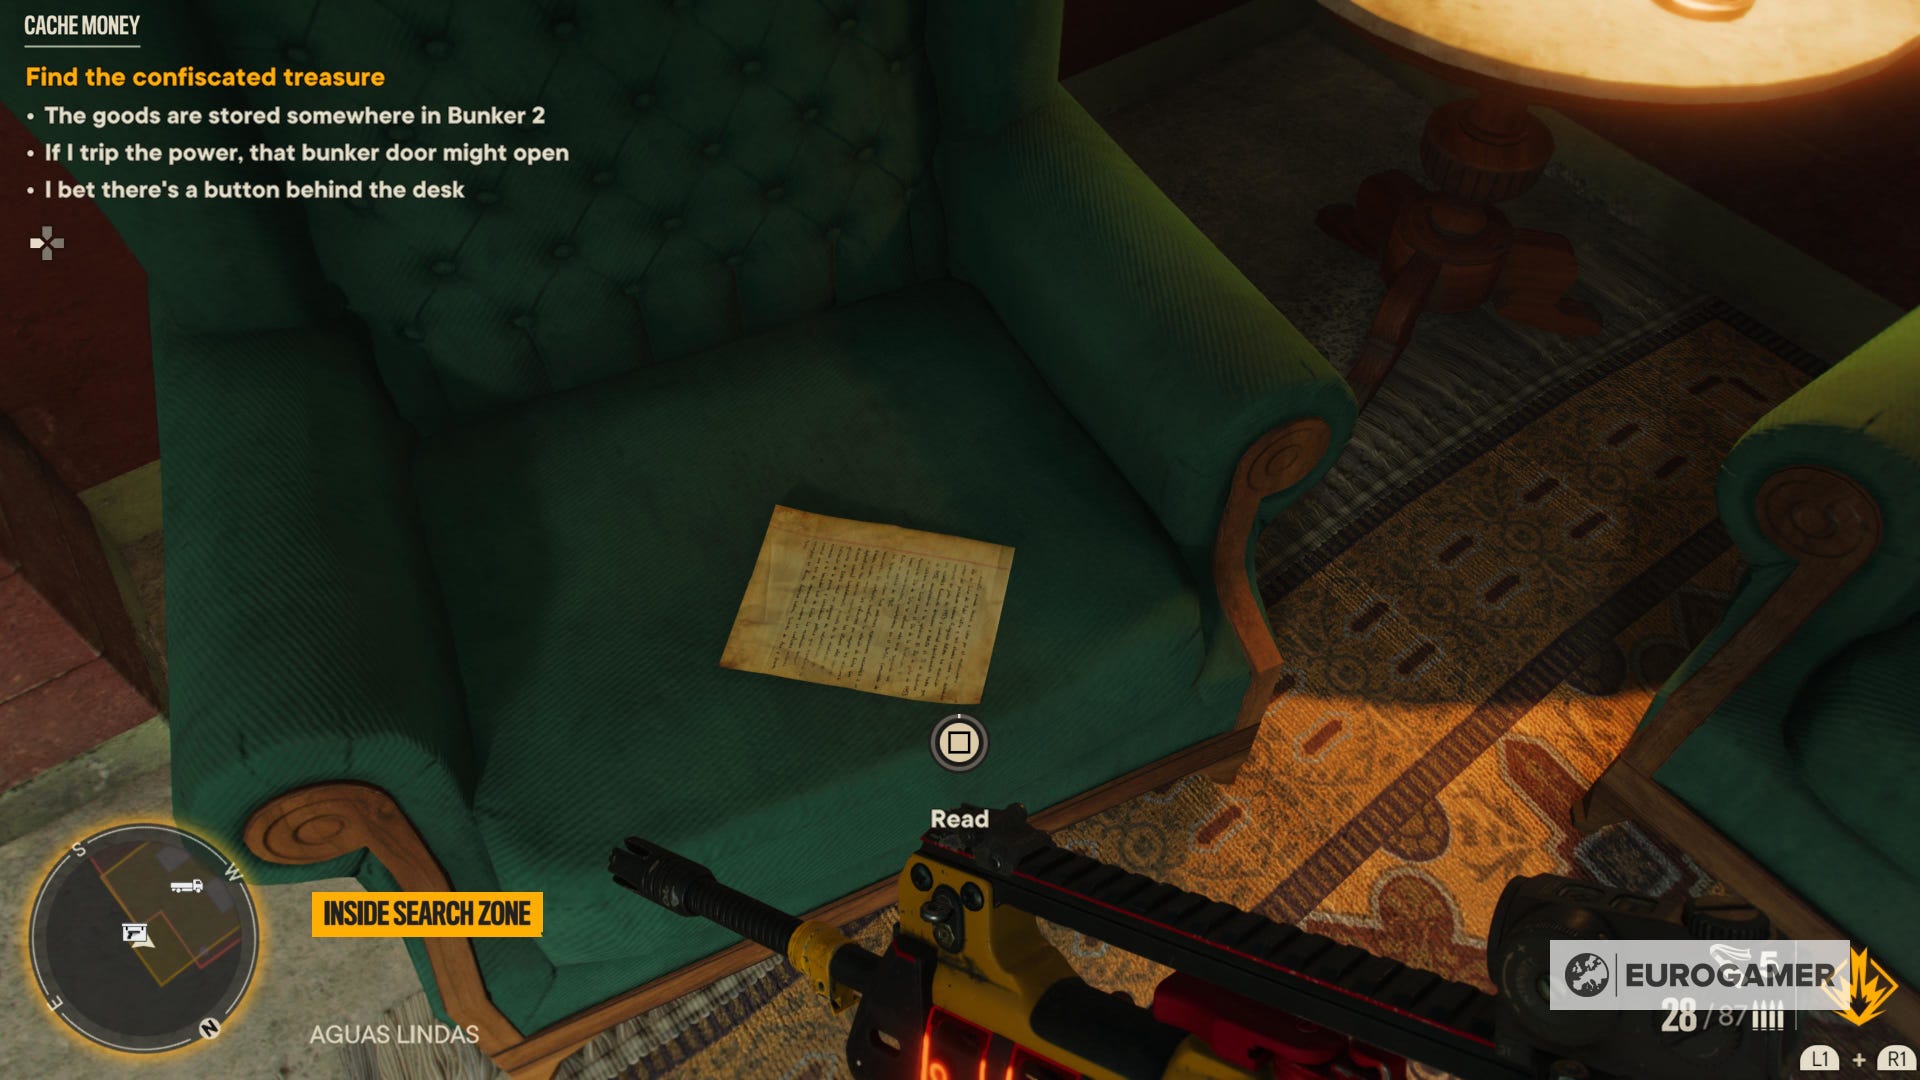
Unlock the door and head inside. Only a few steps left. Read the note that's on the green couch. Then, activate the button behind the desk. This will open the final door.

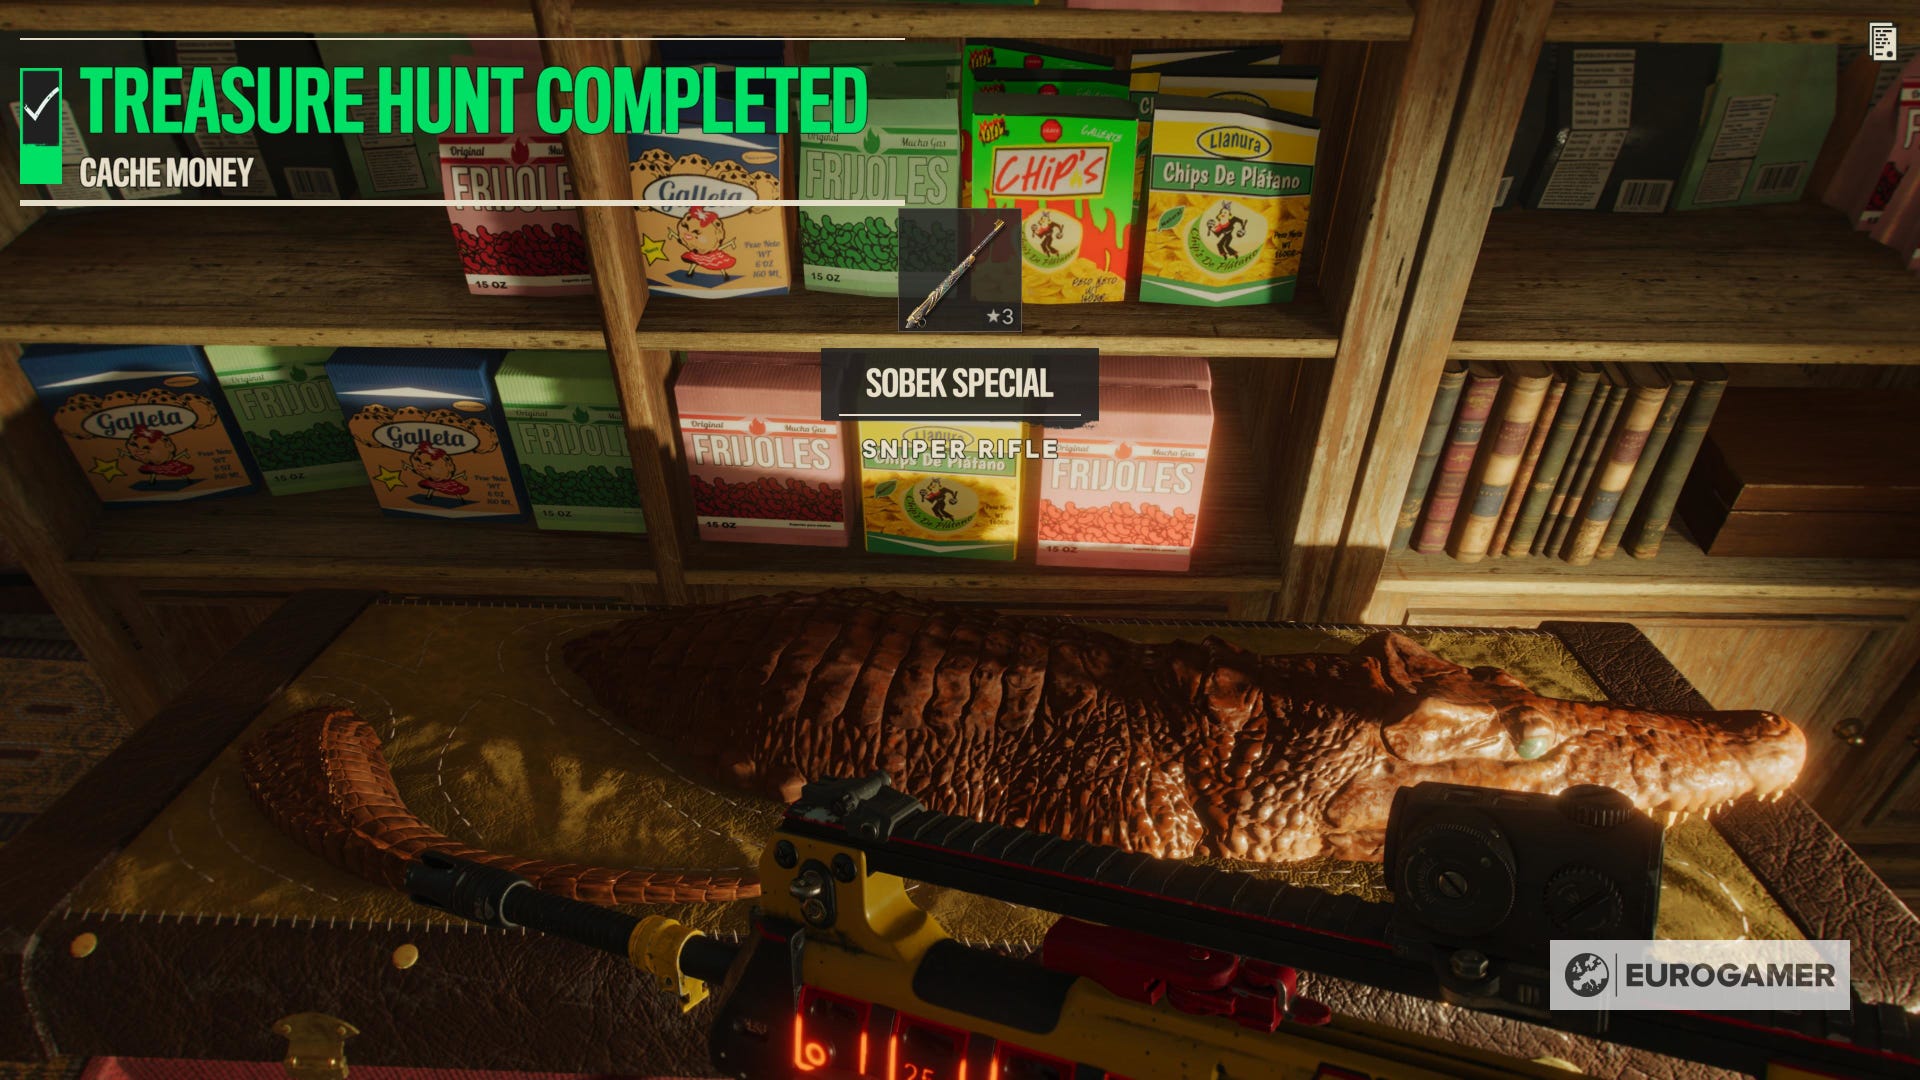
All there's left is to open the chest to claim your reward. You will obtain the Sobek Special sniper rifle.
That is all for this treasure hunt.