Elden Ring Irina quest, Castle Morne location and how to deliver the letter to father Edgar
How to fully explore Castle Morne.
Castle Morne is an optional dungeon in Elden Ring. It's located in Weeping Peninsula, which is the southern area of Limgrave, and is where you need to go to complete Irina's quest
Along the way there's a good amount of items to collect, including multiple Smithing Stones and the unique Grafted Blade Greatsword. However, you'll need to defeat the boss Leonine Misbegotten to complete the quest.
This page explains how to complete Castle Morne, including how to find the Castle Morne location, how to start and complete Irina's quest, how to find father Edgar and all the relevant items' locations.
On this page:
- How to reach Weeping Peninsula in Elden Ring
- How to start Irina's questline in Elden Ring
- Castle Morne location in Elden Ring explained
- How to find Edgar within Castle Morne in Elden Ring
- Delivering the letter to Edgar and completing his task in Elden Ring explained
- How to find the Grafted Blade Greatsword in Elden Ring
- How to complete Irina's quest in Elden Ring
Looking for some direction? Our what to do first in Elden Ring, Elden Ring walkthrough, Site of Grace locations and main bosses in order pages can help.

How to reach Weeping Peninsula in Elden Ring
First of all, it's worth mentioning that Weeping Peninsula is an optional area thought to be visited early in Elden Ring. You won't need to have overpowered spells or super strong weapons; you might be able to experience a fair challenge by getting here at around Level 20 to 30.
To enter Weeping Peninsula, you need to go to the south of Limgrave - Elden Ring's beginning area. There's a bridge that connects the peninsula with the rest of Limgrave, right next to the Forlorn Hound Evergaol. The Agheel Lake South Site of Grace is the nearest one to the bridge, and it will also indicate to you the way to the castle.
The path to Bridge of Sacrifice is pretty straightforward; ride Torrent south from the previous Site of Grace and you'll find four towers and multiple soldiers between barricades defending the bridge.
While you can start taking one or two enemies at a time if you approach cautiously, and even summon Spirit Ashes to aid you, you shouldn't do it. The thing is, there's a soldier using a heavy stationary crossbow behind the enemy lines. He'll start using the weaponry as soon as you get close to the bridge, so you might end up receiving a shot while focusing on the first enemies.
Instead, you should rush into the bridge and kill this soldier while riding your horse. Then, the rest of the battle will be more manageable.
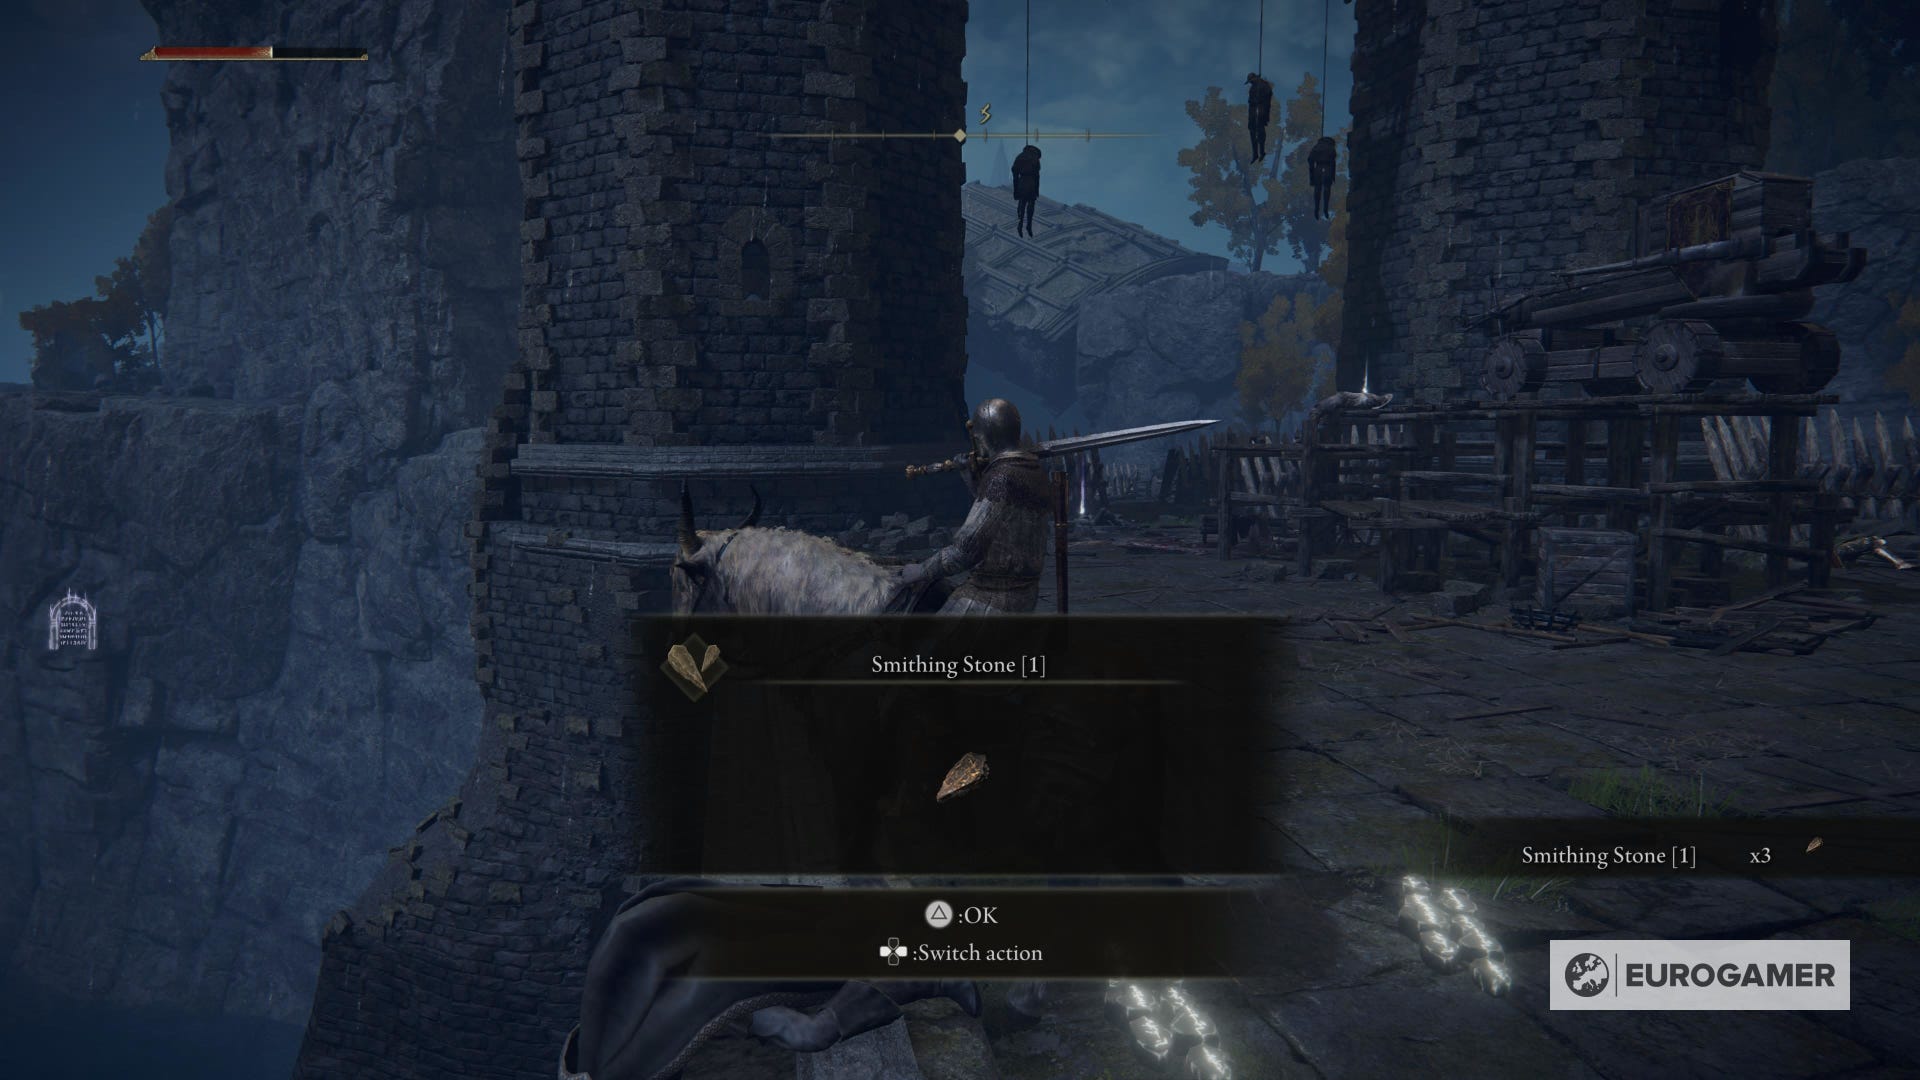
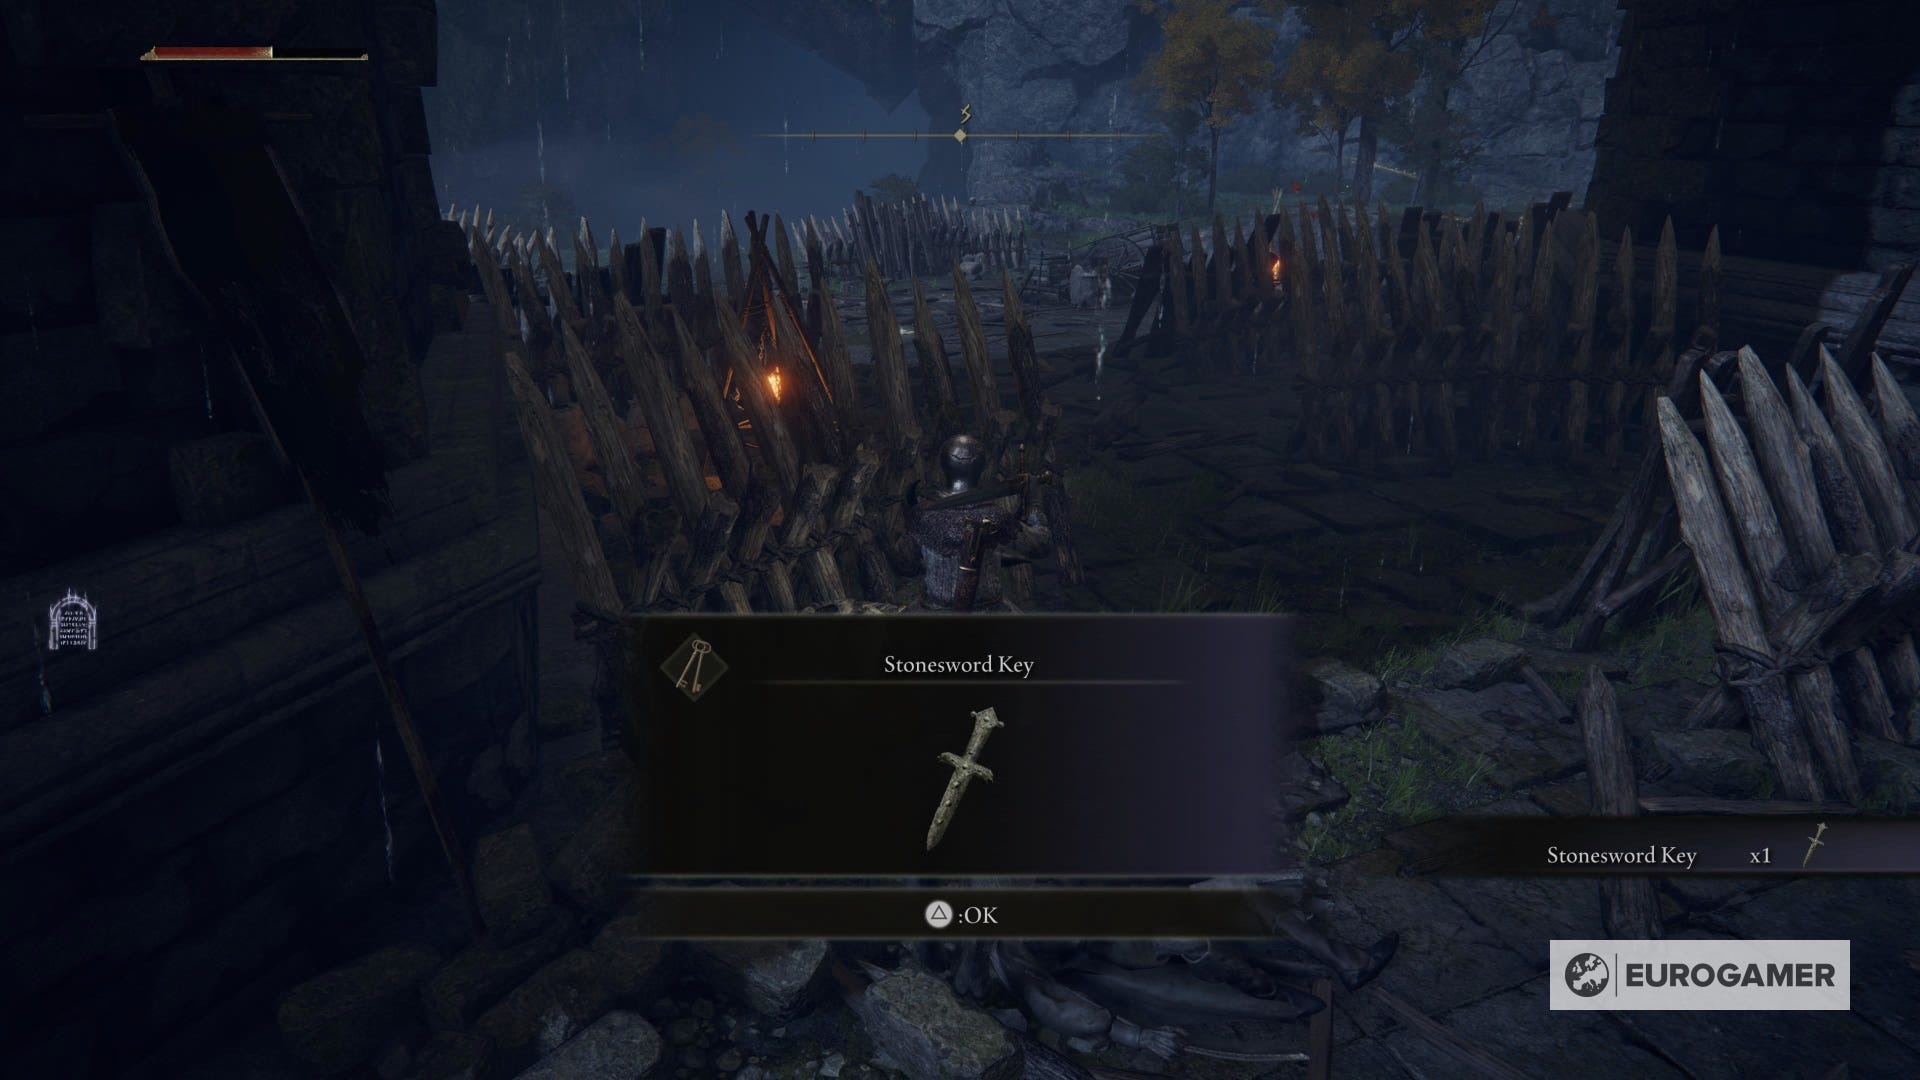
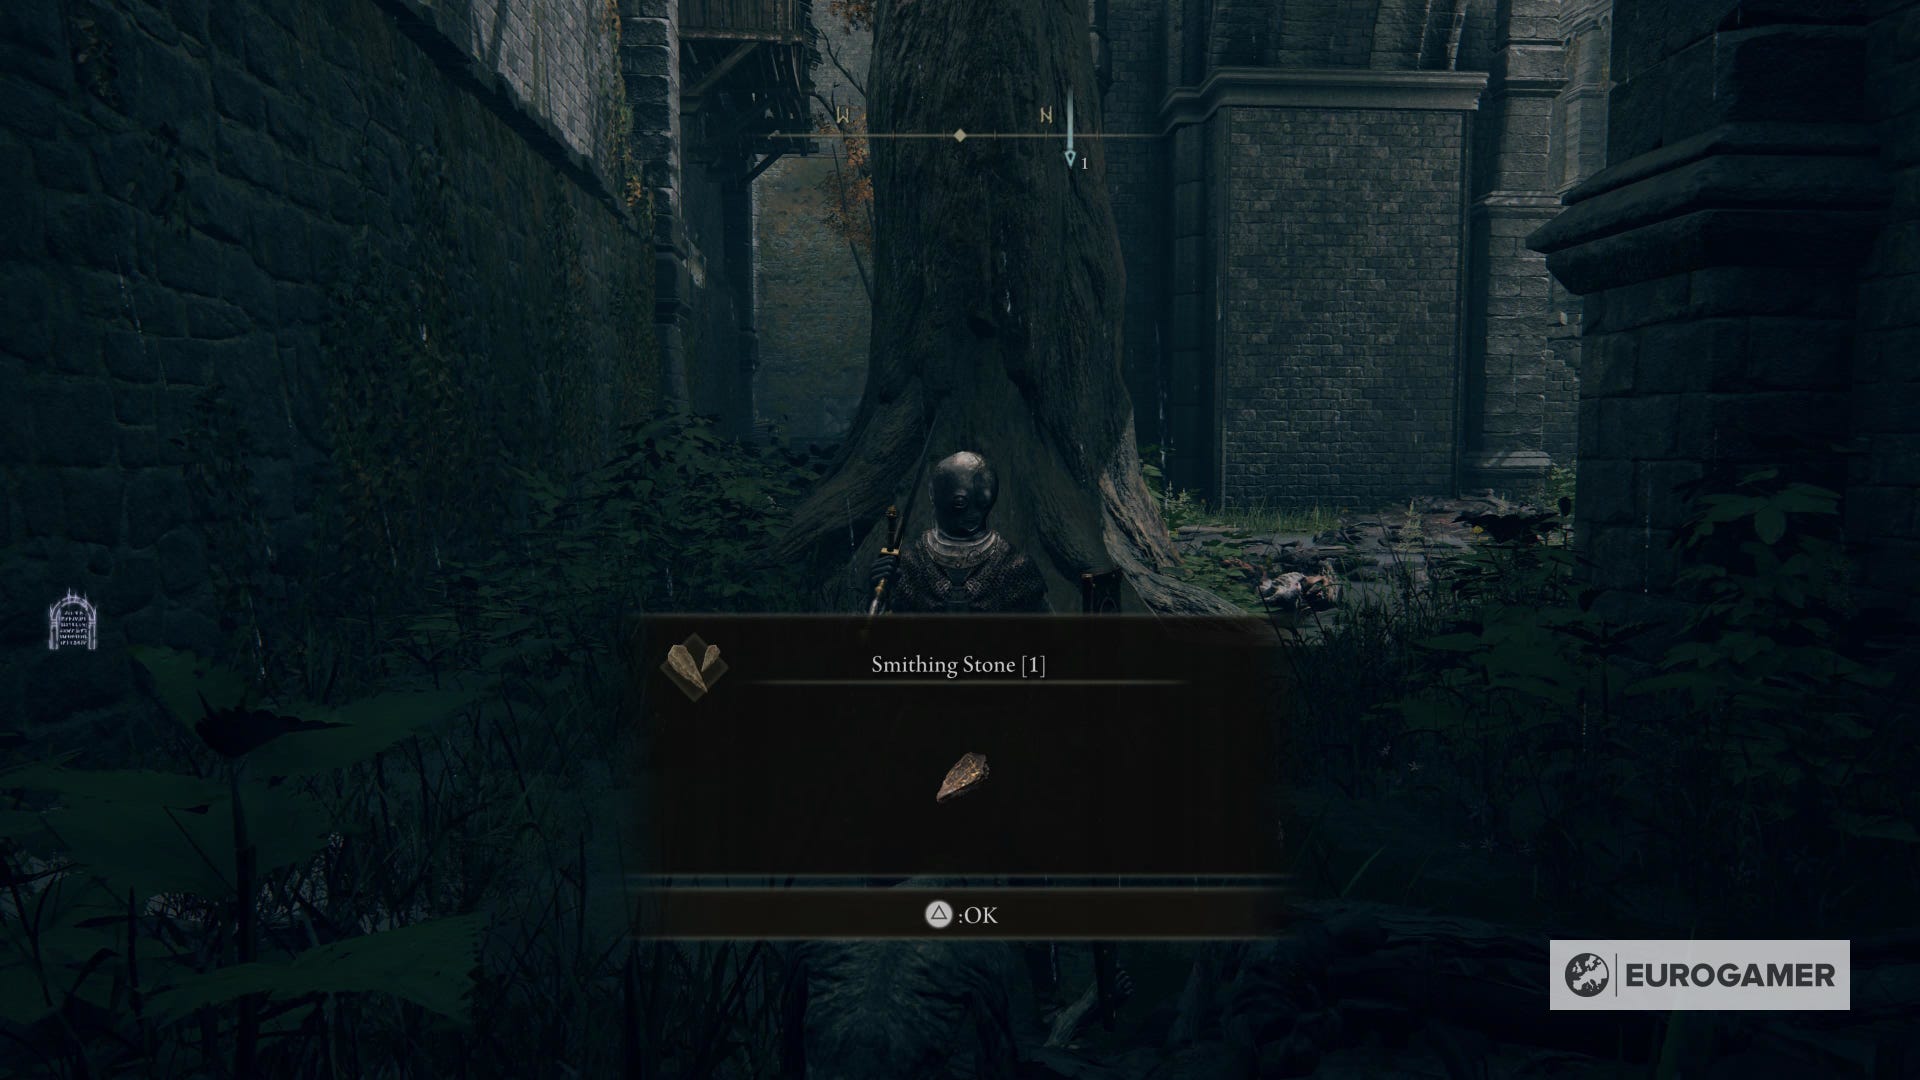
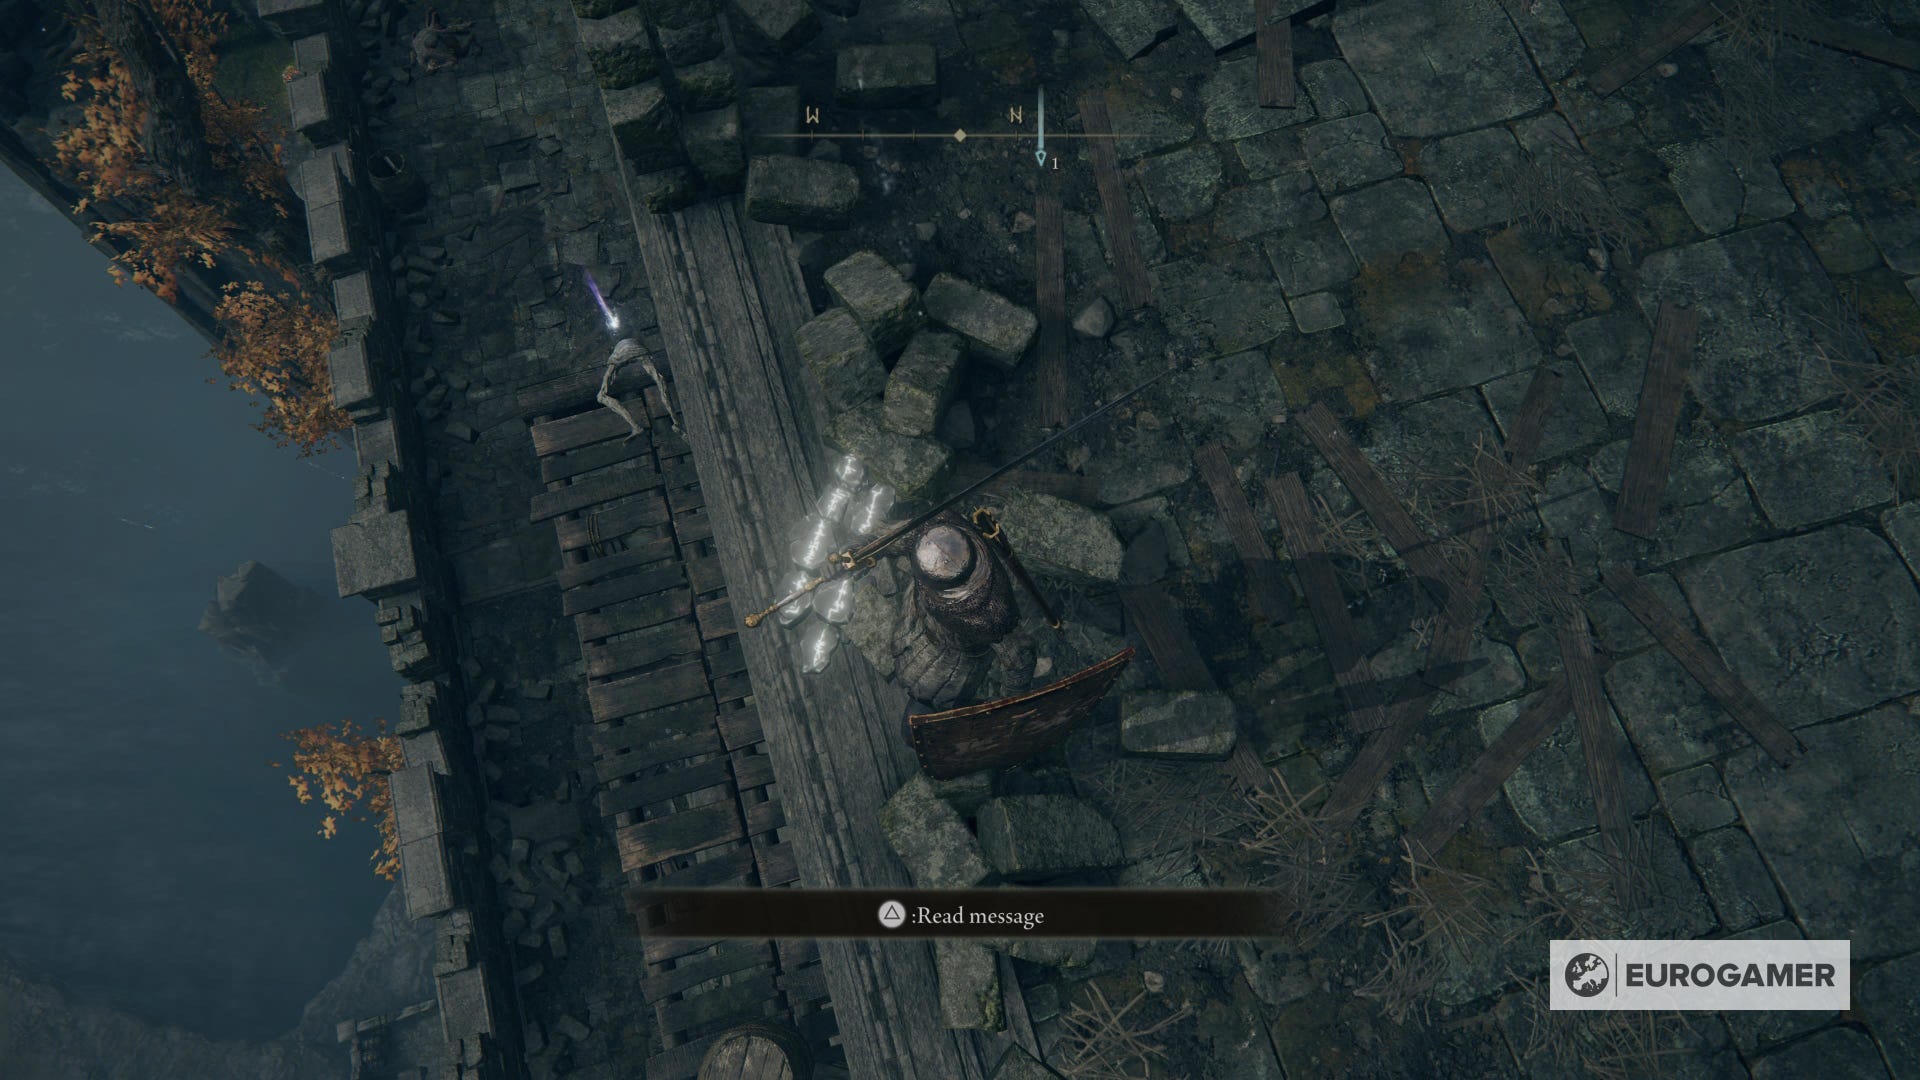
After cleaning the bridge, check the left side of it. There will be three Smithing Stones 1. There's also a Stonesword Key on a corpse near the barricades behind the crossbow.
At the end of the bridge, you'll have reached Weeping Peninsula. You can also see the first Site of Grace from there, on the right side of the path.
How to start Irina's questline in Elden Ring
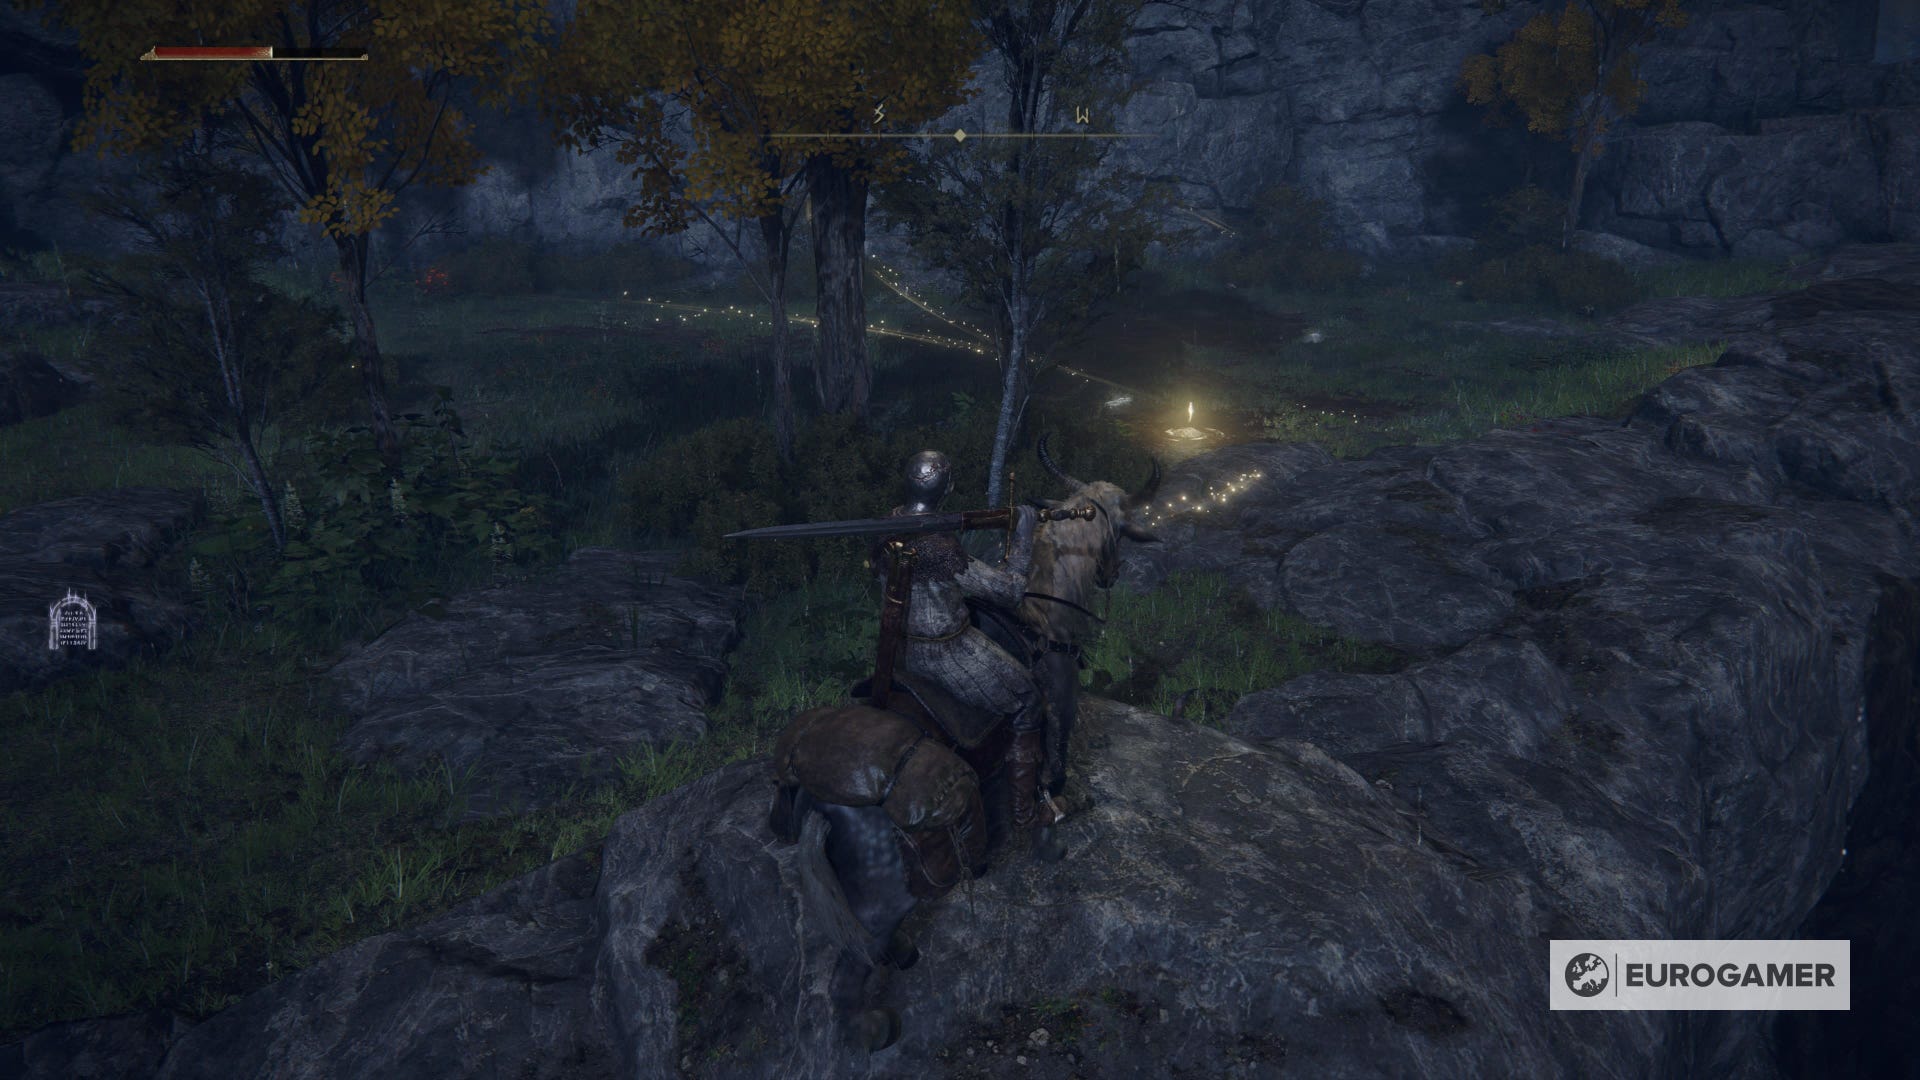
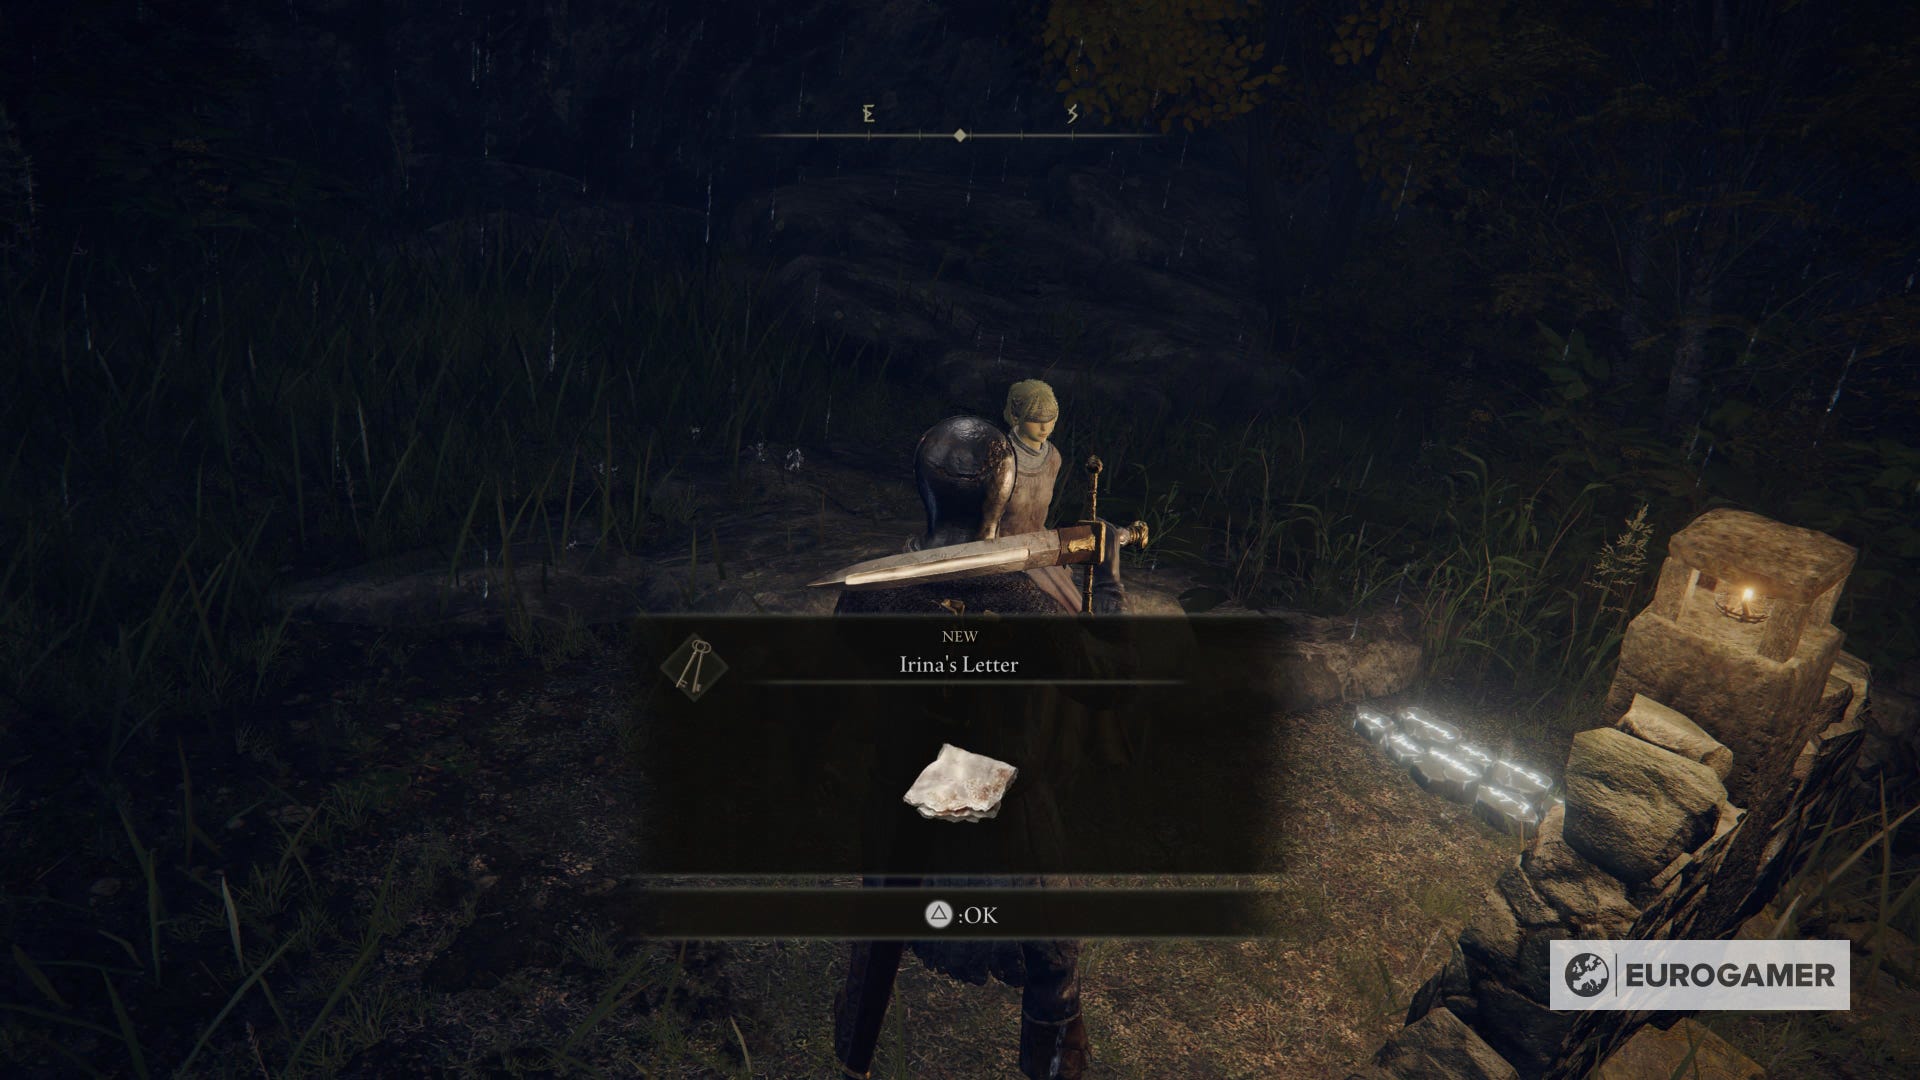
To start Irina's questline in Elden Ring, you need to return to the main road after lighting the Site of Grace. There you'll see a blonde woman standing on a rock, near a light. This is Irina, and she'll tell you about how she escaped Castle Morne because of a rebellion. She'll stress how she's going blind.
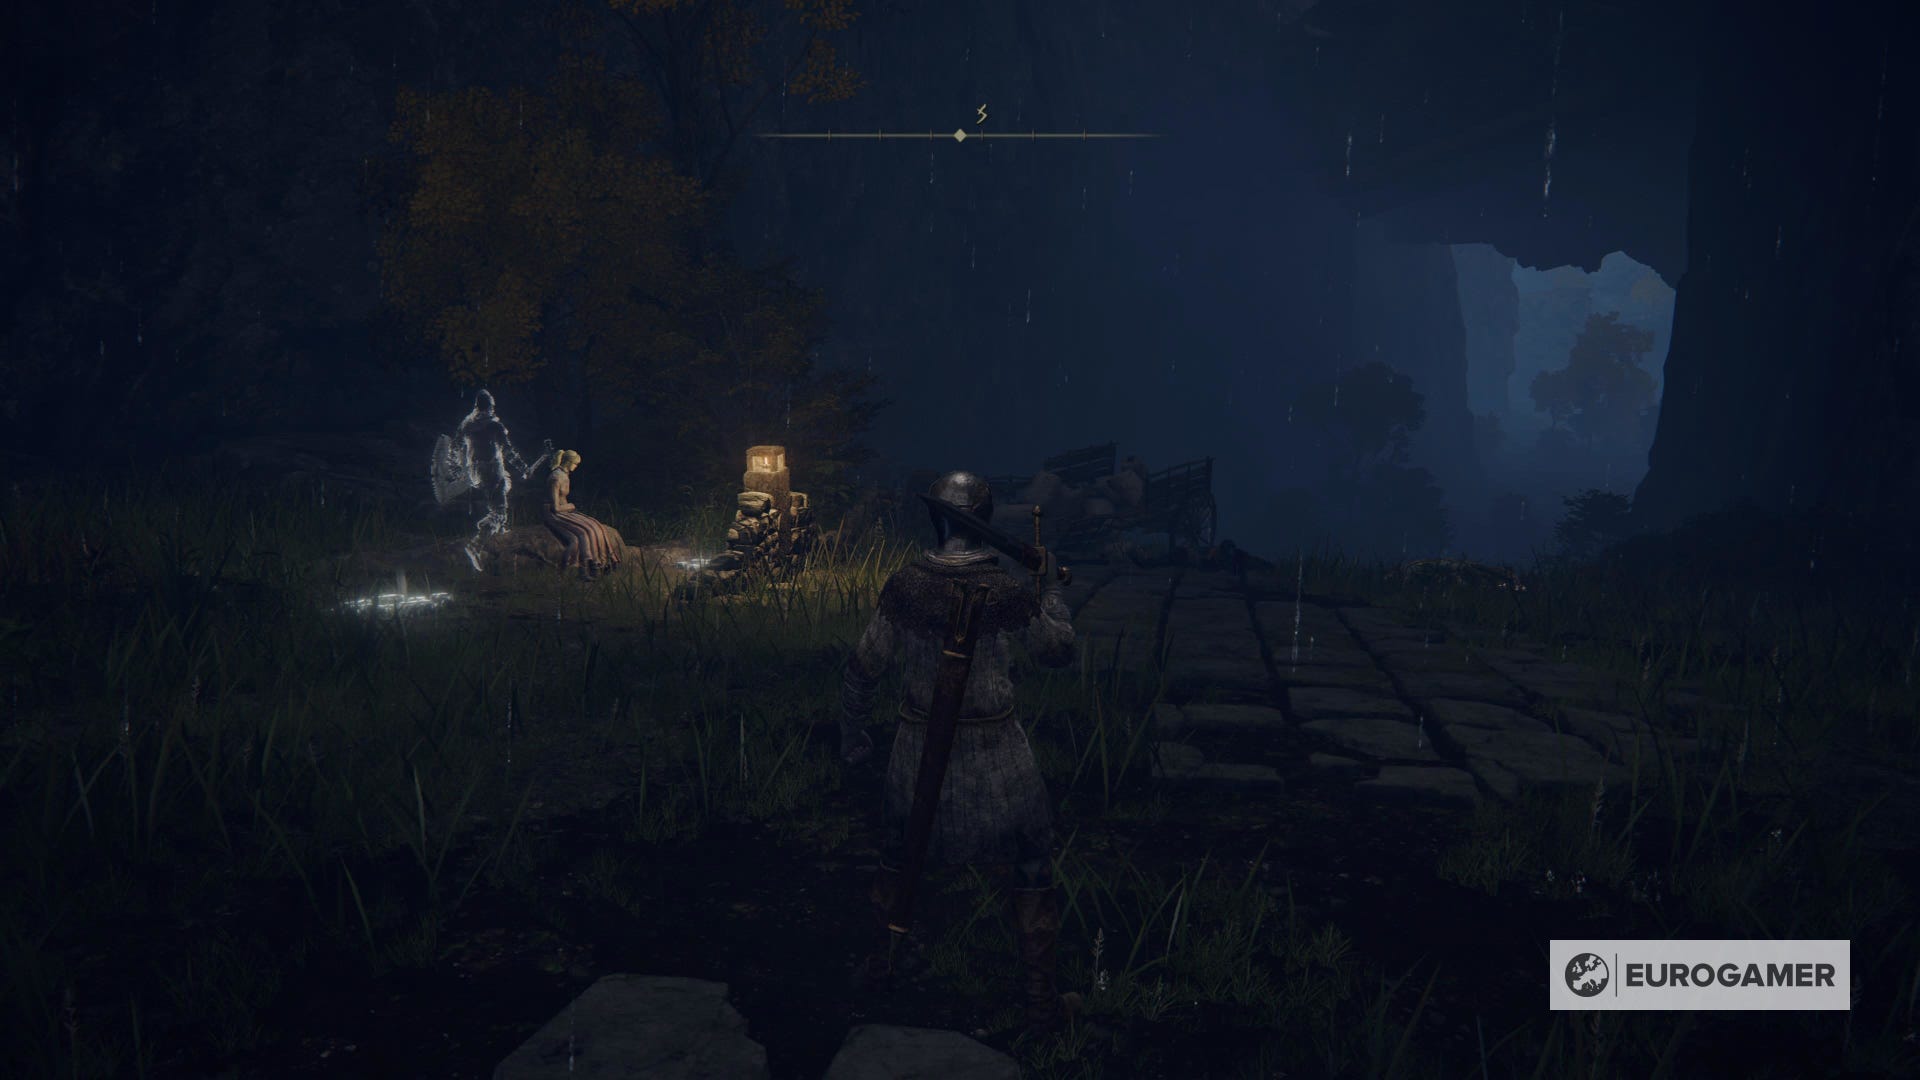
Irina will finish her first dialogue by speaking about her father, the commander of the castle. Talk to her again and she will ask you to deliver a letter to her father. Choose the dialogue option to accept the task. Irina will thank you and give you the item.
Now it's time to go and find the castle.
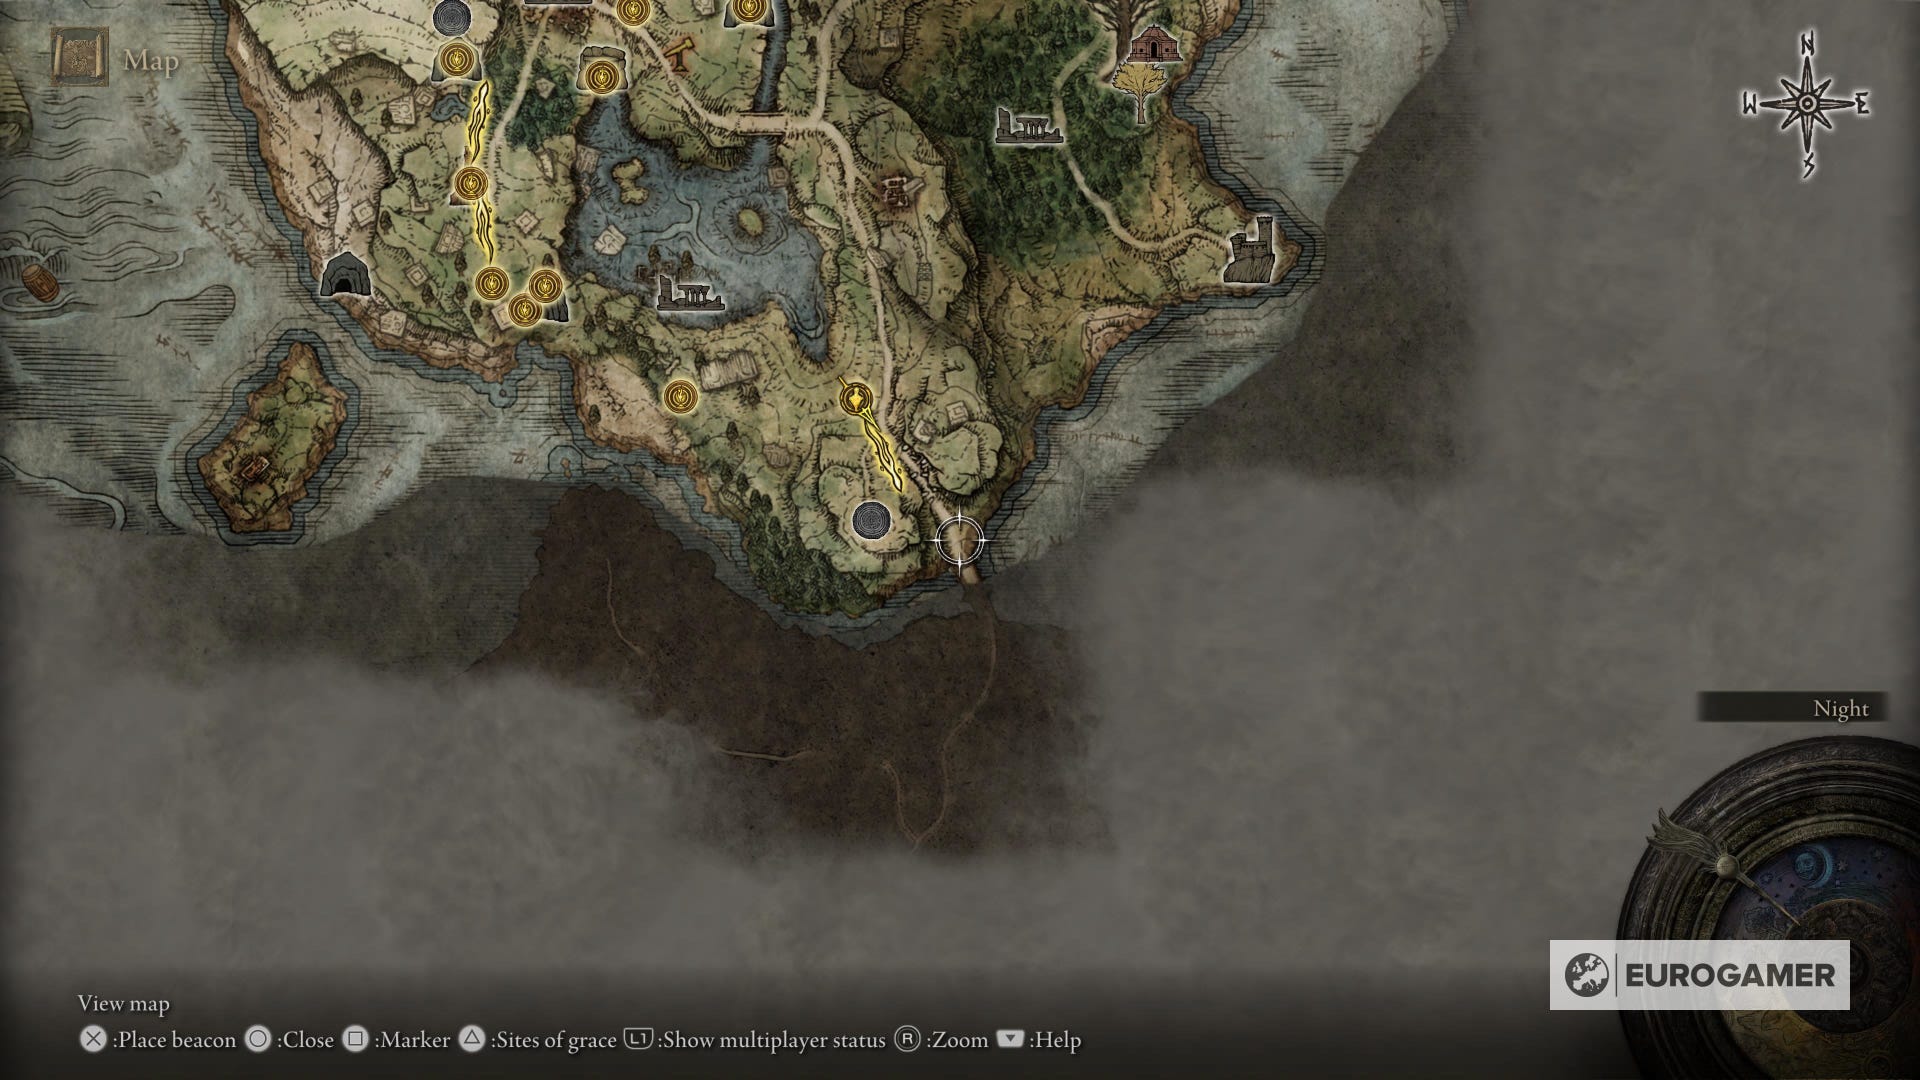
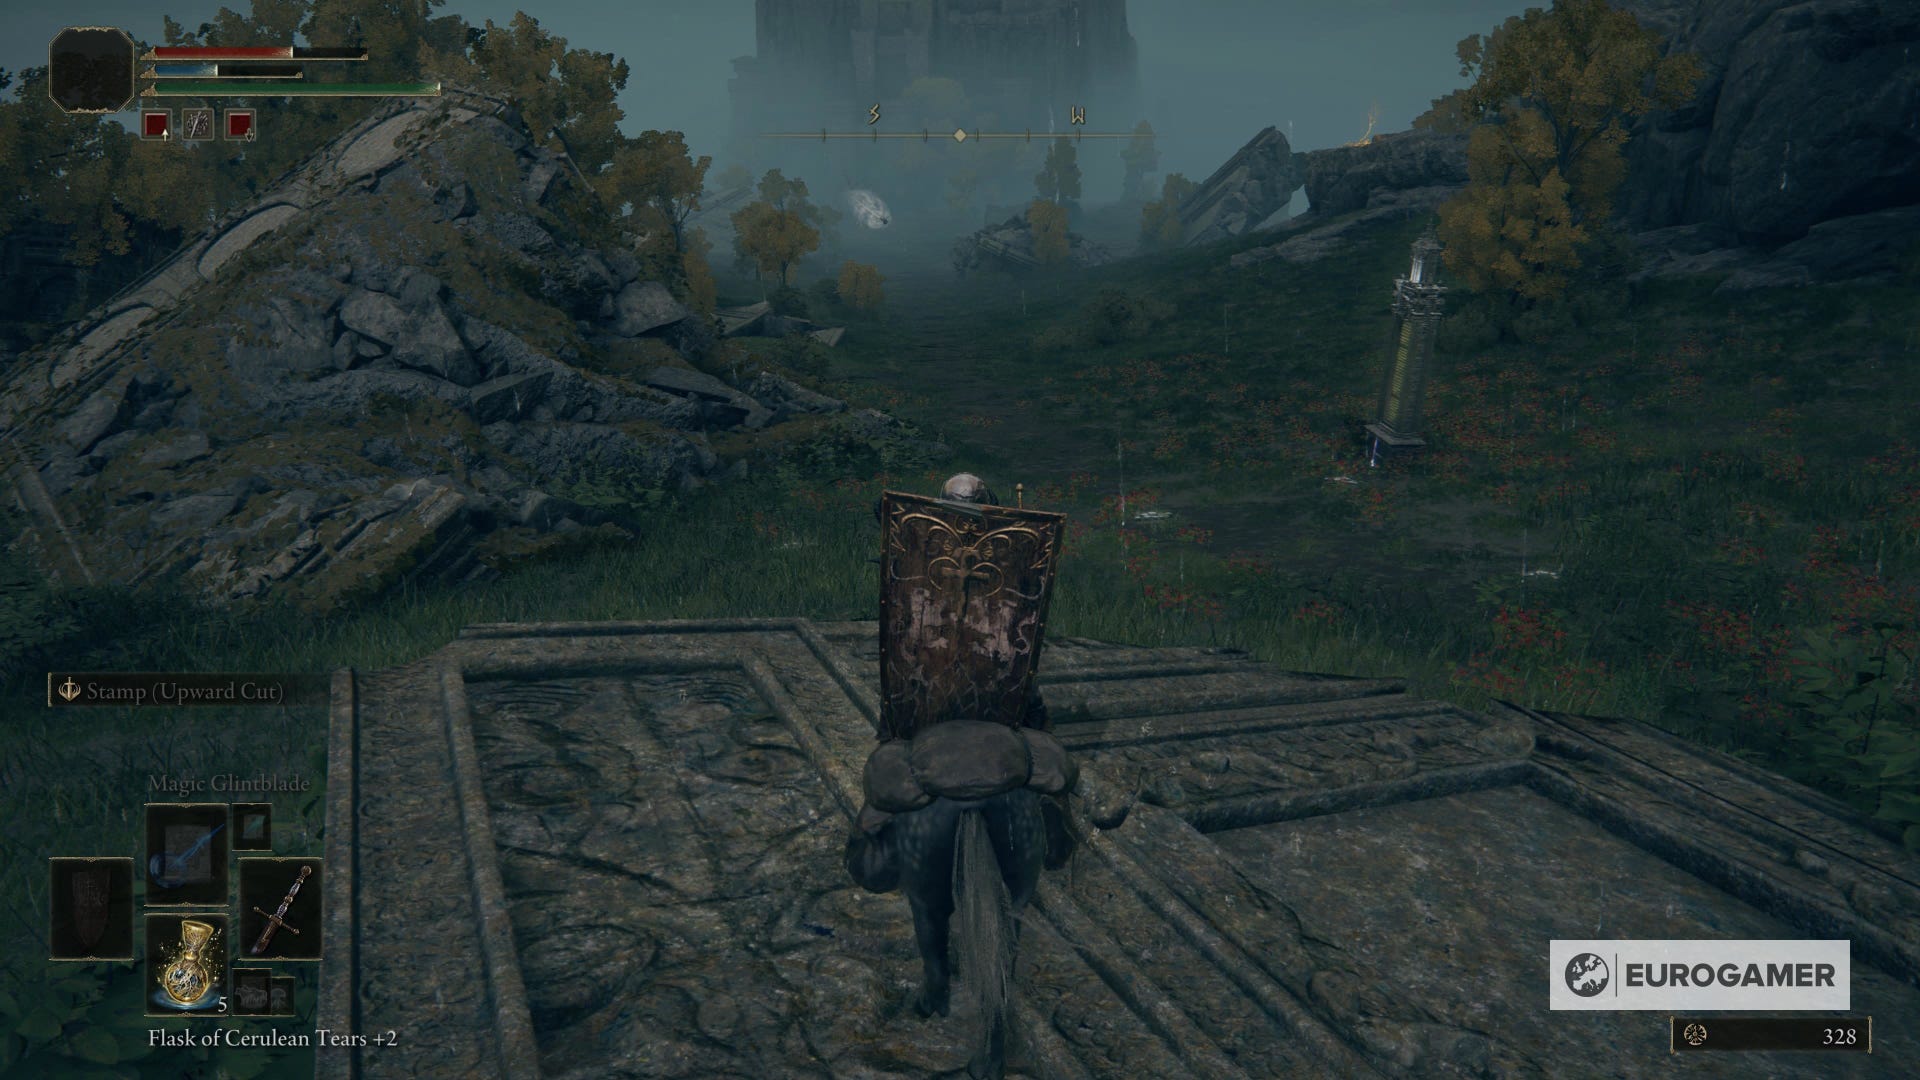
Castle Morne location in Elden Ring explained
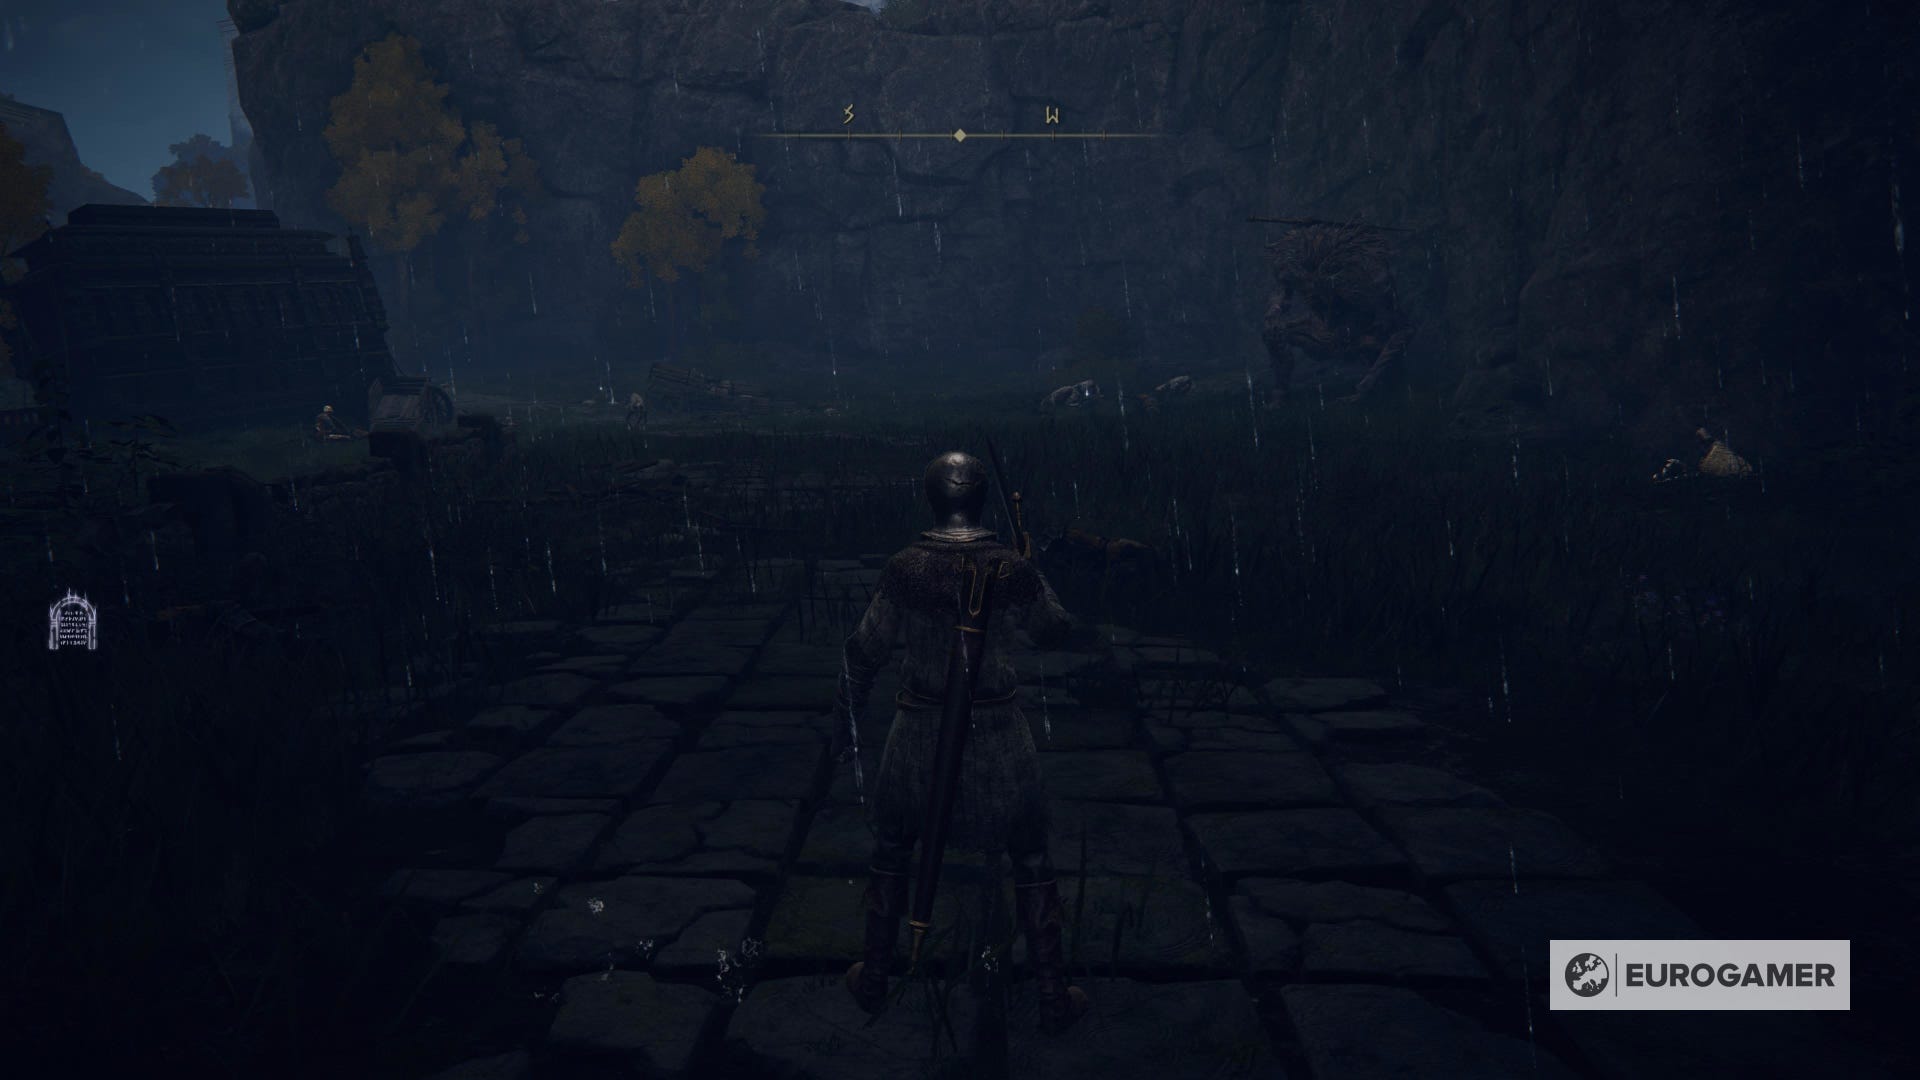
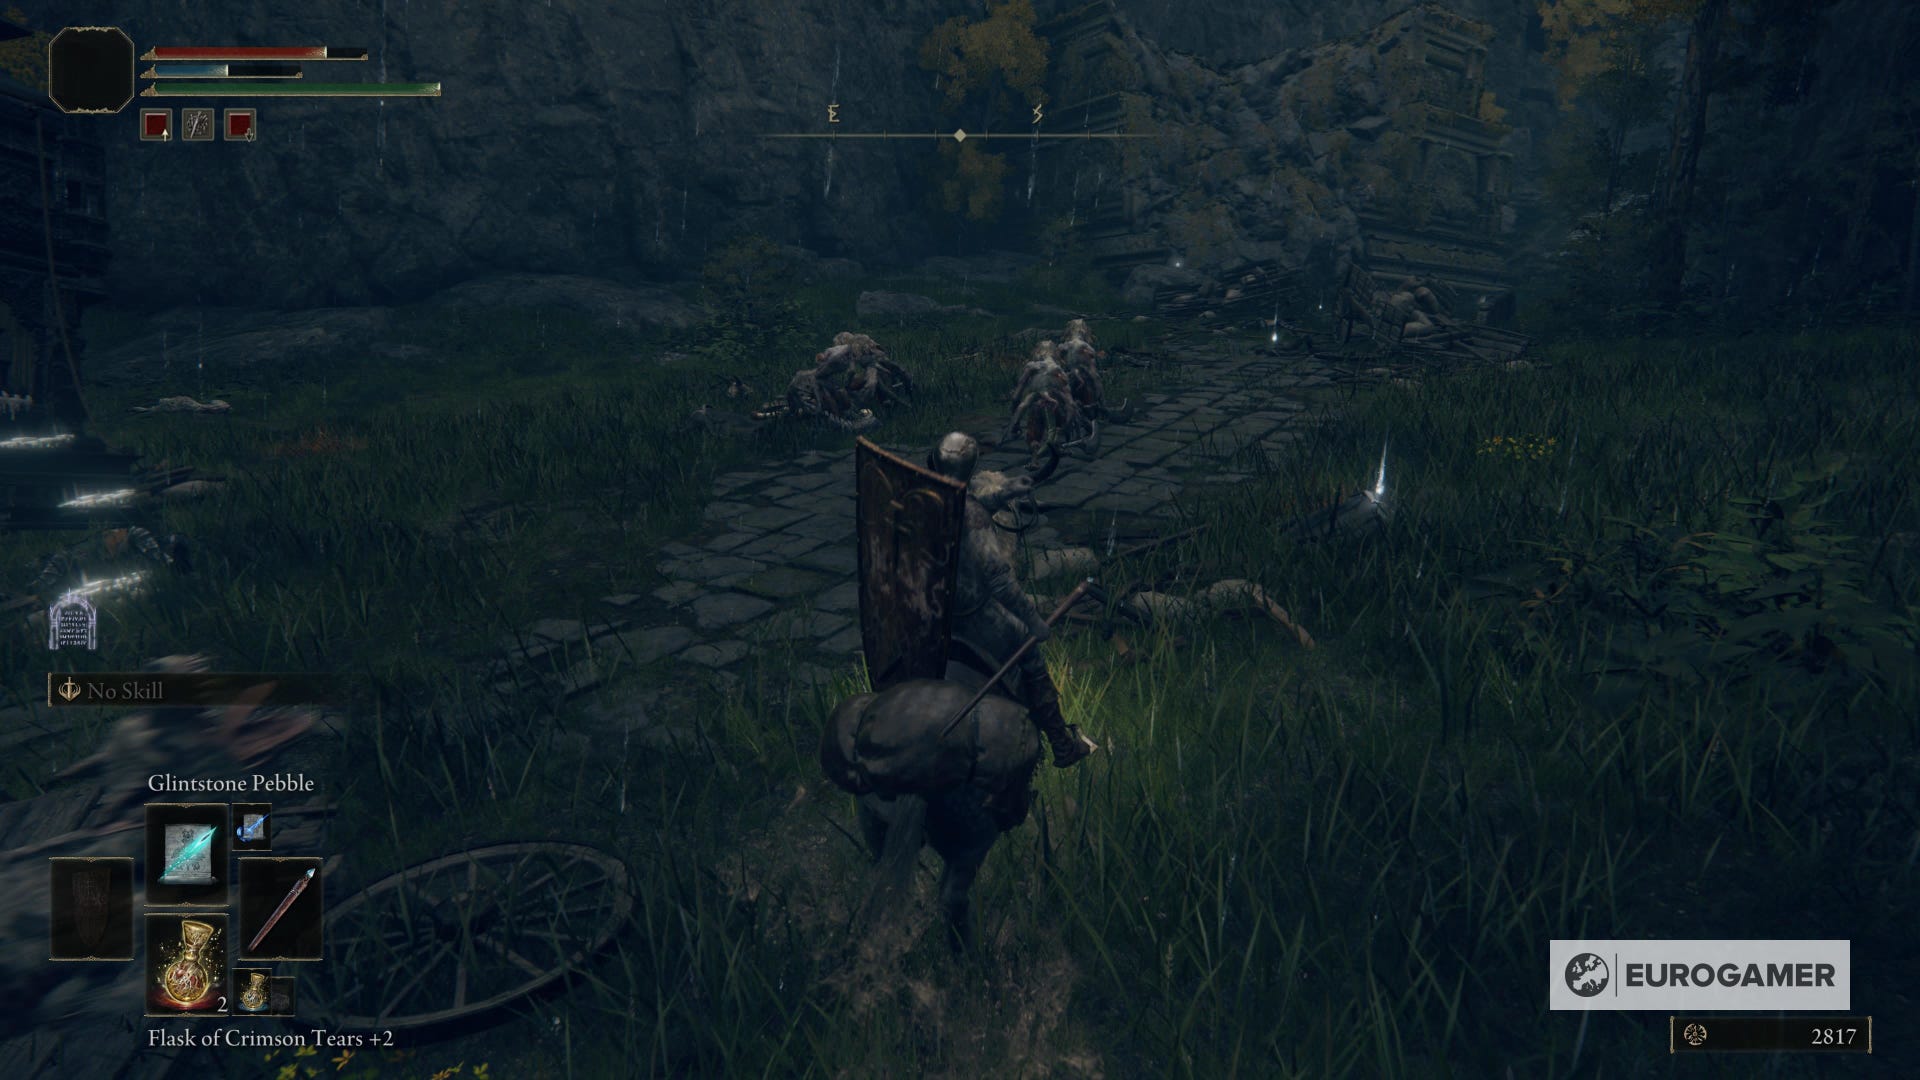
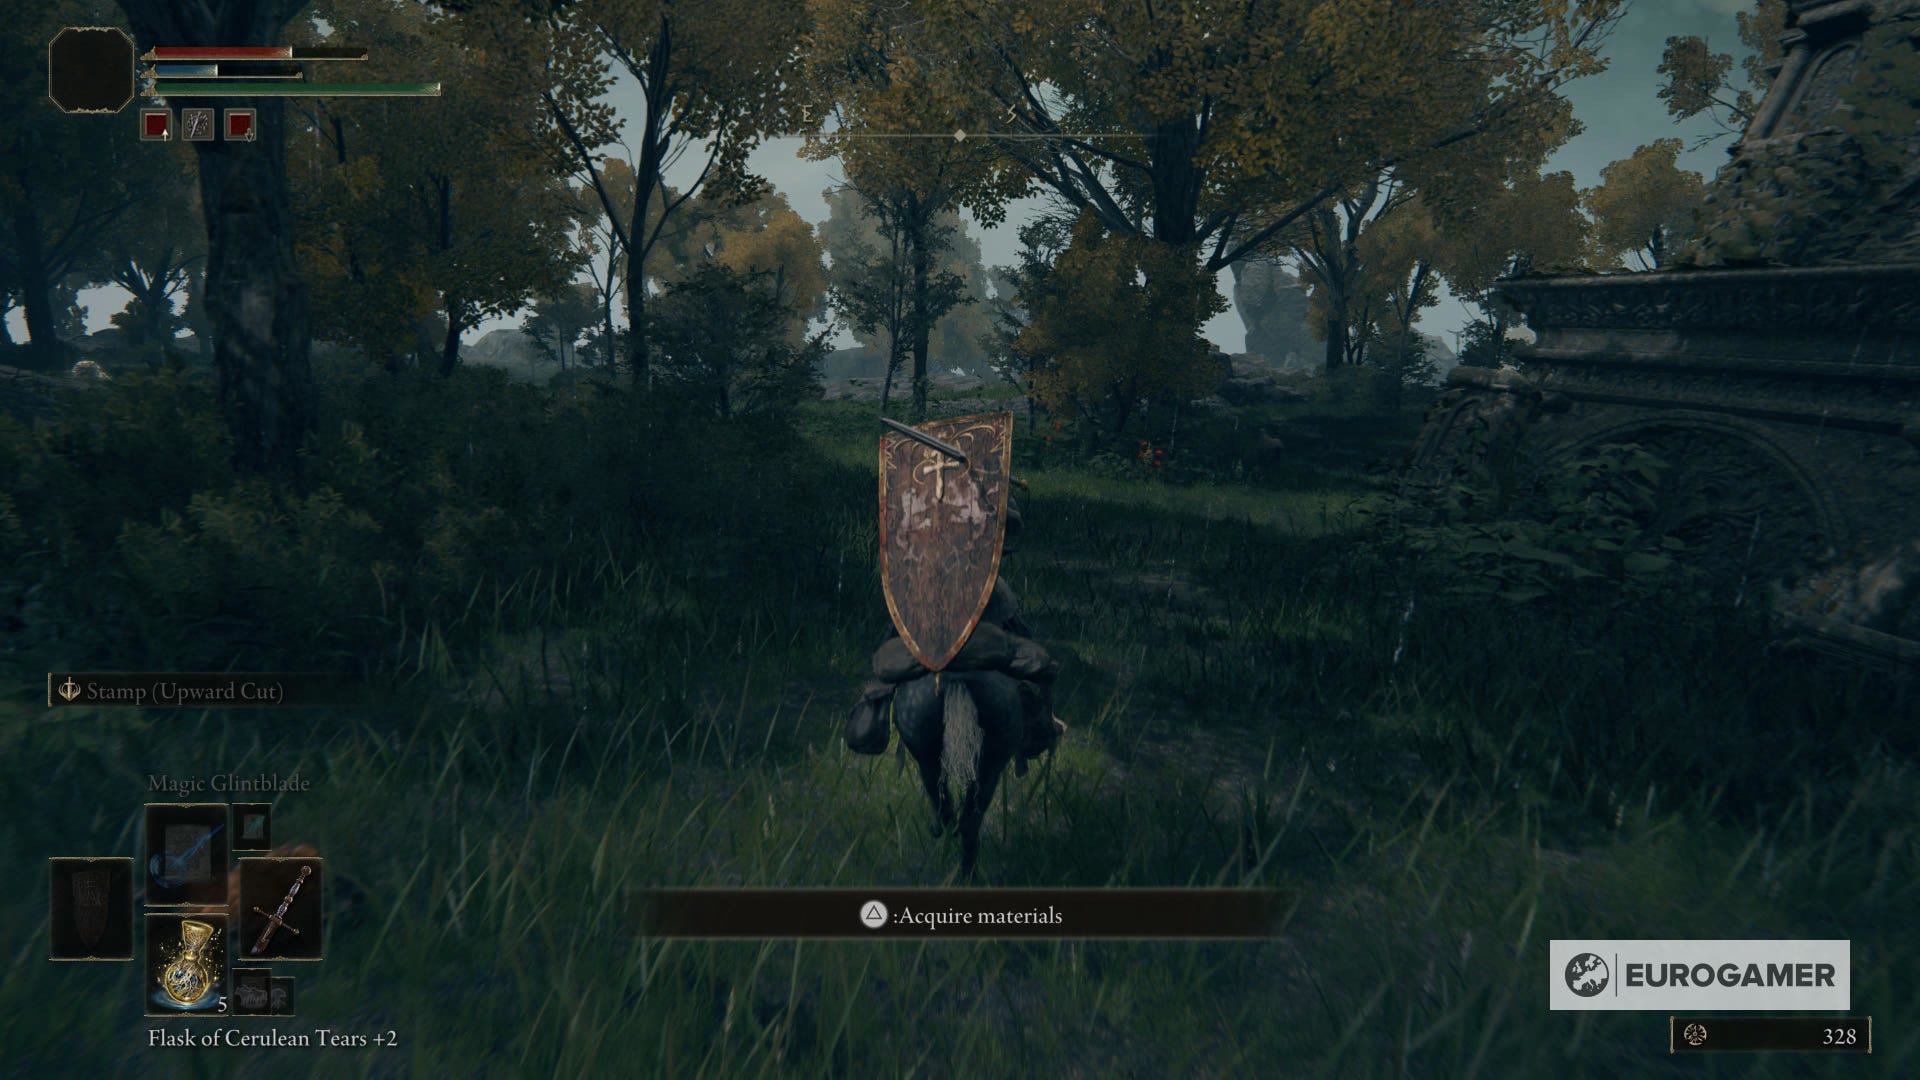
To find Castle Morne in Elden Ring, you need to keep going forward, on the main road, to the far south of the Weeping Peninsula. There will be an open space with many dogs wandering around, knights resting, and a troll sleeping. Here you can choose to sneak in or defeat every enemy.
If you decide to go stealthily, you just need to go to the left side of the broken carriage - there are some bushes and dogs here. You'll need to kill two dogs, but that's about it.
On the contrary, if you want to kill them all, don't forget that you can summon your Spirit Ashes to even the odds. Before doing that, however, ride Torrent and run between the enemies. The inhuman creatures will attack the knights, so you won't have to beat them all by yourself.
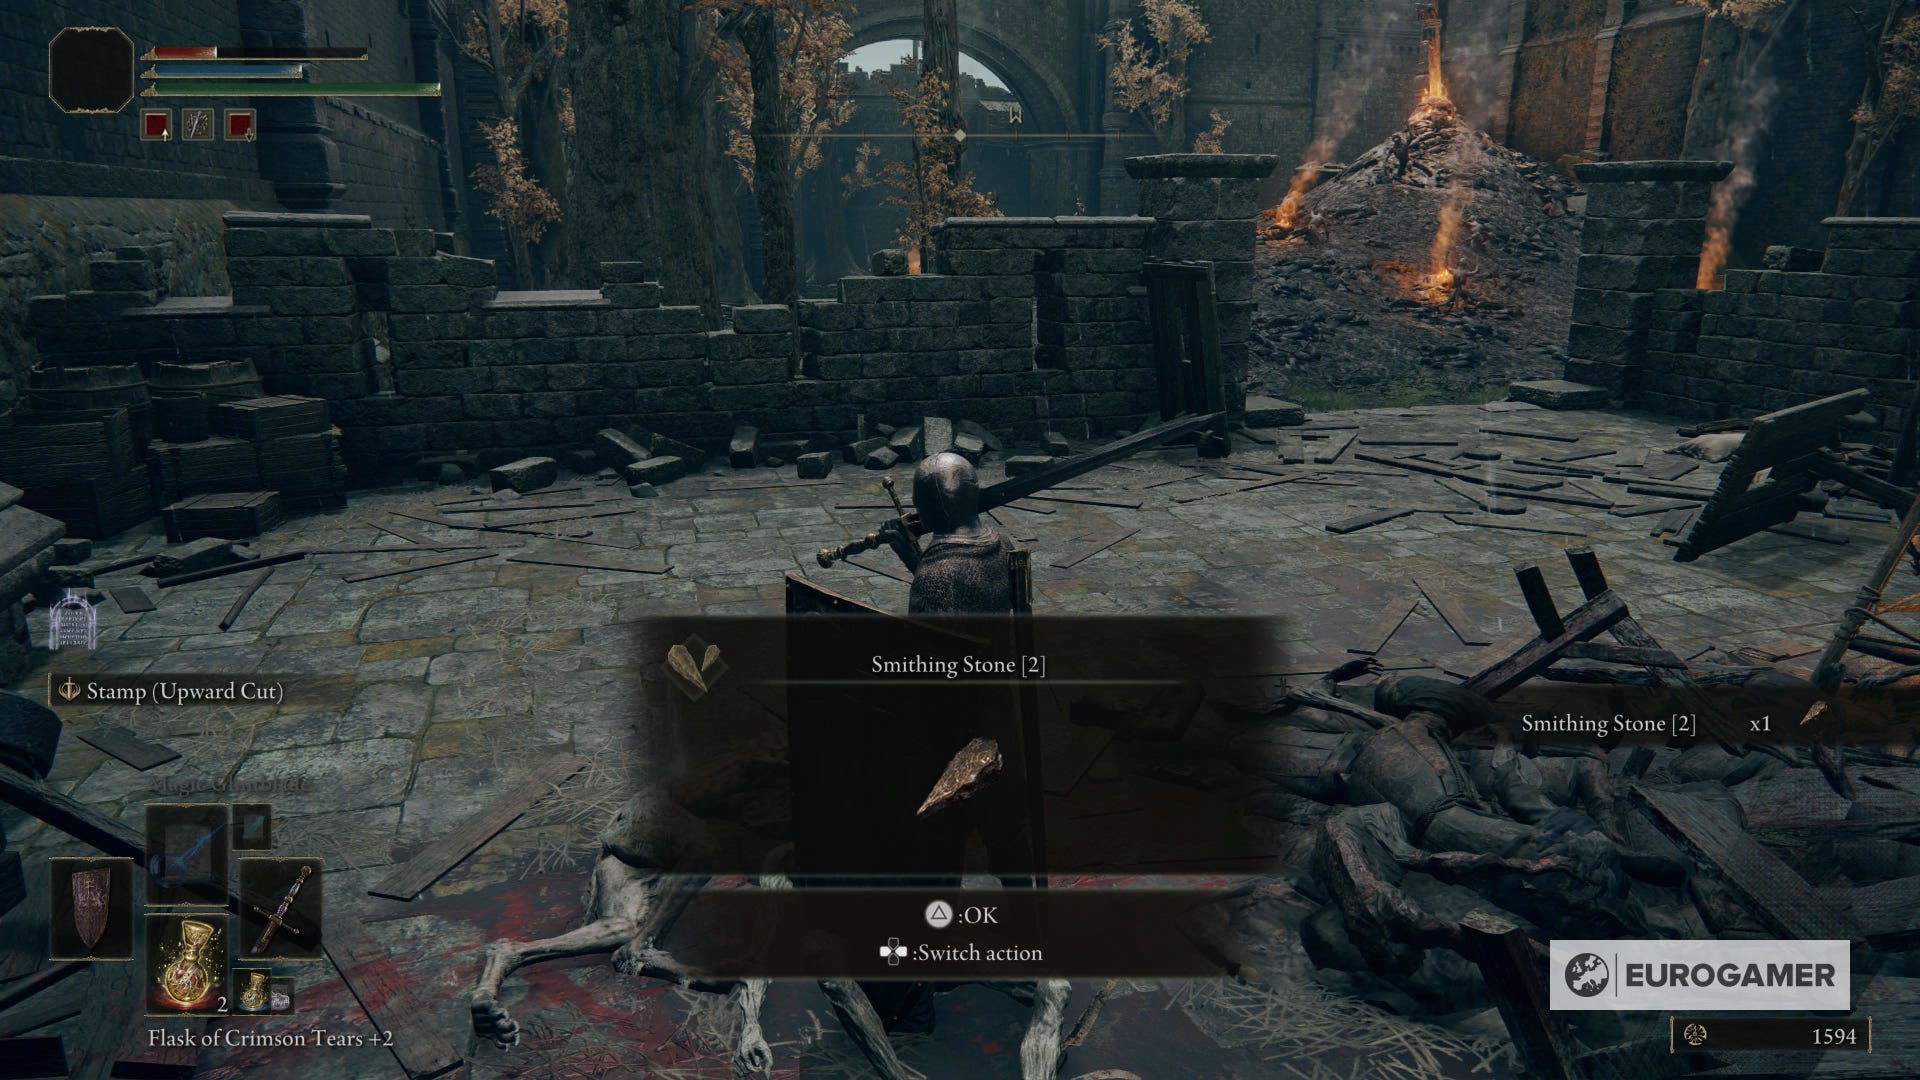
By cleaning the place, you'll find the Iron Cleaver weapon on a broken cart and two Smithing Stones 1 a few steps ahead.

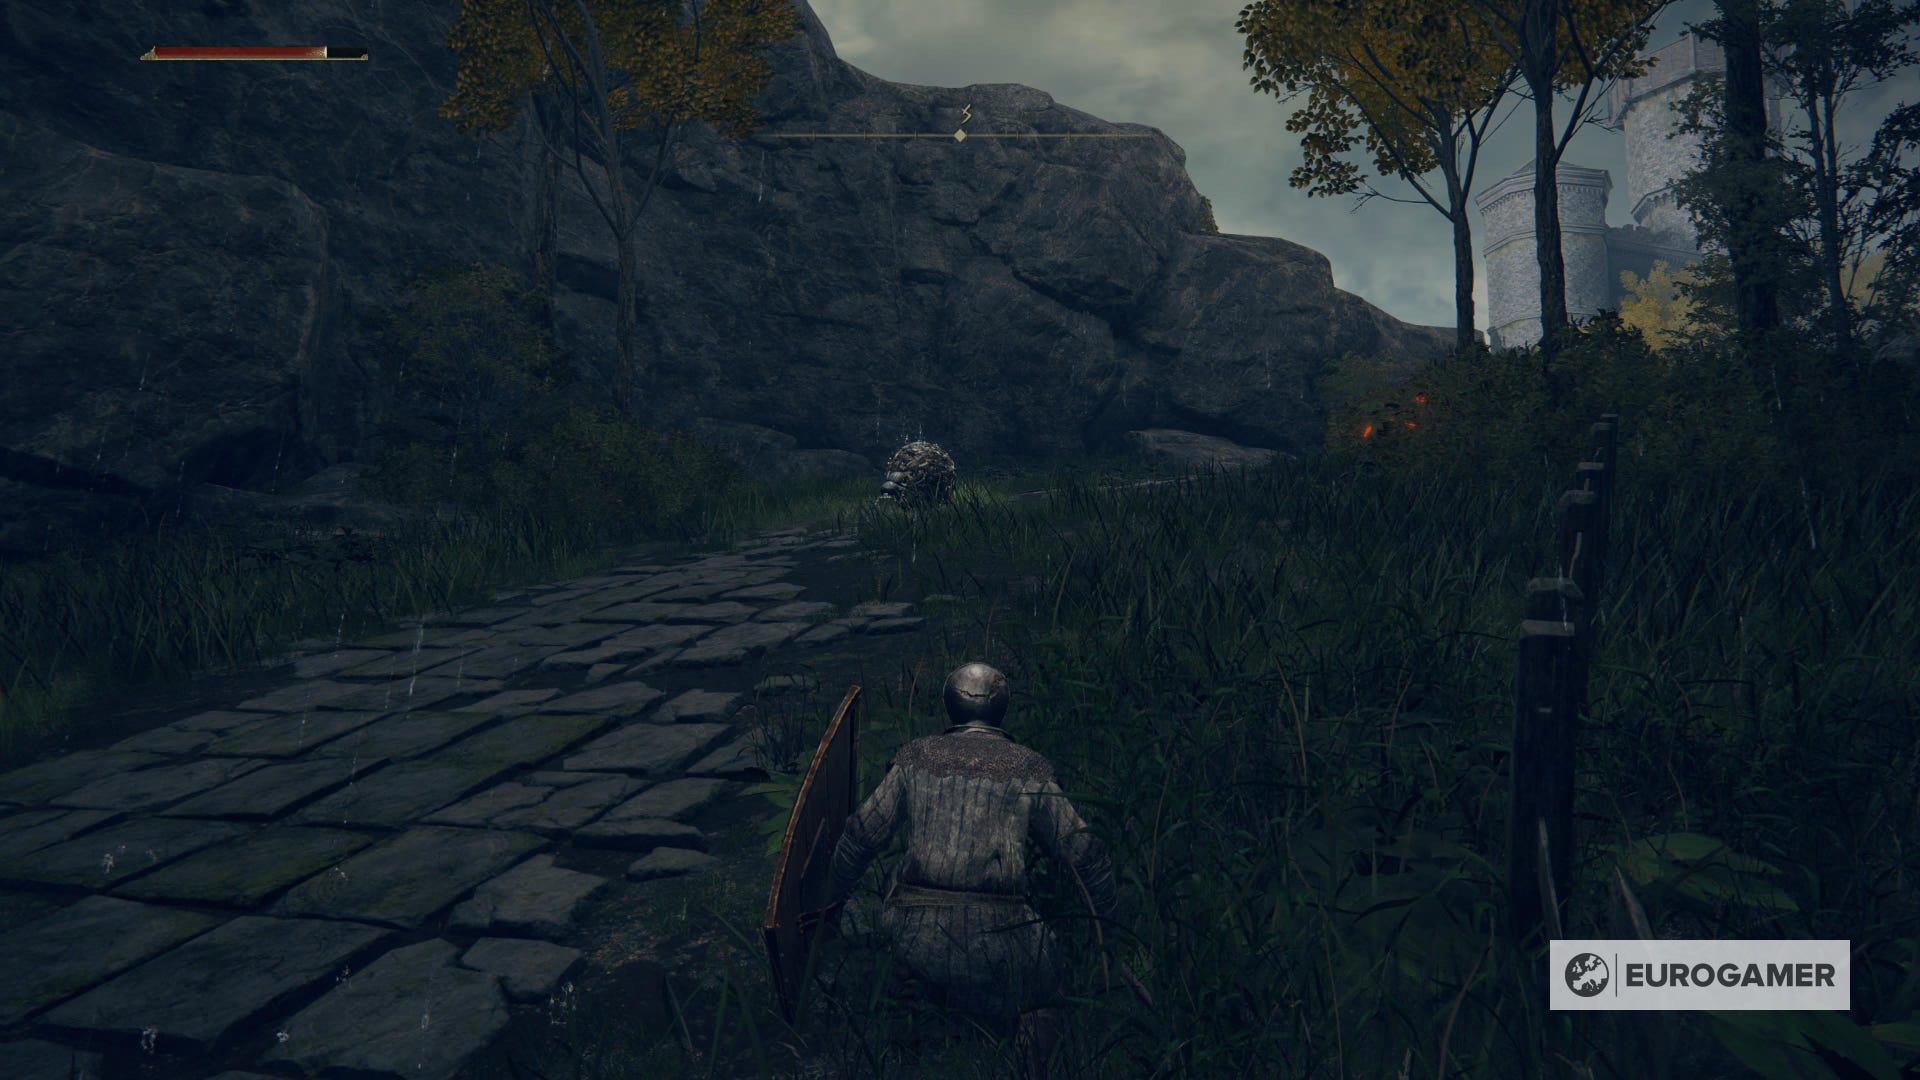
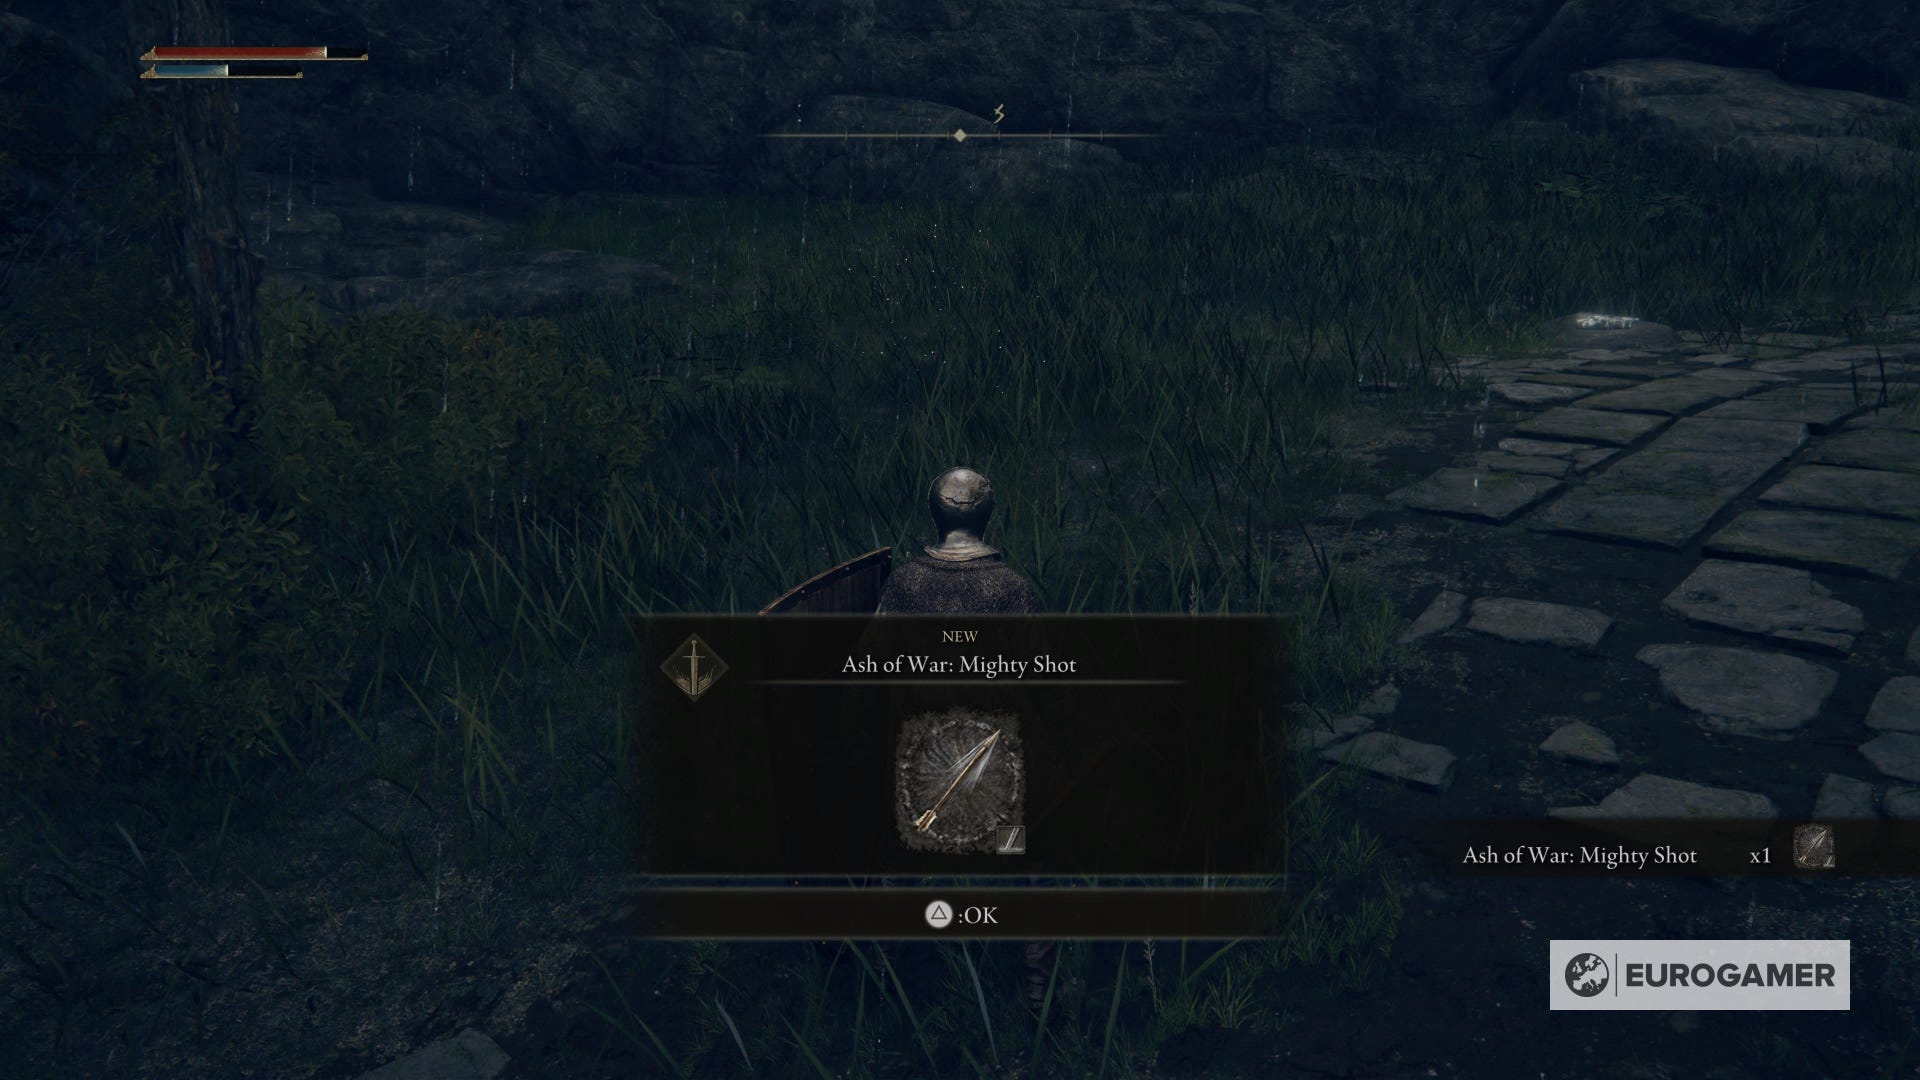
Continue the main path and you'll spot a Teardrop Scarab. Kill it and you'll get the Ash of War Mighty Shot.
Keep going forward and when the path opens in multiple ways, just keep following the main road on your map. After a few, you'll find a Site of Grace and a Nomadic Merchant on the left.
Once you have checked them, return to the main road and continue your way. Here Castle Morne will be at sight.
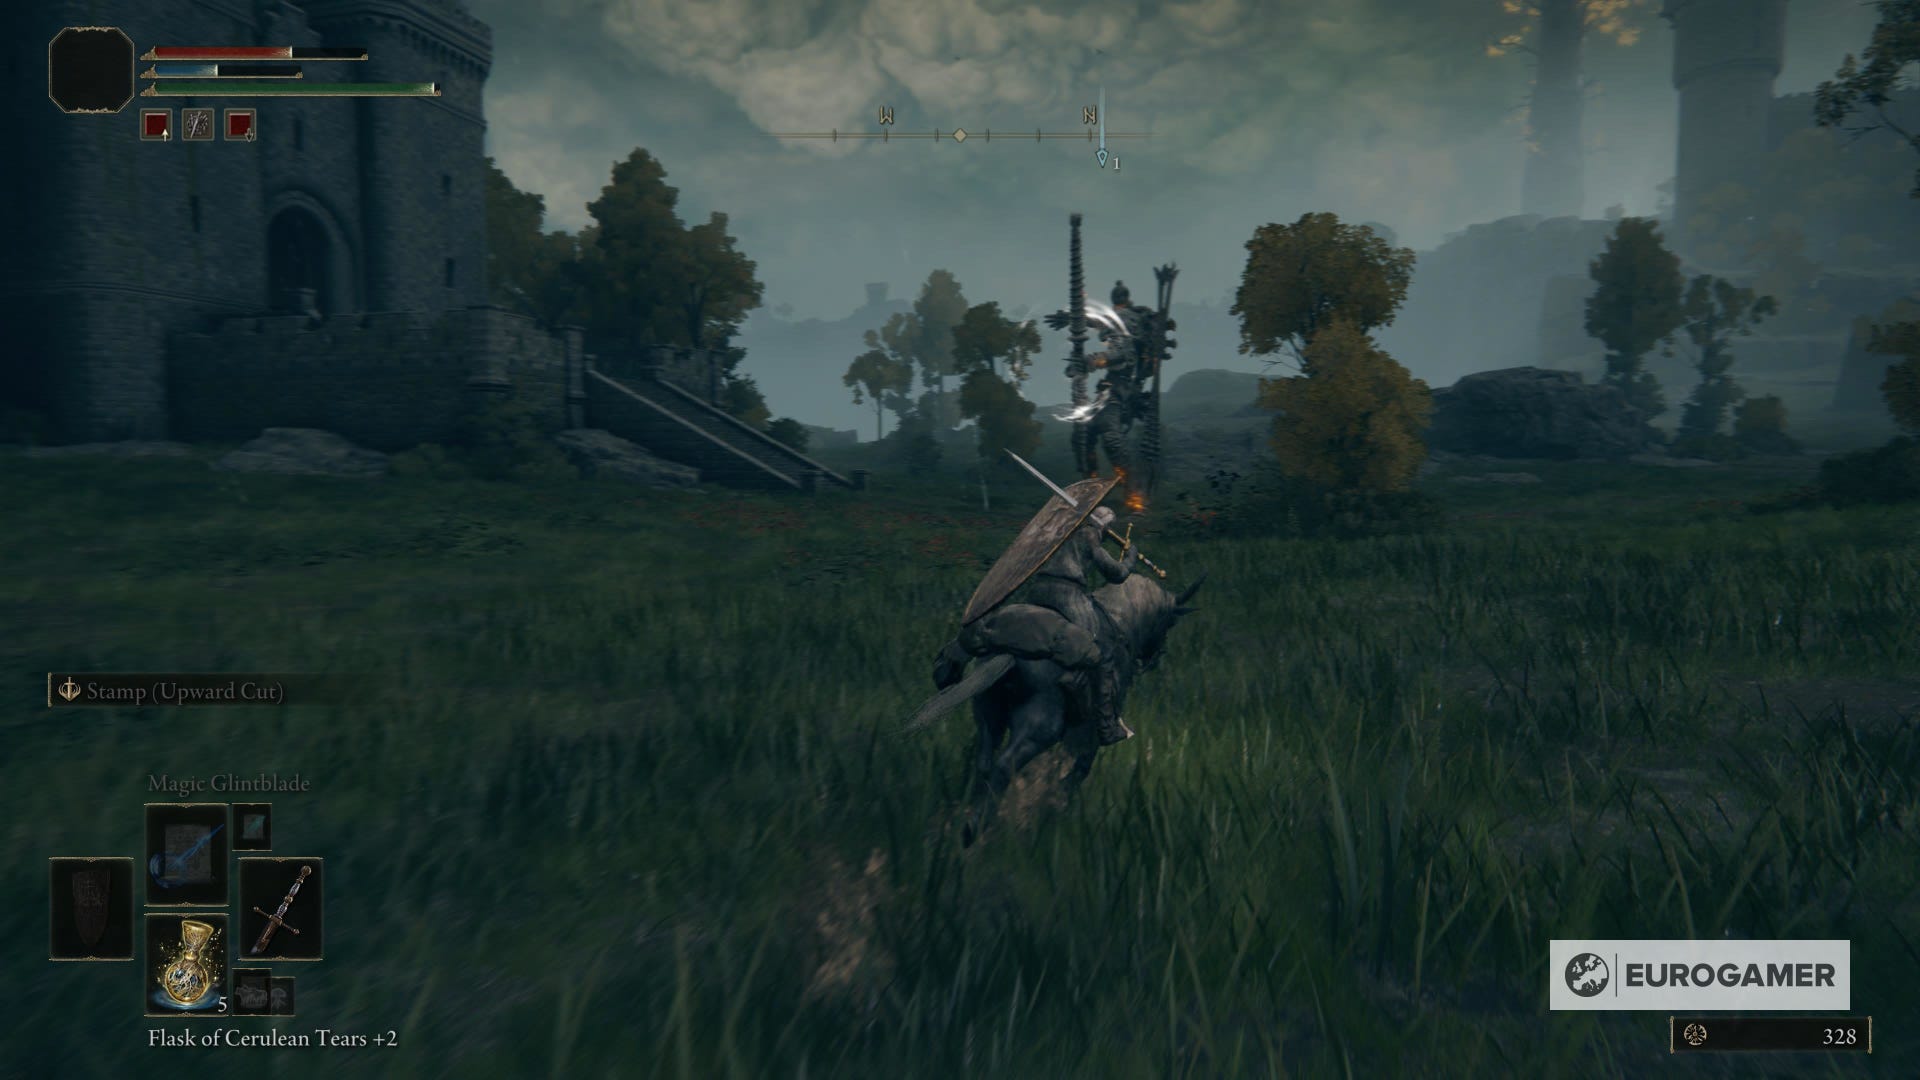
You'll also see the area's map fragment on the right, but don't hesitate too much - pick it quickly and return to Torrent. There's a giant archer far away, which will start shooting huge arrows at you.
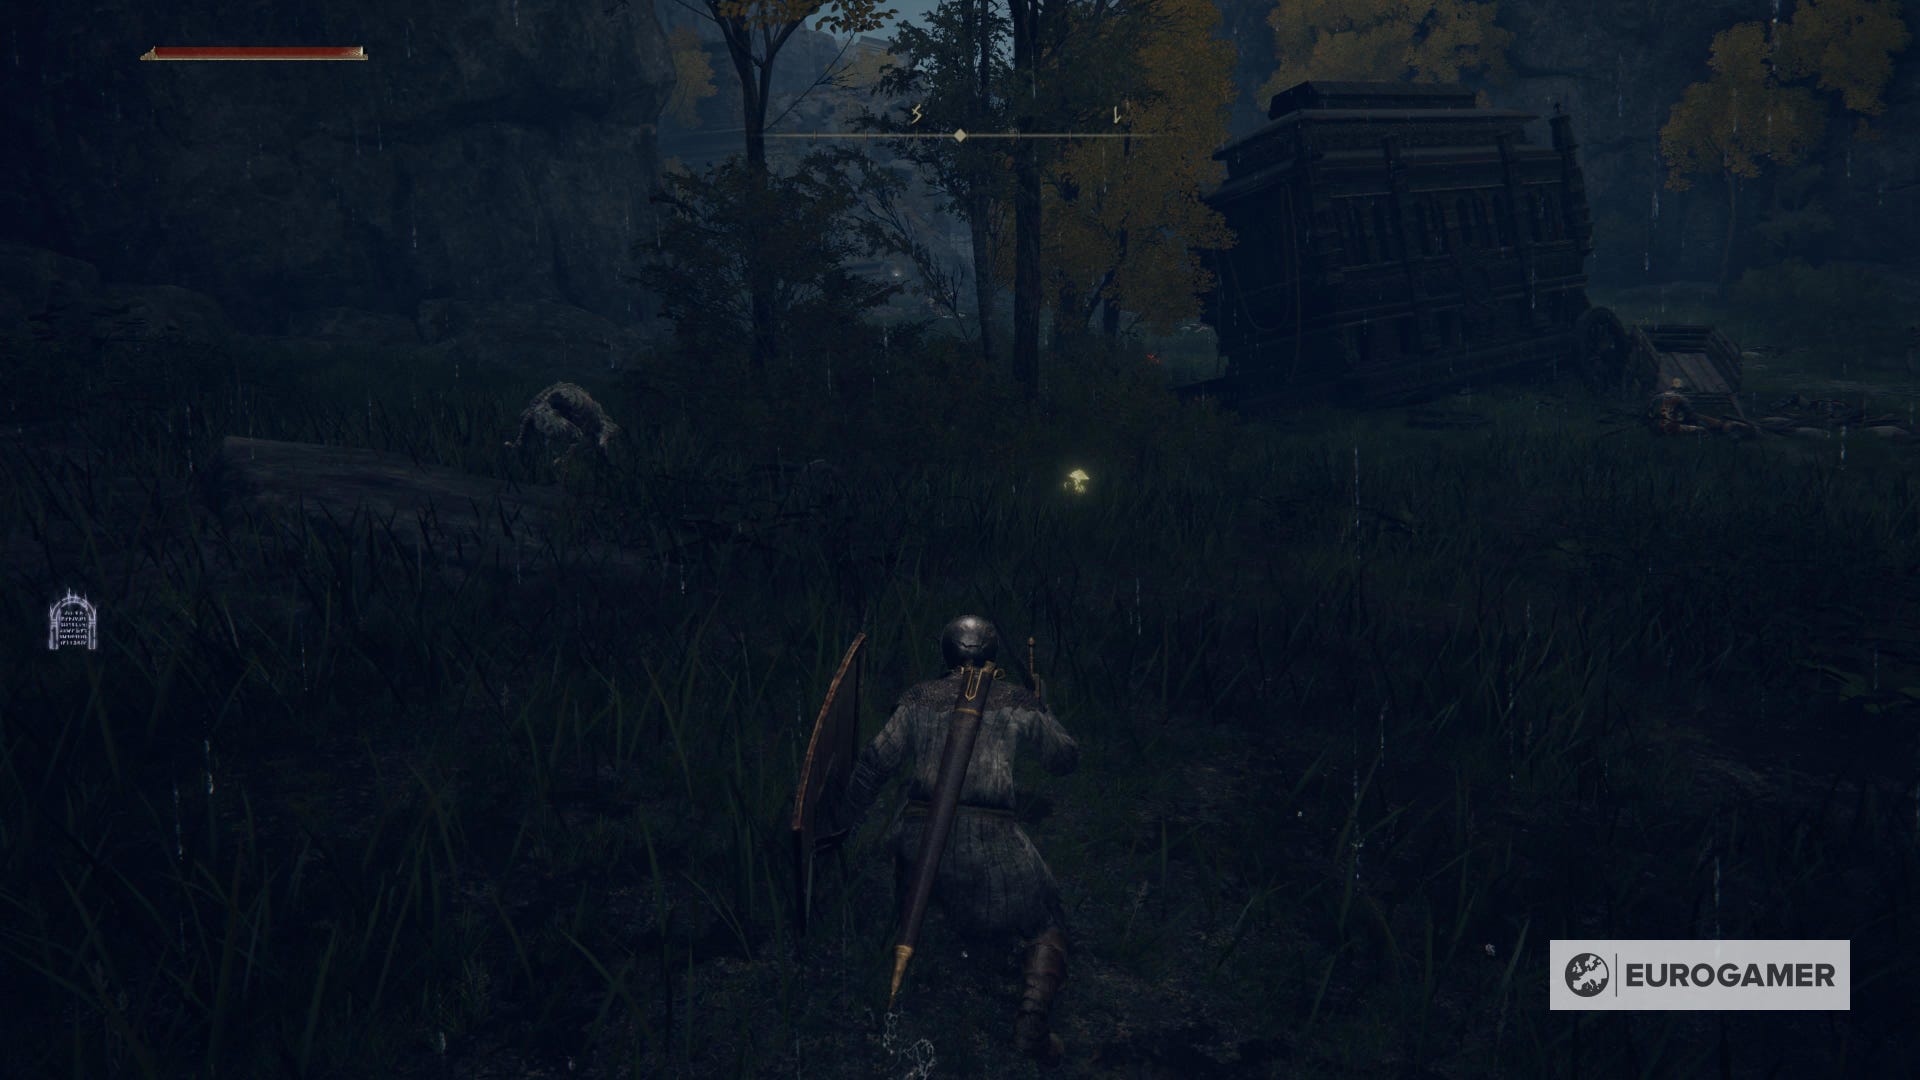
Instead of going towards the giant, go to the left of the area, through a forest. You'll end up in a small swamp with some enemies, but you can easily avoid them. Following this road, there'll be fewer chances for the archer to get you.
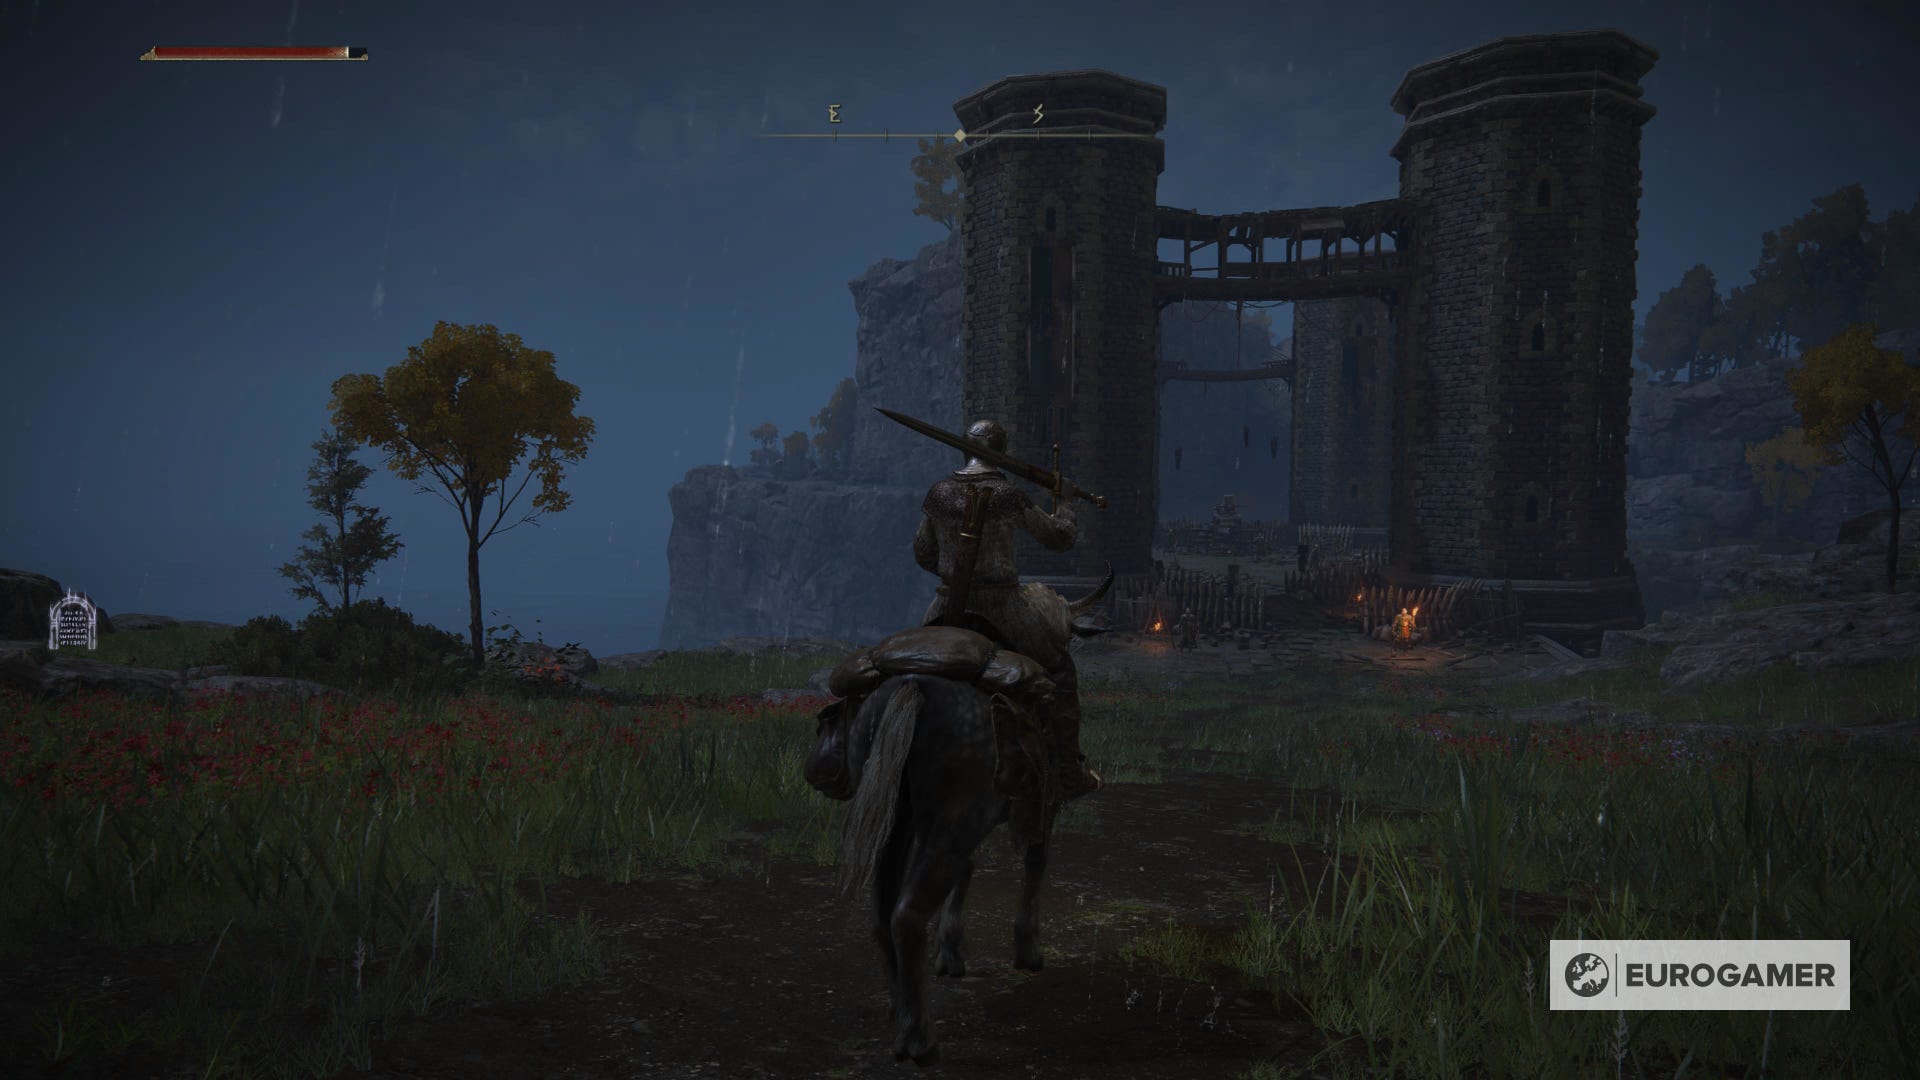
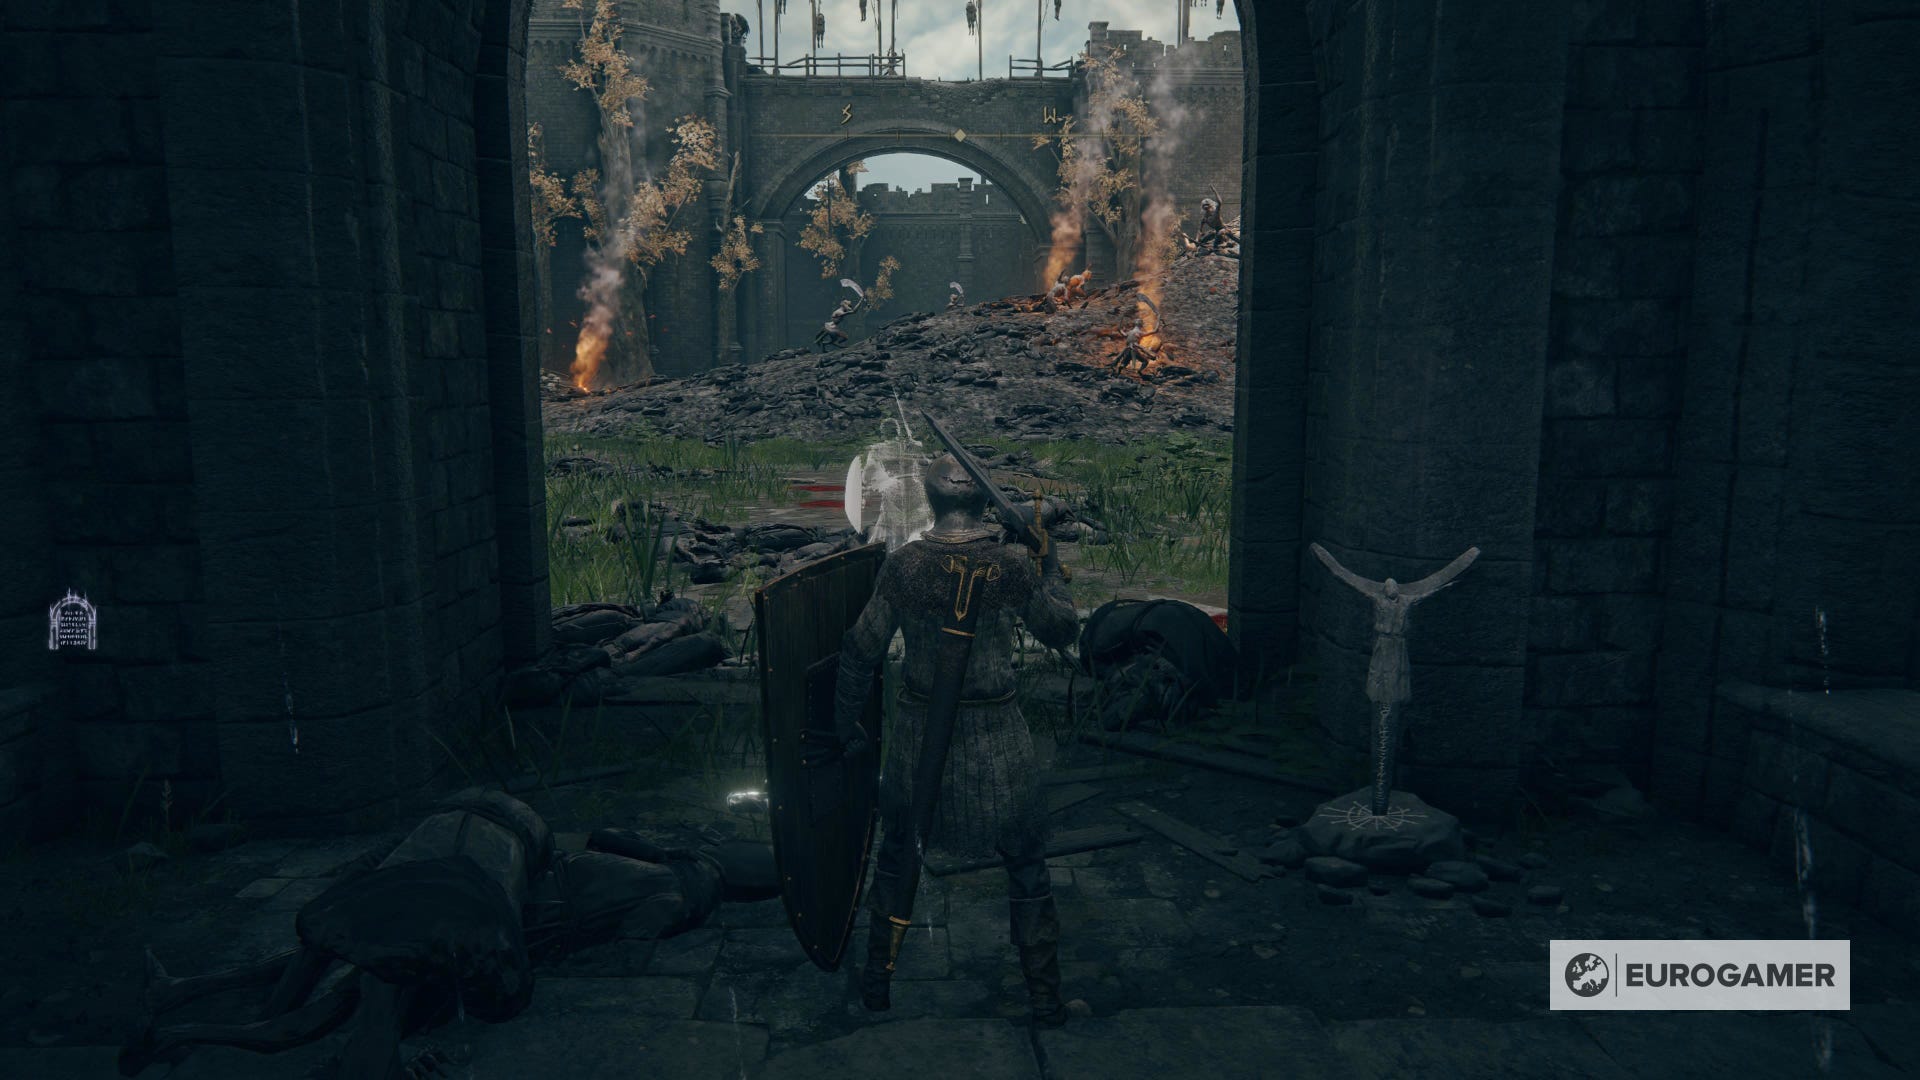
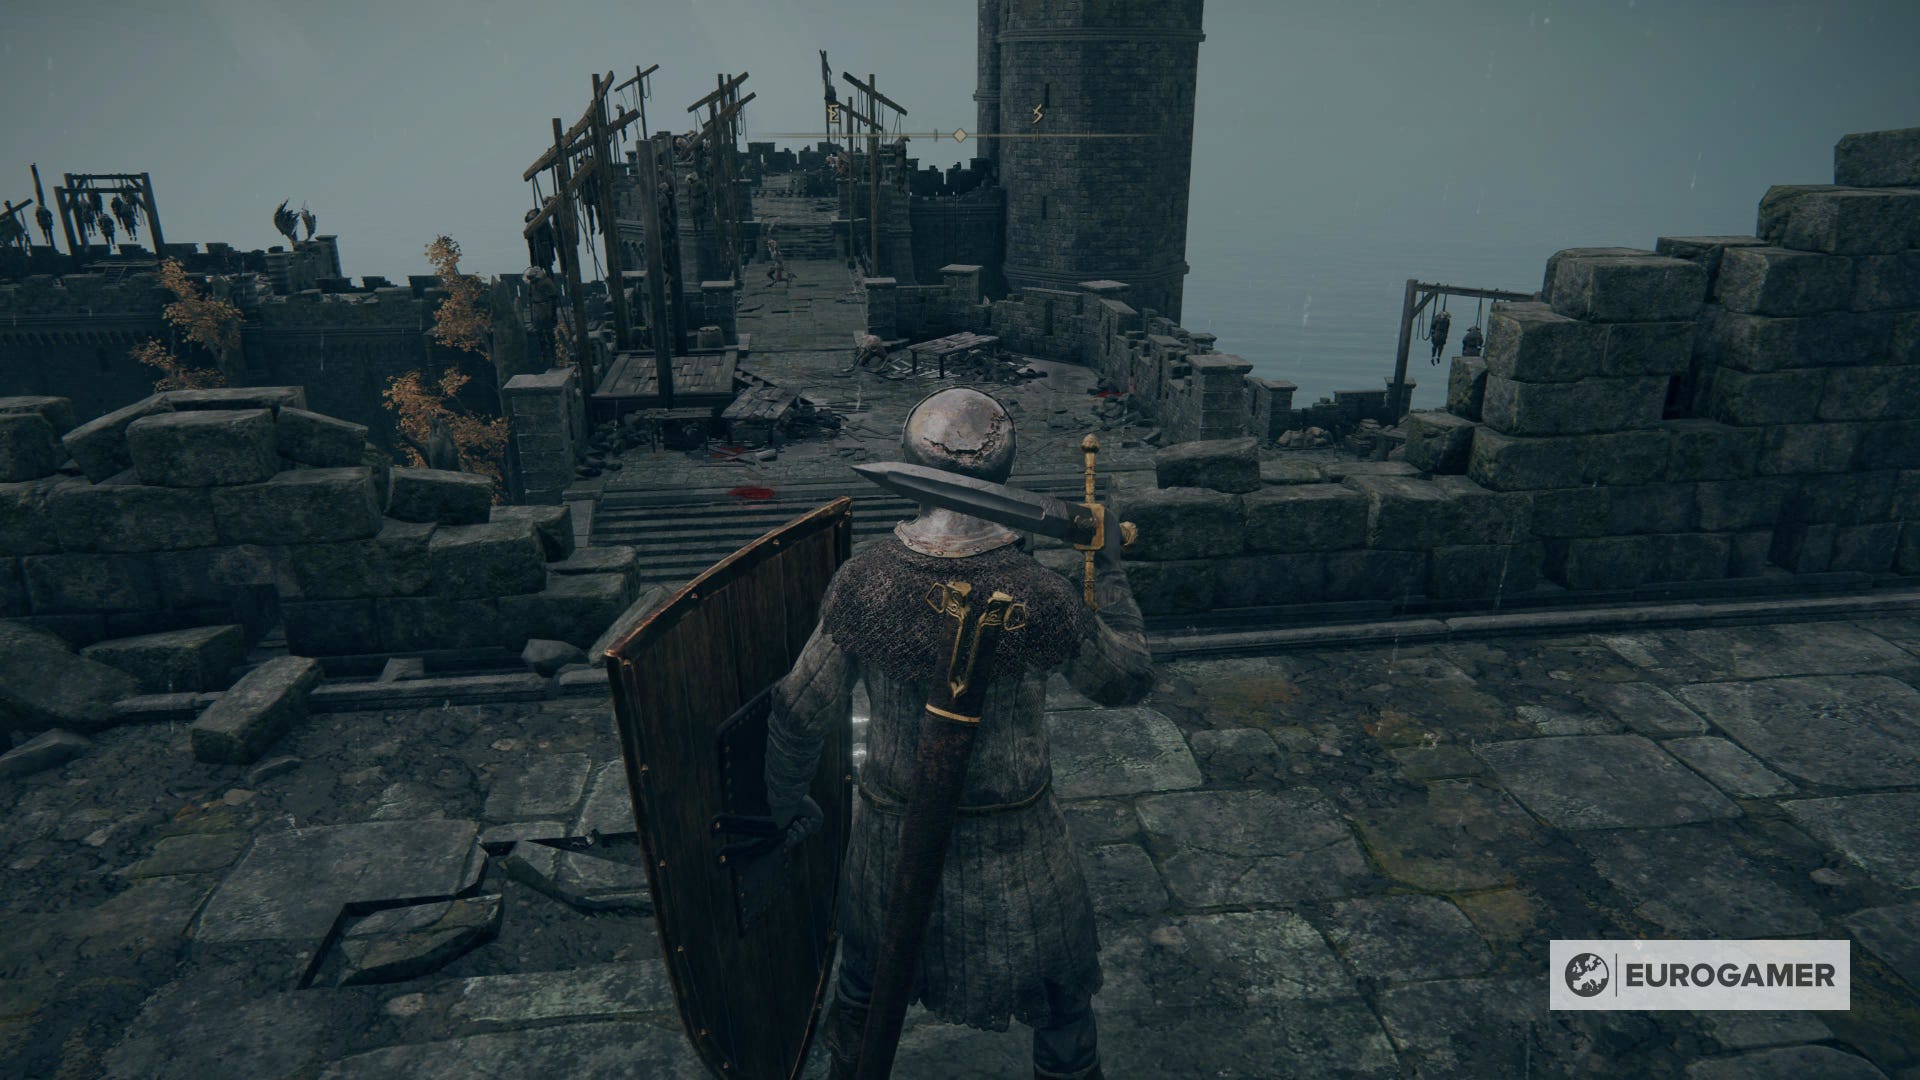
The entry to Castle Morne will be guarded only by the archer. Luckily, you don't have to kill the giant - just go run to the castle's door and you'll be fine.
If you want to try your luck, however, notice that the enemy won't attack you with its bow at a close-combat nor take out another weapon. The giant will only attack using stomps, which makes the battle easier than the ones against other giants in the game.
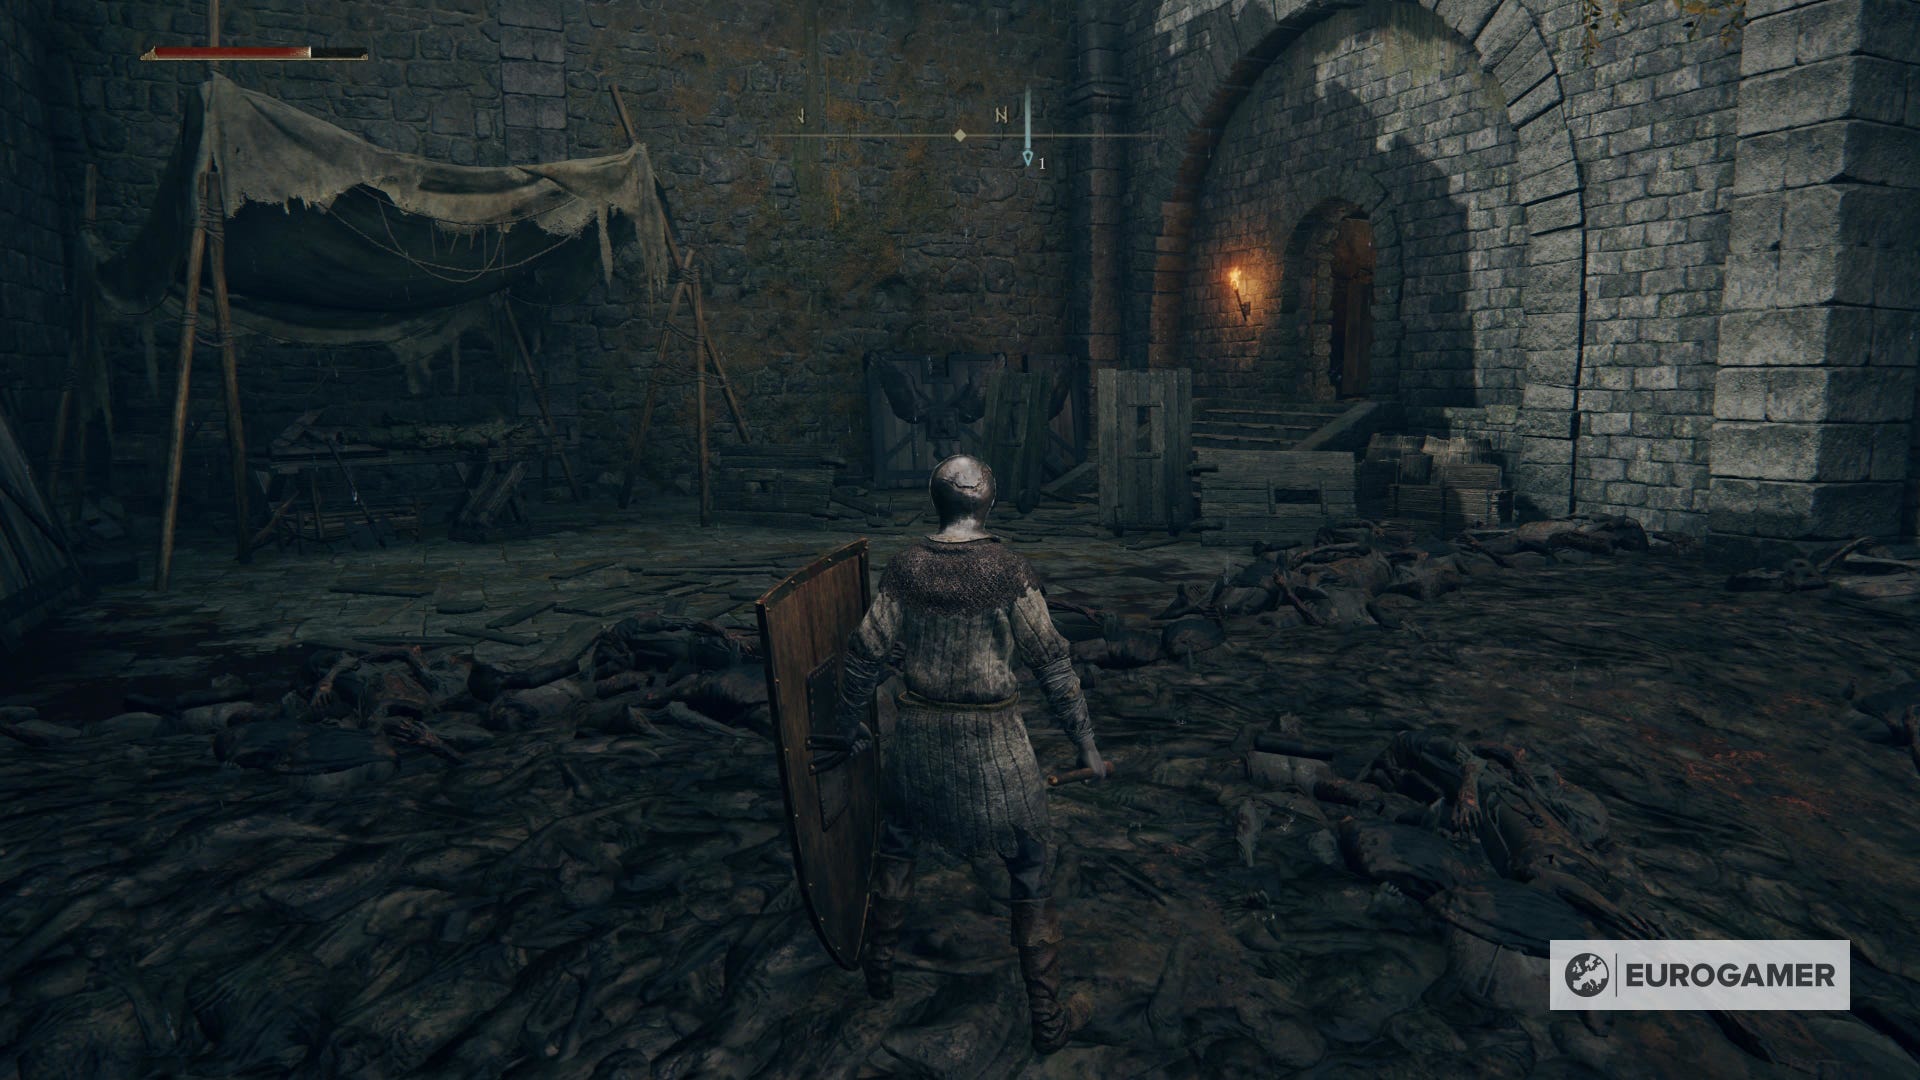
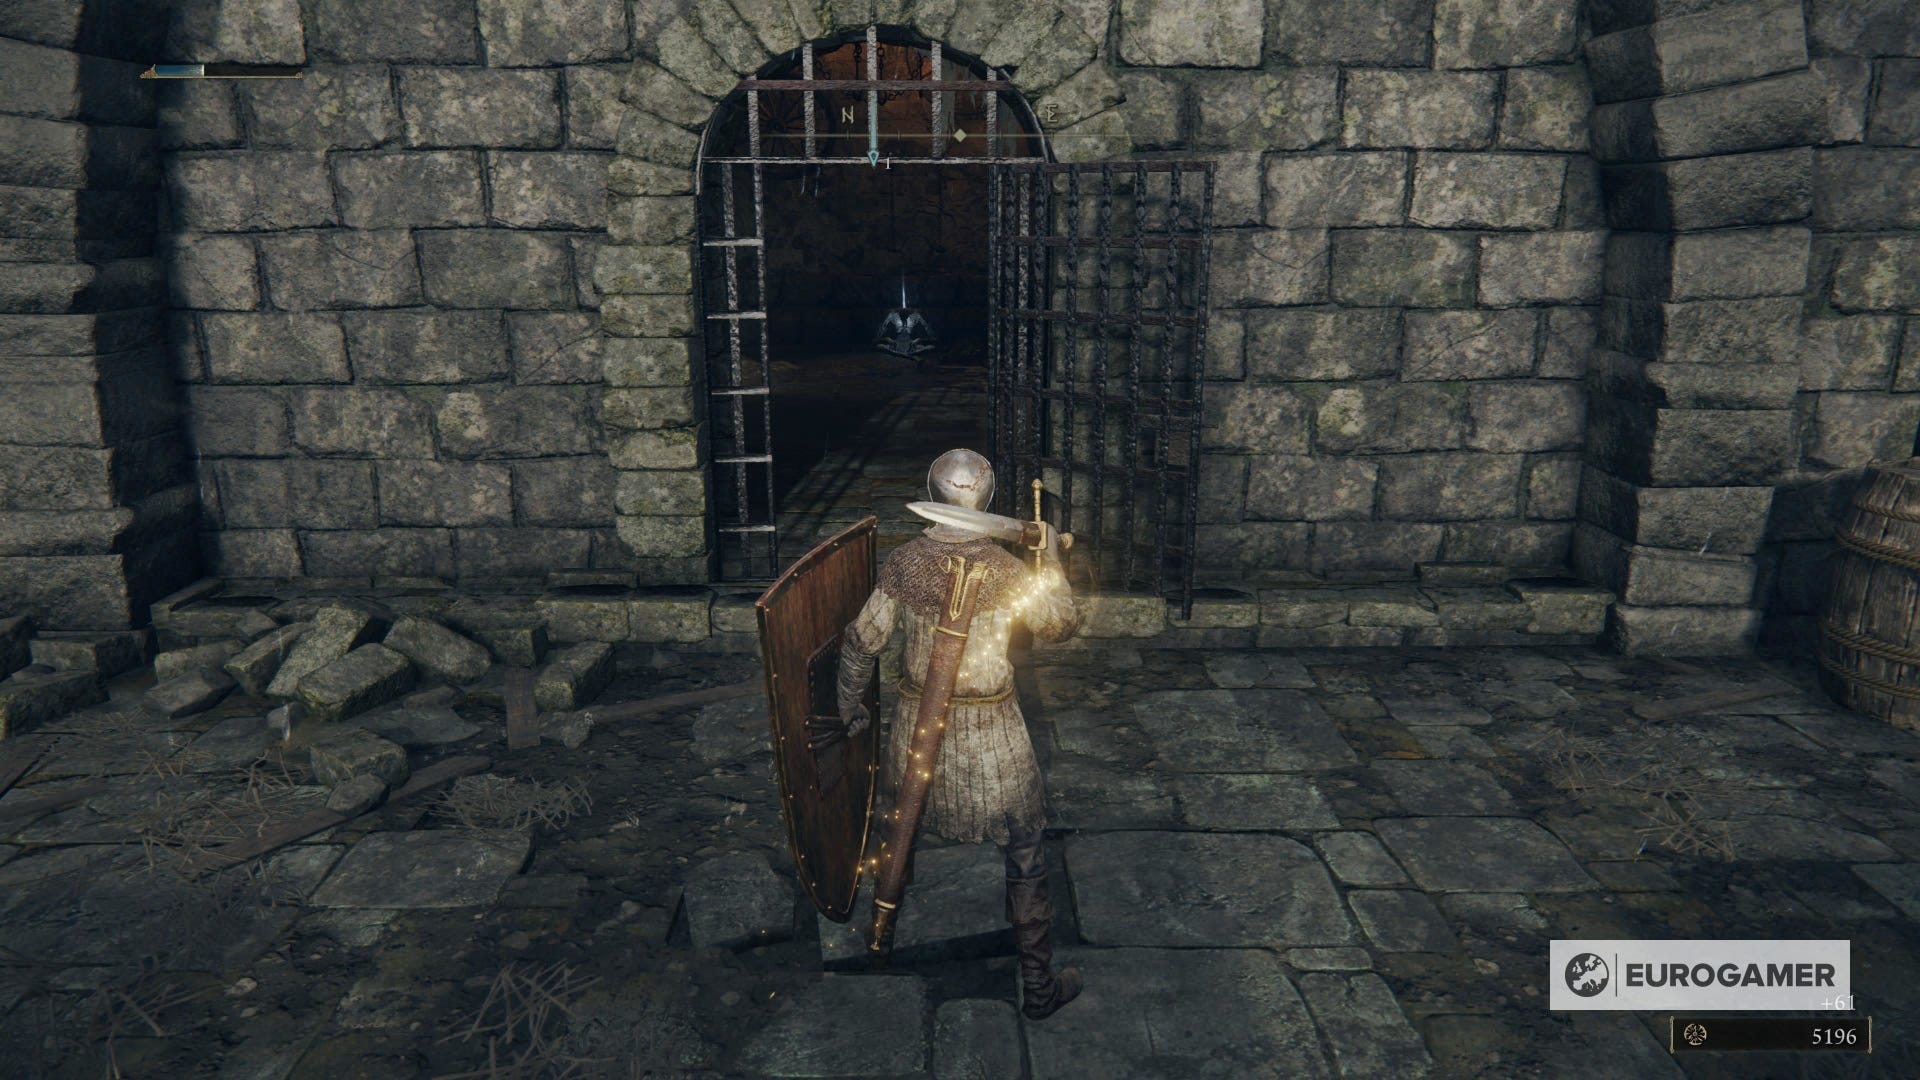
Once you're inside the castle, you'll find a Site of Grace in a room full of fallen soldiers.
How to find Edgar in Castle Morne
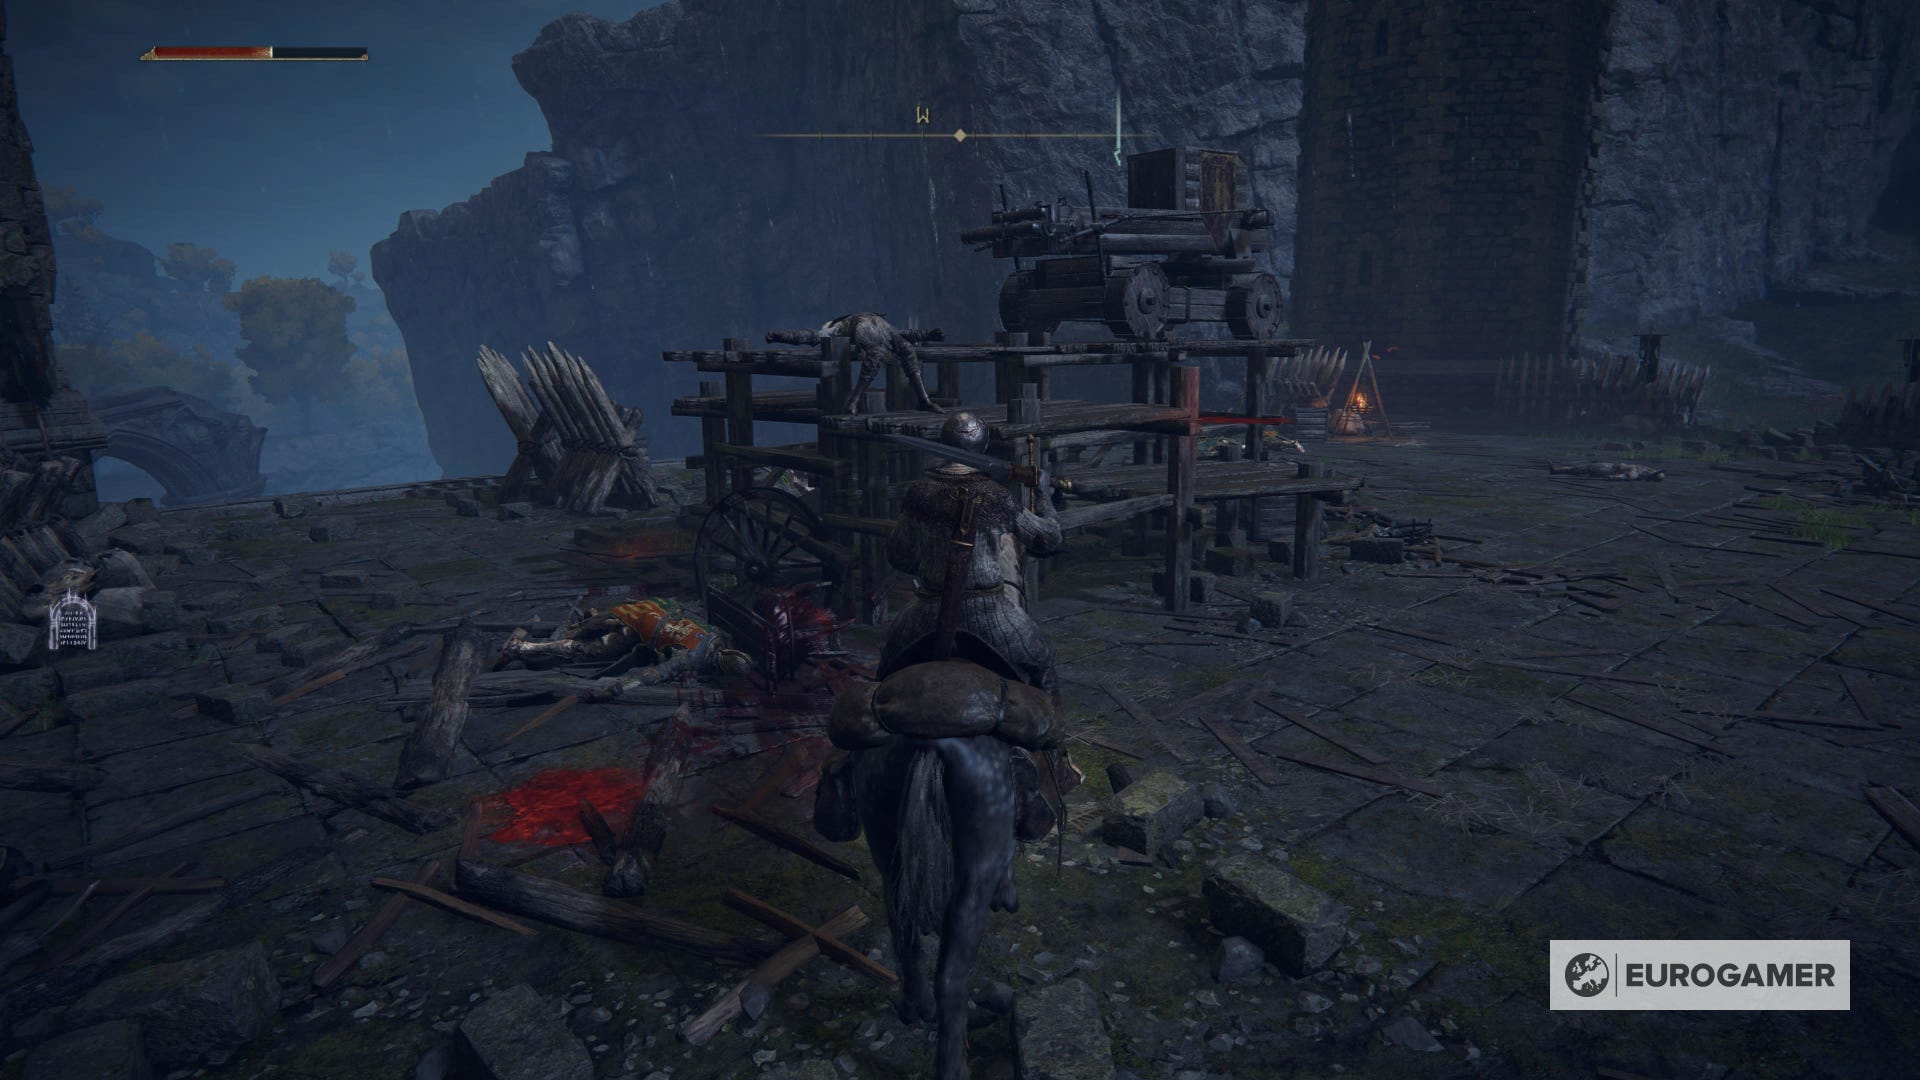
Now you've reached Castle Morne in Elden Ring, it's time to find Edgar - Irina's father. Start by going forward and using the lift. You'll end up at the door of a big courtyard packed with enemies. Before going in, notice that there's a Summoning Pool on your right. You can also summon Spirit Ashes in this first area.
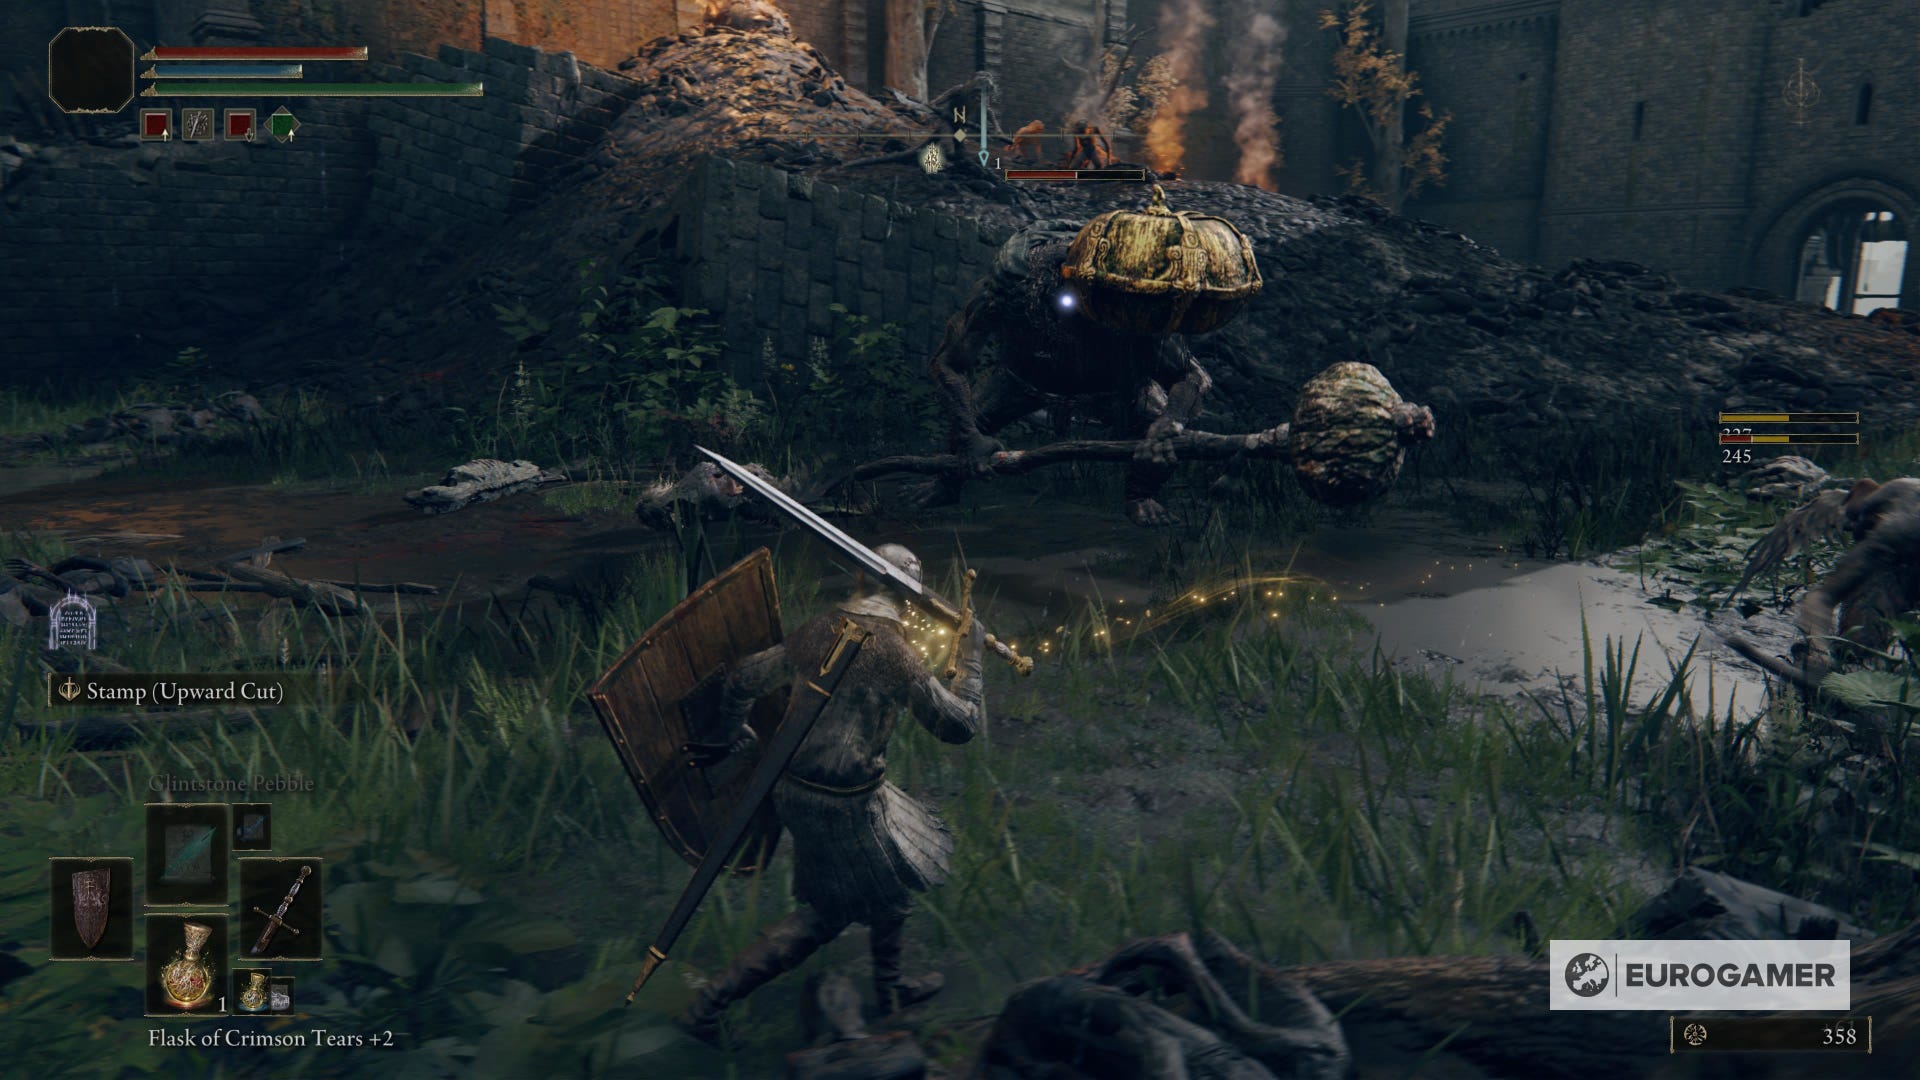
Again, you can choose to either avoid every enemy here or go ballistic. If you decide the former option, crouch and go through the middle of the courtyard - almost touching the creature on the right. You can also avoid the Mad Pumpkin Head enemy resting in front of you, just leave him to rest and sneak to the right.
There'll be a single enemy on the way, working the ground, but just pass through him while crouching and it won't even blink. There'll be a ladder at the end of the path.

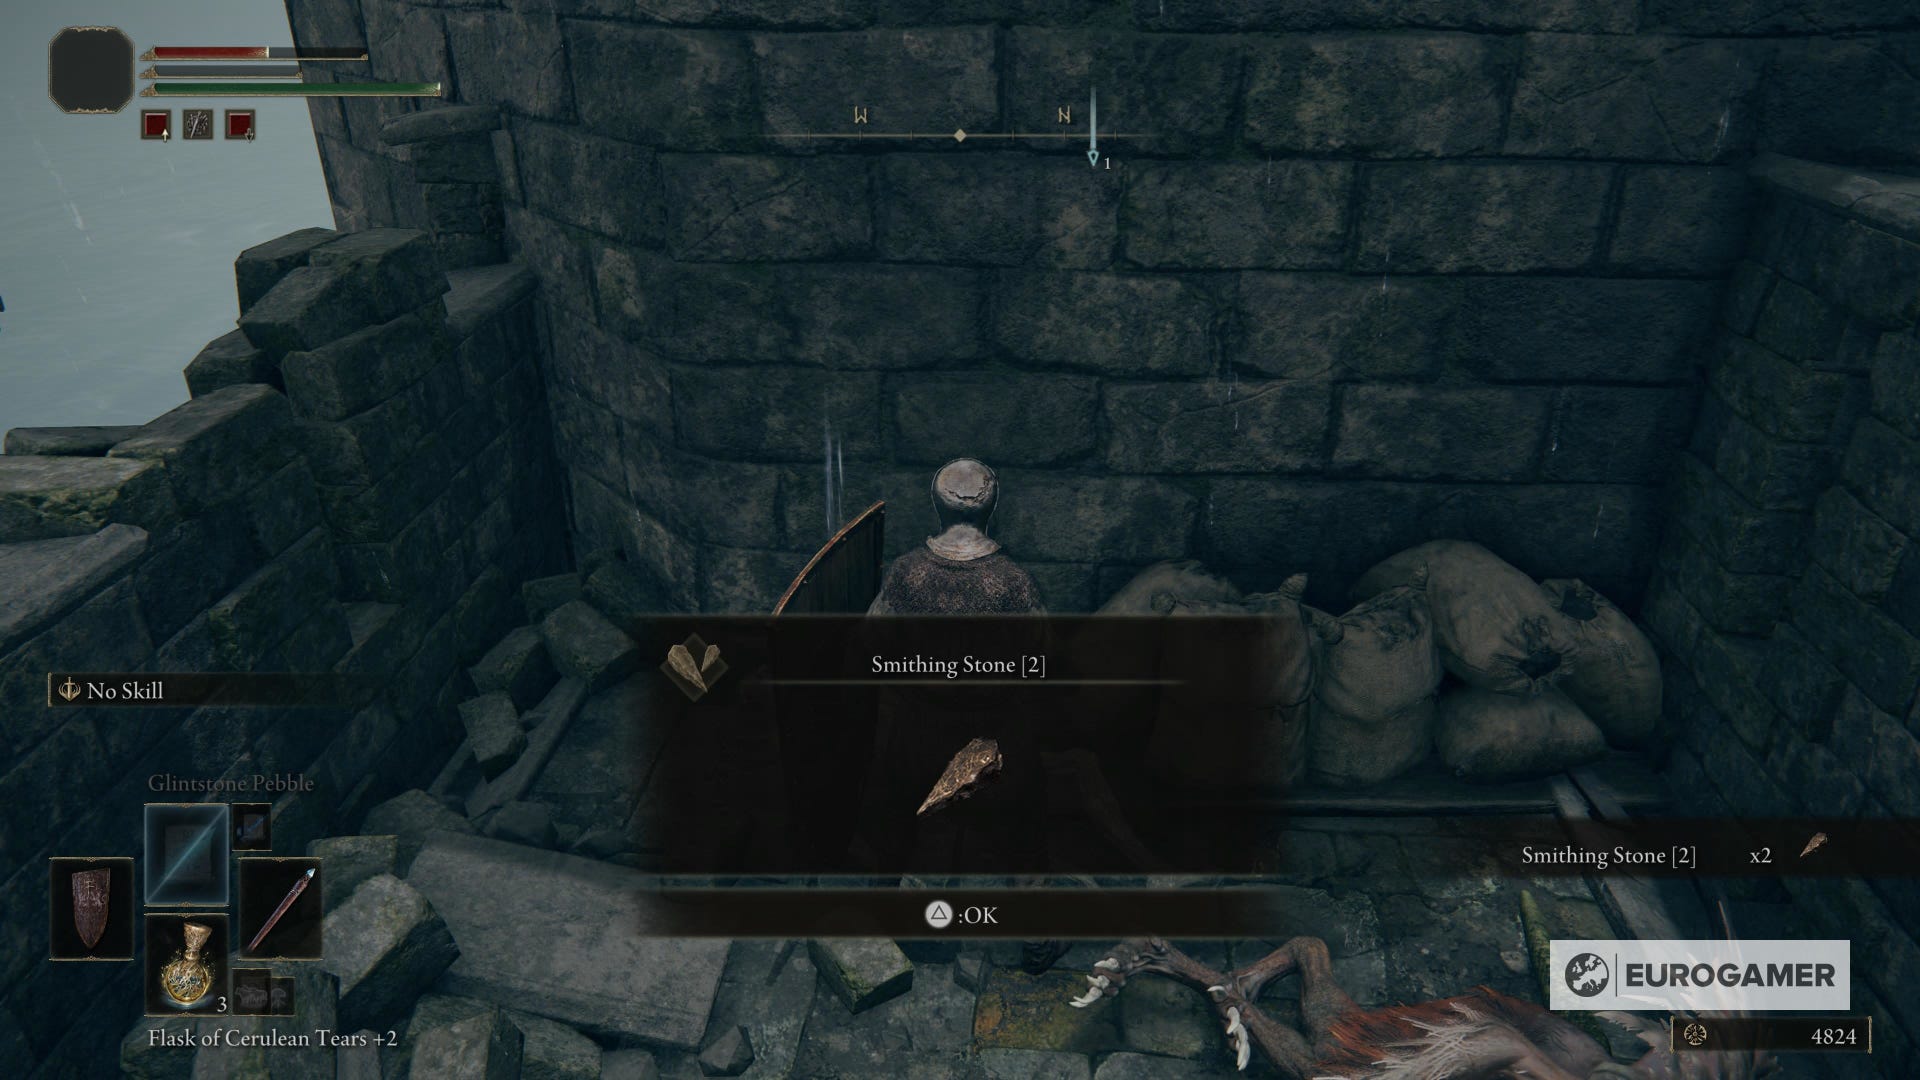
If you decide to sneak in, however, you'll miss some important items. First of all, go to the left until you enter a platform. There will be a single dog wandering around. Kill it and get the Smithing Stone 2 in the place.
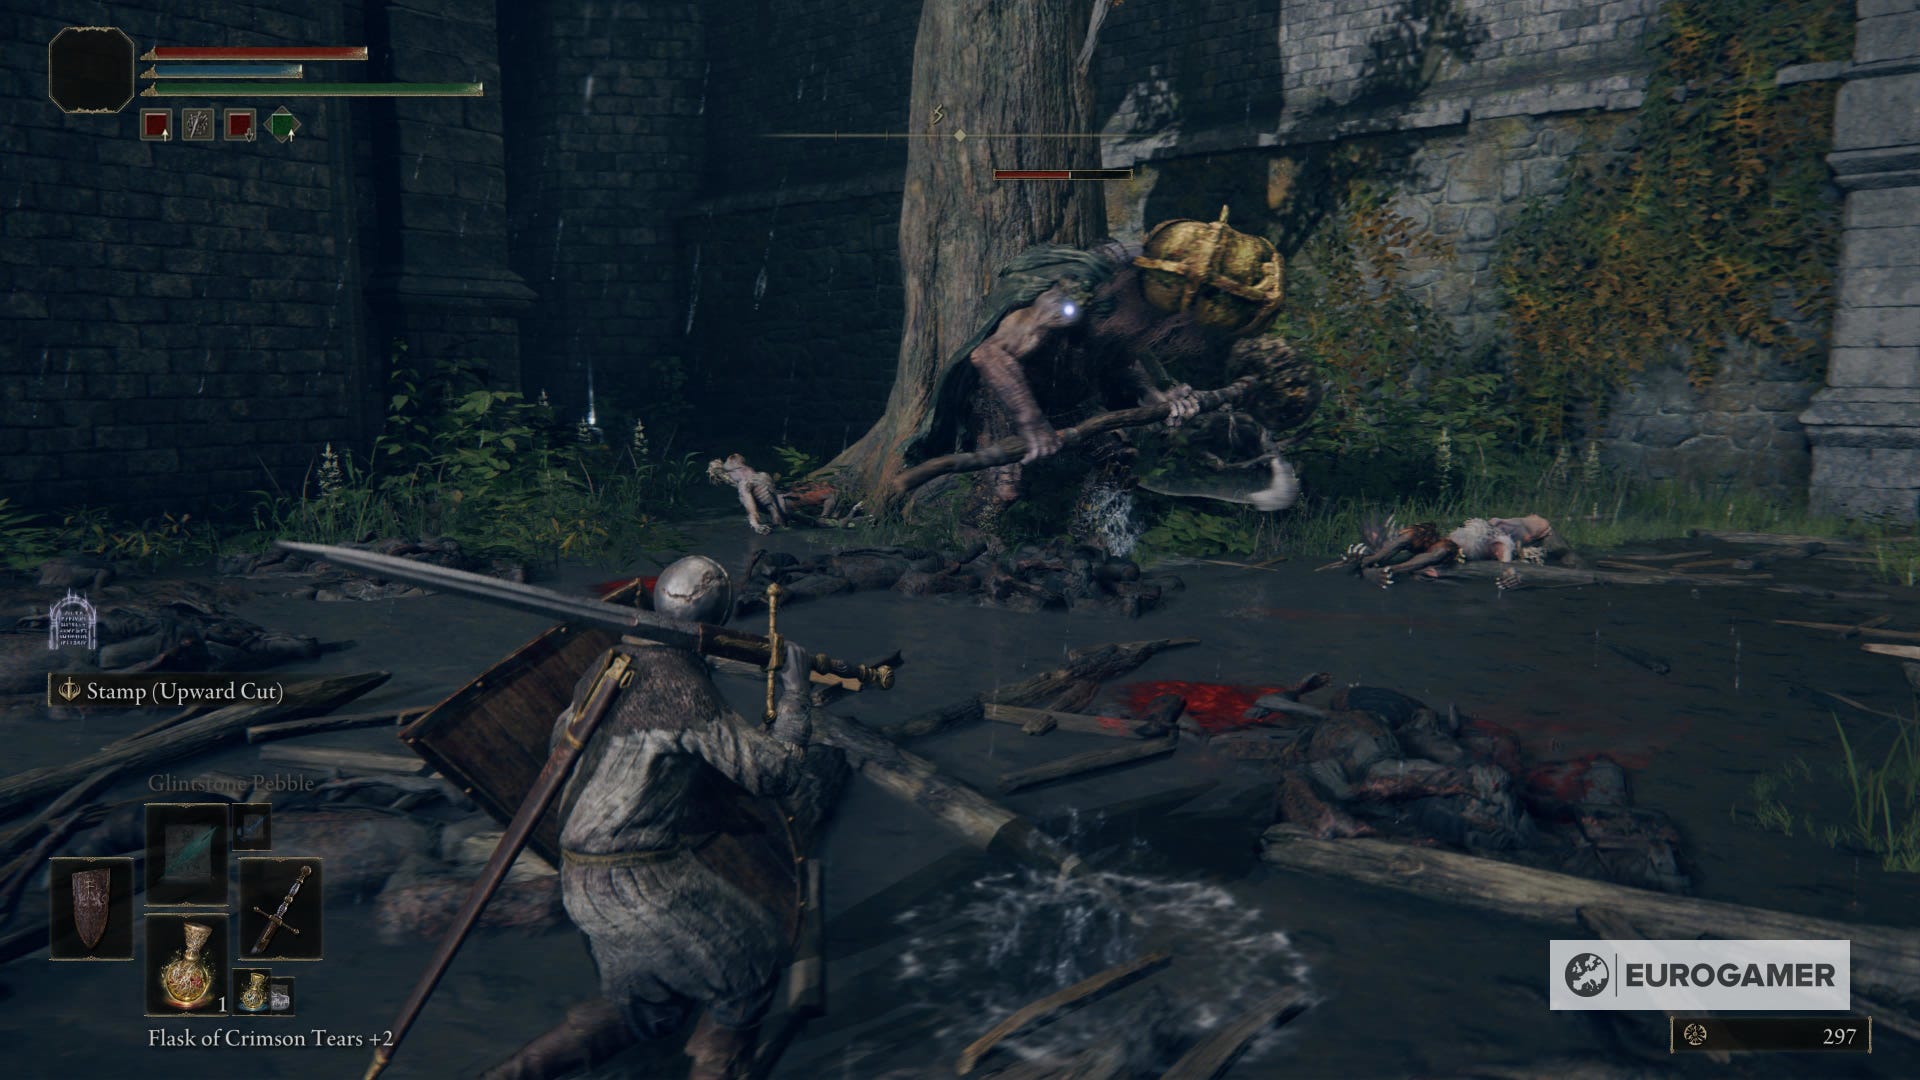
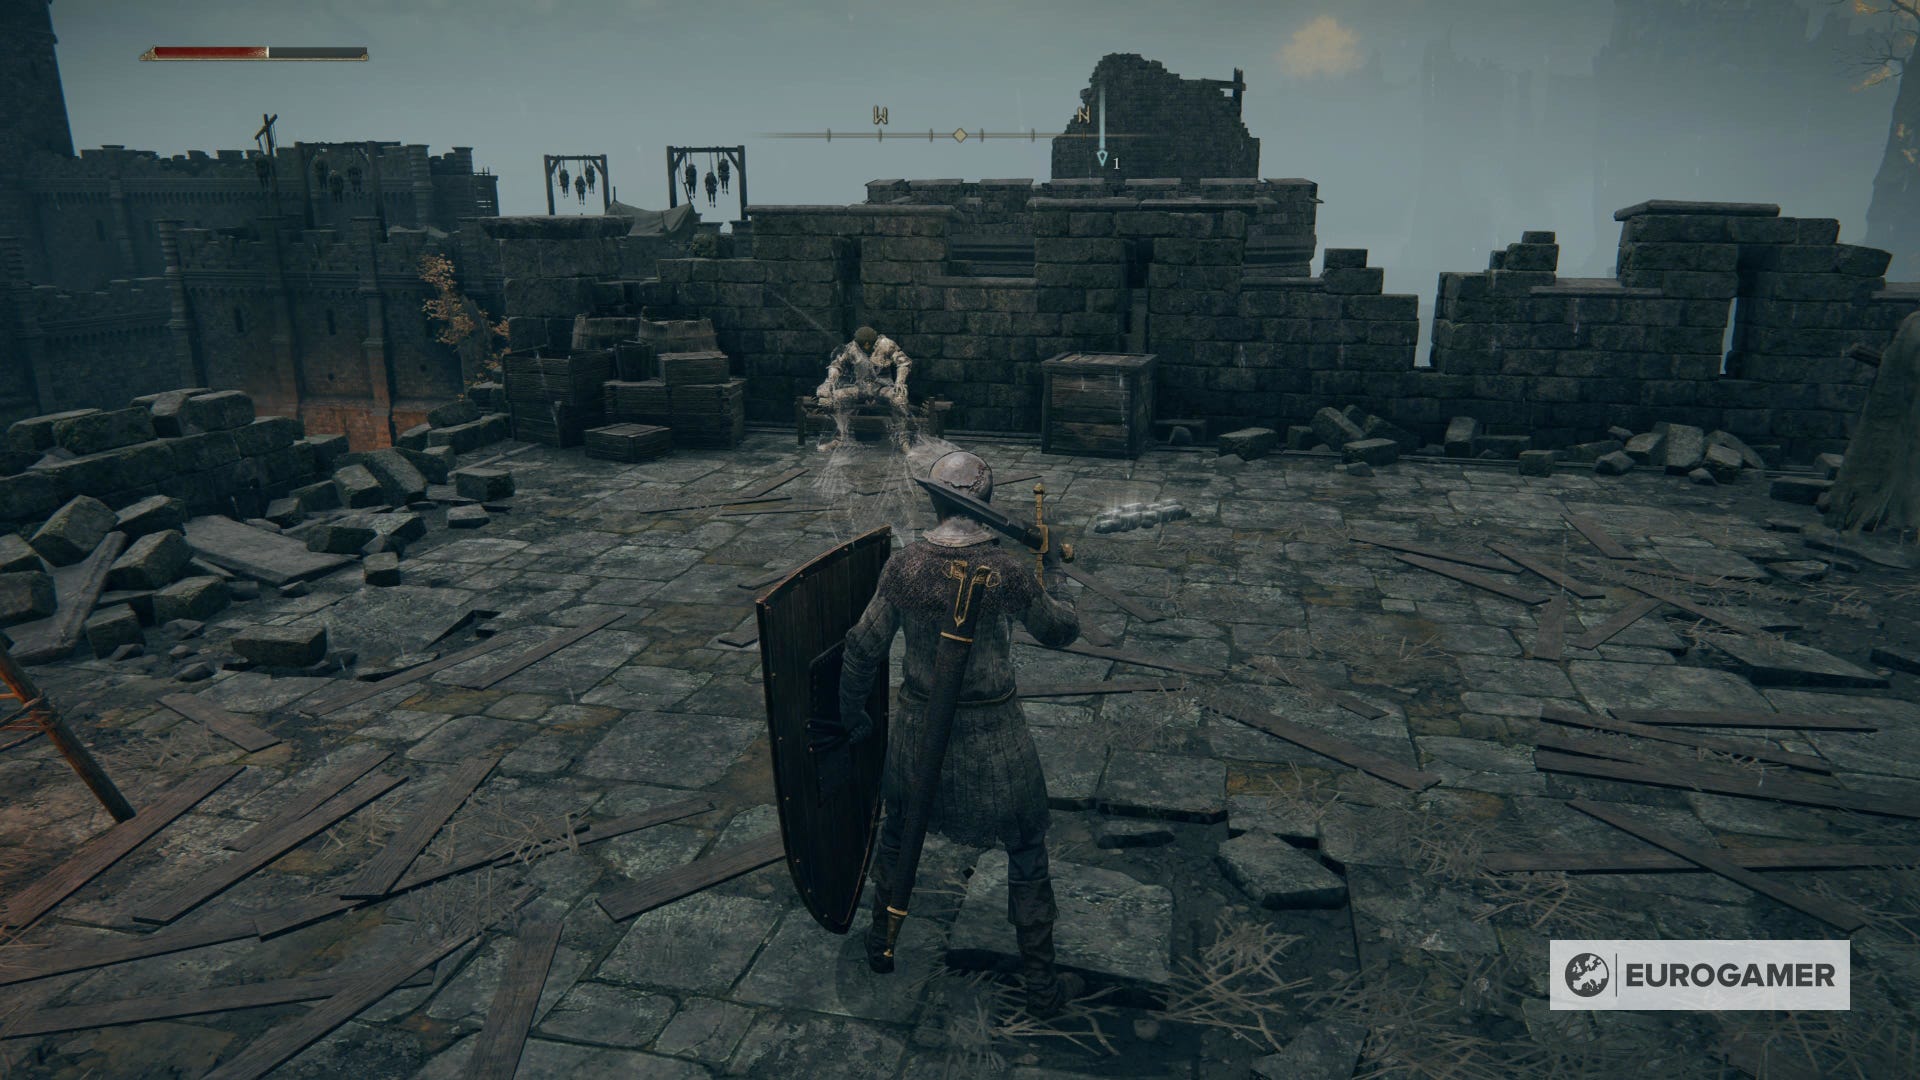
Then, instead of attacking the enemies on the right, bait them to follow you and lead them to the Mad Pumpkin Head. This big creature will wake up and start attacking the other beasts. Only after the Mad Pumpkin Head is done, step in and kill the remaining enemies - don't forget that you can summon Spirit Ashes here.
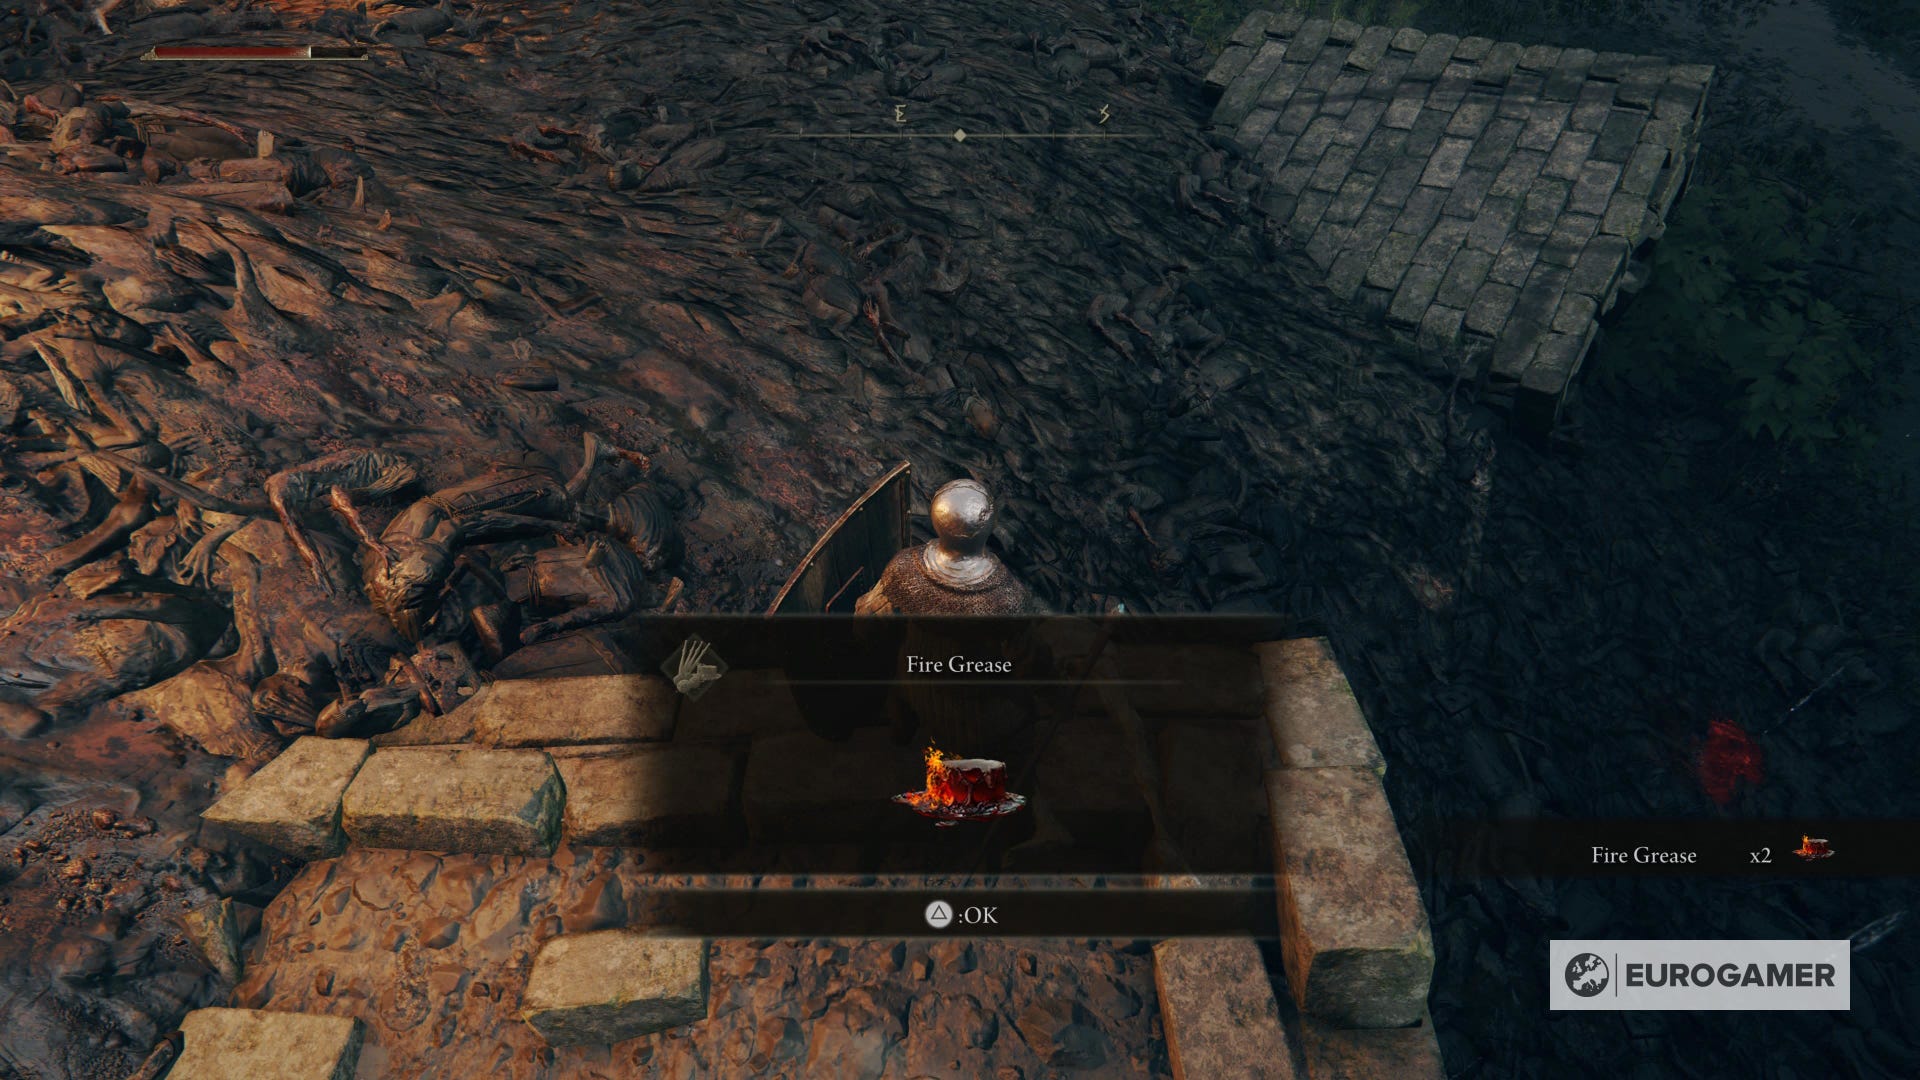
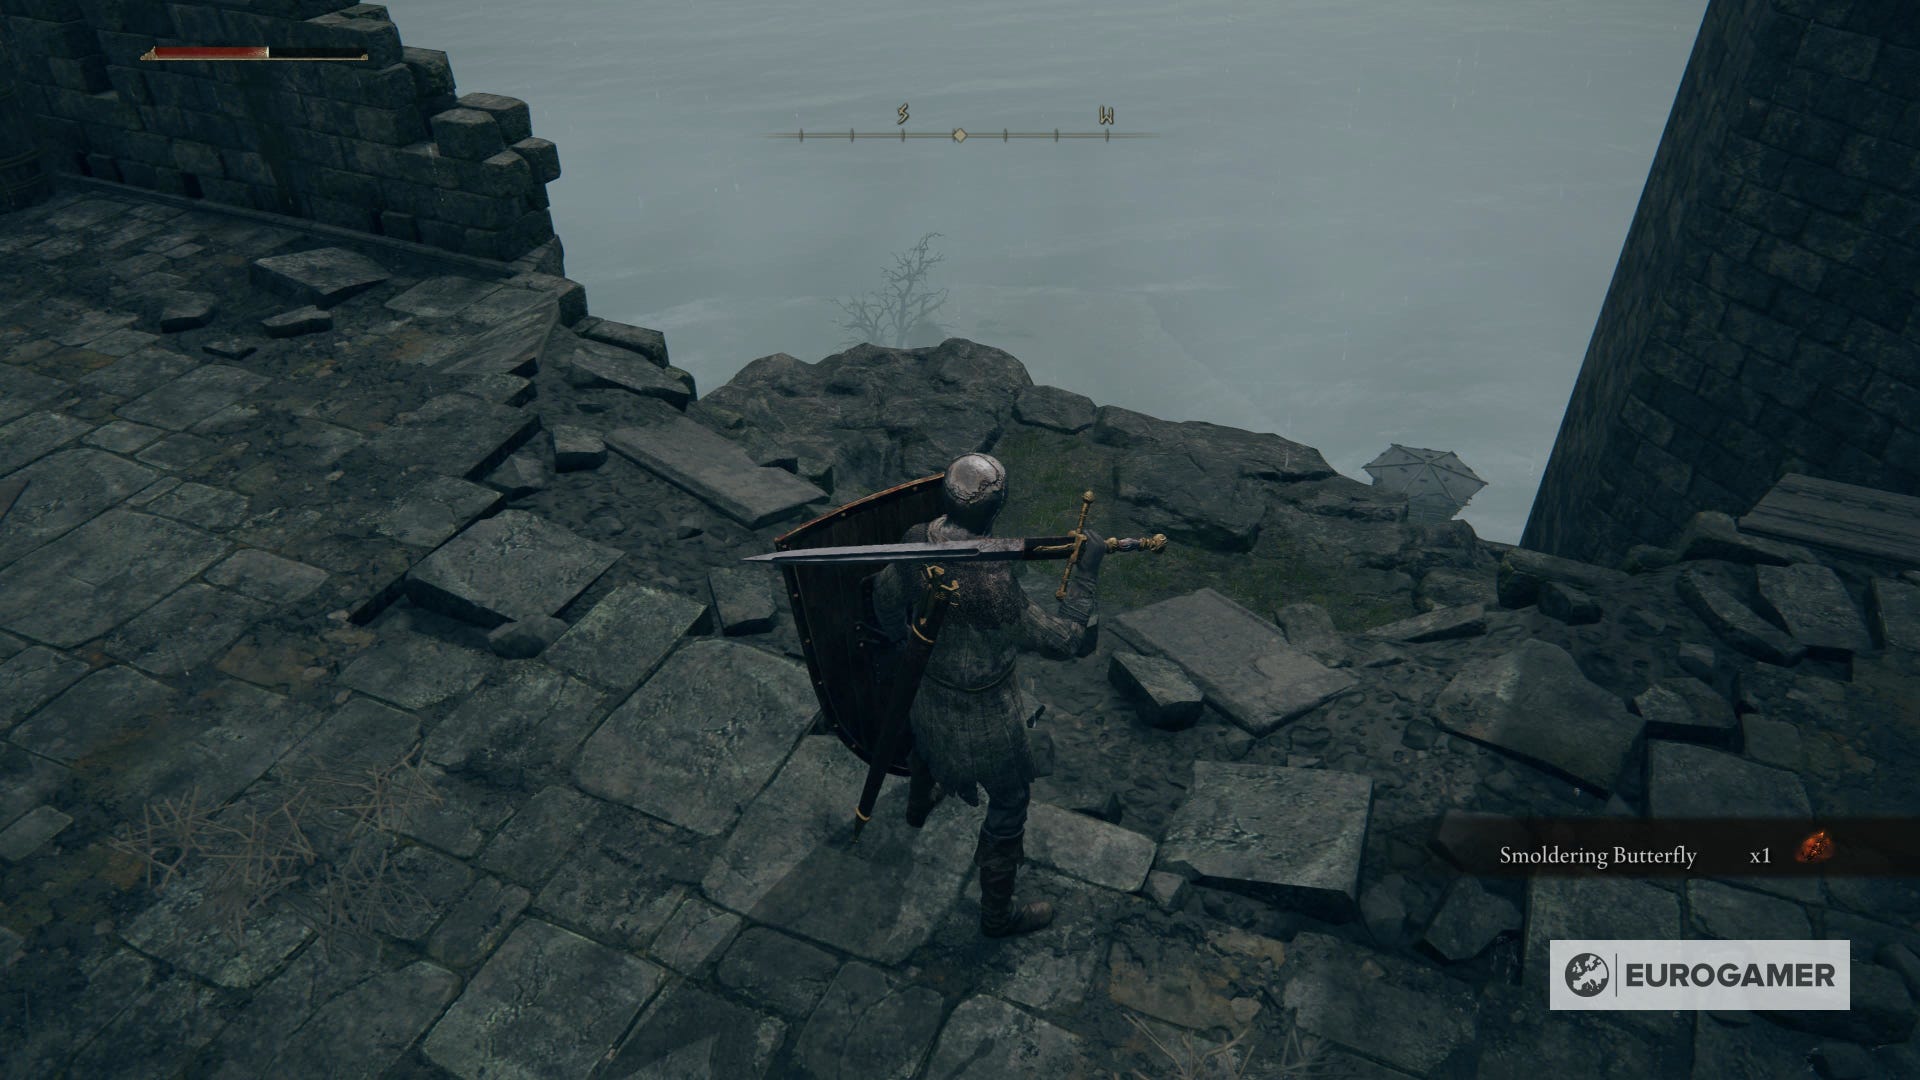
It's time to collect items. On the left side of where the Mad Pumpkin Head was resting, you will find three Smithing Stones 1. Next, near the fire pits and mountains of corpses, you'll find multiple Smoldering Butterflies and two Fire Grease.
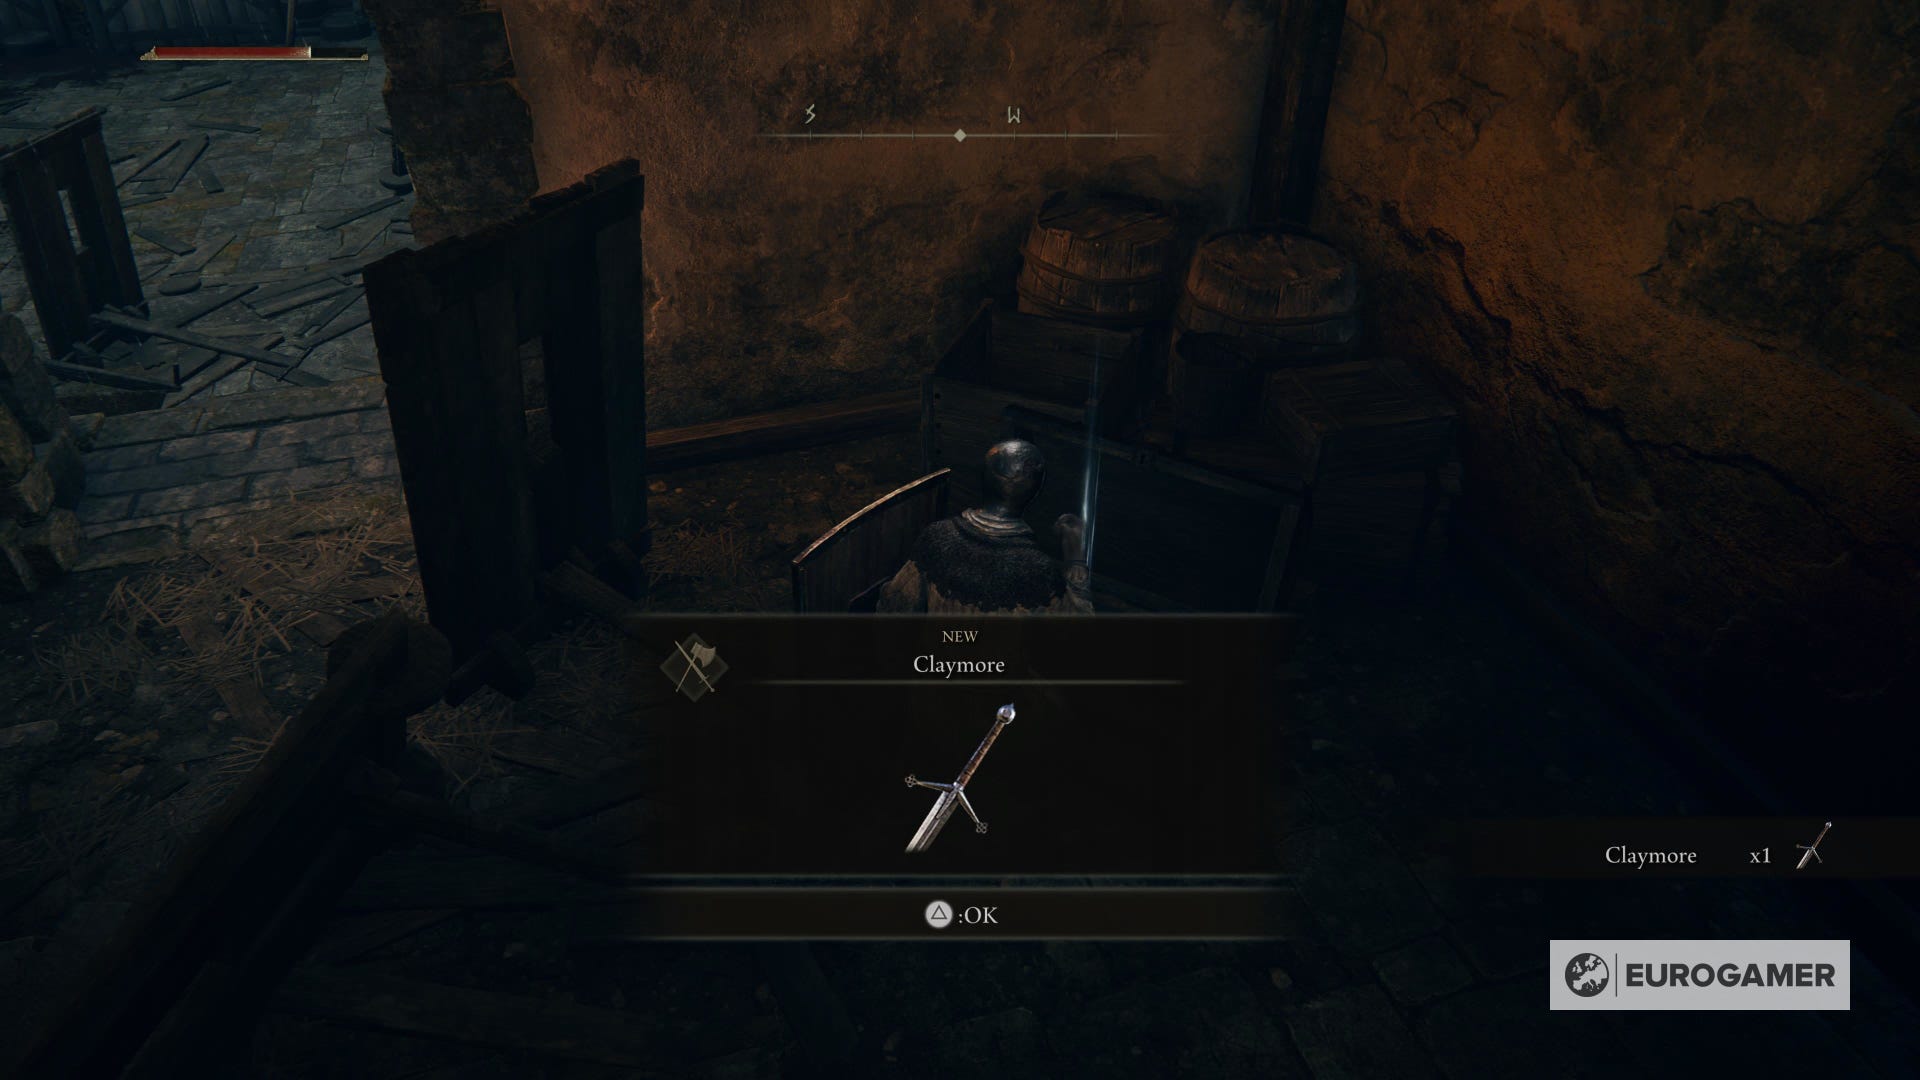
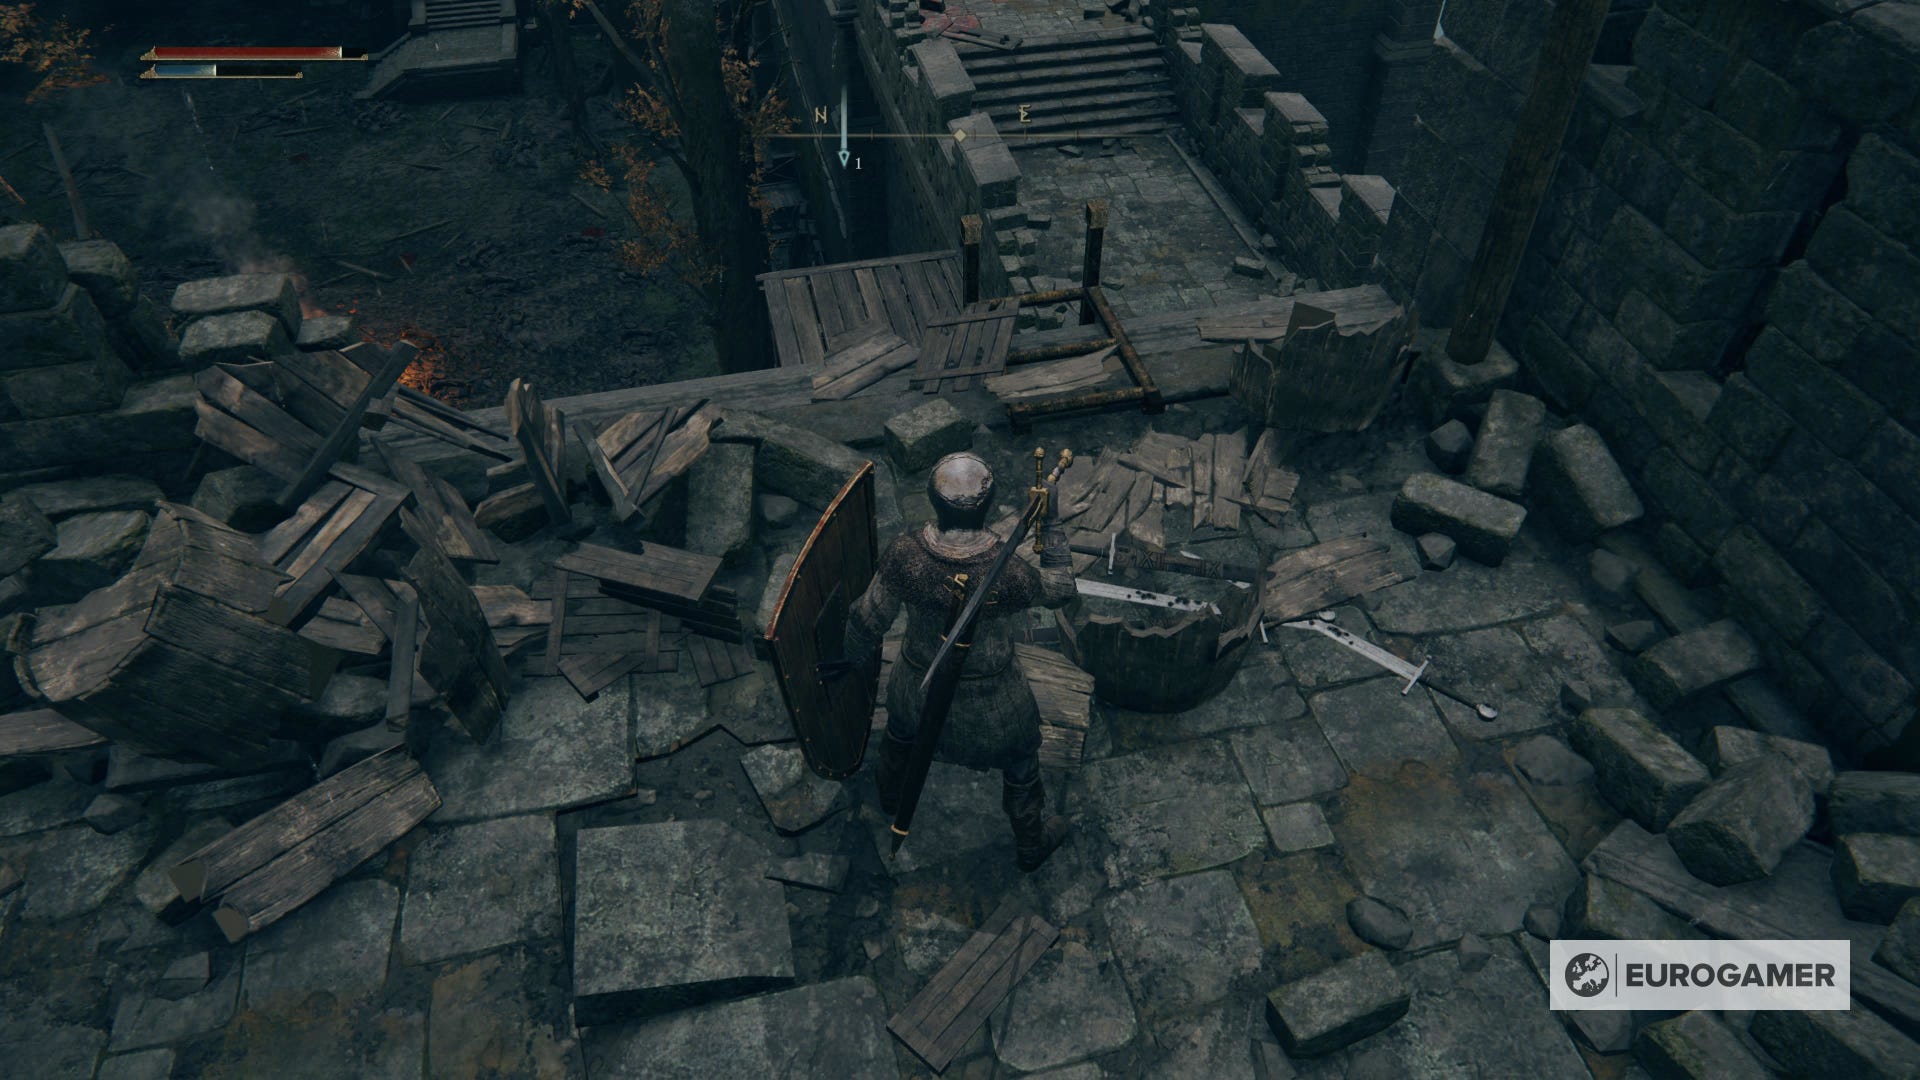
If you continue in this direction (past the fire pit), you can enter a new room inside the castle. There'll be a chest with a Claymore on the left.
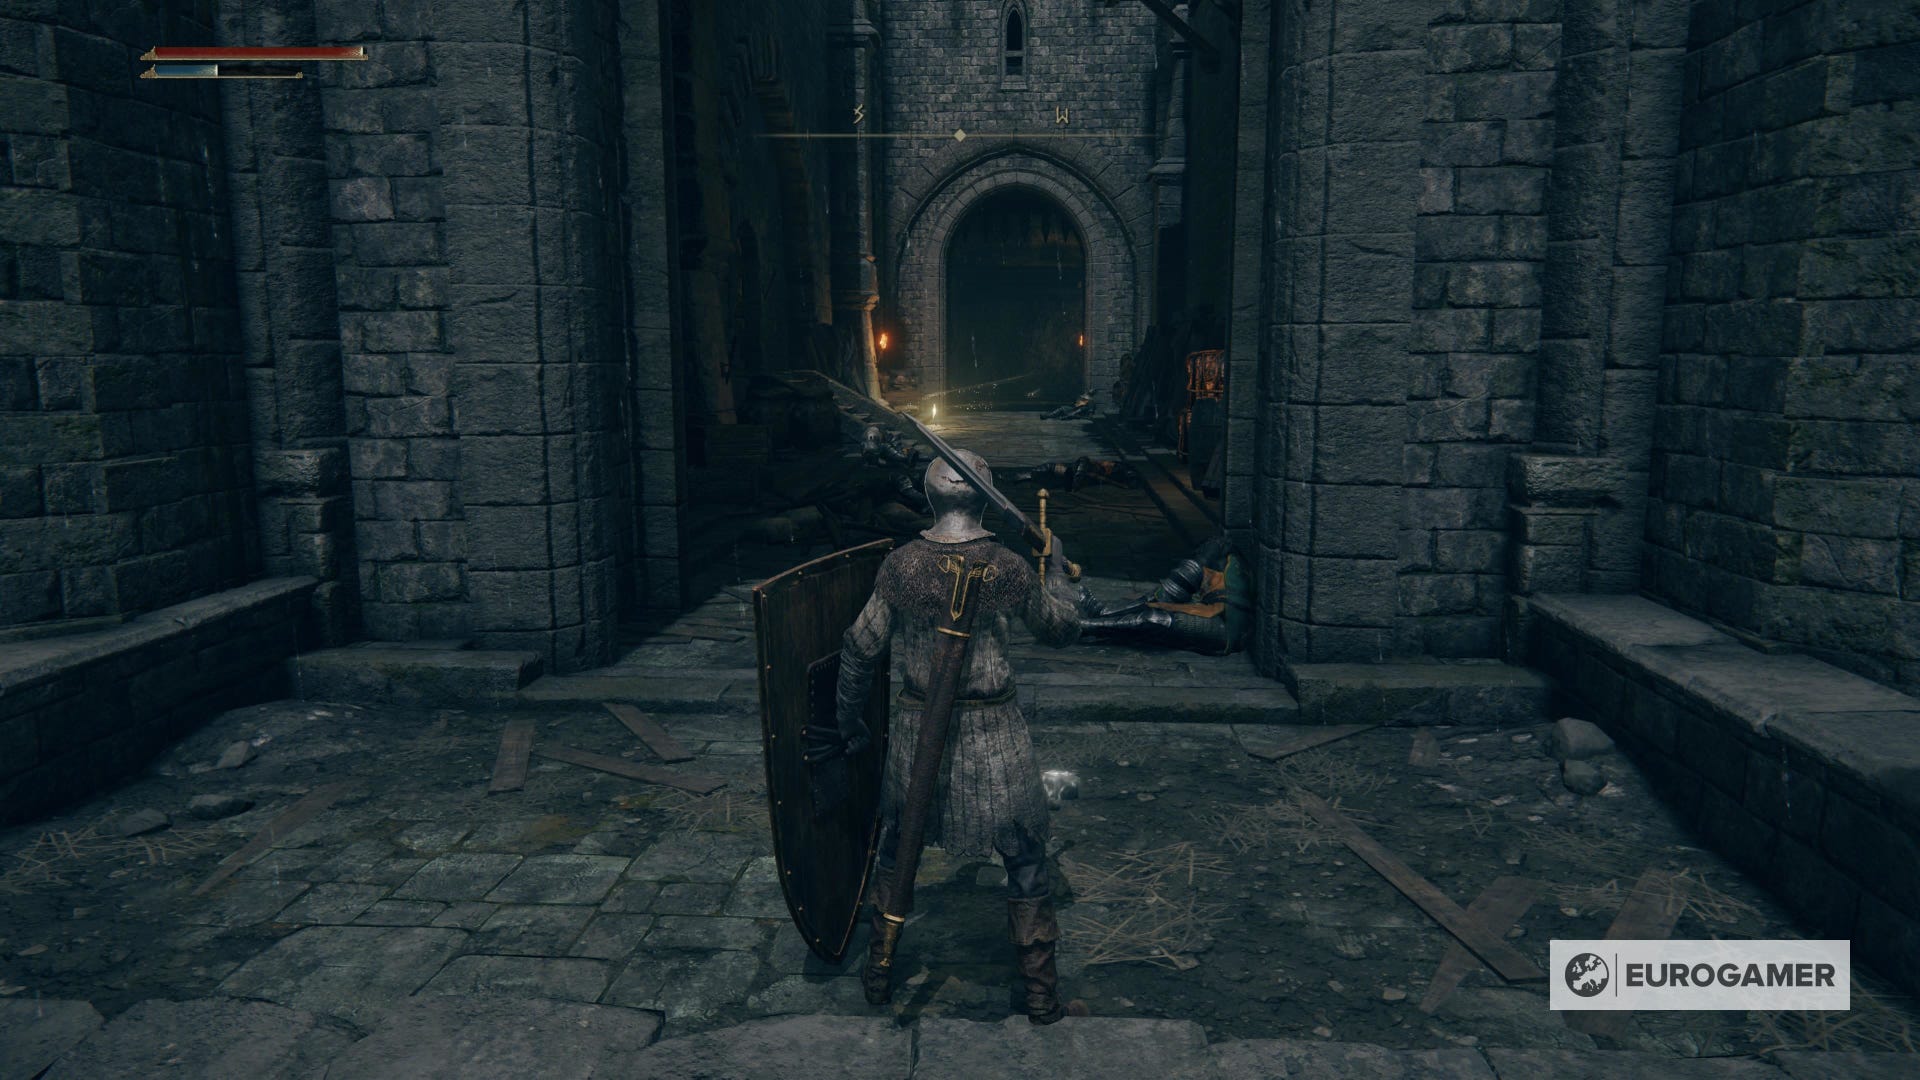
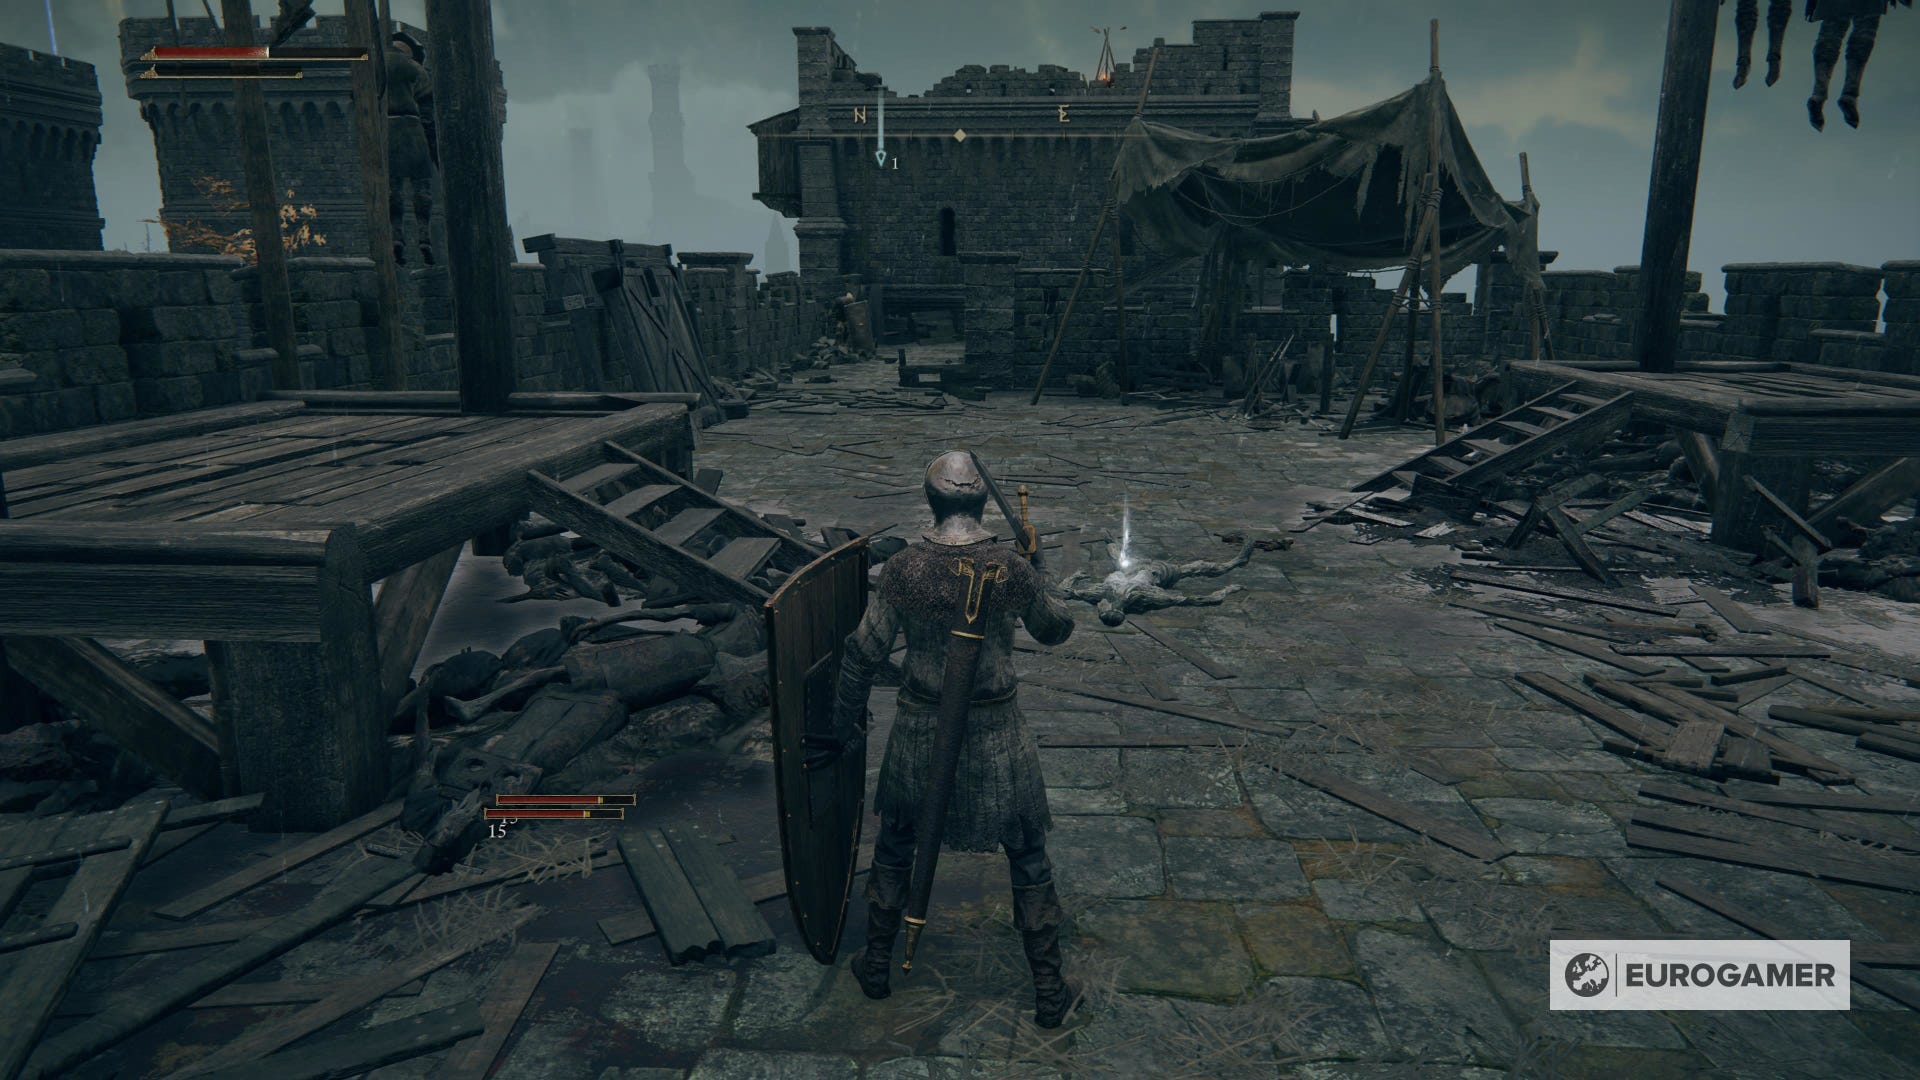
After collecting the loot, go down the stairs. There'll be two inhuman enemies killing a knight that has surrendered. Take advantage and start hitting them from far away with a ranged weapon.
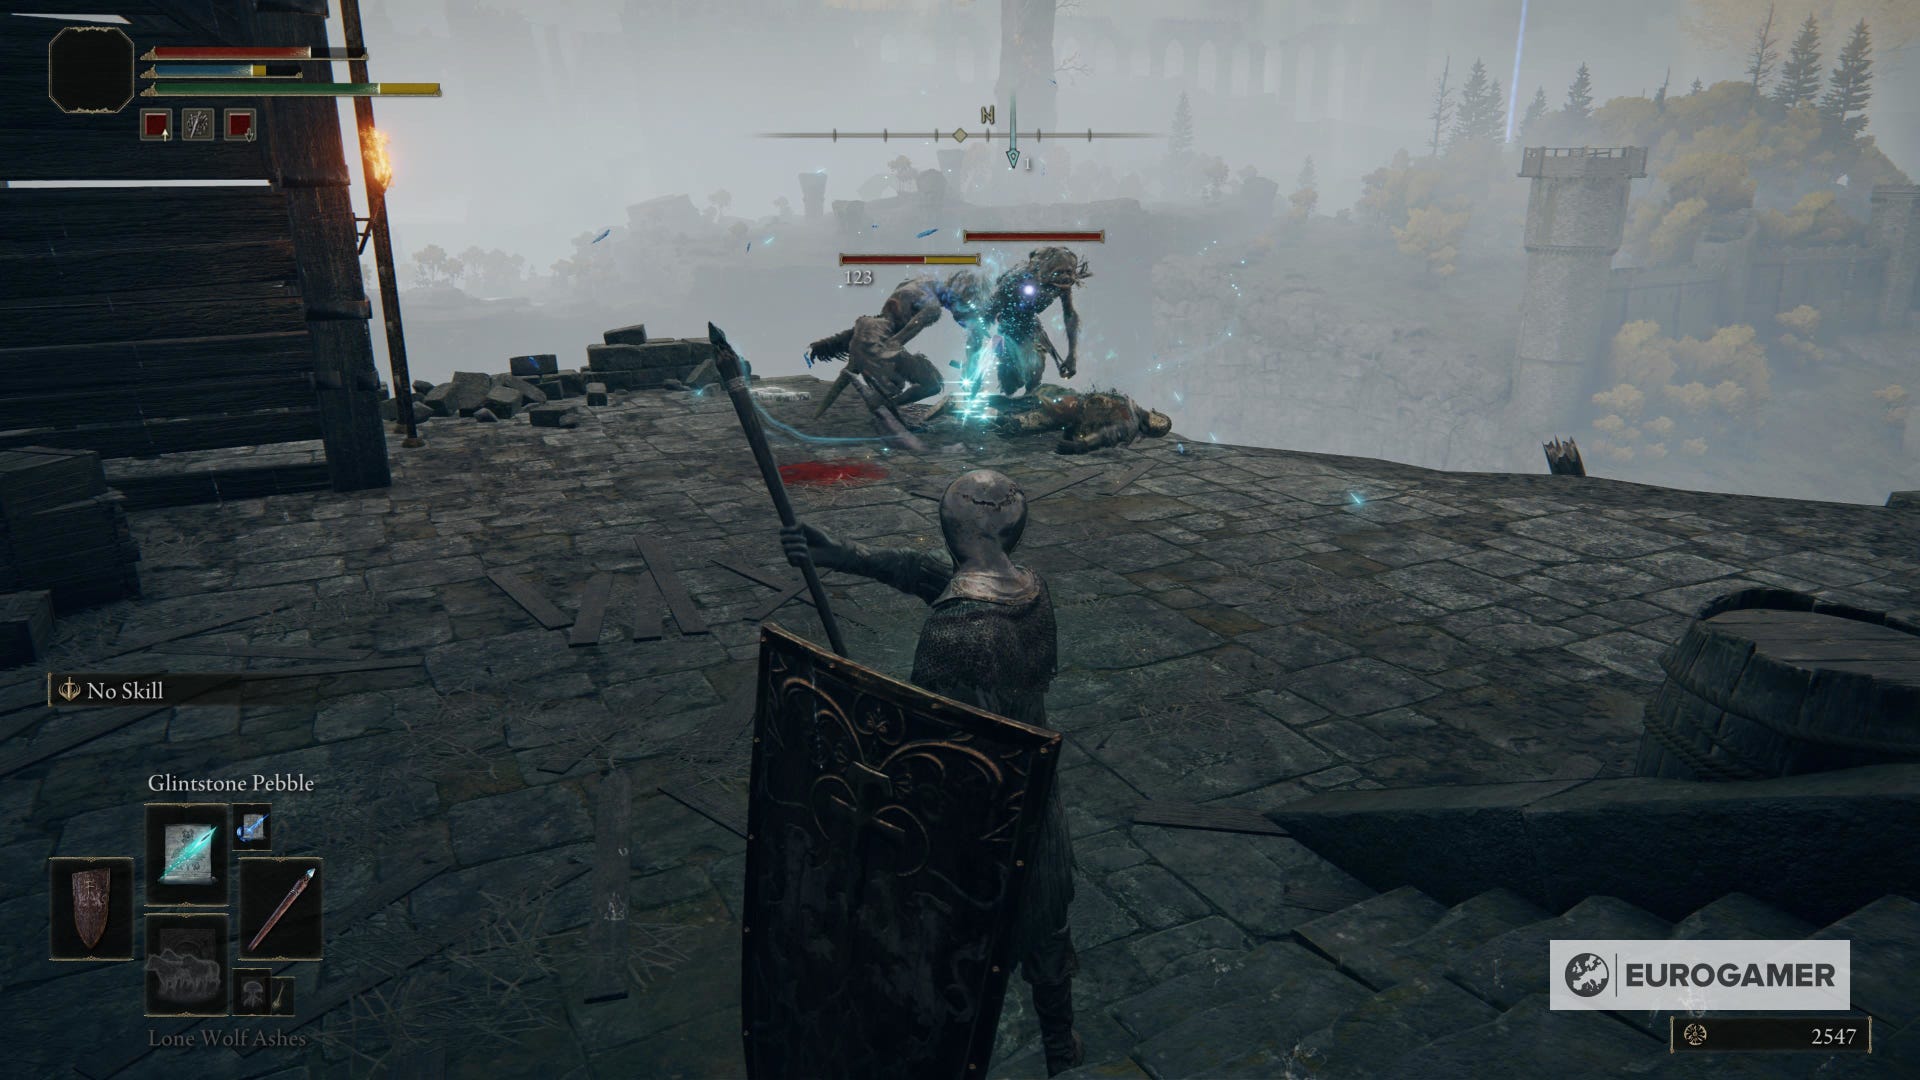
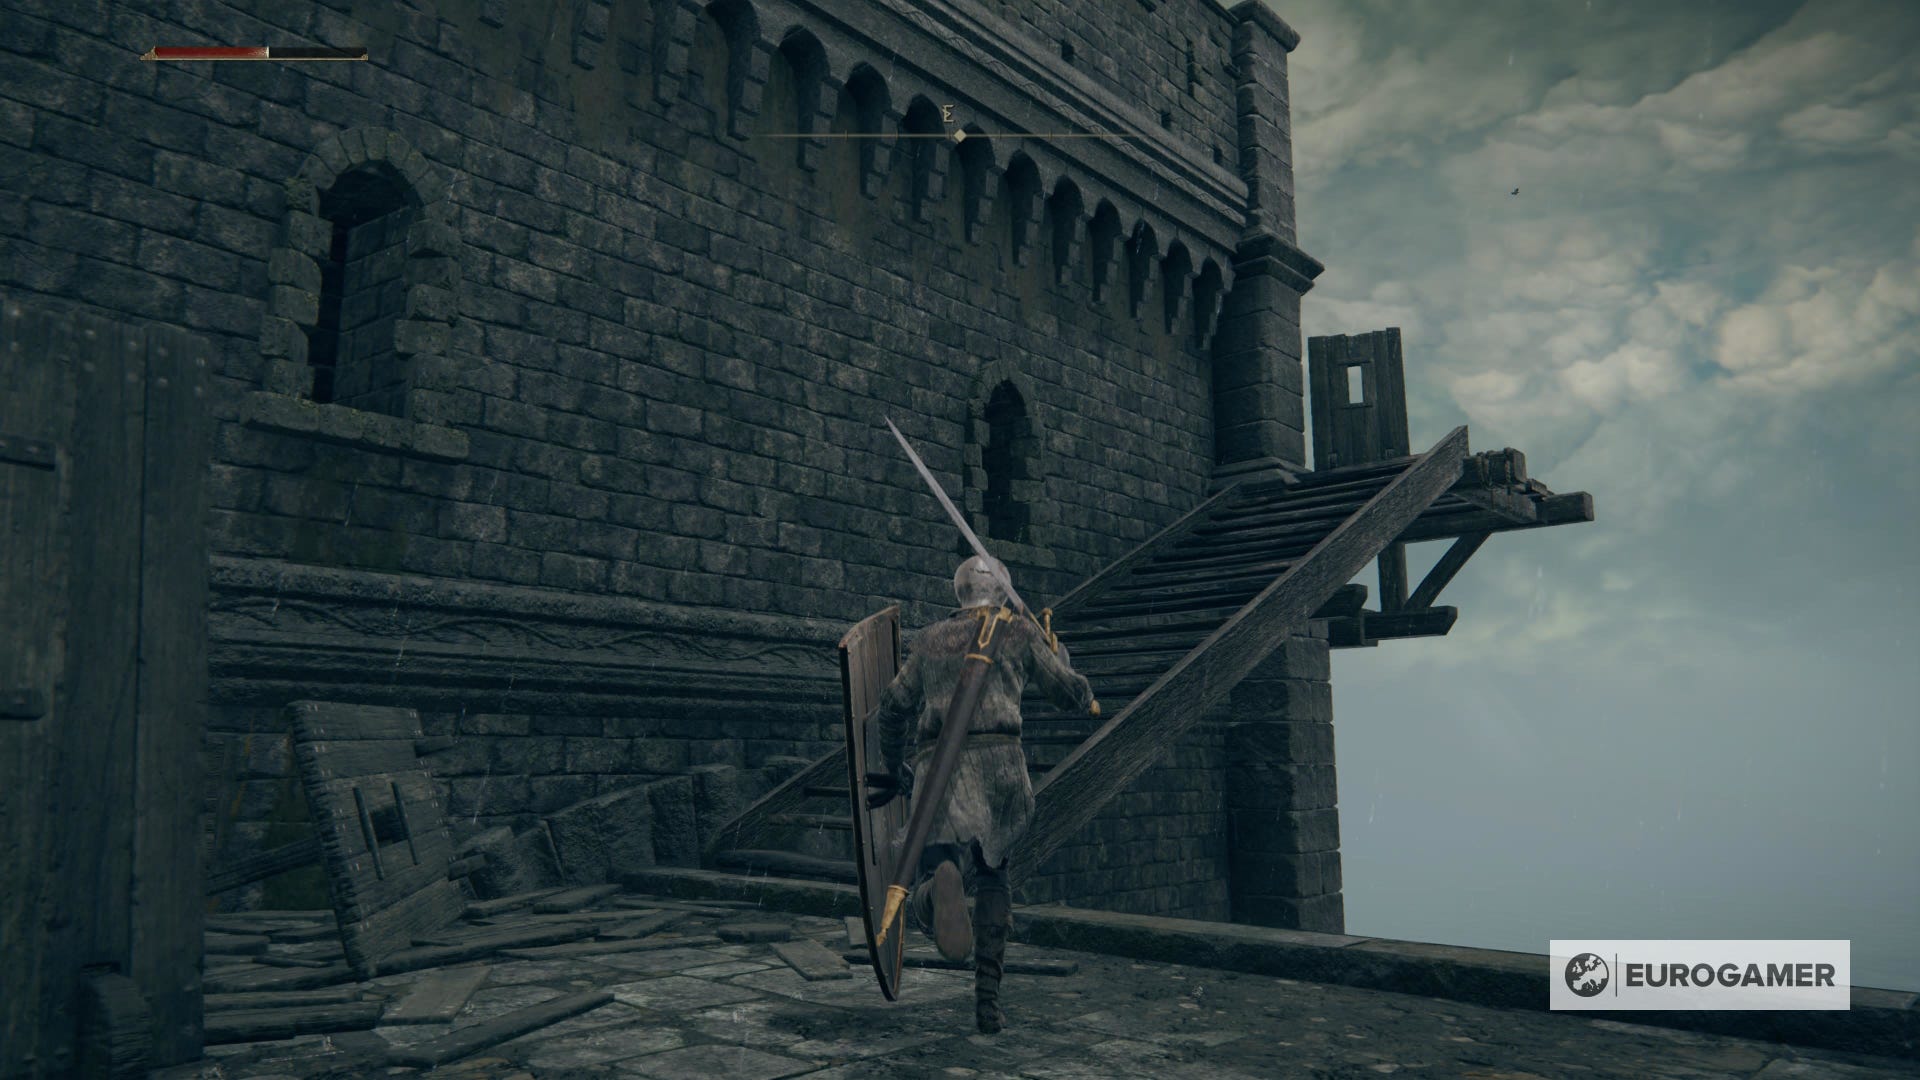
Use the ladder on the right and you'll arrive at the top of one of the castle's towers. Here will be a battle against human and non-human enemies. Let them beat each other and attack the only soldier free - the one with the crossbow.
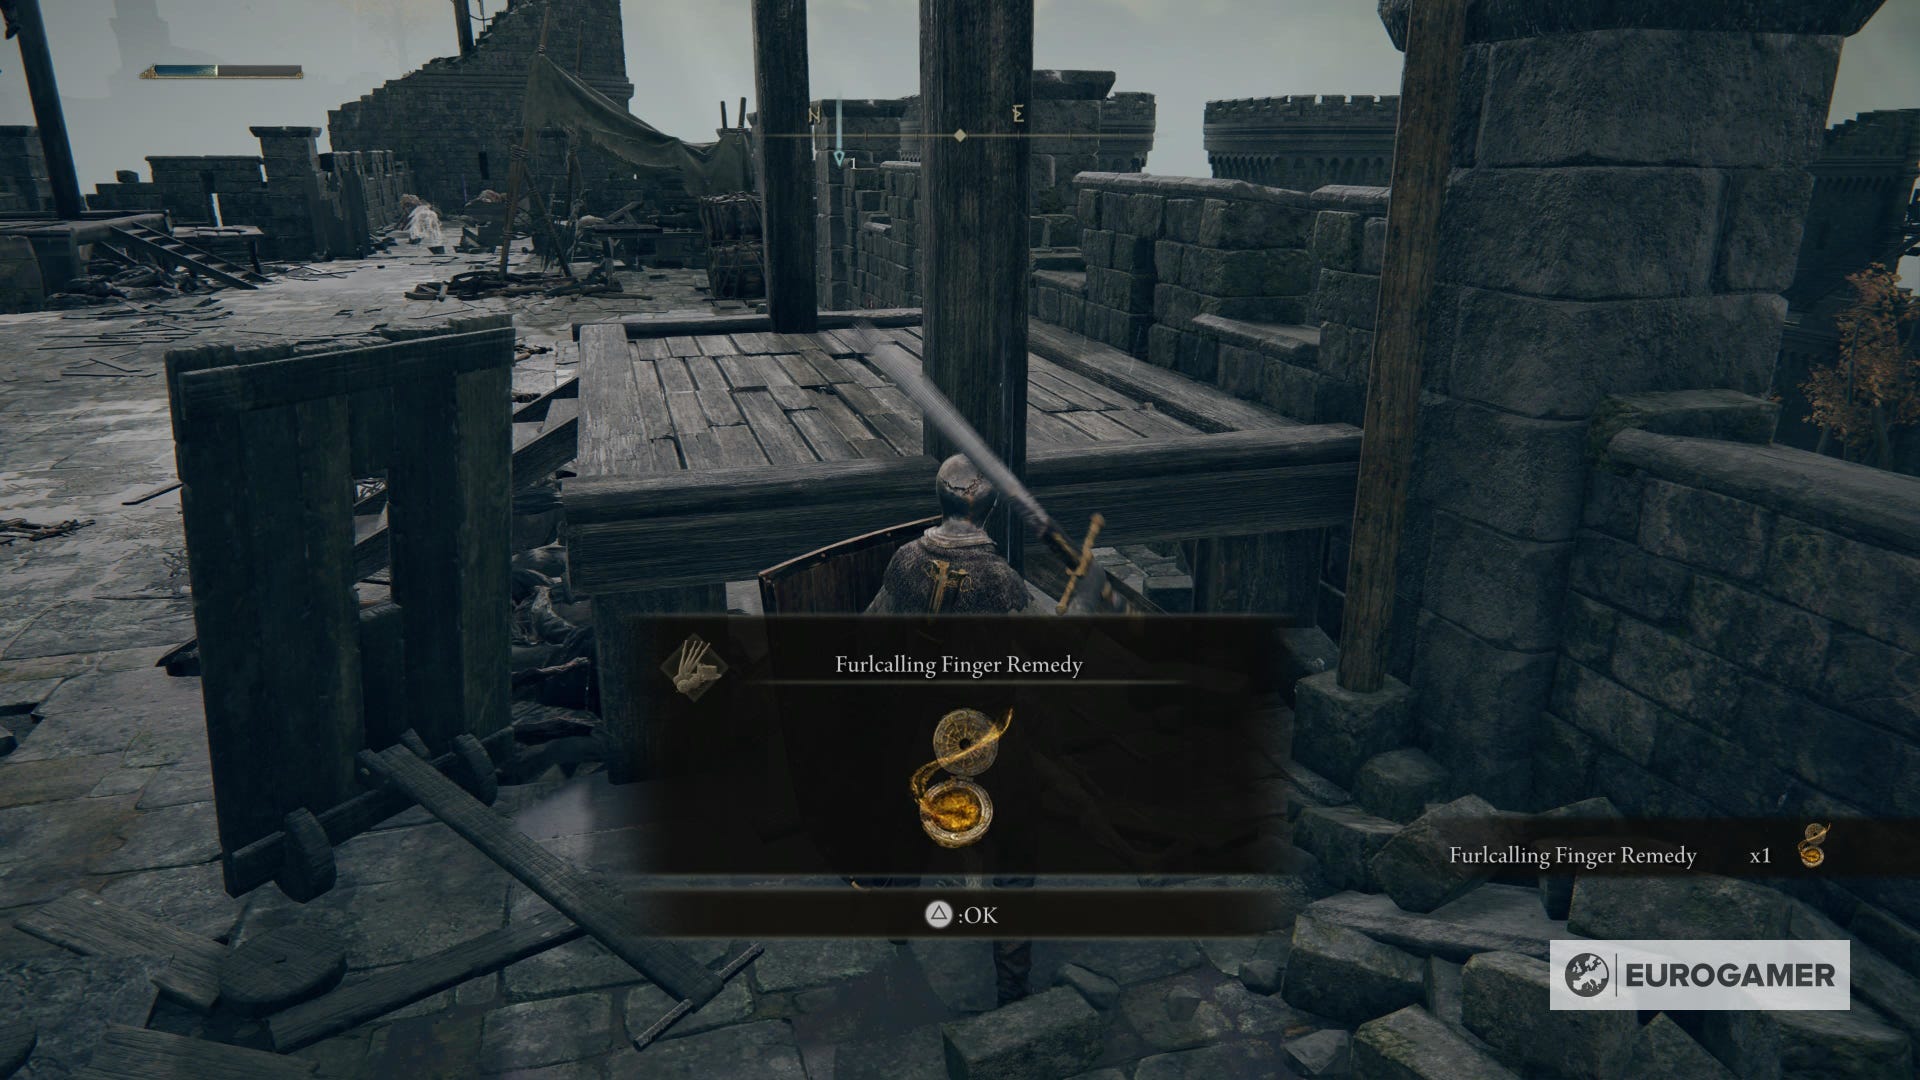
On the other side of the hanging platform on your right, there will be a Furcalling Finger Remedy. After collecting it, you can clean the remaining enemies.
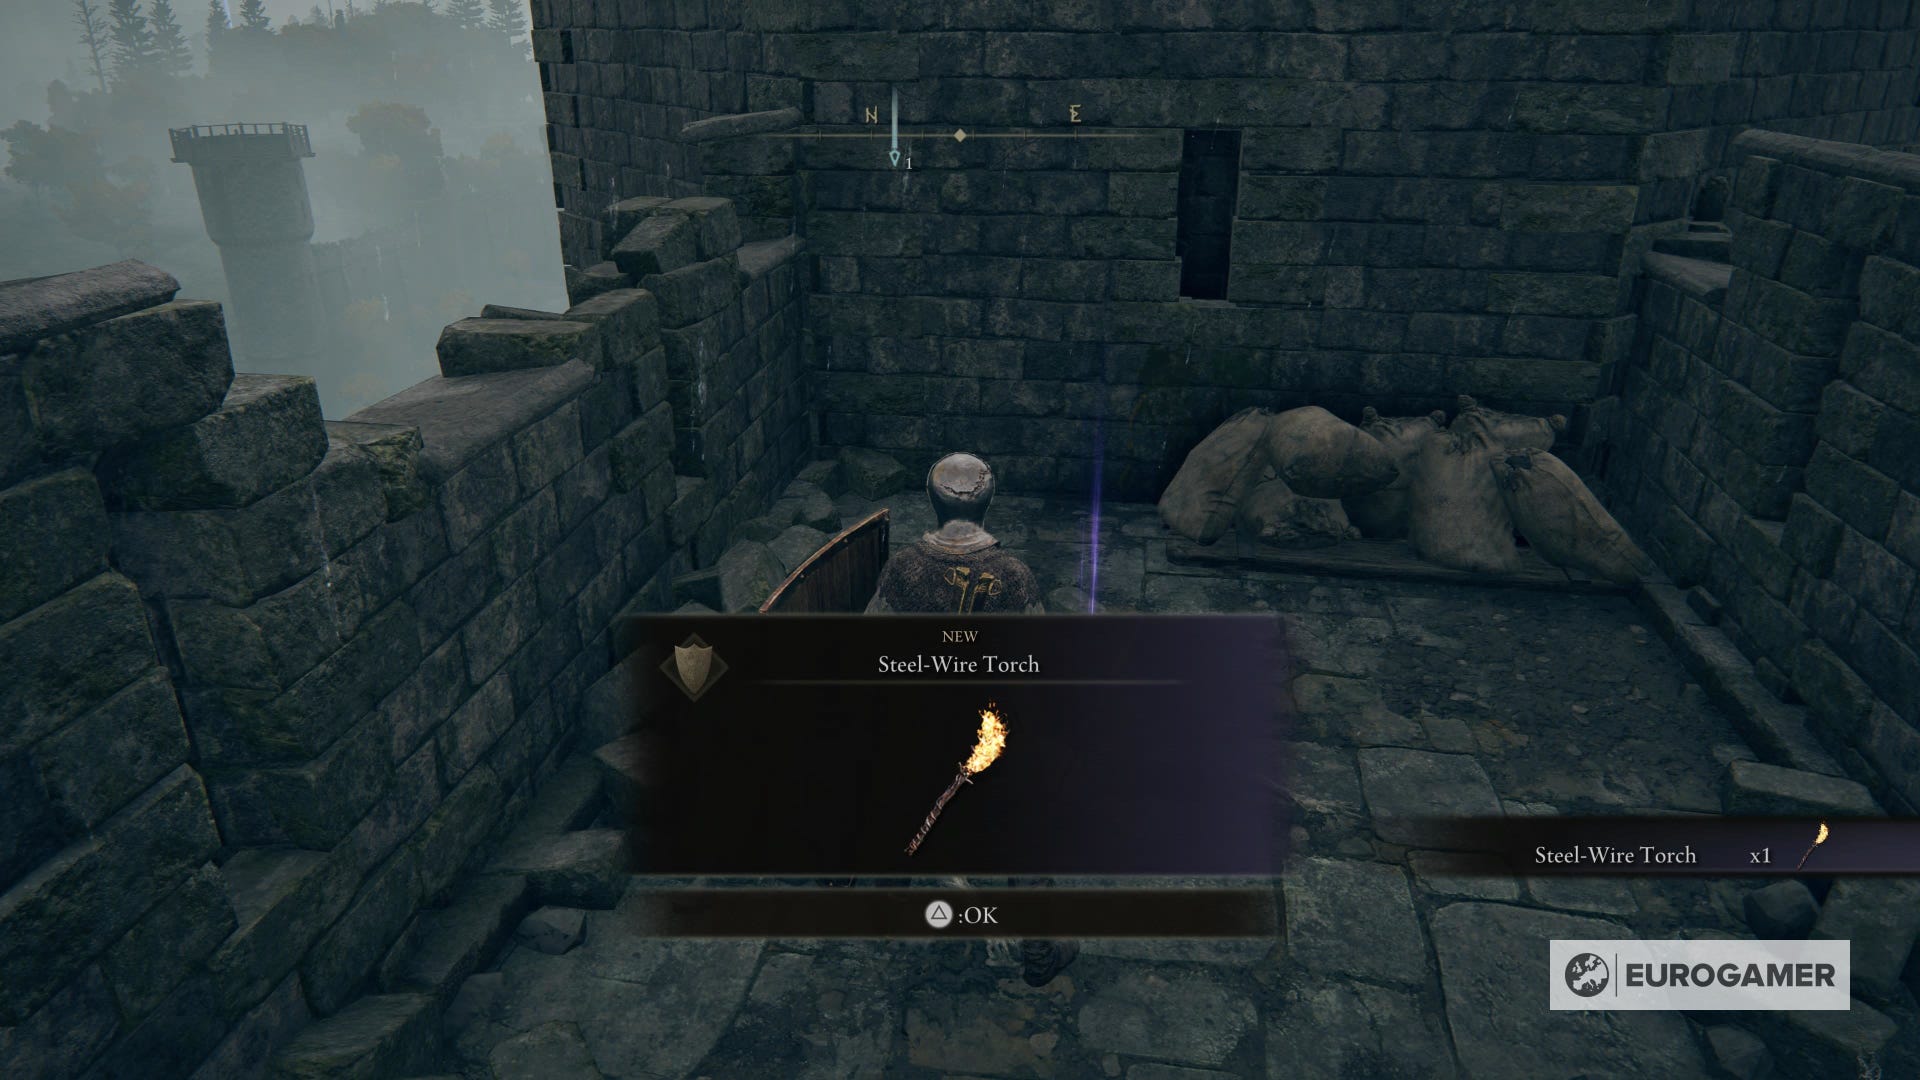
Now go to the only path available, where there are two enemies. Kill them and pick up the Steel-Wire Torch.
Then, you'll have to walk some steps back and fall from the platform with the side destroyed.
Go forward and one inhuman enemy will come to you. Deal with them and continue near the hanged people. Three enemies will come out, a regular one and two that flies. They aren't much more complicated, and you can make them fall with one or two jumping attacks.
Now you will have three ways available (the left one is covered with boxes).
First, go to the right. You'll descend a bit, and then find another small passage with two enemies - beware of one of them hiding on your right. Kill them and take the collectible at the end of the path: two Smithing Stones 2.
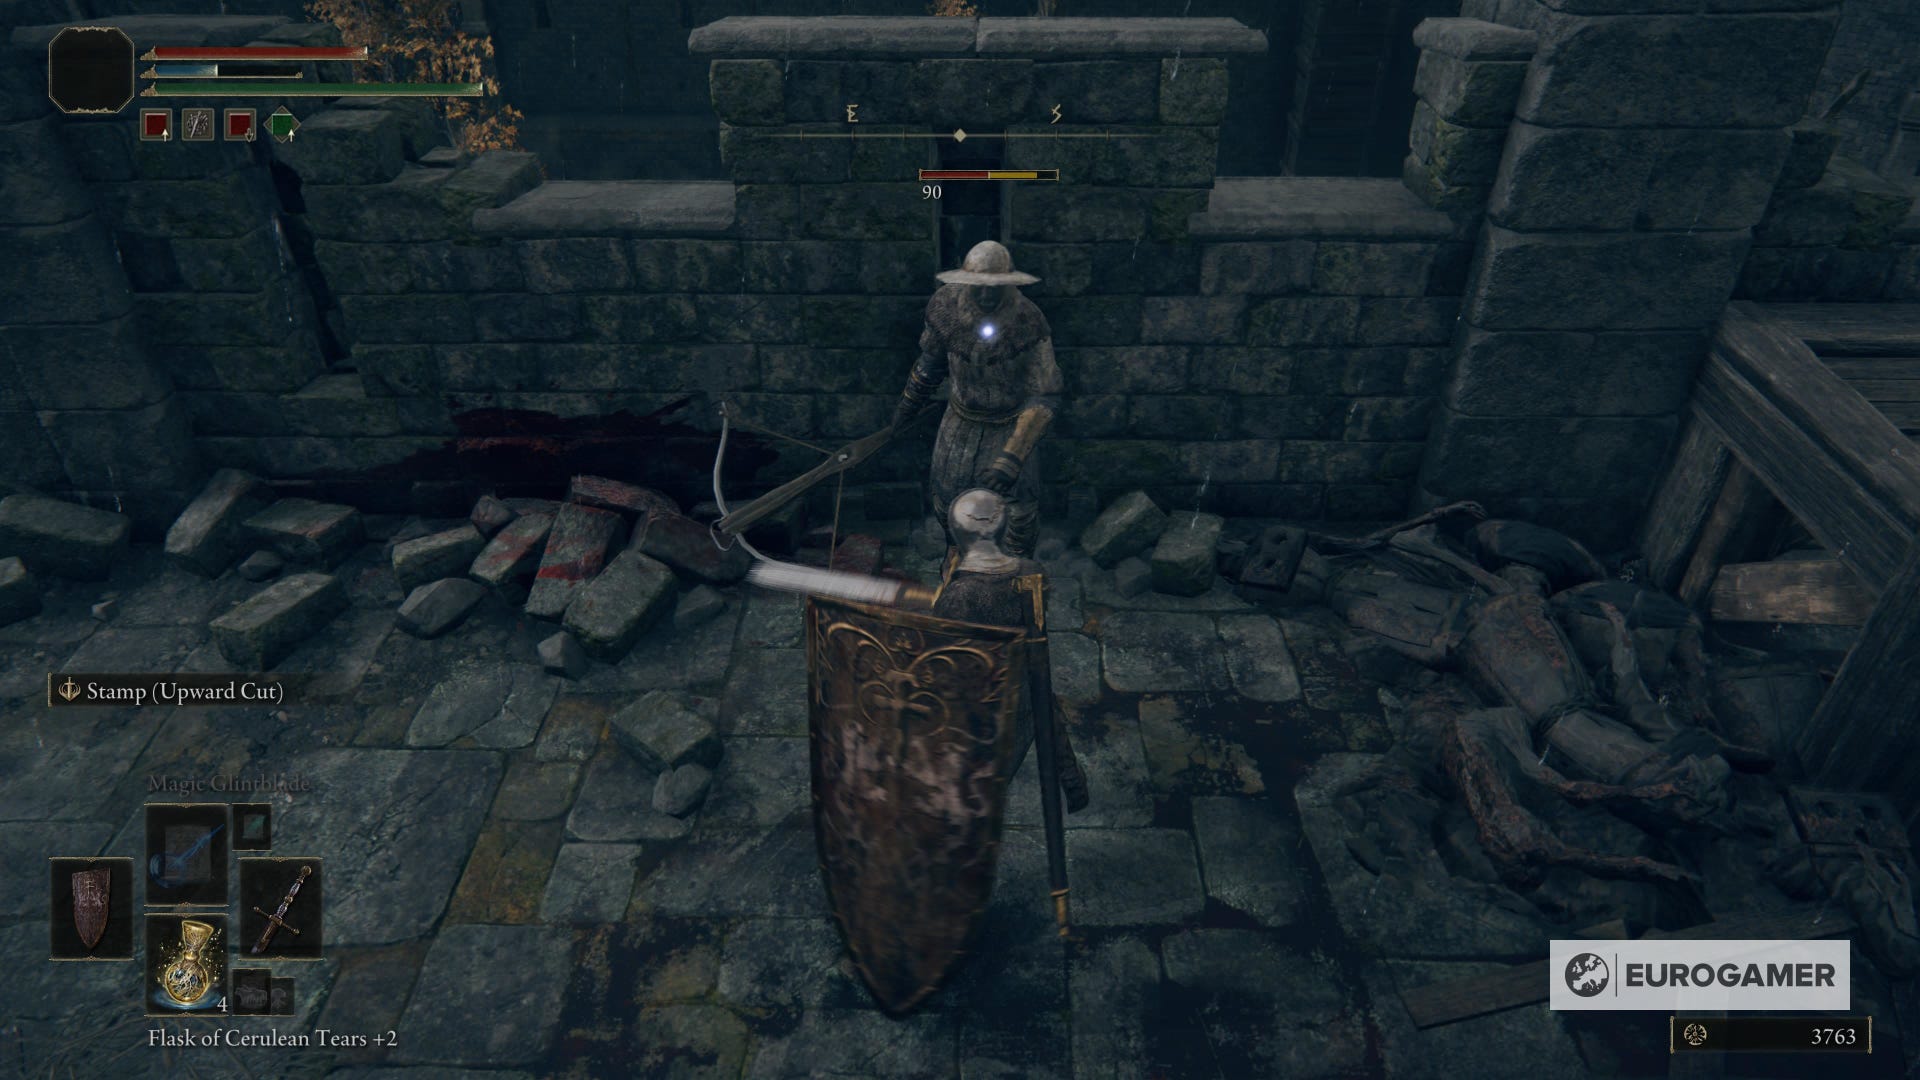
Return and go to the left (the previously blocked ladder). Descend and, depending on how much time it took you to reach here, you'll see humans and non-humans fighting again.
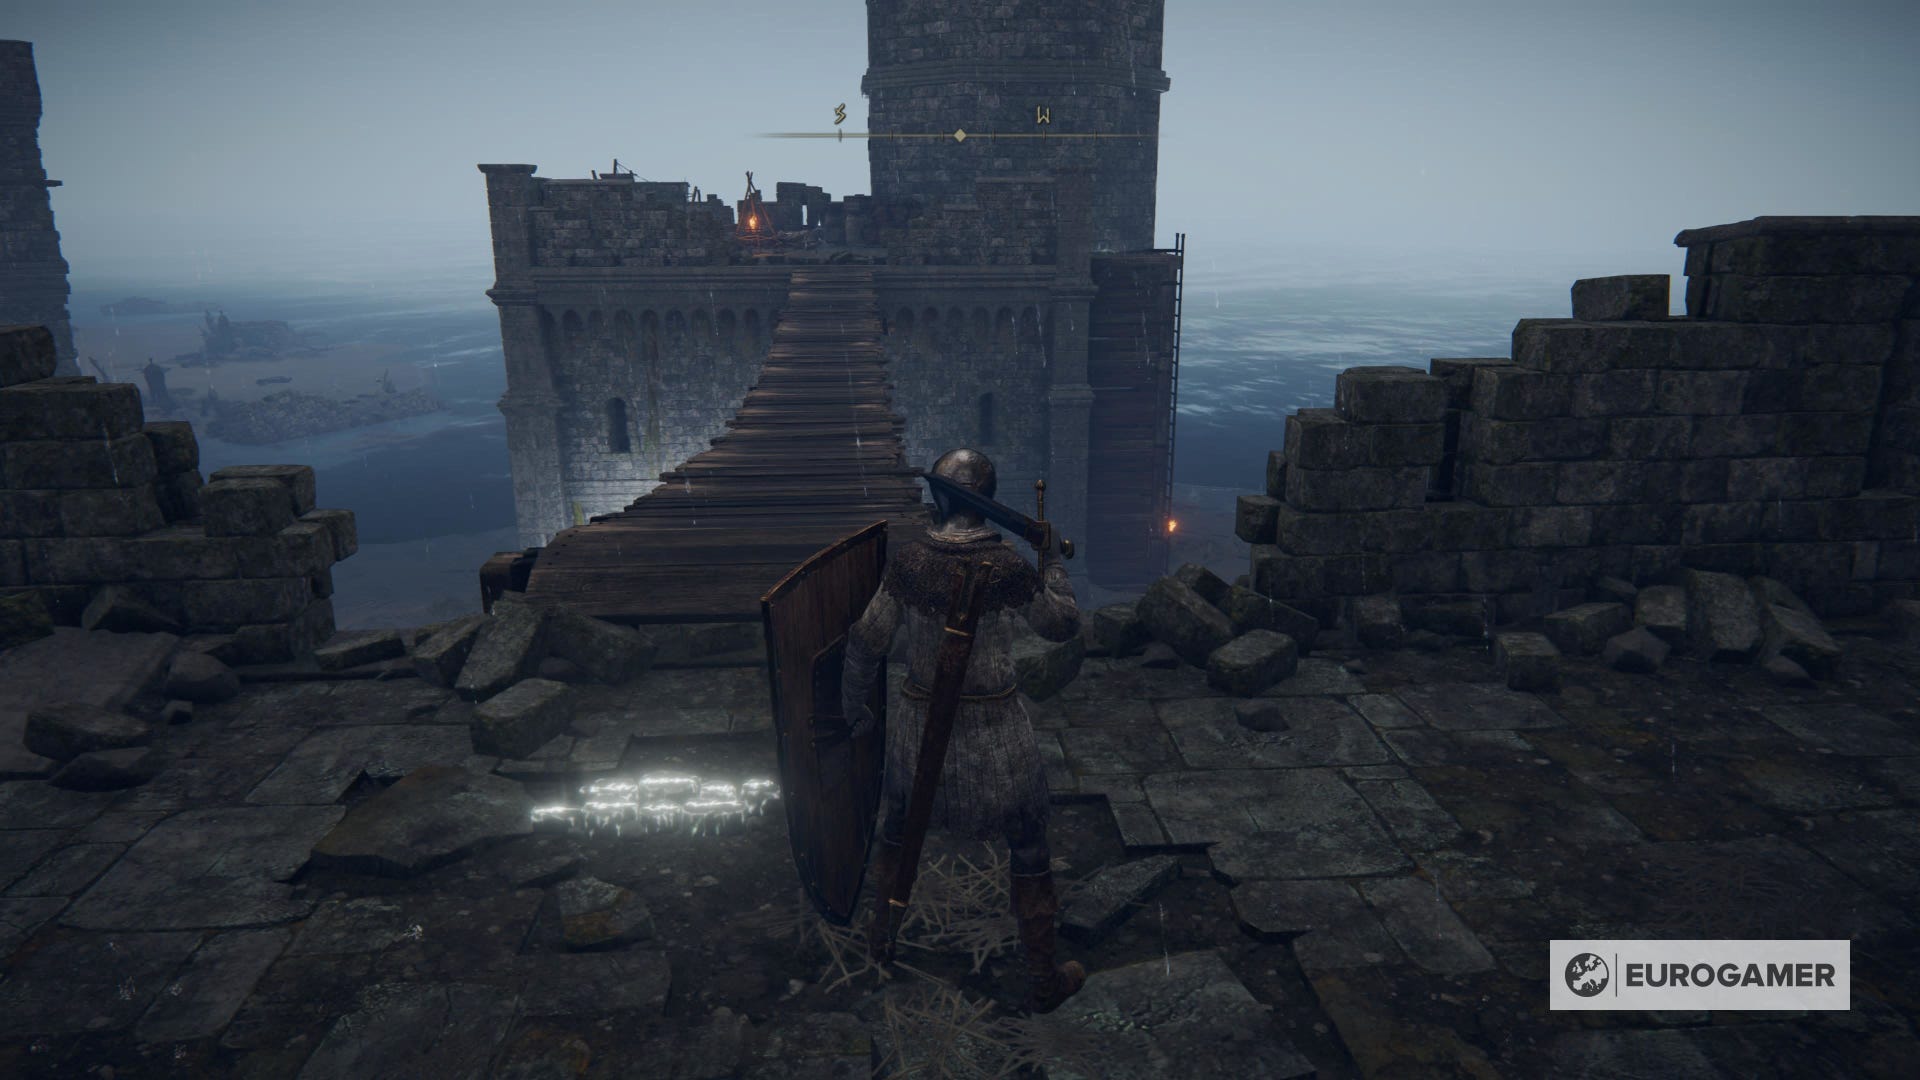
Let's repeat the same strategy: wait for them to kill each other, defeat the remaining ones, and then move forward. You'll see a ladder that will lead you to where Edgar, the lord of the castle and Irina's father, is standing.
Delivering the letter to Edgar and completing his task in Elden Ring explained
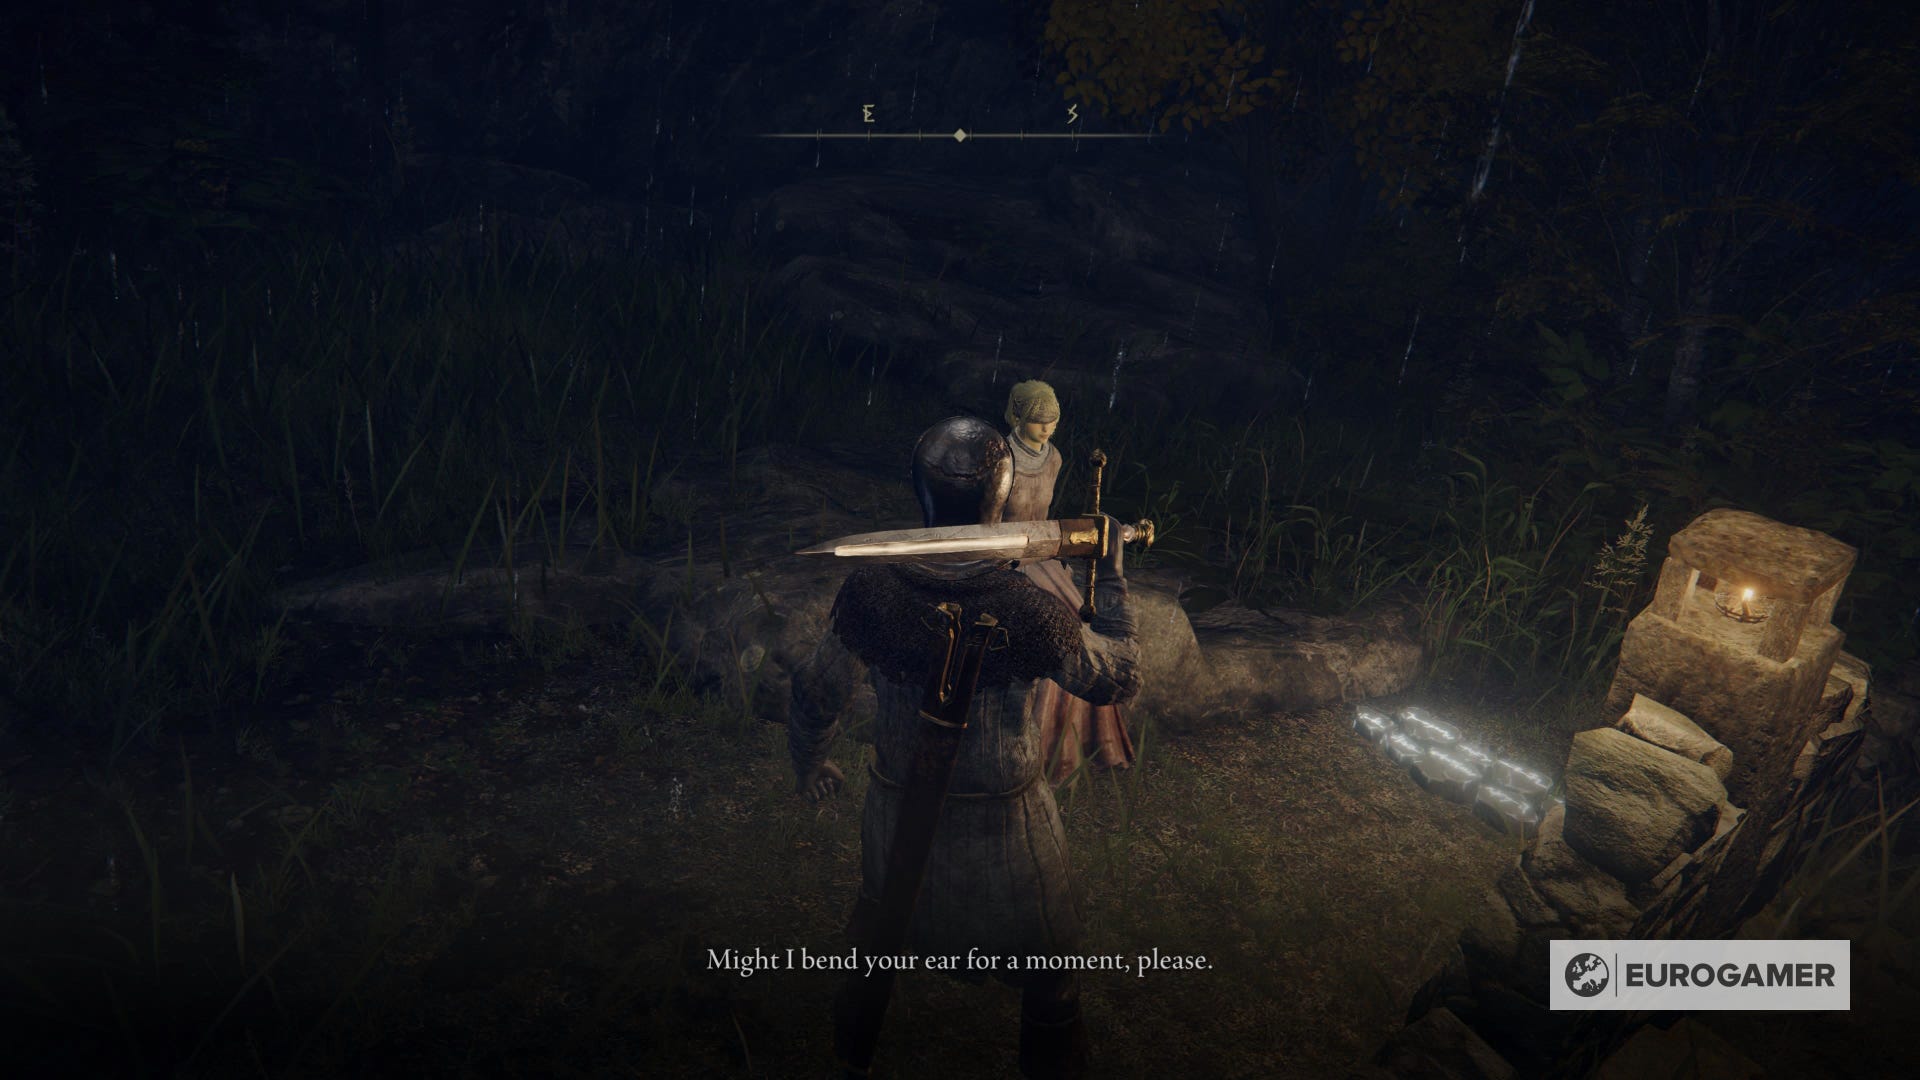
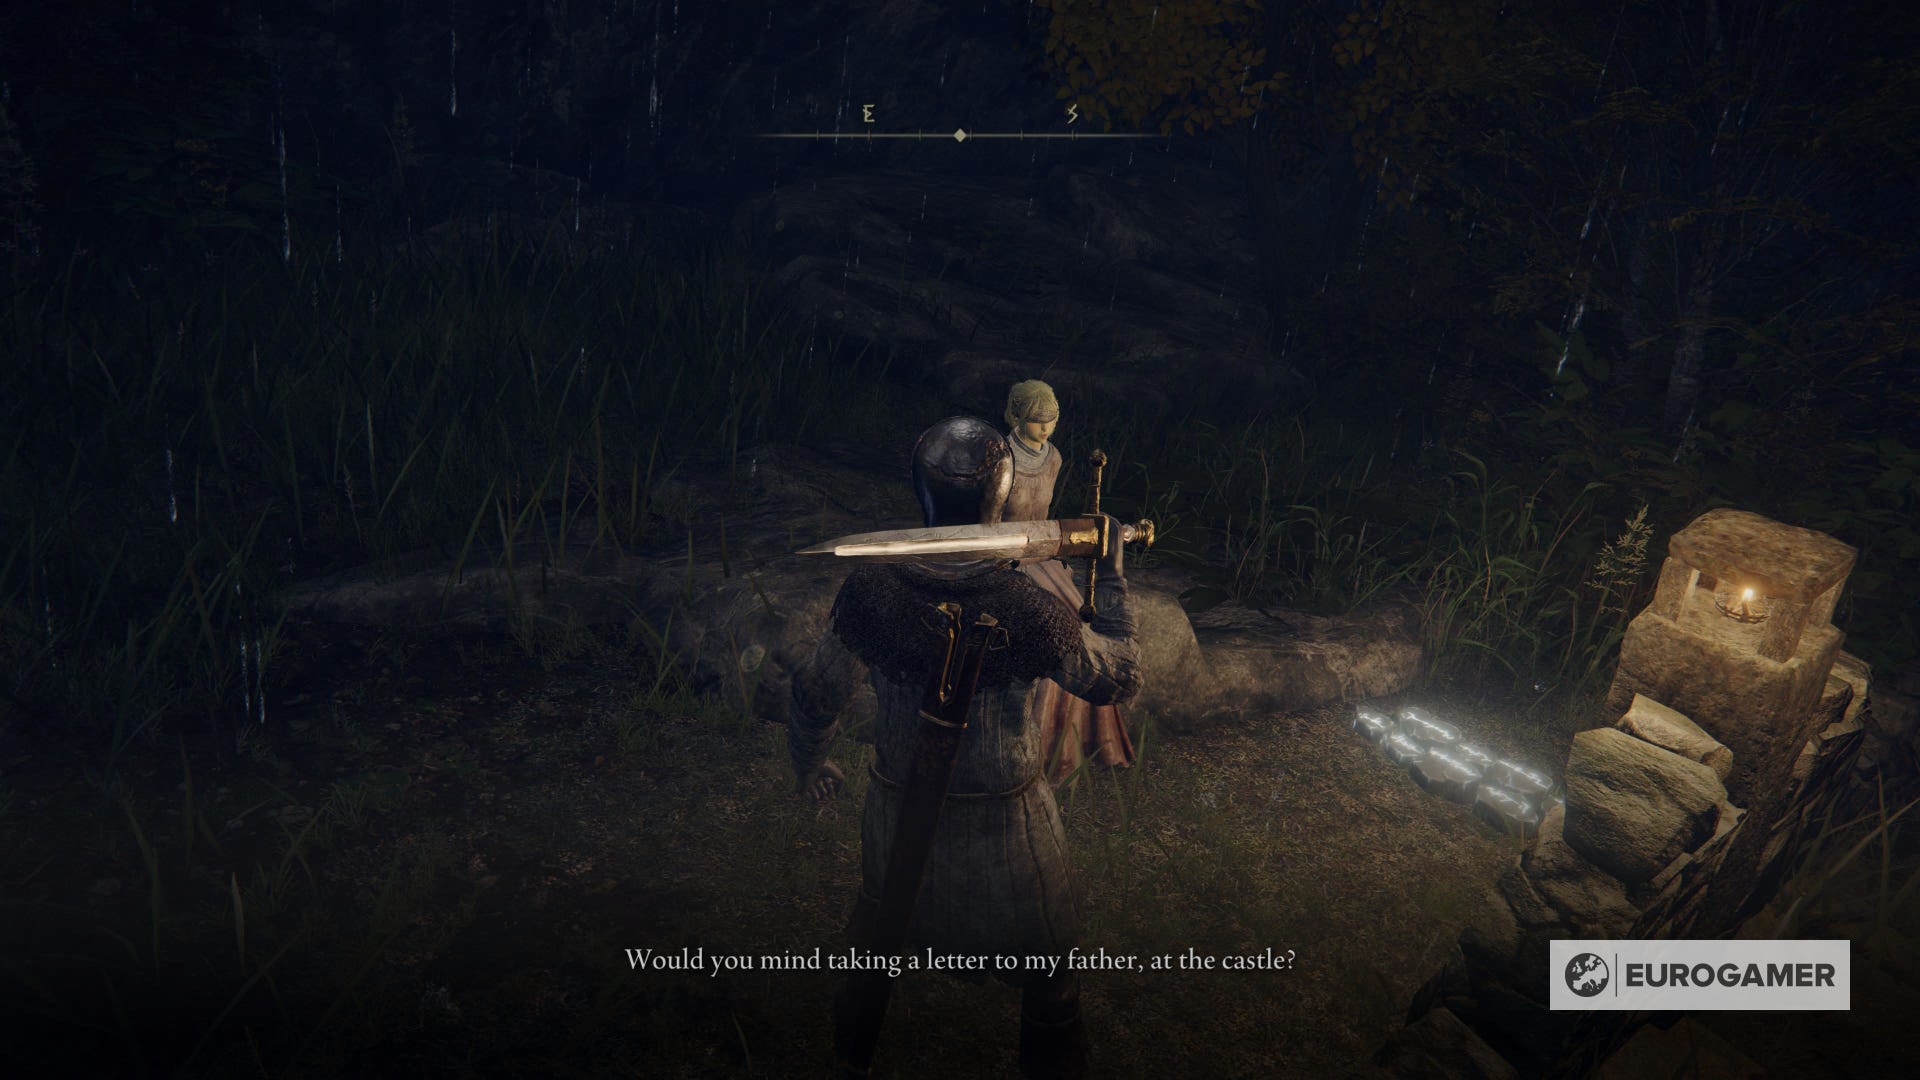
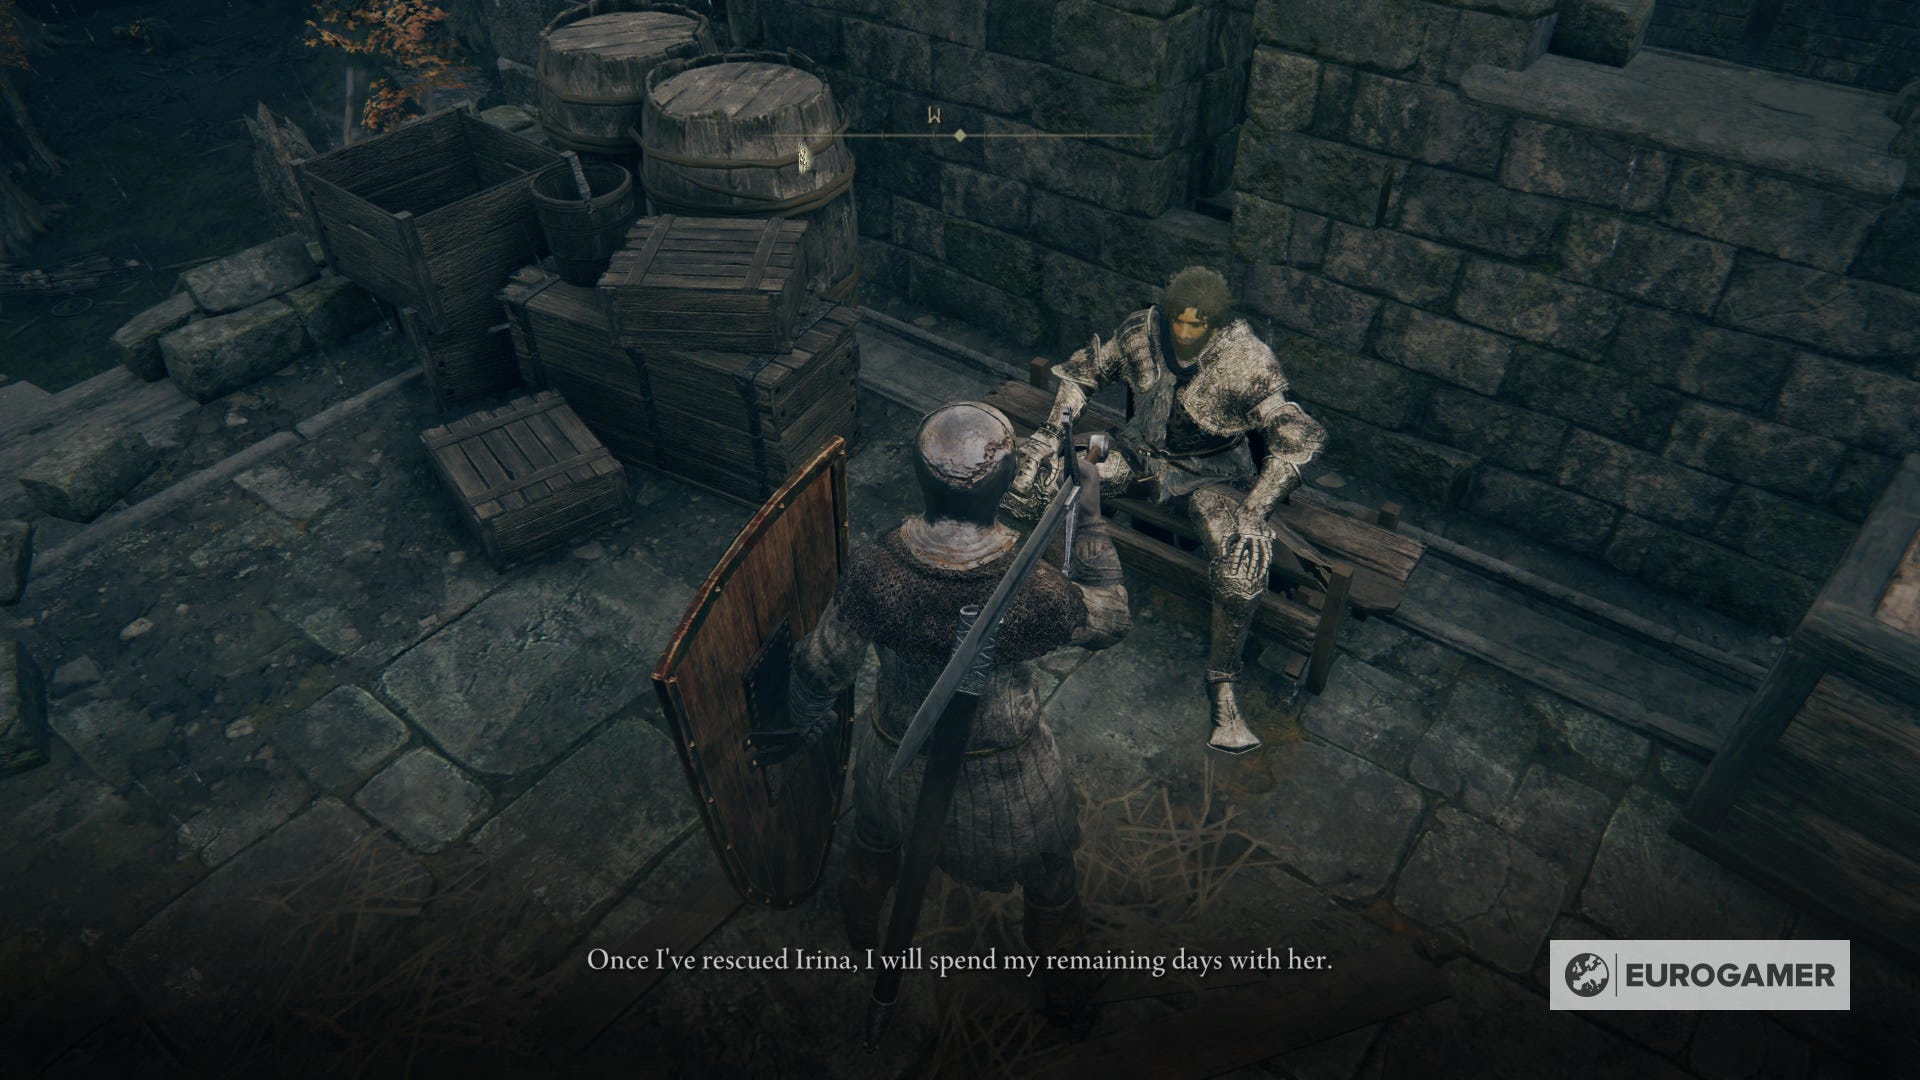
When you talk with Edgar for the first time in Elden Ring, he'll speak about the rebellion he and his soldiers suffered. He'll also give you a Sacrificial Twig.
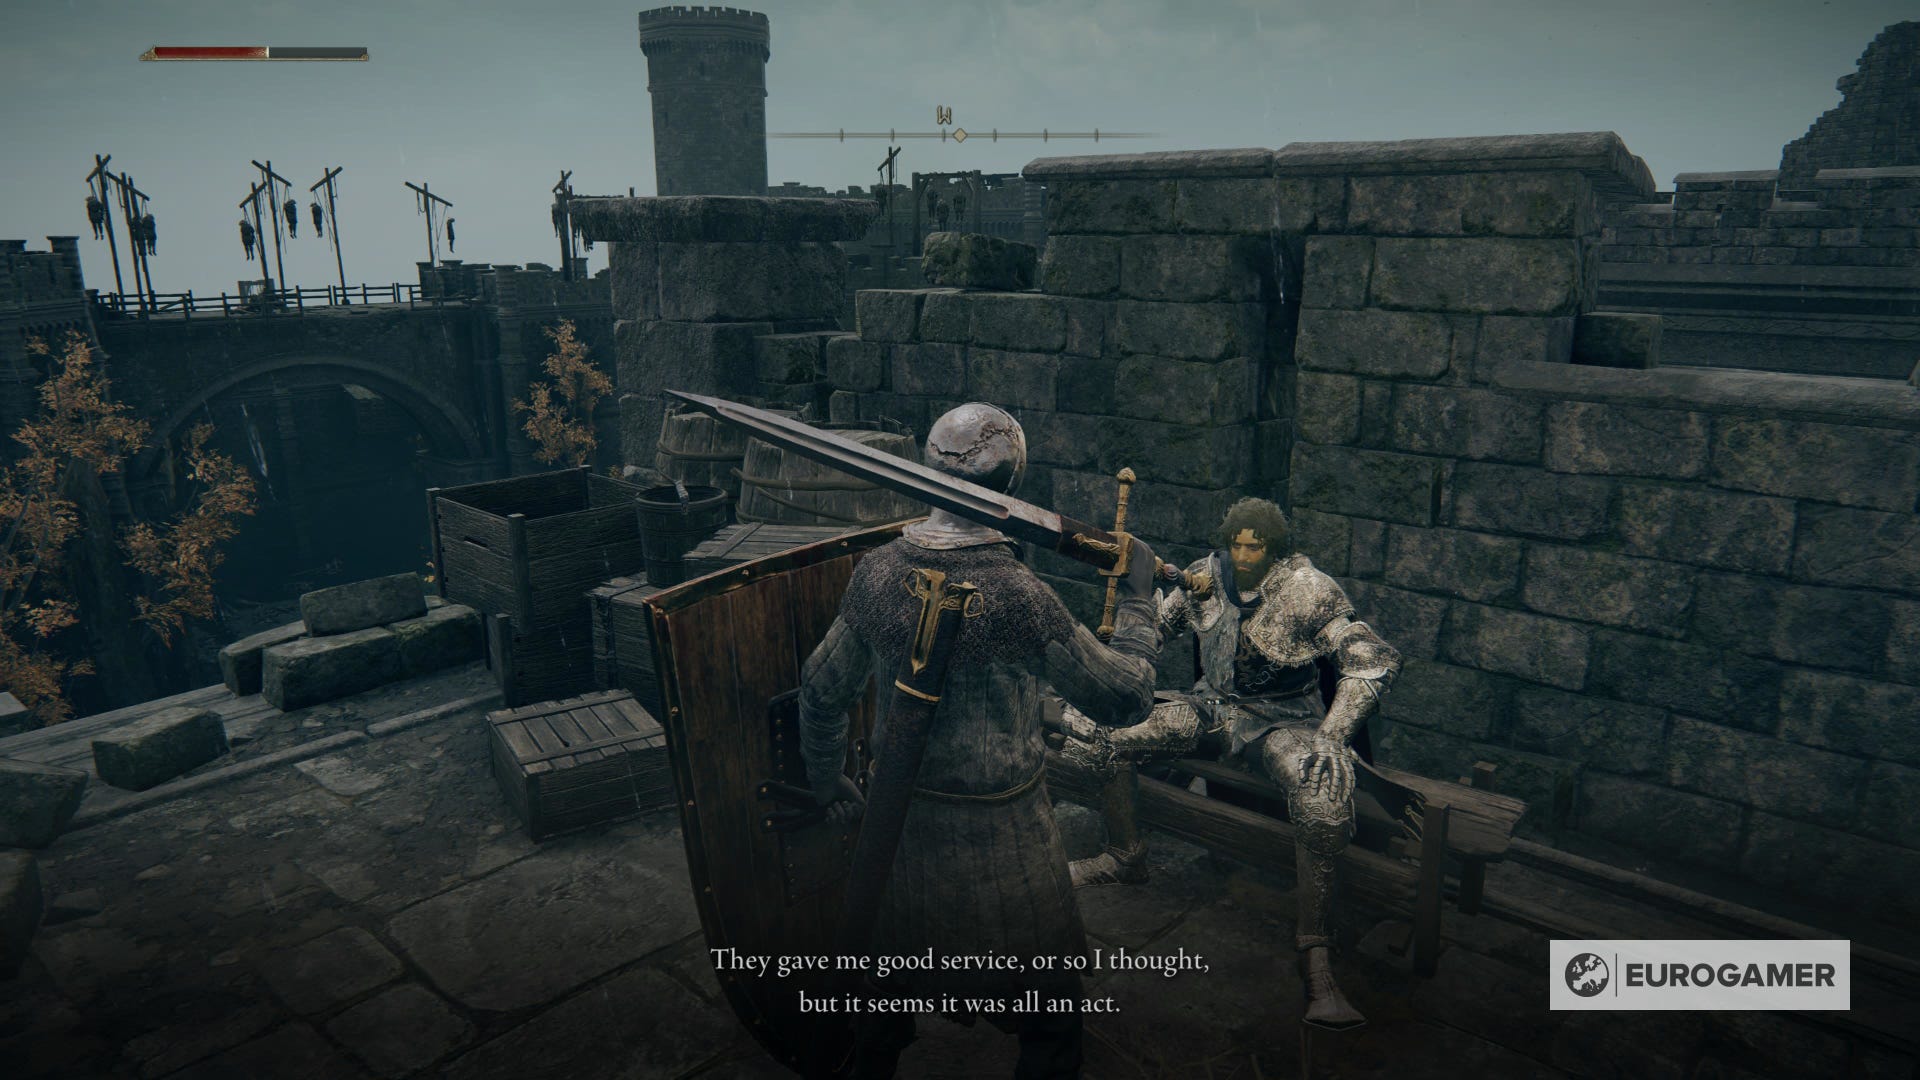


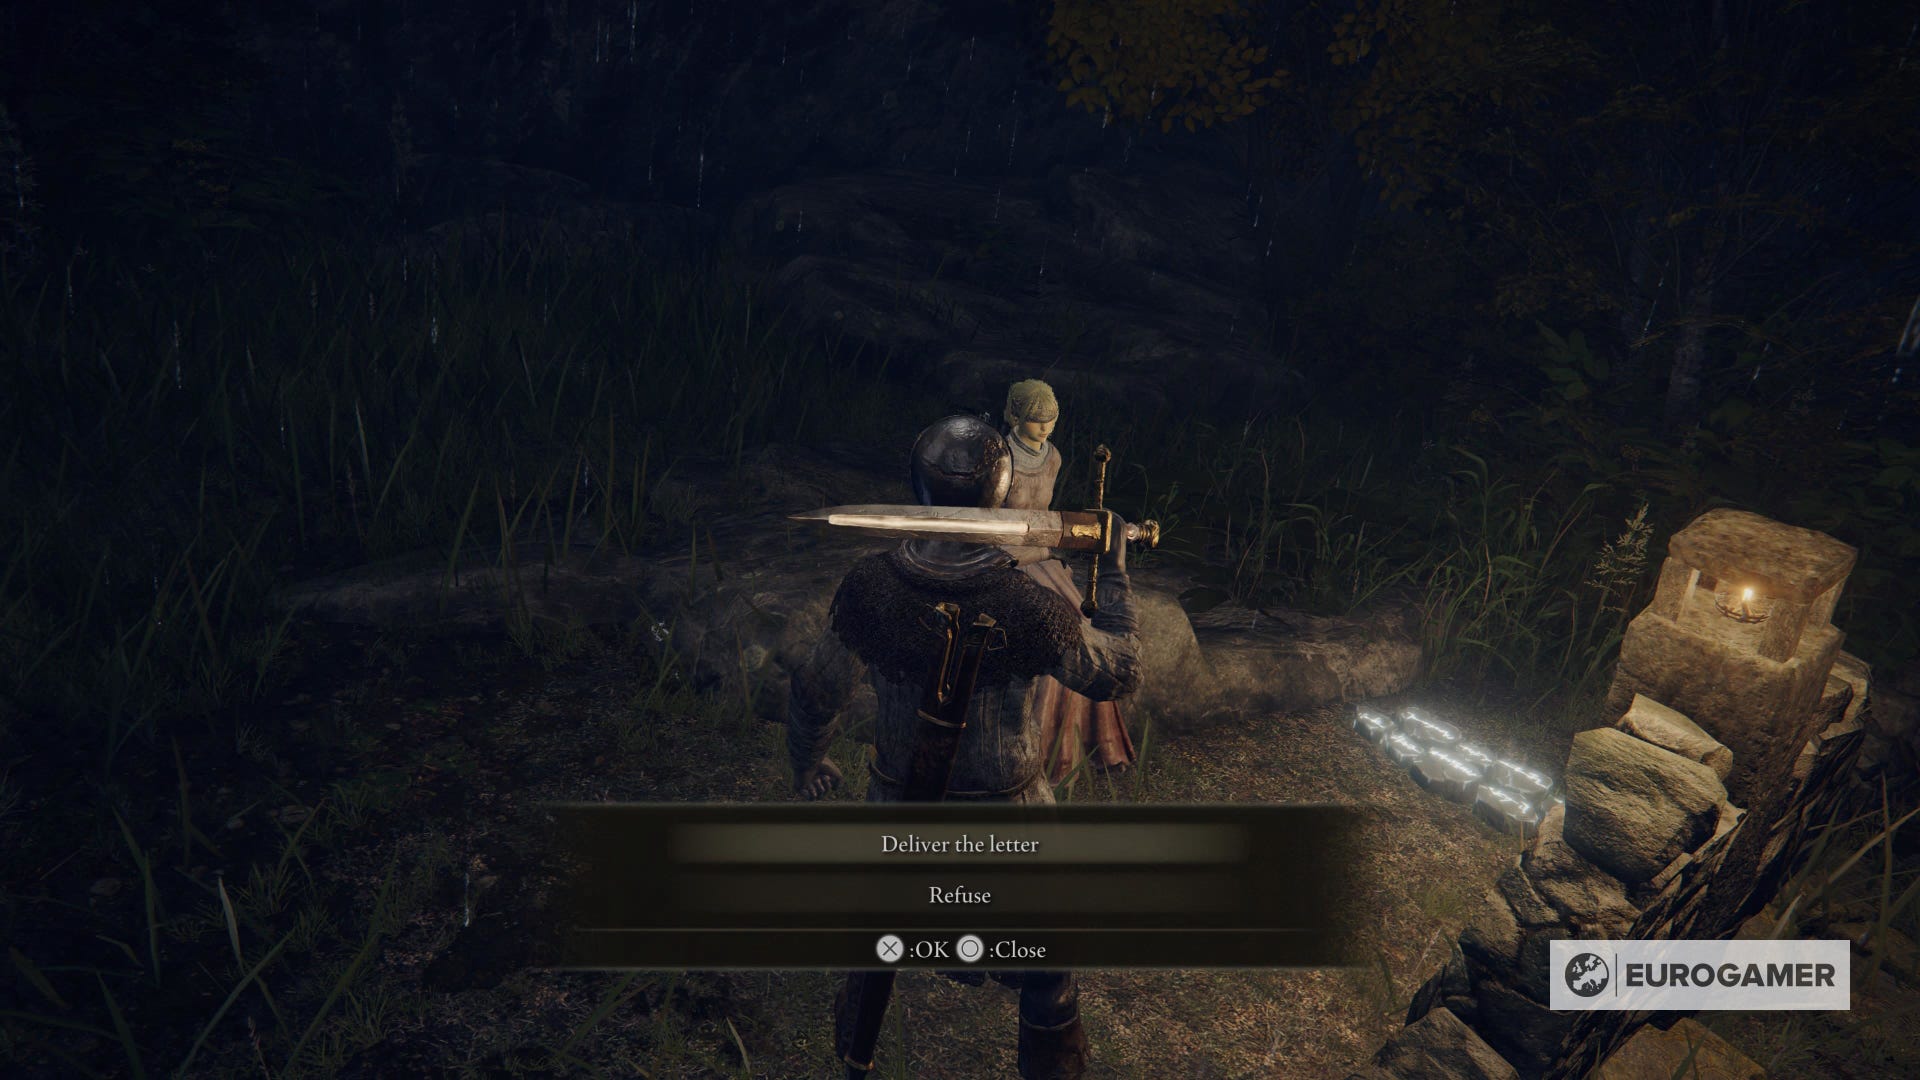
An option to give Irina's letter to him will pop up. Accept it and he will read it. However, he'll tell you that can't leave until the castle and a mysterious sword are safe.
How to complete Castle Morne
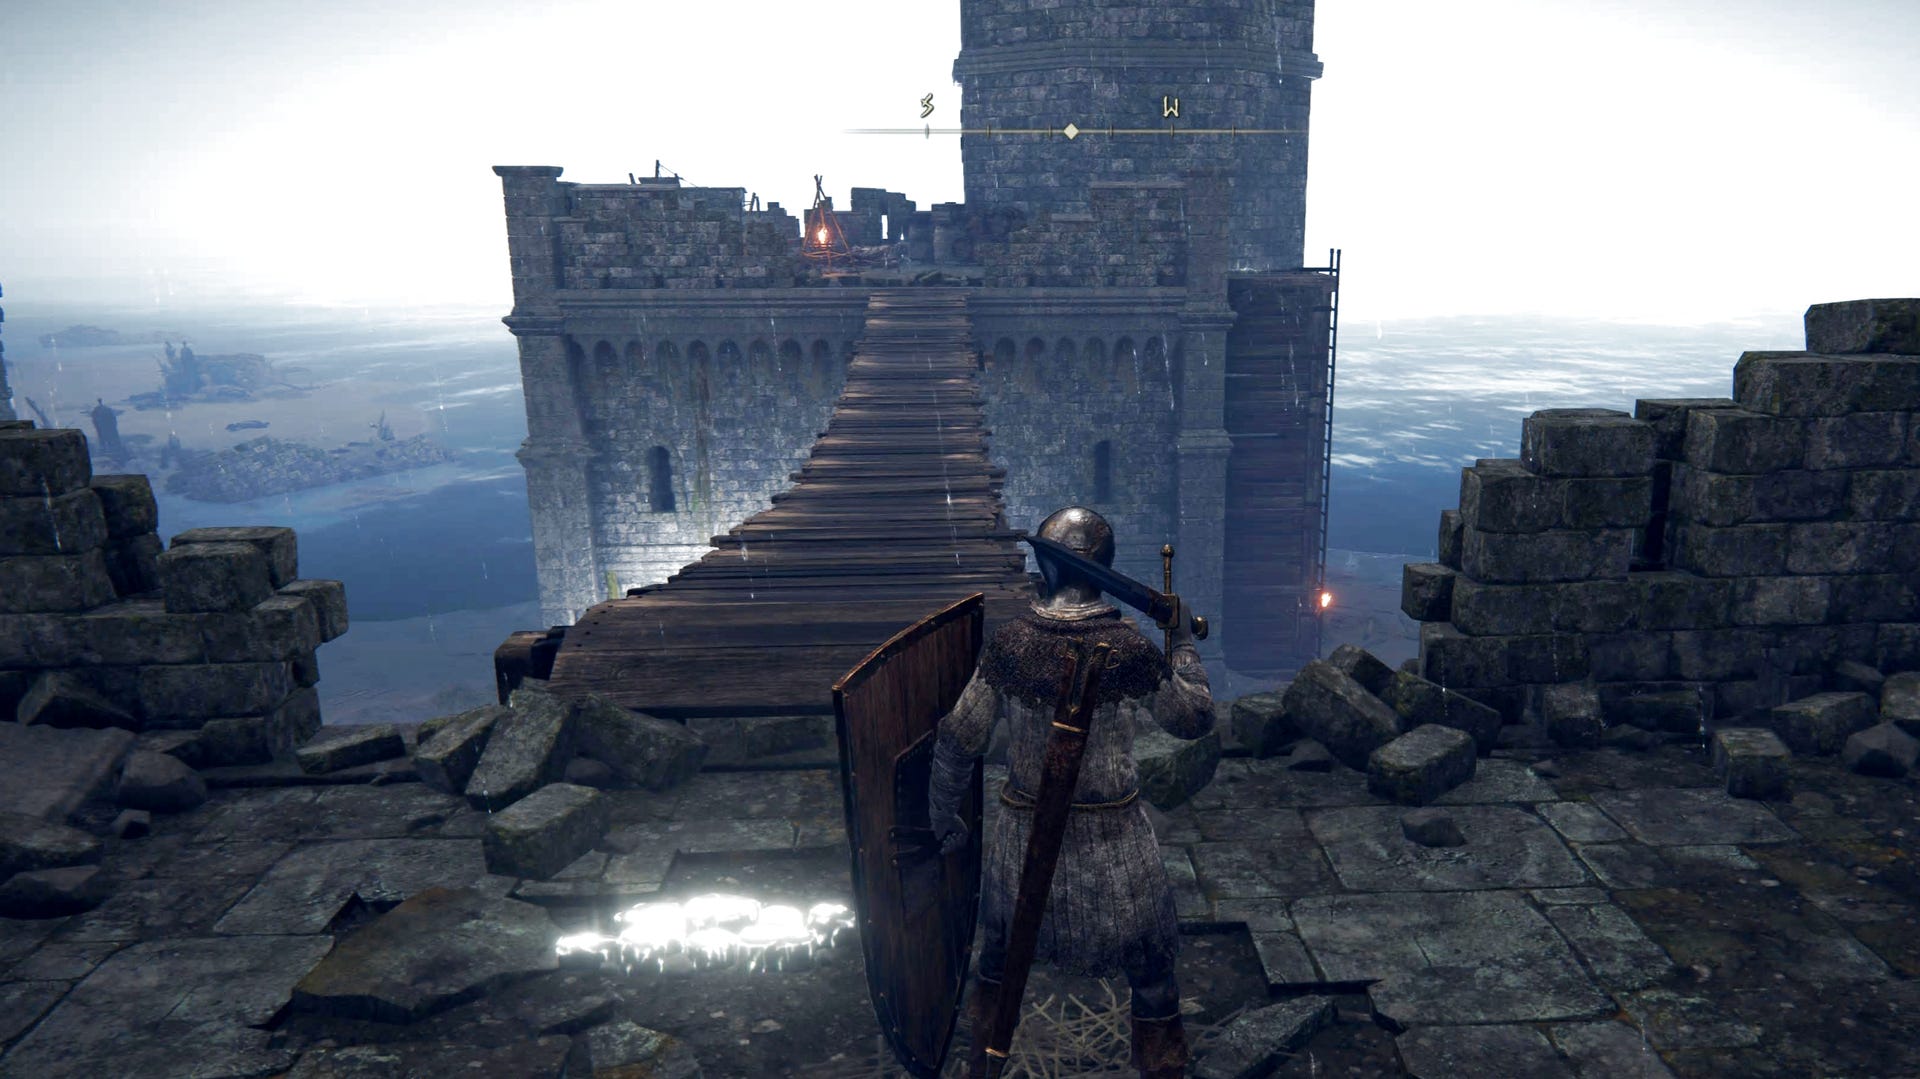
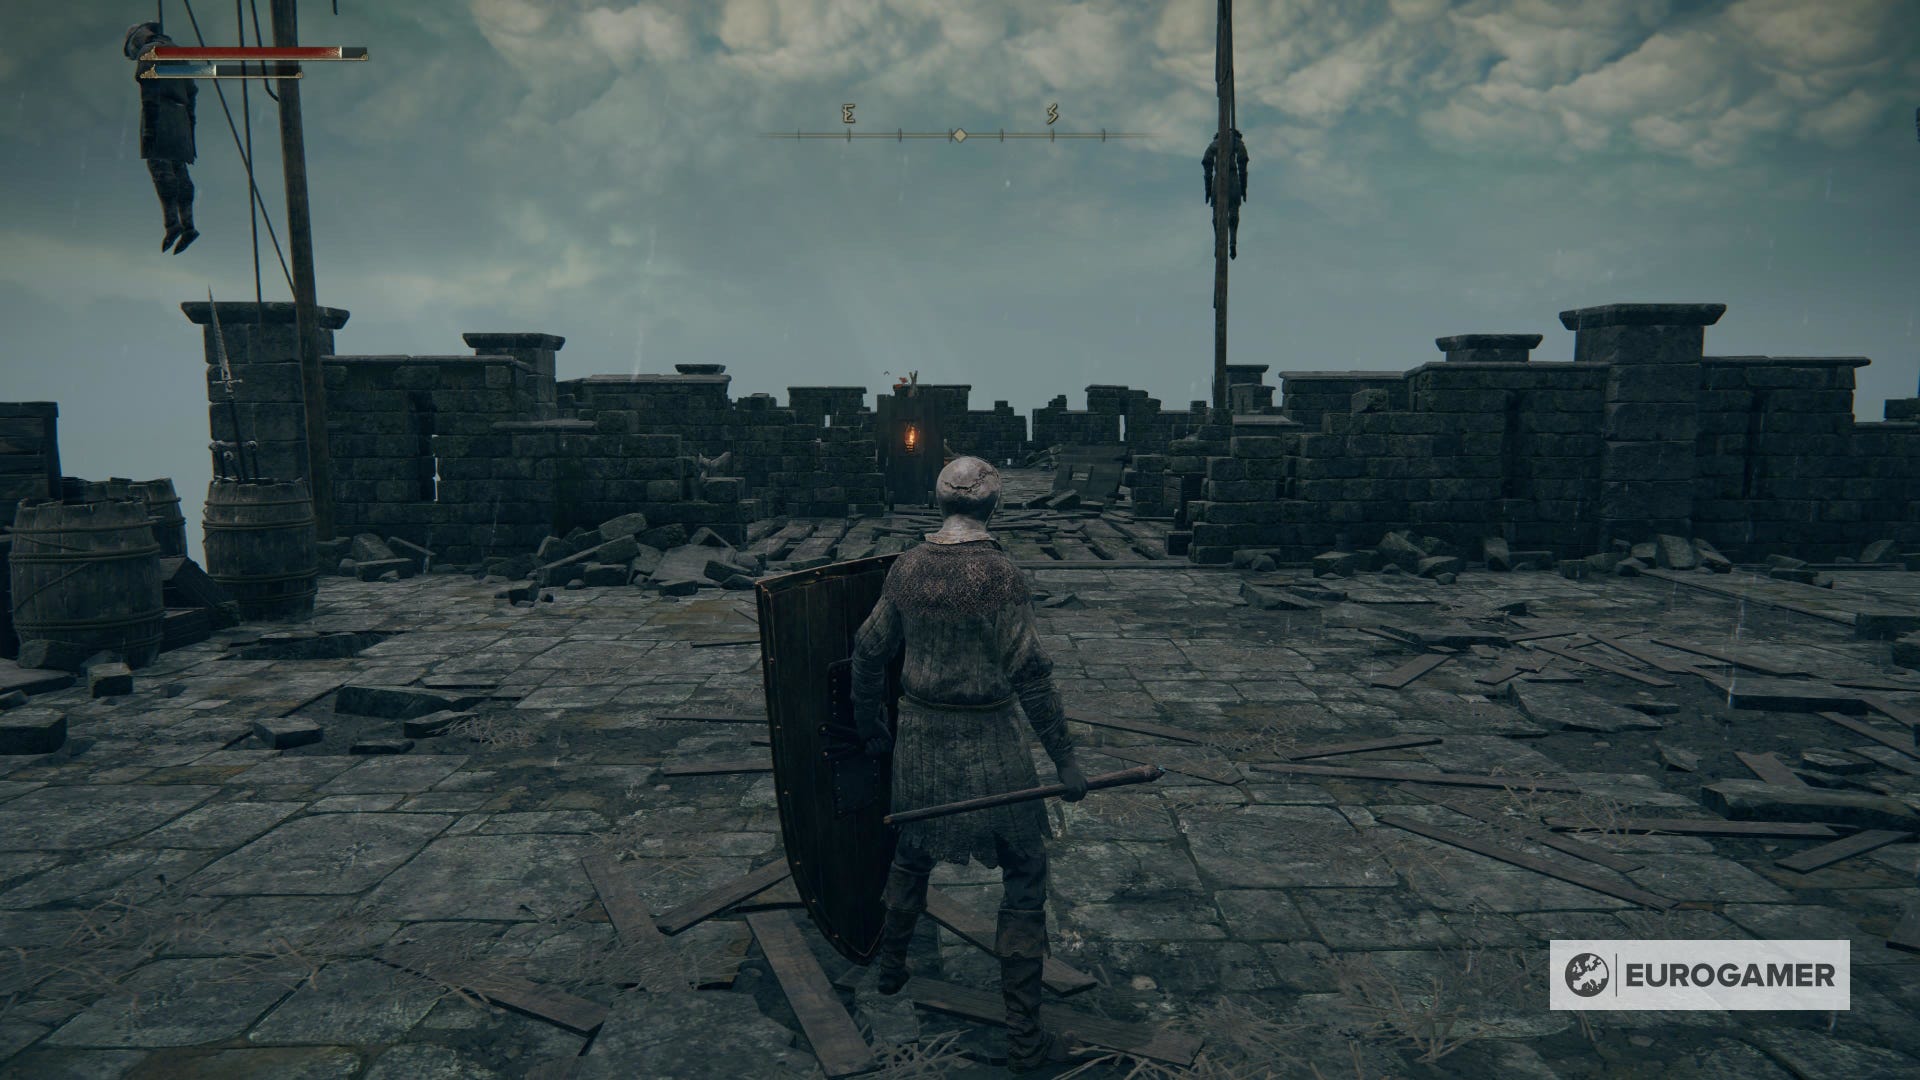
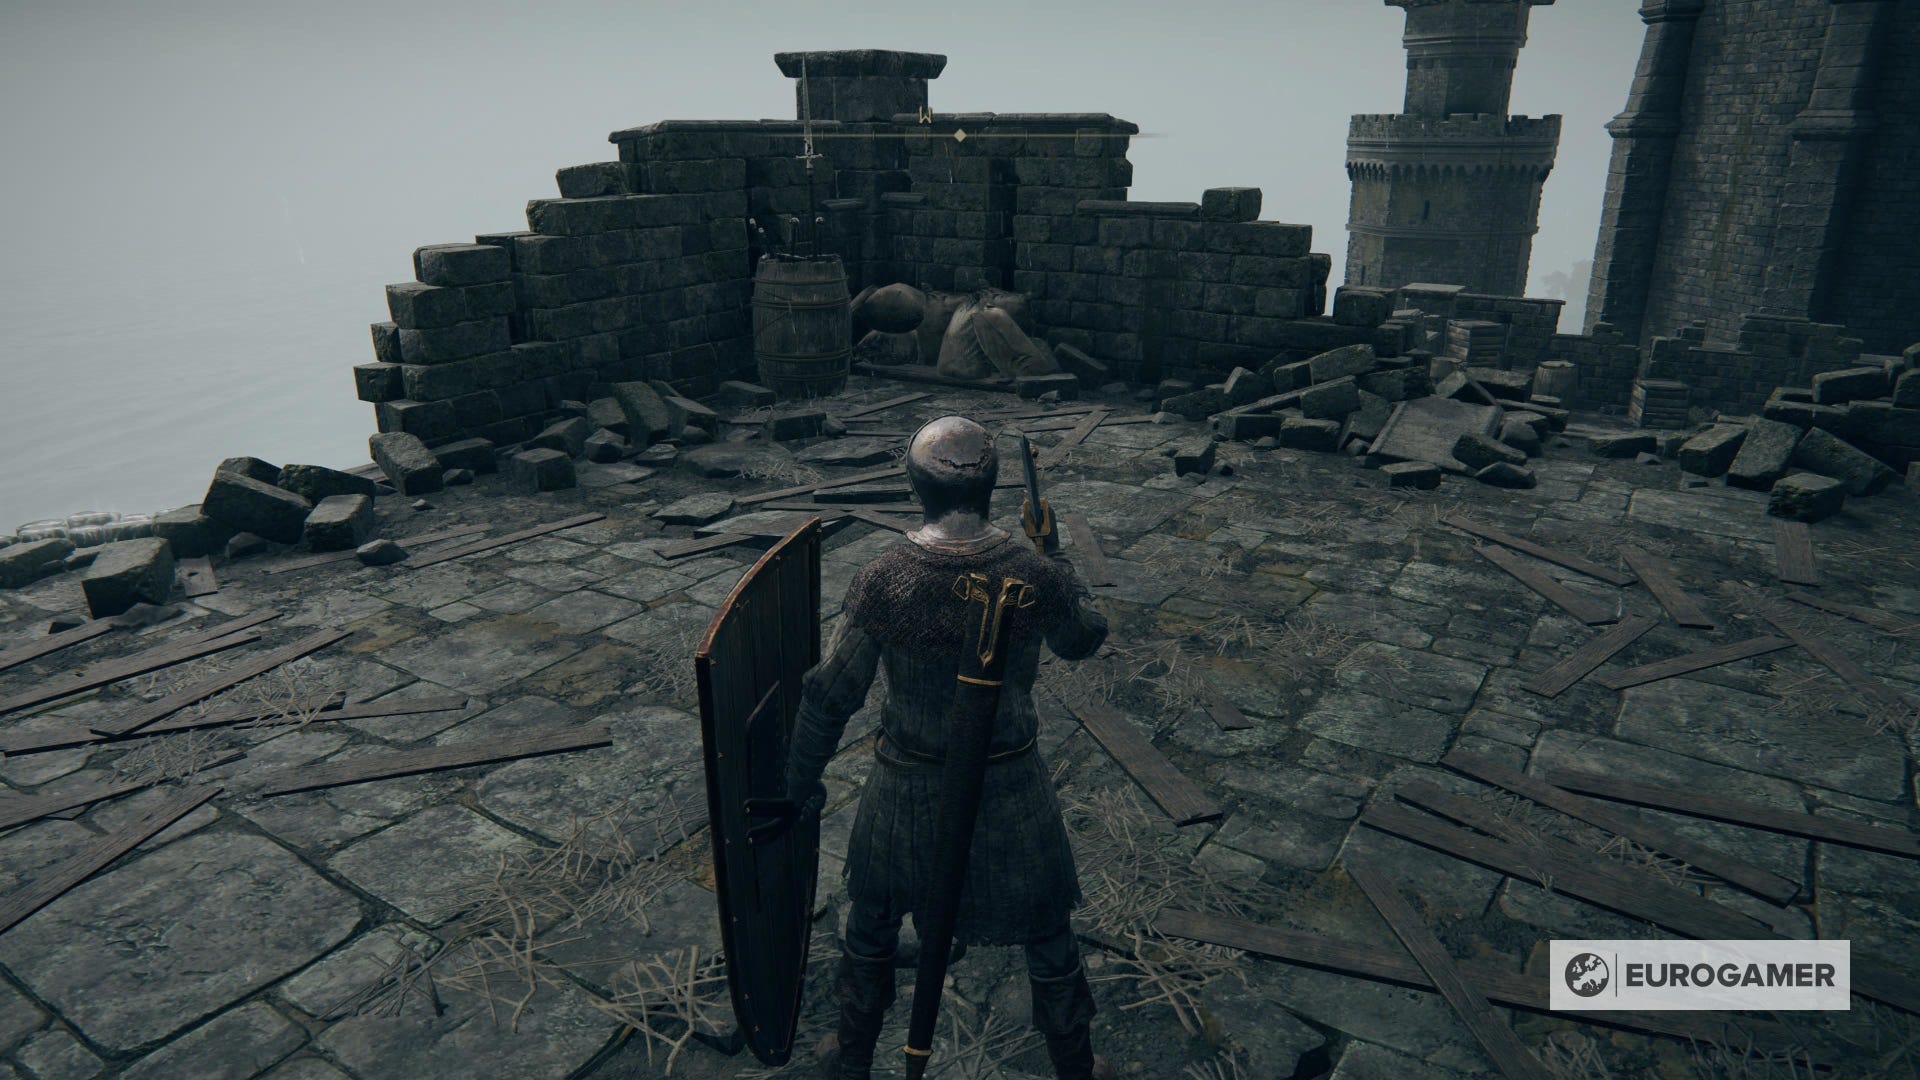
Now it's time to find the Grafted Blade Greatsword in Elden Ring, so return to the three-ways path for the last time and choose the remaining one. You'll have to jump to the only possible direction, where there's land below. Here will be a new Site of Grace.
Move forward and fall again a couple of times. You'll reach another fork with two ways. This time, however, you'll only select the left one (the other one is a trap). Go left and fall near some planks. It contains a Stonesword Key.
Fall one more time, whenever you want, and move forward. There will be multiple enemies on the left, but they will be on their backs. You can back-stab them easily or just sneak around.
On your right, there'll be a door. Inside the room, there'll be another enemy on his back. Then, on the left, there'll be an item (a Pickled Turtle Neck). Before collecting that, however, check the blob above and attack it.
Return outside and follow the only path. You can sneak your way forward, avoiding the enemies and the black slimes.
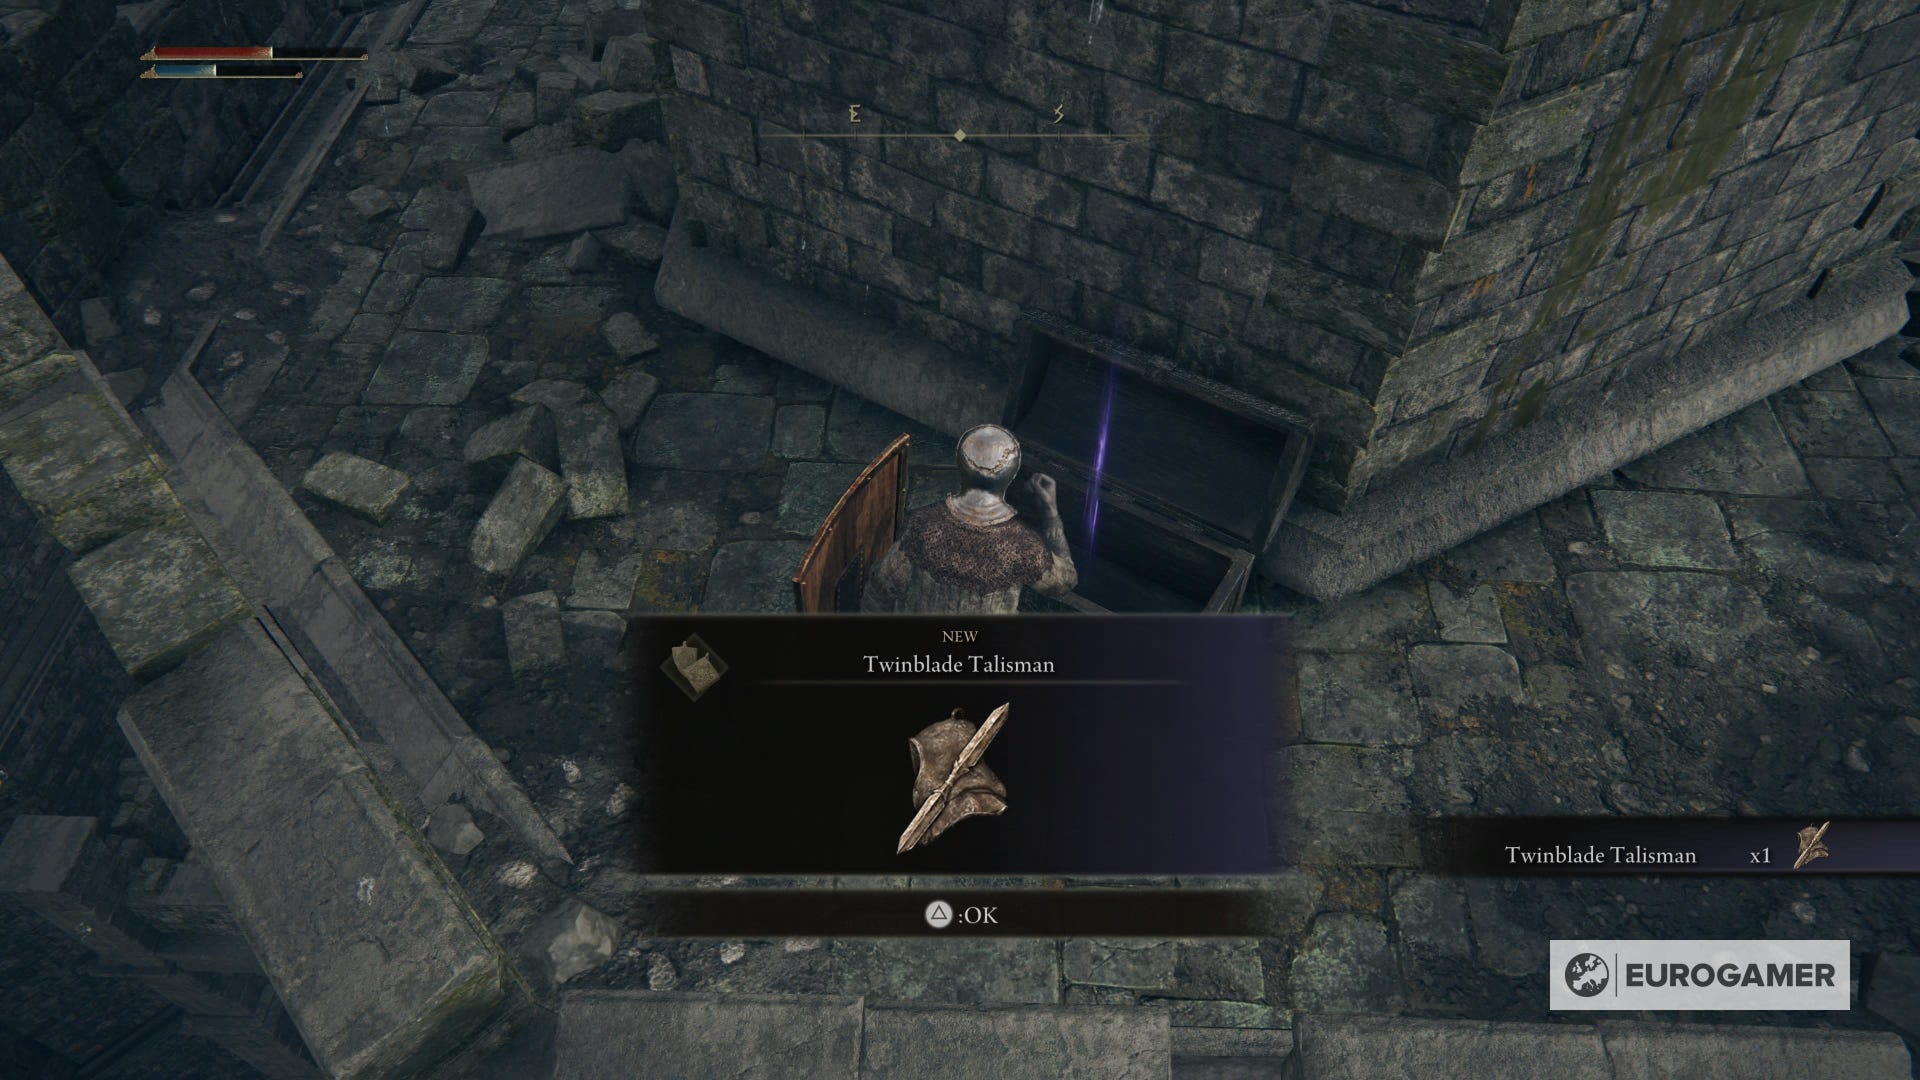
However, when you reach the end of the road, there'll be a bigger enemy waiting. Defeat it and climb the ladder on the left. Go around and open the chest with Twinblade Talisman.
Now, you'll have to go back a few steps, to the bridge, and fall forward multiple times. First on a tower, then on a piece of land.
There will be Tarnished Golden Sunflowers and a Health Scarab in this small area.
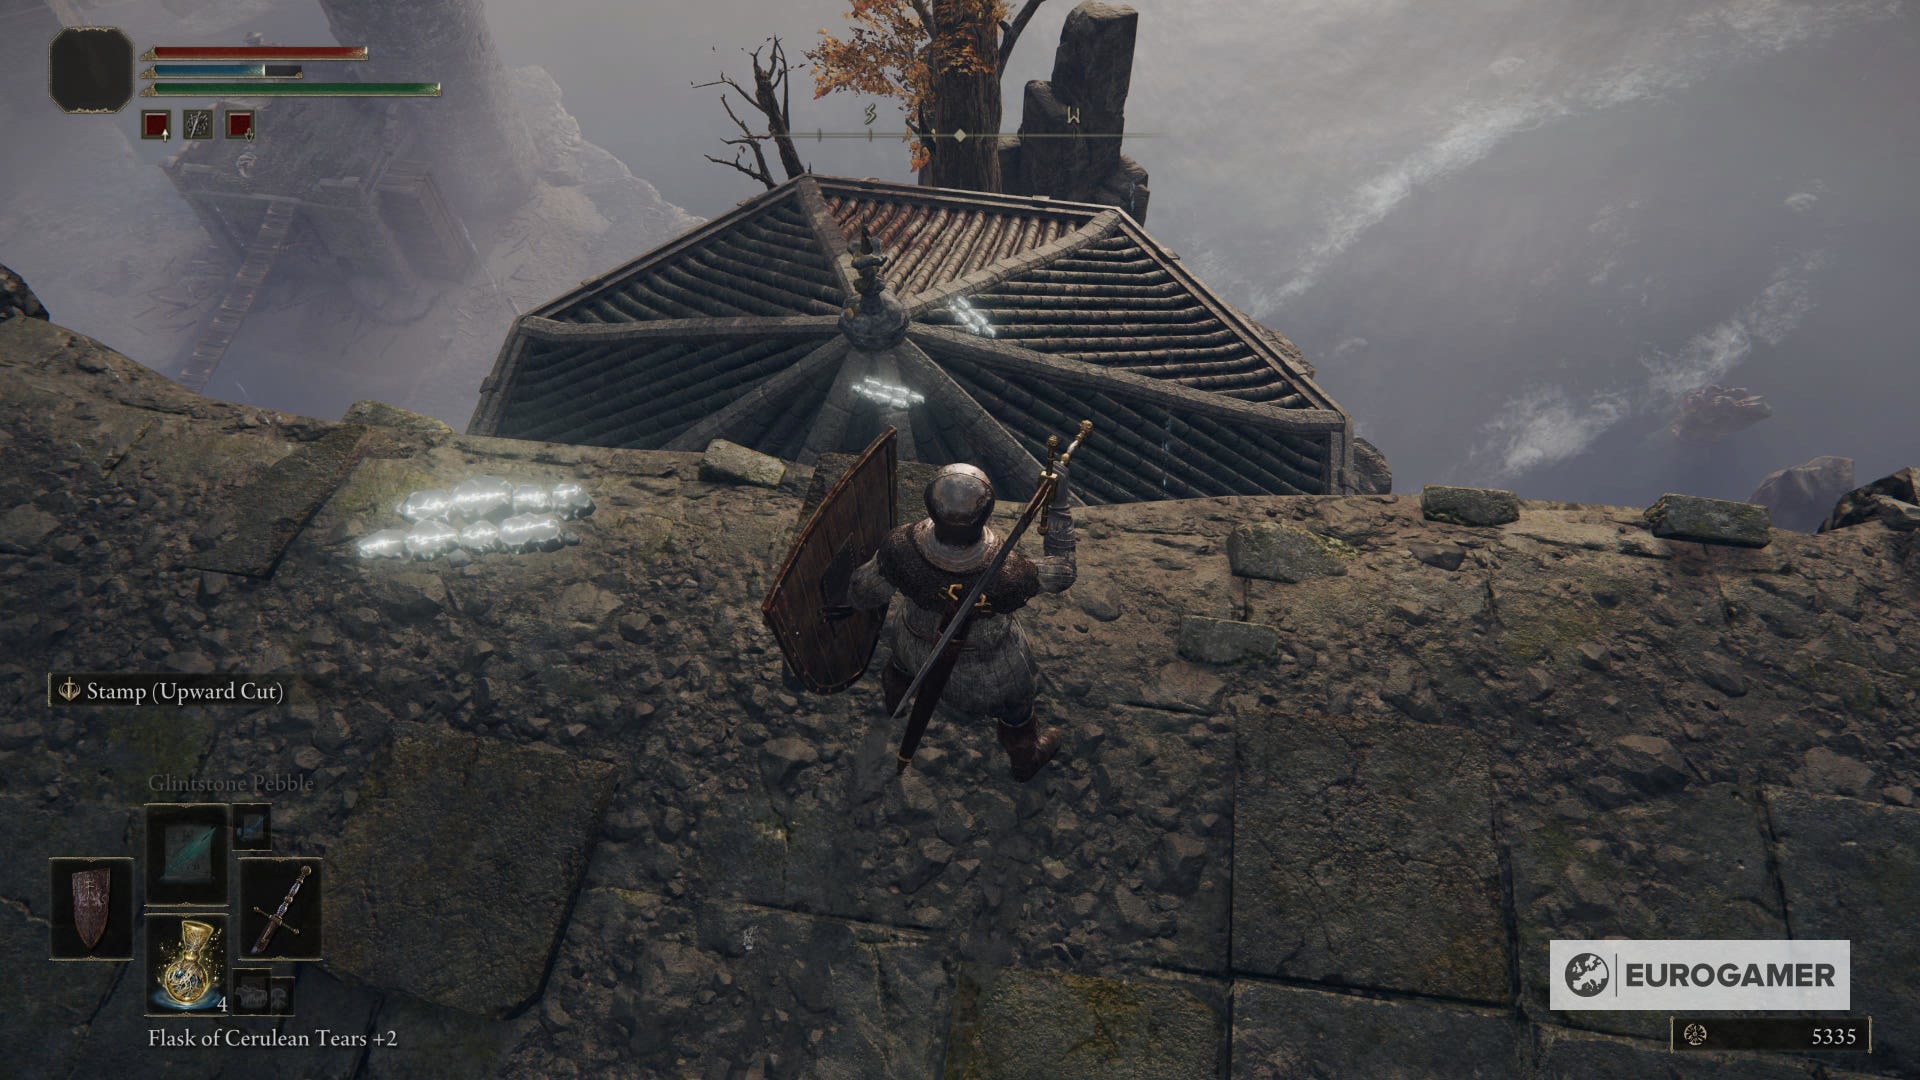
After beating the scarab, go to the right and jump. Keep going until you reach the top of a tower.
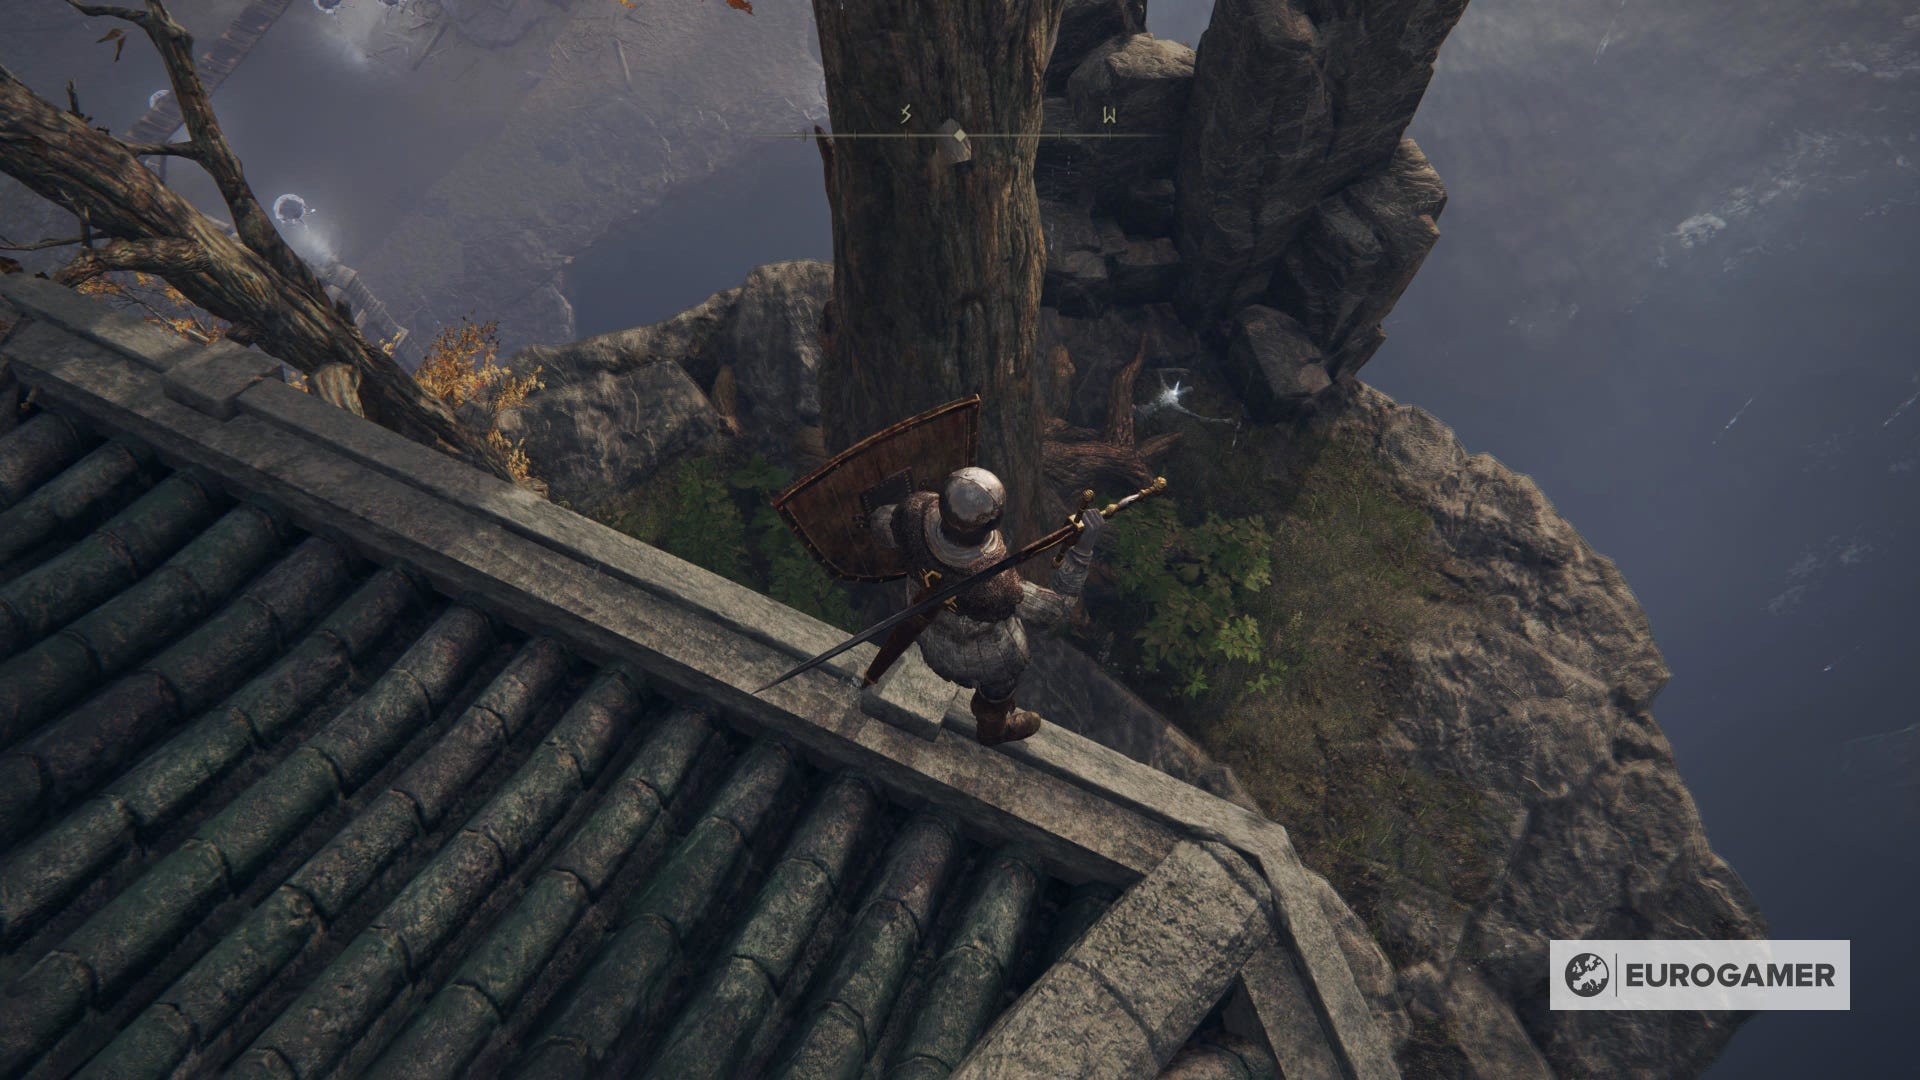
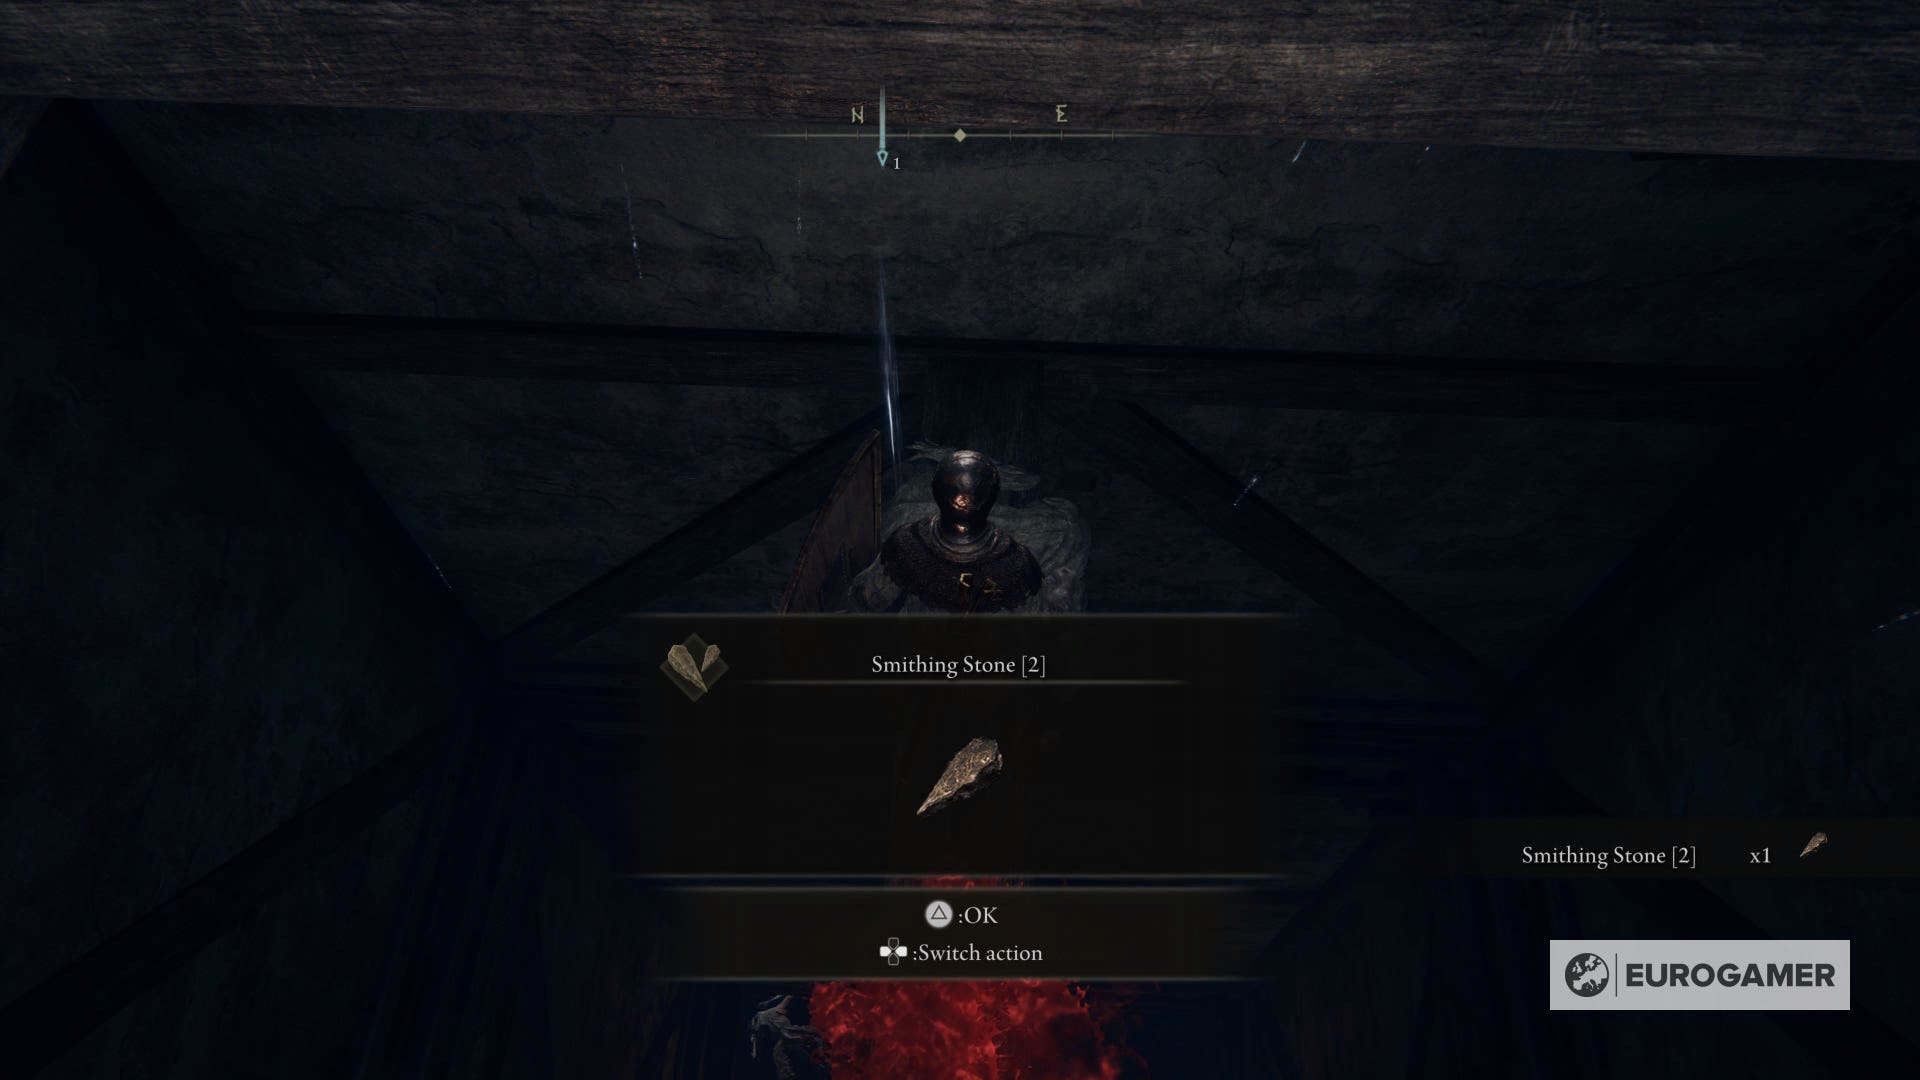
You need to go all the way down from here using the open roof, but be careful; if you do the wrong jump, you'll lose HP and be at disadvantage with what lies below. Instead, you need to fall into every single plank - the first one contains a corpse with one Smithing Stone 2.
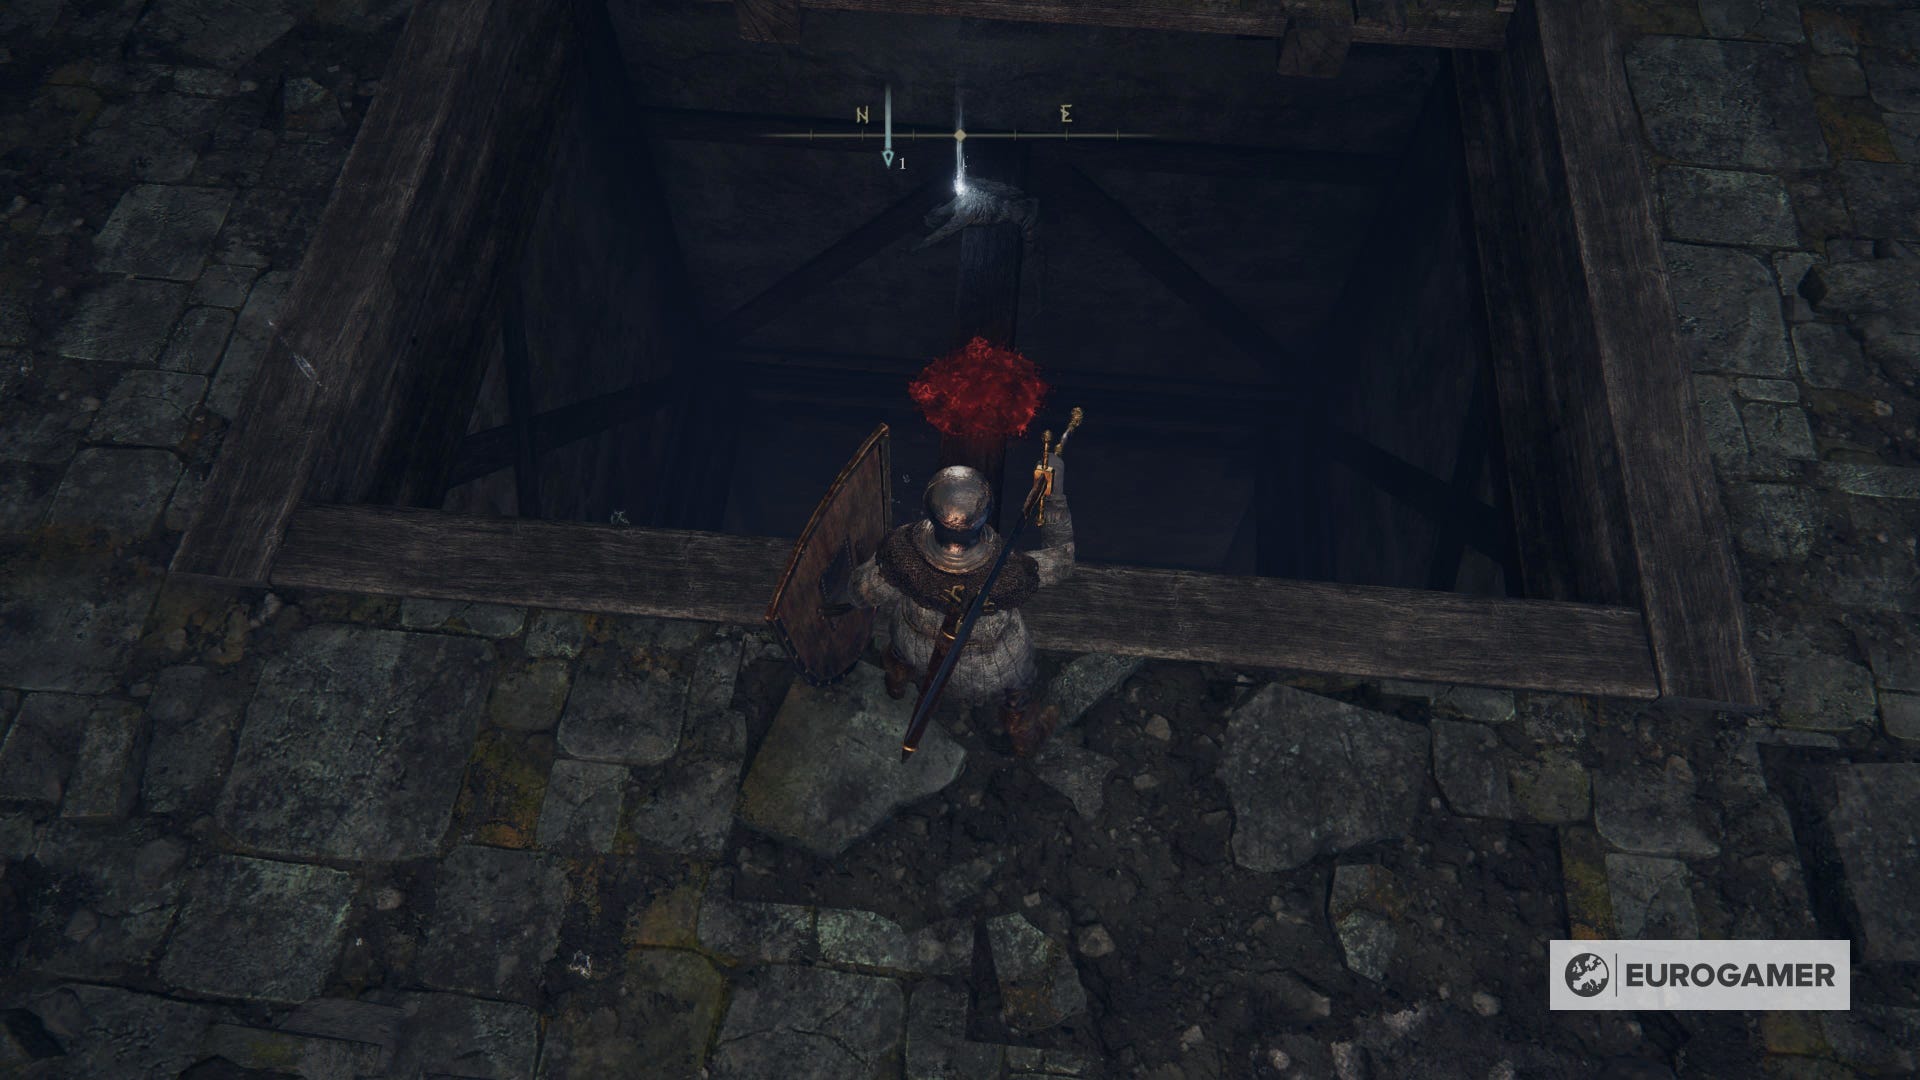
Once you descend into the second single plank, use any ranged weapon you have. There'll be five rats below, and you can snipe the ones that are near.
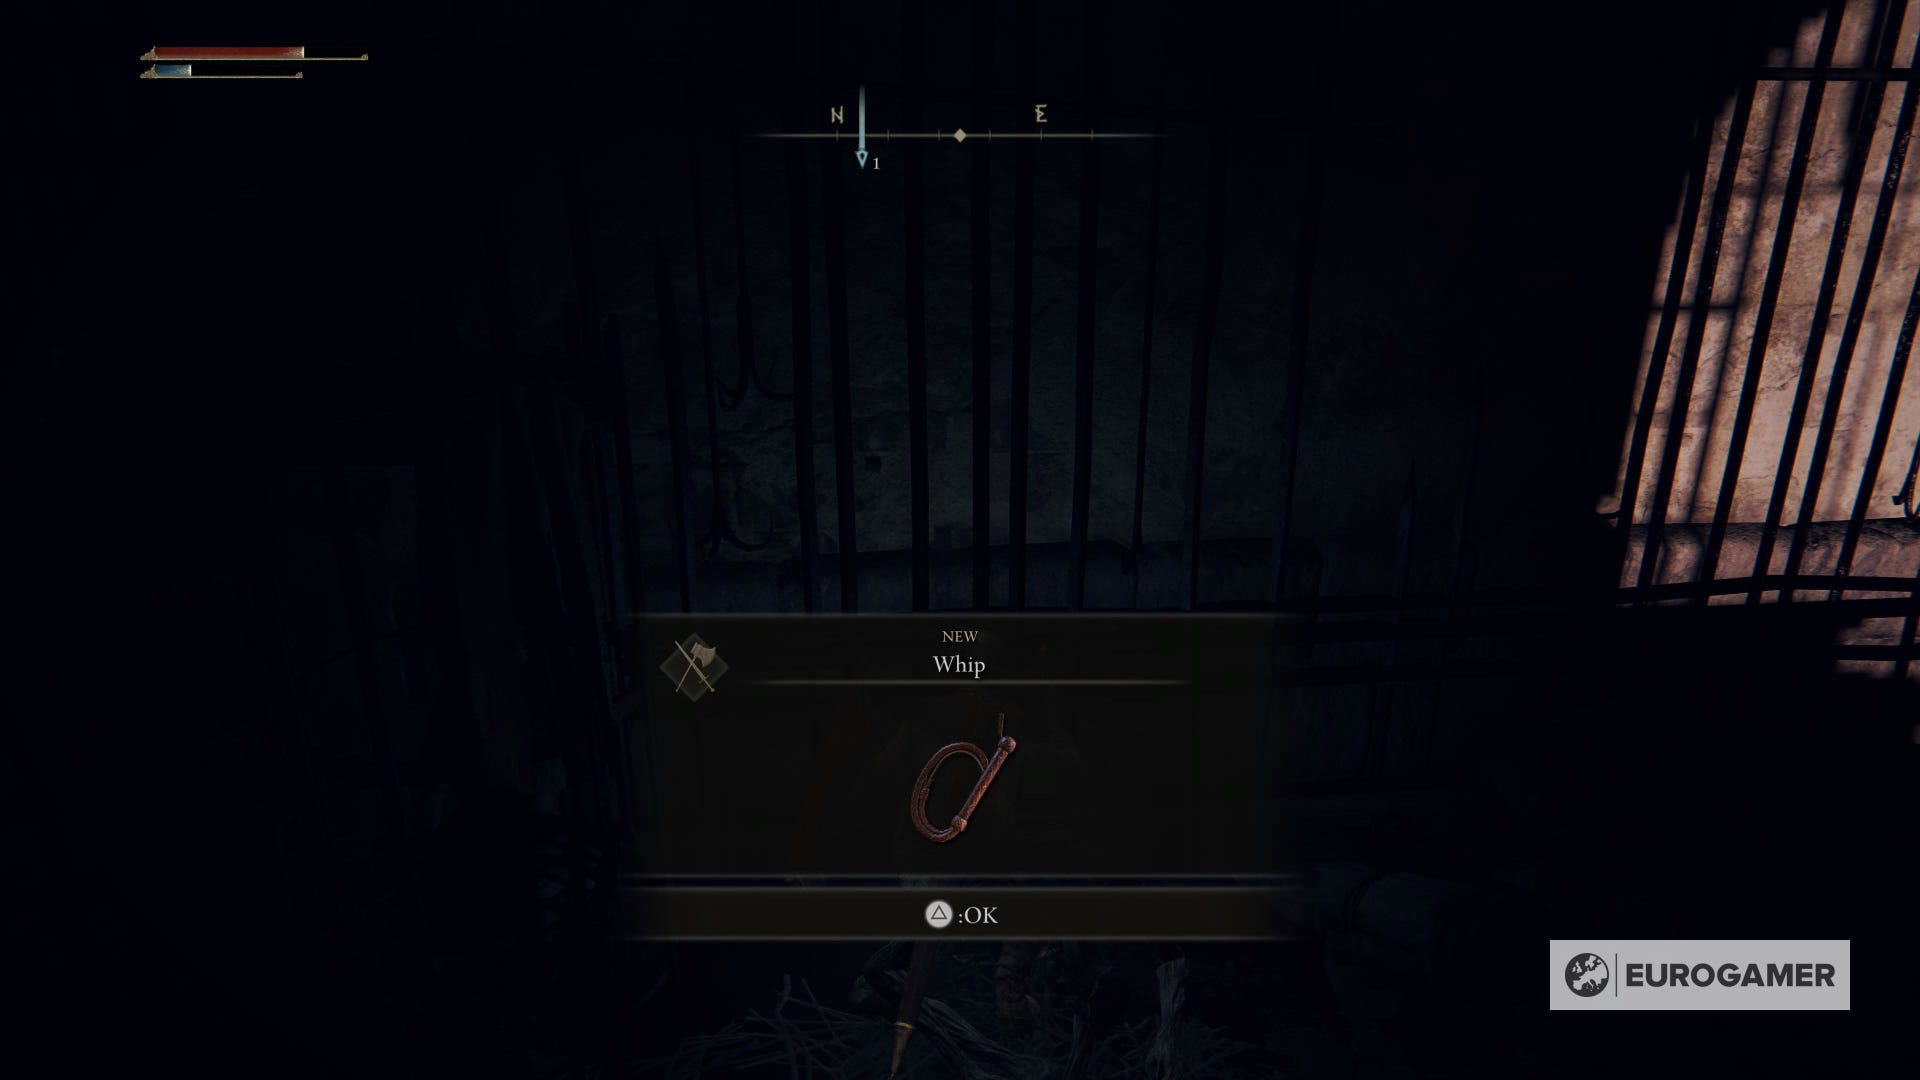
After you reach the floor, you'll find a Whip on a corpse on one of the walls.
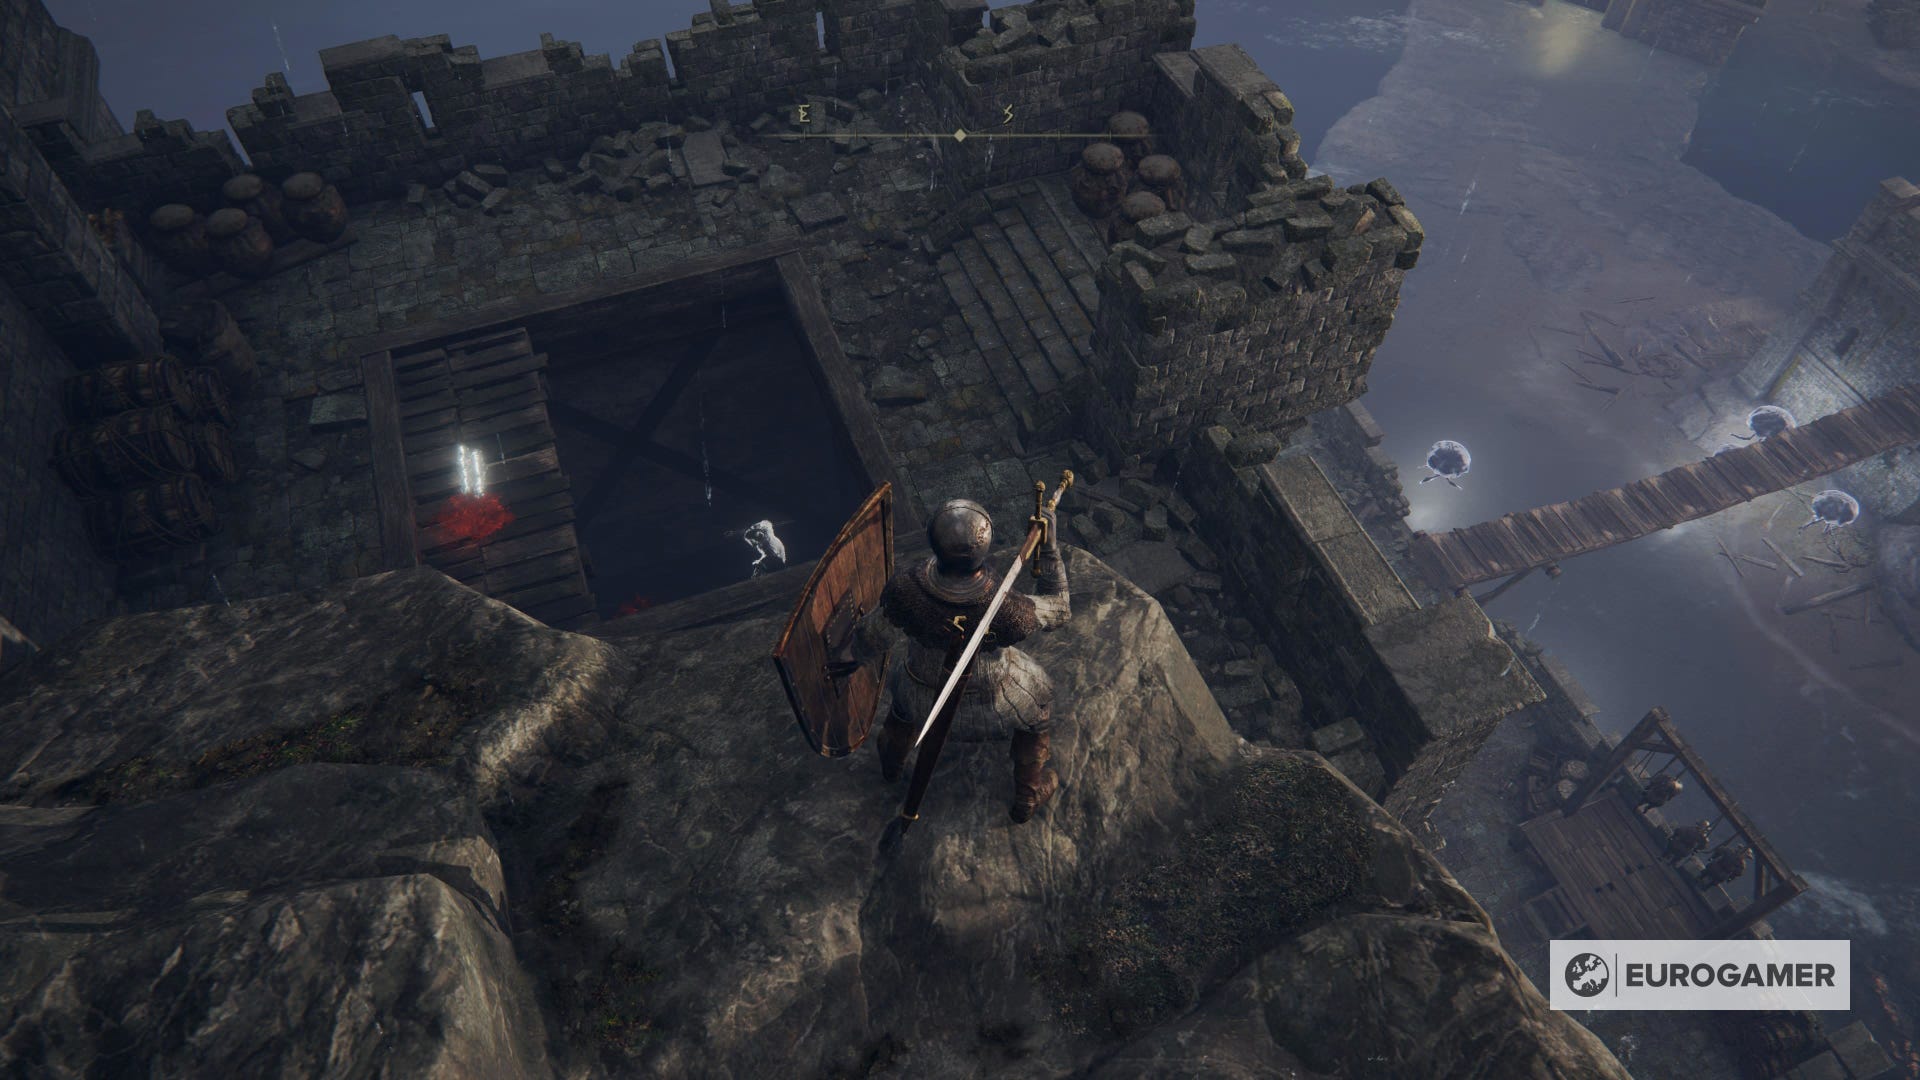
Now get outside and turn left twice. You'll find the last Site of Grace in Castle Morne.
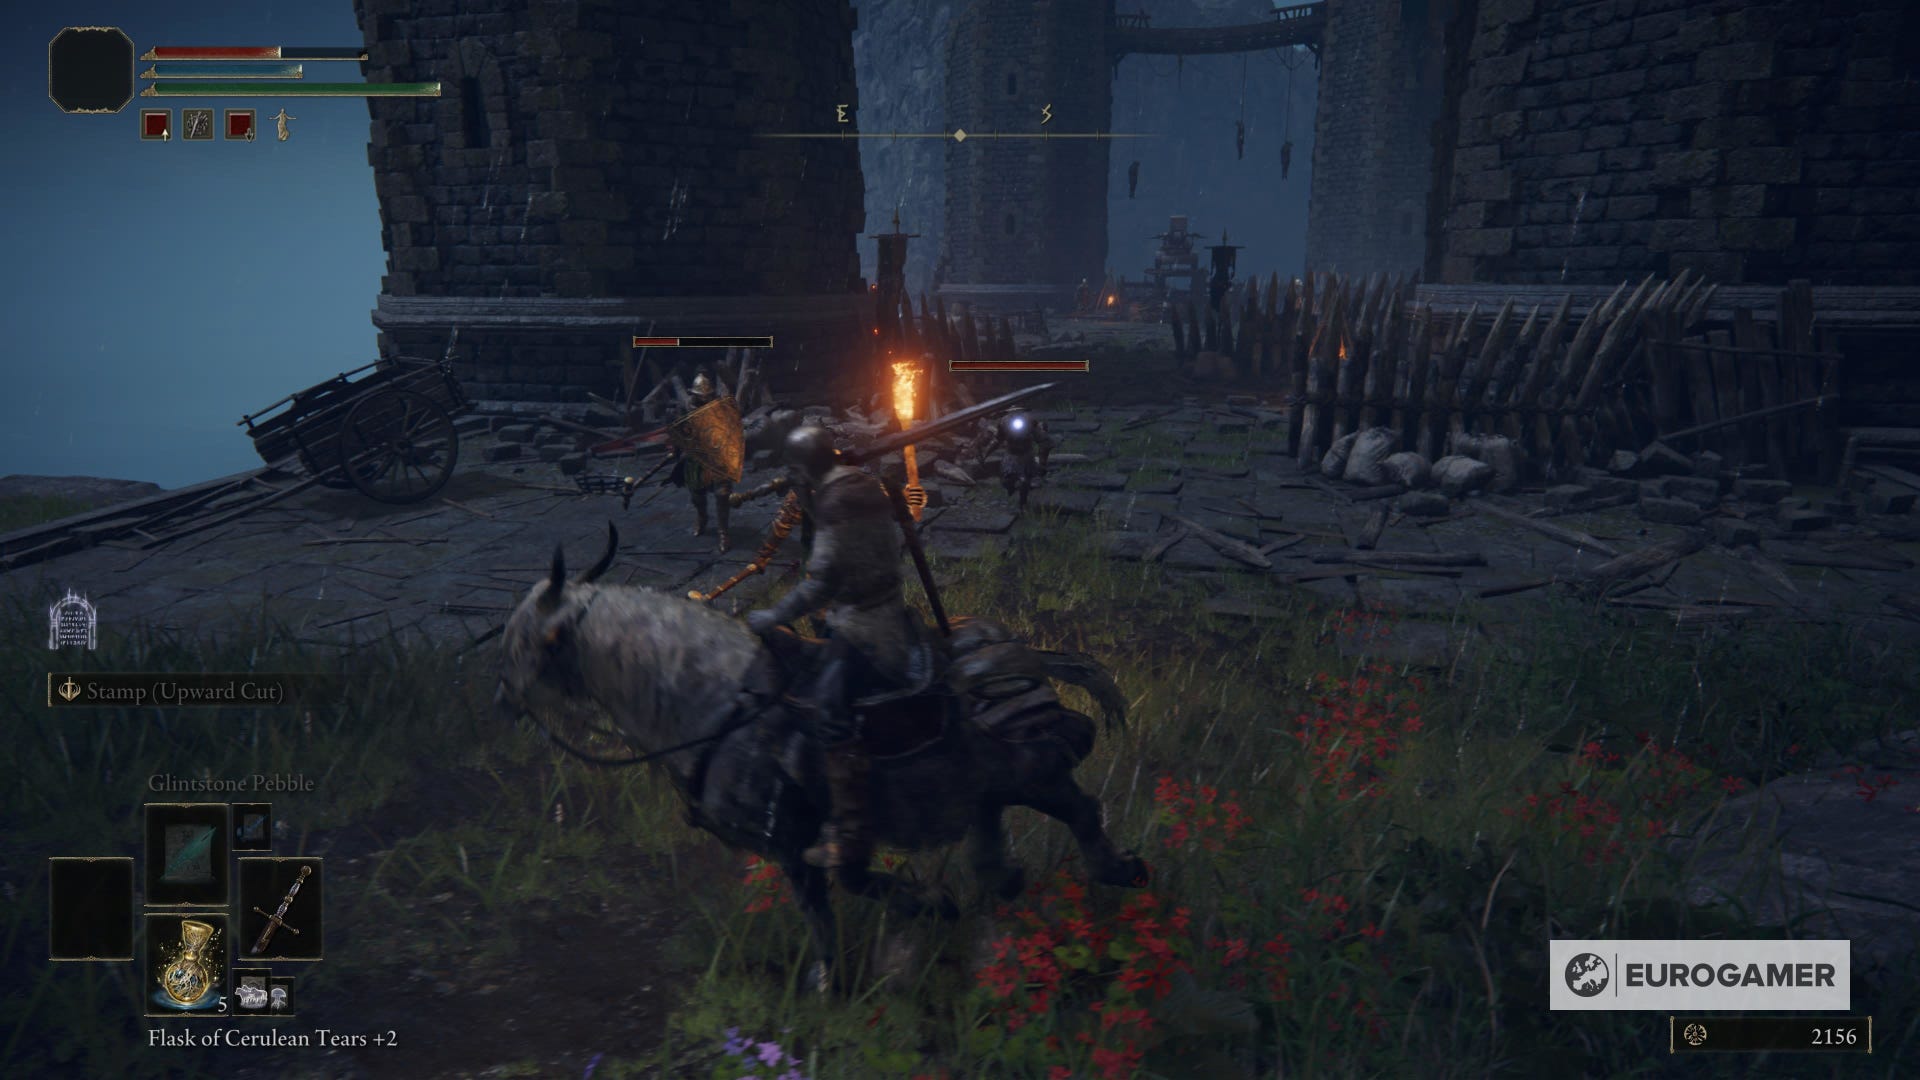
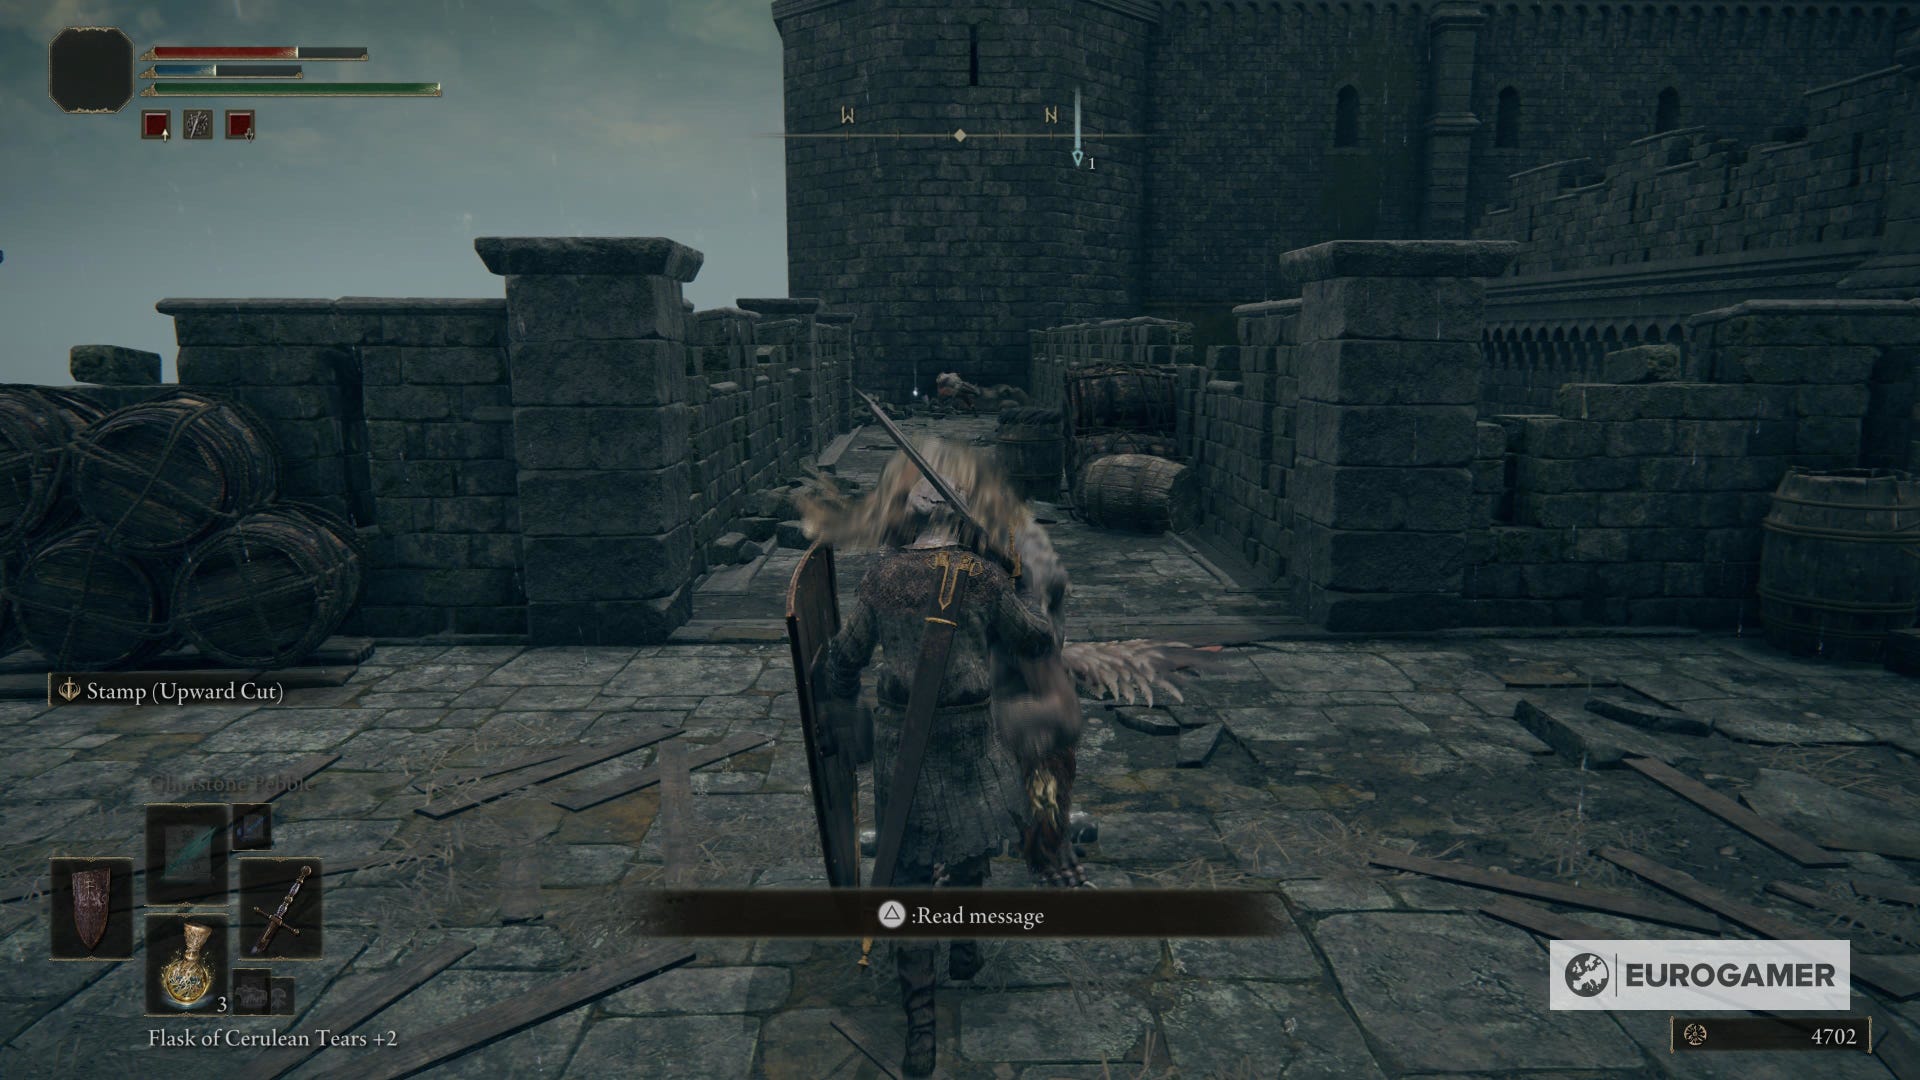
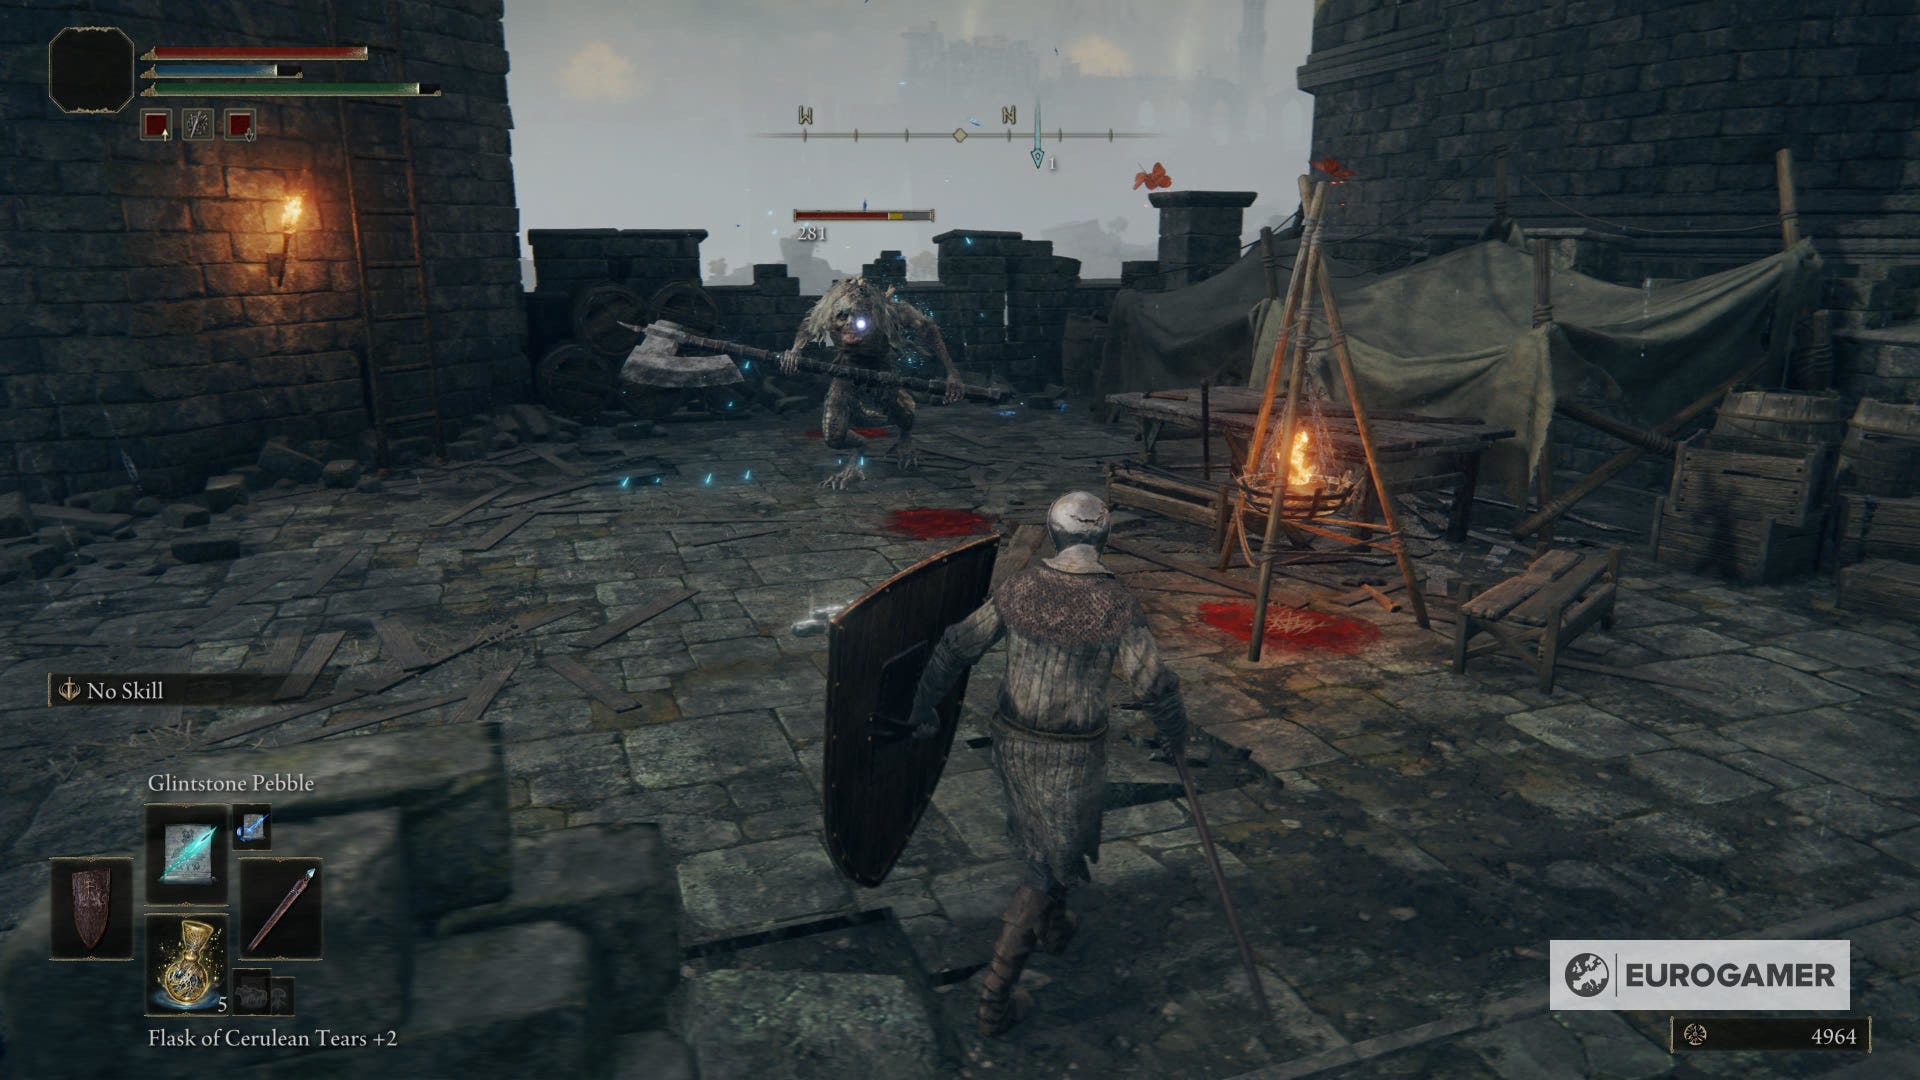
When you're ready, use the bridge. There'll be one of the bigger non-human enemies from before and a flying one. They might seem to be sleeping, but they will wake up as soon as you go near them.
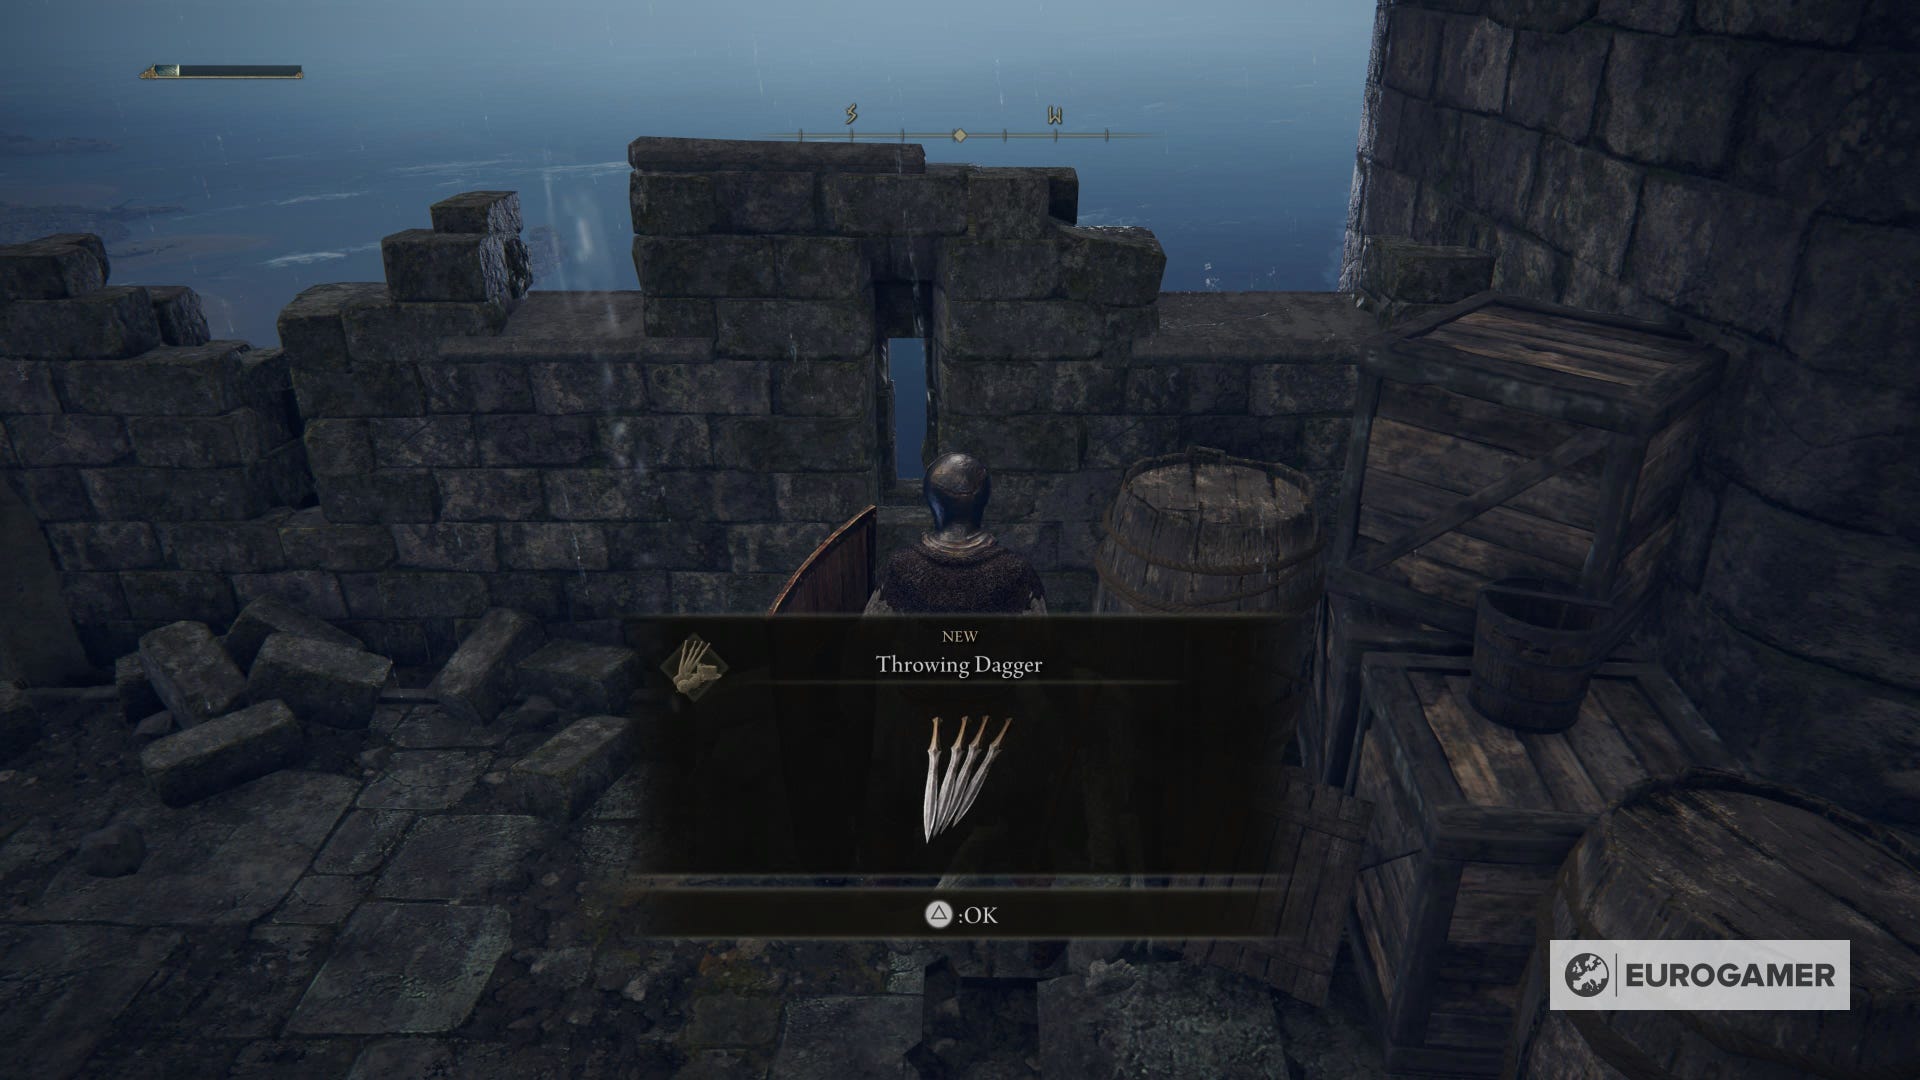
Kill both of them and pick up the Throwing Daggers around. Then, go to the right and use the ladder to descend.
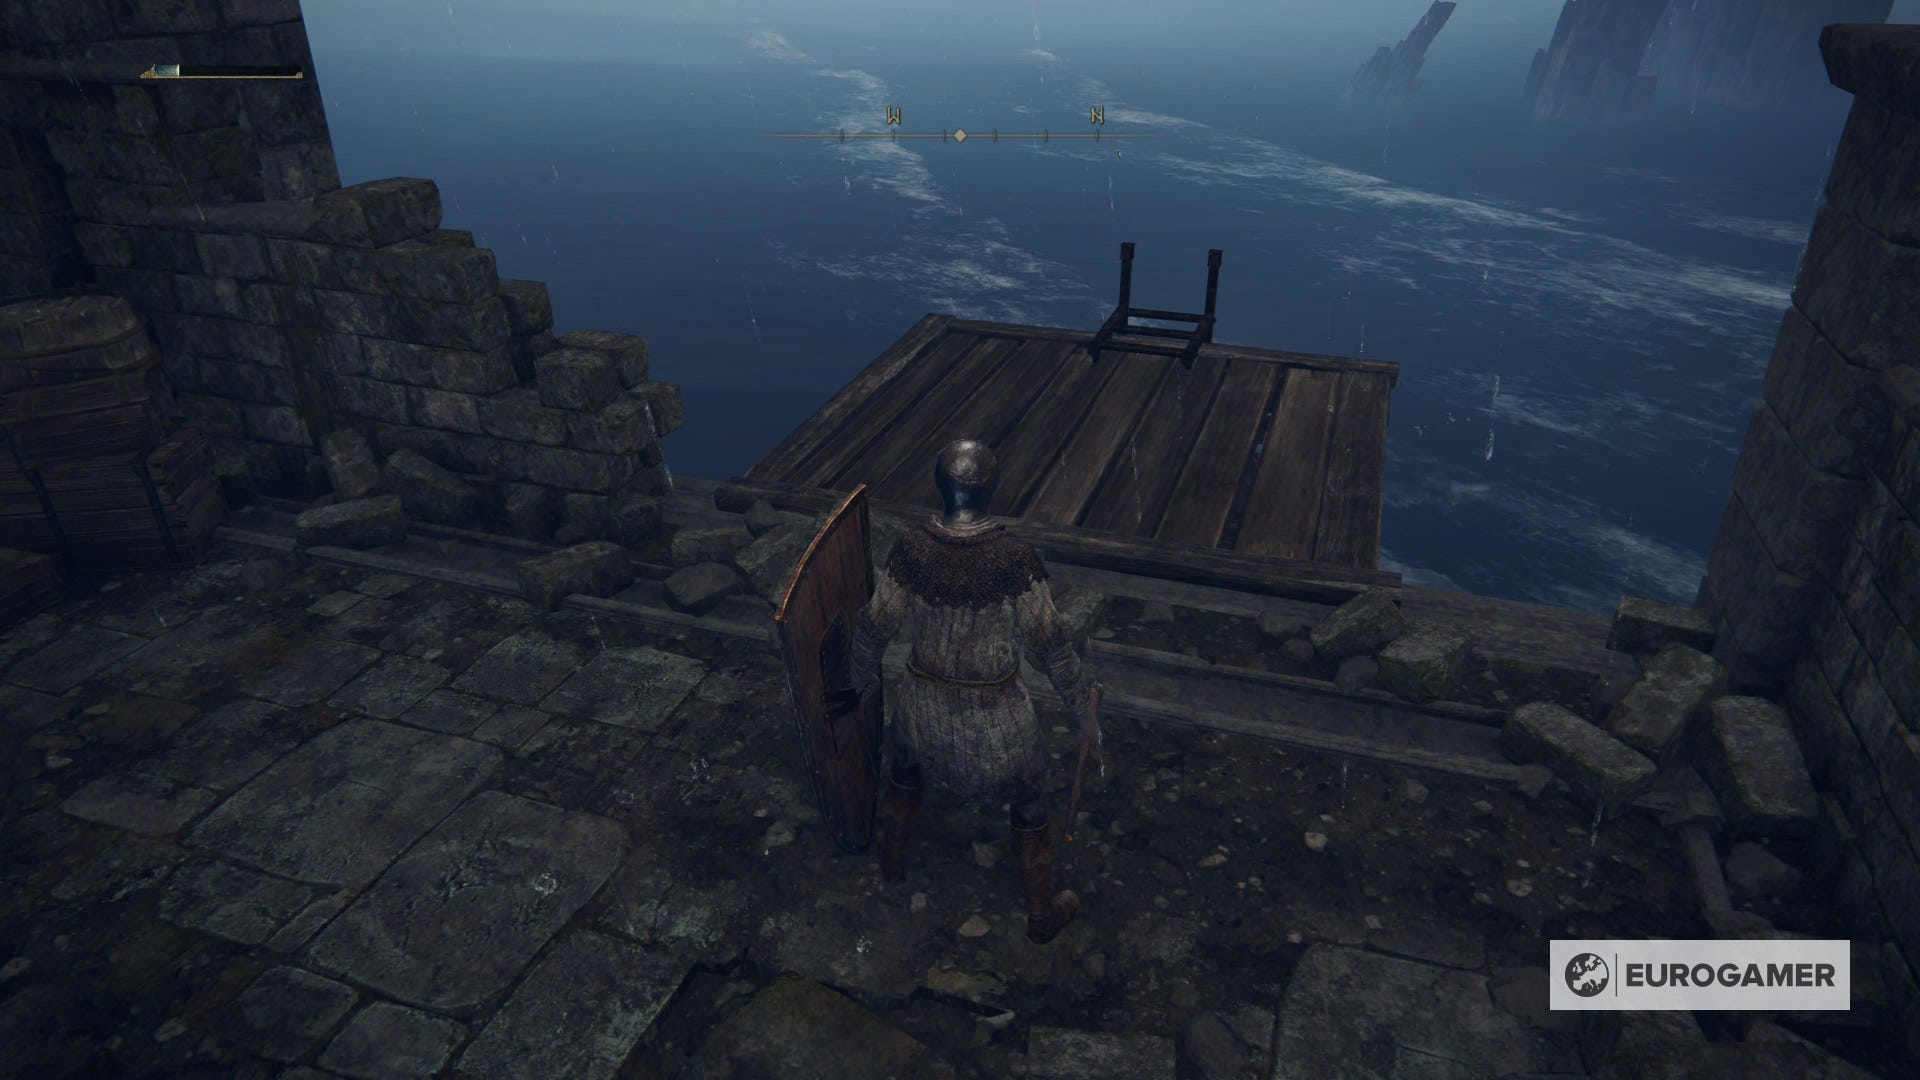
There's a way to avoid the fight against these two enemies - which will become useful if you die in this last zone -, and it consists of falling from the bridge, whenever you want. You won't receive damage, although I'd try to miss jumping into a jellyfish because they will become hostile.
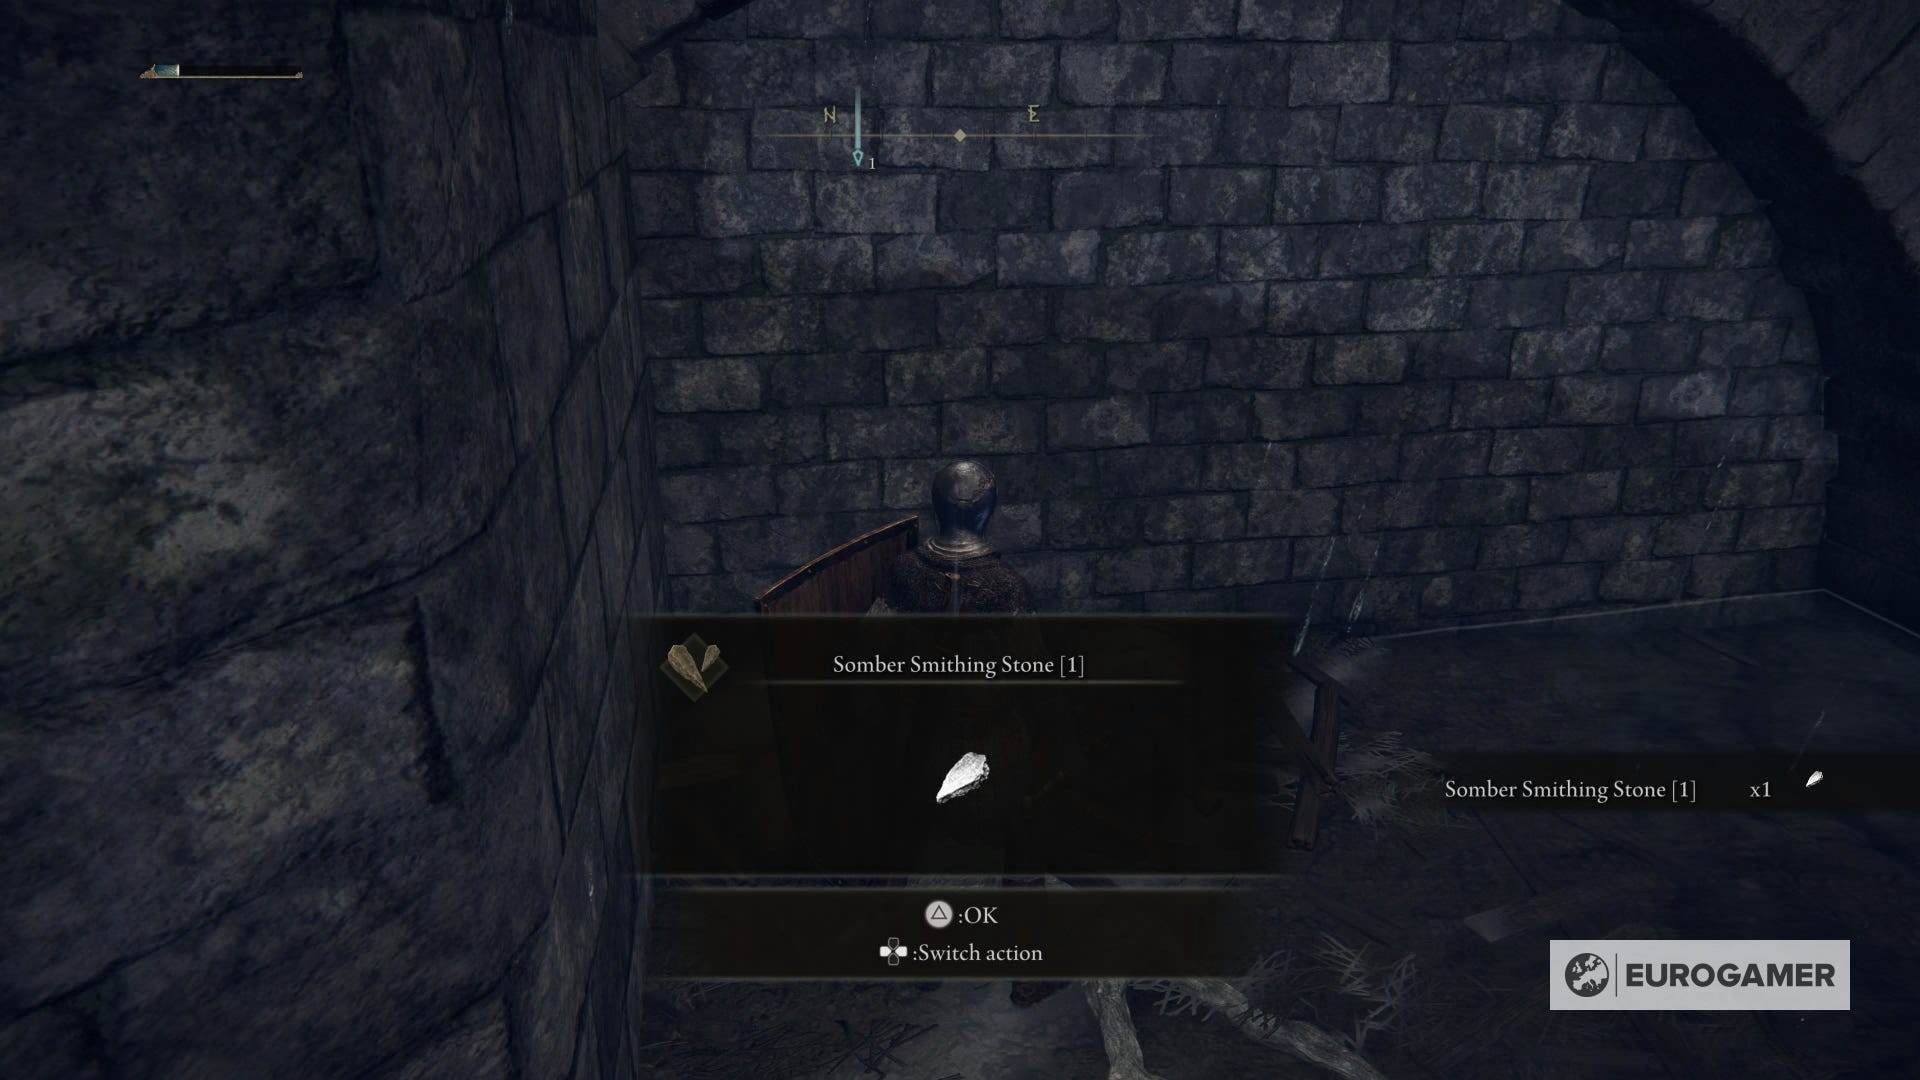
When you're below, on the water level, go behind the building with the two enemies. You'll find a Somber Smithing Stone 1.
Warning: while you're in this zone, please pay attention to the ground. If you see any kind of land, you'll be able to step on it. But it's very easy to miss and fall to your death.
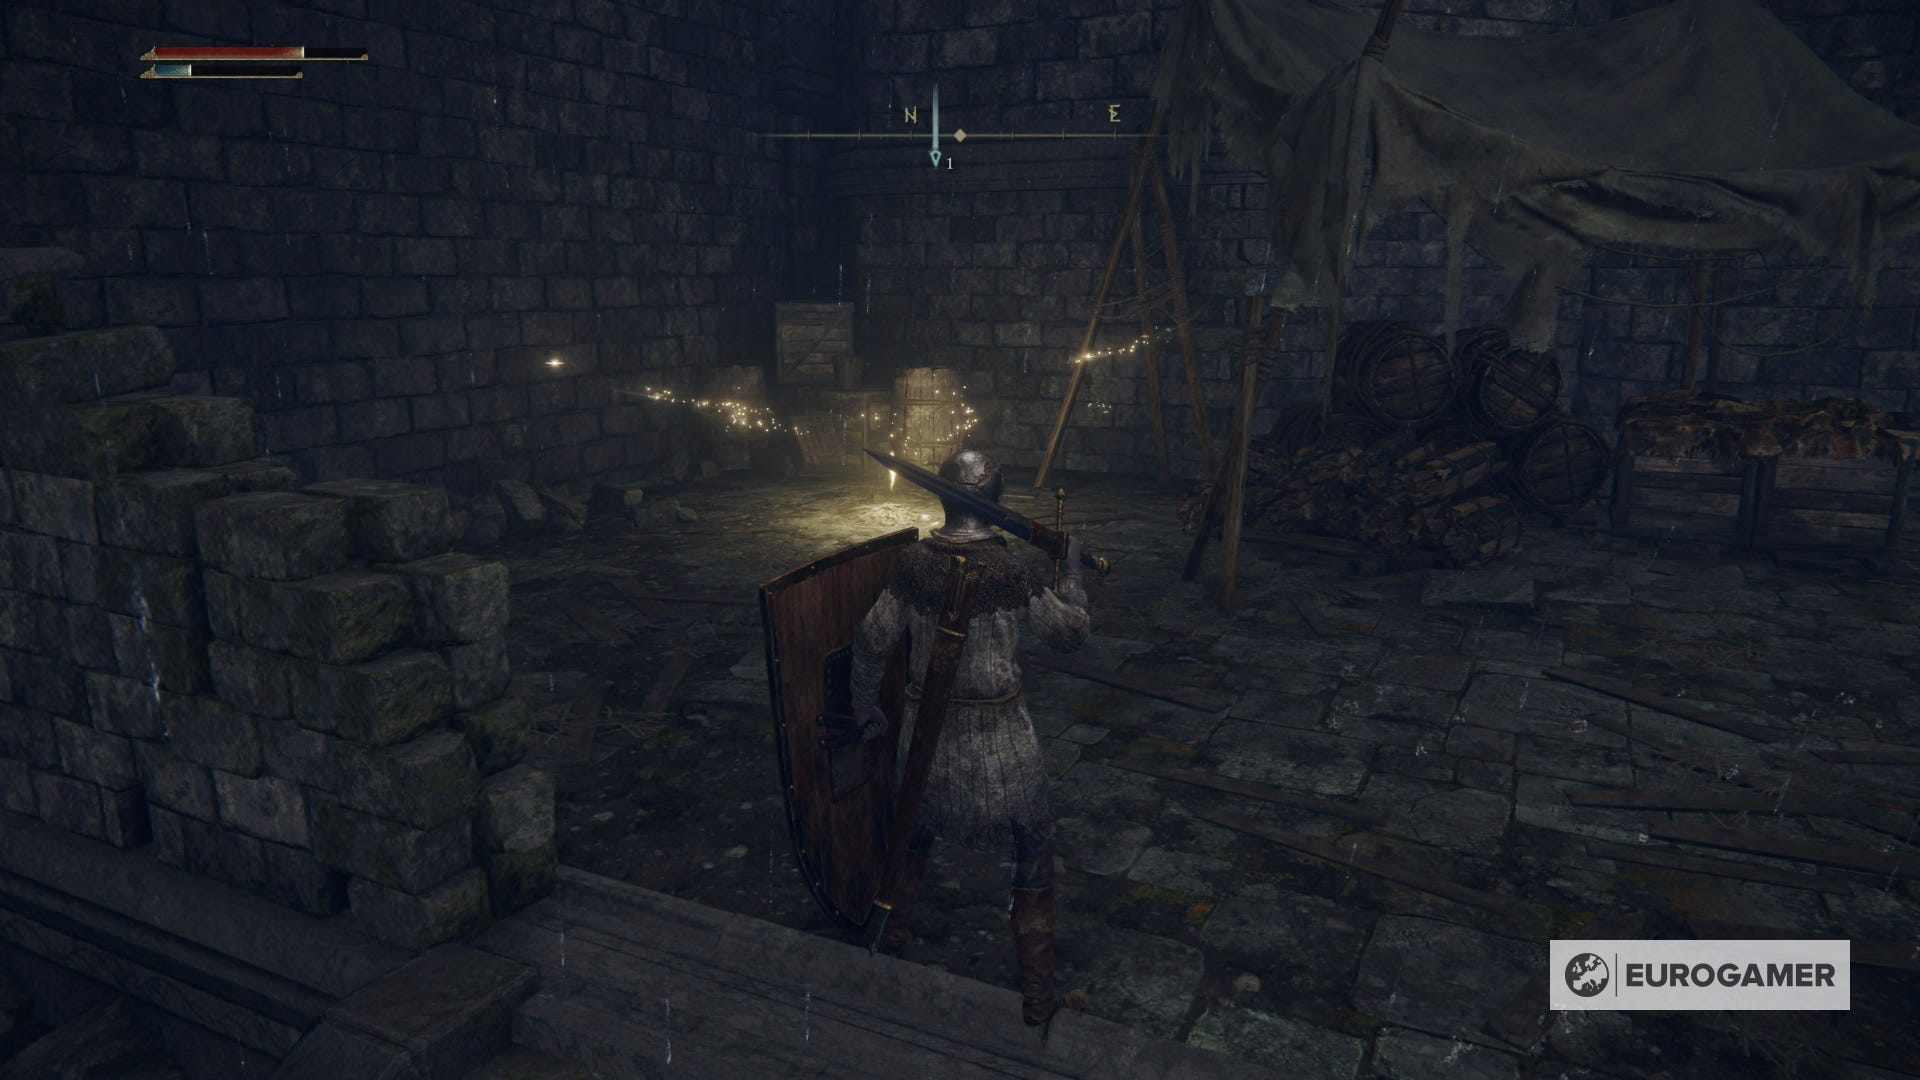
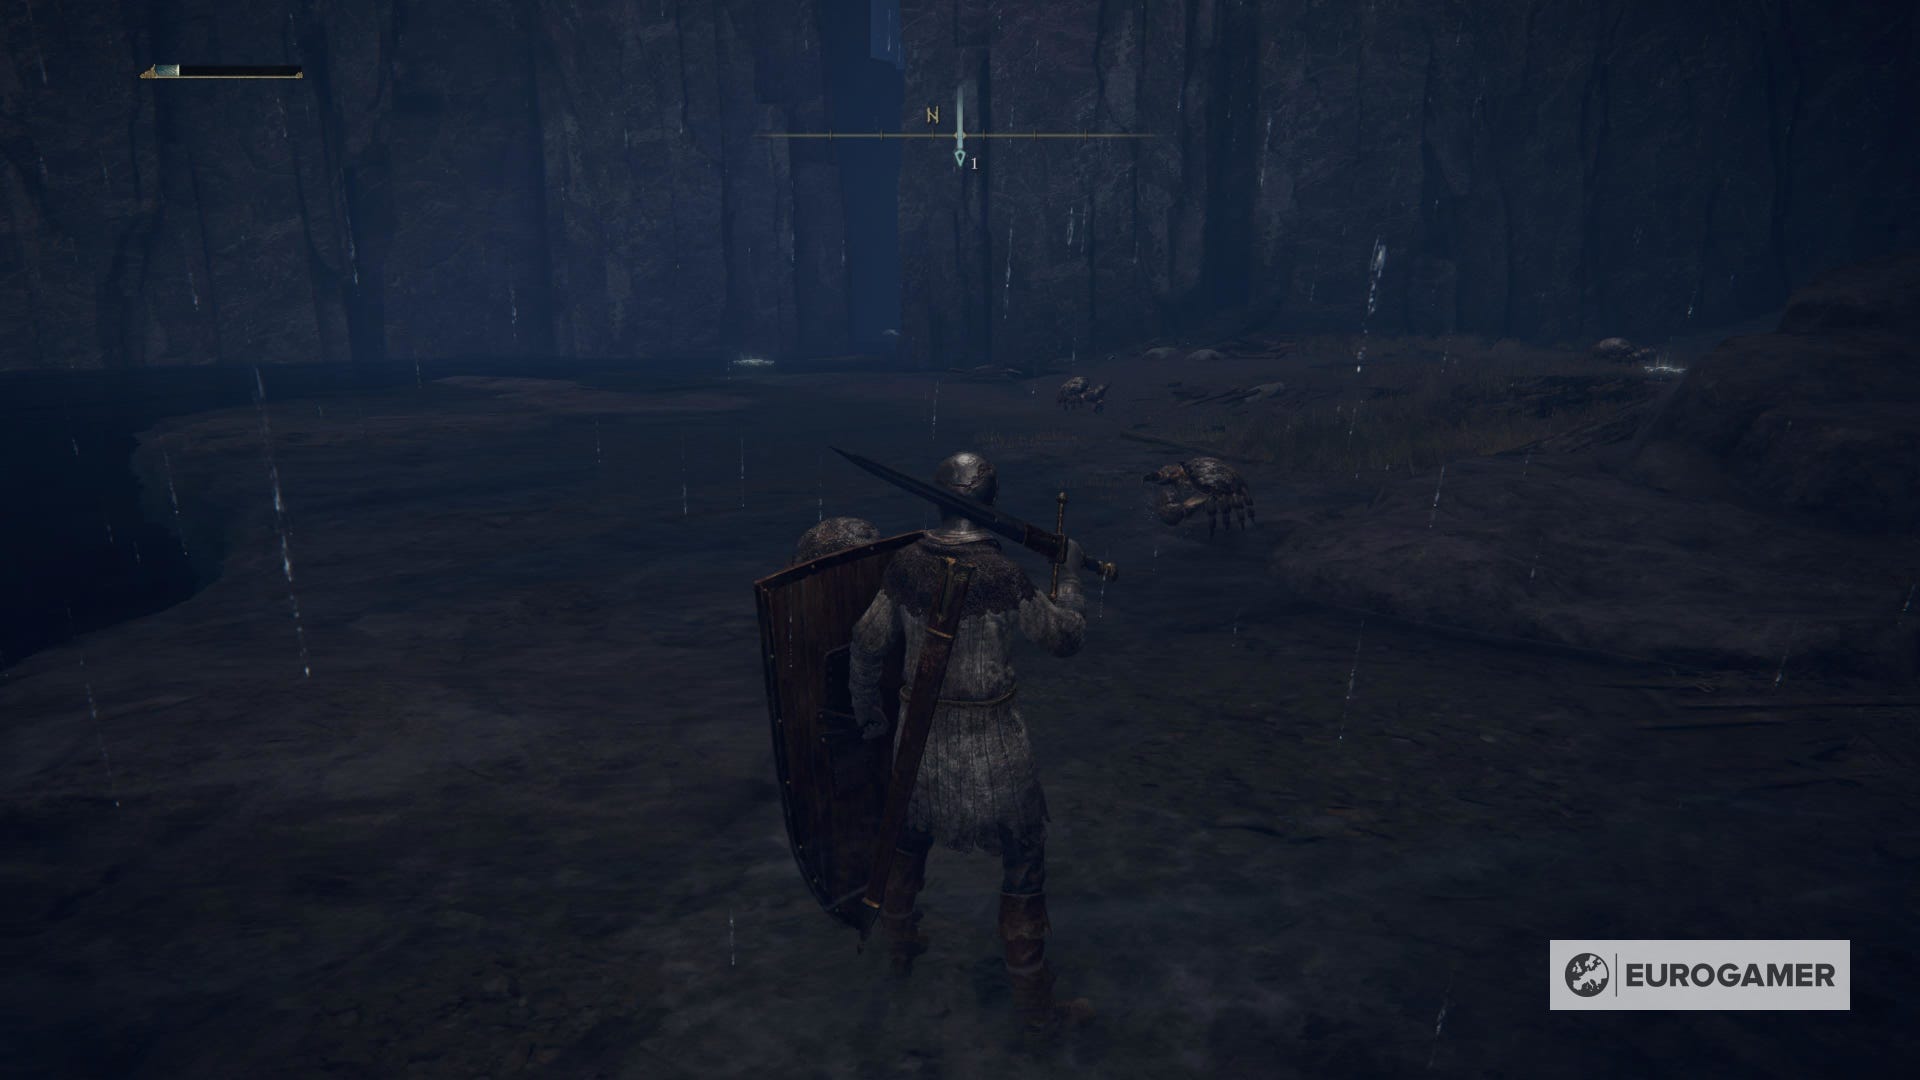
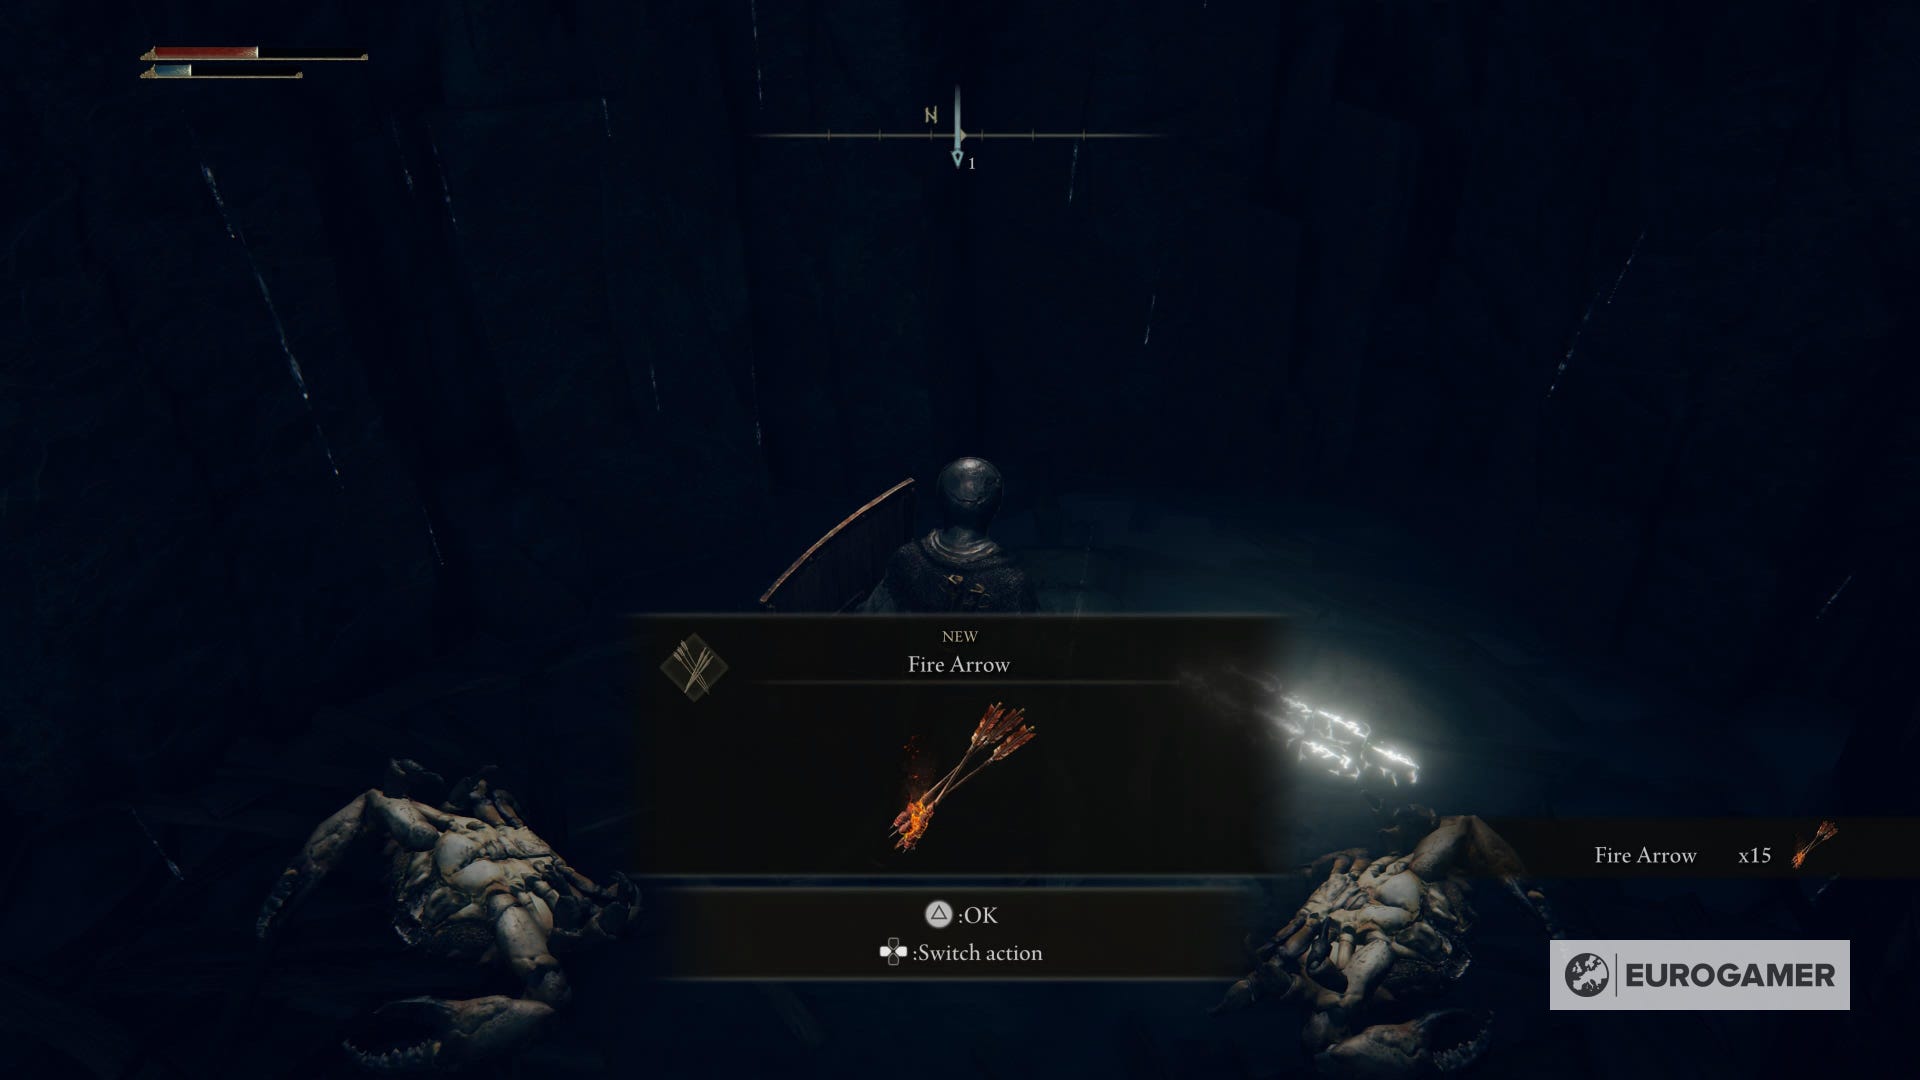
Return to the front of this building and go to the other one, on the left. You'll find small crabs chilling. Take a few steps, however, and a giant crab will appear from below the ground. Beat it, follow the path, and pick up 15 Fire Arrows.
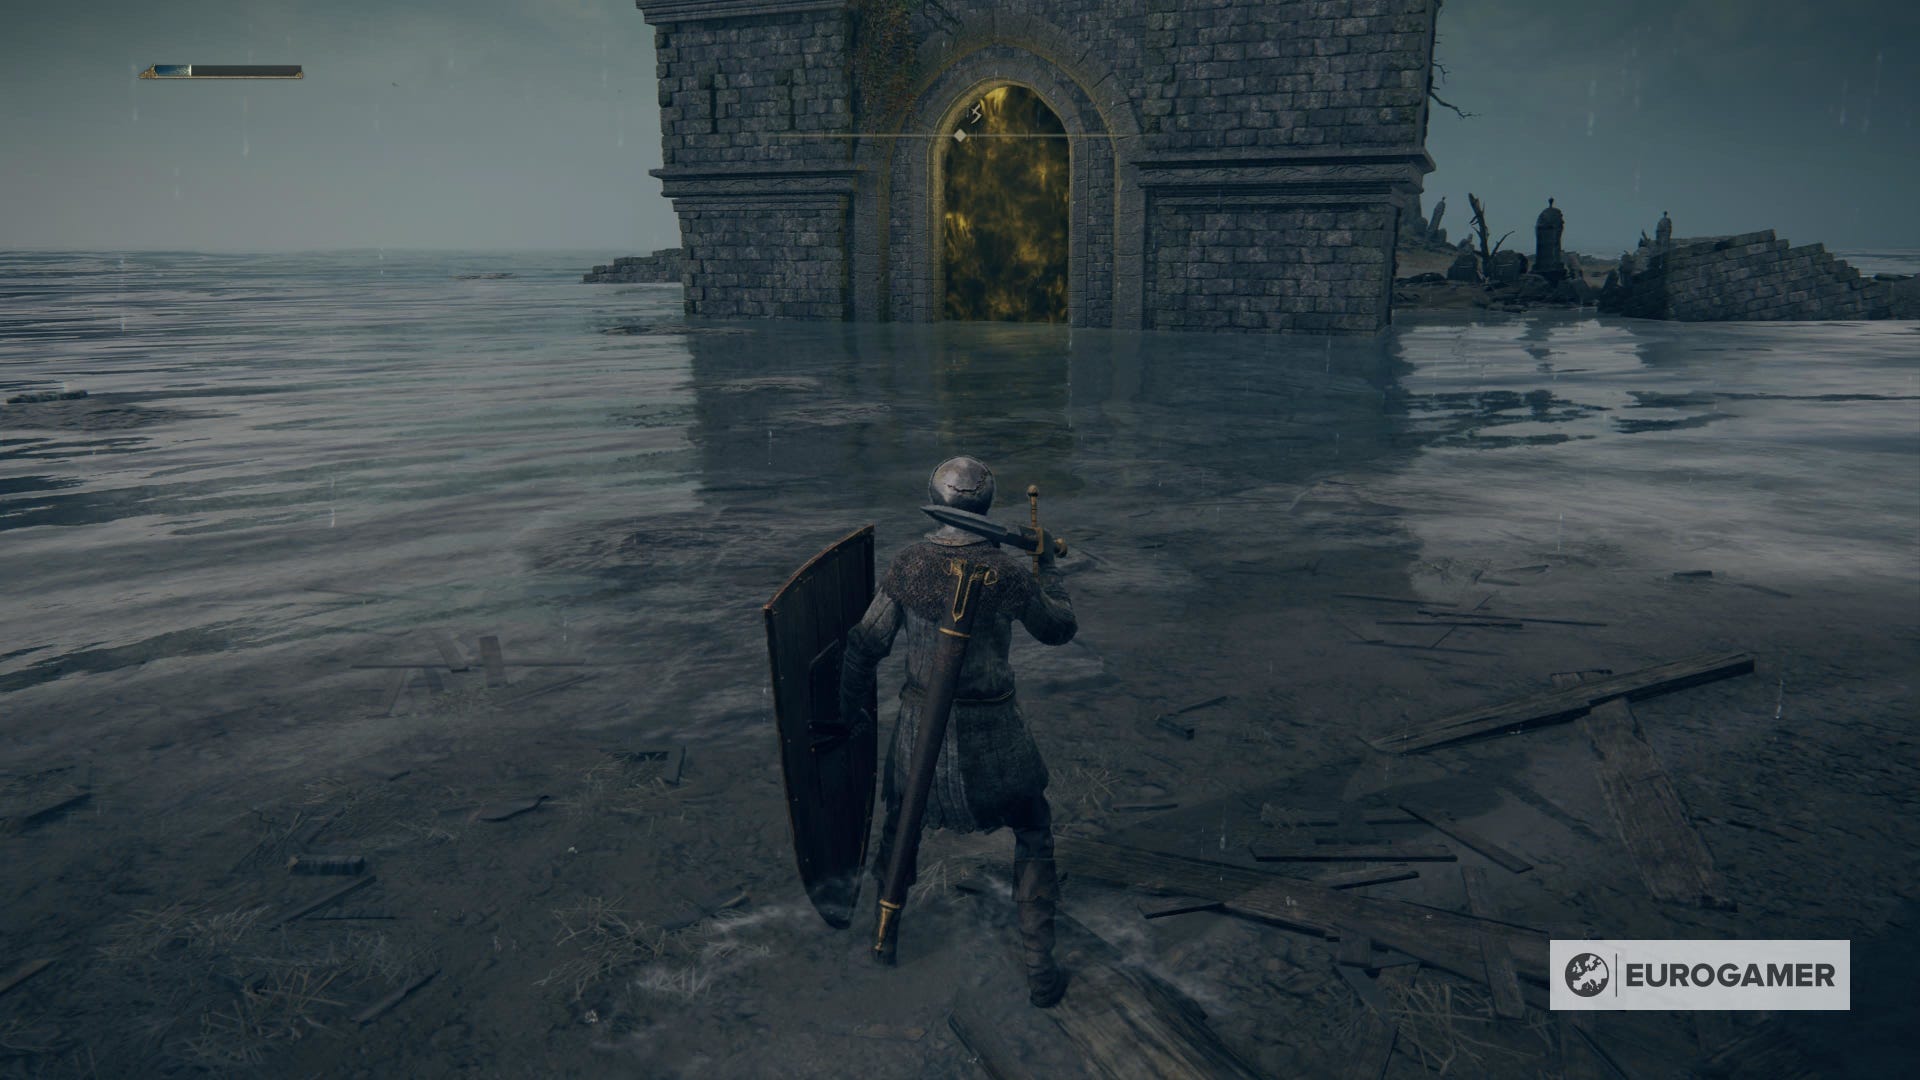
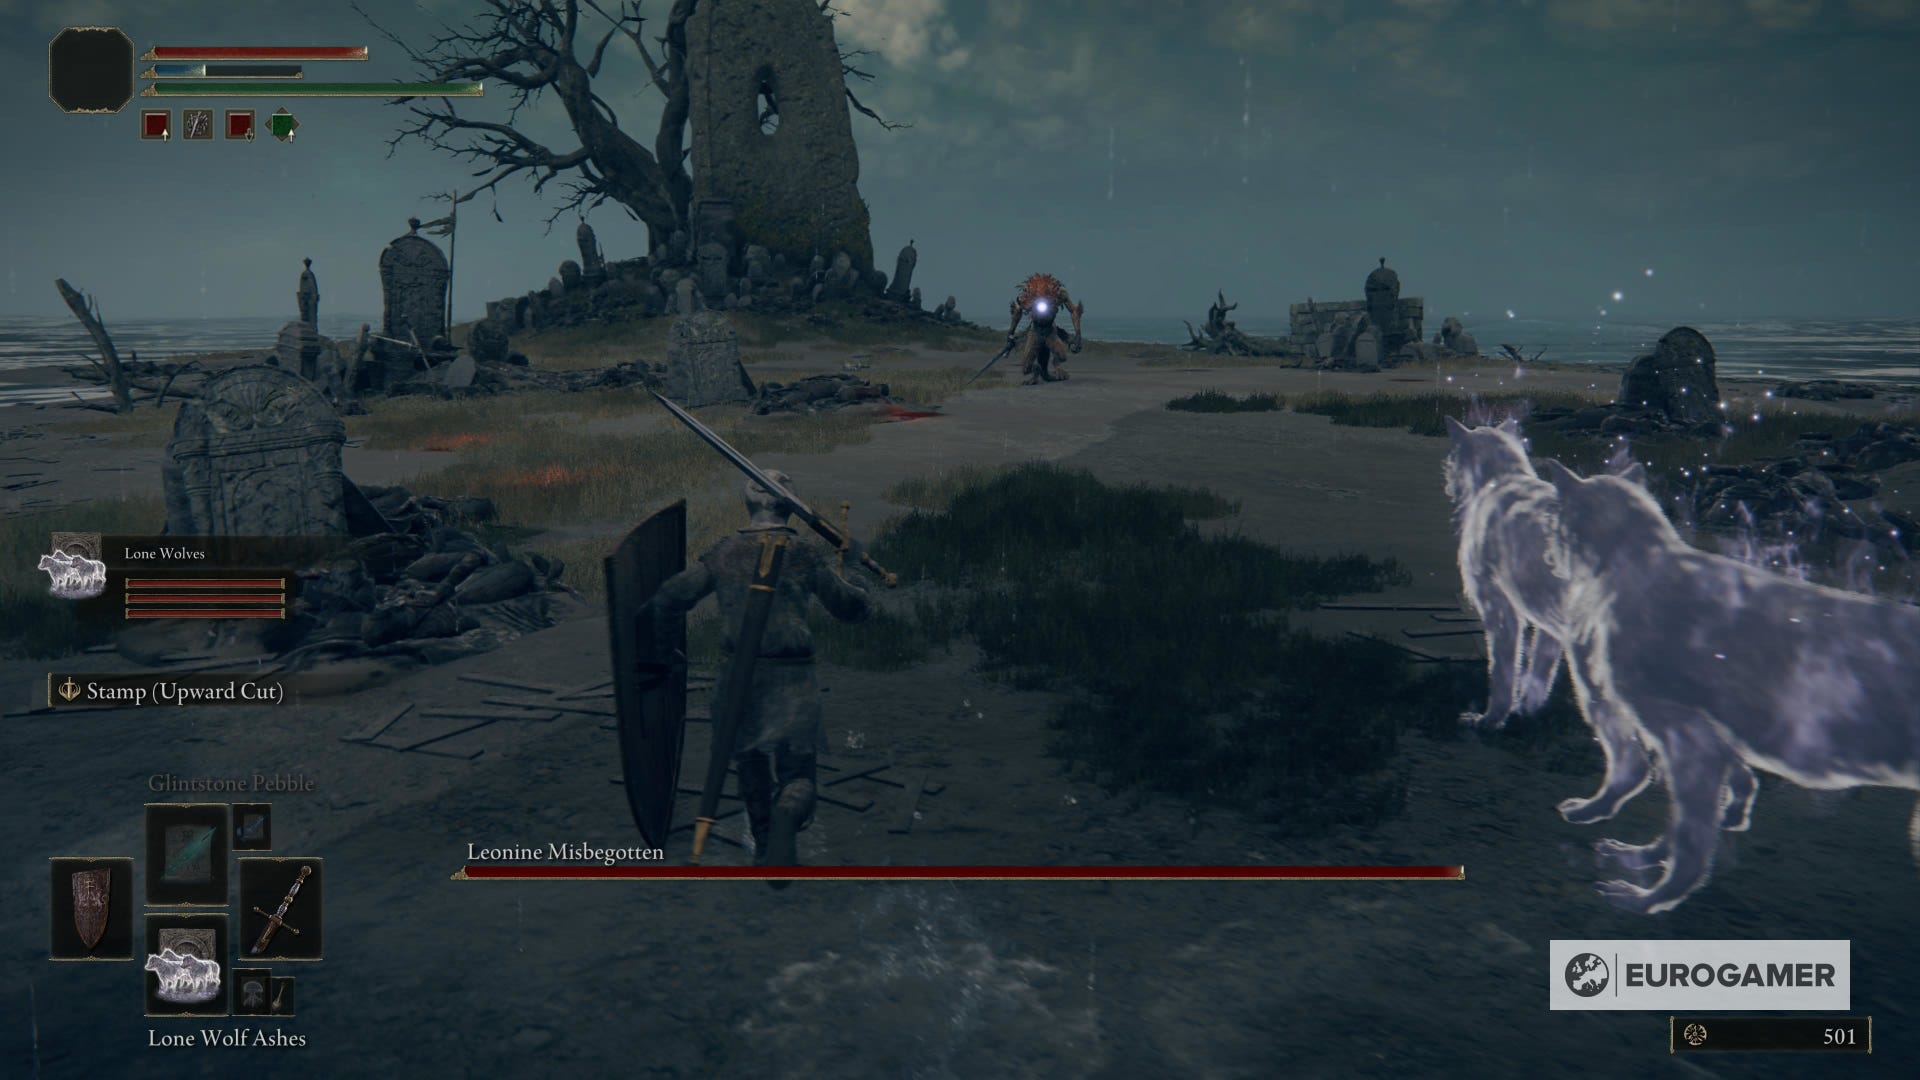
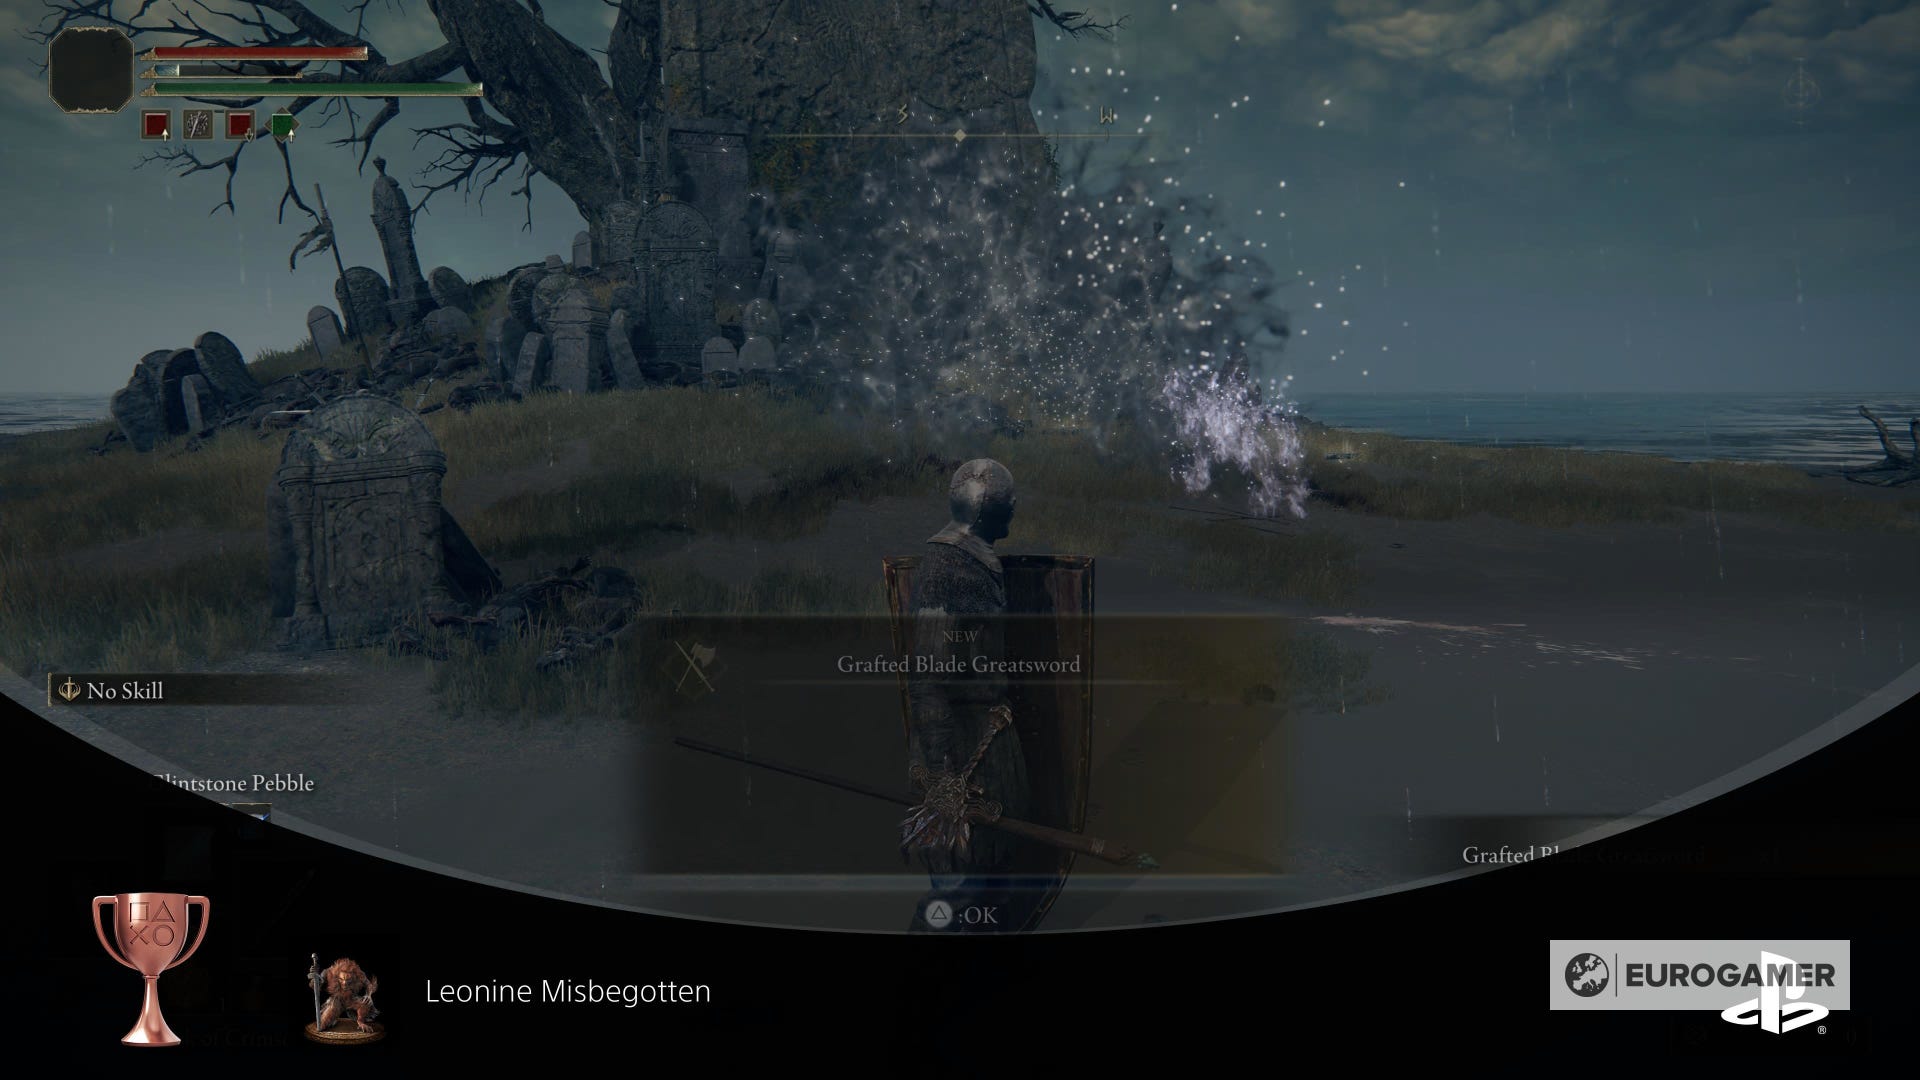
The only thing missing now is the boss, Leonine Misbegotten. Go through the golden fog and defeat the beast. You'll get the Grafted Blade Greatsword, 3800 runes, and a bronze trophy.
How to complete Irina's quest in Elden Ring
Once the boss is beaten and you get the blade, you need to speak again with Edgar to complete Irina's quest in Elden Ring. Sadly, you'll need to fast-travel to the first Site of Grace of the castle - the one before the elevator.
Repeat all the directions and meet Edgar at the same exact spot. He tells you he'll be back to his daughter.
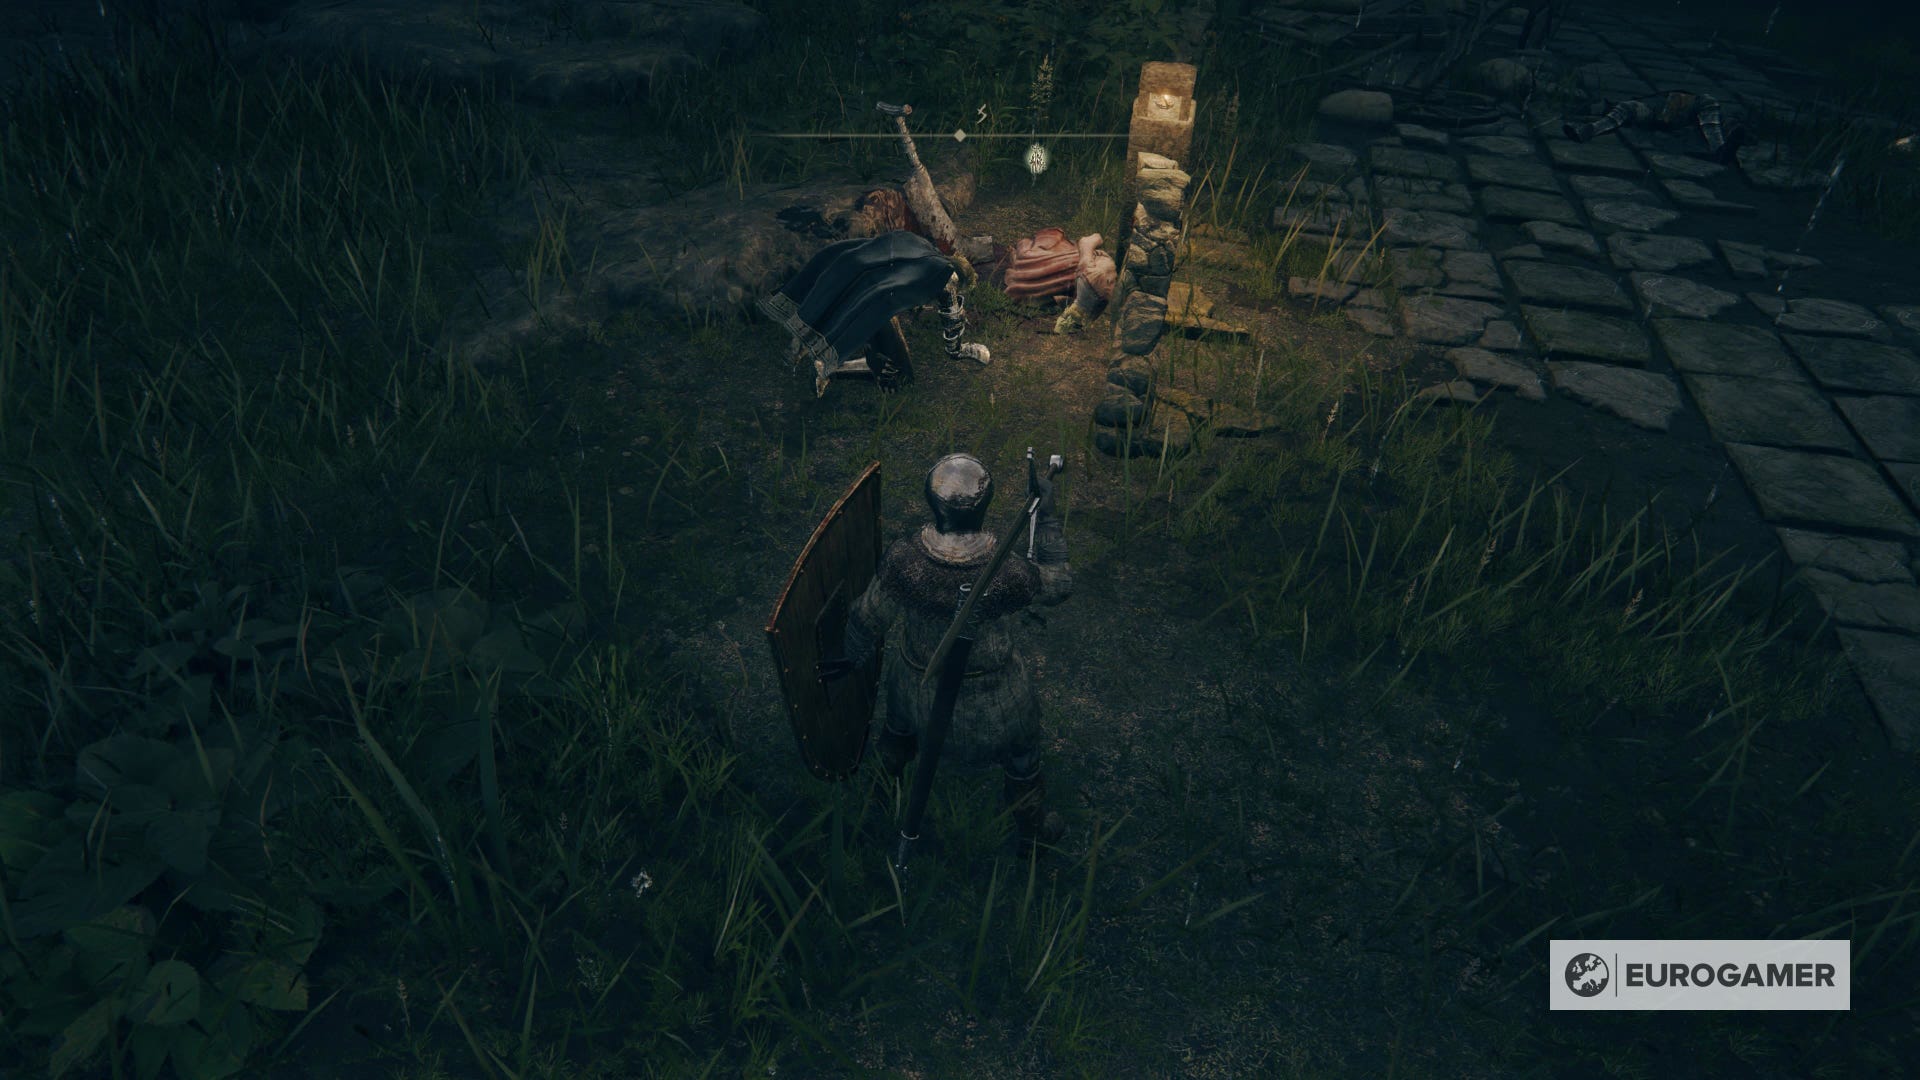
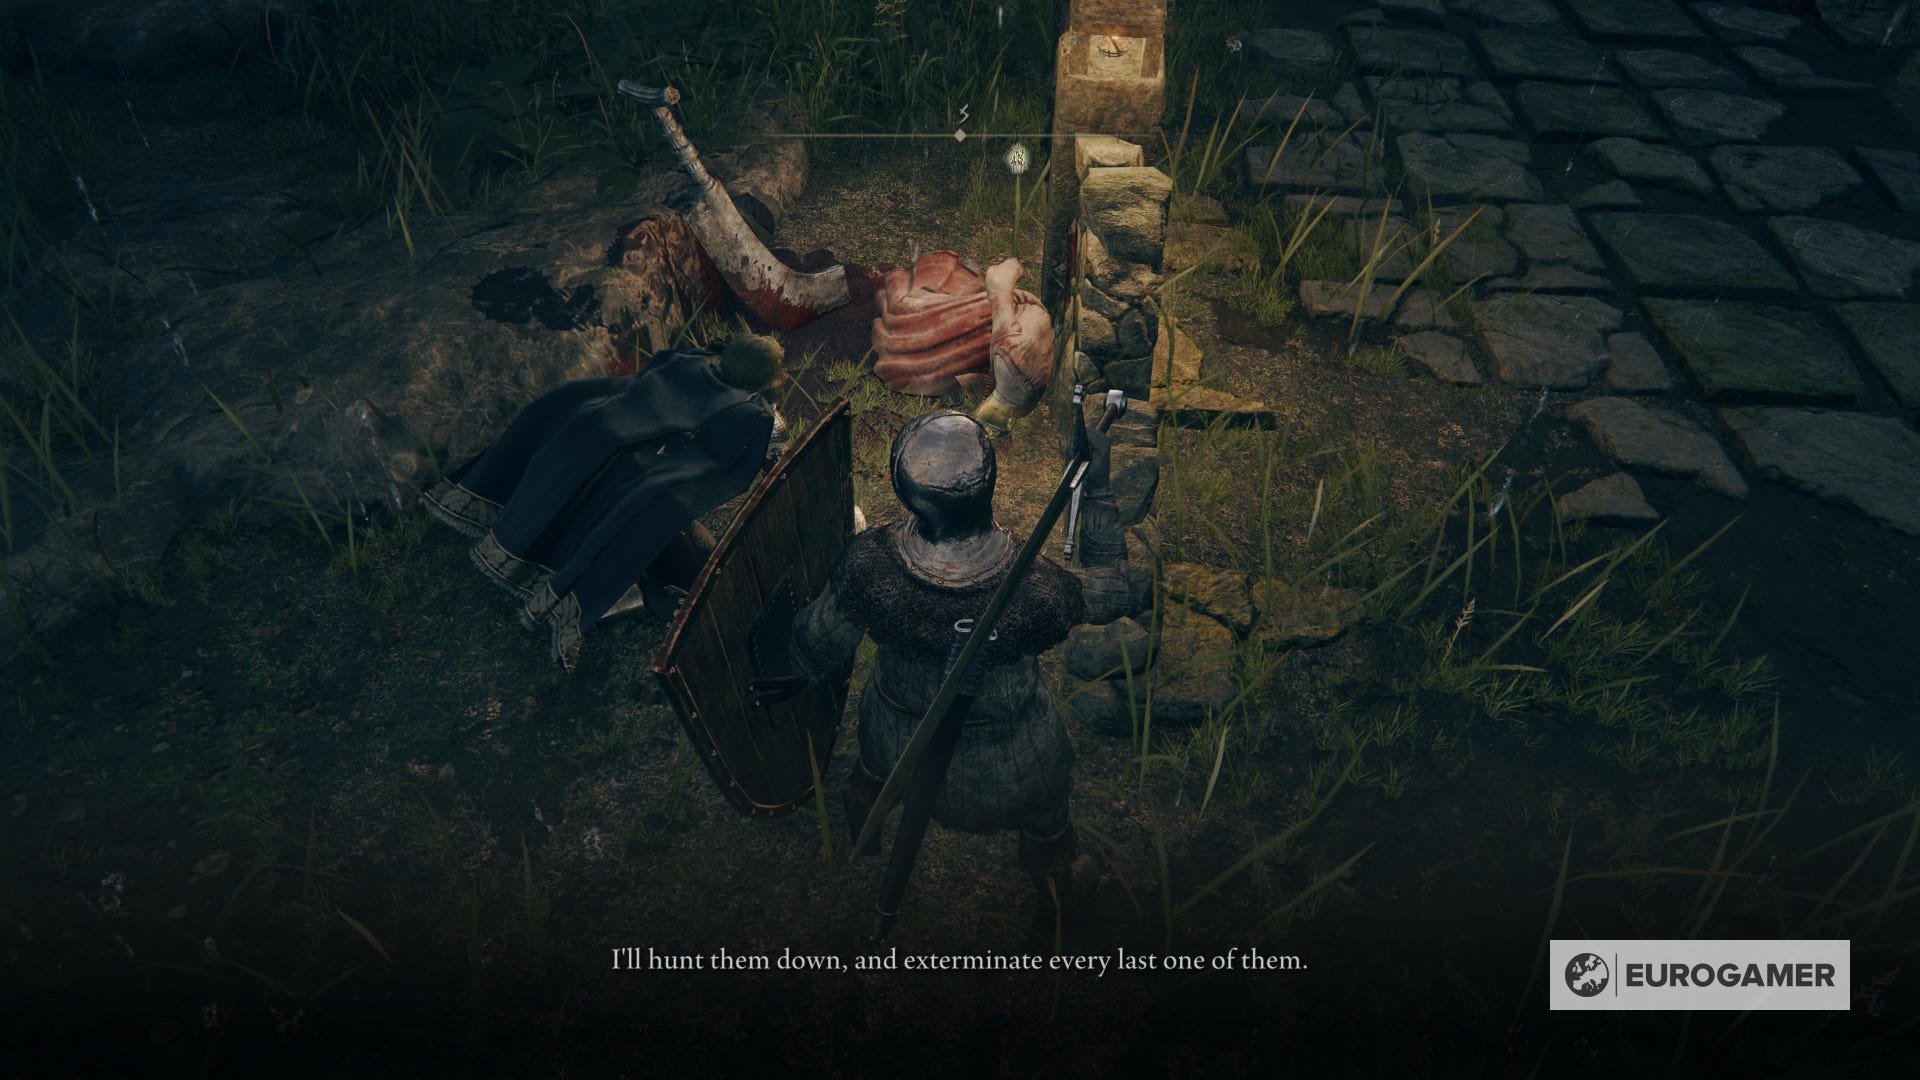
Finally, go back to the Bridge of Sacrifice Site of Grace and head where you met Irina for the first time. You'll find his father here. However, she will be dead.
If you talk to Edgar, he'll lament himself and tell you about his wish for vengeance.
If you followed this walkthrough correctly, you'll have acquired all its important items and completed Irina's quest.